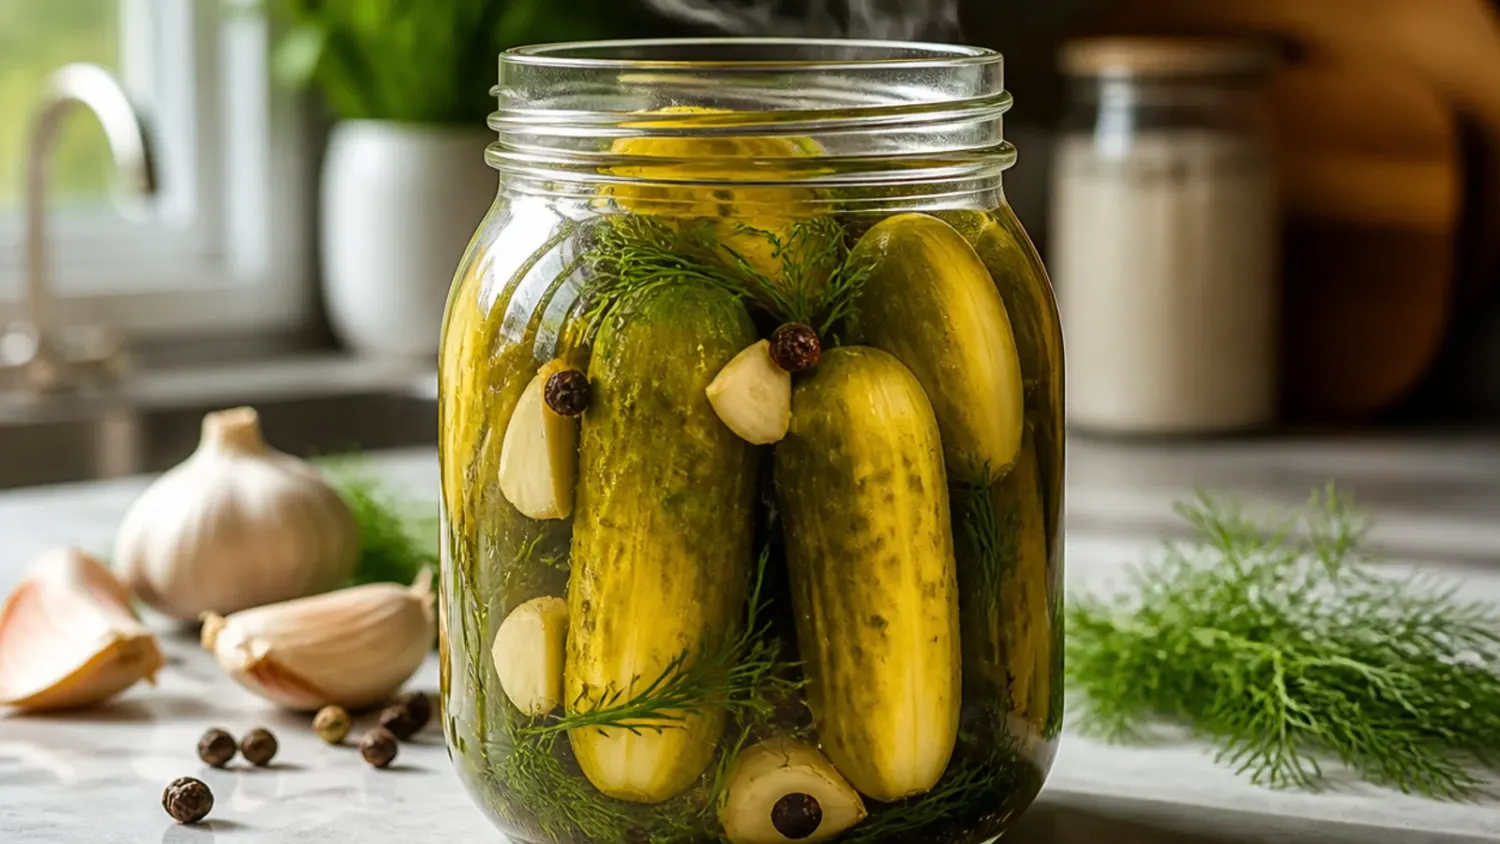
Ingredients 8 Person(s)

Save this for later 📌
Pin this article to your Pinterest board so the full list is one tap away when you need it.
Save on PinterestDirections
Step 1: Choose your cucumbers
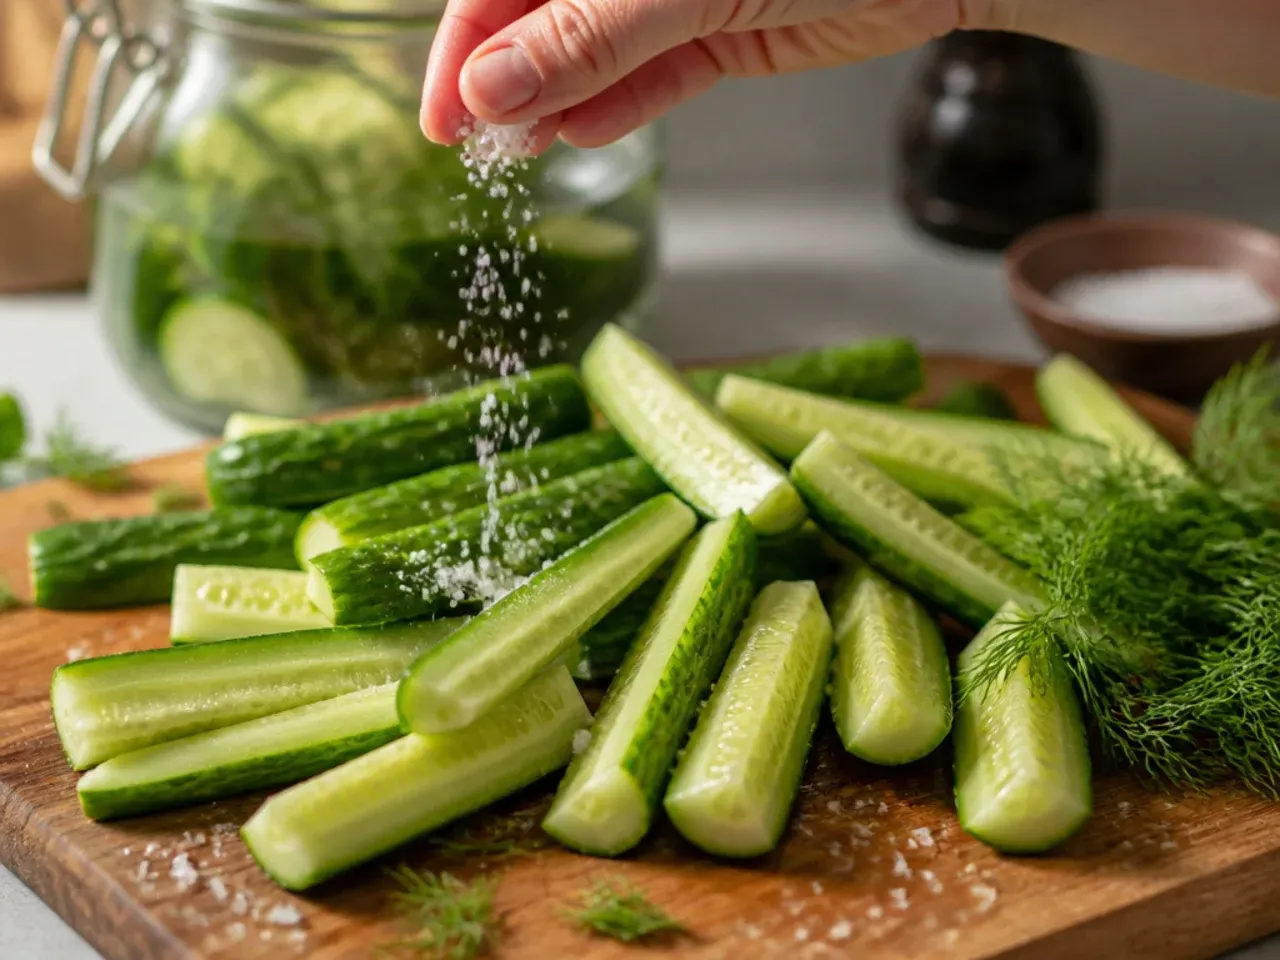
Pick 1 kg (2.2 lb) of small, firm pickling cucumbers such as Kirby or Persian, ideally 7-10 cm (3-4 in) long with no soft spots. Avoid waxed supermarket cucumbers, as their coated skins block the brine from penetrating and you'll end up with pickled skin around a raw, watery centre.
Step 2: Rinse thoroughly
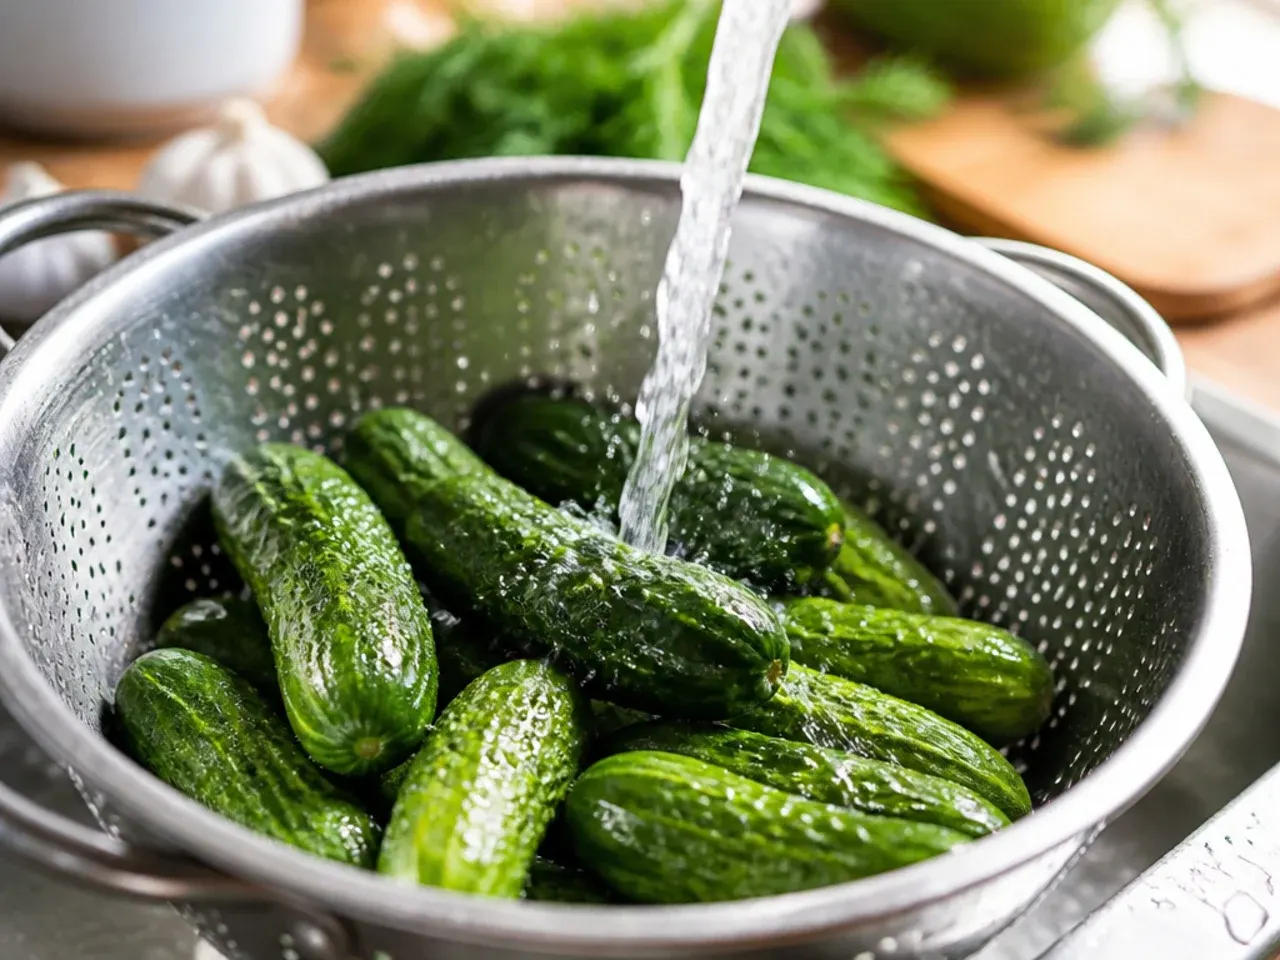
Wash the cucumbers under cold running water, rubbing off any dirt or waxy bloom with your hands or a soft vegetable brush. Pat them dry with a clean tea towel so the ice bath in a later step isn't watered down by dripping cucumbers.
Step 3: Trim the blossom ends
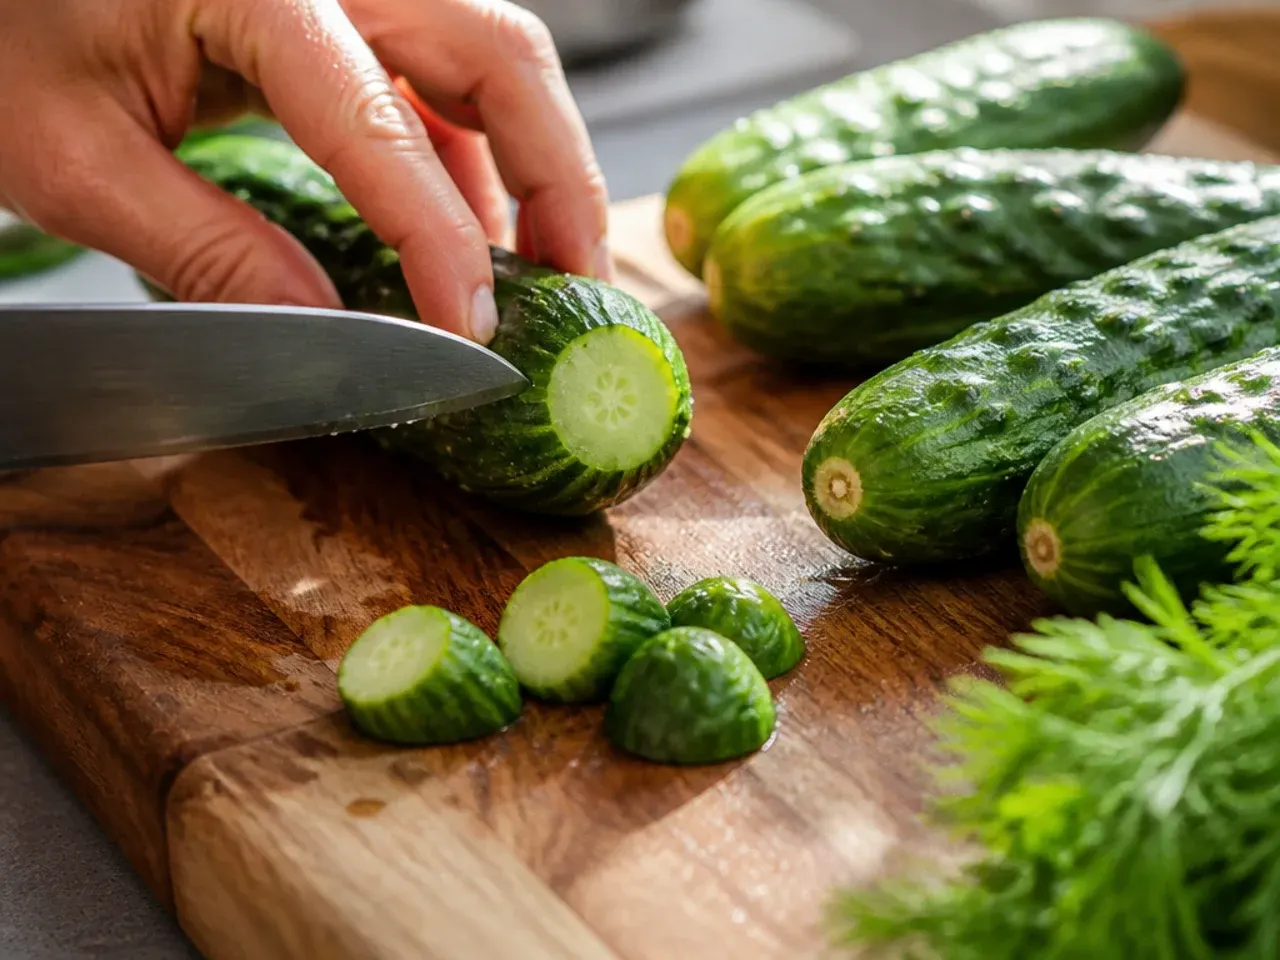
Slice a thin 3 mm (⅛ in) disc off the blossom end (opposite the stem) of every cucumber, since this end holds enzymes that soften pickles over time. Trim the stem end too for a neater finish, and discard both scraps.
Step 4: Decide on your cut
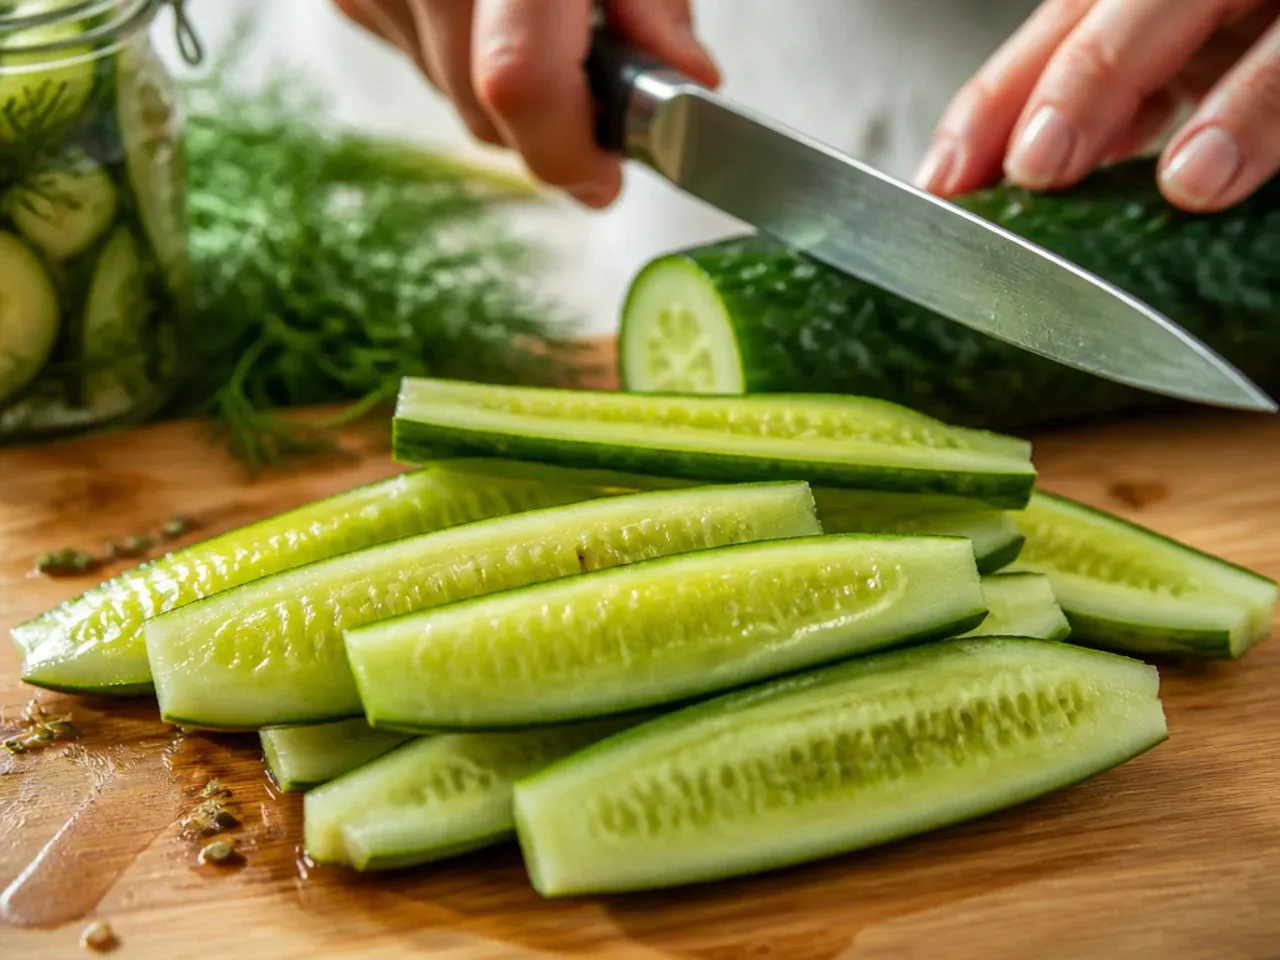
Choose spears (quartered lengthwise), chips (6 mm/¼ in rounds), or leave baby cucumbers whole, depending on how you'll serve them. Spears fit most 1-litre jars neatly, pickle evenly, and are the easiest cut for a first batch.
Step 5: Cut the cucumbers
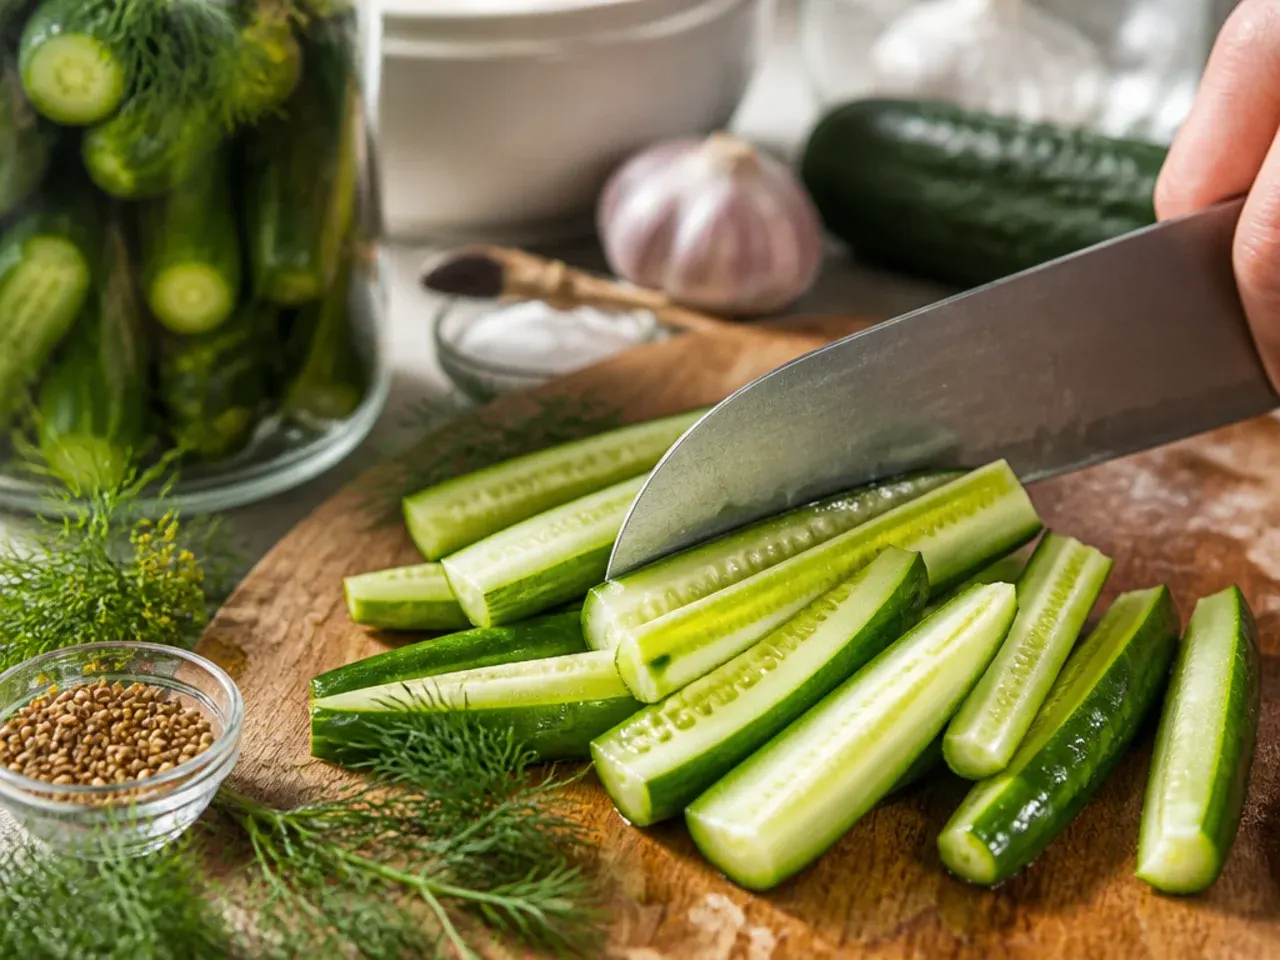
Using a sharp knife on a stable board, cut each cucumber into your chosen shape, keeping every piece roughly the same thickness so they all pickle at the same rate. Uneven pieces mean some spears turn out perfectly tangy while thicker ones stay bland in the middle.
Step 6: Ice-bath the cut cucumbers
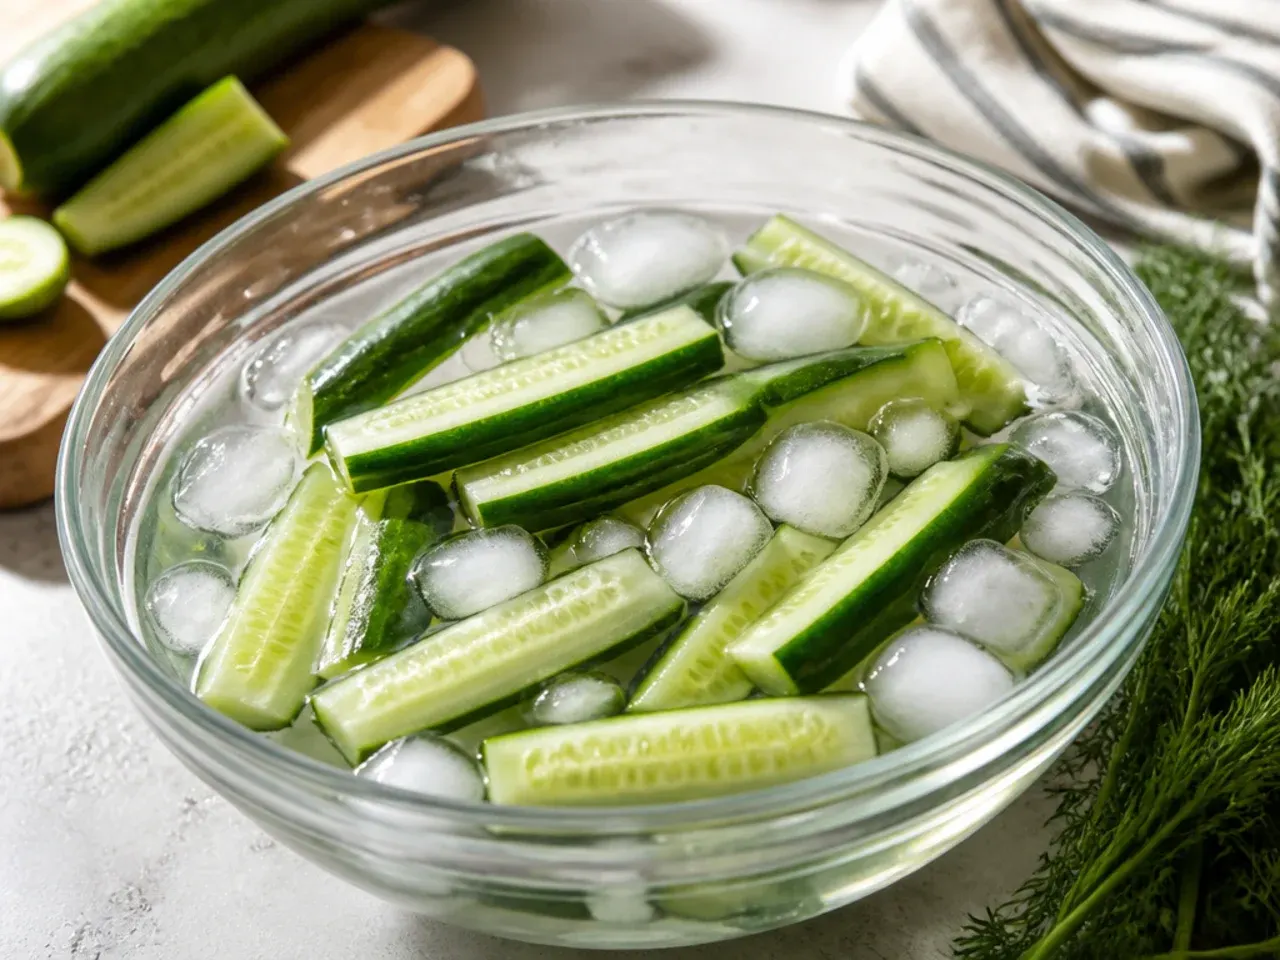
Submerge the cut pieces in a large bowl with 480 ml (2 cups) ice cubes and enough cold water to cover completely, then refrigerate for 30 minutes to 2 hours. This single step firms the cell walls and is the biggest factor in whether your pickles end up crunchy or limp.
Step 7: Sterilise your jars
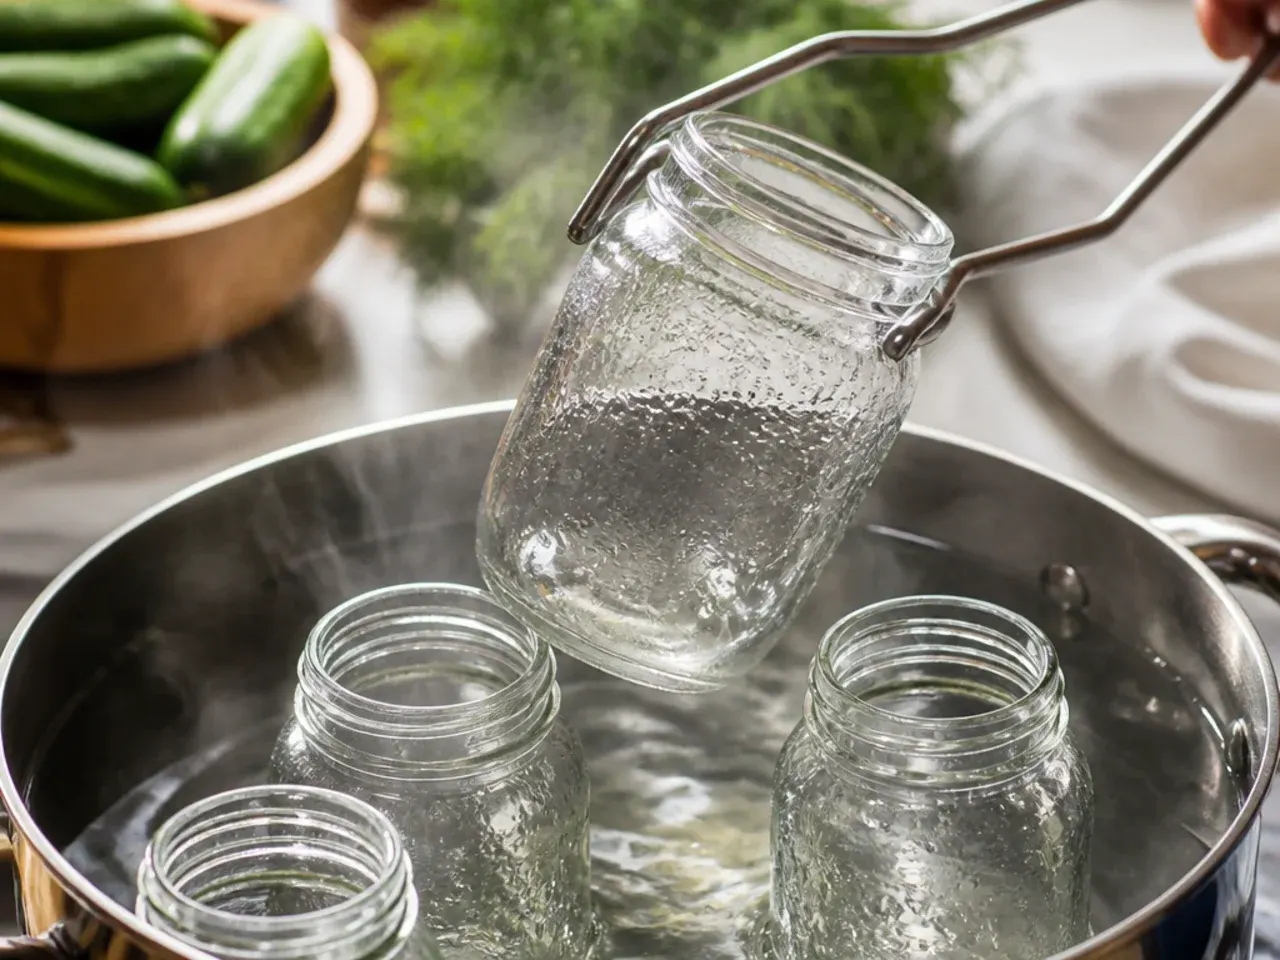
Wash two 1-litre (1 quart) glass jars and their lids in hot soapy water, rinse thoroughly with just-boiled water, and air-dry upside down on a clean towel. Any leftover soap film or residue will cloud the brine and can throw off the fermentation-free preservation.
Step 8: Prep the garlic
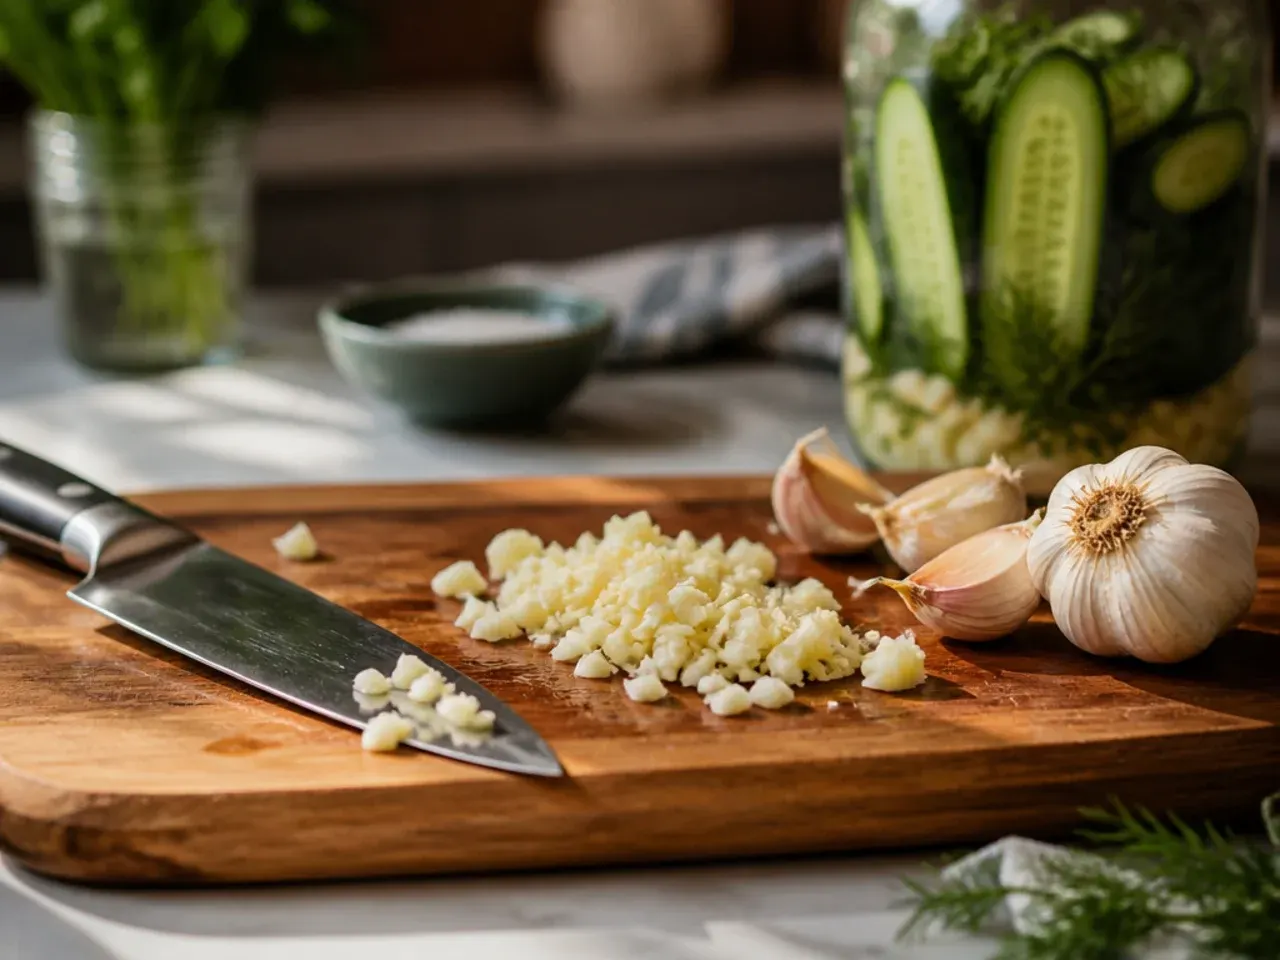
Smash 6 cloves of garlic with the flat side of a knife blade and peel away the loosened skins. Smashing rather than mincing releases plenty of flavour into the brine without turning bitter or blue-green over several weeks of soaking.
Step 9: Measure the brine ingredients
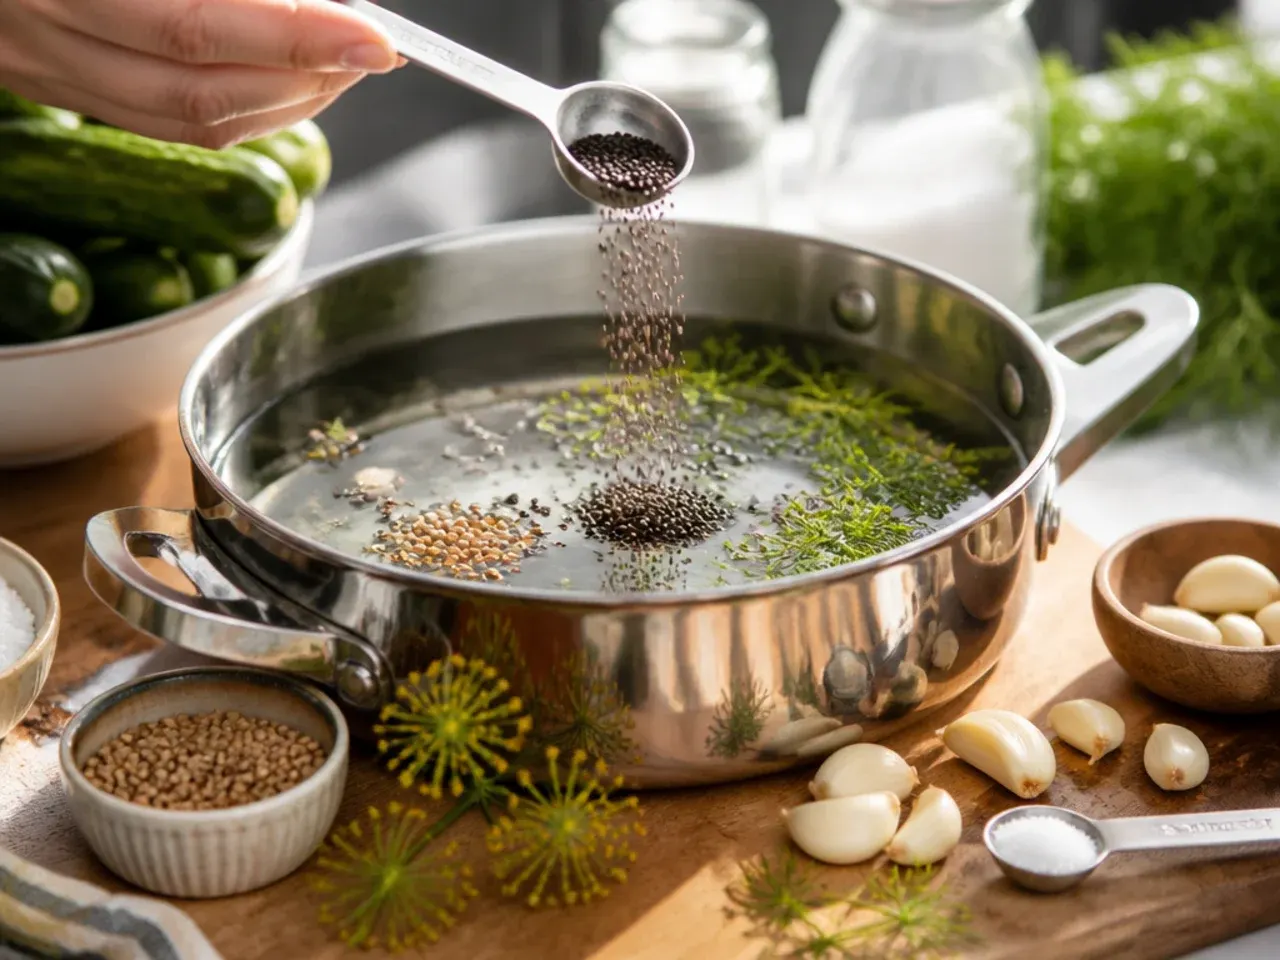
Measure out 700 ml (3 cups) cold water, 350 ml (1½ cups) white vinegar, 45 g (3 tbsp) kosher salt, and 12 g (1 tbsp) sugar so everything is ready to go the moment the pan is on the heat. Having amounts pre-measured stops you from scrambling once the mixture starts to boil.
Step 10: Combine the brine in a saucepan
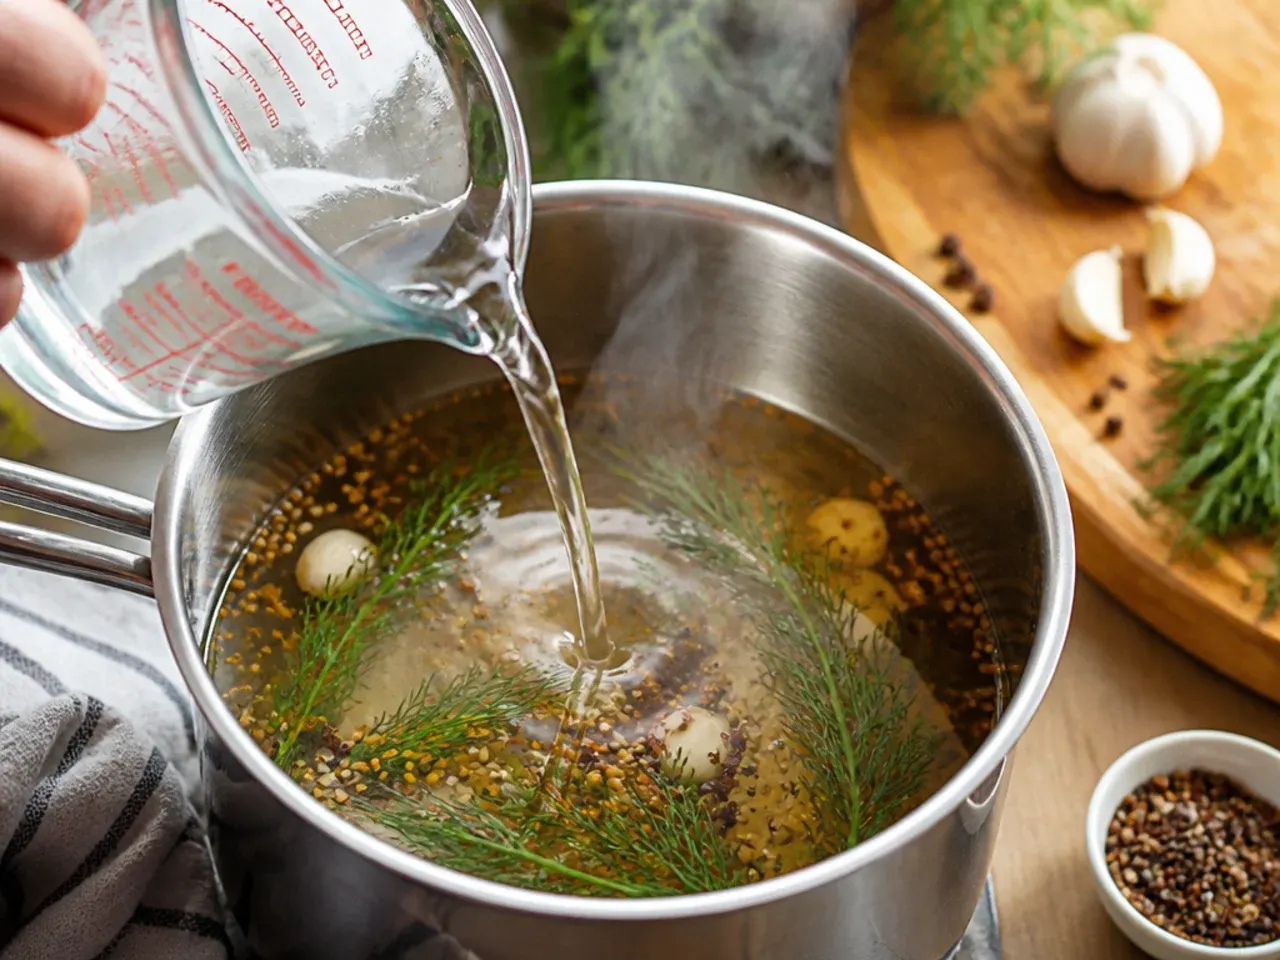
Add the measured water, vinegar, salt, and sugar to a medium saucepan and set it over medium-high heat. Stir once to start dissolving the salt and sugar before the liquid heats through.
Step 11: Bring the brine to a full boil
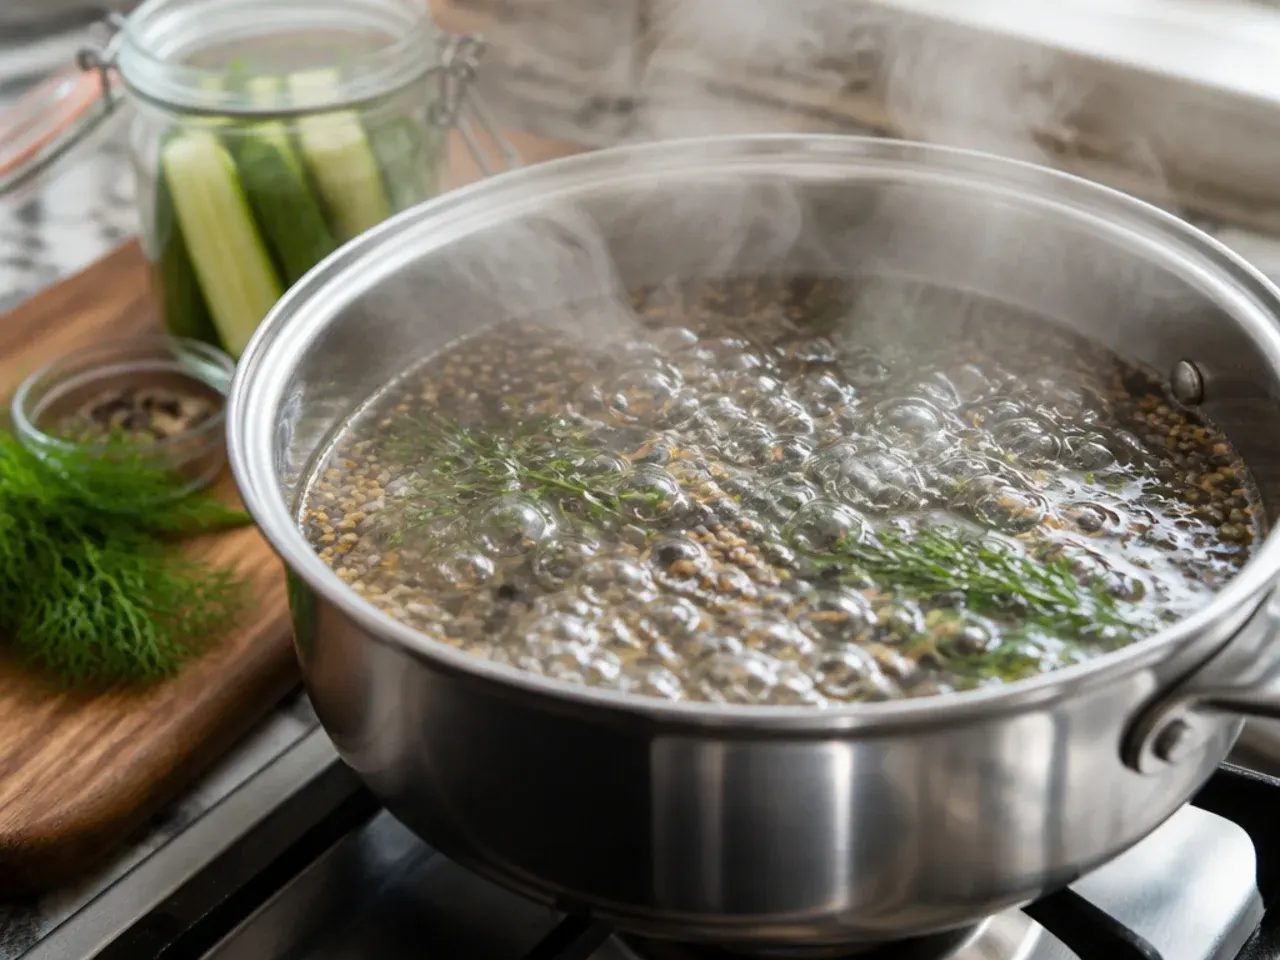
Heat, stirring occasionally, until the mixture reaches a rolling boil and the salt and sugar have completely dissolved, about 3-4 minutes. The brine should look perfectly clear rather than gritty or cloudy at the bottom of the pan.
Step 12: Cool the brine completely
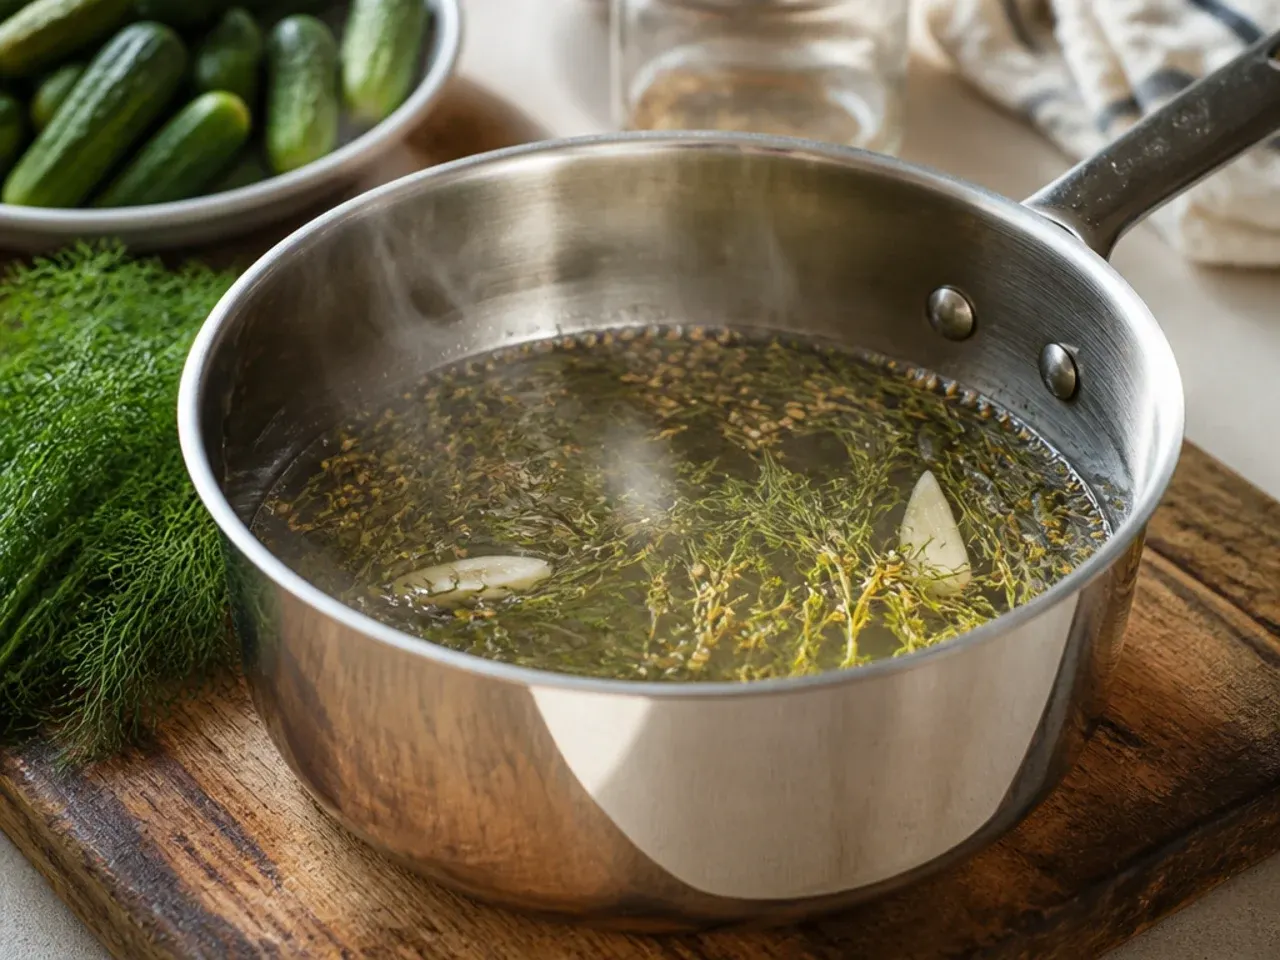
Remove the pan from the heat and let the brine cool to room temperature, about 20-30 minutes, or set the pan inside a larger bowl of ice water to bring it down in around 5 minutes. Pouring hot brine over the cucumbers effectively cooks them and leaves the finished pickles soft and limp, so don't rush this step.
Step 13: Layer the aromatics first
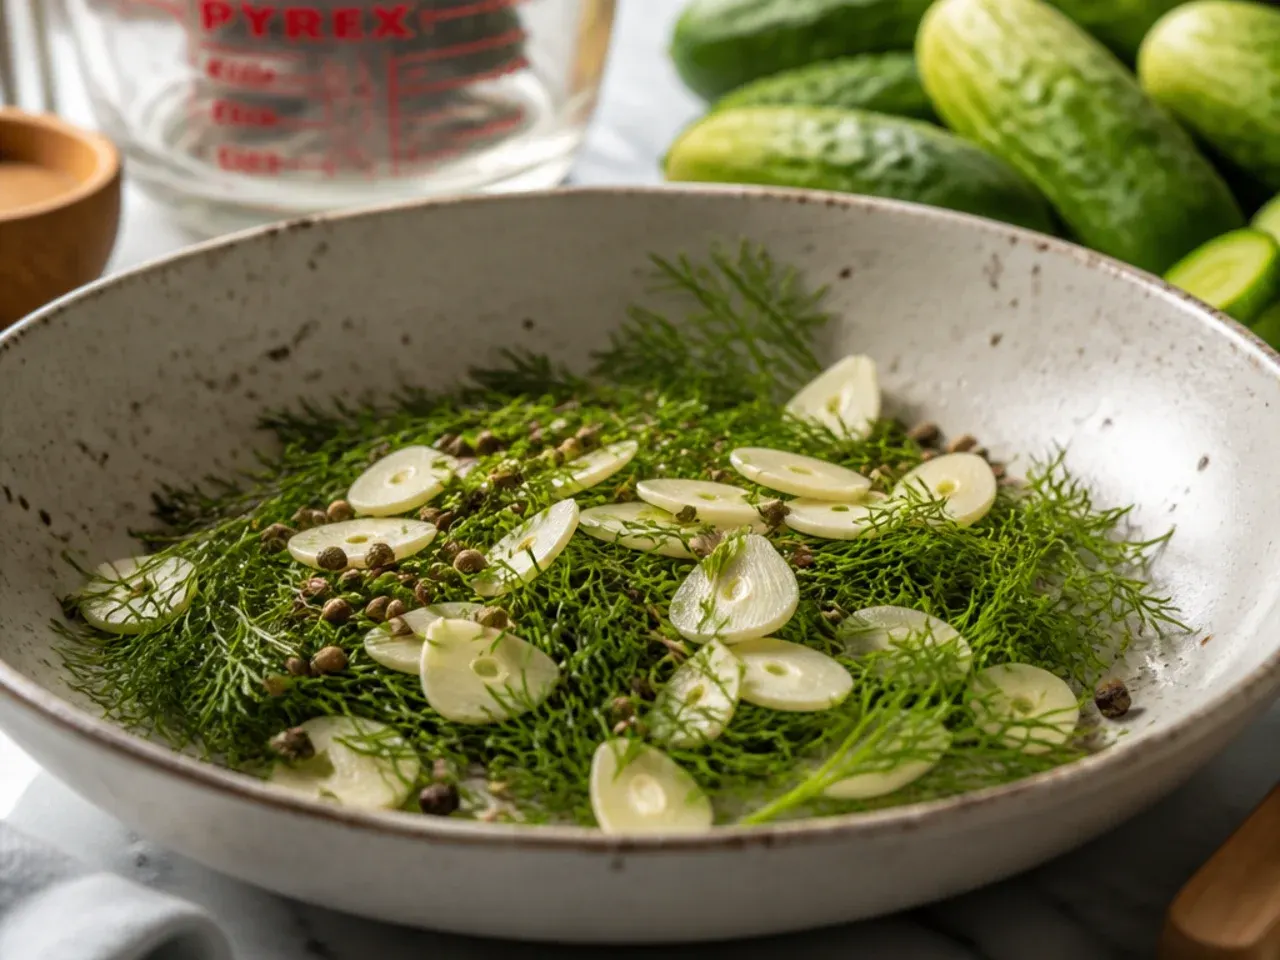
Divide the smashed garlic, 4 g (2 tsp) dill seed, 4 g (2 tsp) black peppercorns, and 5 g (2 tsp) mustard seed evenly between the two jars, dropping them in before the cucumbers so they settle at the bottom. This way every spear you pull out later has picked up flavour from the aromatics beneath it.
Step 14: Add bay leaves and fresh dill
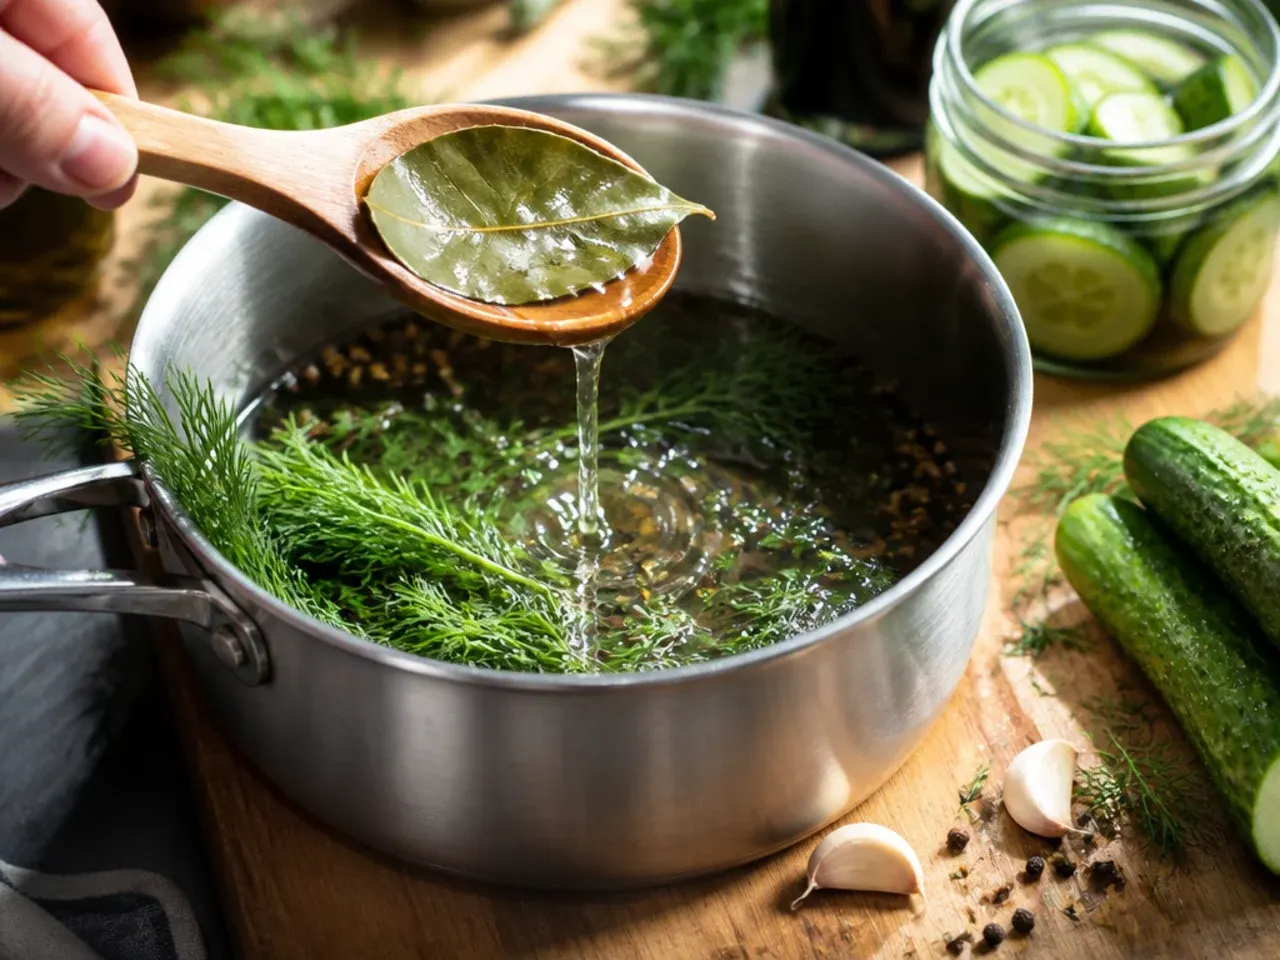
Tuck 1 bay leaf and 2 fresh dill sprigs into each jar, pressing the dill against the glass so it stays visible and infuses evenly as the jar sits. If fresh dill isn't available, 2 tsp dried dill per jar works as a backup, though the flavour will be milder.
Step 15: Add chilli flakes if using
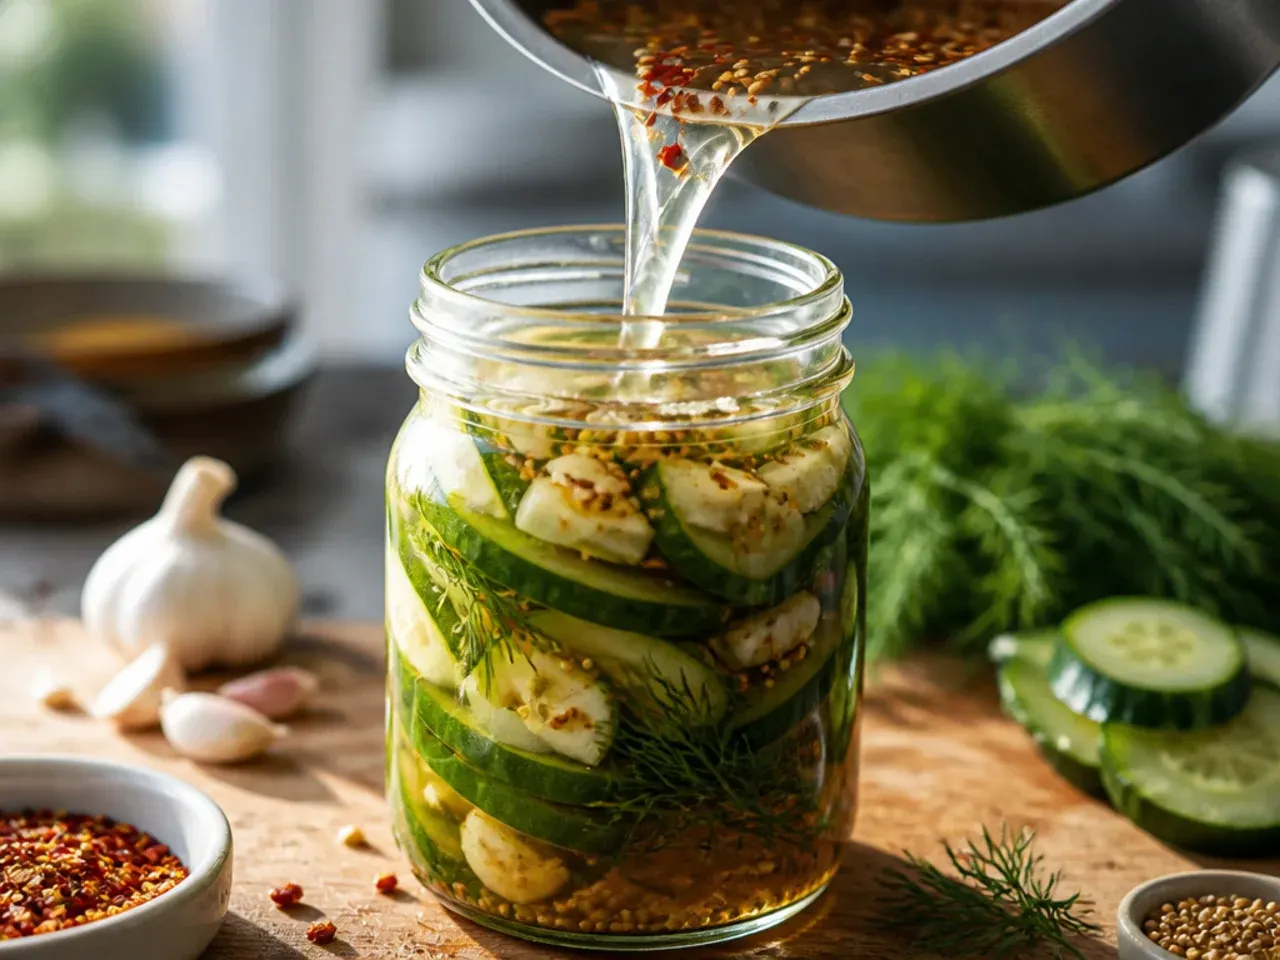
Divide 1 g (½ tsp) red pepper flakes evenly between the two jars for a gentle background heat that builds over the storage time. Leave this out entirely for a mild, kid-friendly batch.
Step 16: Drain the cucumbers
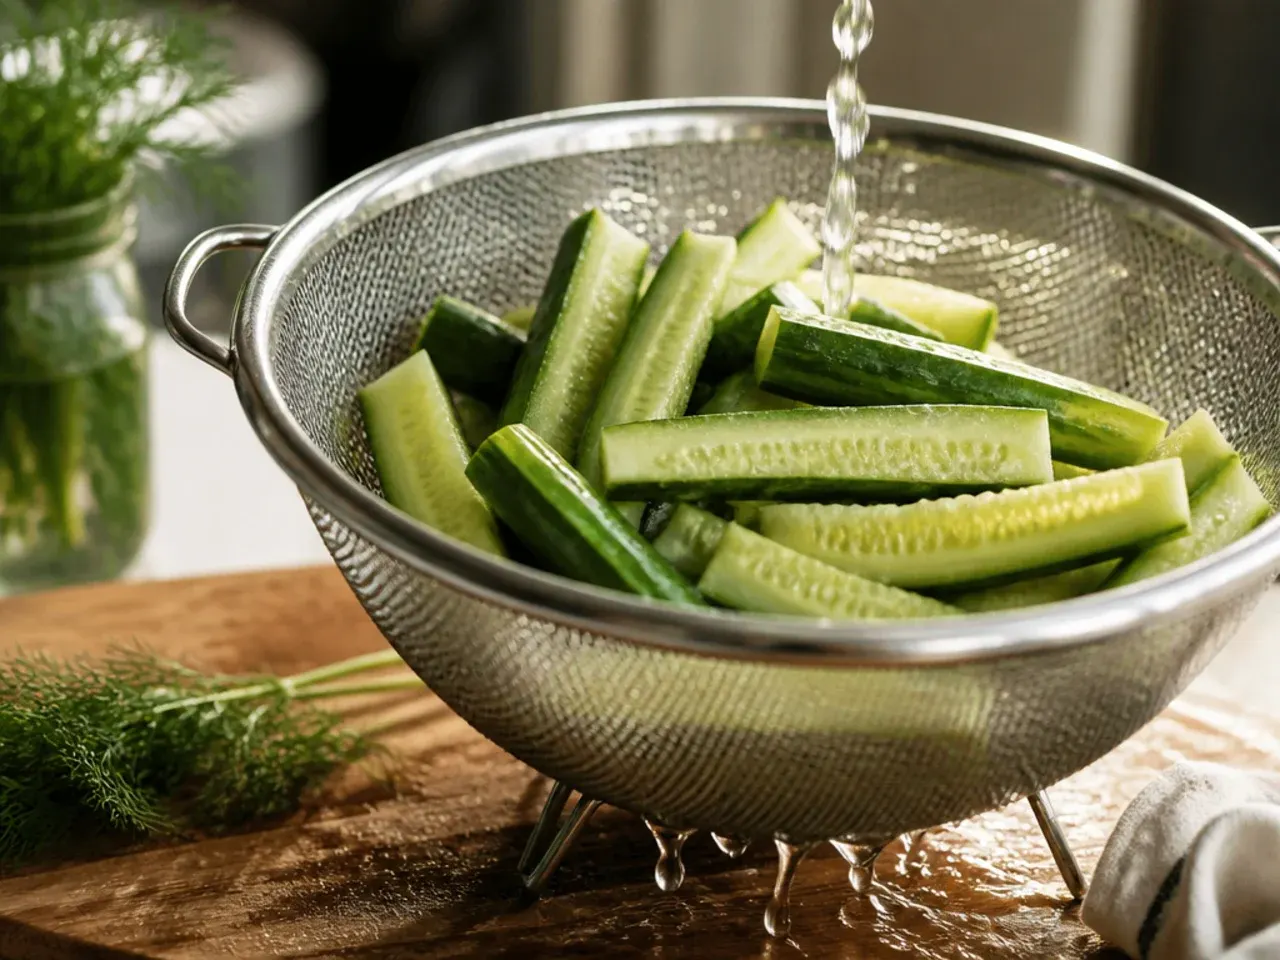
Lift the chilled cucumber pieces out of the ice bath and drain them well in a colander, shaking off excess water. Water clinging to the cucumbers will dilute the brine and can make the finished pickles taste weaker than expected.
Step 17: Pack the jars tightly
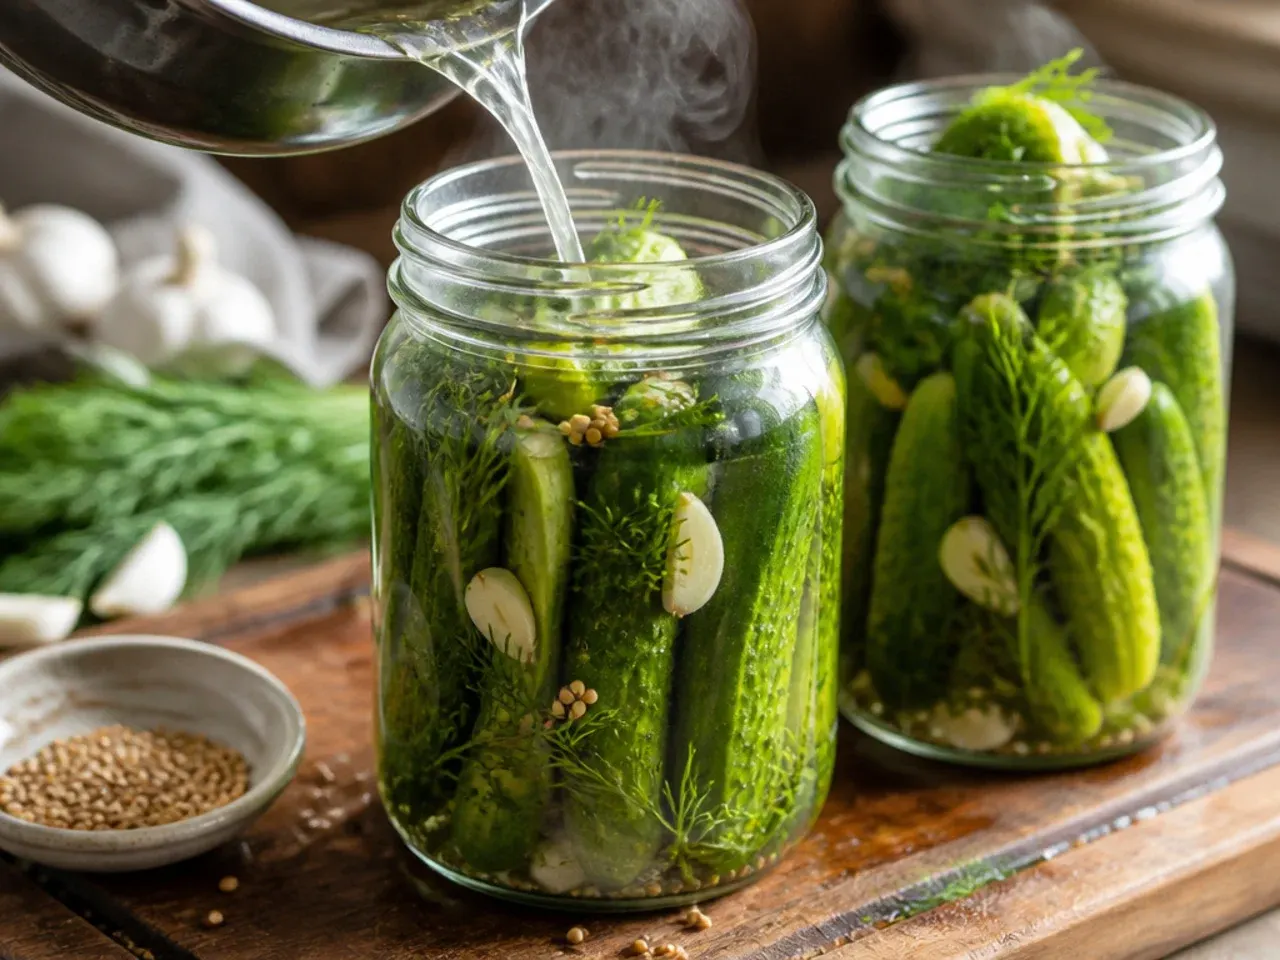
Stand spears upright or layer chips snugly on top of the aromatics in each jar, packing firmly enough that the pieces support one another but leaving 1-2 cm (½ in) of headspace below the rim. Tightly packed jars need less brine and keep every piece submerged more easily.
Step 18: Check the fit
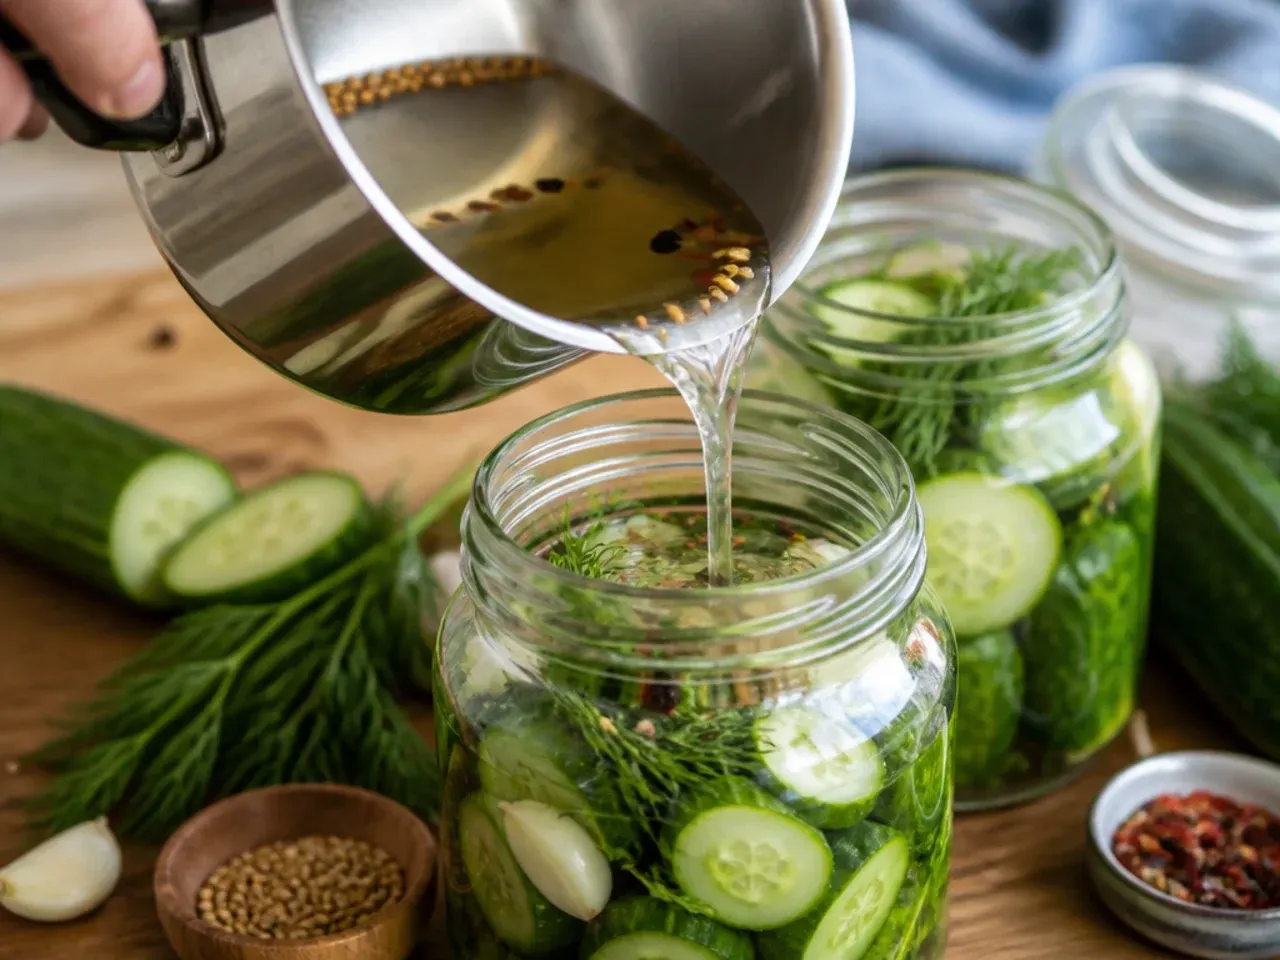
Press down gently on the packed cucumbers; if any pieces rise above the shoulder of the jar, trim them shorter so nothing sits above where the brine line will reach. This small check now saves you from discoloured, air-exposed pickles later.
Step 19: Pour the cooled brine
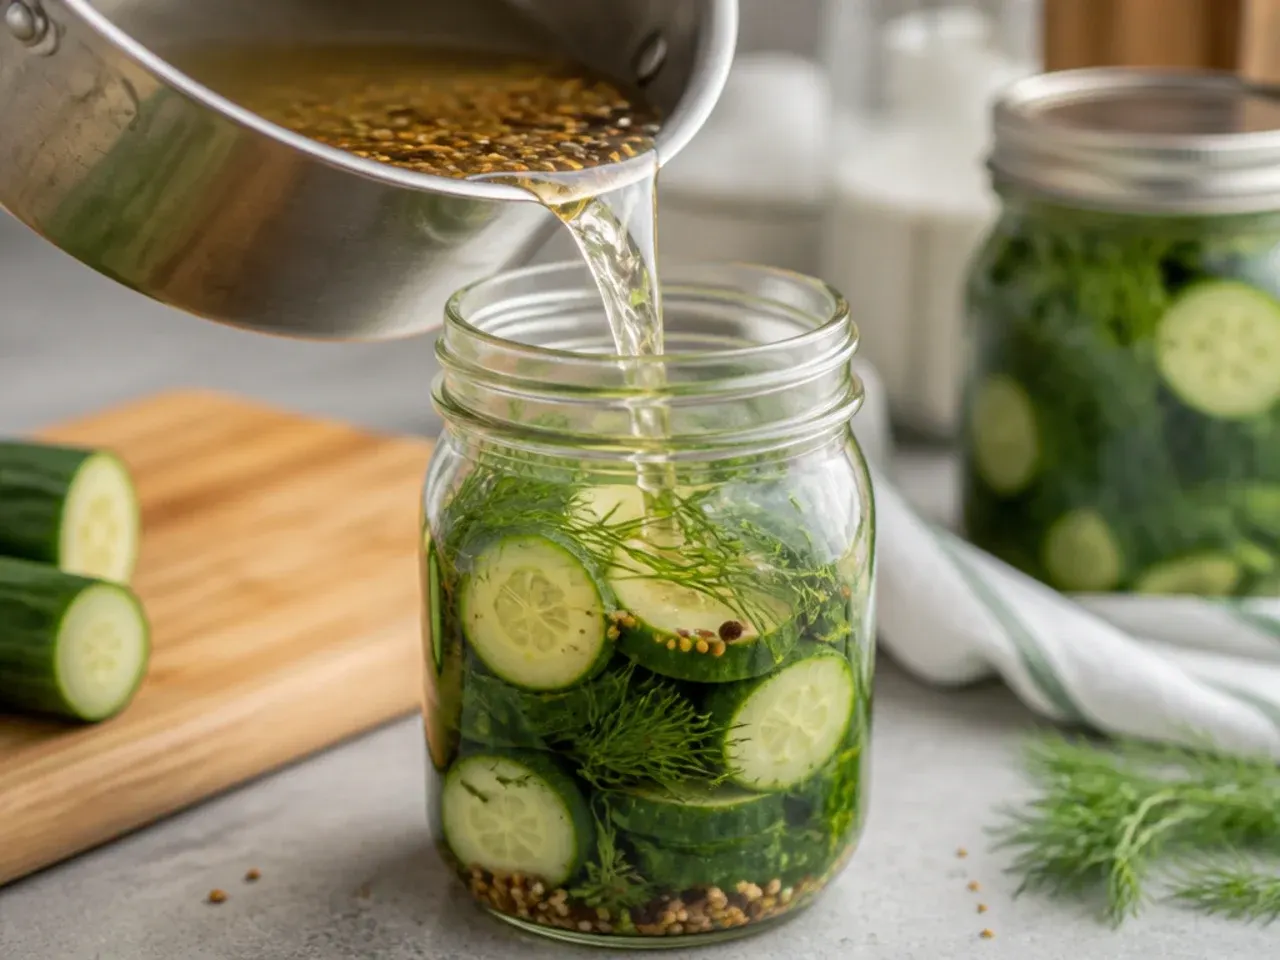
Slowly pour the room-temperature brine over the cucumbers in each jar until they're fully submerged, leaving about 1 cm (½ in) of headspace below the rim. Pour steadily so the liquid settles between the pieces rather than just sitting on top.
Step 20: Confirm full submersion
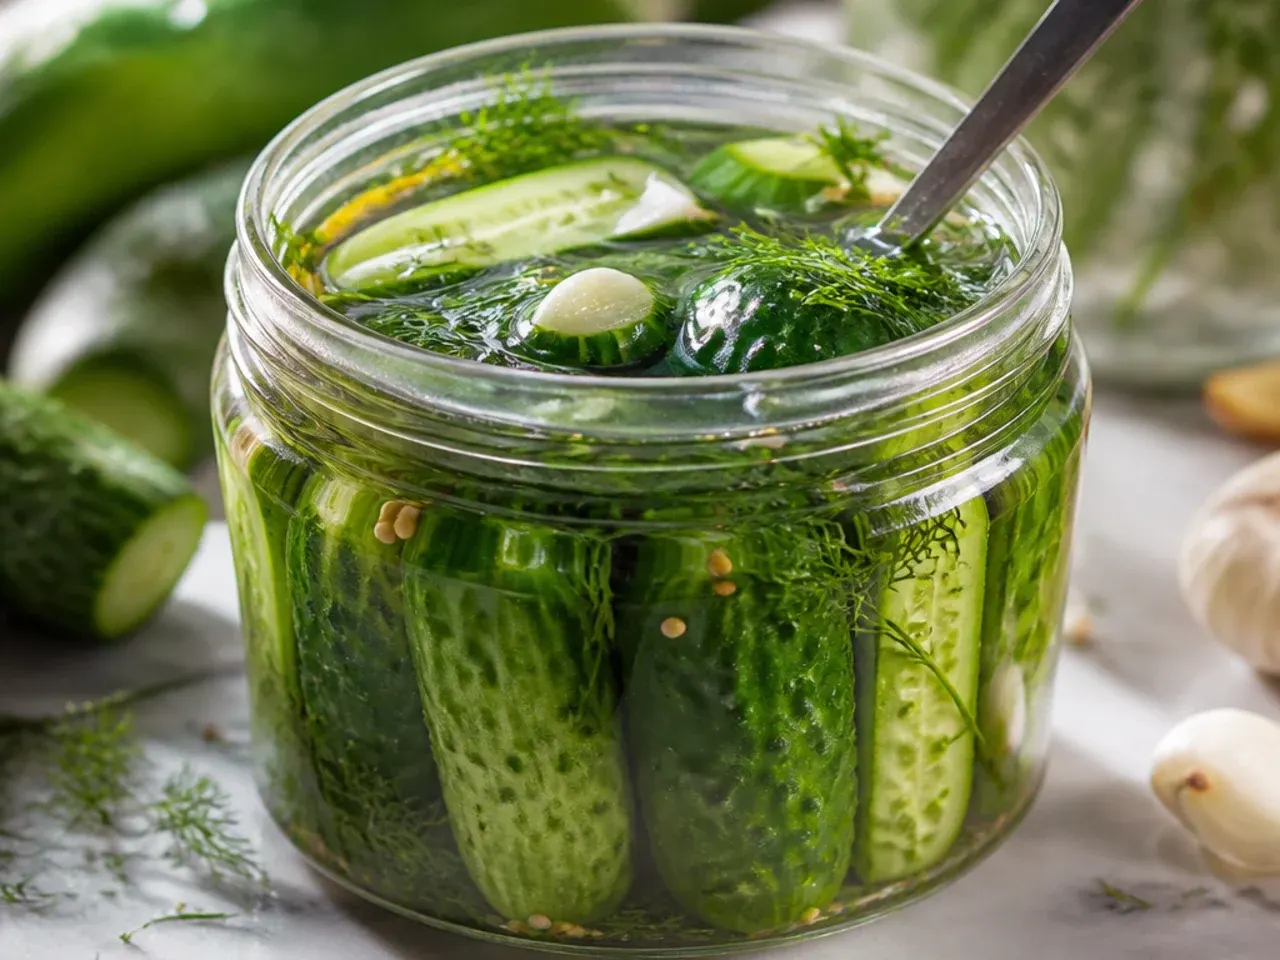
Use a clean spoon or chopstick to push any floating cucumber pieces back down under the liquid. Any piece left sitting above the brine will discolour, soften, and eventually spoil faster than the rest of the jar.
Step 21: Release trapped air bubbles
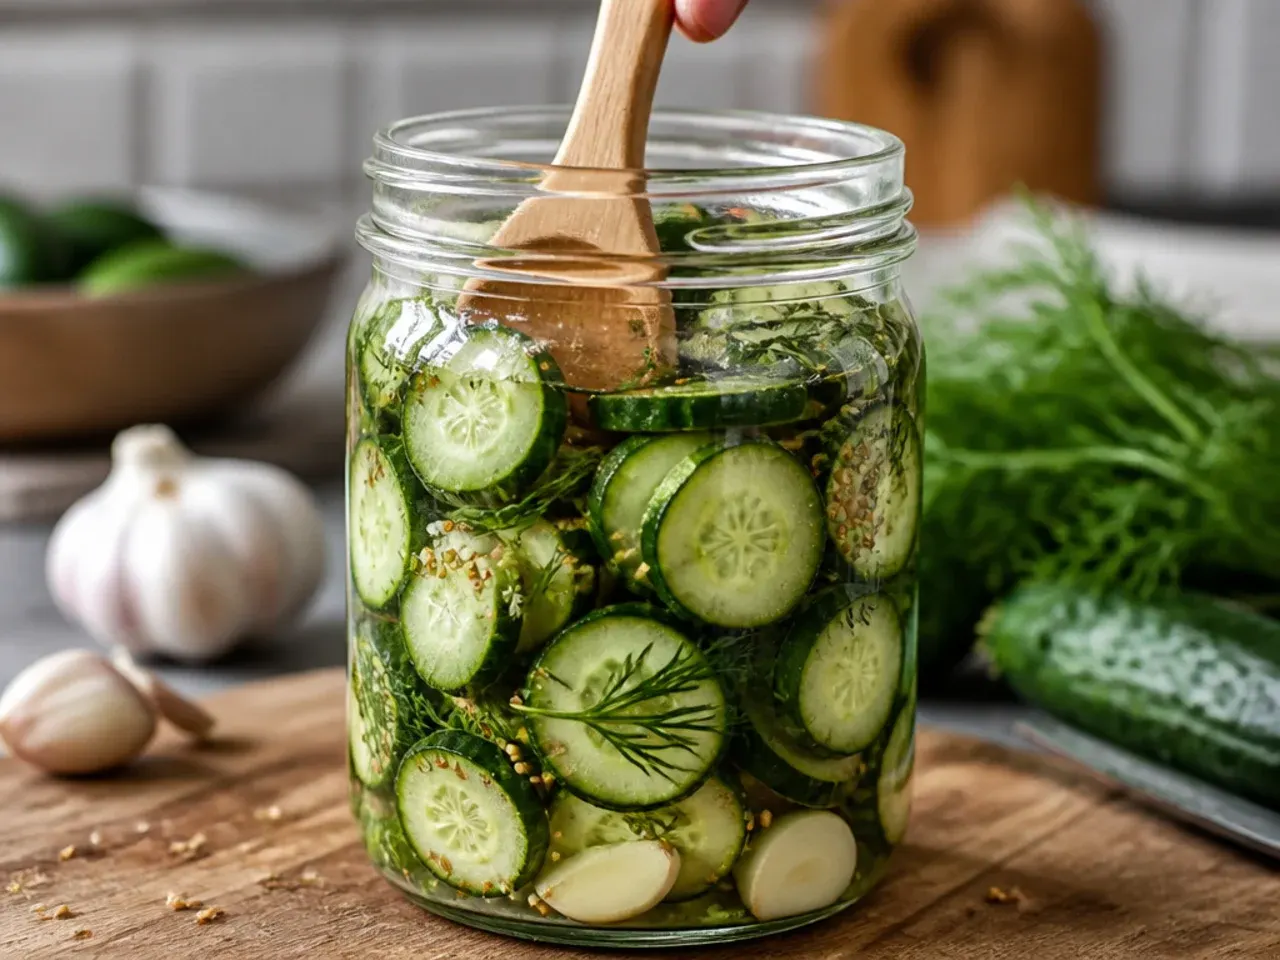
Run a thin knife or chopstick down the inside edge of each jar 2-3 times to dislodge air pockets trapped between the cucumber pieces. Trapped air creates gaps that lead to uneven pickling and can leave patches of cucumber untouched by brine.
Step 22: Top up if needed
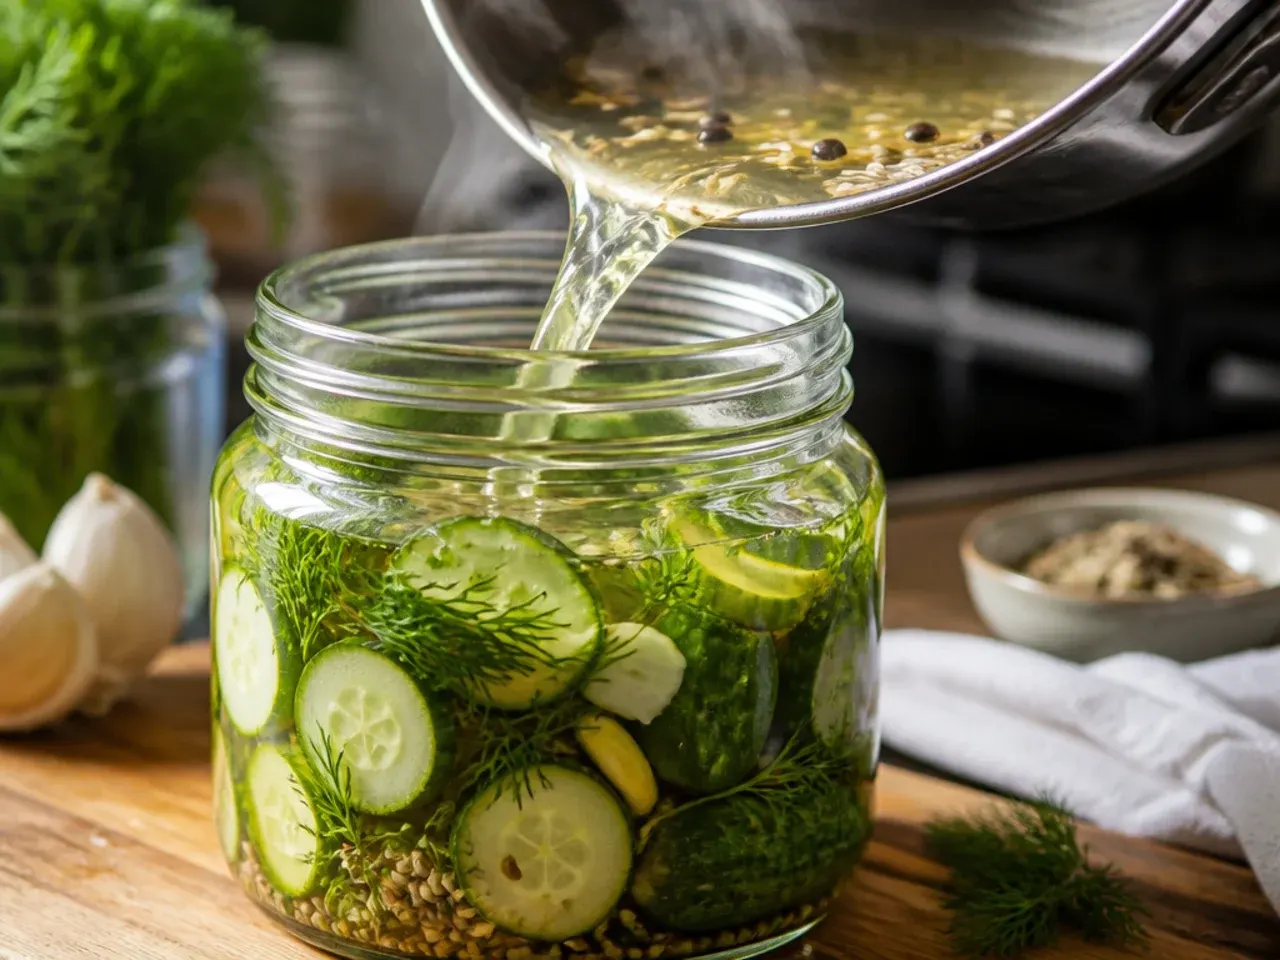
If the brine level drops once the air bubbles are released, top the jar up with a splash of the cooled leftover brine or plain cold water so every piece stays fully covered. A shortfall of even a centimetre of brine is enough to leave the top layer exposed.
Step 23: Wipe the jar rims
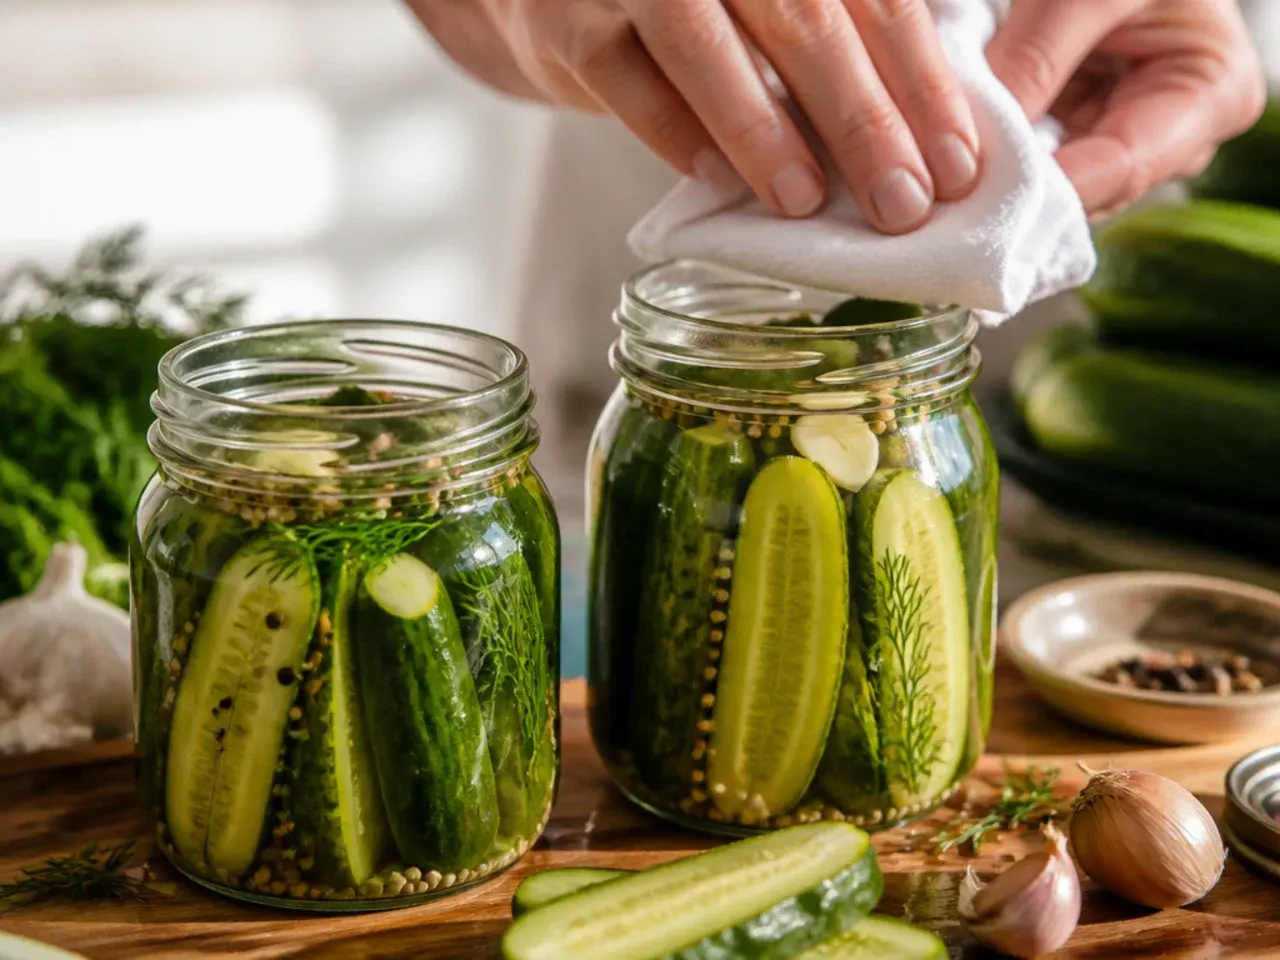
Wipe the rims and threads of each jar clean with a damp paper towel before adding the lids. Brine residue on the rim stops the lid from sitting flush and can lead to slow leaks in the fridge.
Step 24: Seal with lids
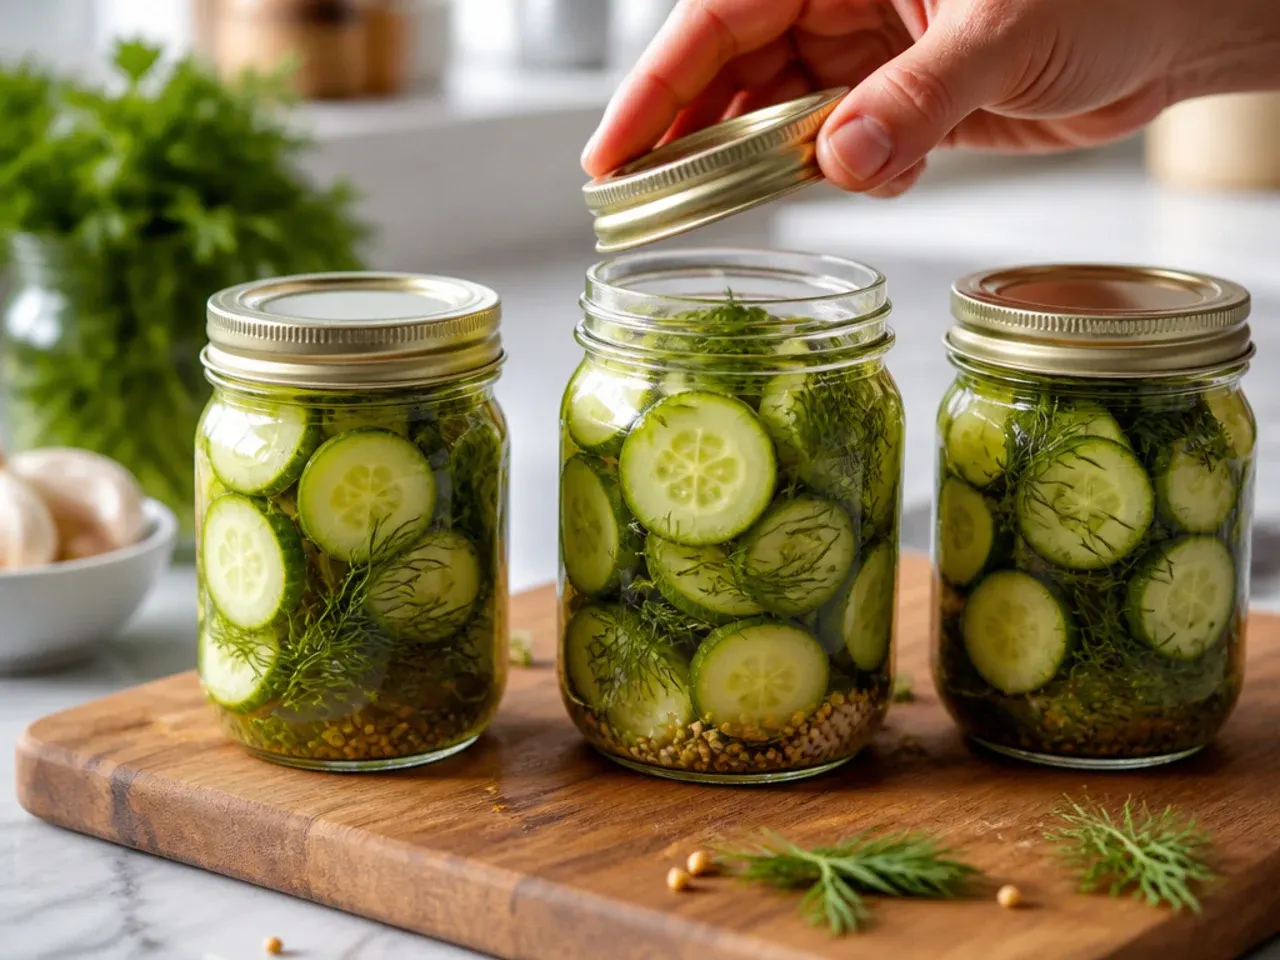
Screw the lids on until snug and finger-tight, without forcing them, so each jar is properly closed but not overtightened. A good seal keeps fridge odours out and the pickle brine from evaporating over the following weeks.
Step 25: Label and date the jars
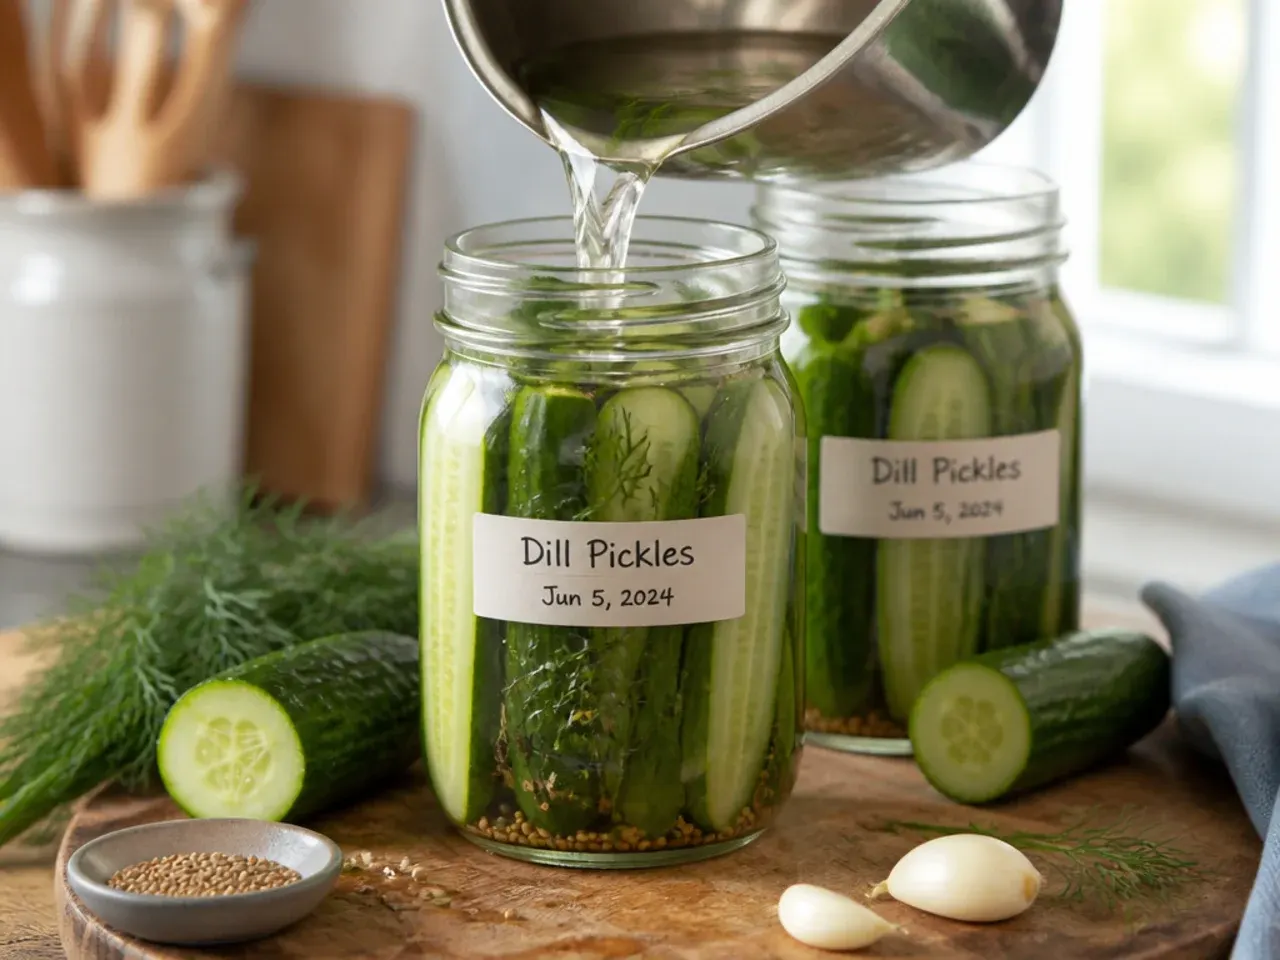
Write the date on a piece of masking tape or a sticky label and attach it to each jar lid. These pickles taste best within 4-6 weeks, and it's easy to lose track of exactly when a jar went into the fridge.
Step 26: Refrigerate immediately
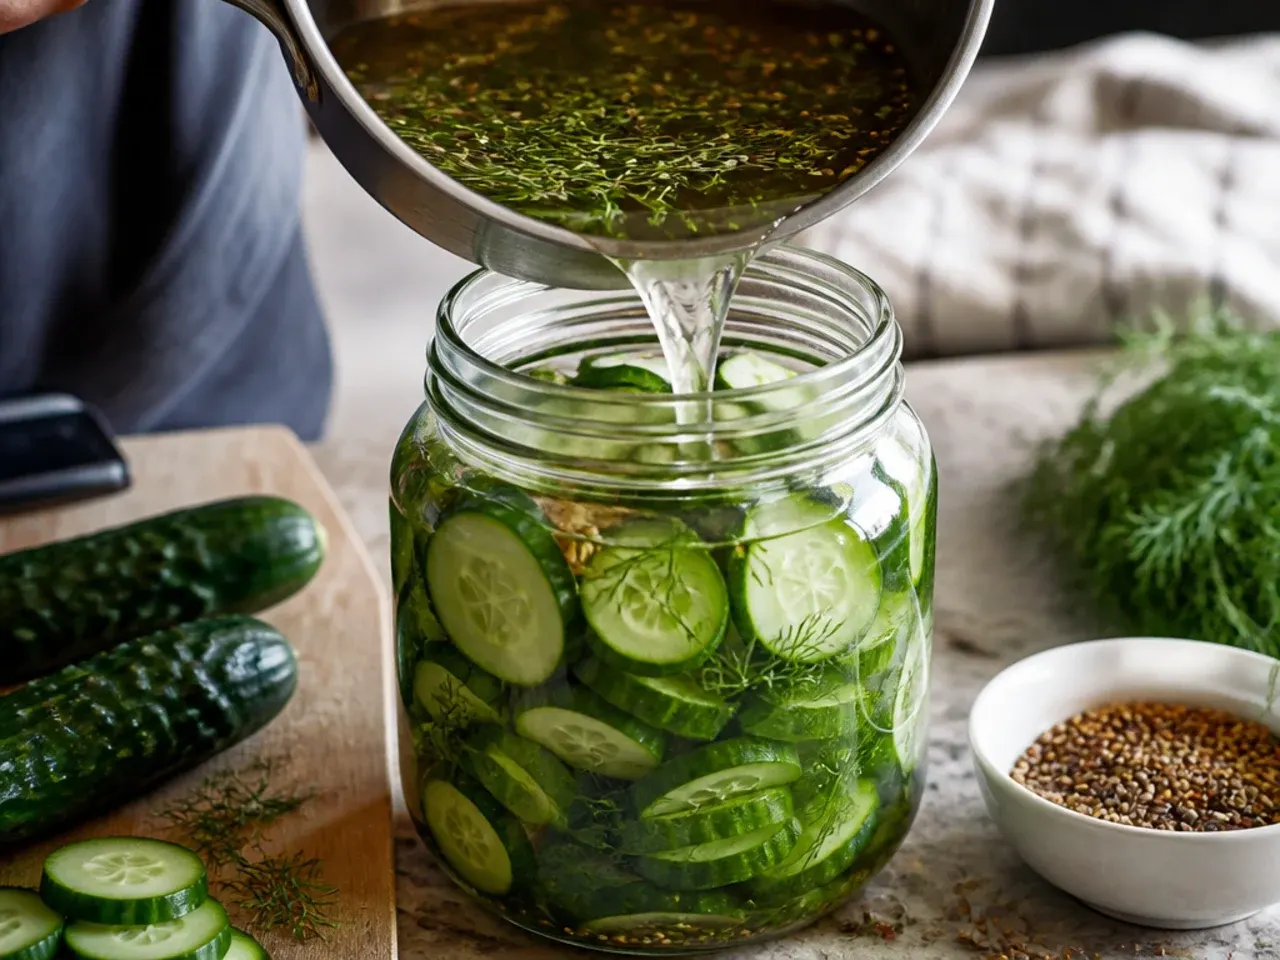
Place both jars in the coldest part of the fridge, such as a back shelf, rather than the door where temperatures fluctuate every time it opens. Consistent cold is what keeps the cucumbers crisp during the pickling process.
Step 27: Wait at least 24 hours before tasting
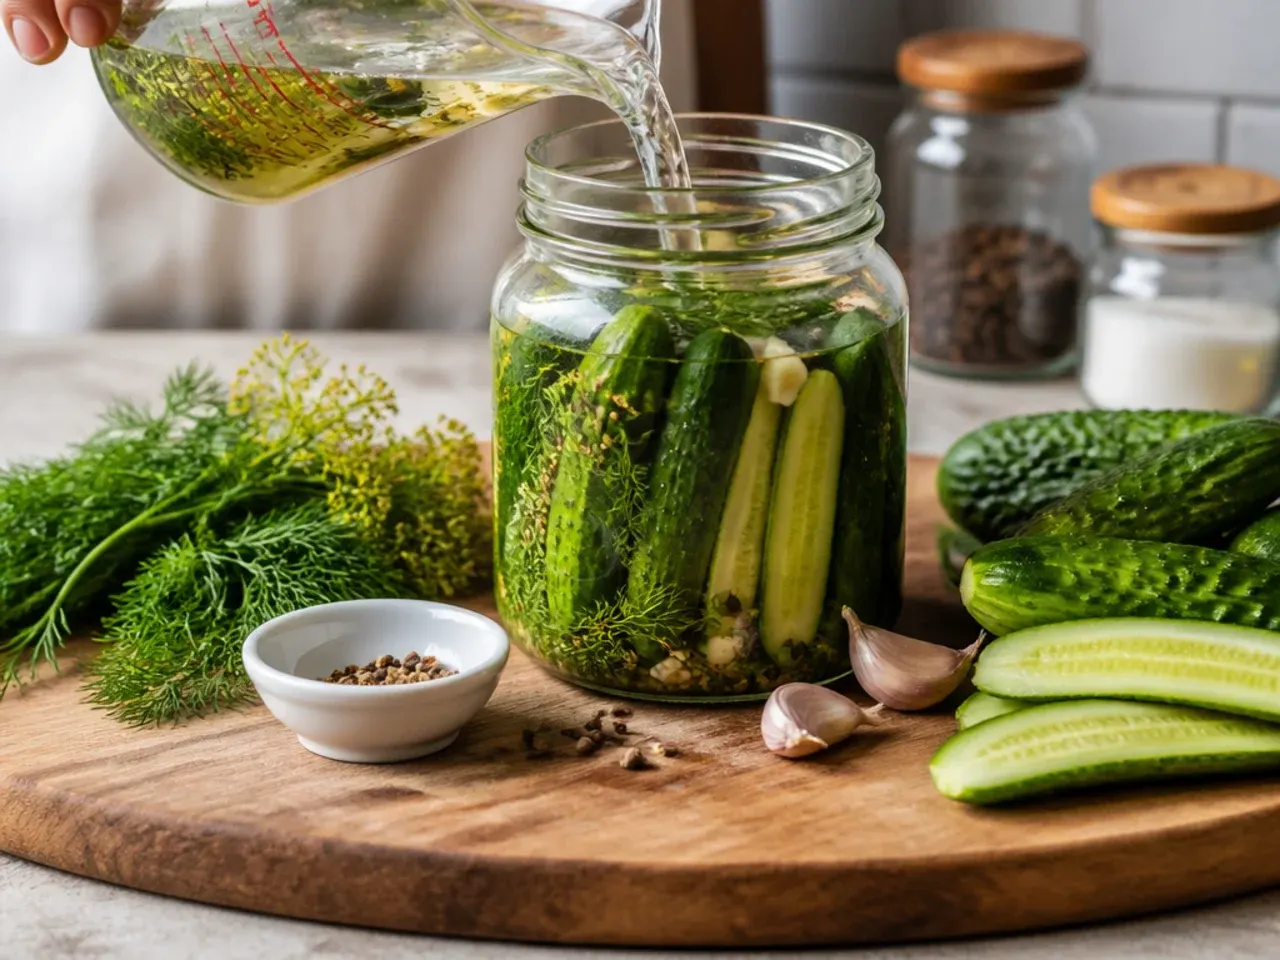
Resist opening the jar for a minimum of 24 hours so the salt and vinegar have time to fully penetrate the cucumber. For a proper garlicky, well-rounded pickle rather than a mild one, waiting the full 48 hours makes a noticeable difference.
Step 28: Turn the jars occasionally
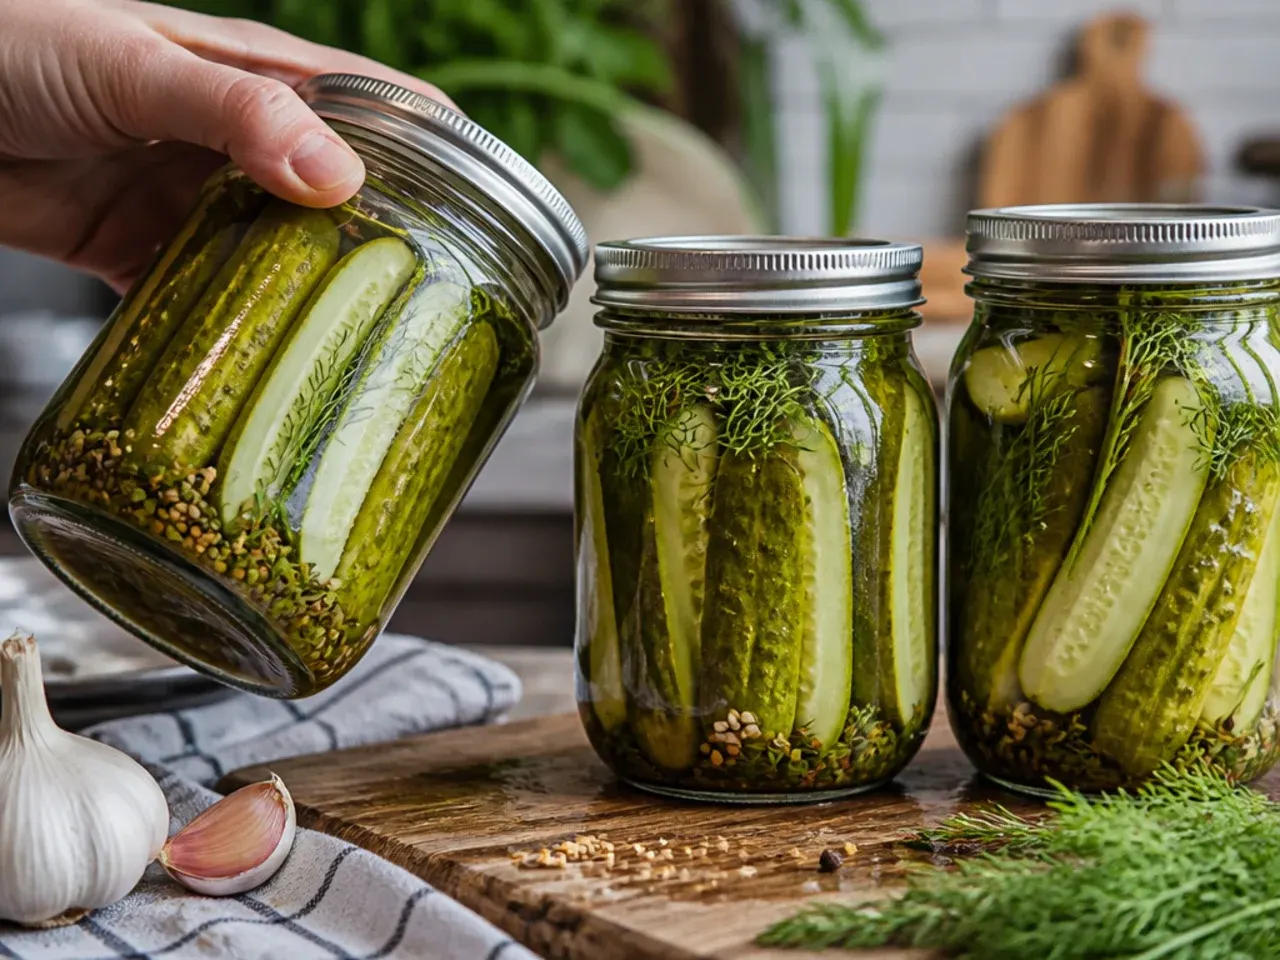
Gently invert or swirl each jar once a day for the first 2-3 days to redistribute the garlic, spices, and brine evenly around the cucumbers. This keeps the pieces near the top from tasting weaker than the ones at the bottom.
Step 29: Taste and track progress
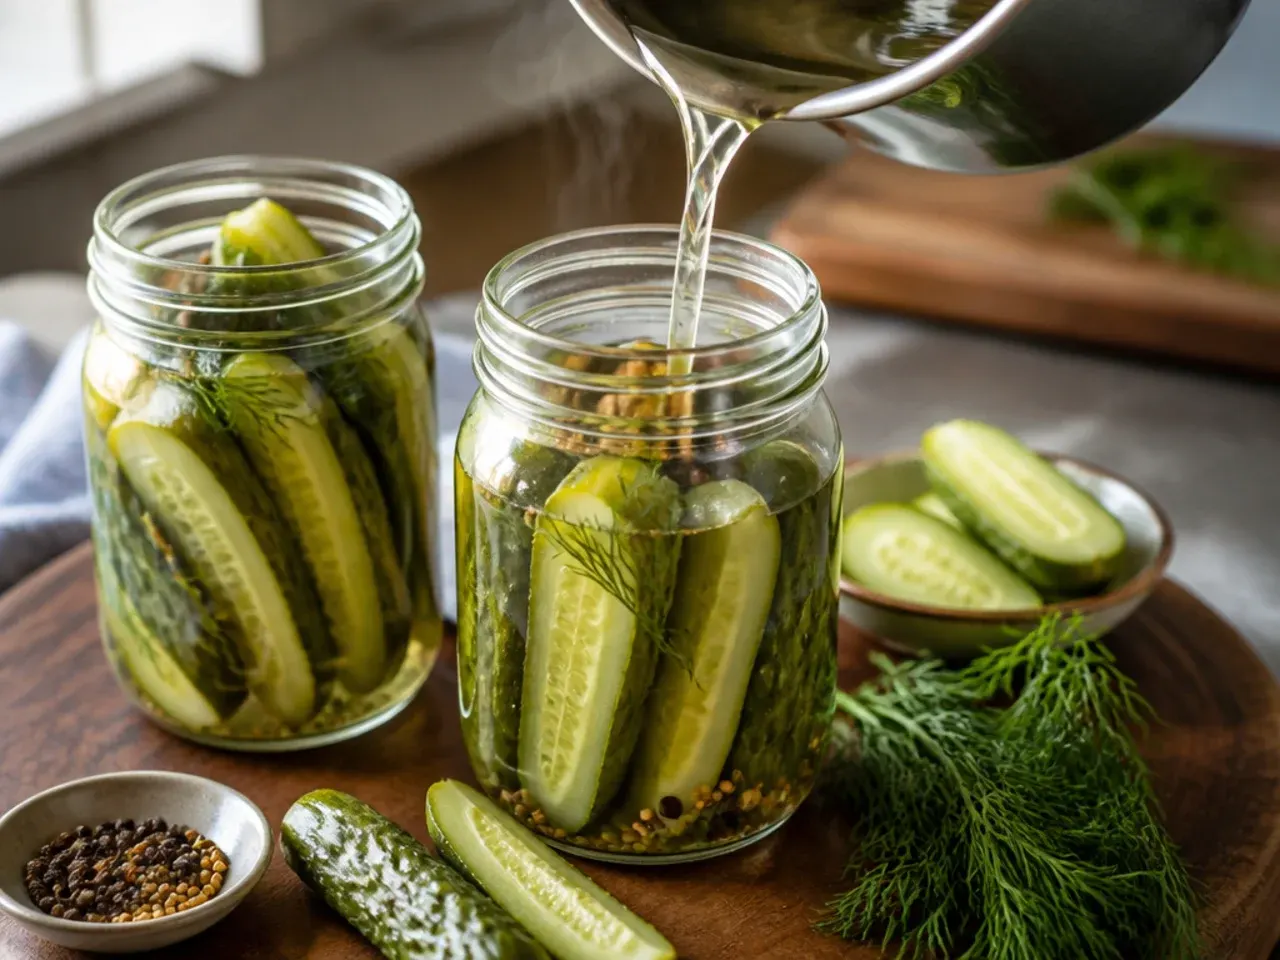
Sample a piece at the 24, 48, and 72-hour marks; the flavour deepens and the colour shifts from bright green to a duller olive as the days pass. Once the pickles taste right to you, that's your cue that this particular batch is ready to eat freely.
Step 30: Serve straight from the jar
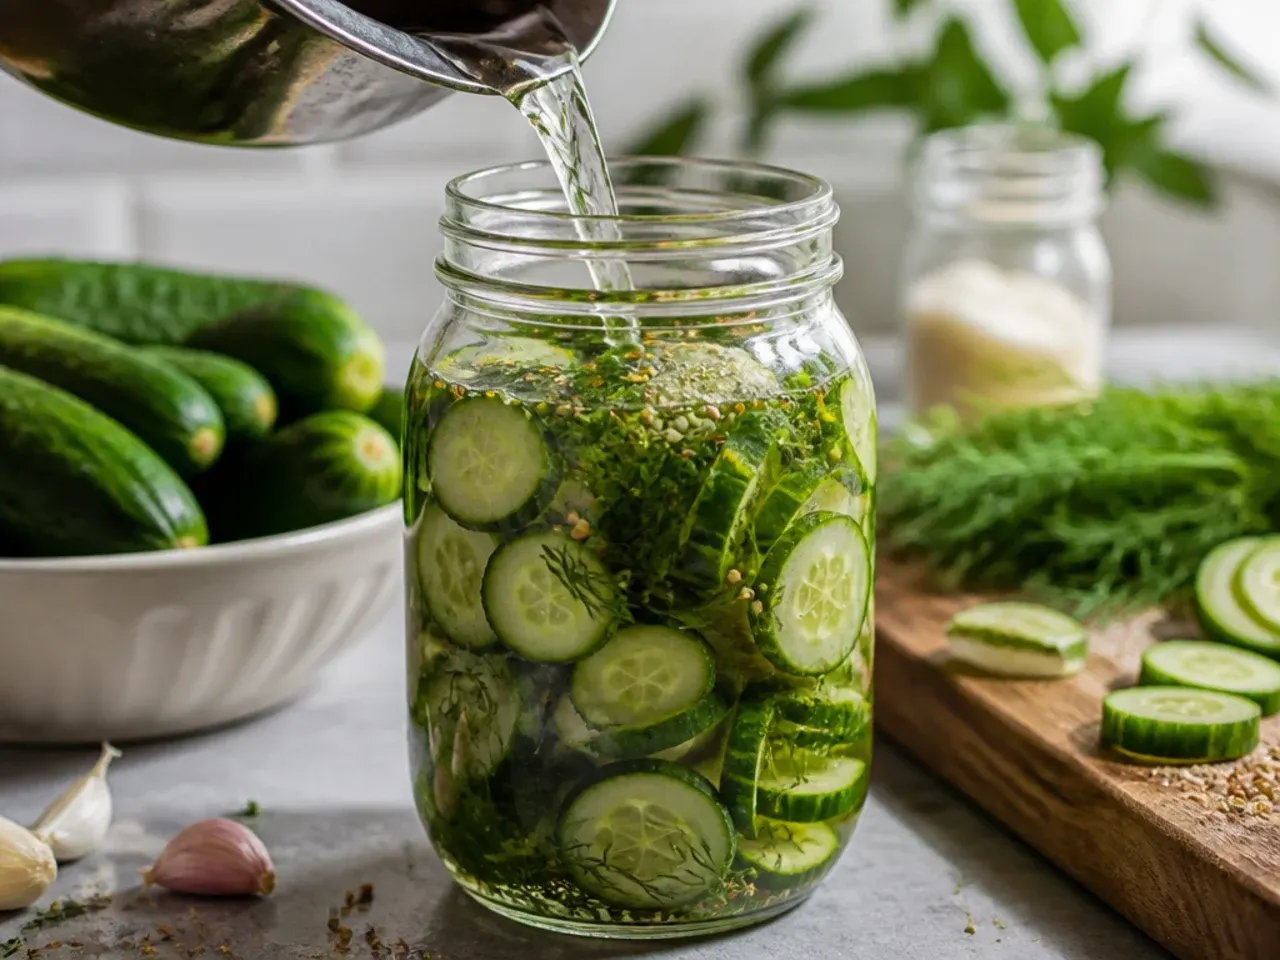
Lift pickles out with a fork or clean tongs, never fingers, to keep bacteria out of the remaining brine and extend the jar's life. Serve them cold alongside sandwiches, burgers, or a cheese board, or chop them straight into potato or egg salad.
Pro Tips for Crunchy, Never-Soggy Pickles
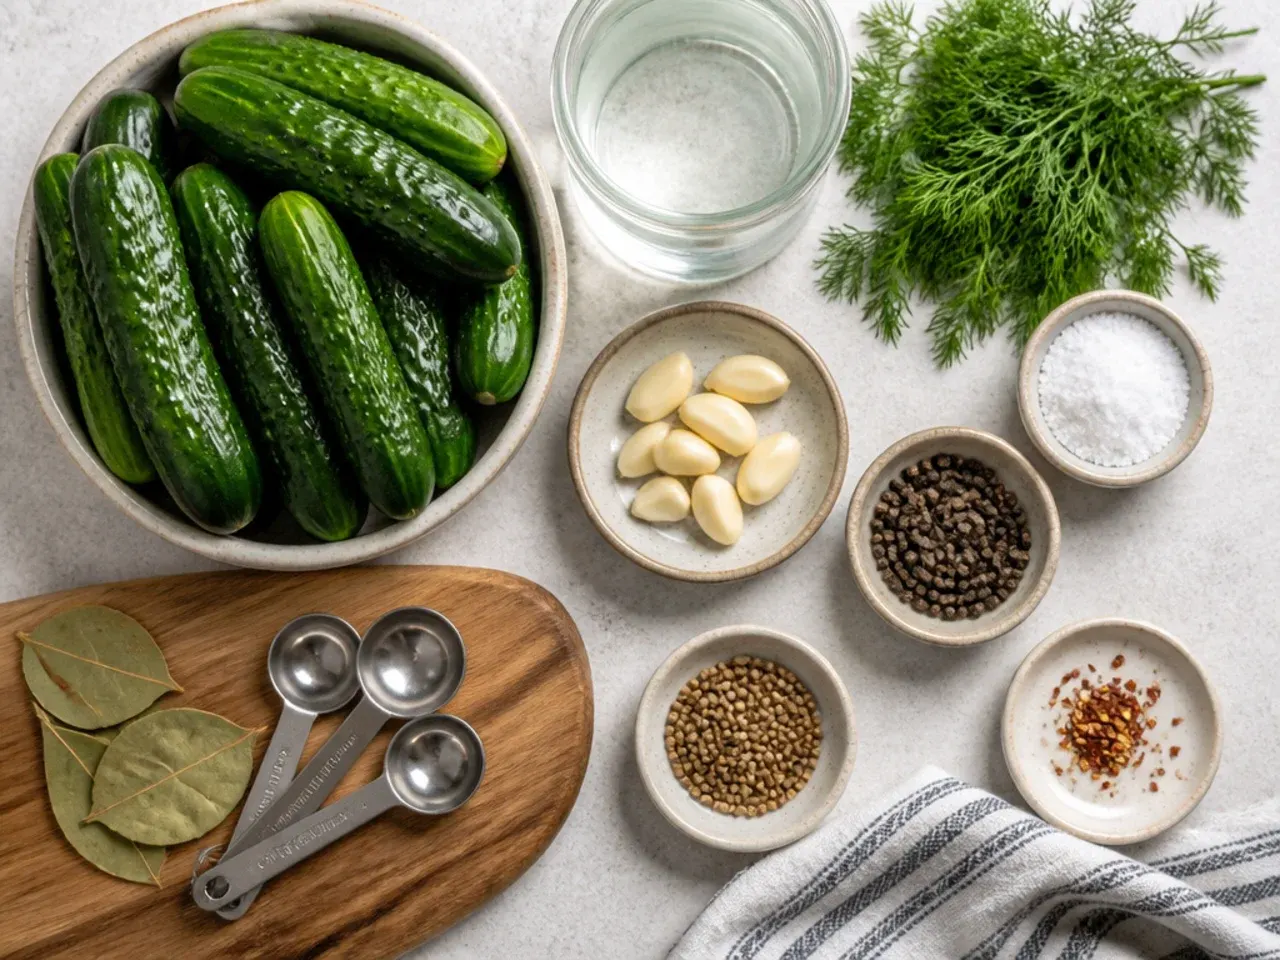
Always trim away the blossom end before pickling, since the enzymes concentrated there are the main reason homemade batches turn mushy after a week in the jar. For an old-fashioned crunch boost, drop a fresh grape leaf, oak leaf or a black tea bag into each jar; the tannins firm the cucumber skins the same way pickling lime once did, without any additives. Keep the brine at a strict 2:1 ratio of water to vinegar with 45 g (3 tbsp) salt per 1 litre of liquid so the pickles stay tangy but not face-puckering sour, and taste the cooled brine before pouring so you can nudge the salt or sugar to your own preference. If a jar tastes flat or feels soft after a few days, it's almost always because a few cucumber pieces slipped above the brine line; push everything back under and give it another 24 hours.
Storage and Make-Ahead Tips for Homemade Easy Refrigerator Dill Pickles
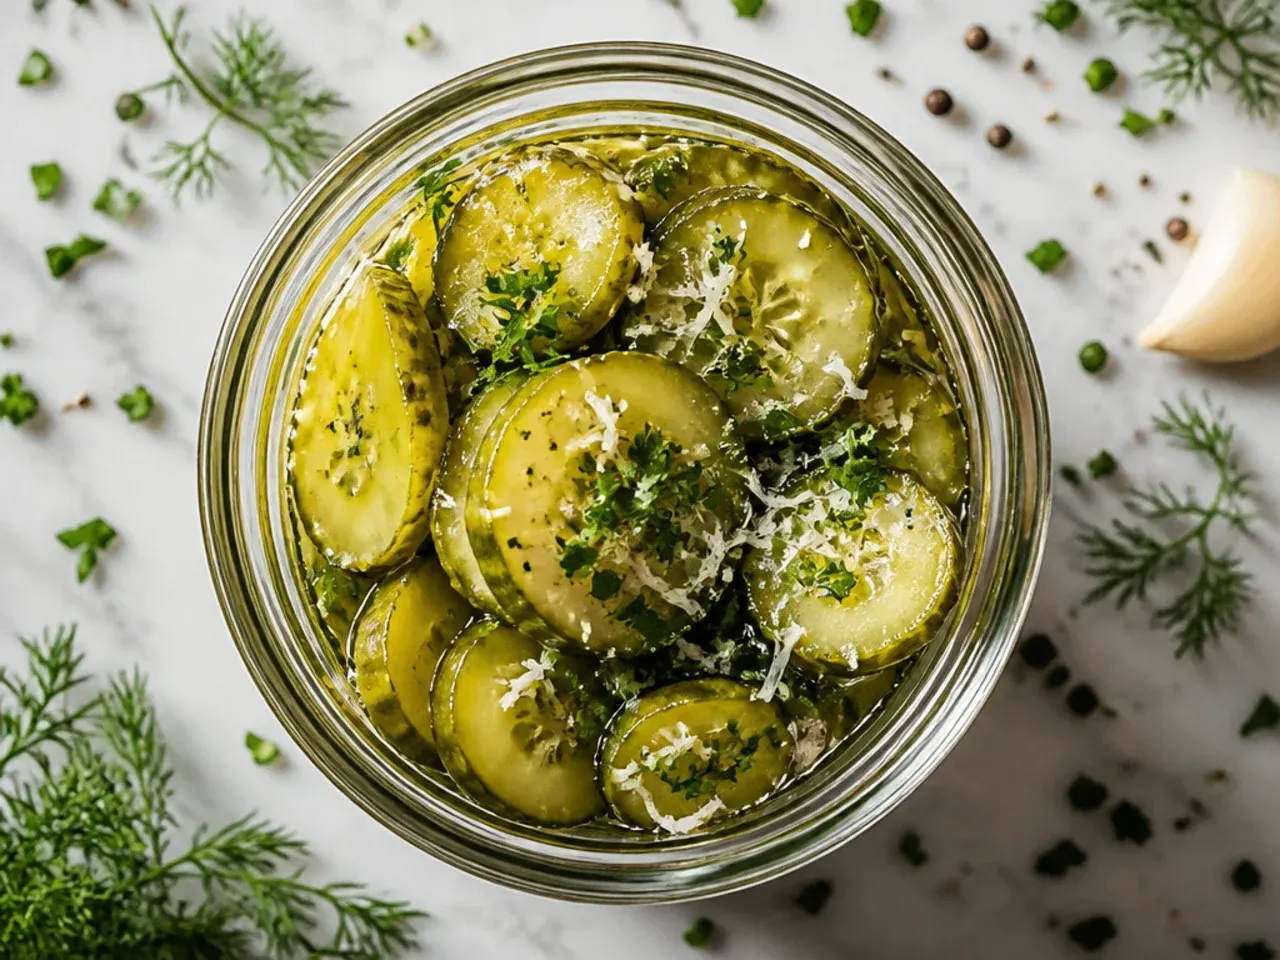
These pickles genuinely taste better with time, so make a batch up to a week before you need it and let the fridge do the work while you get on with everything else. Once sealed, jars keep for 4-6 weeks in the coldest part of the refrigerator (not the door) as long as the cucumbers stay fully submerged in brine throughout. Never freeze refrigerator pickles; the high water content in cucumbers turns them mushy and grey the moment they thaw, with no way back. If you want a bigger stash, the recipe multiplies cleanly, just keep the same water-to-vinegar-to-salt ratio and add one bay leaf and three garlic cloves for every extra 1-litre jar.
Learn how to make dill pickles homemade easy refrigerator style with a no-canning brine that keeps every spear crisp, garlicky and ready to eat in as little as 24 hours. For more refrigerator pickles inspiration, browse the full Refrigerator Pickles board — every idea there is written for real home kitchens, not professional bakers.
Frequently Asked Questions
Yes, and you actually should. These are a genuine make-ahead recipe: the flavour is thin and mostly vinegar on day one, but by 48 hours the garlic, dill, and salt have fully penetrated the cucumber and the pickles taste properly finished. Make a batch up to a week before a barbecue, picnic, or burger night so all you have to do is pull a jar from the fridge. Just remember the cucumbers keep improving, and getting saltier, the longer they sit, so taste at the 3-4 day mark if you prefer a milder pickle.

Related Recipes
Save this for later 📌
Pin this article to your Pinterest board so the full list is one tap away when you need it.
Save on Pinterest