20 Refrigerator Pickles That Are Just Simple
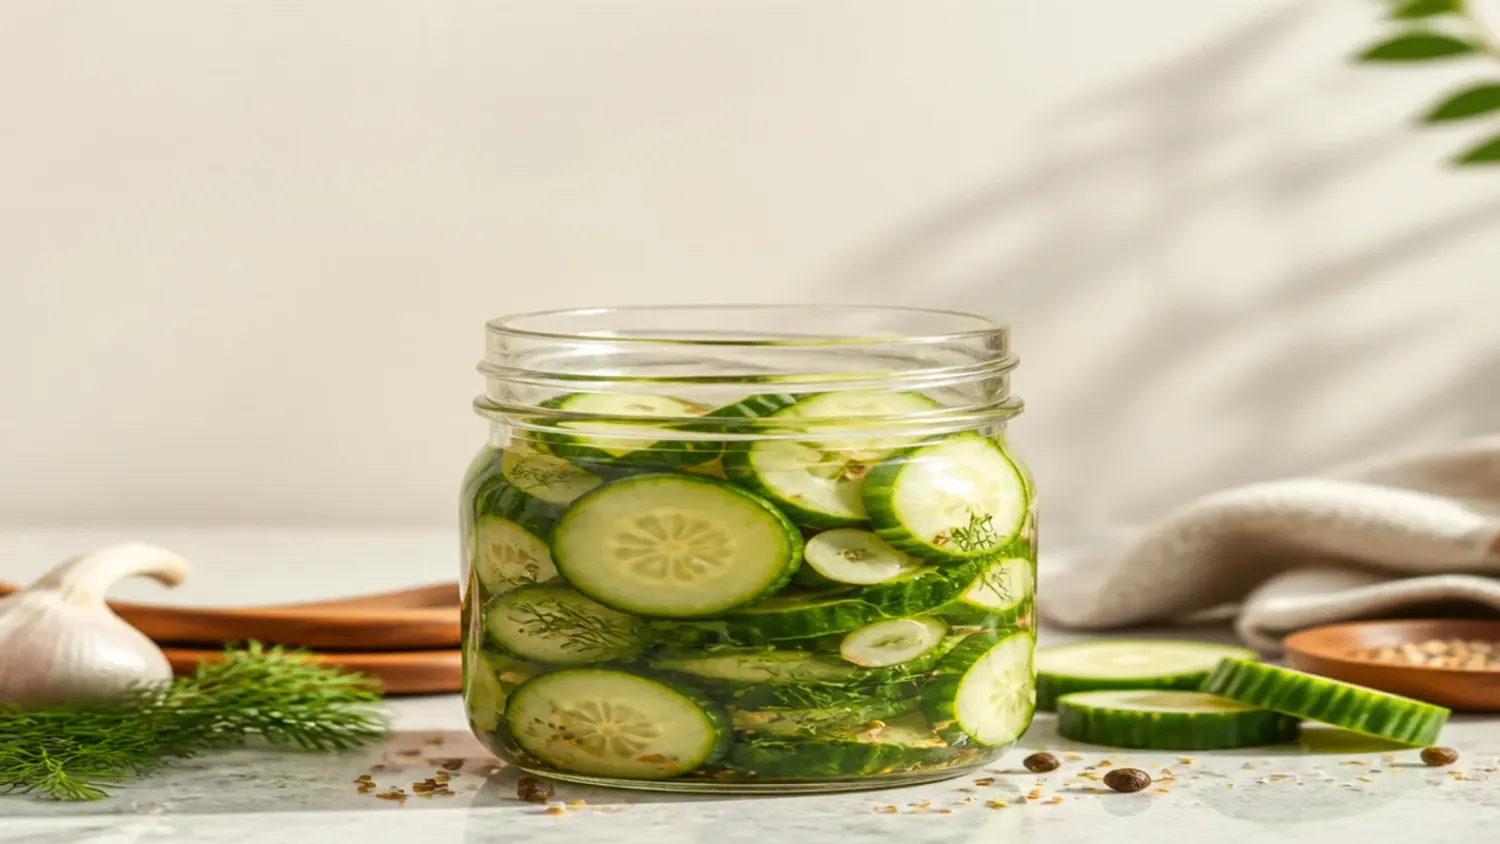
20 easy refrigerator pickles recipes, from classic dill to spicy, sweet, and loaded veg jars — no canning, just crunchy, tangy flavour in a day. If you love refrigerator pickles inspiration, start with our Refrigerator Pickles collection, then browse the full Fresh & Garden hub for more.
Save this for later 📌
Pin this article to your Pinterest board so the full list is one tap away when you need it.
Save on PinterestFresh & Garden
Beginner
Recipes
20 ideas
Table of Contents
- Why You'll Love These
- 1. Classic Refrigerator Dill Pickles
- 2. Easy 4-Ingredient Refrigerator Pickles
- 3. Fresh Garden Vegetable Refrigerator Pickles
- 4. Cozy Spiced Refrigerator Pickles
- 5. Creamy Ranch Refrigerator Pickles
- 6. Simple 3-Ingredient Refrigerator Pickles
- 7. Zesty Garlic and Chili Refrigerator Pickles
- 8. Wholesome Apple Cider Refrigerator Pickles
- 9. Budget Pantry Refrigerator Pickles
- 10. Weeknight 2-Hour Refrigerator Pickles
- 11. Rustic Homestead Refrigerator Pickles
- 12. Loaded Giardiniera-Style Refrigerator Pickles
- 13. Family-Friendly Mild Refrigerator Pickles
- 14. Best-Ever Crunchy Refrigerator Pickles
- 15. Quick Spiralized Refrigerator Pickles
- 16. Classic Bread and Butter Refrigerator Pickles
- 17. Easy Refrigerator Pickled Red Onions
- 18. Fresh Herb Garden Refrigerator Pickles
- 19. Cozy Curry-Spiced Refrigerator Pickles
- 20. Creamy Dill and Sour Cream Cucumber Pickles
- Pro Tips
- Serving Suggestions
- Storage Tips
Why You'll Love These
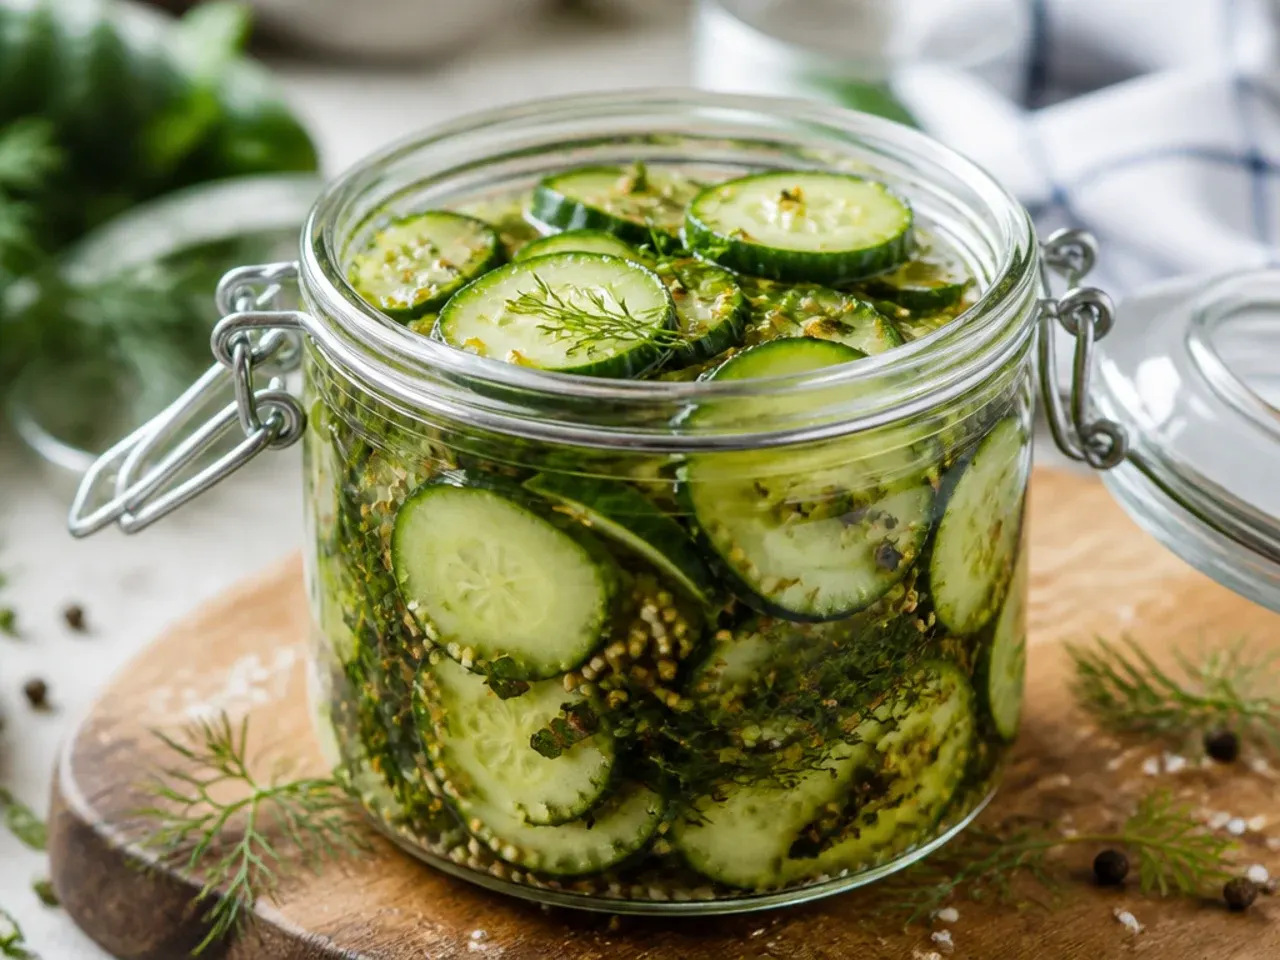
Refrigerator pickles are the fastest route from garden or grocery bag to that satisfying snap you get from a proper deli pickle, with no canning kettle, no sealing lids, and no standing over a hot stove for hours. This collection gathers 20 ways to build the brine — from the bare-bones classic to loaded veg jars and creamy ranch spins — so you can match the method to whatever's crisping in your fridge drawer. Every version leans on the same simple science: vegetables submerged in a vinegar brine, chilling until the flavour works its way through. Pick one, prep it in under 20 minutes, and you'll have crunchy, tangy pickles ready to eat within a day.
1. Classic Refrigerator Dill Pickles
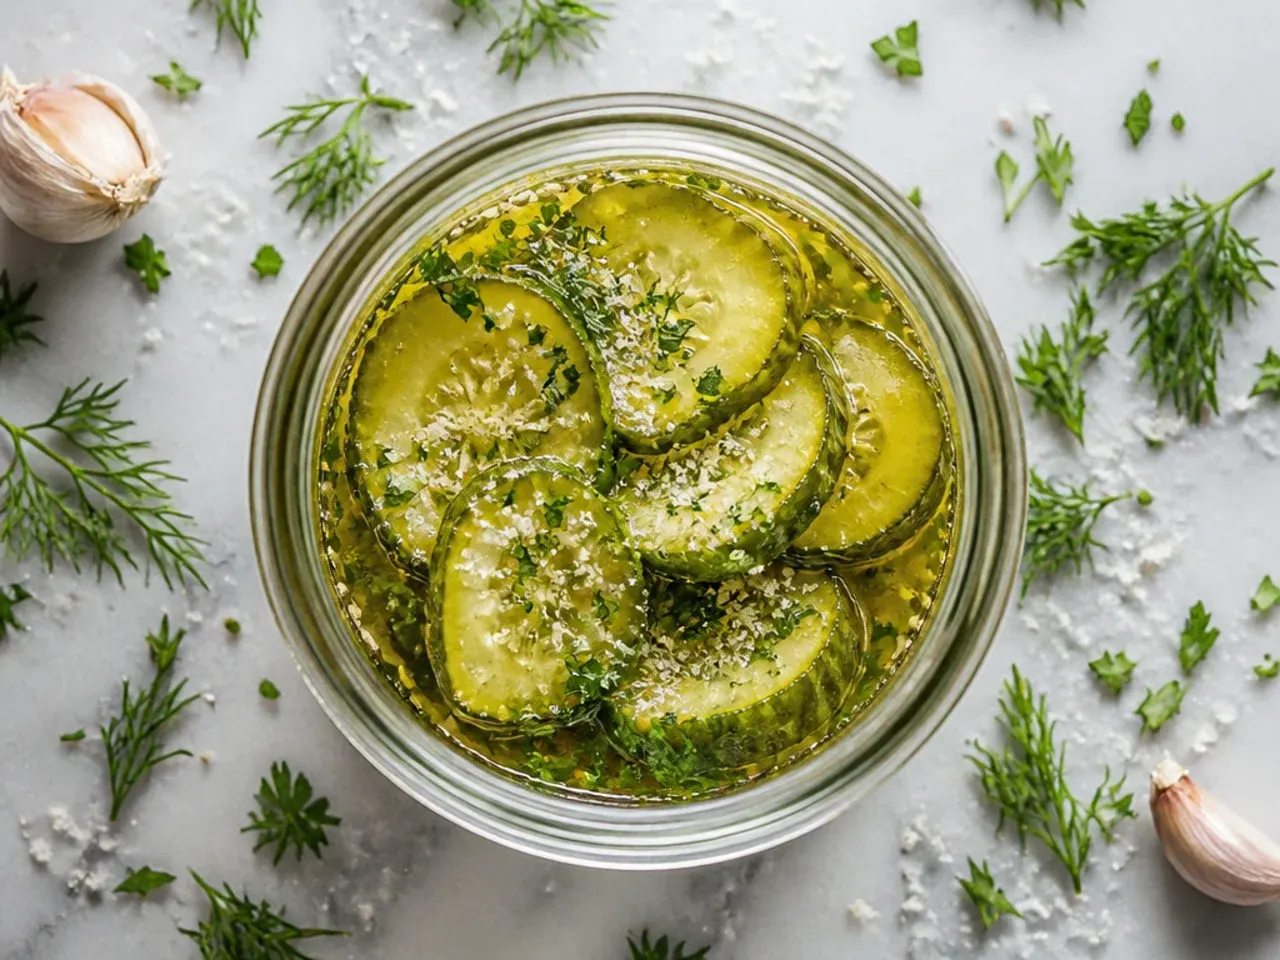
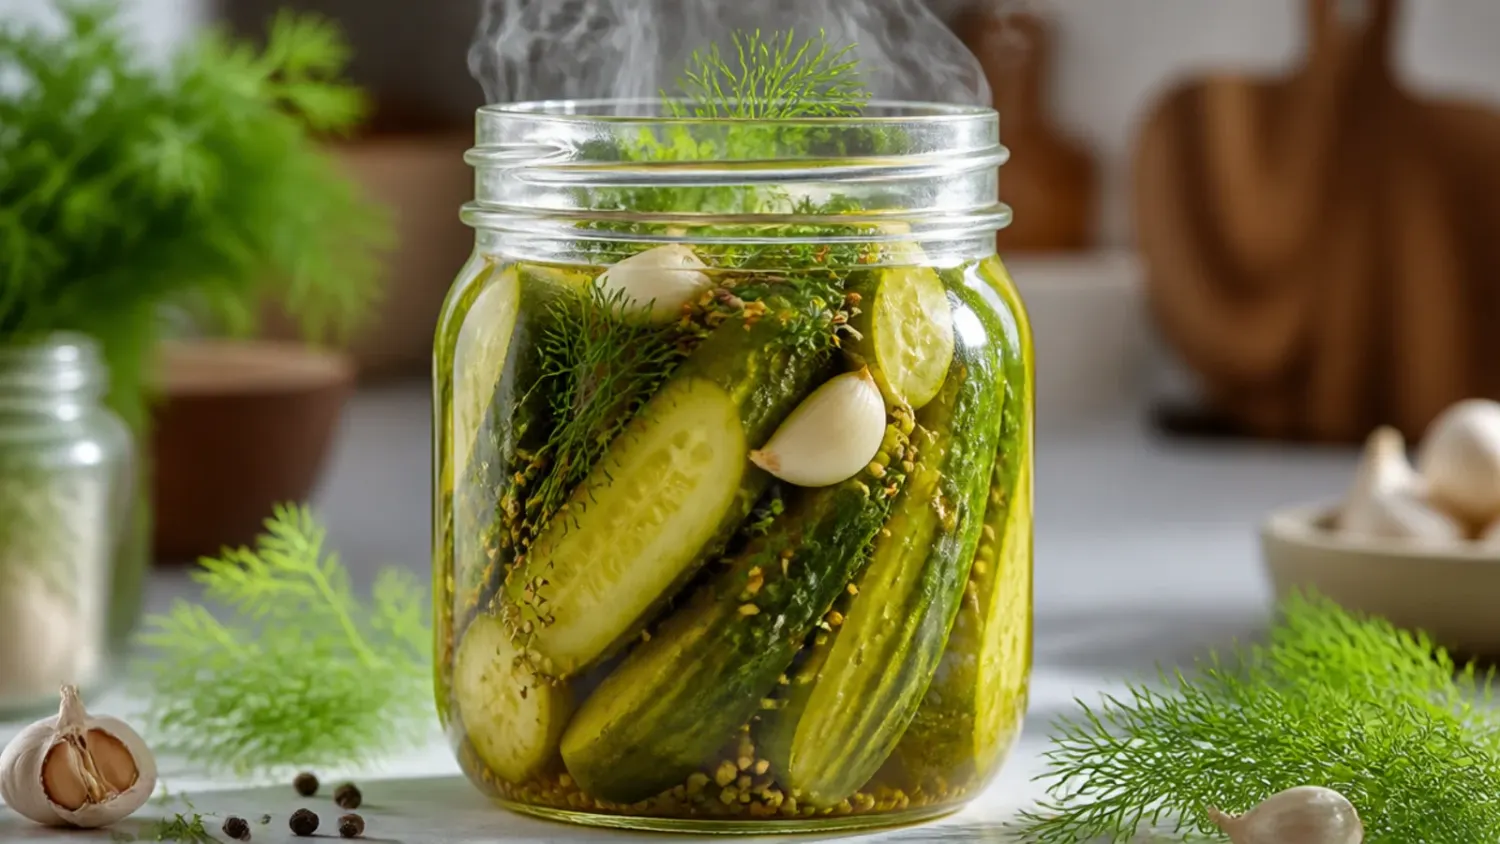
This is the base formula the rest of the list builds on: a 1:1 vinegar-to-water brine seasoned with garlic, fresh dill, mustard seed, and black peppercorns. Use Kirby or Persian cucumbers rather than waxy salad cucumbers — their thinner skins and fewer seeds mean the brine penetrates faster and the pickles stay crunchy. Slice into spears for snacking or rounds for sandwiches; either way, 24 hours in the fridge gets you a proper pickle flavour, and 48 hours gets you a great one. This is the version to bookmark first, since every other variation below is really just this brine with one or two ingredients swapped.
2. Easy 4-Ingredient Refrigerator Pickles
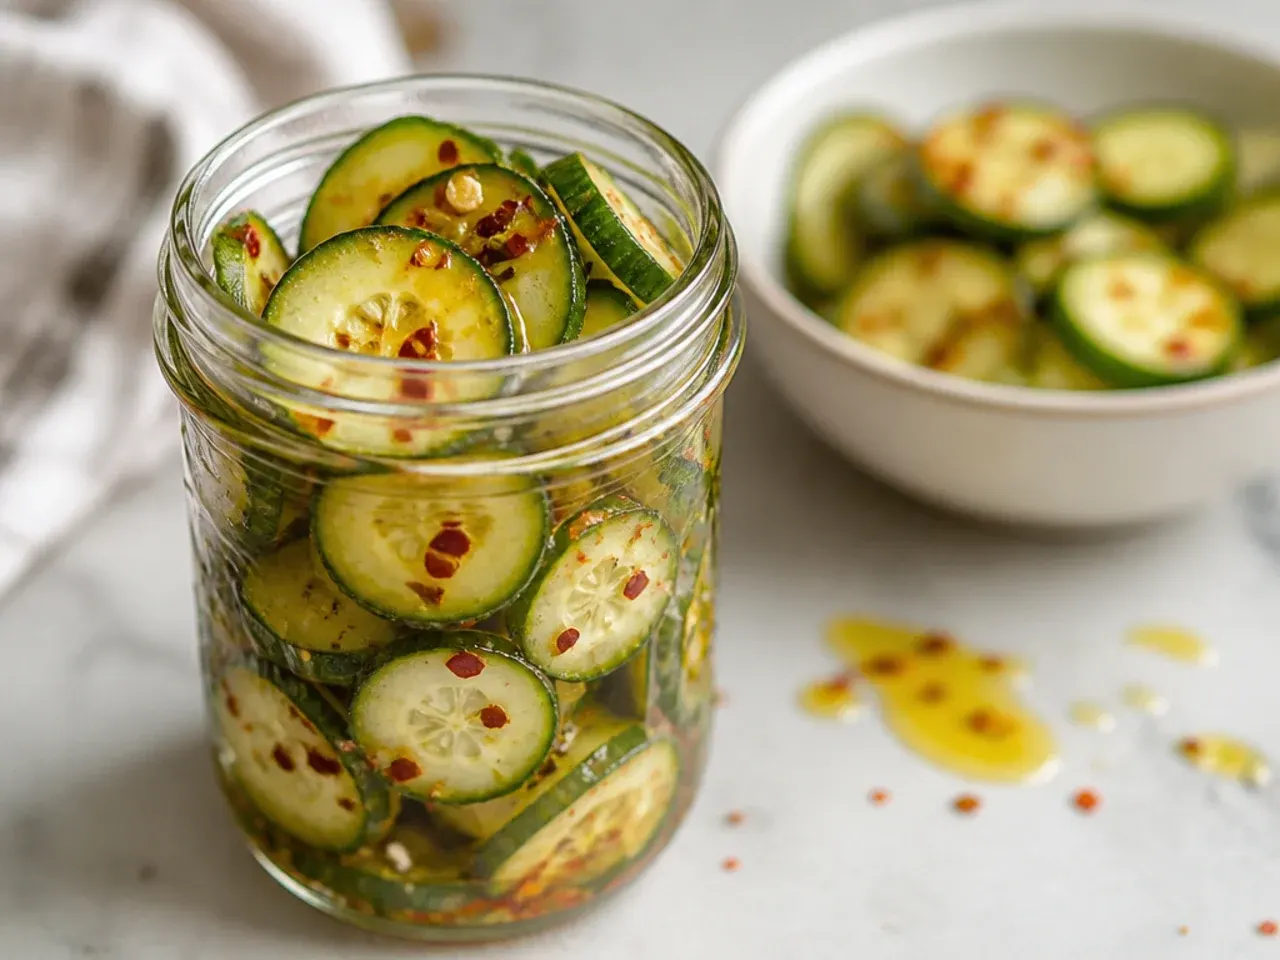
Strip the recipe down to just cucumbers, white vinegar, water, and salt, and you've got a brine you can mix in under 5 minutes with things already in the cupboard. Skip the stove entirely: dissolve 1 tablespoon (15 g) of salt into 240 ml (1 cup) each of hot tap water and vinegar, then pour straight over sliced cucumbers. It's a plainer, sharper pickle than the classic version, which makes it a good base for adding your own spice blend later. Because there's no sugar to balance, taste the brine before pouring and add a pinch more salt if it tastes thin.
3. Fresh Garden Vegetable Refrigerator Pickles
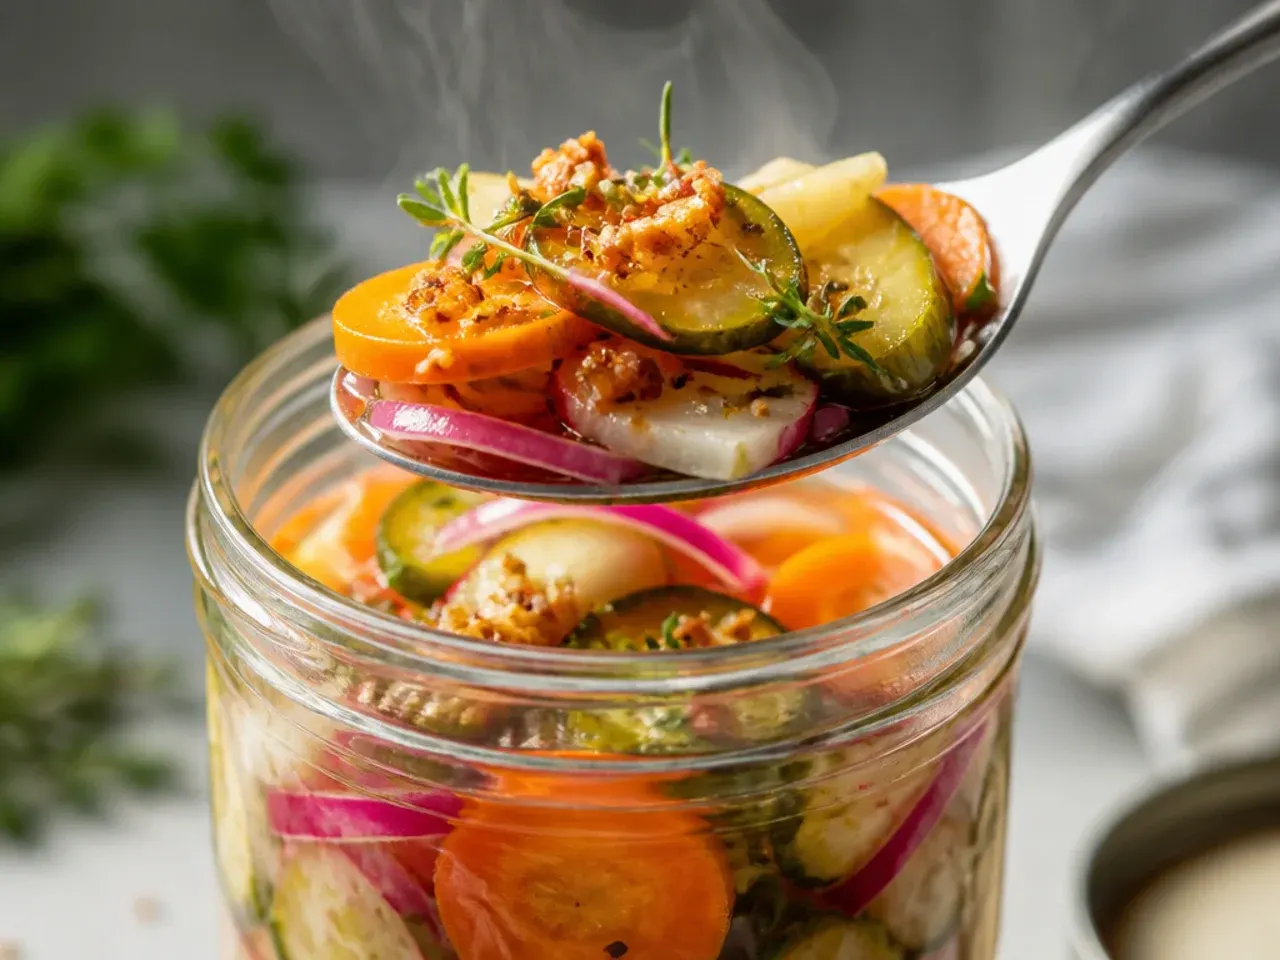
When the garden or farmers' market is overflowing, swap some or all of the cucumber for thinly sliced carrots, radishes, or trimmed green beans — the same brine works across all of them. Cut harder vegetables like carrots and green beans slightly thinner than you would cucumber, since they take longer to soften and absorb flavour. Radishes turn a beautiful pale pink after a day in the brine and lose most of their peppery bite, making them a good gateway pickle for kids. Pack different vegetables into separate jars rather than mixing them, as they pickle at different speeds and you'll want to fish out the quick ones first.
4. Cozy Spiced Refrigerator Pickles
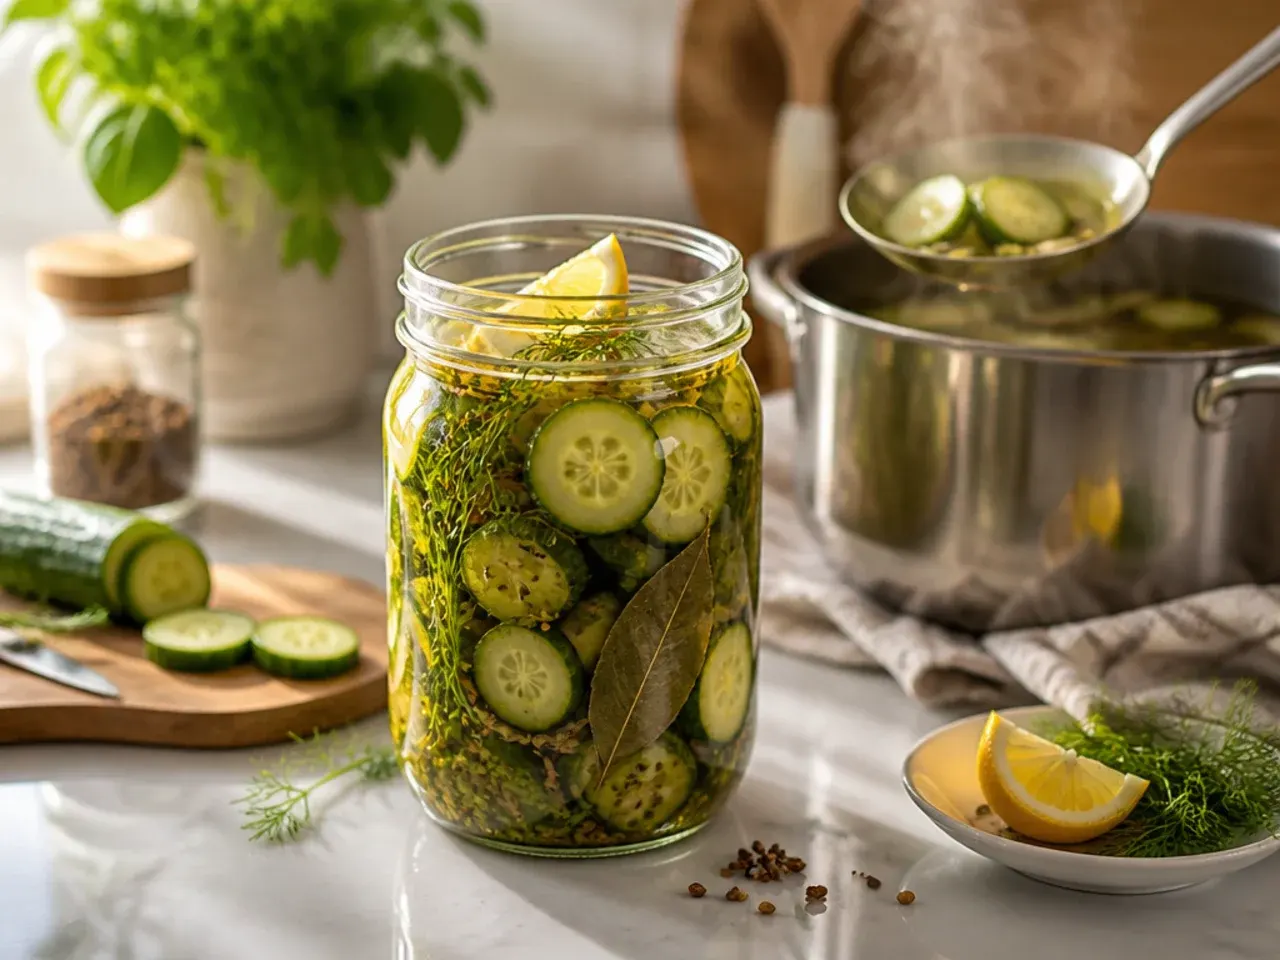
Add a cinnamon stick, 4 whole allspice berries, and 2 whole cloves to the brine while it's still hot, then let them steep as the liquid cools for a warm, autumnal pickle that's brilliant alongside a cheese board or roast dinner. This version leans sweeter, so bump the sugar to 3 tablespoons (38 g) per 240 ml (1 cup) of vinegar to balance the spice. Fish out the whole spices before serving if you don't want guests biting into a clove. Give this one the full 48 hours in the fridge, since the warm spices need longer than dill to fully come through.
5. Creamy Ranch Refrigerator Pickles
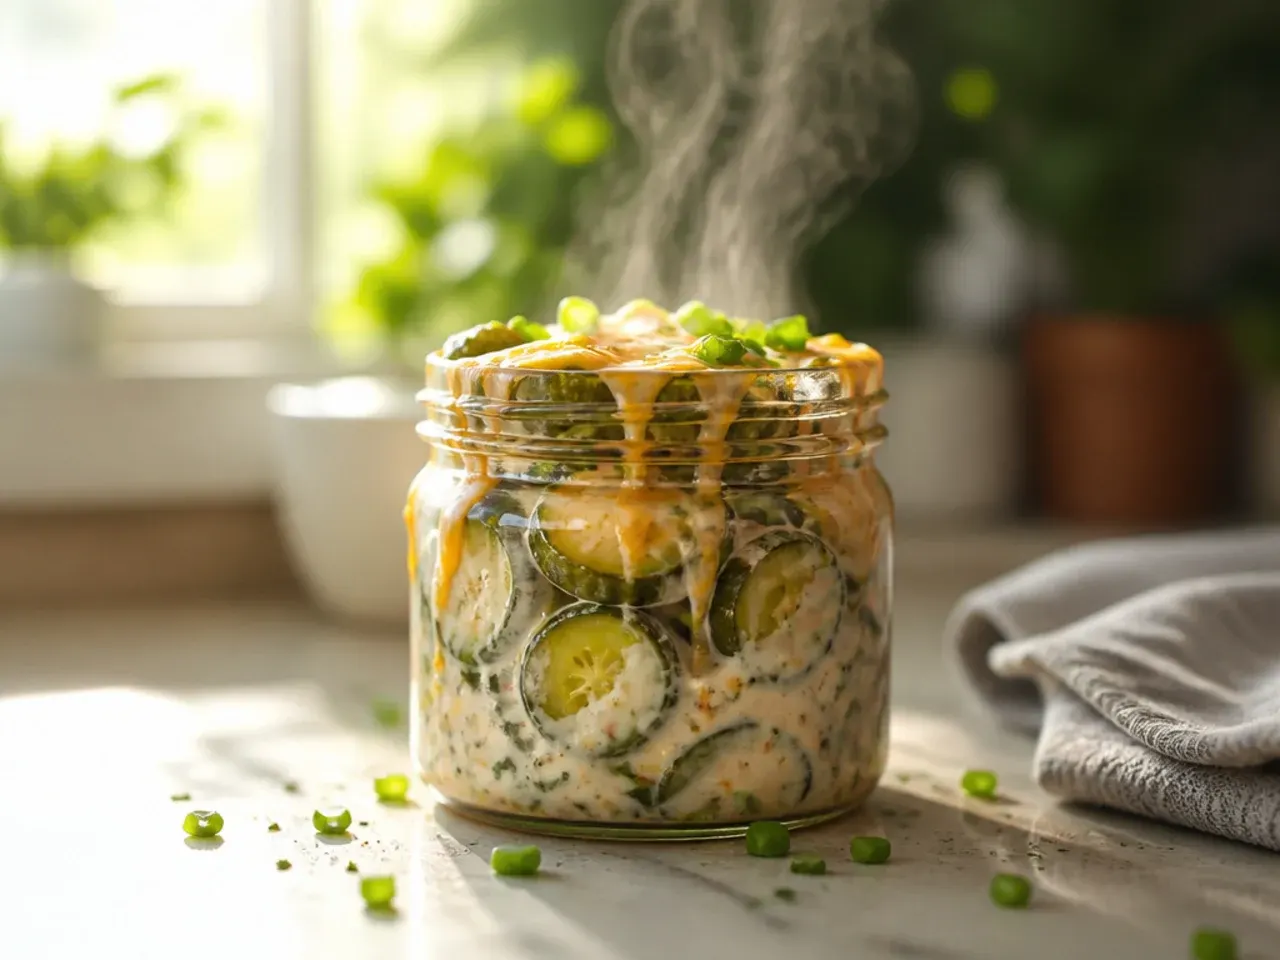
Stir one 28 g (1 oz) packet of dry ranch seasoning mix into the cooled brine along with the garlic and dill, and you'll get the tangy, herby, faintly creamy flavour that's made ranch pickles a genuine trend rather than a gimmick. The buttermilk powder in most ranch mixes doesn't curdle in the acidic brine, but it does cloud the liquid slightly — that's normal and doesn't affect safety or flavour. These are especially good chopped into potato salad or piled onto a burger where you want ranch flavour without reaching for the bottle. Cut cucumbers into thin rounds rather than spears so the seasoning coats more surface area.
Save this for later 📌
Pin this article to your Pinterest board so the full list is one tap away when you need it.
Save on Pinterest6. Simple 3-Ingredient Refrigerator Pickles
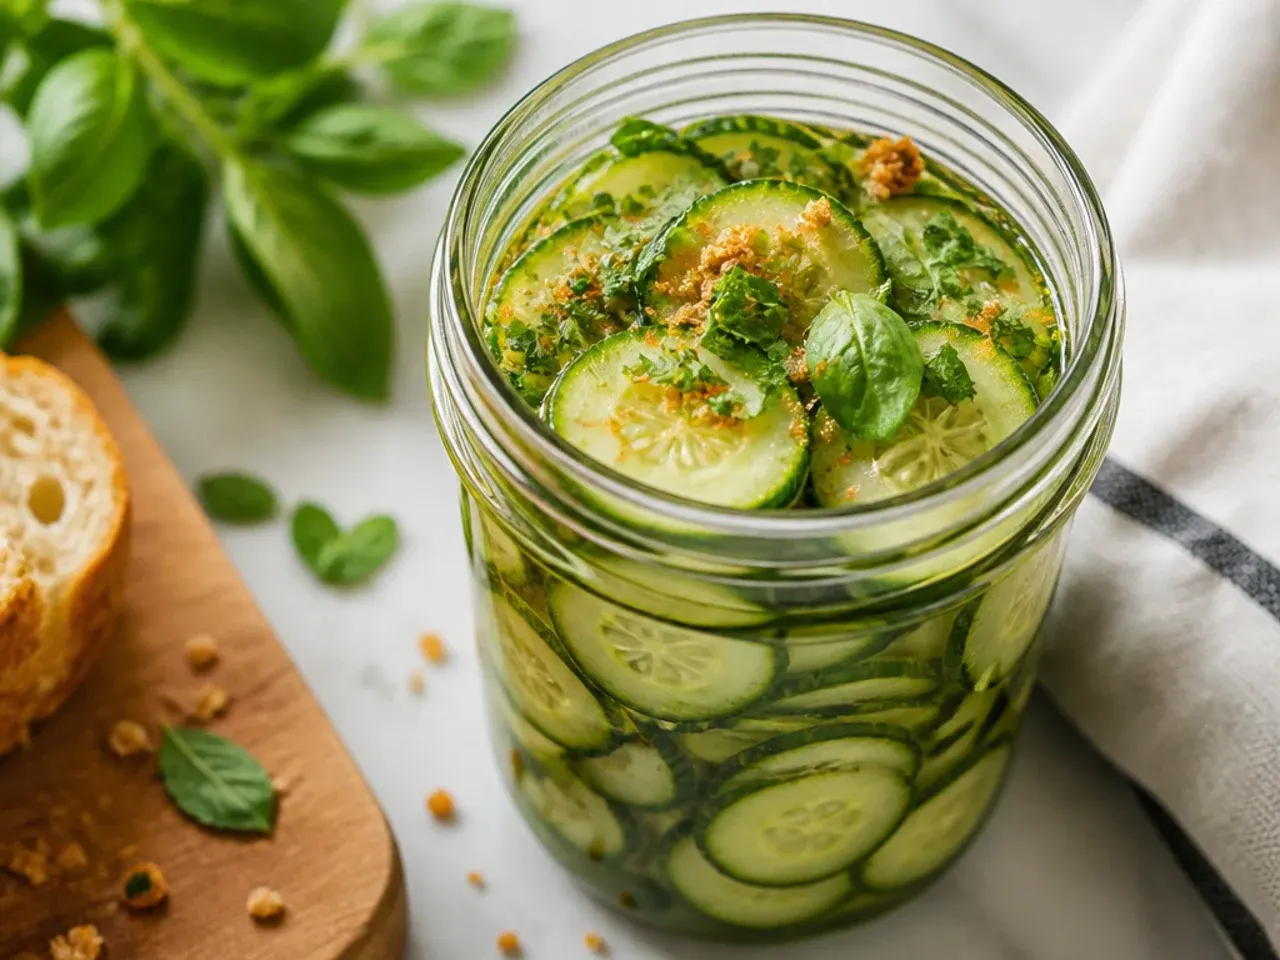
For the absolute simplest version, layer sliced cucumbers with sliced onion in a jar, cover with equal parts vinegar and water, and add a spoonful of salt — no sugar, no spices, no simmering required. This is the pickle to make when you've got 10 minutes and a craving, since there's genuinely nothing to measure precisely or get wrong. It won't have the depth of the classic version, but a squeeze of fresh dill or a smashed garlic clove tossed in raw perks it up without adding any extra steps. Shake the jar once or twice in the first few hours to help the salt distribute evenly.
7. Zesty Garlic and Chili Refrigerator Pickles
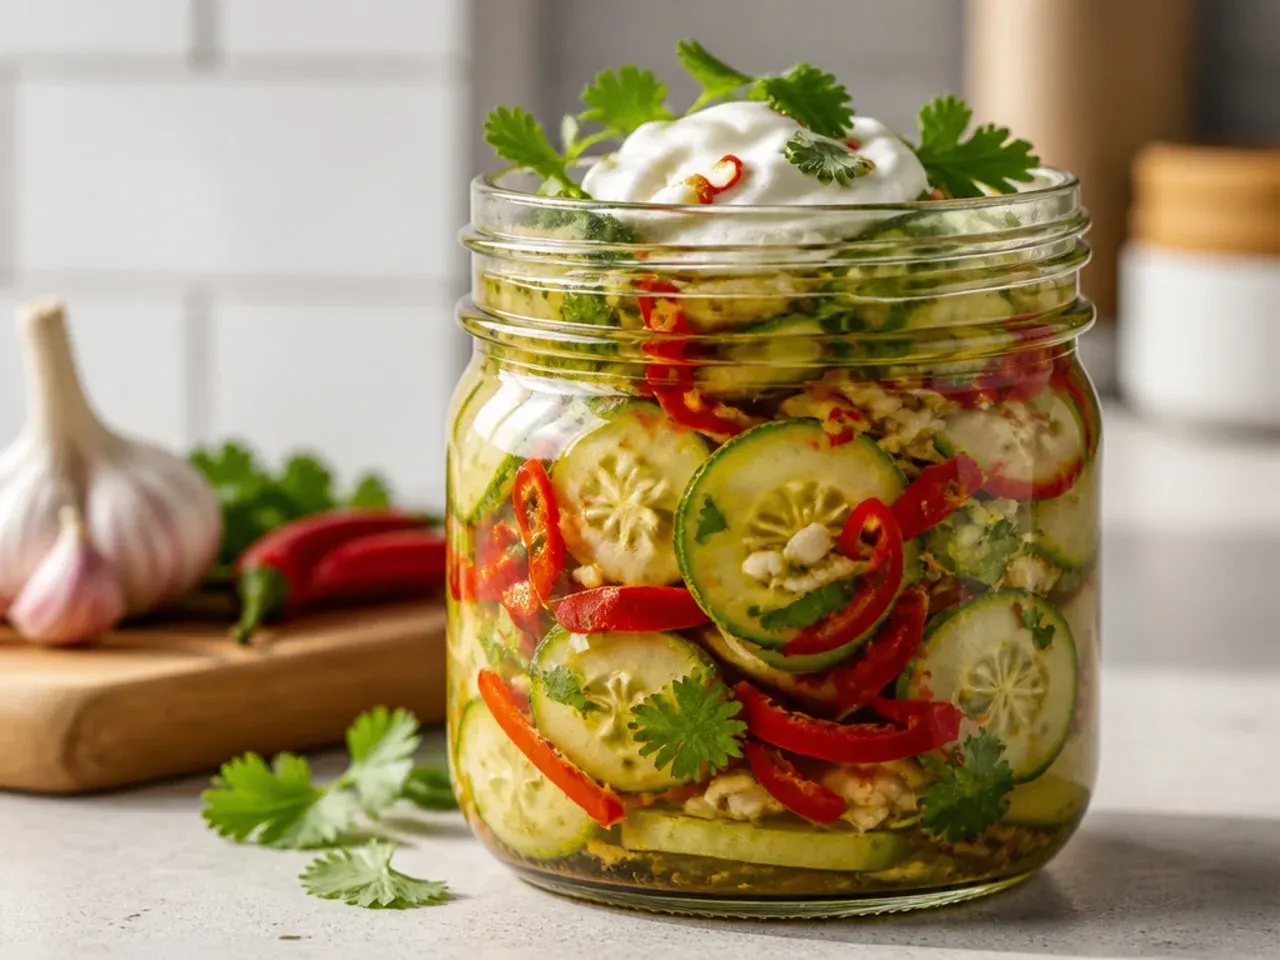
Double the garlic to 8 cloves and add 1-2 sliced fresh jalapeños or a whole red chili to the jar for a pickle with genuine heat rather than a background tingle. Slice the chilies rather than leaving them whole so the capsaicin spreads through the brine faster — you'll notice a real kick within 24 hours. If you like your pickles fierce, leave the chili seeds in; scrape them out first for a milder, more rounded heat. These pair particularly well with grilled or fried food, where the acidity and spice cut through richness.
8. Wholesome Apple Cider Refrigerator Pickles
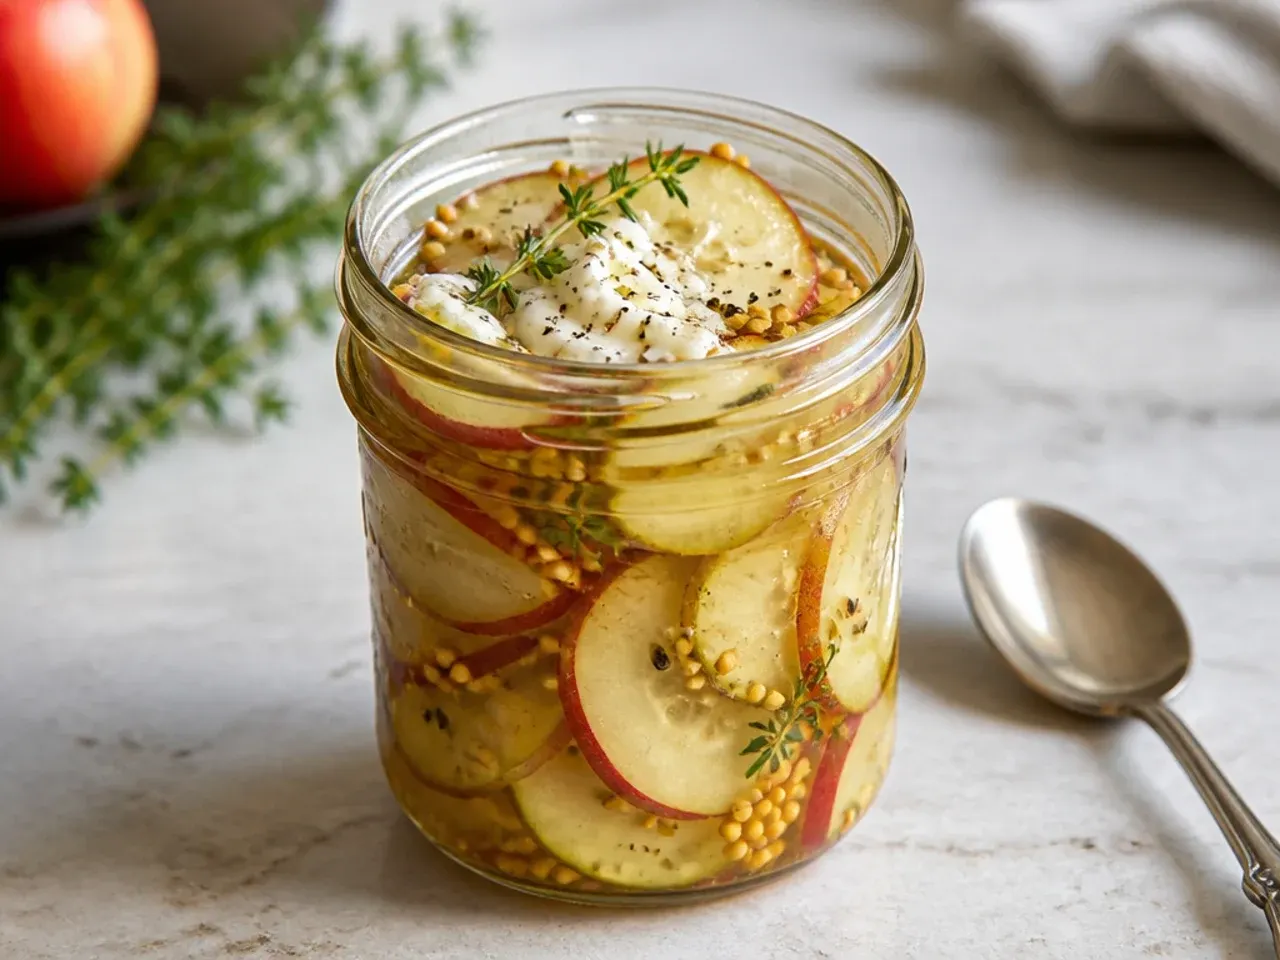
Swap the white vinegar for raw apple cider vinegar and the sugar for 1 tablespoon (21 g) of honey, warming the brine gently just until the honey dissolves rather than letting it boil. Apple cider vinegar brings a rounder, slightly fruity tang and a pale amber tint to the finished pickles, rather than the sharp, clear bite of white vinegar. This version is a good fit if you're avoiding refined sugar, though the flavour is noticeably softer, so add an extra clove of garlic to keep it interesting. Because honey brines can crystallise slightly when chilled, give the jar a gentle shake before serving.
9. Budget Pantry Refrigerator Pickles
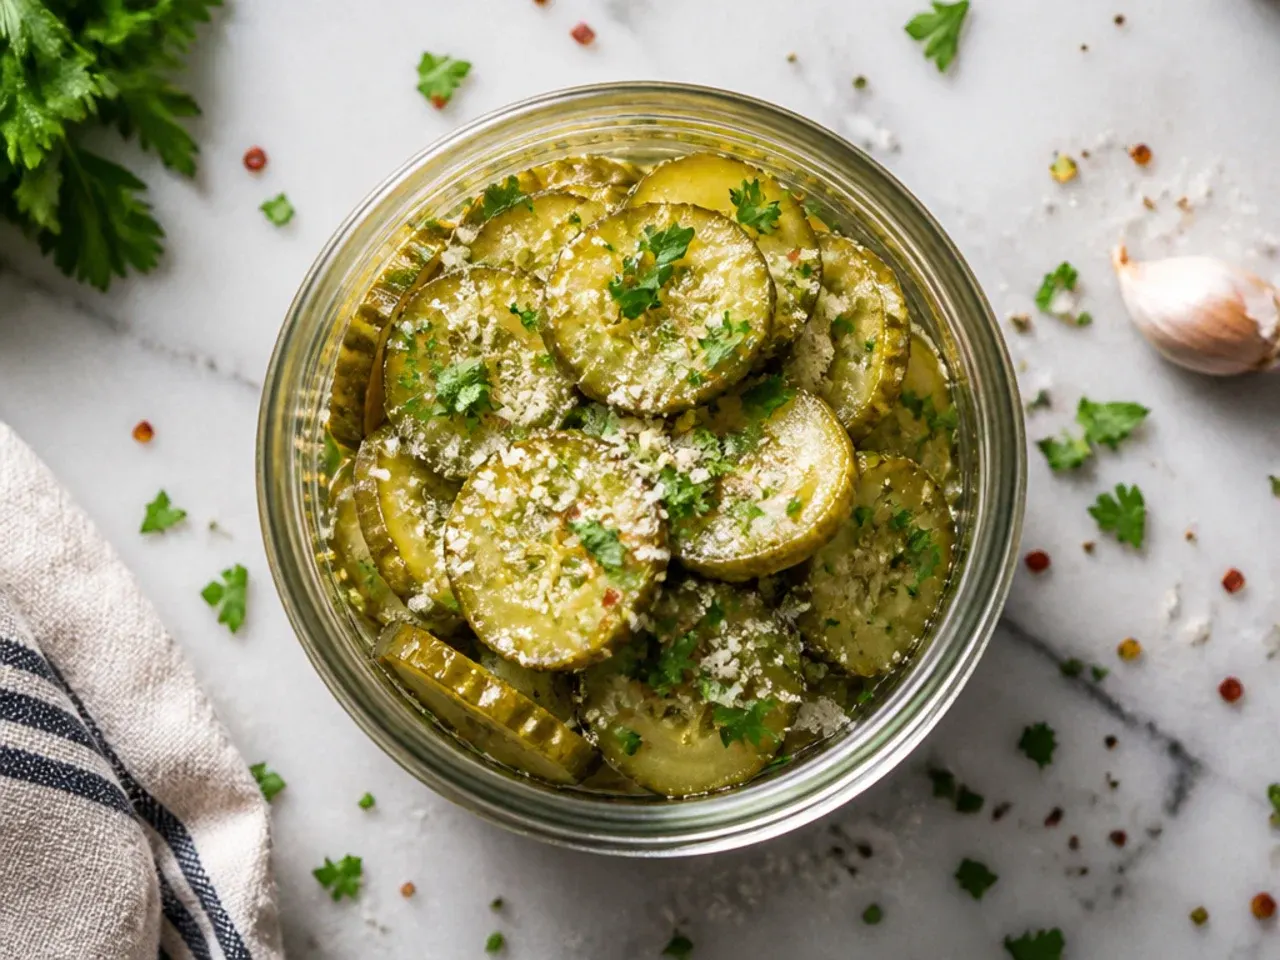
Use whatever white vinegar is cheapest, ordinary table onion instead of a specific variety, and bulking agents like sliced courgette or cabbage alongside — or instead of — cucumber to stretch a small amount of fresh produce further. Standard dried dill, dried mustard powder, or even a mixed pickling spice blend from the baking aisle stands in perfectly well for fresh herbs and whole seeds. This version costs pennies per jar and is a smart way to use up odds and ends of vegetables before they turn, since almost anything crisp takes well to the same brine. Don't skip the salt to save money, though, since it's doing real preservation work, not just seasoning.
10. Weeknight 2-Hour Refrigerator Pickles
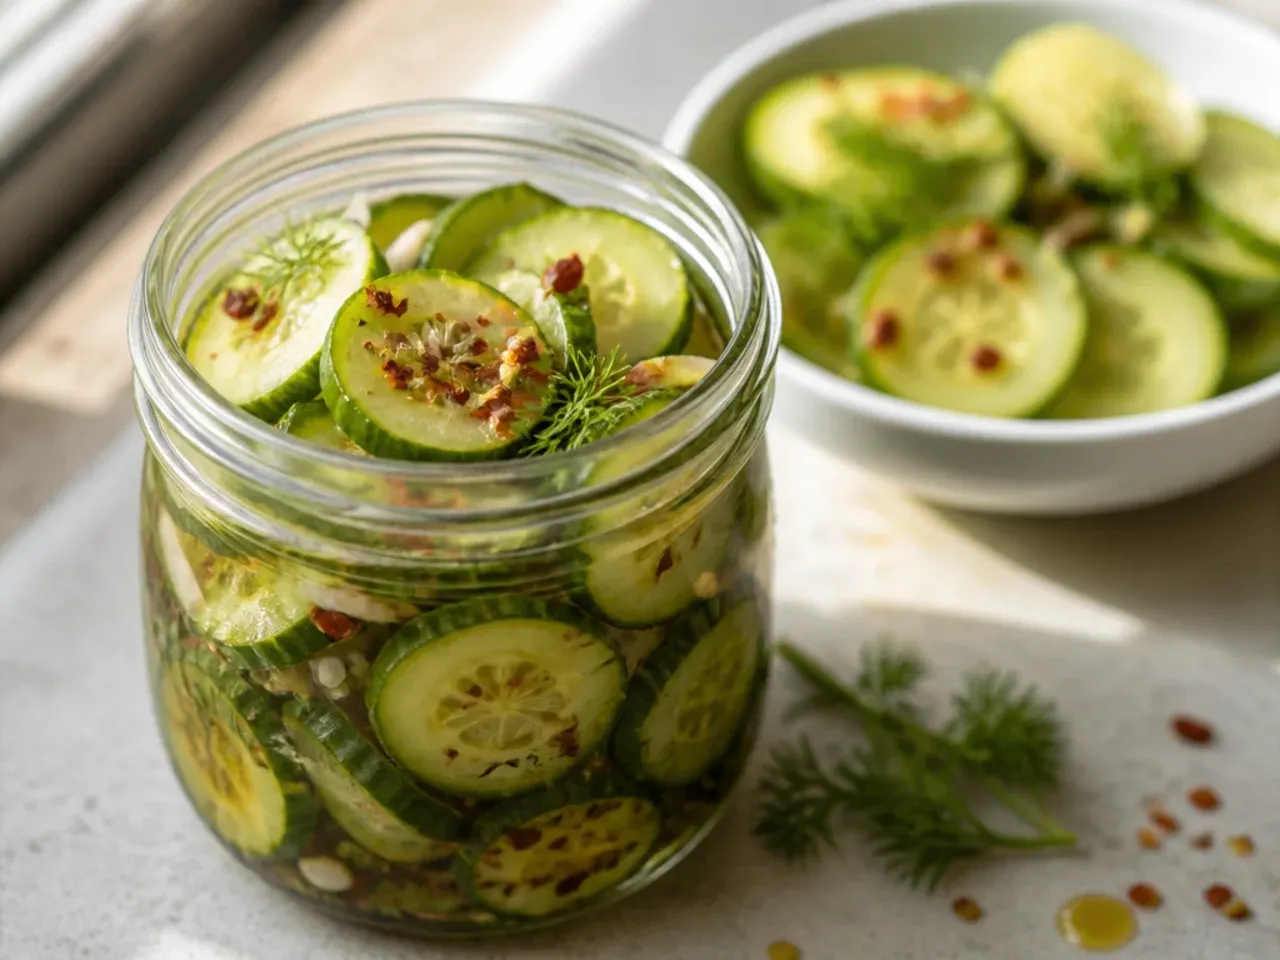
Slice the cucumbers paper-thin with a mandoline or the slicing side of a box grater, then pour the brine over while it's still warm rather than waiting for it to cool completely. Thinner cuts and warmer brine both speed up how fast the flavour penetrates, so you can genuinely have a snackable pickle within 2 hours instead of waiting the usual 24. They won't have quite the same deep-set crunch as a pickle that's sat overnight, but they're perfect for a last-minute side with dinner. Keep them in the fridge and eat within a few days, since this quick version was never meant for long storage.
Save this for later 📌
Pin this article to your Pinterest board so the full list is one tap away when you need it.
Save on Pinterest11. Rustic Homestead Refrigerator Pickles
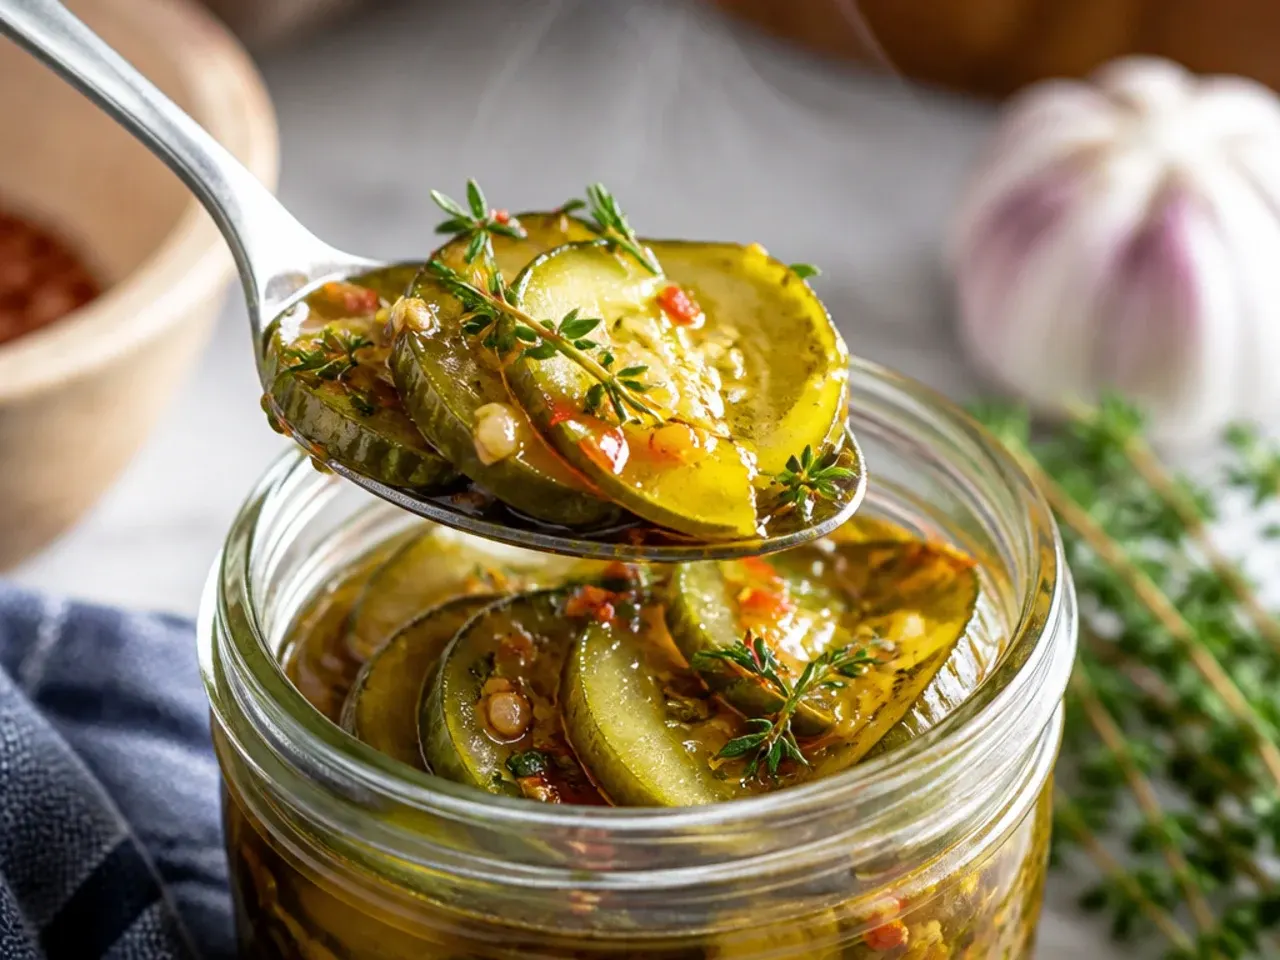
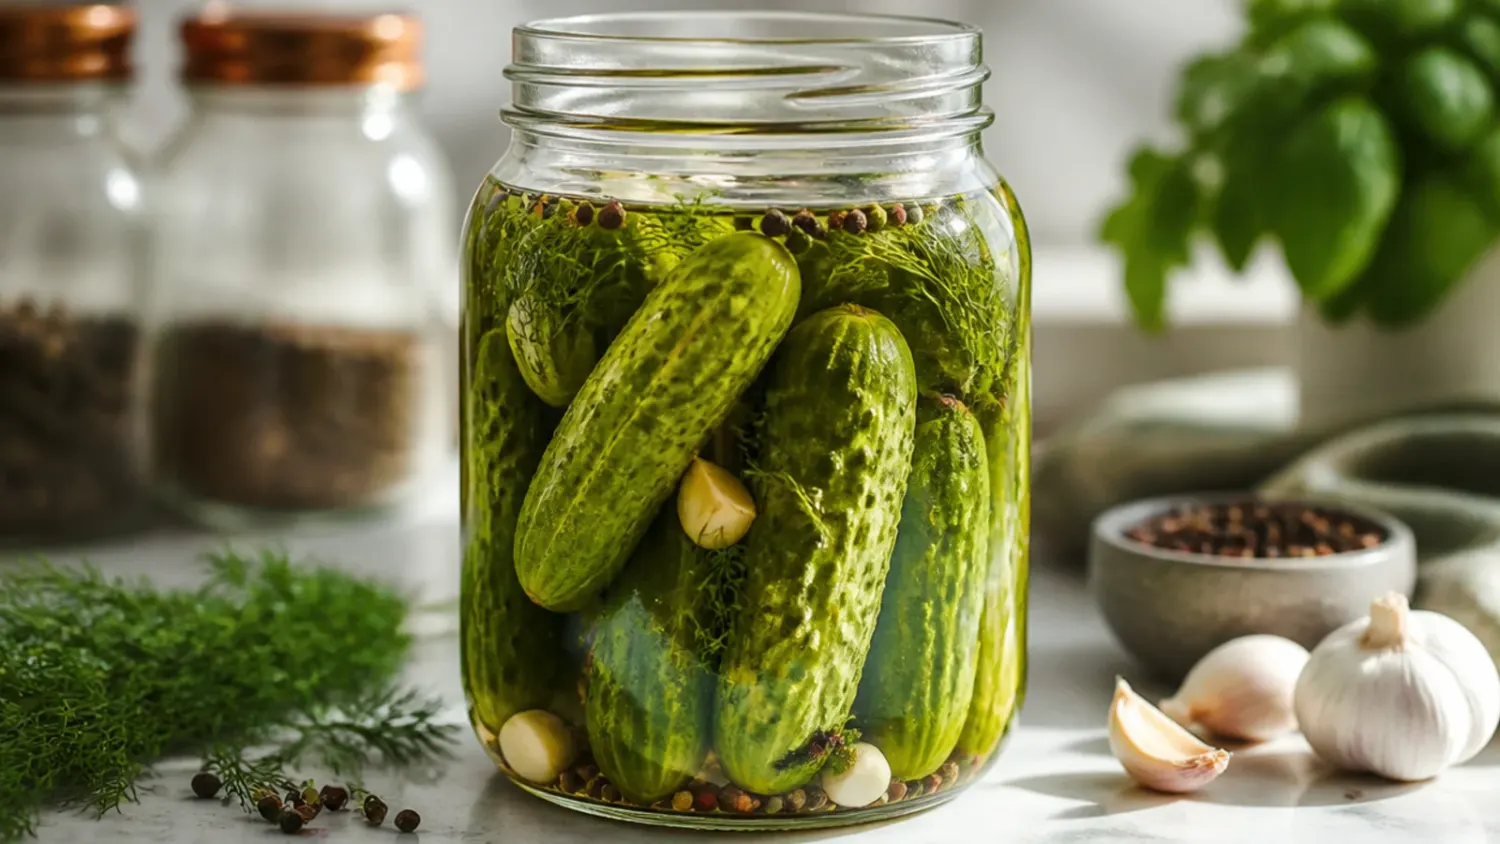
Keep the cucumbers in thick, rustic spears rather than neat rounds, and add a bay leaf and a generous pinch of coarse mustard seed to each jar for an old-fashioned, homestead-style pickle. Don't bother peeling or perfectly trimming the ends — a bit of visible skin and stem is part of the appeal here, and it also helps the spears hold their shape and crunch longer. This version is deliberately less fussy than the classic recipe, made for using up a glut of cucumbers rather than a precise, photographed batch. Pack the jar tightly so the spears stay submerged, topping up with extra brine if needed to fully cover them.
12. Loaded Giardiniera-Style Refrigerator Pickles
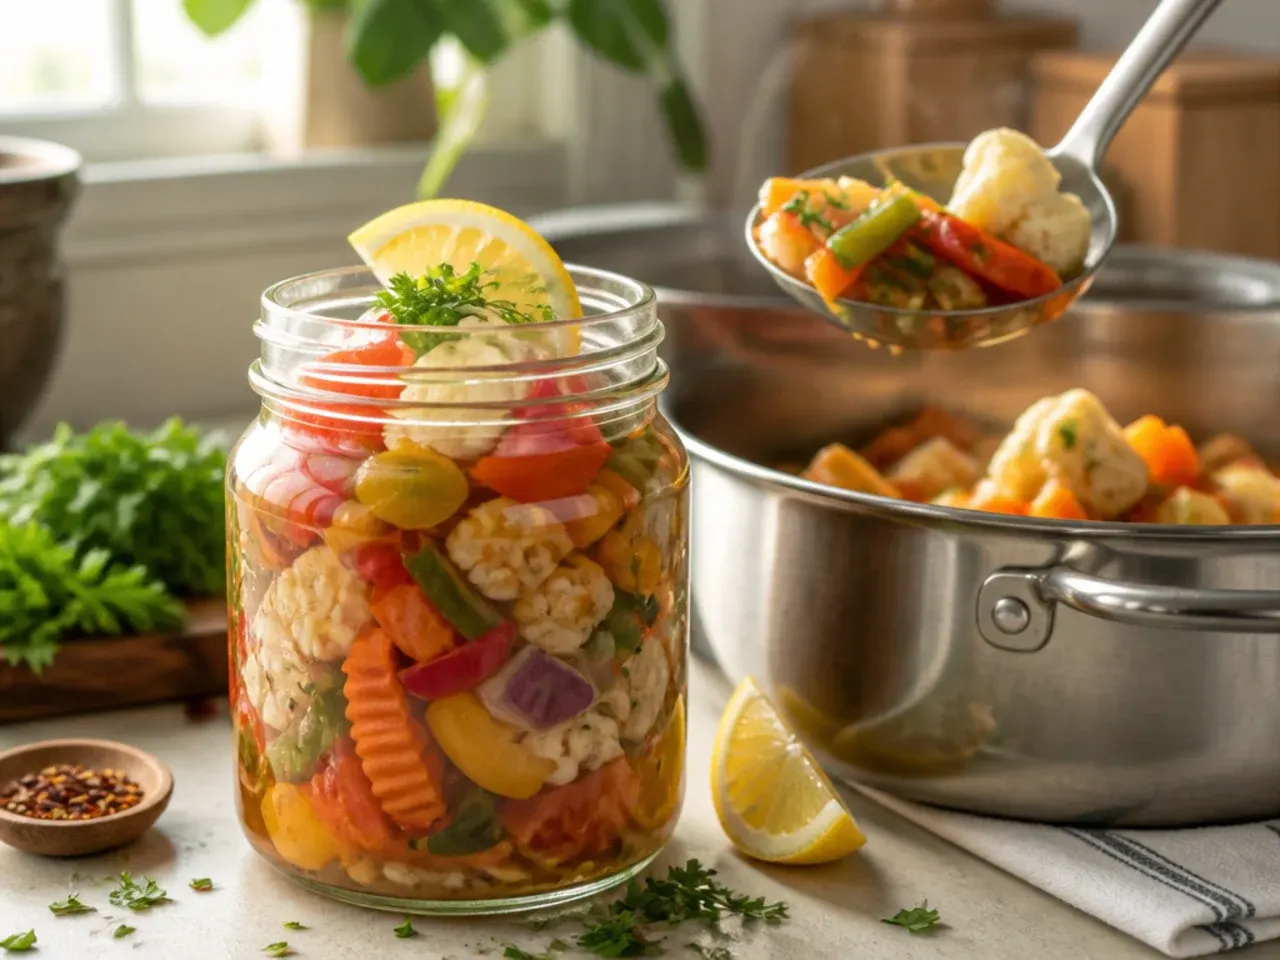
Fill the jar with a mix of vegetables rather than cucumber alone — try cauliflower florets, sliced carrot, celery, and a few jalapeño rounds for a loaded, giardiniera-style jar with contrasting textures in every bite. Cut everything to a similar size, roughly 2 cm (¾ inch) pieces, so it all pickles at a comparable rate and nothing turns mushy before the rest is ready. This version needs slightly longer than a plain cucumber pickle — give it a full 48 hours before diving in, because the denser vegetables take longer to absorb the brine. It's an excellent addition to an antipasto platter or piled onto a sandwich alongside cold cuts.
13. Family-Friendly Mild Refrigerator Pickles
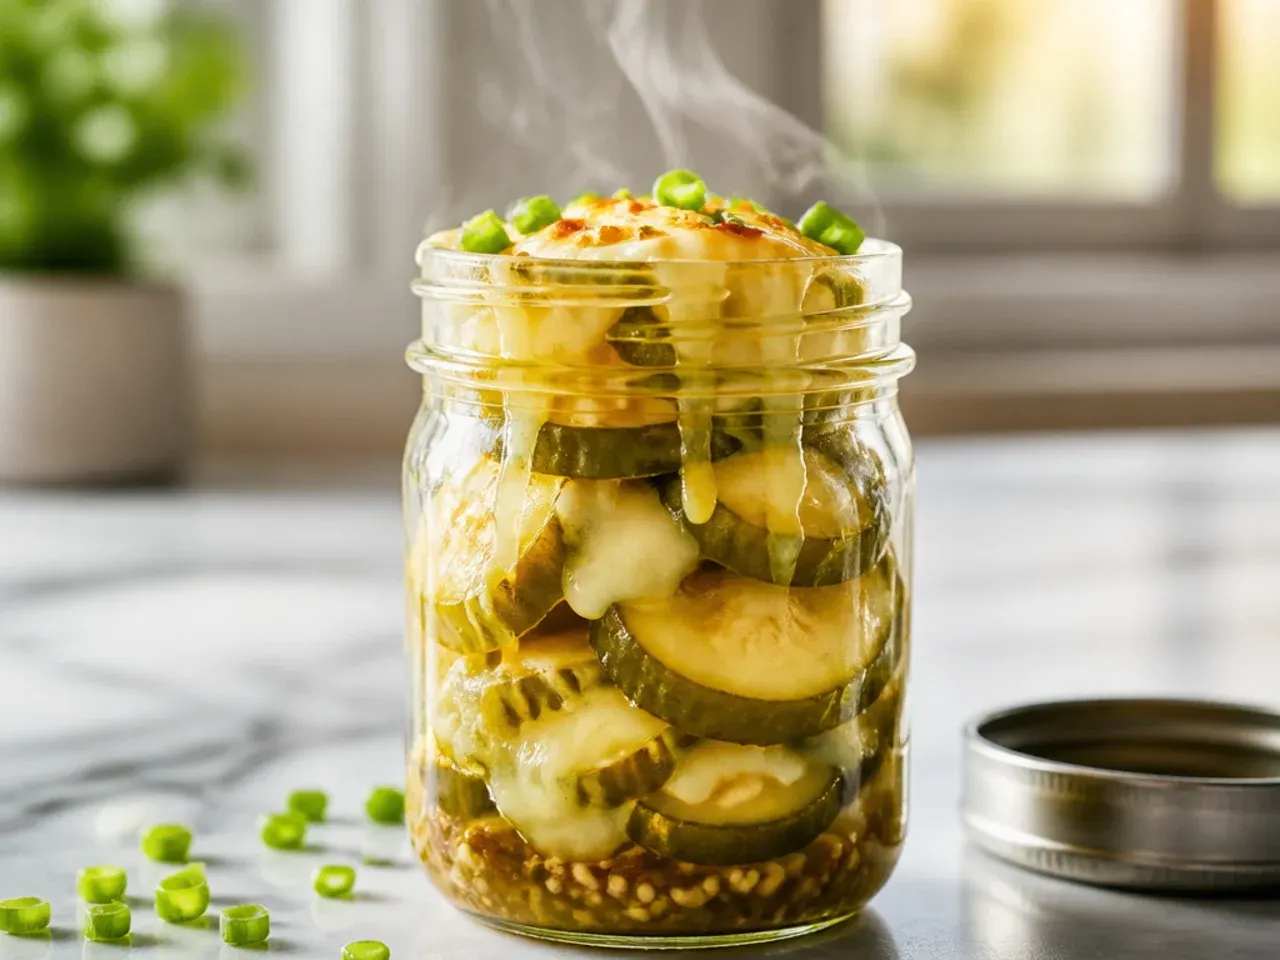
Cut the garlic back to a single clove, skip any chili or red pepper flakes entirely, and add an extra teaspoon of sugar to the brine for a milder, sweeter pickle that even picky younger eaters will happily crunch through. Cutting the cucumbers into thin coins rather than spears makes them easier for smaller hands to manage and less intimidating than a full spear. This is a good one to let kids help assemble, since there's no hot brine for them to handle once it's cooled completely. Keep a jar of these on hand as an easy way to work an extra vegetable into packed lunches.
14. Best-Ever Crunchy Refrigerator Pickles
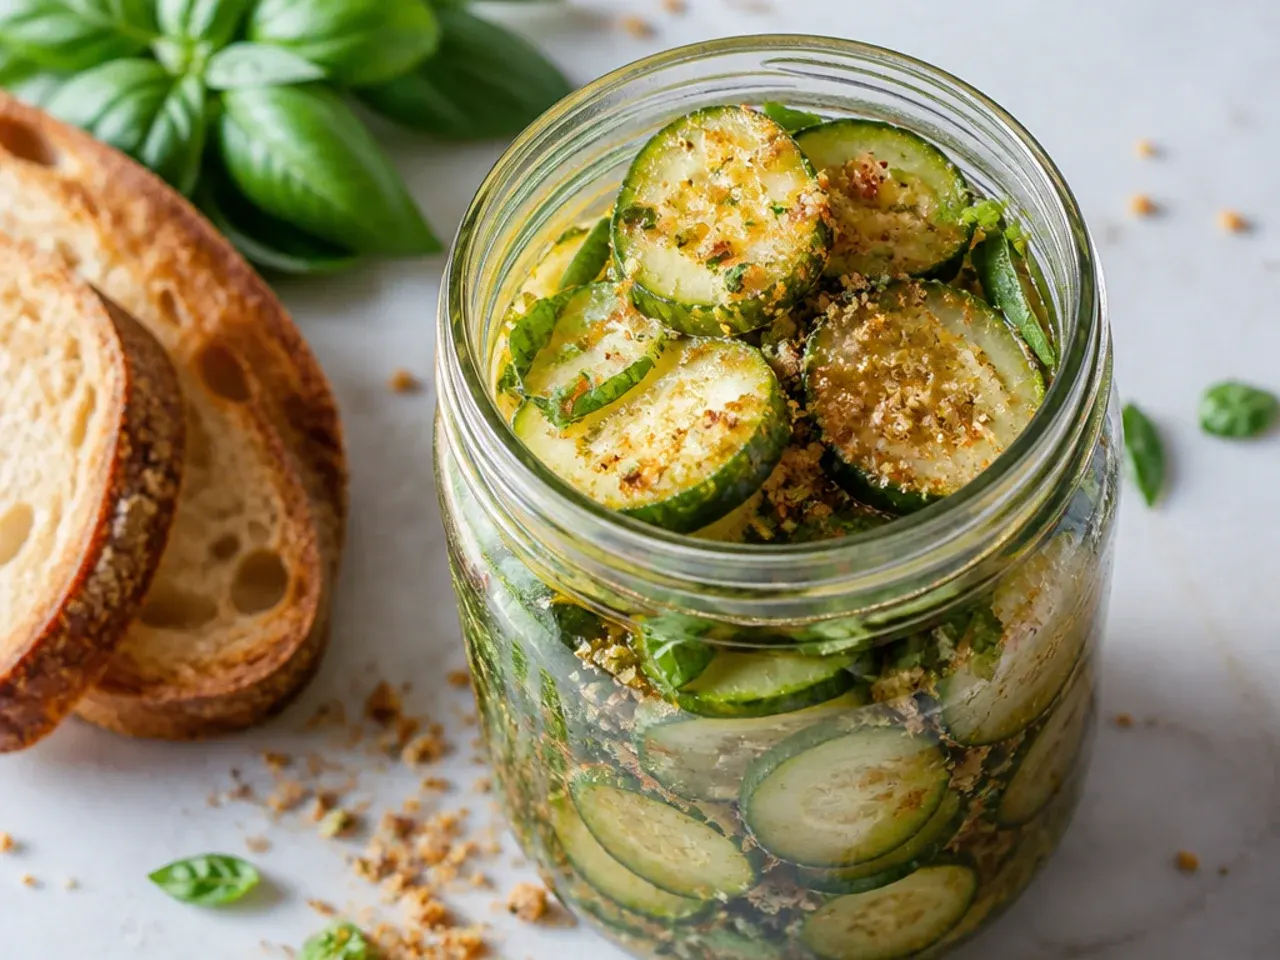
For the crunchiest pickles you'll ever make, soak the sliced cucumbers in a bowl of ice water for a full hour before packing them into jars — this firms up the cells and is the single biggest factor in a crisp final pickle. Adding a black tea bag or a couple of fresh grape leaves to each jar introduces tannins that help the vegetables hold their snap over longer storage, an old trick from traditional canning that works just as well in the fridge. Use the coldest brine you can manage rather than pouring it in warm, since heat is the main thing that softens texture in a no-cook pickle. This combination of ice bath, tannins, and cold brine is the difference between a good refrigerator pickle and a genuinely great one.
15. Quick Spiralized Refrigerator Pickles
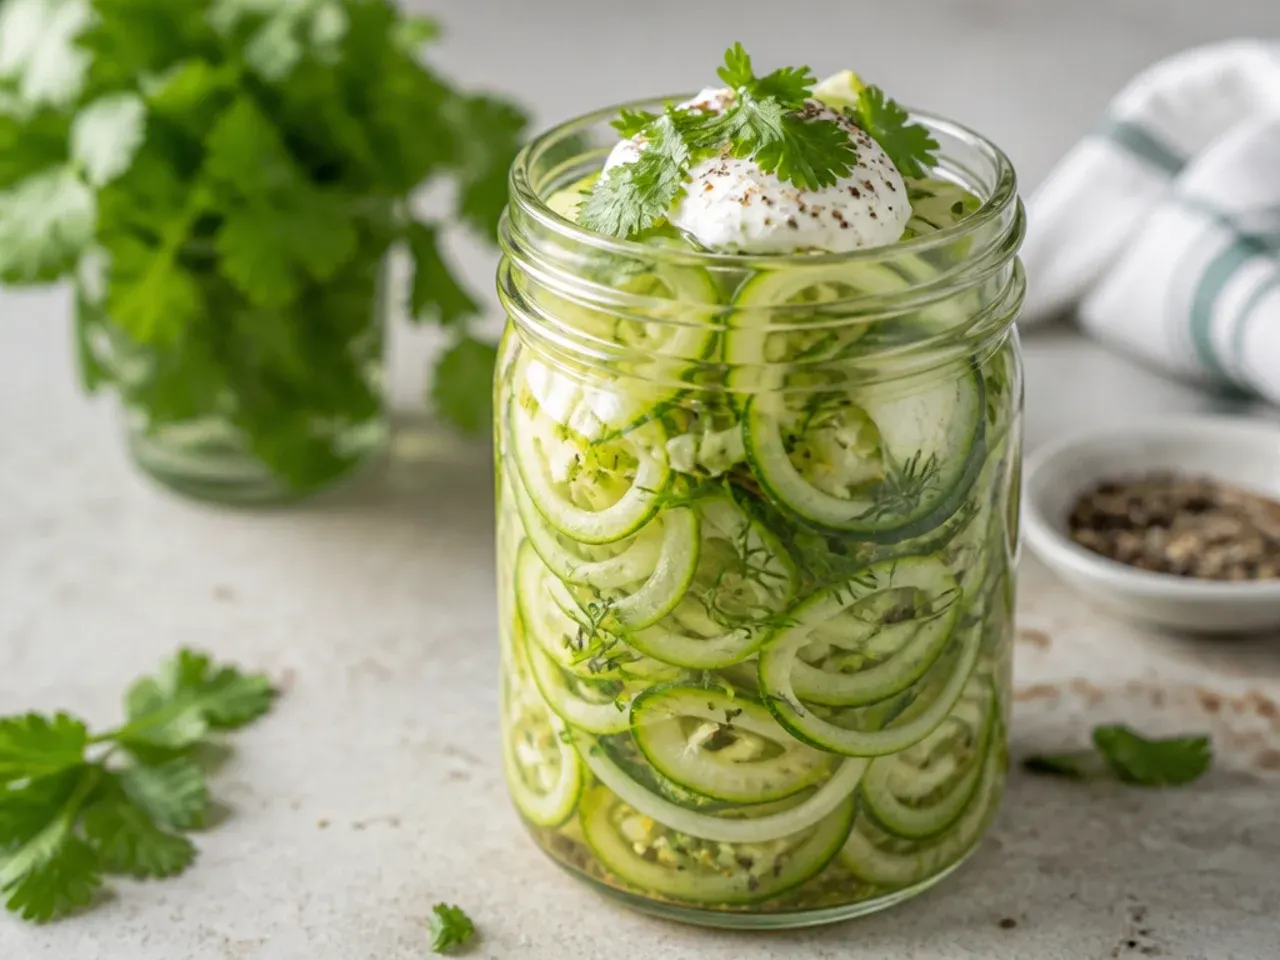
Run whole cucumbers through a spiralizer or vegetable peeler to create long, thin ribbons instead of spears or rounds — the increased surface area means they'll take on brine flavour in as little as 1 hour. These ribbons are too delicate for long-term storage or sandwiches, but they're brilliant scattered over a salad, tucked into a banh mi-style filling, or used as a garnish for grilled meat. Because they're so thin, use a slightly milder brine than the classic recipe, cutting the vinegar by about a quarter so the flavour doesn't overwhelm the delicate texture. Eat these within 2-3 days, since the thin ribbons soften faster than thicker cuts.
Save this for later 📌
Pin this article to your Pinterest board so the full list is one tap away when you need it.
Save on Pinterest16. Classic Bread and Butter Refrigerator Pickles
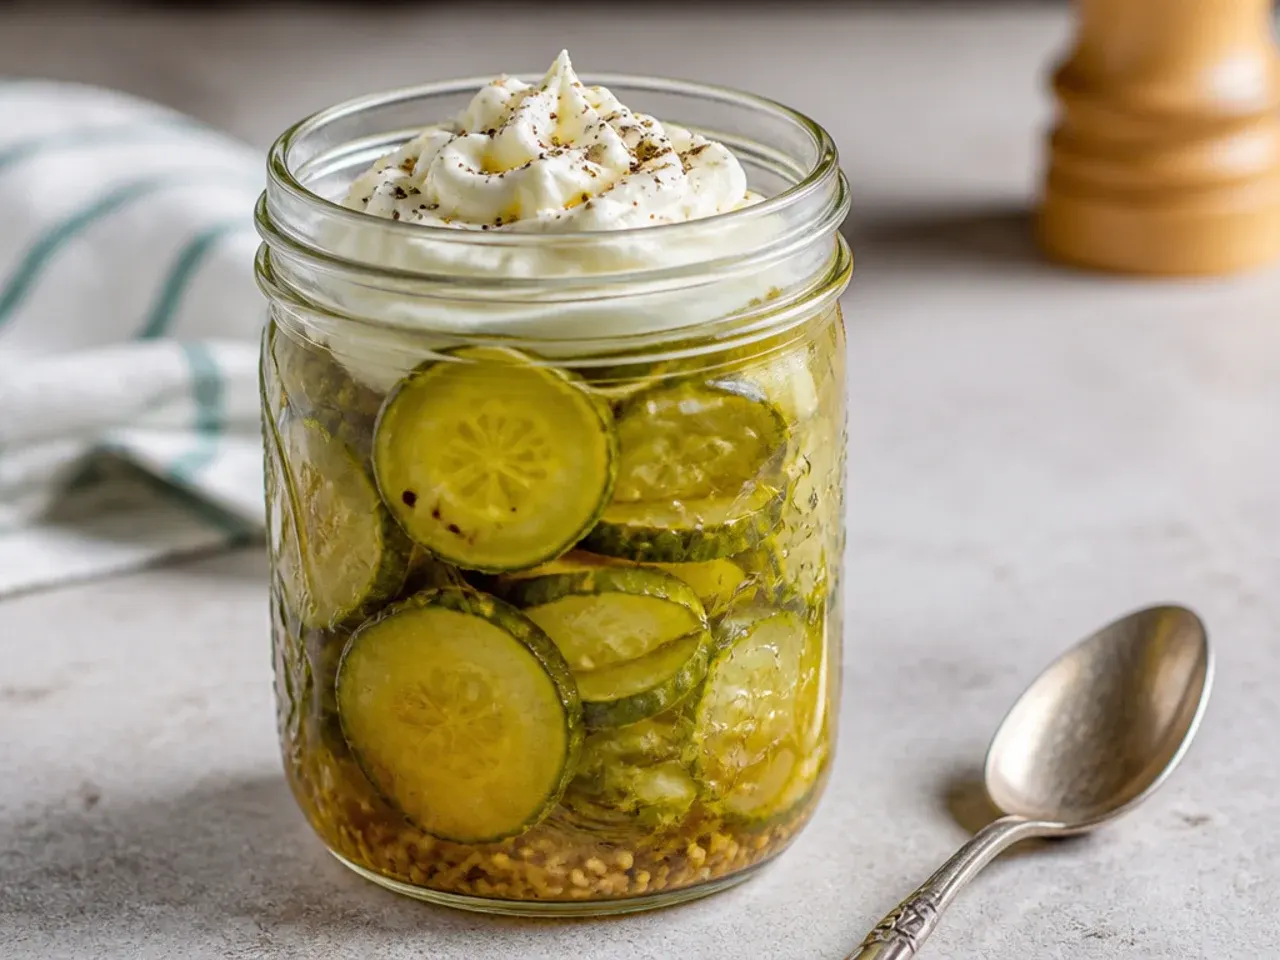
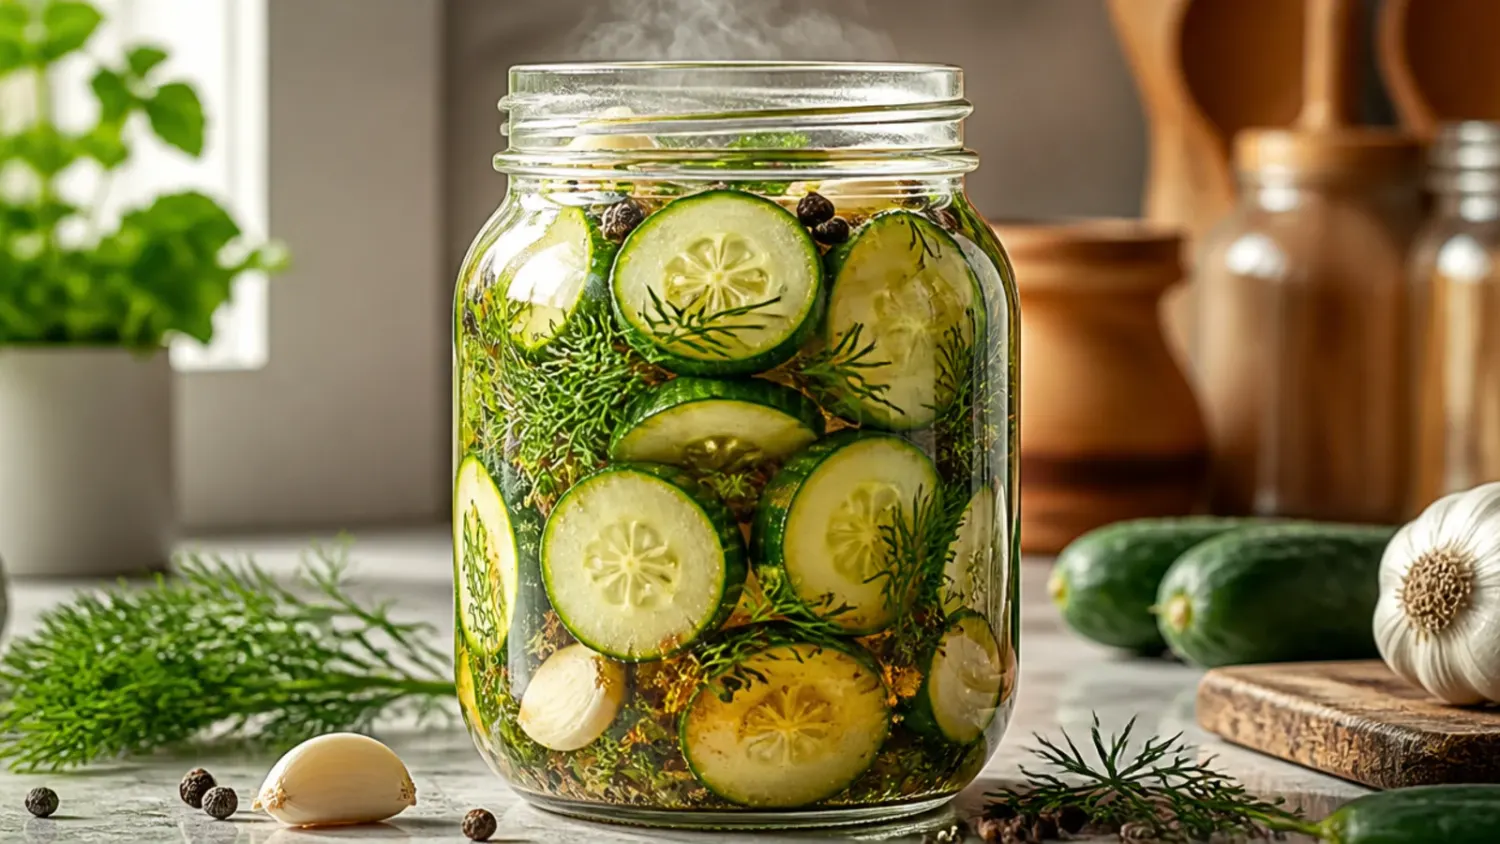
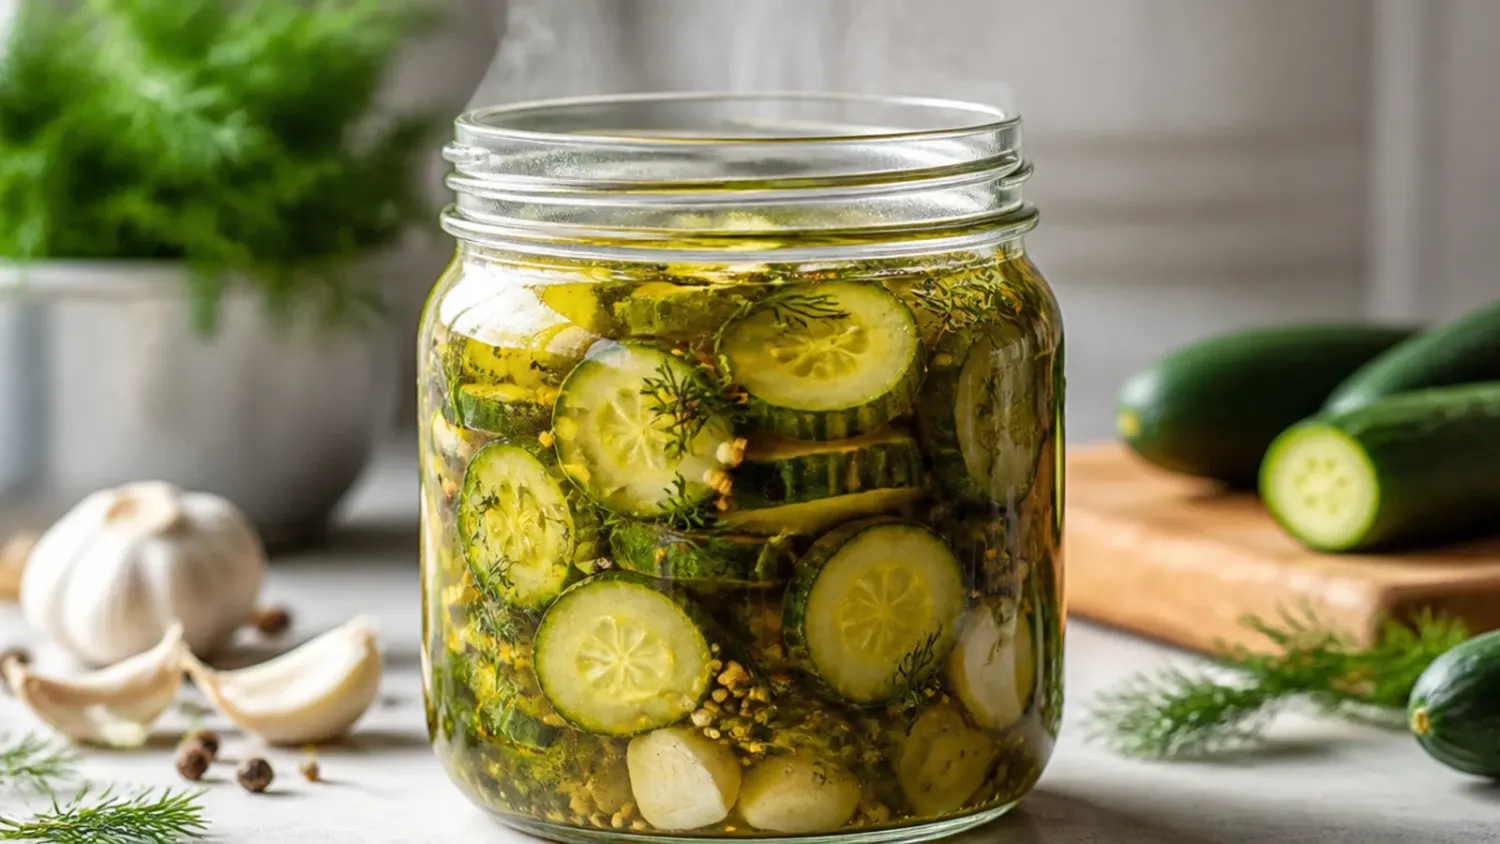
For the sweet, golden style you'll recognise from a classic deli sandwich, slice cucumbers and a sweet onion into thin rounds, then build a brine with a higher sugar ratio, roughly 3 tablespoons (38 g) of sugar to every 240 ml (1 cup) of vinegar, plus 1 teaspoon (2 g) each of celery seed and turmeric. The turmeric is what gives bread and butter pickles their signature warm yellow colour, so don't skip it even though the amount seems small. Layer the onion and cucumber rounds so they're evenly distributed rather than clumped, which helps the sweeter brine reach every slice. These are the pickles to reach for on a cheese sandwich or alongside a burger where you want sweetness as well as tang.
17. Easy Refrigerator Pickled Red Onions
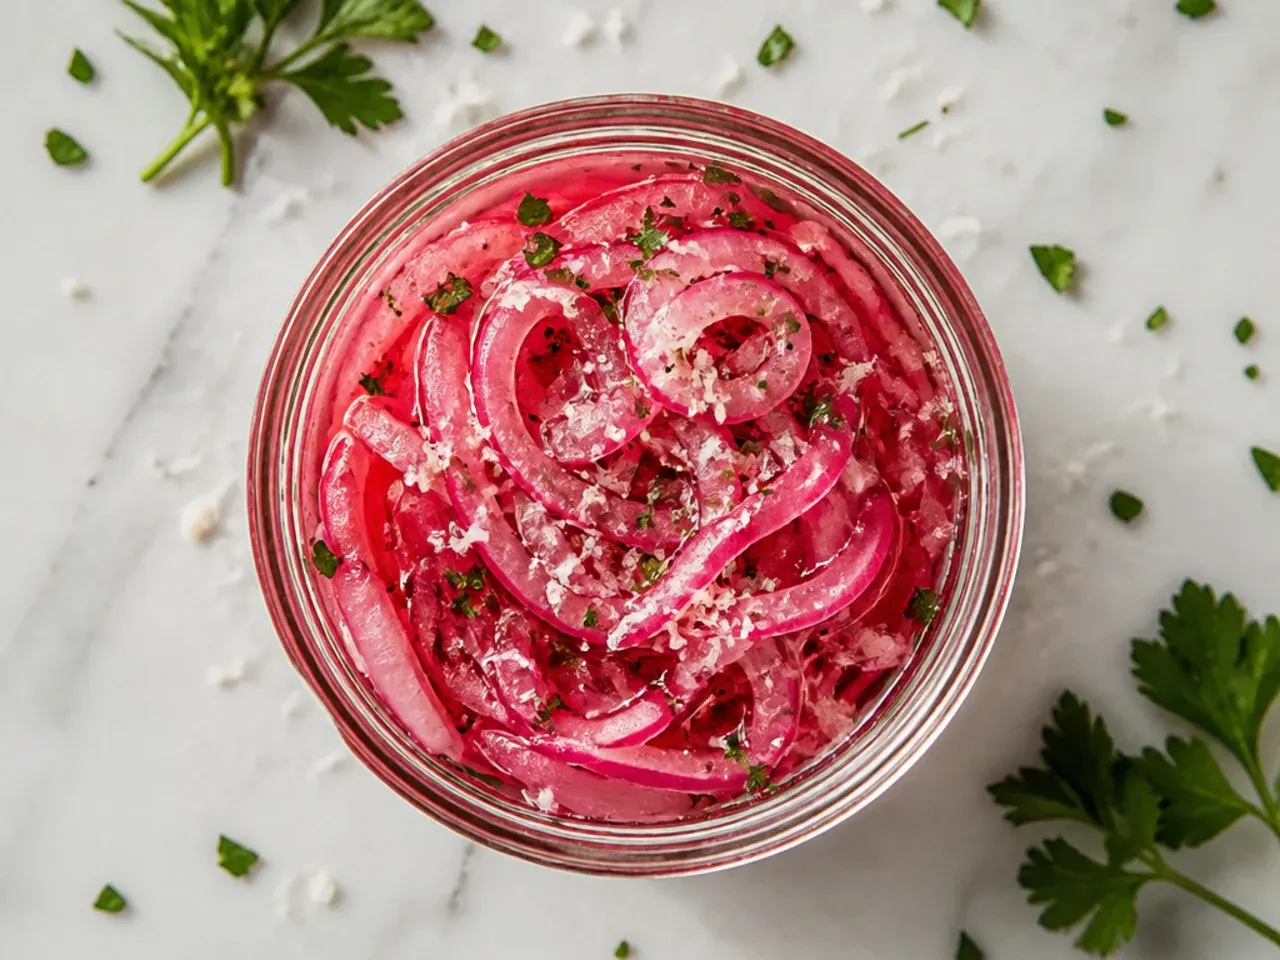
Swap the cucumber out completely for two thinly sliced red onions, and you've got the tangy pink pickled onions that turn tacos, burgers, and salads into something sharper and more interesting. Pour the hot brine directly over the raw sliced onion rather than waiting for it to cool, since the heat helps soften the onion's raw bite faster, and they're ready to eat in as little as 30 minutes. Red onion turns the brine a vivid pink within the first hour, which is completely normal and part of the appeal. These keep well for 2-3 weeks in the fridge, longer than most cucumber versions, since onion holds its texture differently.
18. Fresh Herb Garden Refrigerator Pickles
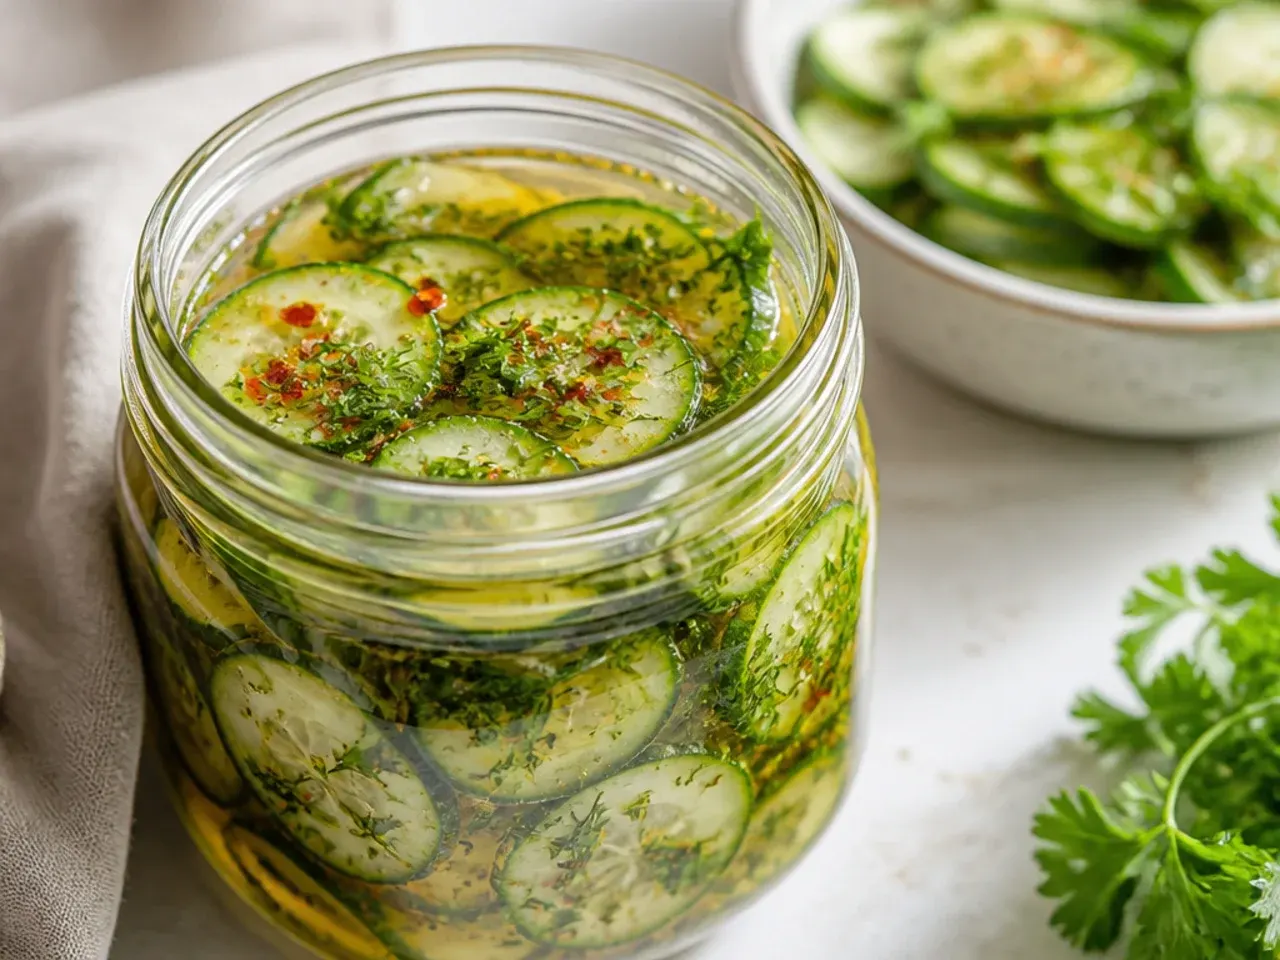
Swap the classic dill for a big handful of fresh tarragon, basil, or a mix of soft herbs from the garden, tucking the sprigs in whole rather than chopping them so the flavour releases slowly rather than all at once. Tarragon brings a subtle aniseed note that works especially well with cucumber, while basil gives a brighter, more summery pickle that's lovely alongside tomatoes. Because soft herbs are more delicate than dill, they'll fade in flavour and colour after about a week, so this version is best made in smaller batches you'll finish quickly. Bruise the herb sprigs slightly with the back of a knife before adding them to help release more flavour into the brine.
19. Cozy Curry-Spiced Refrigerator Pickles
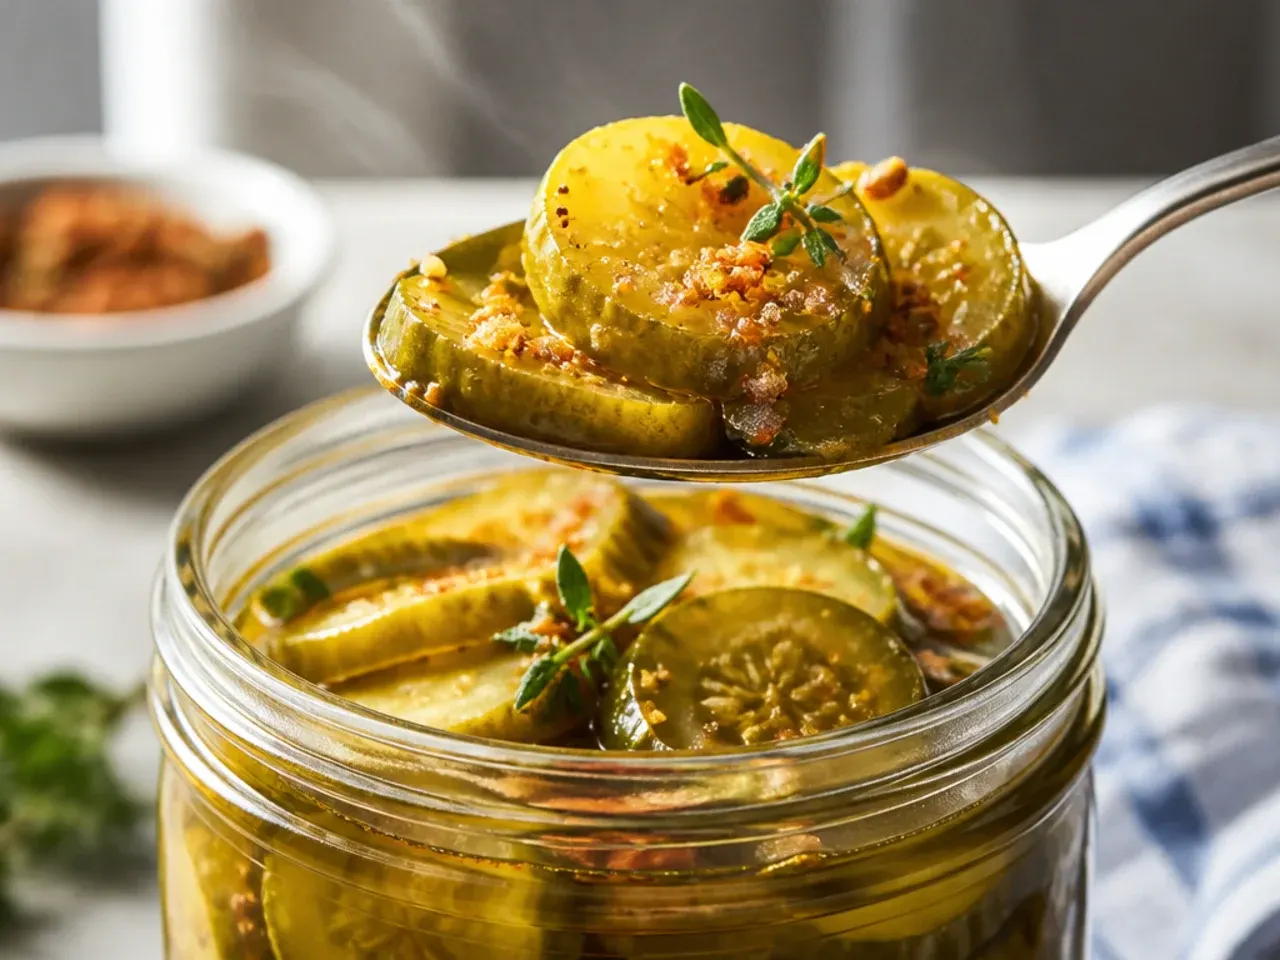
Stir 1 tablespoon (6 g) of mild curry powder and an extra teaspoon (3 g) of mustard seed into the brine for a warm, fragrant pickle with real depth, closer to an Indian-style pickled relish than a classic deli dill. Toast the curry powder briefly in a dry pan for 30 seconds before adding it to the hot brine, since this wakes up the spices and stops the finished pickle tasting raw or dusty. These are particularly good served alongside curries, rice dishes, or grazing boards where you want something tangy to cut through richer flavours. Give the jar a full 48 hours before tasting, as the curry spices need more time than dill to properly infuse.
20. Creamy Dill and Sour Cream Cucumber Pickles
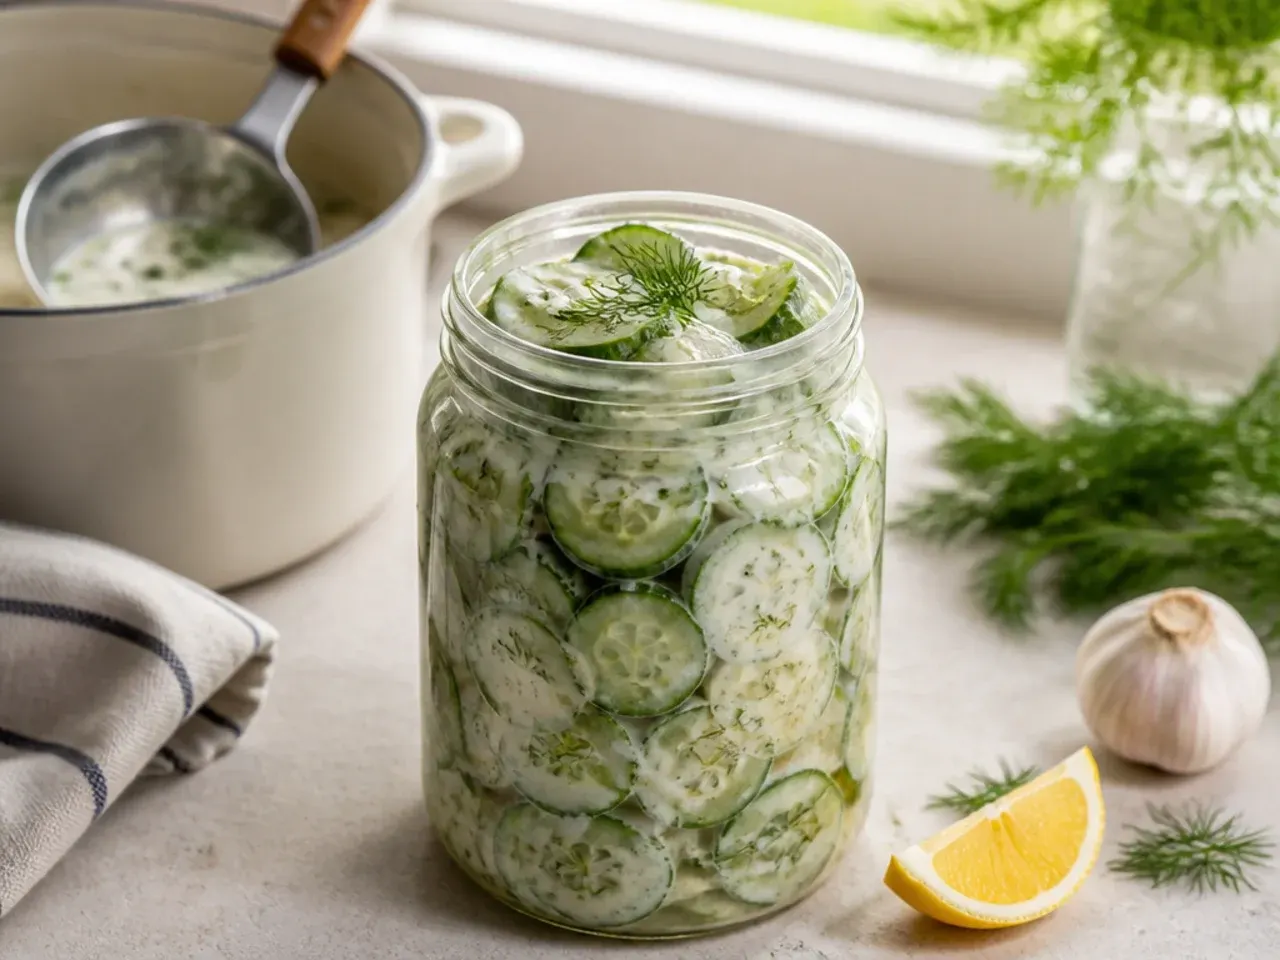
For a genuinely creamy finish, toss thinly sliced cucumber and onion with 120 ml (½ cup) soured cream, 2 tablespoons (30 ml) of the vinegar brine, fresh dill, and a pinch of sugar instead of submerging them in a full jar of liquid brine. This isn't a shelf-stable pickle in the traditional sense, so think of it as a quick pickled salad best made in a batch you'll eat within 2-3 days. Salt the sliced cucumber and let it sit in a colander for 15 minutes first to draw out excess water, which stops the finished salad turning watery. Serve it cold straight from the fridge as a side for grilled meat or alongside sandwiches.
Pro Tips
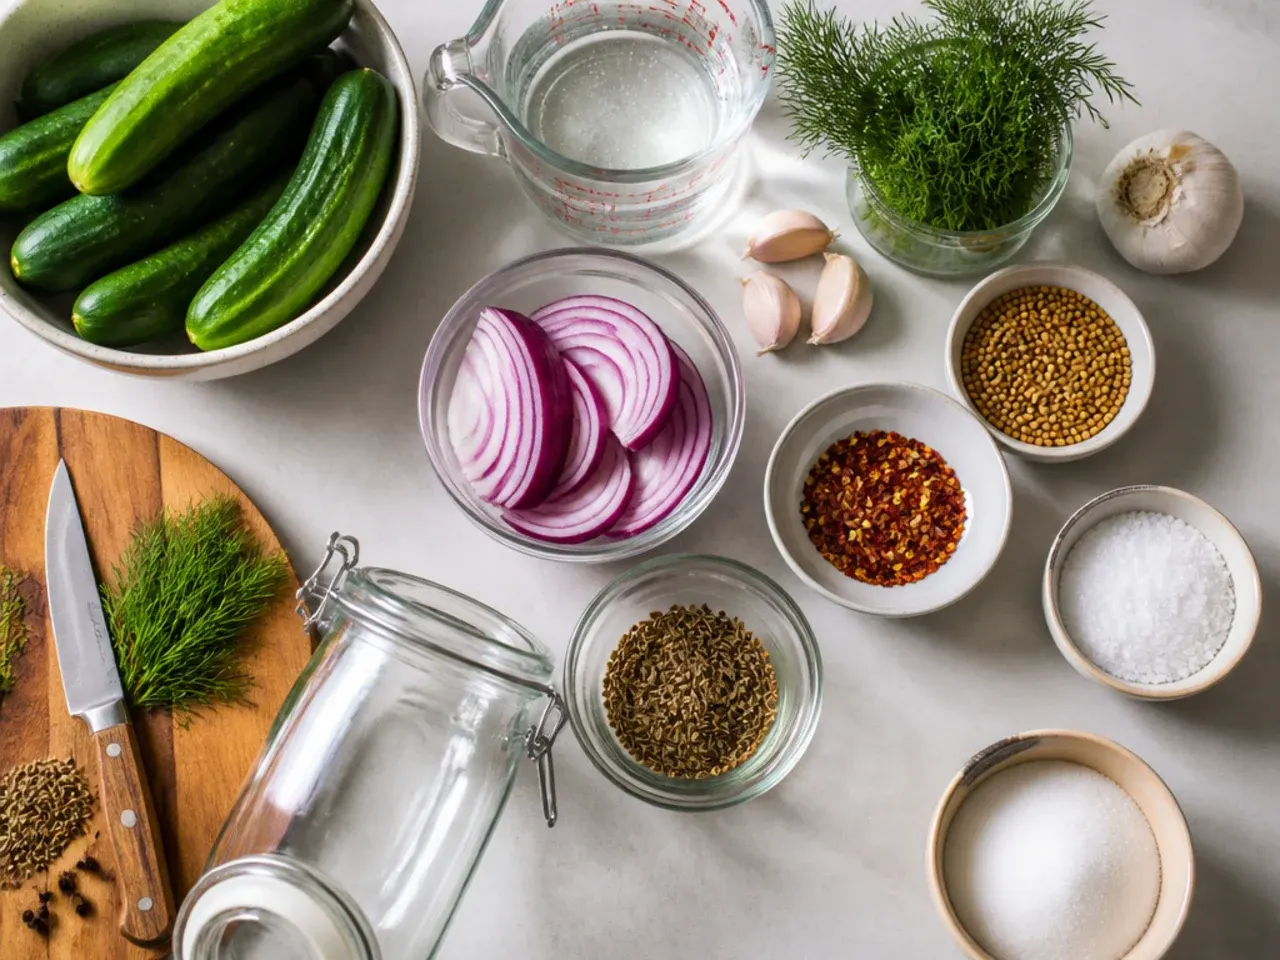
Always use glass jars or food-safe plastic containers rather than reactive metal, since the vinegar in the brine will corrode aluminium and give the pickles an off, metallic taste. Keep the vegetables fully submerged under the brine the whole time they're pickling, using a small weight, a clean stone, or even a folded cabbage leaf tucked on top if pieces keep floating up. Taste your brine before pouring it over the vegetables; it should taste slightly stronger than you want the final pickle to be, since the flavour mellows once diluted by the vegetables' natural moisture. Label each jar with the date it was made, since it's easy to lose track once you've got several variations going in the fridge at once.
Serving Suggestions
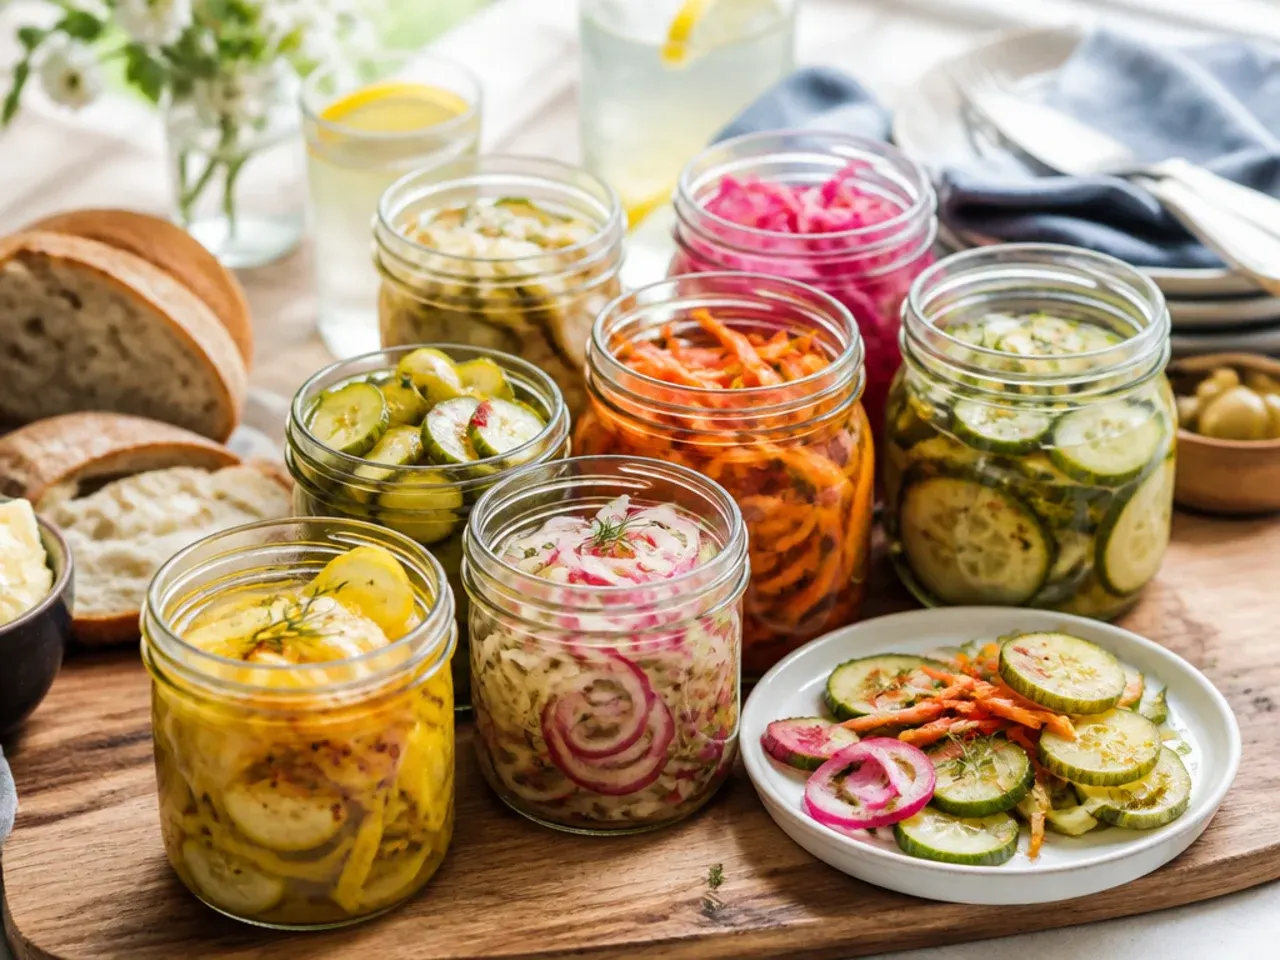
Pile any of these onto burgers, hot dogs, or a loaded sandwich for the acidity and crunch that cuts through rich, fatty fillings. Chop the classic or bread and butter versions finely and stir them into potato salad, egg salad, or a quick tartare sauce for a homemade upgrade on shop-bought jars. Set out a few different jars, such as classic, spicy, and pickled red onion, as part of a grazing board or barbecue spread, since the variety gives guests something to pick between. They're just as good eaten straight from the jar with clean fingers as a low-effort snack when you want something crunchy and sharp.
Storage Tips
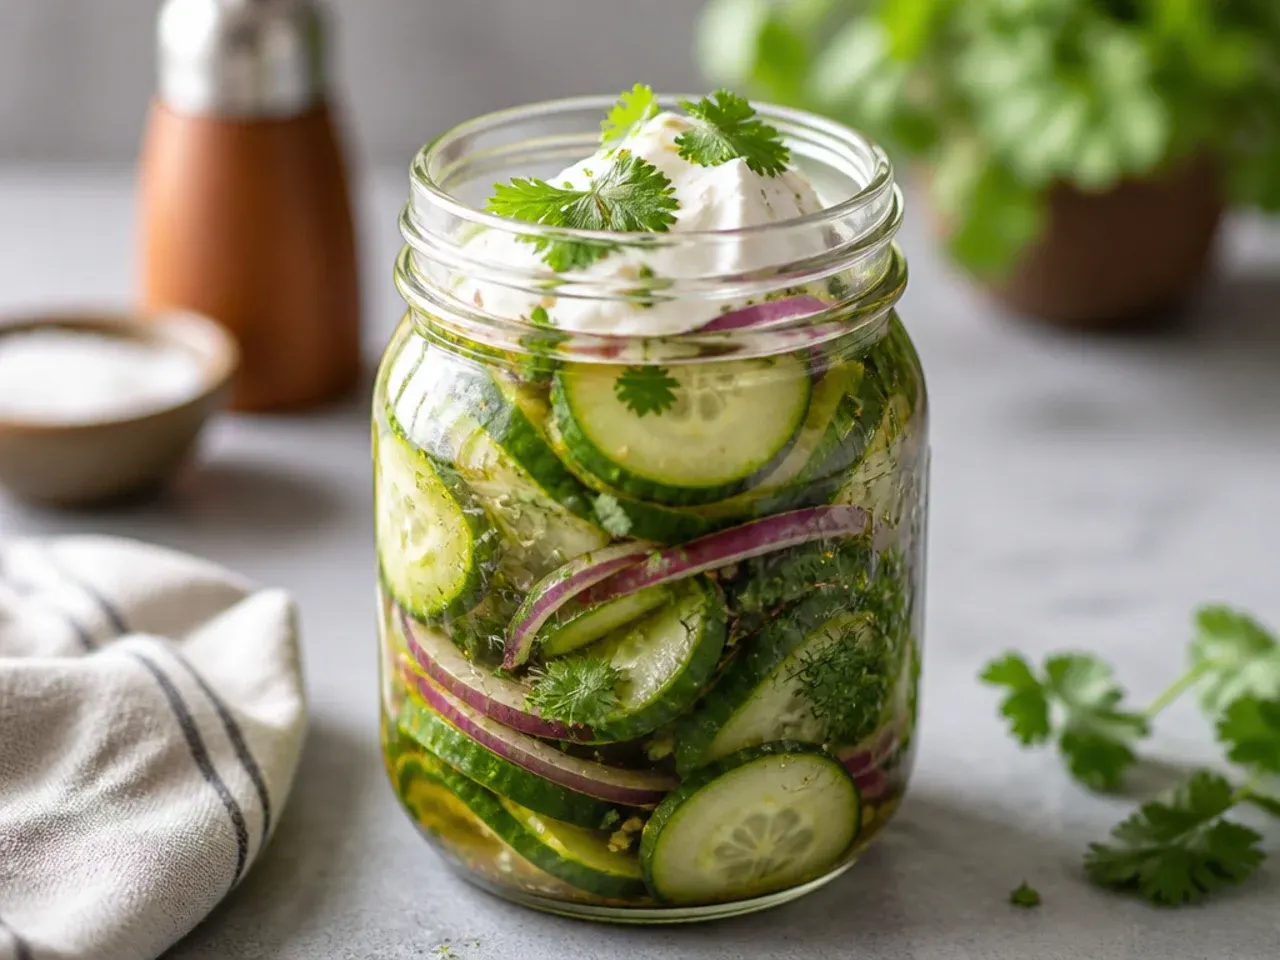
Keep refrigerator pickles fully submerged in their brine, tightly sealed, and stored in the coldest part of the fridge rather than the door, where temperature fluctuates more with each opening. Most versions taste best within the first 2 weeks and remain safe to eat for up to a month, though the texture will soften gradually the longer they sit. Always use a clean fork or tongs to remove pickles rather than fingers, since introducing bacteria into the jar is the main reason a batch turns cloudy or off before its time. These are a fridge-only, no-canning recipe, so if a jar smells unpleasantly sour, looks slimy, or the brine turns cloudy beyond the normal haze of garlic and spices, discard it.
The Recipe
The Master Recipe
20 min
5 min
24 hr 25 min
6
Beginner
Ingredients 6 Person(s)
Directions
Step 1: Slice the cucumbers
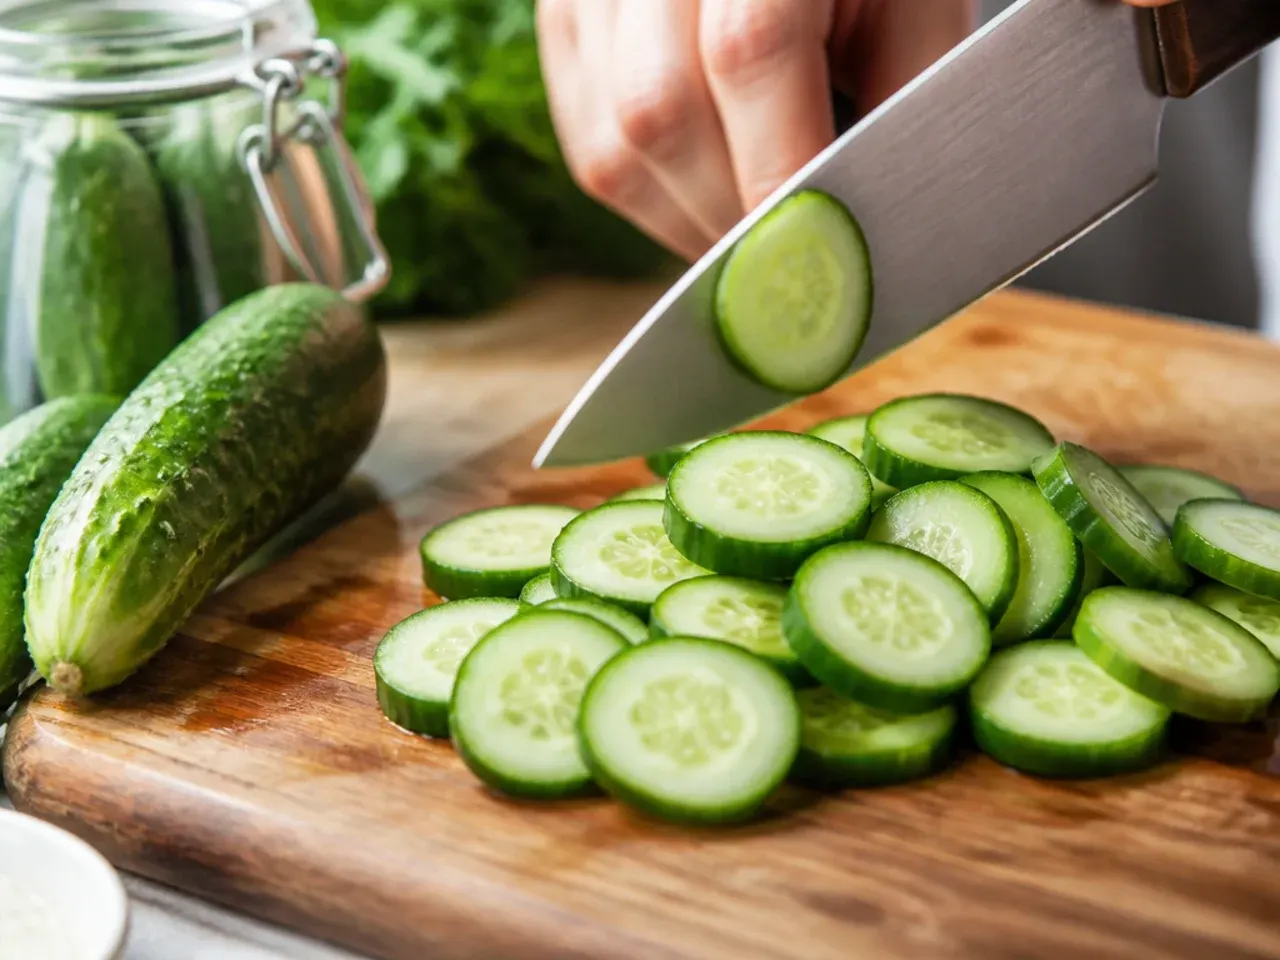
Wash 900 g (2 lb) pickling cucumbers well and trim off the blossom end, which contains enzymes that can make pickles go soft. Cut into spears (quartered lengthwise) or 1 cm (½ inch) rounds depending on how you plan to use them, then set aside in a colander to drain any excess water.
Step 2: Make the brine
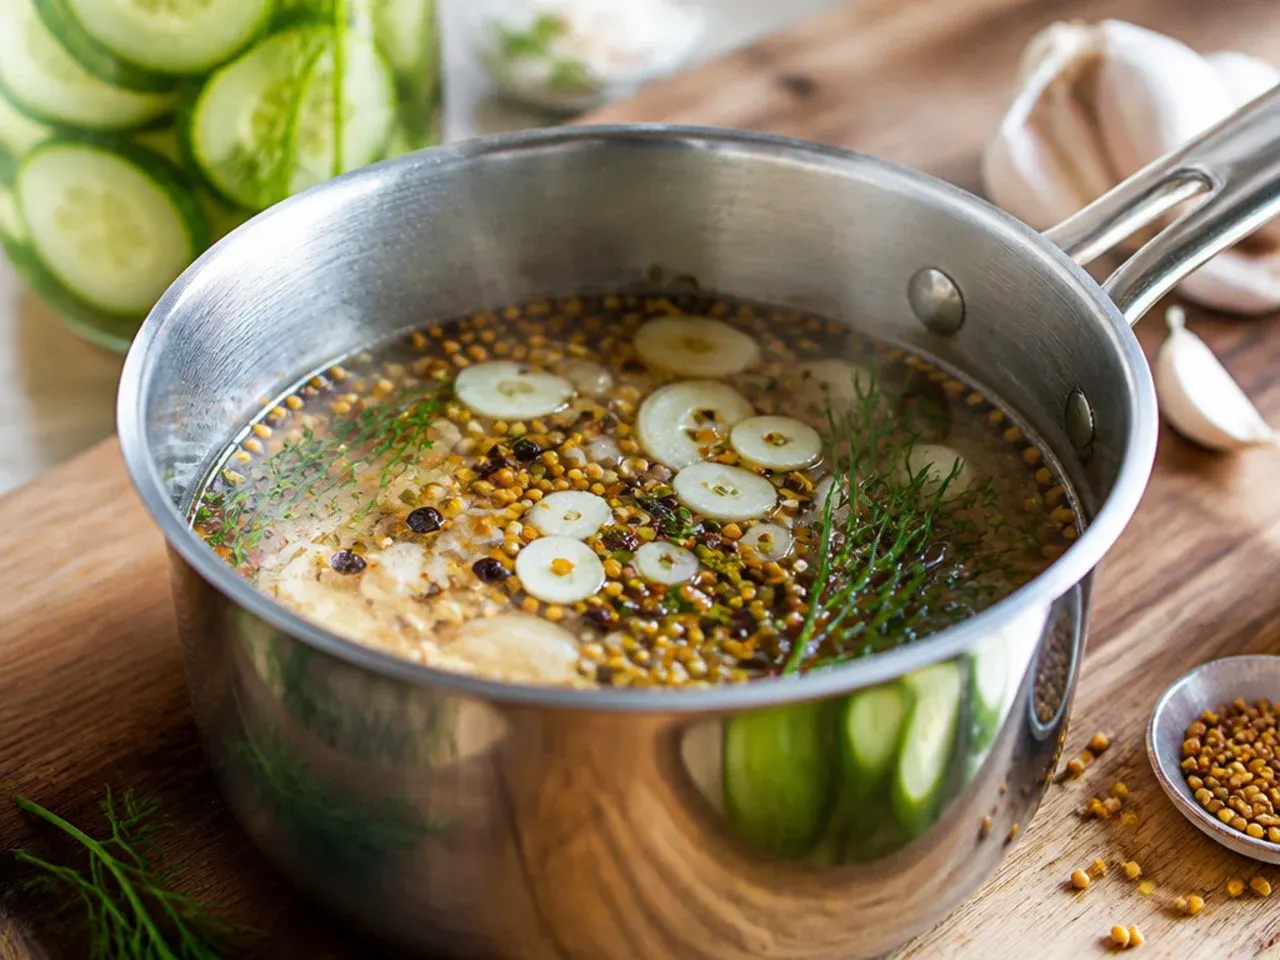
Combine 240 ml (1 cup) white vinegar, 240 ml (1 cup) water, 25 g (2 tbsp) sugar, and 15 g (1 tbsp) kosher salt in a small saucepan. Warm over medium heat, stirring occasionally, just until the sugar and salt fully dissolve — you don't need it to boil, about 2-3 minutes is enough.
Step 3: Cool the brine
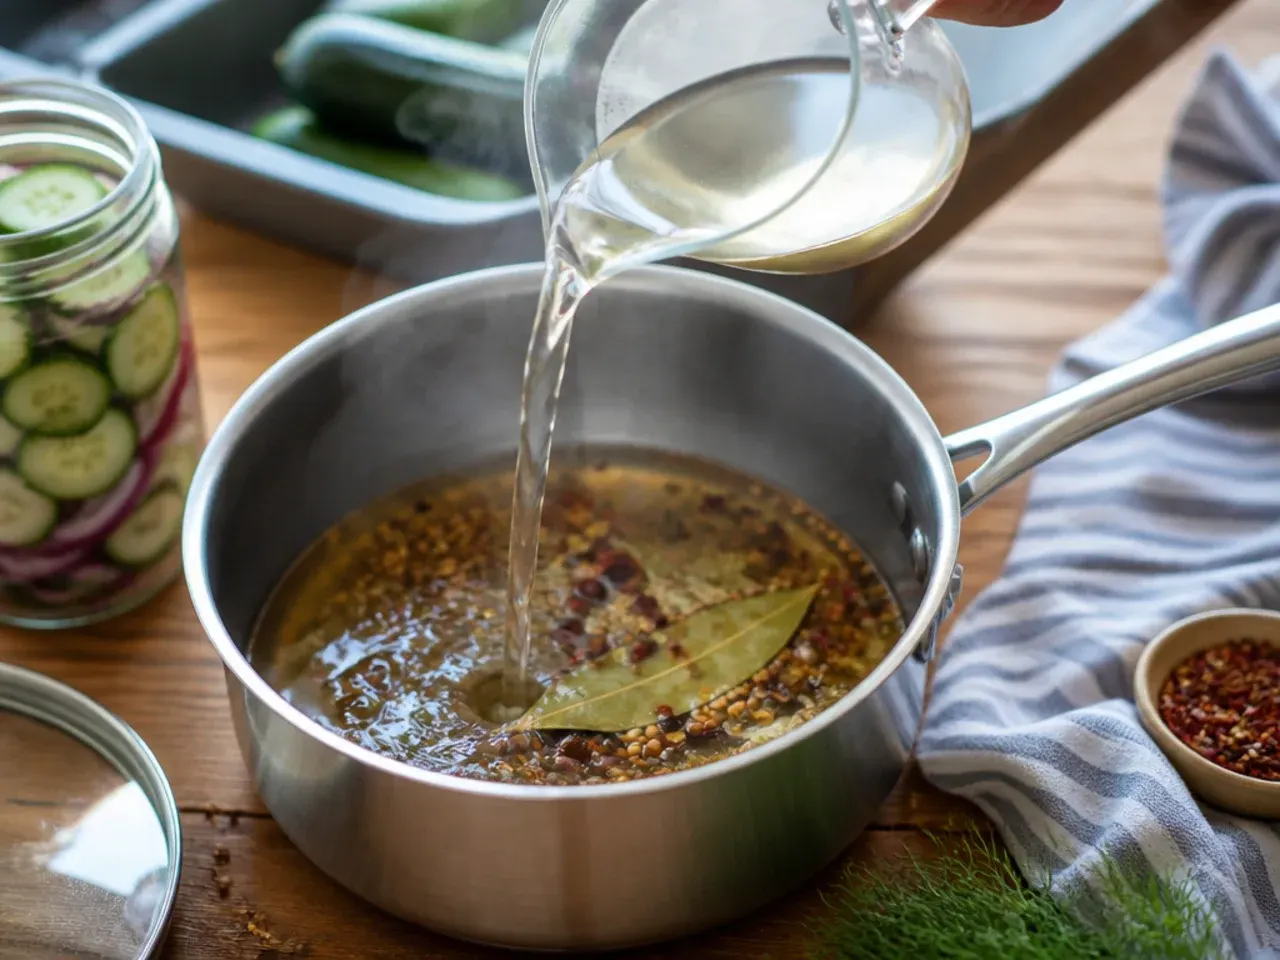
Remove the saucepan from the heat and let the brine cool to room temperature, about 15-20 minutes, before it touches the cucumbers. Pouring hot brine over raw cucumber slices will partially cook them and soften their crunch, so patience here pays off in texture later.
Step 4: Layer the aromatics
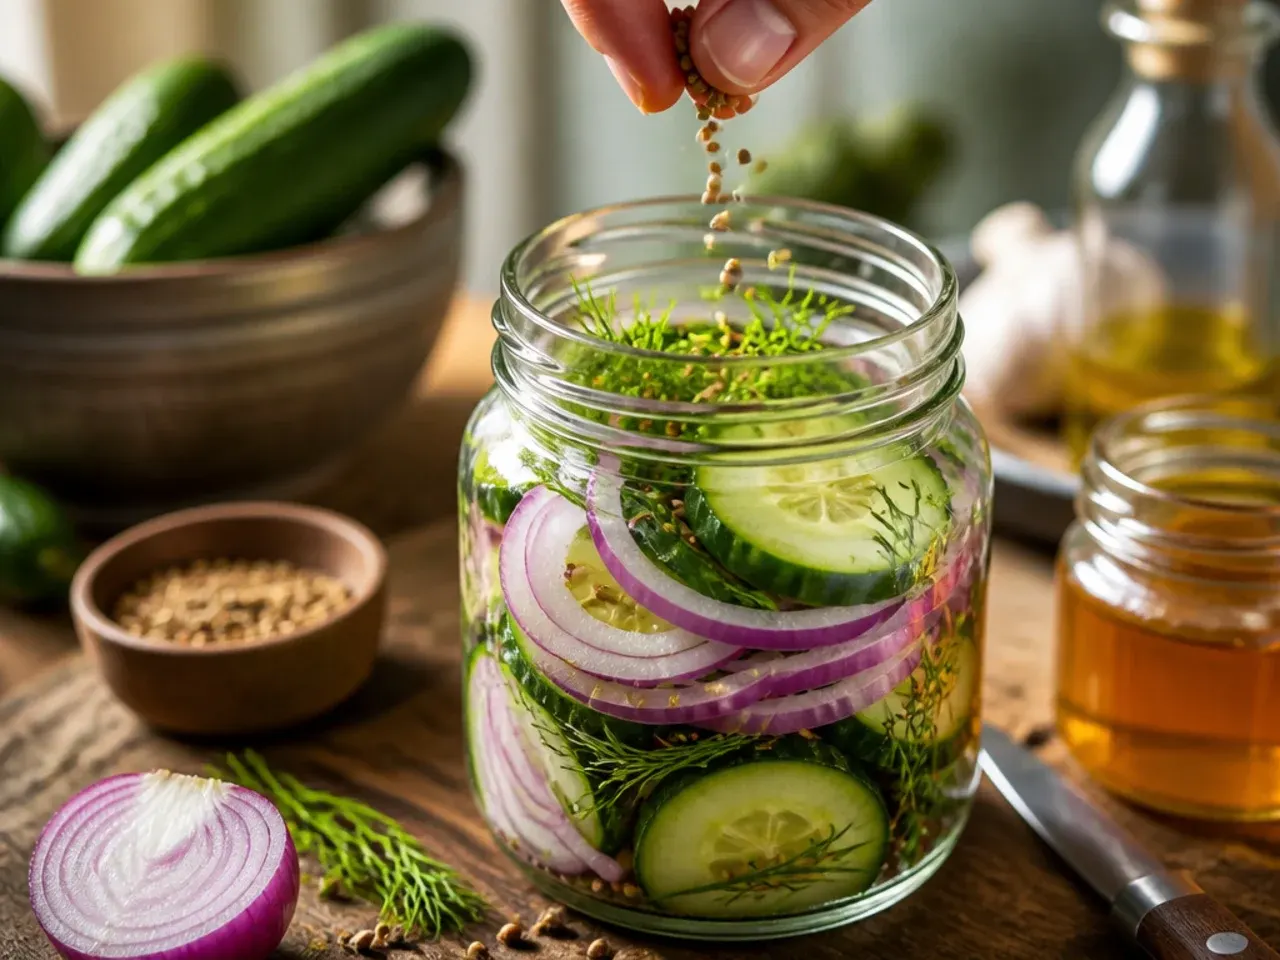
Divide the smashed garlic, dill sprigs, peppercorns, mustard seed, and red pepper flakes (if using) evenly between two 500 ml (1 pint) clean jars. Placing them at the bottom means the brine carries their flavour up through the cucumbers as it settles.
Step 5: Pack the cucumbers
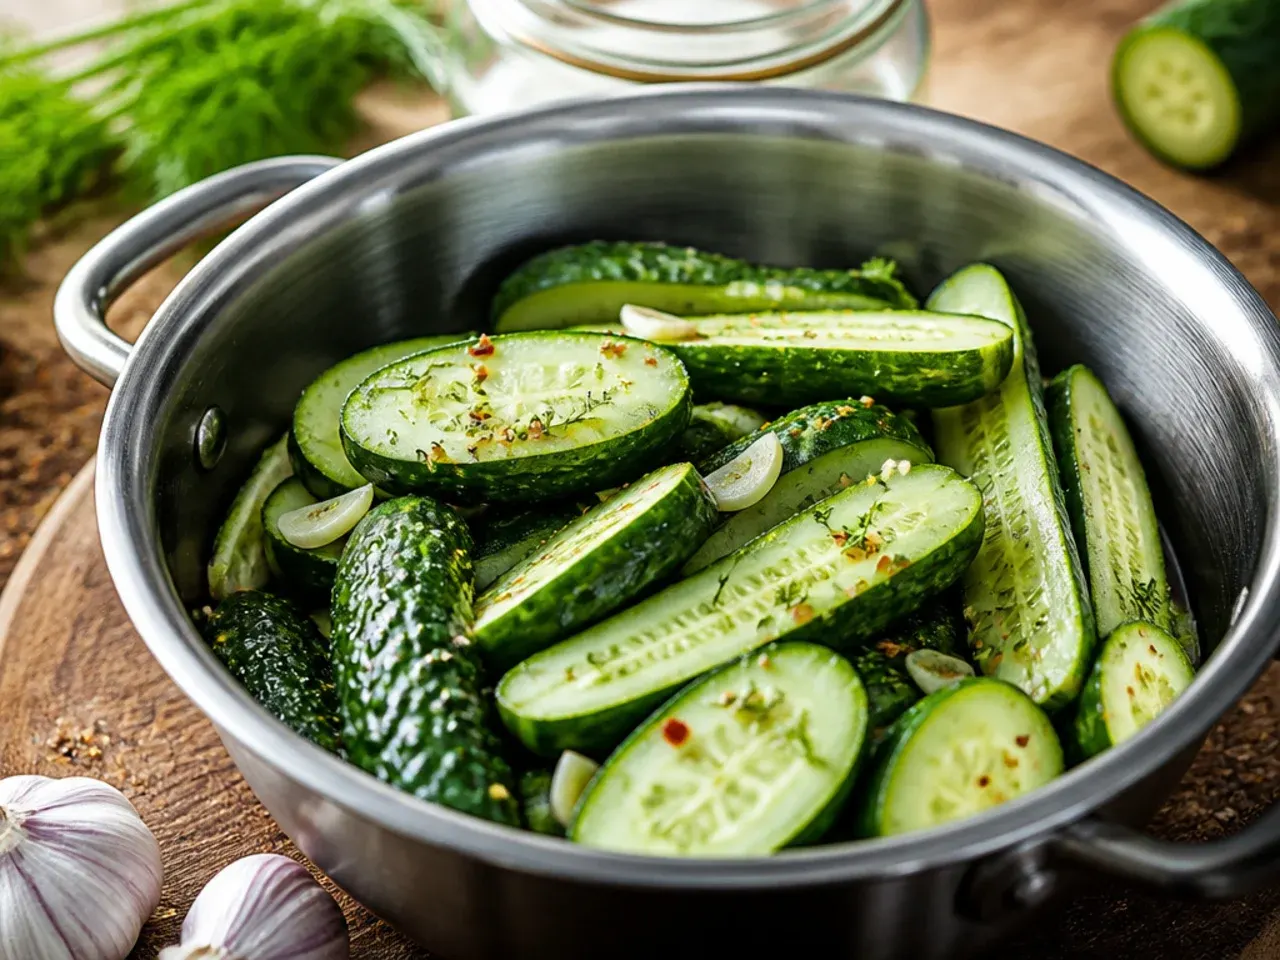
Pack the cucumber spears or rounds tightly into the jars on top of the aromatics, leaving about 1 cm (½ inch) of headspace at the top. Pack them snugly enough that they won't float once the brine is added, but don't force or crush them.
Step 6: Pour and seal
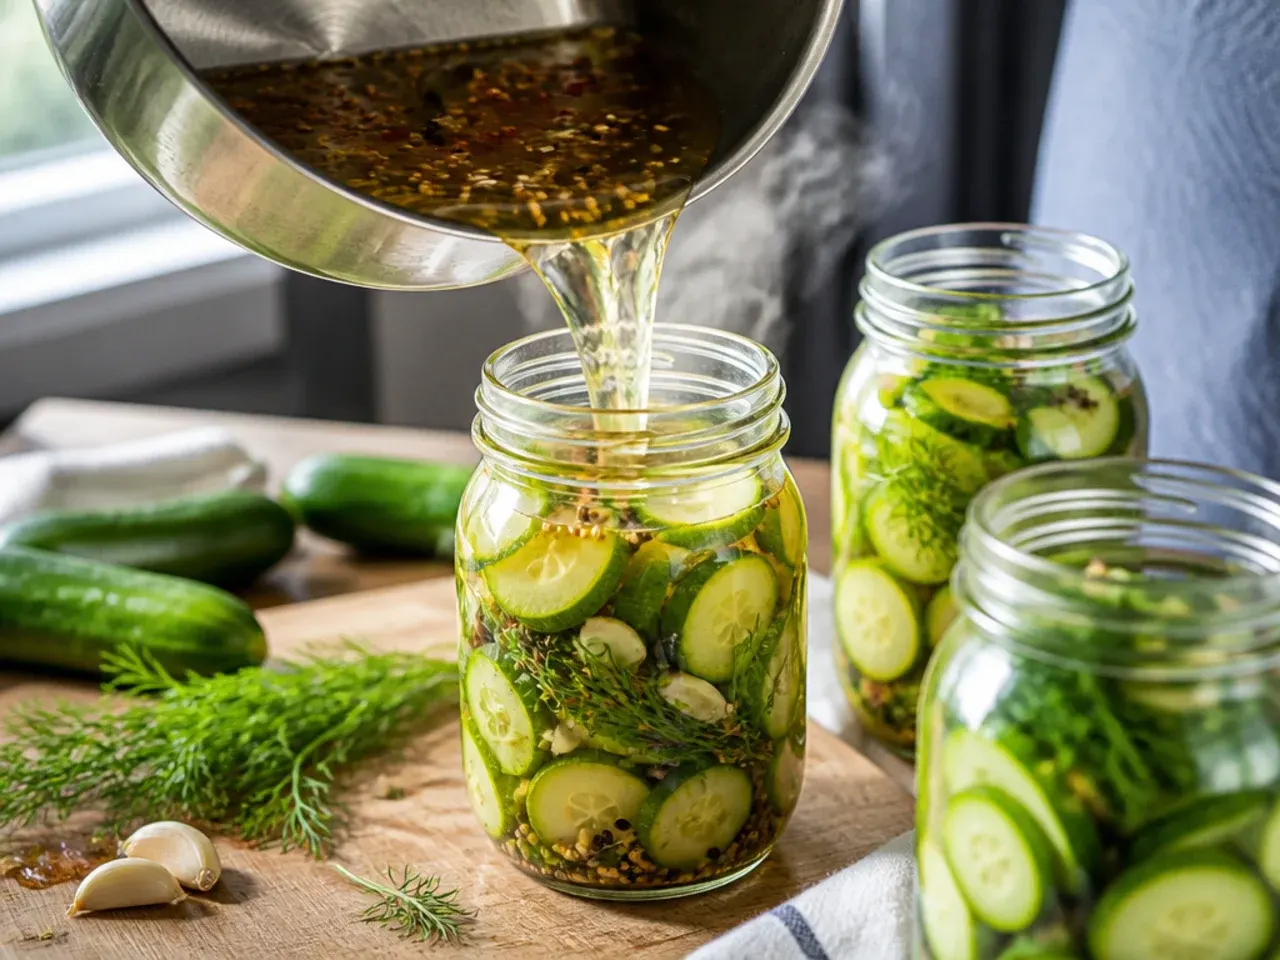
Pour the cooled brine over the cucumbers until fully submerged, gently tapping the jar to release any trapped air bubbles. Seal tightly with a lid — a standard mason jar lid or any airtight food-safe lid works fine.
Step 7: Chill and wait
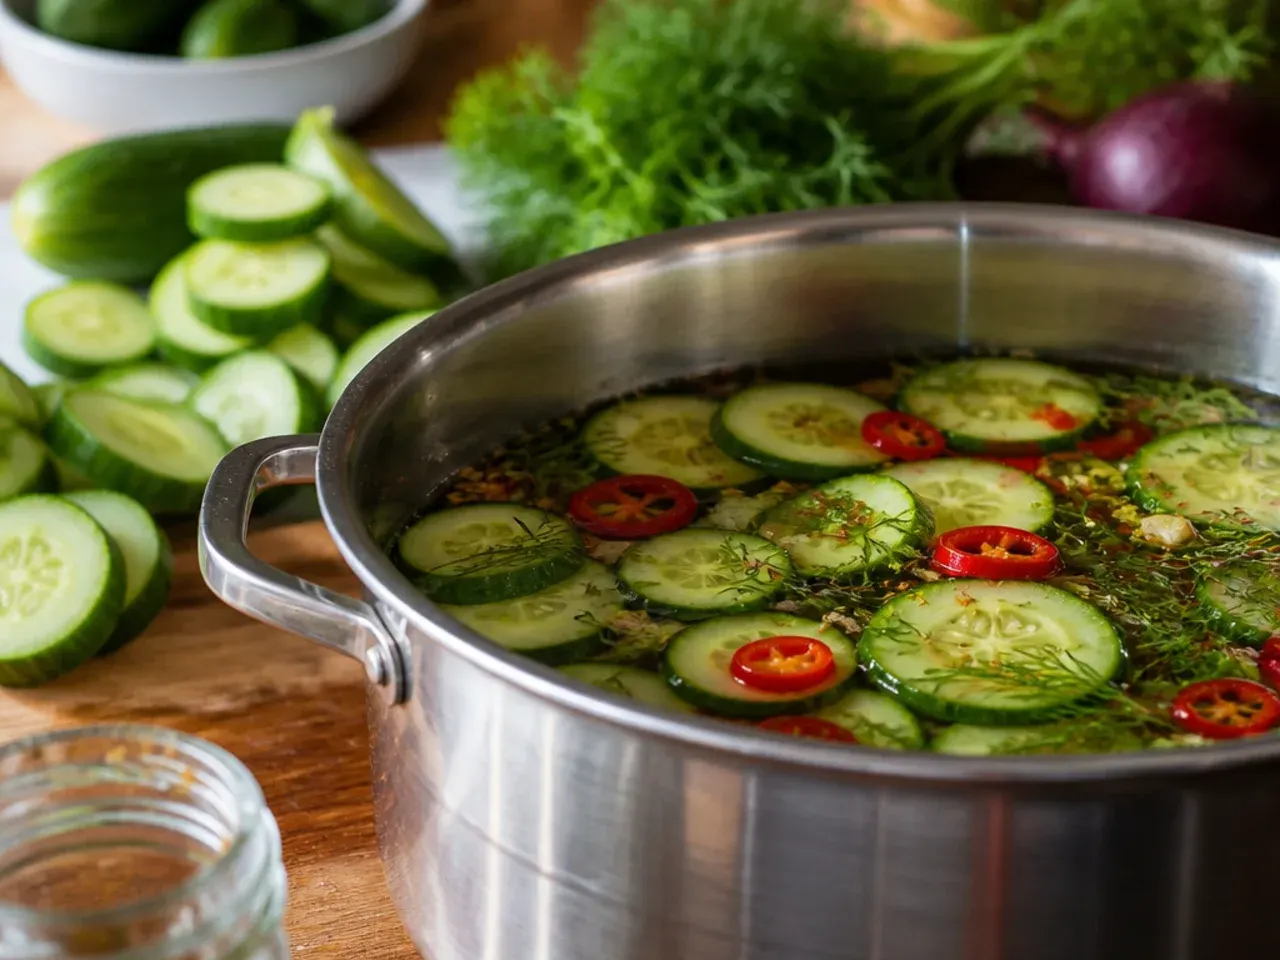
Refrigerate for at least 24 hours before tasting, though 48 hours gives a noticeably deeper, more balanced flavour throughout. Keep the jars refrigerated and fully submerged, and expect the best texture and taste within the first 2 weeks.
Frequently Asked Questions
Yes, refrigerator pickles are actually best made ahead, since the flavour needs at least 24 hours to fully develop and keeps improving for the first week. Make a batch up to 5-7 days before you need them for a party or packed lunches, and they'll be at their peak crunch and flavour. Because there's no canning or heat processing involved, there's no risk of under-processing; the only downside to waiting longer is a gradual softening of texture after the first couple of weeks. Keep them in the fridge the entire time and they'll be ready whenever you need them.
Save this for later 📌
Pin this article to your Pinterest board so the full list is one tap away when you need it.
Save on Pinterest