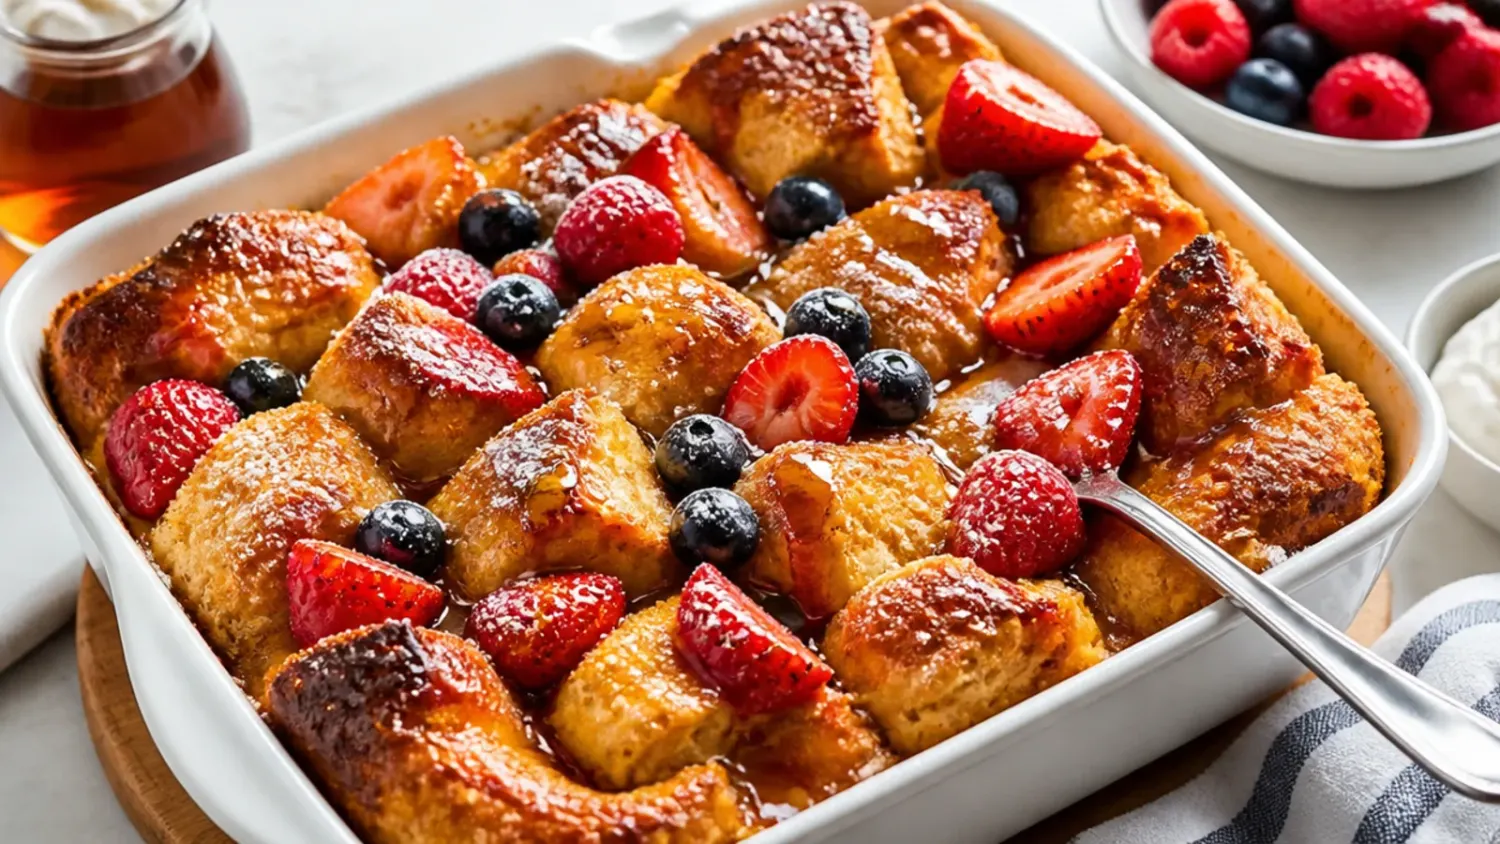
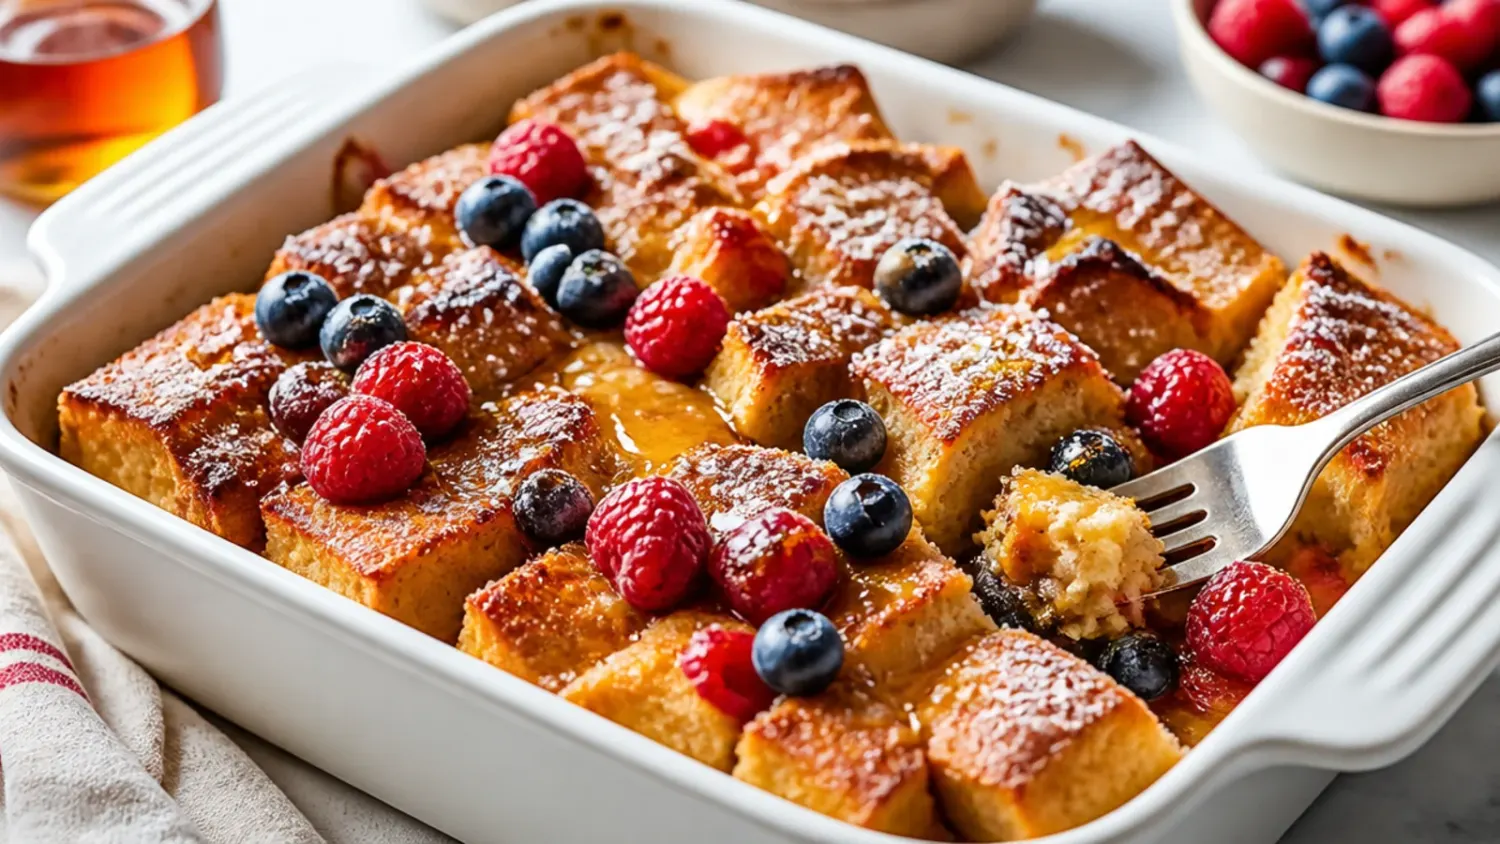
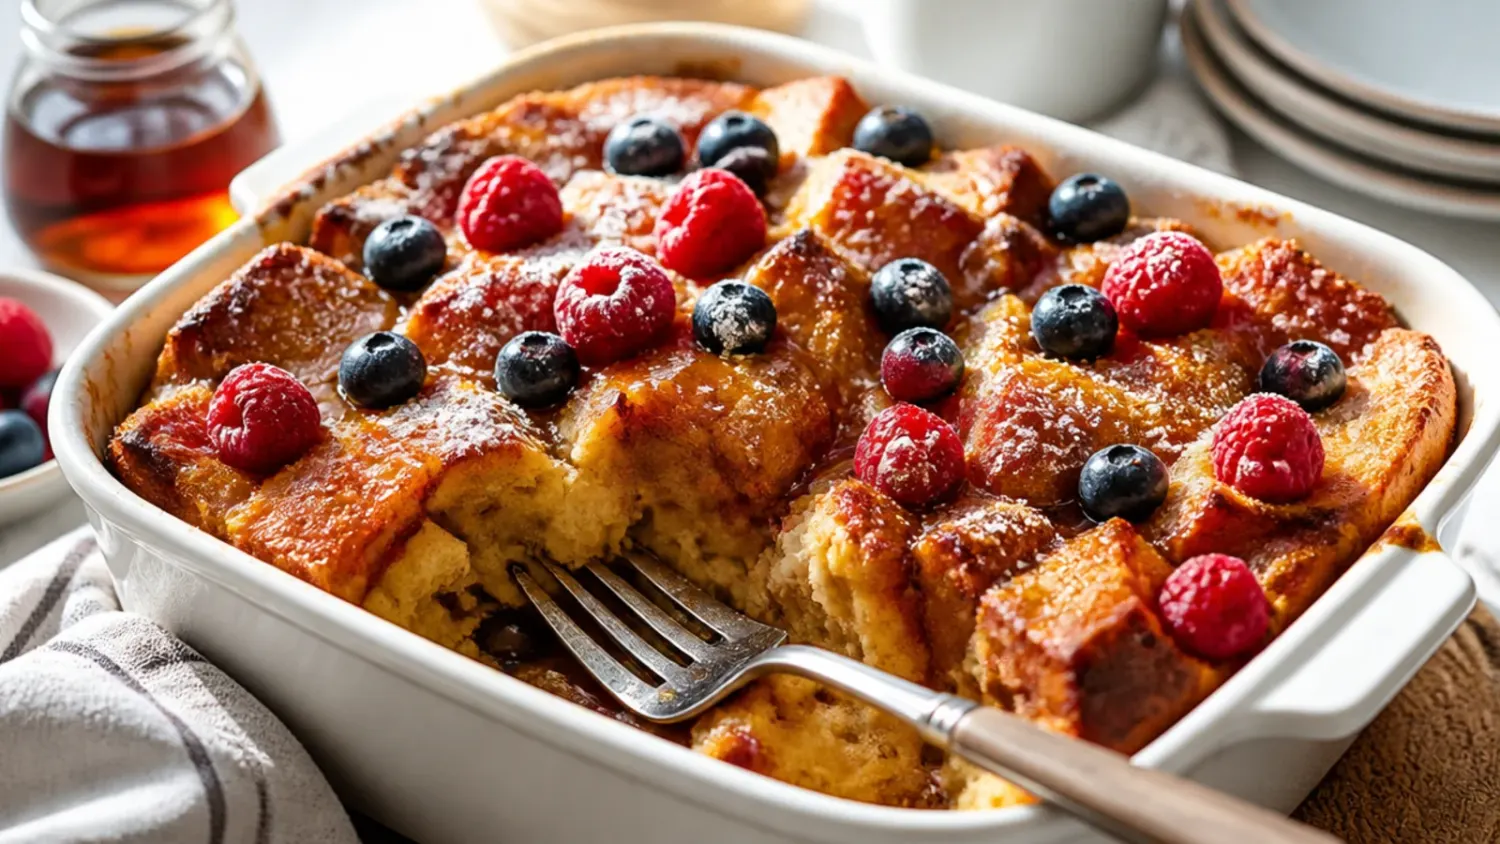
15 Crockpot French Toast Casseroles I Tested
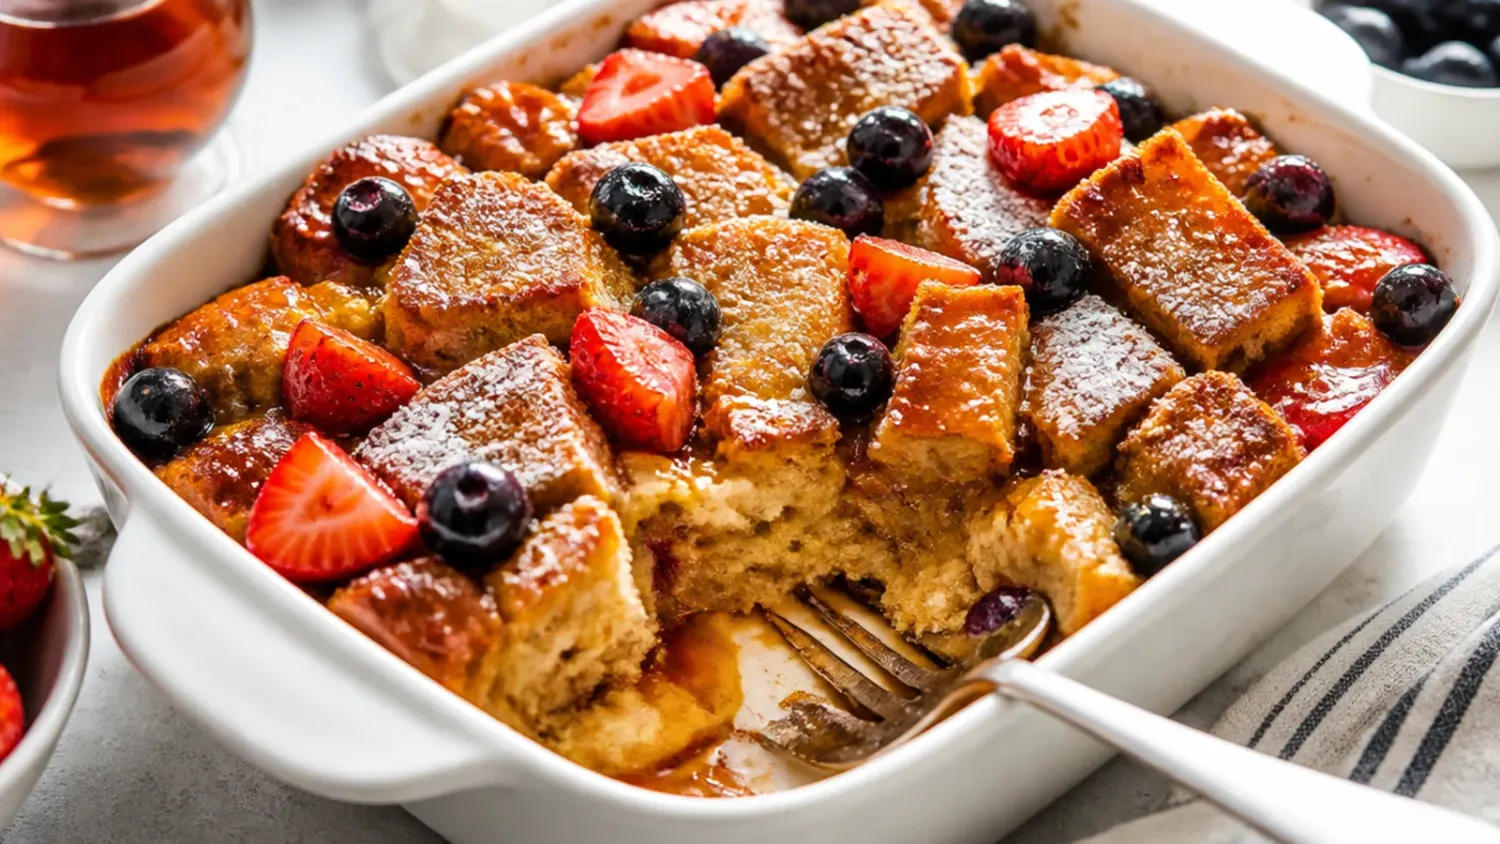
Fifteen honest lessons from making french toast casserole in the crockpot over and over, including the mistakes that cost me a ruined breakfast. If you love french toast casserole inspiration, start with our French Toast Casserole collection, then browse the full Comfort Dinners hub for more.

Save this for later 📌
Pin this article to your Pinterest board so the full list is one tap away when you need it.
Save on PinterestComfort Dinners
Beginner
Kitchen Journal
7 steps
Table of Contents
- Lesson 1: I Skimped on the Butter and Paid for It
- Lesson 2: Fresh Bread Turned My Casserole to Mush
- Lesson 3: I Cranked It to High and Regretted It
- Lesson 4: A Paper Towel Under the Lid Changed Everything
- Lesson 5: I Overfilled a Small Crockpot and Regretted It
- Lesson 6: I Trusted the Recipe's Timer Instead of My Own Eyes
- Lesson 7: Uneven Hot Spots Meant One Side Cooked Faster
- Lesson 8: My Streusel Topping Turned to Sludge
- Lesson 9: Using an Oven Recipe's Liquid Amount Left a Soggy Base
- Lesson 10: A Bunched-Up Liner Cooked Unevenly
- Lesson 11: Tiny Bread Cubes Fell Apart Completely
- Lesson 12: Not Pressing the Bread Down Left Dry Patches
- Lesson 13: Serving It Straight From the Pot Was Too Wet
- Lesson 14: Reheating Leftovers on Warm Dried Them Out
- Lesson 15: Swapping to Gluten-Free Bread Needed Less Liquid, Not the Same
- What I'd Tell a Friend Trying This
- The Recipe I Used
Lesson 1: I Skimped on the Butter and Paid for It
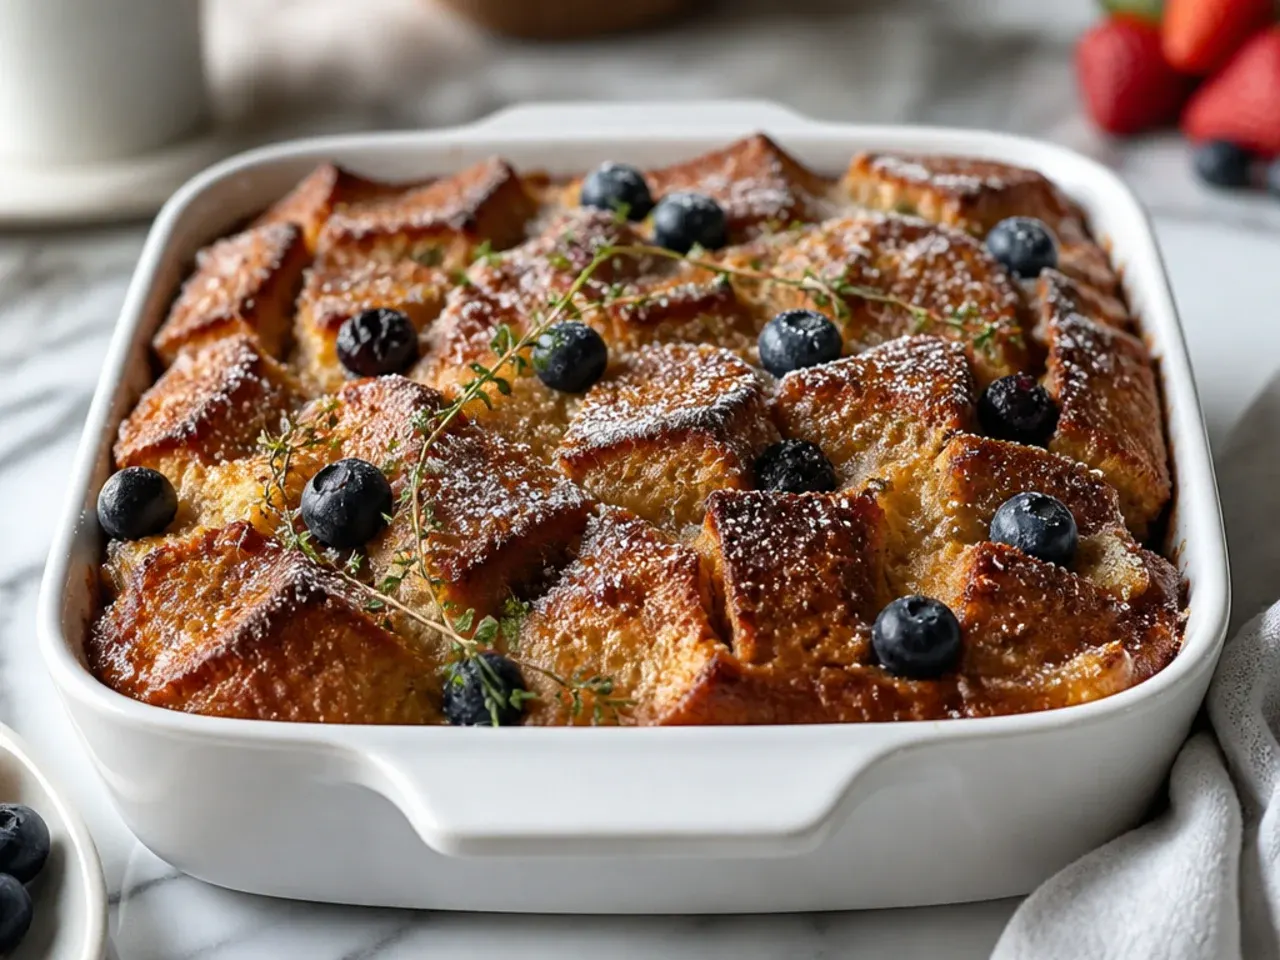
The first time I made french toast casserole in the crockpot, I gave the insert a quick spray and assumed that was enough, the way it would be for a baking dish. Within an hour the bottom edge had welded itself to the ceramic, and I lost a good third of the casserole trying to scrape it free. Now I rub softened butter generously over the base and right up the sides with my fingers, getting into the seam where the insert curves, because a slow cooker holds heat against the bread far longer than an oven ever does.
Lesson 2: Fresh Bread Turned My Casserole to Mush

I once used a soft supermarket brioche loaf straight off the shelf, thinking fresher meant better, and ended up with a dense, gluey texture that never set properly even after four hours on low. Fresh bread simply can't hold its shape once it's sitting in warm, moist custard for that long inside a sealed pot. Since then I always use bread that's at least a day old, or I cube it and leave it uncovered on the counter for a couple of hours first so it can dry out and firm up.
Lesson 3: I Cranked It to High and Regretted It
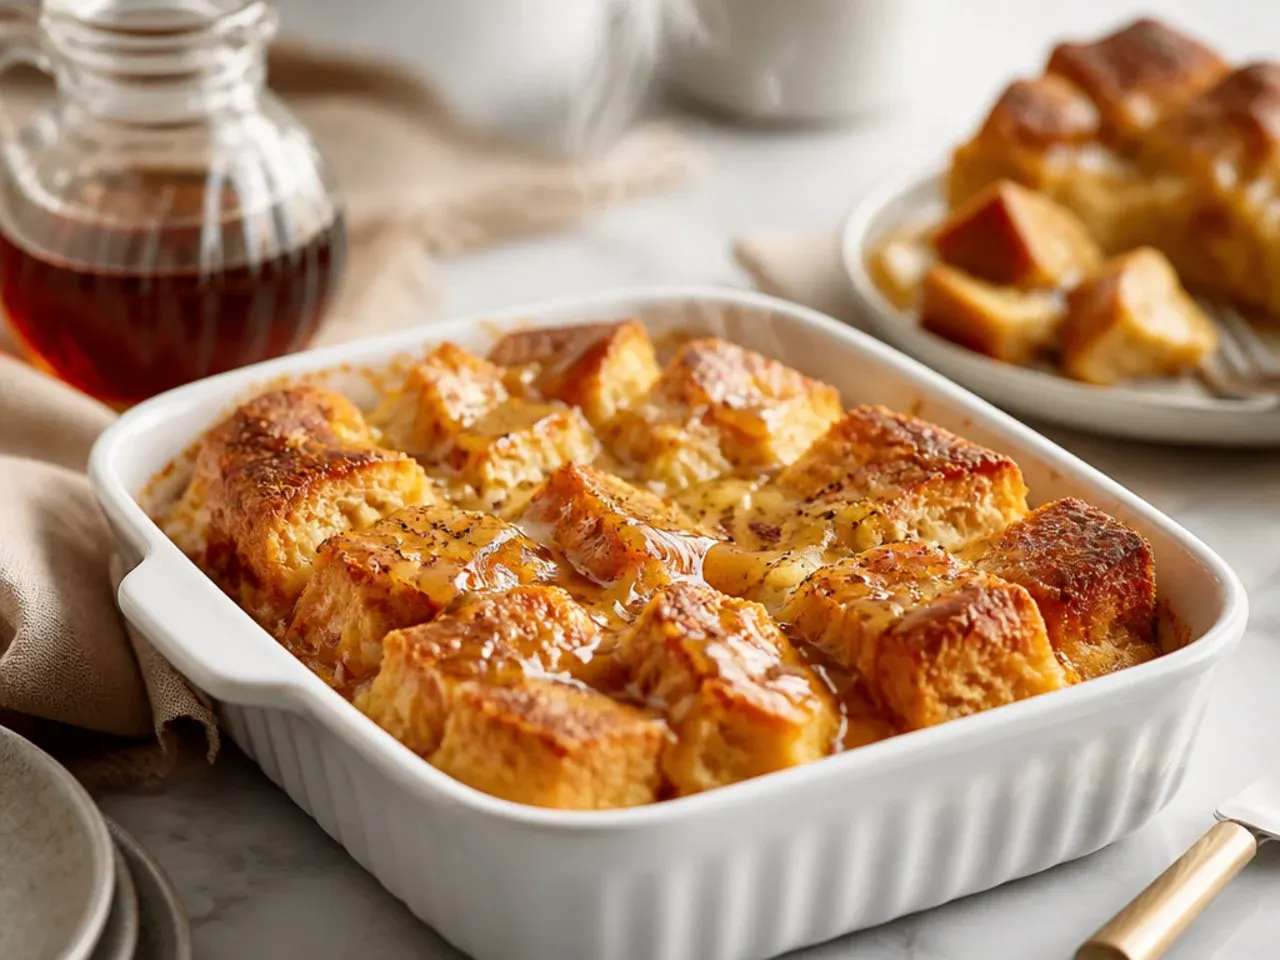
Wanting breakfast faster, I once cooked the whole batch on high for two hours, and the edges turned dark and slightly bitter while the very centre was still visibly wet custard. A slow cooker's heat comes from the sides and base, so high heat scorches the outer ring long before the middle has any chance to catch up. Low and slow genuinely is the better setting for this dish, even though it takes closer to three and a half hours, because it lets the centre finish without sacrificing the edges.
Lesson 4: A Paper Towel Under the Lid Changed Everything
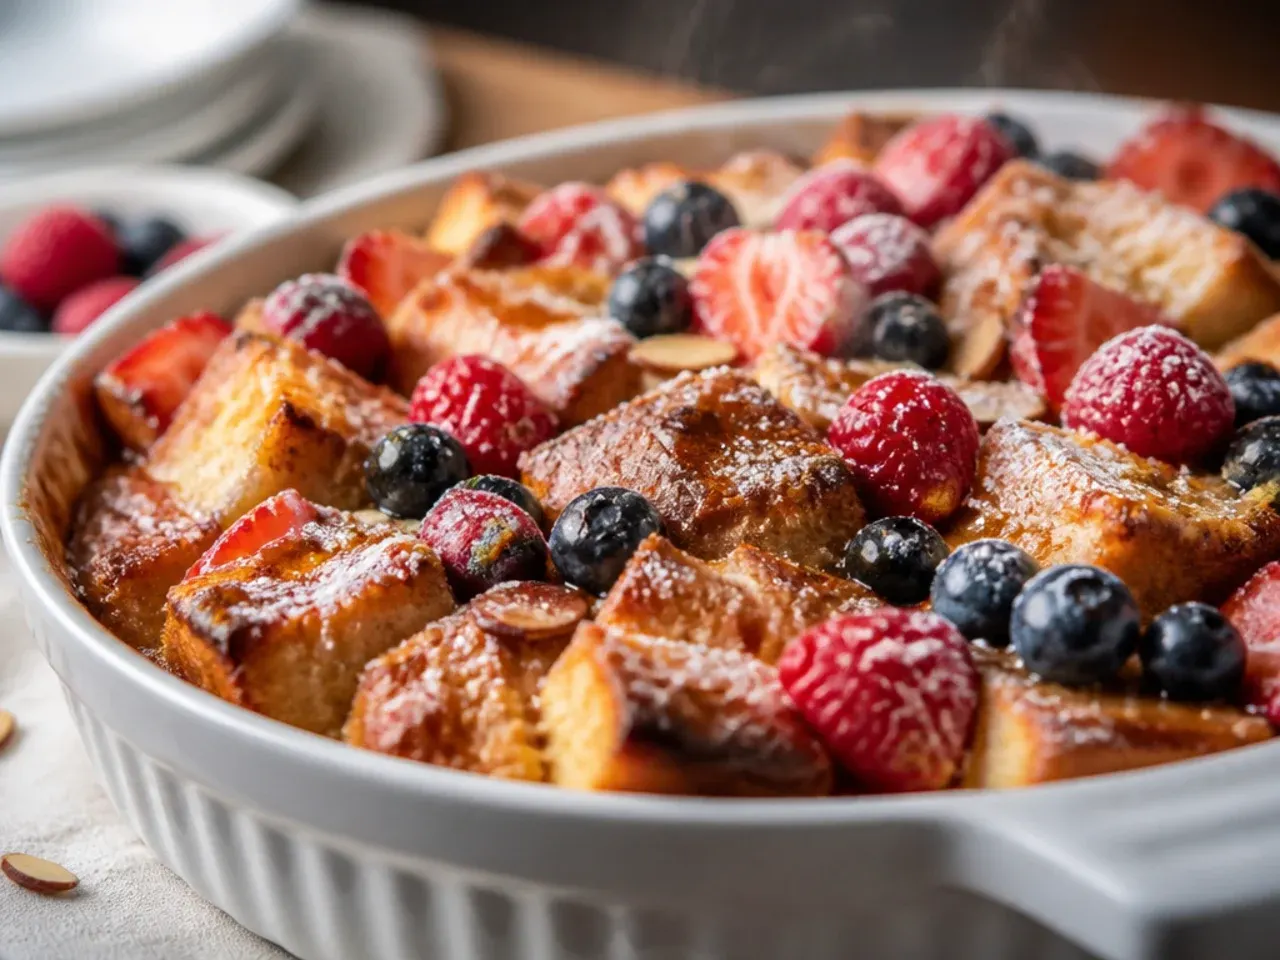
For ages I didn't understand why the top of my casserole always came out slightly slimy no matter how long I cooked it, until I realised the condensation building up on the lid was dripping straight back down onto the bread. Now I fold a clean tea towel or a couple of paper towels and tuck them under the lid before it goes on, angled so they catch the moisture instead of the casserole. It sounds like a small thing, but it's the single change that made the top of mine finally look and taste baked rather than steamed.
Lesson 5: I Overfilled a Small Crockpot and Regretted It
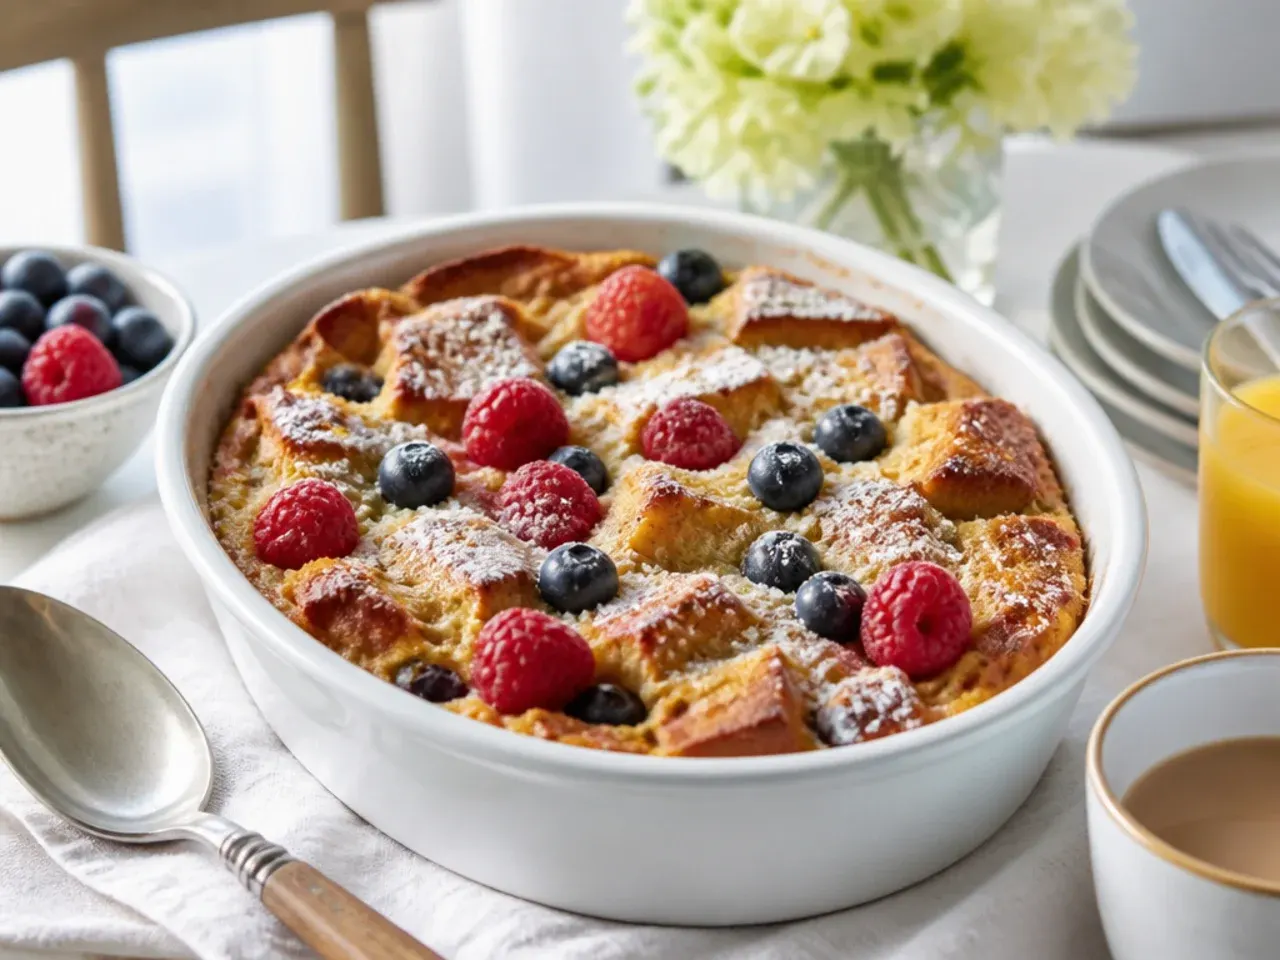
I tried to fit a full oven-sized batch of bread and custard into a 4-quart slow cooker once, and the mixture came close to the rim, cooked unevenly, and bubbled over onto the counter as it expanded. A 6-quart oval or round crockpot gives the casserole enough room to cook through without the middle staying dense from being packed in too tightly. Now I scale my batch to whichever pot I'm using and keep the filled level to around two-thirds full, never more.
Lesson 6: I Trusted the Recipe's Timer Instead of My Own Eyes
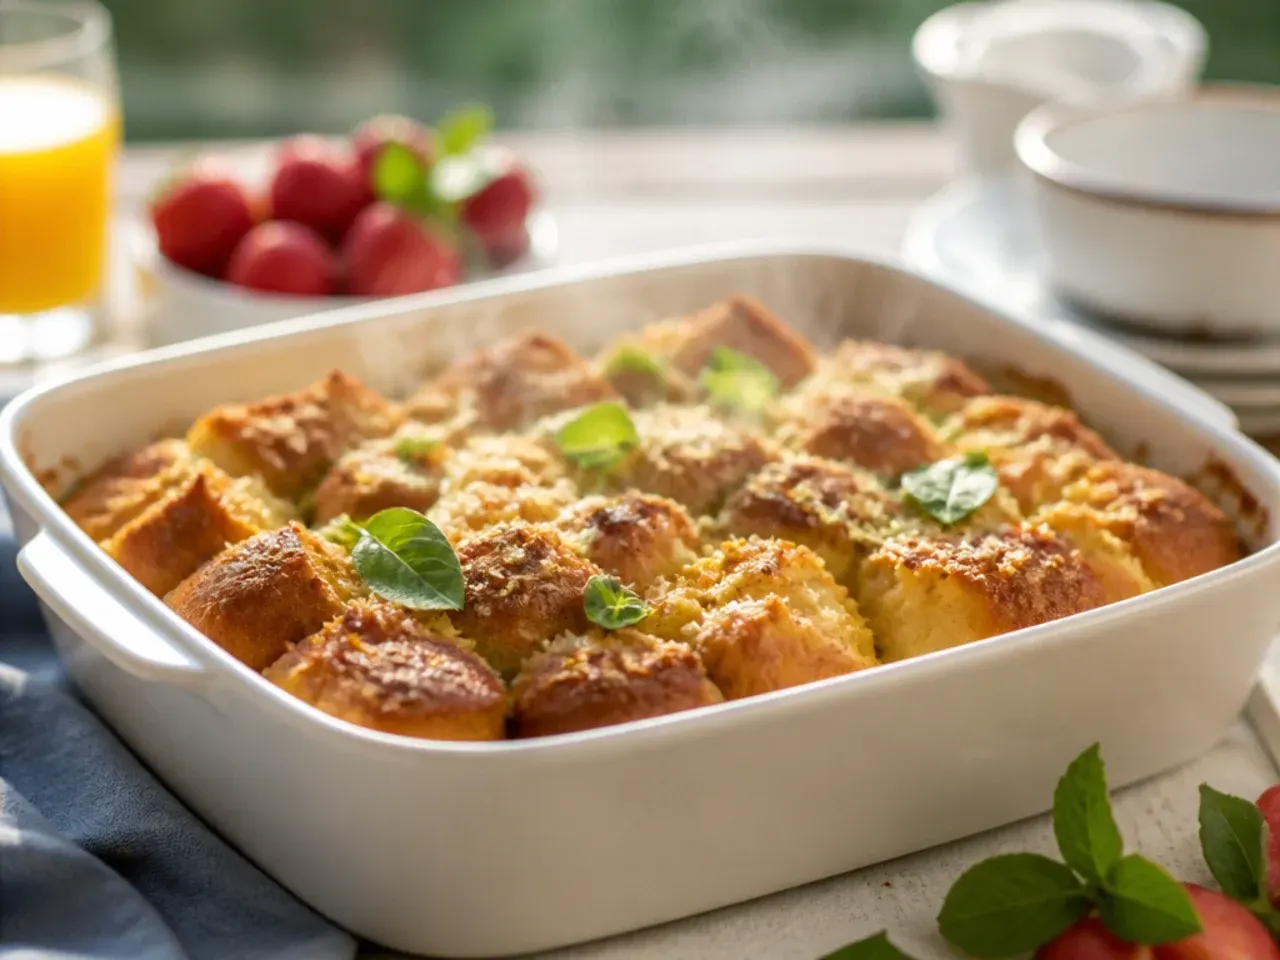
Every recipe I've followed gives a time range, but my own crockpot runs noticeably hotter than my mum's, so following someone else's 3-hour mark left mine overdone and slightly dry at the edges. I now start checking at the earliest point in whatever range I'm given, sliding a thin knife into the centre to see if it comes out mostly clean rather than watery. It's a small habit, but it's saved me from both underdone and overdone batches more times than I can count.
Lesson 7: Uneven Hot Spots Meant One Side Cooked Faster
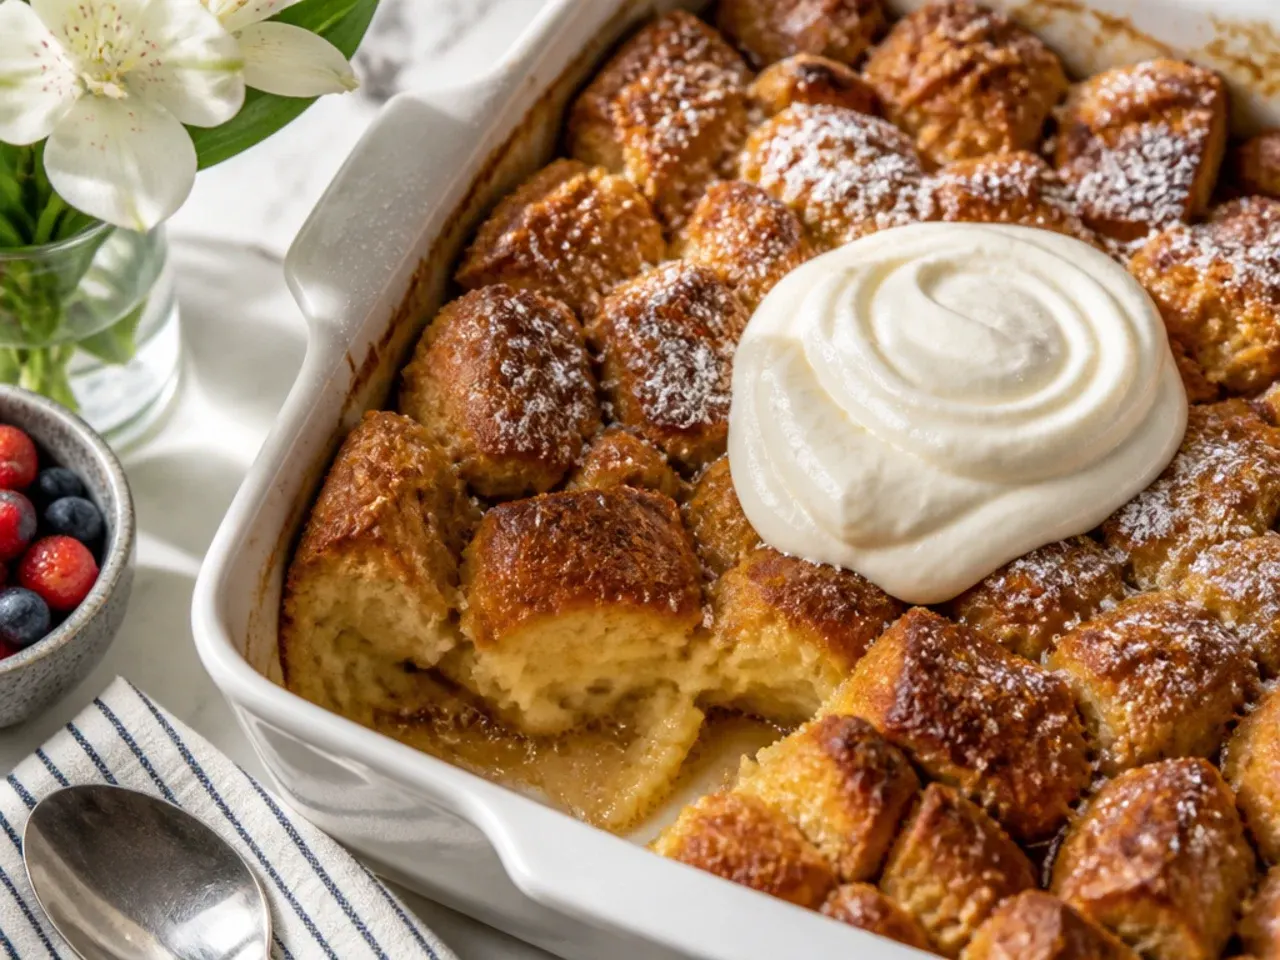
I noticed my casserole was consistently darker on one side, which turned out to be because my crockpot's heating element runs hotter on that edge, something I only found out after several lopsided bakes. Rotating the insert itself halfway through cooking, using oven gloves since it's hot, evens this out completely. If your slow cooker doesn't allow the insert to lift out safely, rotating the whole unit on the counter does the same job.
Lesson 8: My Streusel Topping Turned to Sludge
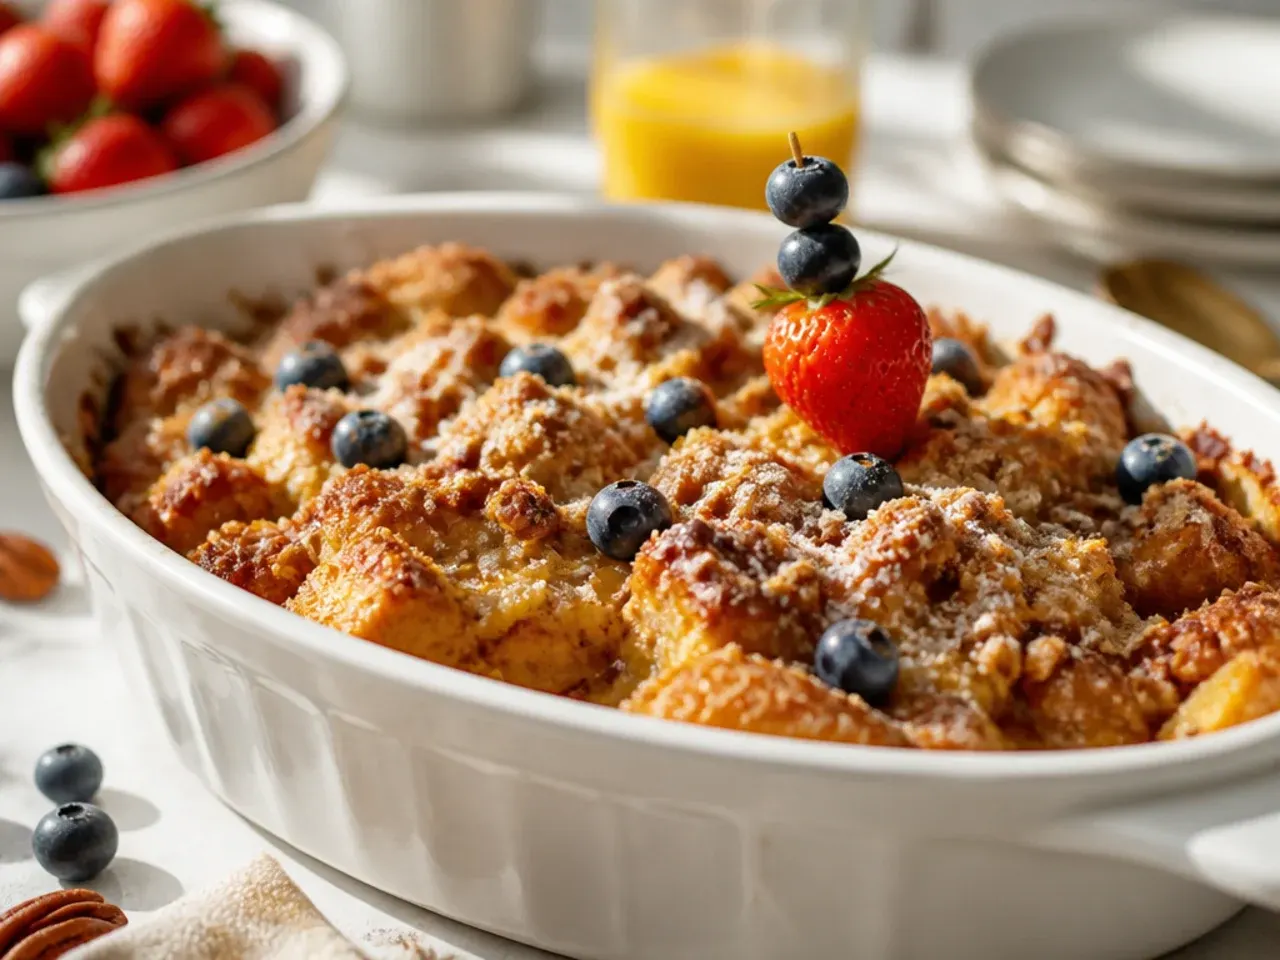
Adding the buttery brown sugar and pecan streusel at the very start, the way I would for an oven bake, left it soggy and sunk into the custard by the time the casserole finished cooking. In a slow cooker's moist, sealed environment, a topping added early never gets the chance to crisp the way it would in dry oven heat. Now I scatter mine on in the last 30 minutes only, with the lid slightly ajar for the final 10, and it comes out properly golden and a little crunchy instead of wet.
Lesson 9: Using an Oven Recipe's Liquid Amount Left a Soggy Base
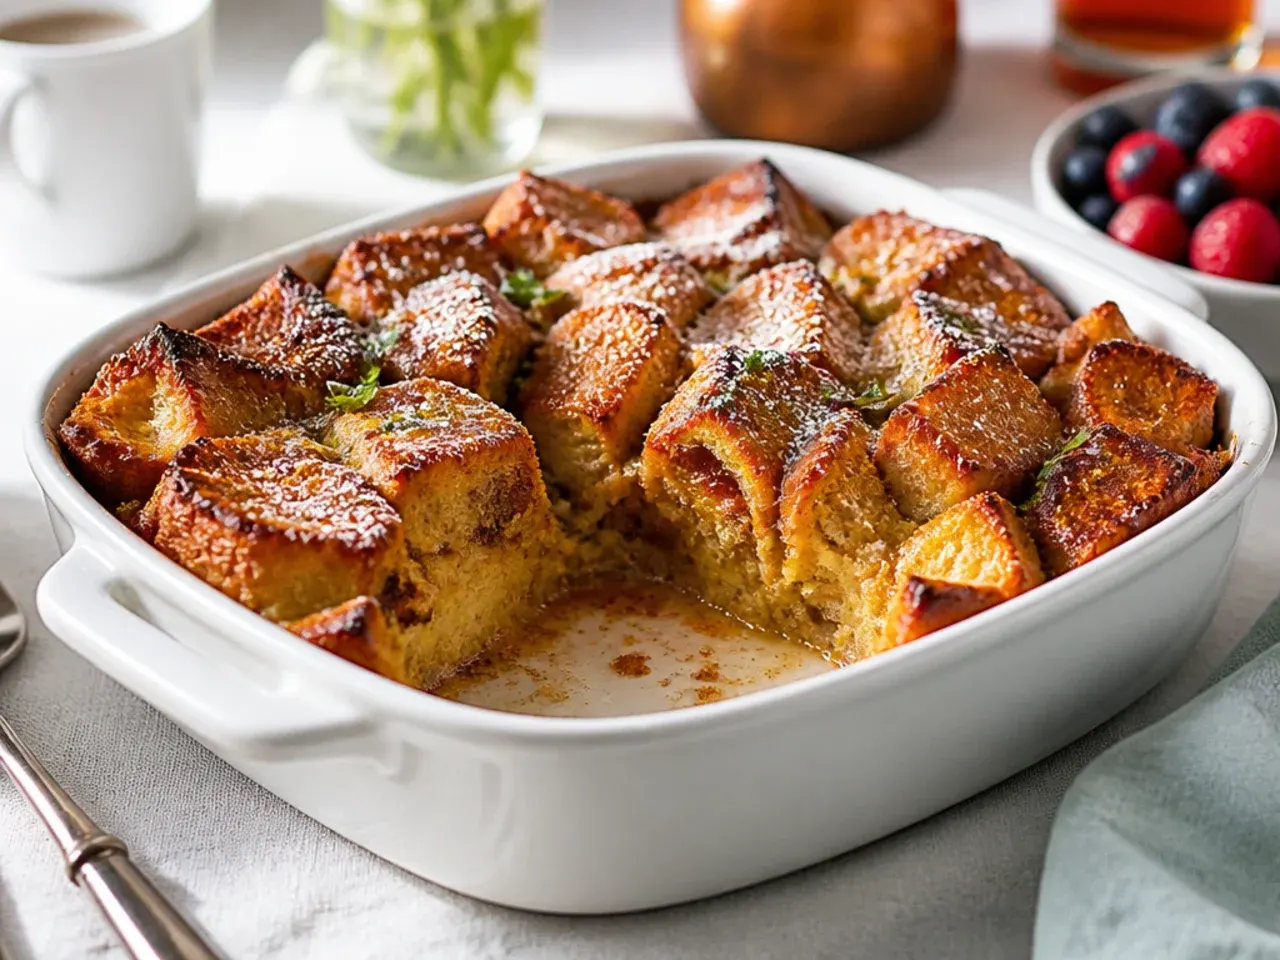
The first time I just used my usual oven-baked custard ratio, about 480 ml (2 cups) of milk to 700 g (1.5 lb) of bread, the crockpot version came out with a genuinely wet, unset layer along the bottom. A slow cooker doesn't let any moisture evaporate the way an open oven does, so it needs noticeably less liquid to reach the same custardy texture. I now cut the milk back by around 60 ml (1/4 cup) for the crockpot version specifically, and the base finally sets properly.
Lesson 10: A Bunched-Up Liner Cooked Unevenly

I tried using a slow cooker liner for easier cleanup once, but I didn't smooth it out properly first, and the wrinkled folds created air pockets where the custard pooled and the bread cooked at a different rate than the rest. Now, if I use a liner at all, I press it firmly into every curve of the insert before adding anything, working out the creases with my hands. It genuinely does make cleanup easier, but only if it's fitted properly first.
Lesson 11: Tiny Bread Cubes Fell Apart Completely
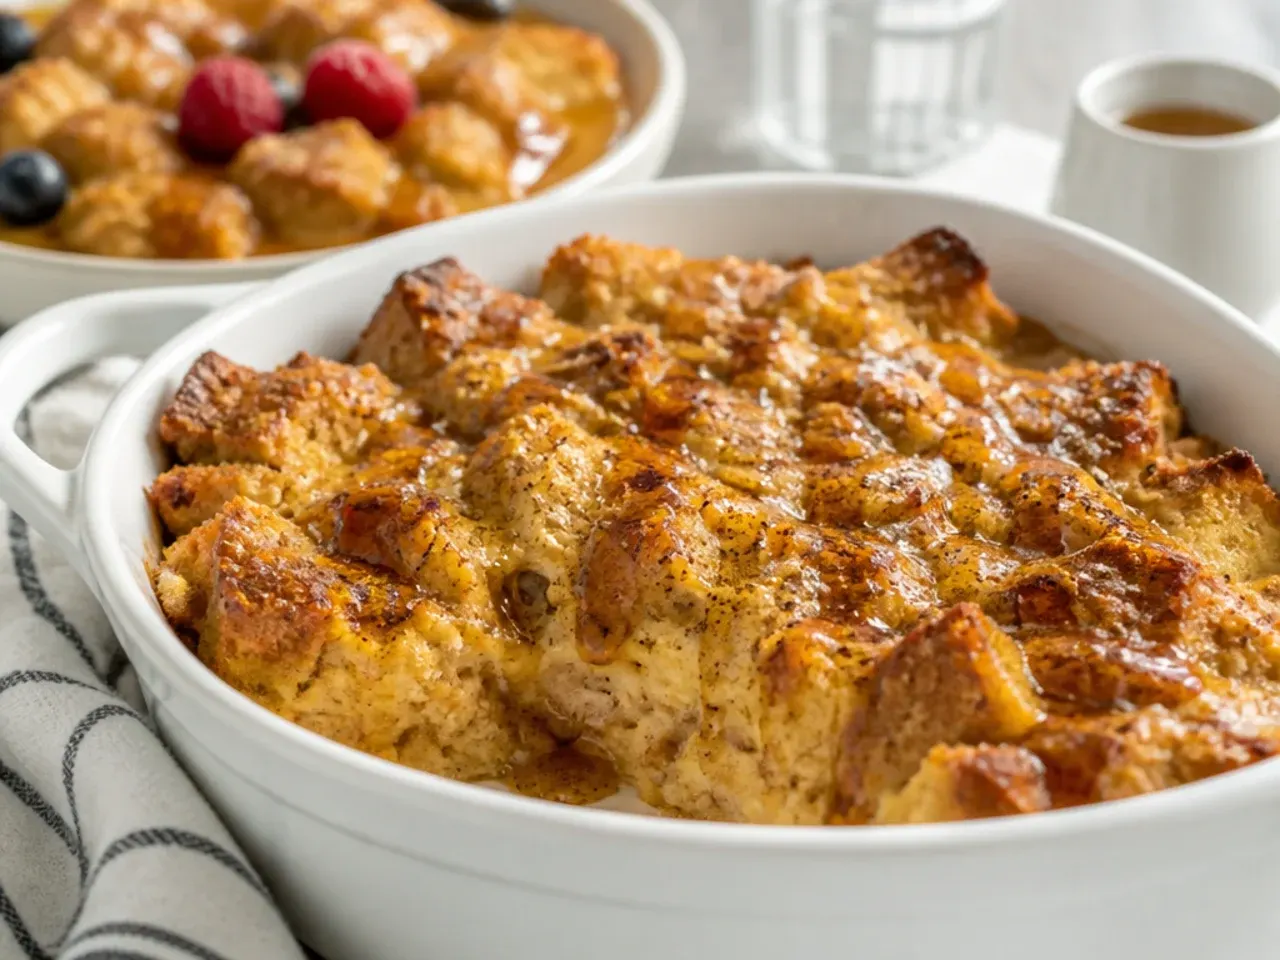
I once cut the bread into small 1.5 cm cubes, thinking they'd soak up custard faster, but they broke down almost entirely by the end of cooking and lost any distinct texture. Larger cubes, around 3-4 cm, hold their shape far better through the longer, moister cooking time a crockpot needs. I stick to that size now specifically because it's sturdy enough to survive hours of gentle heat without turning to porridge.
Lesson 12: Not Pressing the Bread Down Left Dry Patches
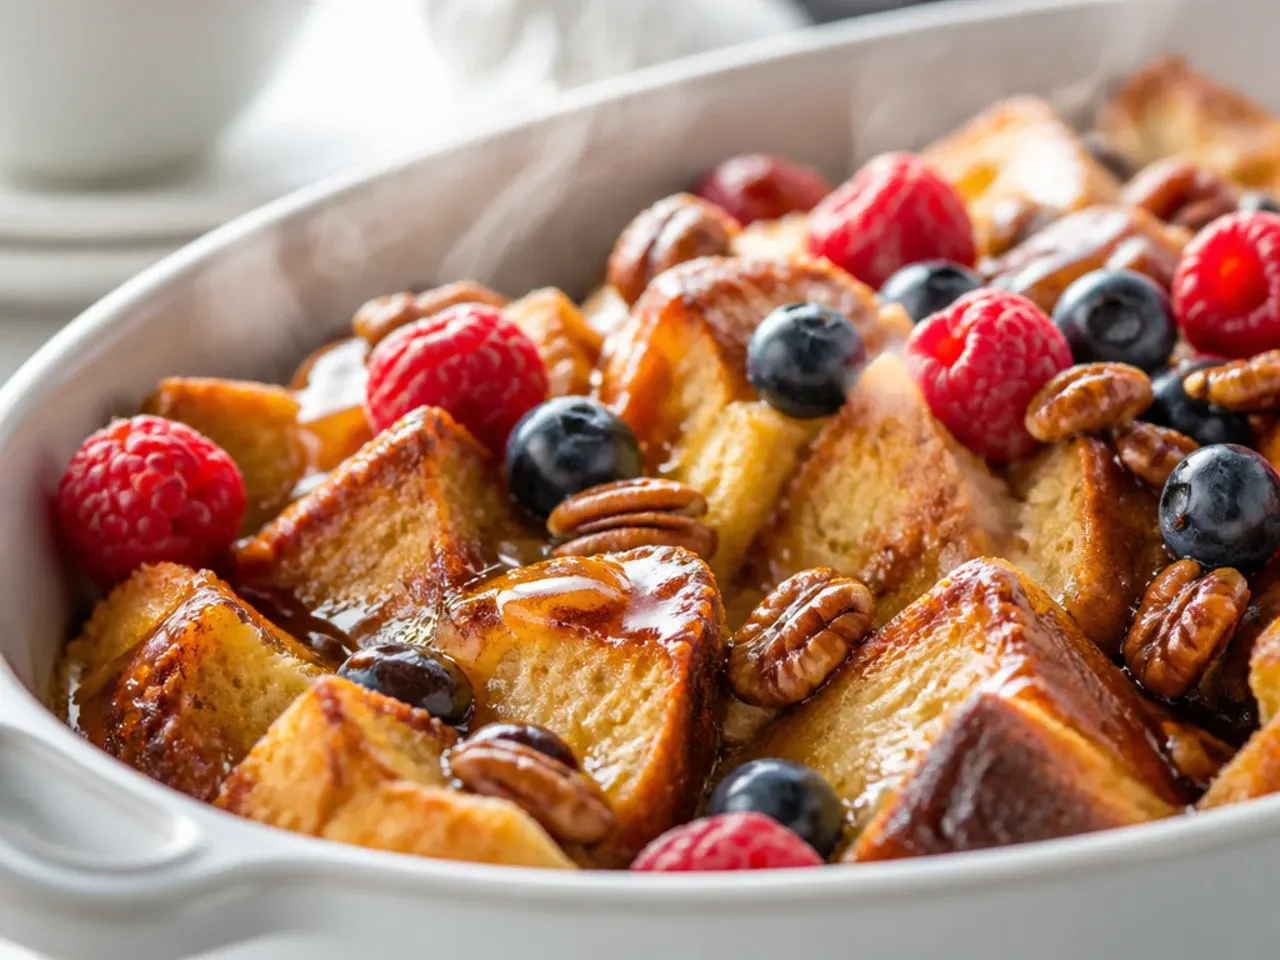
The first few times I just poured the custard over the bread and left it, and the top layer of cubes that weren't fully submerged stayed dry and slightly tough even after hours of cooking. Now I use the back of a spoon to press every cube down until it's at least mostly covered by custard before the lid goes on. It takes 30 seconds and makes the difference between a casserole that's evenly custardy and one with dry patches scattered through it.
Lesson 13: Serving It Straight From the Pot Was Too Wet
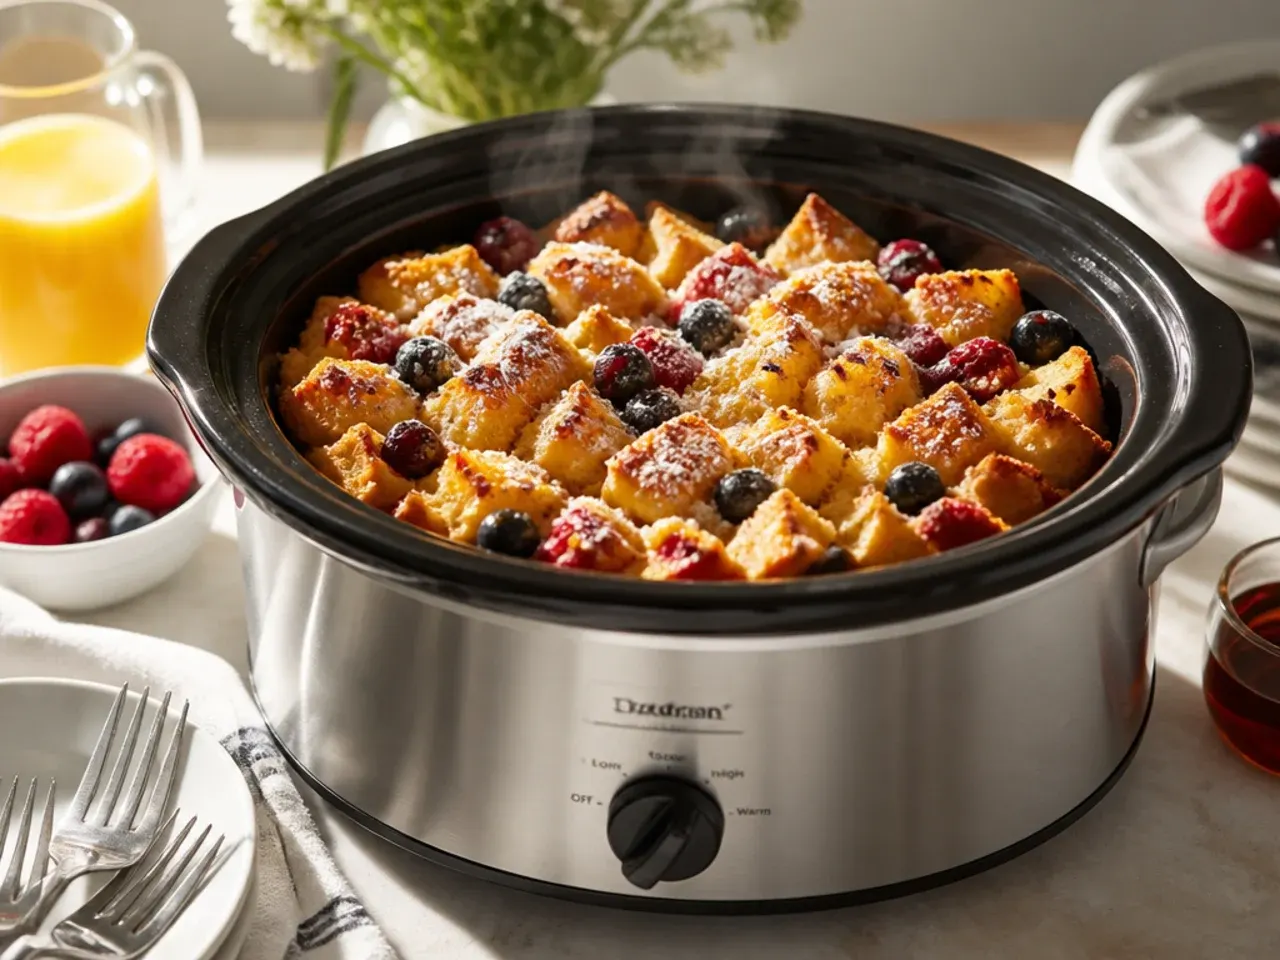
Straight off the heat, the centre of the casserole always looks slightly underdone even when it's actually finished, because it's still steaming hot and hasn't had a moment to firm up. I learned to switch the crockpot off, prop the lid ajar, and let it rest for 10 minutes before serving, which lets the centre set just enough without drying anything out. Trying to serve it the moment the timer goes off is the fastest way to end up with a plate of custard soup.
Lesson 14: Reheating Leftovers on Warm Dried Them Out

I left leftover portions in the crockpot on the warm setting for a couple of hours once, thinking it would keep breakfast ready for late risers, and the edges turned leathery while the rest went dry. The warm setting is fine for maybe 30-45 minutes, but any longer and the bread keeps losing moisture with nowhere for it to go. Now I portion leftovers into the fridge within an hour and reheat individual servings in the microwave for 30-40 seconds instead, which keeps them properly soft.
Lesson 15: Swapping to Gluten-Free Bread Needed Less Liquid, Not the Same
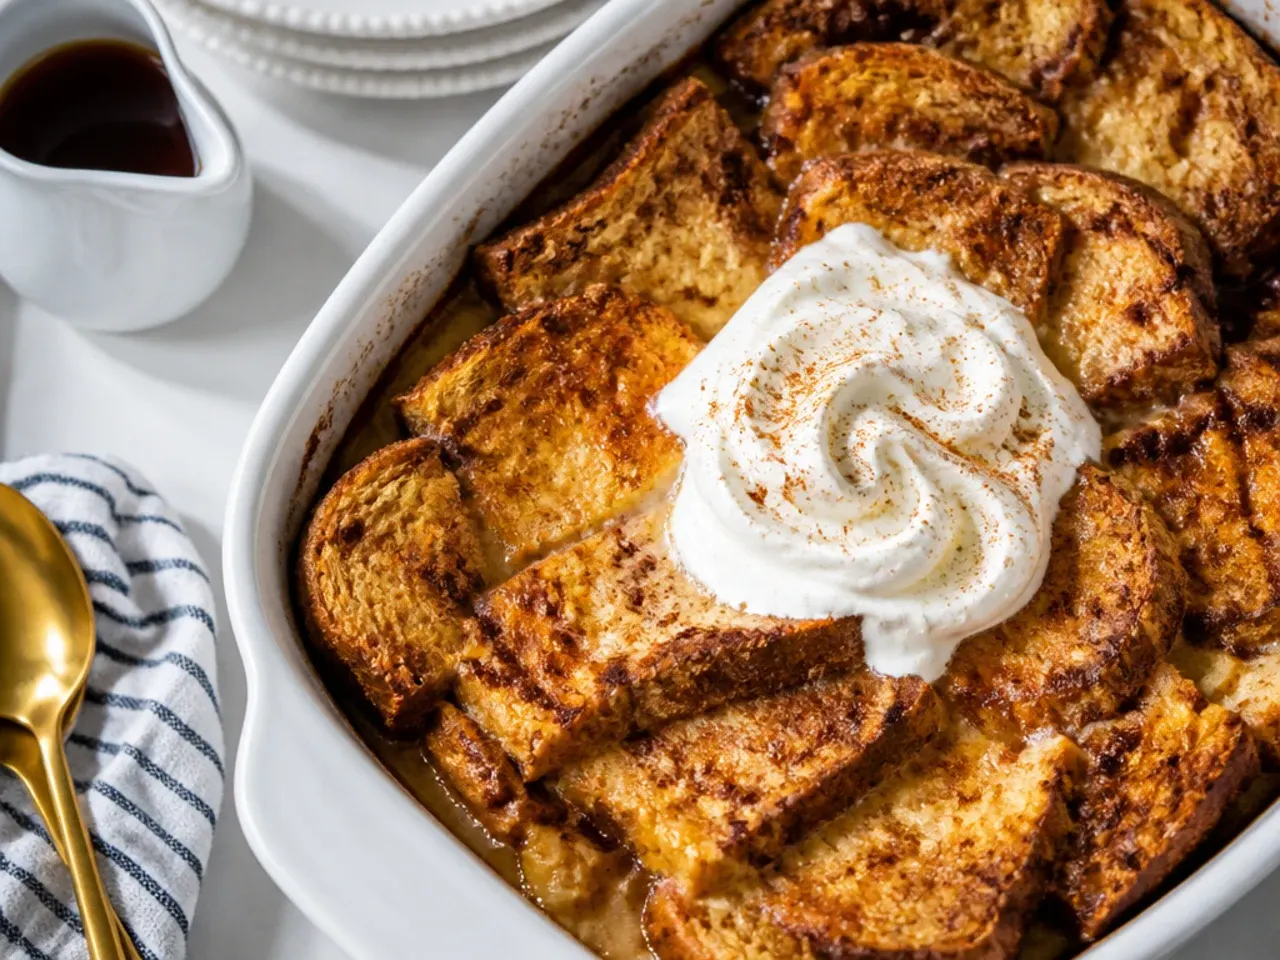
When I made this for a gluten-free friend, I used the same custard amount as usual and the gluten-free loaf, which has a much looser structure, essentially disintegrated in the moist crockpot environment by the end of cooking. Gluten-free bread absorbs liquid differently and has far less structural strength to survive hours of gentle steam, so it needs both a shorter cook time and noticeably less custard, closer to 360 ml (1.5 cups) for the same amount of bread. Checking it at the earliest possible point matters even more with gluten-free loaves, since they can go from soft to collapsed quite quickly.
What I'd Tell a Friend Trying This
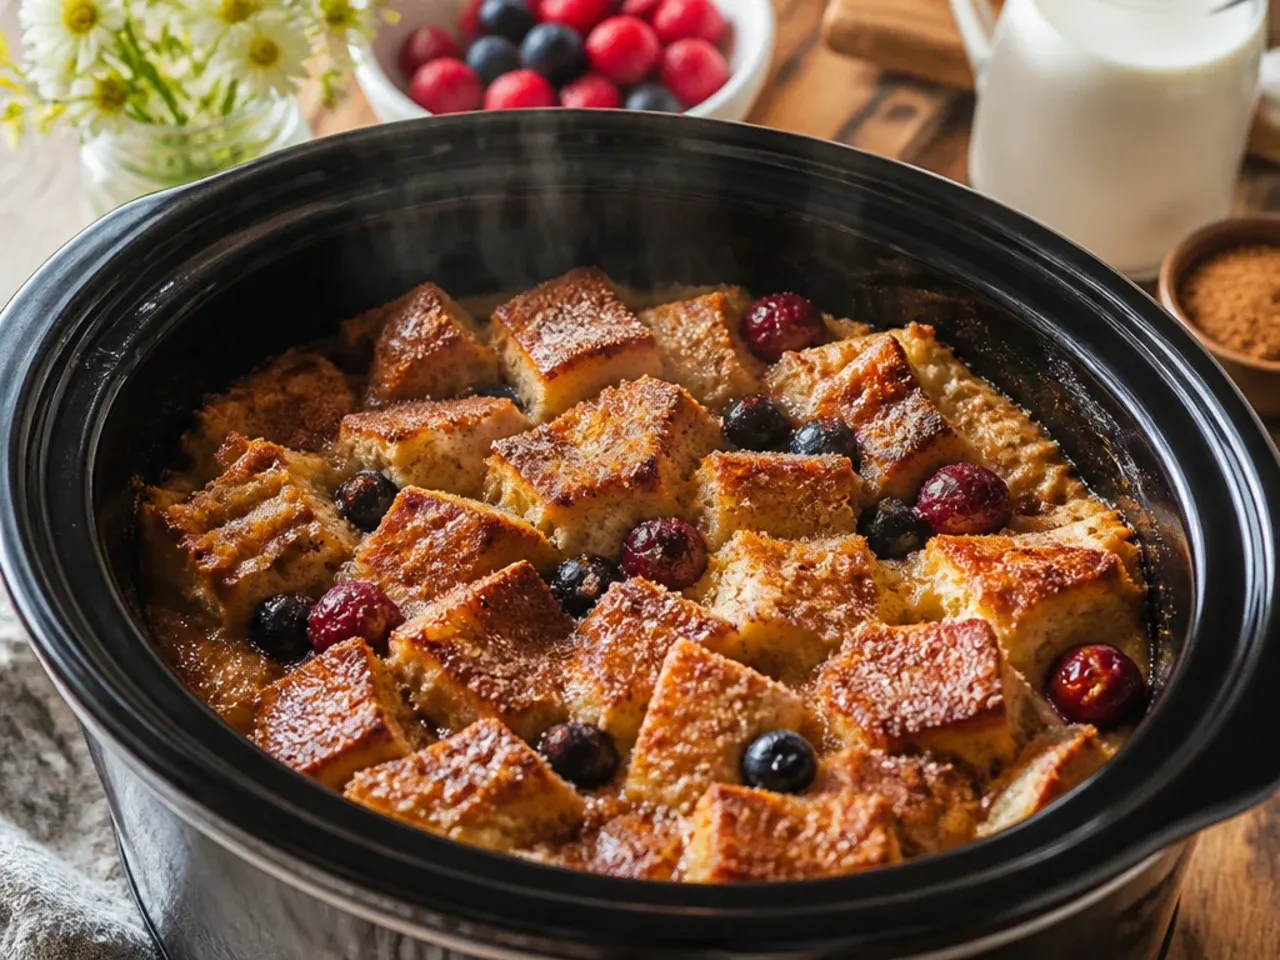
Grease the crockpot far more generously than feels necessary, use bread that's genuinely a day old, and tuck a paper towel under the lid before you switch it on, since those three things alone fix most of what goes wrong. Cook it on low rather than high, start checking the centre with a knife well before the earliest time you've been given, and let it rest 10 minutes before you serve it. Once you've made it this way a couple of times, it becomes one of the easiest hands-off breakfasts you can set going and genuinely walk away from.
The Recipe
The Recipe I Used
20 min
3 hr 30 min
4 hr
6
Beginner
Ingredients 6 Person(s)
Directions
Step 1: Grease the Crockpot Generously
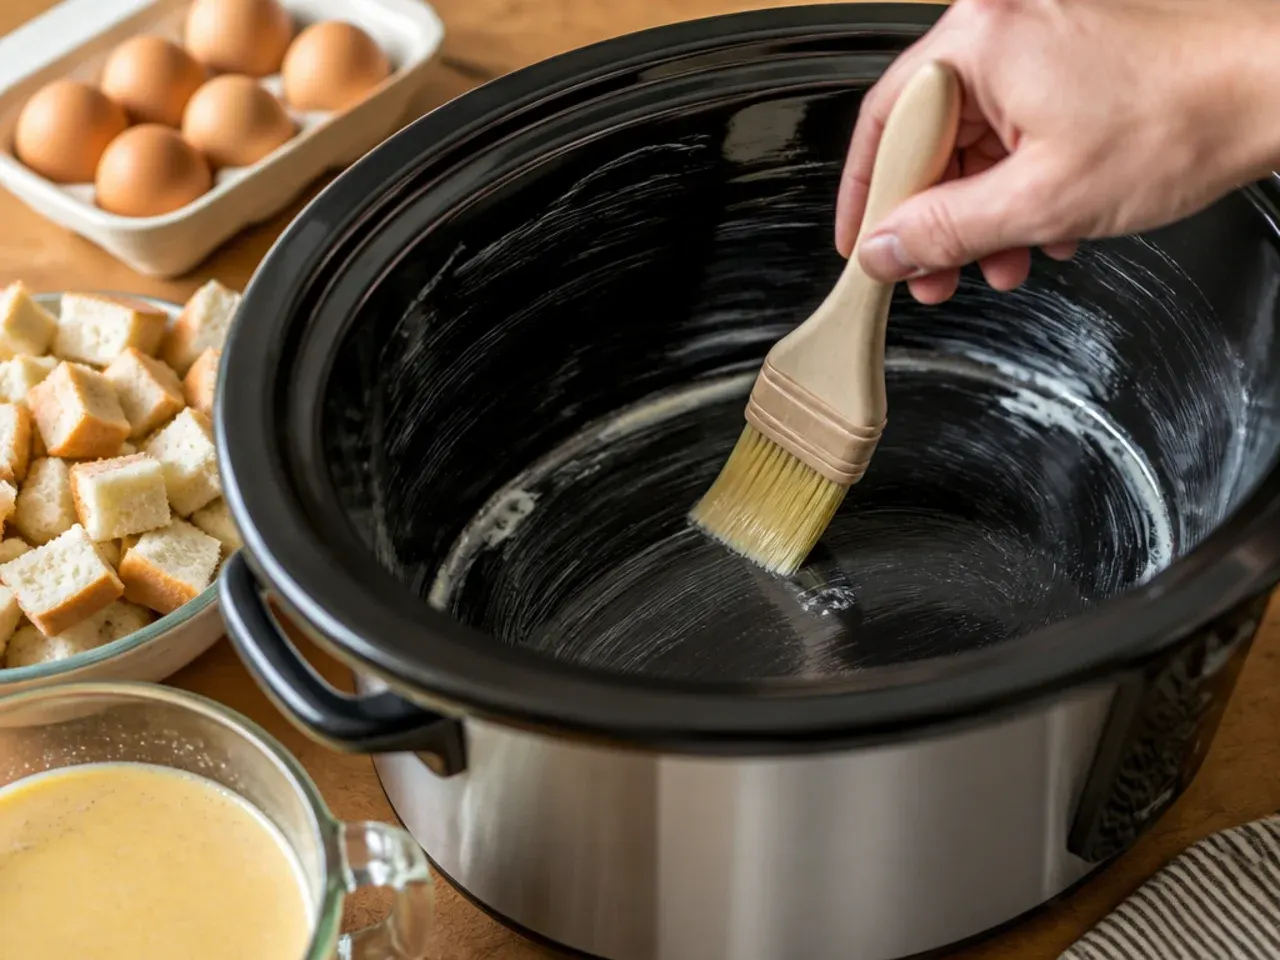
Rub softened butter thickly over the entire base and all the way up the sides of the slow cooker insert, working it right into the seam where the base meets the walls. This step matters more here than in an oven dish, since the bread sits directly against the hot ceramic for hours rather than a shorter bake.
Step 2: Cube the Bread and Add It to the Pot
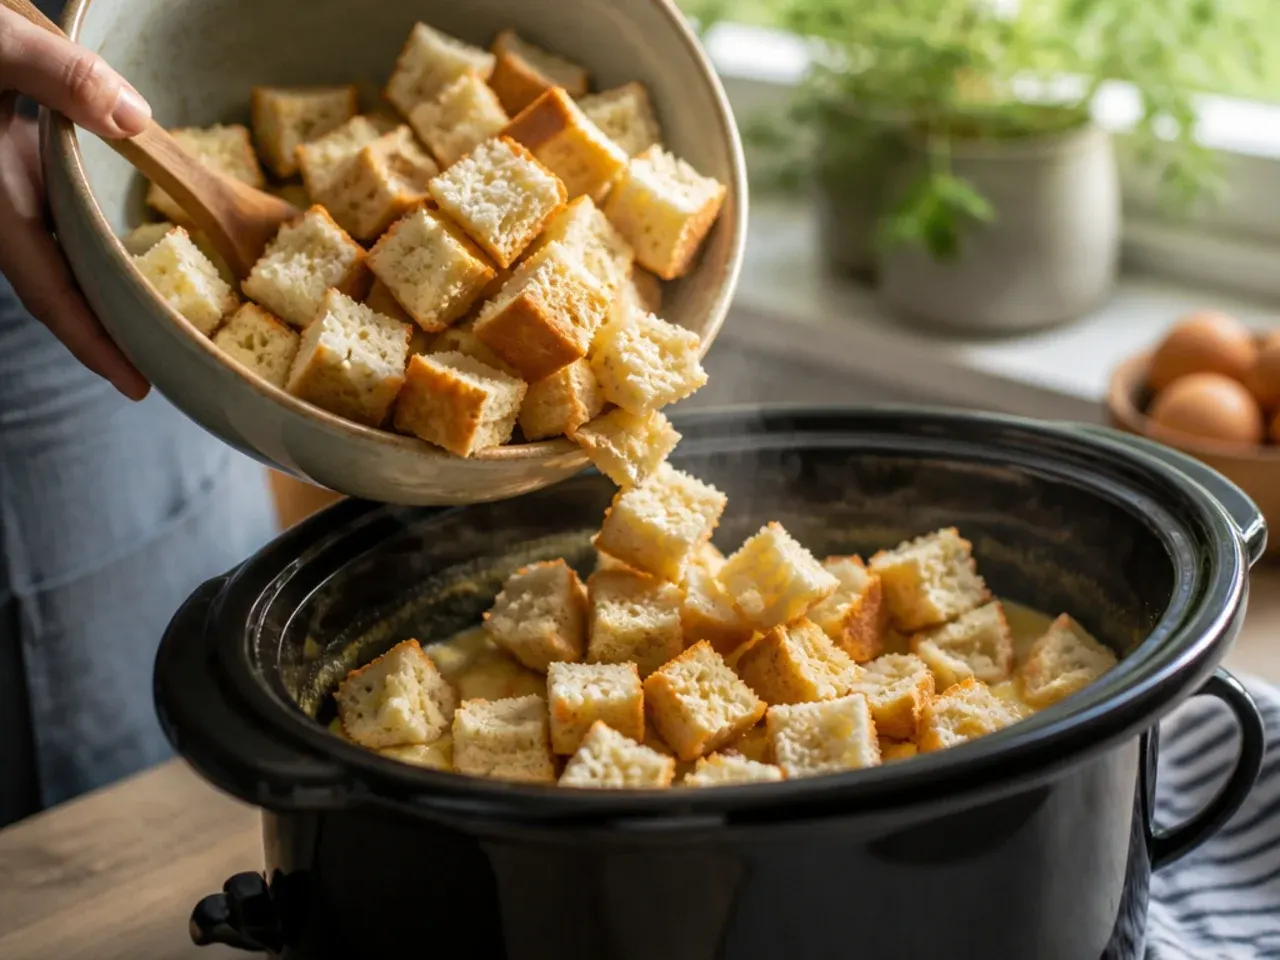
Cut the brioche or challah into generous 3-4 cm cubes, leaving them uncovered on the counter for an hour first if the loaf feels very fresh. Tip the cubes into the greased crockpot and spread them out into an even layer.
Step 3: Whisk the Custard
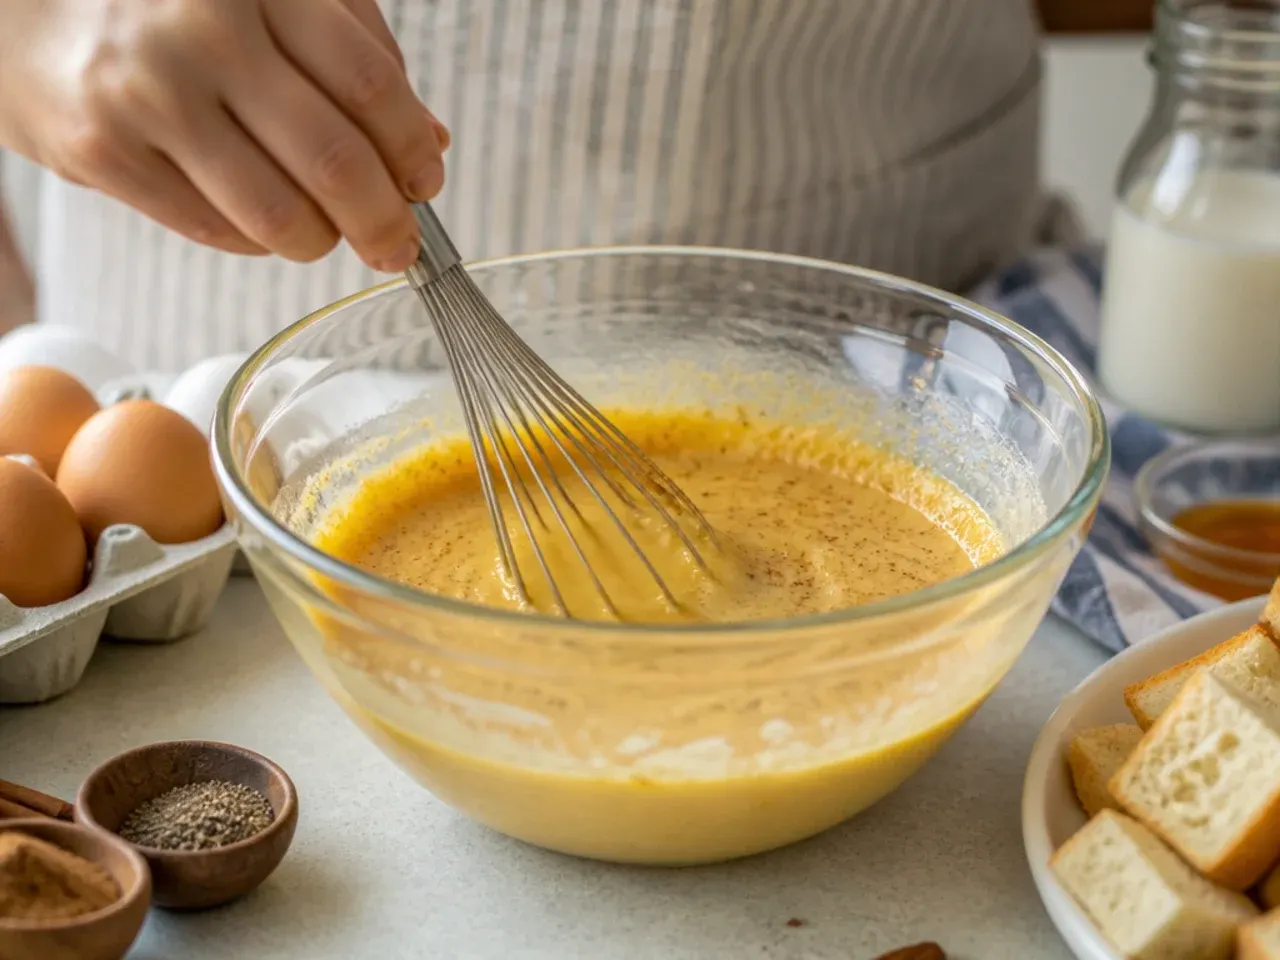
In a large jug, whisk the eggs until smooth, then add the milk, cream, sugar, vanilla, cinnamon and salt and whisk again until fully combined with no streaks of egg white left. Keep the liquid slightly lower than you would for an oven bake, since the crockpot won't let any moisture evaporate as it cooks.
Step 4: Pour Over and Press Down
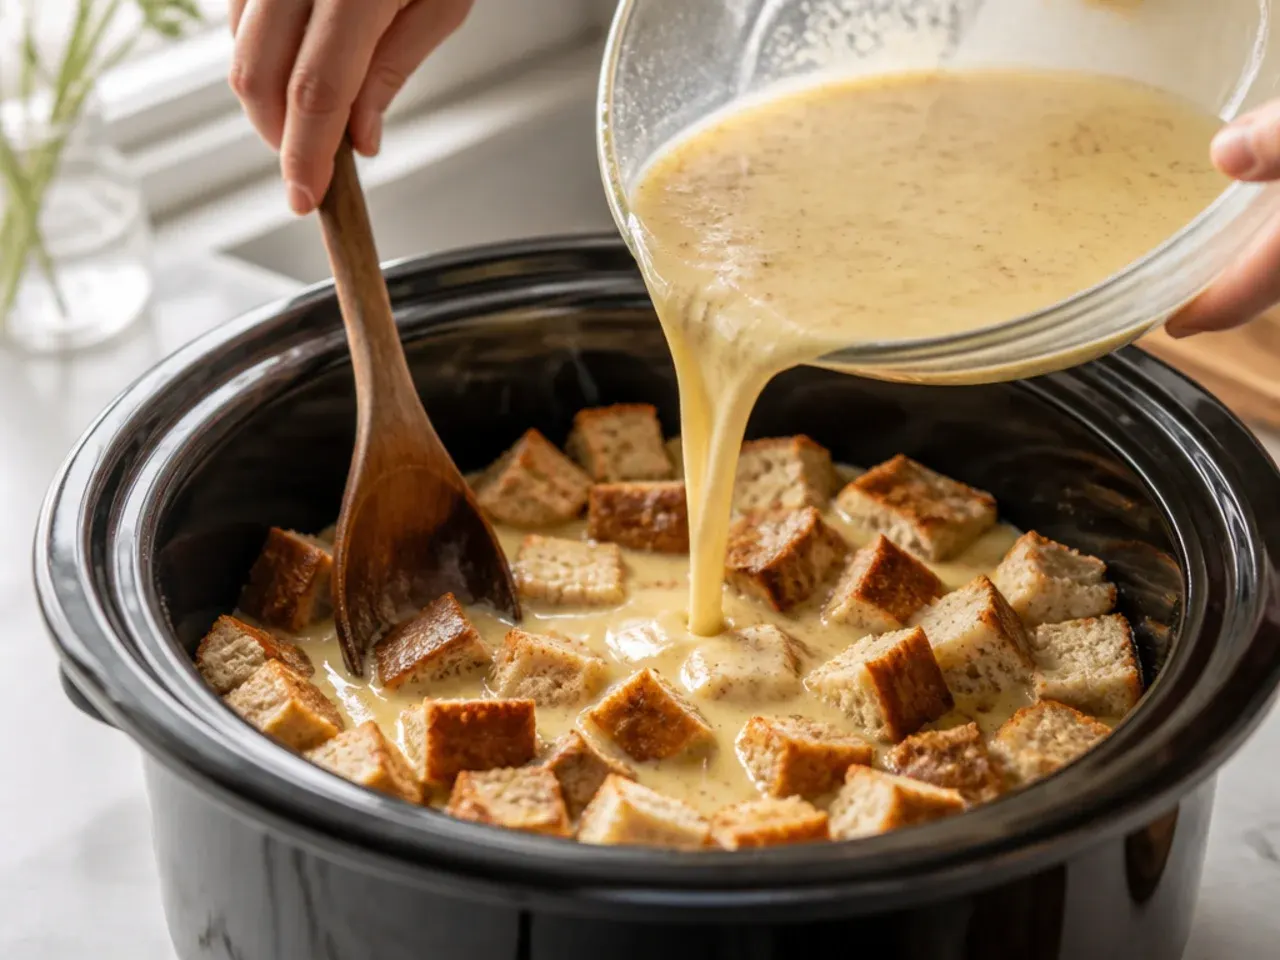
Pour the custard evenly over the bread, then use the back of a spoon to press every cube down until it's mostly submerged, giving the pot a light shake so the custard settles into the gaps. Let it sit for 15-20 minutes before switching the crockpot on so the bread starts absorbing the custard properly.
Step 5: Cook on Low With a Paper Towel Under the Lid
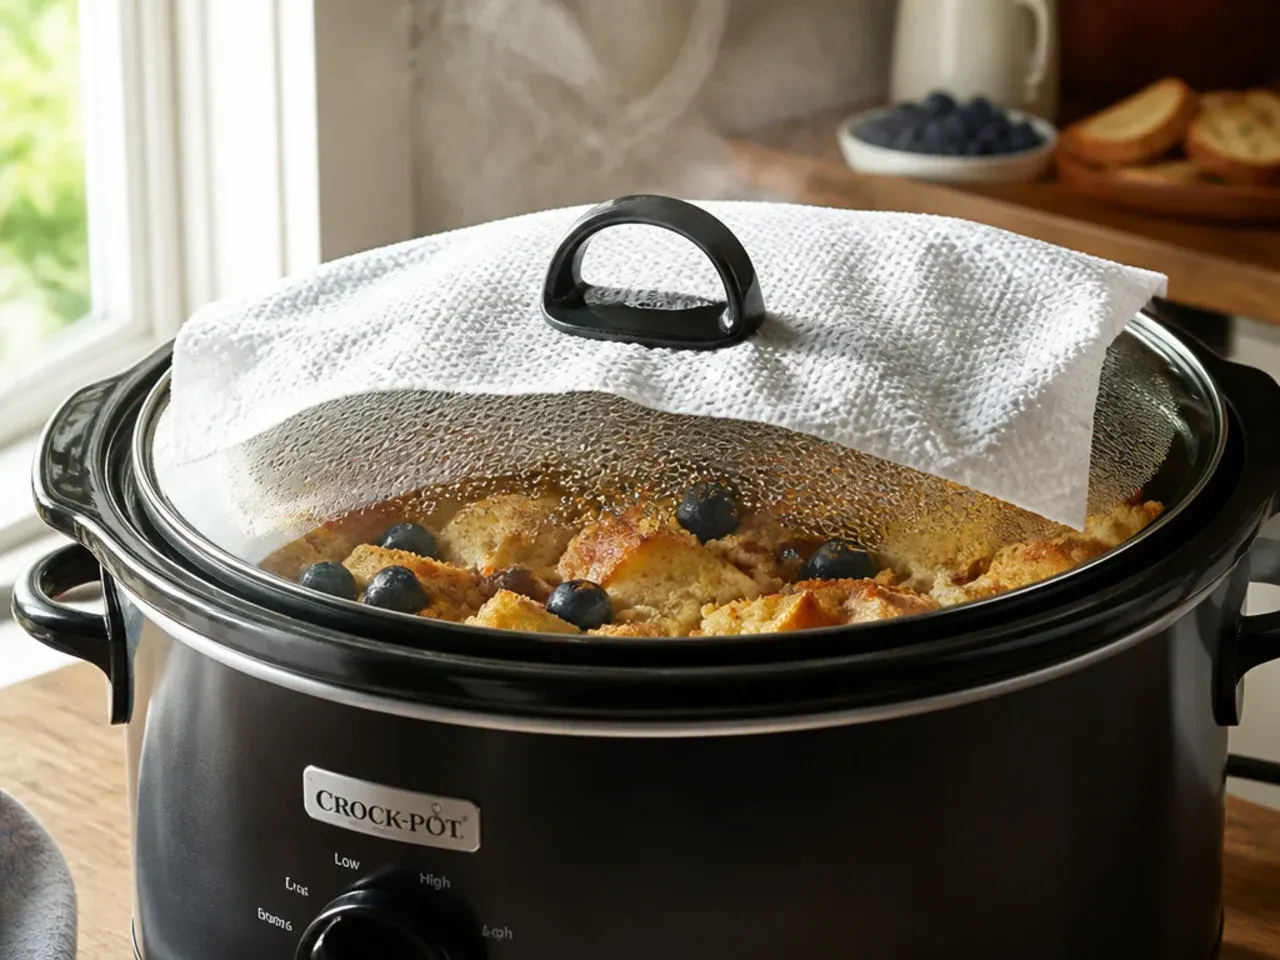
Fold a clean paper towel and tuck it under the lid, angled to catch condensation, then set the slow cooker to low and cook for 3-3.5 hours. Start checking at the 3-hour mark by sliding a thin knife into the centre; it's ready when it comes out mostly clean rather than wet.
Step 6: Add the Streusel Topping
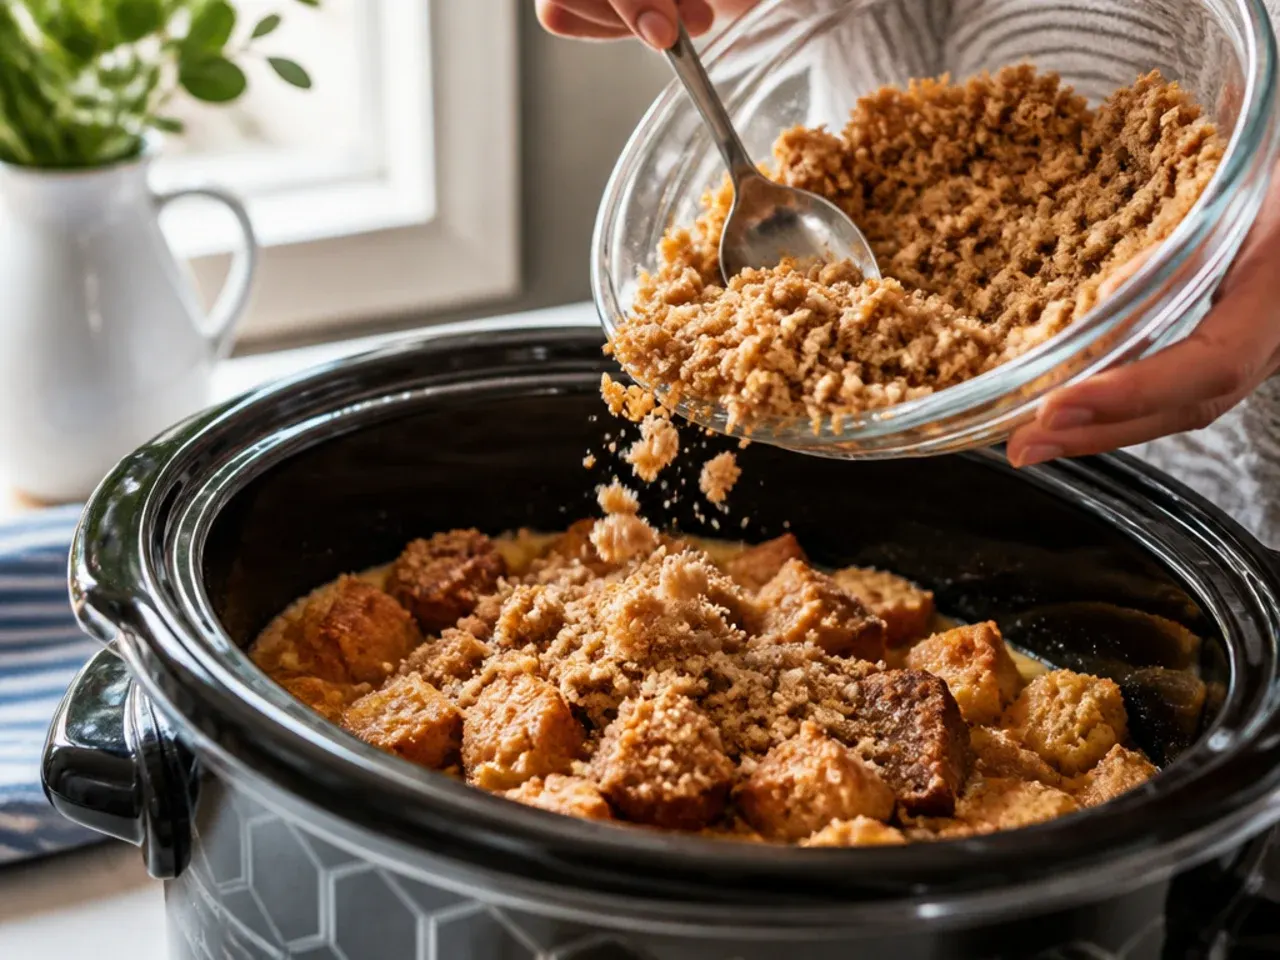
In the final 30 minutes of cooking, mix the brown sugar and chopped pecans and scatter evenly over the top of the casserole. Prop the lid slightly ajar for the last 10 minutes so the topping firms up rather than staying soft.
Step 7: Rest and Serve
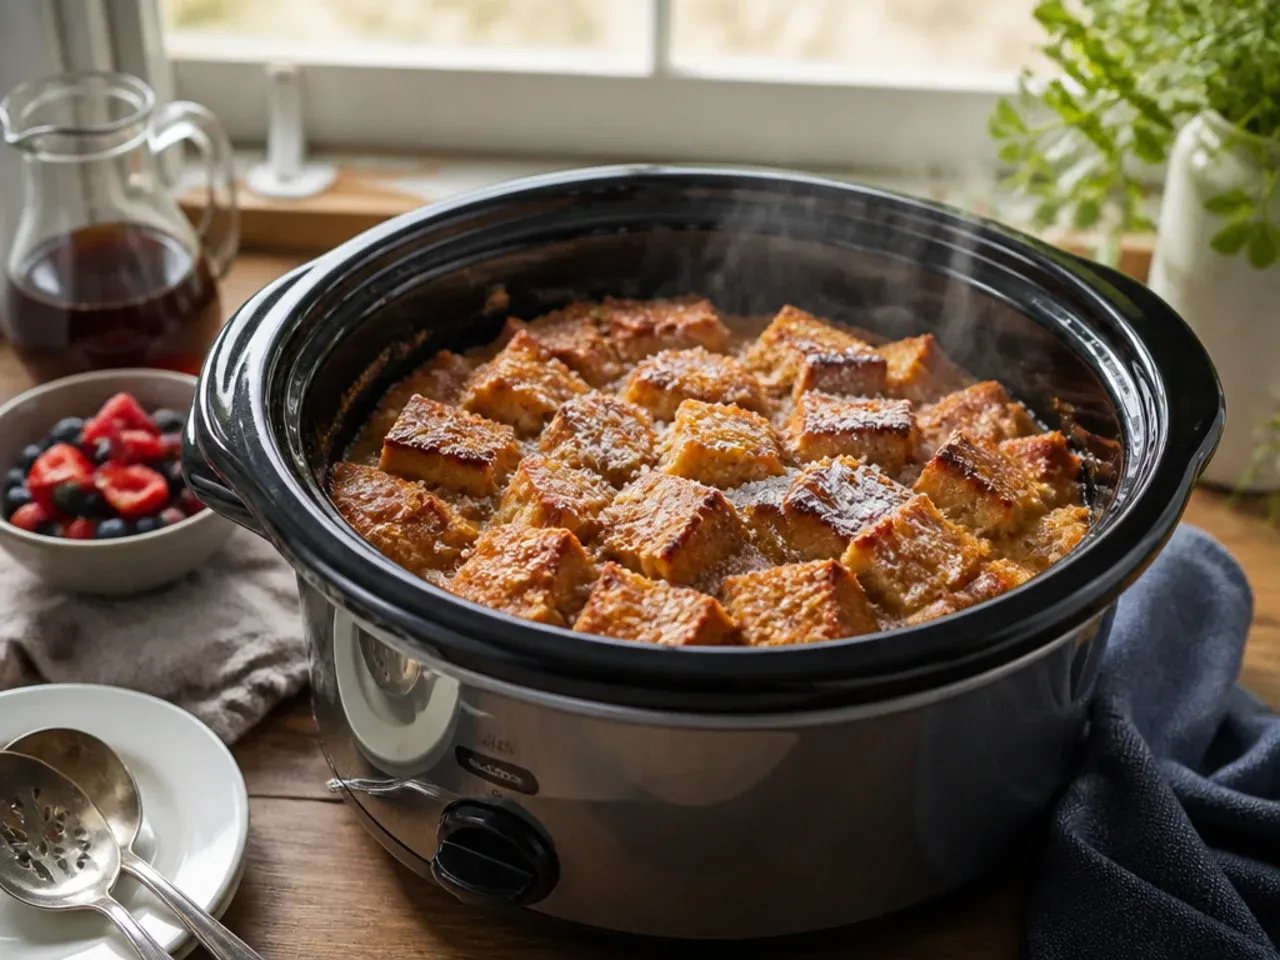
Switch off the crockpot and let the casserole rest with the lid propped ajar for 10 minutes before serving, which allows the centre to finish setting. Spoon into bowls and serve warm with maple syrup poured at the table.
Frequently Asked Questions
You can, and it will cut the cooking time to roughly 1.5-2 hours, but the edges are far more likely to overcook and turn dry or slightly bitter before the centre sets. Low heat gives a much more even result because it lets the middle catch up to the edges rather than racing ahead of it. If you do use high, start checking the centre with a knife at the 1.5-hour mark rather than waiting for the full time.
Save this for later 📌
Pin this article to your Pinterest board so the full list is one tap away when you need it.
Save on Pinterest