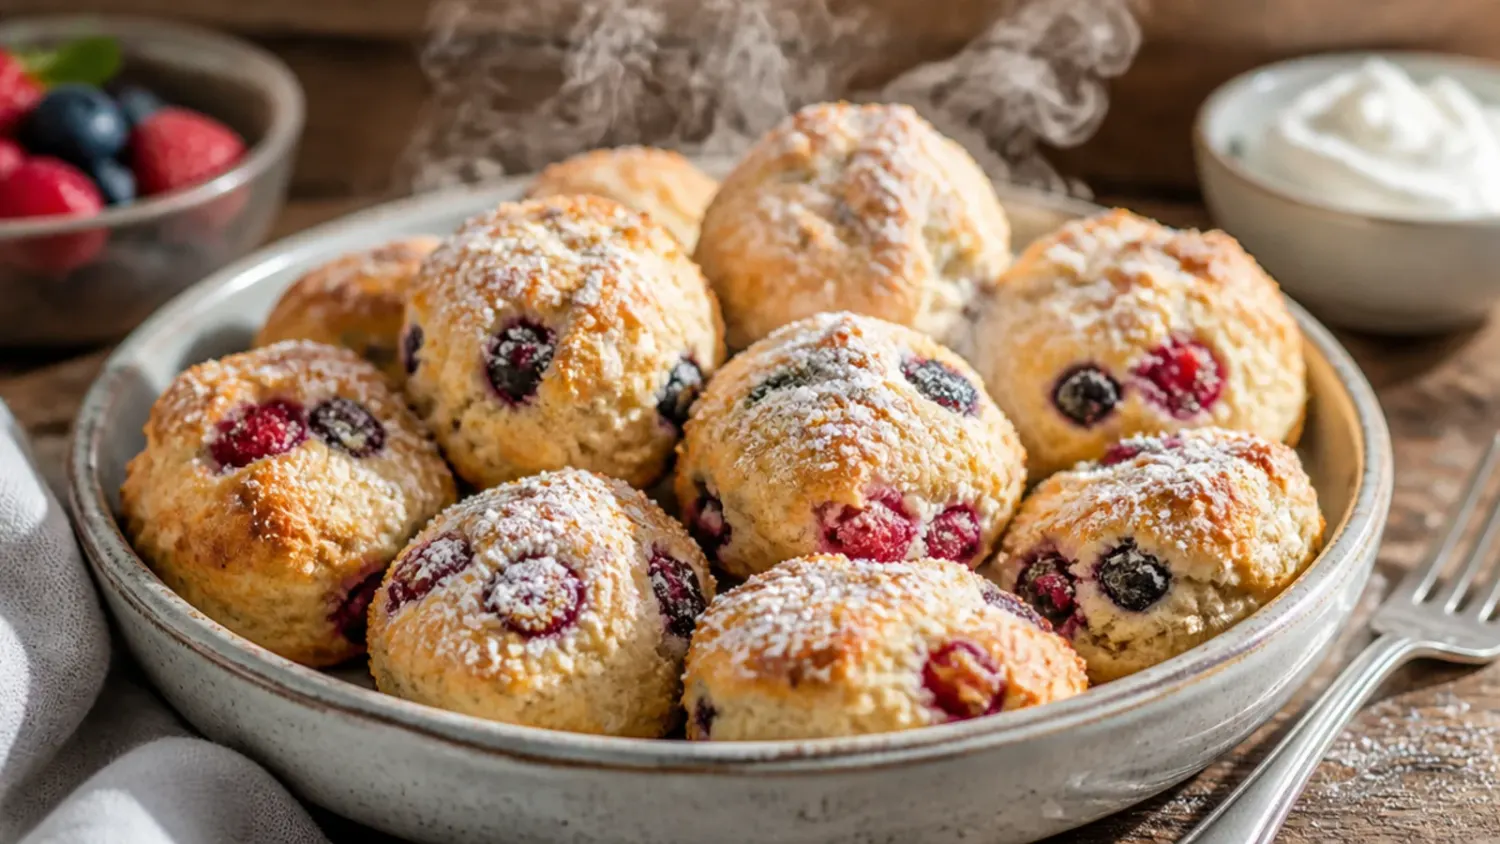
Ingredients 10 Person(s)

Save this for later 📌
Pin this article to your Pinterest board so the full list is one tap away when you need it.
Save on PinterestDirections
Step 1: Preheat the oven and prep your tray
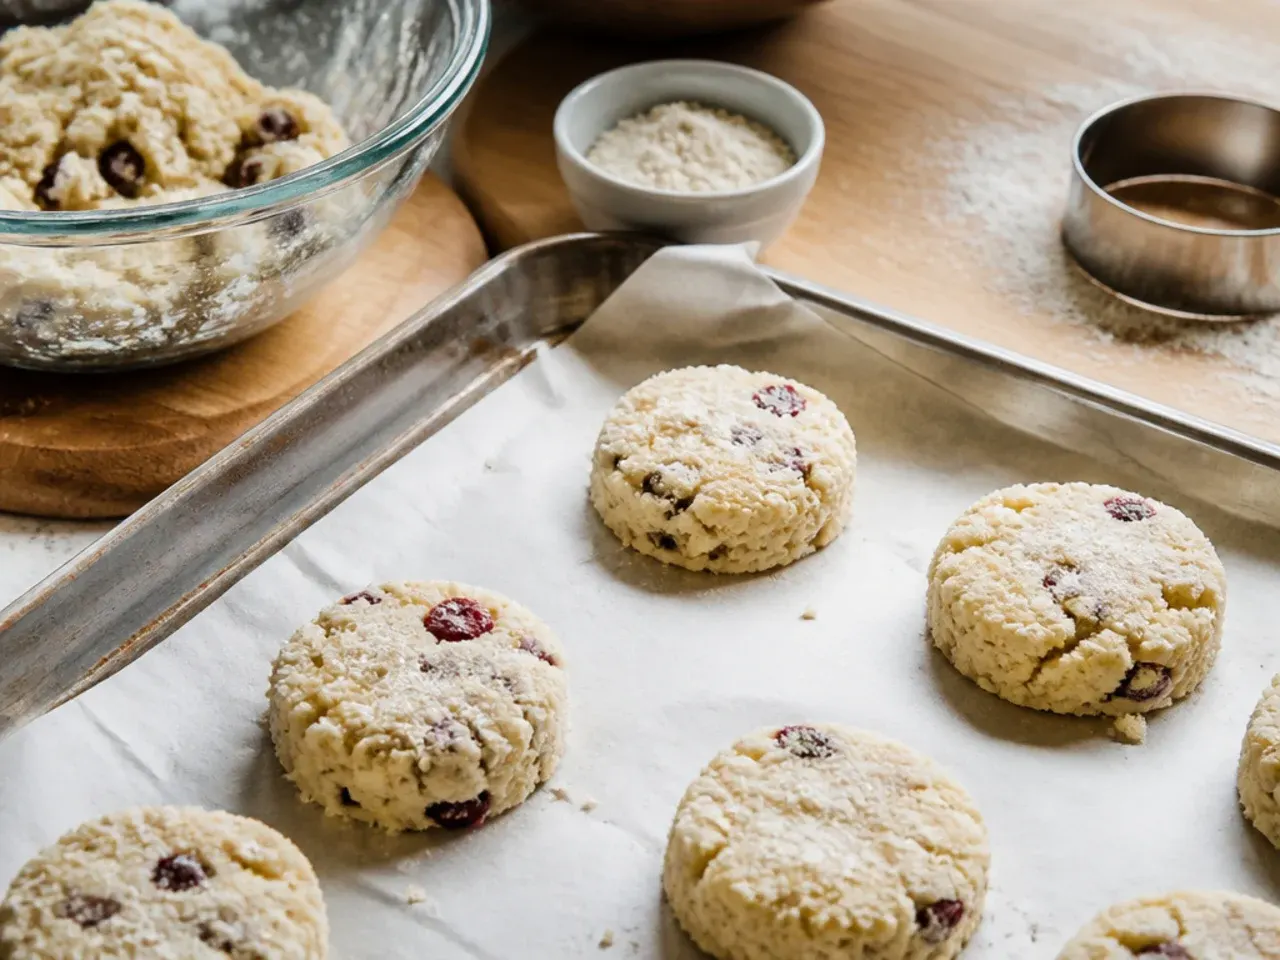
Preheat the oven to 200°C (400°F), or 180°C (350°F) fan, and line a baking tray with baking parchment. Turn it on at least 15 minutes before you plan to bake so it reaches full temperature before the scones go in, giving them the strong initial burst of heat they need to rise. Set a wire cooling rack nearby so it's ready the moment they come out.
Step 2: Weigh out the dry ingredients
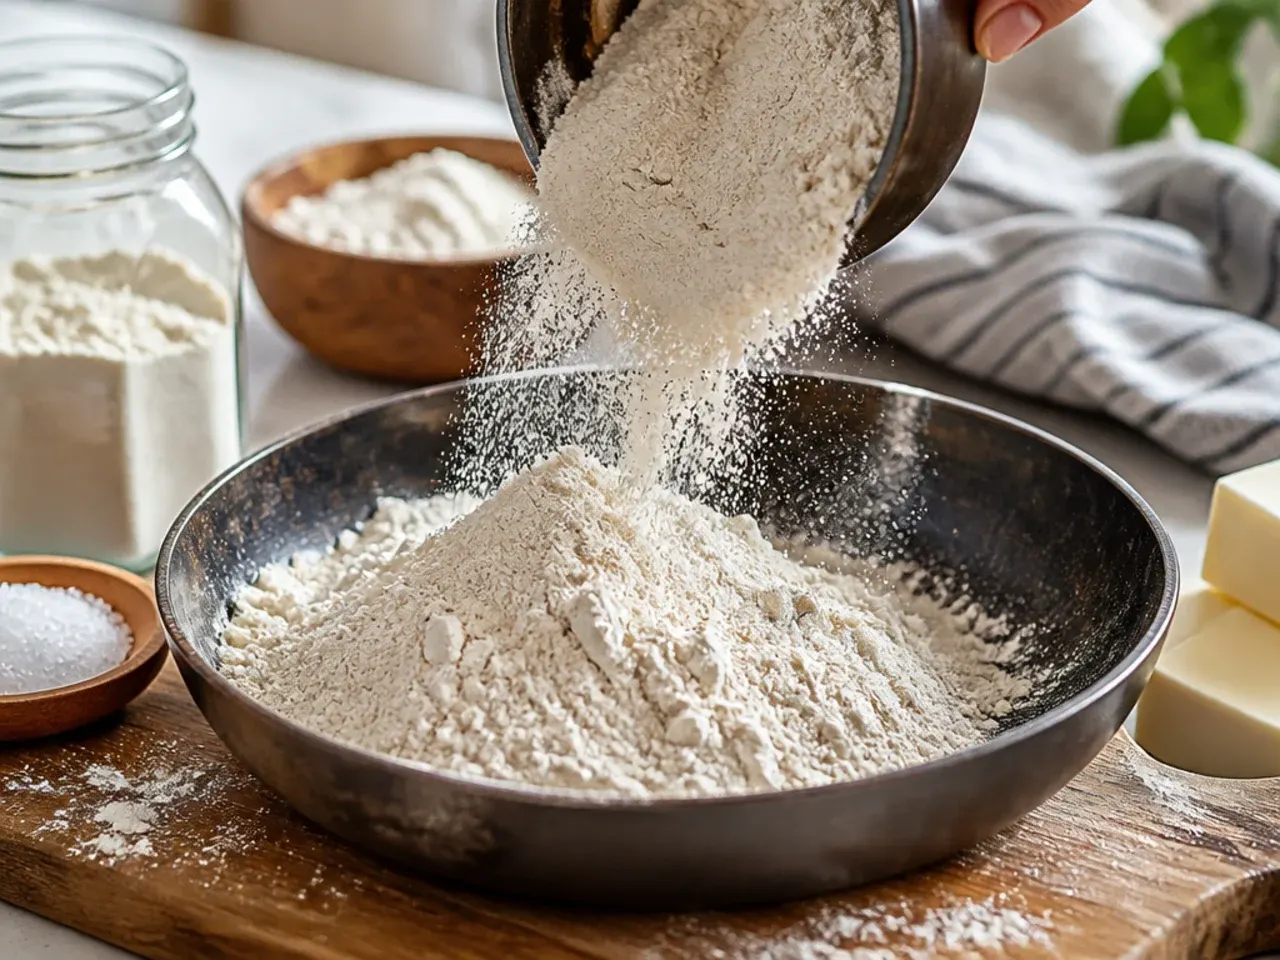
Weigh 350g (12 oz) gluten-free self-raising flour blend, 5g (1 tsp) xanthan gum, 8g (2 tsp) baking powder and 1.5g (¼ tsp) fine salt directly into a large mixing bowl. Weighing matters more here than with wheat flour, since gluten-free blends pack unevenly and a heavy-handed cup measure can leave the dough too dry. Give the bowl a gentle shake to settle everything before moving on.
Step 3: Sift and whisk the dry mix
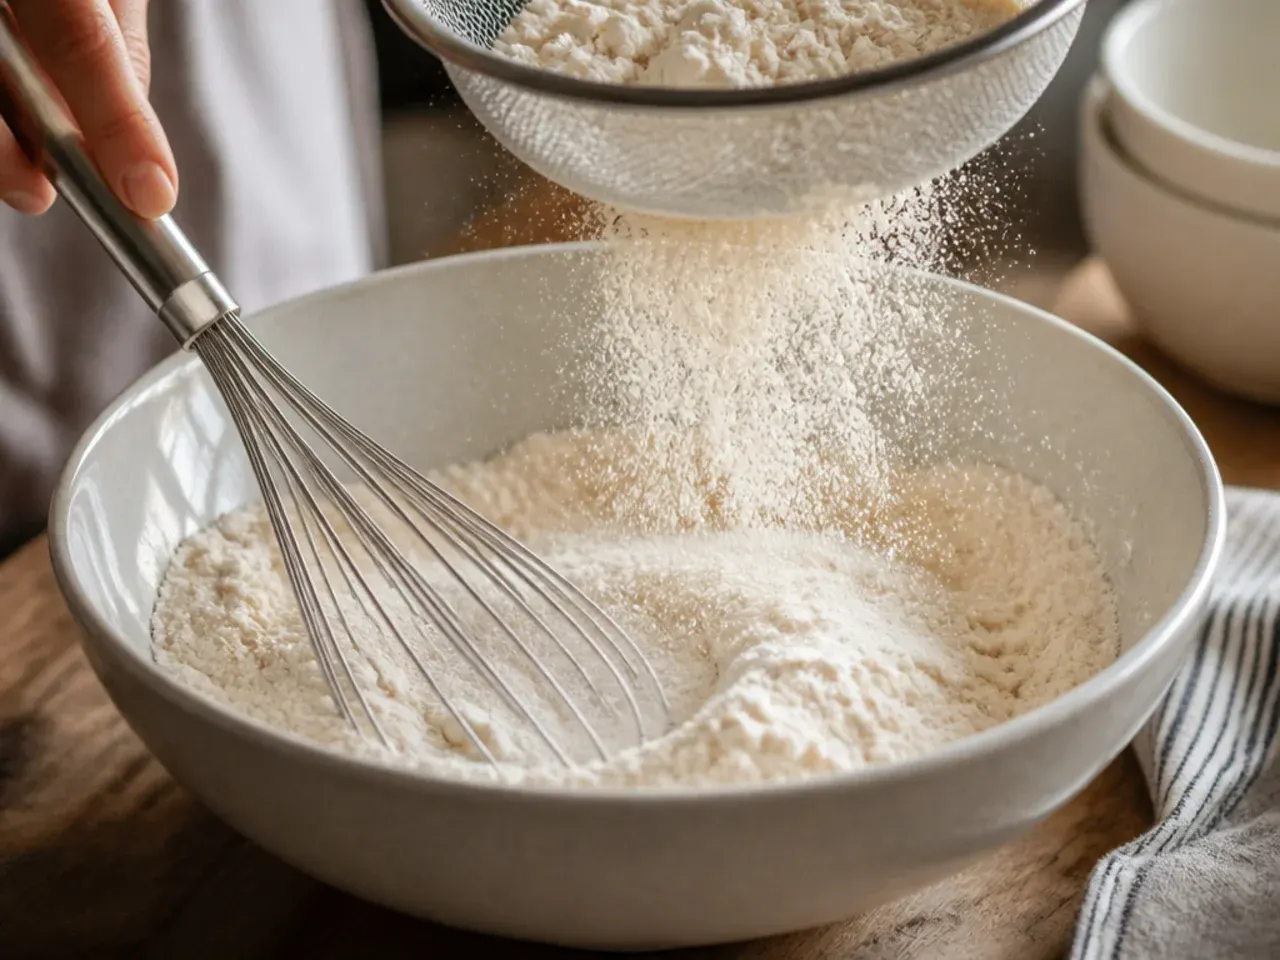
Sift the flour, xanthan gum, baking powder and salt through a fine sieve into the bowl, then whisk with a balloon whisk or fork for 20-30 seconds. This breaks up any clumps of xanthan gum or baking powder, which don't dissolve the way they would in a wetter batter and can leave bitter or rubbery pockets if left unmixed. An evenly distributed dry mix is one of the easiest ways to guarantee a consistent rise across every scone.
Step 4: Cube the butter and keep it cold
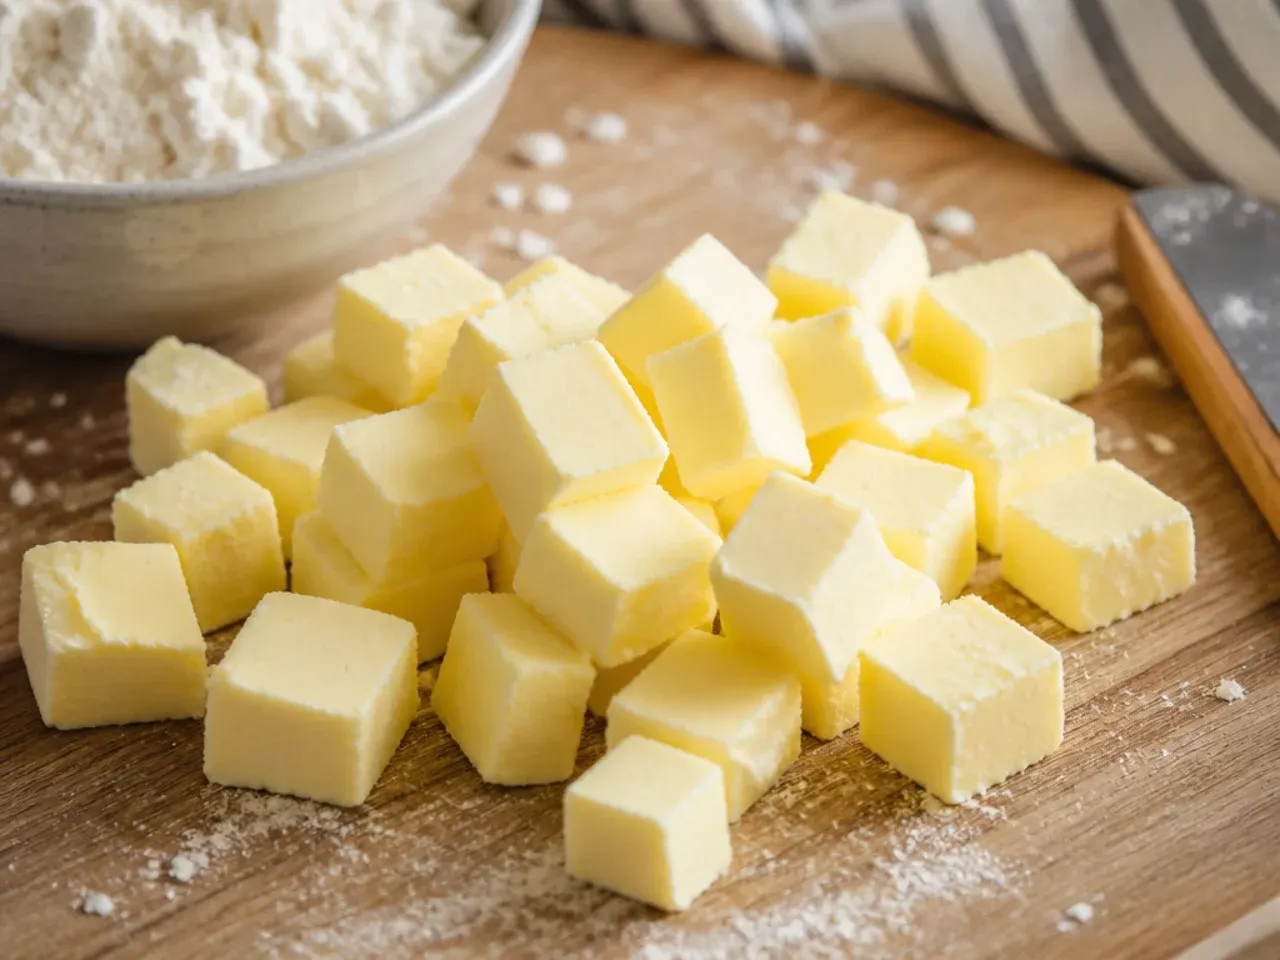
Cut 85g (3 oz) cold unsalted butter into 1cm cubes and return it to the fridge while you finish prepping the rest of the ingredients. Cold butter is essential for flaky gluten-free scones, since it releases steam as it melts in the hot oven, pushing the layers apart. Soft or warmed butter will simply bake straight into the dough and leave you with a dense, flat scone.
Step 5: Rub the butter into the flour
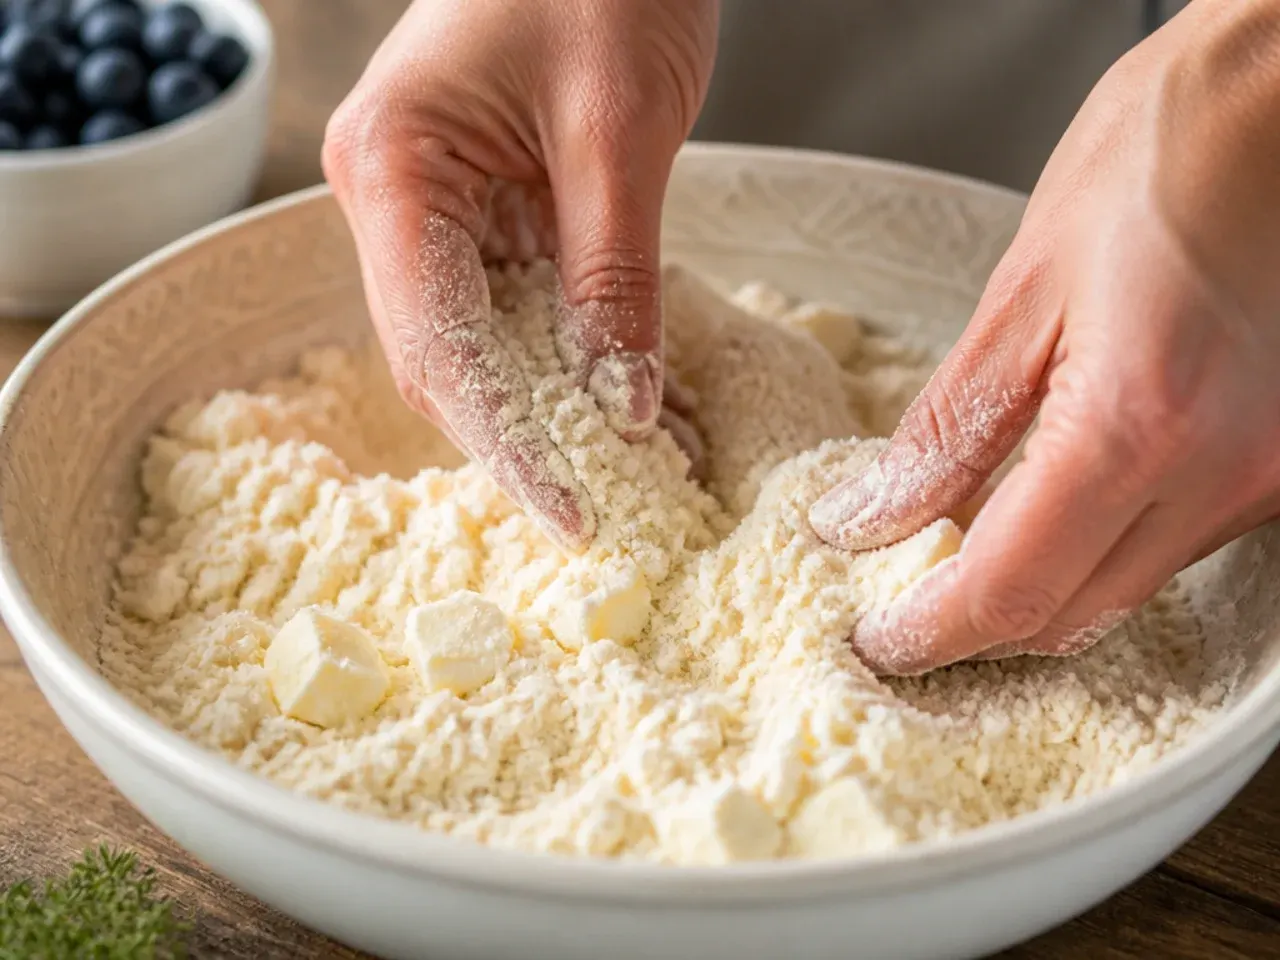
Add the chilled butter cubes to the dry mix and rub them in with your fingertips, lifting the mixture as you go, until it resembles coarse breadcrumbs with a few pea-sized flecks remaining. Work quickly and use only your fingertips rather than your palms, since hand warmth softens the butter faster than you want. This should take no more than 2-3 minutes.
Step 6: Stir in the sugar
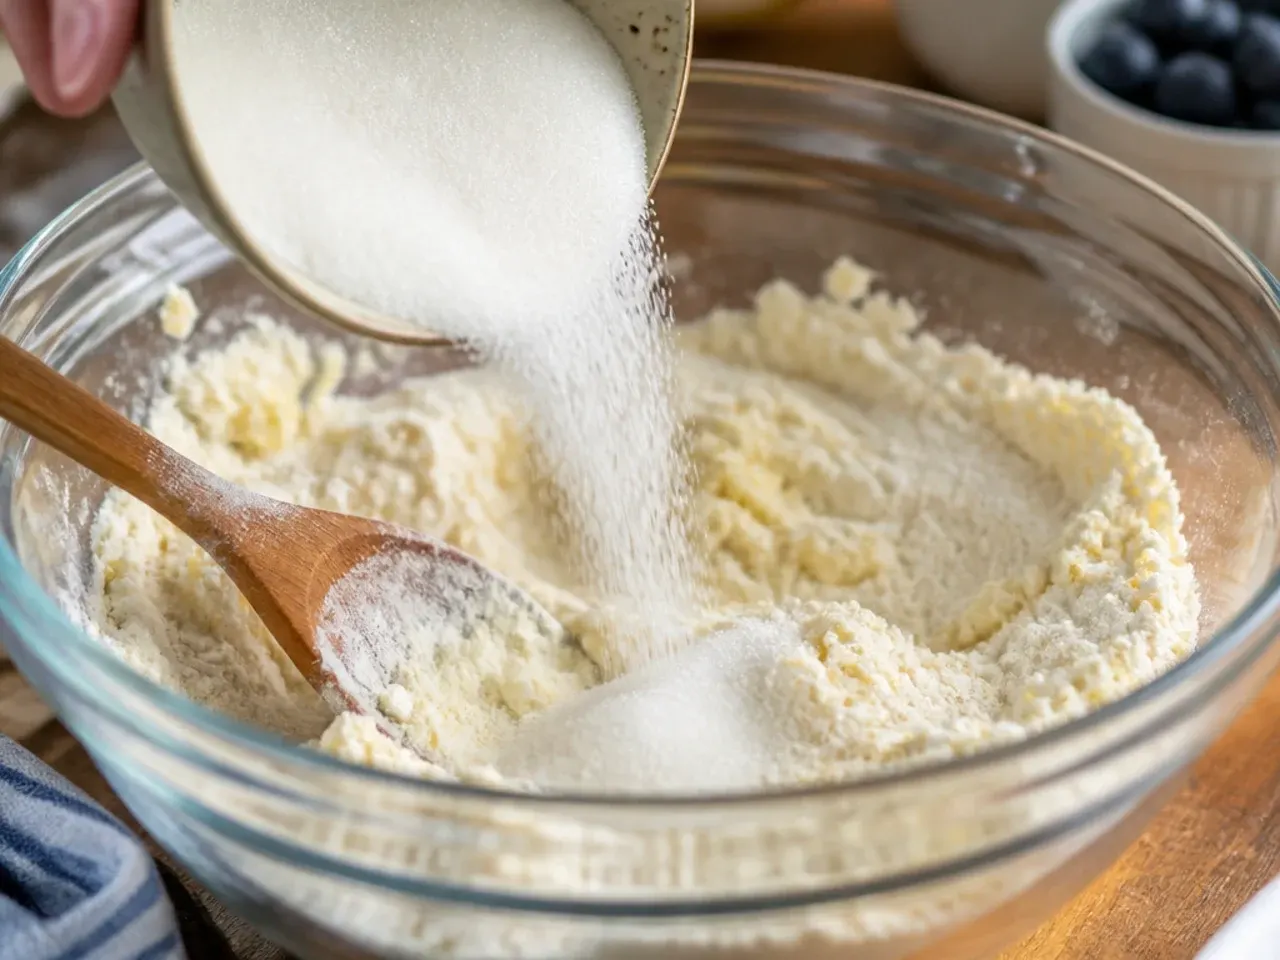
Stir 45g (1½ oz) golden caster sugar through the buttery crumb mixture with a metal spoon or spatula until evenly distributed. Using a spoon rather than your hands at this stage keeps the mixture cool and stops the butter softening any further. You're aiming for a uniform, pale sandy texture with no dry pockets of sugar.
Step 7: Fold in the dried fruit
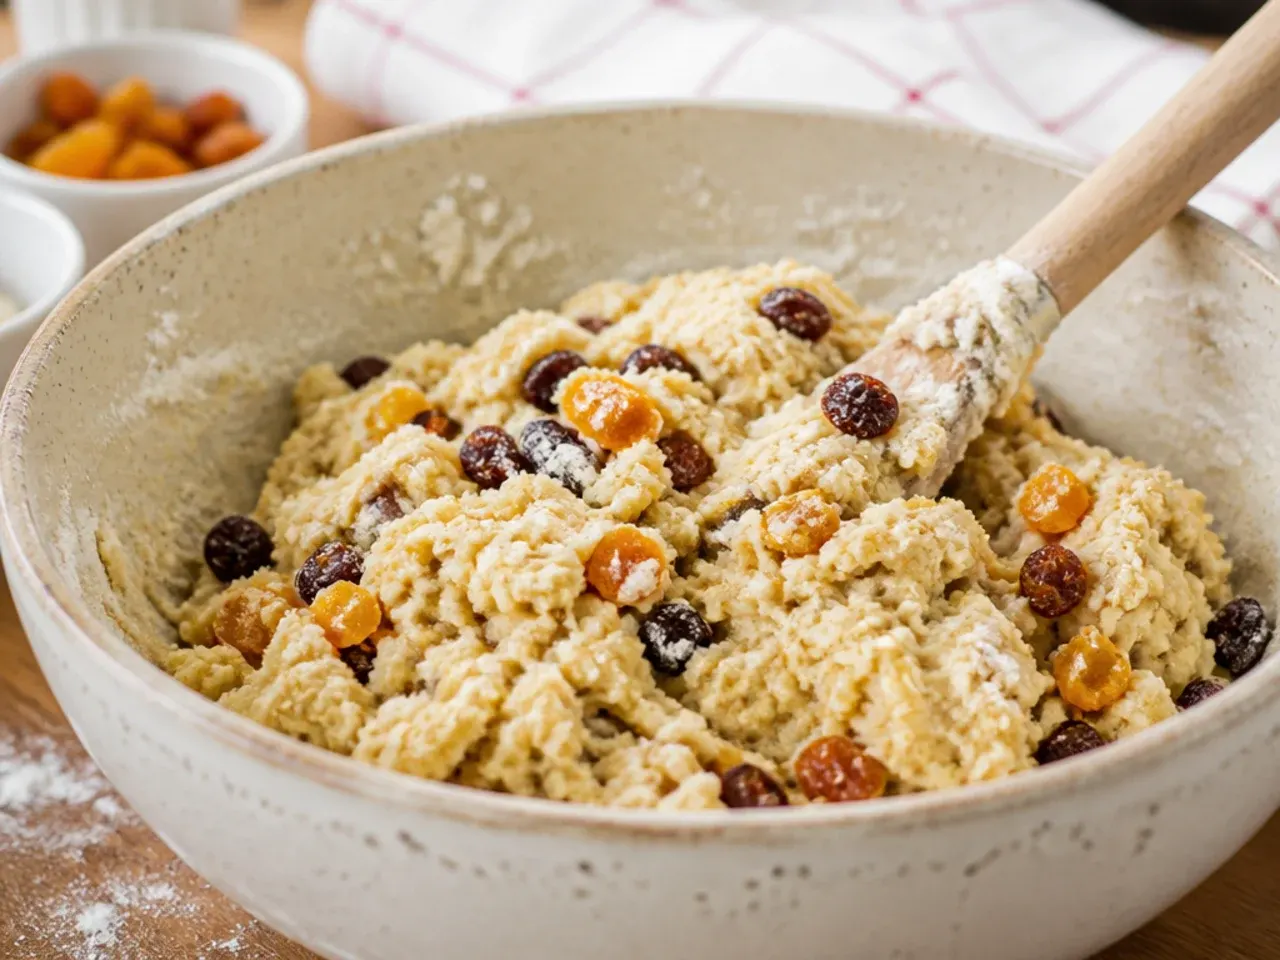
If making fruit scones, toss 80g (½ cup) sultanas or dried cranberries through the mixture now, coating each piece in flour so it doesn't sink or clump during baking. For plain scones, skip this step entirely and move straight to the wet ingredients. Adding fruit before any liquid ensures it distributes evenly instead of smearing through the finished dough.
Step 8: Whisk the egg and buttermilk
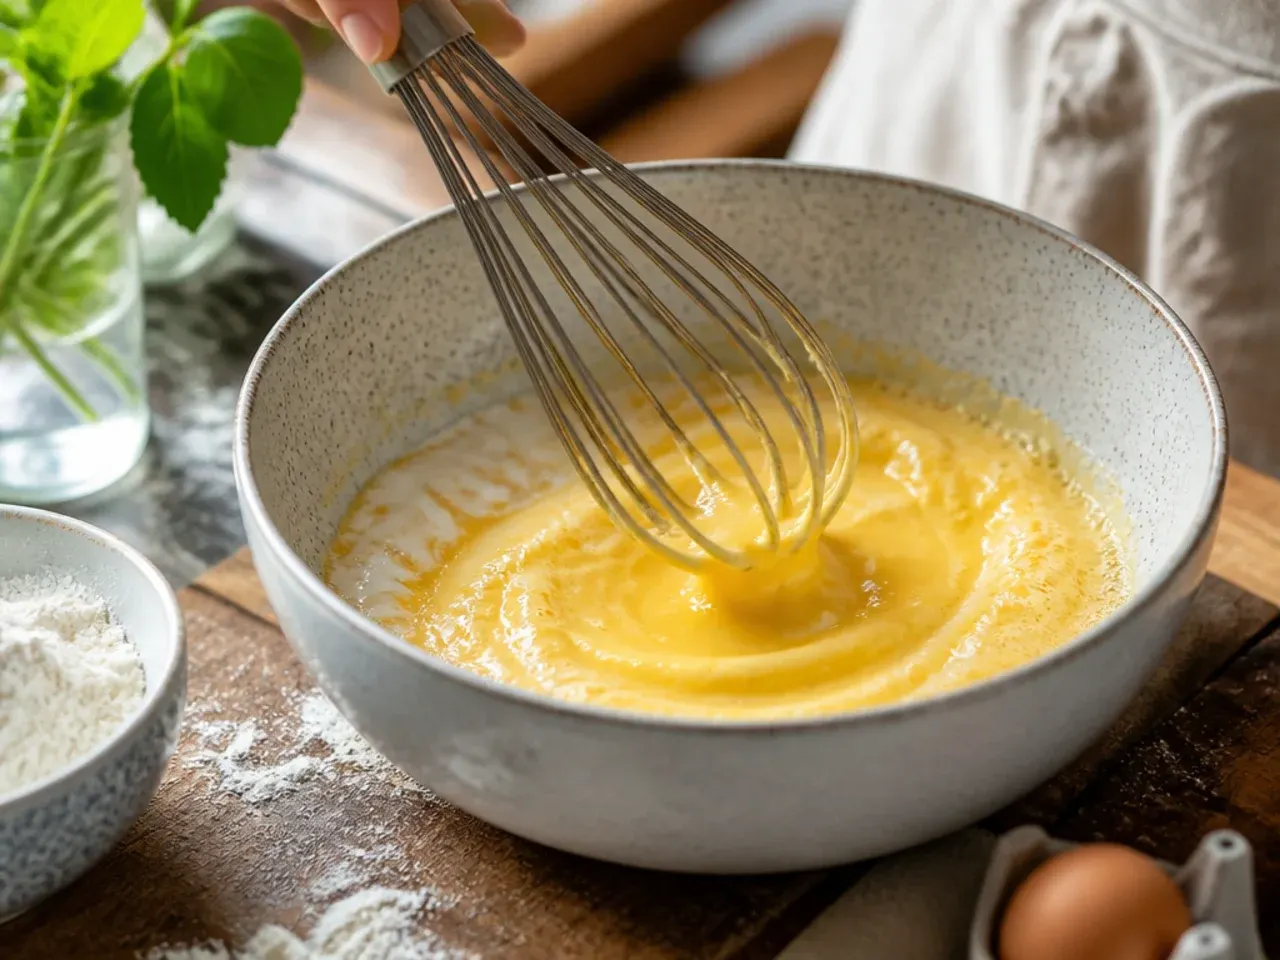
In a small jug, whisk 1 cold large egg with 140ml (generous ½ cup) cold buttermilk until fully combined and slightly frothy. Keep both ingredients cold straight from the fridge, since this slows down how quickly the butter softens once the wet and dry mixtures meet. This small detail helps protect the flaky layers you built in step 5.
Step 9: Make a well and pour in the wet mixture
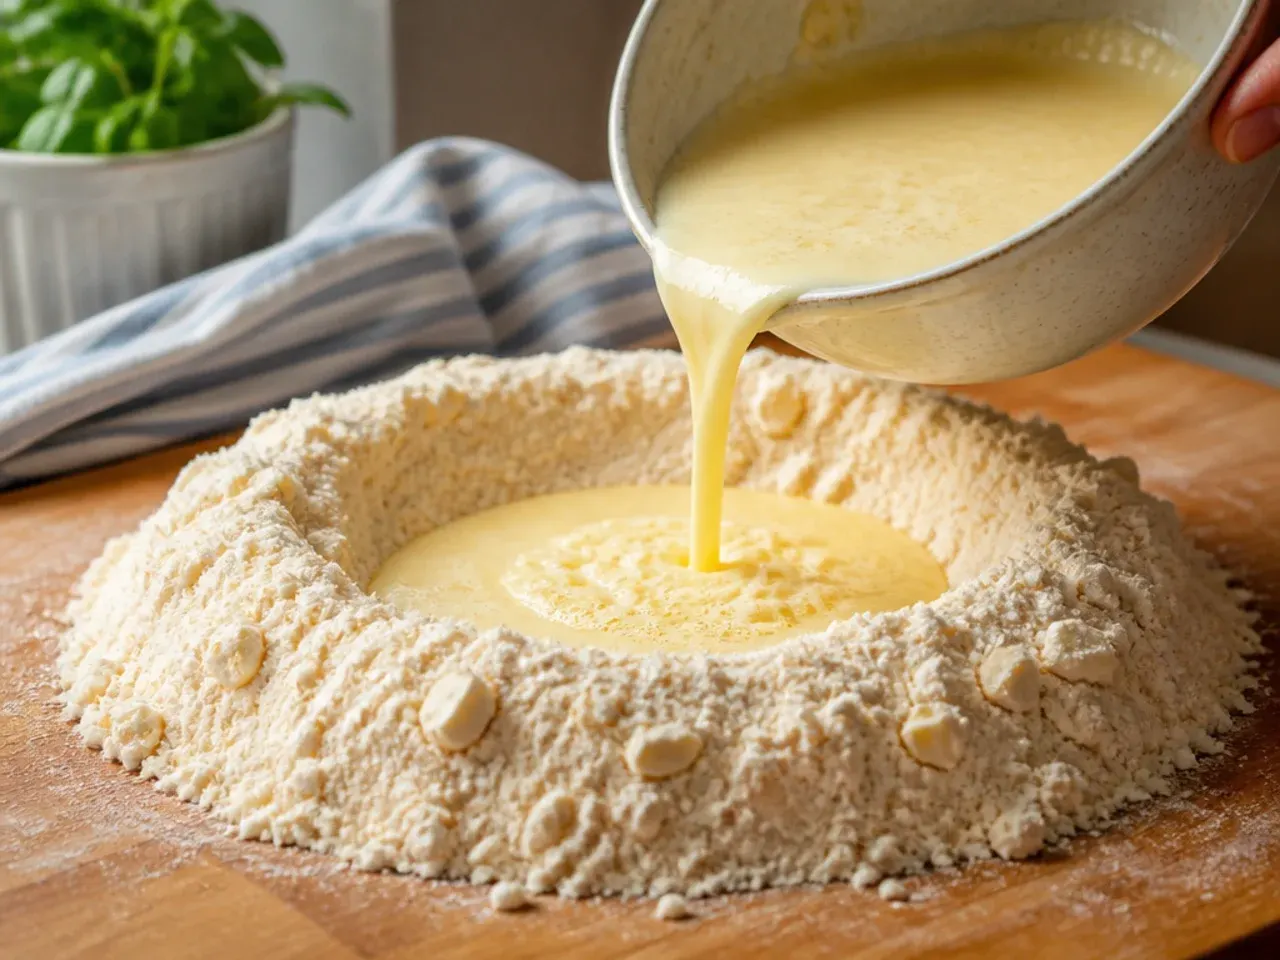
Make a well in the centre of the dry ingredients and pour in the egg and buttermilk mixture in one go rather than gradually. Adding it all at once helps you avoid overmixing, since gluten-free dough turns tough and dense the more it's handled. You should see the mixture start to clump together almost immediately.
Step 10: Bring the dough together
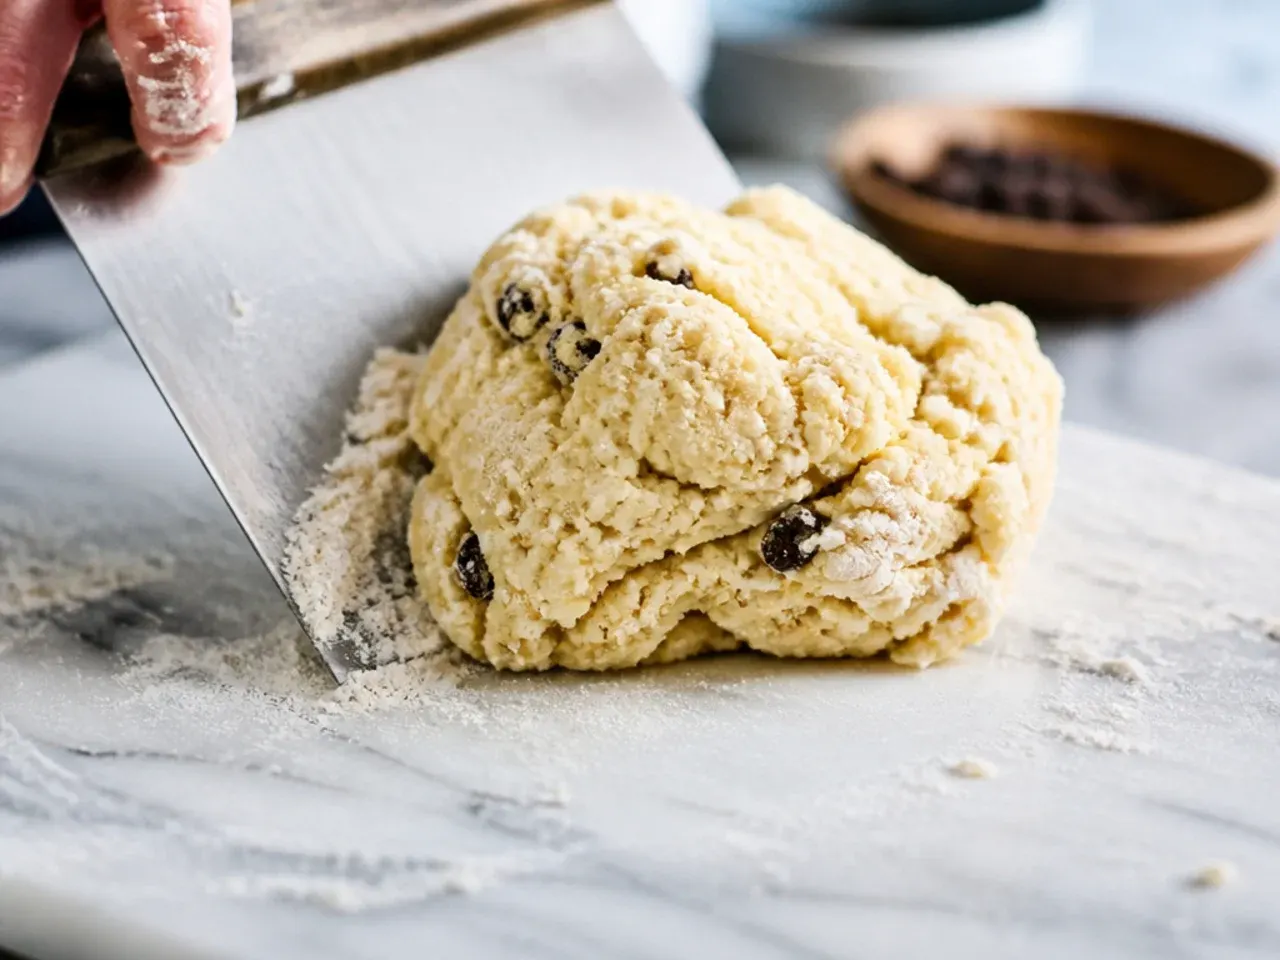
Using a table knife or the flat of a spoon, cut and fold the mixture together just until a shaggy, slightly sticky dough forms with no dry flour visible, about 20-30 seconds of mixing. Stop as soon as it comes together rather than working it further. The dough will look rougher and wetter than a traditional wheat scone dough, and that's exactly right.
Step 11: Turn out and bring together by hand
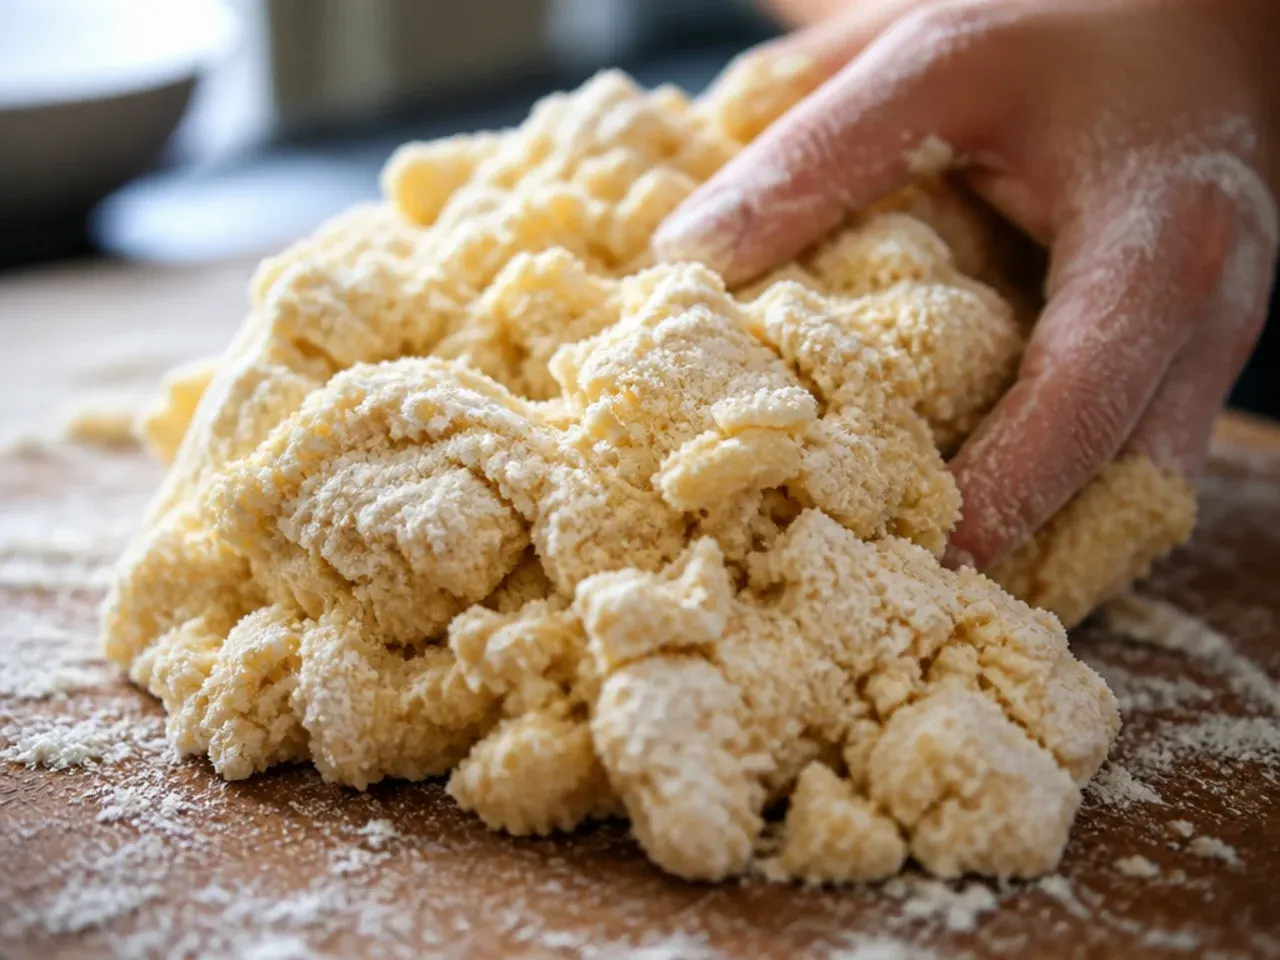
Tip the dough onto a work surface lightly dusted with gluten-free flour and bring it together with floured hands, folding it over on itself just 2-3 times. Avoid kneading it the way you would bread dough. Overworking gluten-free scone dough squeezes out the air pockets you need for a good rise and leaves you with heavy, dense scones.
Step 12: Pat the dough into a disc
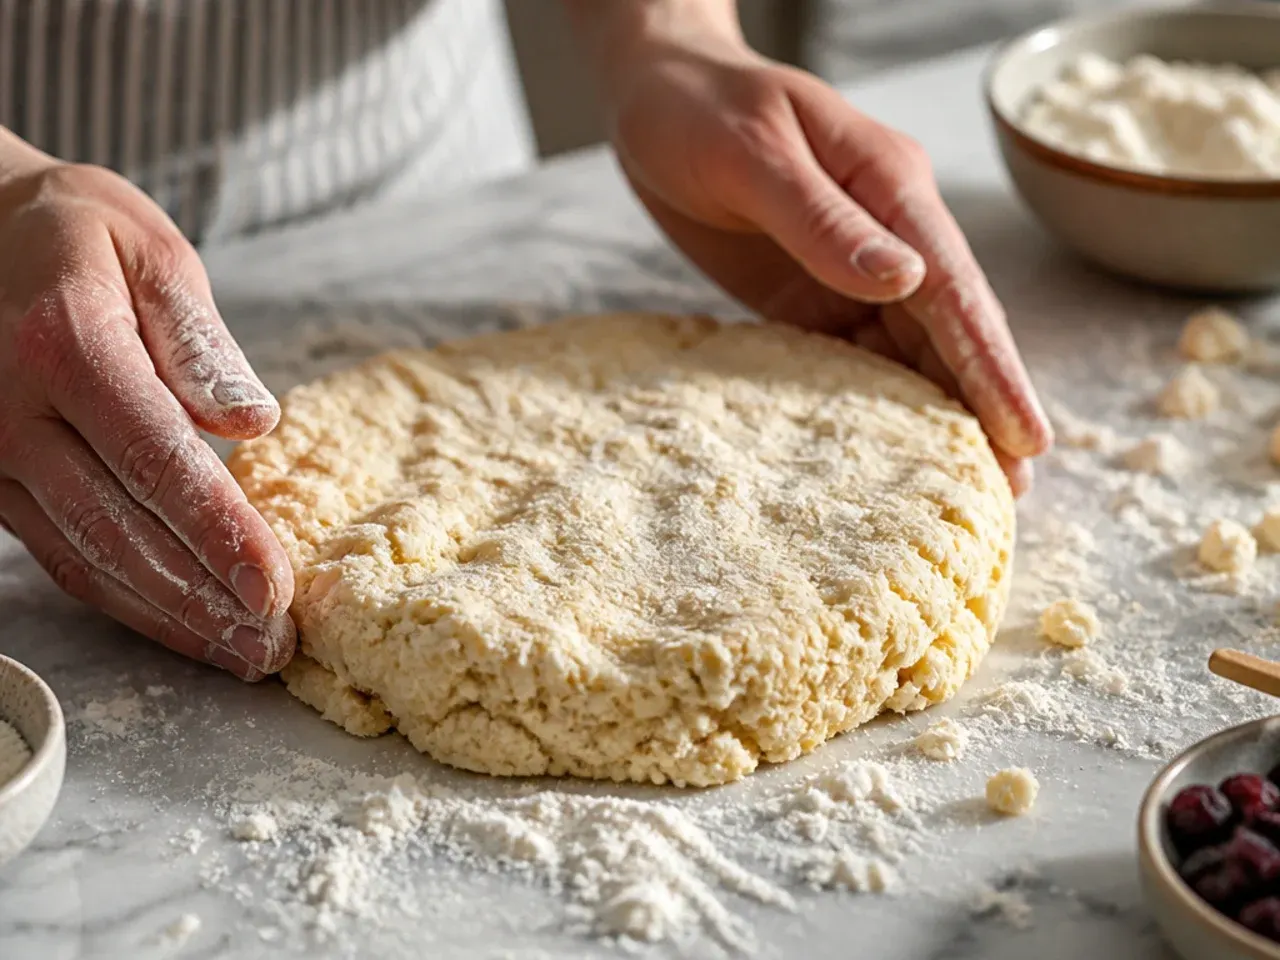
Pat the dough gently into a round about 4cm (1½ in) thick and roughly 18cm (7 in) across, using your palms rather than a rolling pin so you don't compress it. A thicker disc matters more for gluten-free scones than wheat ones, since they don't puff up as dramatically in the oven. Keep the edges as even as you can for a level rise.
Step 13: Chill the dough for 10-15 minutes
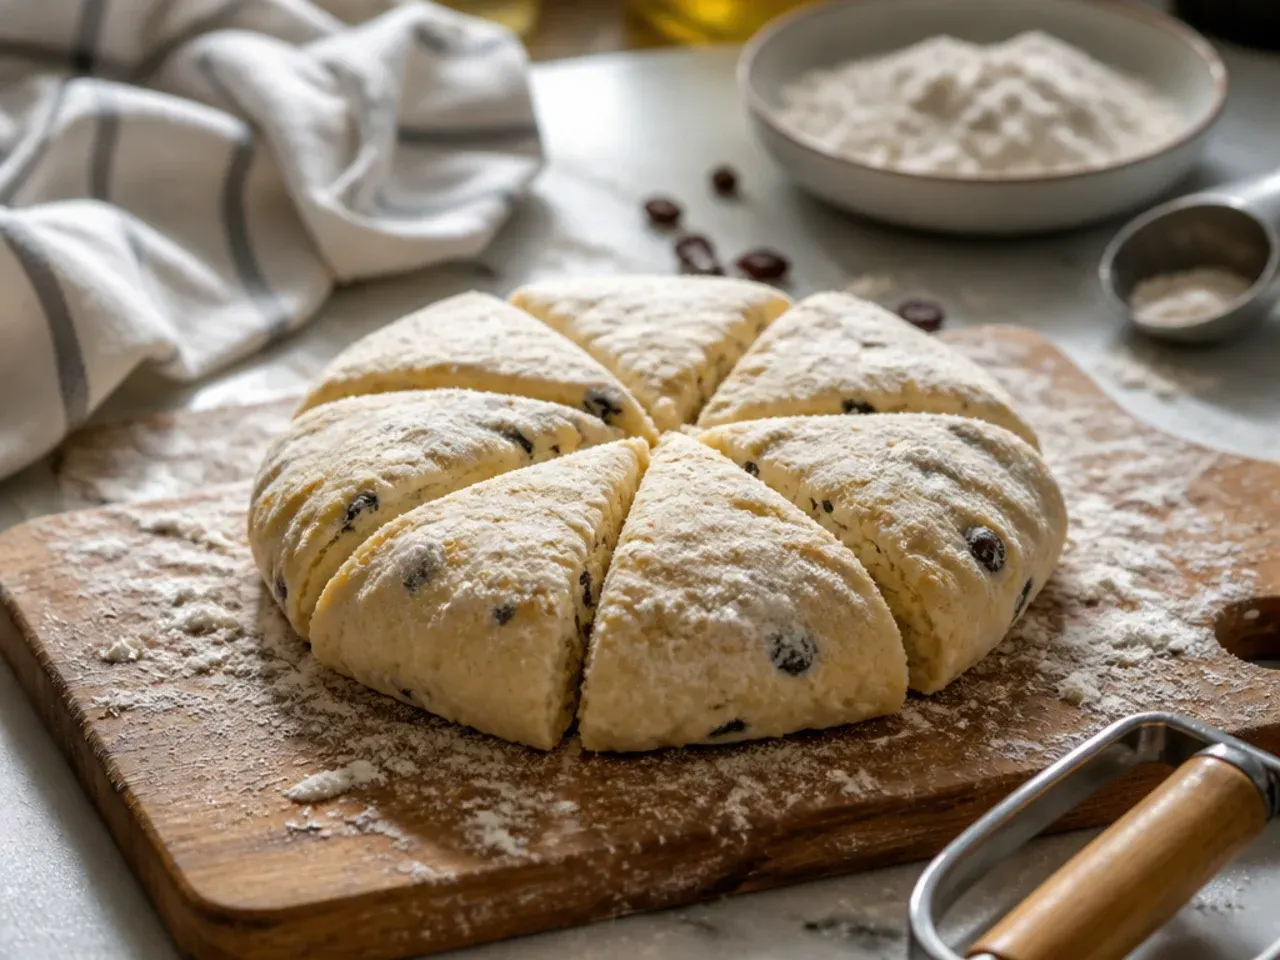
Transfer the disc, still on its board or a plate, to the fridge and chill for 10-15 minutes before cutting. This short rest firms the butter back up and gives the xanthan gum time to fully hydrate, both of which noticeably improve the finished rise and texture. Don't skip this step even if you're short on time, as it makes a real difference with gluten-free dough.
Step 14: Cut out the scones
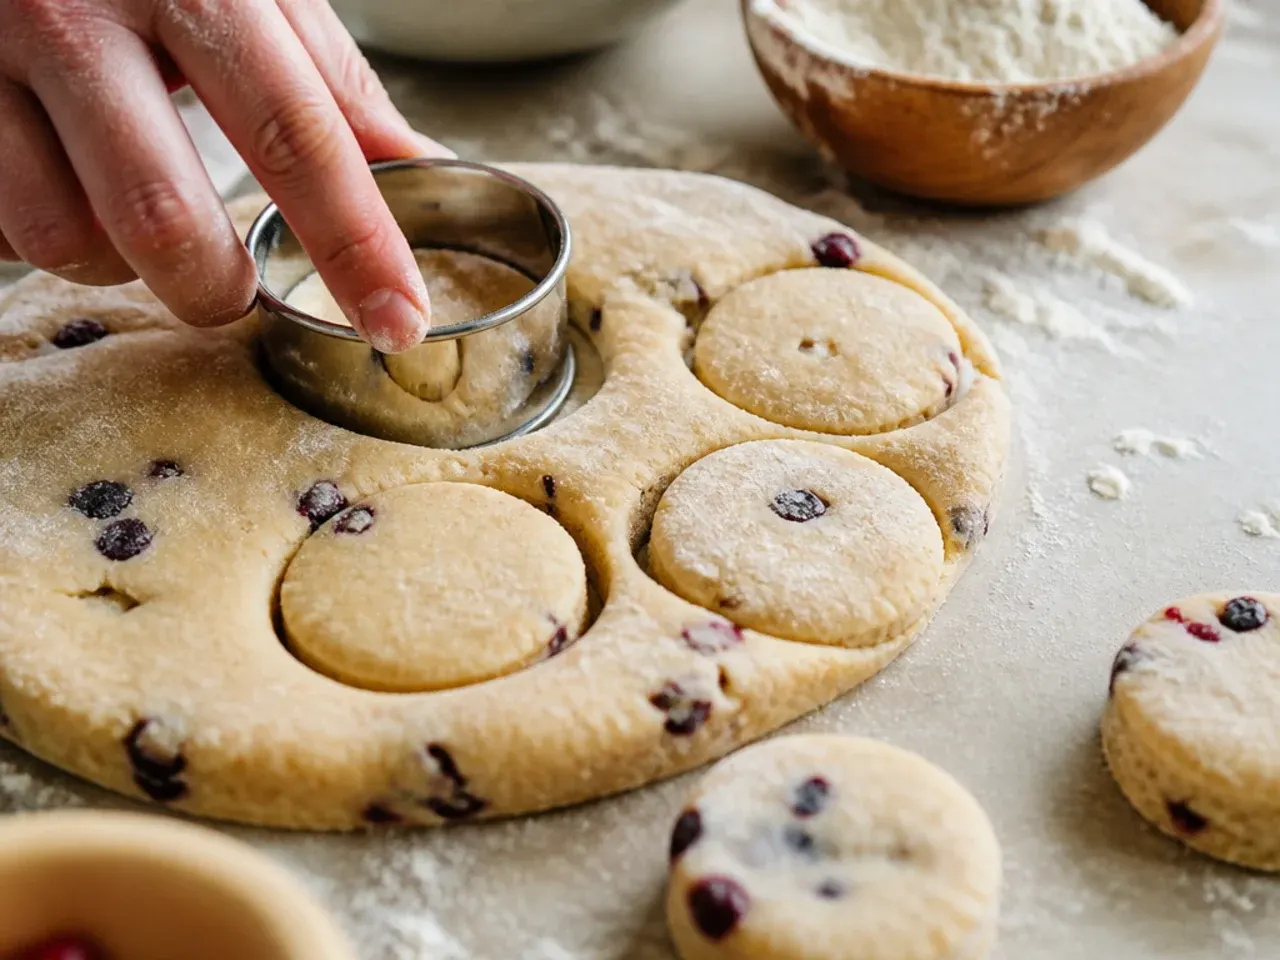
Dip a 5-6cm (2-2½ in) fluted or plain round cutter in flour and press it straight down through the dough without twisting, then lift it straight up and away. Twisting the cutter seals the edges of the dough, which can stop the scones rising evenly on one side. Space your first cuts as close together as possible to get the most rounds from the first pass.
Step 15: Reform the scraps once
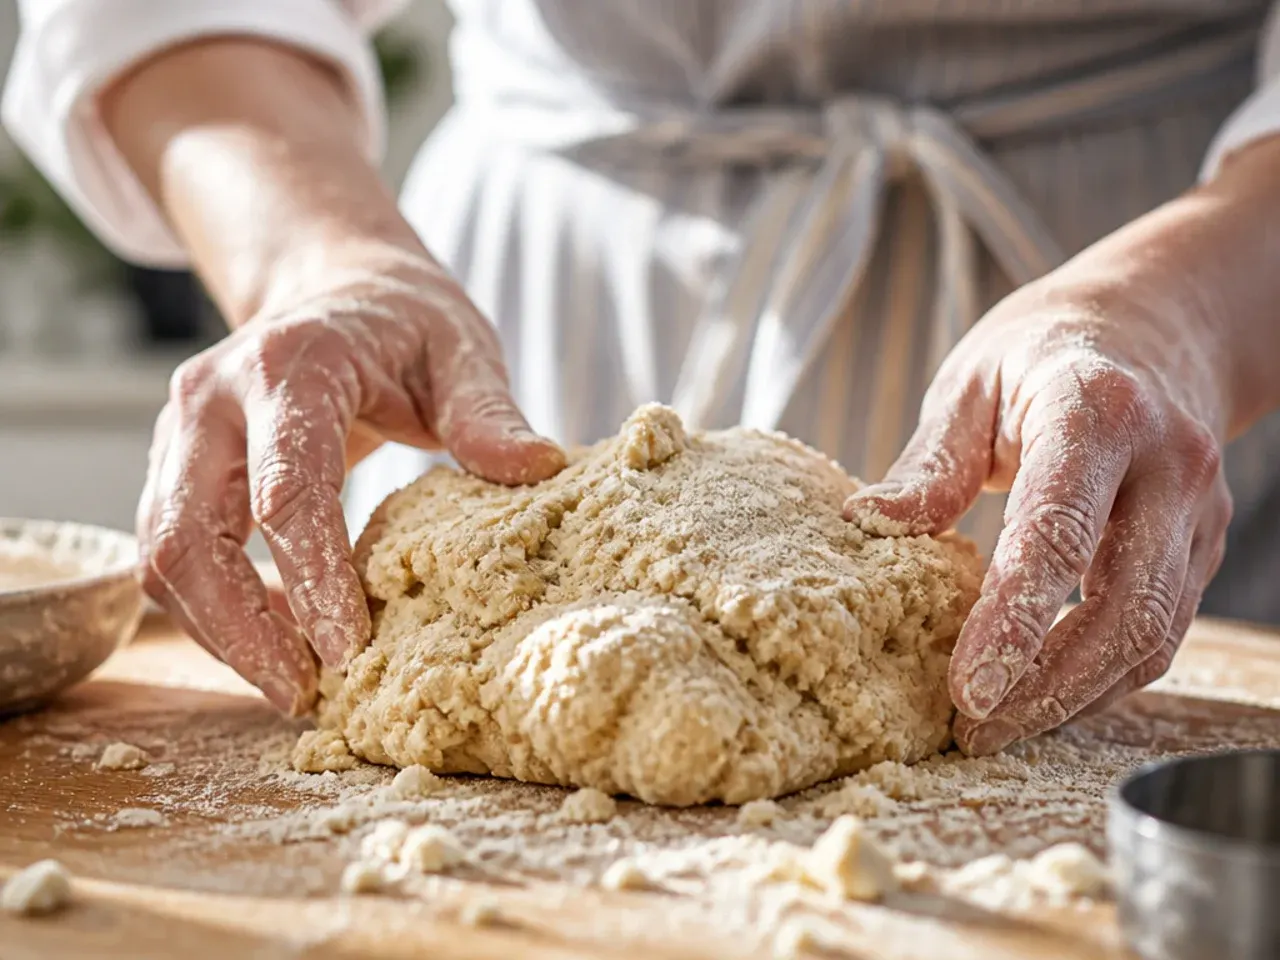
Gently gather the offcuts, pat them back into a 4cm-thick round without kneading, and cut out the remaining scones. Avoid reworking the dough a third time, as by then it will have been handled too much and will bake up noticeably tougher. This second batch will rise slightly less than the first but is still worth baking.
Step 16: Arrange the scones on the tray
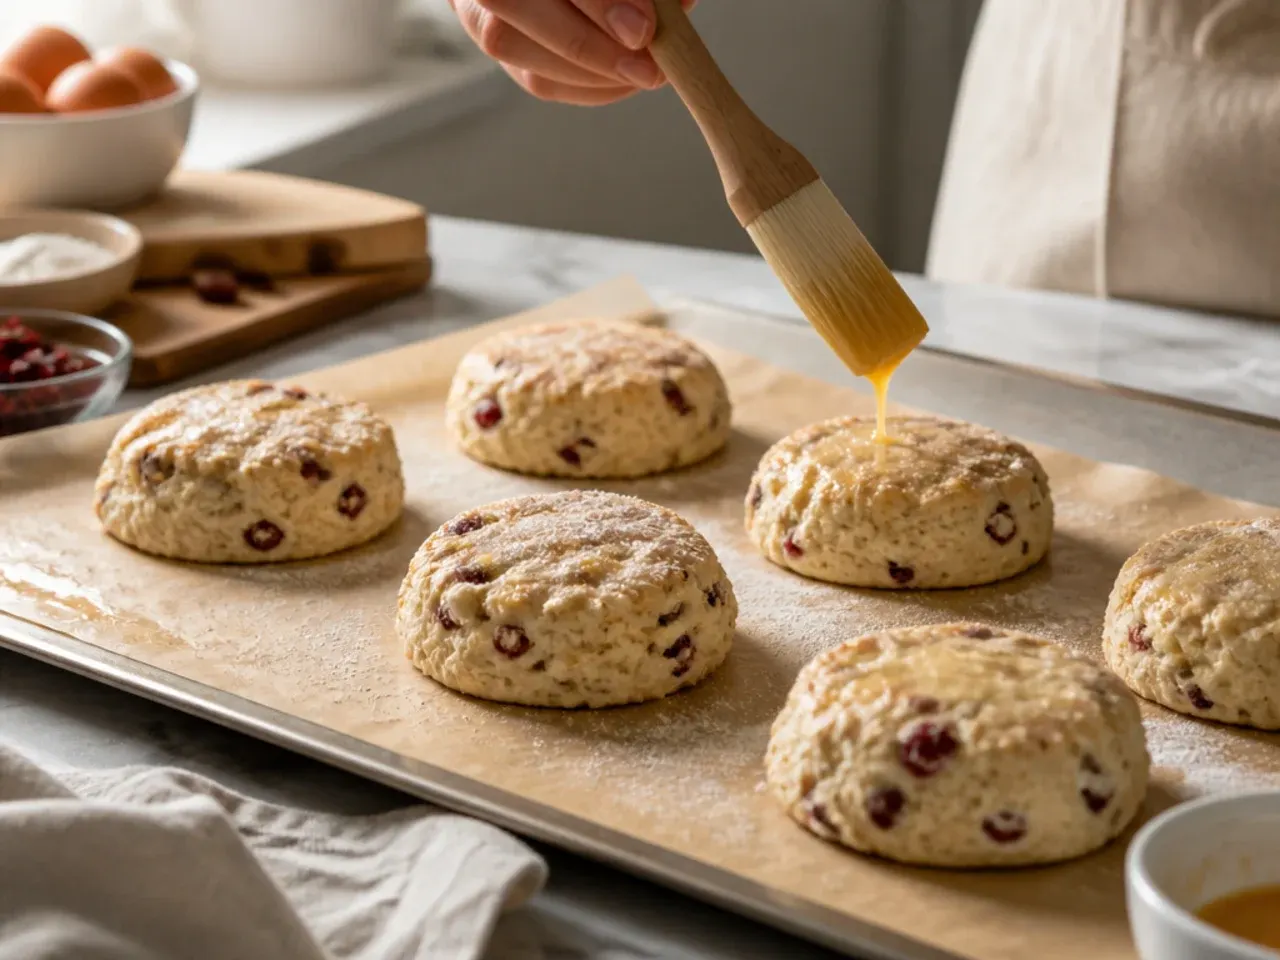
Place the rounds on the lined tray at least 3cm (just over 1 in) apart so hot air can circulate freely and the sides bake up straight rather than fusing together. This quantity of dough should give you about 10 scones in total. Keep them roughly the same size so they all finish baking at the same time.
Step 17: Brush the tops

Brush the top of each scone with the reserved 30ml (2 tbsp) whole milk, taking care not to let it drip down the cut sides. Milk running down the sides can seal the edges and hinder the rise, so use a light, even coat with a pastry brush. This gives the tops a glossy, golden finish once baked.
Step 18: Bake until risen and golden

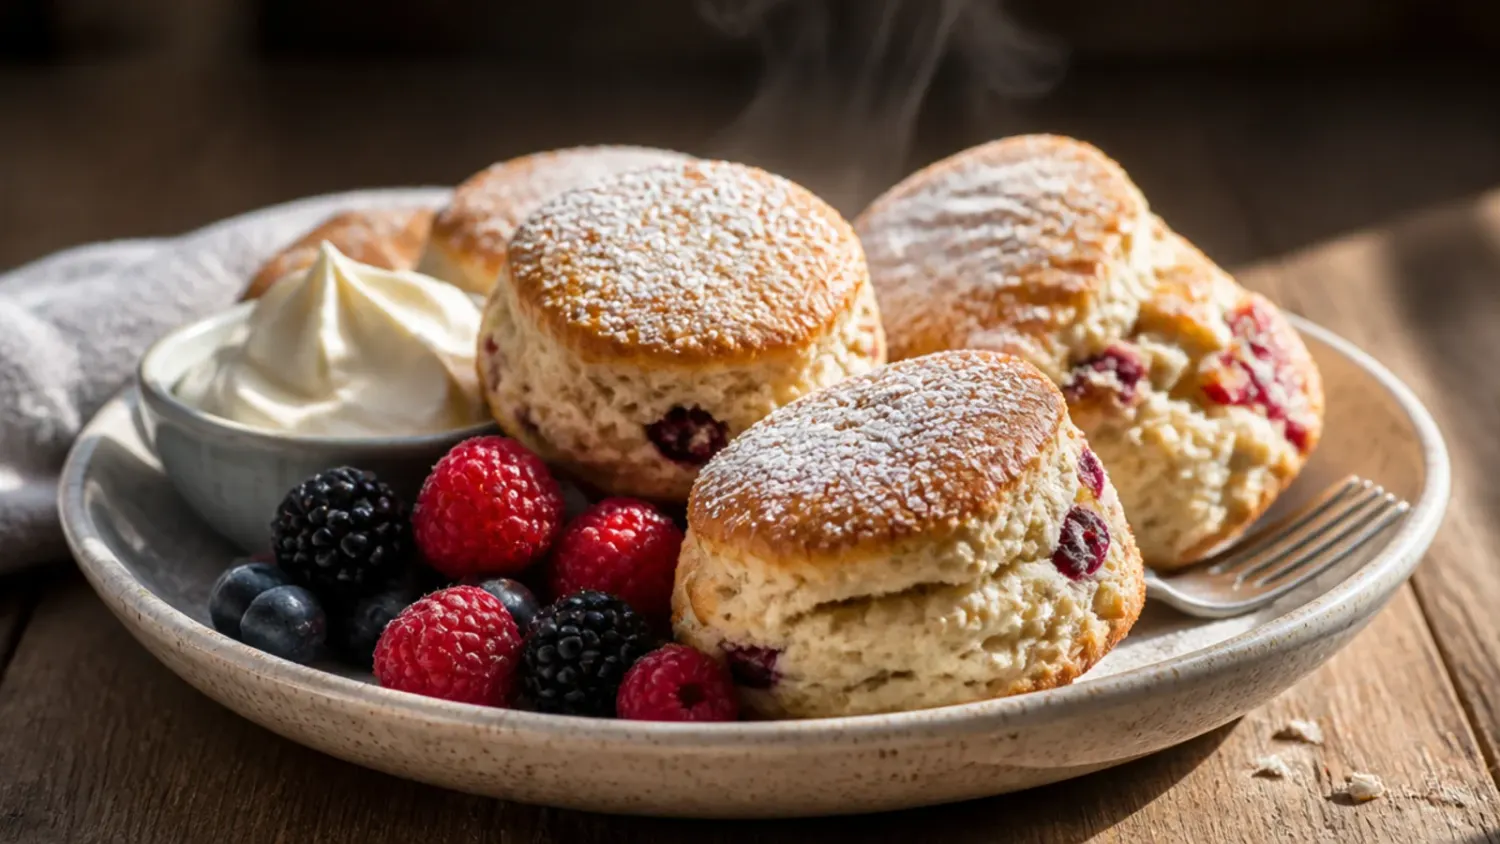
Bake at 200°C (400°F) for 12-14 minutes, until the scones have risen tall with pale golden tops and the sides look set and dry rather than wet or shiny. Resist opening the oven door before the 10-minute mark, since a rush of cold air at this stage can cause them to sink. Rotate the tray halfway through if your oven has hot spots.
Step 19: Check for doneness
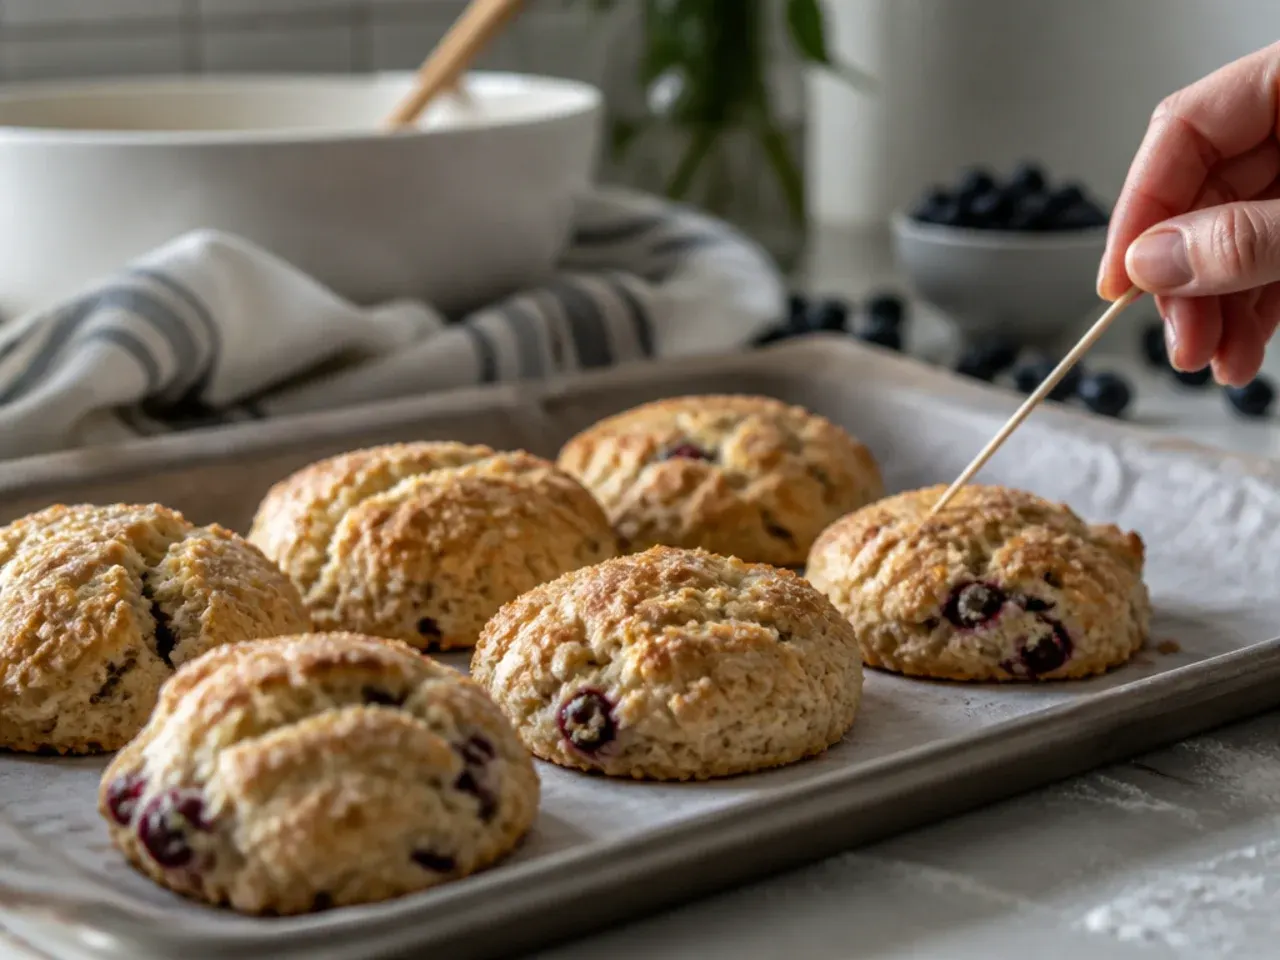
The scones are ready when the tops are a deep golden colour, they sound faintly hollow when you tap the base, and a skewer inserted into the centre comes out clean. If they're browning too quickly but still feel soft in the middle, loosely tent the tray with foil and bake for another 2-3 minutes. Every oven runs slightly differently, so trust these visual cues over the clock.
Step 20: Cool on a wire rack

Transfer the scones to a wire rack immediately and leave them for at least 10 minutes before splitting and serving. Cooling on a rack rather than leaving them on the tray stops steam building up underneath, which would otherwise turn the base soggy. Serve warm with butter, clotted cream and jam for a classic finish.
Pro Tips for Perfect Gluten-Free Scones Every Time
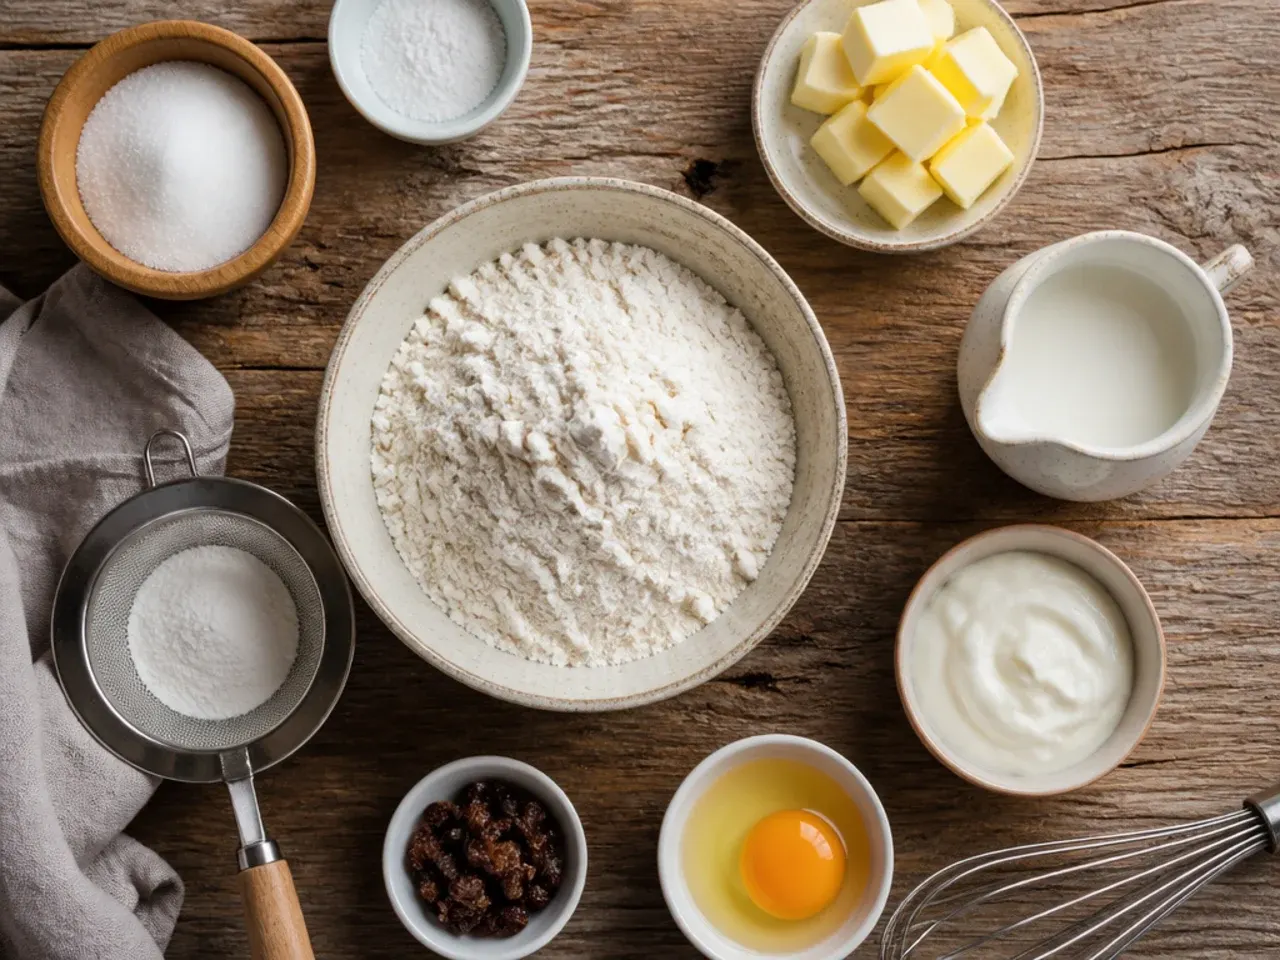
Use a proper gluten-free flour blend meant for baking rather than a plain all-purpose swap, since these blends include the starches that keep scones tender instead of gritty. Keep the butter, egg and buttermilk cold throughout, as gluten-free dough tolerates a hot oven far better than a warm mixing bowl. Weigh every ingredient rather than using cup measures, because a few extra grams of flour is often the difference between a good rise and a dry, crumbly scone. Don't skip the xanthan gum: it's doing the structural job gluten would normally handle, and without it your scones will fall apart the moment you try to split them.
How to Store, Freeze and Make Gluten-Free Scones Ahead

Baked scones keep well in an airtight container at room temperature for 2 days, or in the fridge for up to 4 days; warm them in a 160°C (320°F) oven for 5 minutes to bring back their fresh-baked texture. To freeze baked scones, cool them completely, freeze in a single layer until solid, then transfer to a freezer bag for up to 3 months and defrost at room temperature for a couple of hours. For the best texture, freeze the dough unbaked instead: cut the rounds, freeze flat on a tray until firm, then bag them and bake straight from frozen, adding 3-4 extra minutes to the bake time. Avoid making the full wet dough more than an hour or two ahead of baking, since gluten-free raising agents lose potency once they meet liquid and the rise will suffer.
A foolproof, step-by-step method for tall, flaky gluten free scones, with pro baking tips and make-ahead options for perfect afternoon tea every time. For more scones inspiration, browse the full Scone Recipes board — every idea there is written for real home kitchens, not professional bakers.
Frequently Asked Questions
Yes, but freeze the shaped, unbaked rounds rather than the mixed dough itself, since gluten-free baking powder starts losing lift as soon as it meets liquid. Cut the scones, freeze them flat on a tray until solid, then transfer to a freezer bag for up to 3 months. Bake straight from frozen on a lined tray at 200°C (400°F), adding 3-4 minutes to the time given in this recipe. This method gives a noticeably better rise than chilling mixed dough overnight.

Related Recipes

Save this for later 📌
Pin this article to your Pinterest board so the full list is one tap away when you need it.
Save on Pinterest