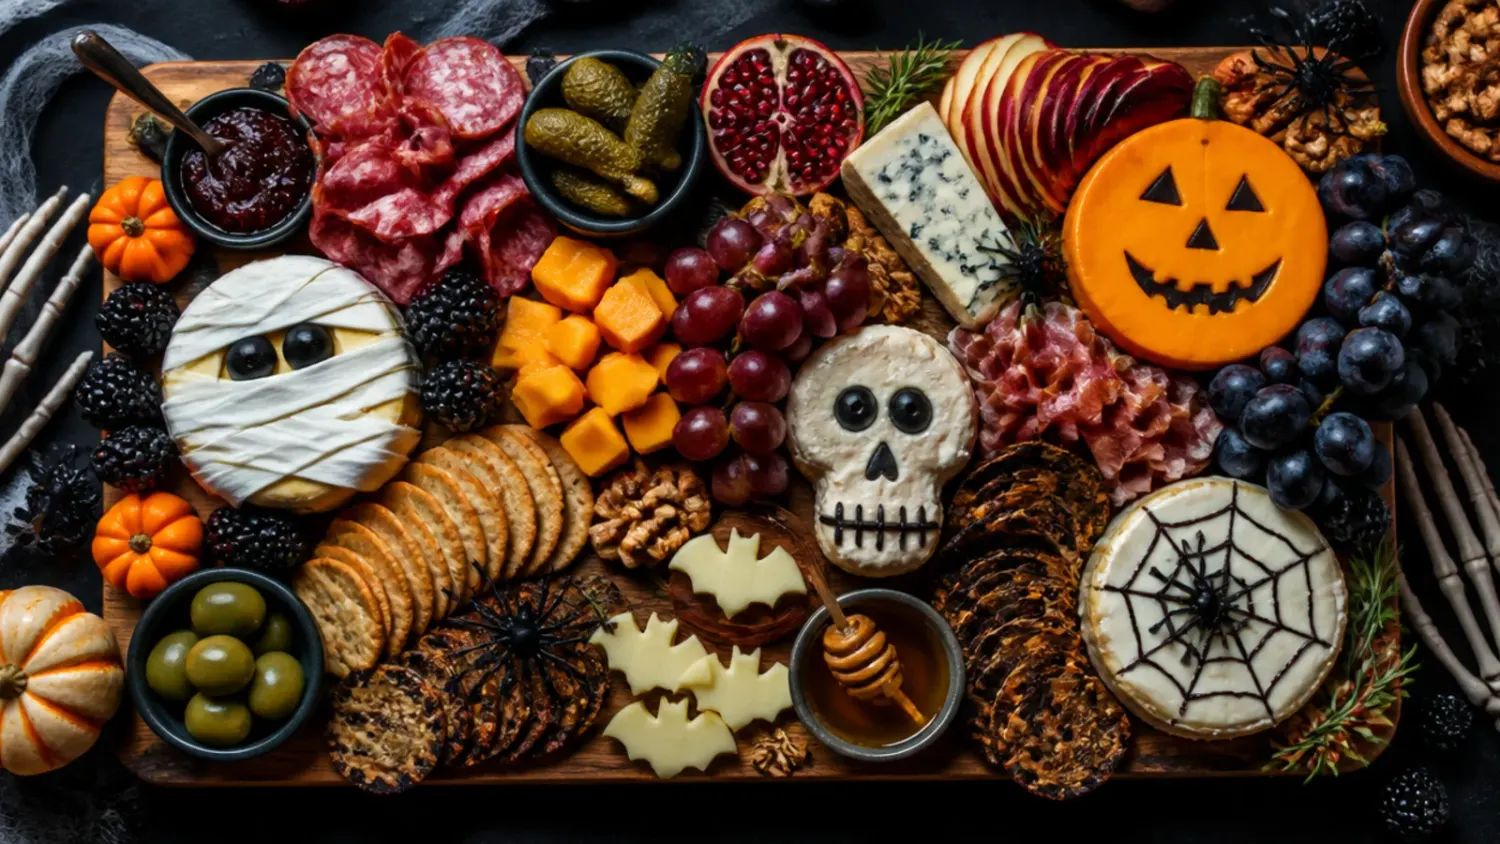
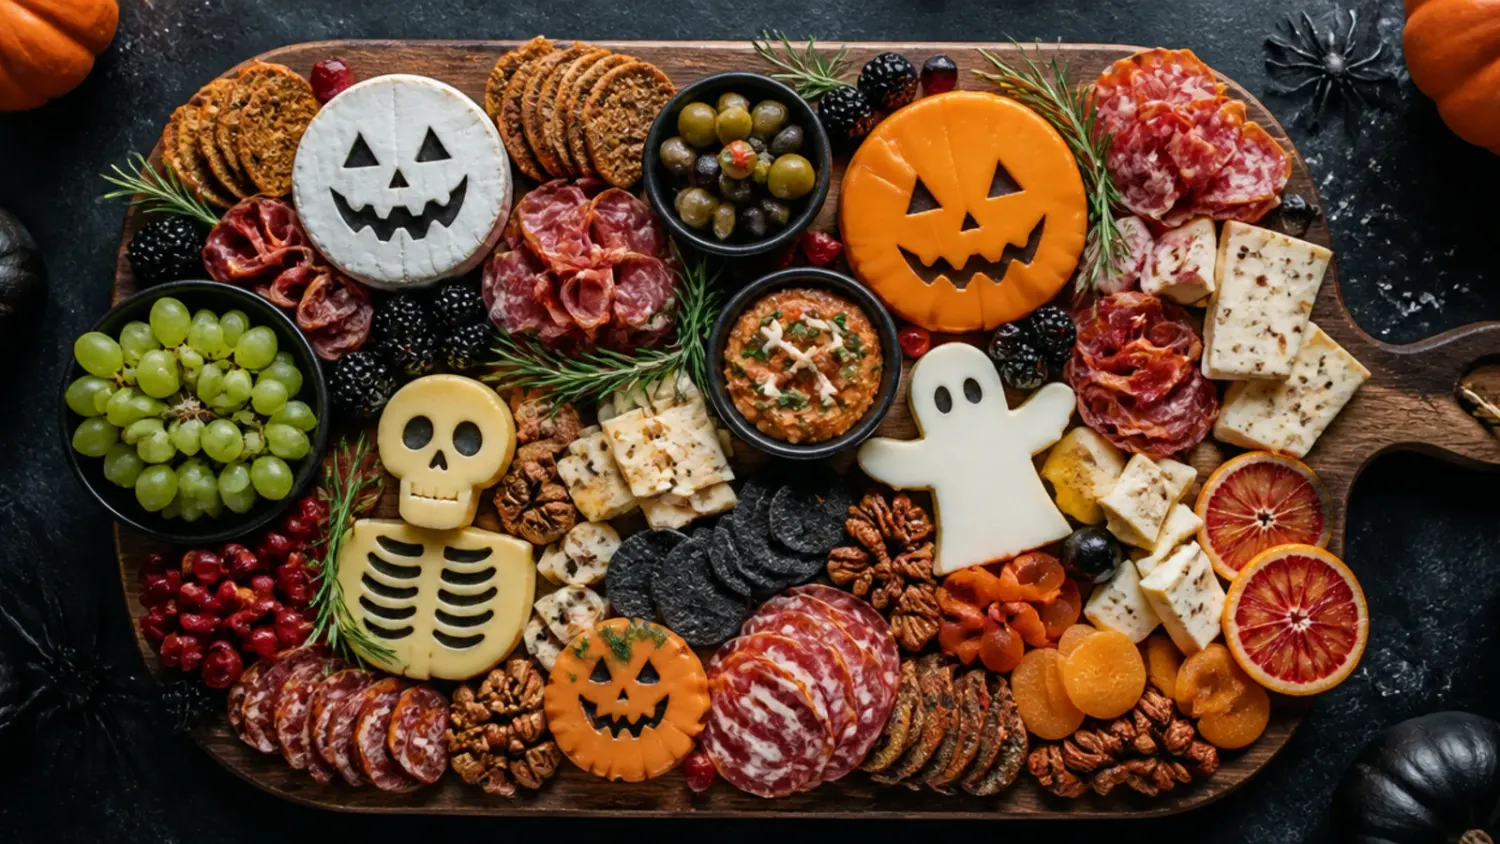
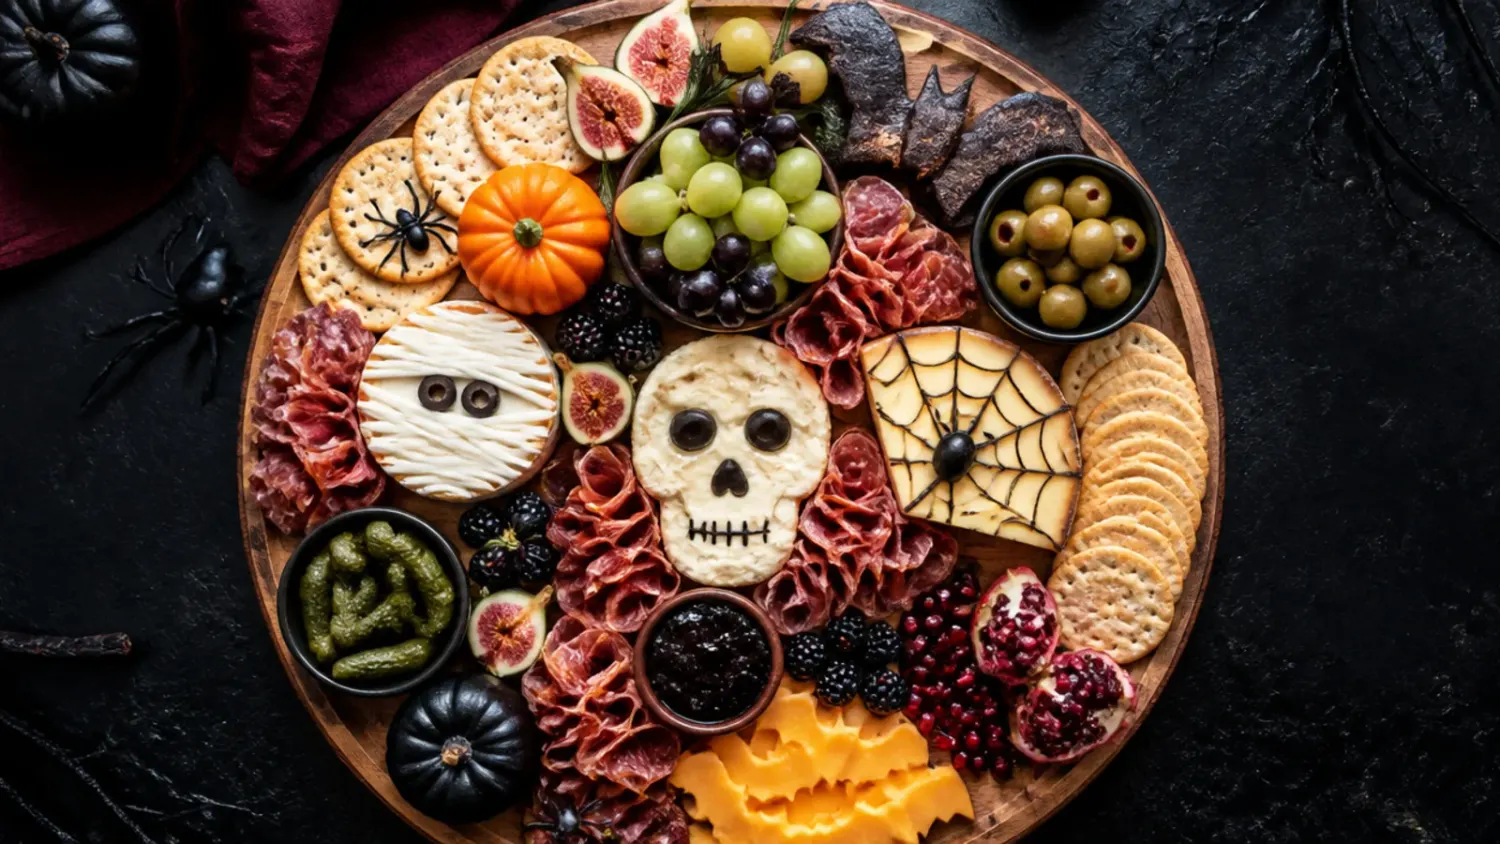
15 Halloween Charcuterie Dessert Board Ideas
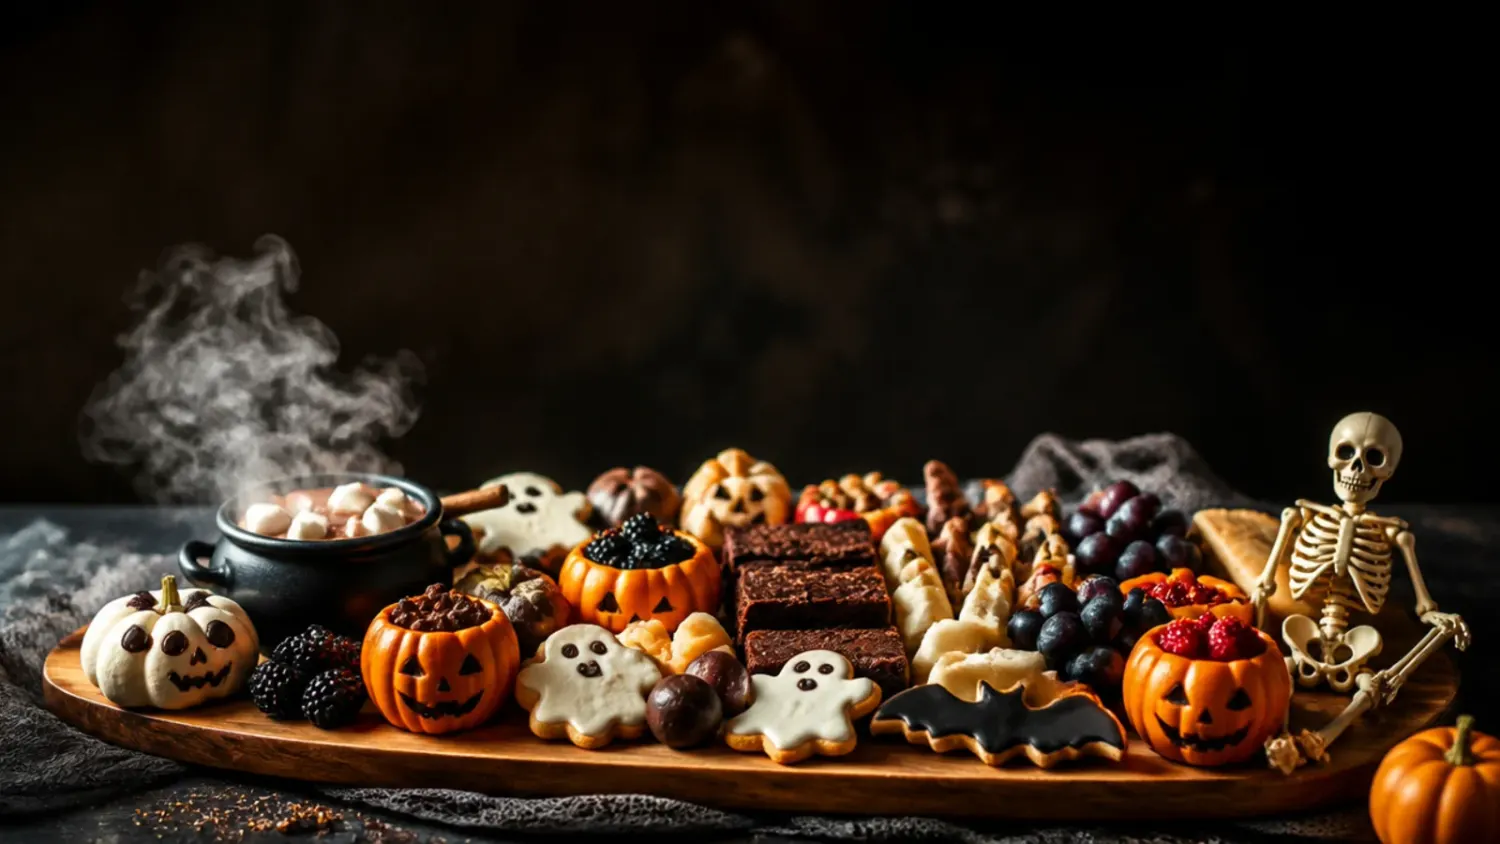
15 Halloween charcuterie board dessert ideas with real amounts, easy swaps and make-ahead tips for a spooky spread that feeds a crowd. If you love halloween charcuterie board inspiration, start with our Halloween Charcuterie Board collection, then browse the full Party Food hub for more.
Save this for later 📌
Pin this article to your Pinterest board so the full list is one tap away when you need it.
Save on PinterestParty Food
Beginner
Recipes
15 ideas
Table of Contents
- Why You'll Love These
- 1. The Classic Candy & Chocolate Board
- 2. The 5-Ingredient Grab-and-Go Board
- 3. Warm Spiced Pumpkin & Caramel Board
- 4. Three-Ingredient Chocolate Bark Board
- 5. Cheesecake Bites & Dip Board
- 6. Fully Loaded Trick-or-Treat Board
- 7. The Ultimate Spooky Showstopper Board
- 8. Pumpkin Cheese Ball & Cracker Board
- 9. Budget-Friendly Dollar-Store Board
- 10. Crowd-Pleasing Party Platter for a Crowd
- 11. Make-Ahead Board for Busy Hosts
- 12. Kid-Friendly Family Board
- 13. Black, Orange & Purple Festive Board
- 14. 15-Minute Last-Minute Board
- 15. All-Homemade Bake-It-Yourself Board
- Pro Tips
- Serving Suggestions
- Storage and Reheating
- The Master Recipe
Why You'll Love These
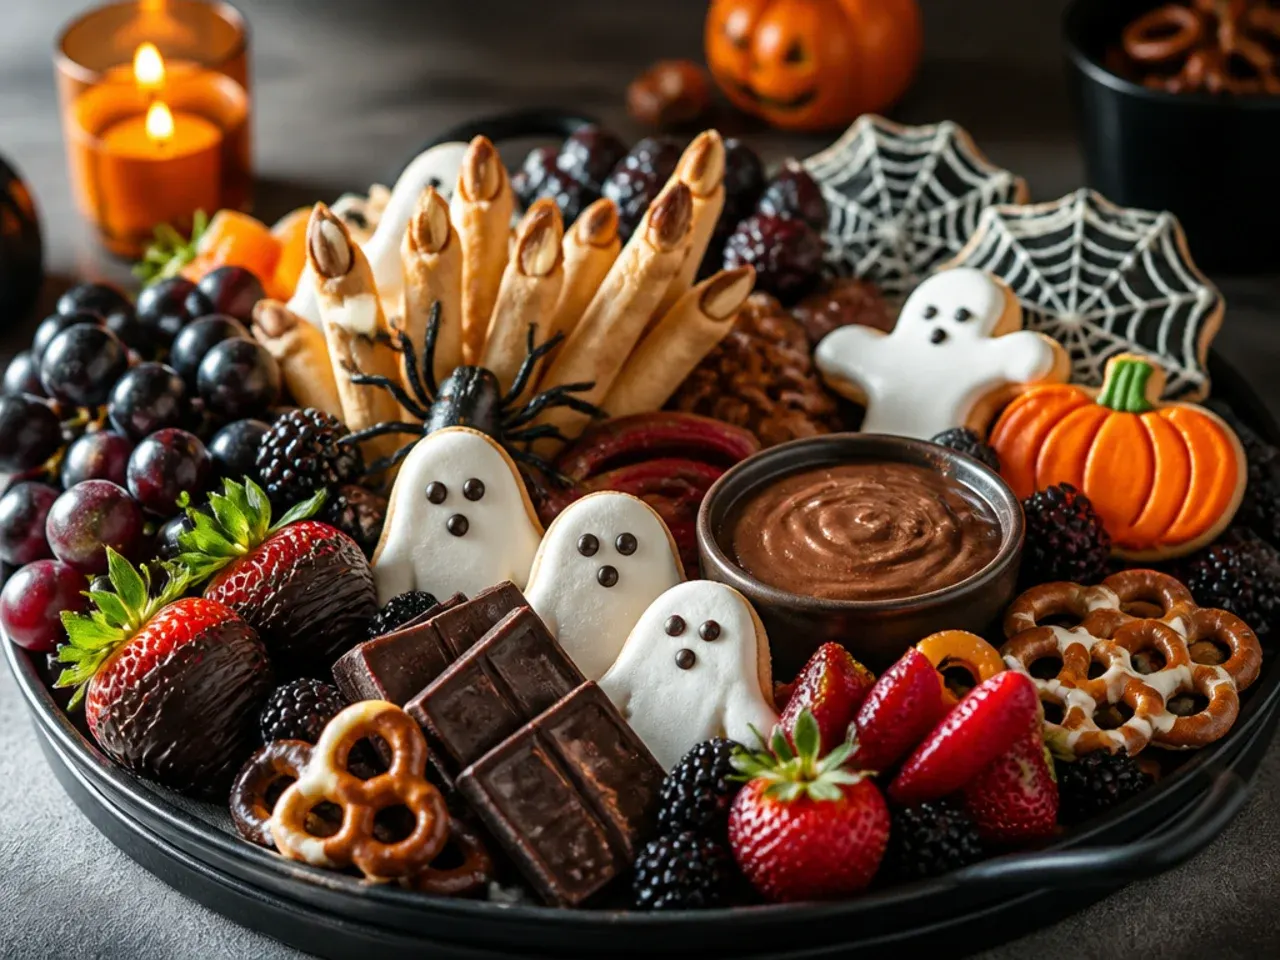
A Halloween charcuterie board dessert solves the biggest party headache: no oven timers, no plated portions, just a big board that people graze on all night. Because it's built from bought and homemade sweets arranged together, you can scale it up or down depending on the guest list without changing a recipe. It also looks far more impressive than the effort it takes, since colour and shape do most of the work. Below are 15 ways to build one, from five-minute versions to a full showstopper spread.
1. The Classic Candy & Chocolate Board
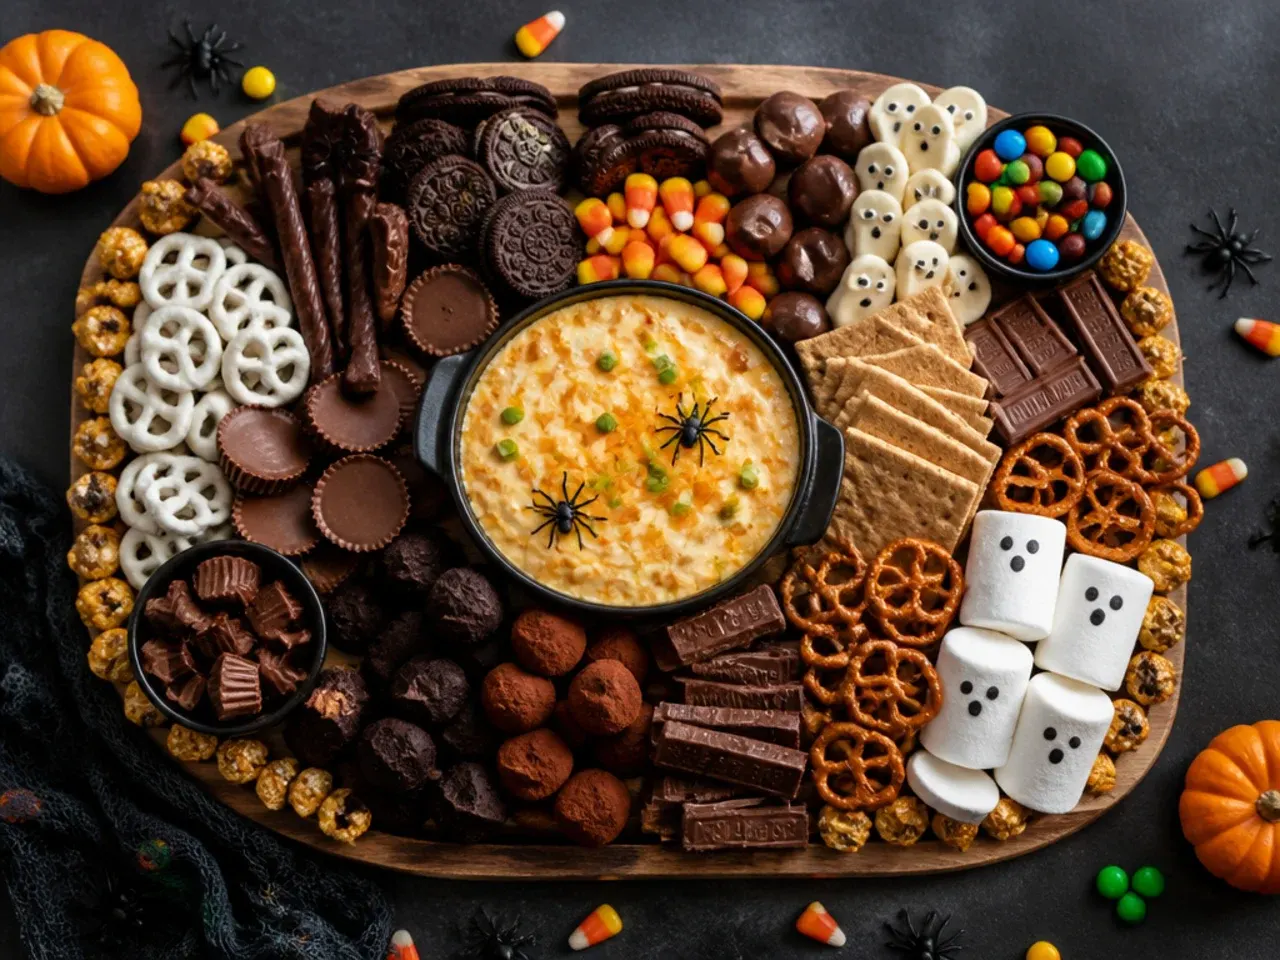
This is the reliable starting point: a mix of dark and white chocolate bark, candy corn, orange and black M&Ms, and a handful of pumpkin-shaped shortbread. Group each sweet in its own small pile or ramekin so the board reads as organised rather than a candy bowl tipped out. Swap in whatever chocolate your supermarket stocks in autumn packaging, since the seasonal wrapping does a lot of the visual work for free.
2. The 5-Ingredient Grab-and-Go Board
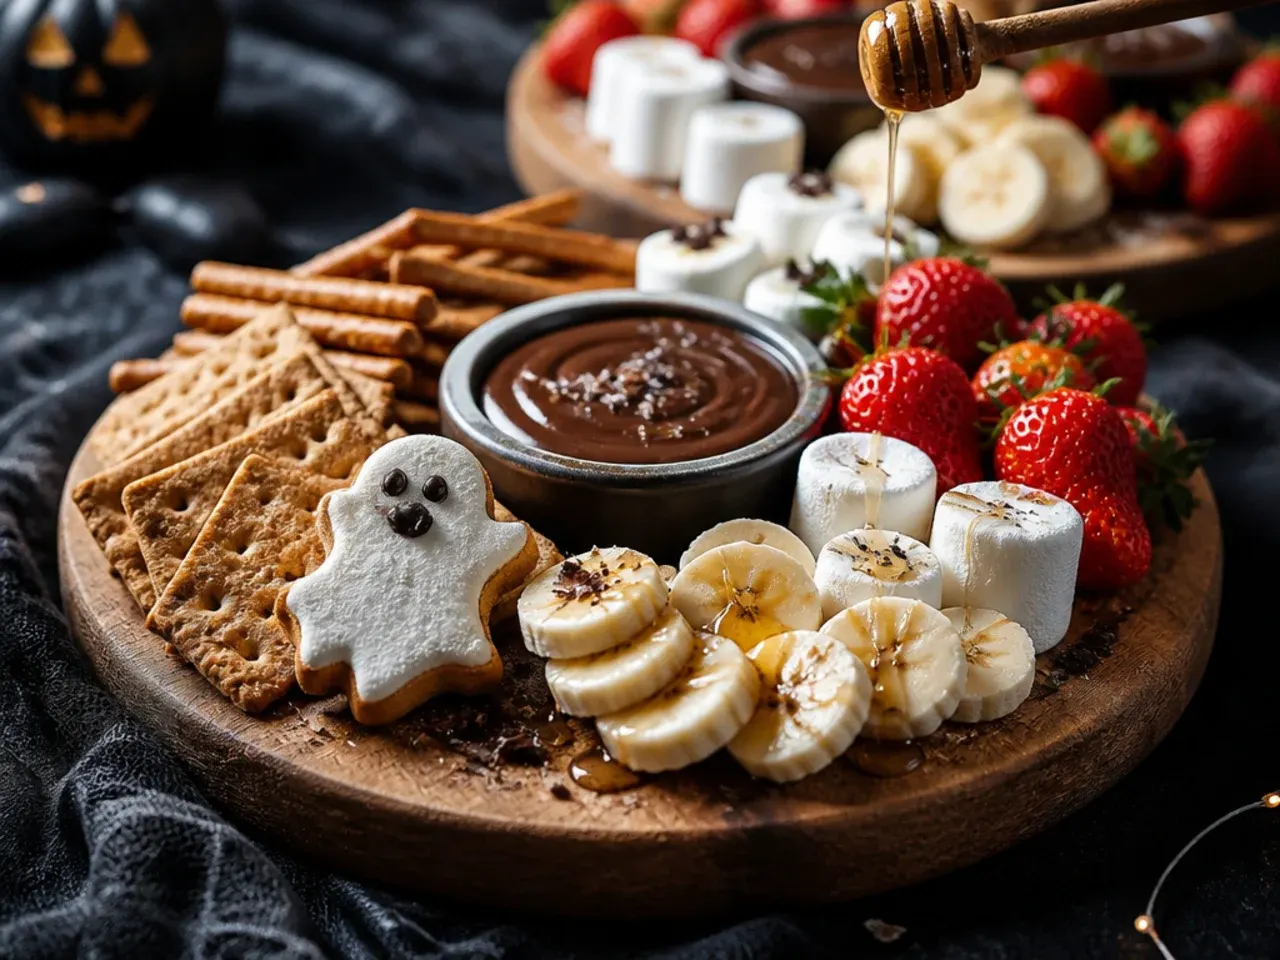
Keep it to five shop-bought items: candy corn, chocolate-covered pretzels, orange wafer biscuits, mini marshmallows and a bag of gummy worms. Tip each straight from the packet into small bowls and nestle the bowls into gaps on the board rather than pouring everything loose. This version takes under 10 minutes start to finish, which makes it the one to reach for when guests are arriving in an hour.
3. Warm Spiced Pumpkin & Caramel Board
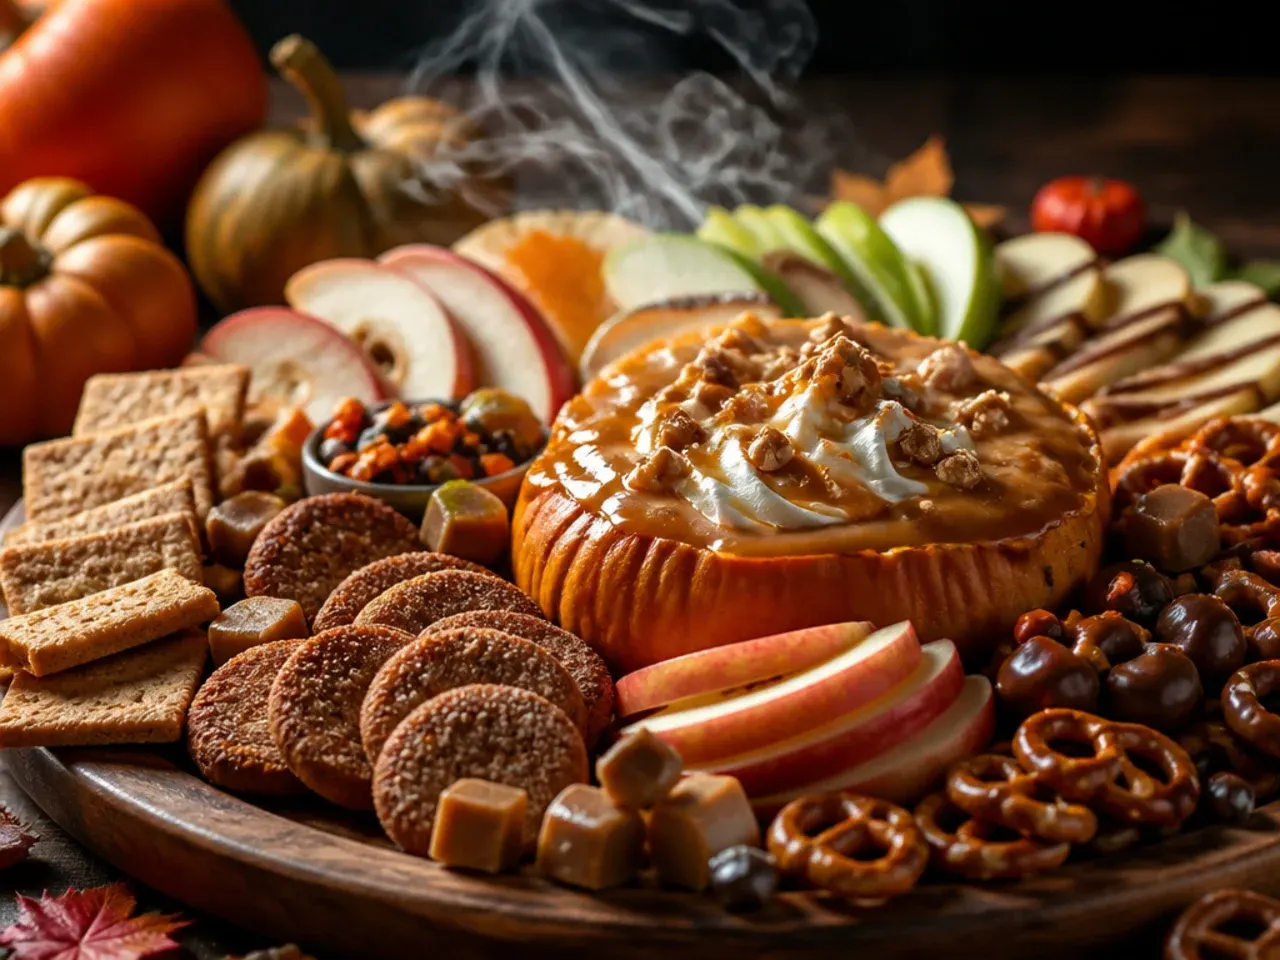
Add cubed pumpkin spice loaf cake, caramel-dipped apple slices and a small dish of warm salted caramel sauce for dipping. Toss the apple slices in a squeeze of lemon juice first so they don't brown before serving. This board leans more autumnal than spooky, so it works well for a Halloween-adjacent gathering that isn't all black and orange.
4. Three-Ingredient Chocolate Bark Board
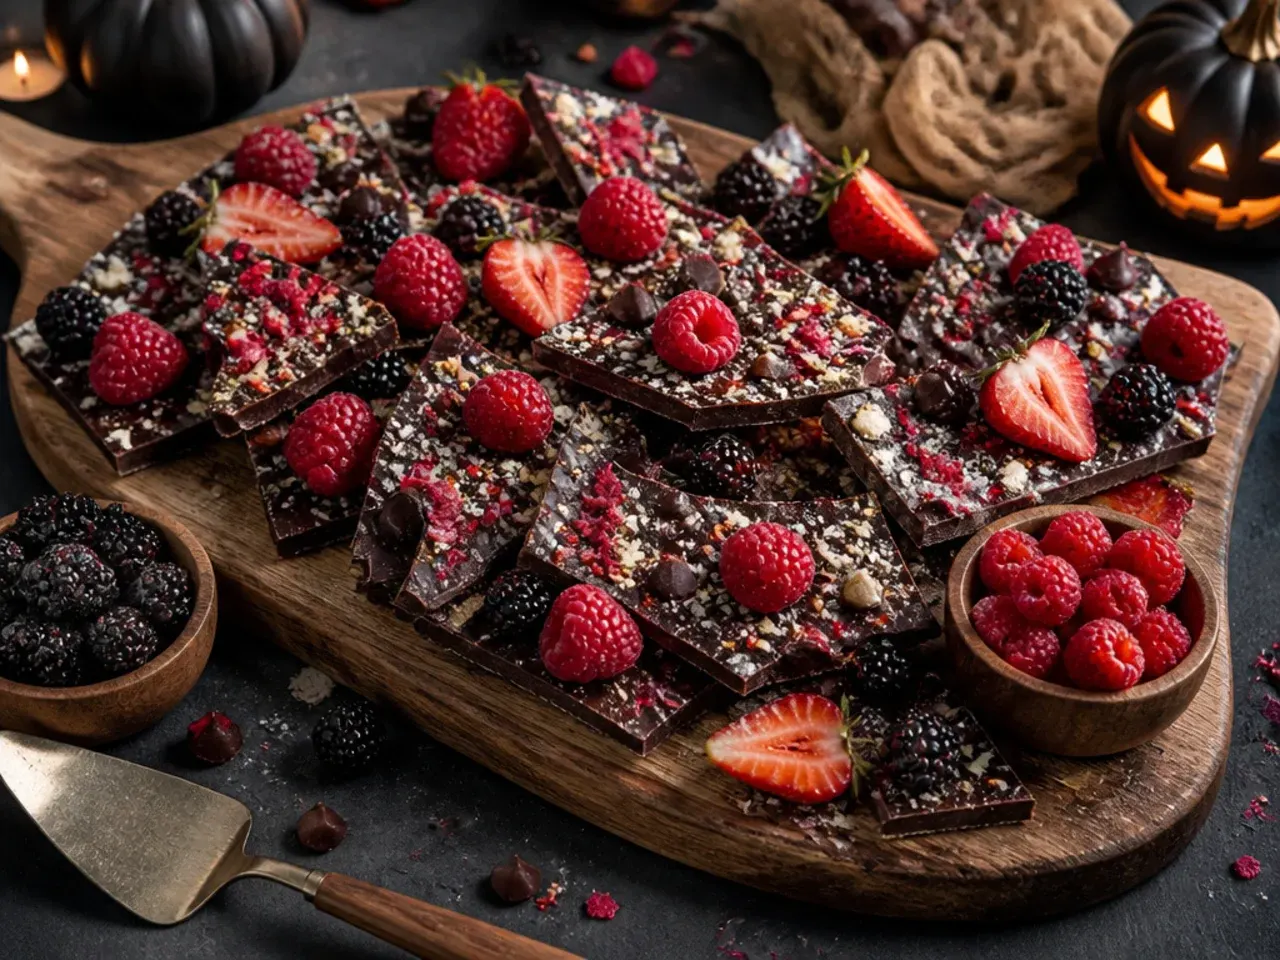
Melt 300 g (10 oz) dark chocolate and spread it 5 mm (¼ in) thick on a lined tray, scatter over crushed pretzels and candy eyeballs, then chill for 20 minutes and snap into shards. Build the whole board around this one bark plus a bowl of mixed sweets either side, which keeps prep to a single step. It's the easiest homemade option here because there's no dipping or shaping involved.
5. Cheesecake Bites & Dip Board
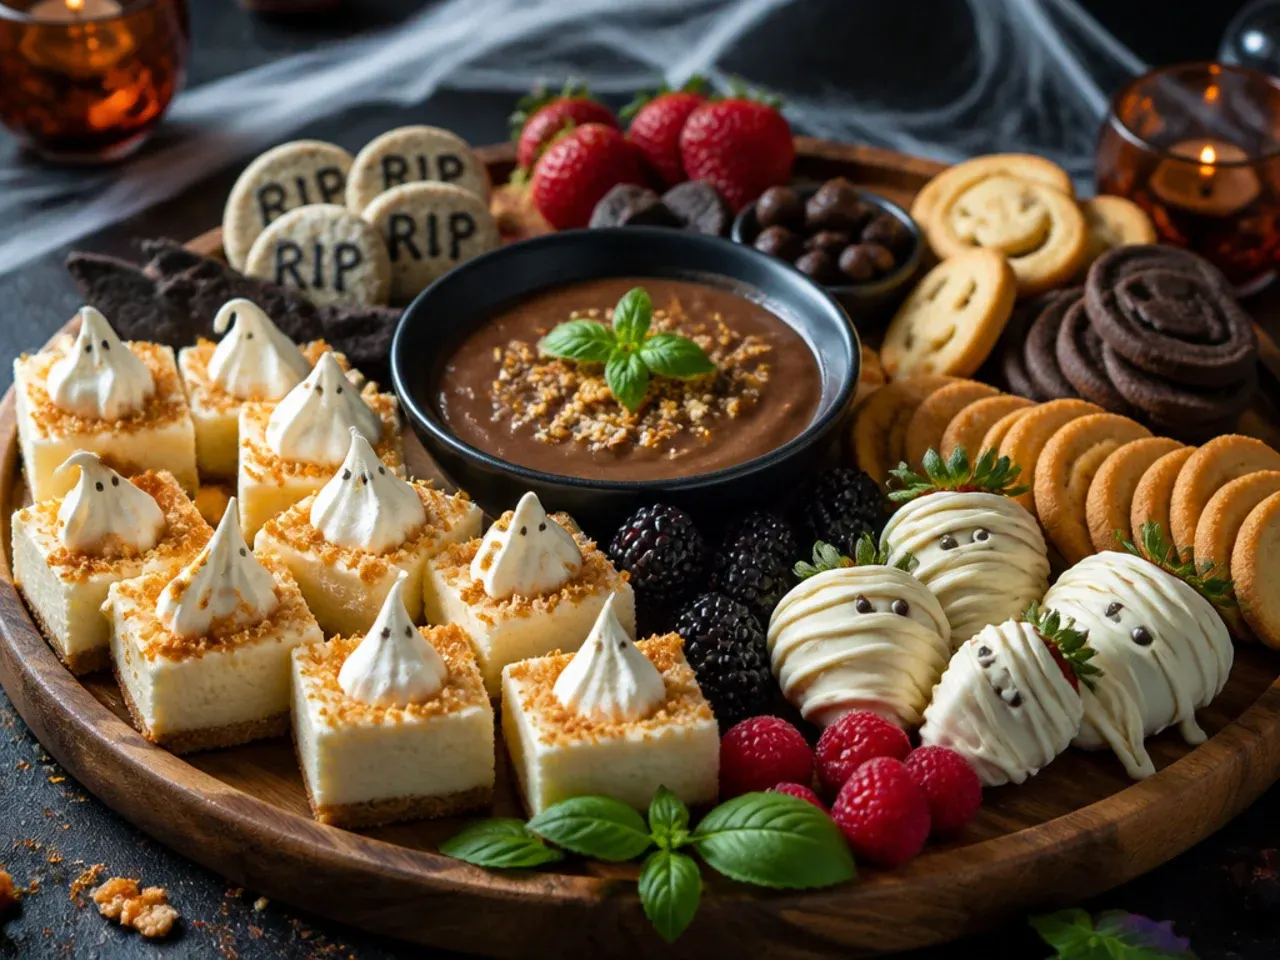
Add no-bake mini cheesecake bites and a bowl of orange-tinted cream cheese fruit dip alongside graham crackers or digestive biscuits for scooping. Colour the dip with a drop of orange gel food colouring rather than liquid colouring, since gel won't thin the mixture. This is the board to build when you want something creamy to balance all the chocolate and sugar elsewhere on the table.
Save this for later 📌
Pin this article to your Pinterest board so the full list is one tap away when you need it.
Save on Pinterest6. Fully Loaded Trick-or-Treat Board
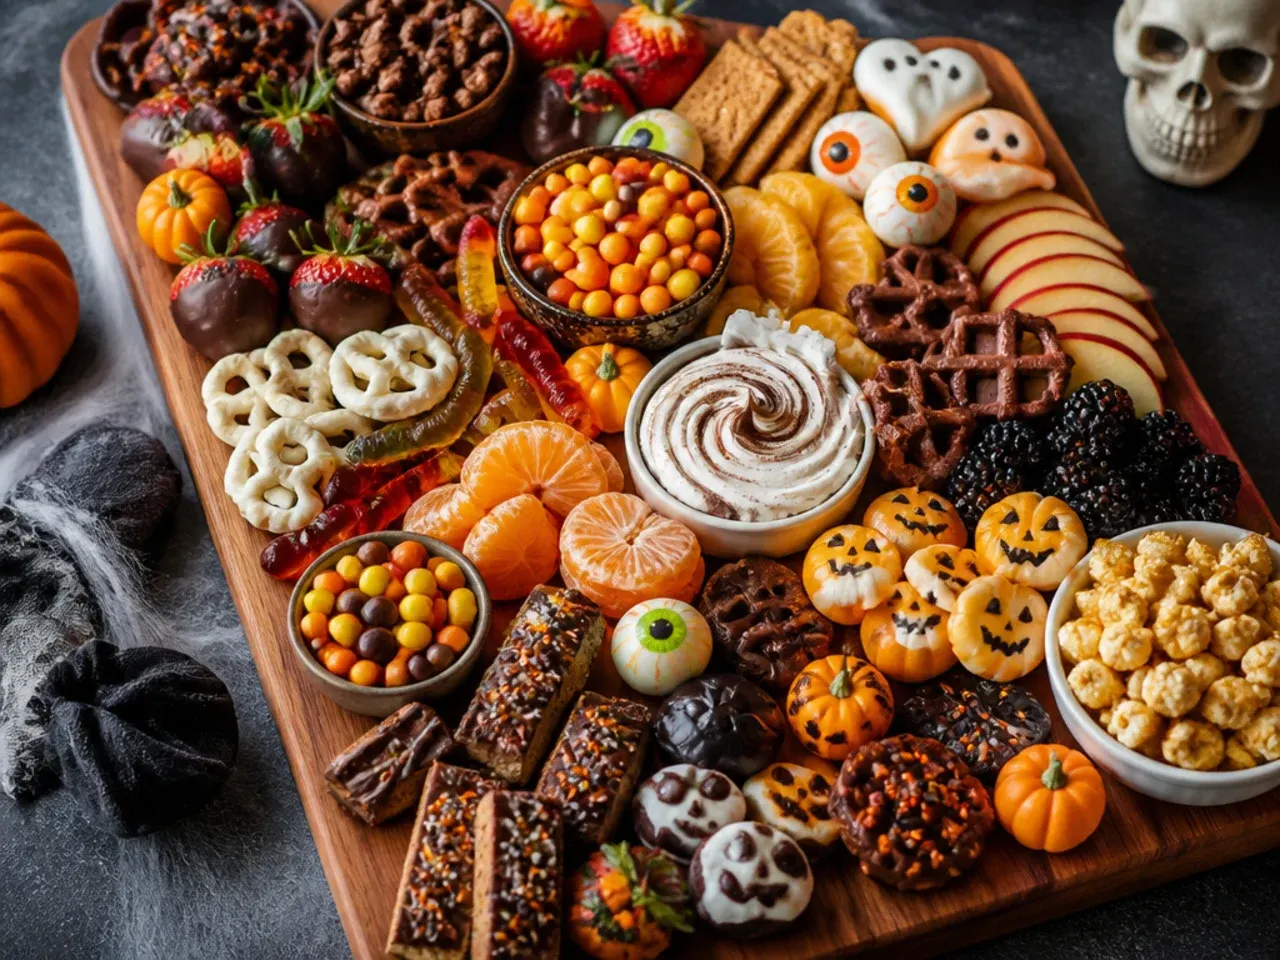
This is the biggest version: chocolate bark, dipped strawberries, cookies, three or four types of packet sweets, marshmallows and a fruit element like clementine segments. Build it on your largest board or a lined baking sheet, and place the heaviest items (cookies, bark) down first so smaller sweets can fill the gaps around them. Plan on roughly 100 g (3.5 oz) of sweets per guest so the board still looks full by the end of the night.
7. The Ultimate Spooky Showstopper Board
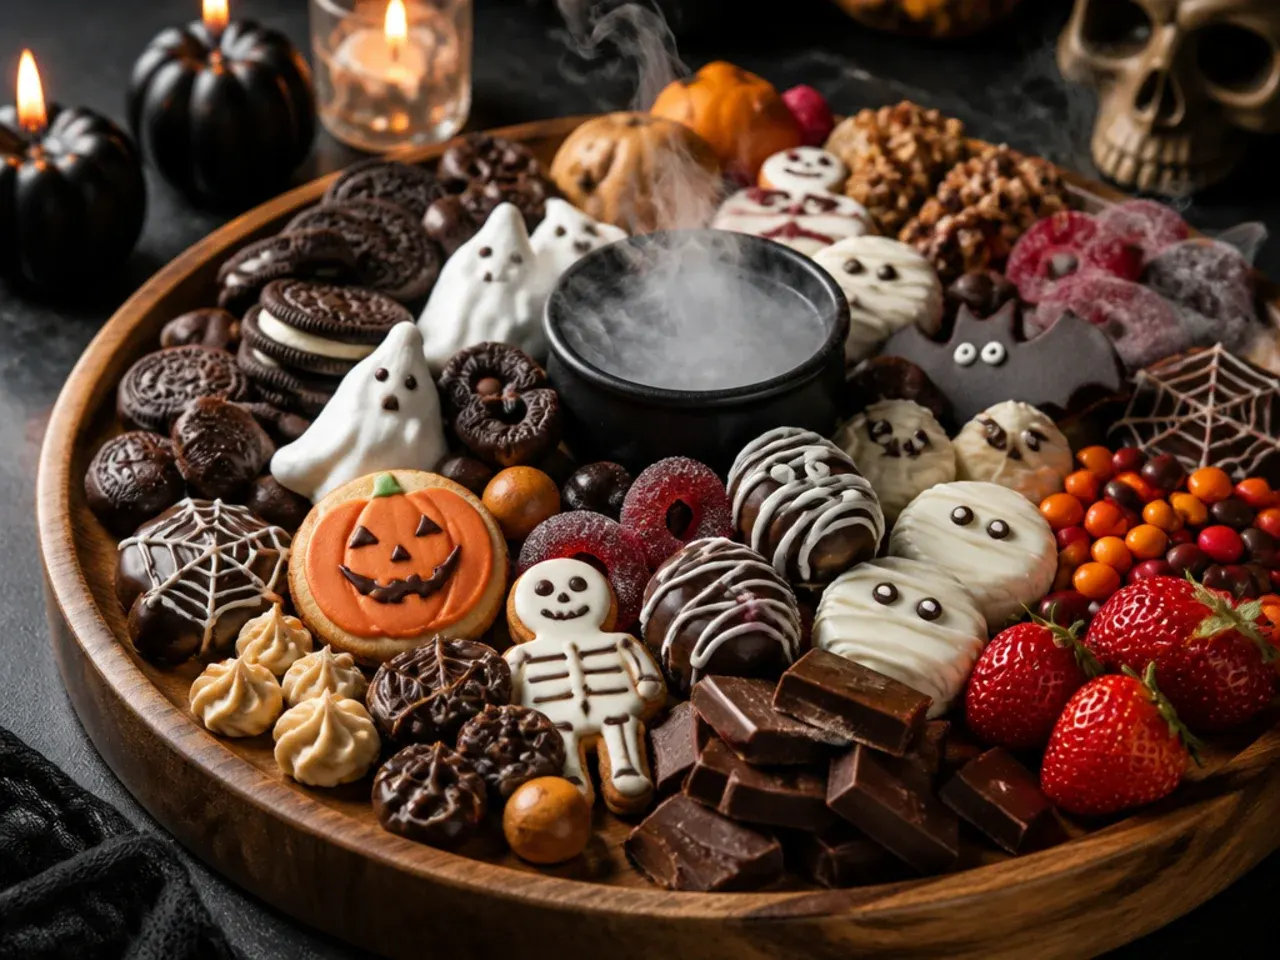
Centre the board around a few homemade showpieces, ghost-shaped meringues, spiderweb-piped white chocolate bark and chocolate-dipped strawberry 'witch hats', then fill in with bought sweets. Pipe the meringue ghosts the day before and store them in an airtight tin, since they're the only element that needs real lead time. This is the board for when you want photos as much as snacking.
8. Pumpkin Cheese Ball & Cracker Board
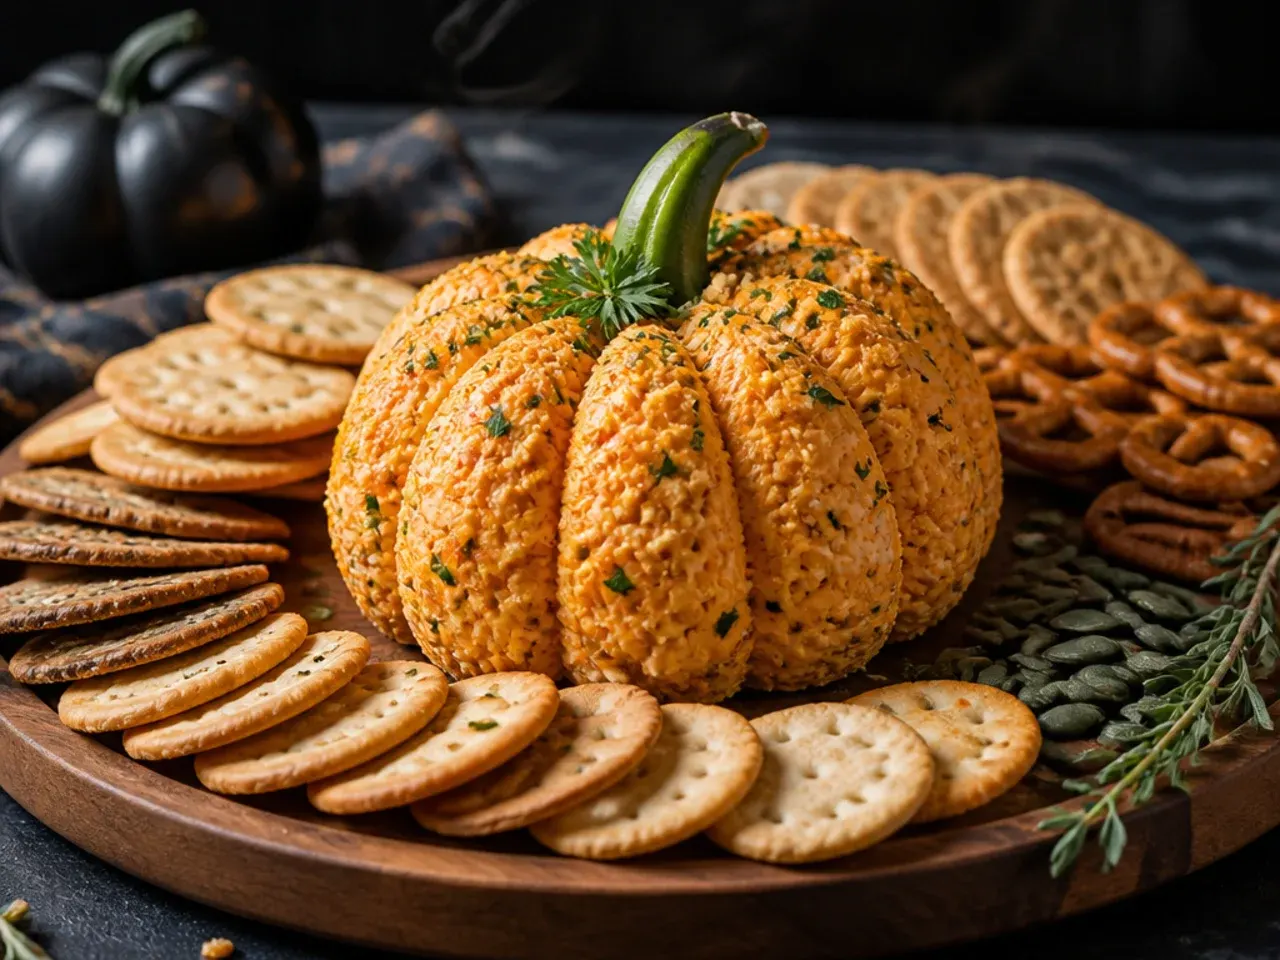
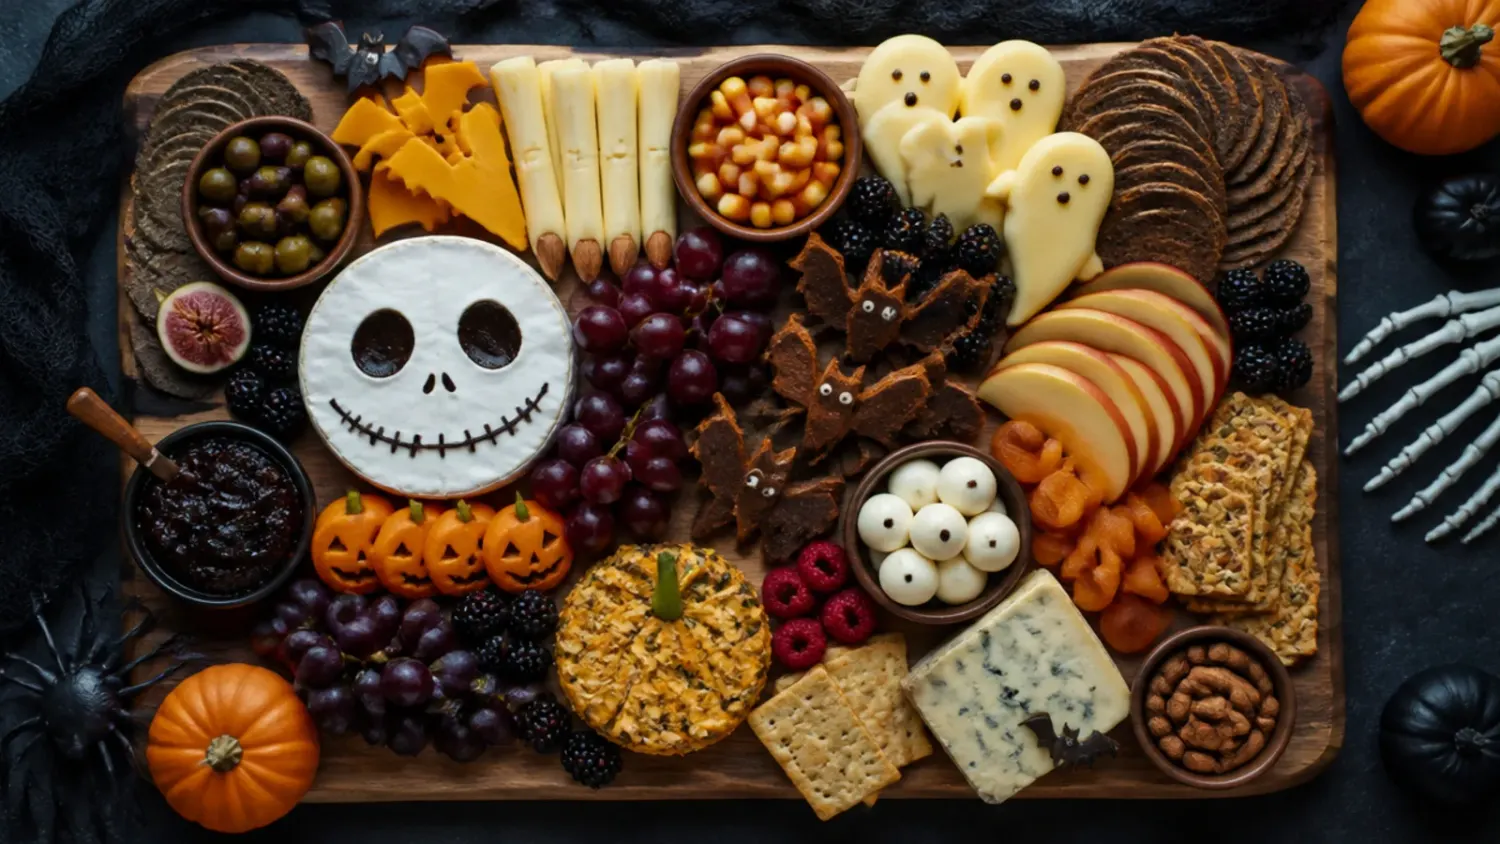
Shape a cream cheese and icing sugar mixture into a pumpkin using a length of kitchen string, chill for an hour to hold its ridges, then roll in crushed orange biscuits before adding a pretzel stem. Serve it as the centrepiece with sweet crackers, ginger biscuits and apple slices for scooping. It reads as savoury at first glance but eats sweet, which makes a fun surprise on the board.
9. Budget-Friendly Dollar-Store Board
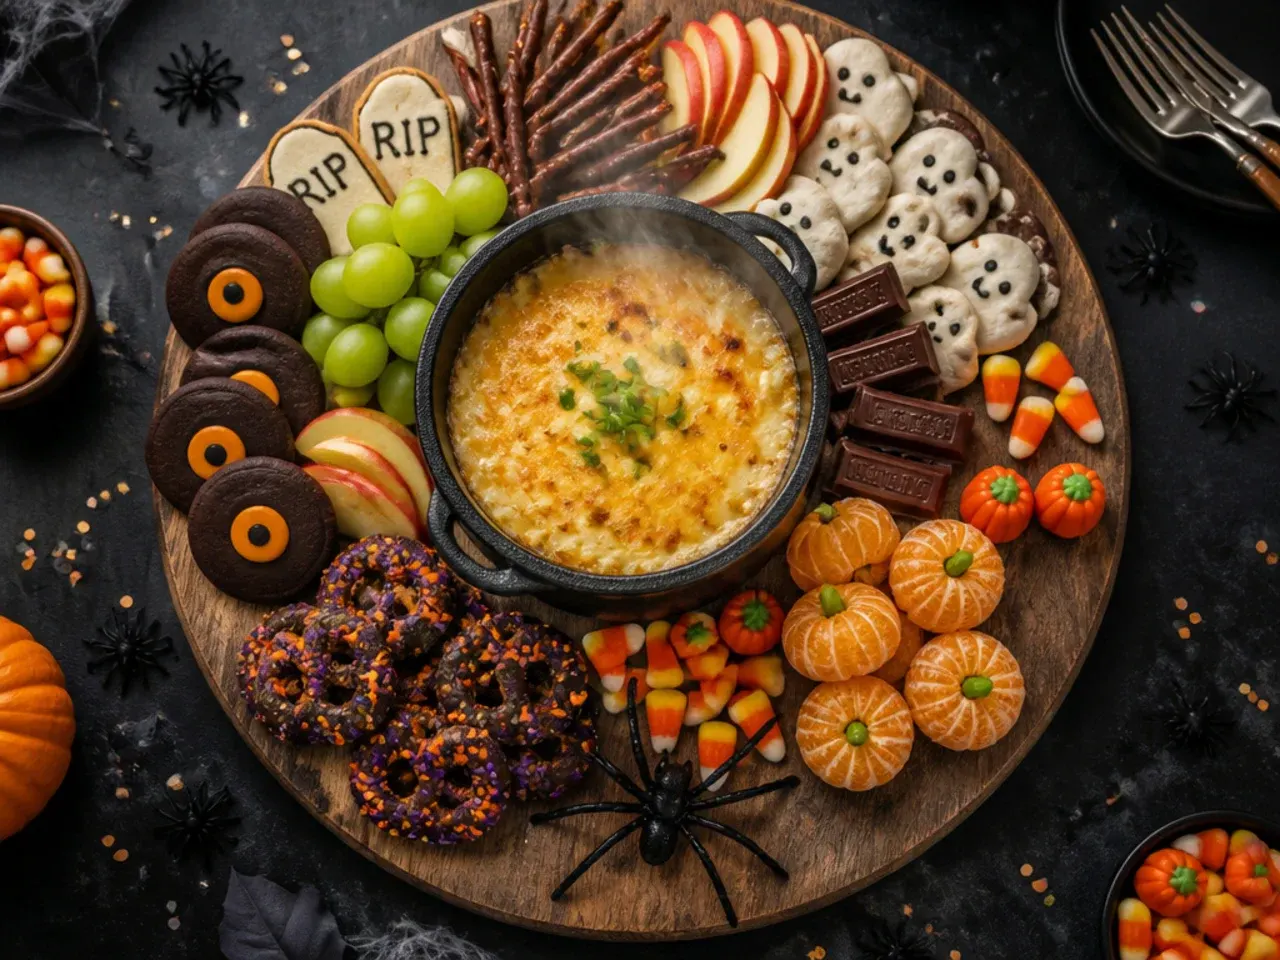
Build the whole thing from three or four bags of discount Halloween sweets, a tube of chocolate biscuits and a punnet of grapes styled as 'monster eyes'. Skip any homemade element entirely and spend the saved time arranging by colour instead, which is what makes a cheap board look pulled-together. This version can cost under £10 for a spread that covers 8 people.
10. Crowd-Pleasing Party Platter for a Crowd
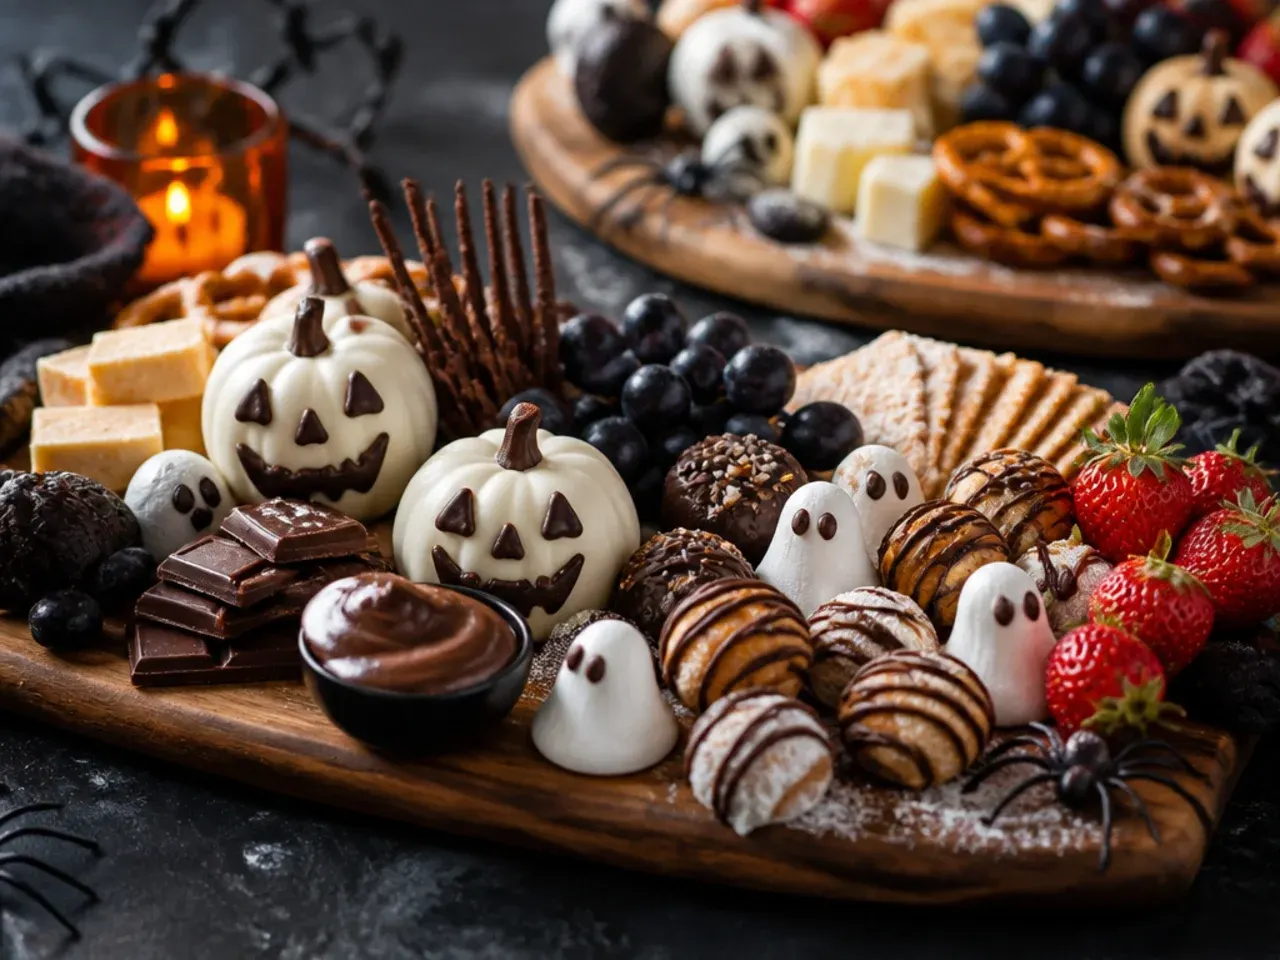
Scale ingredient quantities to roughly 120 g (4 oz) of sweets and one dipped fruit piece per person, and use two smaller boards instead of one giant one so guests at both ends of the table can reach. Repeat two or three crowd-favourite items, chocolate bark and candy corn are the safest, across both boards rather than splitting variety between them. This keeps the layout simple to restock mid-party without redoing the whole design.
Save this for later 📌
Pin this article to your Pinterest board so the full list is one tap away when you need it.
Save on Pinterest11. Make-Ahead Board for Busy Hosts
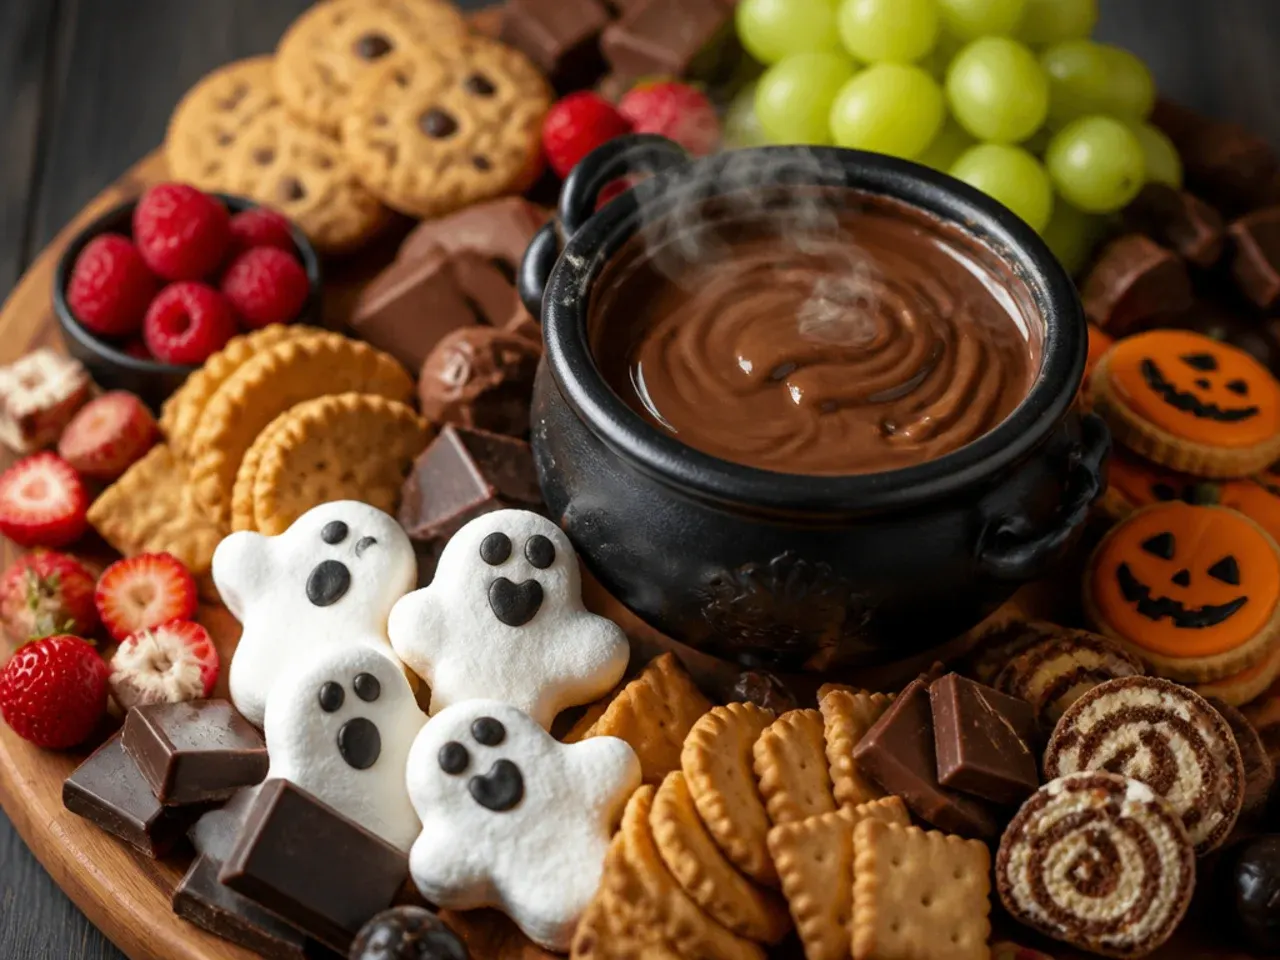
Make the chocolate bark and any dipped strawberries up to 2 days ahead and store them in an airtight container in the fridge, but hold off dipping fresh fruit until the morning of the party. Keep packet sweets in their bags until assembly so they don't dull under fridge condensation. Arrange the whole board no more than 2 hours before guests arrive so cookies stay crisp.
12. Kid-Friendly Family Board
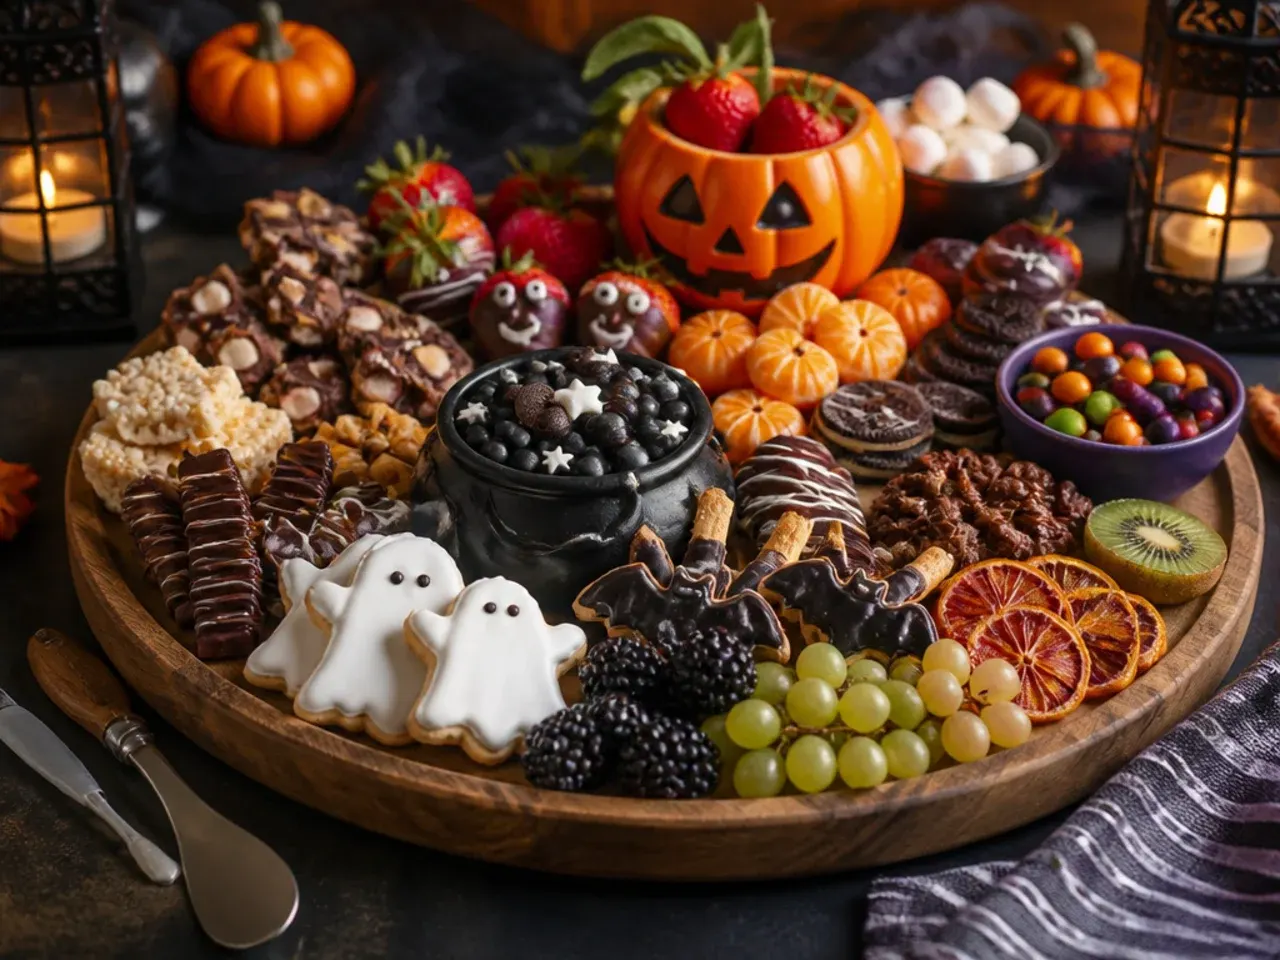
Stick to sweets kids already recognise, candy corn, chocolate buttons, mini marshmallows and jelly worms, and skip anything with nuts or hard toffee that's a choking risk for younger children. Let kids help arrange their own section of the board; a slightly messier layout doesn't matter as much here as it would for a party board. Cut any dipped fruit into smaller pieces than you would for adults.
13. Black, Orange & Purple Festive Board
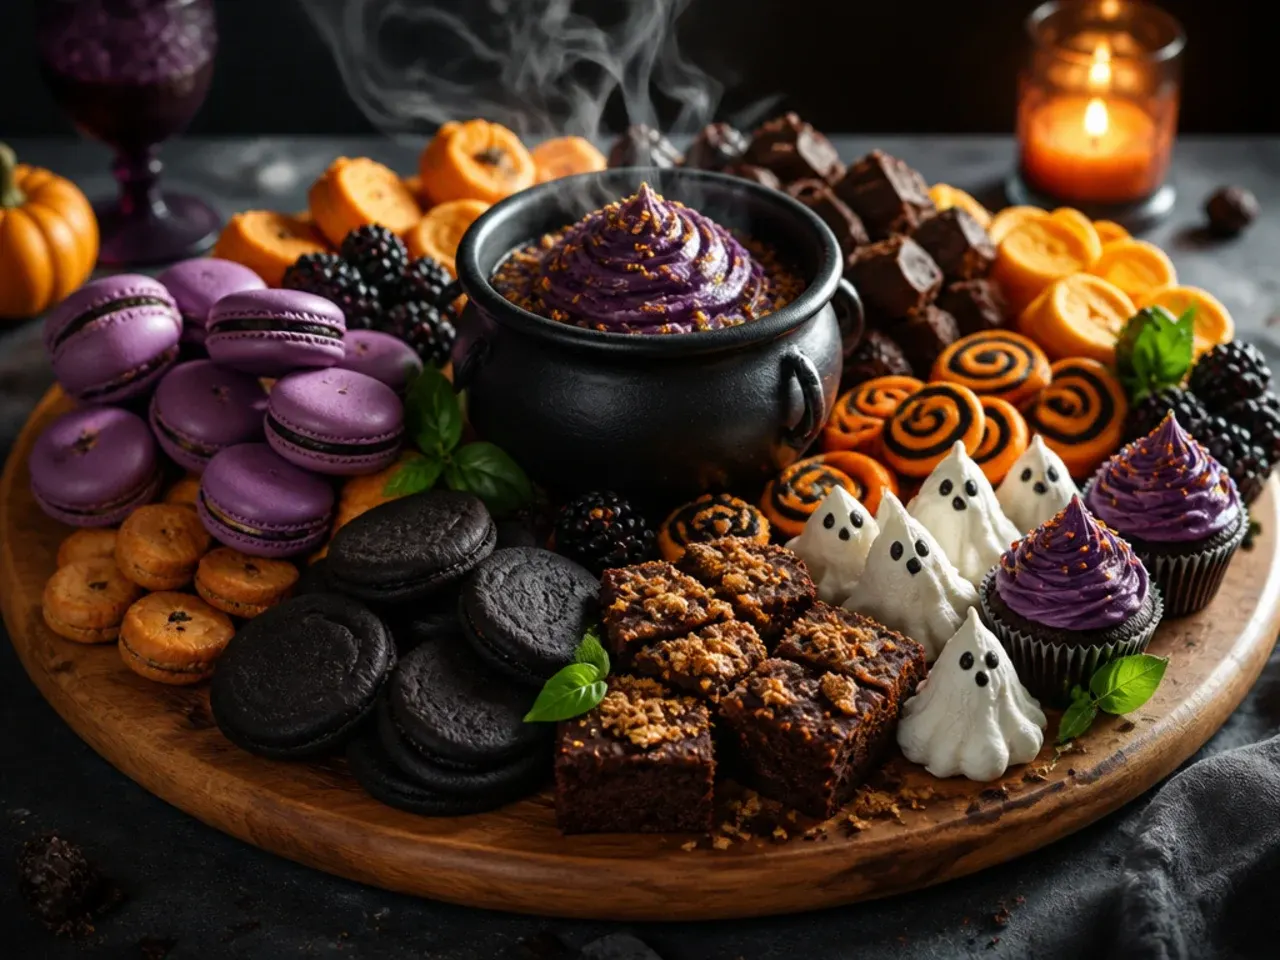
Commit to a strict colour palette, black liquorice and dark chocolate, orange wafers and candy corn, purple sprinkle-coated marshmallows, and arrange each colour in its own curved row. Use a large sheet of black or dark purple baking parchment under the board for extra contrast in photos. This version relies entirely on colour blocking rather than variety, so three or four sweets per colour is enough.
14. 15-Minute Last-Minute Board
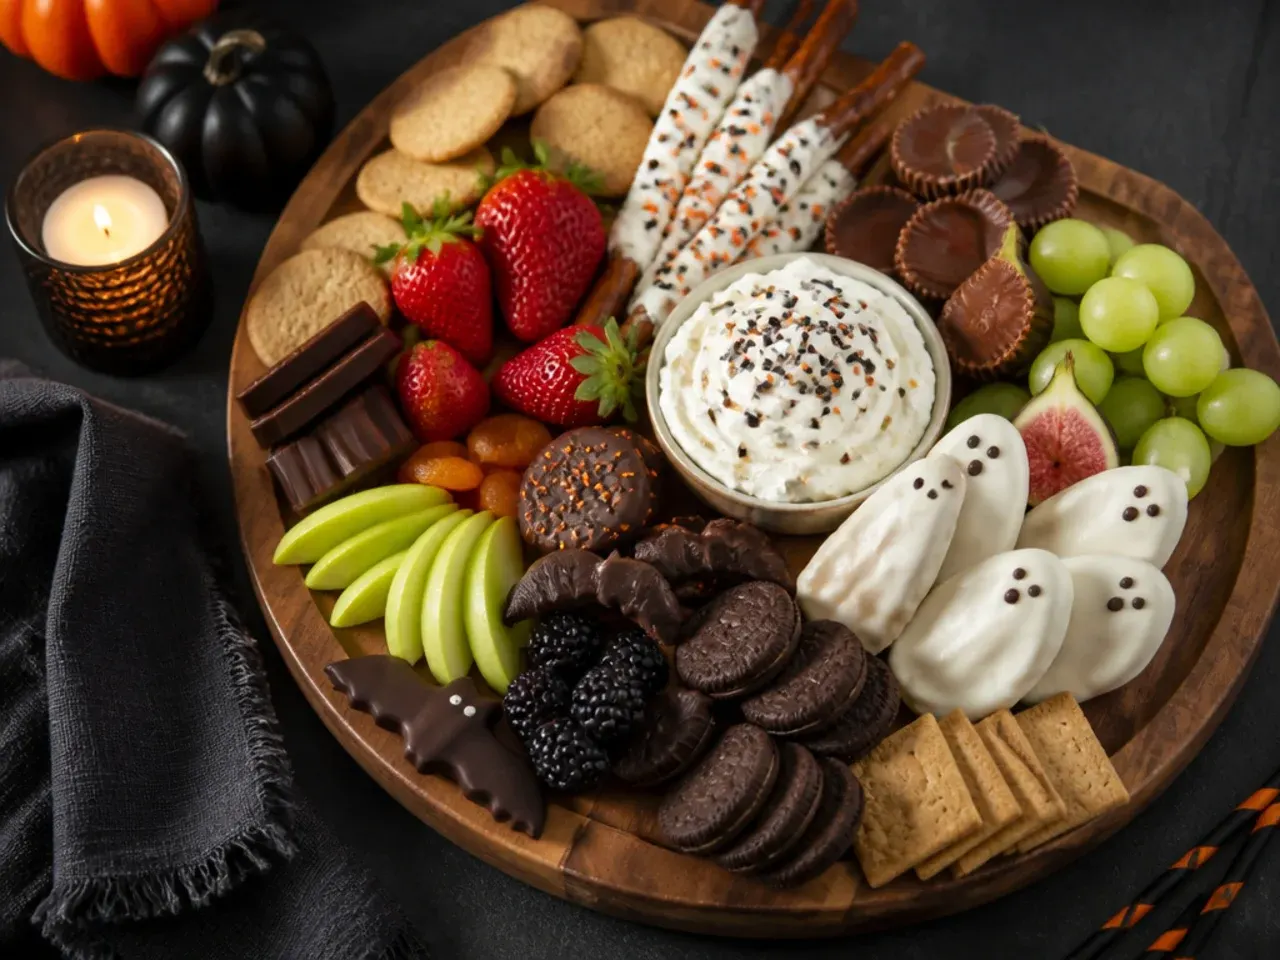
Use only pre-packaged items, no melting, no dipping, and arrange them straight onto the board in loose piles by type. Pumpkin-shaped biscuits, a bag of candy corn and a tub of chocolate-covered raisins cover the bases in one supermarket trip. This is the version to keep in mind for a last-minute invite, since it needs no chilling time before serving.
15. All-Homemade Bake-It-Yourself Board
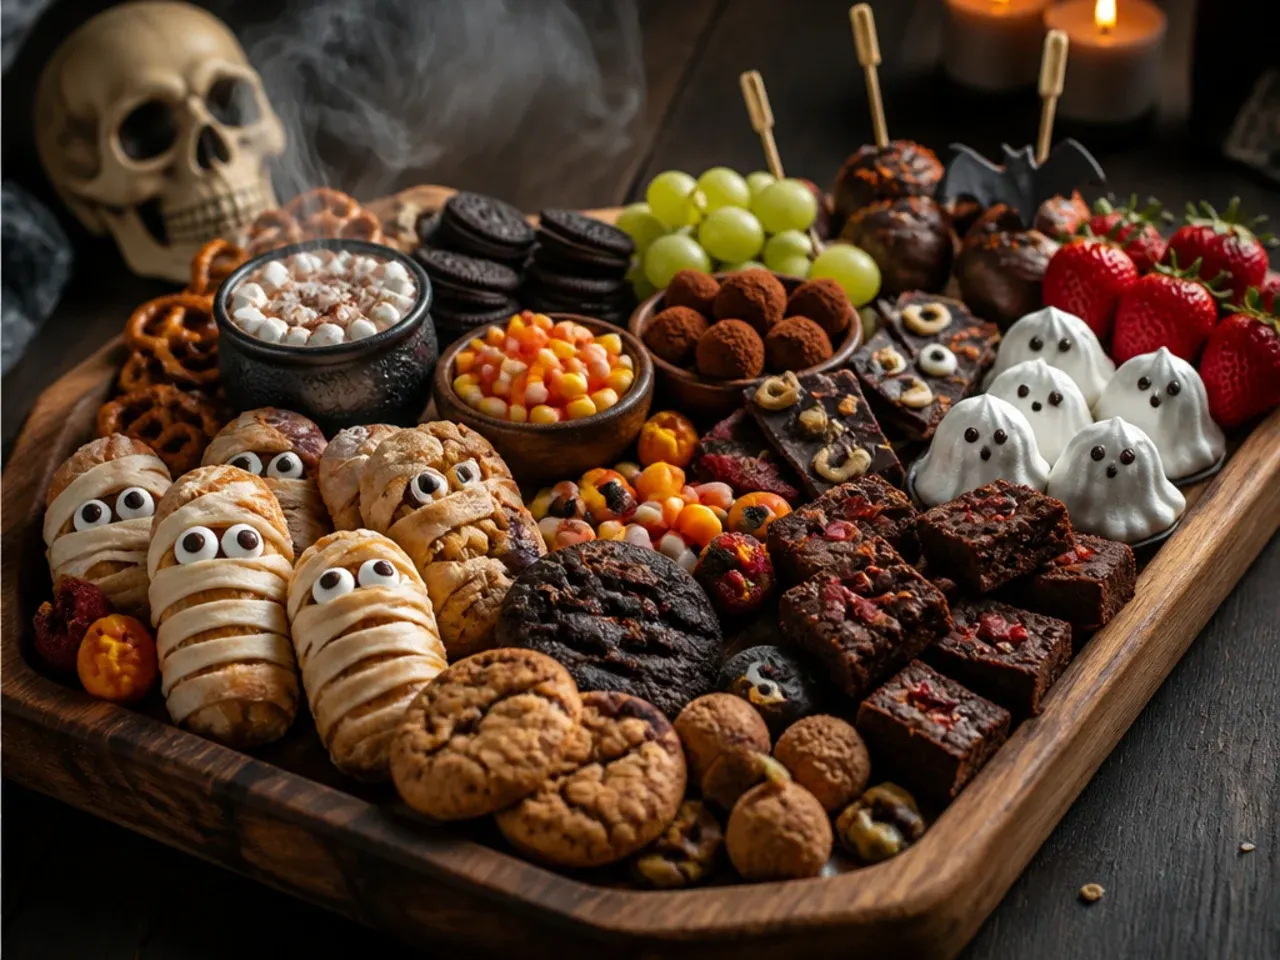
Build the board entirely from scratch: pumpkin spice shortbread, dark chocolate bark, dipped strawberries and a small batch of caramel sauce, with nothing from a sweet packet. Bake and prep components across two days so nothing goes stale, shortbread on day one, bark and dipping on the day. This takes the most planning of any board here but gives you full control over sugar levels and allergens.
Pro Tips
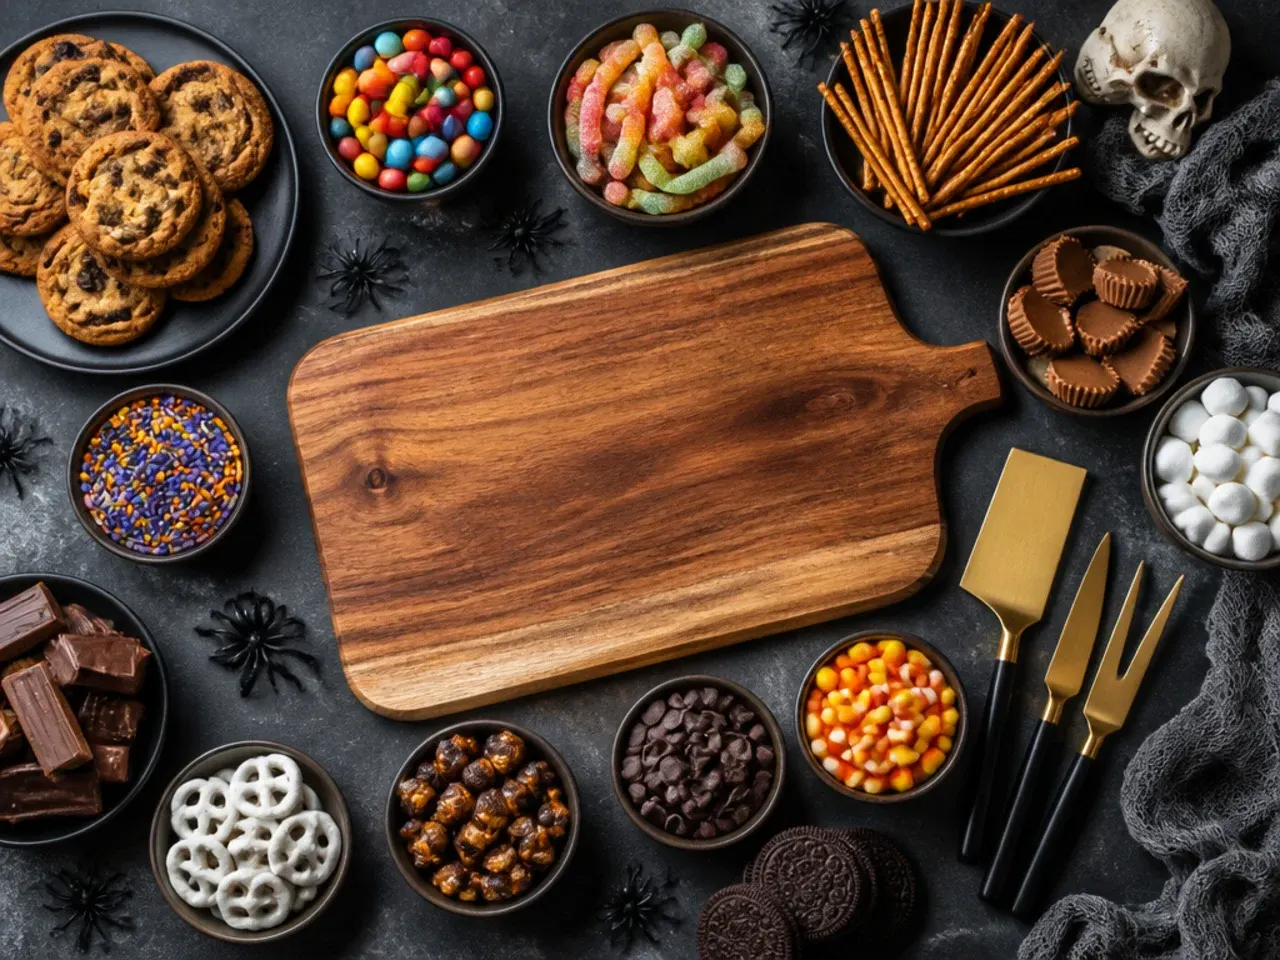
Chop or portion anything larger than a bite before it goes on the board, since guests are far more likely to take a small piece than cut one themselves. Build in height by propping a few items on upturned bowls or ramekins under the tablecloth-side of the board, which stops the whole spread reading as flat. Leave small gaps rather than packing sweets edge to edge; a slightly loose layout actually looks more generous than a tightly packed one.
Serving Suggestions
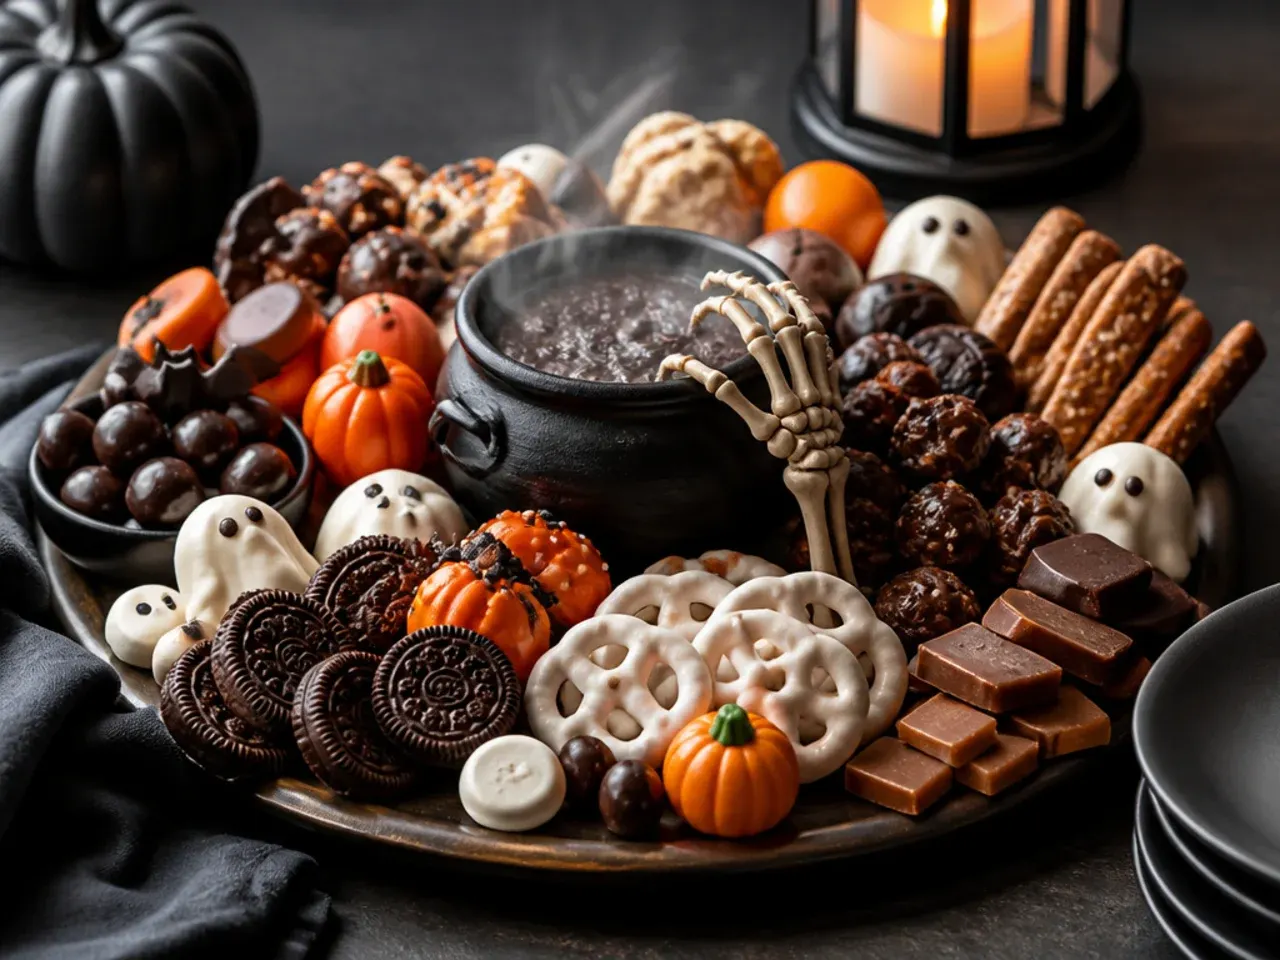
Set the board out with small tongs or cocktail sticks next to any sticky items like caramel apples or dipped strawberries, so guests aren't reaching in with their hands. Pair it with a jug of warm apple cider or hot chocolate, since the temperature contrast works well against cold chocolate bark. If you're serving alongside a savoury Halloween spread, place the dessert board at the far end of the table so the two don't compete for space.
Storage and Reheating
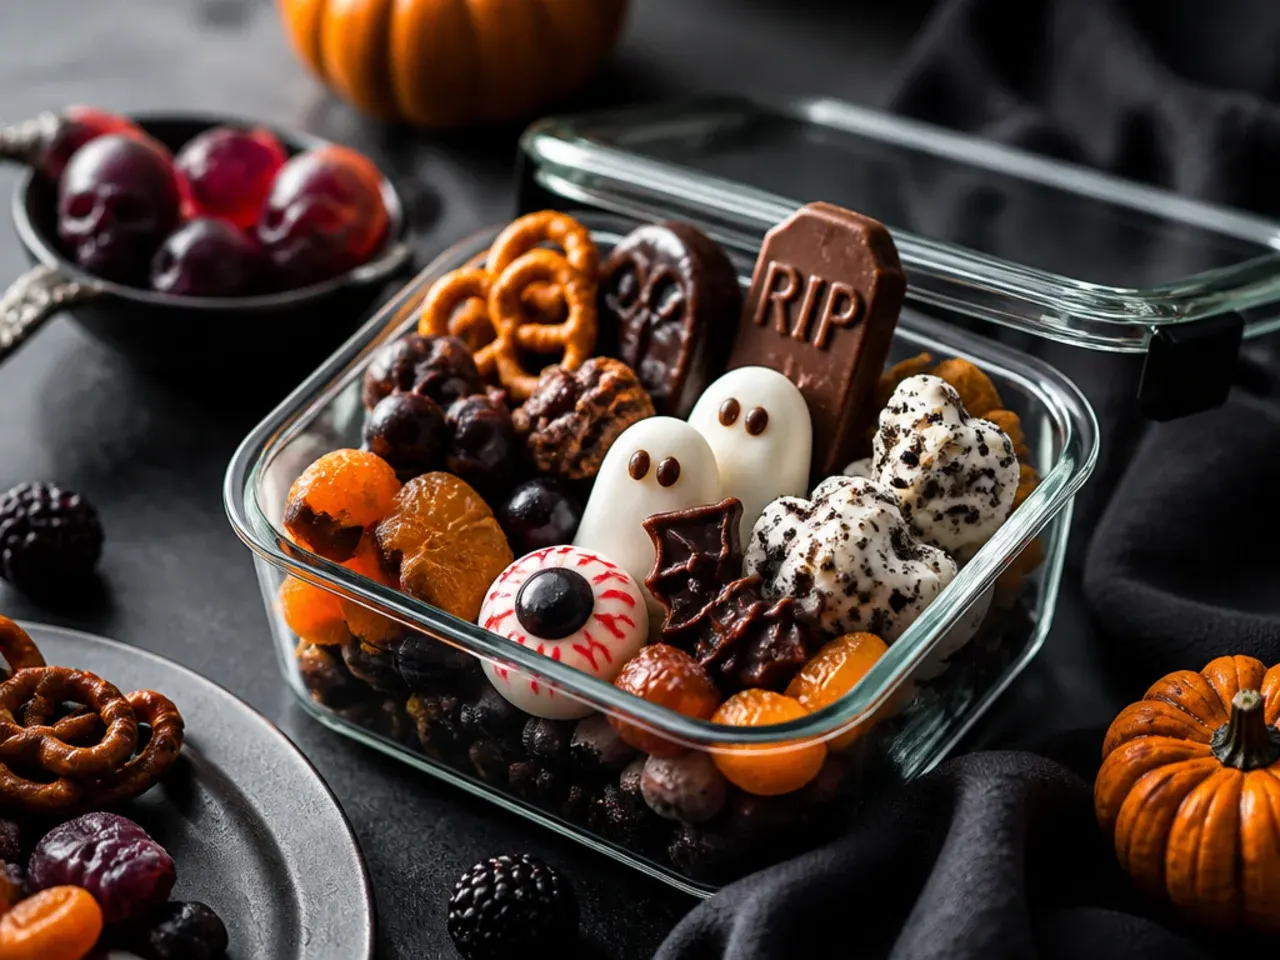
Leftover chocolate bark and hard sweets keep well in an airtight container at room temperature for up to a week. Anything with fresh fruit or cream cheese, dipped strawberries, cheesecake bites, the pumpkin cheese ball, should go in the fridge and be eaten within 2 days. There's no reheating step for these boards; if bark has softened from a warm room, just re-chill it in the fridge for 15 minutes to firm back up before serving again.
The Recipe
The Master Recipe
25 min
15 min
1 hr
8
Beginner
Ingredients 8 Person(s)
Directions
Step 1: Melt the dark chocolate
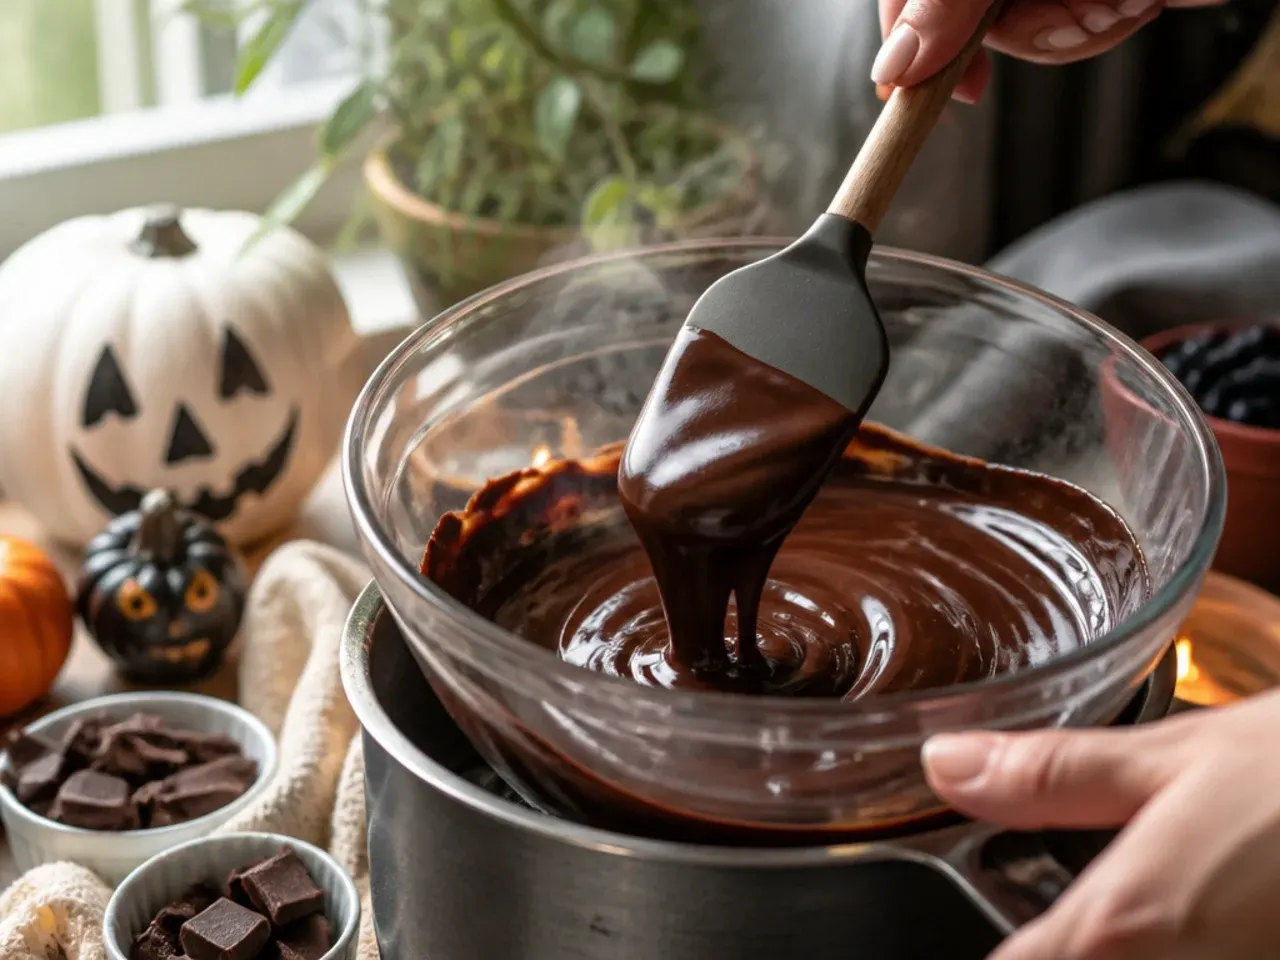
Melt 200 g (7 oz) of the dark chocolate in a heatproof bowl set over a pan of barely simmering water, stirring every minute or so, until smooth, about 3-4 minutes. Keep the remaining 100 g (3.5 oz) dark chocolate aside for dipping strawberries later.
Step 2: Make the spiderweb bark
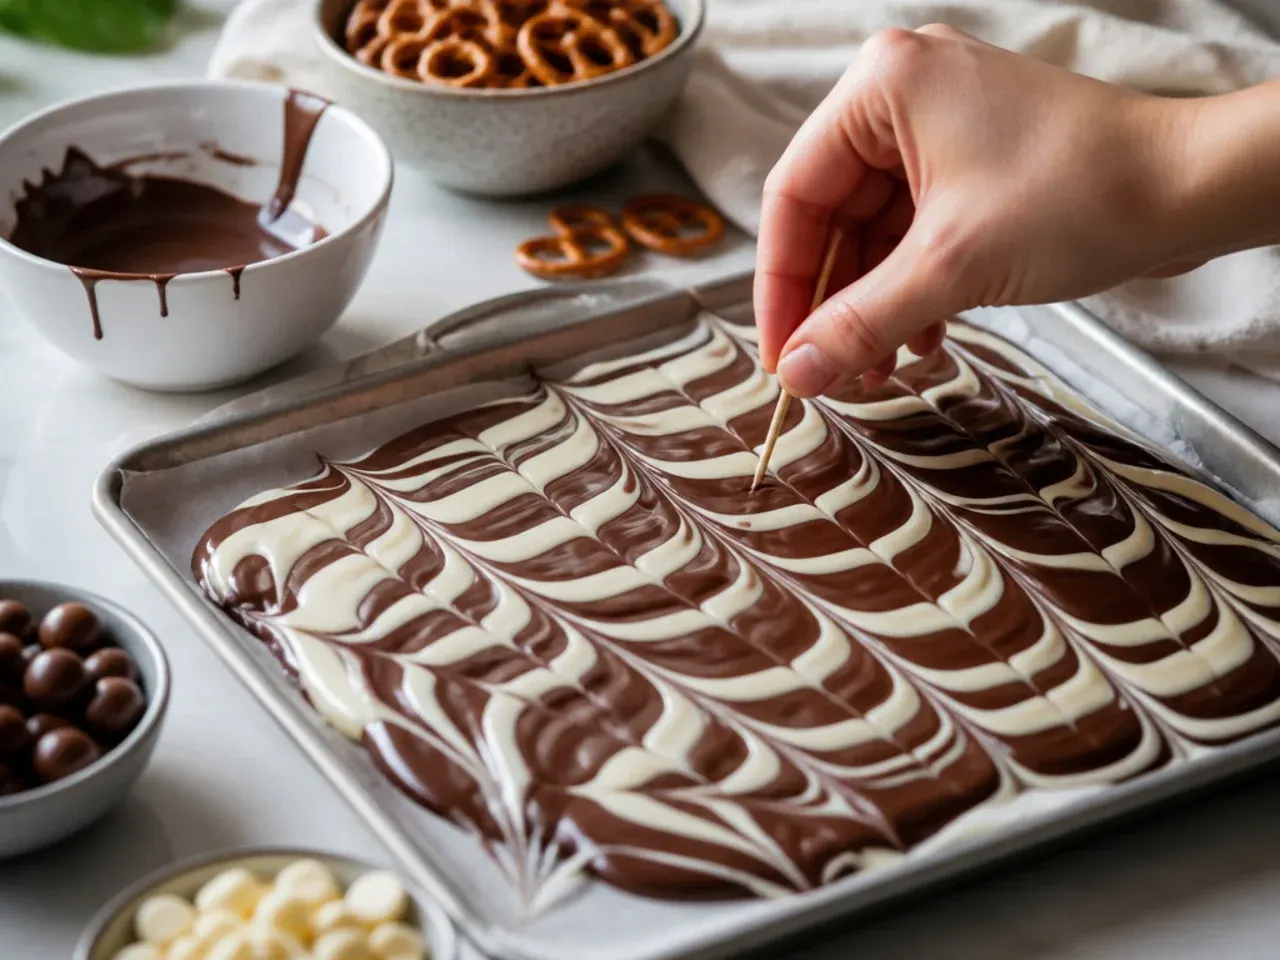
Pour the melted dark chocolate onto a parchment-lined tray and spread it to about 5 mm (¼ in) thick. Melt the white chocolate separately, stir through the orange food colouring gel, then drizzle it over the dark chocolate in thin lines and drag a cocktail stick through to create a web or marble pattern. Chill for 20 minutes in the fridge until fully set.
Step 3: Dip the strawberries
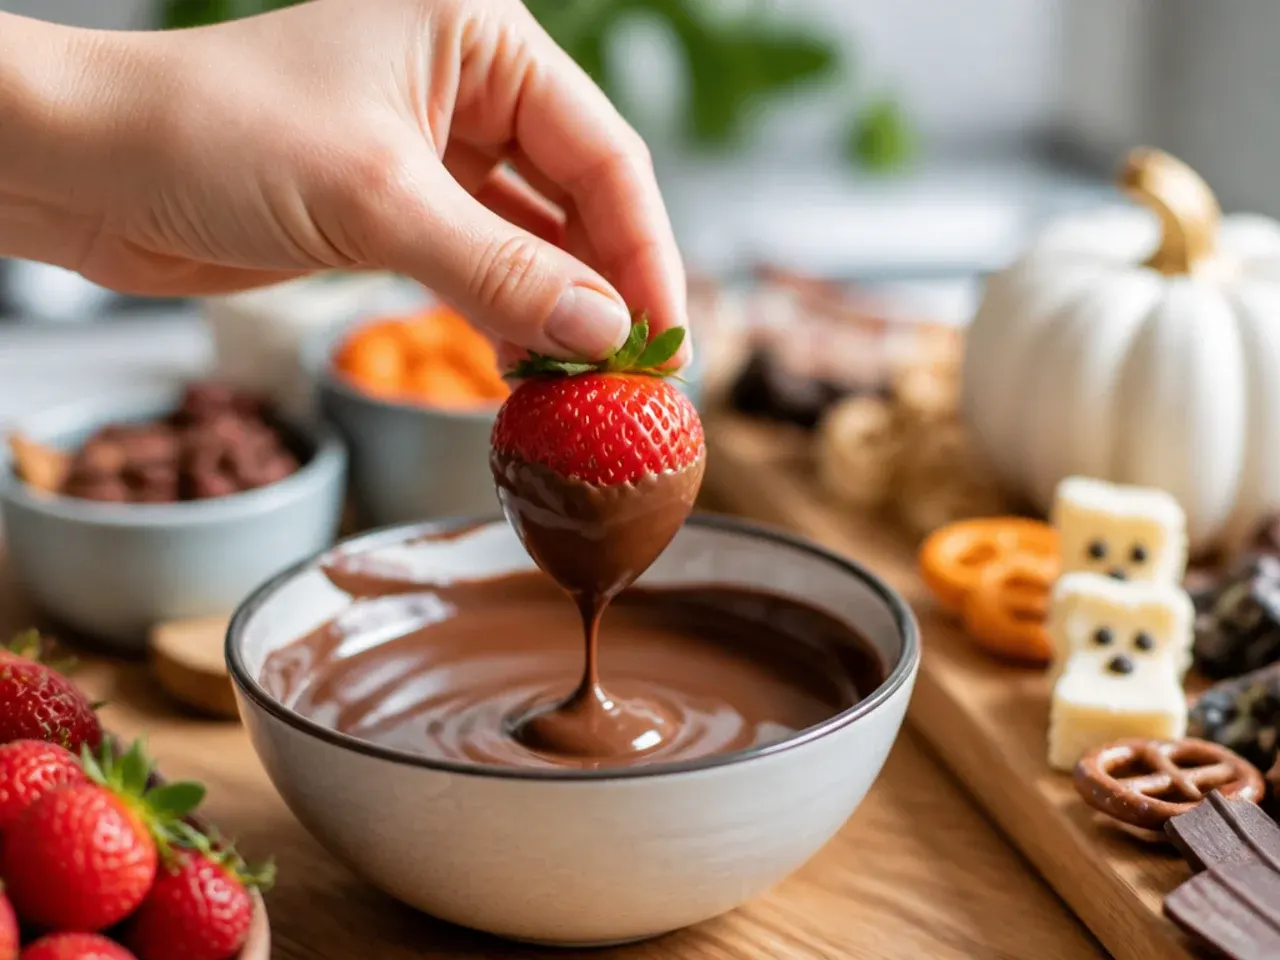
Melt the reserved 100 g (3.5 oz) dark chocolate and dip each strawberry two-thirds of the way, letting excess drip off before setting it on parchment paper. Add sprinkles while the chocolate is still wet if using. Leave to set for 10-15 minutes at room temperature.
Step 4: Break the bark
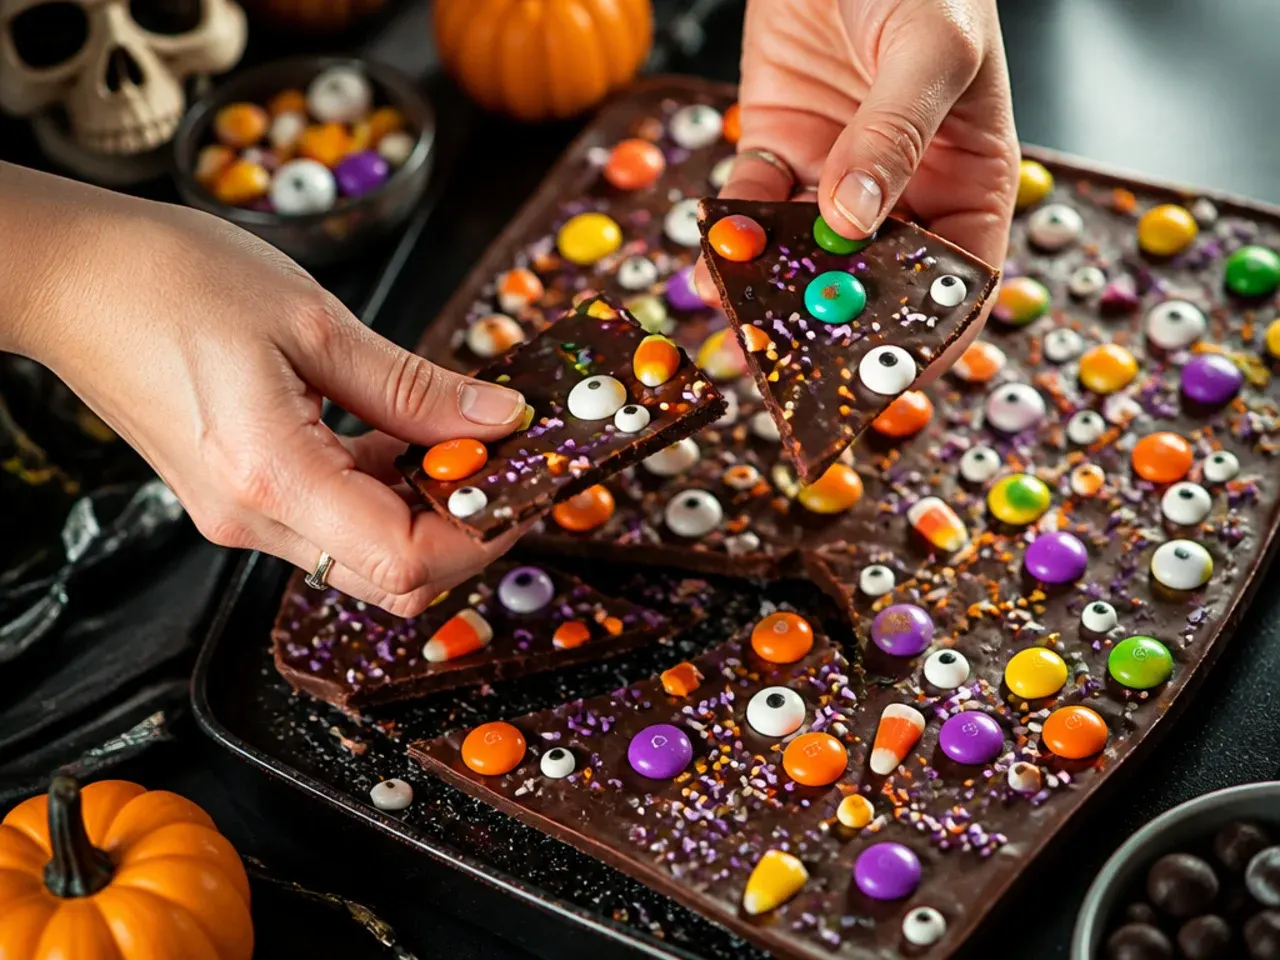
Once fully set, lift the bark from the tray and snap it into irregular shards roughly 5 cm (2 in) across. Uneven pieces look more natural on the board than uniform squares, so don't worry about matching sizes.
Step 5: Set out the board base
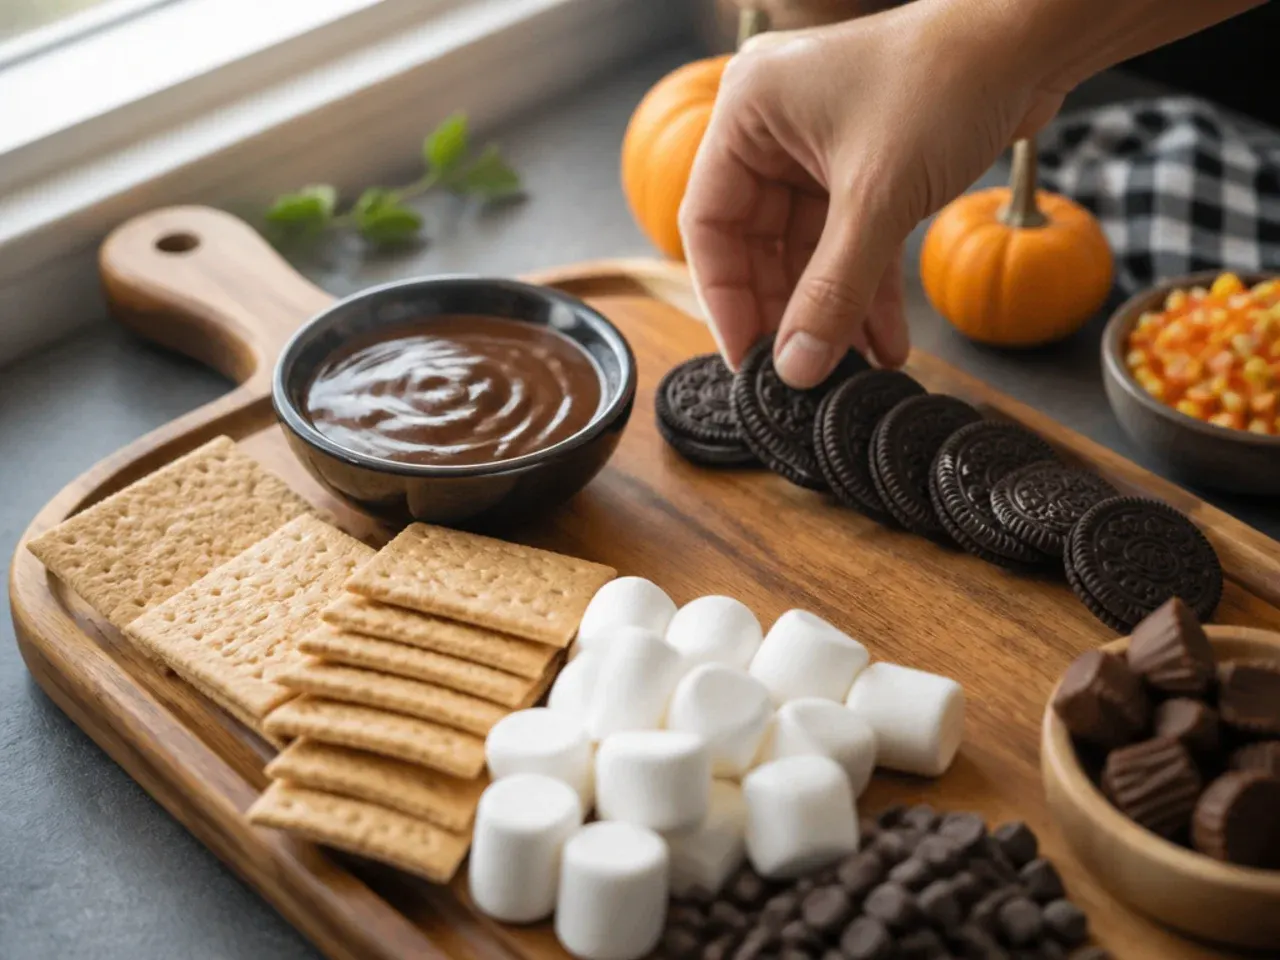
Place 2-3 small bowls or ramekins directly onto your serving board for the candy corn, marshmallows and gummy worms, spacing them so there's room for the bark and cookies between them. This keeps loose sweets contained and gives the layout structure before you start filling gaps.
Step 6: Arrange the large pieces first
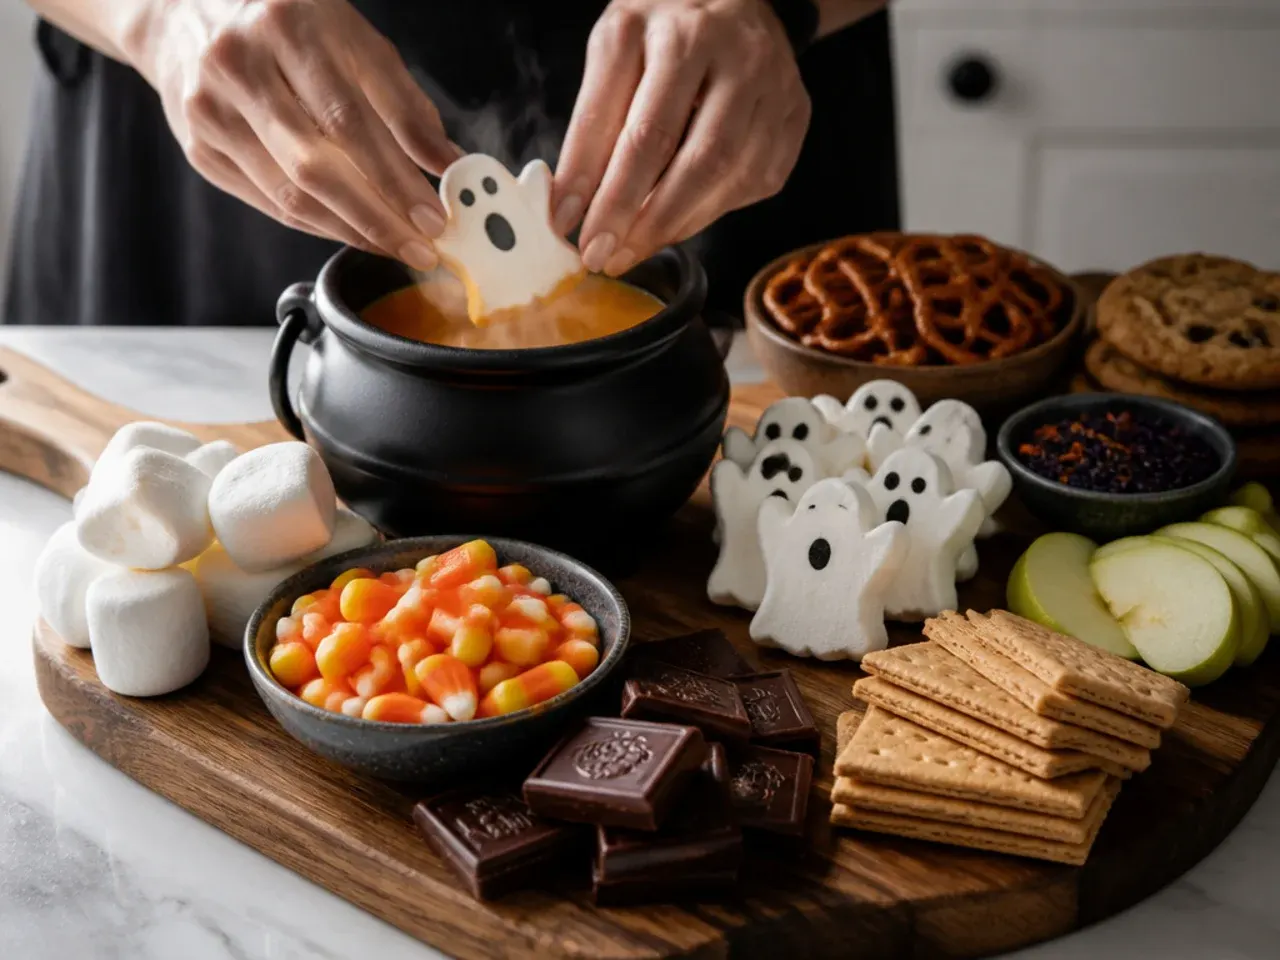
Place the bark shards, pumpkin shortbread cookies and dipped strawberries around the bowls first, working in small clusters rather than a single row. Fill any visible gaps with the pretzels, chocolate candies and clementine segments, tucking pieces in at different angles for a fuller look.
Step 7: Finish and serve
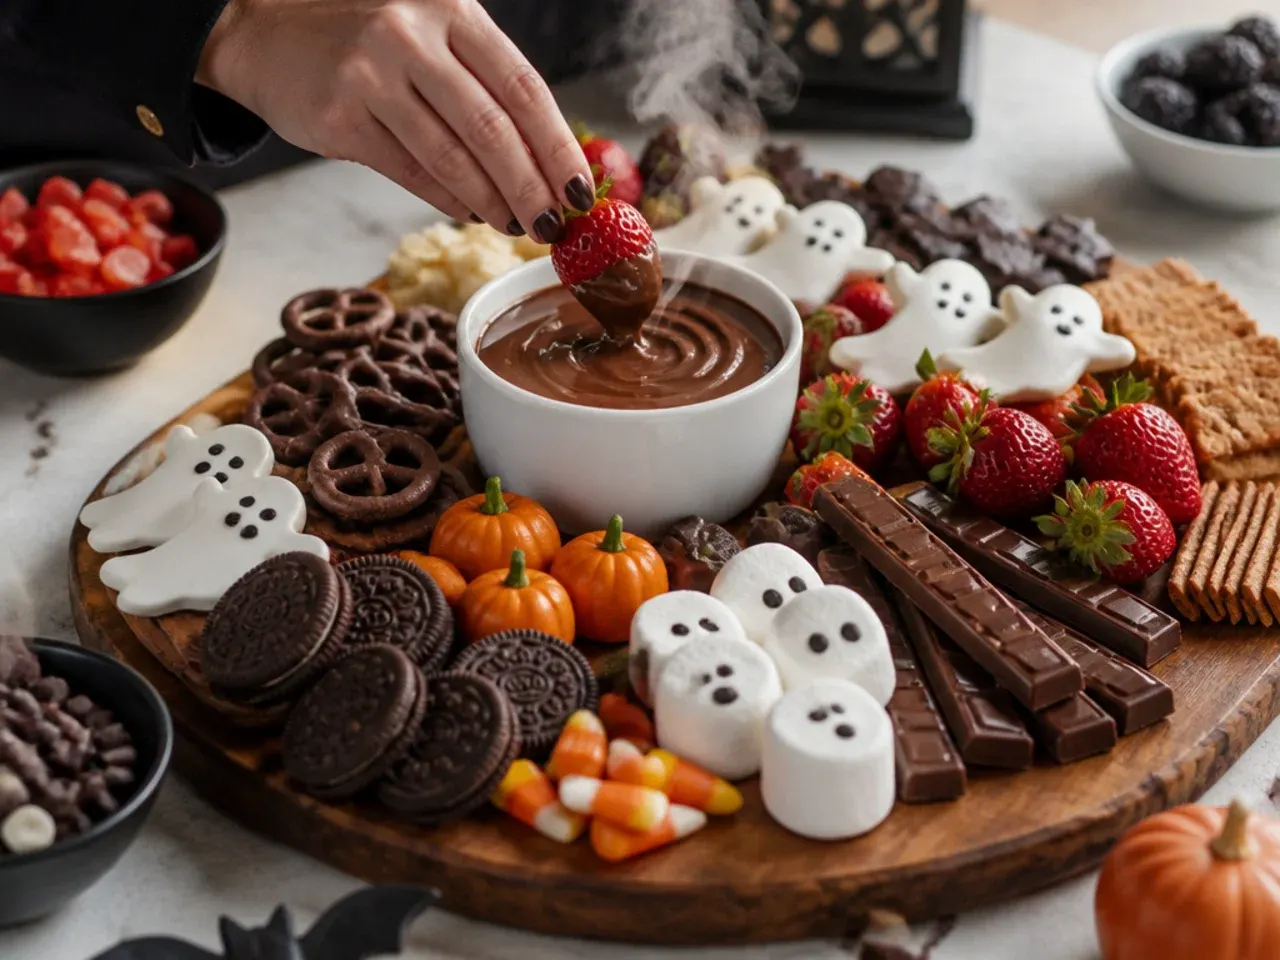
Scatter a few extra sprinkles across any bare patches of board and add small tongs or cocktail sticks next to the dipped strawberries. Serve immediately, or chill for up to 2 hours under loose cling film before bringing it out to keep the chocolate firm.
Frequently Asked Questions
A good Halloween charcuterie board dessert mixes textures and colours rather than just piling on sweets: something crunchy like chocolate bark or pretzels, something soft like marshmallows or dipped strawberries, and a few homemade or bakery items such as pumpkin-shaped cookies. Sticking to an orange, black and white palette keeps a mixed bag of items looking cohesive. Most boards work best with 5-8 distinct components rather than a huge variety, since too many small piles can look cluttered.
Save this for later 📌
Pin this article to your Pinterest board so the full list is one tap away when you need it.
Save on Pinterest