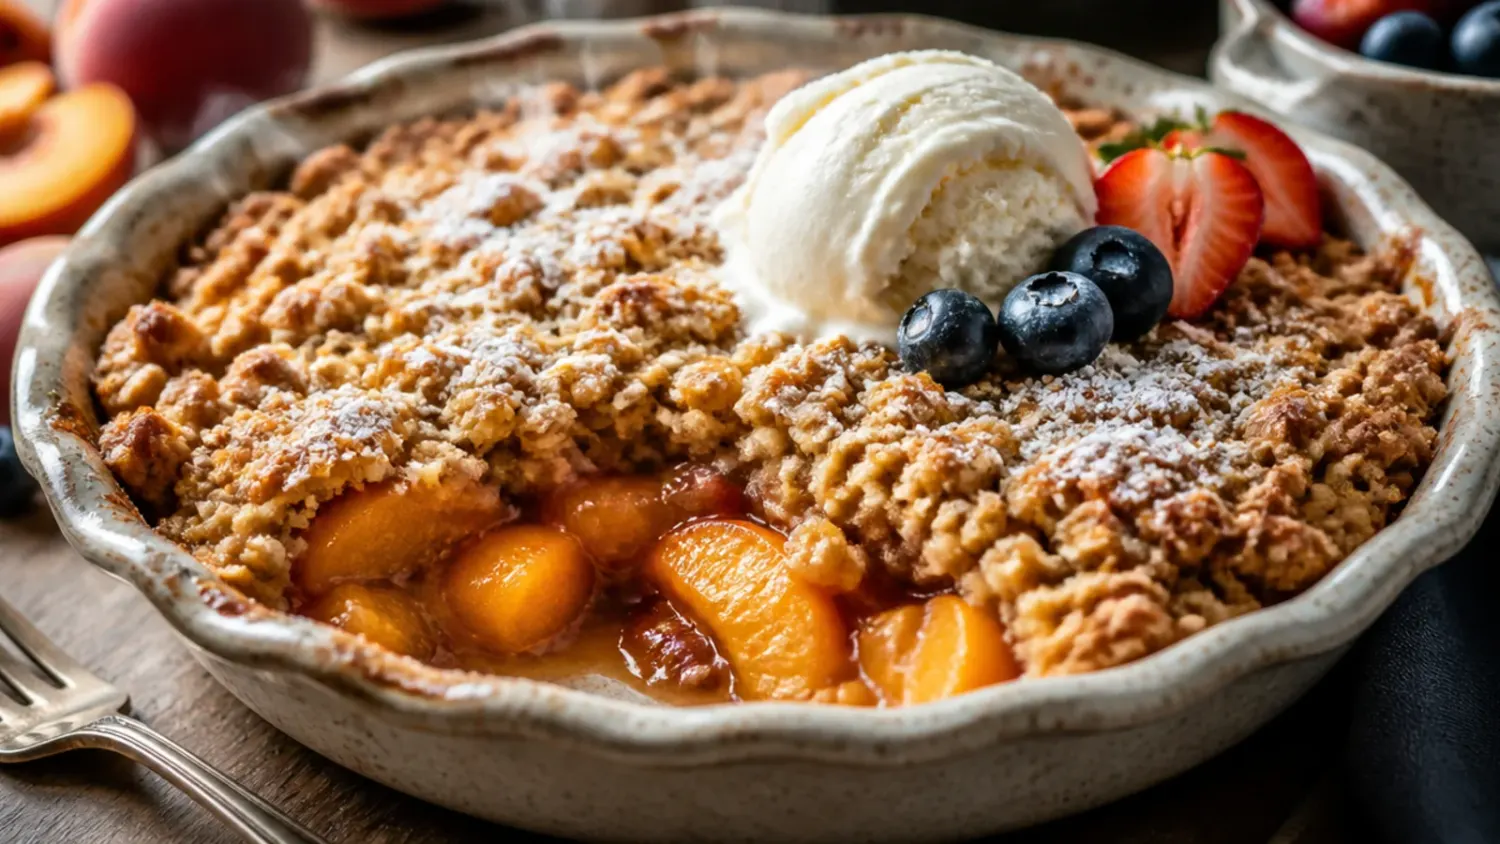
Ingredients 8 Person(s)

Save this for later 📌
Pin this article to your Pinterest board so the full list is one tap away when you need it.
Save on PinterestDirections
Step 1: Preheat the oven and prep your dish
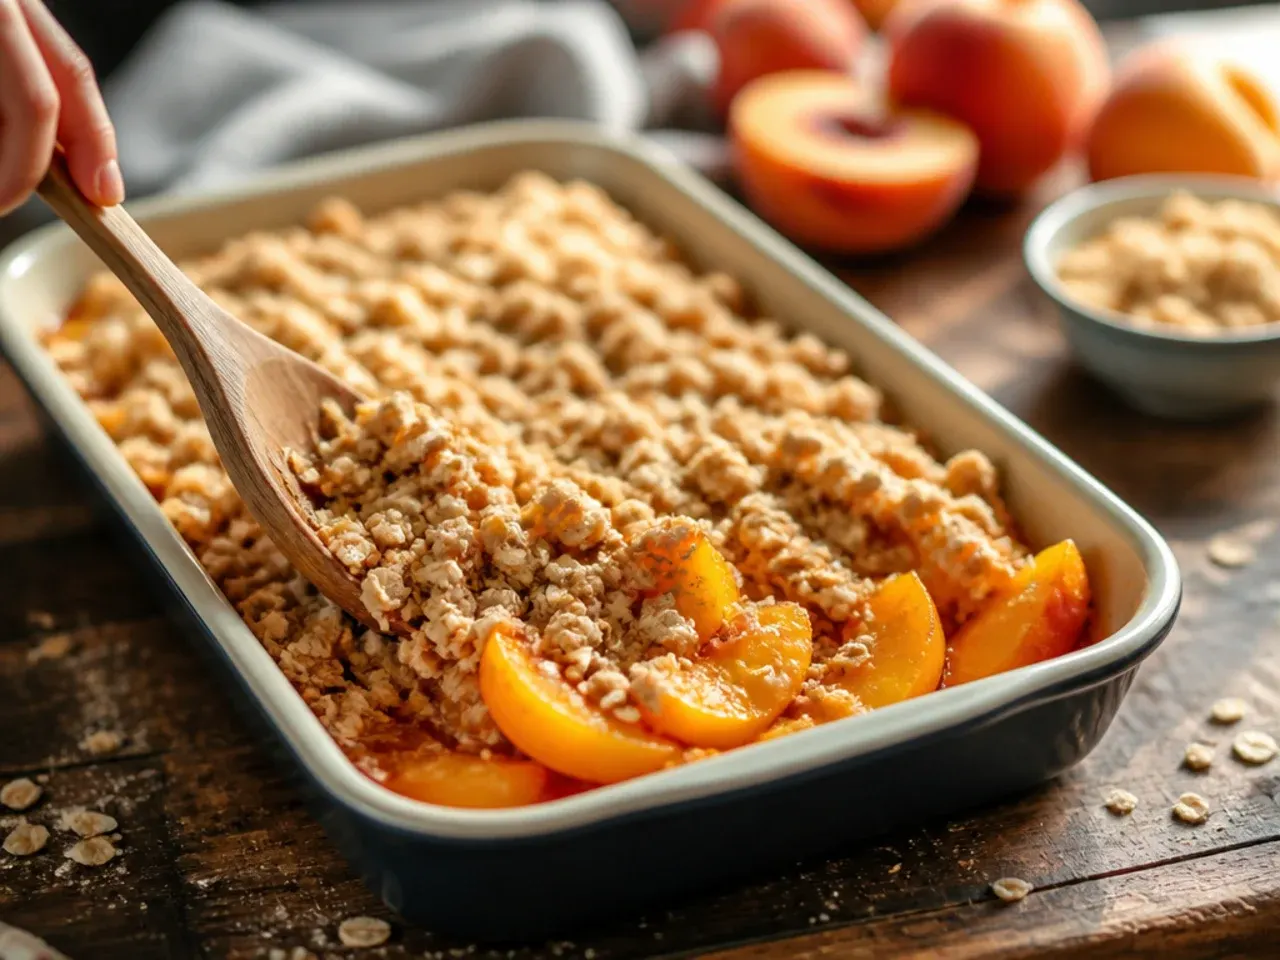
Preheat the oven to 175°C (350°F) with a rack in the middle position. Lightly grease a 23 cm (9-inch) square or round baking dish with a little butter or oil so the fruit doesn't stick to the edges. Have the dish ready before you start slicing peaches so the fruit doesn't sit and brown.
Step 2: Choose ripe peaches
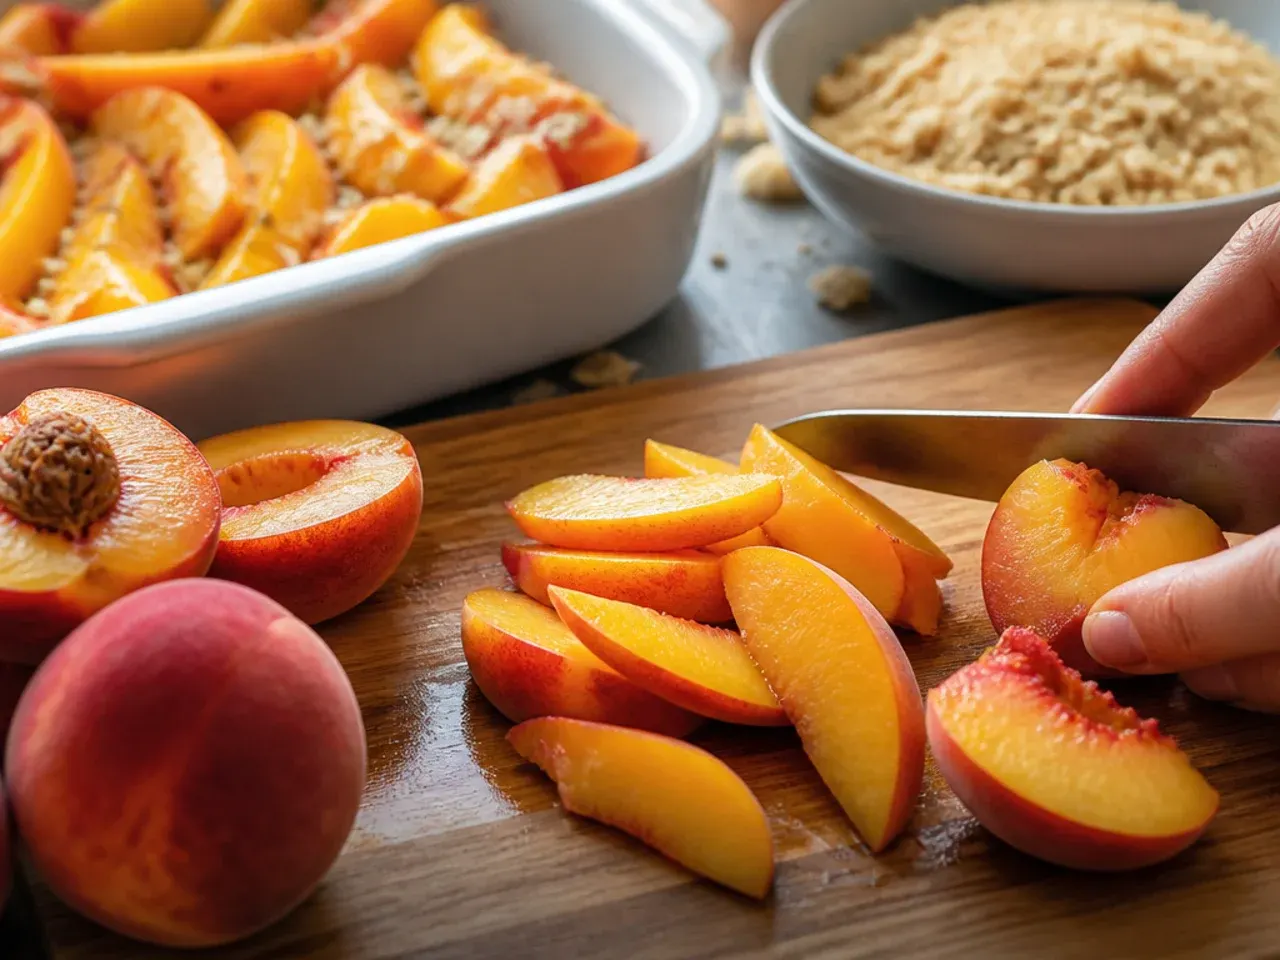
Pick peaches that give slightly when pressed near the stem and smell fragrant and sweet - this is more reliable than judging by colour alone. Under-ripe peaches stay firm and starchy even after 40 minutes in the oven, while overripe ones turn to mush. You'll need about 900 g (2 lb), roughly 6 medium peaches, for a filling that fills a 23 cm dish generously.
Step 3: Blanch the peaches to loosen the skins
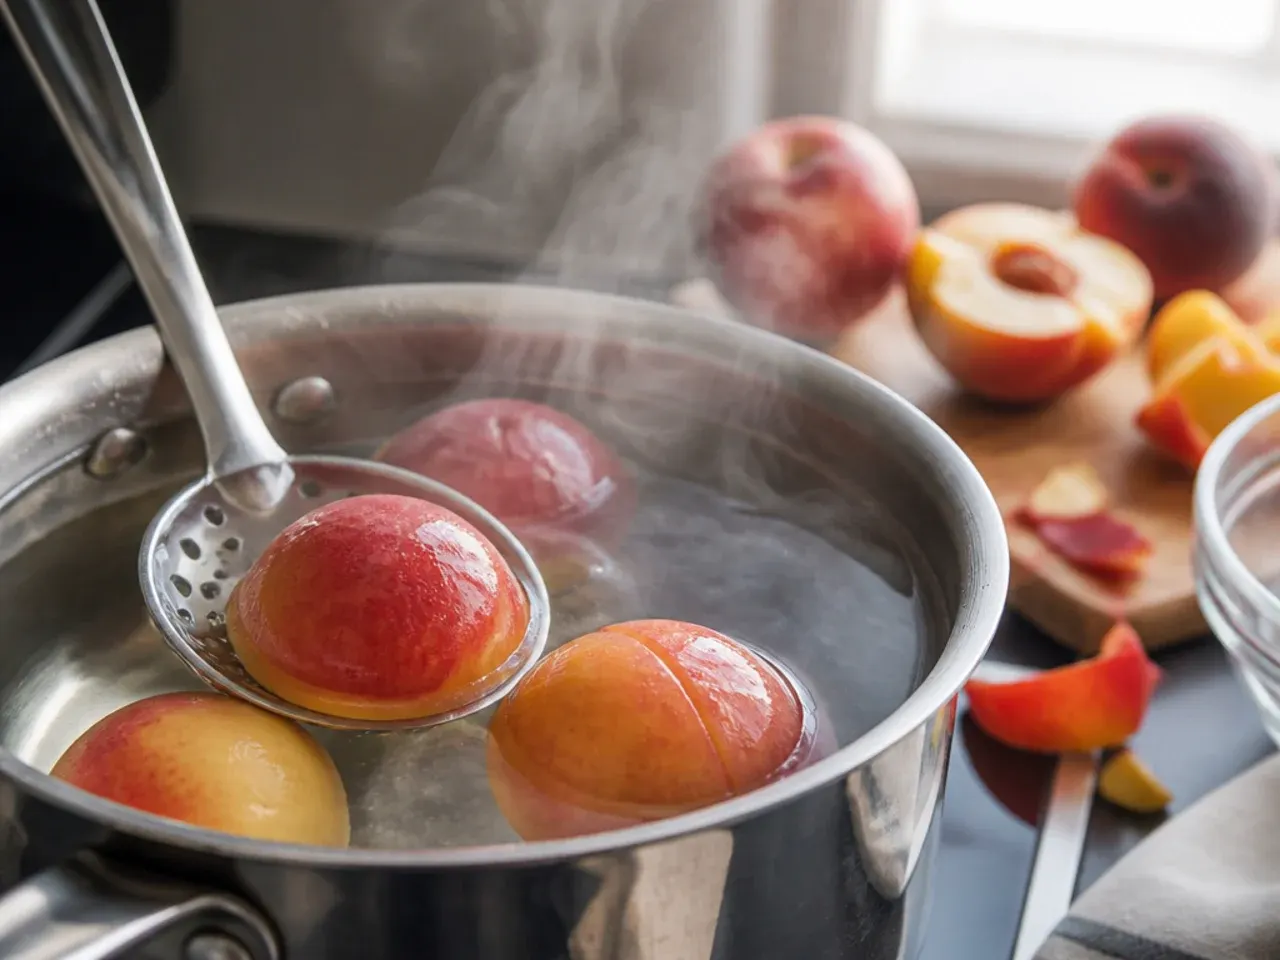
Bring a large pot of water to a boil and score a small X in the base of each peach. Drop them in for 30-45 seconds, then transfer straight into a bowl of iced water for a minute. This loosens the skins so they slip off with your fingers instead of tearing away flesh with a peeler.
Step 4: Peel and slice the peaches
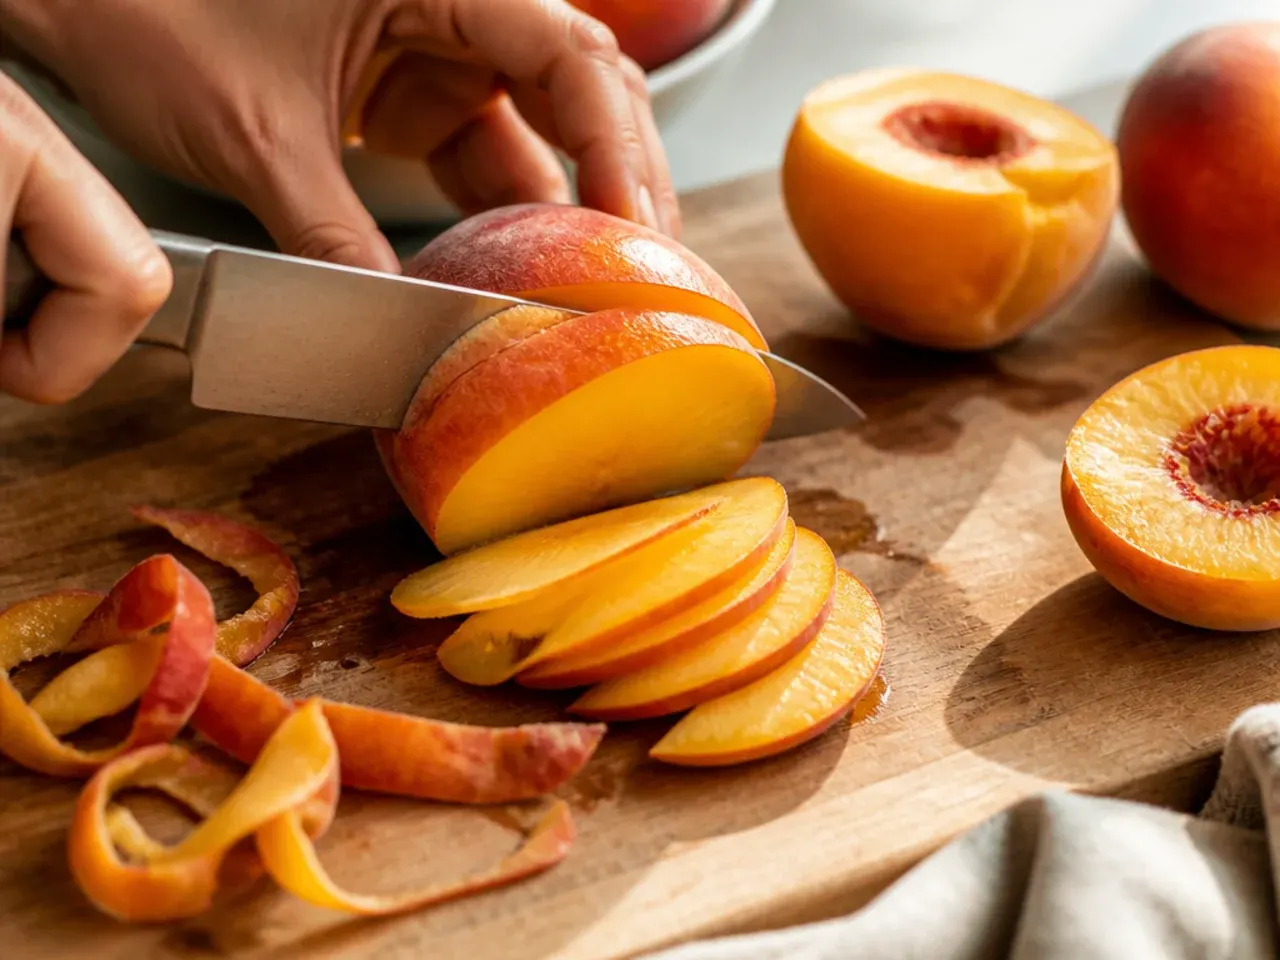
Peel each peach starting from the X mark; the skin should come away in large pieces. Halve the peaches, twist to separate, remove the stone, then slice each half into 6-8 wedges about 1 cm thick. Even slices cook at the same rate, so the filling won't end up with raw centres or mushy edges.
Step 5: Toss the peaches with lemon juice
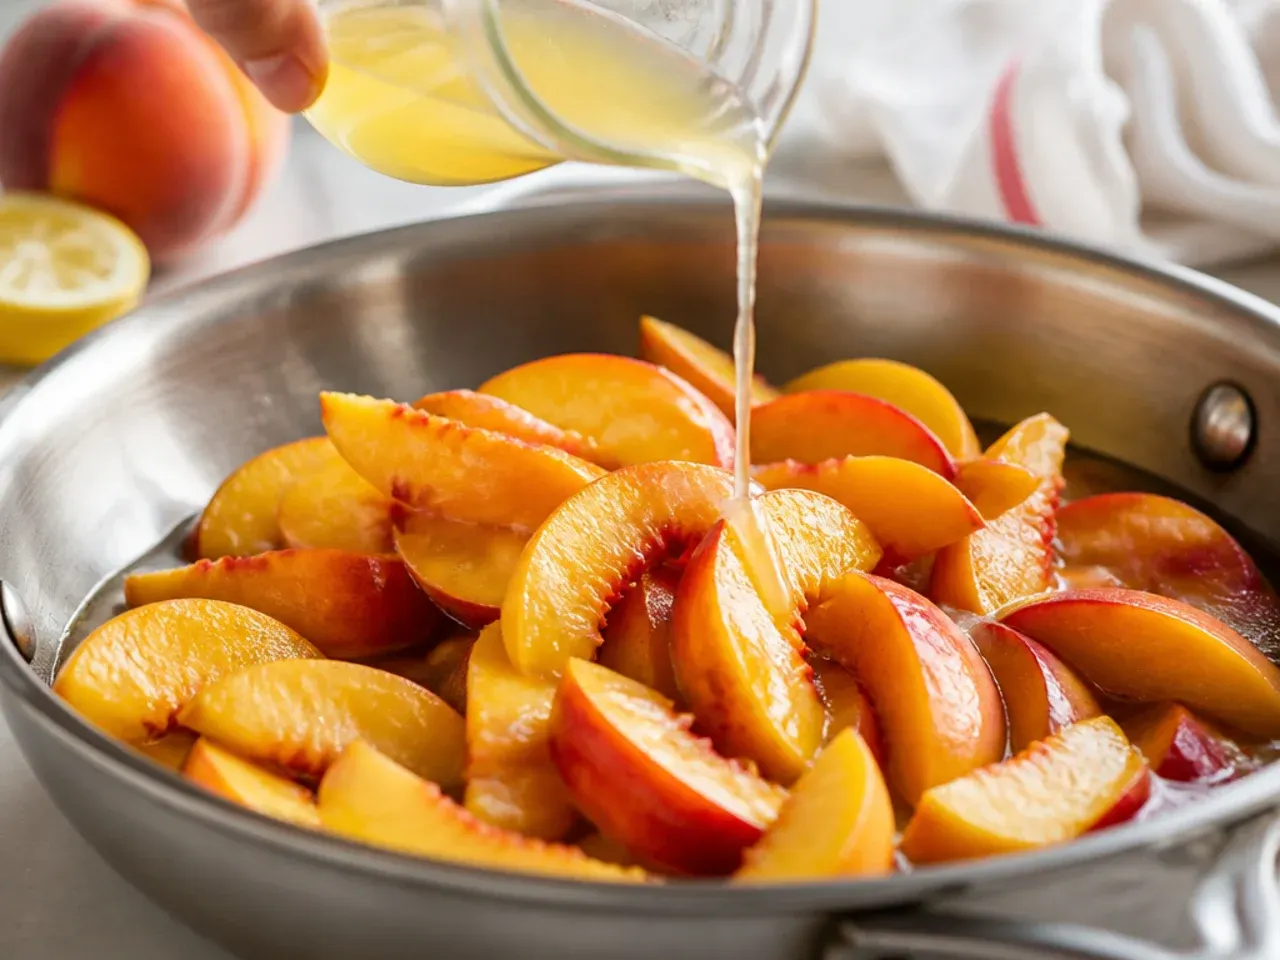
Place the sliced peaches in a large mixing bowl and pour over 15 ml (1 tbsp) fresh lemon juice. Toss gently with your hands or a spatula so every slice is coated. The acidity stops the flesh browning while you prepare the rest of the filling and brightens the finished flavour.
Step 6: Sweeten the filling with honey
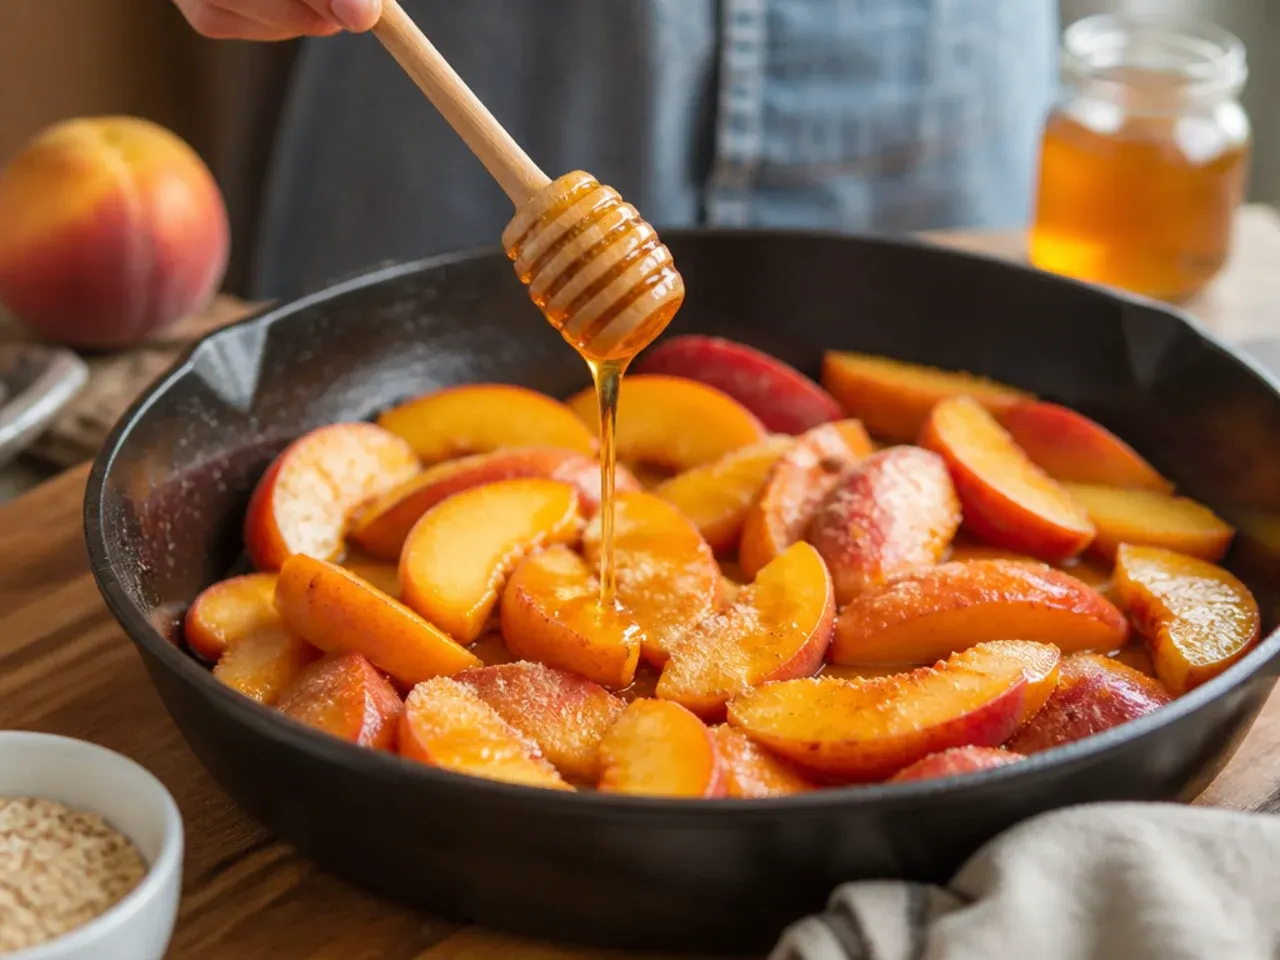
Drizzle 45 ml (3 tbsp) honey over the peaches. Because ripe peaches are already sweet, this small amount rounds out the flavour without tipping the crisp into candy-sweet territory - taste a slice first and add a touch more only if your fruit is particularly tart.
Step 7: Whisk the thickener into the juices
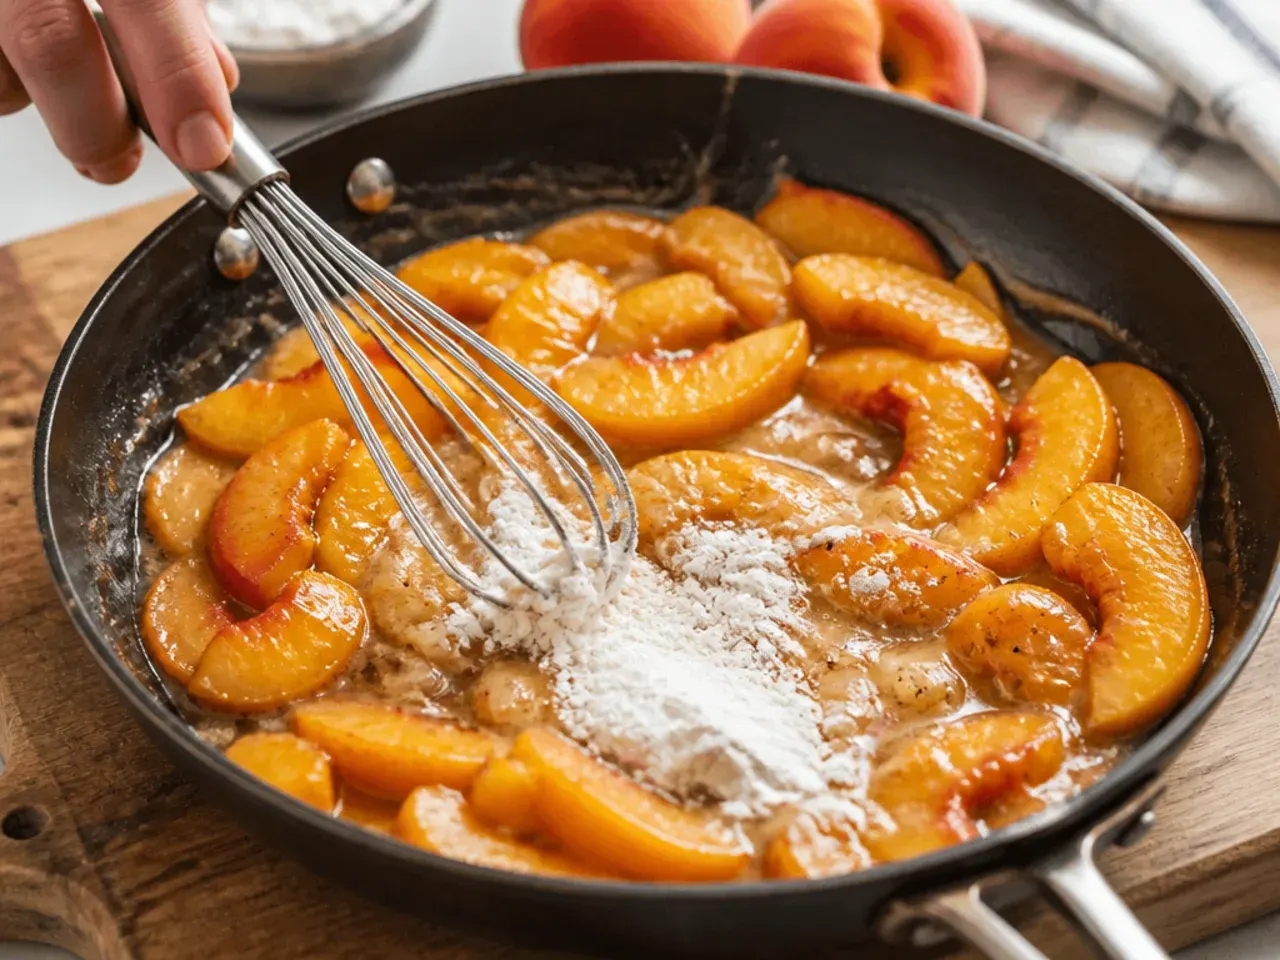
In a small bowl, whisk 15 g (2 tbsp) cornstarch with 30 ml (2 tbsp) of the liquid pooling in the peach bowl until no lumps remain. Whisking it into a little liquid first, rather than sprinkling it straight onto the fruit, stops it clumping into gritty pockets once baked.
Step 8: Add cinnamon and vanilla to the filling
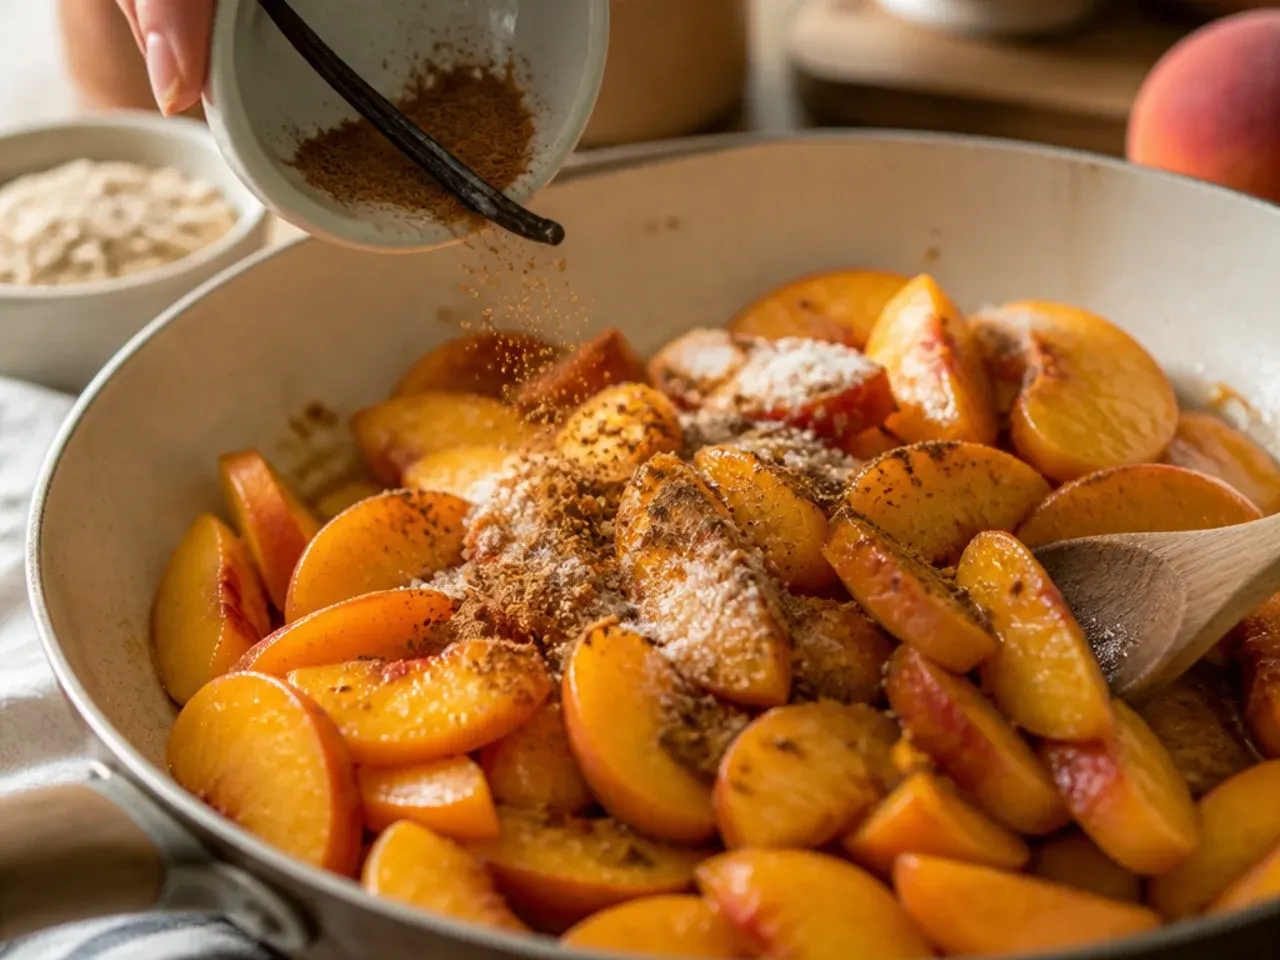
Sprinkle in half the ground cinnamon - about 2.5 g (1/2 tsp) - along with 5 ml (1 tsp) vanilla extract. Fold everything through with a spatula until the peaches are evenly coated in a light, glossy syrup.
Step 9: Let the filling macerate
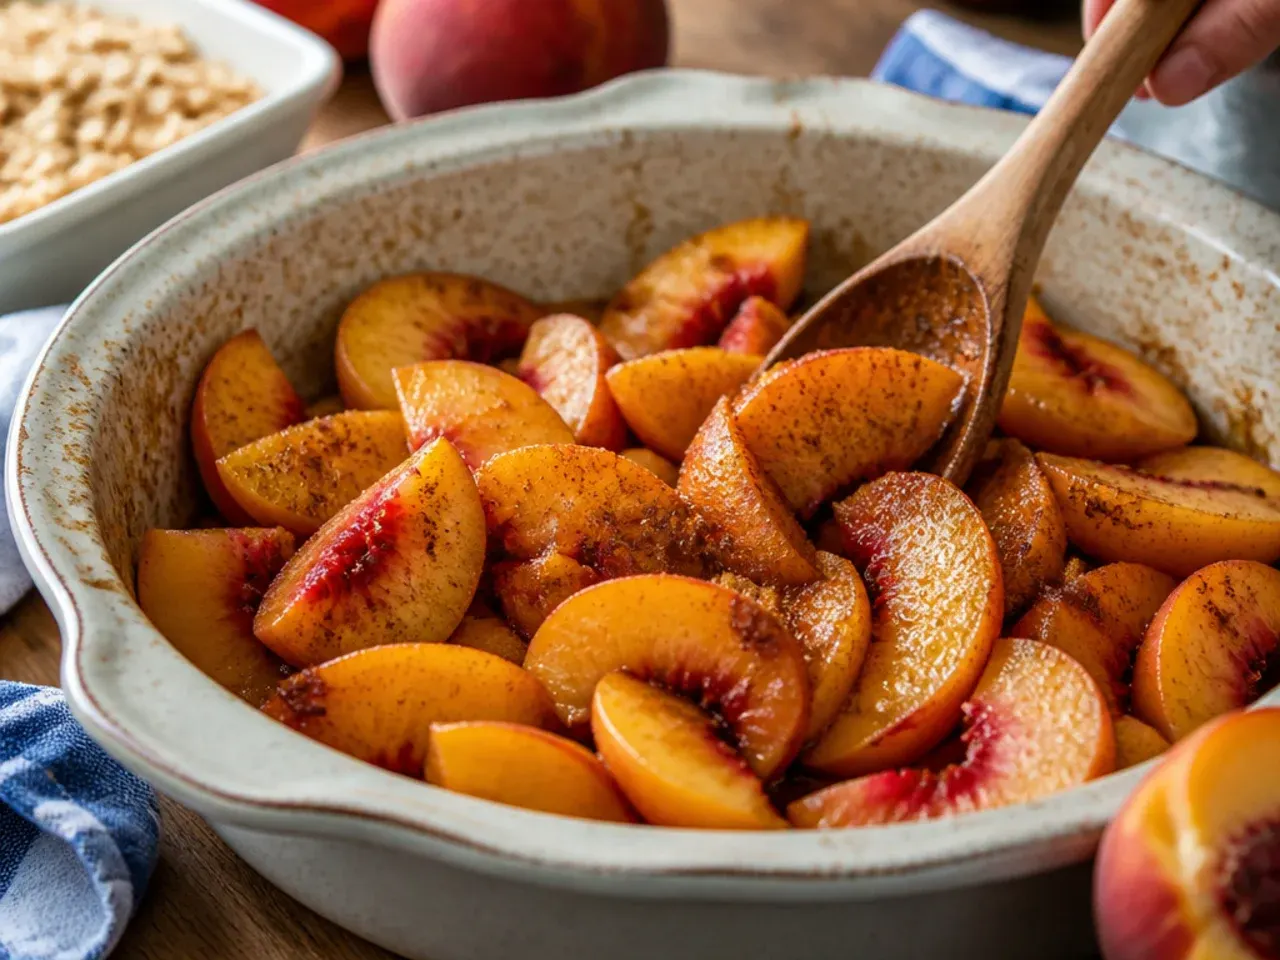
Set the peach mixture aside for 10-15 minutes while you make the topping. This resting time lets the fruit release its juices and gives the cornstarch a head start on dissolving evenly, so the filling thickens properly instead of turning watery in the oven.
Step 10: Transfer the filling to the baking dish
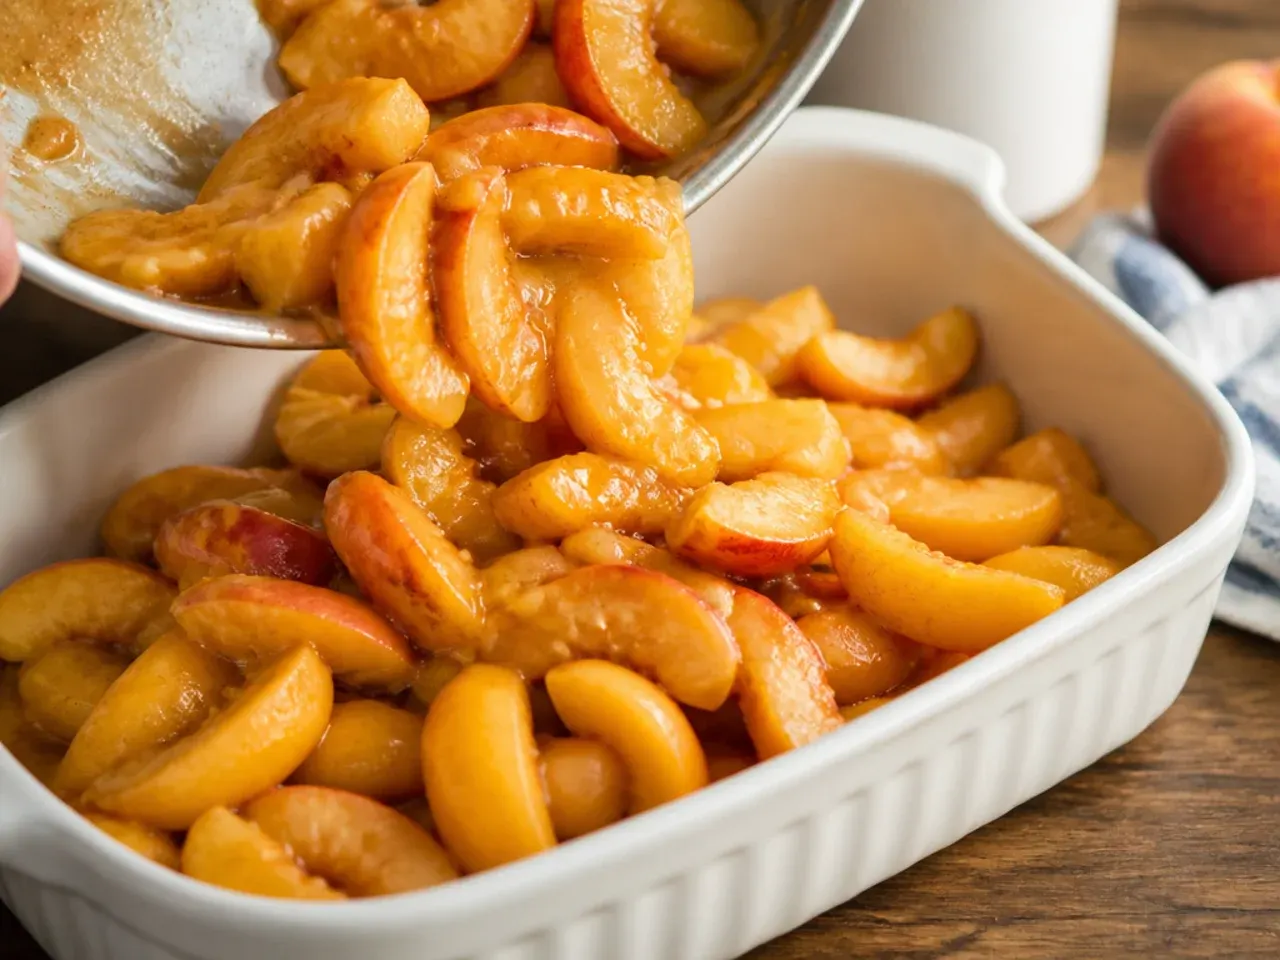
Give the peaches one more gentle stir, then tip the whole mixture into the prepared dish. Spread it into an even layer with a spatula, pressing down lightly so there are no large air gaps that would cause uneven bubbling.
Step 11: Combine the dry topping ingredients
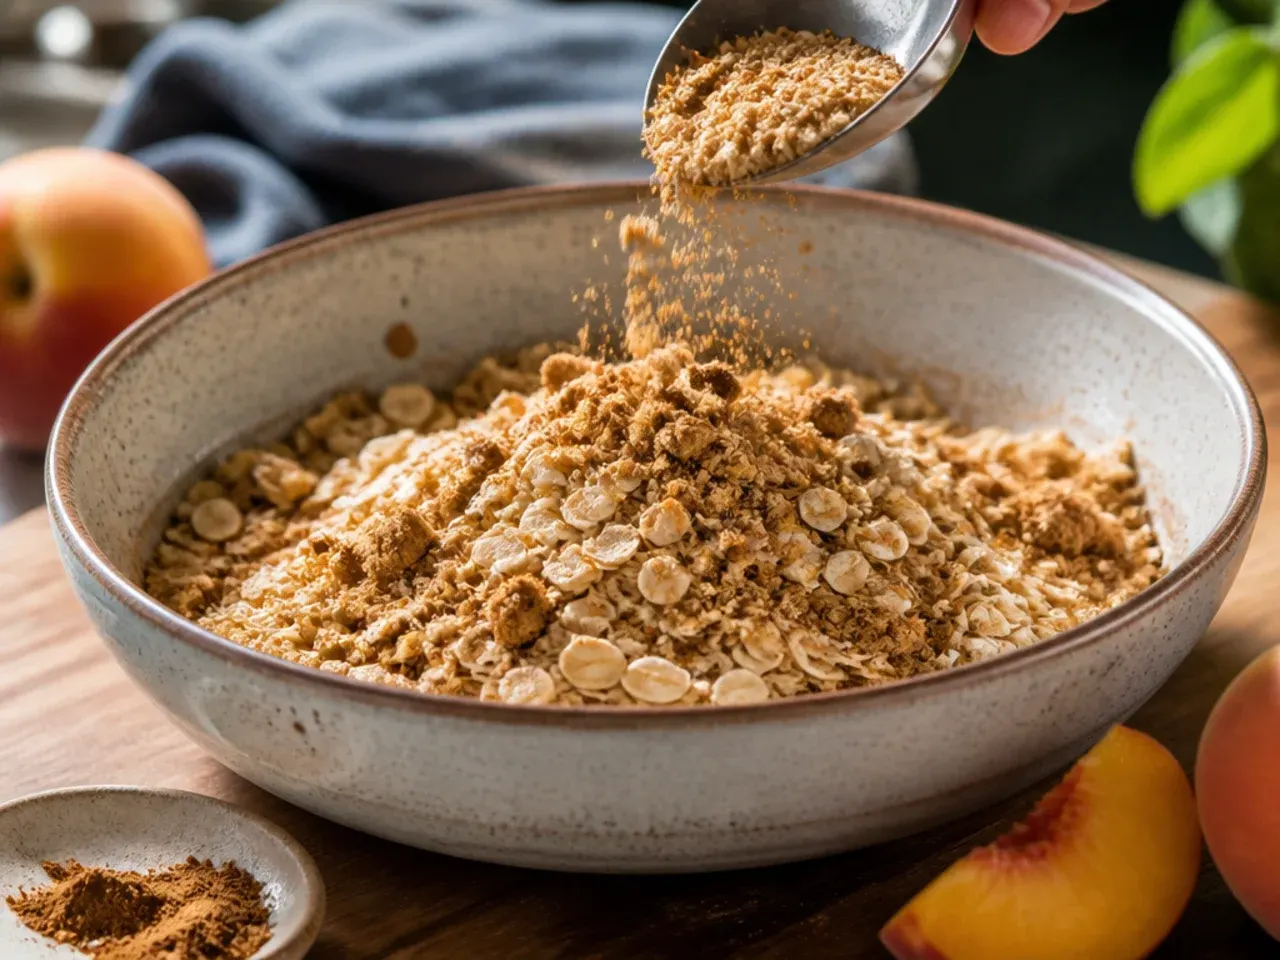
In a separate bowl, stir together 120 g (1 1/4 cups) rolled oats, 60 g (1/2 cup) whole wheat or oat flour, 50 g (1/4 cup) coconut sugar, the remaining 2.5 g (1/2 tsp) cinnamon, and 1.5 g (1/4 tsp) fine sea salt. Mixing the dry ingredients thoroughly first spreads the cinnamon and salt evenly instead of leaving them clumped in one spot.
Step 12: Melt the coconut oil or butter
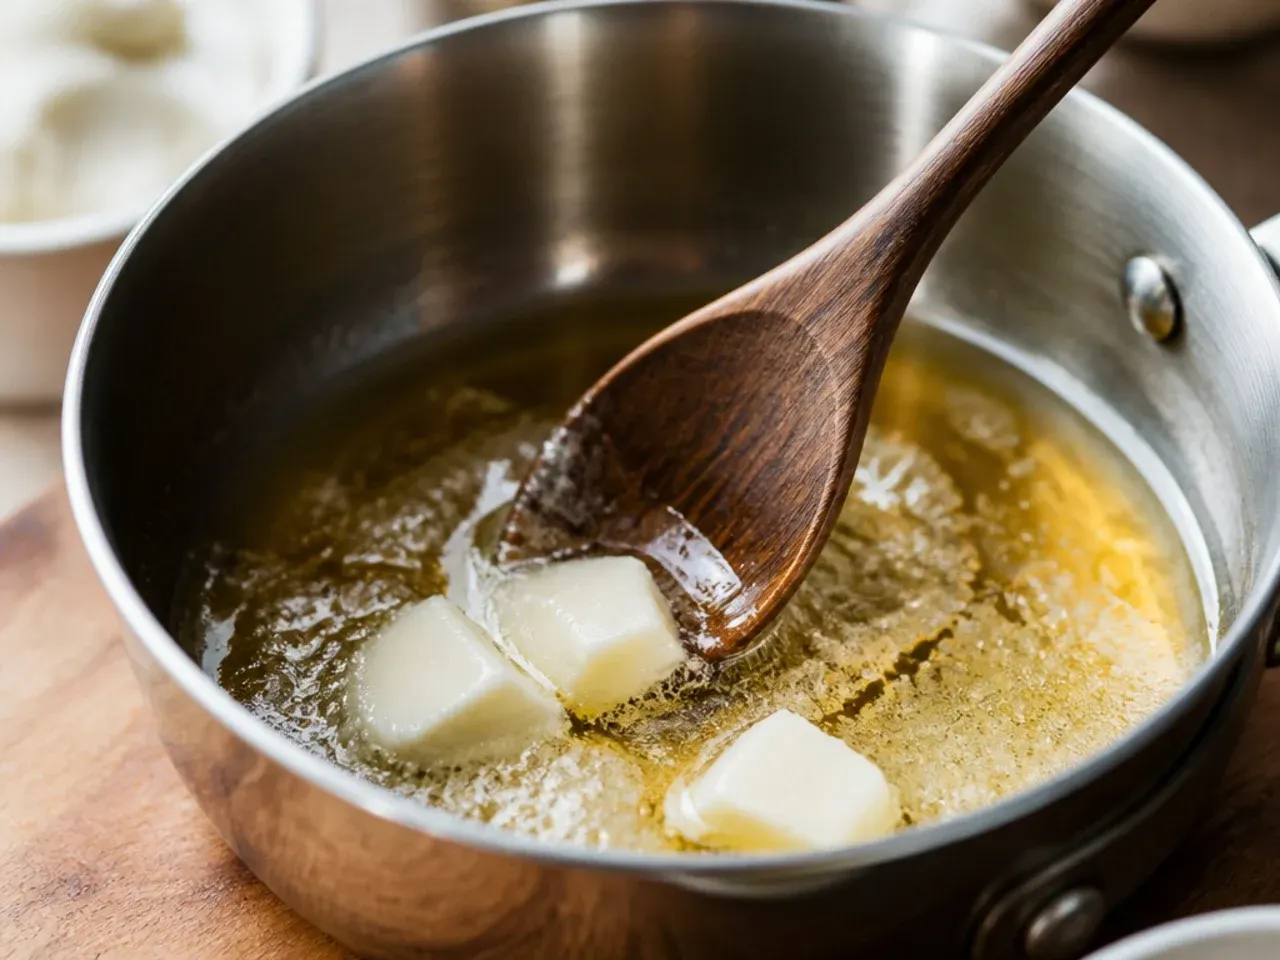
Gently melt 60 g (1/4 cup) coconut oil or unsalted butter in a small saucepan, or in the microwave in 15-second bursts, then let it cool for a minute. It should be liquid but not hot, or it will start cooking the oats instead of simply coating them.
Step 13: Bind the topping
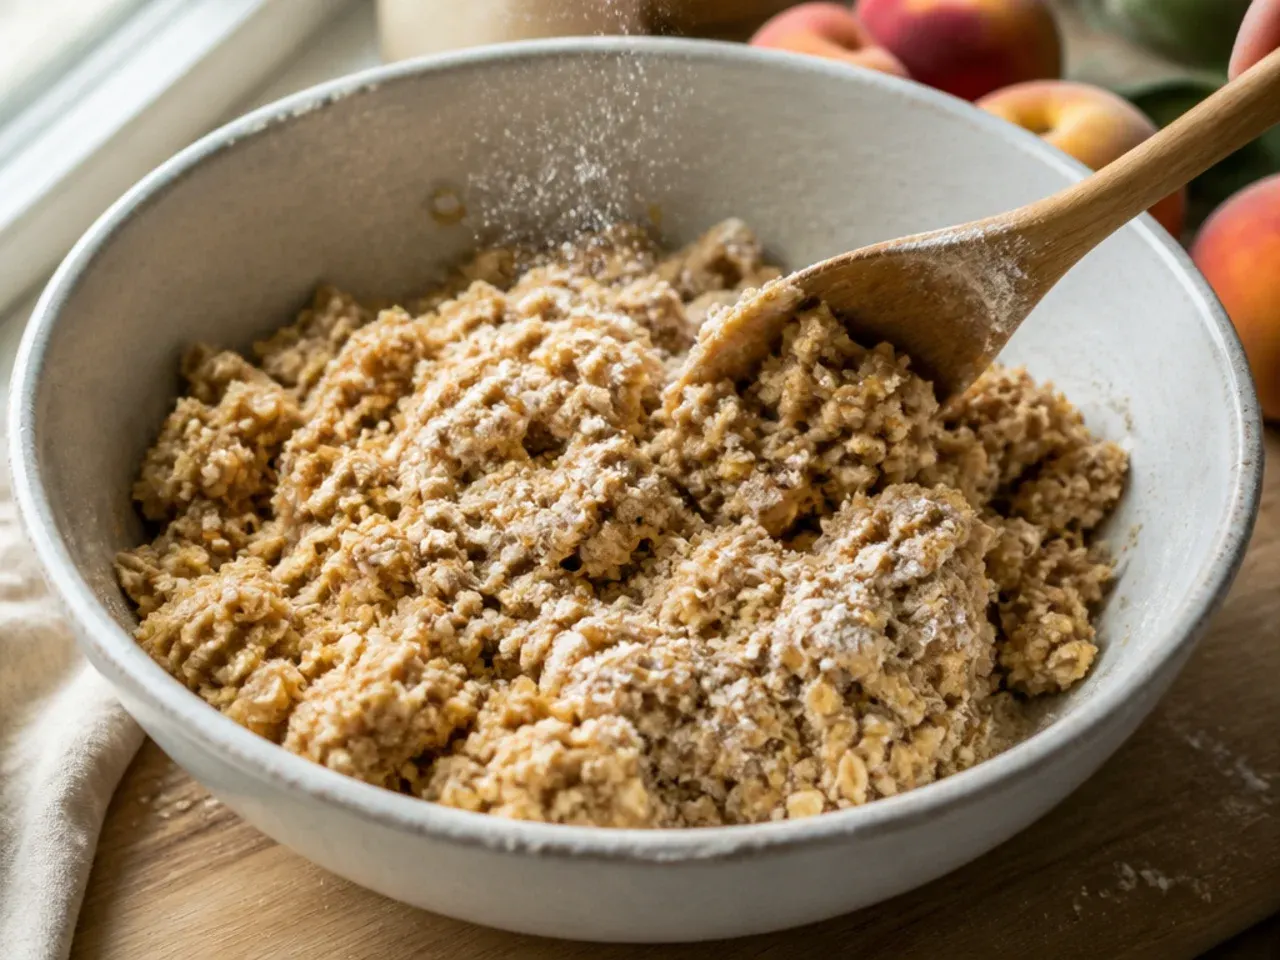
Pour the melted fat over the dry topping mixture and stir with a fork until every oat flake looks moistened. The mixture should hold together in loose, pea-to-almond-sized clumps when you squeeze a spoonful in your hand - if it feels too dry, work in another 5 ml (1 tsp) of oil.
Step 14: Fold in the pecans
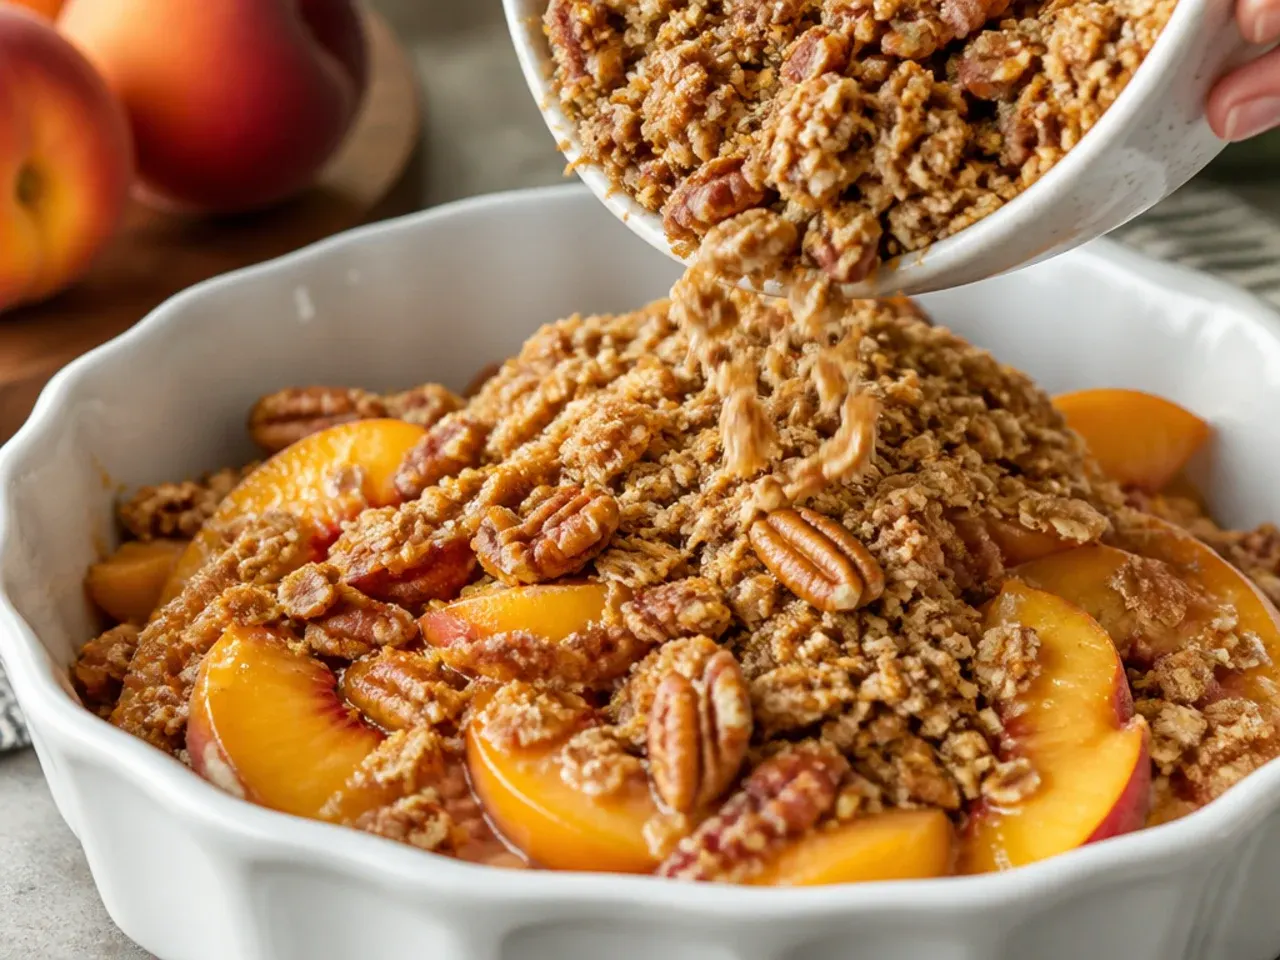
Add 50 g (1/2 cup) chopped pecans to the topping and mix briefly, just enough to distribute them without breaking the clumps apart. Toasting the nuts for 5 minutes in a dry pan beforehand deepens their flavour, but this step is optional if you're short on time.
Step 15: Scatter the topping over the filling
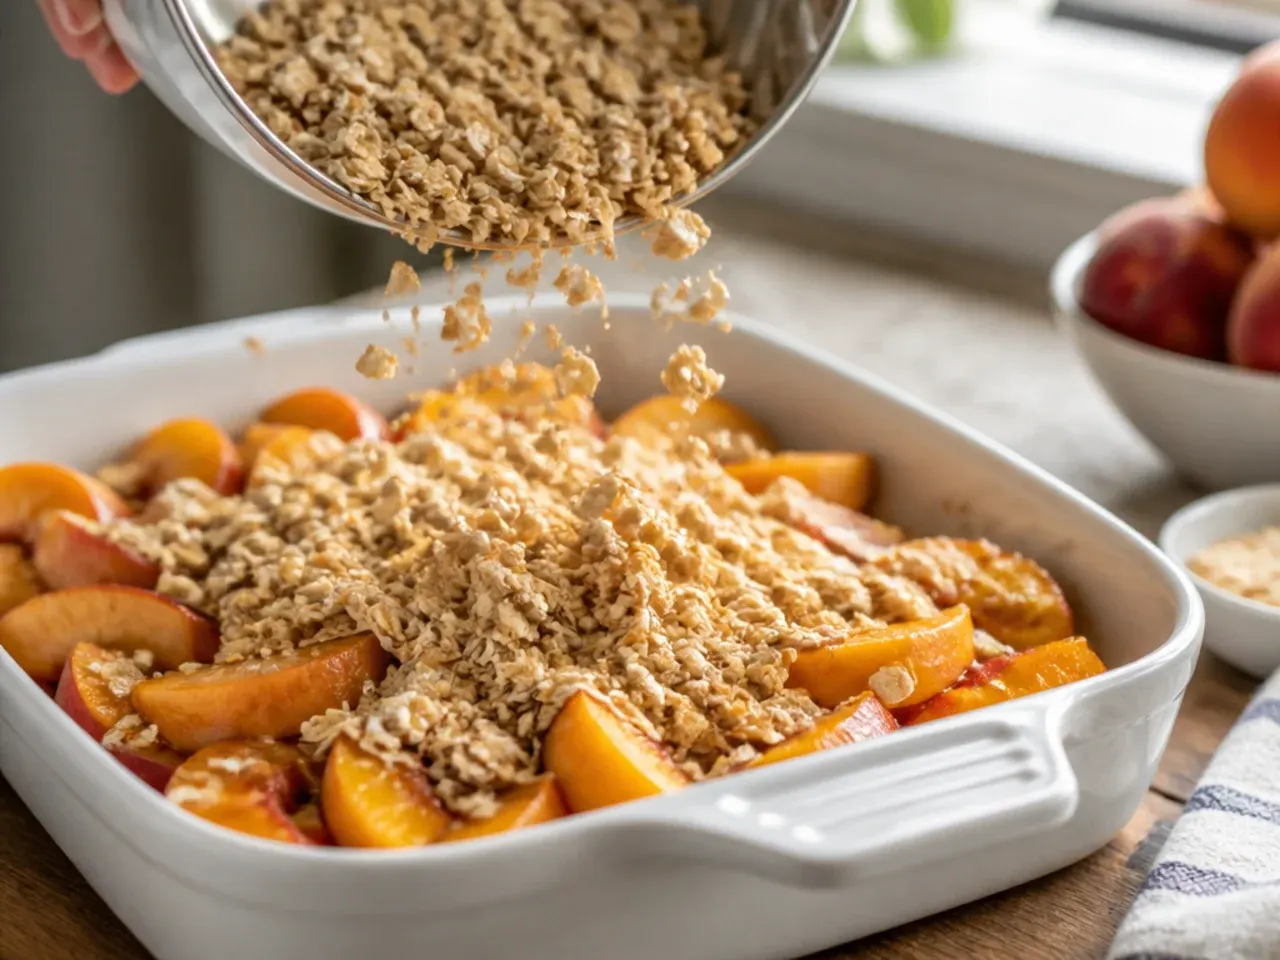
Sprinkle the crumble mixture evenly over the peaches, breaking up any very large clumps with your fingers but leaving plenty of texture. Cover right to the edges of the dish so no filling is left exposed, which helps stop the fruit scorching at the rim.
Step 16: Press the topping lightly
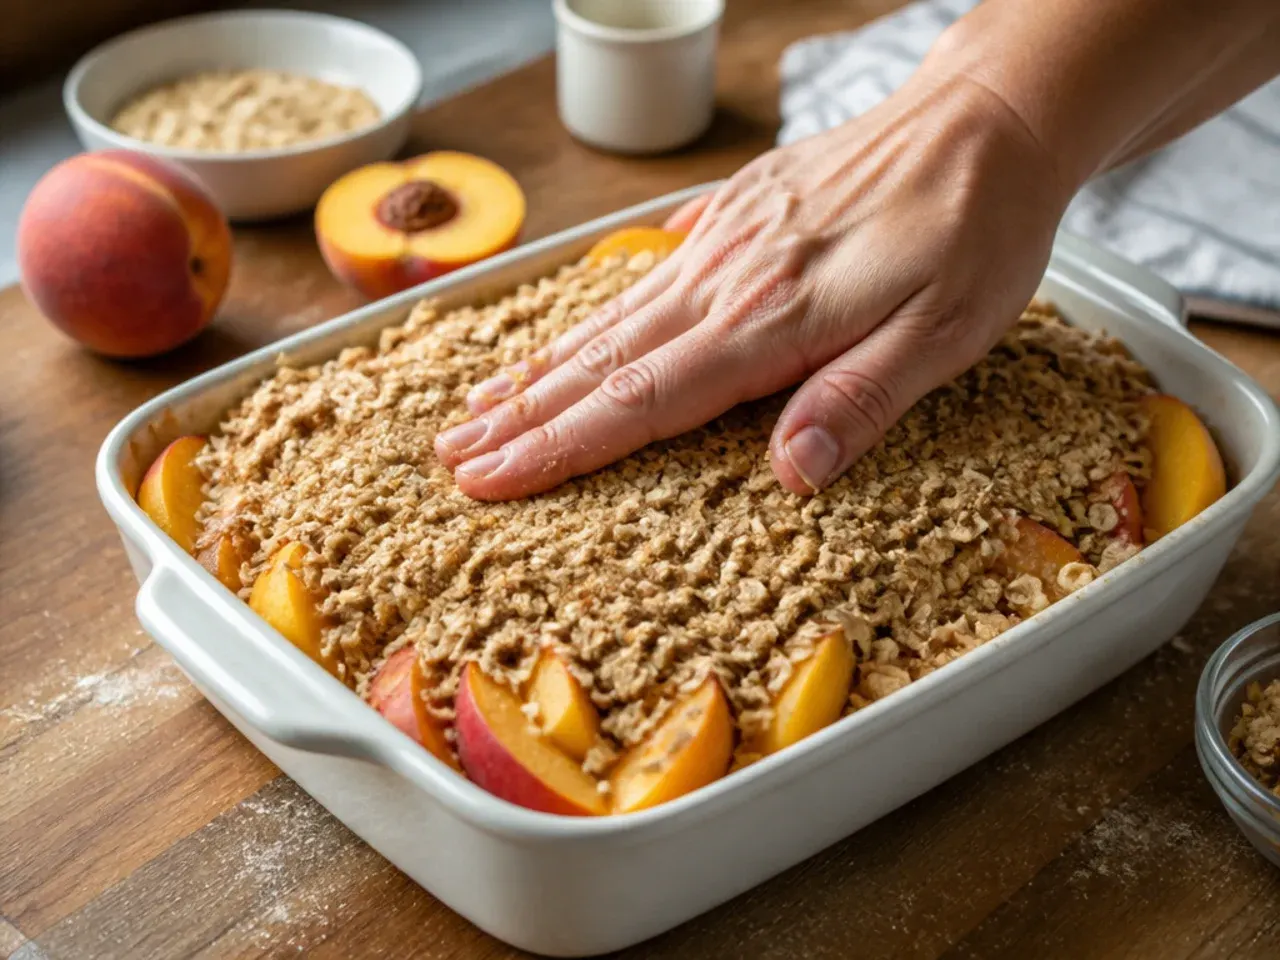
Use the back of a spoon to press the topping down very gently, just enough to help it adhere to the fruit underneath. Don't compact it firmly, or you'll end up with a dense, cake-like layer instead of a light, crisp one.
Step 17: Set the dish on a baking sheet
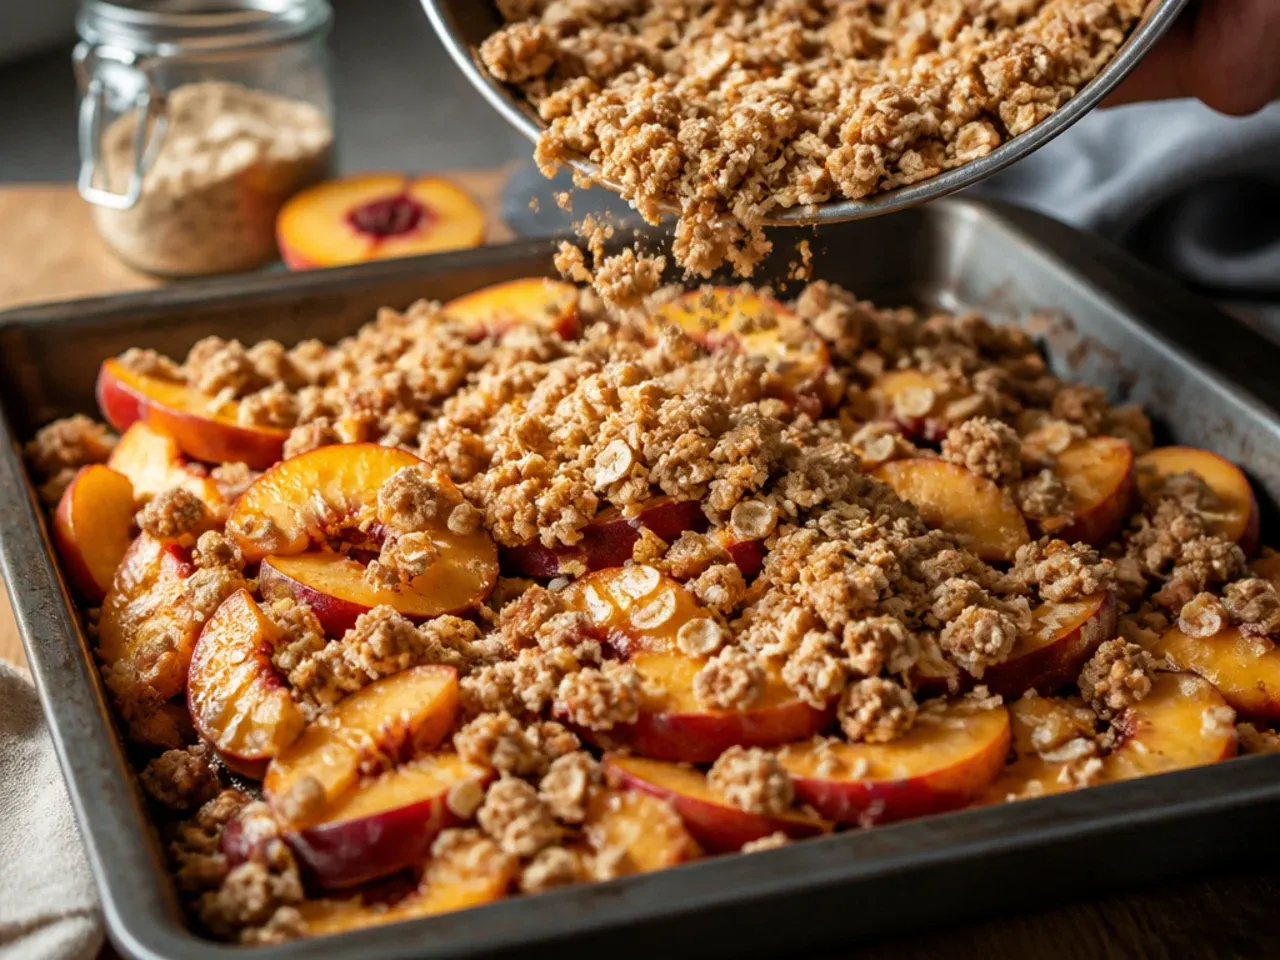
Place the baking dish on a rimmed baking sheet before it goes into the oven. Peach filling often bubbles over the sides as it cooks, and the tray catches any drips so you're not scrubbing burnt sugar off the oven floor afterwards.
Step 18: Bake covered for the first 15 minutes
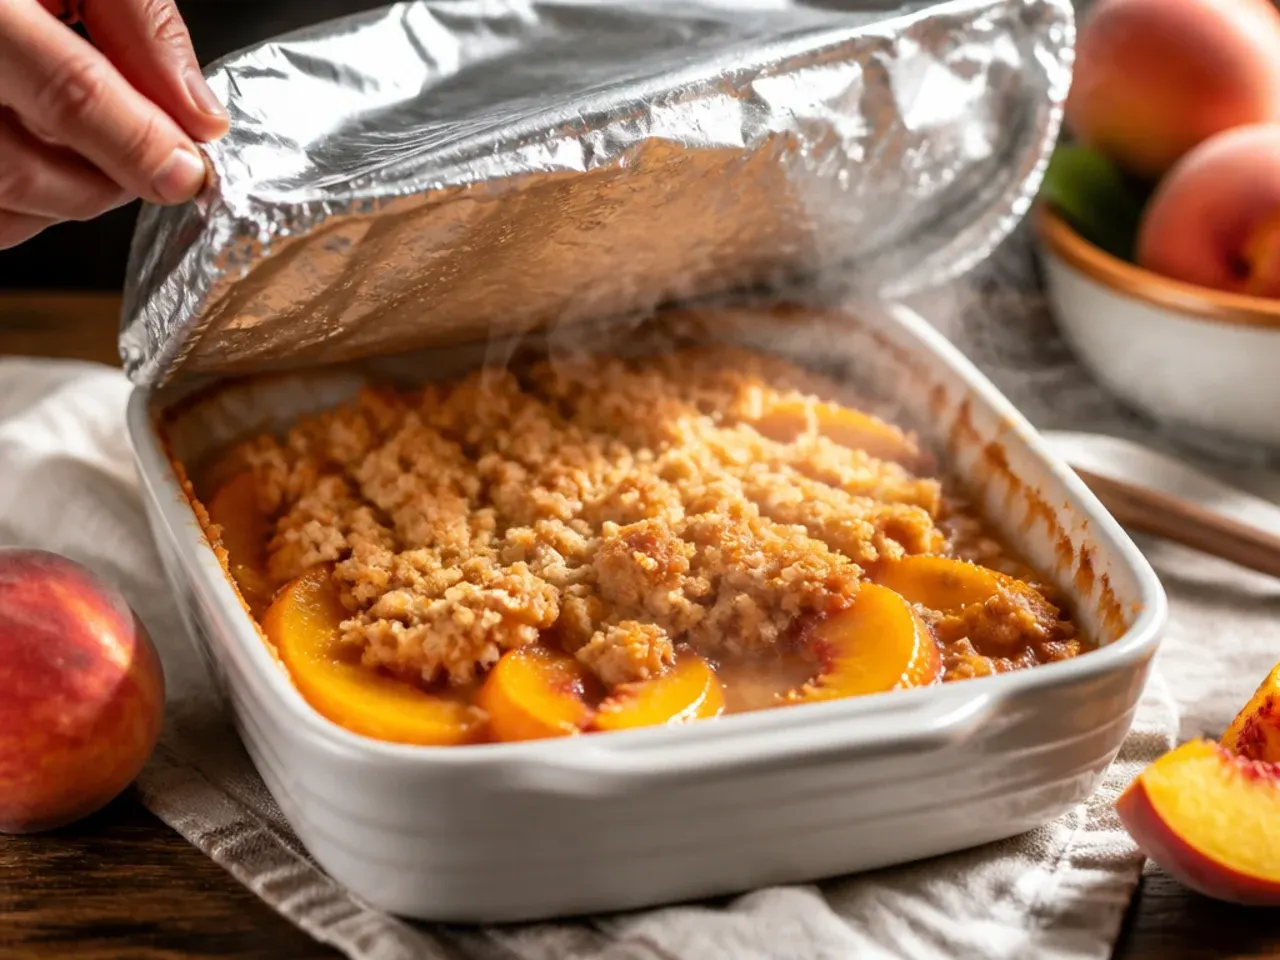
Loosely tent the dish with foil, shiny side up, and bake at 175°C (350°F) for 15 minutes. Covering it at the start lets the peaches soften and release their juices before the topping starts to brown, so the fruit is properly tender by the time the crisp is done.
Step 19: Uncover and continue baking
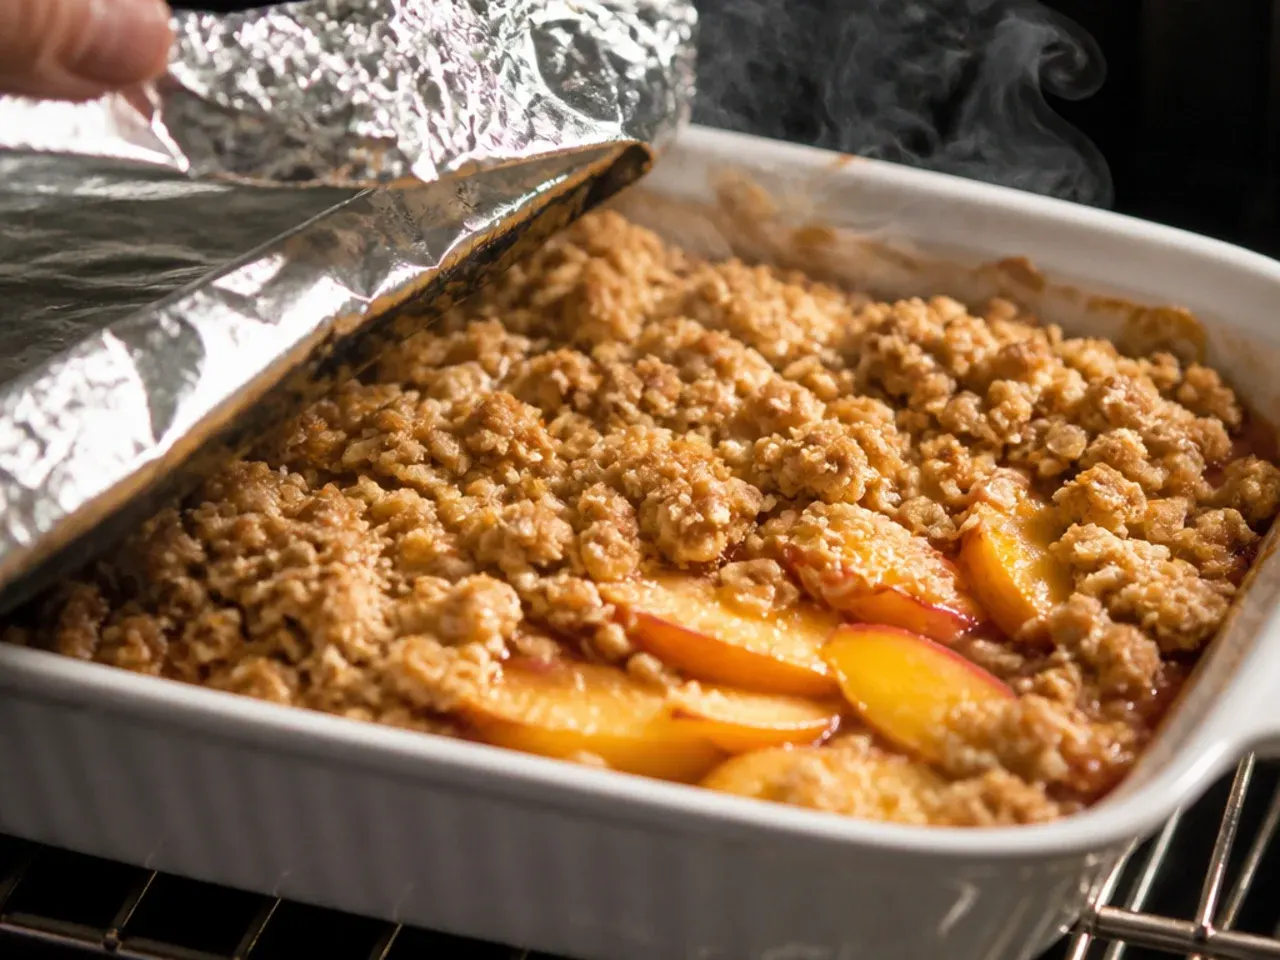
Remove the foil and bake for a further 20-25 minutes. This second stage is where the oats and pecans turn golden brown and properly crisp, so don't skip removing the foil or the topping will stay pale and soft.
Step 20: Watch for the visual cues of doneness
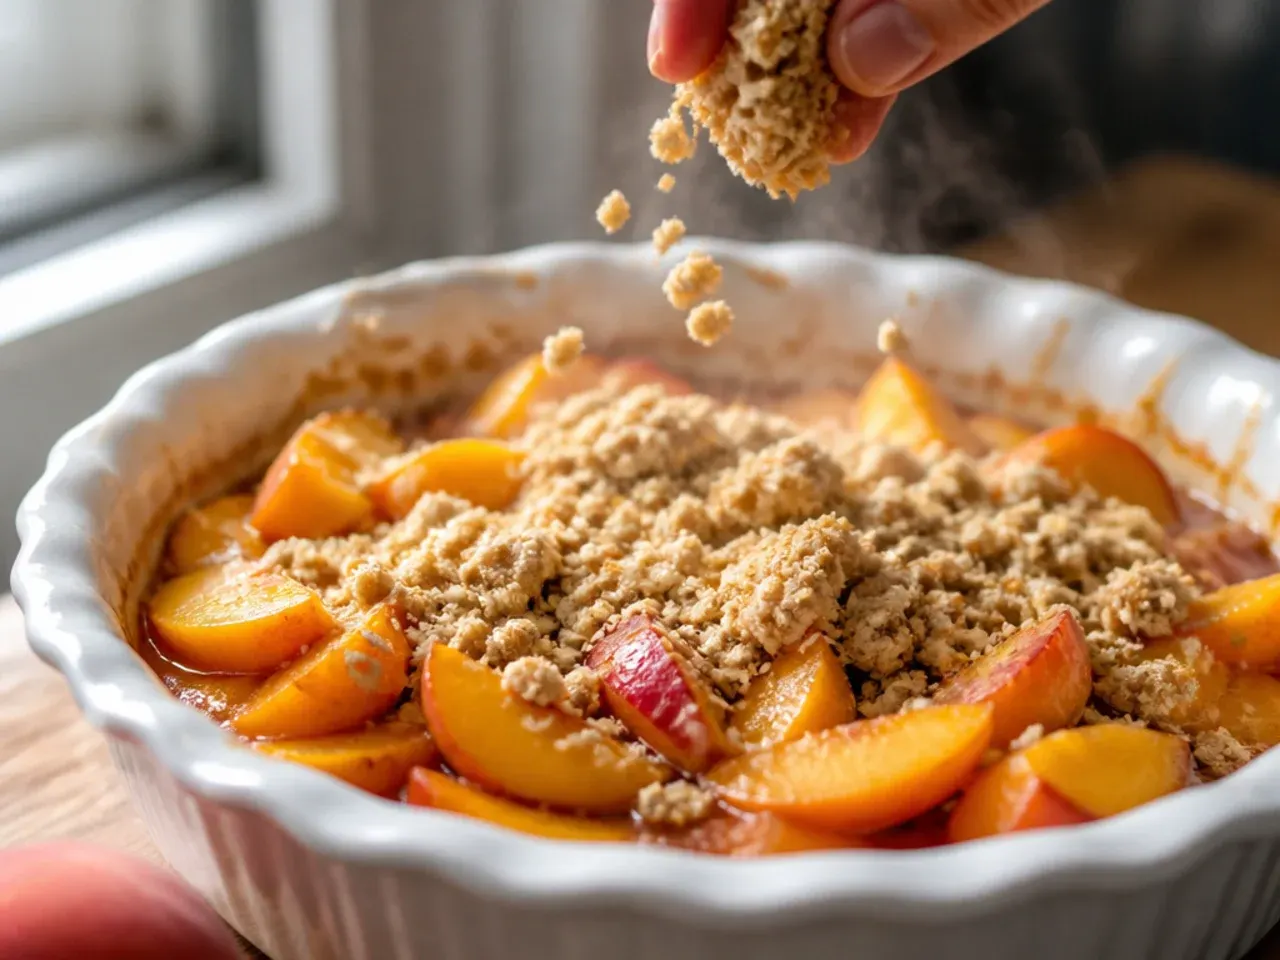
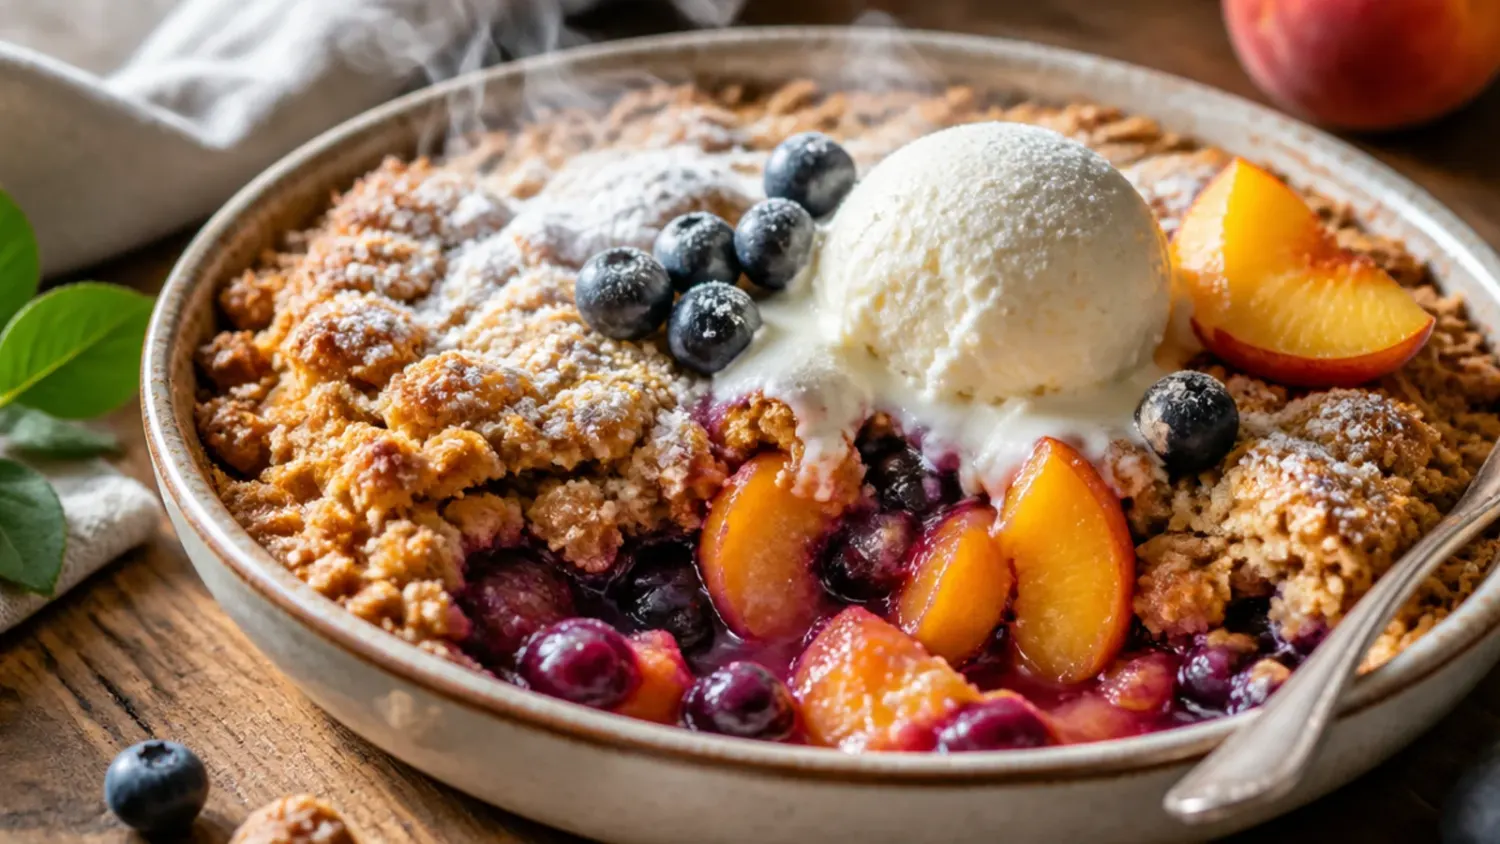
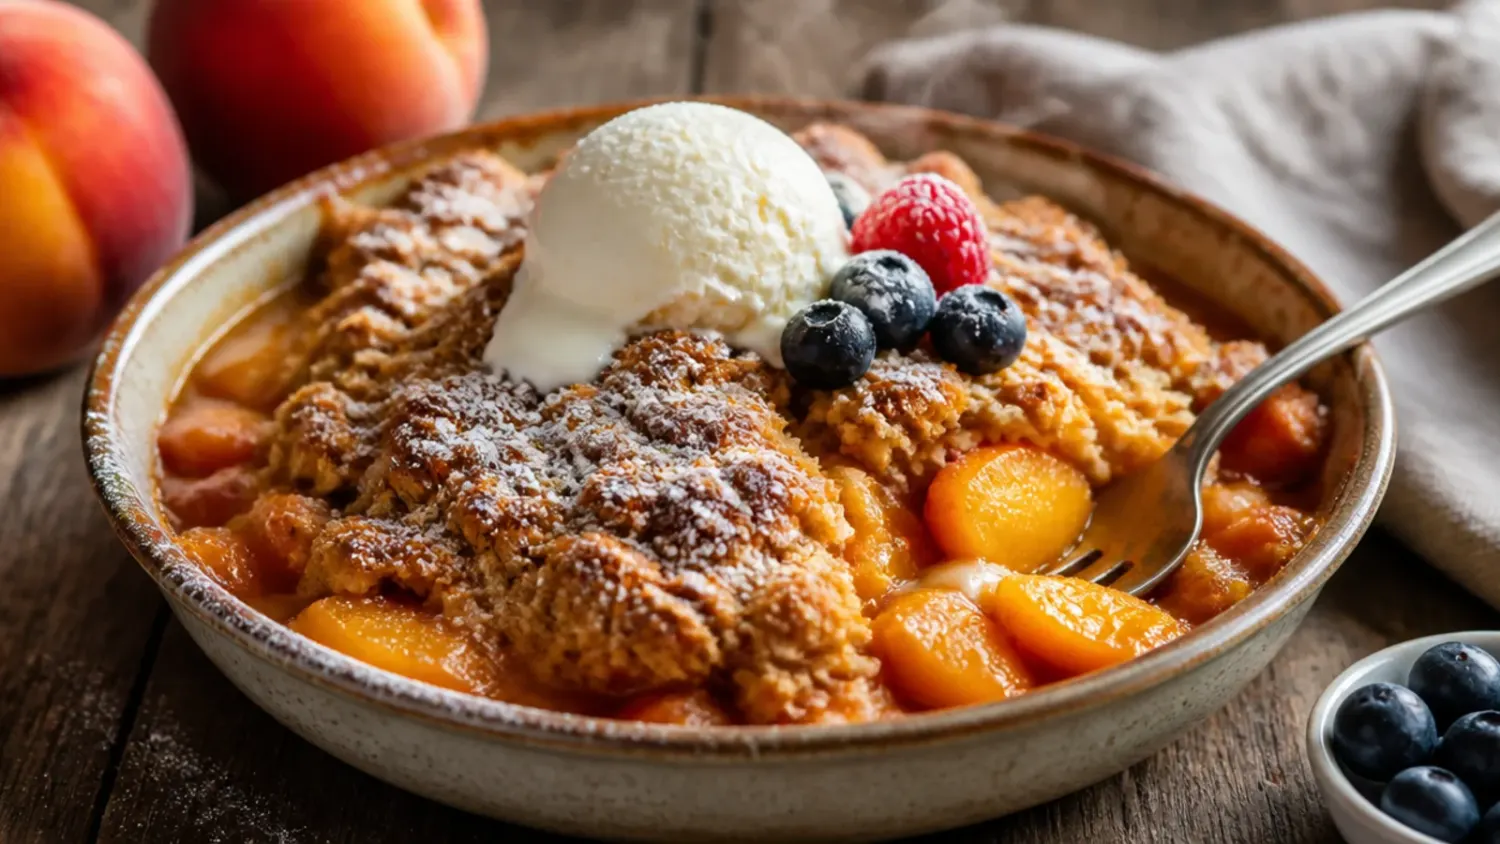
The crisp is ready when the topping is deep golden brown and you can see thick, glossy juices bubbling up around the edges of the dish. If the topping still looks pale after 40 minutes total, the peaches likely need more time - check again in 5-minute intervals.
Step 21: Test that the filling has thickened
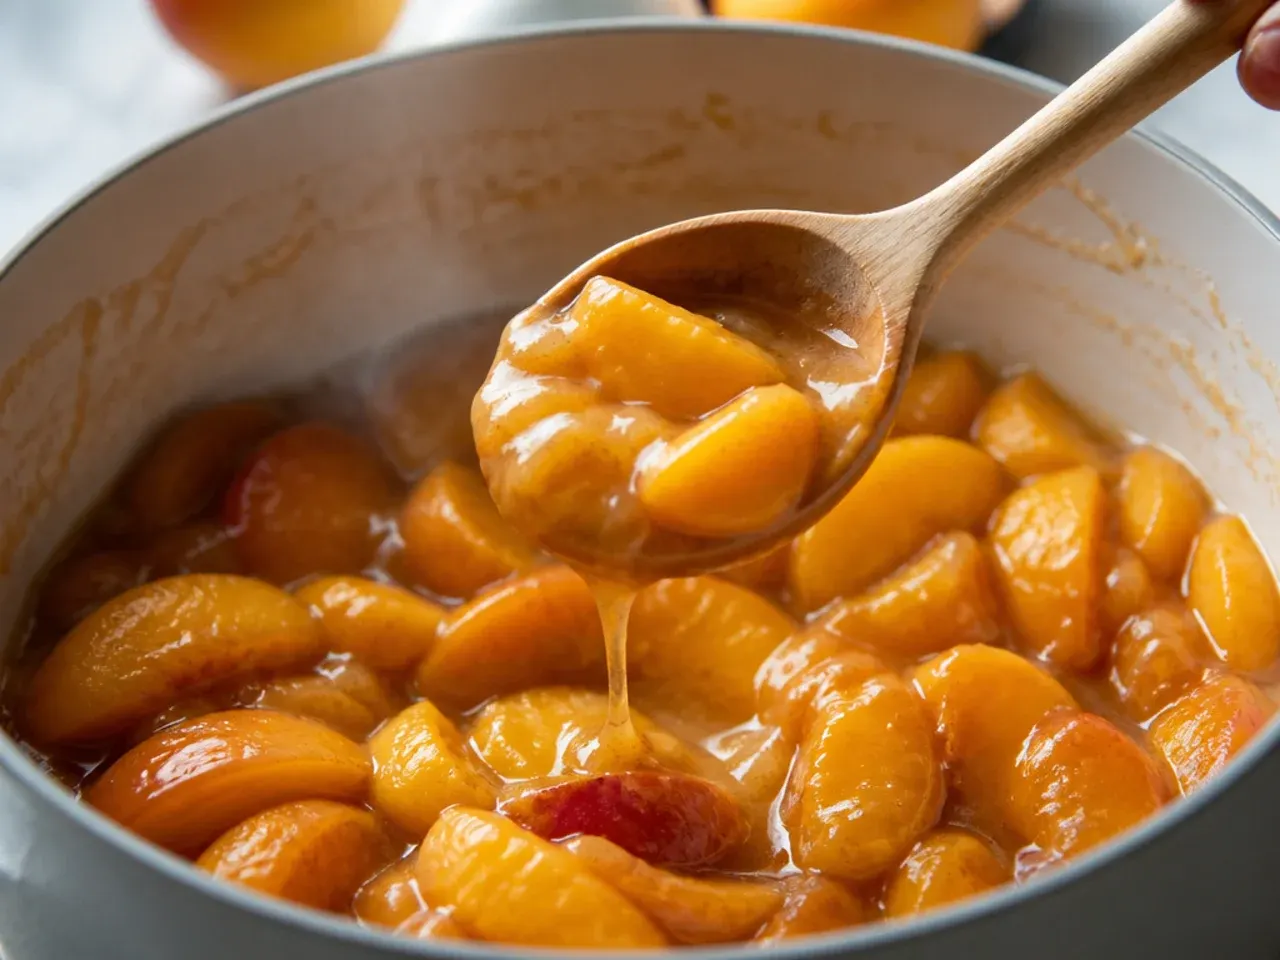
Slide a spoon into the centre of the crisp; the juices should look syrupy and coat the spoon rather than run like water. If the mixture still looks thin, bake for another 5 minutes, since the sauce sets further in the oven rather than only as it cools.
Step 22: Rest the crisp before serving
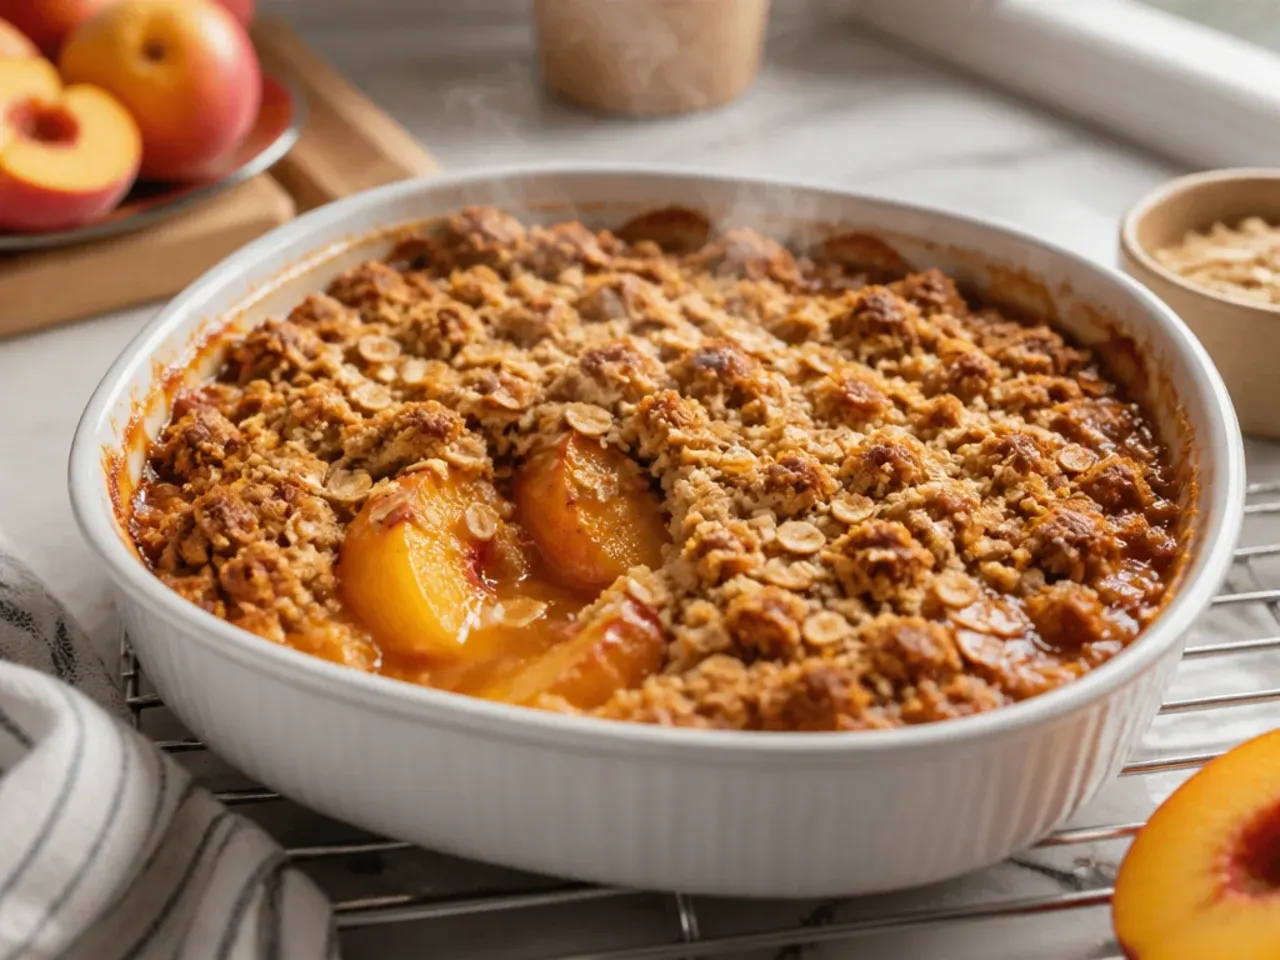
Remove the dish from the oven and let it stand for 10-15 minutes on a wire rack or trivet. This resting period allows the thickened juices to settle so the first spoonful holds its shape on the plate instead of pooling into liquid.
Step 23: Portion into servings
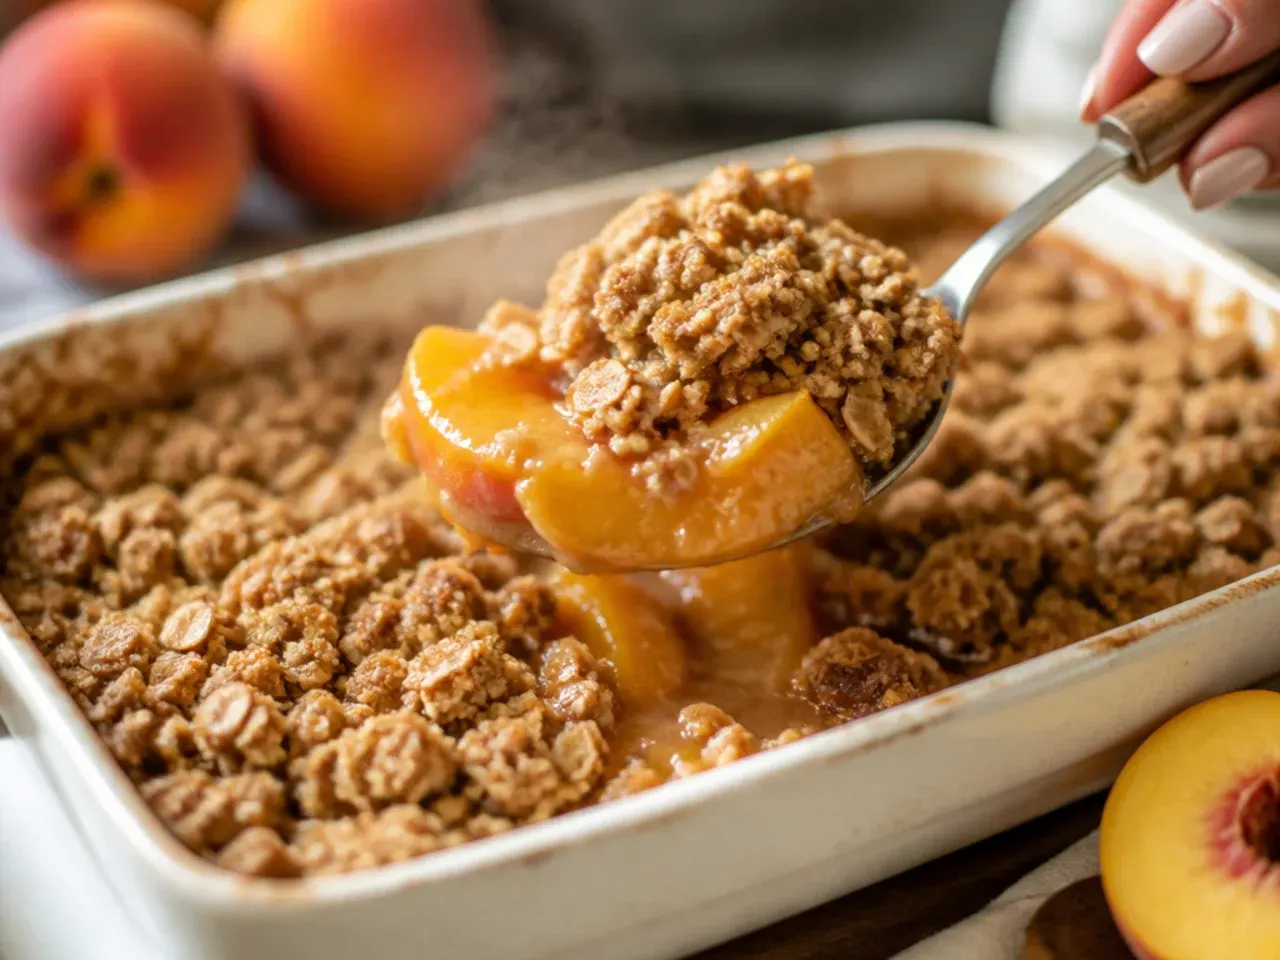
Use a large spoon to scoop portions that include both fruit and topping in each serving, working from the centre outward so the crumble stays intact rather than sliding off the top. This quantity makes 8 generous servings from a 23 cm dish.
Step 24: Add a finishing touch
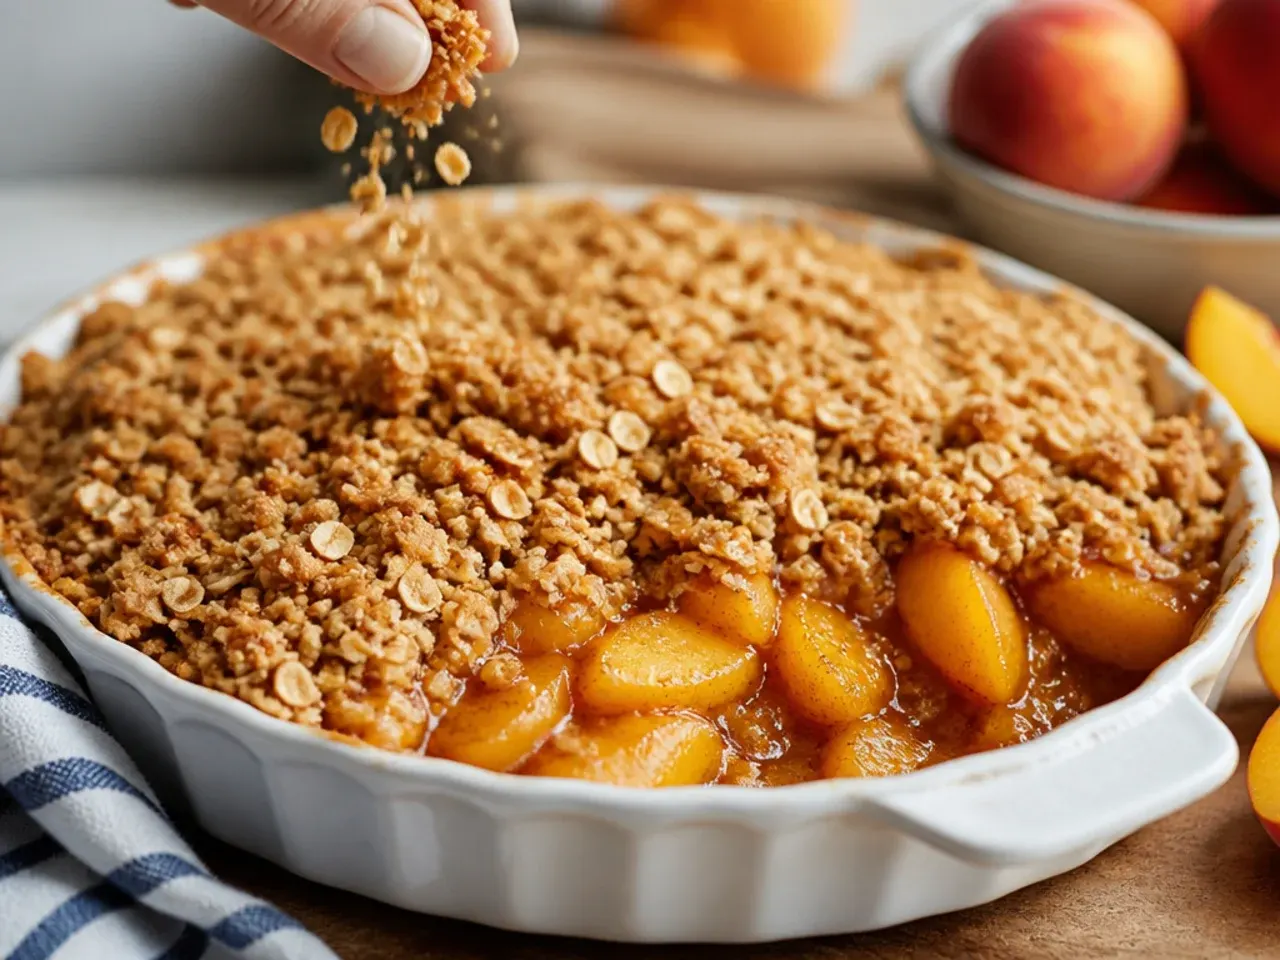
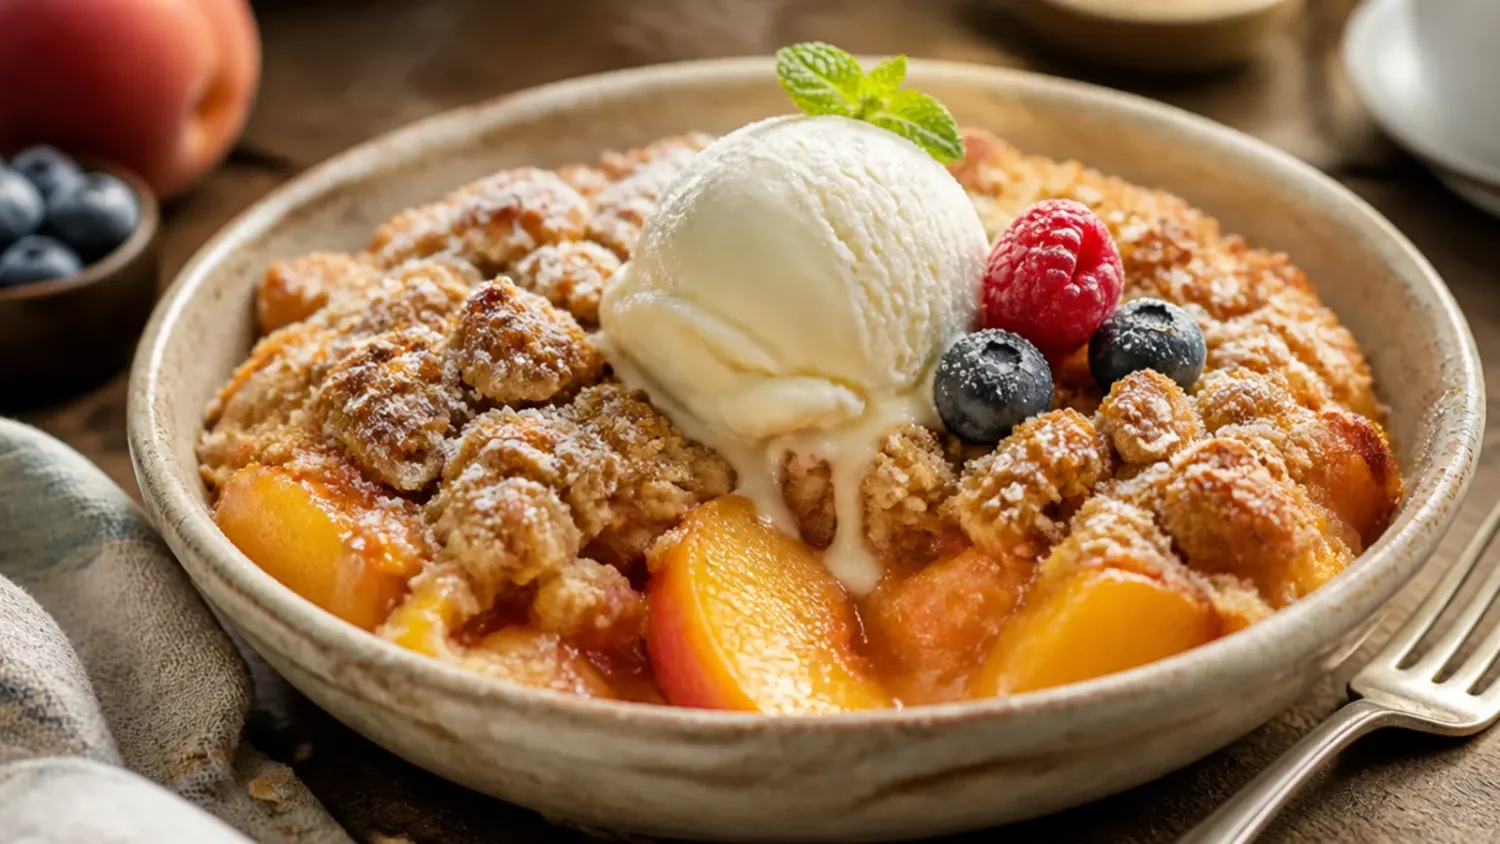
Serve warm with a spoonful of Greek yoghurt, a small scoop of vanilla ice cream, or a drizzle of cream, depending on whether you want it lighter or more indulgent. A light dusting of extra cinnamon over the top adds a nice finishing aroma.
Step 25: Taste and adjust for next time
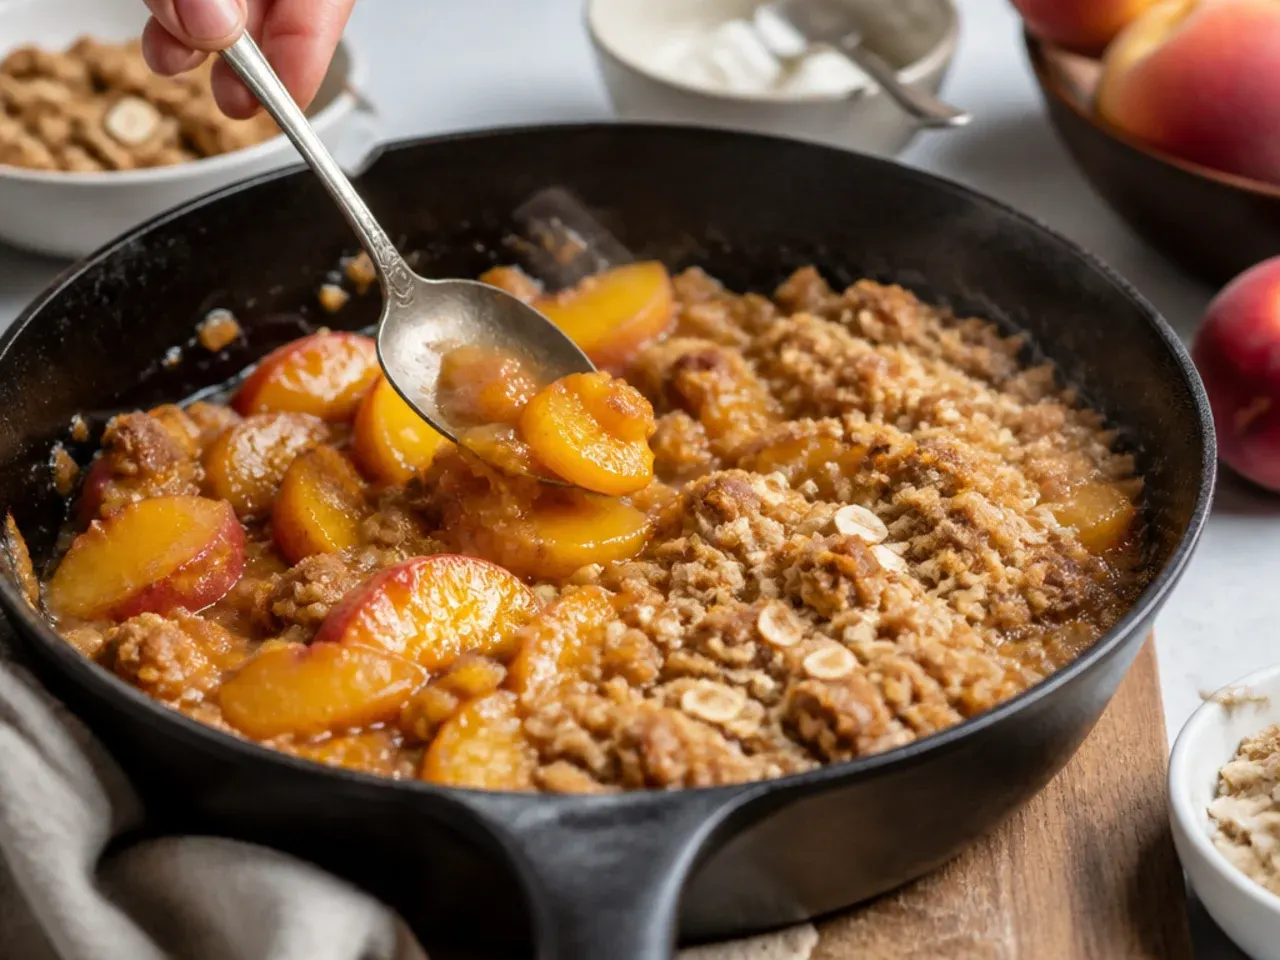
Note how sweet and thick the filling turned out - if your peaches were very juicy, add an extra 5 g (2 tsp) cornstarch next time, and if they were tart, stir in a touch more honey. Keeping a quick note after each bake is the fastest way to dial the recipe into your exact taste.
Pro Tips for a Perfect Healthy Peach Crisp
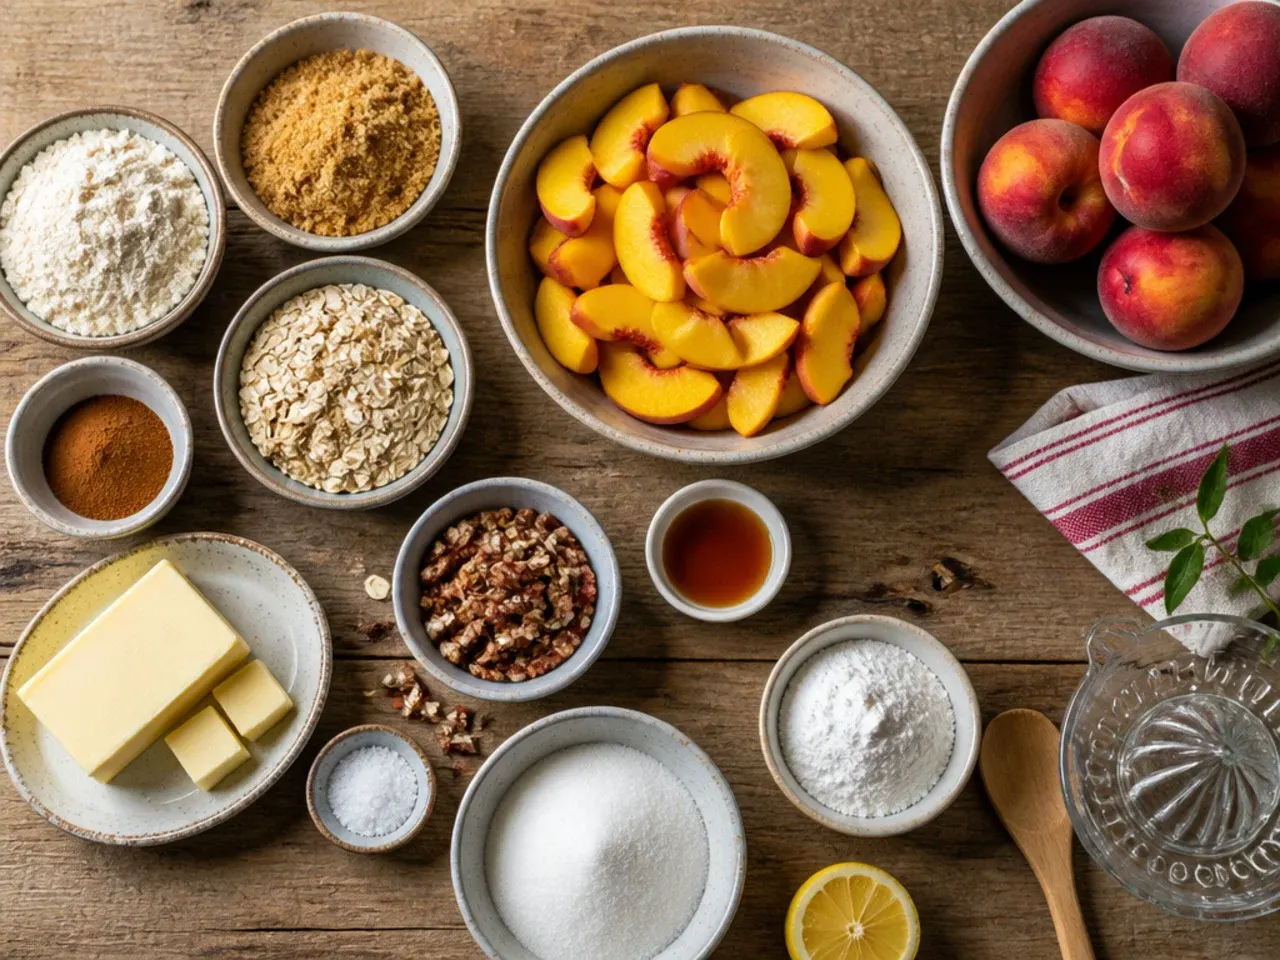
Use freestone peaches when you can, since the stone lifts away cleanly and you won't lose time or flesh wrestling with a clingstone variety. If your peaches feel especially juicy, stir an extra 5 g (2 tsp) cornstarch into the filling so the sauce sets to a glossy, spoonable consistency instead of pooling thin. Swap the pecans for walnuts or flaked almonds, or leave nuts out entirely, without changing any of the other quantities. A topping that stays pale after 40 minutes usually means the oven is running cool, so check the real temperature with a separate oven thermometer.
Storage and Make-Ahead Tips
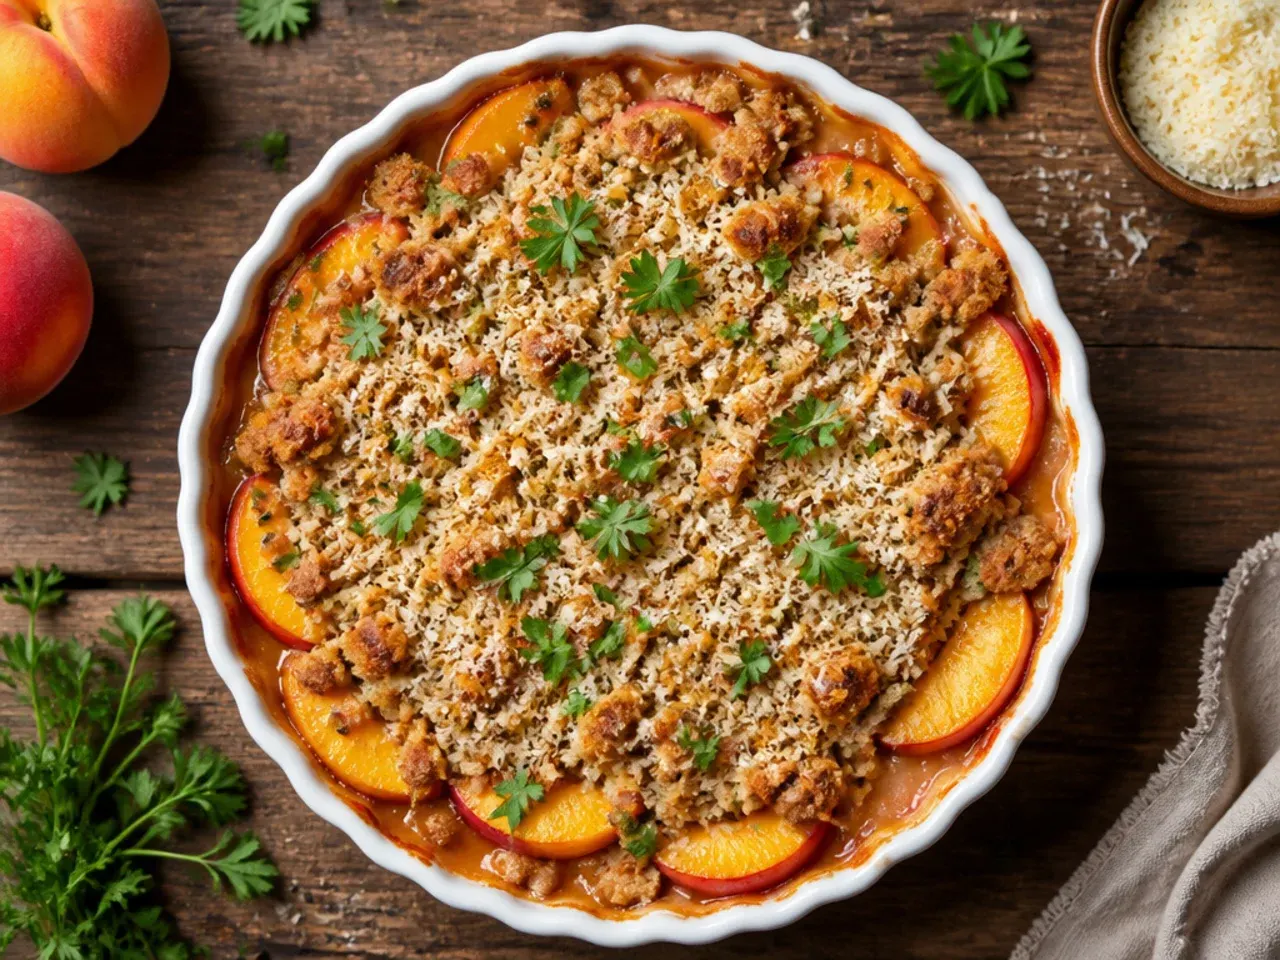
Cool the crisp completely, then cover and refrigerate for up to 4 days; reheat portions in a 160°C (325°F) oven for 10 minutes so the topping re-crisps, since a microwave will leave it soft. To make ahead, prepare the peach filling and the dry oat topping separately up to a day in advance and store them in separate covered containers so the oats don't turn soggy before baking. The unbaked, fully assembled crisp also freezes well for up to 3 months - wrap the dish tightly in cling film and foil, then bake straight from frozen, adding 15-20 minutes to the covered stage. Baked leftovers freeze too: portion into an airtight container for up to 2 months and thaw overnight in the fridge before reheating.
This healthy peach crisp swaps refined sugar for honey and coconut oil, topped with a crunchy oat-pecan crumble baked deep golden. For more peach crisp inspiration, browse the full Peach Crisp Recipes board — every idea there is written for real home kitchens, not professional bakers.
Frequently Asked Questions
Yes - you can fully assemble the crisp up to a day ahead and keep it covered and unbaked in the fridge, then bake it straight from cold, adding about 5 extra minutes to the covered baking stage. Alternatively, prepare the peach filling and the oat topping separately and store them in different containers for up to 24 hours, combining them just before baking so the topping stays crunchy rather than soggy. Either way, take the dish out of the fridge and set it on a baking sheet before it goes into a fully preheated oven, since cold glass can crack under a sudden blast of high heat.

Related Recipes
Save this for later 📌
Pin this article to your Pinterest board so the full list is one tap away when you need it.
Save on Pinterest