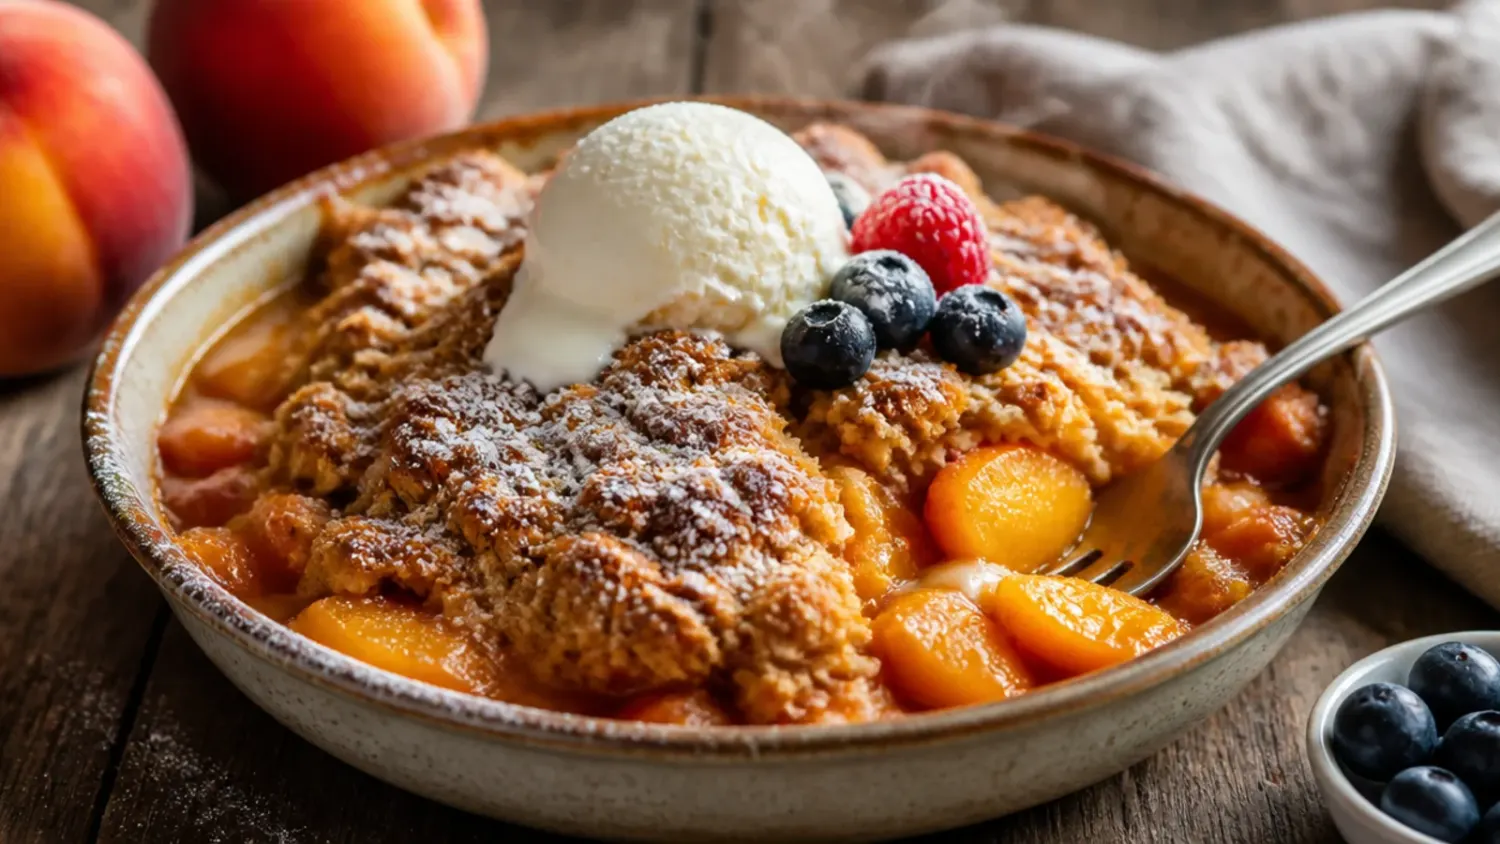
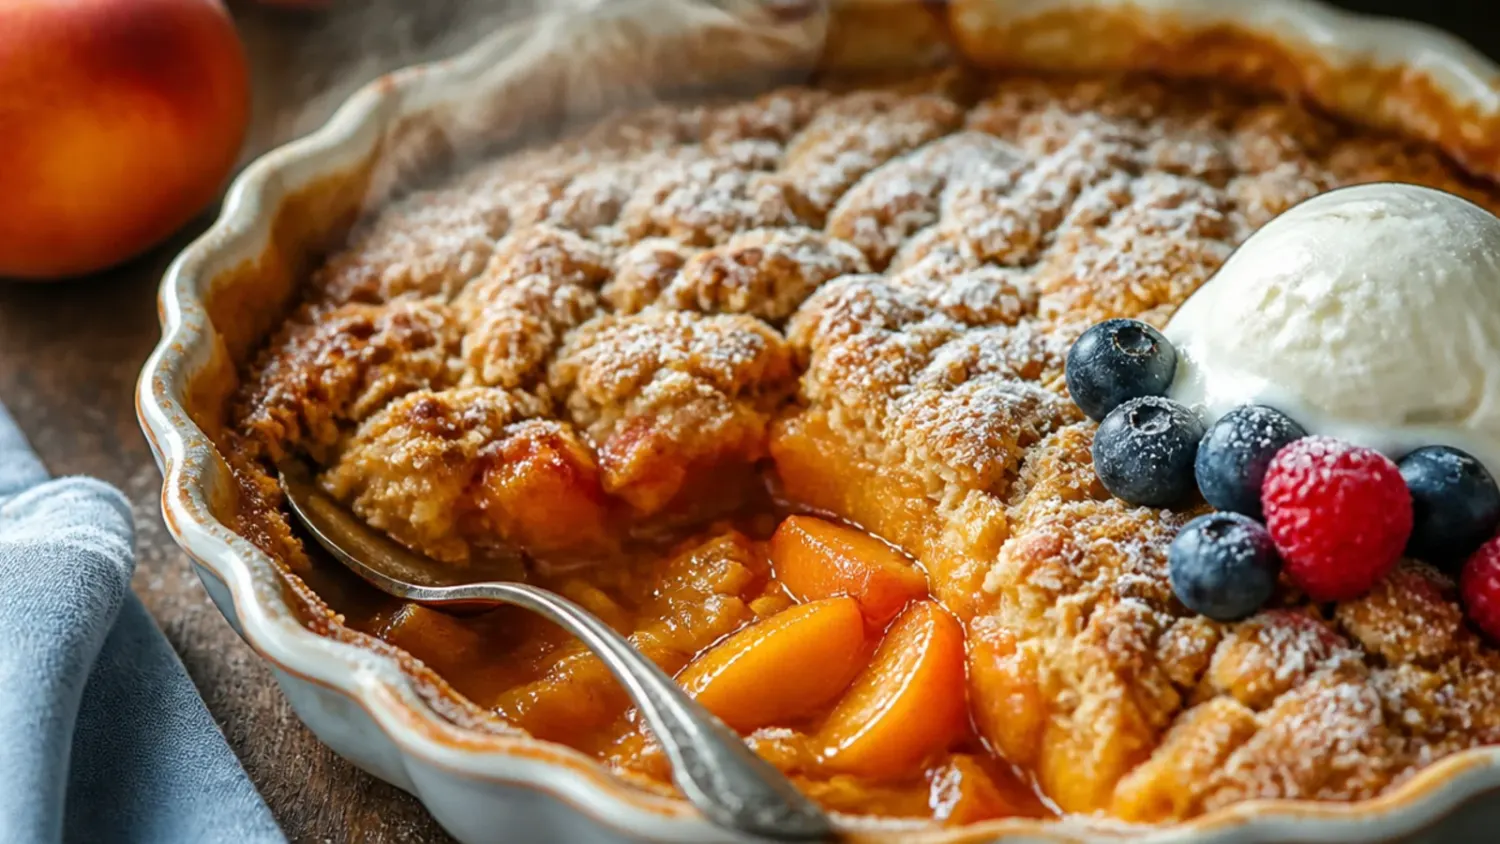
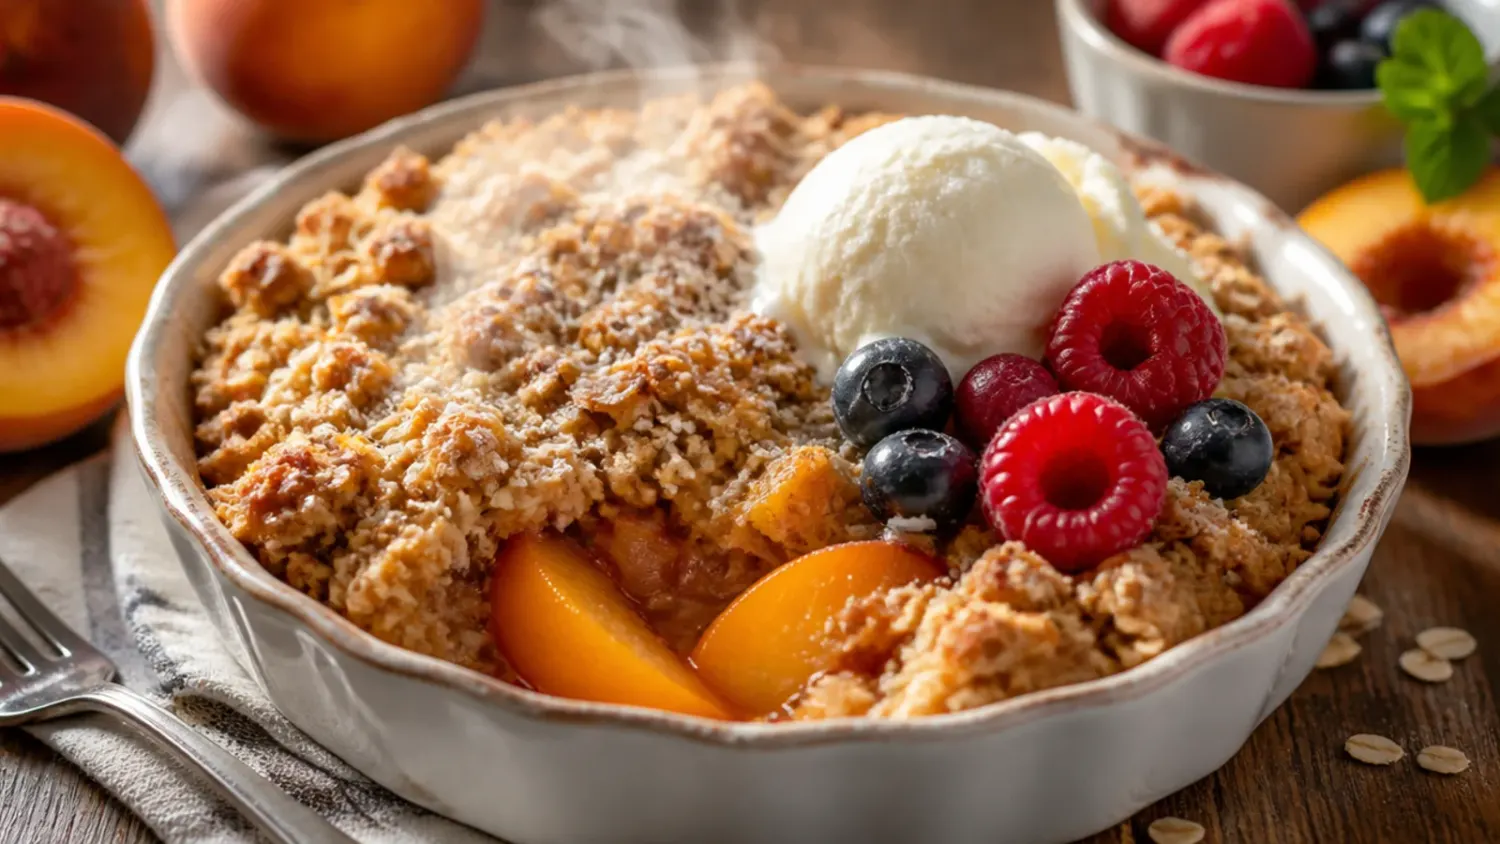
15 Peach Crisp Recipes You'll Want to Save Tonight
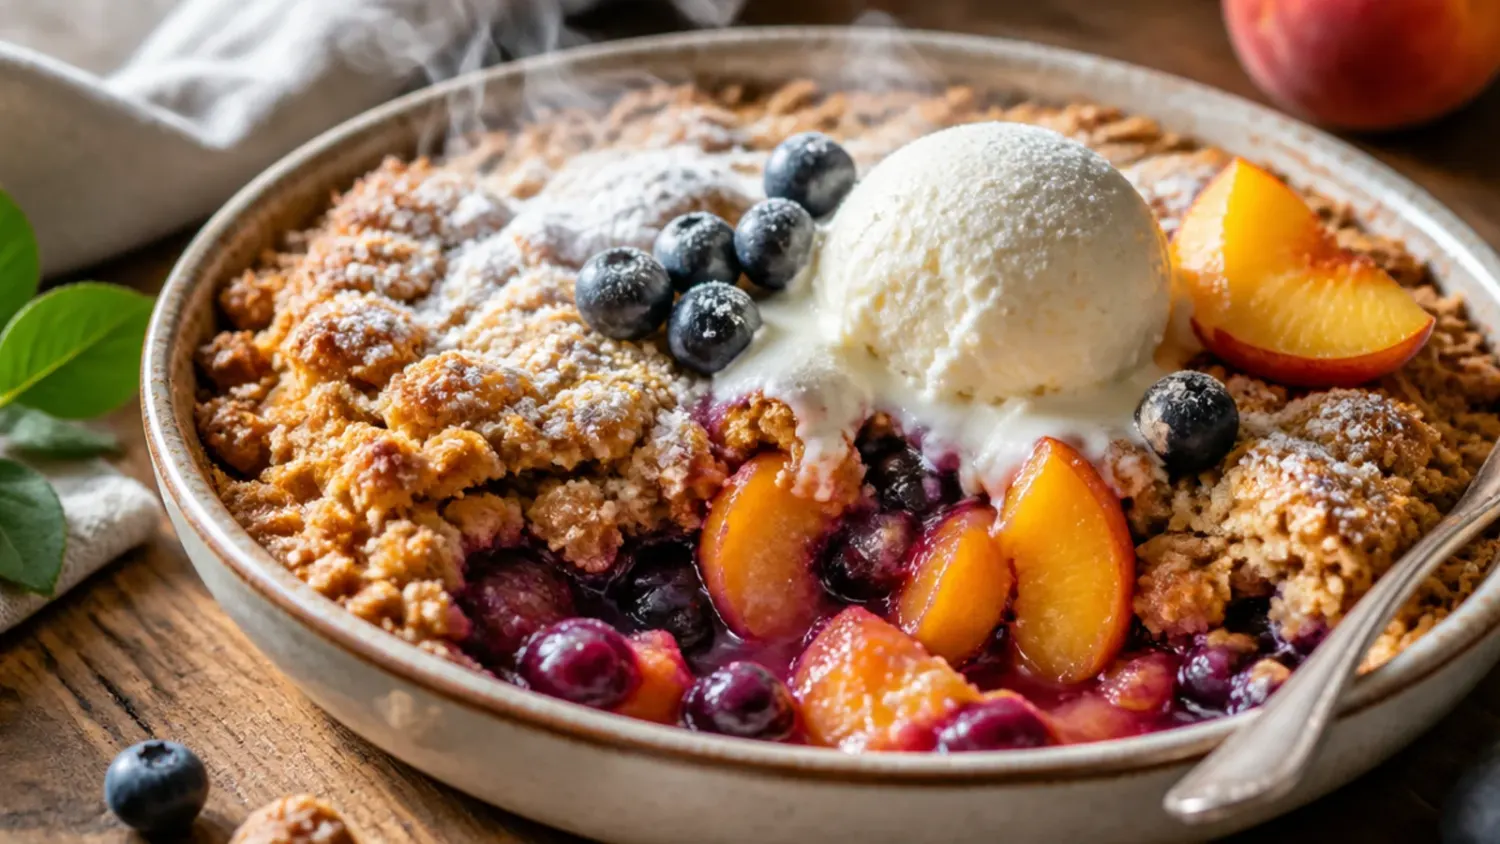
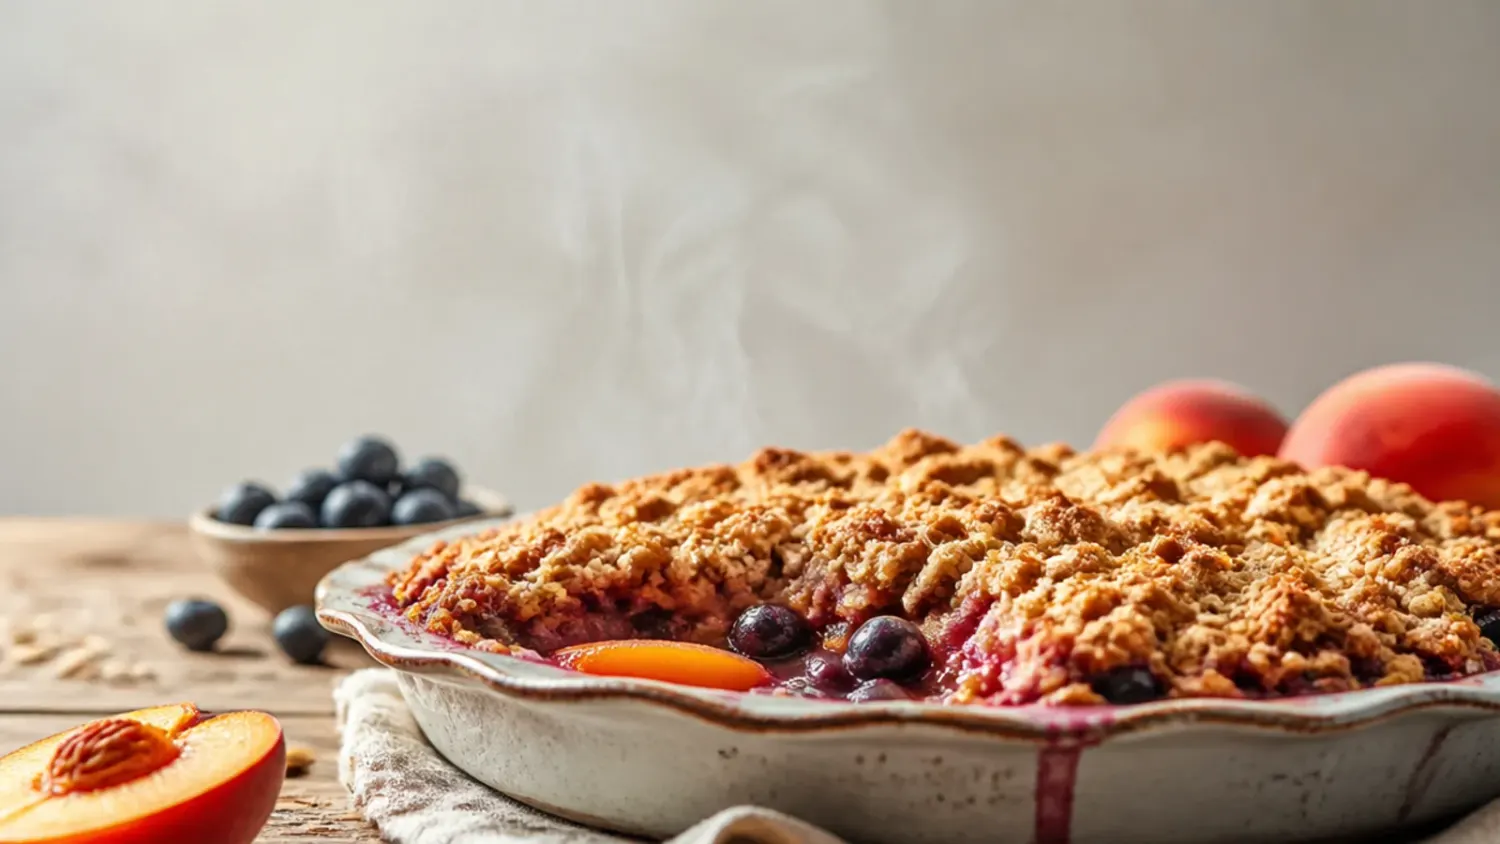
15 ways to bake a peach and blueberry crisp, from a classic buttery oat topping to quick, budget and bakery-style twists on the summer favourite. If you love peach crisp inspiration, start with our Peach Crisp Recipes collection, then browse the full Desserts hub for more.
Save this for later 📌
Pin this article to your Pinterest board so the full list is one tap away when you need it.
Save on PinterestDesserts
Beginner
Recipes
15 ideas
Table of Contents
- Why You'll Love These
- 1. Classic Peach and Blueberry Crisp
- 2. One-Bowl Easy Peach and Blueberry Crisp
- 3. Fresh Summer Peach and Blueberry Crisp
- 4. Cozy Cinnamon-Spiced Crisp
- 5. Creamy Vanilla Custard Crisp
- 6. Simple Four-Ingredient Topping
- 7. Zesty Lemon and Ginger Crisp
- 8. Wholesome Wholemeal and Almond Crisp
- 9. Budget Frozen Fruit Crisp
- 10. 30-Minute Weeknight Skillet Crisp
- 11. Rustic Brown Butter Crisp
- 12. Loaded Nutty Granola Crisp
- 13. Family-Size Sheet Pan Crisp
- 14. Best-Ever Bakery-Style Crisp
- 15. Quick Microwave-Softened Crisp
- Pro Tips
- Serving Suggestions
- Storage and Reheating
- The Master Recipe
Why You'll Love These
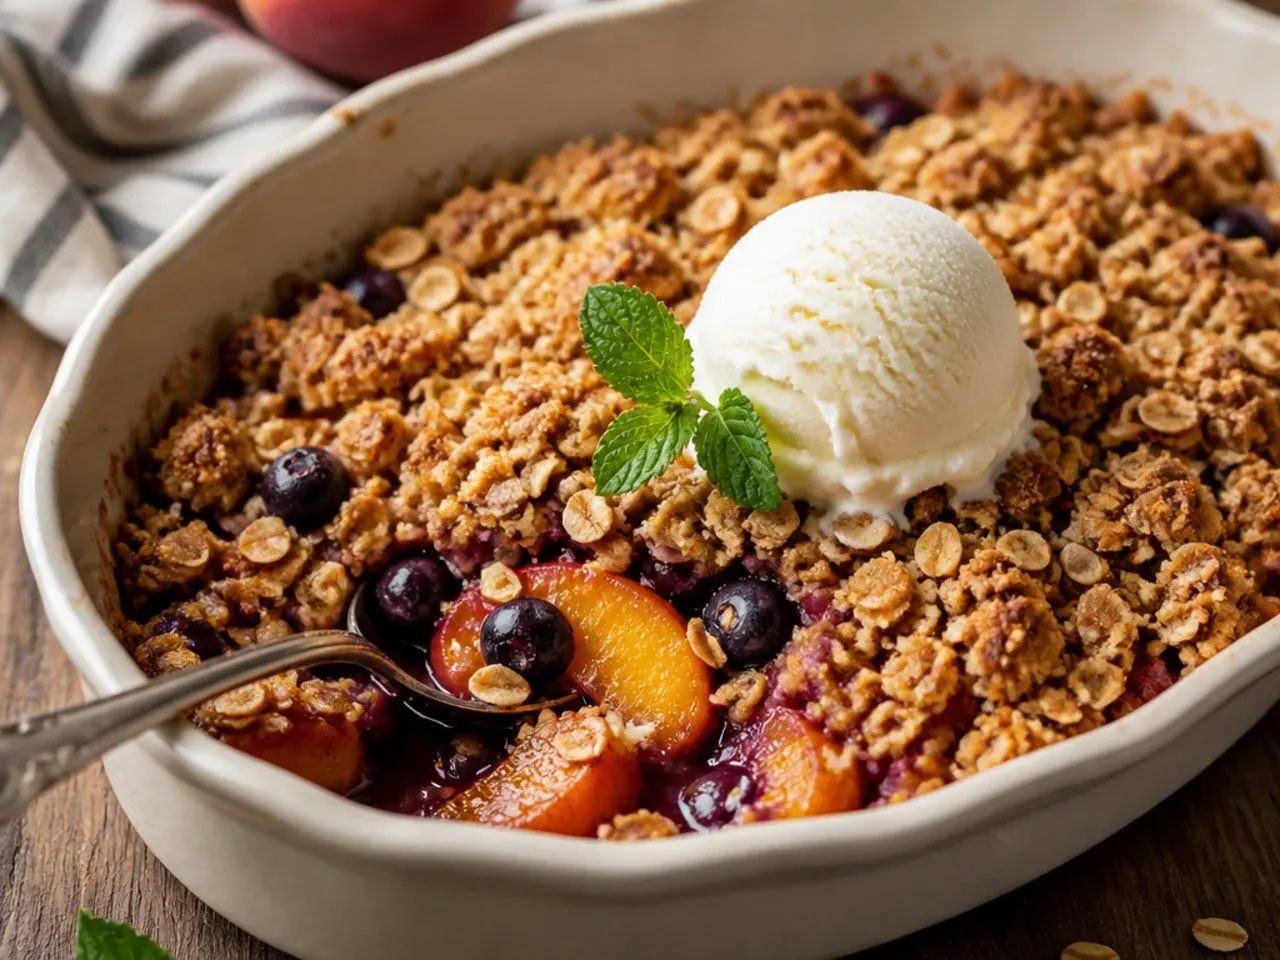
There's a reason peach and blueberry crisp shows up on every summer table: the fruit turns jammy and glossy under the oven's heat while the oat topping bakes into a craggy, buttery crust that shatters at the edge of a spoon. Ripe peaches bring the perfume and juice, and blueberries add tartness and a deep purple streak through the filling, so the finished dessert is sweet, tangy and never one-note. Unlike a pie, there's no pastry to roll or crimp, just fruit to toss, a topping to scatter, and an oven to do the rest, which makes this one of the most forgiving desserts you can put together on a weeknight. Below are 15 ways to riff on the classic, from a five-ingredient version to a bakery-style upgrade with brown butter.
1. Classic Peach and Blueberry Crisp
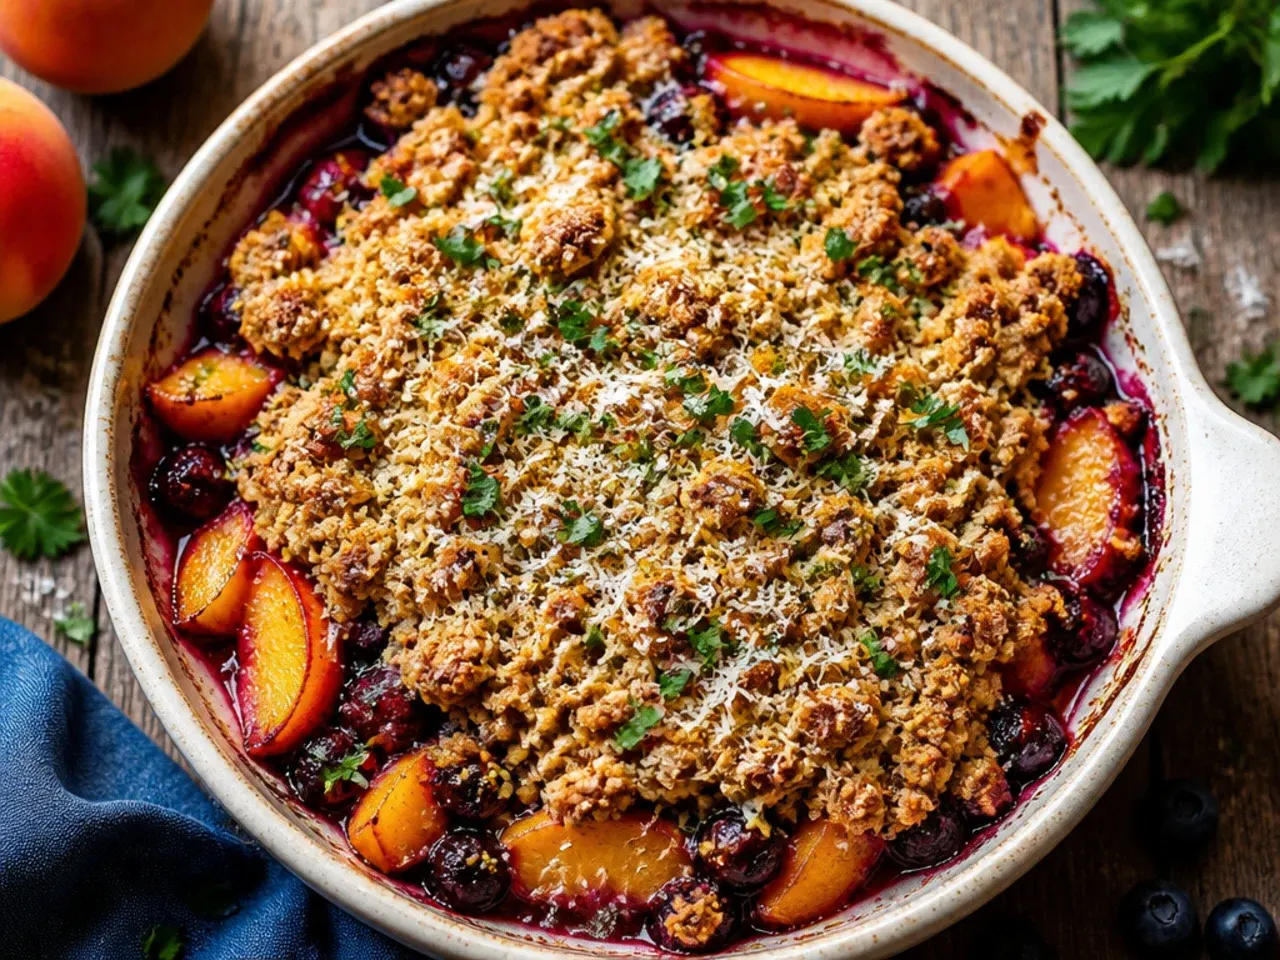
This is the base recipe every other version on this list borrows from: sliced peaches and blueberries tossed with sugar, lemon juice and a little flour, topped with a brown sugar oat crumble and baked until the fruit bubbles up around the edges. The ratio that works best is roughly two parts peaches to one part blueberries, so the peach flavour still leads. Bake at 190°C (375°F) for 40-45 minutes; the filling is ready when you see thick, glossy bubbling at the edges of the dish, not just steam. Serve warm with a scoop of vanilla ice cream that melts slightly into the fruit.
2. One-Bowl Easy Peach and Blueberry Crisp
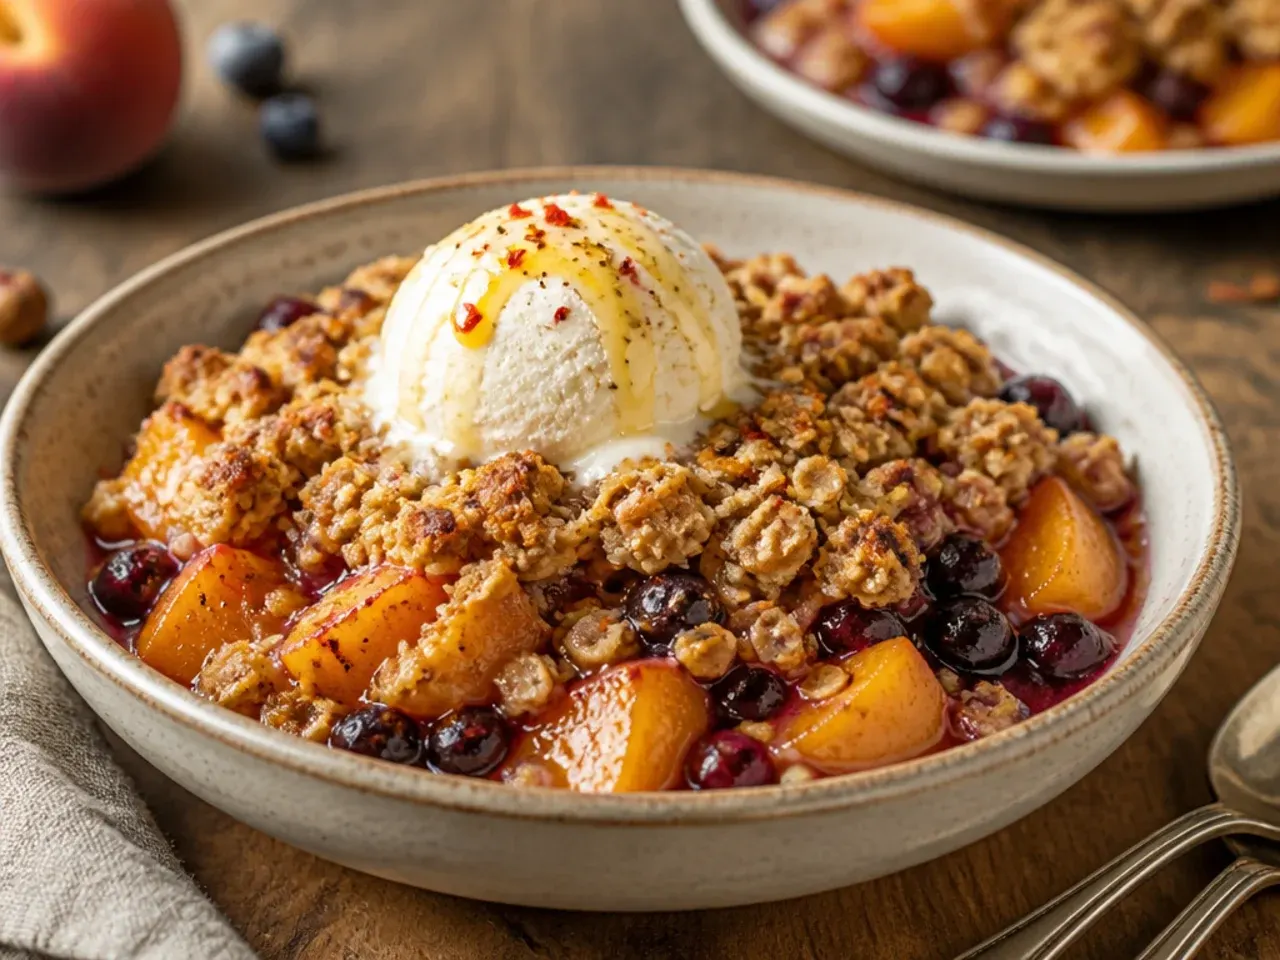
For the least fuss, skip peeling the peaches altogether; the skins soften completely during baking and you'd never notice them once the crisp is done. Use one bowl for the topping by melting the butter first, then stirring it straight into the oats, flour, brown sugar and cinnamon with a fork until clumpy. This cuts hands-on prep down to about 10 minutes. It's the version to reach for on a weeknight when you want something homemade without extra bowls to wash.
3. Fresh Summer Peach and Blueberry Crisp
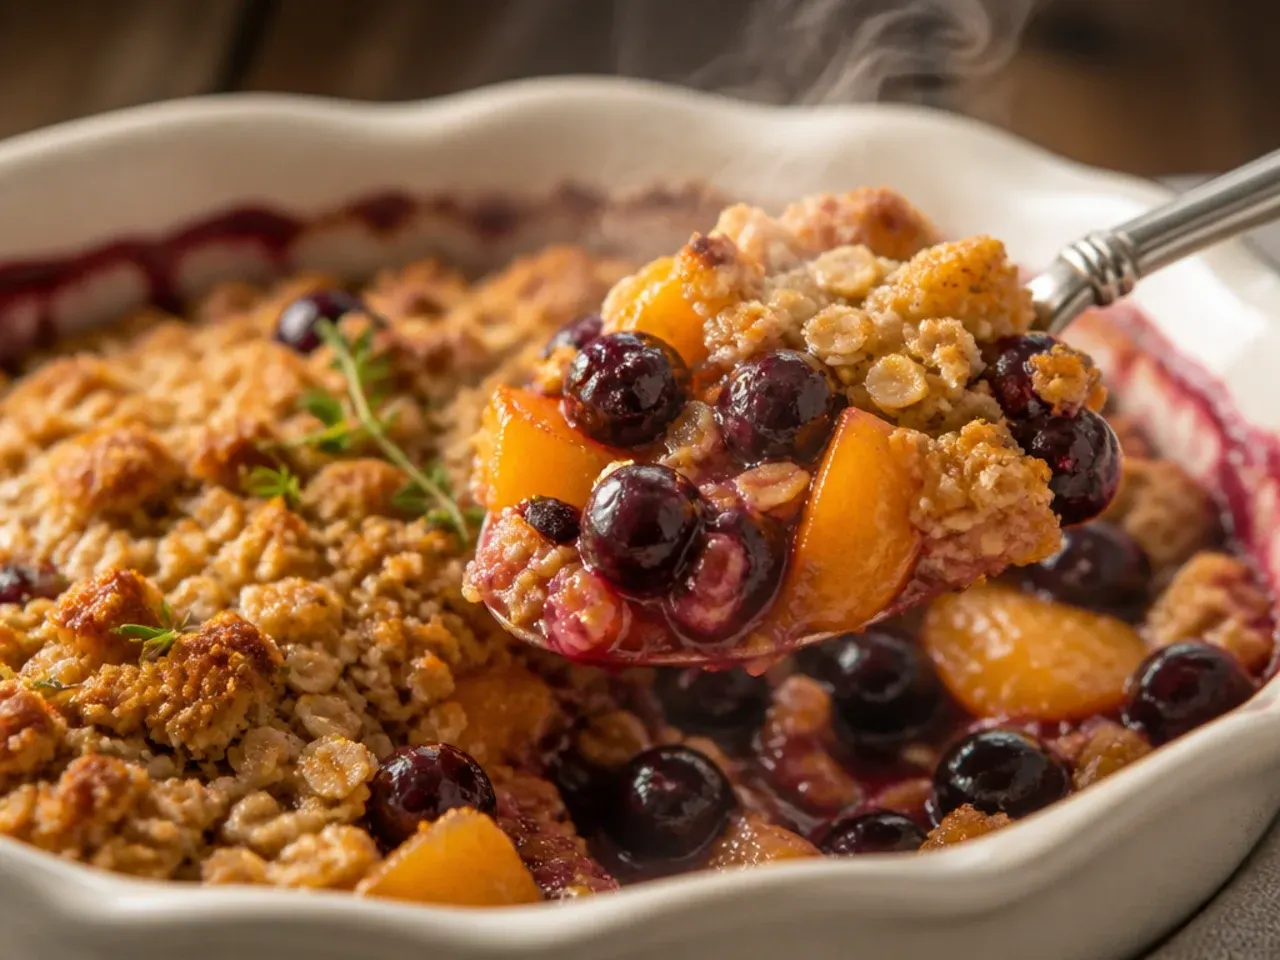
When peaches and blueberries are at their peak in July and August, let them do the work: cut the added sugar in the filling down to 50 g (1/4 cup) since ripe fruit is already sweet, and skip any thickener beyond a light dusting of flour. Choose peaches that give slightly under gentle thumb pressure and blueberries that are firm and unwrinkled with a light silvery bloom. This version tastes brighter and less syrupy than one made with underripe, sugar-heavy fruit. A squeeze of lemon juice right before baking keeps the colour vivid.
4. Cozy Cinnamon-Spiced Crisp
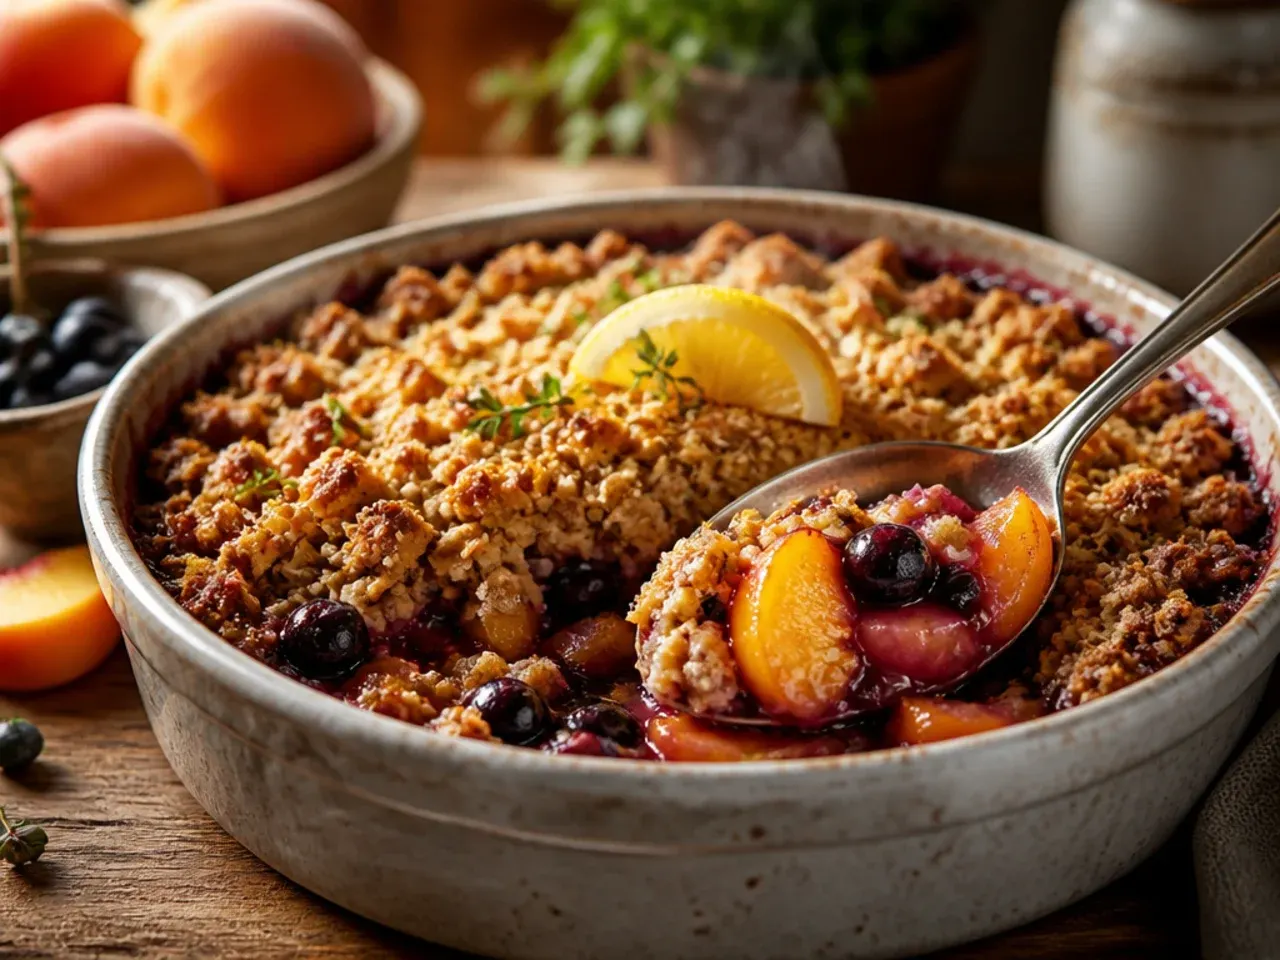
Turn up the warm spice for an autumn-leaning version: double the cinnamon to 2 teaspoons (10 ml) and add 1/4 teaspoon (1 g) each of nutmeg and ground ginger to the topping. A tablespoon (15 ml) of maple syrup swapped in for some of the brown sugar in the filling deepens the flavour further. This variation pairs particularly well with a dollop of softly whipped cream rather than ice cream, since the spice comes through more clearly against dairy that isn't ice-cold. It's the crisp to make once the weather starts to turn, even though peaches are technically a summer fruit.
5. Creamy Vanilla Custard Crisp
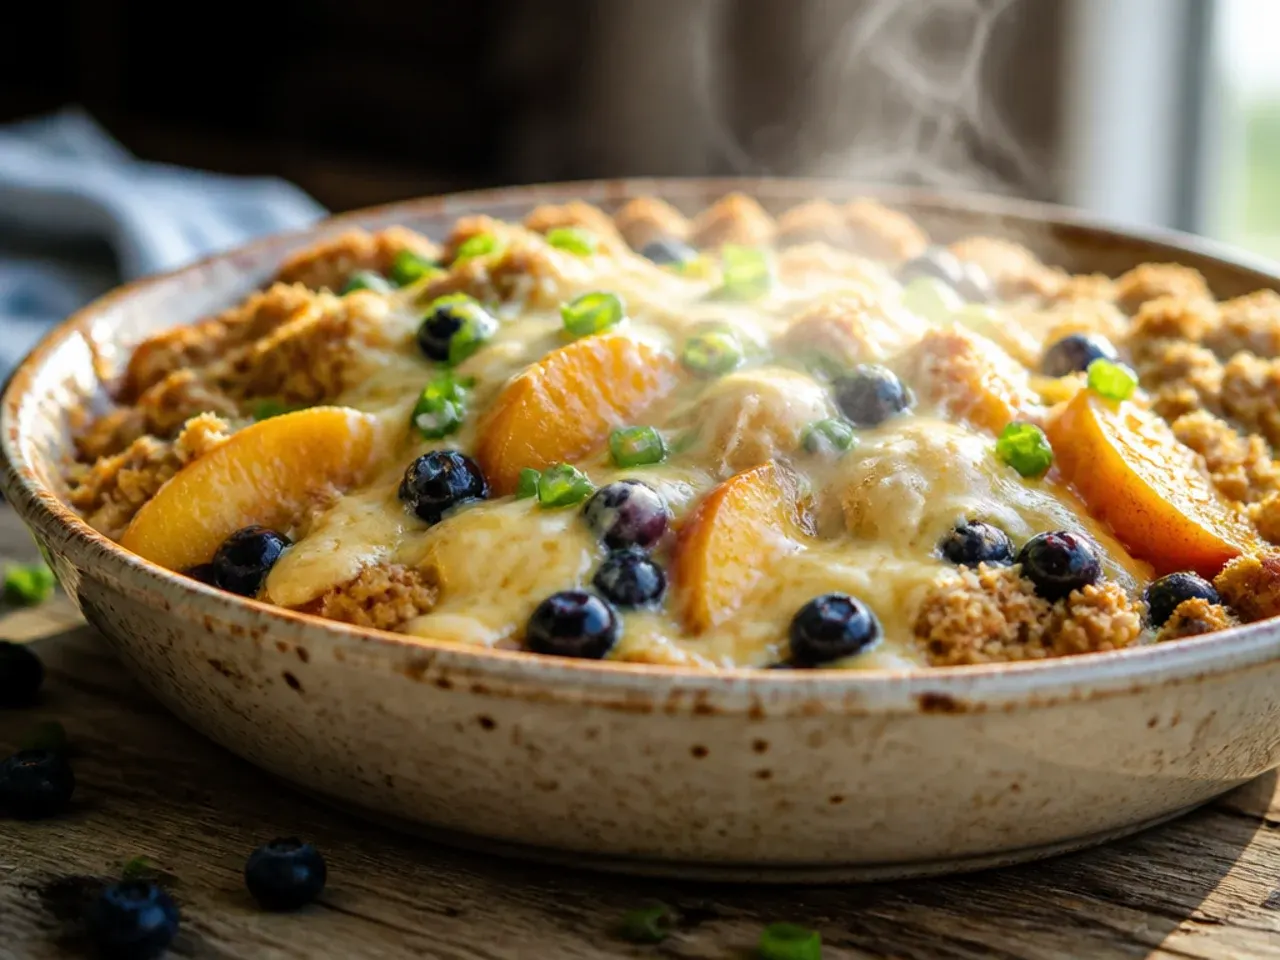
Pour a thin layer of sweetened cream over the fruit before adding the topping: whisk 120 ml (1/2 cup) double cream with 1 egg yolk and a teaspoon (5 ml) of vanilla, then drizzle it over the peaches and blueberries so it seeps into the gaps. As the crisp bakes, the cream sets into a soft custard beneath the crumble, giving every spoonful a rich, almost cheesecake-like layer. Bake for an extra 5 minutes at the same temperature to make sure the custard sets rather than staying runny in the centre. Let it rest a full 15 minutes before serving so the custard layer firms up enough to hold its shape.
Save this for later 📌
Pin this article to your Pinterest board so the full list is one tap away when you need it.
Save on Pinterest6. Simple Four-Ingredient Topping
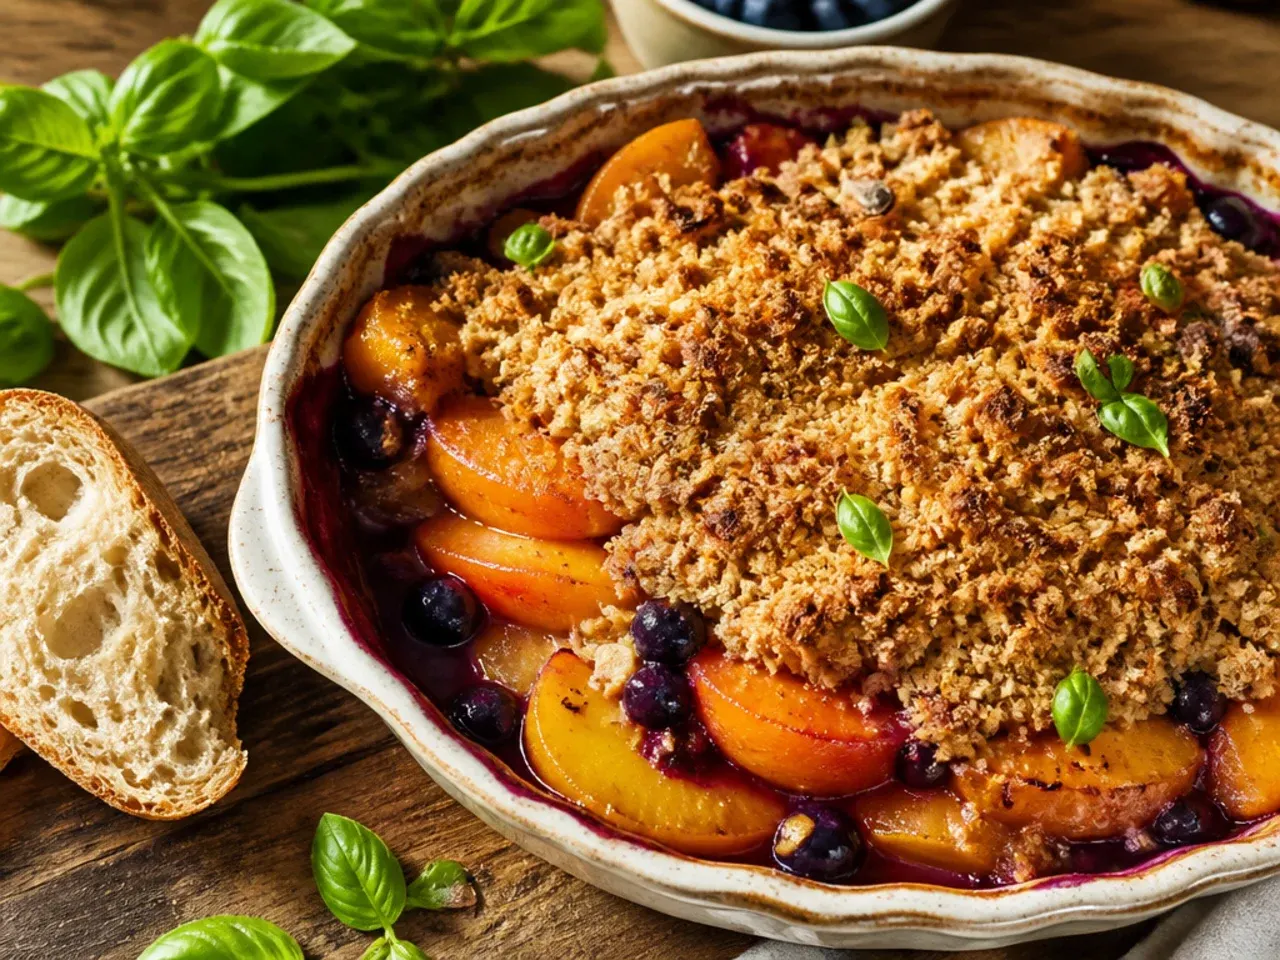
Strip the topping back to just oats, butter, brown sugar and flour in roughly equal parts (90 g/1 cup oats, 115 g/1/2 cup butter, 100 g/1/2 cup brown sugar, 60 g/1/2 cup flour), leaving out the cinnamon and salt entirely. It still turns golden and crisp, just with a cleaner, more buttery flavour that lets the fruit take centre stage. This is a handy fallback when your spice cupboard is bare or you're baking for someone who doesn't love cinnamon. Rub the butter in cold rather than melting it if you want a slightly more textured, pebbly crumble.
7. Zesty Lemon and Ginger Crisp
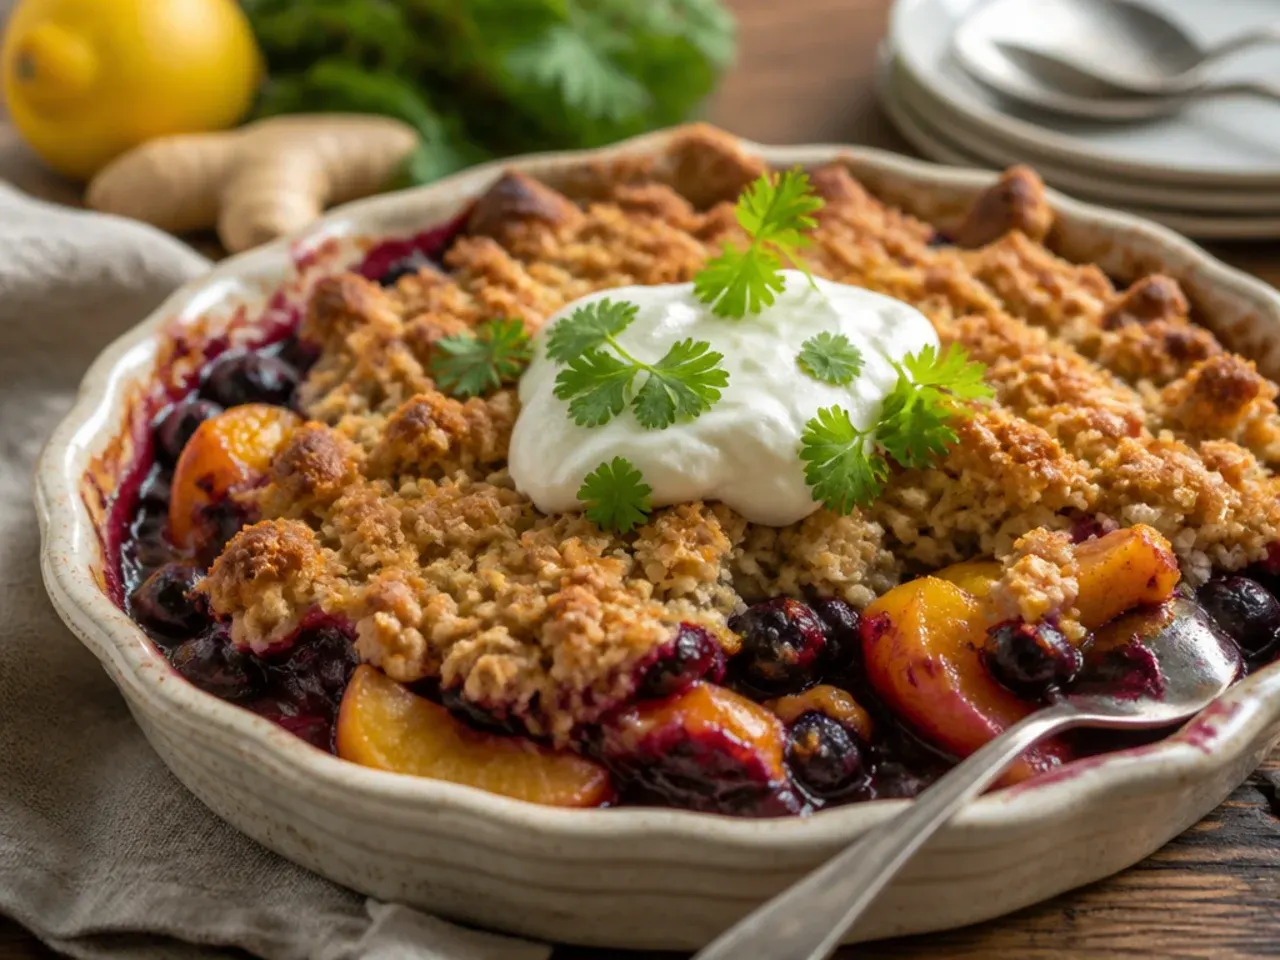
Add the zest of a whole lemon rather than a teaspoon, plus 1 tablespoon (15 g) of finely grated fresh ginger, directly into the fruit filling. The citrus and ginger cut through the sweetness of the peaches and make the blueberries taste brighter rather than jammy. A tablespoon (15 g) of chopped crystallised ginger scattered into the oat topping adds little pockets of chew and heat once baked. This version is especially good served slightly warm rather than hot, since the ginger's bite comes through more once it's cooled a few degrees.
8. Wholesome Wholemeal and Almond Crisp
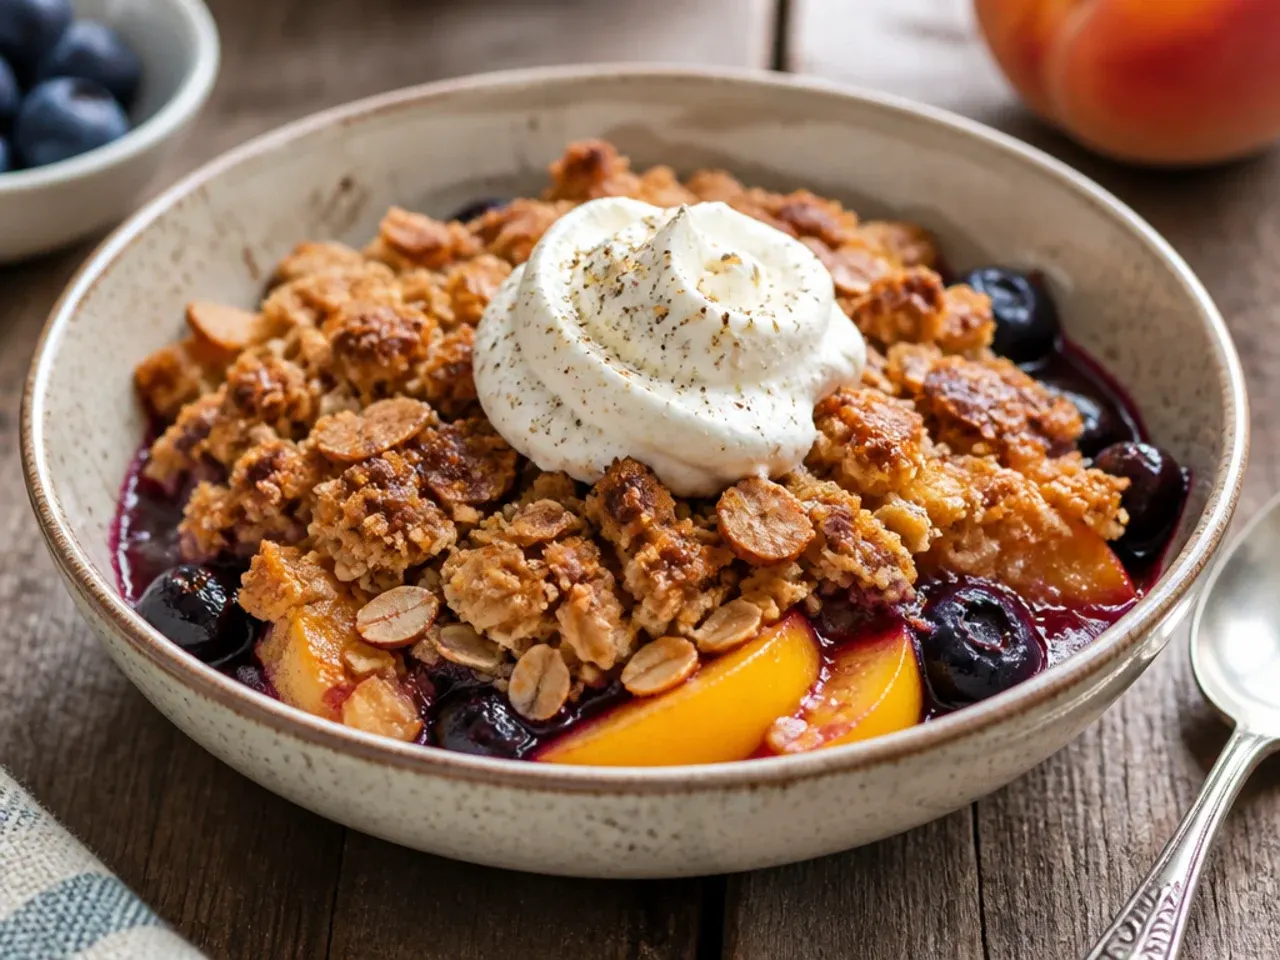
Swap the plain flour in the topping for wholemeal (whole wheat) flour and fold in 40 g (1/3 cup) of chopped almonds or pecans for extra crunch and a boost of protein. Reduce the brown sugar slightly, to around 100 g (1/2 cup), since the nuts and wholemeal flour add their own natural sweetness and nuttiness. This swap makes the topping noticeably heartier and less sweet, closer to a granola than a classic crumble. It also keeps well for breakfast the next morning spooned over yoghurt.
9. Budget Frozen Fruit Crisp
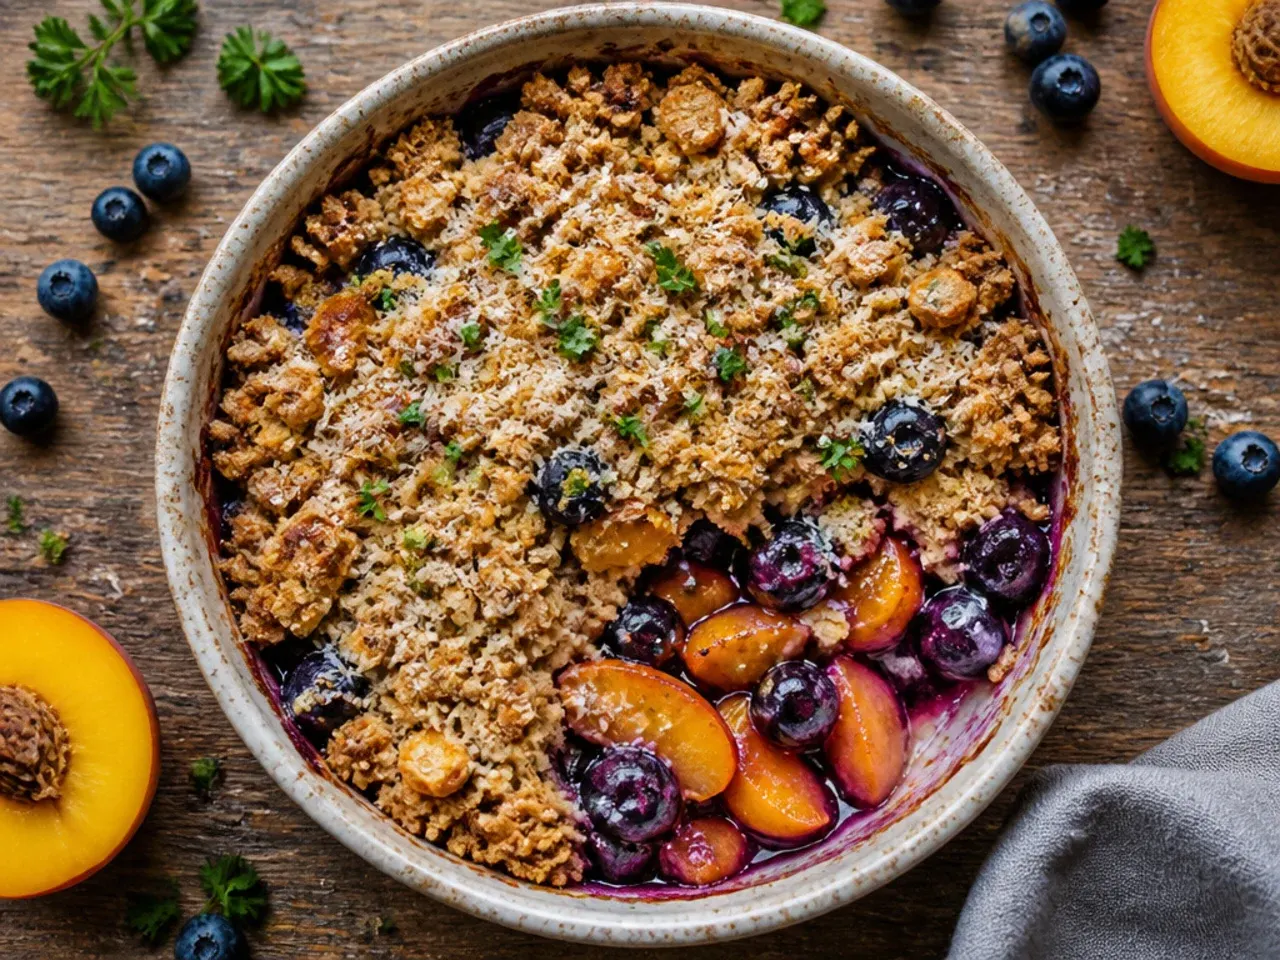
Frozen peaches and blueberries work just as well as fresh and cost considerably less outside of summer; use them straight from frozen rather than thawing first, since thawed fruit releases extra liquid that can water down the filling. Add an extra tablespoon (8 g) of flour to the fruit mixture to help absorb the additional moisture frozen fruit releases as it bakes. Expect the bake time to run 5-10 minutes longer than with fresh fruit, so check for the same thick, bubbling filling before pulling it from the oven. This is the version to make in January when peach season feels a long way off.
10. 30-Minute Weeknight Skillet Crisp
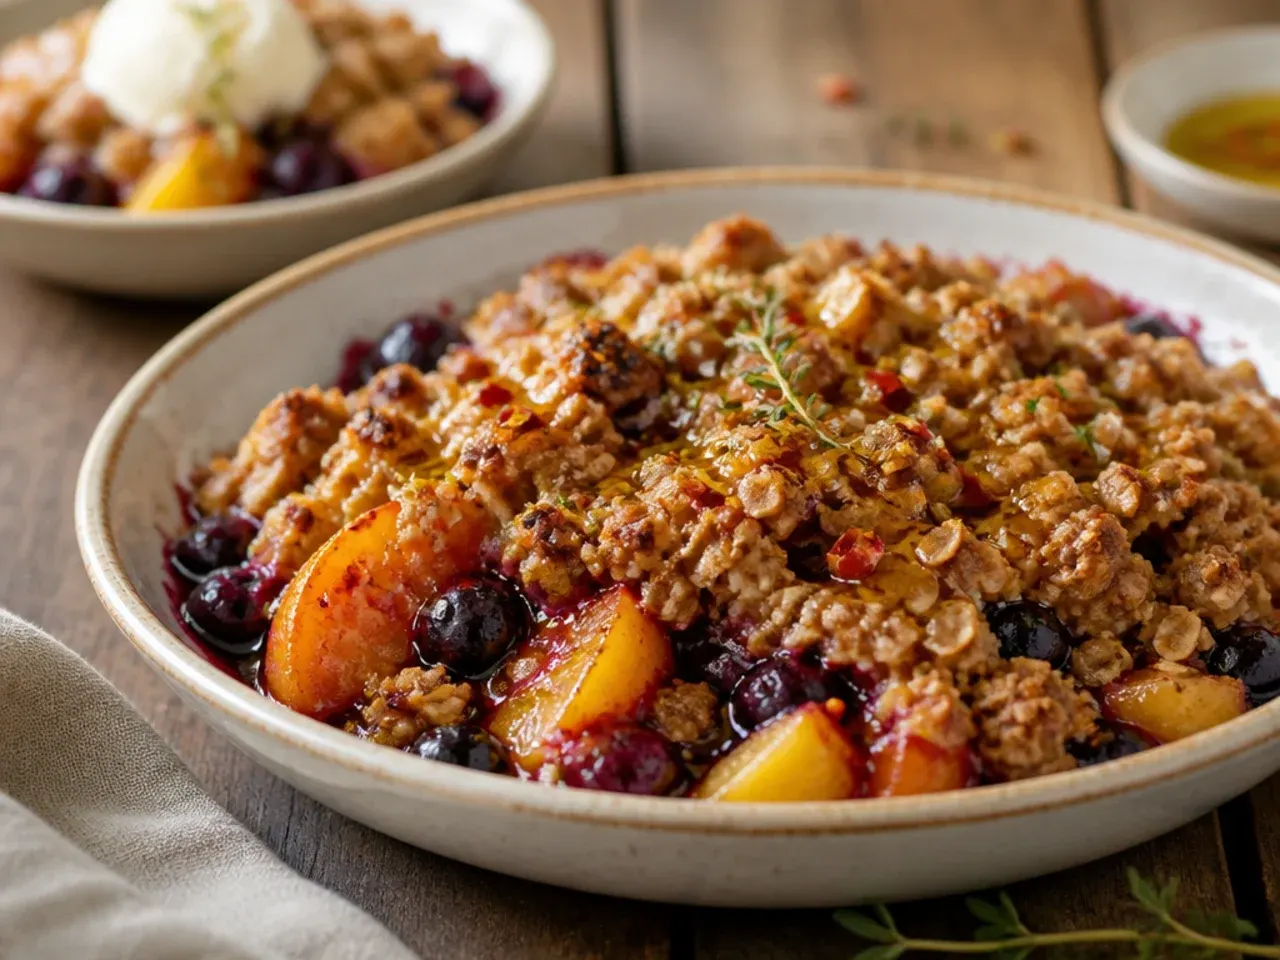
Assemble the whole crisp in a 25 cm (10-inch) oven-safe skillet instead of a baking dish, which conducts heat faster and cuts the bake time down to about 25-30 minutes at 200°C (400°F). Toss the fruit filling directly in the skillet on the stovetop for 2-3 minutes first to jump-start the juices, then scatter the topping over and transfer straight to the oven. This shaves a good 15 minutes off the classic method and means one less dish to wash. Watch it closely in the last 5 minutes, since the shallower skillet browns the topping faster than a deep dish.
Save this for later 📌
Pin this article to your Pinterest board so the full list is one tap away when you need it.
Save on Pinterest11. Rustic Brown Butter Crisp
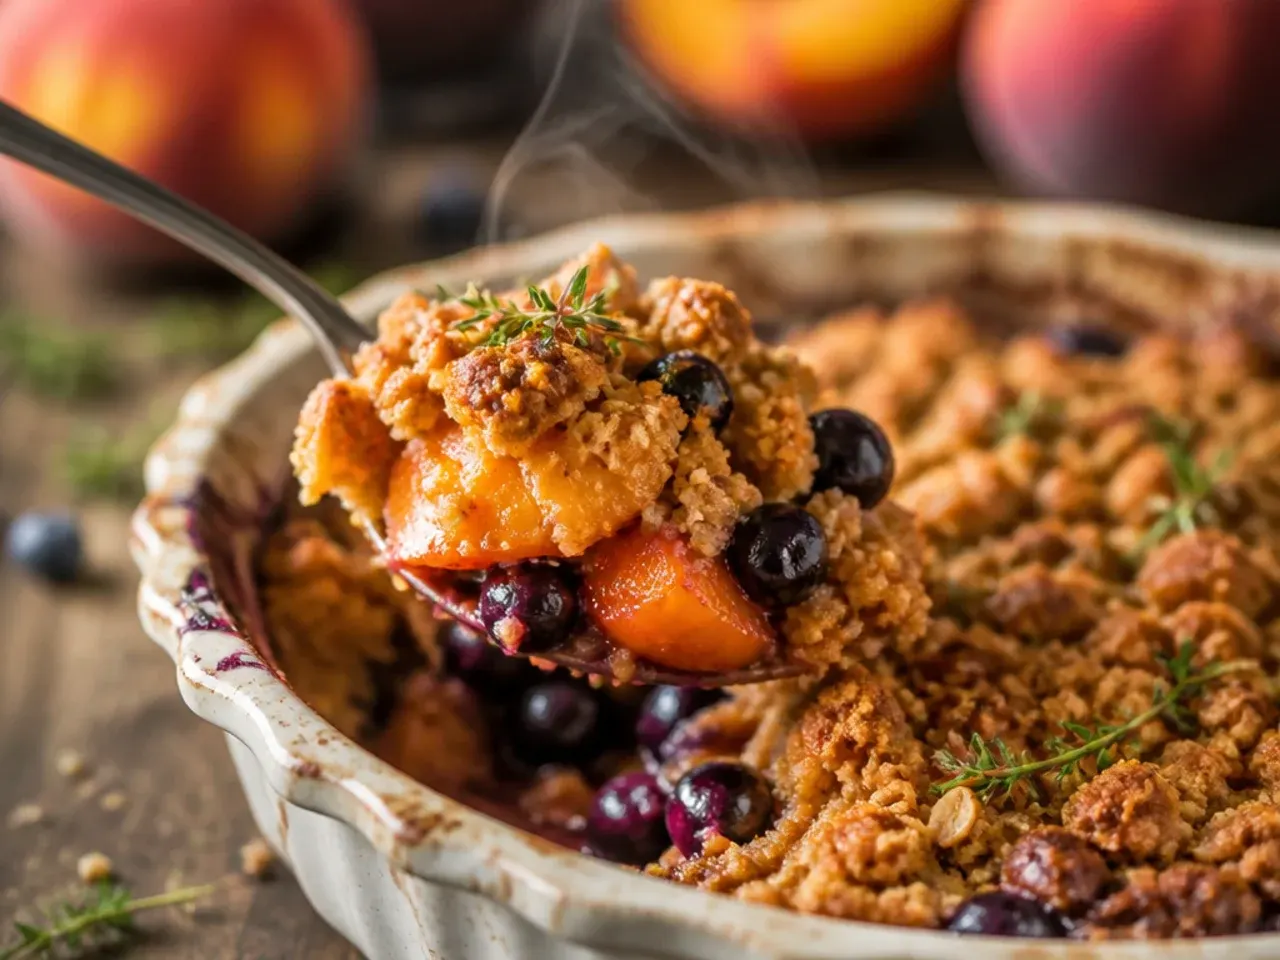
Brown the butter in a small pan over medium heat for 3-4 minutes until it turns amber and smells nutty before stirring it into the oat topping; this single step adds a deep, toffee-like flavour that plain melted butter can't match. Let the browned butter cool for a couple of minutes before mixing it in, otherwise it will melt the sugar too fast and turn the topping into a paste rather than a crumble. The result is a topping with a more complex, almost caramelised flavour that pairs beautifully with the tart blueberries. It's worth the extra five minutes for a dinner party version.
12. Loaded Nutty Granola Crisp
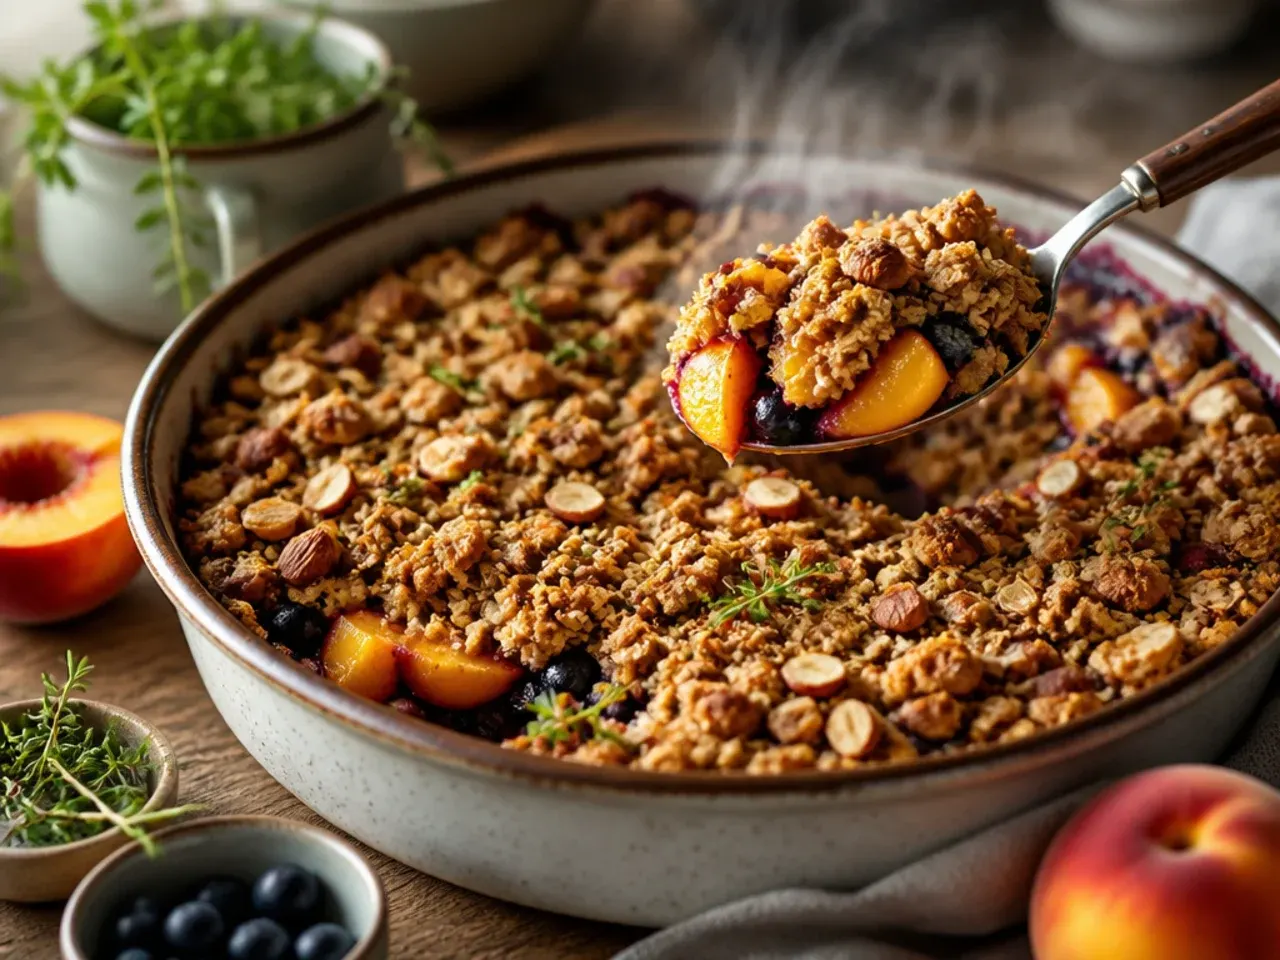
Stir 60 g (1/2 cup) of your favourite granola into the oat topping for extra crunch, or use it in place of half the oats entirely. Chopped pecans, walnuts or slivered almonds scattered on top for the last 10 minutes of baking toast up without burning, adding a final layer of crunch right before serving. This loaded version is the one to reach for if you like a crisp with more bite than a soft, sandy crumble. A drizzle of honey over the top once it comes out of the oven ties the extra textures together.
13. Family-Size Sheet Pan Crisp
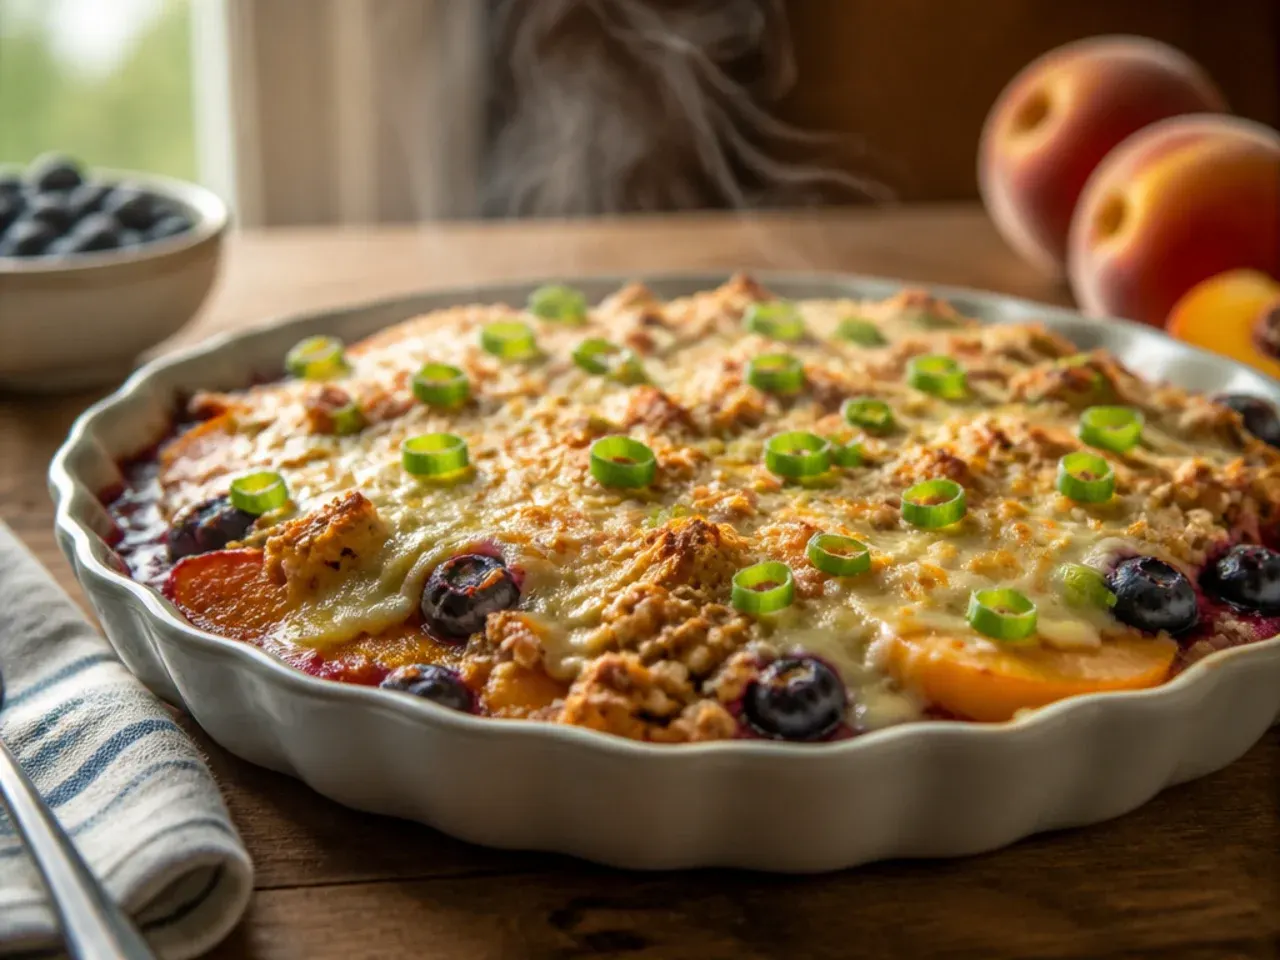
Double every quantity in the classic recipe and spread the fruit across a large 33 x 23 cm (13 x 9-inch) baking dish or rimmed sheet pan so the layer stays roughly the same depth as the original. Baking in a shallower, wider pan means more surface area gets that golden, crisp topping, which is exactly what a crowd wants. Add 10-15 minutes to the bake time to account for the larger volume of fruit, and check that the centre is bubbling, not just the edges. Doubling the base recipe's 8 servings this way yields about 16 servings, making this the one to make for a potluck or family gathering.
14. Best-Ever Bakery-Style Crisp
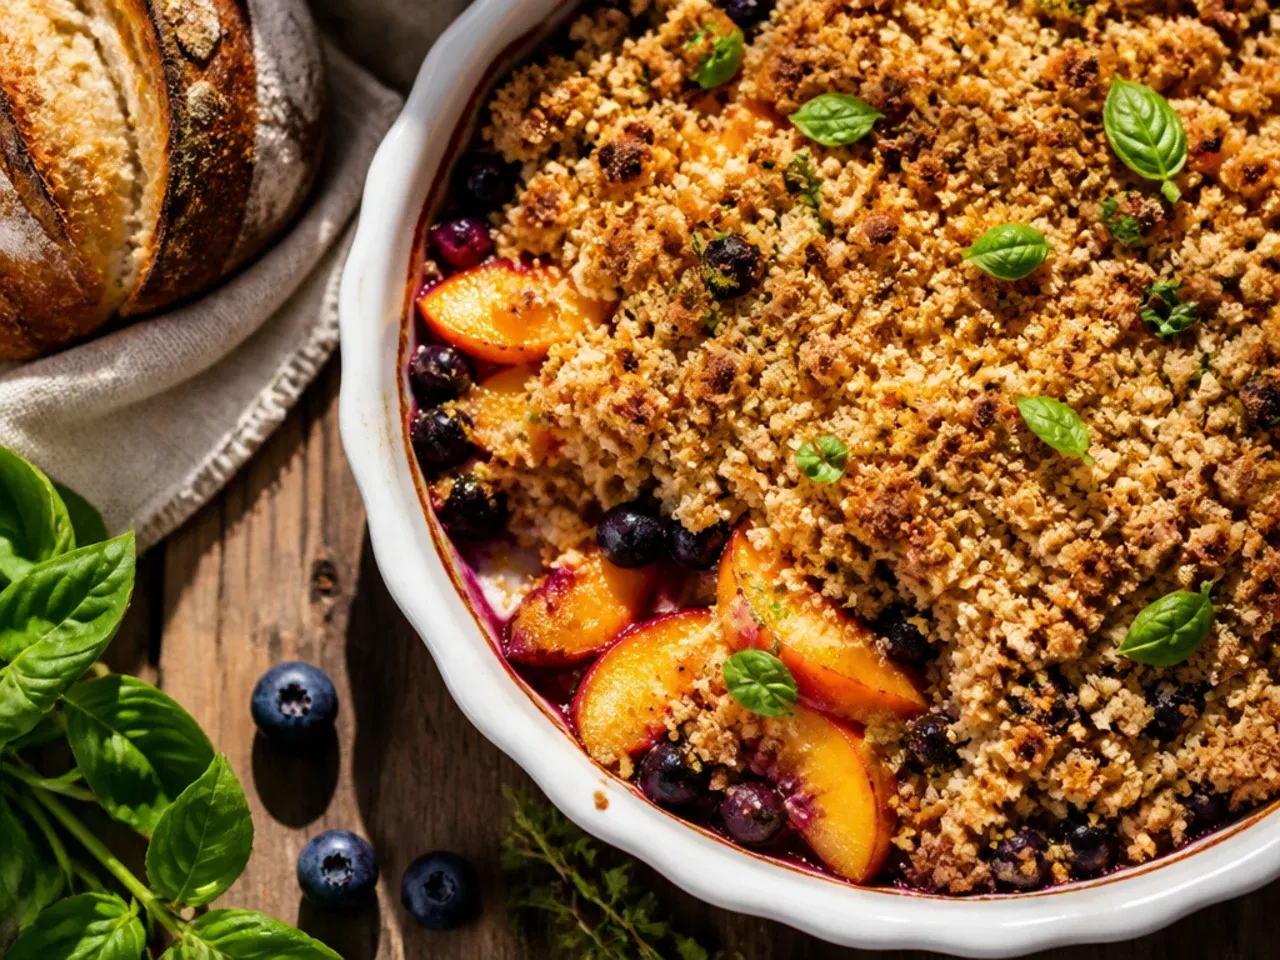
Combine the best tricks from every version above: brown the butter, use a mix of wholemeal and plain flour, add a splash of almond extract to the fruit, and finish with a generous pinch of flaky sea salt over the topping before baking. The salt is the detail most home bakers skip, but it sharpens both the sweetness of the fruit and the toasted flavour of the topping. Rest the finished crisp for a full 15 minutes before serving so the filling has time to thicken properly rather than running across the plate. This is the version worth making when you want the crisp to taste like it came from a bakery counter.
15. Quick Microwave-Softened Crisp
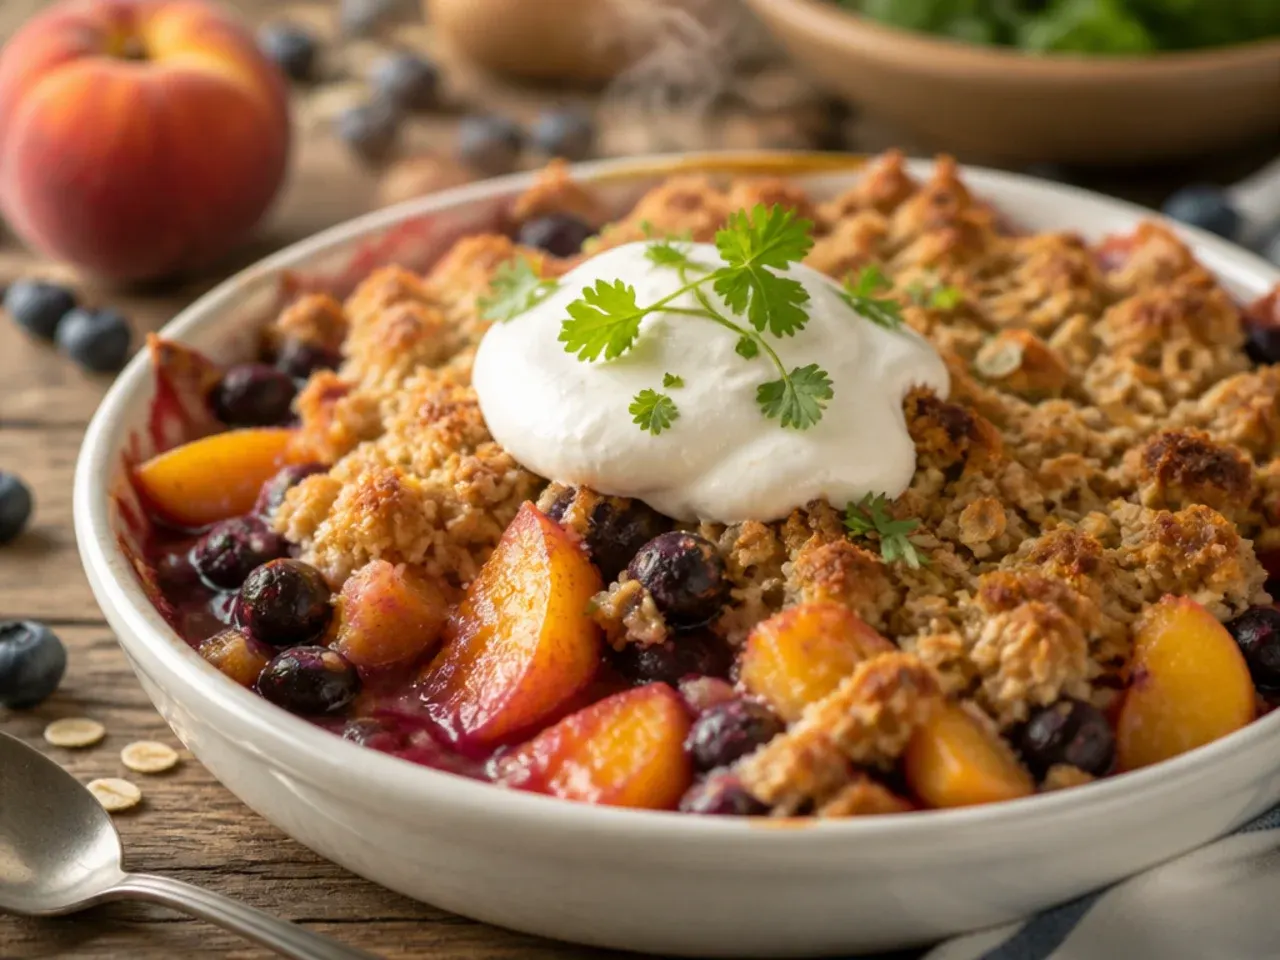
When peaches are still a little firm, microwave the sliced fruit with the sugar and lemon juice for 60-90 seconds before combining with the blueberries; this softens them just enough to guarantee a tender bake even if your oven time runs short. Scatter a no-cook topping of oats, melted butter and brown sugar over the top and bake for just 20-25 minutes at 200°C (400°F), since the fruit is already partway cooked. It's a genuinely useful trick when the peaches you bought aren't quite ripe enough to break down on their own. This shaves real time off the total recipe without sacrificing the soft, jammy texture that makes a crisp worth eating.
Pro Tips
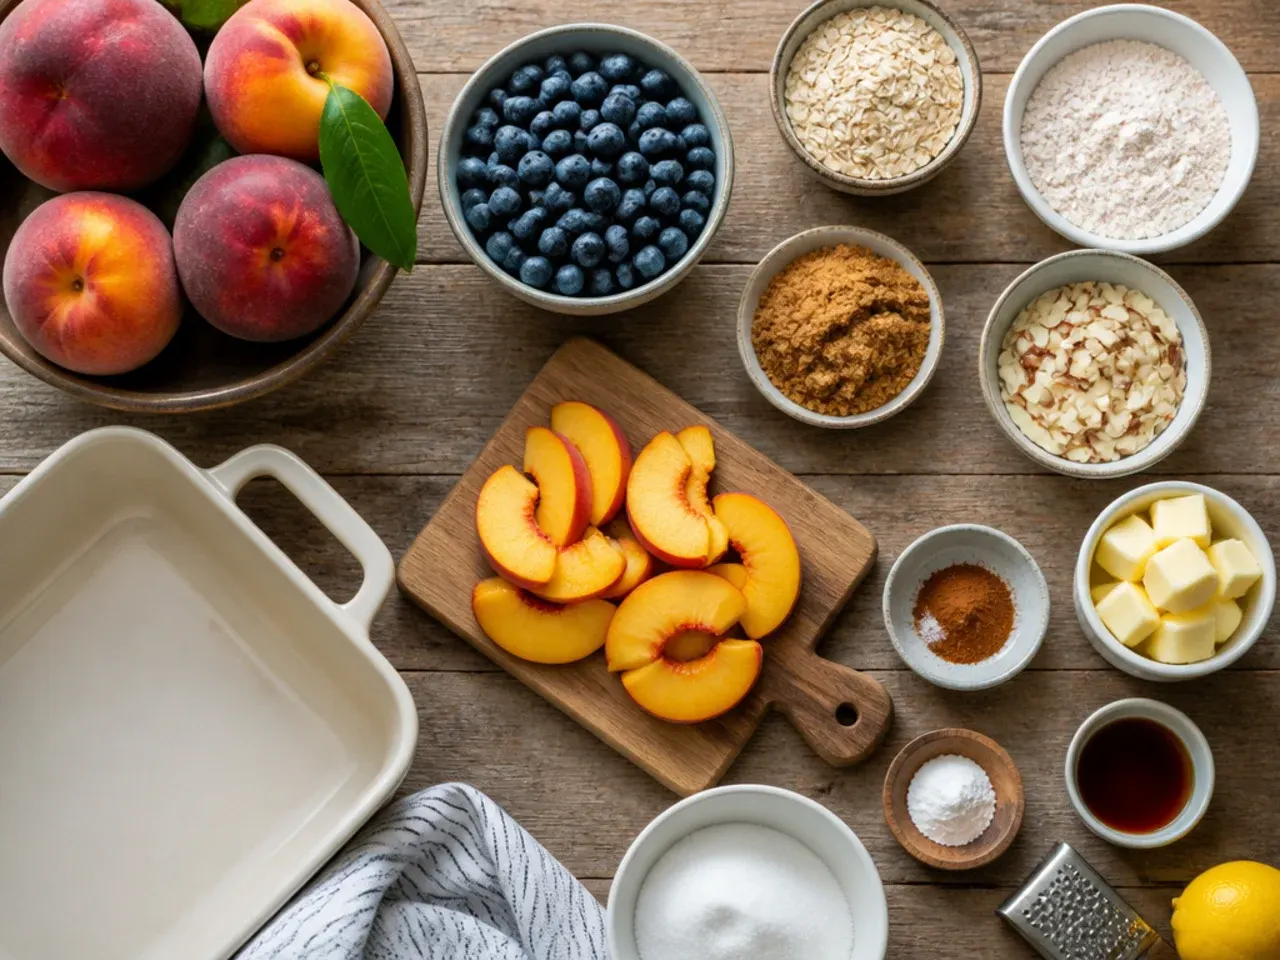
Toss the fruit filling with the flour and sugar no more than 15-20 minutes before baking; left to sit any longer, the sugar draws out so much juice that the filling turns watery. If your peaches are very juicy, add an extra tablespoon (8 g) of flour or a teaspoon (3 g) of cornstarch to keep the finished crisp from turning soupy. Rubbing cold butter into the topping with your fingertips, rather than melting it, gives a coarser, more textured crumble that holds its shape better once baked. Always bake on the middle rack with a sheet pan underneath to catch any bubbling fruit juice before it hits the bottom of your oven.
Serving Suggestions
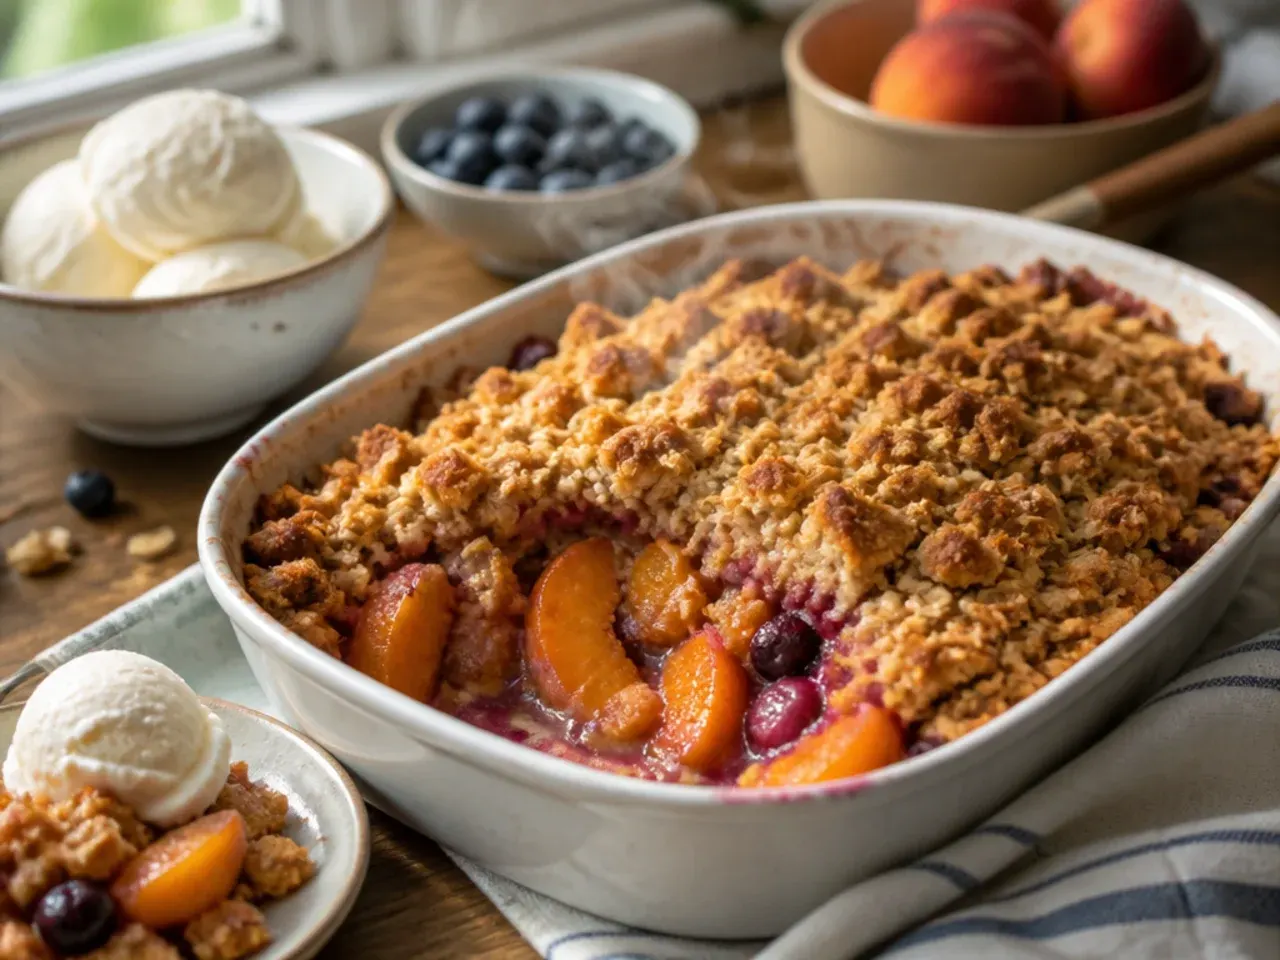
Peach and blueberry crisp is best served warm, 10-15 minutes out of the oven, with a scoop of vanilla ice cream that melts into the fruit juices below. A dollop of lightly sweetened whipped cream or a spoonful of Greek yoghurt works just as well if you want something a little lighter. For breakfast the next day, spoon leftover crisp over porridge or yoghurt with a drizzle of honey. A splash of double cream poured straight over a warm bowlful is the simplest way to serve it if you don't have ice cream to hand.
Storage and Reheating
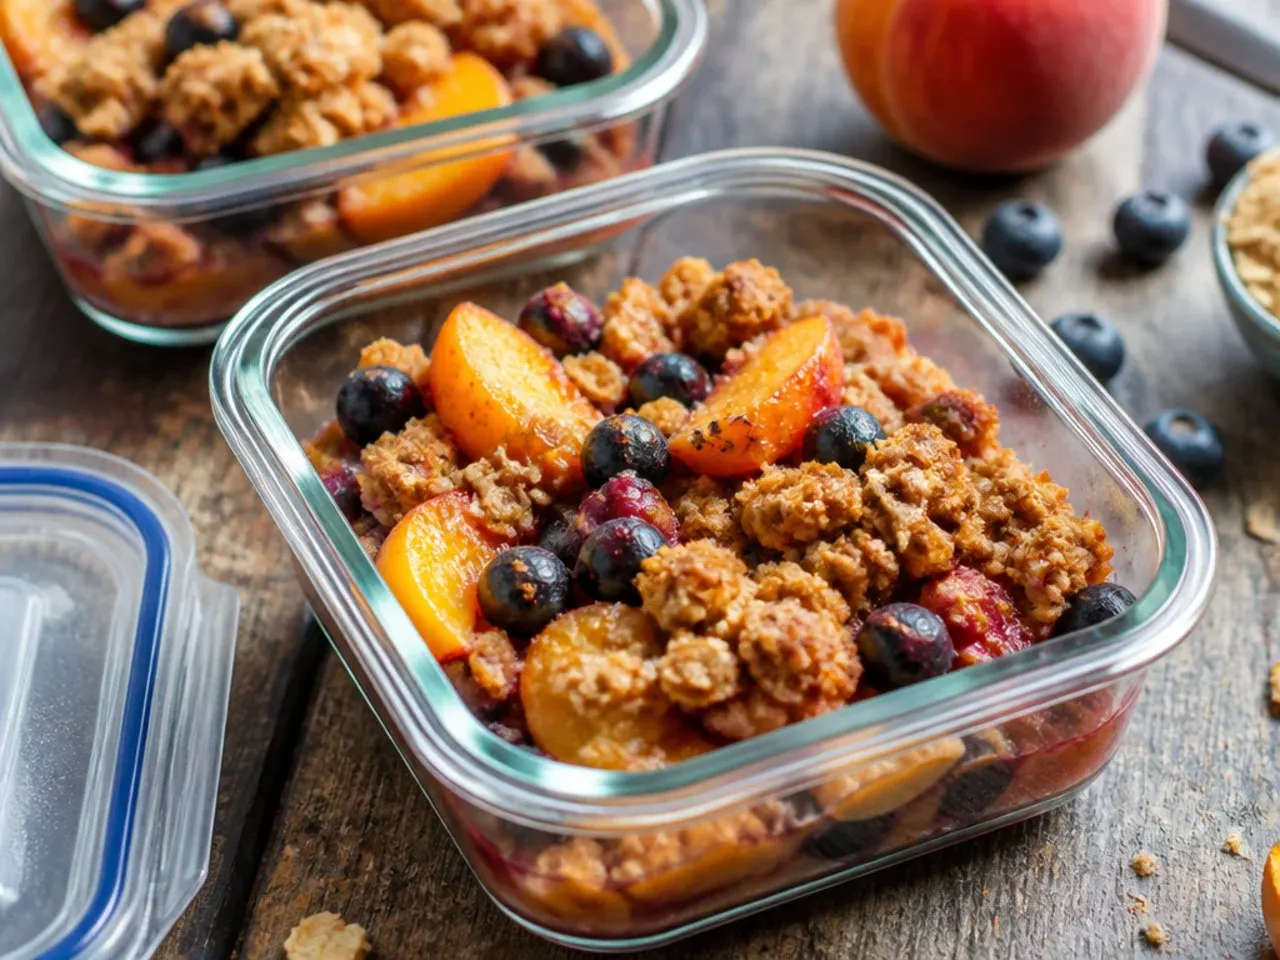
Once fully cooled, cover the baking dish tightly or transfer leftovers to an airtight container and refrigerate for up to 5 days. Reheat individual portions in a 180°C (350°F) oven for 10-15 minutes, or in the microwave for about 60 seconds, though the oven does a far better job of re-crisping the topping. To freeze, wrap the fully cooled, baked crisp tightly and freeze for up to 3 months, then thaw overnight in the fridge before reheating in the oven. Avoid assembling and refrigerating the crisp unbaked for more than a few hours, since the topping absorbs moisture from the fruit and turns soggy rather than crisp.
The Recipe
The Master Recipe
20 min
45 min
1 hr 5 min
8
Beginner
Ingredients 8 Person(s)
Directions
Step 1: Prep the oven and dish
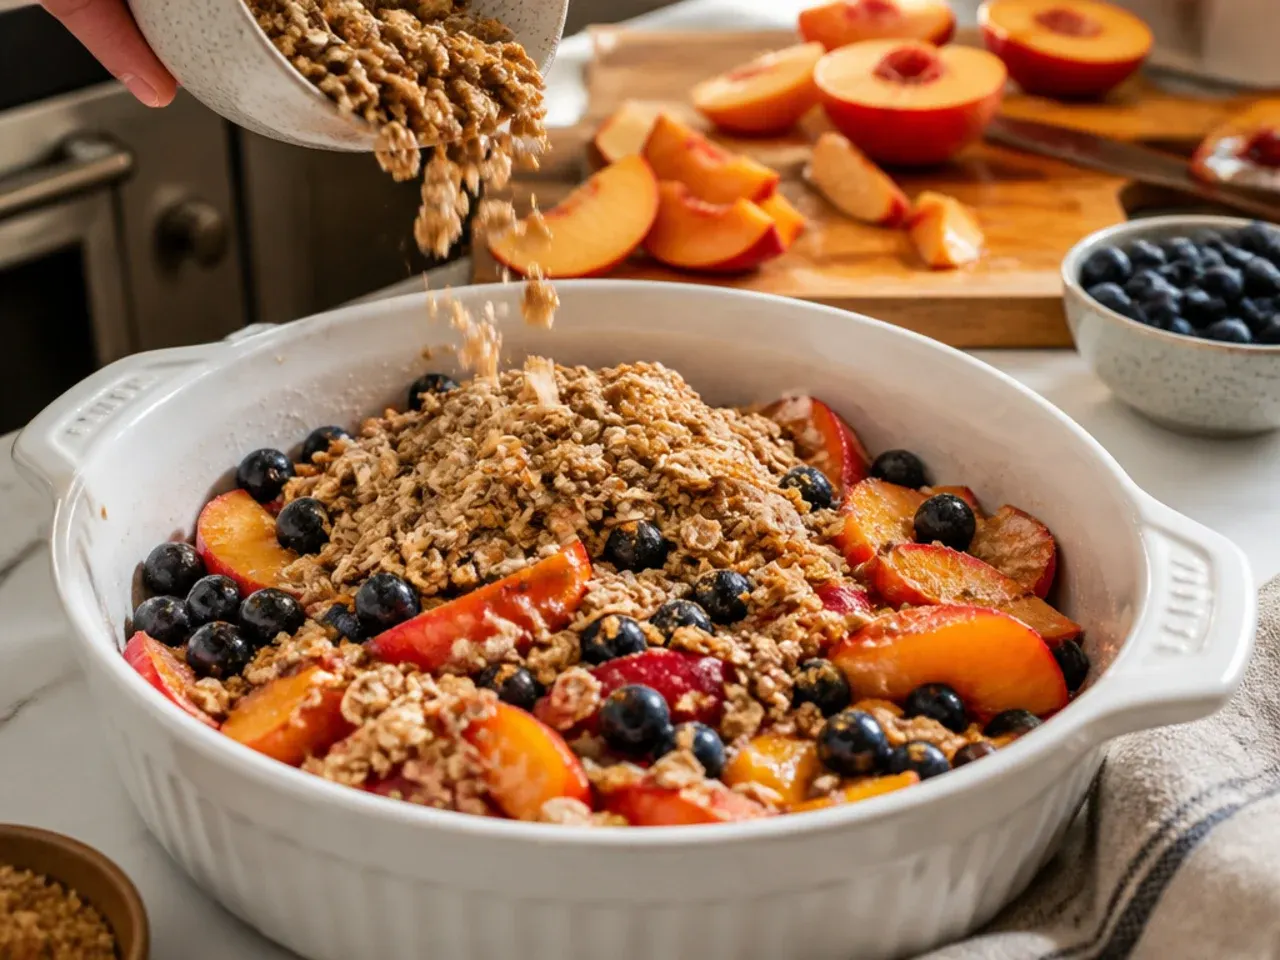
Preheat the oven to 190°C (375°F) and lightly grease a 23 cm (9-inch) baking dish with butter so the fruit doesn't stick as it bubbles up.
Step 2: Make the fruit filling
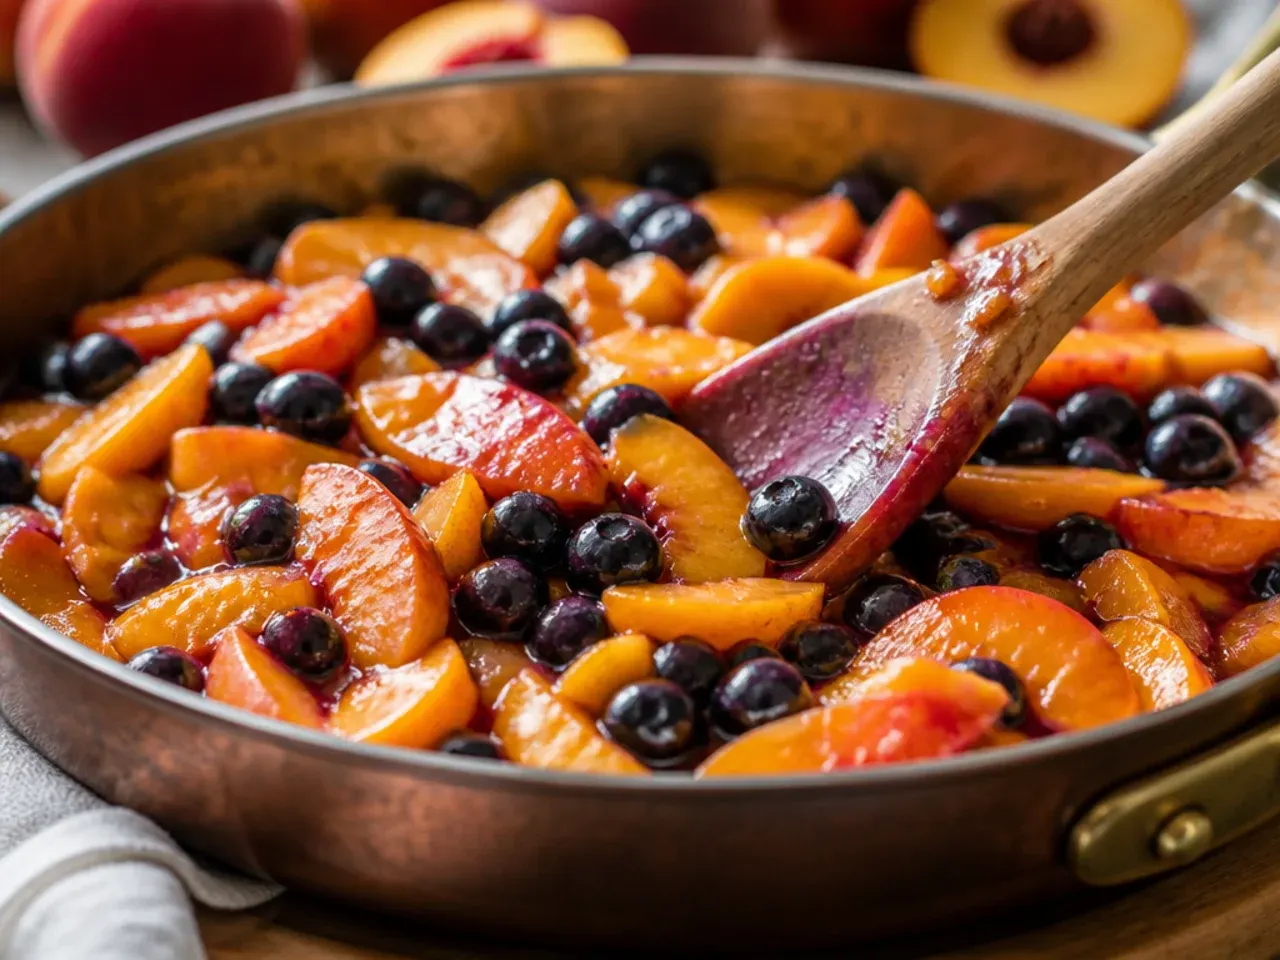
In a large bowl, toss the sliced peaches and blueberries with 65 g (1/3 cup) granulated sugar, 15 ml (1 tbsp) lemon juice, the lemon zest, 30 g (1/4 cup) flour and a pinch of salt until every piece of fruit is coated.
Step 3: Spread the filling into the dish
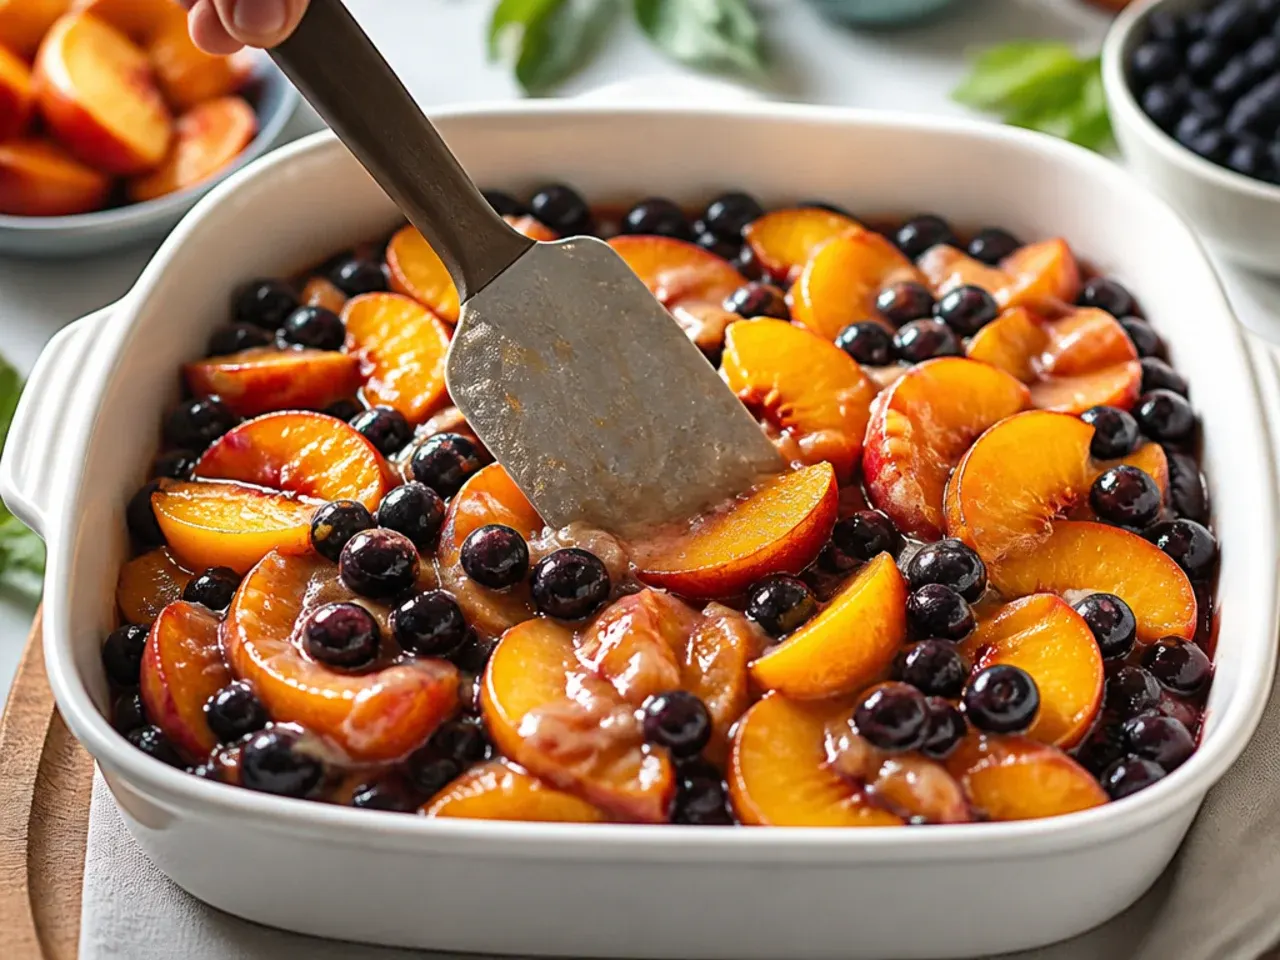
Tip the fruit mixture into the prepared baking dish and spread it into an even layer roughly 4-5 cm (1.5-2 inches) deep so it bakes through evenly.
Step 4: Make the crumble topping
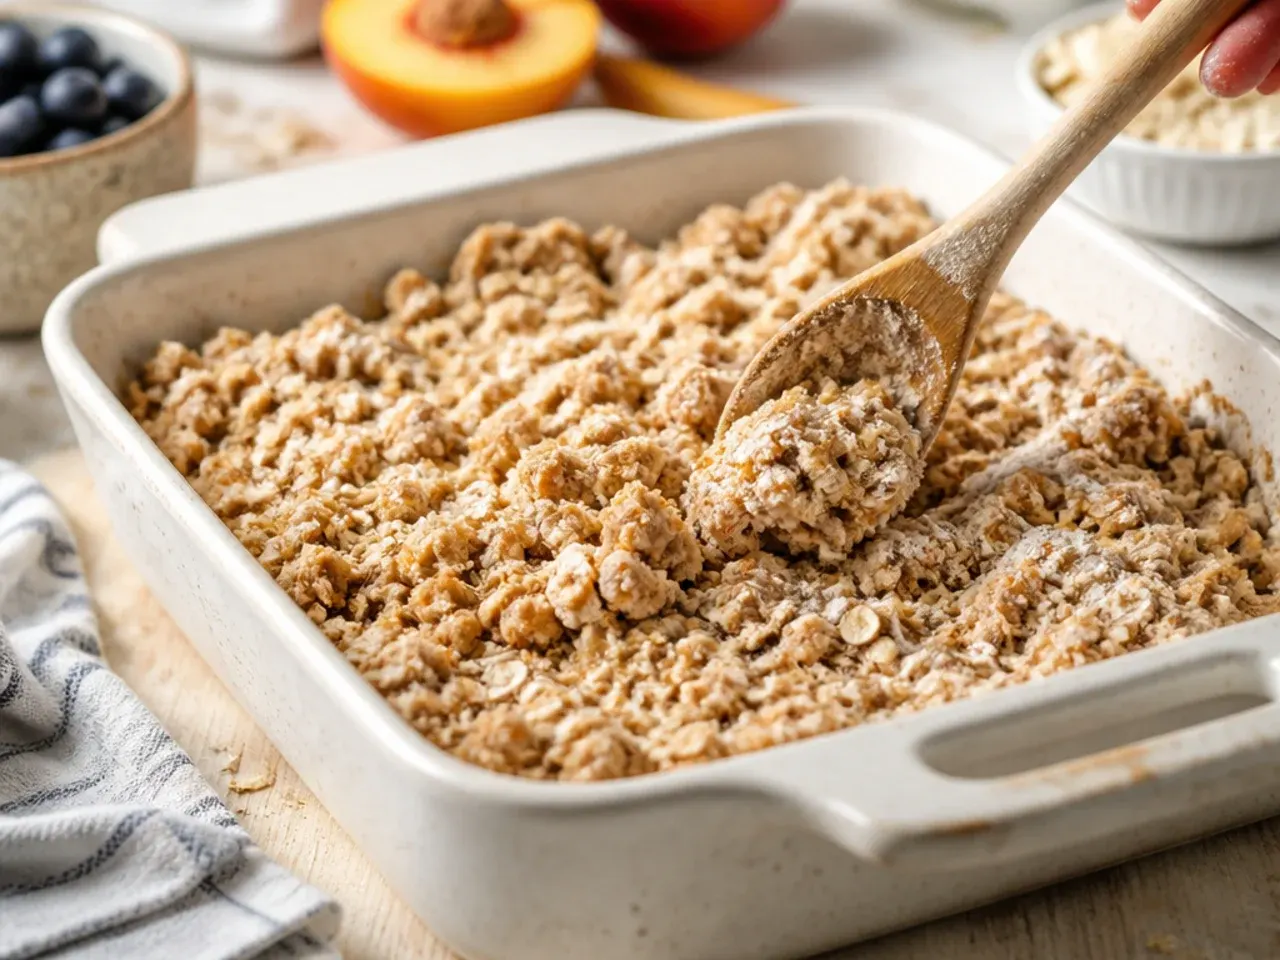
In a separate bowl, combine 90 g (1 cup) rolled oats, 90 g (3/4 cup) flour, 130 g (2/3 cup) brown sugar, 5 ml (1 tsp) cinnamon and 2 g (1/4 tsp) salt, then pour in 115 g (1/2 cup) melted butter and stir with a fork until the mixture clumps into coarse, buttery crumbs.
Step 5: Scatter the topping over the fruit
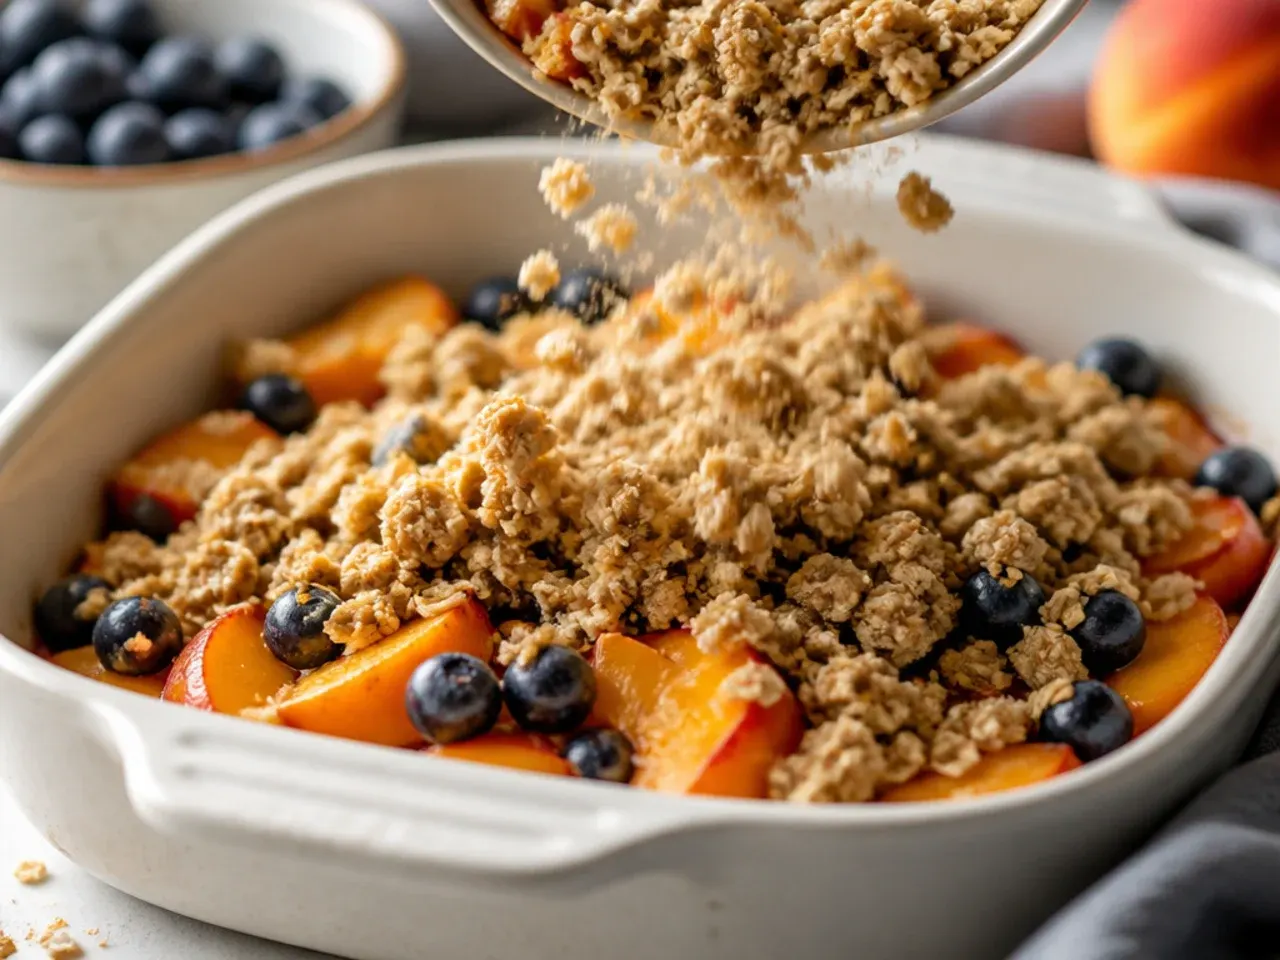
Sprinkle the oat topping evenly over the peaches and blueberries, breaking up any large clumps with your fingers so the crumble covers the fruit in a loose, even layer.
Step 6: Bake until golden and bubbling
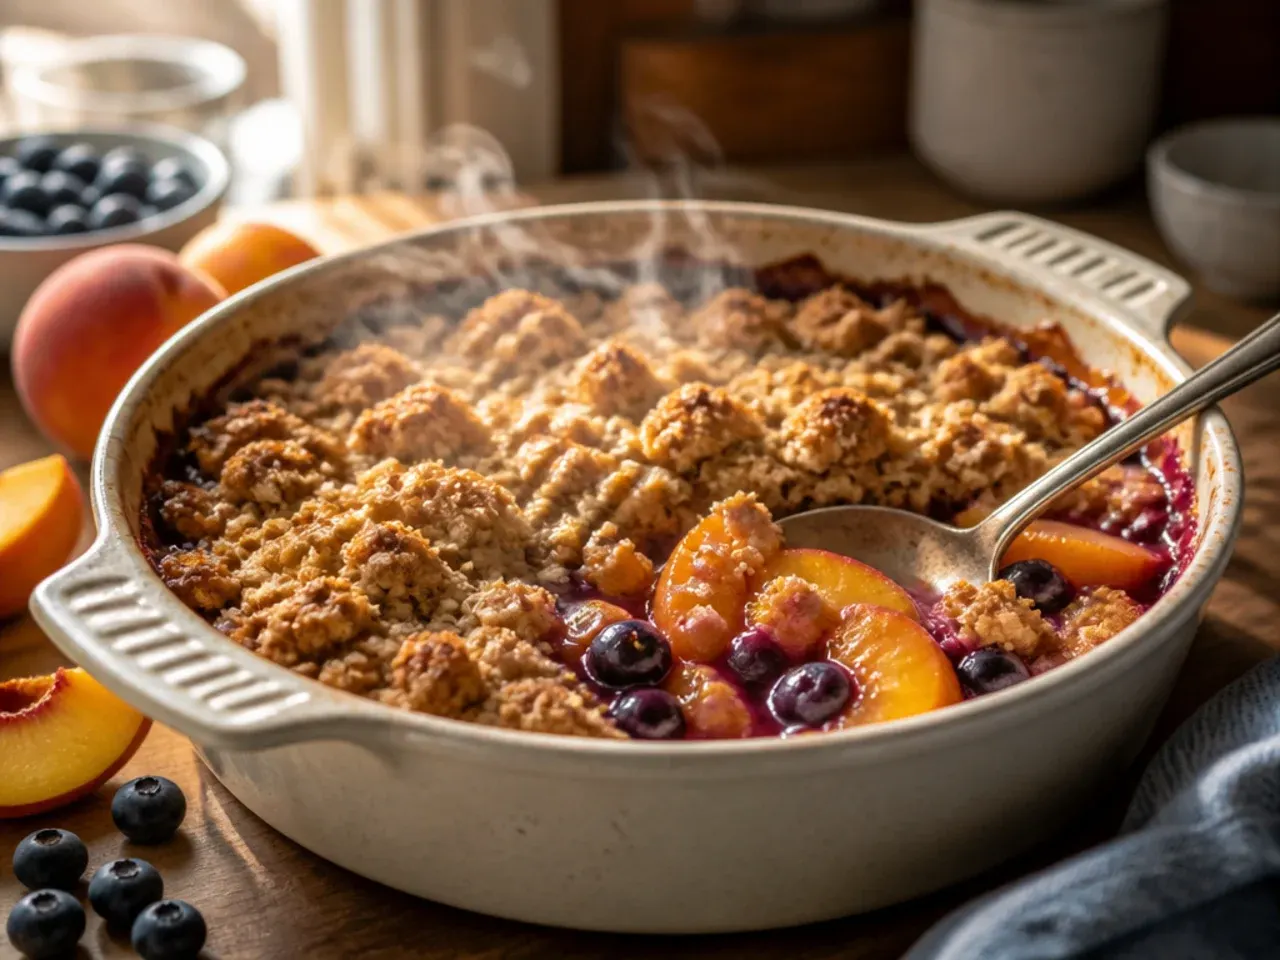
Bake for 40-45 minutes, until the topping is deep golden brown and the fruit is bubbling thickly at the edges of the dish; tent loosely with foil for the last 10 minutes if the topping browns too quickly.
Step 7: Cool before serving
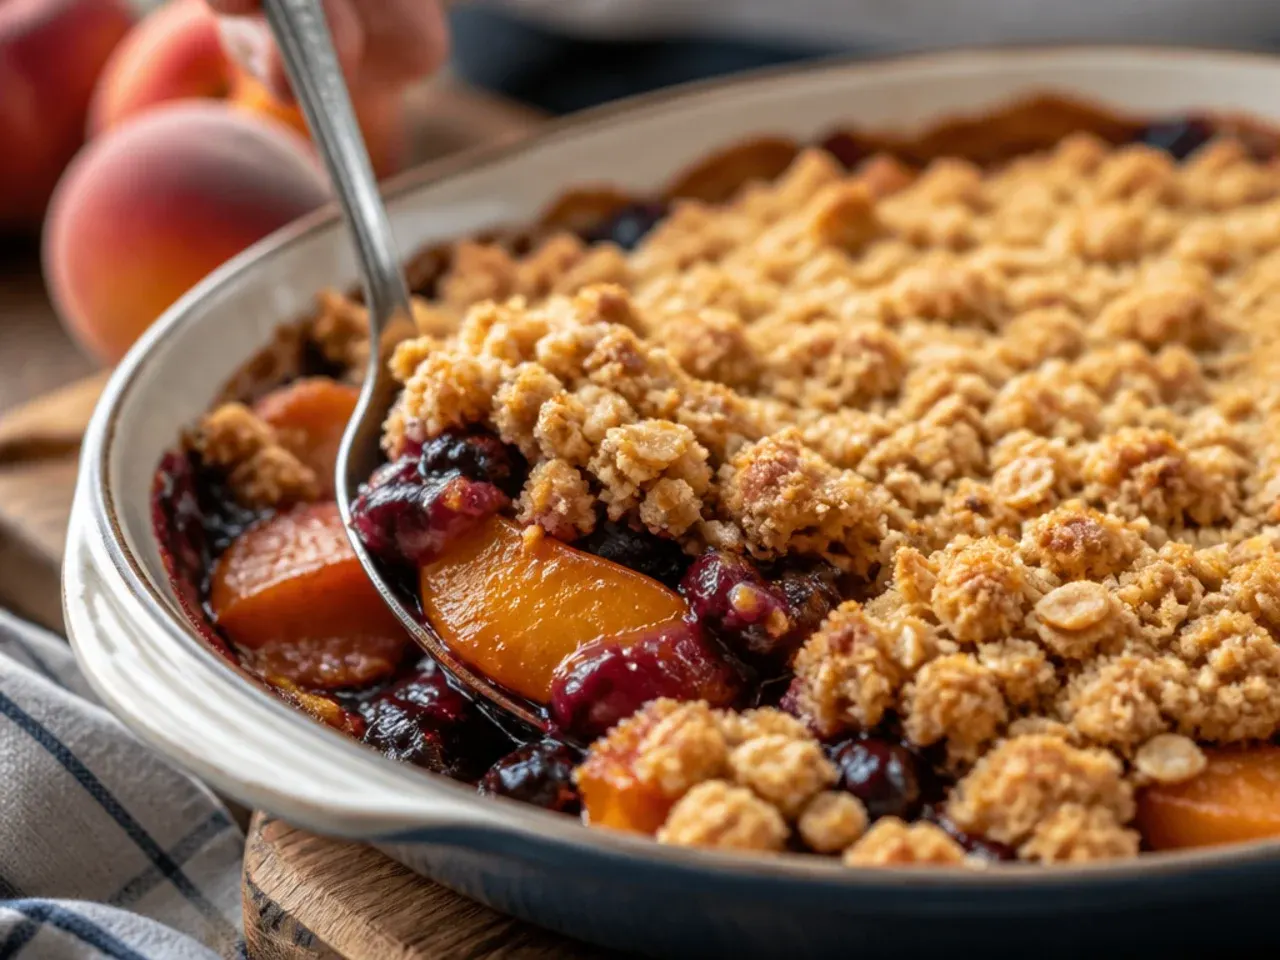
Remove the crisp from the oven and let it rest for 10-15 minutes so the filling thickens slightly, then serve warm with a scoop of vanilla ice cream.
Frequently Asked Questions
Yes, but keep the components separate until you're ready to bake. Mix the fruit filling and refrigerate it in the baking dish for up to 24 hours, and store the dry topping ingredients in a separate airtight container at room temperature. Scatter the topping over the fruit right before it goes into the oven so it doesn't have time to absorb moisture and turn soggy. If you want to prep even further ahead, freeze the assembled, unbaked crisp for up to 3 months and bake it straight from frozen, adding about 10-15 extra minutes to the cook time.
Save this for later 📌
Pin this article to your Pinterest board so the full list is one tap away when you need it.
Save on Pinterest