15 Cute Hello Kitty Smash Cake Ideas
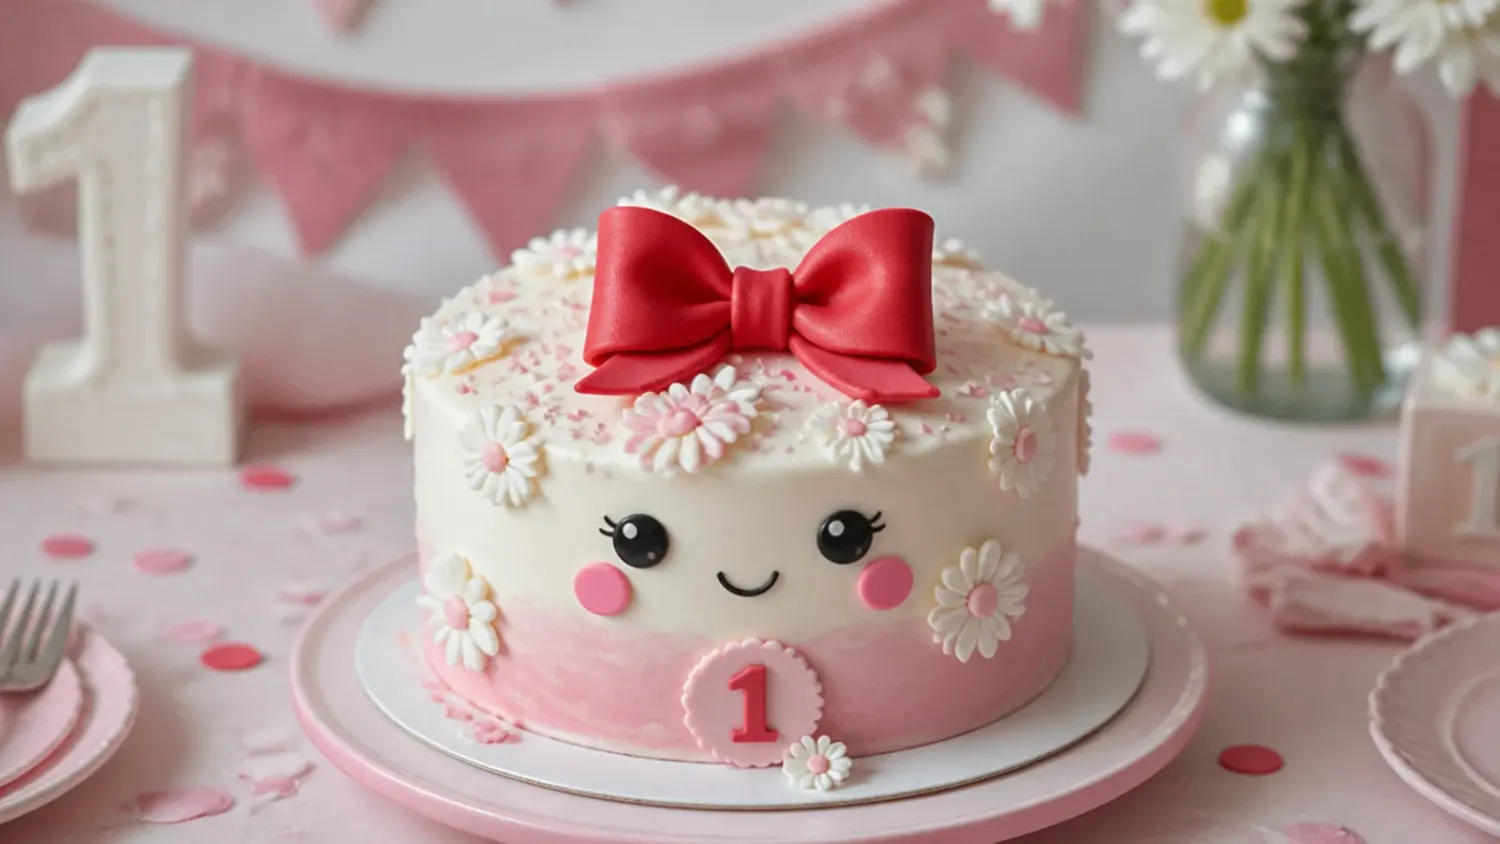
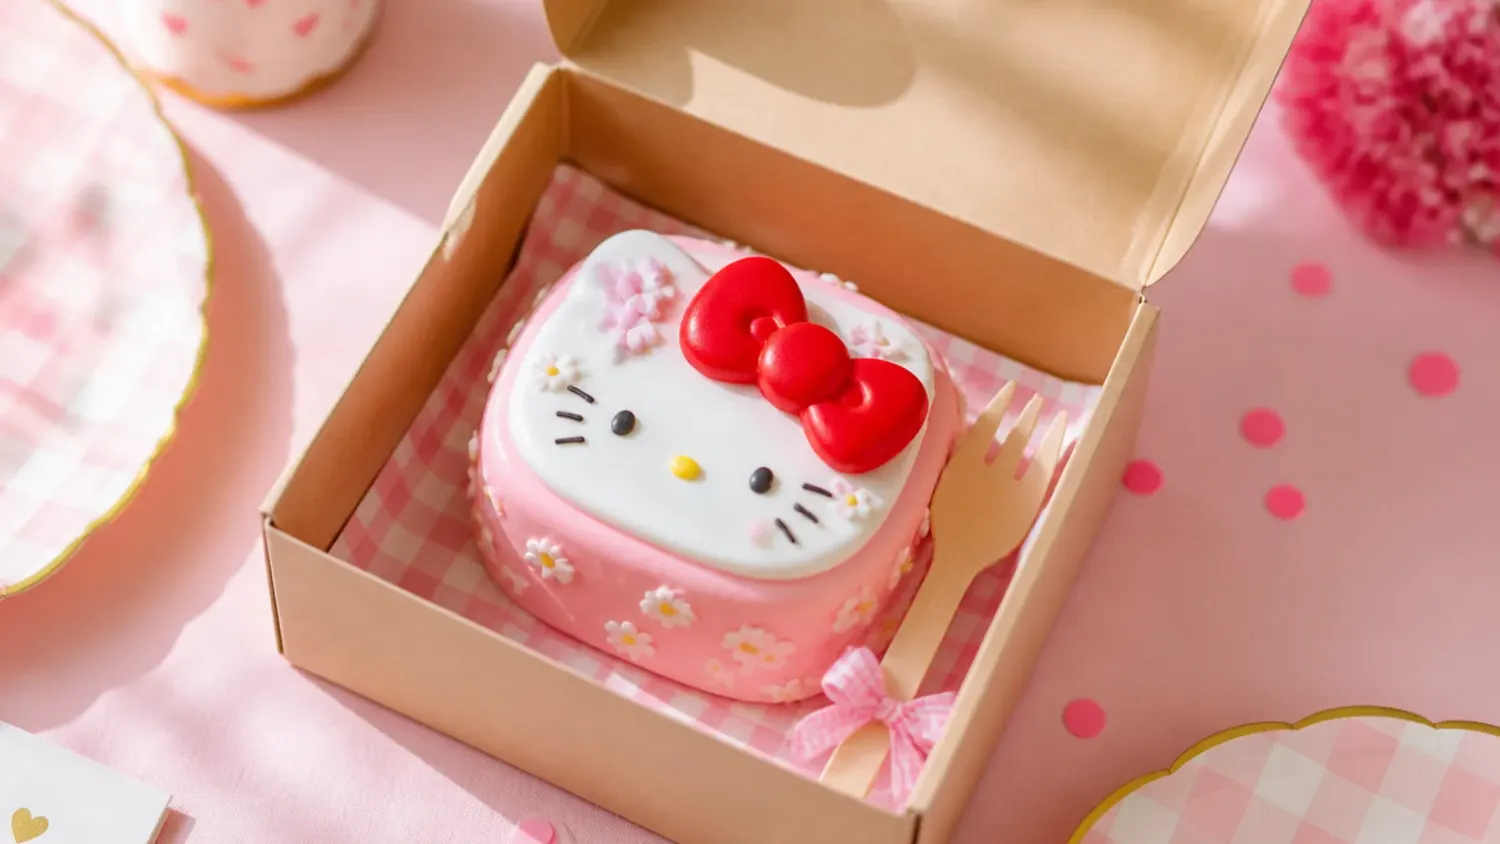
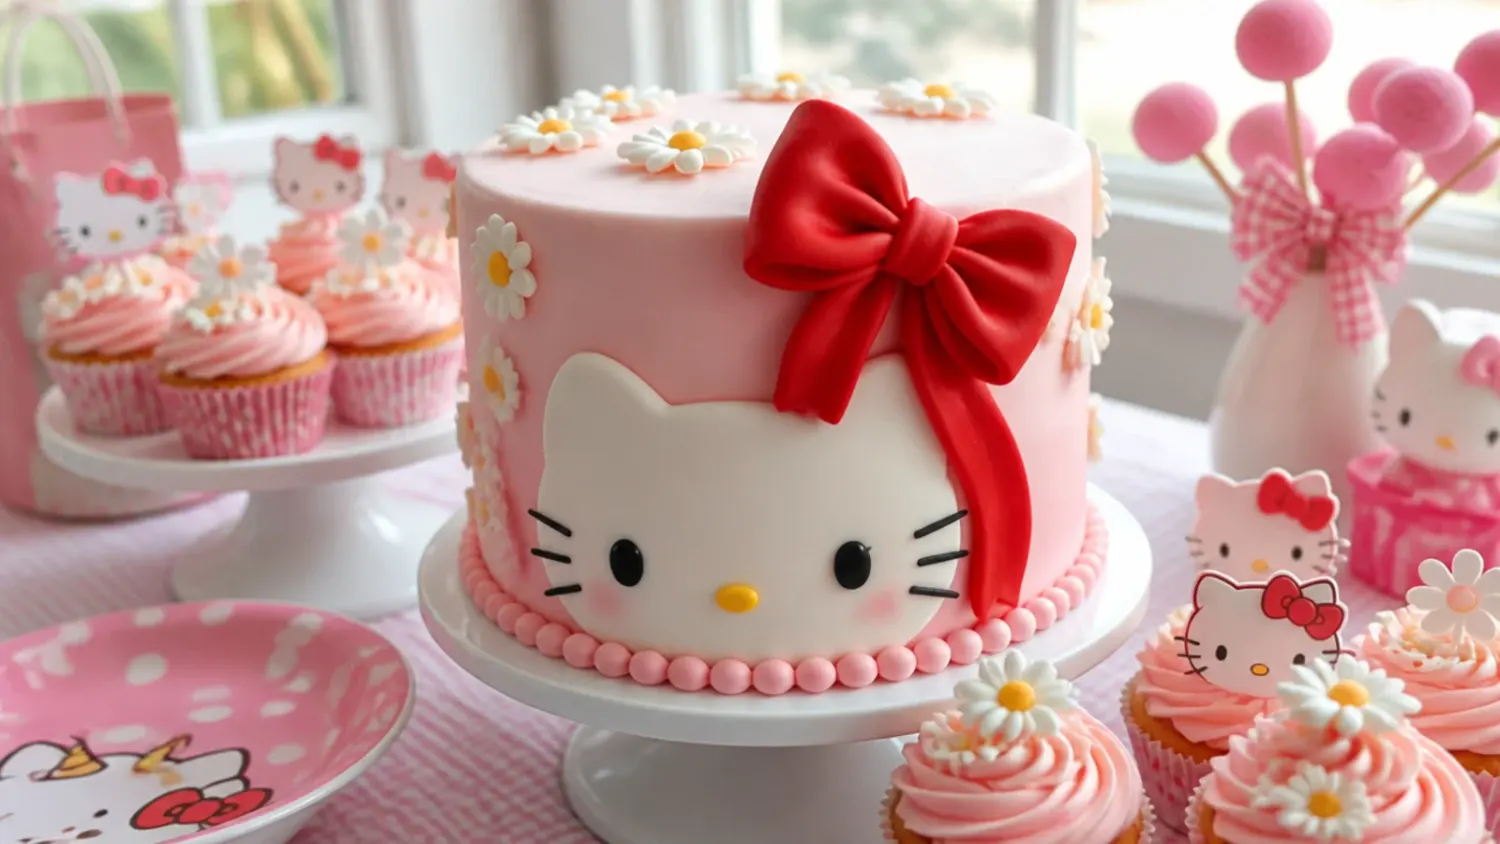
15 adorable hello kitty smash cake ideas for baby's first birthday, from classic pink bows to modern ombre, plus an easy low-sugar 6-inch cake recipe. If you love hello kitty cake inspiration, start with our Hello Kitty Cake Ideas collection, then browse the full Cake Ideas hub for more.
Save this for later 📌
Pin this article to your Pinterest board so the full list is one tap away when you need it.
Save on PinterestCake Ideas
Beginner
Ideas
15 ideas
Table of Contents
- 1. Classic White Cake With a Pink Bow Topper
- 2. Easy No-Fondant Buttercream Bow Cake
- 3. Elegant Blush Ombre and Gold Cake
- 4. Playful Polka Dot and Star Cake
- 5. Modern Minimalist Half-Bow Cake
- 6. Rustic Naked Cake With Pink Cream
- 7. Colorful Rainbow Layer Surprise Cake
- 8. Minimal Single-Tier With Whisker Accents
- 9. Festive Sprinkle Confetti Cake
- 10. Whimsical Cloud and Balloon Cake
- 11. Bold Red and White Retro Cake
- 12. Delicate Floral and Pearl Cake
- 13. Vintage Lambeth Piped Cake
- 14. Creative Drip and Bow Cake
- 15. Charming Heart and Bow Cake
- Tips to Make These Ideas Easier
- Common Mistakes to Avoid
- The Base Recipe — Make Any of These Ideas
1. Classic White Cake With a Pink Bow Topper
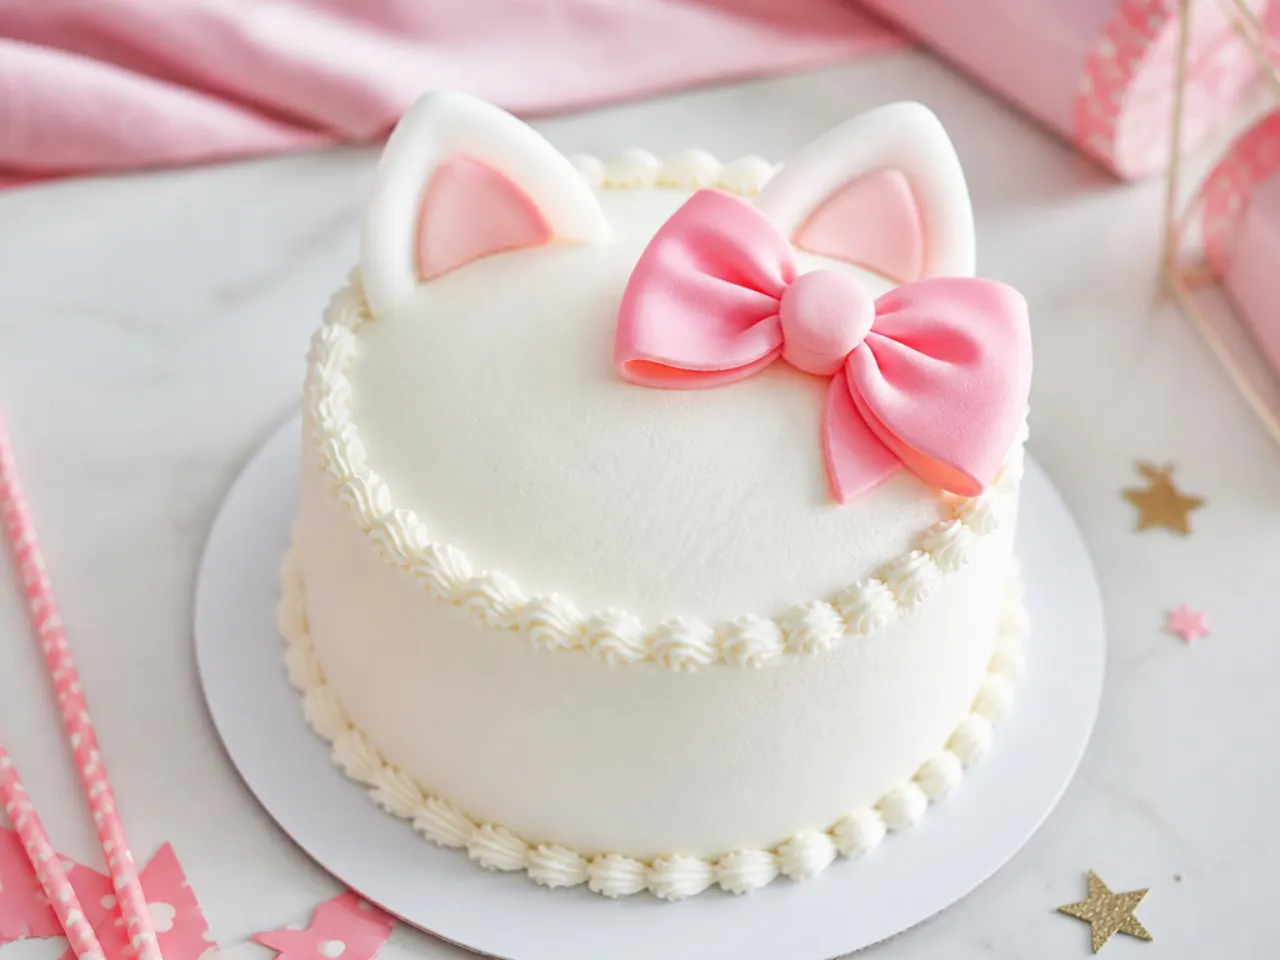
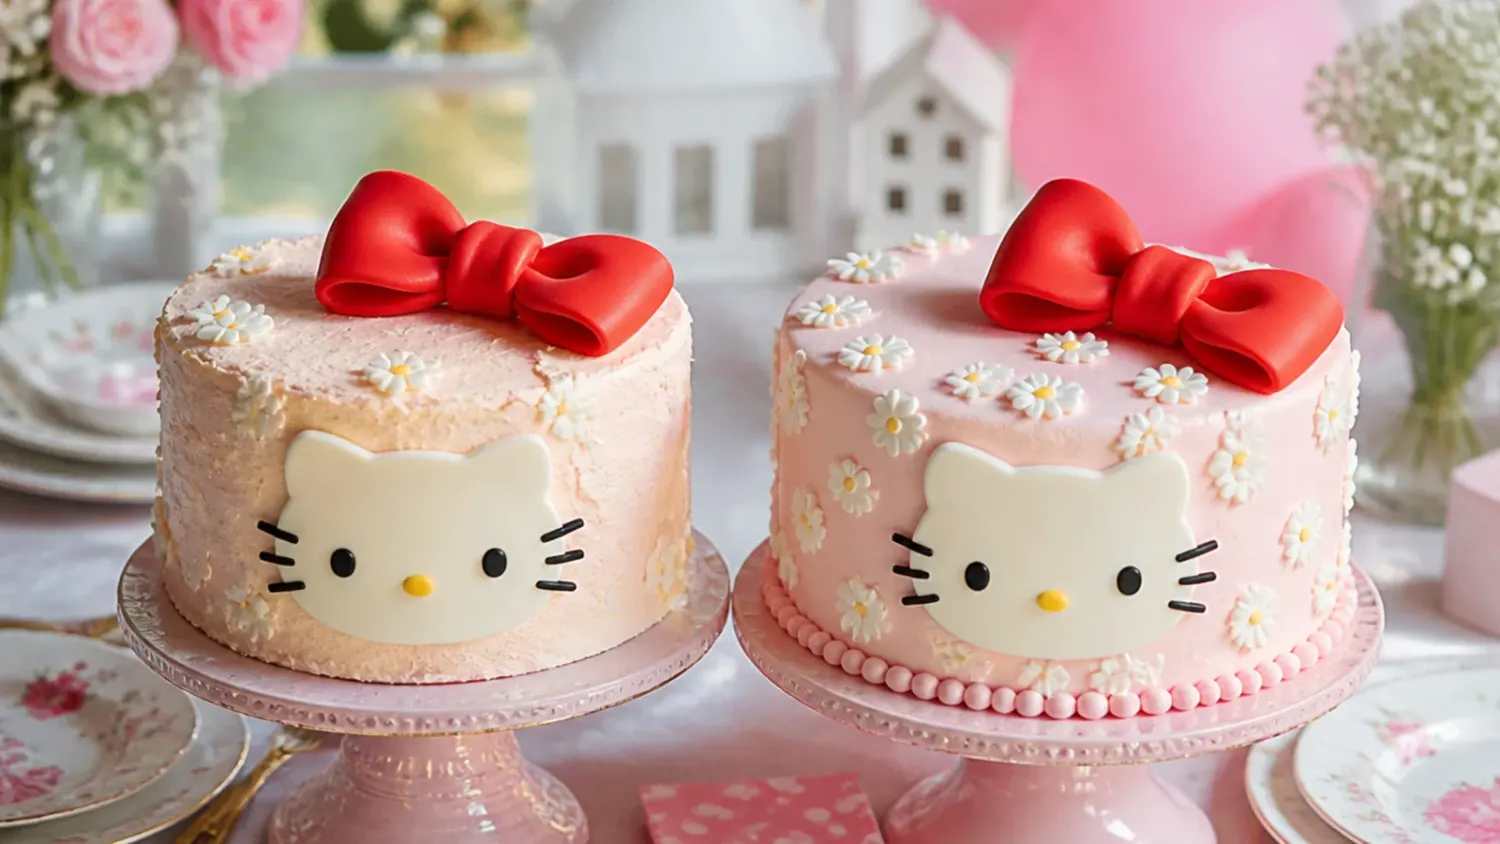
This is the design everyone pictures first: a smooth white buttercream cake finished with an oversized pink bow on top. To get the clean look, crumb coat your chilled 6-inch cake, freeze it for 10 minutes, then do a final coat and smooth the sides with a hot bench scraper dipped in warm water. Shape the bow from pink fondant or gum paste a day ahead so it dries firm and holds its loops, then place it slightly off-center for a photogenic angle. A dot of black gel color piped as two small ovals and three tidy whiskers per side keeps it hello-kitty-inspired without recreating the trademarked face. Finish the base with a ring of small pink shell borders using a Wilton 21 tip.
2. Easy No-Fondant Buttercream Bow Cake
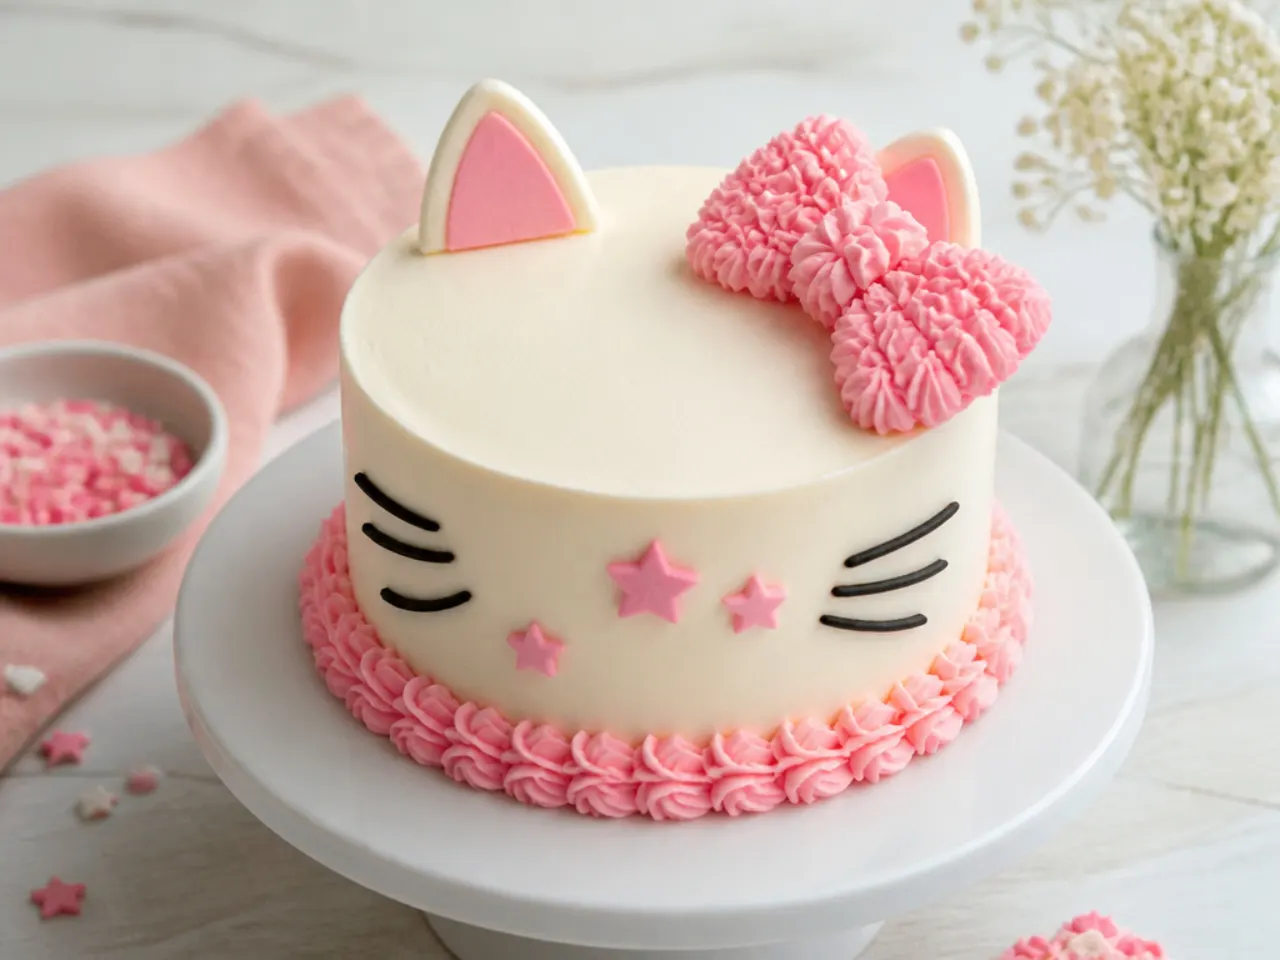
If fondant intimidates you, pipe the whole thing in buttercream instead. Color half your frosting soft pink with a gel color (gel keeps the buttercream stiff, unlike liquid dye), then use a Wilton 104 petal tip to pipe two flat loops and two ribbon tails directly onto the top of the cake for a bow shape. Chill the cake between the crumb coat and final coat so the bow petals sit crisp instead of sliding. This approach is beginner-friendly, takes about 20 minutes to decorate, and there is no drying time to plan around. Add a few white pearl sprinkles around the bow for a cute finishing touch that reads as hello kitty smash cake styling.
3. Elegant Blush Ombre and Gold Cake
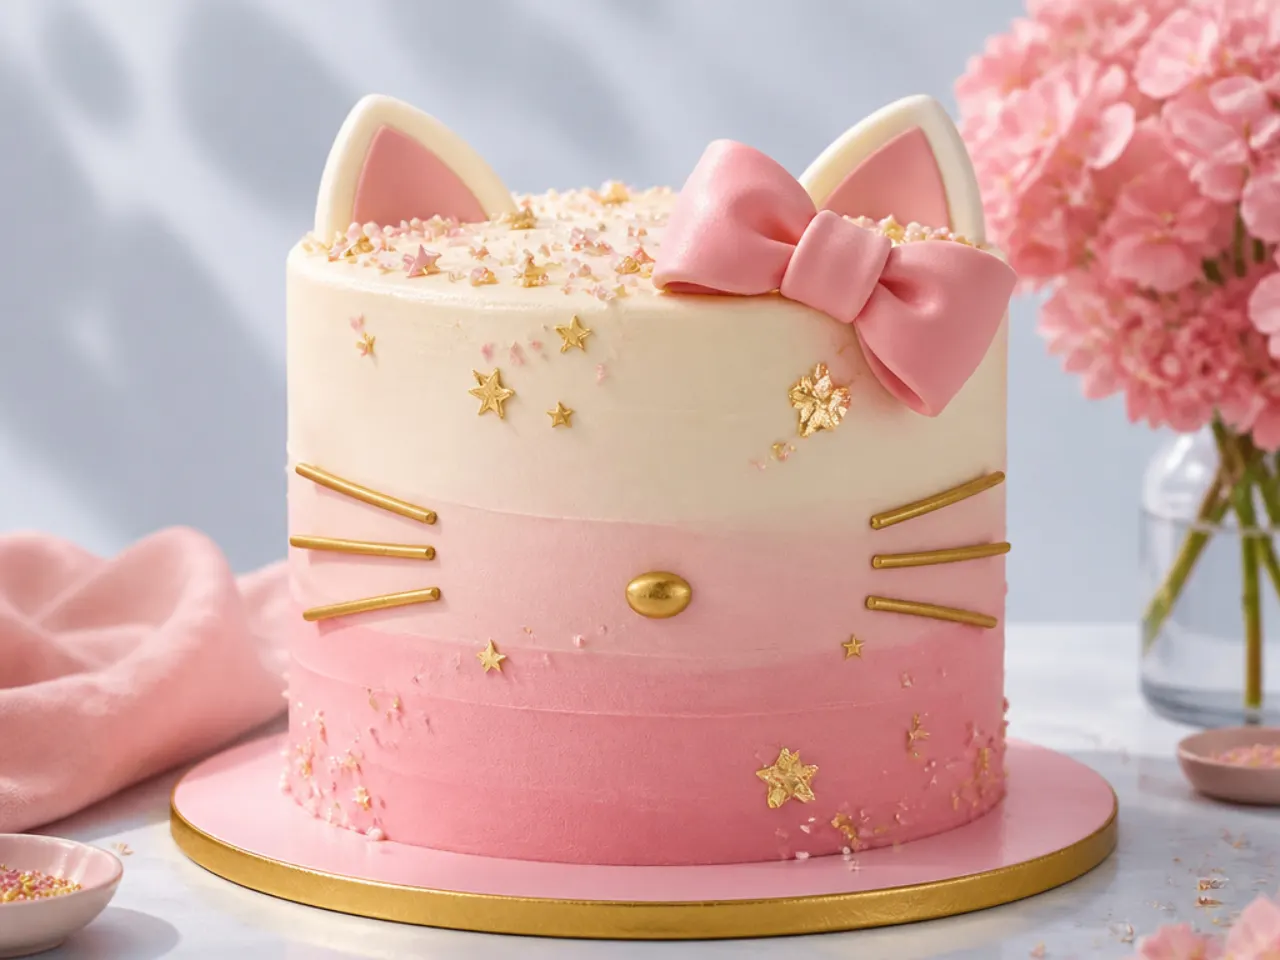
For a grown-up, photo-shoot-worthy hello kitty cake, blend three shades of pink from pale at the top to deep rose at the base. Divide your buttercream into three bowls, tint each a step darker, then pipe horizontal bands and smooth them together with a warm scraper so the colors bleed into a seamless ombre. Once chilled, press edible gold leaf onto the bottom third and add a single blush fondant bow at the crown. The muted palette photographs beautifully on a neutral backdrop and suits a first birthday that leans sophisticated. Keep the baby-facing top simple so little hands still have soft frosting to grab.
4. Playful Polka Dot and Star Cake
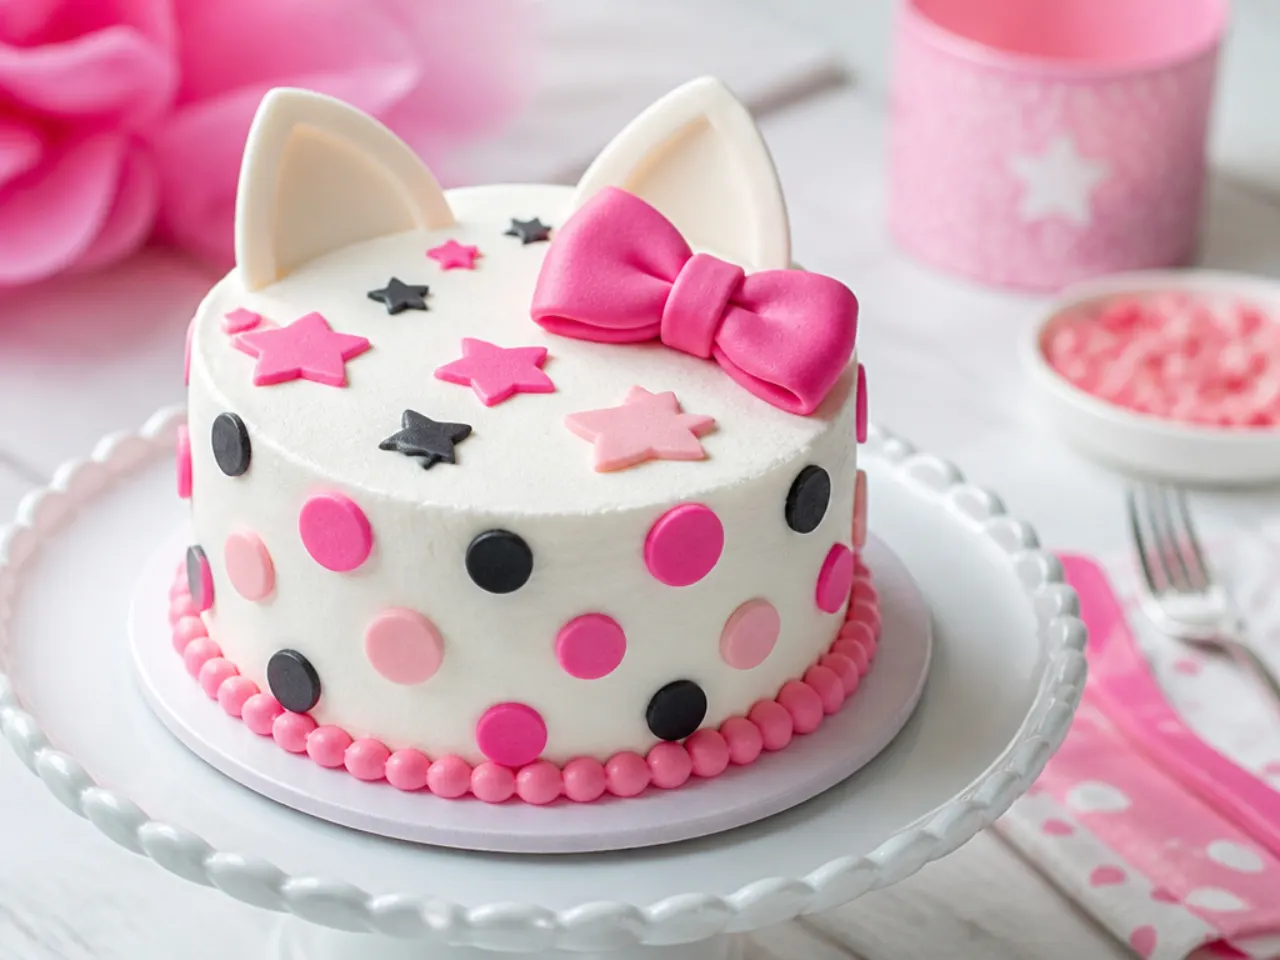
Polka dots are a safe, on-brand nod to hello kitty styling without copying her likeness. Cover the cake in white buttercream, then use the wide end of a piping tip or a fondant plunger cutter to stamp evenly spaced pink and red dots around the sides. Scatter a few fondant stars near the top for extra whimsy, a classic Sanrio-inspired accent. To keep the dots uniform, roll your fondant to an even 2 mm thickness and cut them all before you start placing, working from the bottom row up so gravity does not distort your spacing. This design hides small buttercream flaws, making it forgiving for first-time decorators.
5. Modern Minimalist Half-Bow Cake
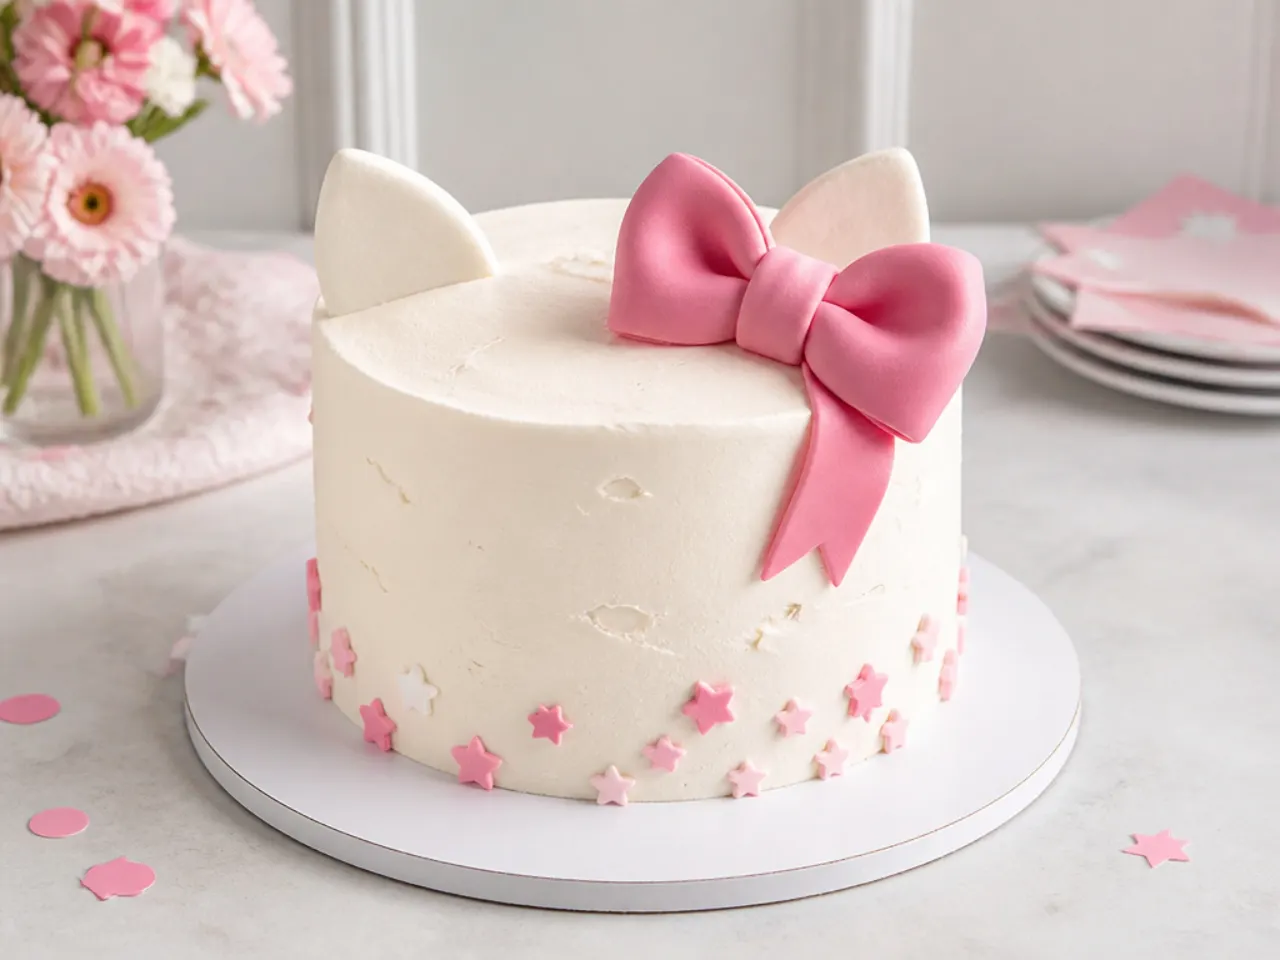
The trend right now is a clean, single-color cake with one bold statement decoration. Frost the cake in a crisp white or pale pink, smooth it perfectly with a scraper, and add just one large pink bow at the top edge so it peeks over the rim in photos. No borders, no dots, no clutter, which lets the shape of the bow do all the work. This modern hello kitty smash cake look pairs well with a marble or linen backdrop and neutral props. Because there is minimal decoration, spend your effort on getting the buttercream sides truly smooth using the hot-scraper method.
Save this for later 📌
Pin this article to your Pinterest board so the full list is one tap away when you need it.
Save on Pinterest6. Rustic Naked Cake With Pink Cream
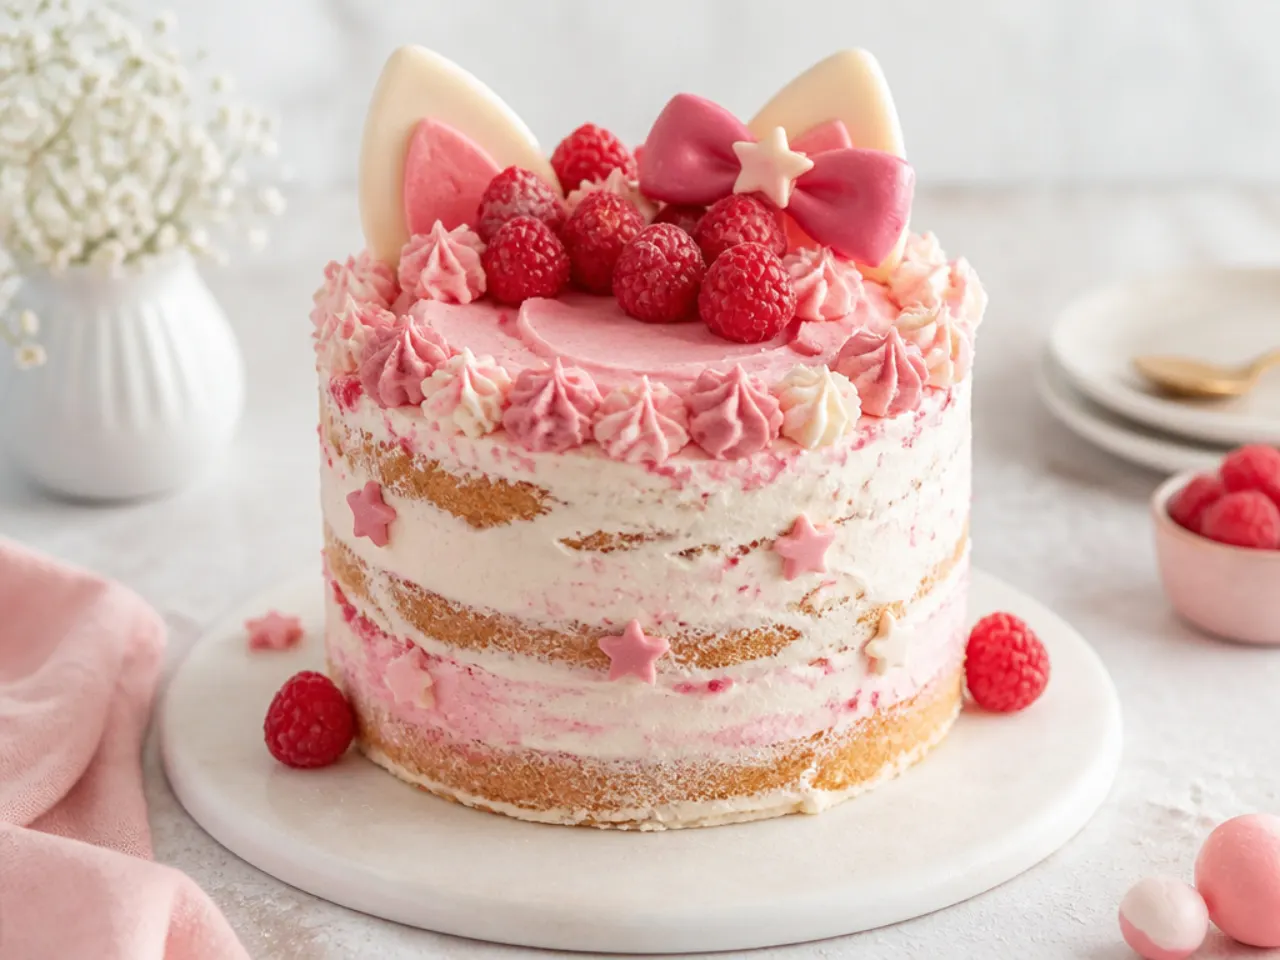
A semi-naked cake shows the sponge layers through a thin scrape of frosting, giving a soft, homemade look that suits a garden or boho party. Stack three thin 6-inch vanilla layers with pink buttercream between each, then scrape the outside so only a translucent film of frosting remains and the cake edges show through. Top with a small cluster of fresh raspberries and a mini fondant bow for the hello kitty touch. This style is genuinely easier than a fully coated cake because you are not chasing a flawless finish. Use a firm crusting buttercream so the thin coat still holds its shape at room temperature.
7. Colorful Rainbow Layer Surprise Cake
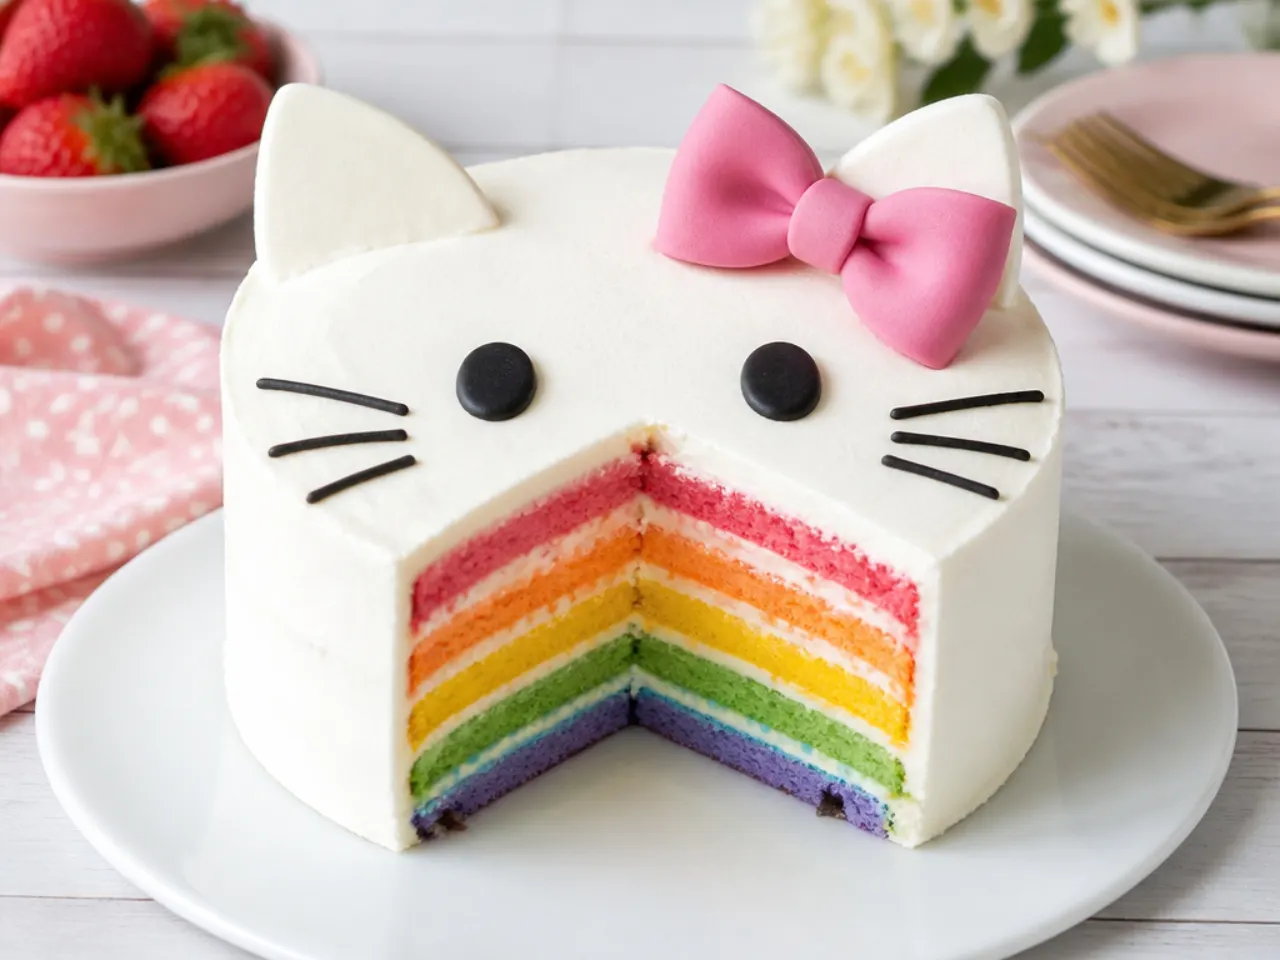
Hide a rainbow inside a simple white exterior for a fun reveal when the cake is cut or smashed. Divide your batter into portions and tint each with gel color, then bake thin layers and stack them so a rainbow appears at the first slice. Keep the outside white with a single pink bow so it still reads as a hello kitty cake from the front. Use gel colors, not liquid, so you do not thin the batter or change the bake time. This works best with the vanilla base below since a neutral sponge takes color cleanly and stays soft for little hands.
8. Minimal Single-Tier With Whisker Accents
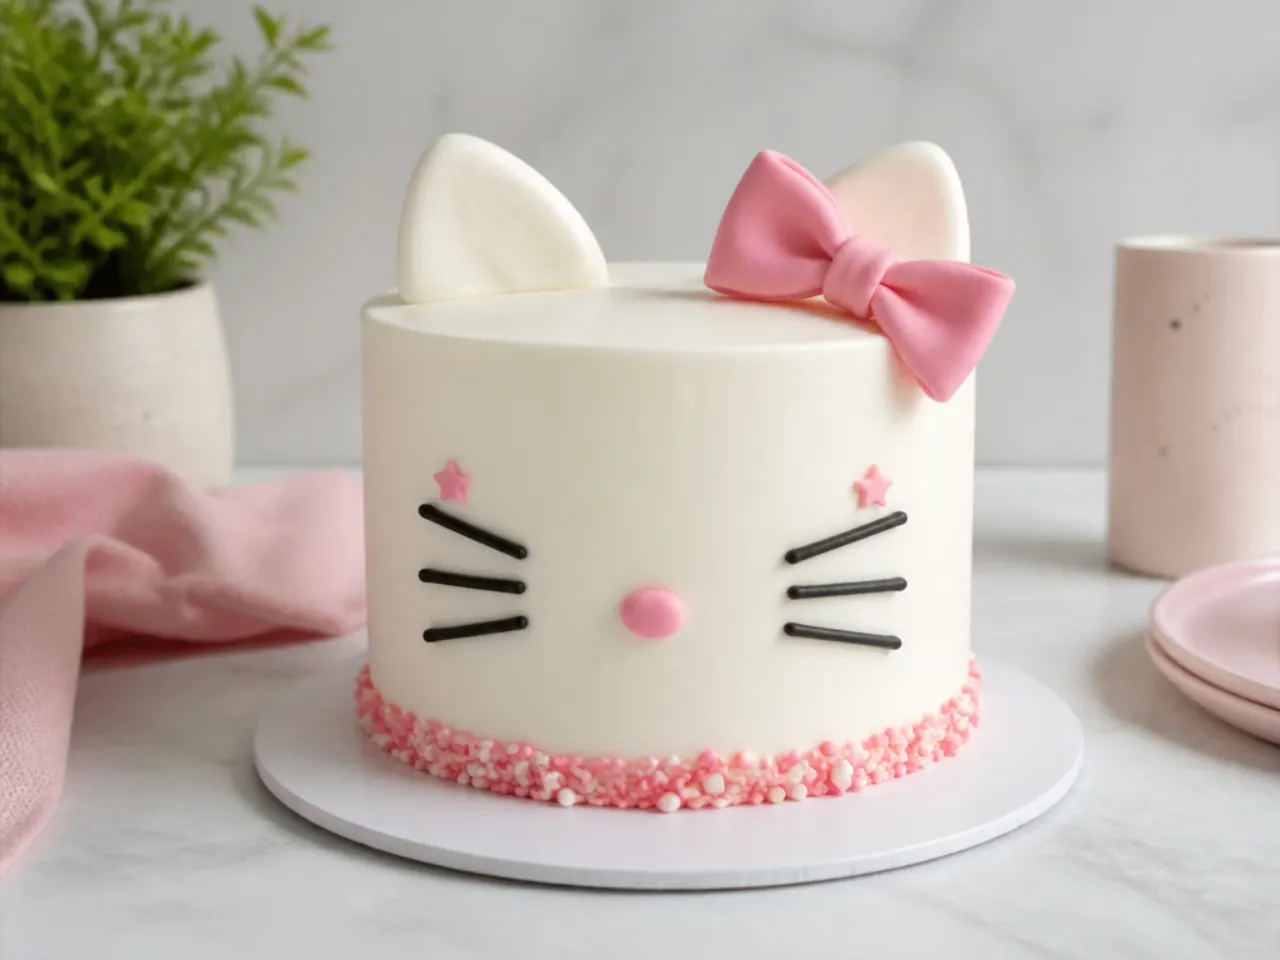
Sometimes the cutest hello-kitty-inspired cake is the simplest: a plain white cake with just a tiny pink bow and a few delicate black whisker lines piped on the front. Use a fine round tip like a Wilton 2 and pipe three short, even whiskers on each side, keeping them light and stylized rather than a full face so you stay on the inspired side of the trademark. The small pink bow sits at the top corner. This is a great five-minute decoration for anyone short on time, and it leaves plenty of soft frosting for the baby to grab. Pair with pink candles and a simple cake board.
9. Festive Sprinkle Confetti Cake
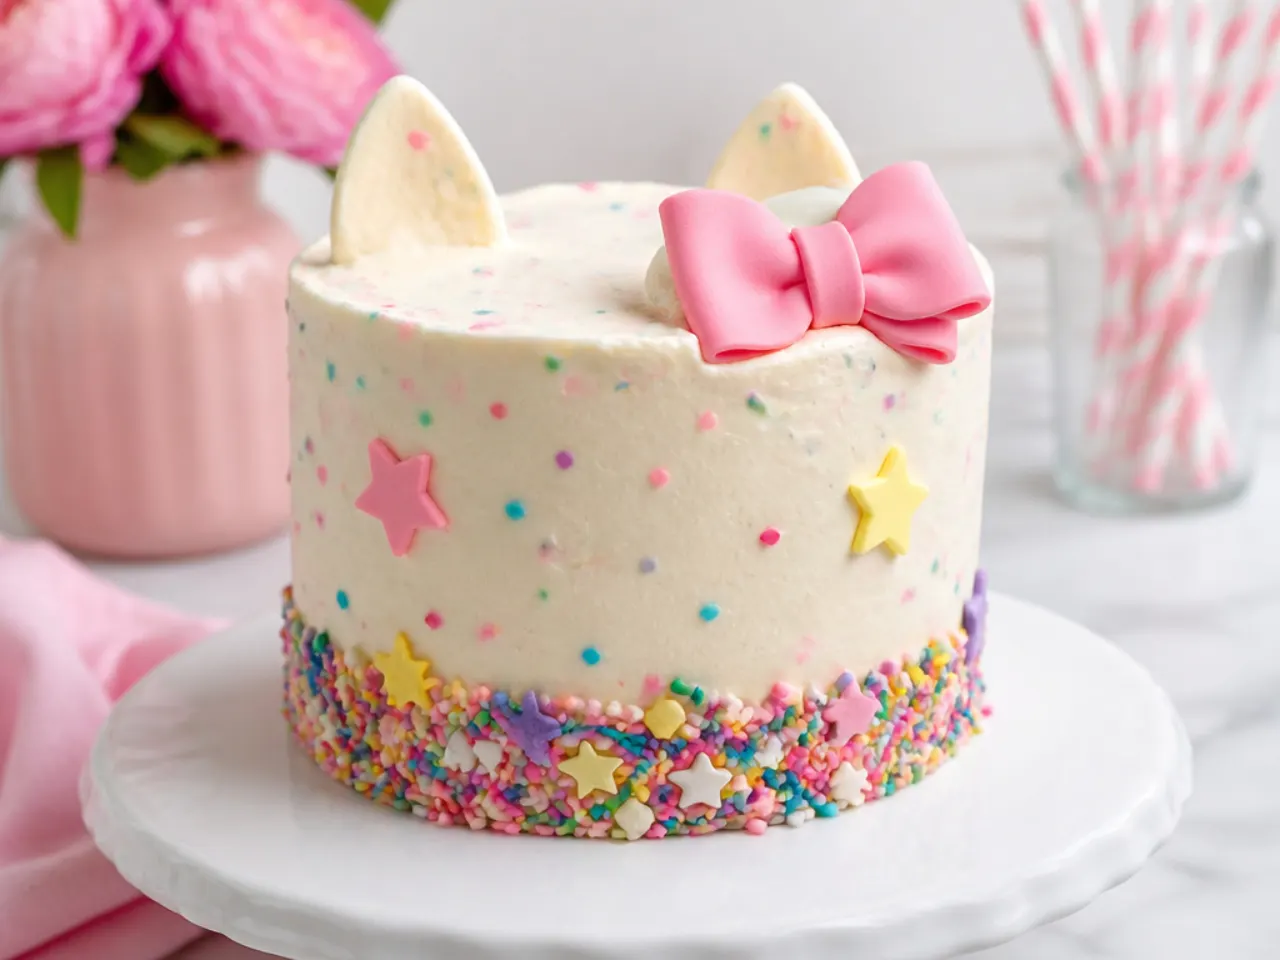
Fold rainbow or pink-and-white confetti sprinkles right into the batter for a funfetti smash cake that celebrates from the inside out. Use jimmies (the long sprinkles), not nonpareils, because nonpareils bleed their color and turn the batter gray. Frost in white, press more sprinkles around the bottom third of the sides, and top with a pink bow. The party-ready look photographs cheerfully and needs almost no piping skill. Fold the sprinkles in with a spatula at the very last moment so they stay whole and do not dissolve into the batter.
10. Whimsical Cloud and Balloon Cake
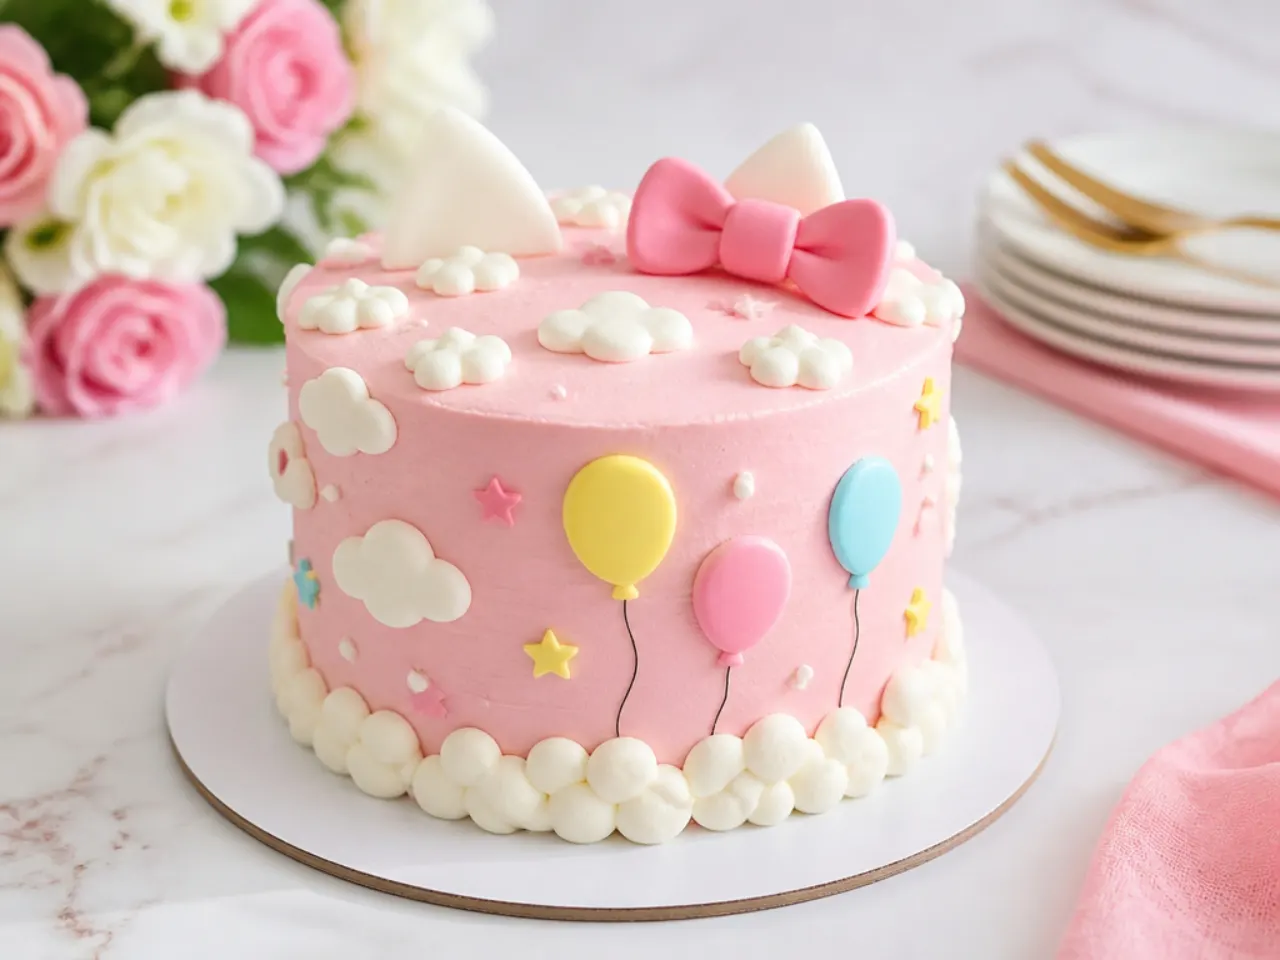
Give the cake a dreamy sky theme with soft buttercream clouds and tiny fondant balloons floating up one side. Pipe the clouds with a Wilton 1M or 2D tip in white buttercream, building small rounded puffs, then add pale pink and blue fondant balloon shapes with thin piped strings. A little pink bow ties the hello kitty theme together at the top. This playful design is perfect for a whimsical or pastel-themed first birthday and looks far more complex than it is. Keep the balloons small so they stay light and do not slide down the buttercream.
Save this for later 📌
Pin this article to your Pinterest board so the full list is one tap away when you need it.
Save on Pinterest11. Bold Red and White Retro Cake
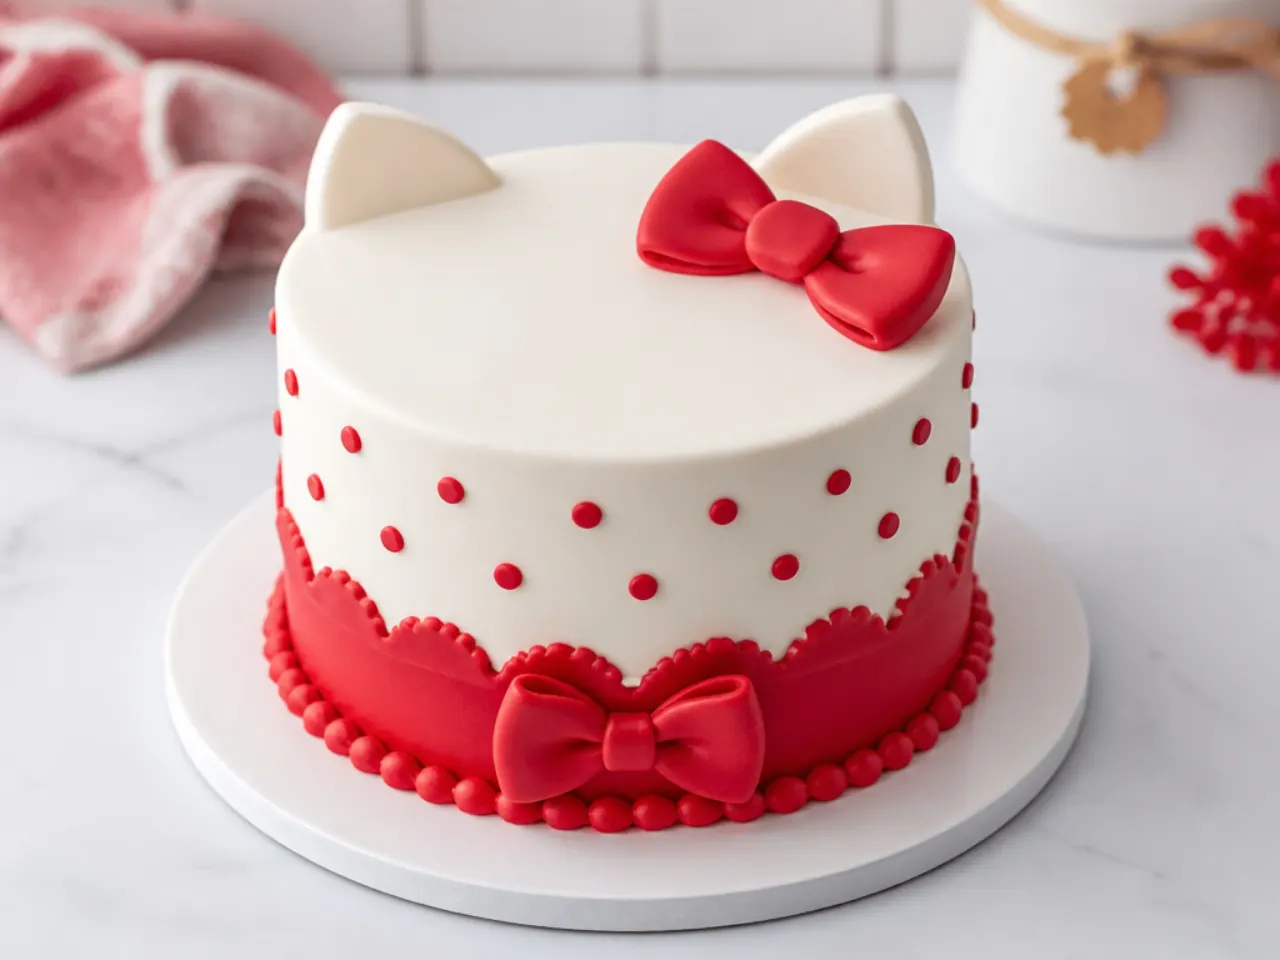
Lean into hello kitty's classic red-and-white palette for a bold, graphic cake. Frost the cake white, then add a crisp red fondant bow and a red shell border at the base for high contrast that pops in photos. You can also pipe evenly spaced red buttercream dots around the sides for a retro polka-dot feel. Use a true red gel color like a no-taste red and let it develop for an hour, since red often deepens after mixing and you can avoid adding too much bitter dye. This confident look suits parents who want something striking rather than pastel.
12. Delicate Floral and Pearl Cake
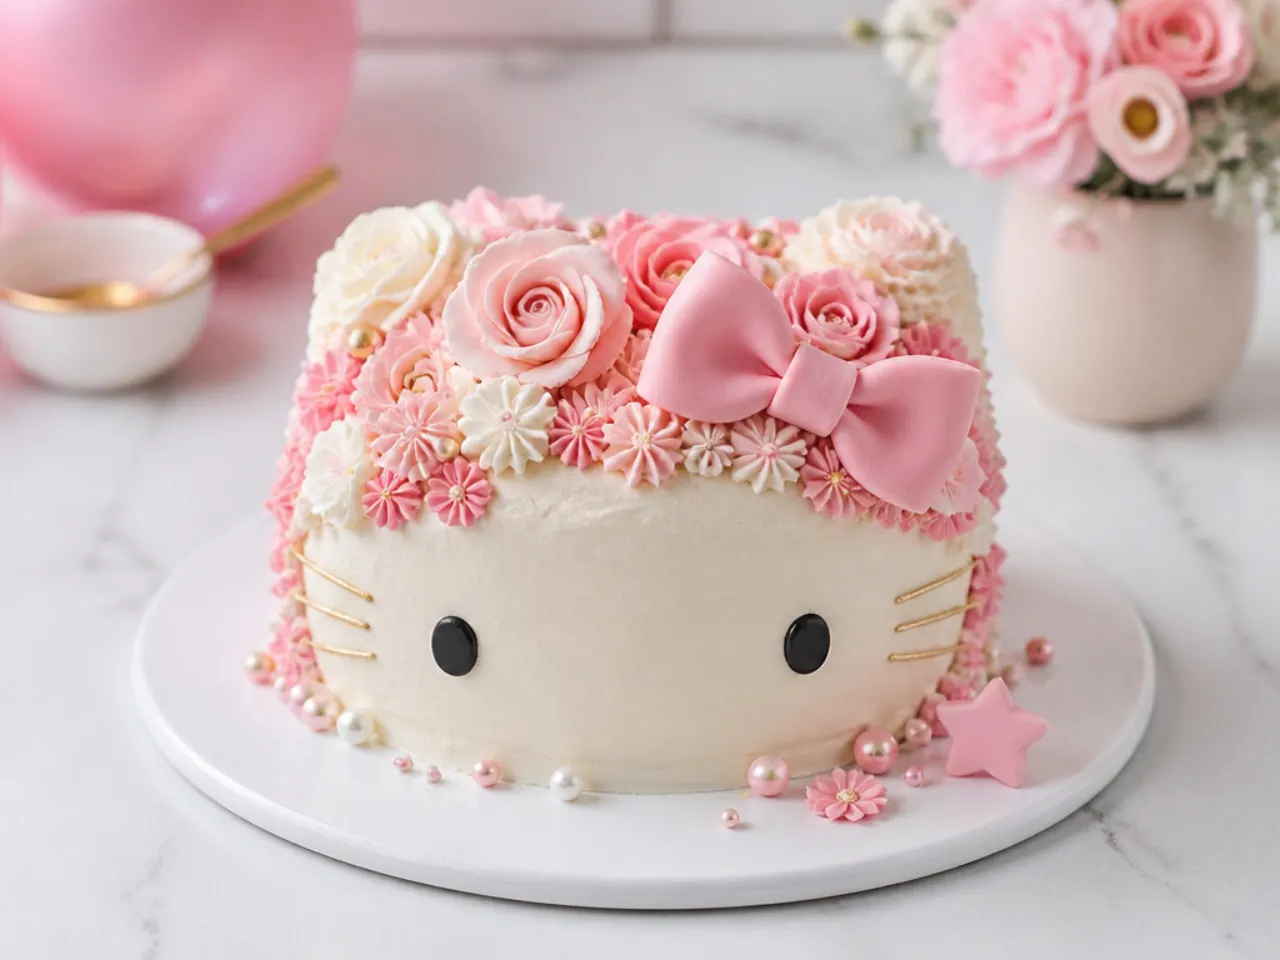
Soften the theme with small buttercream flowers and edible pearls for a delicate, feminine cake. Pipe tiny pink and white drop flowers with a Wilton 224 tip, add a yellow center dot to each, and cluster them at the top beside a small bow. Scatter a few edible sugar pearls between the blooms for a touch of shine. Chill the cake before adding flowers so they set quickly and hold their shape. This gentle design photographs beautifully with soft natural light and works for a garden or high-tea styled first birthday while still nodding to the hello kitty smash cake theme.
13. Vintage Lambeth Piped Cake
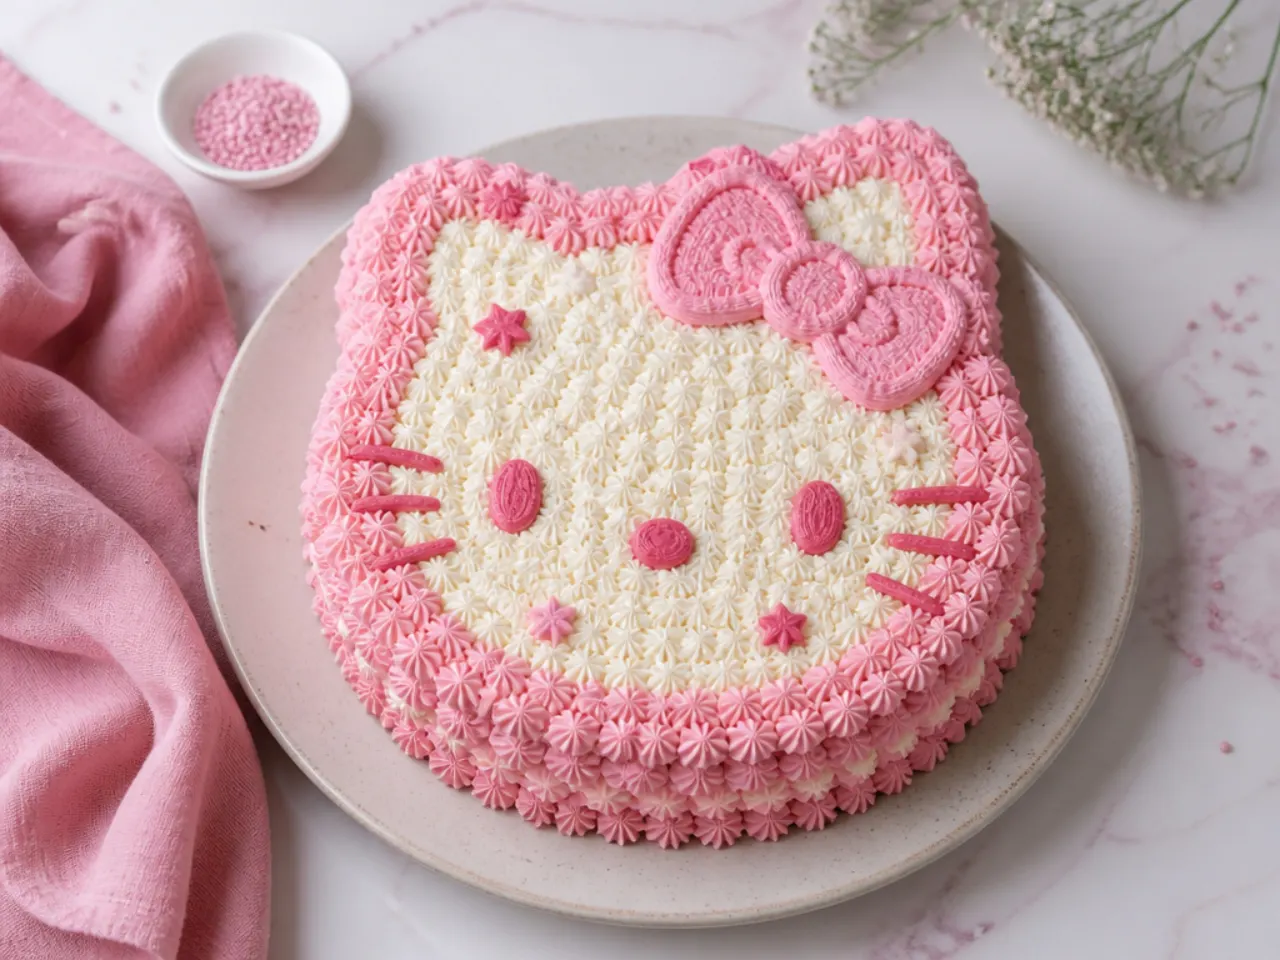
The vintage Lambeth style, all ornate overpiped scrolls and swags, is having a major moment and looks stunning in soft pink. Pipe layered borders, dots, and dropped swags around the sides using a Wilton 18 star tip and a fine round tip, building up small overlapping details for that heirloom look. Keep everything one tonal shade of pink so the texture, not the color, is the star, then add a fondant bow on top. This is the most advanced idea here and rewards a steady hand and firm buttercream. Chill between piping rounds so earlier details stay crisp as you build.
14. Creative Drip and Bow Cake
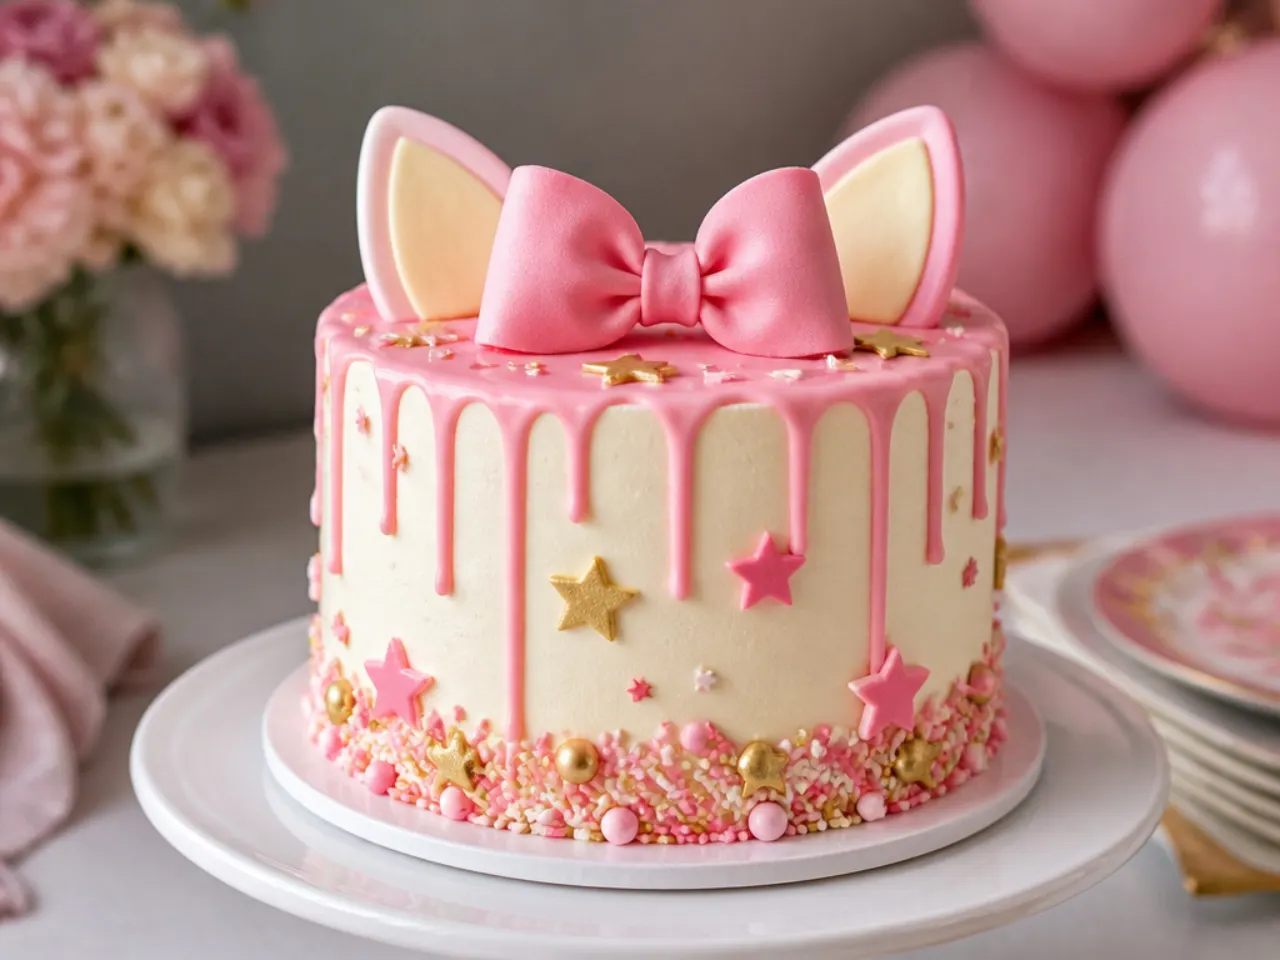
A pink chocolate drip adds instant wow with very little skill required. Frost and chill the cake, then warm pink candy melts or white chocolate tinted with oil-based color to a pourable, slightly cooled consistency and spoon it around the top edge so it drips down the sides. Test one drip first: if it races to the board it is too warm, so let it cool a minute more. Once set, add a fondant bow and a few sprinkles on top. This creative hello kitty cake look is genuinely beginner-friendly and gives a modern, bakery-style finish.
15. Charming Heart and Bow Cake
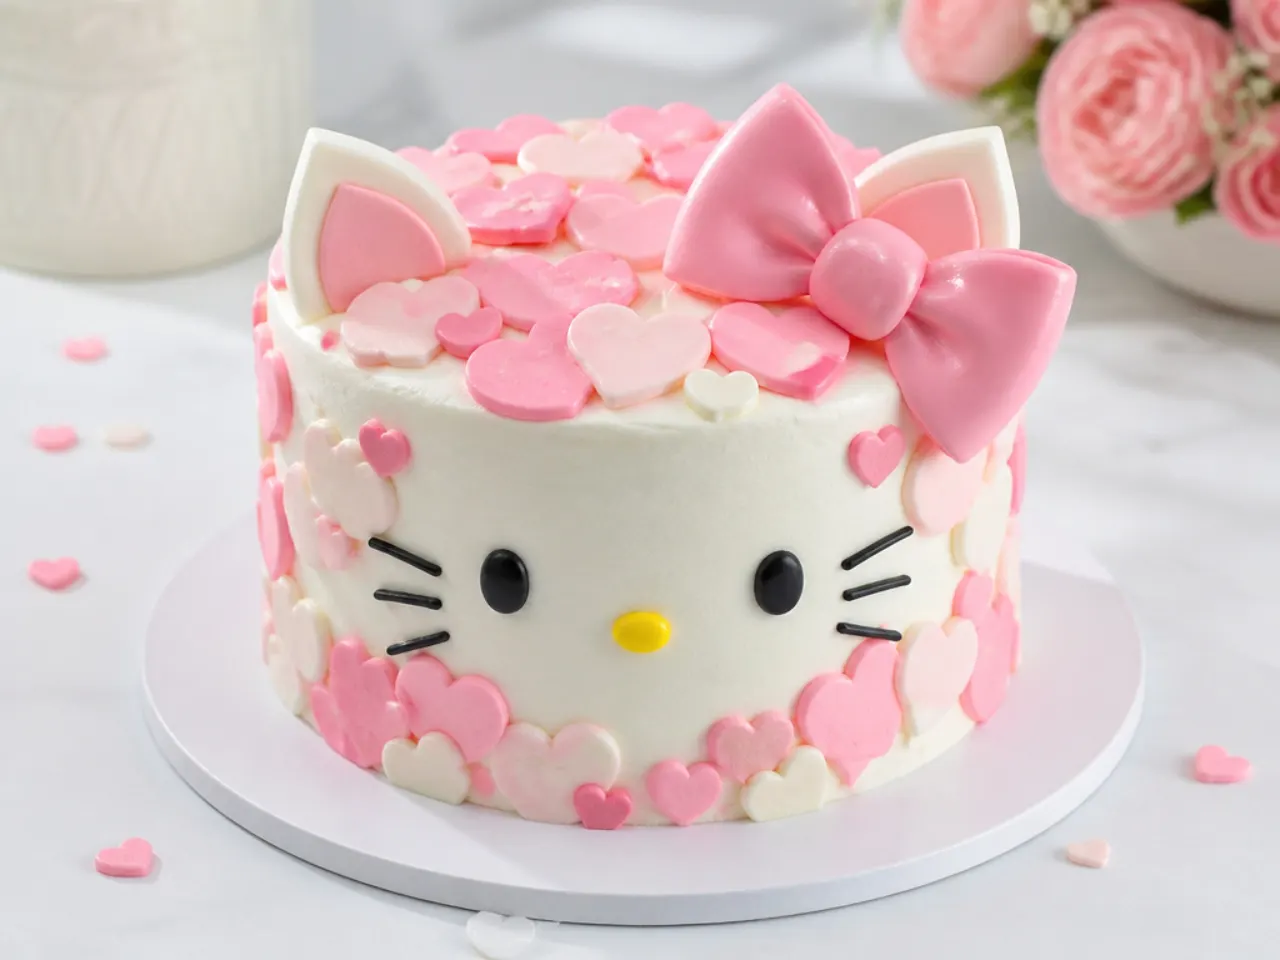
Cover the cake in small piped hearts for a sweet, love-themed take on the hello kitty smash cake. Pipe the hearts by making two side-by-side dots and dragging the tail down to a point with a Wilton 12 round tip, working in rows of alternating pink and white. Add a slightly larger fondant heart and a bow at the top as the focal point. This charming design is repetitive but simple, so it is a good one to do while the baby naps. Keep the hearts small and evenly spaced, and chill the cake first so each heart holds its shape as you pipe.
Tips to Make These Ideas Easier
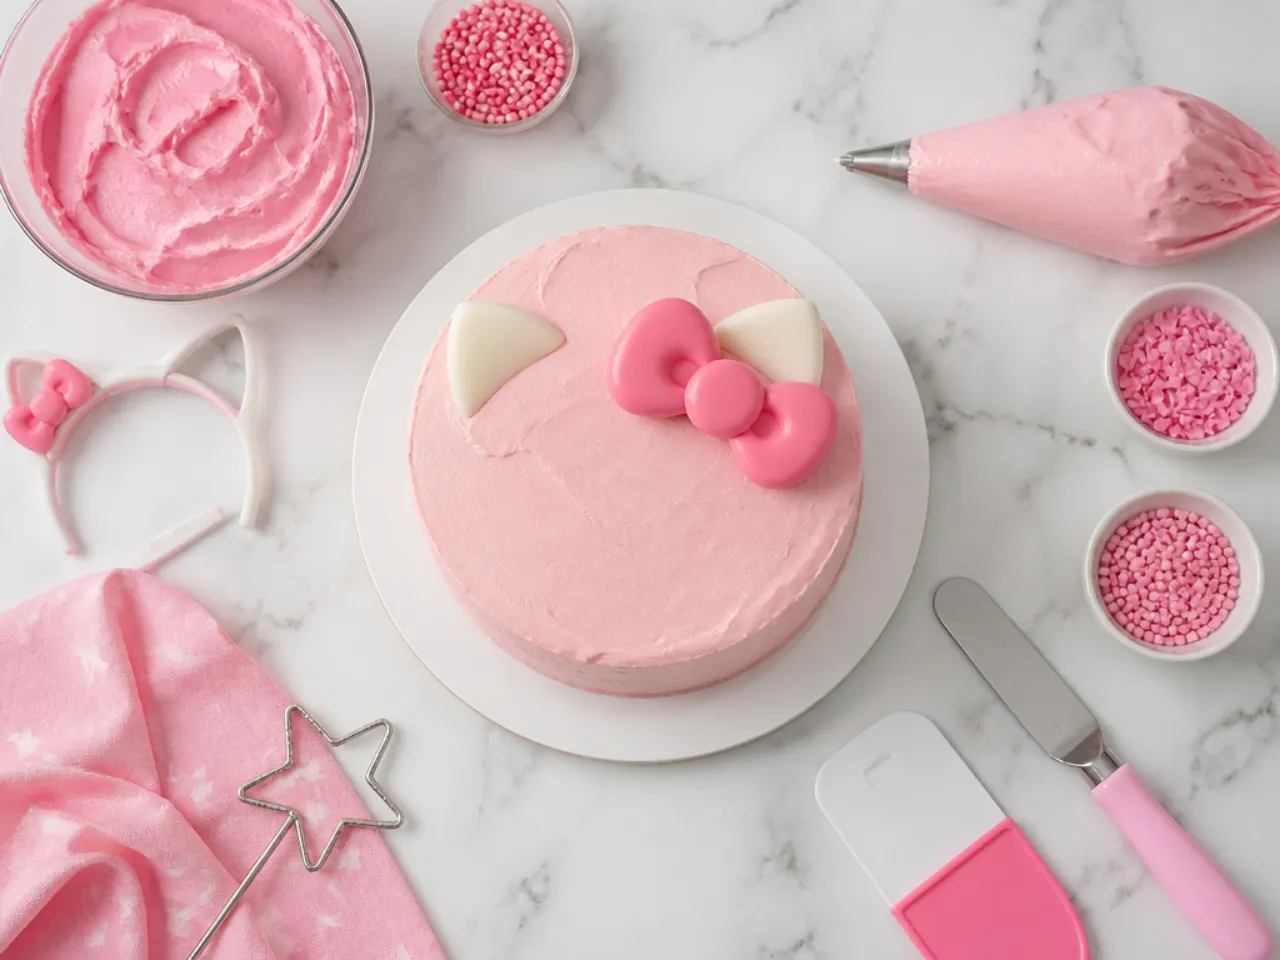
Bake and freeze your cake layers up to two months ahead, or refrigerate them wrapped for two days, since cold cake is far easier to frost cleanly. Always crumb coat first, chill 15 minutes, then apply the final coat to trap crumbs and get a smooth finish. Make fondant bows and any drying decorations a full day in advance so they hold their shape when you place them. Use gel food coloring instead of liquid to get vivid pinks and reds without thinning your buttercream. Keep a cup of hot water nearby to warm your bench scraper for glassy smooth sides, wiping it dry between passes.
Common Mistakes to Avoid
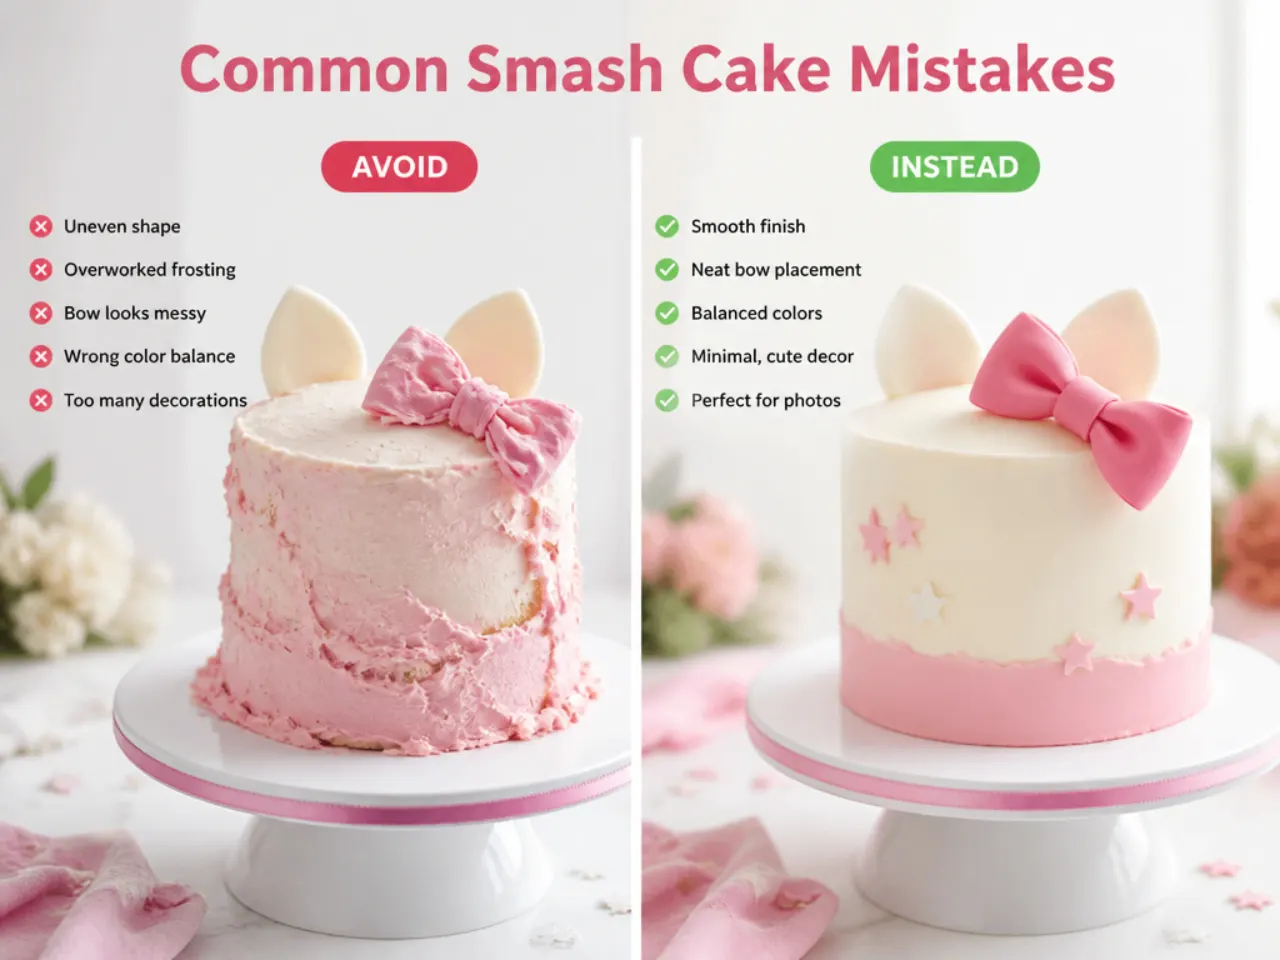
The biggest mistake is frosting a warm cake, which melts the buttercream and pulls crumbs everywhere, so always chill fully first. Do not use liquid food coloring for deep pinks or reds, as it thins the frosting and never reaches a true shade; use gel and let red rest an hour to deepen. Avoid making fondant bows the same day, since undried fondant sags and loses its loops, so shape them 24 hours ahead. For a baby's first birthday, skip hard, choke-risk decorations like hard sugar pearls or toothpick supports near where the child will grab. Finally, do not over-sugar a smash cake; keep it light so it is gentle on a one-year-old's tummy.
The Recipe
The Base Recipe — Make Any of These Ideas
30 min
25 min
1 hr 30 min
8
Beginner
Ingredients 8 Person(s)
Directions
Step 1: Prep pans and oven
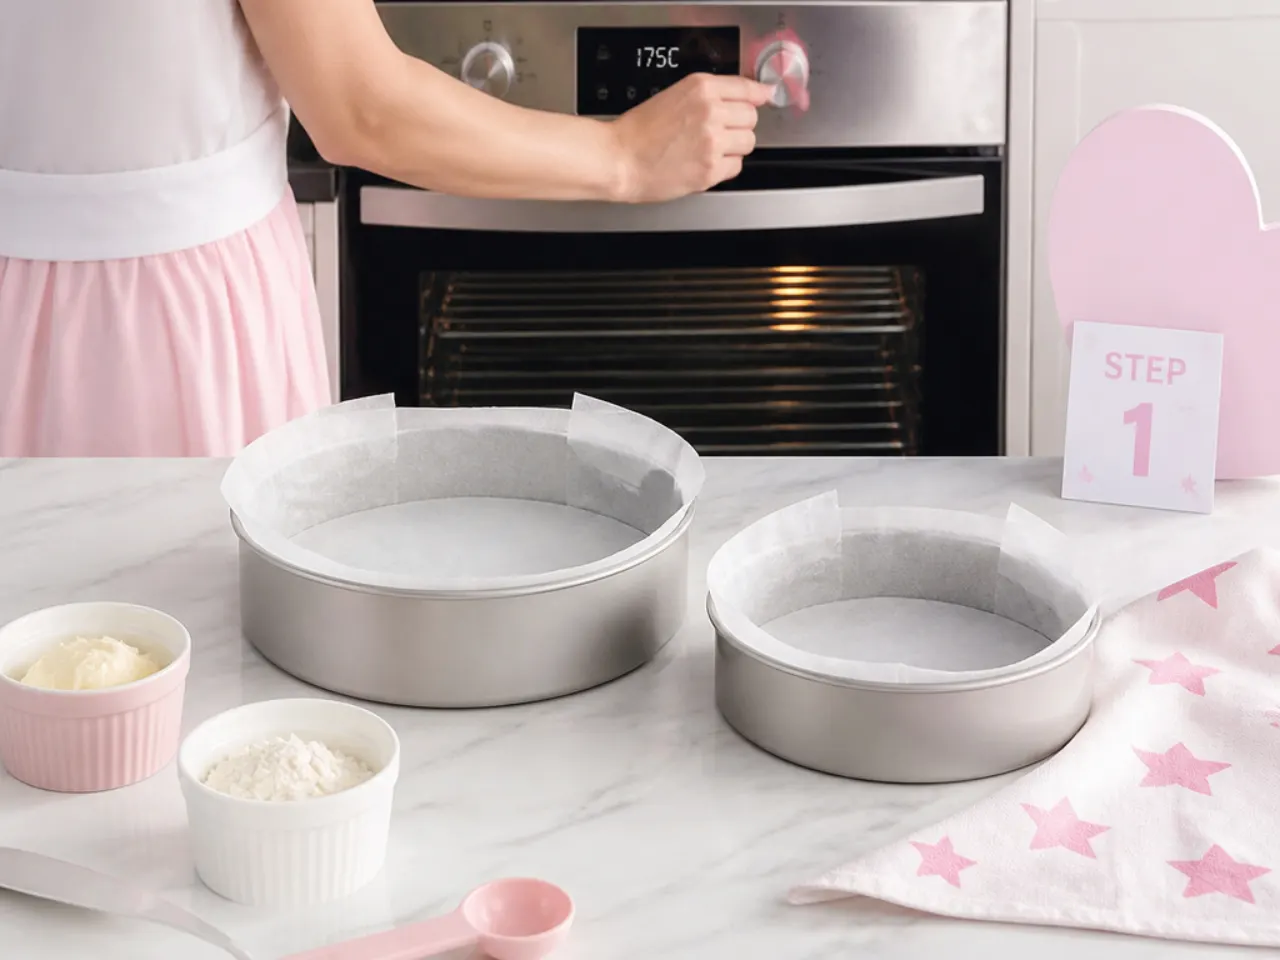
Preheat the oven to 175°C (350°F). Grease two 6-inch round cake pans, line the bottoms with parchment circles, and lightly flour the sides. If you only have one pan, bake in batches. A 6-inch cake is the ideal smash cake size for a one-year-old.
Step 2: Combine the dry ingredients
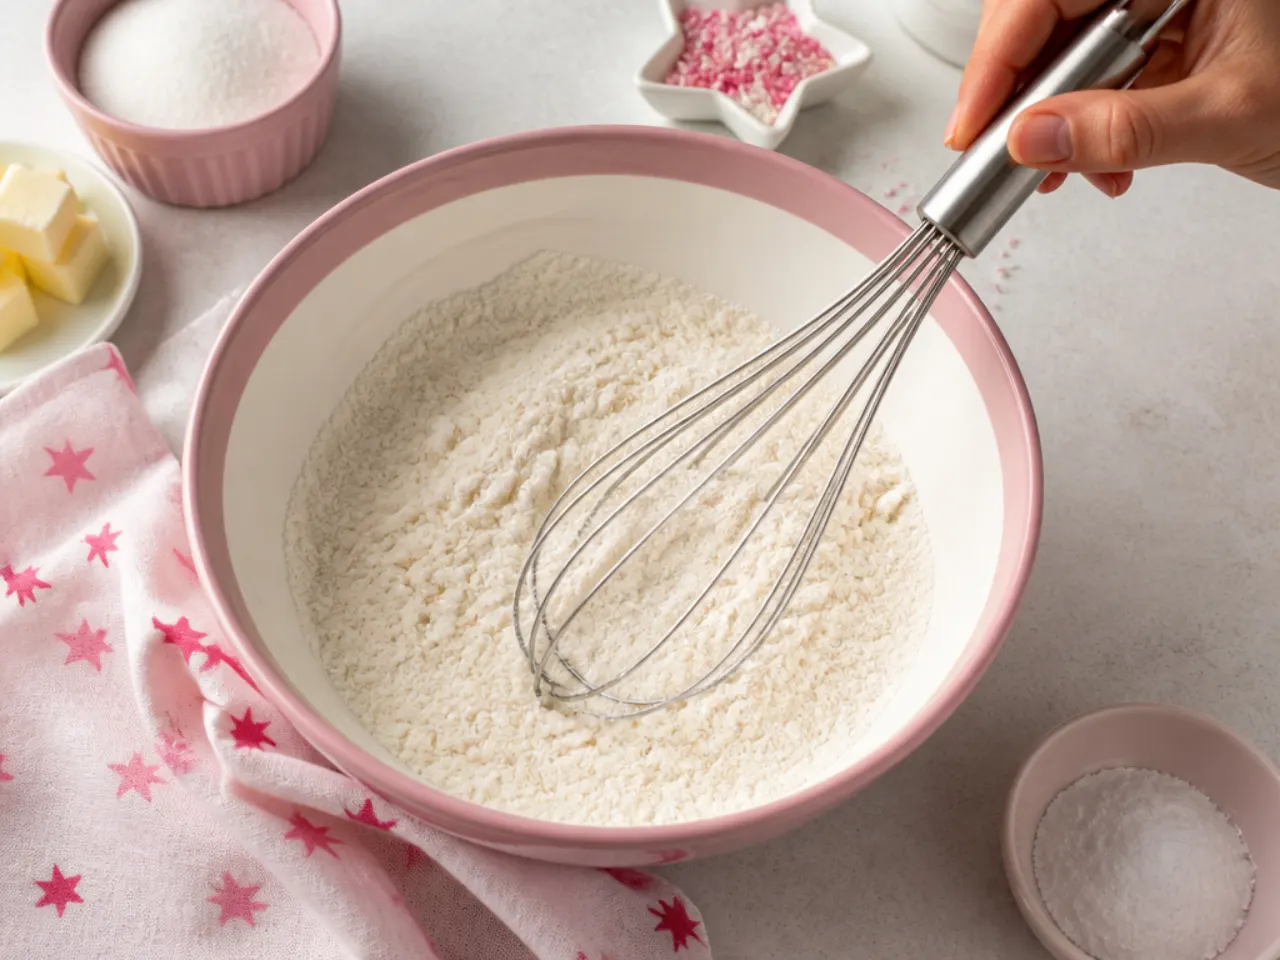
In a bowl, whisk together the flour, baking powder, and salt until evenly blended. Set aside. Whisking now prevents pockets of baking powder that leave bitter spots in the finished cake.
Step 3: Cream the butter and sugar
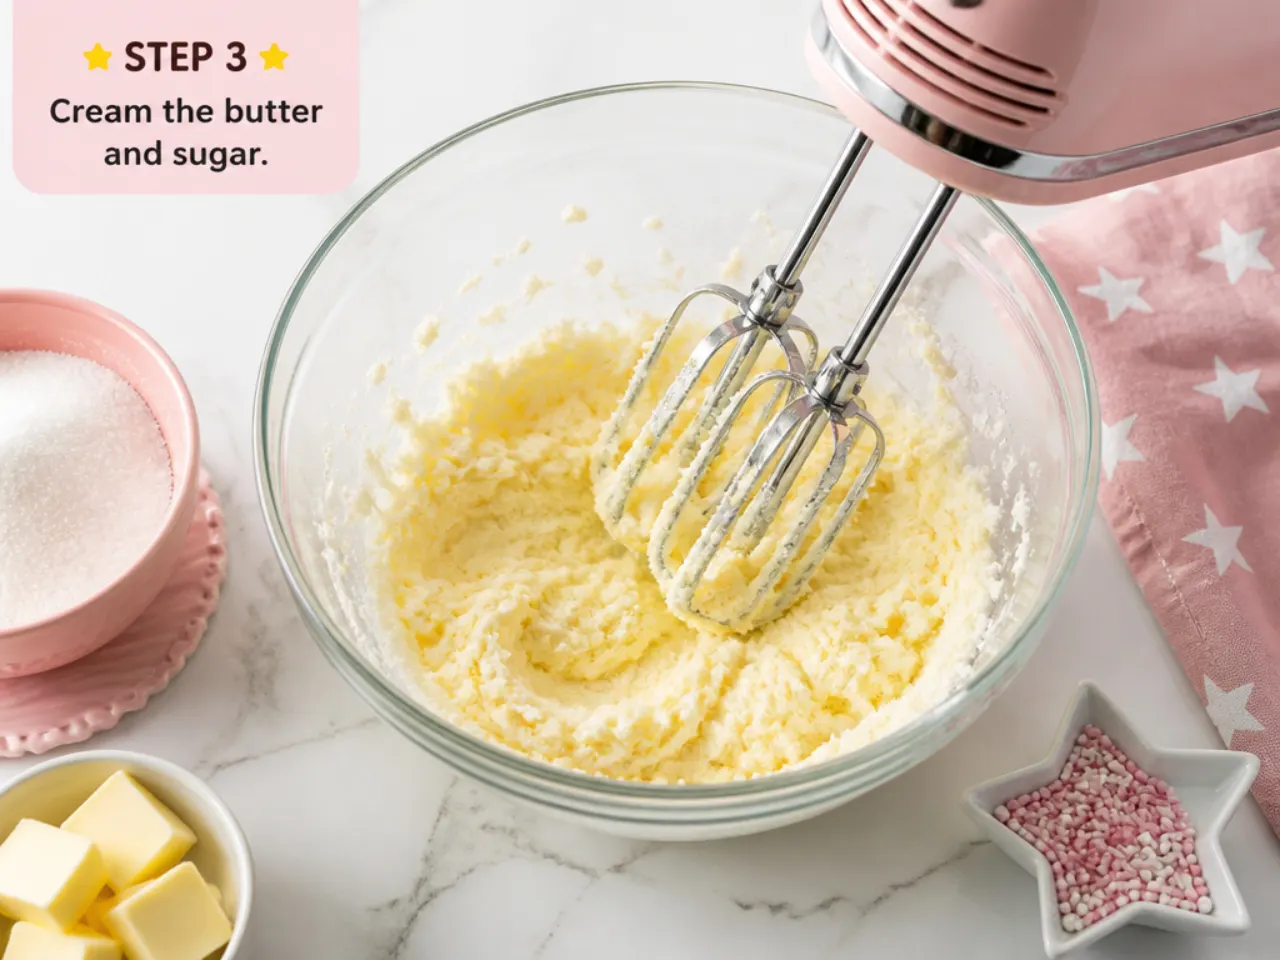
Beat the softened butter and granulated sugar with an electric mixer on medium speed for 4 to 5 minutes until pale and fluffy. This step traps air for a light crumb, so do not rush it. Scrape down the bowl once halfway through.
Step 4: Add eggs and vanilla
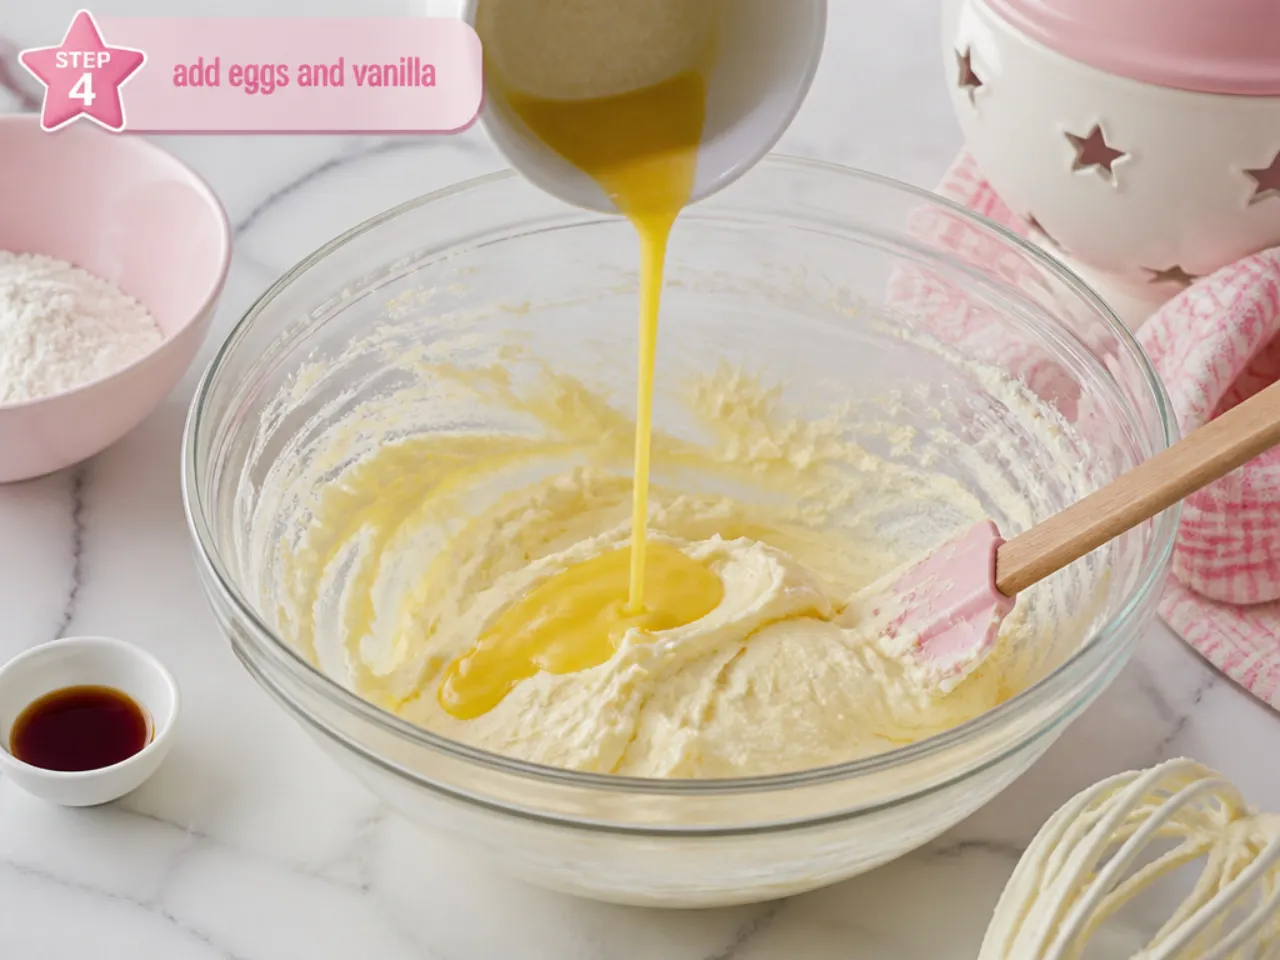
Add the eggs one at a time, beating well after each so the batter does not curdle, then mix in the vanilla. If the mixture looks slightly split, add a tablespoon of the flour mixture to bring it back together. Room-temperature eggs blend in far more smoothly than cold ones.
Step 5: Alternate flour and milk
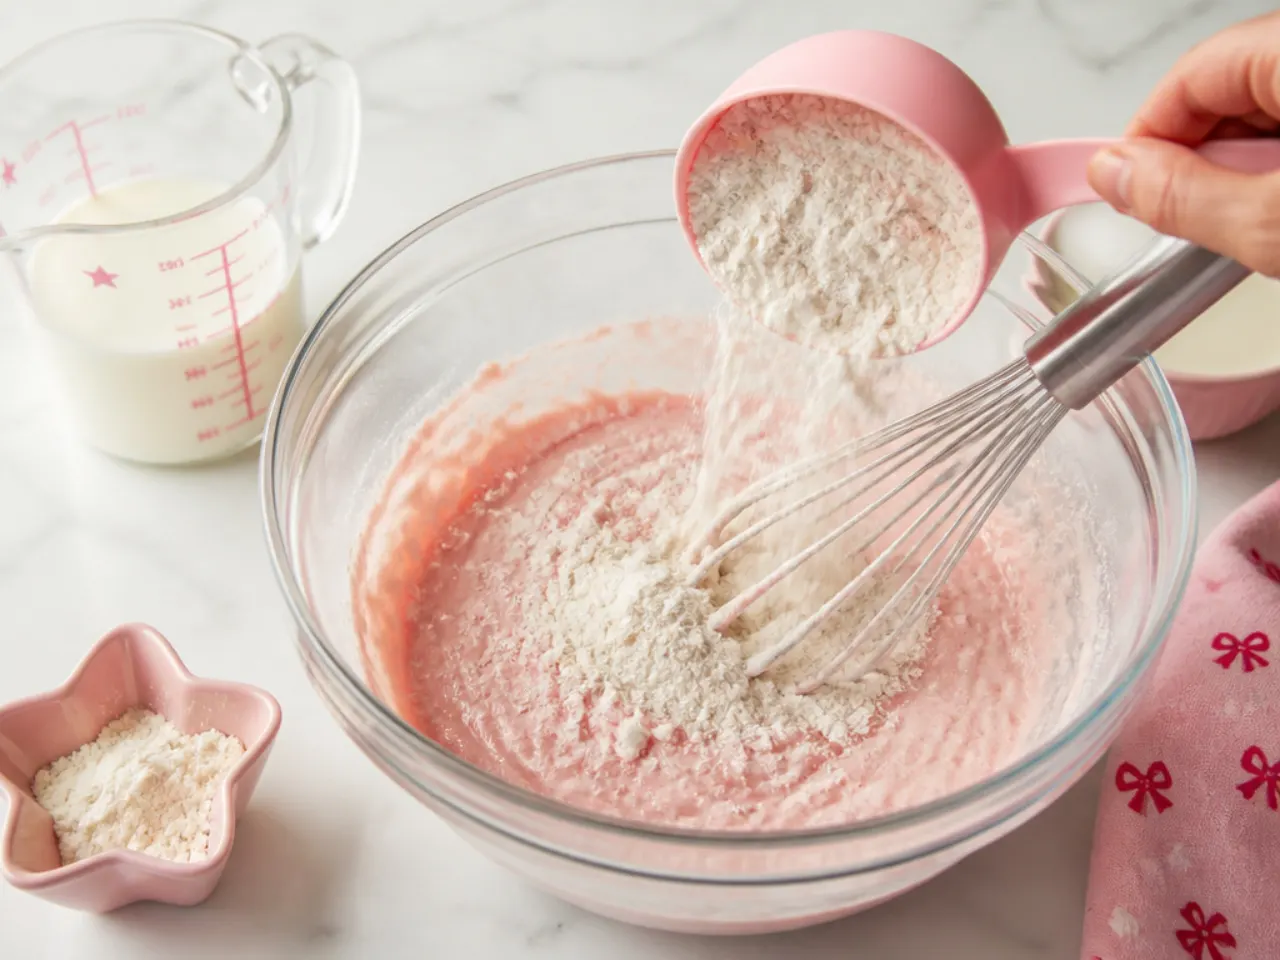
With the mixer on low, add the dry ingredients in three additions, alternating with the milk in two additions, starting and ending with flour. Mix each time only until just combined, as overmixing develops gluten and toughens the cake. Divide the batter evenly between the two pans.
Step 6: Bake and cool
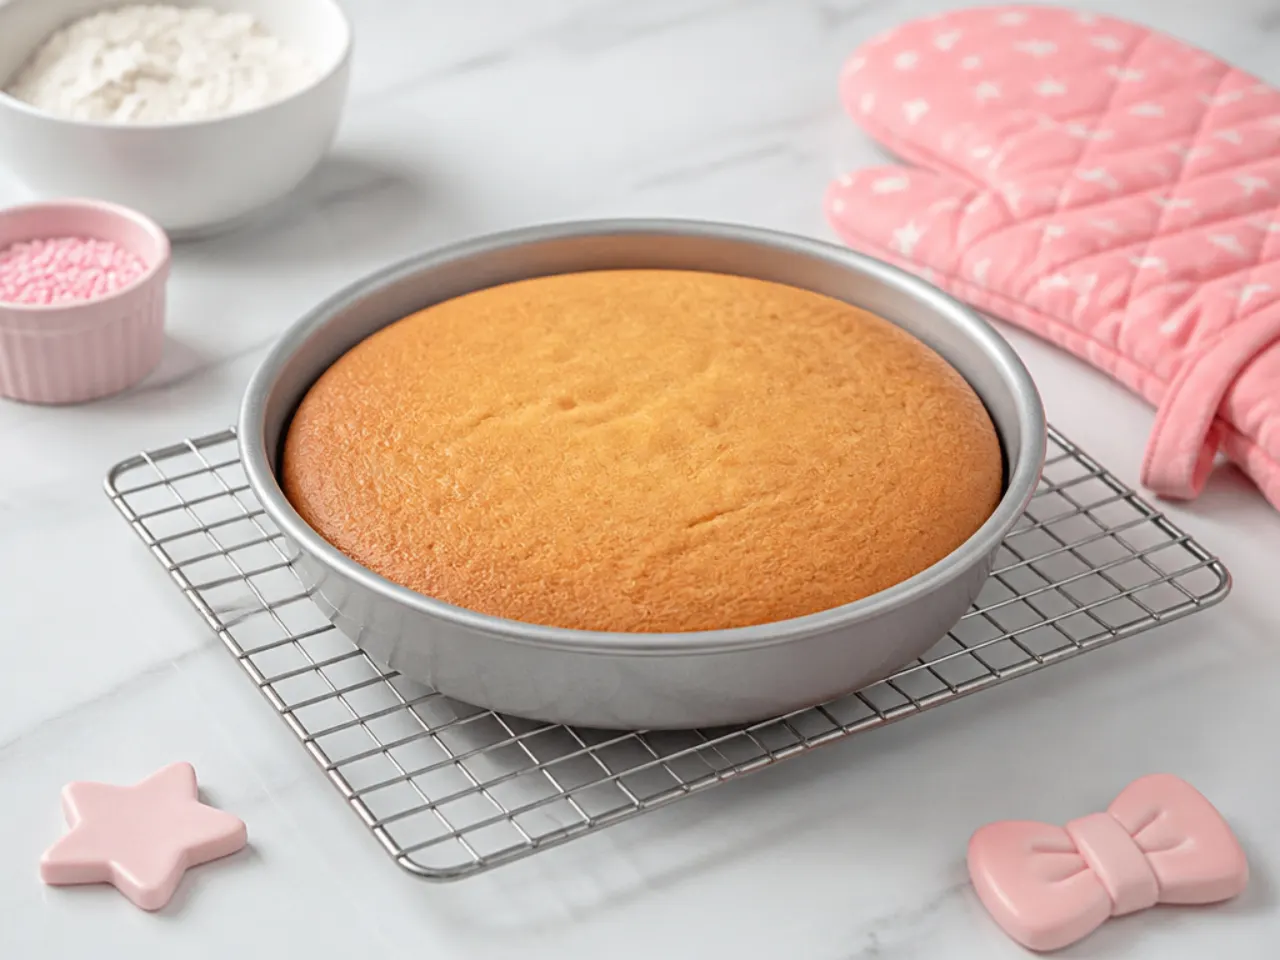
Bake for 22 to 26 minutes, until a toothpick inserted in the center comes out clean and the tops spring back when lightly pressed. Cool in the pans for 10 minutes, then turn out onto a rack to cool completely. Never frost a warm cake, as the buttercream will melt; chill the layers for at least 30 minutes before decorating.
Step 7: Make the buttercream and frost
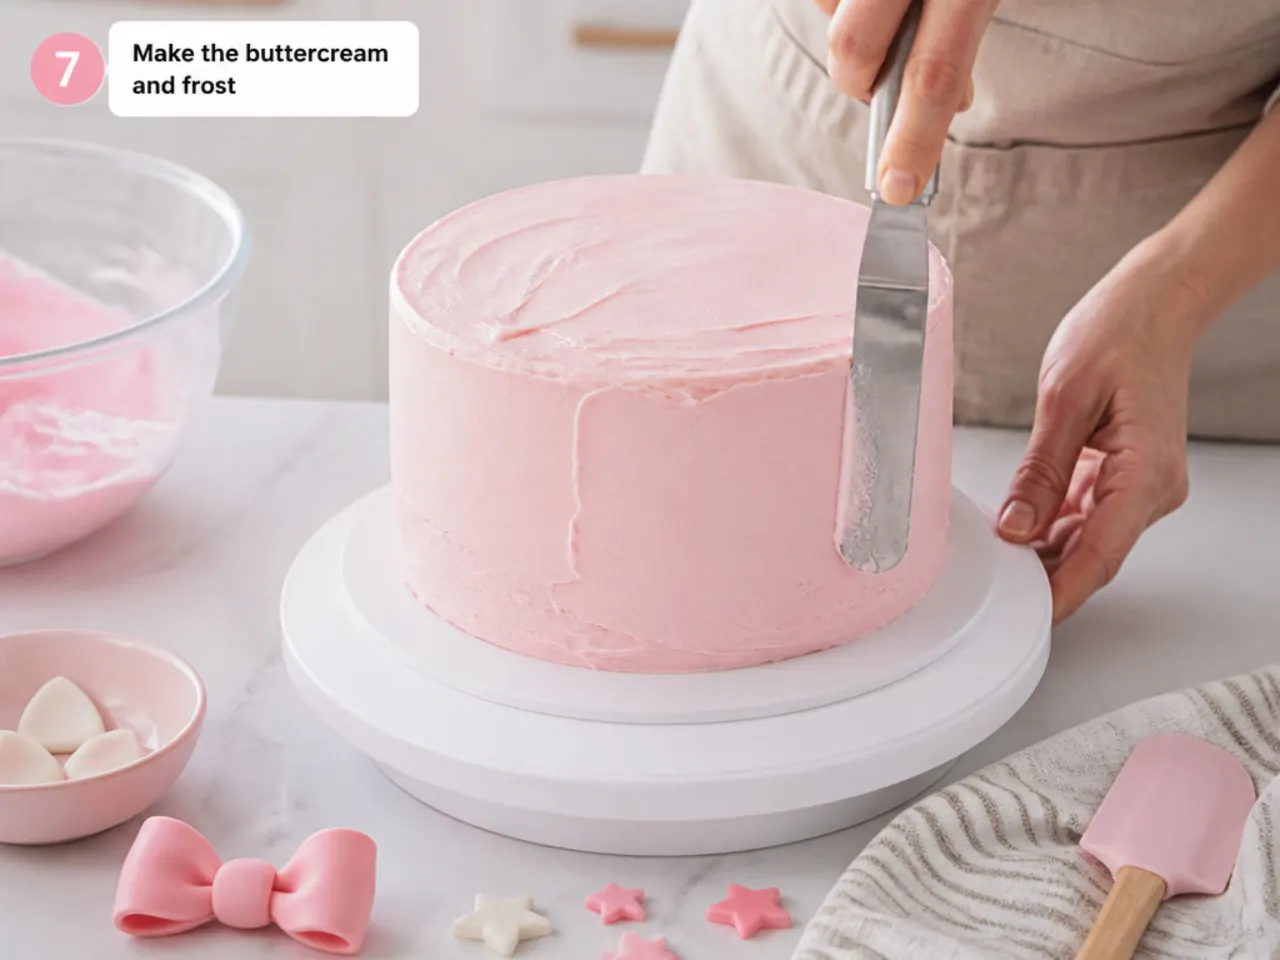
Beat the 225 g softened butter for 3 minutes until pale, then add the sifted icing sugar in two additions with the vanilla, beating until fluffy. Tint with pink gel color a little at a time. Crumb coat the stacked layers, chill 15 minutes, then apply a smooth final coat and add your chosen bow or piped decorations.
Frequently Asked Questions
Bake the cake layers up to two months ahead and freeze them wrapped tightly, or refrigerate wrapped layers for up to two days. Make fondant bows and any drying decorations a day ahead. Assemble and frost the cake the day before or the morning of the party, then keep it chilled and bring it to room temperature about an hour before the smash so the sponge is soft.
Save this for later 📌
Pin this article to your Pinterest board so the full list is one tap away when you need it.
Save on Pinterest