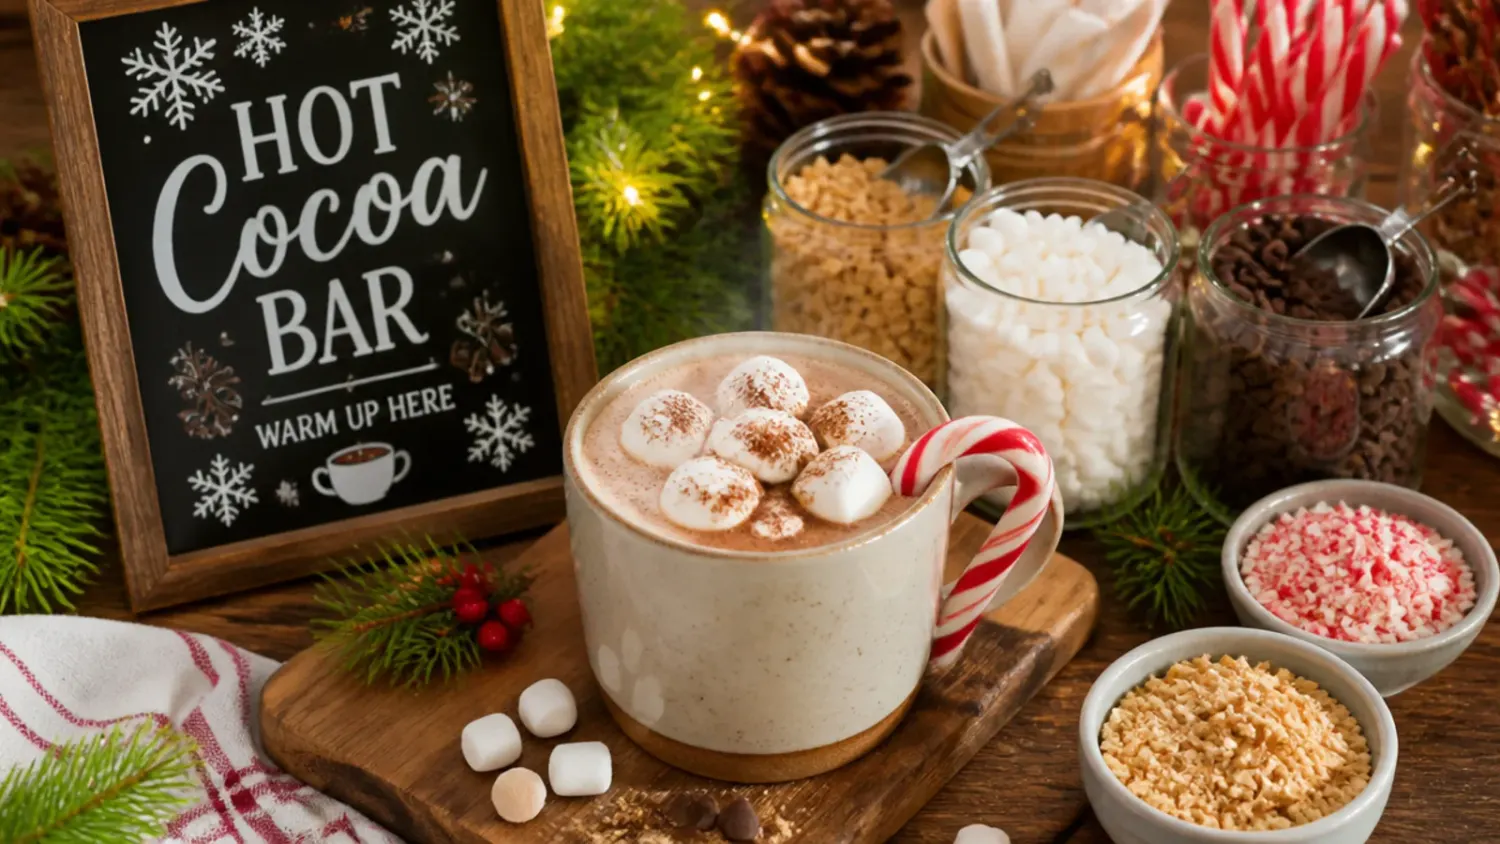
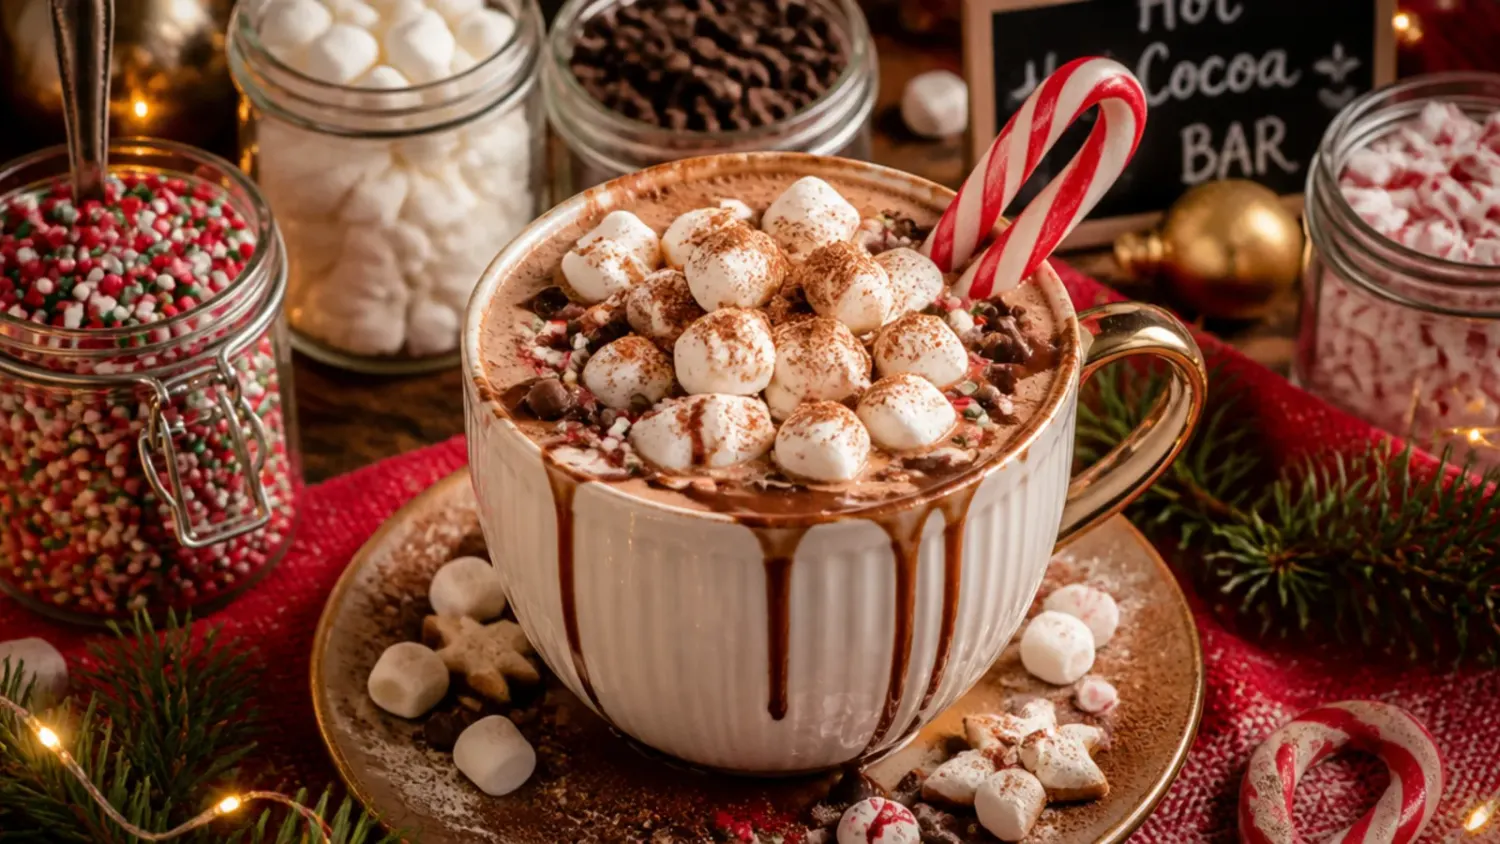
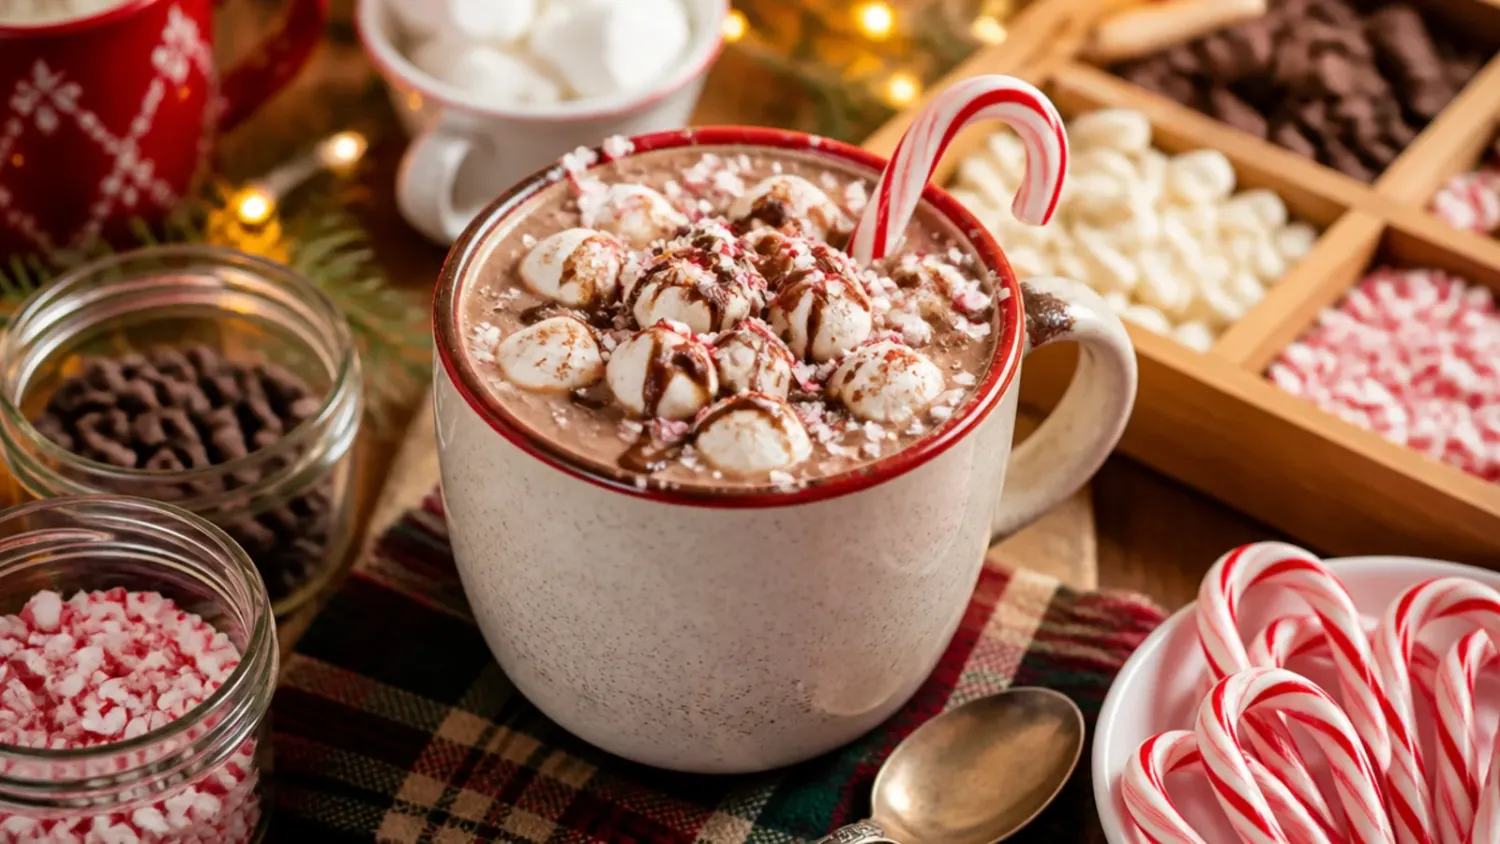
20 Christmas Hot Cocoa Bar Ideas That Are Dreamy
20 Christmas hot cocoa bar ideas with real ratios, festive toppings and make-ahead tips so every mug feels like a treat. If you love hot cocoa bar inspiration, start with our Hot Cocoa Bar Ideas collection, then browse the full Hot Drinks & Cocoa hub for more.

Save this for later 📌
Pin this article to your Pinterest board so the full list is one tap away when you need it.
Save on PinterestHot Drinks & Cocoa
Beginner
Recipes
20 ideas
Table of Contents
- Why You'll Love These
- 1. Classic Creamy Cocoa Bar Base
- 2. Peppermint Candy Cane Station
- 3. Gingerbread Spice Cocoa
- 4. Simple Salted Caramel Cocoa
- 5. Creamy White Chocolate Snowman Cocoa
- 6. Loaded S'mores Cocoa Bar
- 7. Best-Ever Nutella Hazelnut Cocoa
- 8. Spiced Eggnog Cocoa
- 9. Budget Pantry Cocoa Bar
- 10. Crowd-Pleasing Slow-Cooker Cocoa
- 11. Make-Ahead Cocoa Mix Jars
- 12. Kid-Friendly Family Cocoa Bar
- 13. Festive Red Velvet Cocoa
- 14. Quick 5-Minute Mug Cocoa
- 15. Homemade From-Scratch Cocoa
- 16. Mocha Coffee Cocoa Station
- 17. Easy Orange Chocolate Cocoa
- 18. Cozy Toasted Coconut Cocoa
- 19. Simple Toffee Butterscotch Cocoa
- 20. Creamy Marshmallow Fluff Snowfall Cocoa
- Pro Tips
- Serving and Garnish Ideas
- Make It Ahead and Batch Tips
Why You'll Love These
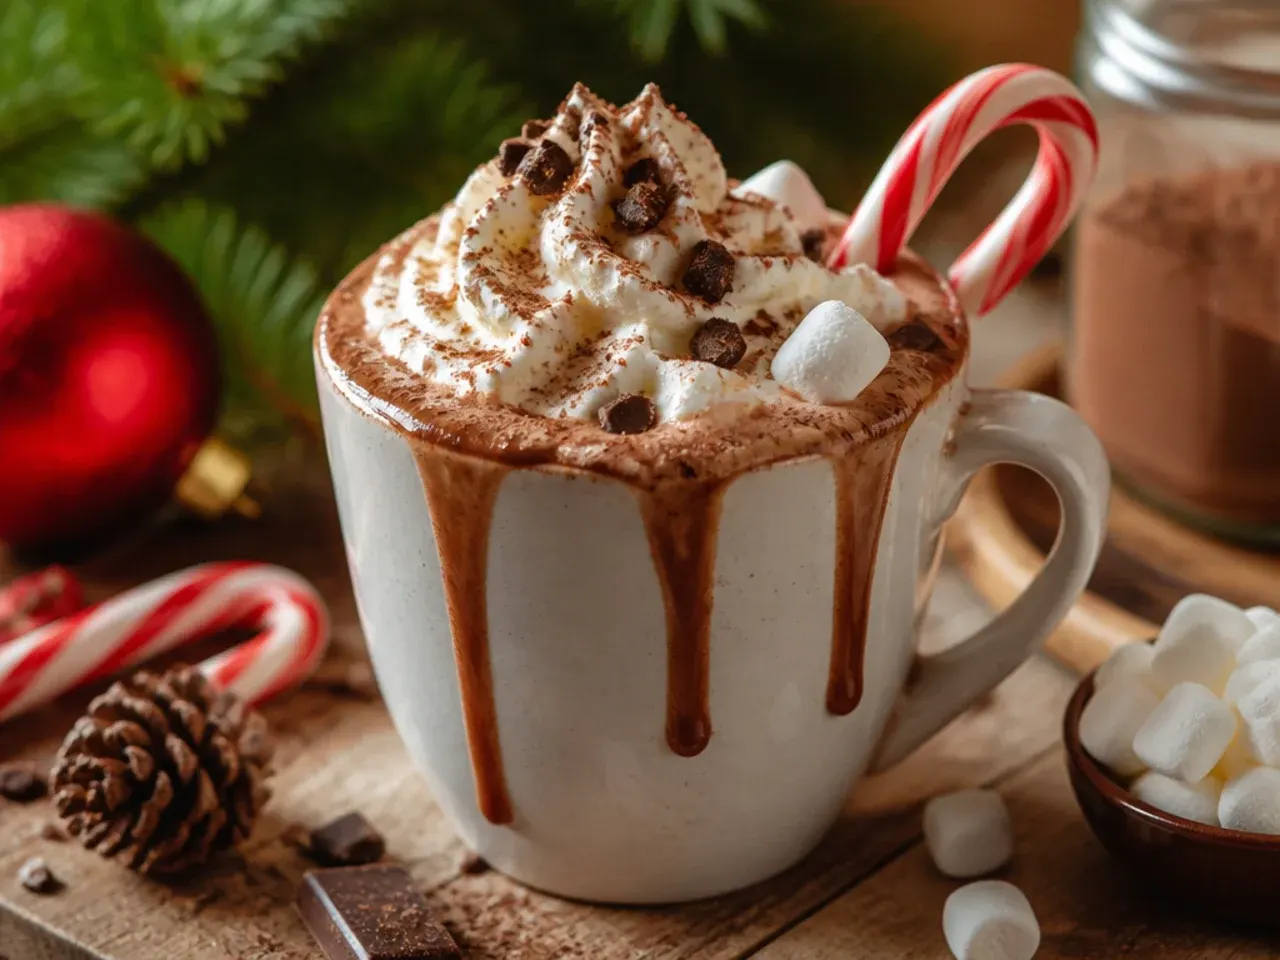
A hot cocoa bar christmas spread turns one big pot of cocoa into twenty different mugs, since everyone builds their own from a shared base and a spread of festive toppings. It's less work than making twenty separate drinks and far more fun for a party, because guests get to choose their own flavour combination. Each idea below changes one or two things, a spice, a syrup, a topping, so you can mix and match rather than treat these as fixed recipes. Every variation gives real quantities and a concrete tip, so the base always turns out rich rather than thin and watery.
1. Classic Creamy Cocoa Bar Base
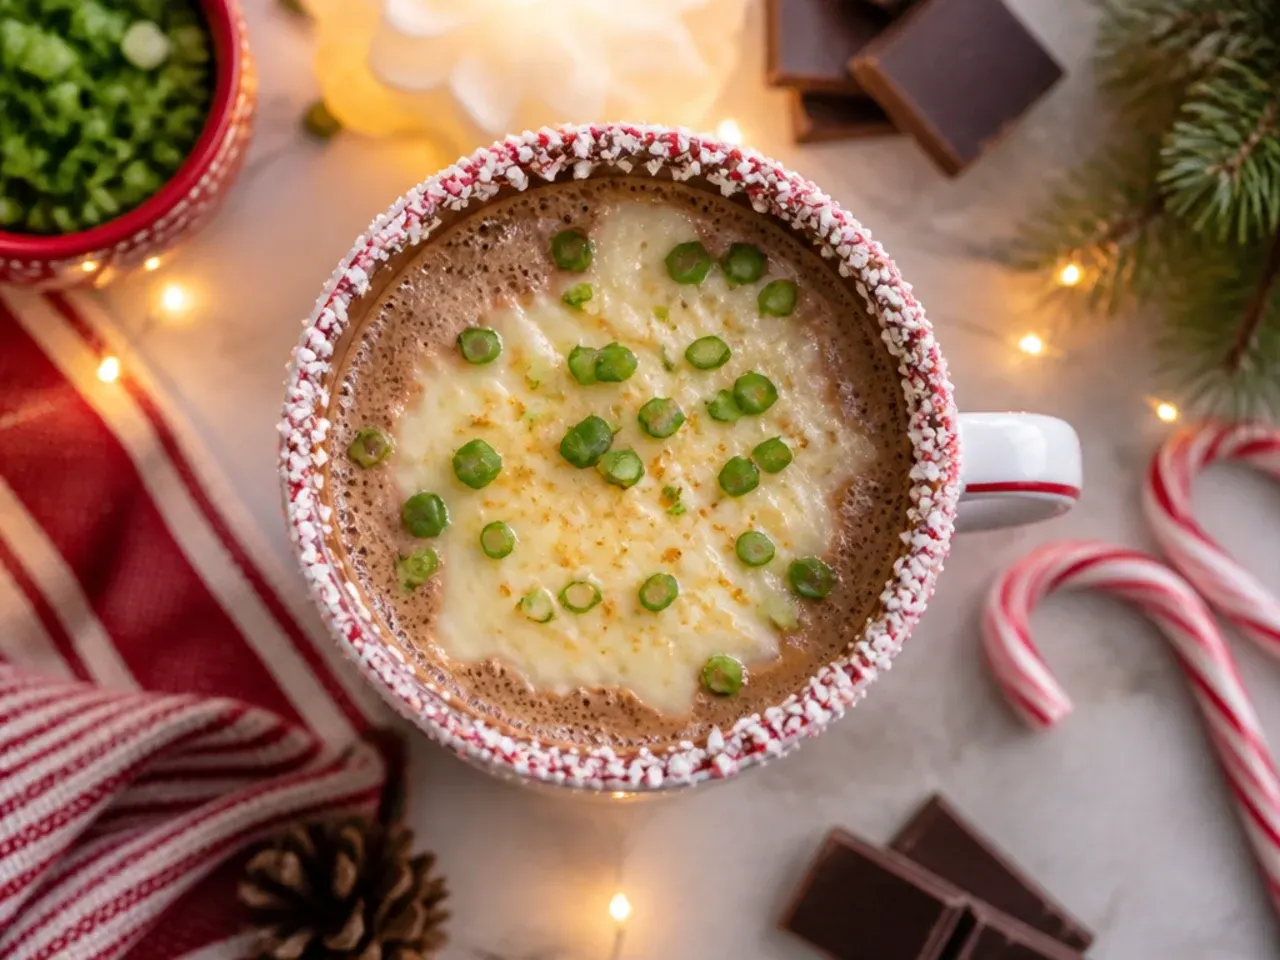
Start with 1 litre (4 cups) whole milk warmed gently with 60g (1/2 cup) cocoa powder whisked into a smooth paste with sugar first, this is the base every other variation on this list builds from. Keep it just below a simmer, small bubbles at the edge of the pan, not a rolling boil, or the milk can scorch and taste faintly burnt. Set it out in a thermal pot or slow cooker on warm so it holds temperature through a whole party. This is the mug to make first if you're new to running a cocoa bar.
2. Peppermint Candy Cane Station
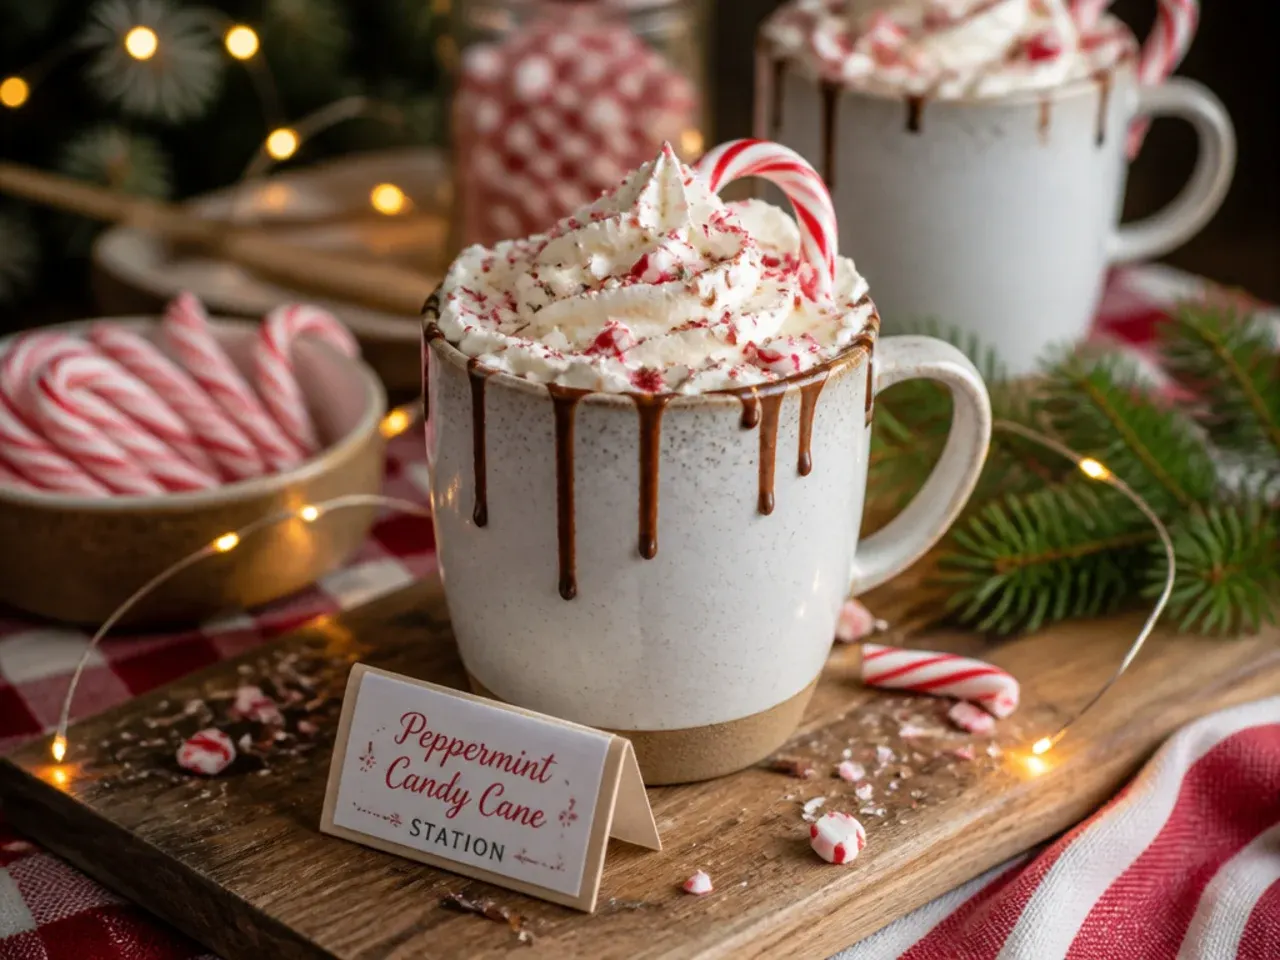
Set out a bowl of crushed candy canes and a small jug of peppermint extract so guests can stir 1-2 drops into their own mug rather than flavouring the whole batch, since peppermint gets overpowering fast in large quantities. Crush the candy canes coarsely rather than to a powder, so they stay crunchy on top instead of dissolving instantly. A candy cane hooked over the mug rim doubles as both stirrer and garnish. This pairing works because the sharp mint cuts through the richness of the classic base.
3. Gingerbread Spice Cocoa
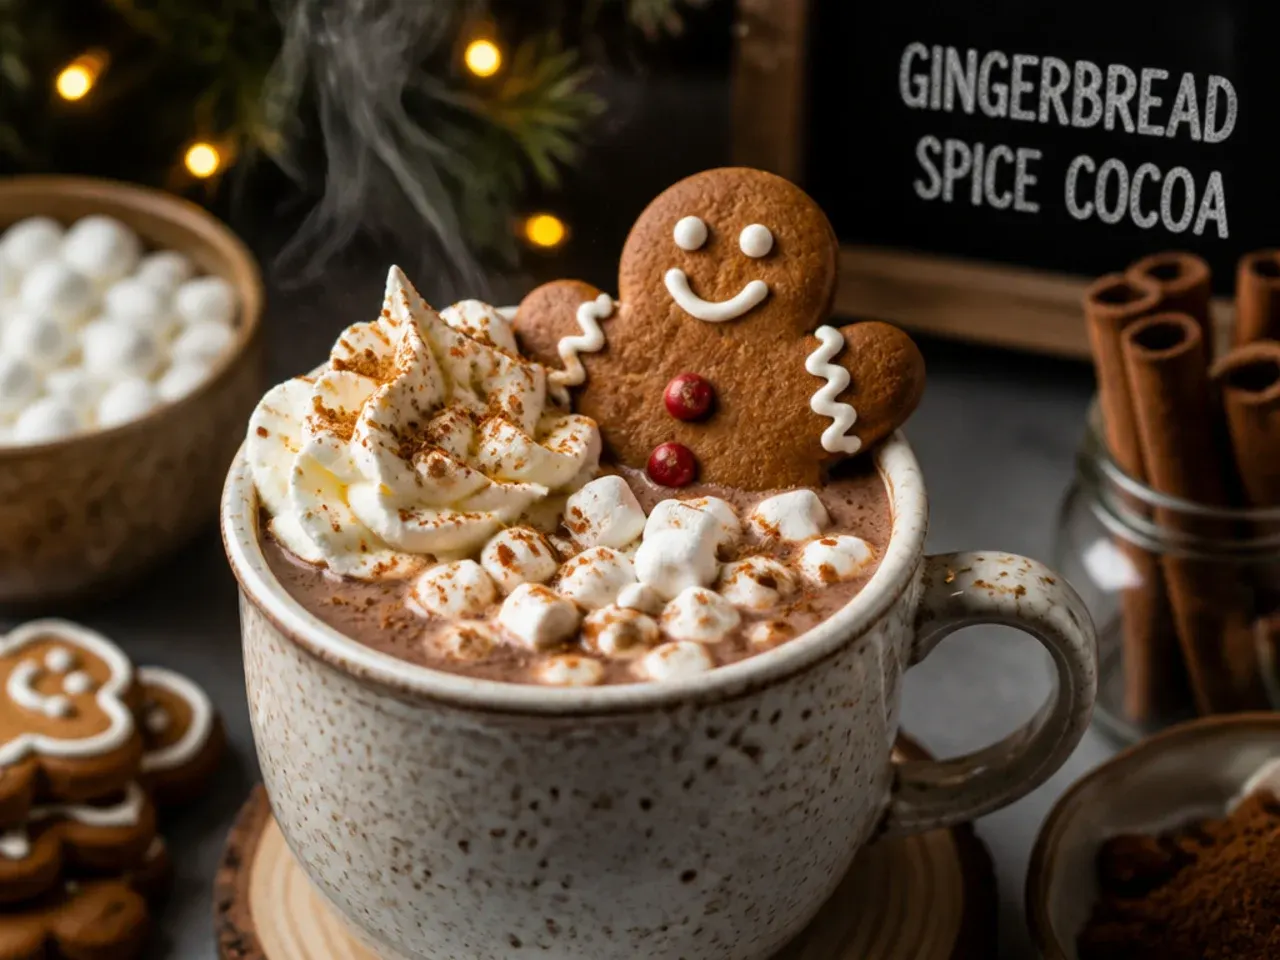
Warm 1/2 teaspoon each of ground ginger, cinnamon and a pinch of nutmeg into the base batch along with a tablespoon of black treacle or golden syrup per litre, letting the spices steep for a minute before serving. Straining the milk before it hits the pot gives a smoother mug if you want the spice flavour without visible flecks. Set out a small shaker of extra gingerbread spice at the bar so guests can dust their own cup to taste. A gingerbread biscuit balanced on the saucer makes a fitting edible garnish.
4. Simple Salted Caramel Cocoa
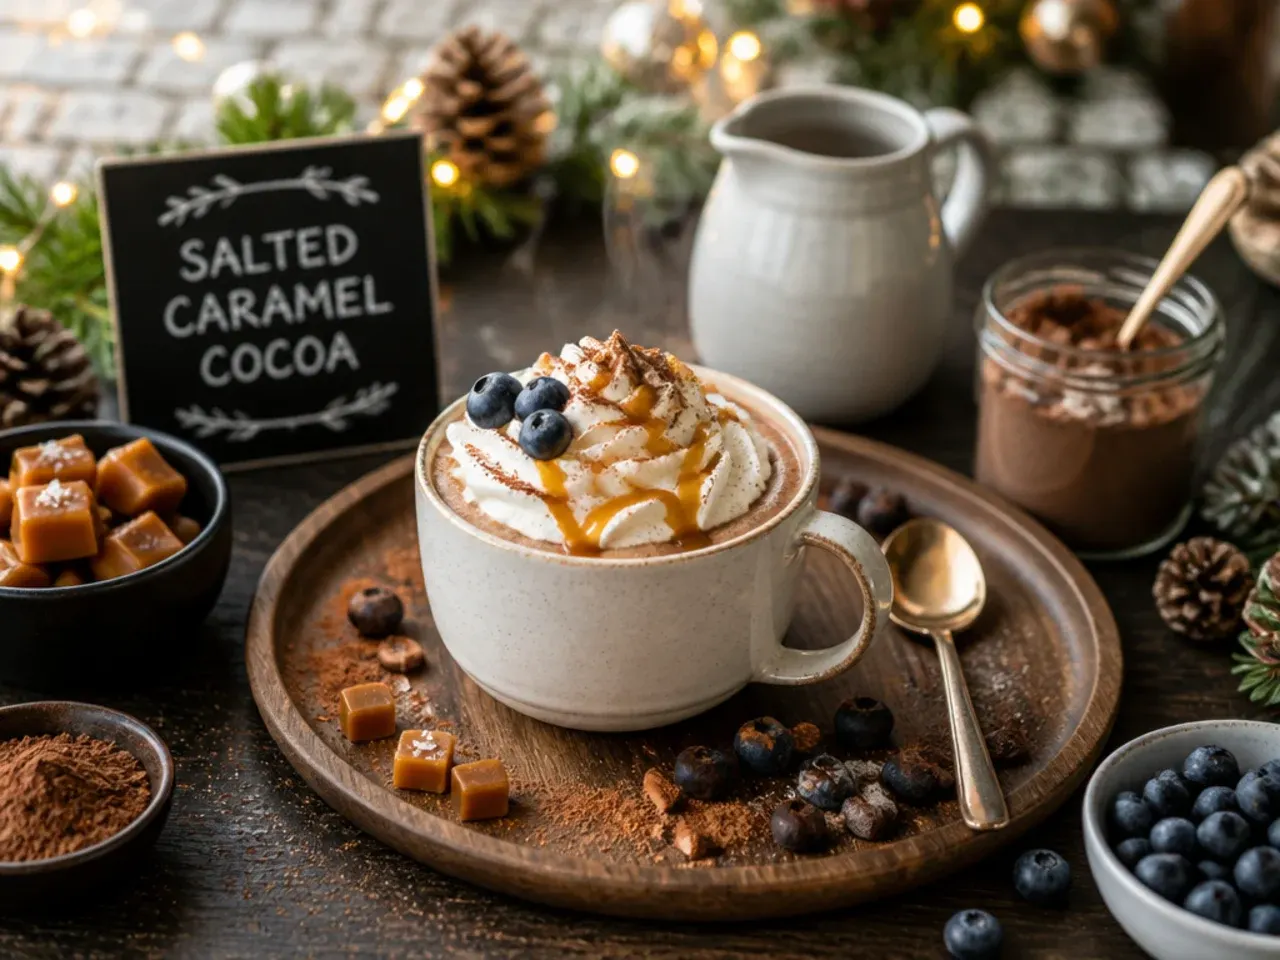
Keep a jug of warm caramel sauce at the bar so people can swirl 1-2 tablespoons into their own mug once poured, rather than sweetening the whole pot, which would make it too sweet for anyone who skips it. Set flaky sea salt in a small bowl alongside, a pinch on top of the cream is what makes the caramel taste balanced rather than just sugary. Drizzling caramel around the inside of an empty mug before pouring gives a cafe-style striped effect. This combination is popular because it needs almost no extra effort at party time.
5. Creamy White Chocolate Snowman Cocoa
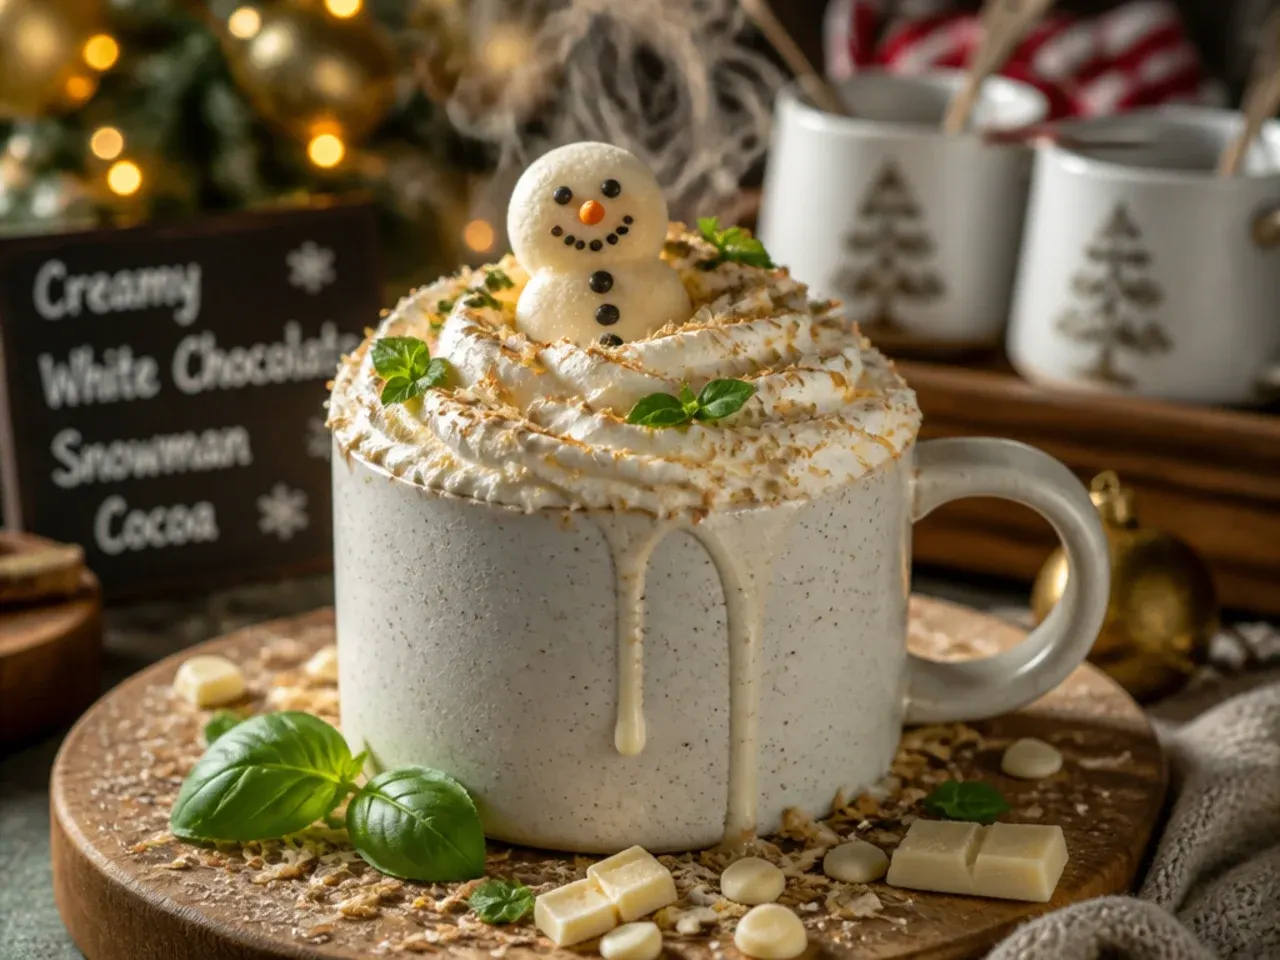
Make a second small pot alongside the classic base using 250g (9 oz) chopped white chocolate melted into 1 litre (4 cups) warm milk instead of cocoa powder, since white chocolate needs gentler, lower heat or it scorches fast. Skip extra sugar here, white chocolate is already sweet enough on its own. Float a mini marshmallow snowman of three stacked marshmallows on top with a chocolate chip for buttons, a fun detail for kids at the bar. This pale, sweet version sits well next to the darker classic pot for contrast.
Save this for later 📌
Pin this article to your Pinterest board so the full list is one tap away when you need it.
Save on Pinterest6. Loaded S'mores Cocoa Bar
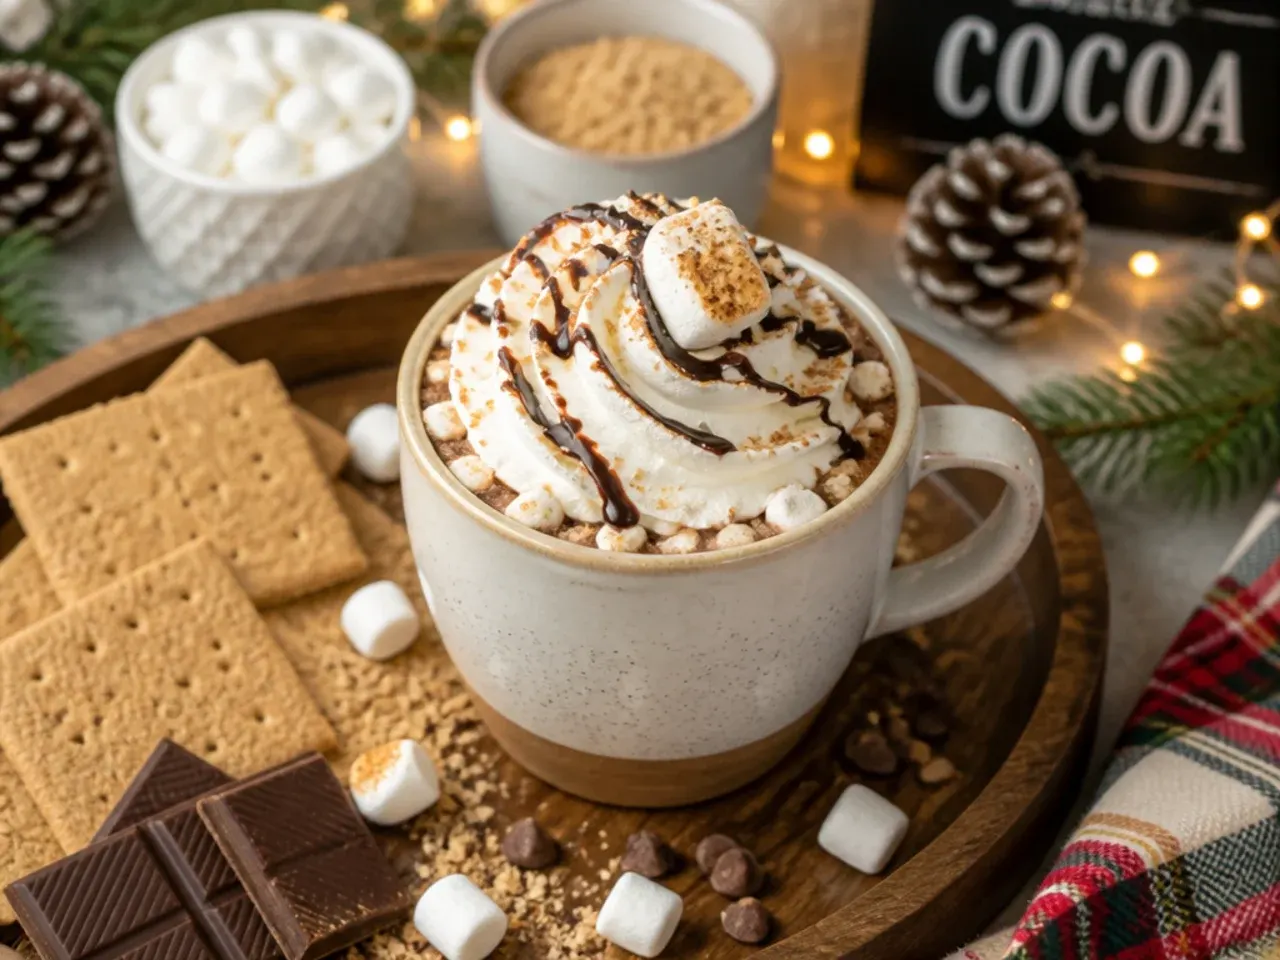
Set out mini marshmallows, crushed digestive biscuits or graham crackers, and chocolate chunks so guests can layer all three onto their mug at once, that's what makes it 'loaded' rather than just topped. A quick blast from a kitchen blowtorch toasts the marshmallows golden right on top of the drink, or pop mugs briefly under a hot grill if you don't have one. Crush the biscuits coarsely so pieces cling to the whipped cream instead of sinking straight to the bottom. This is the most popular station at parties with children.
7. Best-Ever Nutella Hazelnut Cocoa
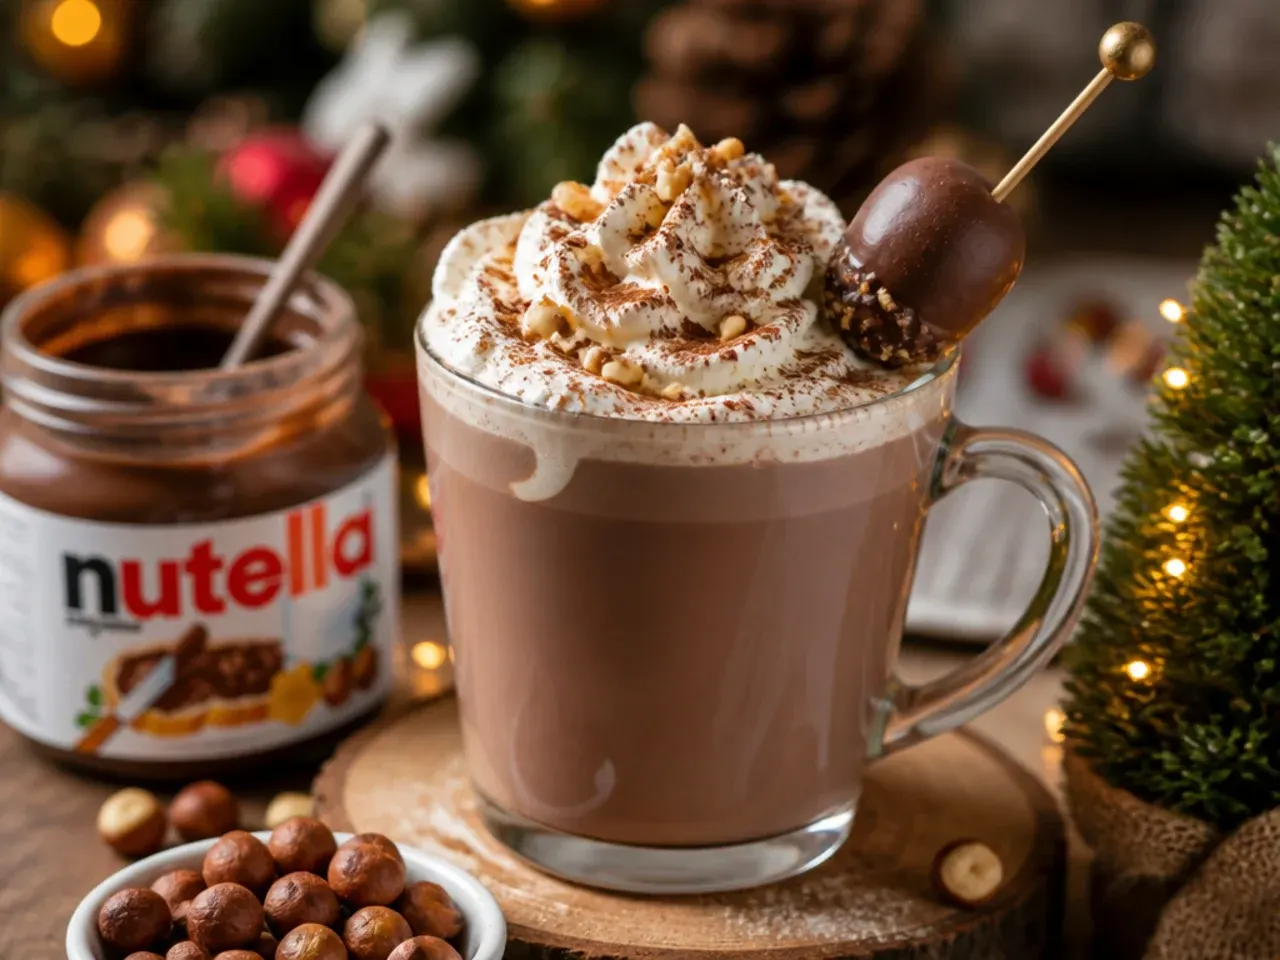
Whisk 2 heaped tablespoons of a hazelnut-chocolate spread into warm milk per mug until fully dissolved, no separate cocoa or chocolate needed for this one. It melts faster than a chocolate bar because it already contains sugar and oil, so it only needs about 30 seconds of steady whisking. Taste before adding any extra sugar, since most hazelnut spreads make the drink plenty sweet on their own. Crushed roasted hazelnuts scattered over the cream topping echo the flavour and add a welcome crunch.
8. Spiced Eggnog Cocoa
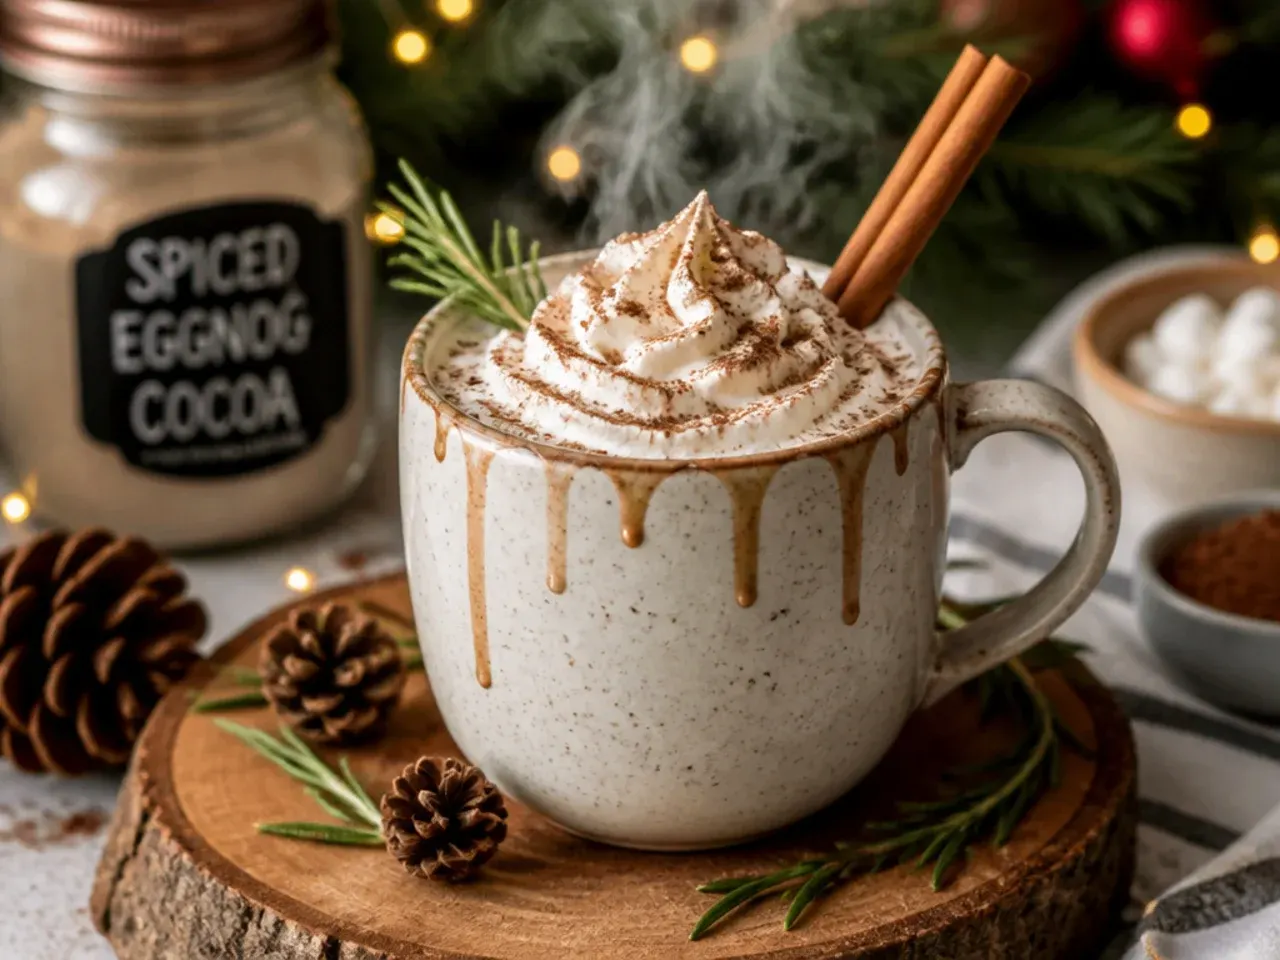
Replace half the milk in the base with shop-bought eggnog, so roughly 500ml (2 cups) eggnog to 500ml (2 cups) milk per litre batch, which keeps the drink rich without tasting purely of eggnog. Warm the two together gently rather than boiling, eggnog can split if it gets too hot too fast. A light dusting of ground nutmeg on top is the traditional finish and takes the flavour straight back to classic eggnog. This one is best made in smaller batches, since it doesn't hold as long on warm as the plain milk base.
9. Budget Pantry Cocoa Bar
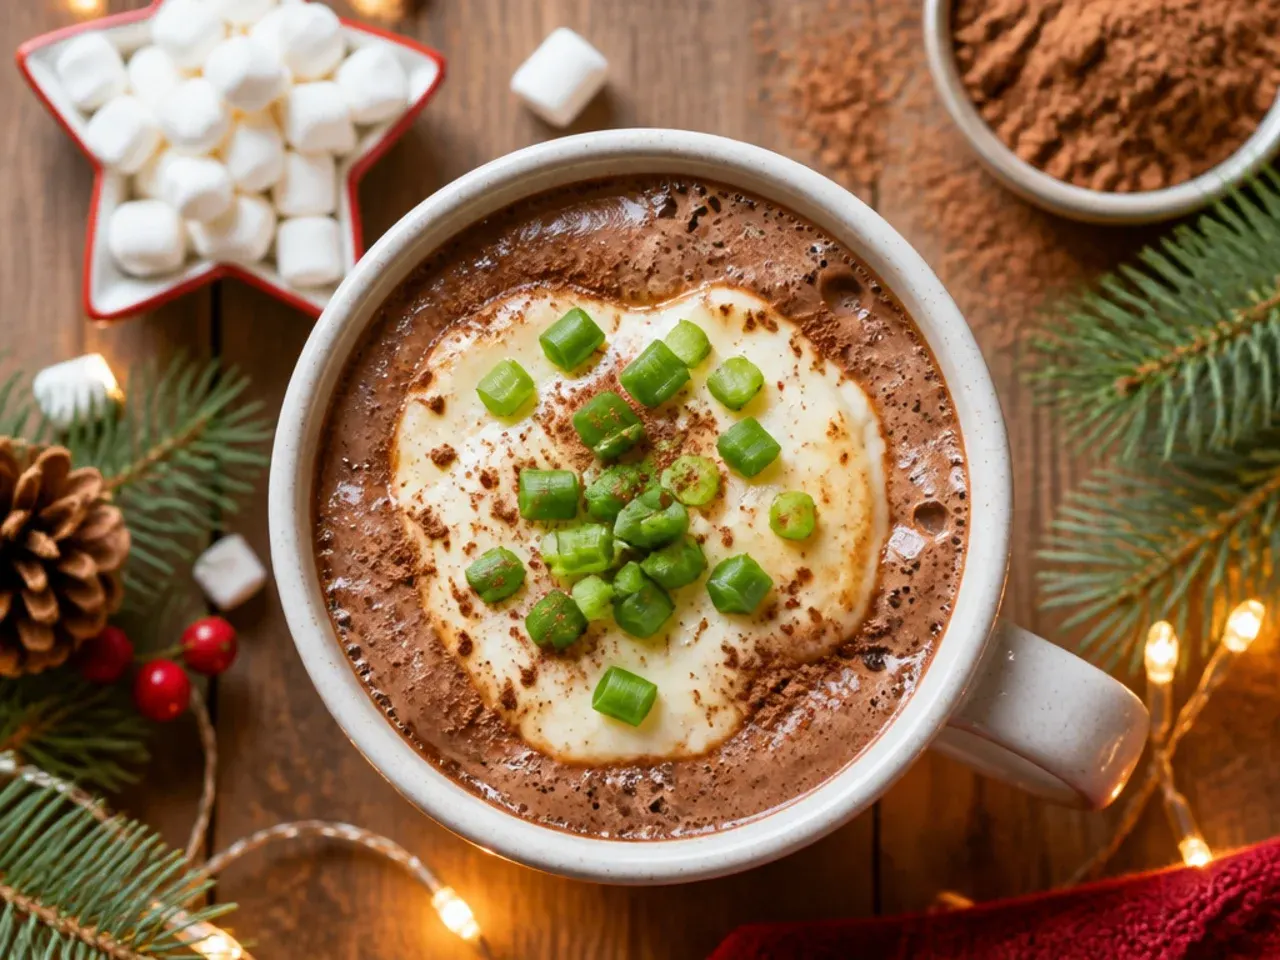
Cocoa powder is the cheapest route to a proper hot cocoa bar, so skip chocolate bars altogether and whisk 90g (3/4 cup) cocoa powder with 90g (3/4 cup) sugar into a paste before stirring into 1.5 litres (6 cups) warmed milk. If milk runs short, half milk and half water still gives good cocoa flavour, just a slightly thinner drink. Basic toppings, cocoa powder, cinnamon and a handful of marshmallows, cost very little and still make the bar feel special. This scales up easily for a big group without the price climbing much.
10. Crowd-Pleasing Slow-Cooker Cocoa
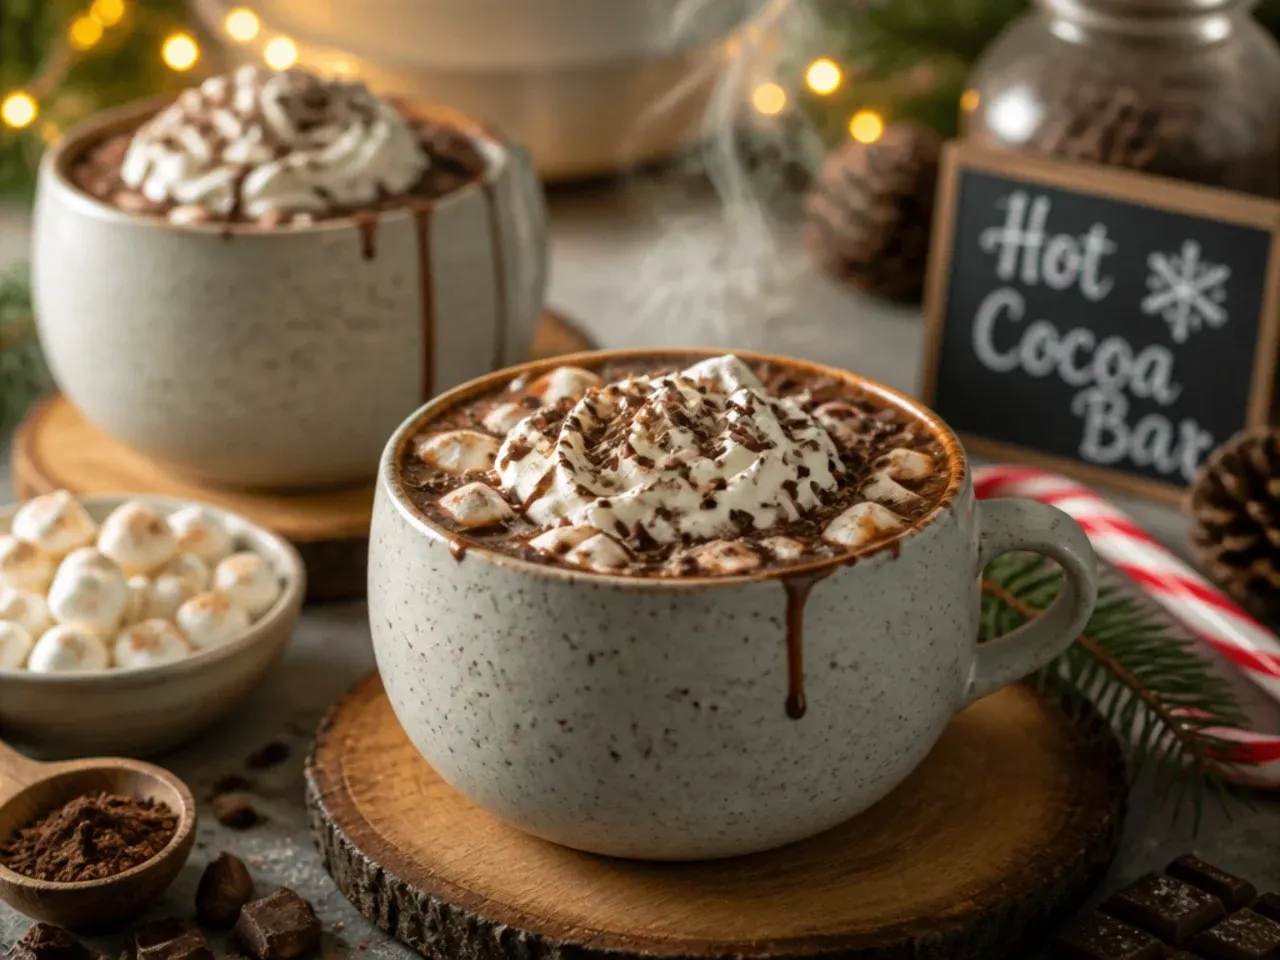
For more than eight mugs, combine milk, cocoa or chopped chocolate and sugar in a slow cooker on low for two hours, whisking every 30 minutes so it doesn't catch on the base. The keep-warm setting holds the whole pot at drinking temperature for hours, so guests can serve themselves whenever they arrive. Scaling up is simple, just double or triple every ingredient in the same ratio the batch was written for. Set the toppings bar right next to the slow cooker so people build their mugs in one spot.
Save this for later 📌
Pin this article to your Pinterest board so the full list is one tap away when you need it.
Save on Pinterest11. Make-Ahead Cocoa Mix Jars
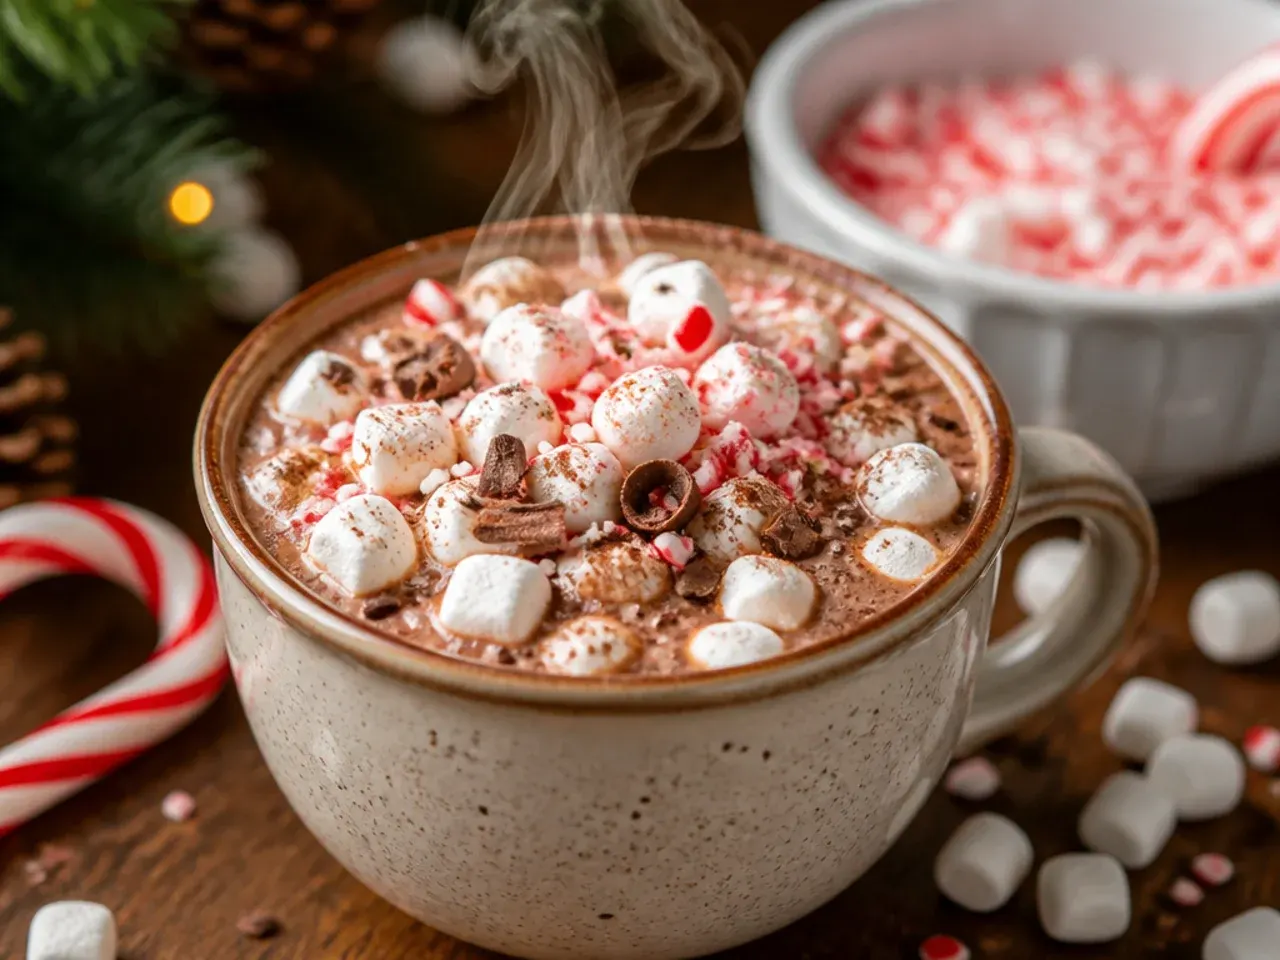
Combine 200g (1 3/4 cups) milk powder, 100g (1 cup) cocoa powder, 150g (3/4 cup) sugar and a pinch of salt, then store in airtight jars for up to three months, ready whenever a cocoa bar is called for. To serve, whisk 3 tablespoons of the mix into 250ml (1 cup) hot milk or water per mug. Layer the dry ingredients in a clear jar with a ribbon and instructions tag for a homemade gift that doubles as a bar topper. This is the version to prep weeks before Christmas so the day itself is stress-free.
12. Kid-Friendly Family Cocoa Bar
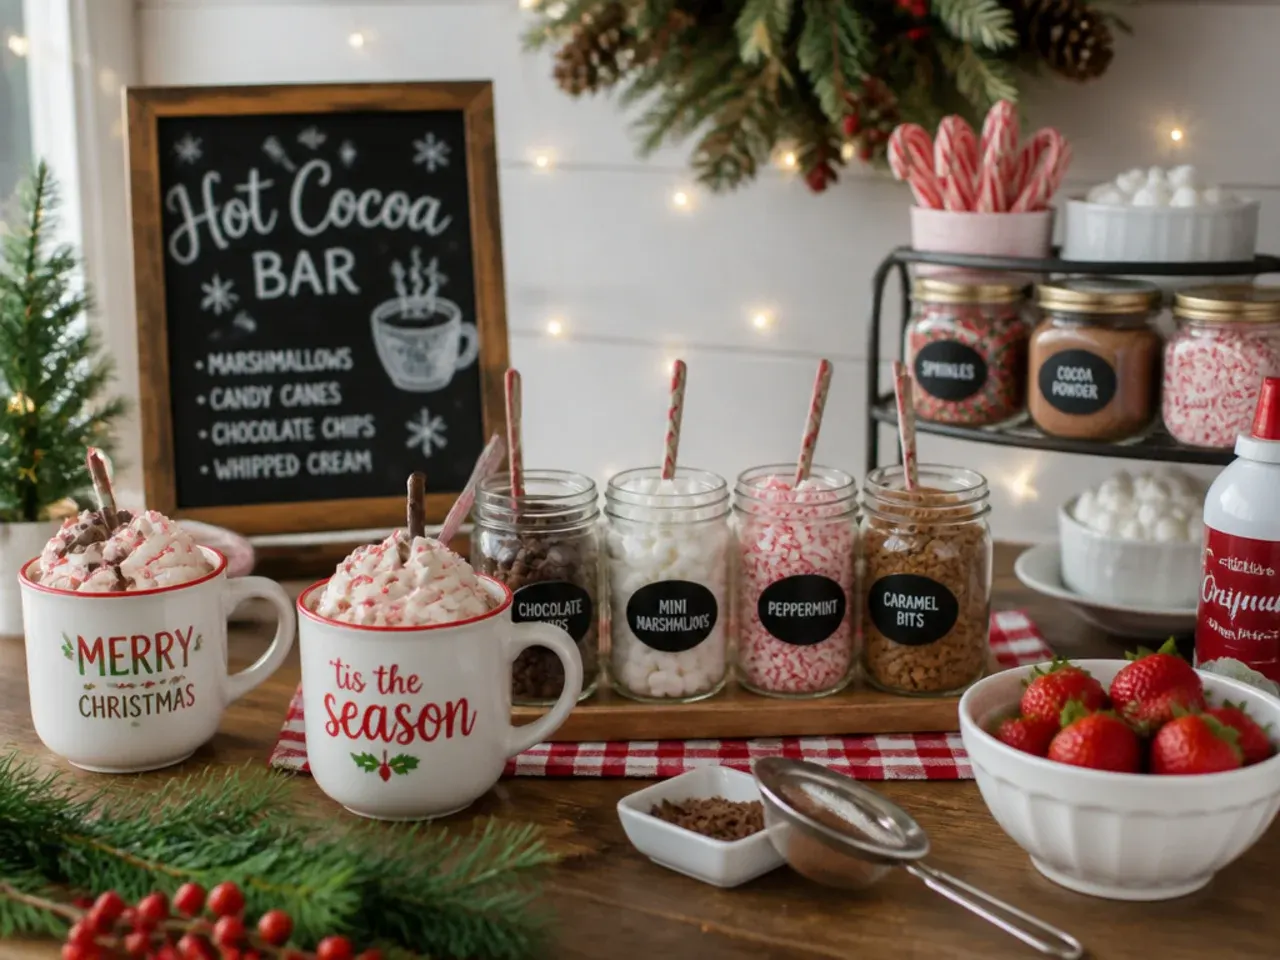
Keep this pot mild: milk chocolate or a light hand with cocoa, and just enough sugar to taste sweet without being sharp. Warm the milk to no more than hand-hot before pouring for younger children, or let filled mugs stand a minute before handing them over. Set toppings in small individual bowls rather than one big shared dish, kids tend to make less mess when everything has its own spoon. Marshmallows dropped in right before drinking melt fastest and stay soft rather than going gritty.
13. Festive Red Velvet Cocoa
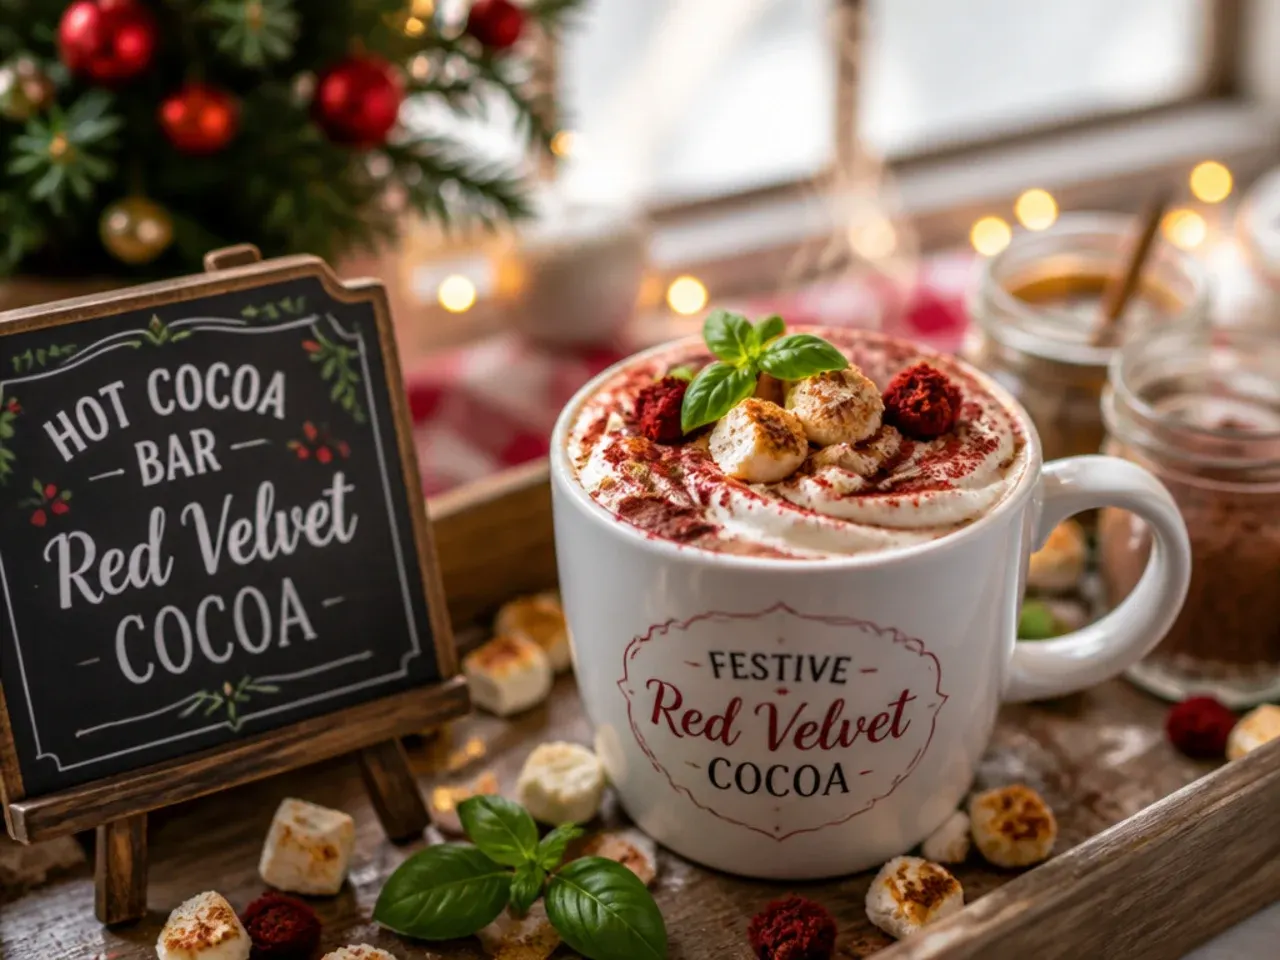
Stir 2 tablespoons of cocoa powder plus a few drops of red food colouring gel into the base per litre, gel colouring works better than liquid since it doesn't thin the drink out. A small splash of buttermilk or a spoonful of cream cheese frosting stirred through the whipped cream topping brings the classic red velvet flavour, not just the colour. This one looks striking served in clear glass mugs so the red shows through. It's a fun centrepiece drink for a Christmas Eve table.
14. Quick 5-Minute Mug Cocoa
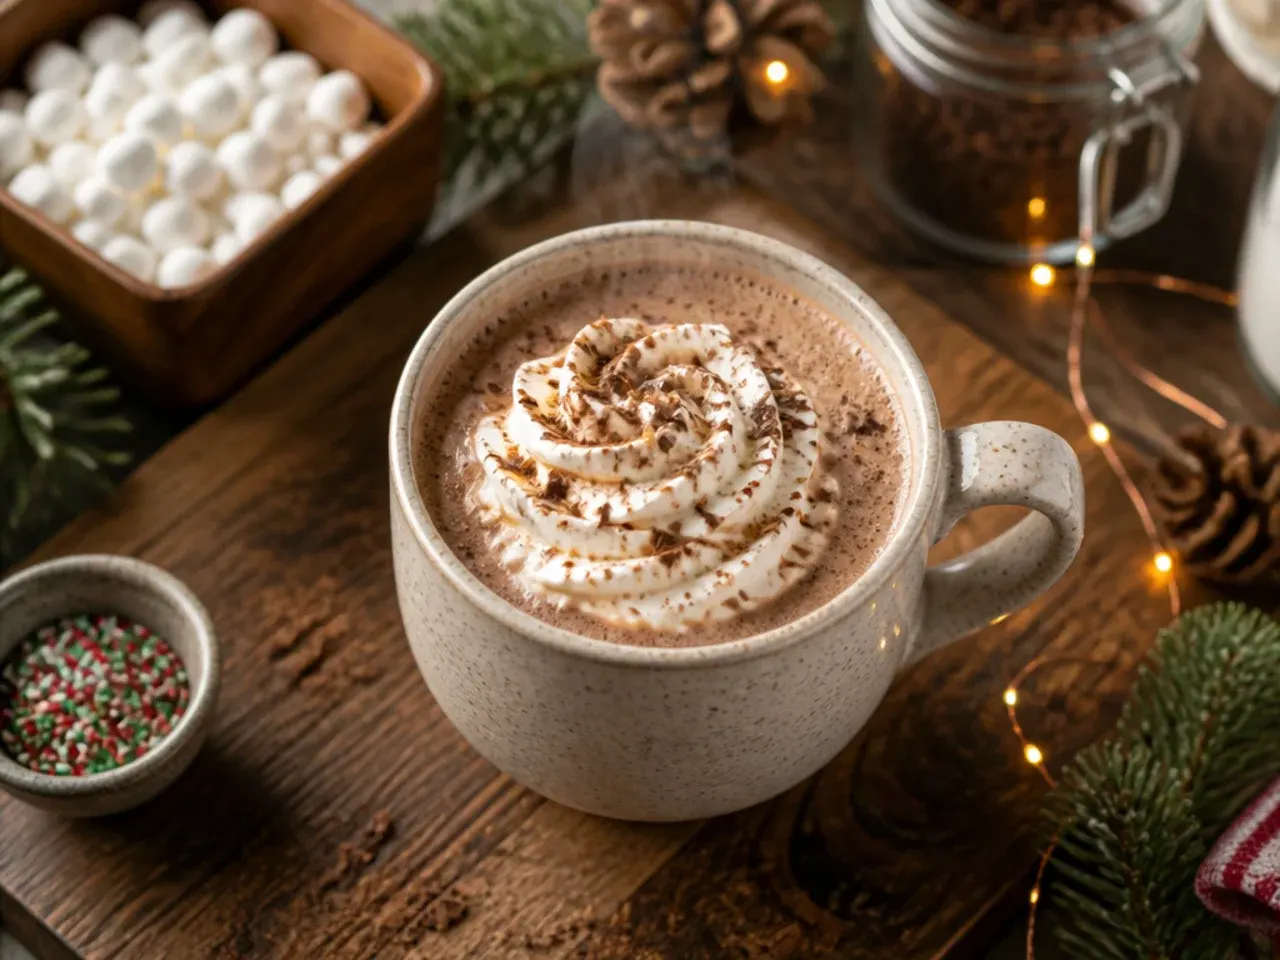
When there's no time to run a full station, microwave 250ml (1 cup) milk in 45-second bursts, stirring in 2 tablespoons cocoa powder and 1 tablespoon sugar between each burst. Stopping to stir between bursts is what stops the milk boiling over the rim or forming a skin on top. Swap the cocoa for 30g (1 oz) chopped chocolate if you want a silkier single mug in the same time. This version needs only one mug to wash up afterwards.
15. Homemade From-Scratch Cocoa
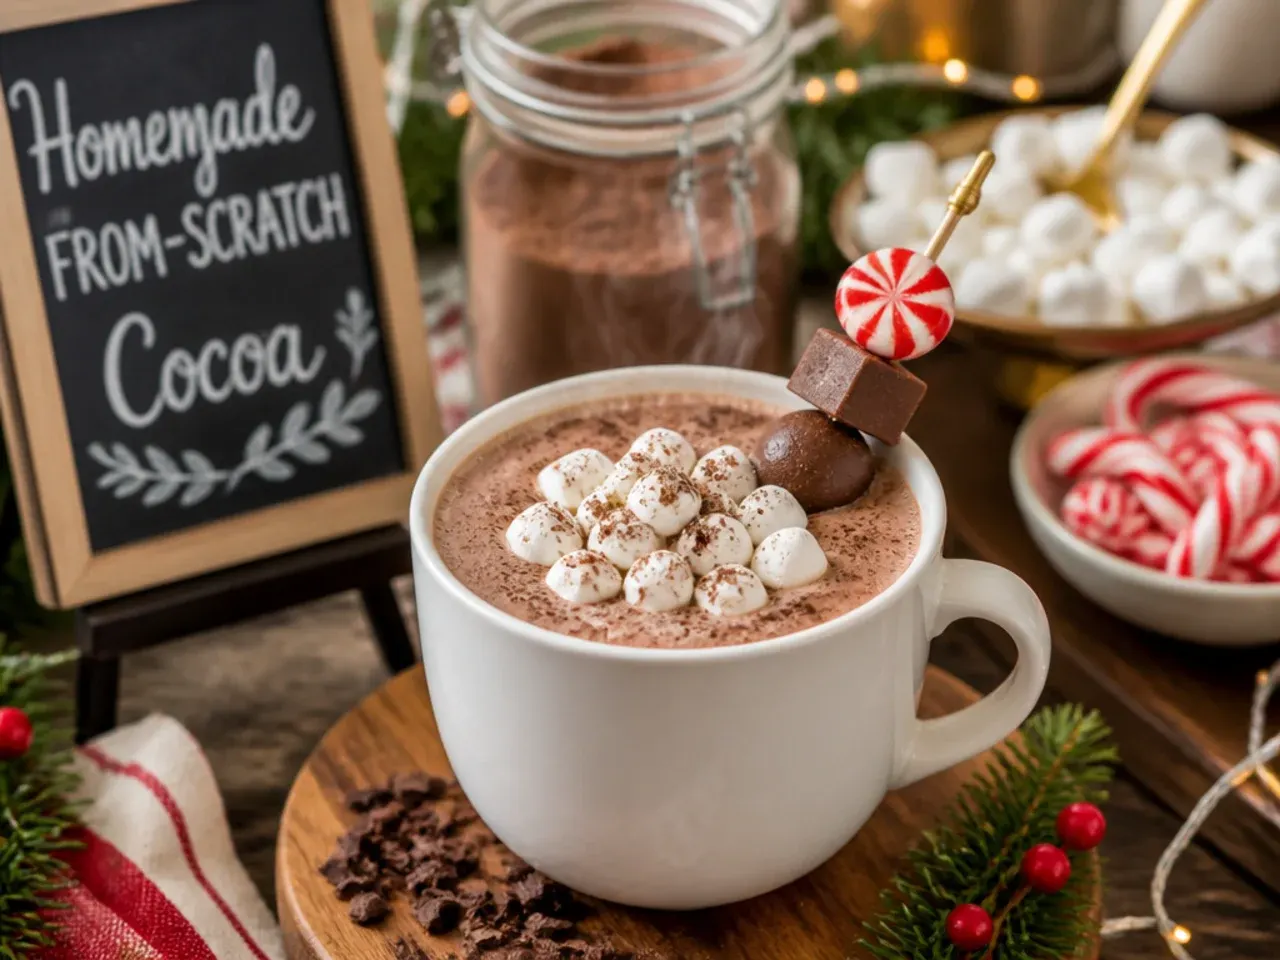
Made entirely from bar chocolate rather than cocoa powder, melt 200g (7 oz) roughly chopped dark chocolate into 1 litre (4 cups) warm milk over low heat, whisking constantly until glossy. A good-quality 60-70% dark chocolate gives the deepest flavour without needing much added sugar. Low, patient heat is essential here, rushing it on high can cause the chocolate to seize or turn grainy. This is the pot worth making when the cocoa bar needs to taste like a genuine treat rather than a packet mix.
Save this for later 📌
Pin this article to your Pinterest board so the full list is one tap away when you need it.
Save on Pinterest16. Mocha Coffee Cocoa Station
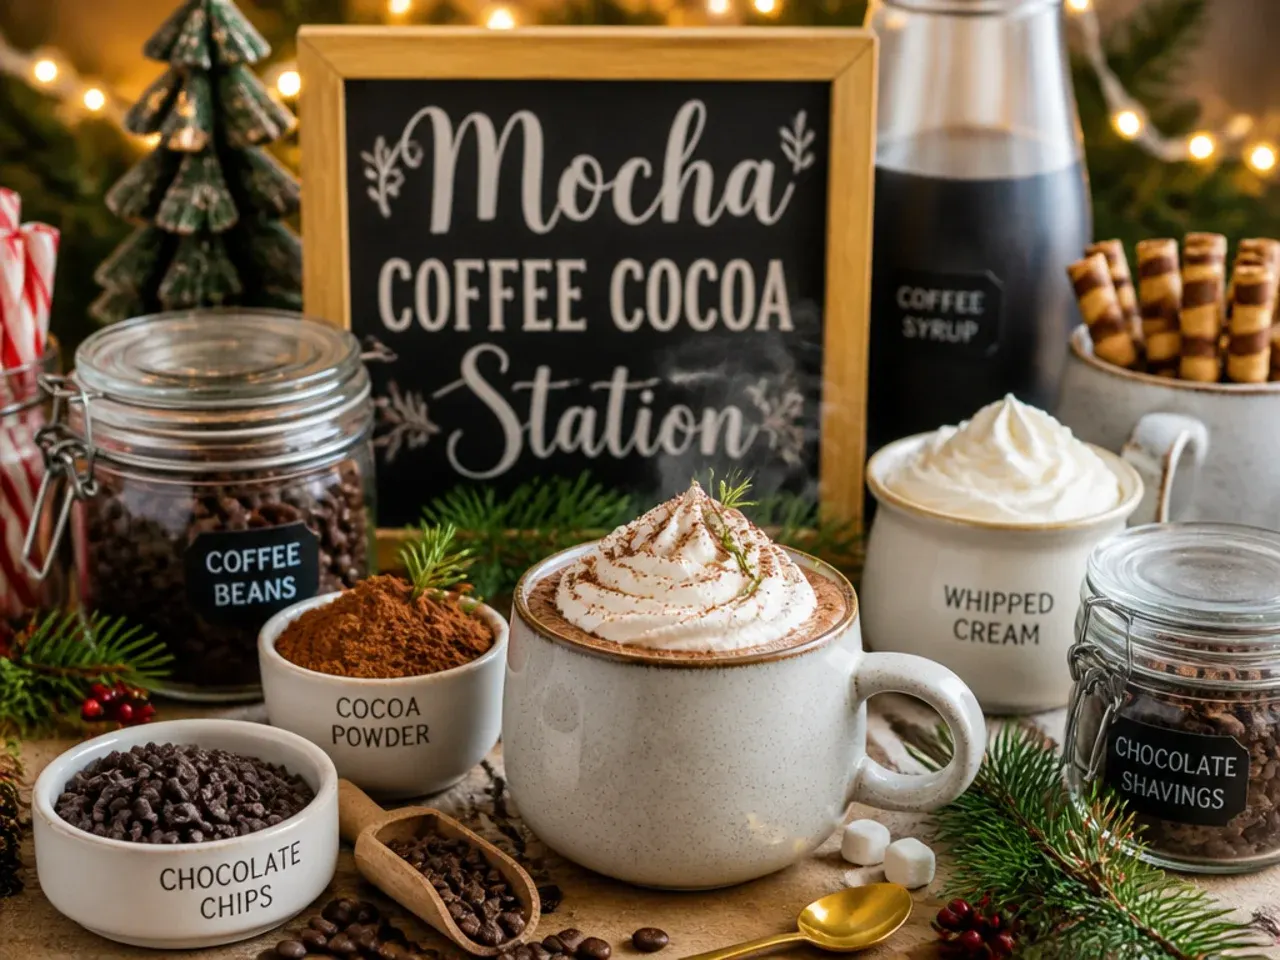
Set a carafe of strong brewed coffee or a jar of instant espresso powder at the bar so guests can stir a shot, or 1 teaspoon of powder, into their own mug of cocoa. The coffee doesn't need to taste strong on its own, its job is to deepen the chocolate flavour rather than add an obvious coffee note. Espresso powder dissolves more reliably than instant granules and won't leave gritty bits at the bottom. This station is popular with the adults while the kids stick to the plain classic pot.
17. Easy Orange Chocolate Cocoa

Add the finely grated zest of one orange to the base while it warms, so the oils infuse without any bitter pith coming through, then strain before serving if you prefer a clean texture. A few drops of orange extract deepen the flavour further for anyone who wants it stronger than zest alone gives. Dark chocolate suits this pairing better than milk chocolate, since its bitterness balances the citrus much like a classic chocolate orange. A curl of orange peel makes a simple, elegant garnish.
18. Cozy Toasted Coconut Cocoa
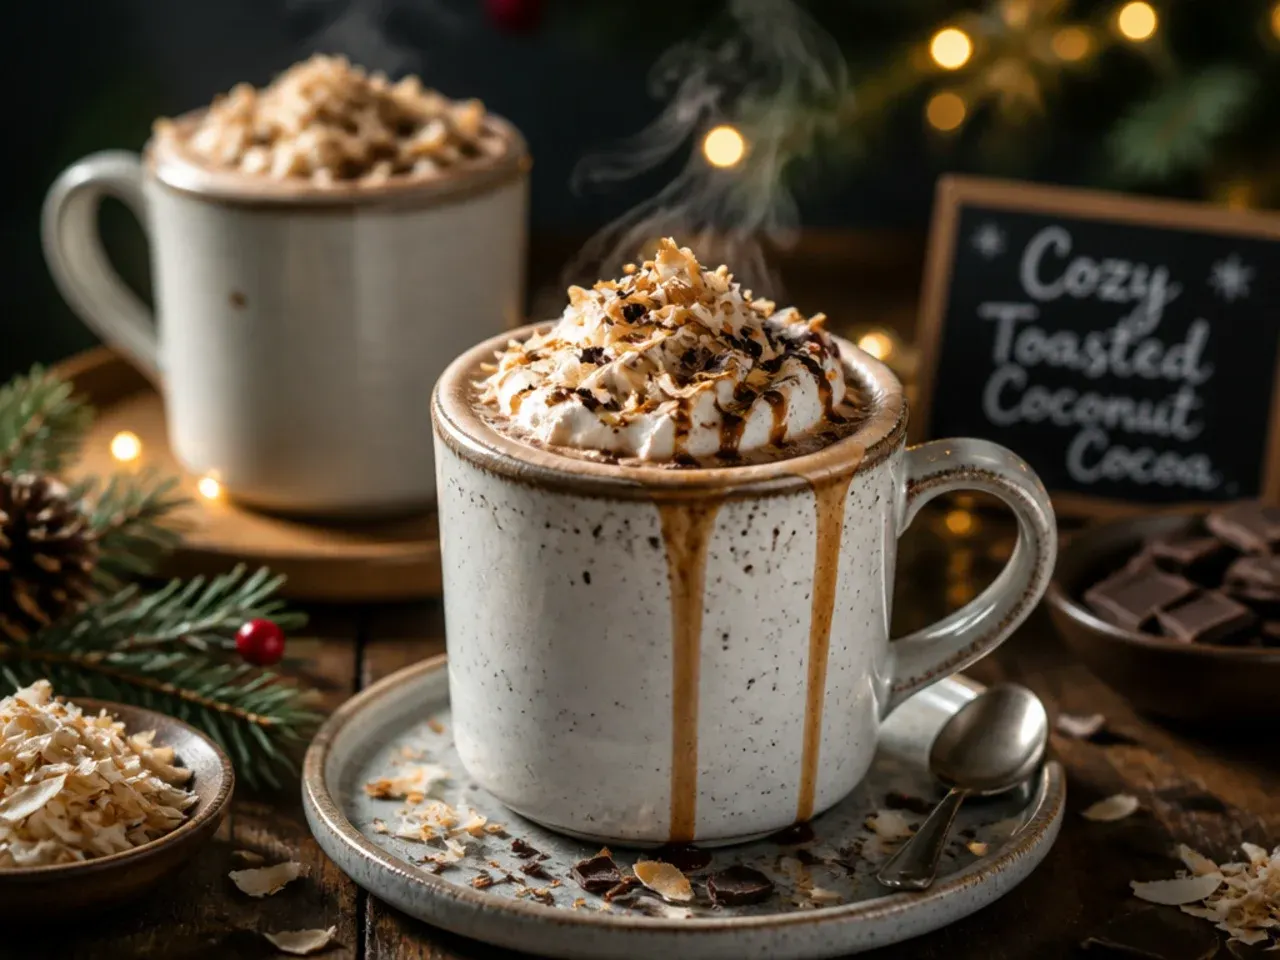
Use full-fat tinned coconut milk for a second, dairy-friendly pot, half coconut milk and half regular milk keeps the coconut flavour present without it taking over. Shake the tin well before measuring, since the cream and liquid separate during storage and you want both blended in. Toast desiccated coconut in a dry pan for two to three minutes, stirring constantly, until golden, then scatter it over the whipped cream at the bar. This variation feels a little tropical against the otherwise wintery lineup.
19. Simple Toffee Butterscotch Cocoa
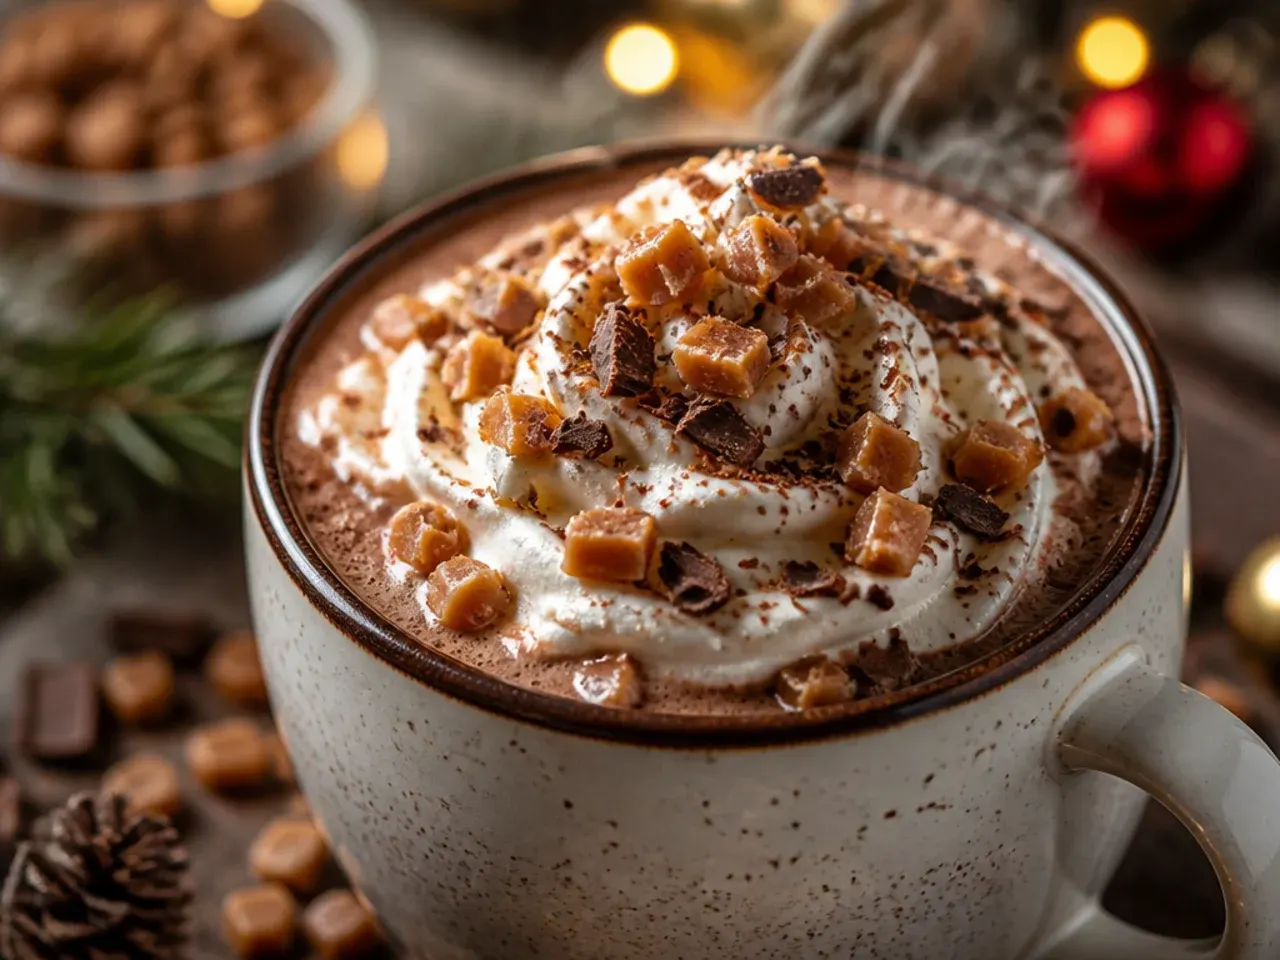
Stir 2 tablespoons of butterscotch or toffee sauce into the base per mug once poured, tasting before adding any extra sugar since both sauces are already sweet. Crushed toffee pieces or chocolate-covered honeycomb sprinkled on the whipped cream give a nice bit of crunch against the smooth drink. This pairs particularly well with the classic base rather than a dark chocolate one, since toffee flavours can clash with very bitter chocolate. It's an easy swap for anyone who finds caramel a touch too rich.
20. Creamy Marshmallow Fluff Snowfall Cocoa
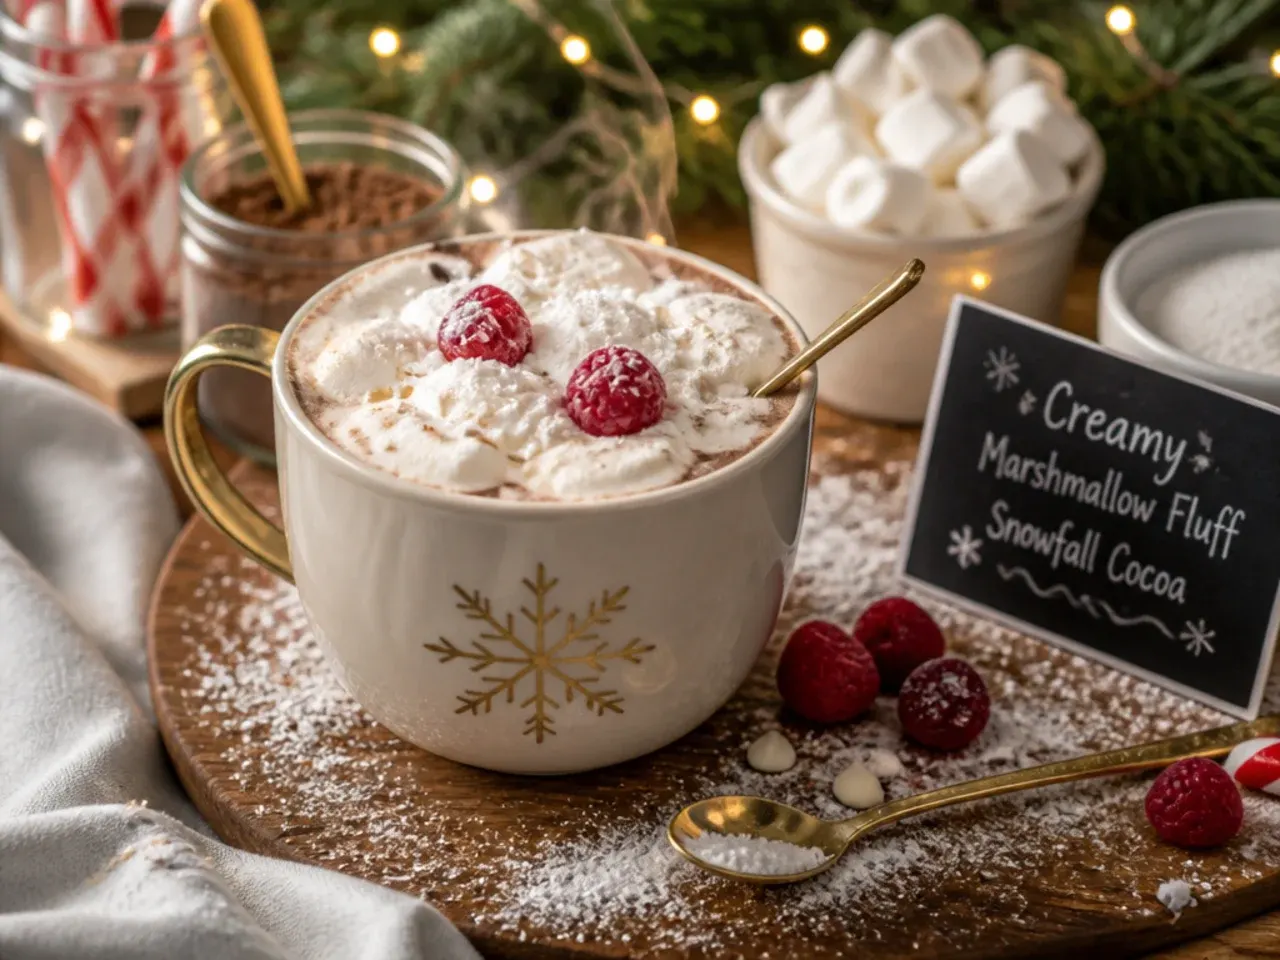
Whisk a heaped tablespoon of marshmallow fluff directly into a mug of the hot base until it melts and turns the drink glossy and faintly stretchy, rather than just scattering marshmallows on top. This carries a toasted-marshmallow flavour all the way through the mug instead of leaving it only on the surface. Finish with a normal dollop of fluff on top and a quick blast from a kitchen blowtorch for a golden, snow-like crust. Keep any added sugar lower than usual, since fluff is very sweet on its own.
Pro Tips
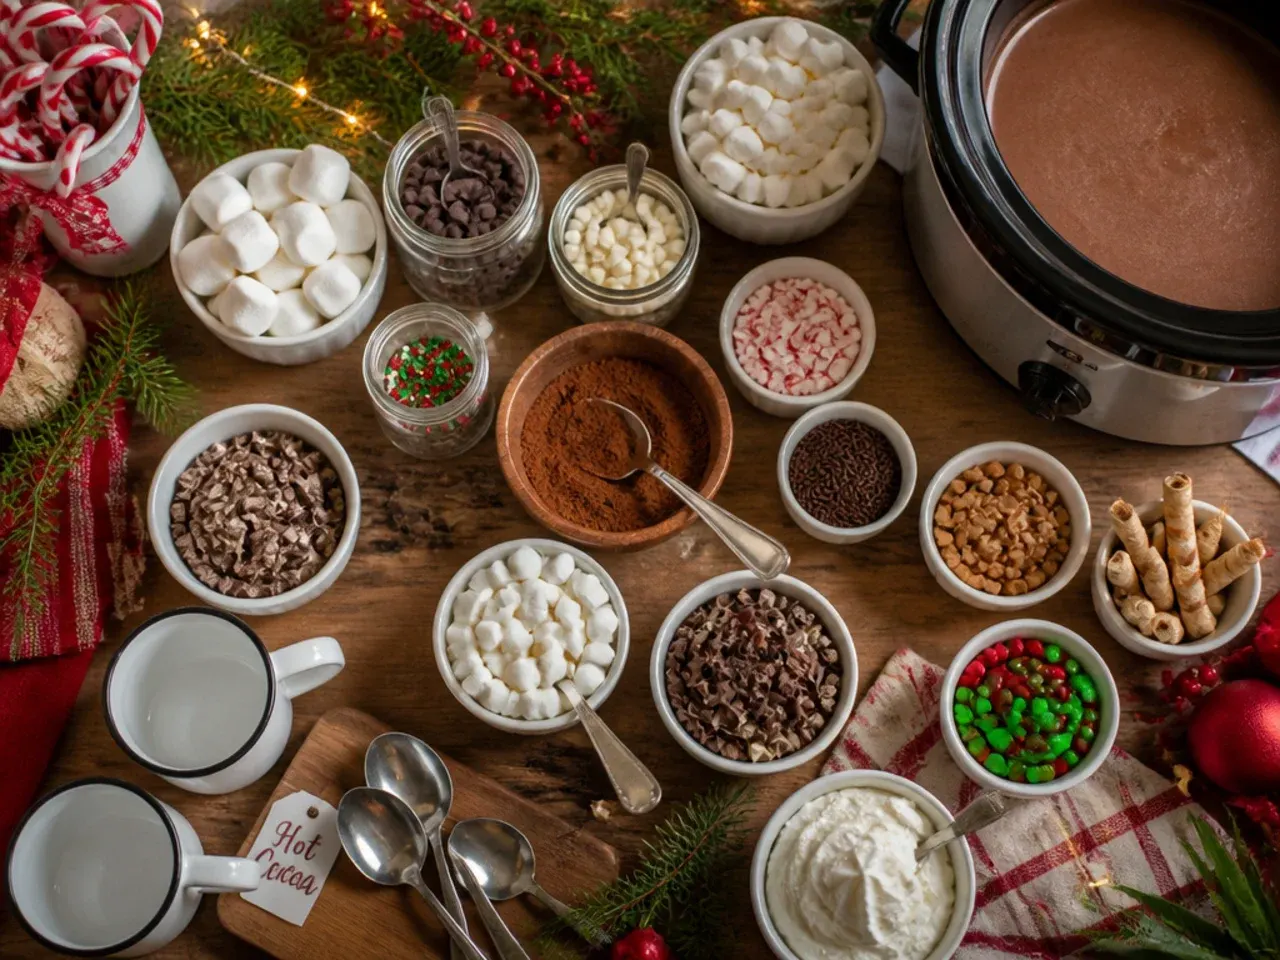
Always mix cocoa powder with sugar and a small splash of cold milk into a smooth paste before it meets hot liquid, dry cocoa dropped straight into a hot pot clumps almost instantly and won't whisk out. Keep the base just below a simmer, small bubbles at the edge rather than a rolling boil, since boiling milk can scorch and dull the chocolate flavour across the whole batch. Let guests flavour their own mugs at the bar rather than adding strong extras like peppermint or espresso to the shared pot, which keeps every cup adjustable. A pinch of salt stirred into any base, sweet or plain, makes the chocolate taste more intense without making the drink salty.
Serving and Garnish Ideas
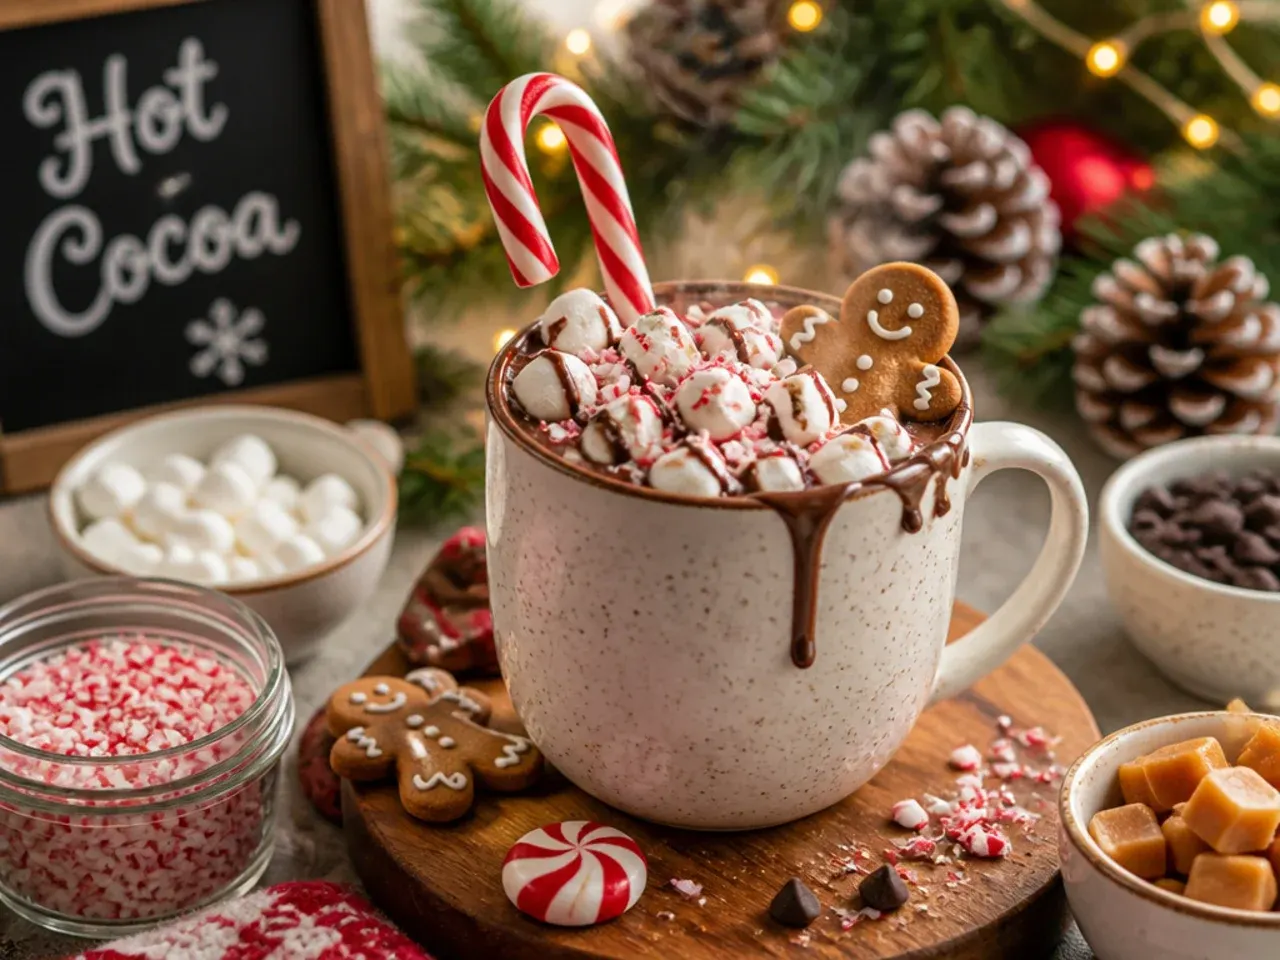
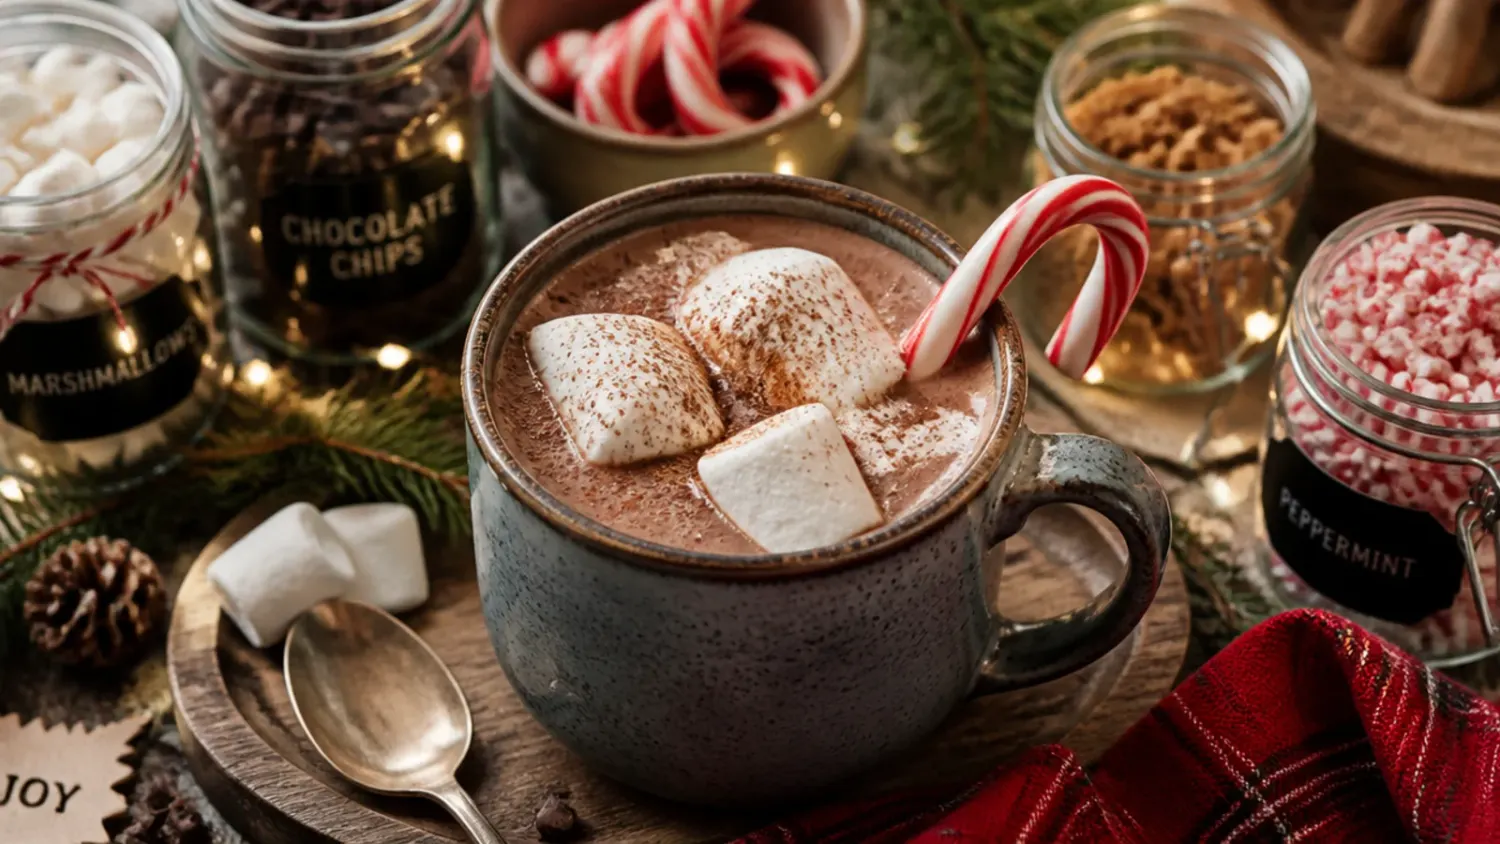
Lay toppings out in small individual bowls with their own spoons, whipped cream, mini marshmallows, crushed candy canes, grated chocolate and a shaker of cinnamon, so the line moves quickly and nothing gets mixed together by accident. Warm mugs first by rinsing them with hot water and drying before pouring, cold ceramic pulls heat out of the drink faster than most people expect. A candy cane or cinnamon stick doubles as both garnish and stirrer, which saves washing up extra spoons afterwards. Label each pot with a small card naming the flavour so guests know what they're choosing before they pour.
Make It Ahead and Batch Tips
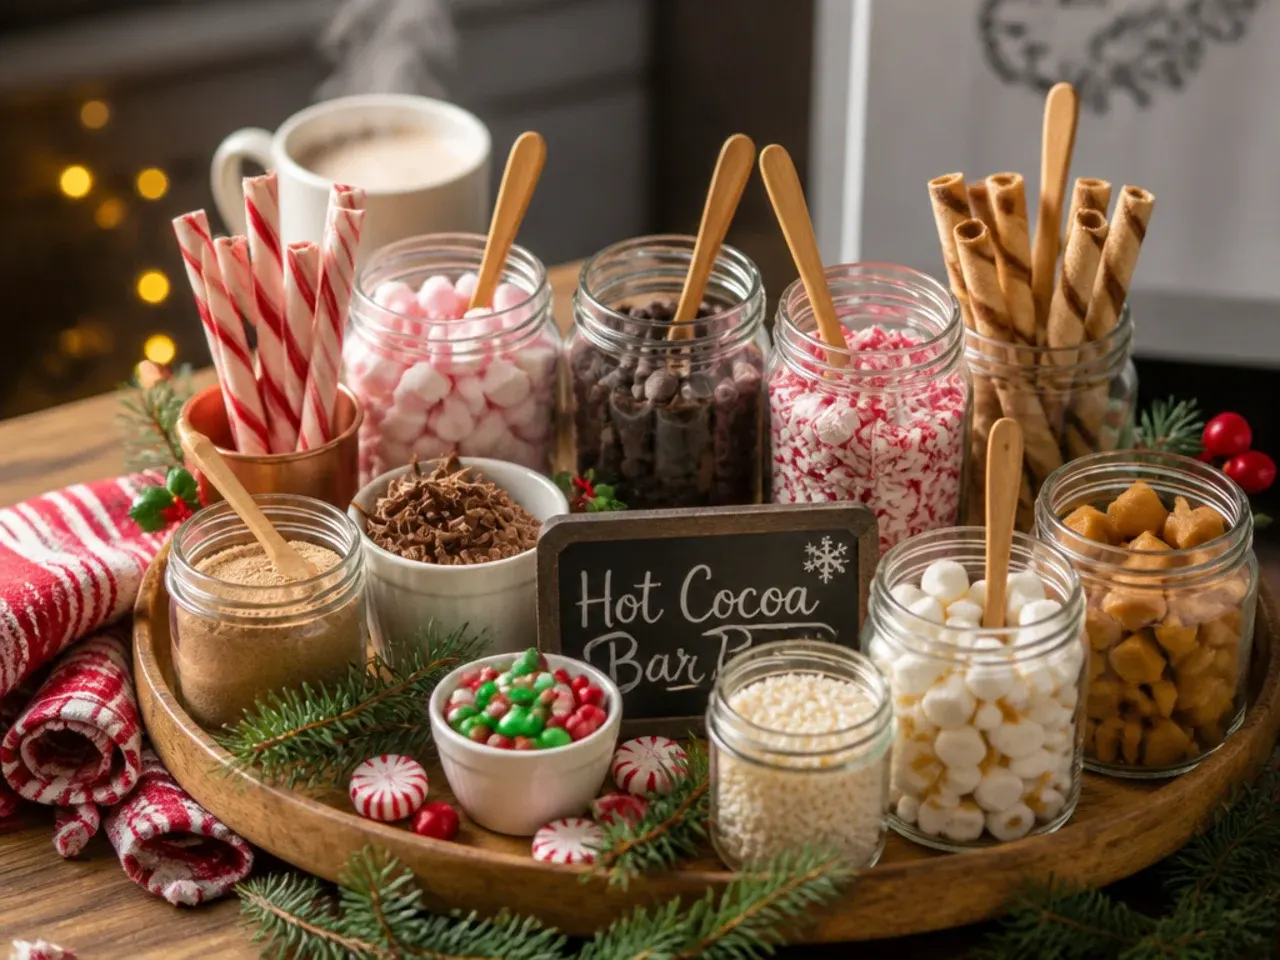
The plain milk-and-cocoa base keeps in the fridge for up to 3 days in a sealed container and reheats gently on the stove or in the microwave in 30-second bursts, stirring between each. Dry cocoa mixes made from cocoa powder, milk powder and sugar keep for up to three months in an airtight jar and don't need refrigerating at all, so they're the easiest thing to prep well ahead of a party. Avoid freezing a finished milk-based cocoa, dairy tends to separate and turn grainy once thawed, freeze a dry mix instead for long-term storage. If the base thickens too much sitting in the fridge, whisk in a splash of fresh milk while reheating to loosen it back up.
The Recipe
The Master Recipe
10 min
15 min
25 min
6
Beginner
Ingredients 6 Person(s)
Directions
Step 1: Make the cocoa paste
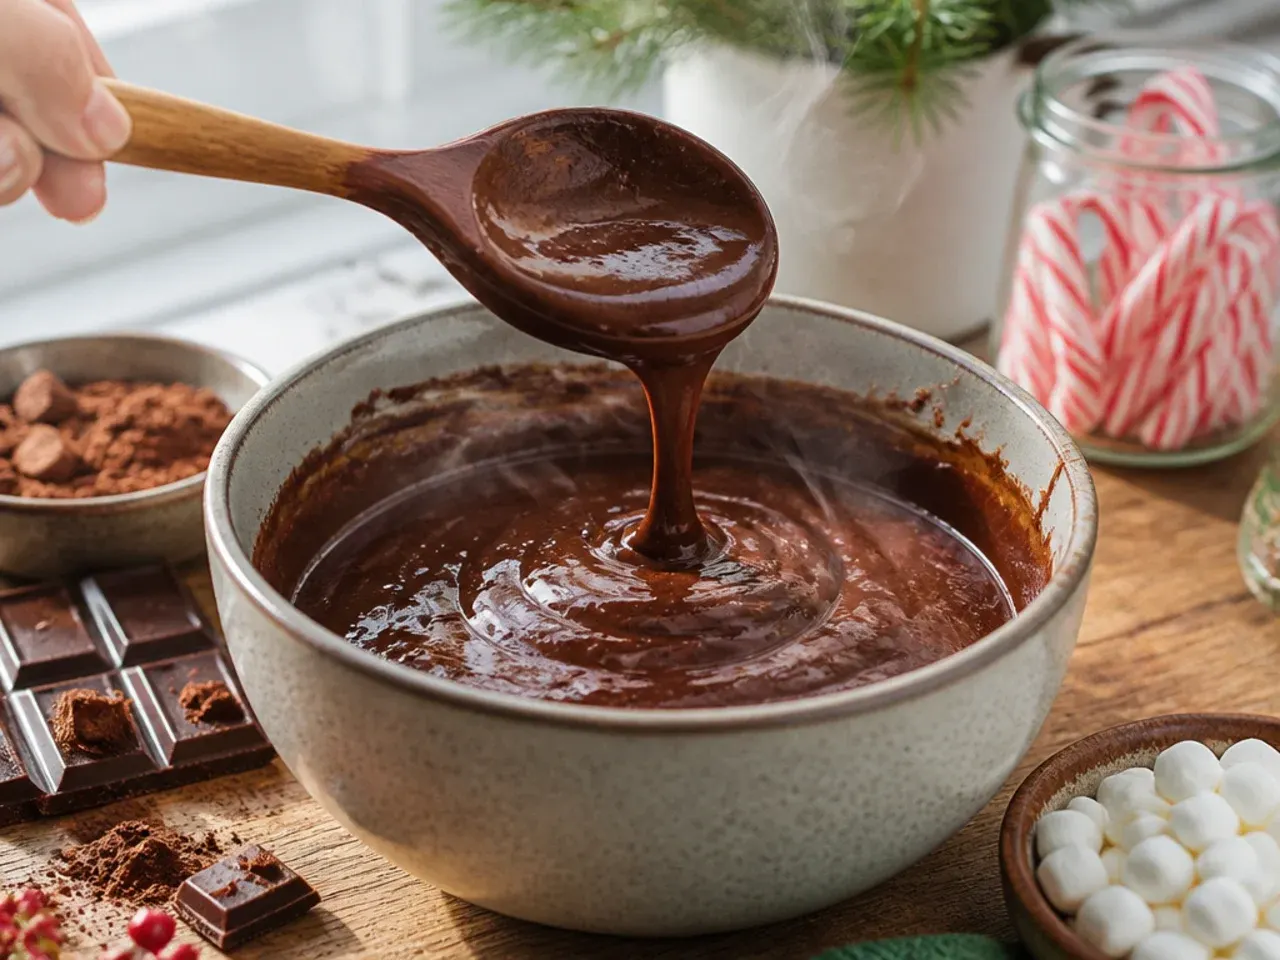
In a jug, whisk the cocoa powder, sugar and salt with 3-4 tablespoons of the milk until you have a smooth, lump-free paste with no dry pockets left.
Step 2: Warm the remaining milk
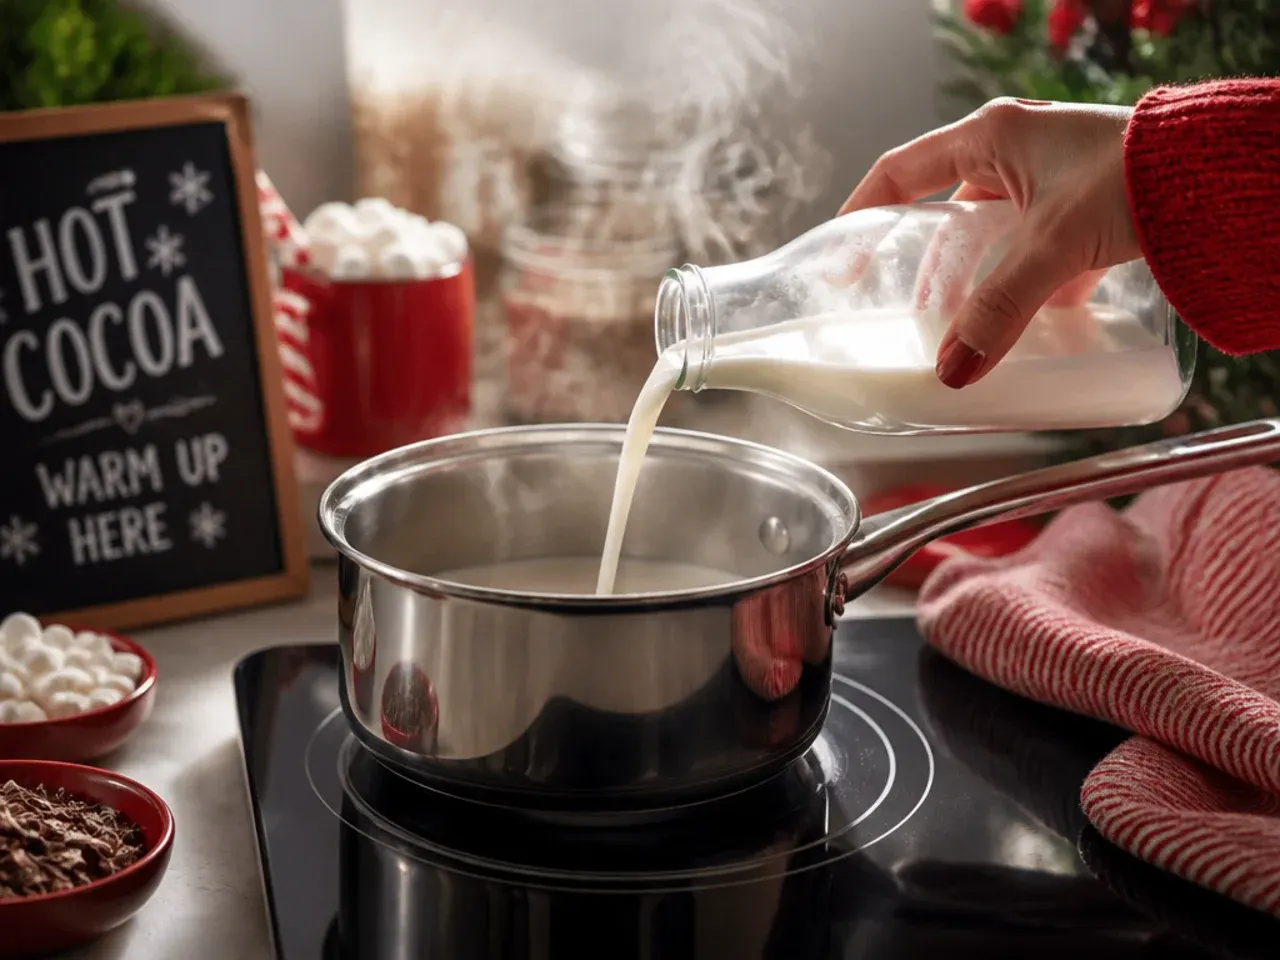
Pour the rest of the milk into a large saucepan or pot and heat over medium, stirring occasionally, until steaming with small bubbles at the edge, about 5-6 minutes. Don't let it come to a full boil.
Step 3: Melt in the chocolate
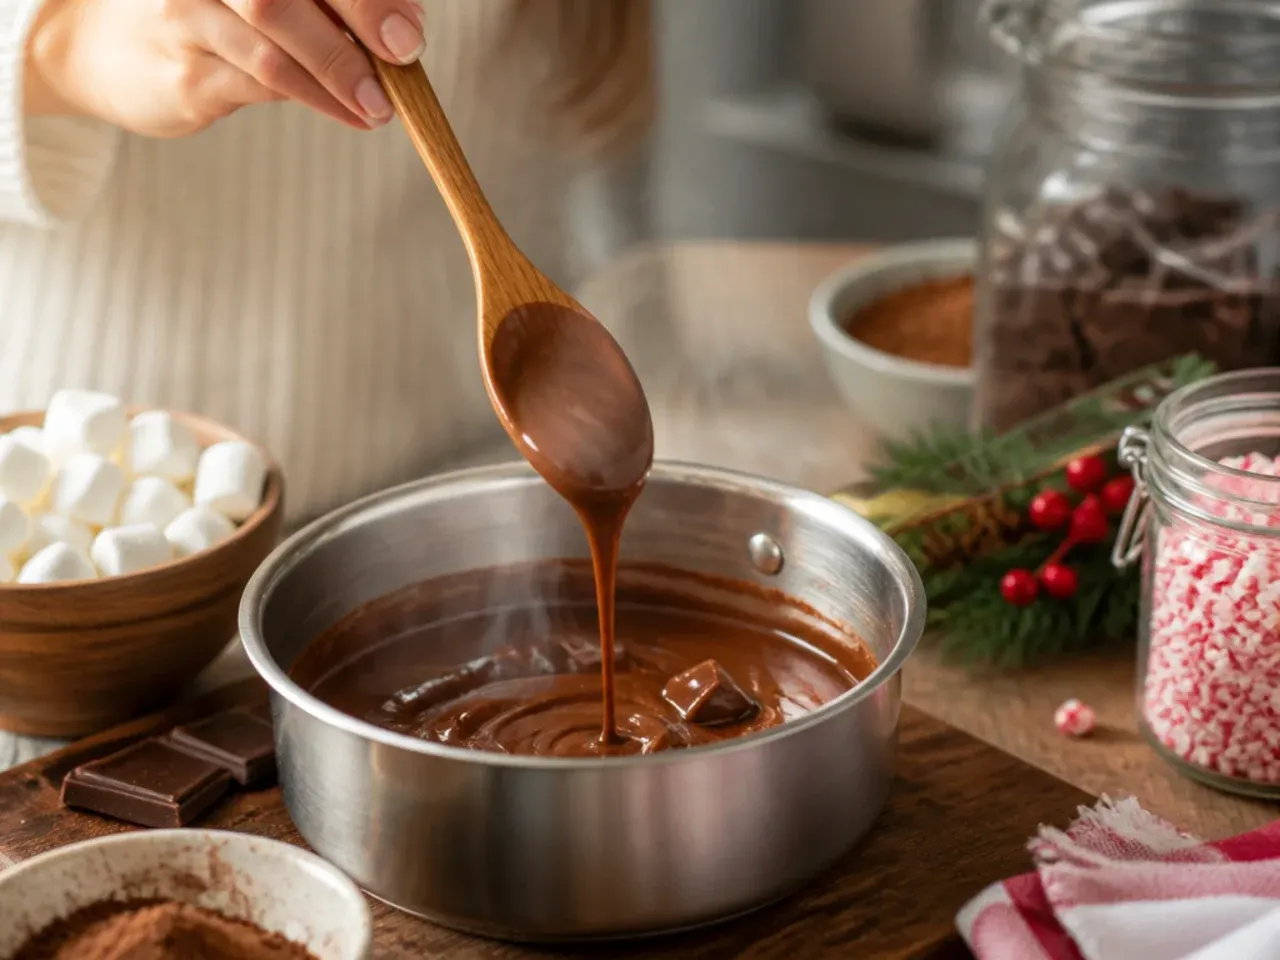
Reduce the heat to low and add the chopped dark chocolate, whisking constantly until fully melted and the milk turns glossy, roughly 2 minutes.
Step 4: Combine with the cocoa paste
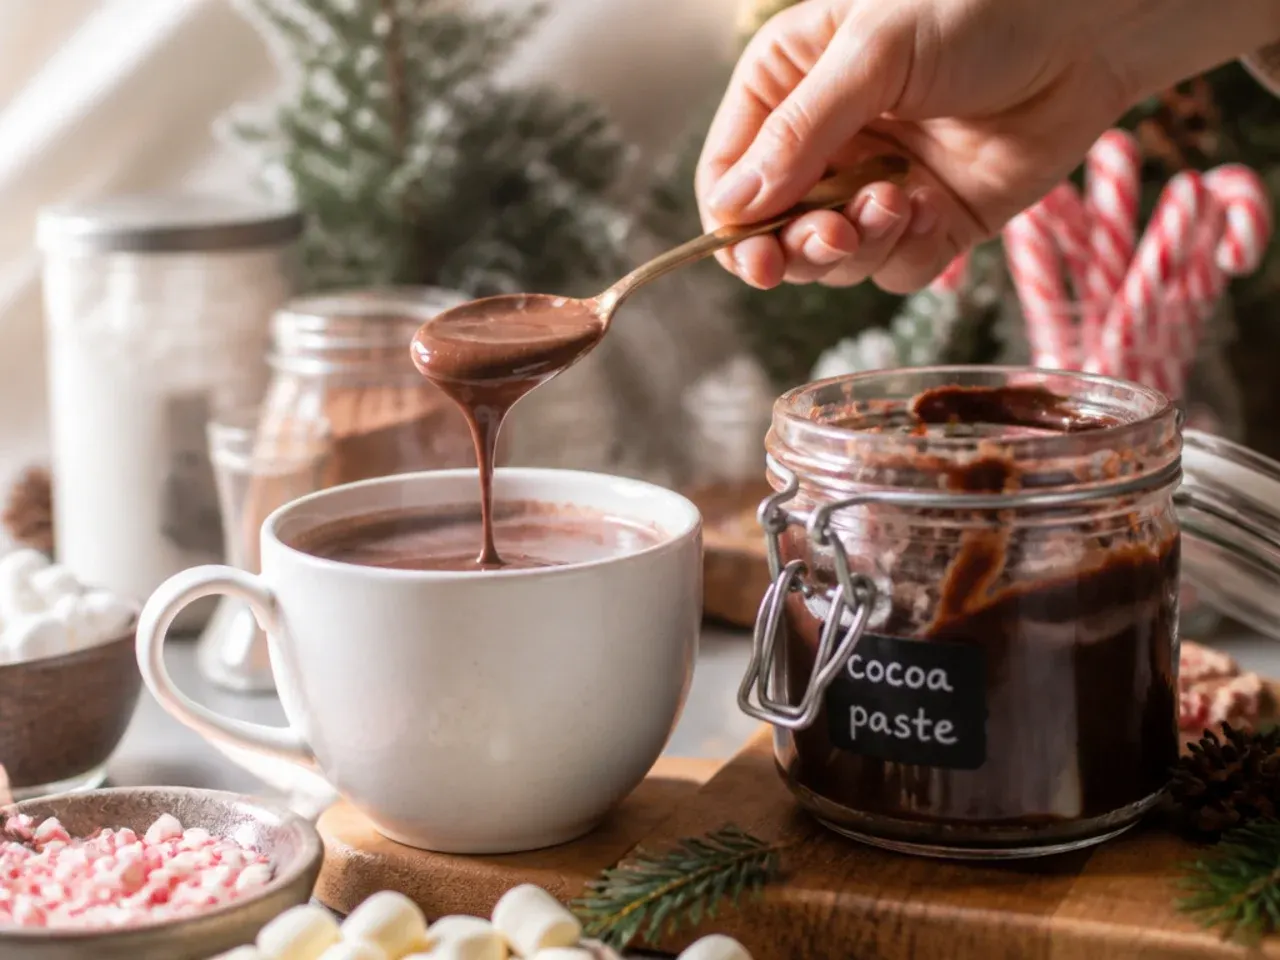
Pour the cocoa paste into the pot in a steady stream, whisking the whole time so it blends in smoothly rather than sitting as a layer on top.
Step 5: Simmer and finish the base
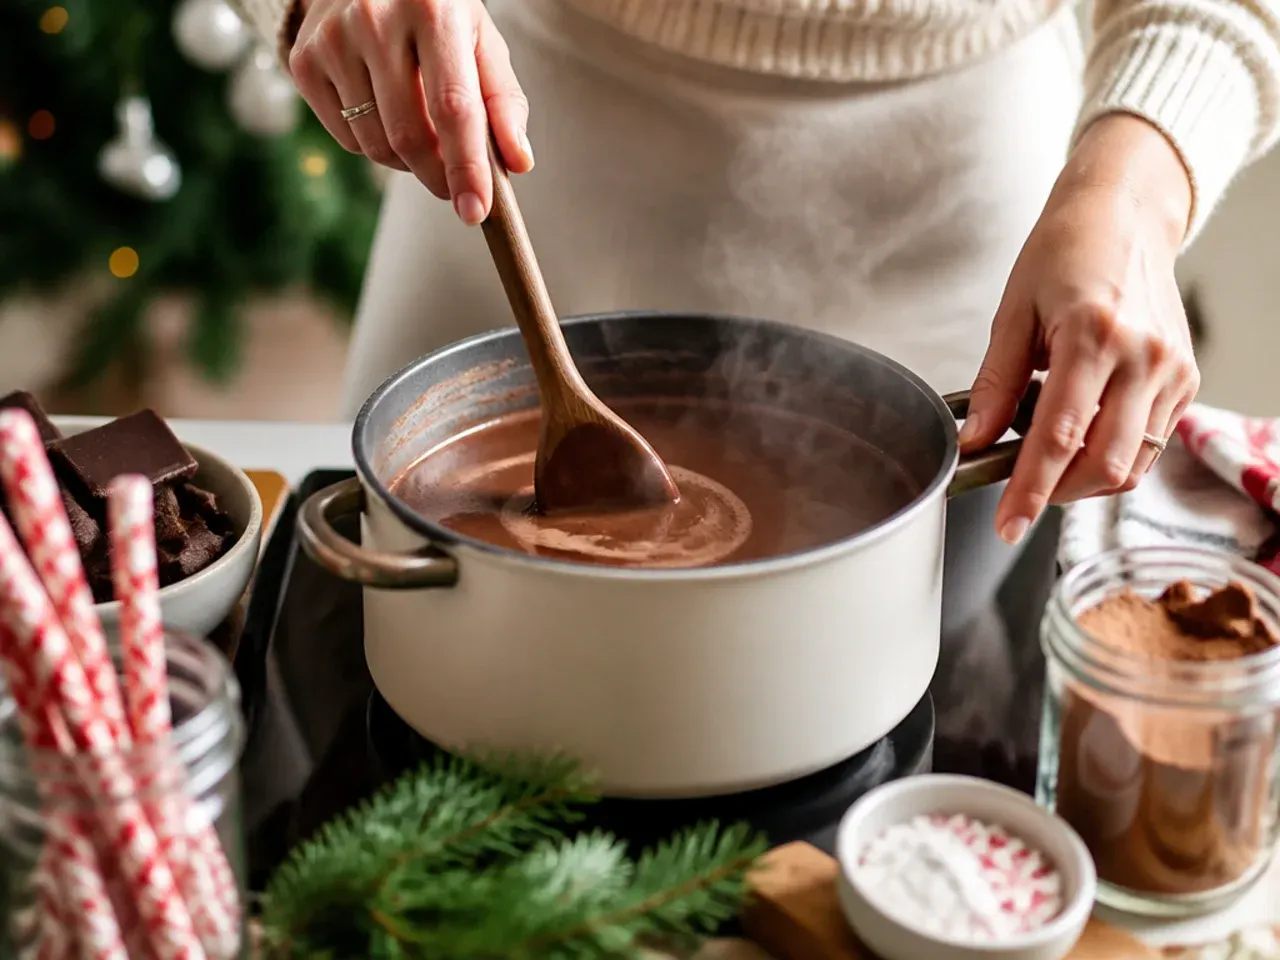
Let the mixture warm through gently for 2-3 minutes, then stir in the vanilla extract and taste for sweetness. Transfer to a slow cooker or thermal pot on warm if serving as a bar.
Step 6: Set up the bar and pour
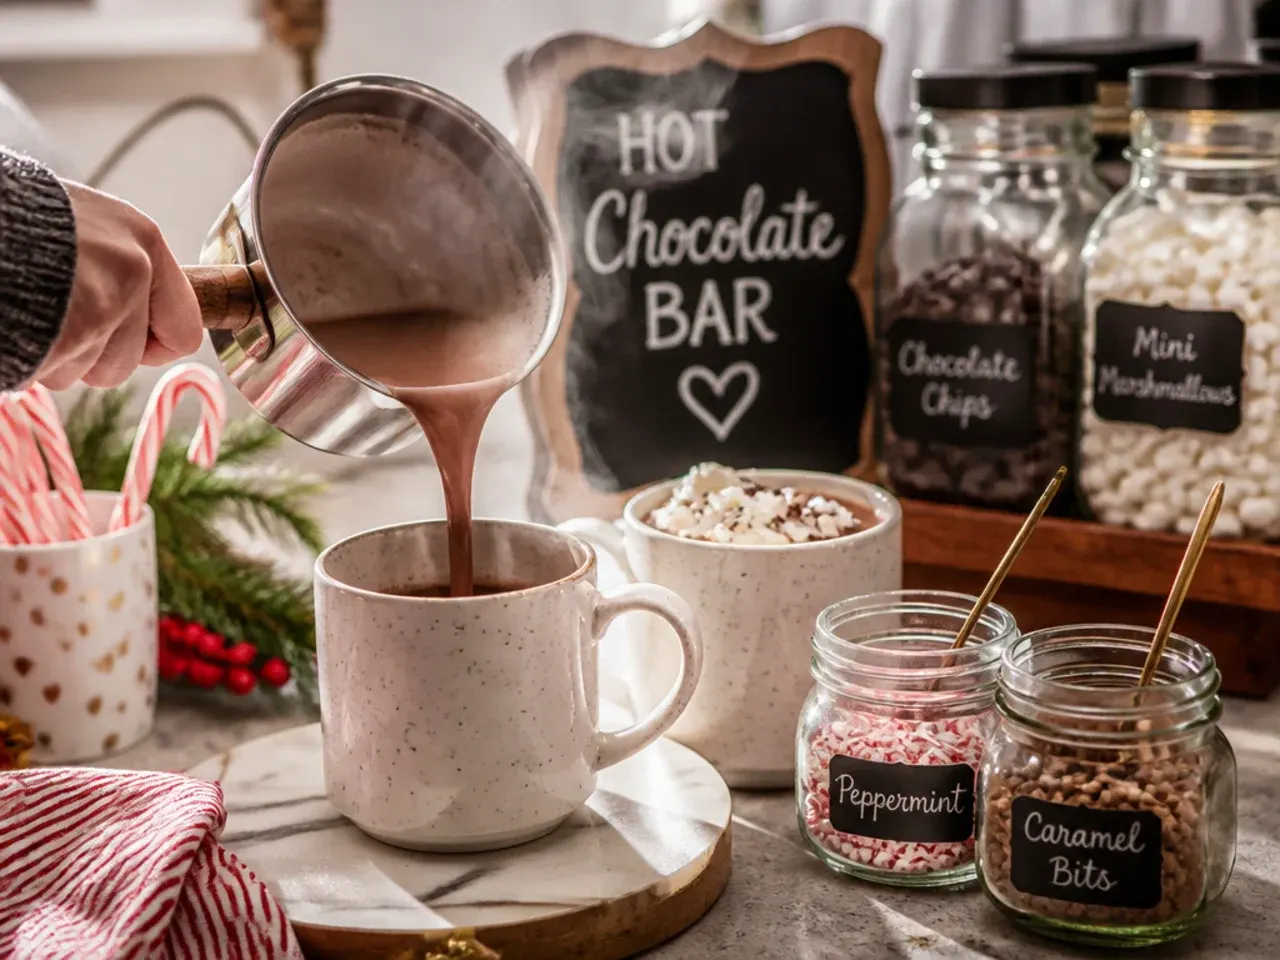
Arrange mugs, whipped cream, marshmallows, crushed candy canes and grated chocolate around the pot, then ladle about 165-175ml (2/3 cup) of base into each mug for guests to top themselves, leaving room for cream and toppings.
Frequently Asked Questions
You need a warm base, either a slow cooker, thermal pot or saucepan kept on low heat, plus mugs and a spread of toppings laid out in small individual bowls. Good staples include whipped cream, mini marshmallows, crushed candy canes, grated chocolate and a shaker of cinnamon or cocoa. A label or small card by each topping helps guests move through the line quickly, especially at a bigger gathering. Beyond that, the setup is flexible, you can keep it to one classic pot or offer two or three flavoured bases side by side.
Save this for later 📌
Pin this article to your Pinterest board so the full list is one tap away when you need it.
Save on Pinterest