
Ingredients 8 Person(s)

Save this for later 📌
Pin this article to your Pinterest board so the full list is one tap away when you need it.
Save on PinterestDirections
Step 1: Preheat the oven and prep your tray

Preheat the oven to 200°C (400°F) and line a large baking tray with parchment paper. Getting the oven properly up to temperature before you mix the dough means the scones hit high heat immediately, which helps them rise tall and set their shape fast. Set the tray aside near your workspace so you can move the cut scones onto it quickly once the dough is ready.
Step 2: Whisk the dry ingredients
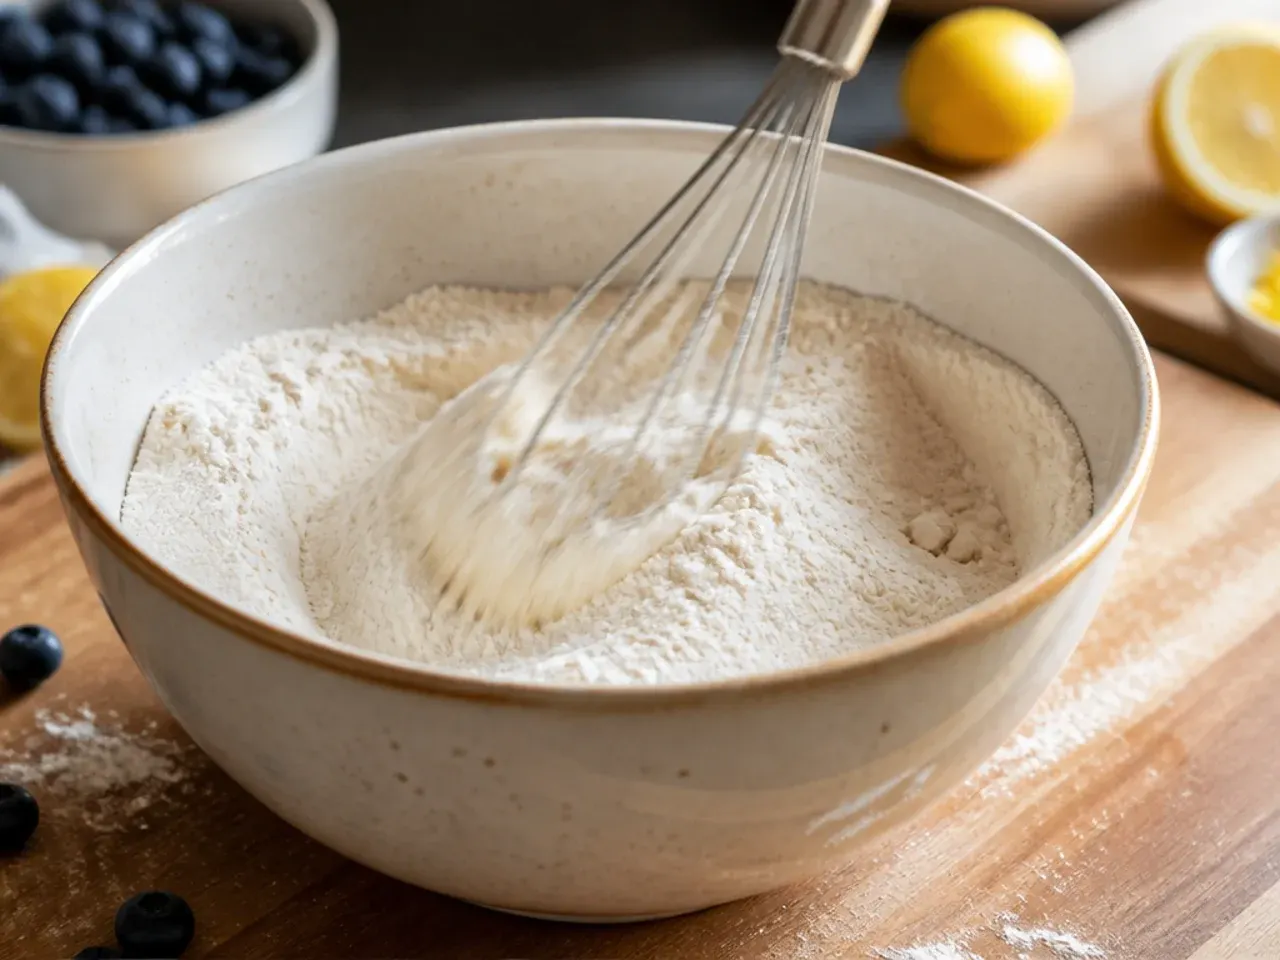
In a large bowl, whisk together 300 g (2 1/2 cups) plain flour, 10 g (2 tsp) baking powder and 3 g (1/2 tsp) fine salt until evenly combined. Whisking rather than stirring distributes the raising agent evenly through the flour, so the scones puff up consistently rather than lopsided. This dry base is the foundation for the whole dough, so make sure no pockets of unmixed baking powder remain at the bottom of the bowl.
Step 3: Rub the lemon zest into the sugar
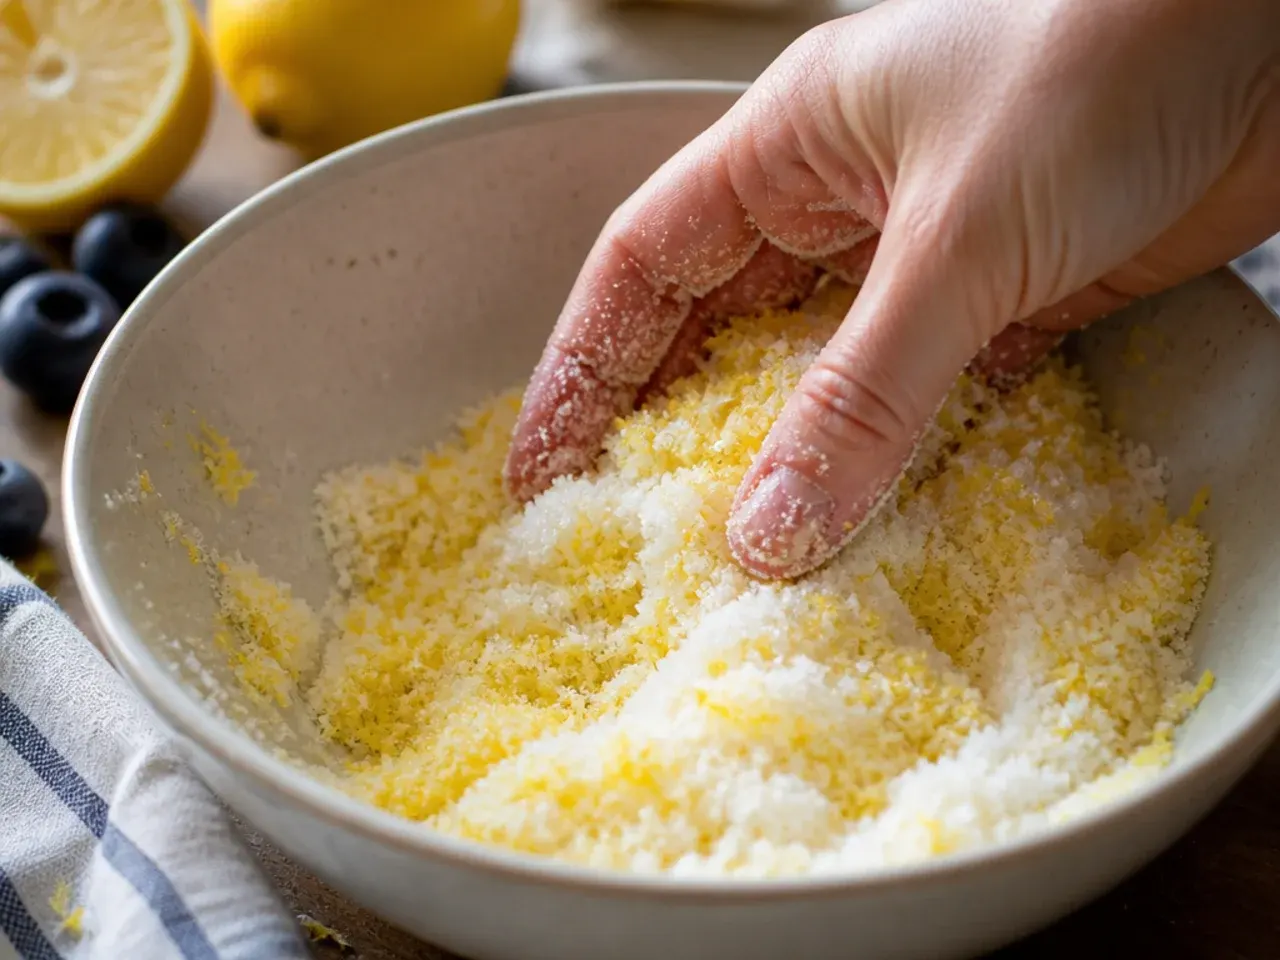
Add 75 g (1/3 cup) caster sugar and the finely grated zest of 2 lemons to a small bowl, then rub the zest into the sugar with your fingertips for about a minute until it turns fragrant and slightly damp. This releases the citrus oils trapped in the zest far more effectively than simply scattering the zest into the dough. Tip the lemon sugar into the bowl of dry ingredients and whisk briefly to combine.
Step 4: Cube the butter and keep it cold
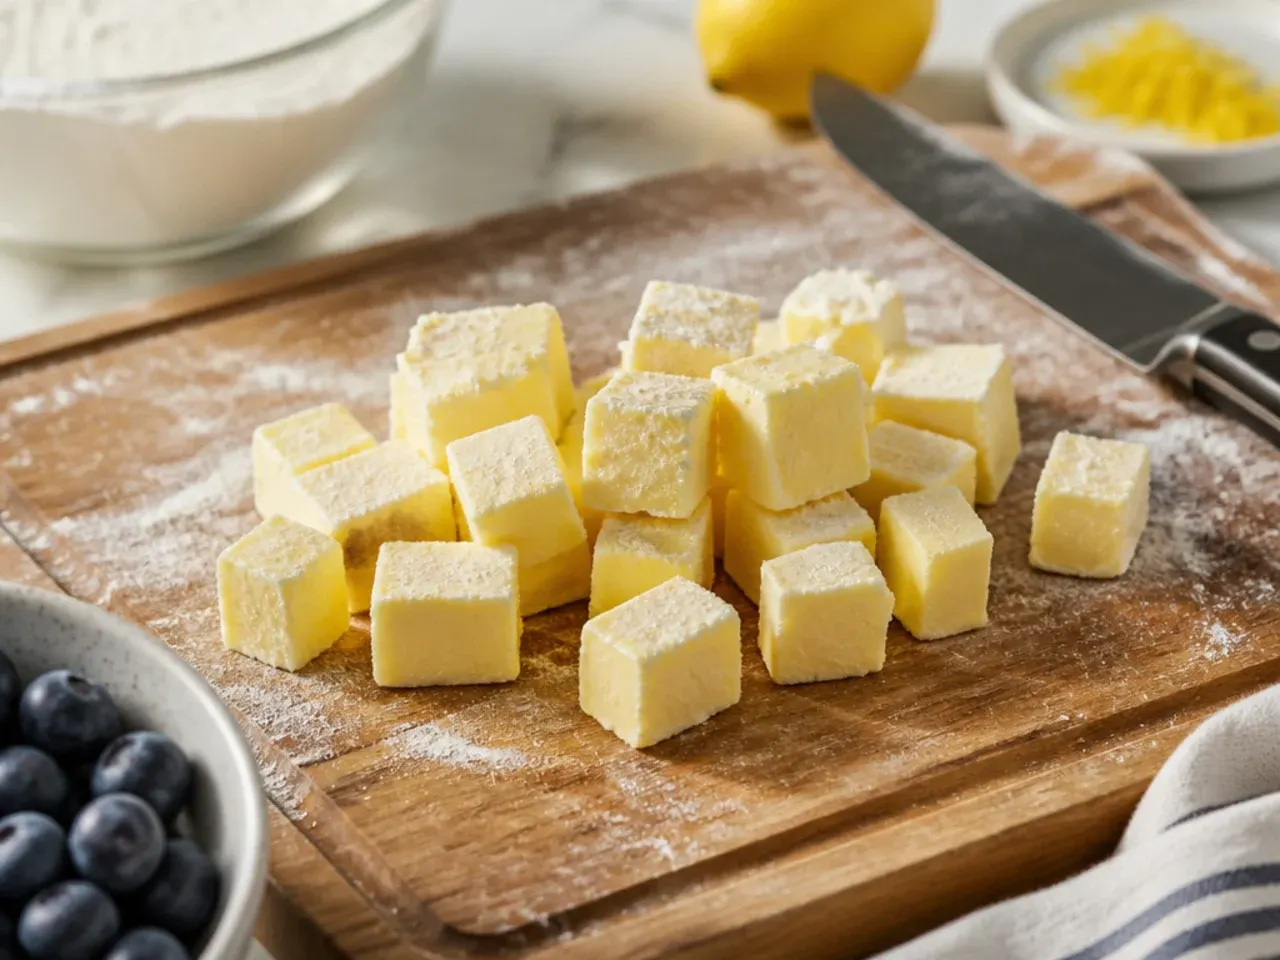
Cut 115 g (1/2 cup) cold unsalted butter into small 1 cm (1/2 inch) cubes and return it to the fridge for 5 minutes while you finish the other prep. Cold, firm butter is essential for flaky scones, since solid fat creates steam pockets in the oven that lift and separate the layers. If your kitchen is warm, work quickly from this point on to stop the butter softening before it reaches the oven.
Step 5: Rub the butter into the flour
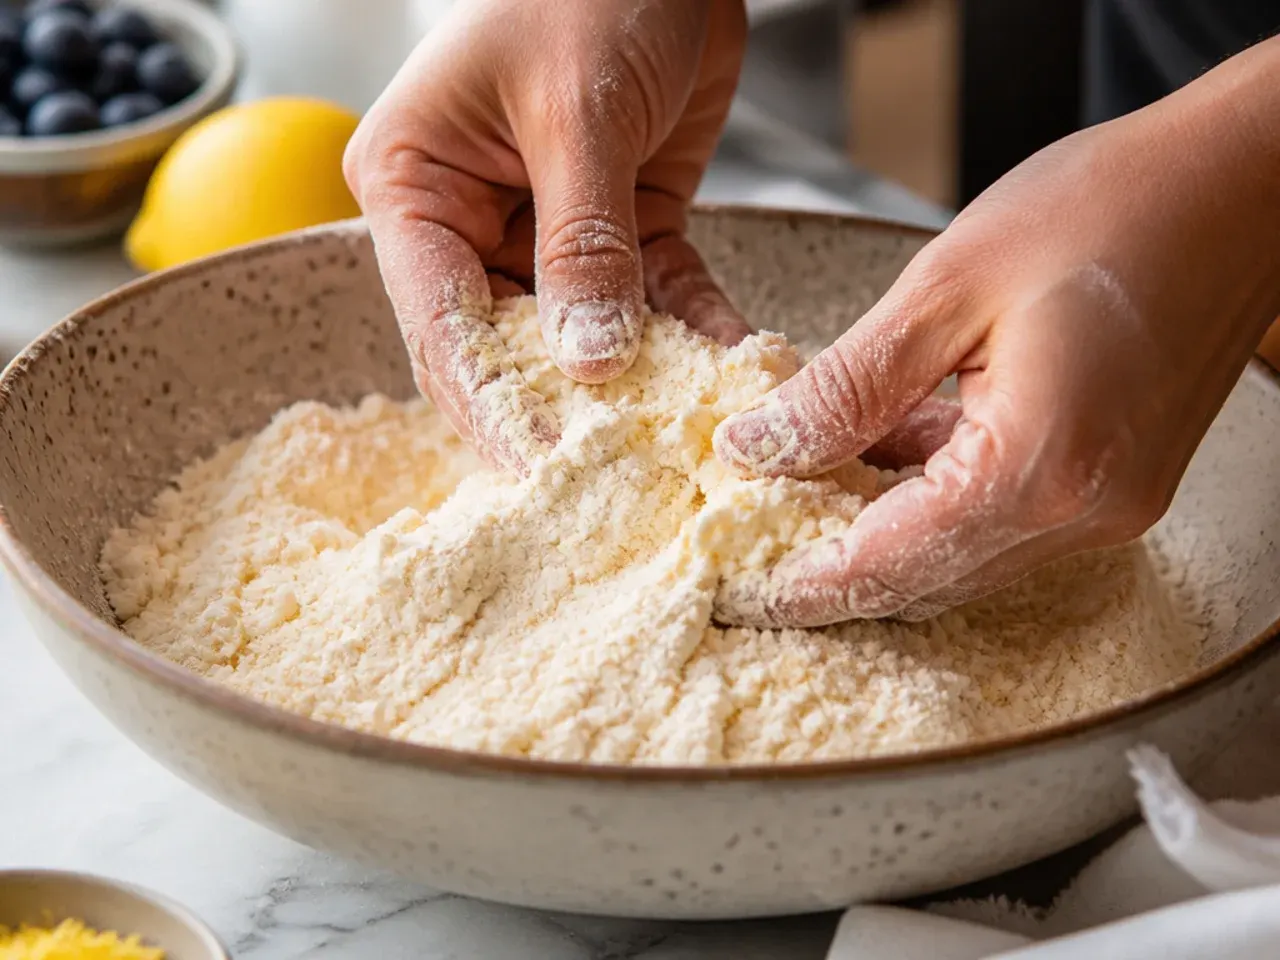
Add the cold butter cubes to the flour mixture and rub them in with your fingertips, lifting and rubbing to coat each piece, until the mixture looks like coarse breadcrumbs with some pea-sized lumps remaining. This should take about 3-4 minutes; those larger lumps are exactly what create the flaky texture, so don't rub it until perfectly smooth. Work fast and use only your fingertips, which are cooler than your palms, to keep the butter from melting into the flour.
Step 6: Toss the blueberries in flour
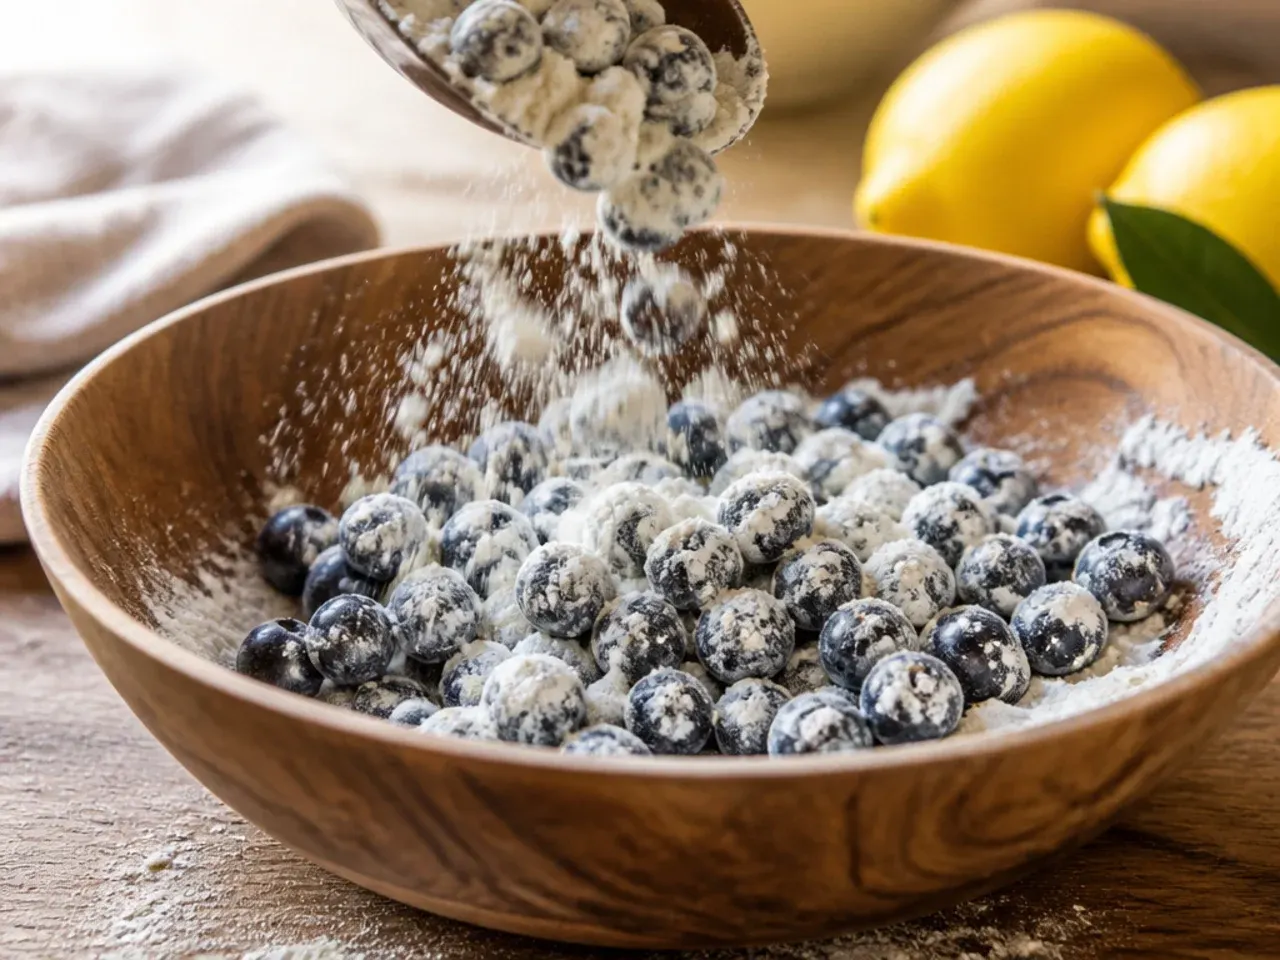
Tip 180 g (1 1/4 cups) fresh or frozen blueberries into a small bowl with 1 tablespoon of the measured flour and toss gently to coat every berry. This light dusting stops the berries sinking to the bottom of the dough and absorbs some of their juice so the crumb doesn't turn soggy or streaked purple. If using frozen blueberries, add them straight from the freezer without thawing to reduce bleeding.
Step 7: Whisk the wet ingredients
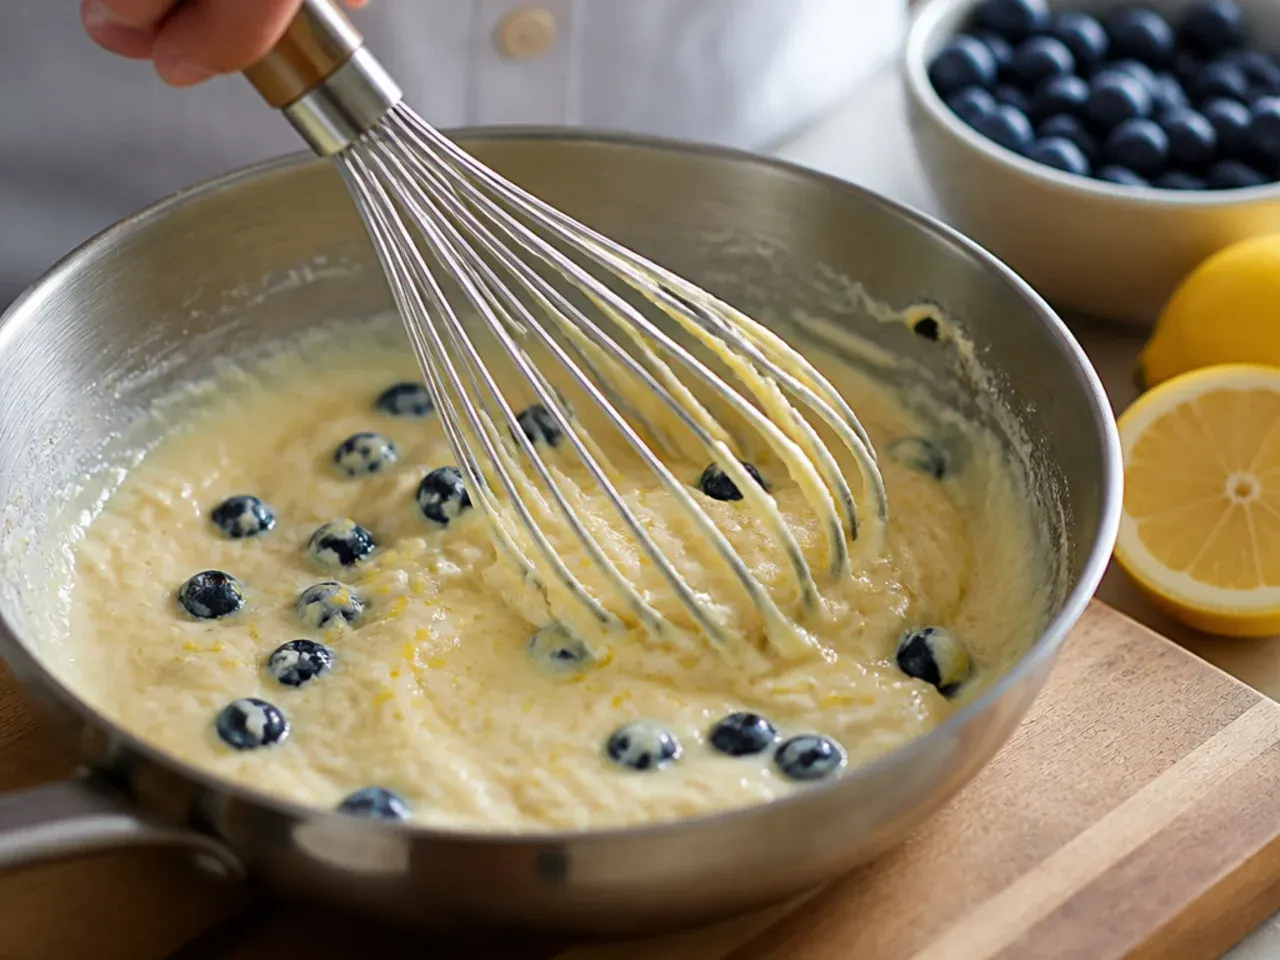
In a separate jug, whisk together 1 large beaten egg, 120 ml (1/2 cup) double cream and 5 ml (1 tsp) vanilla extract until smooth and pale yellow. Whisking these together first means they combine evenly into the dry mixture in one go, reducing how much you need to handle the dough afterwards. Keep this mixture chilled in the fridge until you're ready to use it if your kitchen is on the warmer side.
Step 8: Combine the wet and dry ingredients
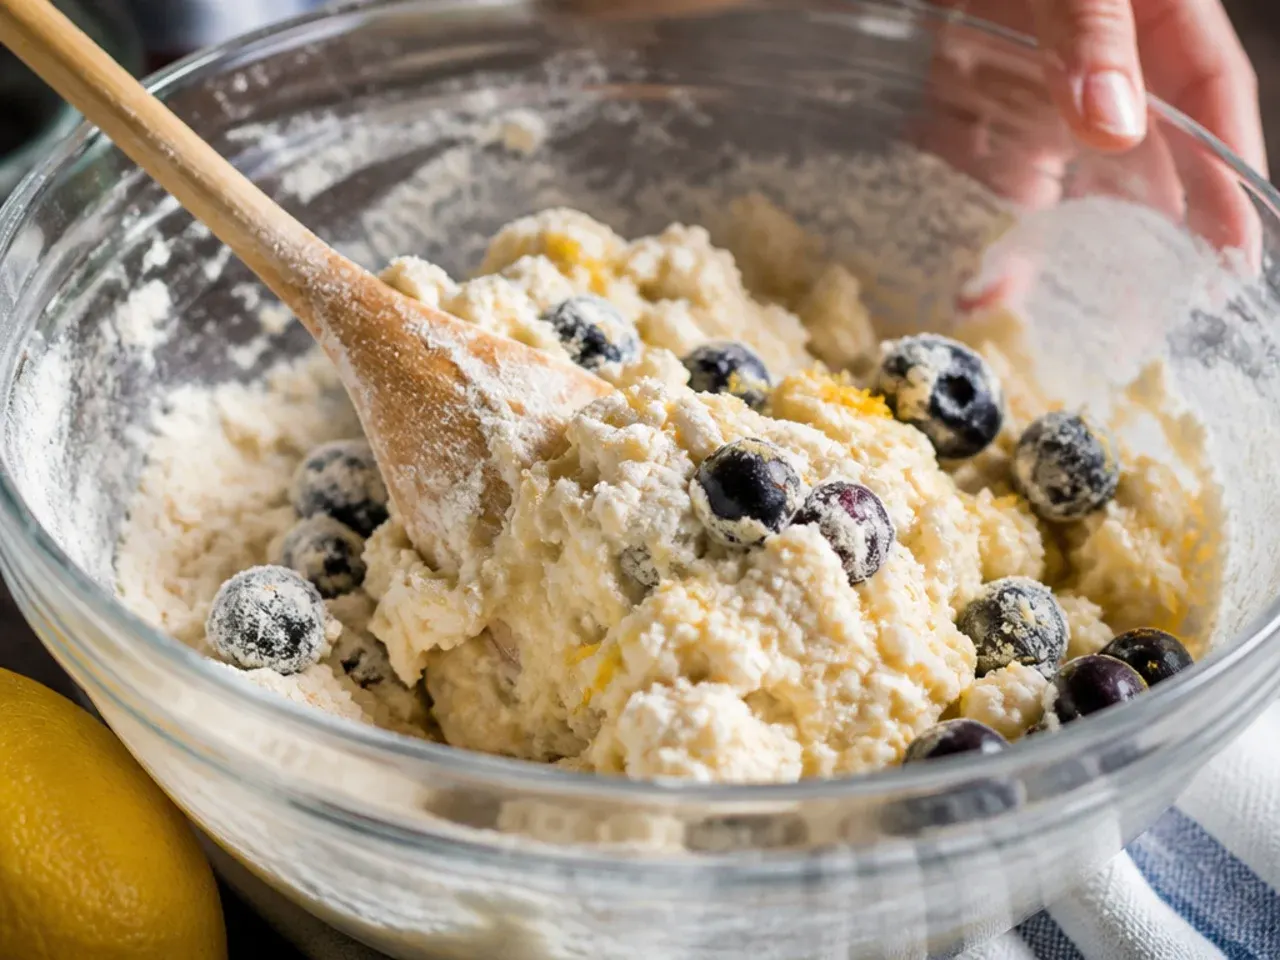
Make a well in the centre of the flour mixture and pour in the wet ingredients. Using a rubber spatula or a table knife, fold everything together with quick, light strokes just until no dry flour streaks remain — the dough will look shaggy and slightly wet, which is exactly right. Overmixing at this stage is the most common cause of tough, dense scones, so stop as soon as it comes together.
Step 9: Fold in the blueberries

Scatter the floured blueberries over the shaggy dough and fold them through with 3-4 gentle turns, just enough to distribute them evenly. Folding rather than stirring stops the berries bursting and streaking the whole dough purple. A few berries poking through the surface are fine and will look attractive once baked.
Step 10: Bring the dough together
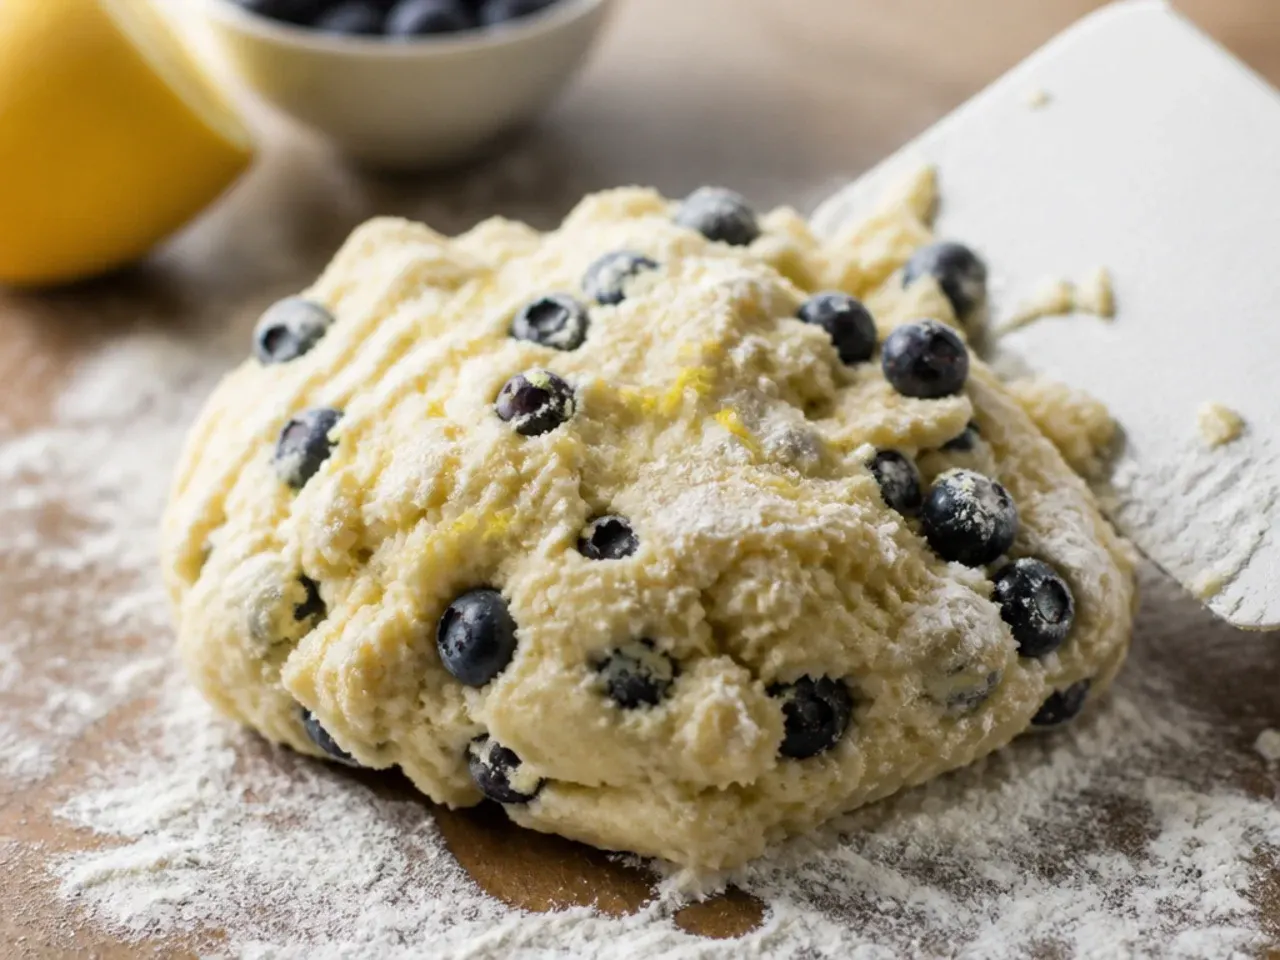
Turn the dough out onto a lightly floured work surface and press it gently into a rough mass with your hands, without kneading. It should still look a little rough and uneven rather than smooth like bread dough; this rustic texture is what gives scones their characteristic craggy, flaky top. If the dough feels too dry to hold together, sprinkle in 5 ml (1 tsp) extra cream rather than working it more.
Step 11: Shape the dough into a disc
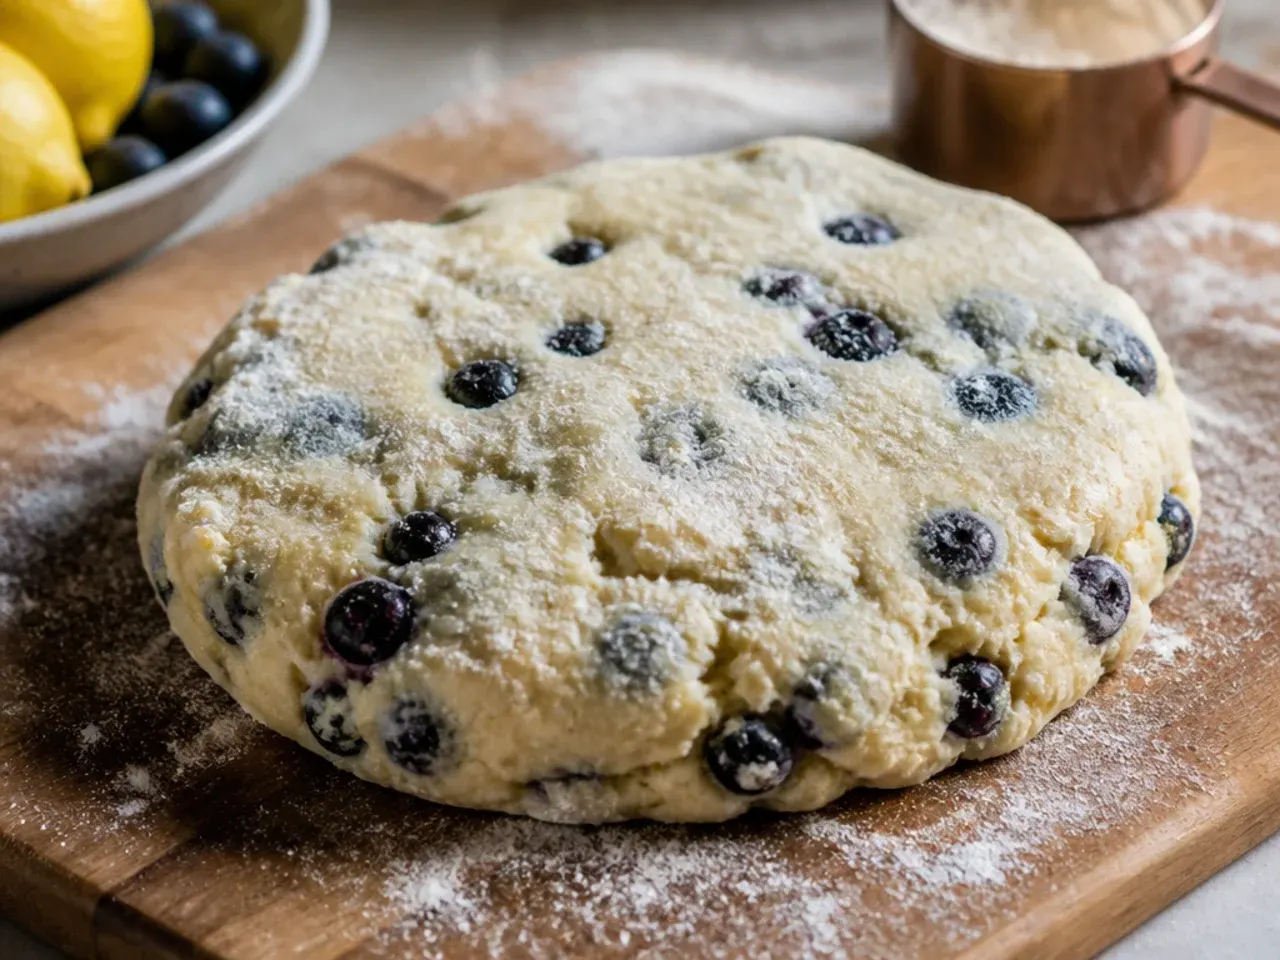
Pat the dough into a round disc about 4 cm (1 1/2 inches) thick and 20 cm (8 inches) across, using your palms to even out the edges. Keeping the disc a consistent thickness means every scone bakes at the same rate, so none end up underdone in the middle or dry at the edges. Dust the top lightly with flour if it feels tacky to the touch.
Step 12: Chill the dough before cutting
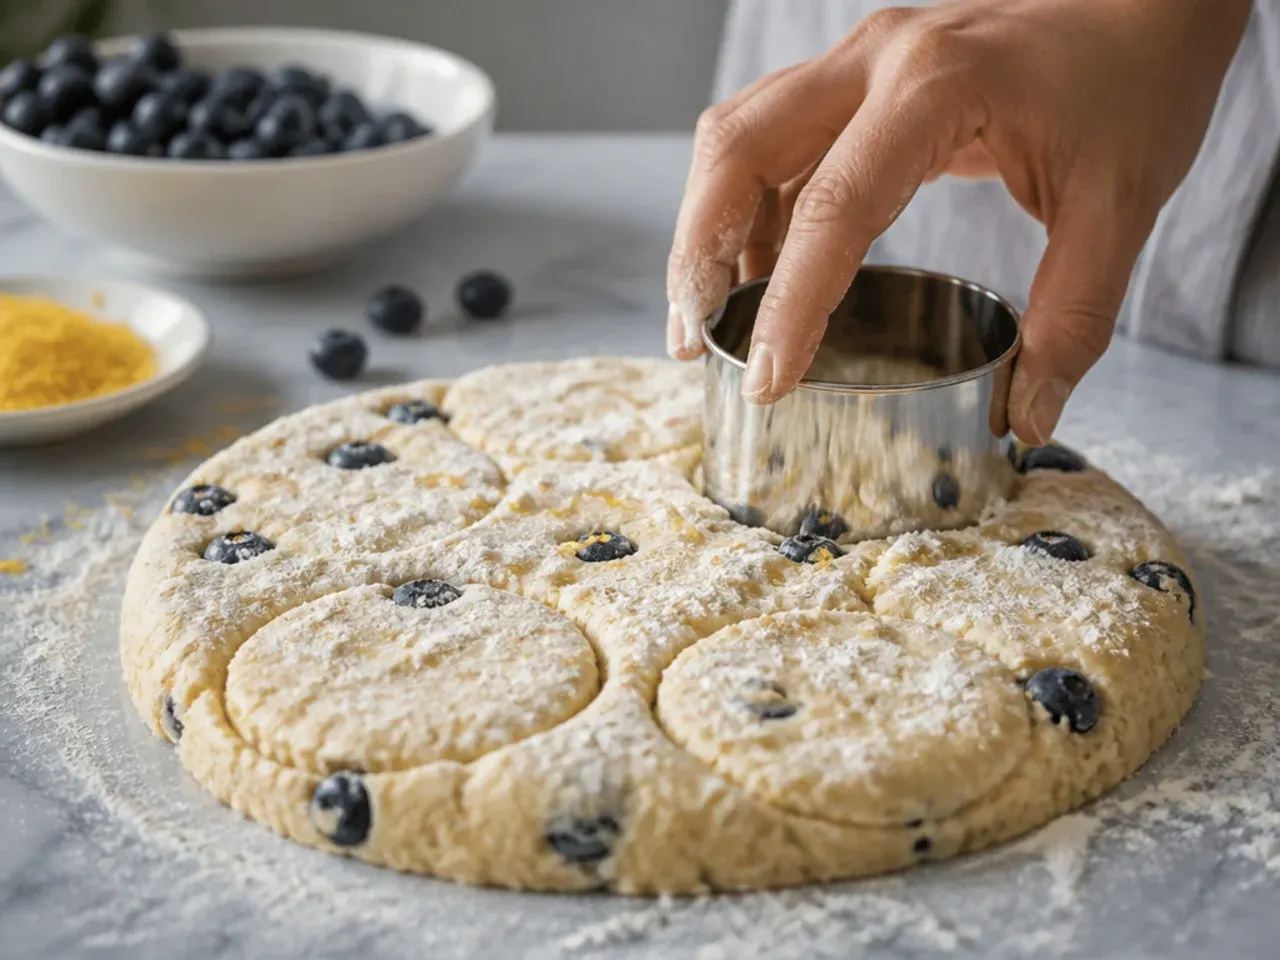
Transfer the disc, still on its work surface or a plate, to the fridge and chill for 15 minutes. This brief rest firms the butter back up after handling and relaxes the gluten, both of which help the scones hold a taller, neater shape in the oven. Don't skip this step even if you're short on time — it makes a noticeable difference to the final rise.
Step 13: Cut the scones into wedges

Using a sharp knife, cut the chilled disc into 8 even wedges, like slicing a pizza. Cut straight down in one motion rather than sawing back and forth, since a clean cut keeps the layers of butter and flour intact along the edge, which helps the scones rise straight rather than lean or seal shut.
Step 14: Arrange the scones on the tray

Place the wedges onto the lined baking tray, spacing them about 5 cm (2 inches) apart so hot air can circulate and the sides can crisp up rather than steam against each other. Arrange them with the pointed tips facing outward if you'd like an especially neat, bakery-style presentation. Check that the tray fits in your oven with a little clearance on every side.
Step 15: Brush with cream and sprinkle with sugar

Brush the top of each scone lightly with a little extra double cream, then sprinkle with 15 g (1 tbsp) caster sugar for a crisp, sparkly crust. The cream wash helps the tops turn a rich golden colour in the oven rather than staying pale, while the sugar adds a light crunch to every bite. Avoid brushing cream down the cut sides, as this can seal the edges and limit the rise.
Step 16: Bake for the first 10 minutes

Slide the tray into the preheated 200°C (400°F) oven and bake for 10 minutes on the middle shelf. At this point the scones should already be visibly puffed and pale gold at the base of the sides, though the tops will still look mostly pale — this is completely normal partway through baking.
Step 17: Rotate the tray and finish baking

Rotate the tray 180 degrees to account for any hot spots in your oven, then continue baking for a further 8-10 minutes, until the tops are golden brown and the bottoms sound hollow when tapped. The total bake time should land around 18-20 minutes; a skewer inserted into the centre of a scone should come out clean with no wet dough clinging to it.
Step 18: Cool on the tray, then a wire rack

Leave the scones on the tray for 5 minutes to firm up, since they're fragile straight out of the oven, then transfer them to a wire rack to cool for at least 15 minutes. Cooling on a rack rather than the tray stops steam building up underneath and turning the base soggy.
Step 19: Make the lemon glaze
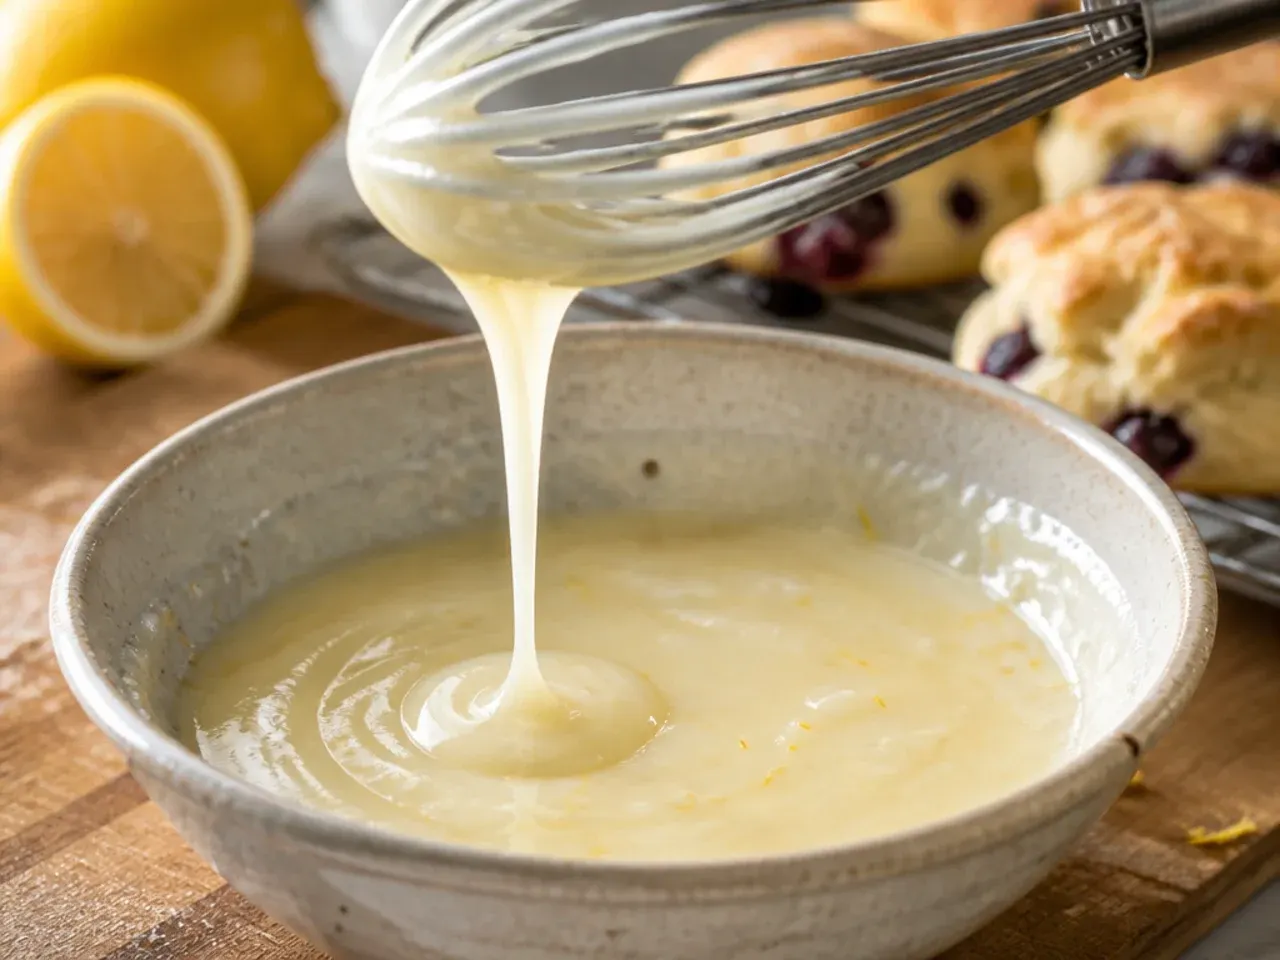
While the scones cool, whisk 120 g (1 cup) sifted icing sugar with 15 ml (1 tbsp) fresh lemon juice in a small bowl until smooth and thick enough to coat the back of a spoon, adding a few extra drops of juice only if it feels too stiff. This simple glaze adds a bright, tangy finish that balances the sweetness of the scone without overpowering the blueberries.
Step 20: Drizzle with glaze and serve

Once the scones have cooled to just warm or room temperature, drizzle the lemon glaze over the tops in thin zigzag lines using a spoon or piping bag, then let it set for about 10 minutes before serving. Serving them once the glaze has firmed slightly stops it sliding straight off and keeps the presentation neat. Enjoy the lemon blueberry scones the same day for the best texture, alongside a pot of tea or coffee.
Pro Tips for Perfect Lemon Blueberry Scones
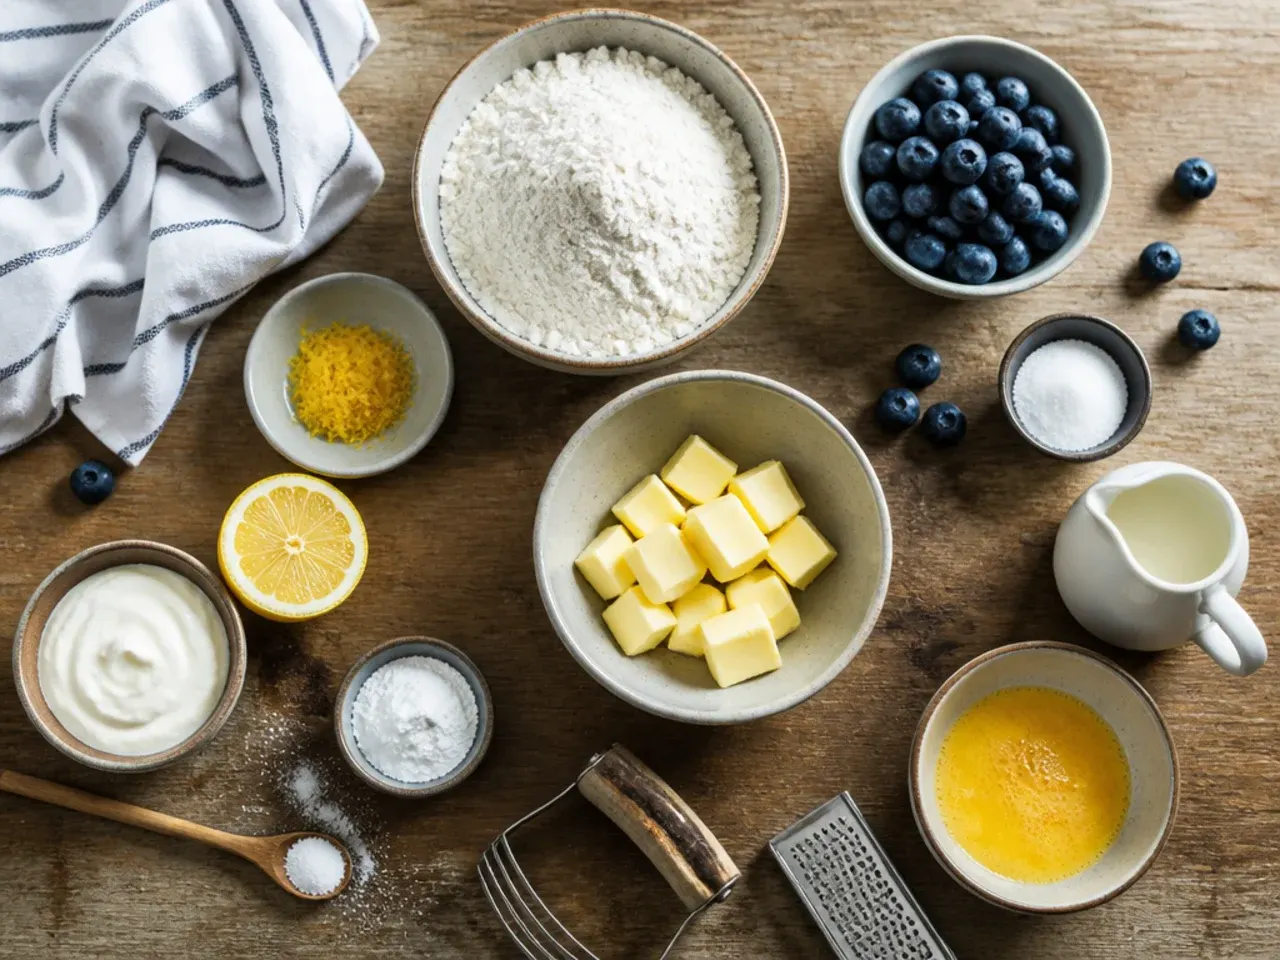
Keep every ingredient properly cold — chill the butter, cream and even the mixing bowl if your kitchen is warm, because cold fat is what creates those flaky, lifted layers in lemon blueberry scones. Grate the lemon zest directly into the sugar and rub it in with your fingertips for a minute; this releases the citrus oils and gives every bite a stronger lemon flavour than scattering the zest in loose. Resist the urge to knead the dough — pat it together with a few light folds, since overworking develops gluten and turns scones tough rather than tender. If the dough feels sticky, dust your hands and the surface with flour rather than adding more liquid, and always cut straight down with a sharp knife rather than twisting, which seals the edges and stops the scones rising evenly.
Storage and Make-Ahead Tips

Baked scones keep in an airtight container at room temperature for up to 2 days, or in the fridge for up to 5 days once glazed; warm them for 10 minutes at 160°C (325°F) to revive the crisp edges before serving. To make ahead, shape and cut the unbaked scones, freeze them on a tray for 30 minutes until solid, then transfer to a freezer bag for up to 3 months. Bake straight from frozen on a lined tray at 200°C (400°F), adding 3-5 extra minutes to the bake time, and hold off on the lemon glaze until just before serving. Baked, unglazed scones also freeze well for up to 2 months — thaw at room temperature and glaze only once fully cooled.
These lemon blueberry scones pack juicy berries and bright citrus into a flaky, golden bake finished with a tangy lemon glaze. For more scones inspiration, browse the full Scone Recipes board — every idea there is written for real home kitchens, not professional bakers.
Frequently Asked Questions
Yes — this is one of the easiest doughs to prep ahead. Mix and shape the dough, cut it into wedges, then lay them on a tray and chill in the fridge for up to 24 hours before baking, or freeze for up to 3 months. Baking from cold or frozen actually helps the scones hold their shape and rise taller, since the butter stays solid longer once it hits the hot oven. If baking from frozen, add 3-5 minutes to the cook time and check for a golden top and a clean skewer before pulling them out.

Related Recipes



Save this for later 📌
Pin this article to your Pinterest board so the full list is one tap away when you need it.
Save on Pinterest