15 Scone Recipes Mistakes I Made (and My Fixes)

15 honest lessons from years of baking sourdough discard scones — the mistakes, the fixes, and the tricks that finally gave me tall, tender scones every time. If you love scones inspiration, start with our Scone Recipes collection, then browse the full Desserts hub for more.

Save this for later 📌
Pin this article to your Pinterest board so the full list is one tap away when you need it.
Save on PinterestDesserts
Intermediate
Kitchen Journal
7 steps
Table of Contents
- Lesson 1: Sourdough Discard Scones Taught Me Cold Butter Isn't Optional
- Lesson 2: Weighing the Discard Instead of Scooping It
- Lesson 3: Minimal Mixing Beats Thorough Mixing
- Lesson 4: A Fridge Rest Before the Oven Changes Everything
- Lesson 5: A Properly Hot Oven Is Non-Negotiable
- Lesson 6: Press the Cutter, Never Twist It
- Lesson 7: Toss Mix-Ins in Flour Before Folding Them In
- Lesson 8: Egg Wash Is What Gives That Bakery Shine
- Lesson 9: Unfed Discard Behaves More Predictably Than Bubbly Starter
- Lesson 10: Too Much Liquid Is the Silent Cause of Flat Scones
- Lesson 11: An Overnight Rest Deepens the Tang
- Lesson 12: Freezing Unbaked Wedges Means Fresh Scones on Demand
- Lesson 13: Tall Wedges Beat Thin Rounds for Rise
- Lesson 14: A Splash of Buttermilk Fixes a Discard That's Too Thick
- Lesson 15: They Stale Fast, So Wrap Properly or Freeze Baked Extras
- What I'd Tell a Friend Trying This
- The Recipe I Used
Lesson 1: Sourdough Discard Scones Taught Me Cold Butter Isn't Optional
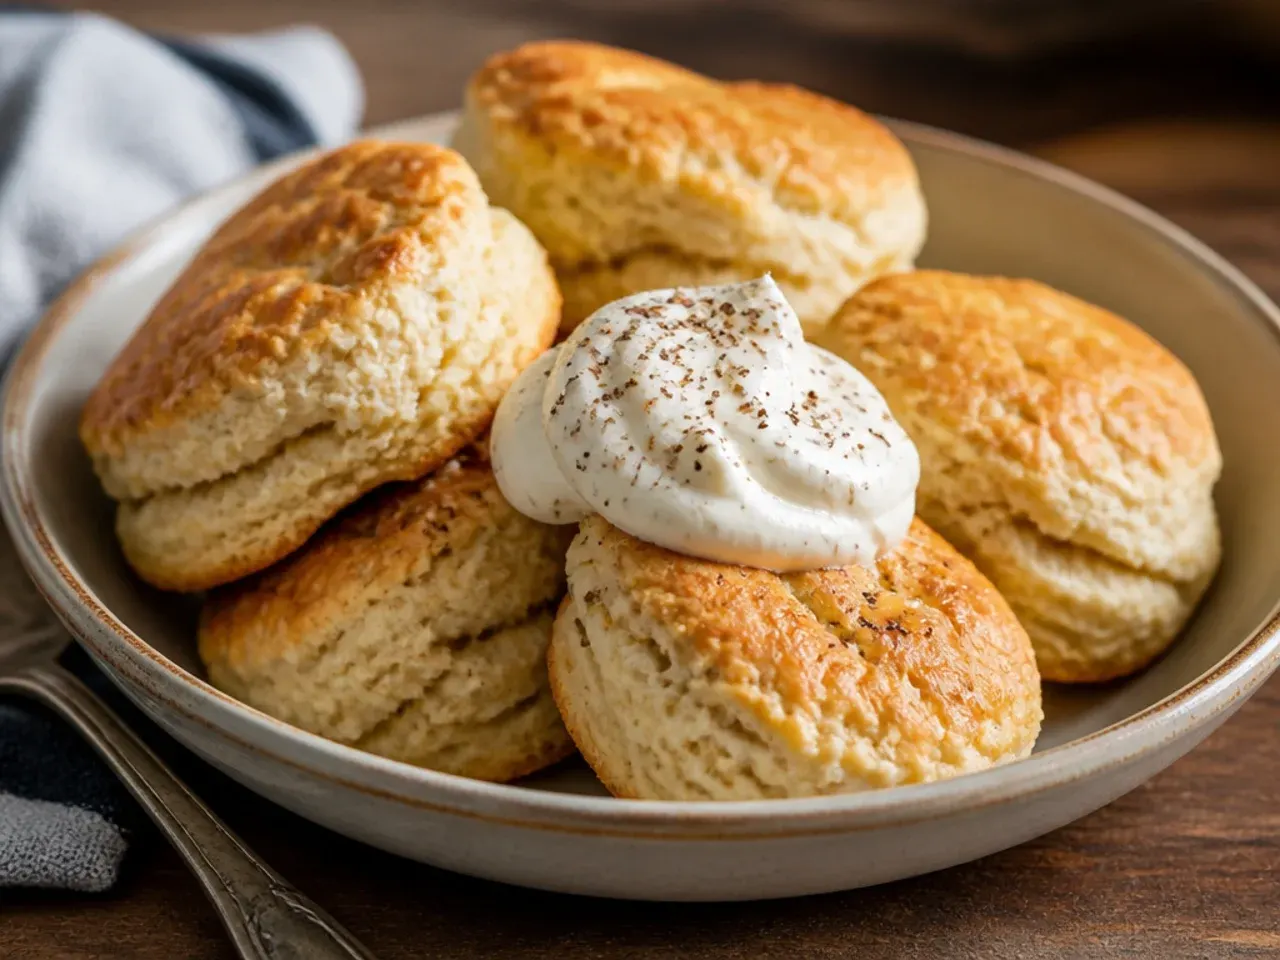
The first time I made sourdough discard scones, I let the butter sit out while I mixed everything else, and the dough turned into a sticky, greasy mess that spread flat in the oven. Now I grate the butter straight from the freezer on the coarse side of a box grater and tip it into the flour before it has a chance to soften. Cold butter is what melts in sudden steamy bursts in the oven, which is exactly what pushes the scones up into tall, flaky layers. Skip this step and you get scones that are more biscuit-flat than bakery-tall.
Lesson 2: Weighing the Discard Instead of Scooping It

I used to spoon sourdough discard straight from the jar into a measuring cup, and my scones came out dense one week and dry the next. Discard varies wildly in thickness depending on how long it's been sitting, so a cup measure never gave me a consistent amount of flour and water. Switching to weighing 180 g (¾ cup) on a kitchen scale fixed the inconsistency overnight, because it's the actual mass of flour and liquid in the discard that matters, not the volume. If you only remember one fix from this list, make it this one.
Lesson 3: Minimal Mixing Beats Thorough Mixing

I used to stir the dough until it looked smooth and uniform, thinking that meant it was properly combined, and every batch baked up tough and bready. Scone dough only needs to be folded with a fork or your hands until it just comes together and still looks a bit shaggy and floury in patches. Overworking develops gluten and melts the cold butter chunks, and both of those things are the enemy of a tender crumb. Now I stop mixing the moment there's no dry flour left in the bowl, even if the dough looks messy.
Lesson 4: A Fridge Rest Before the Oven Changes Everything

For years I cut my scones and baked them immediately, and they never rose as tall as the photos I was chasing. Popping the shaped wedges in the fridge for 30 minutes, or the freezer for 15, firms the butter back up so it doesn't melt before the oven's heat can set the structure. Cold dough into a hot oven is what gives you that dramatic upward spring and defined layers instead of a puddle. It costs nothing but a bit of patience, and it's the single easiest upgrade I've made.
Lesson 5: A Properly Hot Oven Is Non-Negotiable

I once tried baking scones at 180°C (350°F) because that's what I use for most cakes, and they baked through before they ever got the chance to rise. Sourdough discard scones need a hot oven, 220°C (425°F), so the outside sets and browns while the inside is still getting its final lift from the baking powder and steam. Anything cooler and the butter has too much time to melt out before the structure locks in place. I now preheat properly and never open the door in the first 10 minutes.
Lesson 6: Press the Cutter, Never Twist It

I used to twist my round cutter like I was coring an apple, and I couldn't work out why my scones rose lopsided with a hard seam around the edge. Twisting seals the cut edges together, which stops the layers from separating cleanly as they rise in the oven. Now I press straight down, lift straight up, and if I'm short a cutter I just pat the dough into a circle and slice it into wedges like a cake instead. Either way, the cut edge has to stay open and clean for a good rise.
Lesson 7: Toss Mix-Ins in Flour Before Folding Them In

The first time I added chocolate chips and dried cherries straight into the wet dough, they sank to the bottom of every scone and bled colour into the crumb. Tossing them in a spoonful of the dry flour mixture first coats them lightly and keeps them suspended evenly when I fold them through. It also stops wet fruit like cherries from adding extra moisture right at the point where the dough is meant to be coming together, not loosening again. Now my mix-ins land in every bite instead of clumping at the bottom of the tray.
Lesson 8: Egg Wash Is What Gives That Bakery Shine

My early batches came out of the oven pale and matte, which was fine flavour-wise but never looked like the golden, glossy scones I was picturing. Brushing the tops with a beaten egg right before they go in the oven, then scattering over a spoonful of demerara sugar, is what gives that deep golden colour and a faint crunchy crust. Cream or milk works too but gives a softer, less shiny finish than egg does. It's a 30-second step that makes the biggest visual difference of anything on this list.
Lesson 9: Unfed Discard Behaves More Predictably Than Bubbly Starter

I once used my starter right after a feeding, still bubbly and active, thinking more fermentation activity would only help, and the scones rose unevenly with odd tunnels running through them. Unfed discard that's been sitting in the fridge for a few days to a week has gone flat and predictable, which actually makes it easier to bake with since the baking powder does all the lifting, not wild yeast activity. Active starter can still work in a pinch, but I've had far more consistent results reaching for properly discarded, unfed starter. If your discard still looks foamy, I'd give it a day or two in the fridge first.
Lesson 10: Too Much Liquid Is the Silent Cause of Flat Scones

When my scones came out flat and dense despite doing everything else right, the culprit was almost always too much liquid sneaking in from an overly hydrated discard plus a splash too much cream. Now I hold back a tablespoon or two of the cream and add it only if the dough genuinely won't come together, rather than pouring in the full amount out of habit. A slightly shaggy, just-barely-combined dough bakes up taller than one that felt easy and smooth to work with. Erring dry rather than wet has fixed more flat batches than any other single change.
Lesson 11: An Overnight Rest Deepens the Tang

I didn't bother resting the dough for the first year I made these, and the sourdough flavour was always faint, more of an afterthought than a real feature. Mixing the dough, shaping it, and letting it sit covered in the fridge overnight gives the discard time to keep fermenting quietly, which brings out a noticeably deeper tang the next morning. It's also just convenient, since all I have to do the next day is brush with egg and bake straight from cold. If you want these to actually taste like sourdough and not just use up discard, this is the step that delivers it.
Lesson 12: Freezing Unbaked Wedges Means Fresh Scones on Demand

I used to bake the whole batch at once and then watch half of it go stale on the counter within two days, which felt like a waste after all that effort. Now I freeze the cut, unbaked wedges on a tray until solid, then transfer them to a bag, so I can pull out exactly as many as I want and bake them straight from frozen. They just need an extra 2-3 minutes in the oven compared with the fridge-chilled batches. It's turned these from a weekend project into something I can have warm and fresh on a random Tuesday morning.
Lesson 13: Tall Wedges Beat Thin Rounds for Rise

My early attempts were rolled out thin, closer to a biscuit cutter shape than a proper scone, and they never had that impressive bakery height I was after. Patting the dough into a disc that's a full 4 cm (1½ in) thick before cutting into wedges gives the baking powder and steam much more dough to push up through. Rolling thinner just to get more scones out of a batch always comes at the cost of that height. I'd rather have six generous, tall scones than ten flat, sad ones.
Lesson 14: A Splash of Buttermilk Fixes a Discard That's Too Thick

Some batches of discard are noticeably stiffer than others, and when I used a thick discard without adjusting anything, the dough was crumbly and refused to come together no matter how much I folded it. A tablespoon or two of extra buttermilk or double cream, added slowly, brings a stiff discard back to the right consistency without tipping the dough into wet territory. I always keep a little extra on hand for exactly this reason rather than forcing dry dough together with more mixing. Judging the dough by feel, not just by the recipe's stated quantities, has saved me from a lot of dry, crumbly scones.
Lesson 15: They Stale Fast, So Wrap Properly or Freeze Baked Extras

I learned the hard way that scones left uncovered on a wire rack overnight turn dry and crumbly by morning, even though they were perfect the day before. Once fully cool, I wrap leftovers tightly in an airtight container at room temperature for up to two days, or freeze them for up to three months for anything longer. A quick 5-minute stint in a 160°C (325°F) oven brings frozen or day-old scones back to nearly fresh, with a warm centre and a crisp exterior again. Storage is the step everyone forgets, and it's the reason so many people think scones only taste good on baking day.
What I'd Tell a Friend Trying This

If you're making sourdough discard scones for the first time, weigh your discard, keep your butter properly frozen, and don't be afraid of a shaggy, slightly messy dough right up until it goes in a hot oven. Every mistake on this list cost me a flat or tough batch at some point, but none of them are hard to fix once you know what's actually happening in the bowl. Start with the basic recipe below exactly as written, get a feel for how the dough should look and behave, and only then start experimenting with mix-ins and flavours. Sourdough discard scones are genuinely one of the best uses for extra starter, and once you've got the technique down, you'll never toss discard in the bin again.
The Recipe
The Recipe I Used
50 min
16 min
1 hr 6 min
8
Intermediate
Ingredients 8 Person(s)
Directions
Step 1: Grate and freeze the butter
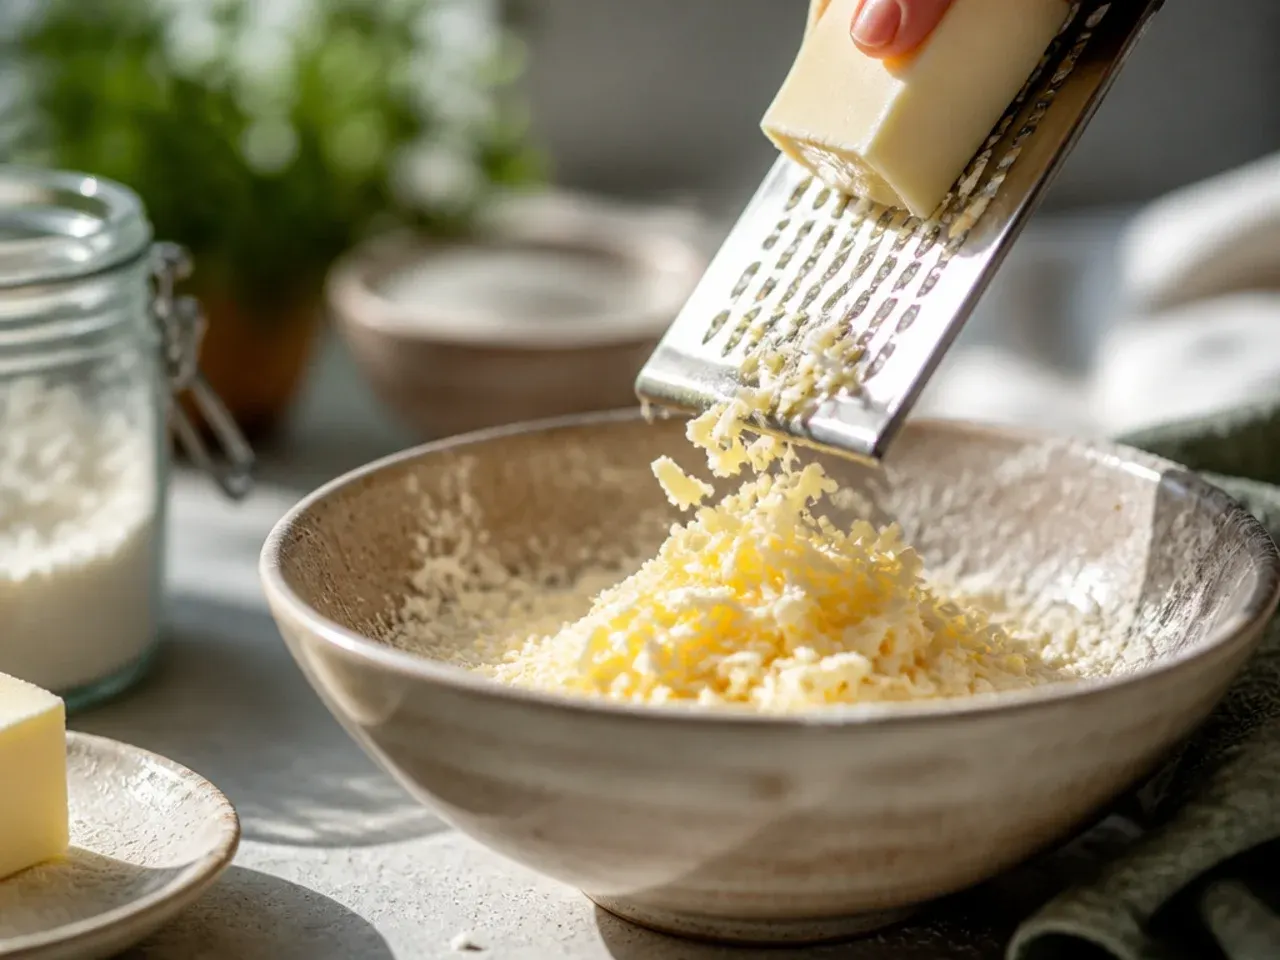
Coarsely grate 115 g (4 oz) very cold unsalted butter on the large holes of a box grater, then scatter the shreds on a plate and pop them in the freezer for 10 minutes while you prep everything else. Keeping the butter frozen right up until it hits the flour is what gives these scones their tall, flaky layers.
Step 2: Whisk the dry ingredients
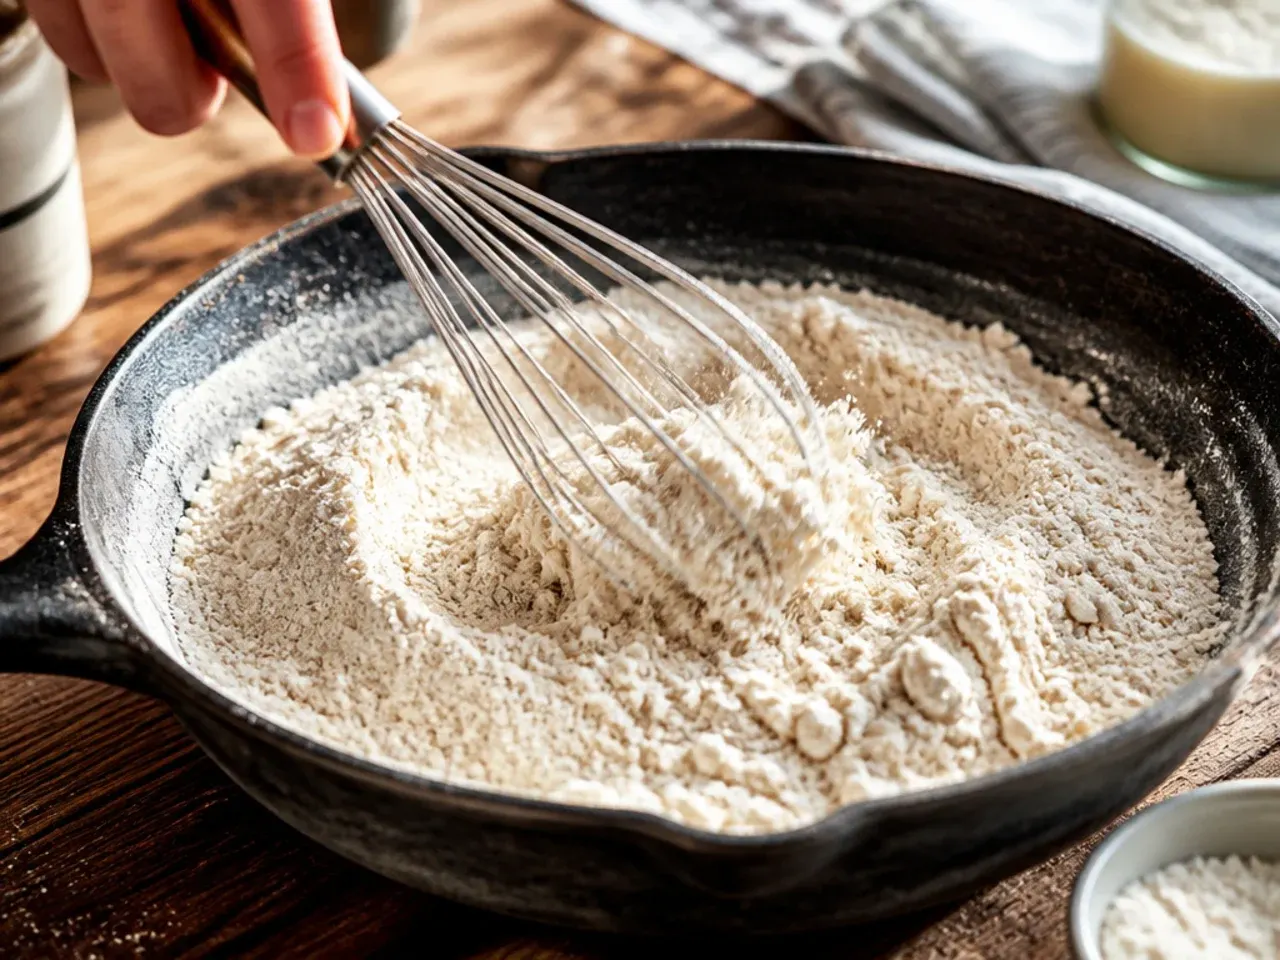
In a large bowl, whisk together 350 g (12 oz) plain flour, 50 g (¼ cup) caster sugar, 12 g (1 tbsp) baking powder, and 4 g (¾ tsp) fine salt until evenly combined. Toss the frozen grated butter through the dry mix with your fingertips until it's coated and looks like coarse, buttery crumbs.
Step 3: Combine the wet ingredients
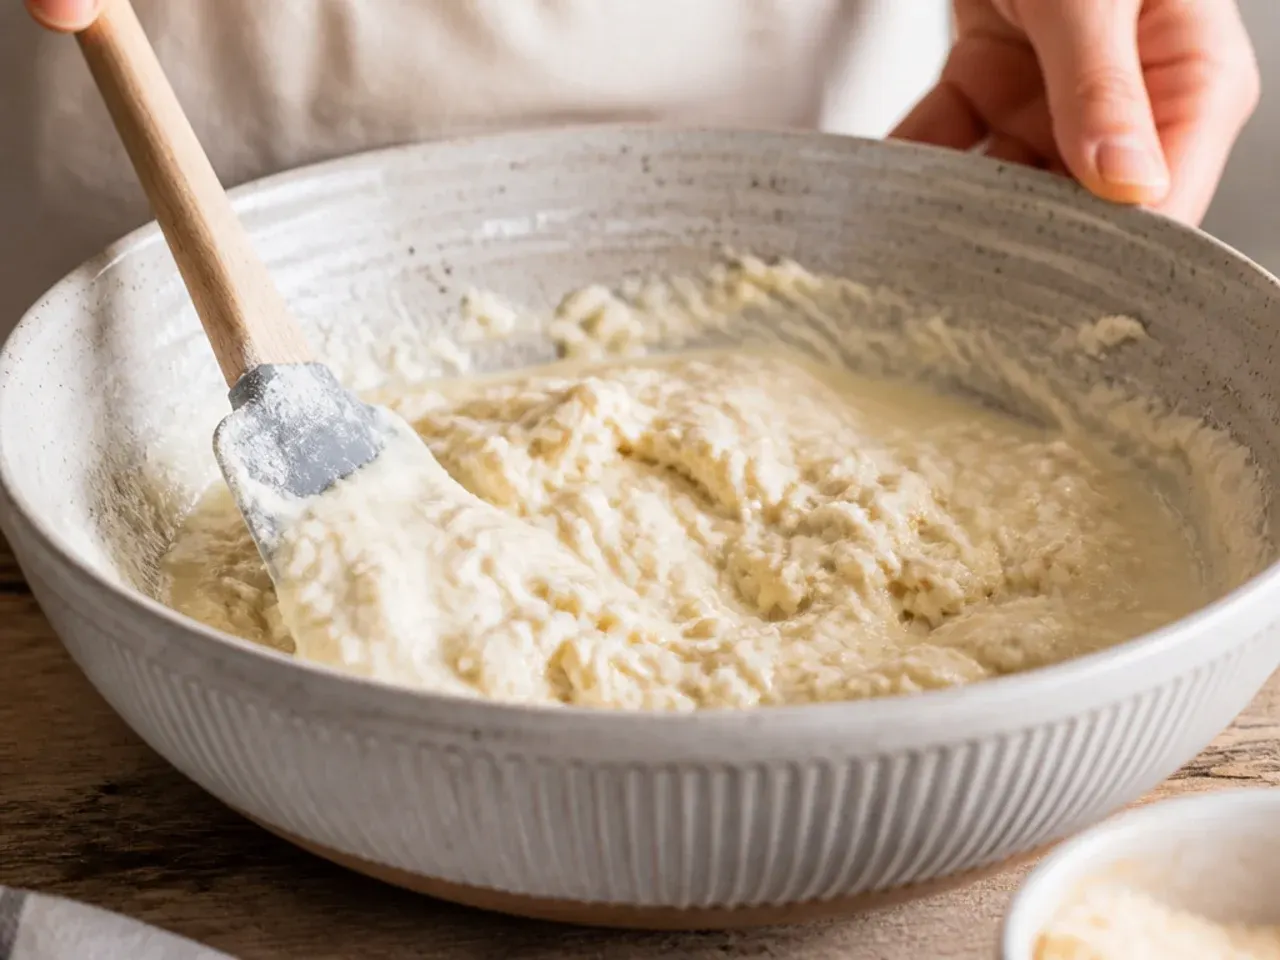
In a separate bowl, whisk together 180 g (¾ cup) sourdough discard, 80 ml (⅓ cup) cold double cream or buttermilk, and 1 beaten egg until smooth. If you're adding 100 g (⅔ cup) dried cherries or chocolate chips, toss them in a spoonful of the reserved dry flour mixture now to stop them sinking.
Step 4: Bring the dough together
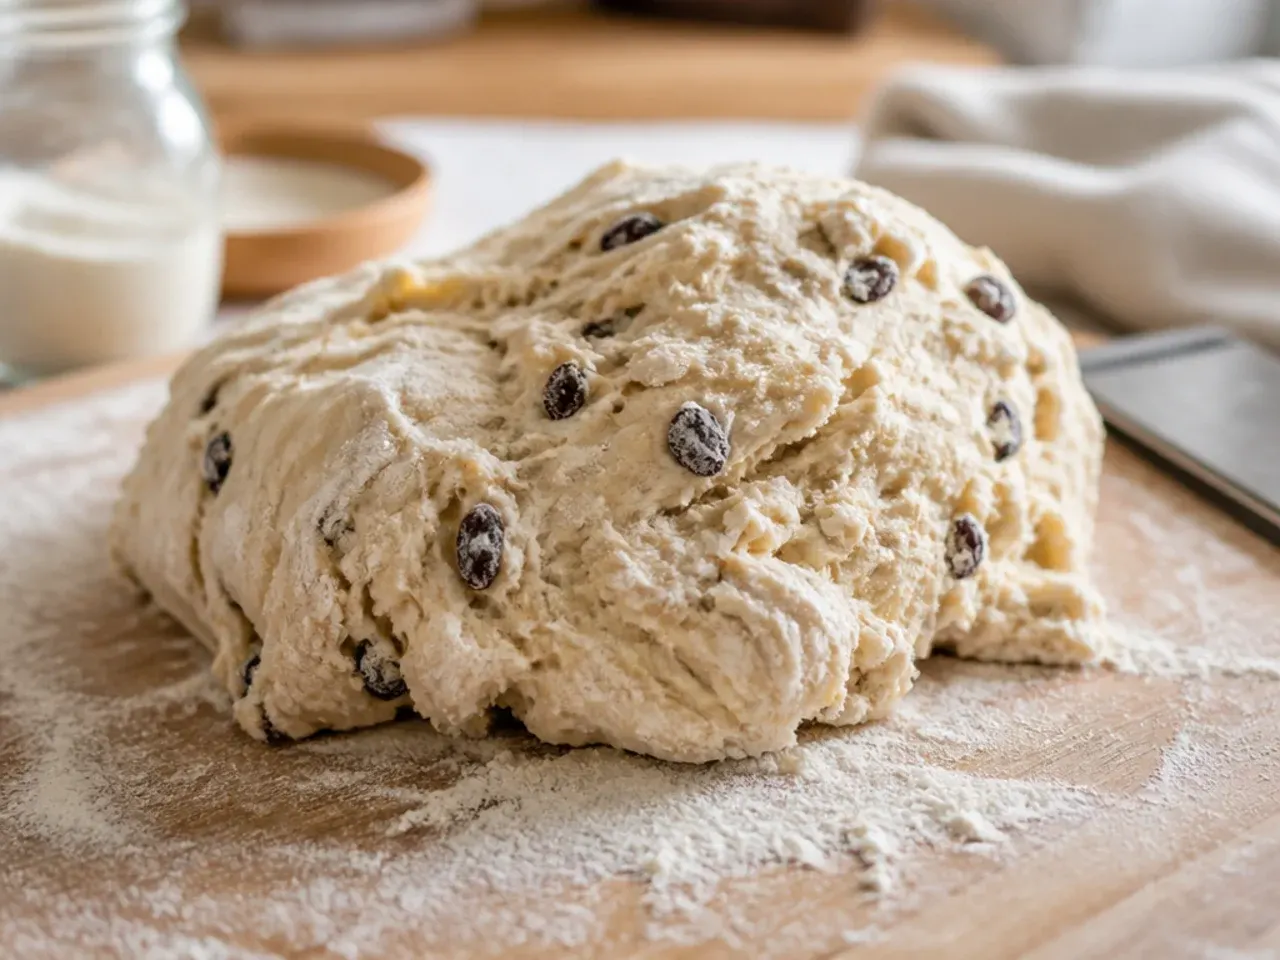
Pour the wet mixture into the dry ingredients and fold gently with a fork or spatula, just until a shaggy, slightly sticky dough forms with no dry flour visible. Stop as soon as it comes together; the dough should still look rough and uneven, not smooth.
Step 5: Shape and cut the scones
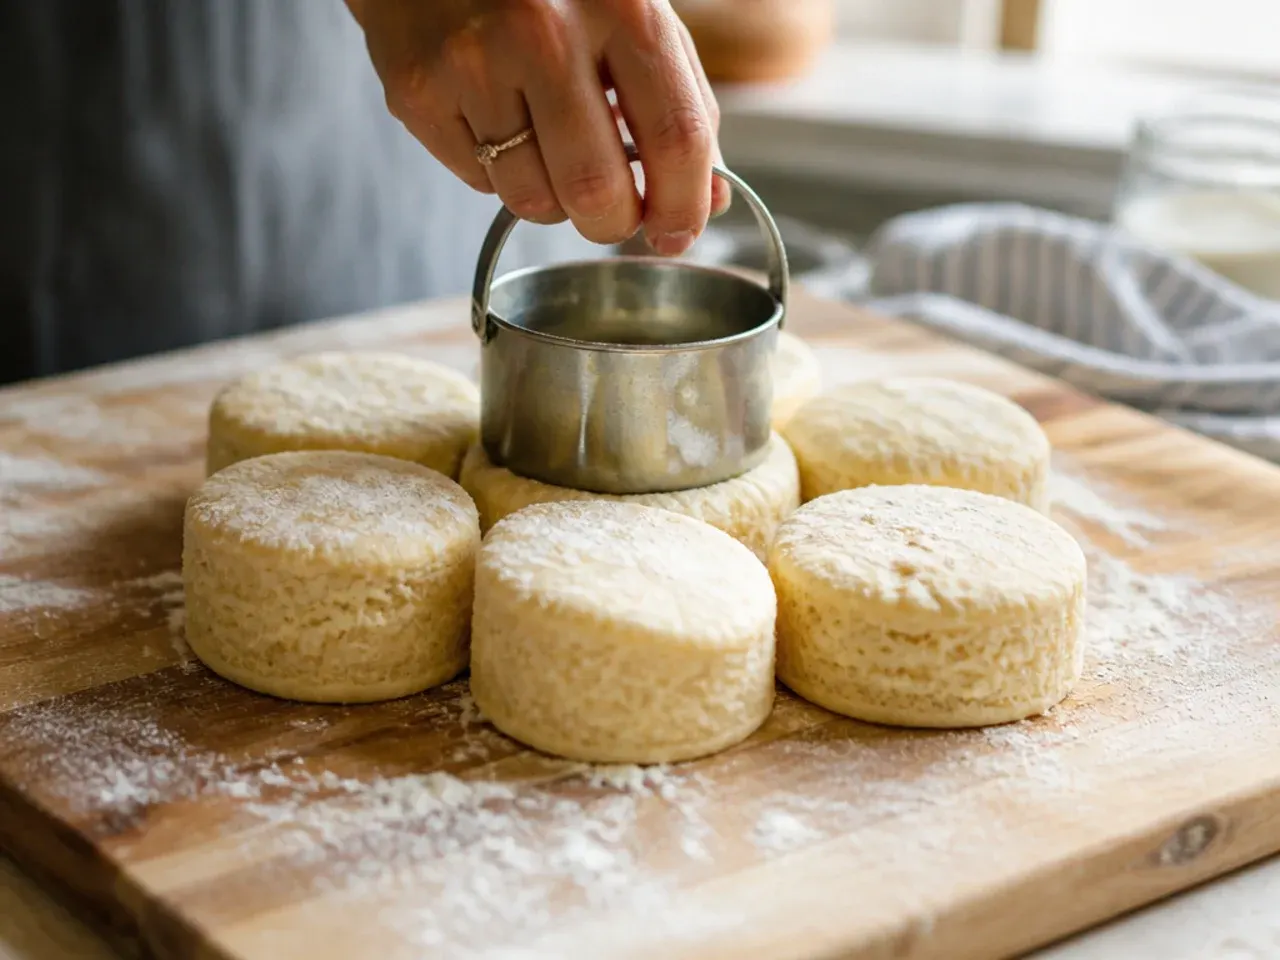
Turn the dough onto a lightly floured surface and pat it into a round disc about 4 cm (1½ in) thick. Cut into 8 wedges with a sharp knife, or stamp out rounds with a 6 cm (2½ in) cutter, pressing straight down without twisting.
Step 6: Chill before baking

Arrange the cut scones on a lined baking tray, spaced 3 cm (1 in) apart, and chill in the fridge for 30 minutes (or the freezer for 15) while the oven preheats to 220°C (425°F). This firms the butter back up so the scones rise tall instead of spreading.
Step 7: Egg wash and bake

Brush the chilled tops with the second beaten egg and sprinkle with the reserved 1 tbsp of sugar. Bake for 14-16 minutes until the tops are deep golden and the edges are set and lightly browned, then cool on the tray for 5 minutes before transferring to a rack.
Frequently Asked Questions
Yes, active starter works fine in this recipe and won't ruin the scones, but I get a more predictable rise using unfed discard that's a few days old. Active starter's extra fermentation activity can occasionally cause slightly uneven rising or odd air pockets in the crumb. If your starter is very bubbly, I'd let it sit in the fridge for a day or two first so it calms down before baking. Either way, measure it by weight rather than volume for consistent results.
Save this for later 📌
Pin this article to your Pinterest board so the full list is one tap away when you need it.
Save on Pinterest