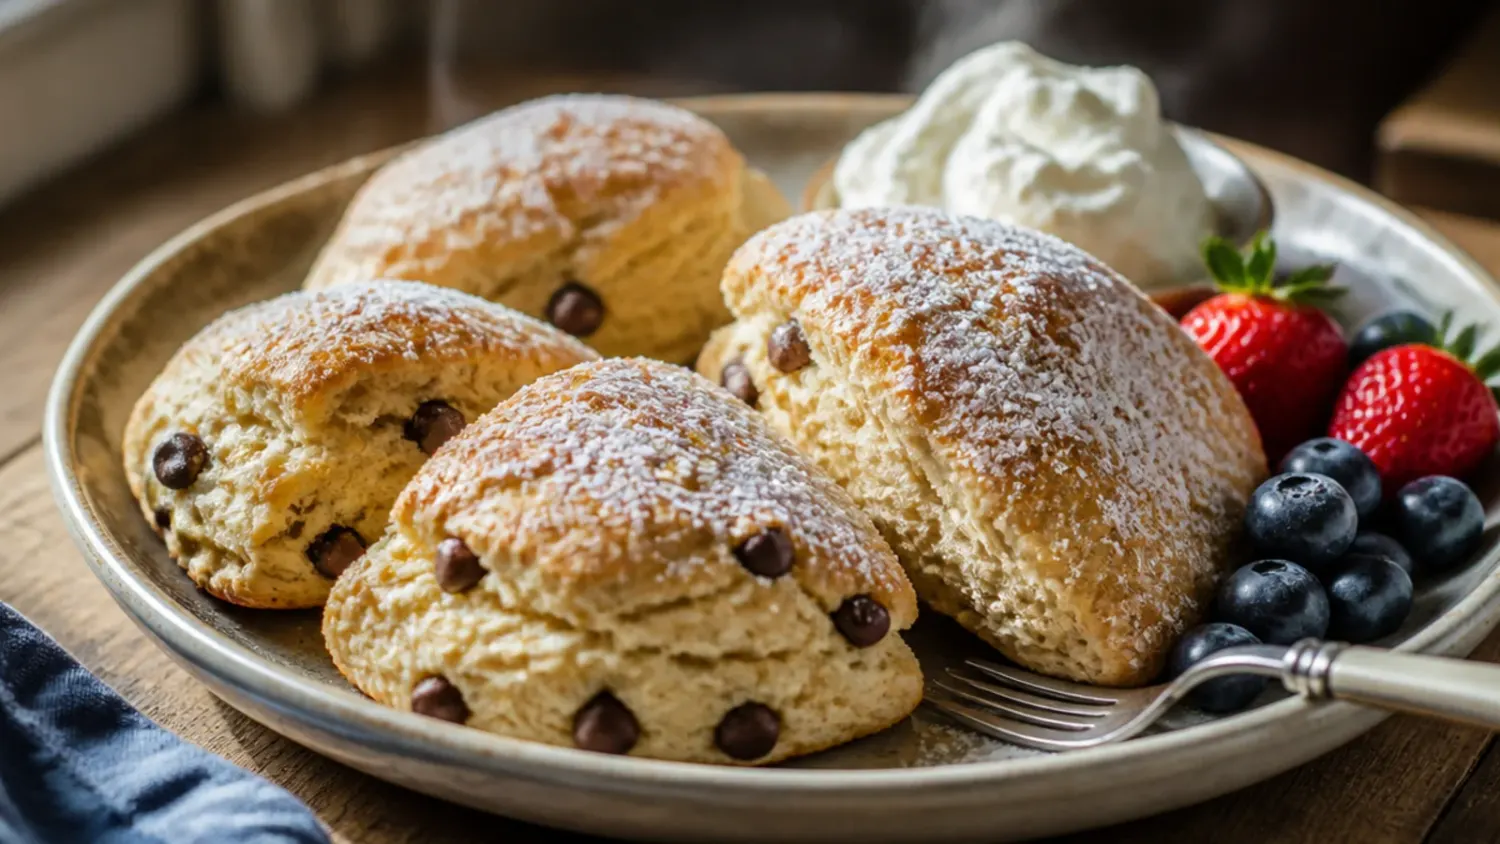
15 Scone Recipes: What I Learned Making Them

Fifteen batches of savory scones taught me exactly where flaky, cheesy scones go wrong and the simple fixes that make every batch rise tall and golden. If you love scones inspiration, start with our Scone Recipes collection, then browse the full Desserts hub for more.

Save this for later 📌
Pin this article to your Pinterest board so the full list is one tap away when you need it.
Save on PinterestDesserts
Beginner
Kitchen Journal
7 steps
Table of Contents
- Lesson 1: Freeze the Butter for Better Savory Scones
- Lesson 2: Stop Kneading Once the Dough Just Holds
- Lesson 3: Plain Flour Plus Fresh Baking Powder, Not Self-Raising
- Lesson 4: Buy the Block, Grate It Yourself
- Lesson 5: A Straight-Down Cut, No Twisting
- Lesson 6: Chill the Cut Scones Before They Go In
- Lesson 7: Weigh the Buttermilk Instead of Eyeballing It
- Lesson 8: Don't Forget the Egg Wash
- Lesson 9: A Hot Oven Matters More Than a Long Bake
- Lesson 10: Give Them Room on the Tray
- Lesson 11: Freeze Unbaked, Not Baked, for Best Results
- Lesson 12: Handle the Offcuts Gently
- Lesson 13: A Pinch of Mustard Powder Changes Everything
- Lesson 14: Fresh Chives Go In Last, Chopped Fine
- Lesson 15: Check Doneness by Sound and Colour, Not Just Time
- What I'd Tell a Friend Trying This
- The Recipe I Used
Lesson 1: Freeze the Butter for Better Savory Scones
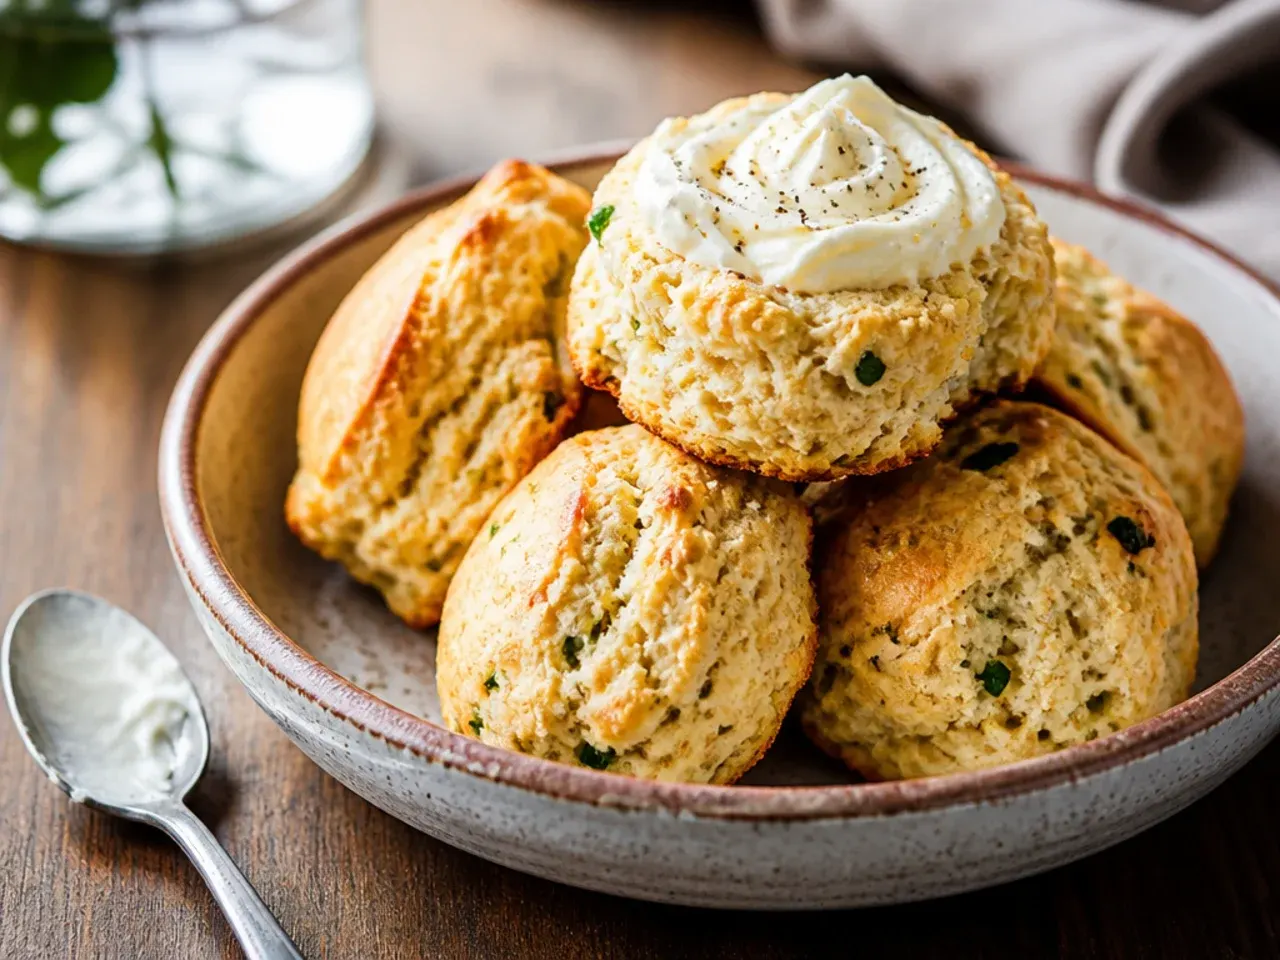
The first few batches of my savory scones came out flat because I was cutting cold-but-not-frozen butter into cubes with a knife, and it warmed up in my hands before it ever reached the flour. Now I freeze a 113 g (4 oz) block solid and grate it straight into the 350 g (12 oz) of plain flour on the coarse side of a box grater. The shreds coat every strand of flour in seconds without any hand heat getting near them, and the scones puff up in visible flaky layers instead of baking flat. It's the single change that made the biggest difference to how tall my scones rise.
Lesson 2: Stop Kneading Once the Dough Just Holds

I used to keep working the dough after adding the 160 ml (2/3 cup) buttermilk because it looked shaggy and I assumed it needed more mixing to look right. That extra kneading develops gluten and turns savoury scones tough and bready instead of short and crumbly. Now I stop the moment the dough clumps together, even if a few dry patches remain, and pat it gently with my palms rather than folding it repeatedly. The texture the next morning is noticeably lighter, and nobody has ever complained that my scones look a bit rustic.
Lesson 3: Plain Flour Plus Fresh Baking Powder, Not Self-Raising

One flat, dense batch came down to a tin of baking powder that had been open in my cupboard for over a year and had simply lost its lift. I now use plain flour with a full 15 g (1 tbsp) of fresh baking powder measured precisely, rather than reaching for self-raising flour and guessing at the extra rise it might give. Baking powder loses potency within about six months of opening, so I test a spoonful in hot water first; if it doesn't fizz vigorously, it goes in the bin. Since making that switch, every batch has risen to the same tall, even height.
Lesson 4: Buy the Block, Grate It Yourself

I used to grab a bag of pre-shredded cheddar to save time, but the anti-caking starch coating on those shreds stops the cheese melting properly into the dough. Grating a 150 g (5 oz) block of mature cheddar myself gives cleaner, sharper flavour, and the cheese melts into distinct pockets rather than a greasy smear. I keep back about a quarter of it to scatter over the tops before baking, which gives a proper golden, bubbled crust. The difference in both taste and appearance is obvious side by side.
Lesson 5: A Straight-Down Cut, No Twisting

For months my scones baked up lopsided, leaning to one side instead of rising straight, and it took me an embarrassingly long time to realise it was because I was twisting the cutter as I pushed it through the dough. Twisting seals the cut edges shut, which stops the layers from separating and pushing straight upward in the oven. I now press a floured cutter straight down and lift it straight back up without rotating it at all. Every scone since has risen tall and even, splitting cleanly through the middle.
Lesson 6: Chill the Cut Scones Before They Go In

Skipping the chill because I was hungry and impatient was a mistake I made more than once, since the butter softens while the oven preheats and softened butter means less steam and a shorter rise. Now I rest the cut scones on the tray in the fridge for 15-20 minutes while the oven heats to 220°C (425°F), so the butter is properly cold again when it hits the heat. That short wait is what gives the tall, craggy sides I was chasing from the start. It costs nothing but a bit of patience.
Lesson 7: Weigh the Buttermilk Instead of Eyeballing It

Guessing at the liquid by pouring straight from the carton left me with dough that was either too dry and crumbly or so wet it stuck to every surface in the kitchen. I now measure exactly 160 ml (2/3 cup) of cold buttermilk and add it gradually, stopping as soon as the dough comes together in a soft, slightly tacky mass. If I don't have buttermilk, 160 ml of milk with 15 ml (1 tbsp) lemon juice stirred in and left for five minutes works just as well. Consistent liquid is the difference between a recipe that works every time and one that's a coin flip.
Lesson 8: Don't Forget the Egg Wash

Bare-topped scones out of the oven always looked pale and a bit sad next to the golden versions I'd seen elsewhere. Brushing the tops with a beaten egg yolk mixed with 15 ml (1 tbsp) milk right before baking gives a deep golden-brown sheen and helps the reserved grated cheddar stick and crisp on top. I brush gently, in one pass, so I don't press down and flatten the delicate cut edges. That one small step makes the scones look bakery-bought.
Lesson 9: A Hot Oven Matters More Than a Long Bake

Baking at 180°C (350°F) because that's what I use for most things gave scones that spread sideways before they had a chance to rise. Savoury scones need a properly hot oven, around 220°C (425°F), so the baking powder and steam from the butter go to work fast and push the dough upward before the structure sets. At that temperature, 15-18 minutes is enough for a deep golden top and a cooked-through centre. Lower and slower simply isn't the right approach for this dough.
Lesson 10: Give Them Room on the Tray

Crowding eight scones onto one small tray because I didn't want to wash a second one meant the sides touched and steamed rather than baked, leaving pale, soft patches wherever two scones met. I now space them at least 4 cm (1.5 in) apart on a lined baking tray so hot air can circulate around every side. The tops and sides brown evenly all the way round when they've got that breathing room. It's a small fix that made a real visual difference.
Lesson 11: Freeze Unbaked, Not Baked, for Best Results

I used to bake the whole batch and freeze the leftovers, but reheated scones never quite recaptured that fresh-from-the-oven flakiness. Now I cut the dough, freeze the raw scones solid on a tray, then bag them up and bake straight from frozen at 220°C (425°F) with about 5-6 extra minutes added to the time. The texture is indistinguishable from a same-day batch because the butter never gets the chance to soften and refirm. It also means fresh scones are only twenty-odd minutes away whenever I want them.
Lesson 12: Handle the Offcuts Gently

Rerolling scraps the same way I rerolled pastry, pressing and reworking them into a neat ball, gave me a noticeably tougher second batch every time. Scone dough only tolerates being brought together once or twice before the gluten tightens up, so now I gather the offcuts loosely and pat rather than knead them into shape. Those second-round scones will never be quite as tall as the first cut, and I've made peace with that. They still taste good, just slightly denser, which is a fair trade for not wasting dough.
Lesson 13: A Pinch of Mustard Powder Changes Everything
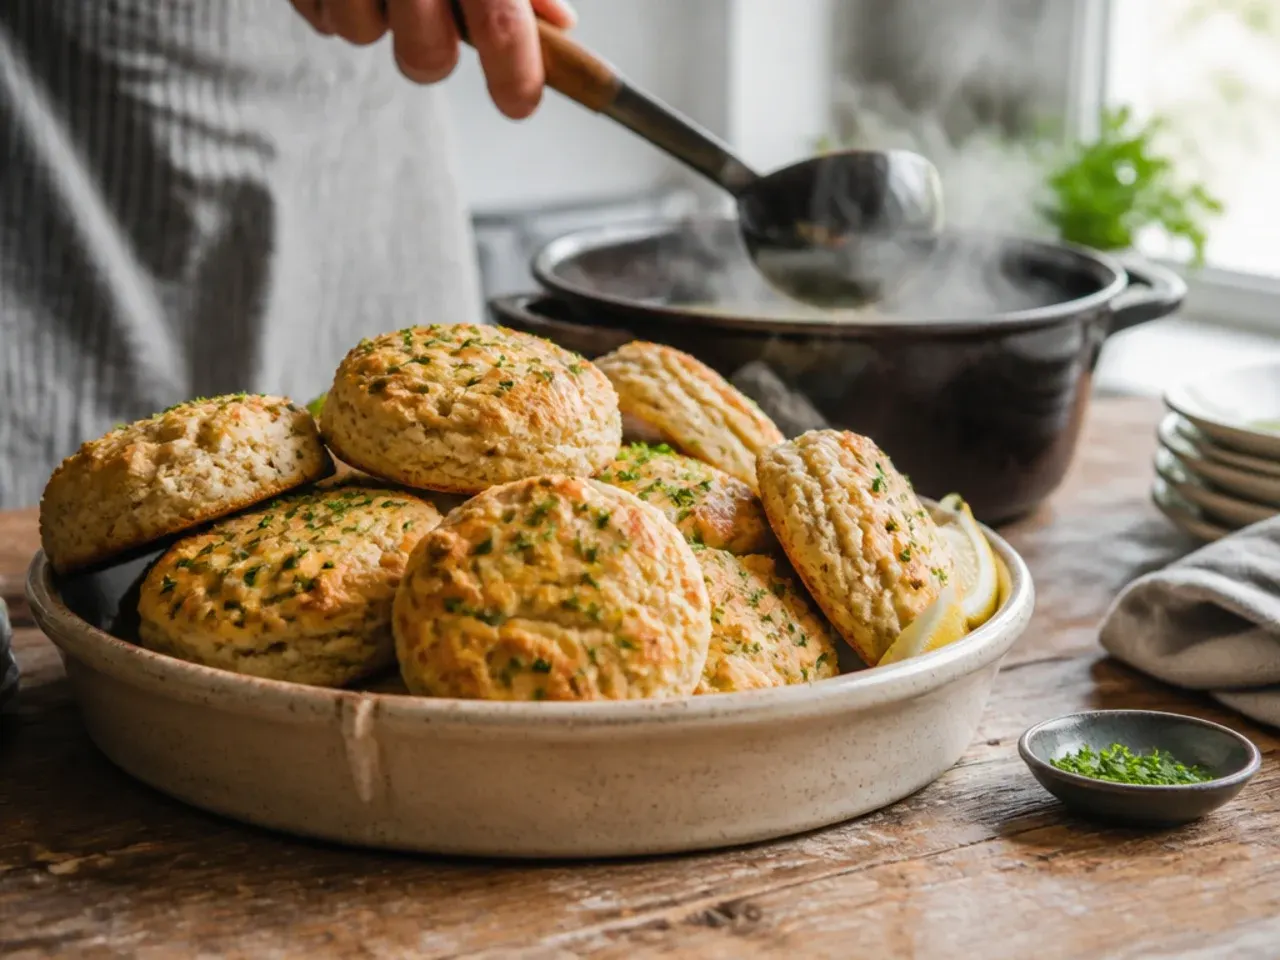
My early cheese scones tasted a little flat even with plenty of mature cheddar folded through, and I couldn't work out why. A scant half teaspoon of mustard powder whisked into the dry ingredients doesn't taste of mustard at all once baked, but it sharpens the cheese flavour noticeably. It's the same trick classic British cheese scone recipes use, and it was missing from every batch I made before I found it. Now I never leave it out.
Lesson 14: Fresh Chives Go In Last, Chopped Fine

Adding chopped chives too early, while the butter was still being rubbed in, bruised them and left grey-green streaks through the dough instead of neat green flecks. I now chop about 15 g (3 tbsp) of fresh chives finely and fold them in right at the end, along with the cheese, so they stay bright and distinct. Dried chives are a poor substitute here since they lose almost all their flavour in the oven's heat. Fresh, added late, is the only combination that actually works.
Lesson 15: Check Doneness by Sound and Colour, Not Just Time
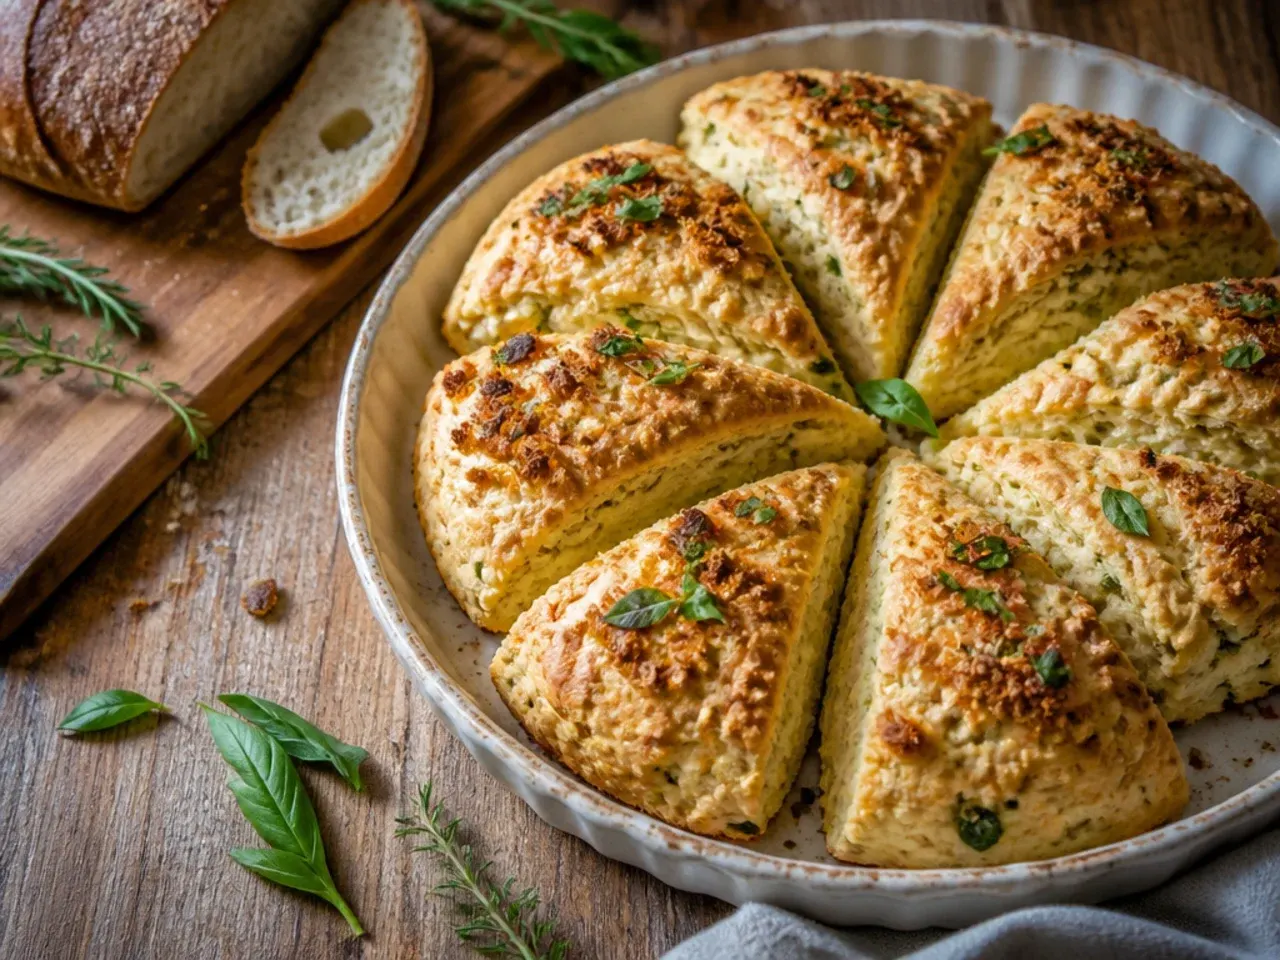
Pulling scones out at exactly 15 minutes because the timer went off meant a few batches came out slightly gummy in the centre, since ovens vary more than recipes admit. I now look for a deep golden-brown top and turn one scone over to tap the base, which should sound hollow rather than dull or damp. If it's not there yet, I give it another 2-3 minutes rather than trusting the clock alone. That simple check has stopped every underbaked centre since.
What I'd Tell a Friend Trying This

Start with cold, even frozen, butter and don't be precious about a slightly rough-looking dough, since the scones that looked messiest going into the oven were often the tallest coming out. Weigh your ingredients, keep your hands quick and cool, and don't skip the chill before baking even when you're impatient. Get those two or three things right and savory scones are genuinely forgiving; everything else is fine-tuning. Fifteen batches in, I still learn something new, but the fundamentals haven't changed since lesson one.
The Recipe
The Recipe I Used
42 min
18 min
1 hr
8
Beginner
Ingredients 8 Person(s)
Directions
Step 1: Weigh and mix the dry ingredients
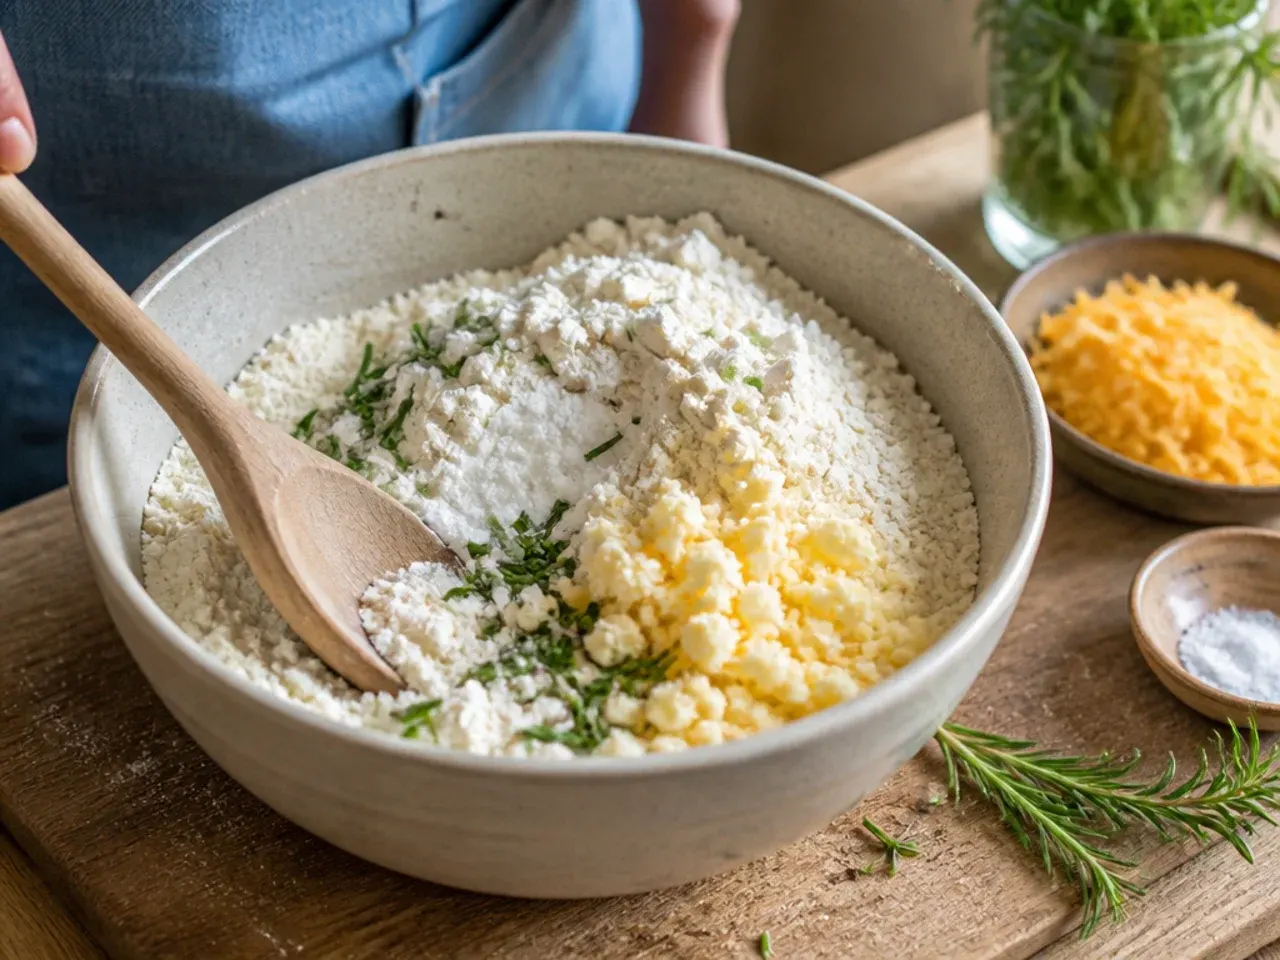
Preheat the oven to 220°C (425°F) and line a baking tray with parchment. In a large bowl, whisk together 350 g (12 oz) plain flour, 15 g (1 tbsp) baking powder, 5 g (1 tsp) fine salt, and 2 g (1/2 tsp) mustard powder until fully combined.
Step 2: Grate in the frozen butter
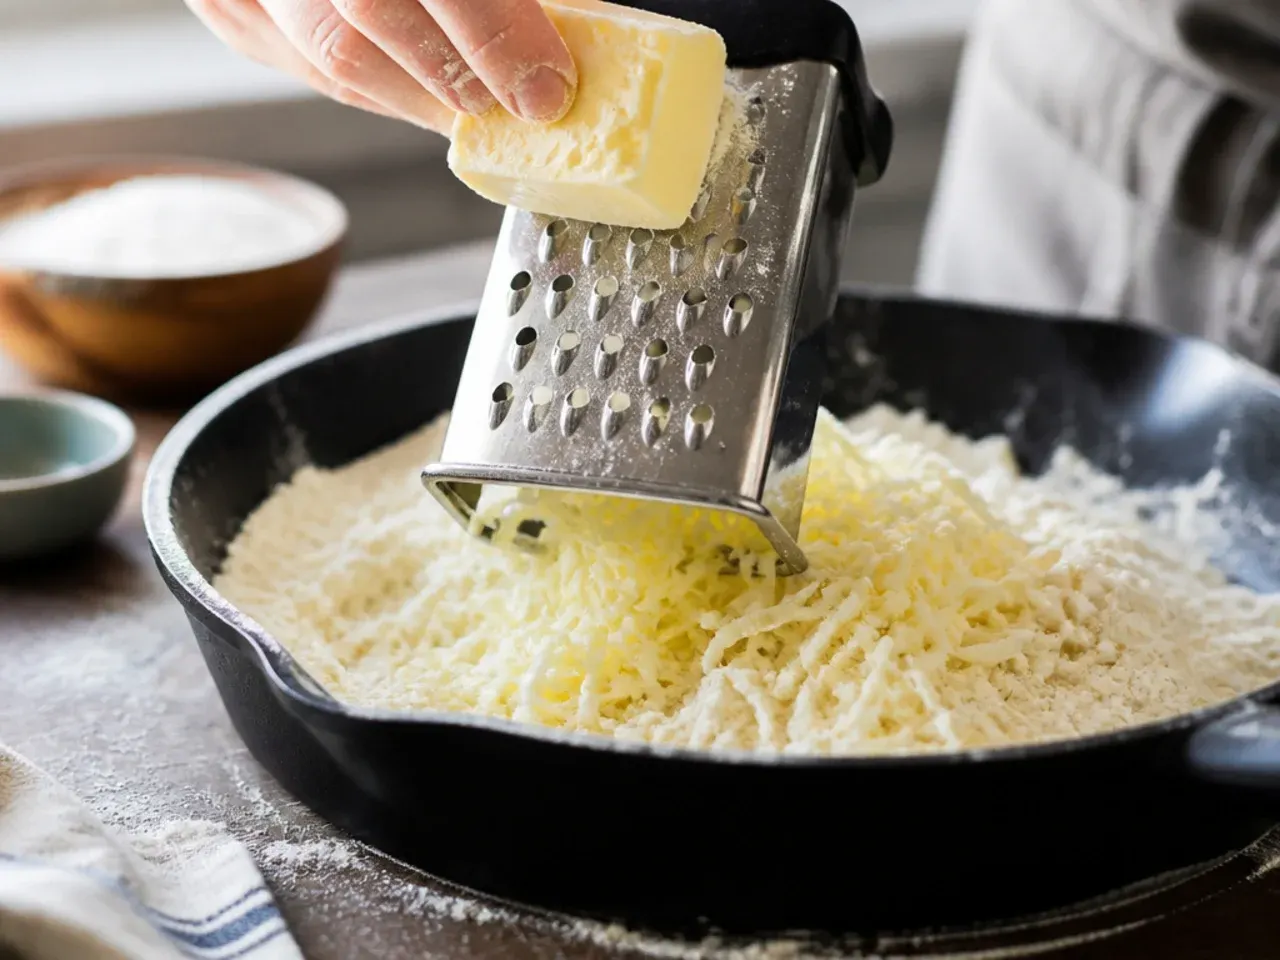
Grate the frozen 113 g (4 oz) butter block directly into the flour mixture using the coarse side of a box grater. Toss the shreds through with your fingertips until the mixture looks like coarse breadcrumbs with a few pea-sized flakes still visible.
Step 3: Fold in the cheese and chives
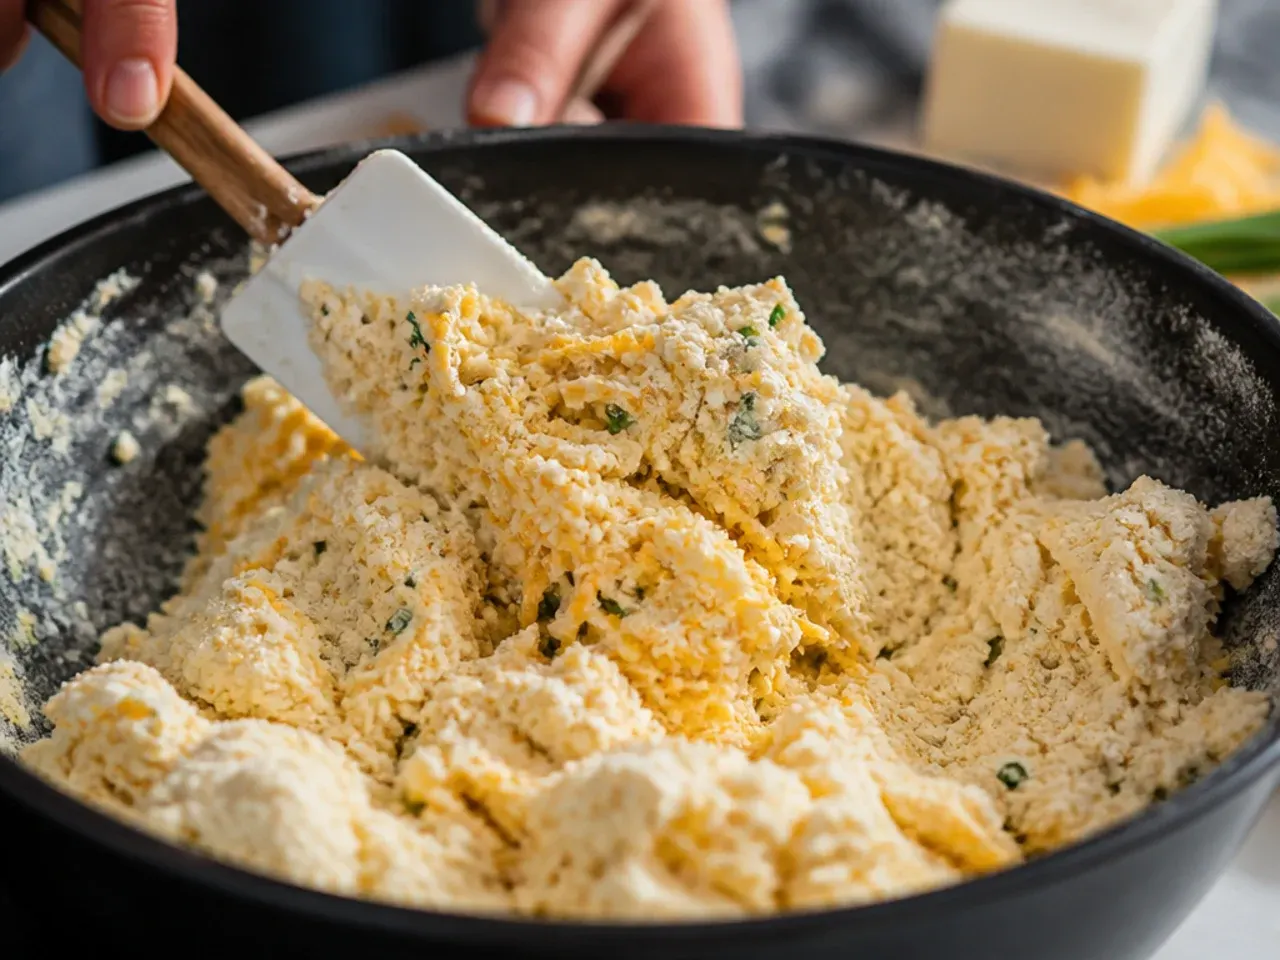
Add 115 g (4 oz) of the grated mature cheddar, reserving 35 g (1.25 oz) for topping, along with the 15 g (3 tbsp) finely chopped chives. Stir with a table knife just until evenly distributed through the flour.
Step 4: Bring the dough together
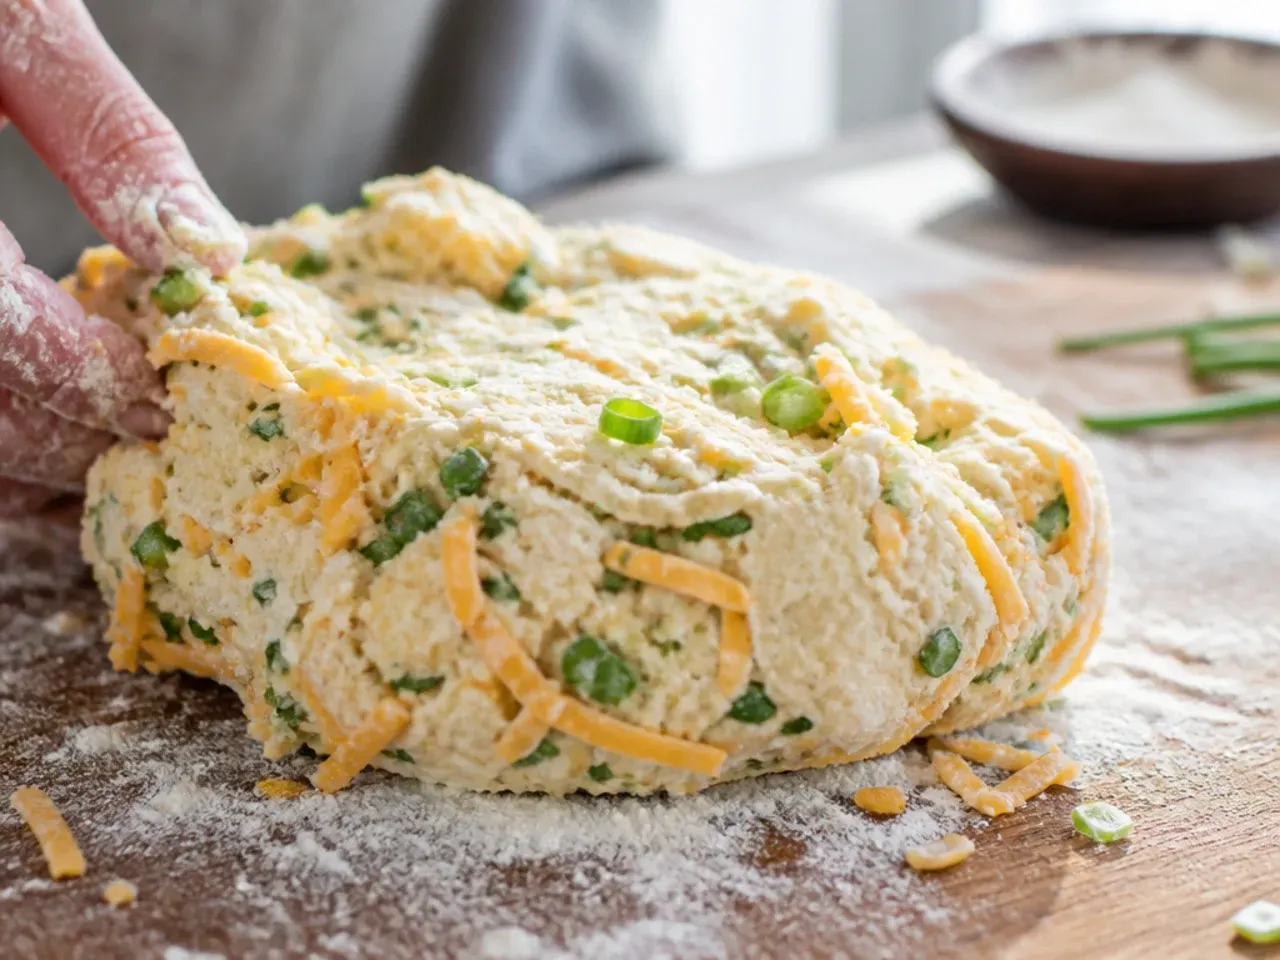
Whisk the beaten egg into 160 ml (2/3 cup) cold buttermilk, then pour it into a well in the dry ingredients. Mix with as few strokes as possible until the dough just clumps together into a soft, slightly sticky, shaggy mass.
Step 5: Pat out and cut
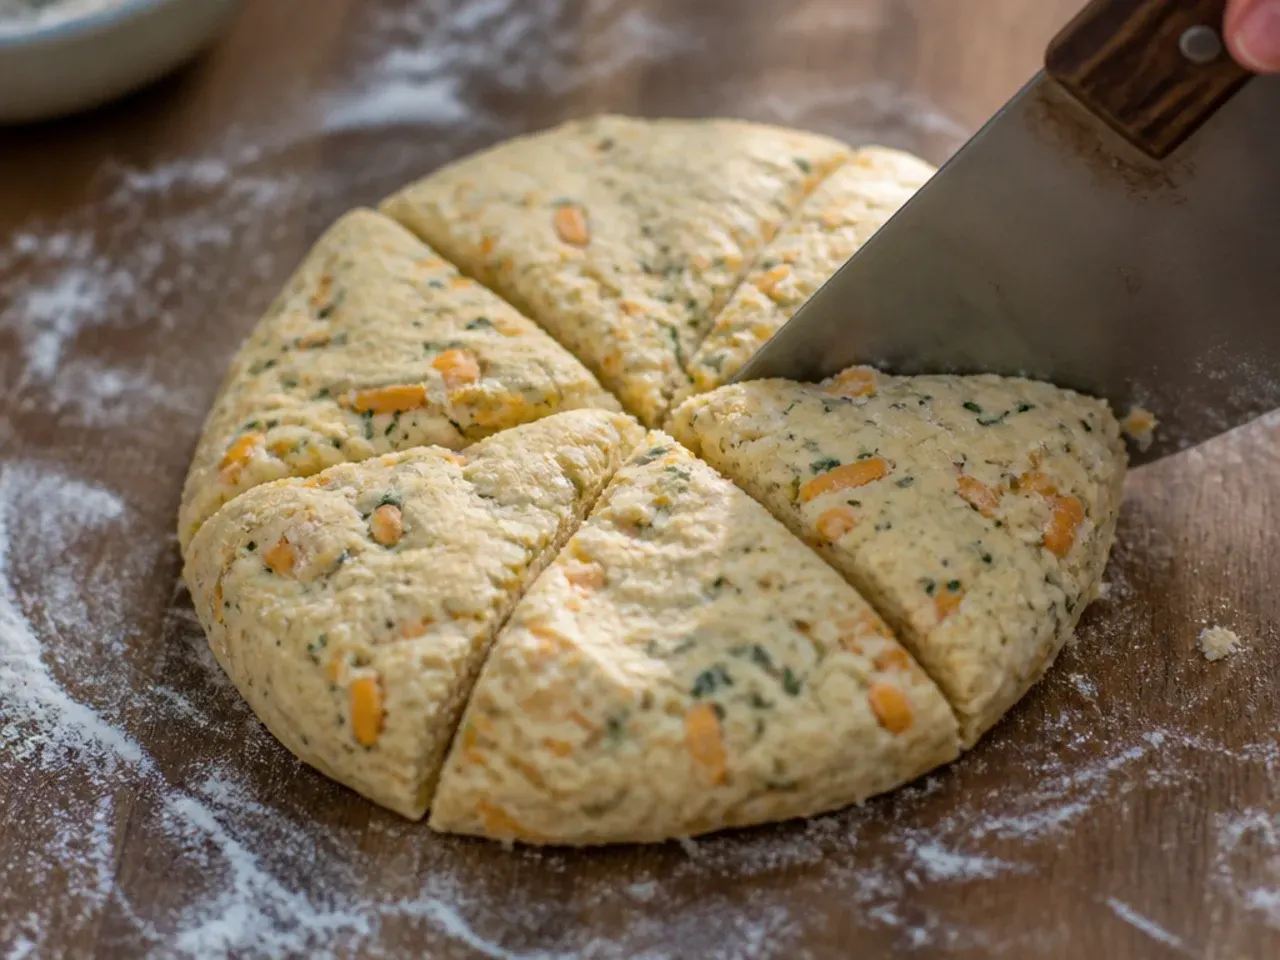
Turn the dough onto a lightly floured surface and pat gently into a round about 2.5 cm (1 in) thick without rolling or kneading it further. Cut straight down with a 6 cm (2.5 in) round cutter, without twisting, gathering the offcuts and patting once more to make 8 scones.
Step 6: Chill, glaze, and top

Arrange the scones on the lined tray at least 4 cm (1.5 in) apart and chill in the fridge for 15-20 minutes. Brush the tops with the egg yolk and milk wash, then scatter over the reserved 35 g (1.25 oz) cheddar.
Step 7: Bake until golden and risen

Bake at 220°C (425°F) for 15-18 minutes, until deep golden on top and the base sounds hollow when tapped. Cool on a wire rack for at least 5 minutes before serving warm.
Frequently Asked Questions
Yes, cut the scones and refrigerate them unbaked on the tray for up to 24 hours, or freeze them solid on a tray and transfer to a freezer bag for up to 3 months. Bake straight from the fridge or freezer at the same 220°C (425°F), adding 5-6 minutes to the bake time if they're going in frozen. Cold dough actually bakes up taller than dough left sitting at room temperature, so this is genuinely the better option, not just a convenience. I do this most weekends so fresh scones are only twenty minutes away.
Save this for later 📌
Pin this article to your Pinterest board so the full list is one tap away when you need it.
Save on Pinterest