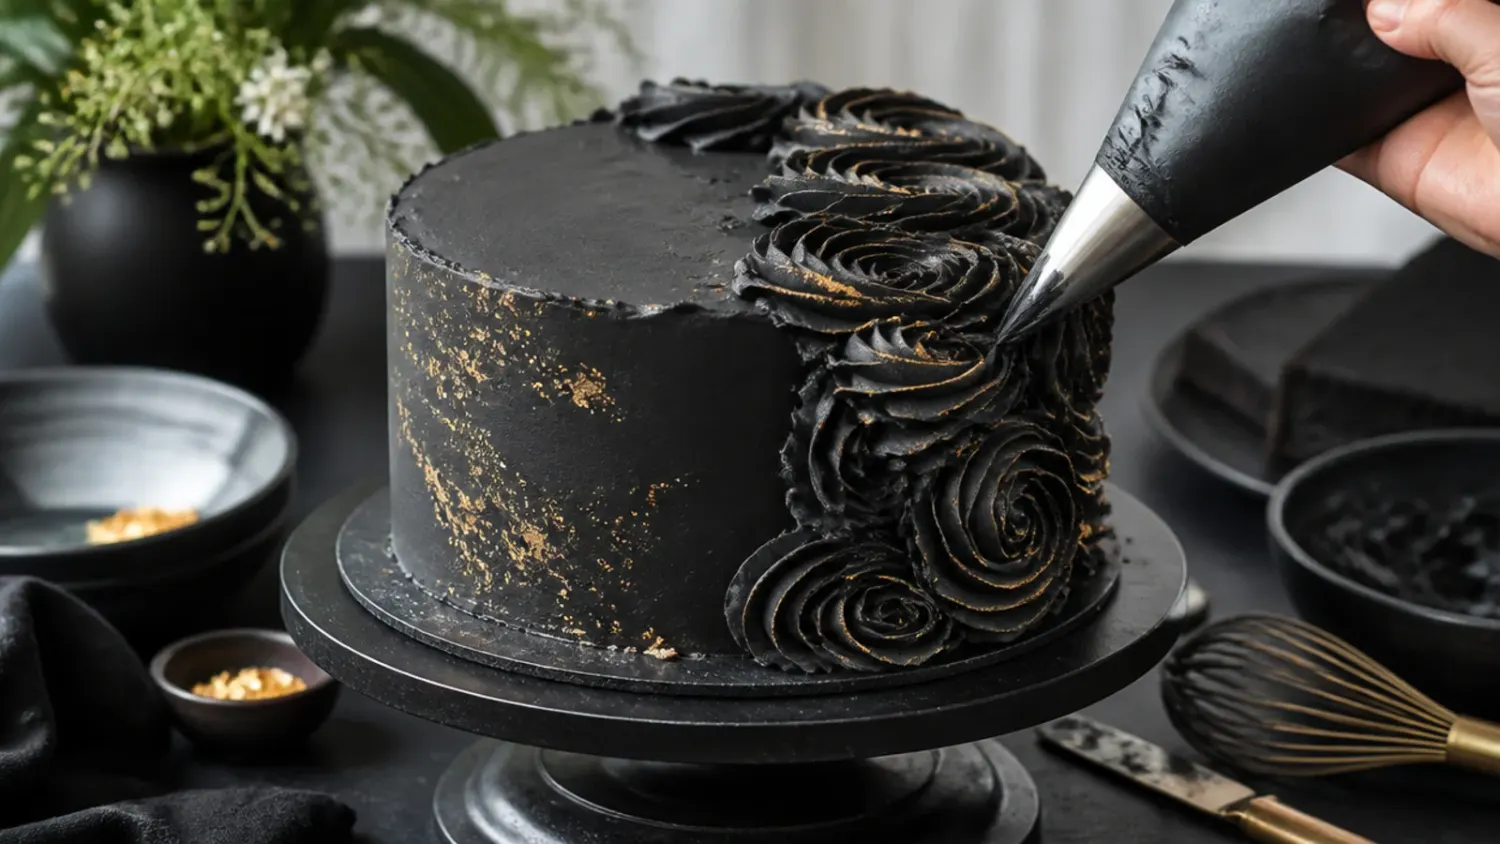
Ingredients 12 Person(s)

Save this for later 📌
Pin this article to your Pinterest board so the full list is one tap away when you need it.
Save on PinterestDirections
Step 1: Mix a true-black buttercream base
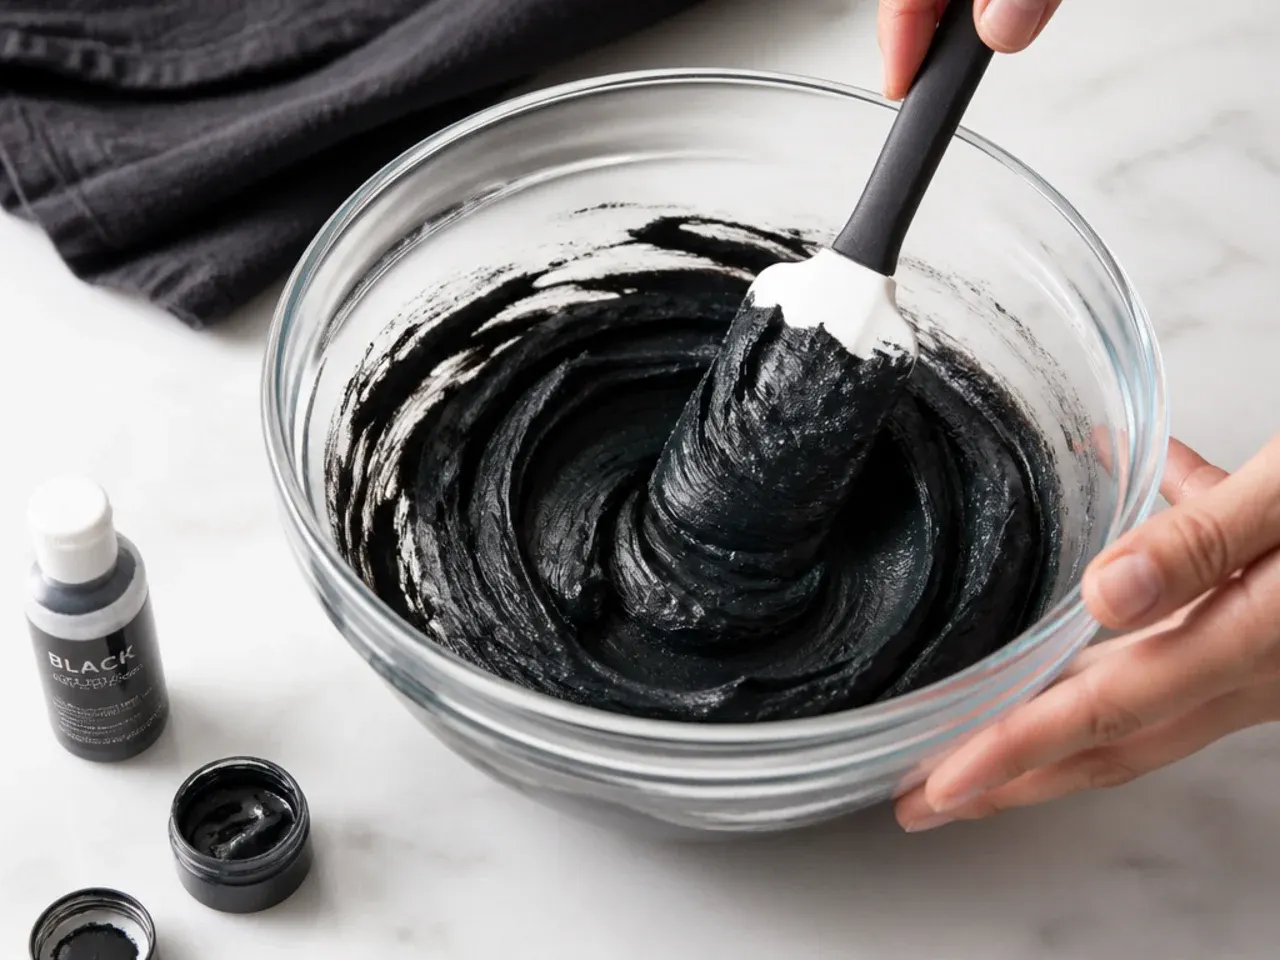
Beat 450g softened butter on medium speed for 2 minutes until pale and smooth, then mix in 50g black cocoa powder, 1 tsp vanilla and 1/2 tsp salt on low. Black cocoa does most of the darkening work and adds an Oreo-like flavour, so you avoid dumping in dye. Add 900g sifted icing sugar in three additions on low speed, pouring in 120ml double cream halfway through to keep it from clouding your kitchen. Finally beat in 90g cooled melted dark chocolate and 1 tsp black gel colour until the buttercream is a deep, even charcoal, it will look grey now but darken to true black overnight.
Step 2: Rest the frosting so the colour deepens
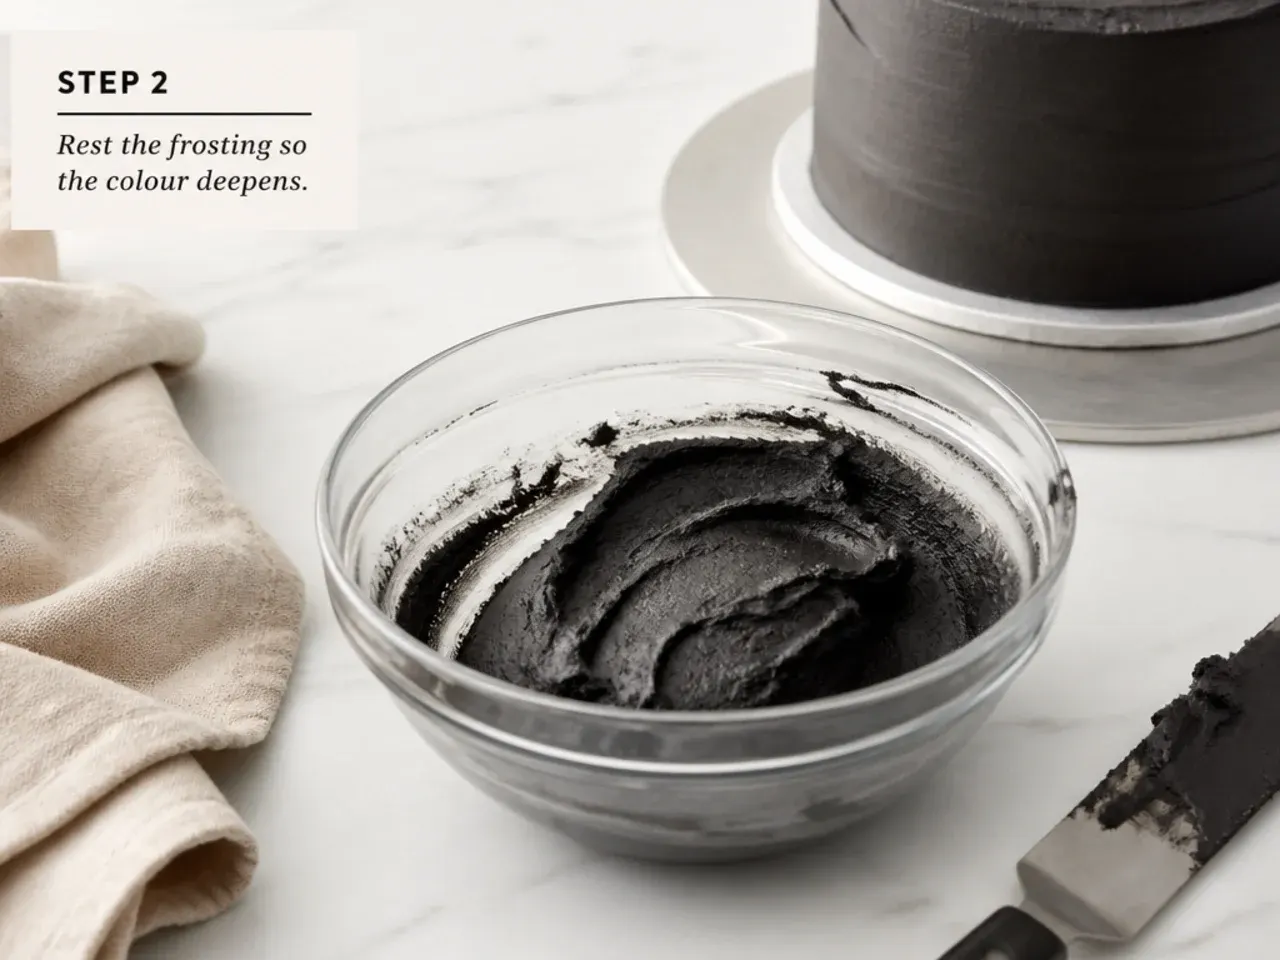
Scrape the buttercream into an airtight container and let it sit at room temperature overnight, or refrigerate it for a day or two. This resting step is the single biggest secret to jet-black frosting: the gel pigment continues to develop, turning a grey batch into a genuine black without any extra dye or the bitter, tongue-staining taste that too much colour causes. Before using, bring chilled frosting fully to room temperature. Stir it slowly with a rubber spatula, working it side to side to push out air pockets so it spreads glassy-smooth.
Step 3: Apply a white crumb coat as a barrier
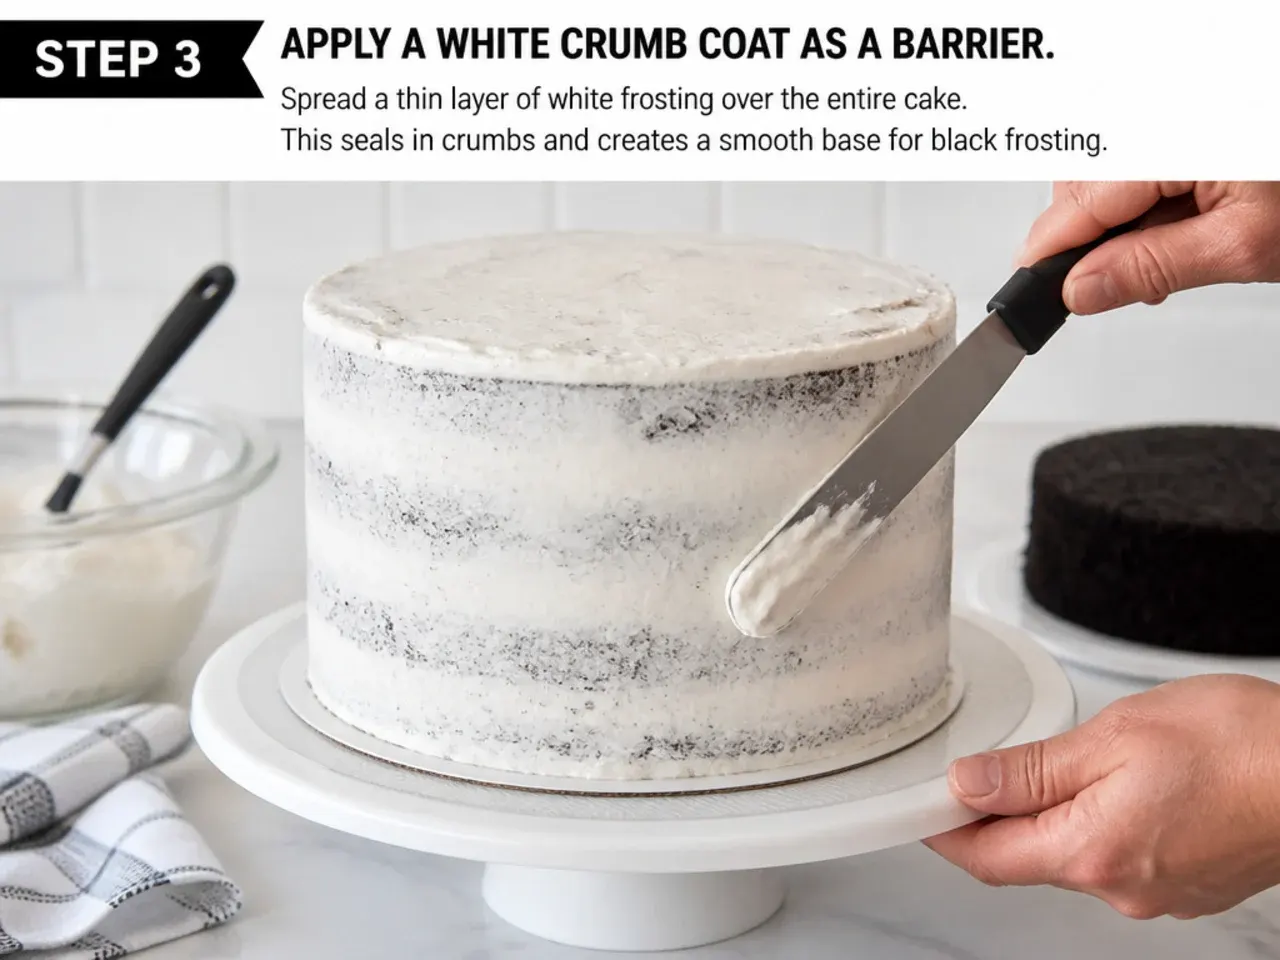
Set aside a few spoonfuls of buttercream and leave it white (or use plain vanilla frosting) for the crumb coat. Spread a thin, see-through layer over the stacked, filled cake with a small offset spatula, sealing every crumb against the surface. A white crumb coat matters more with black than any other colour: it stops the dark pigment bleeding down into your sponge and gives the black top coat a clean, uniform base so it reads as solid jet-black rather than patchy. Scrape the sides flat, then chill the cake in the fridge for at least 30 minutes until the coat is firm to the touch.
Step 4: Coat the cake in black buttercream
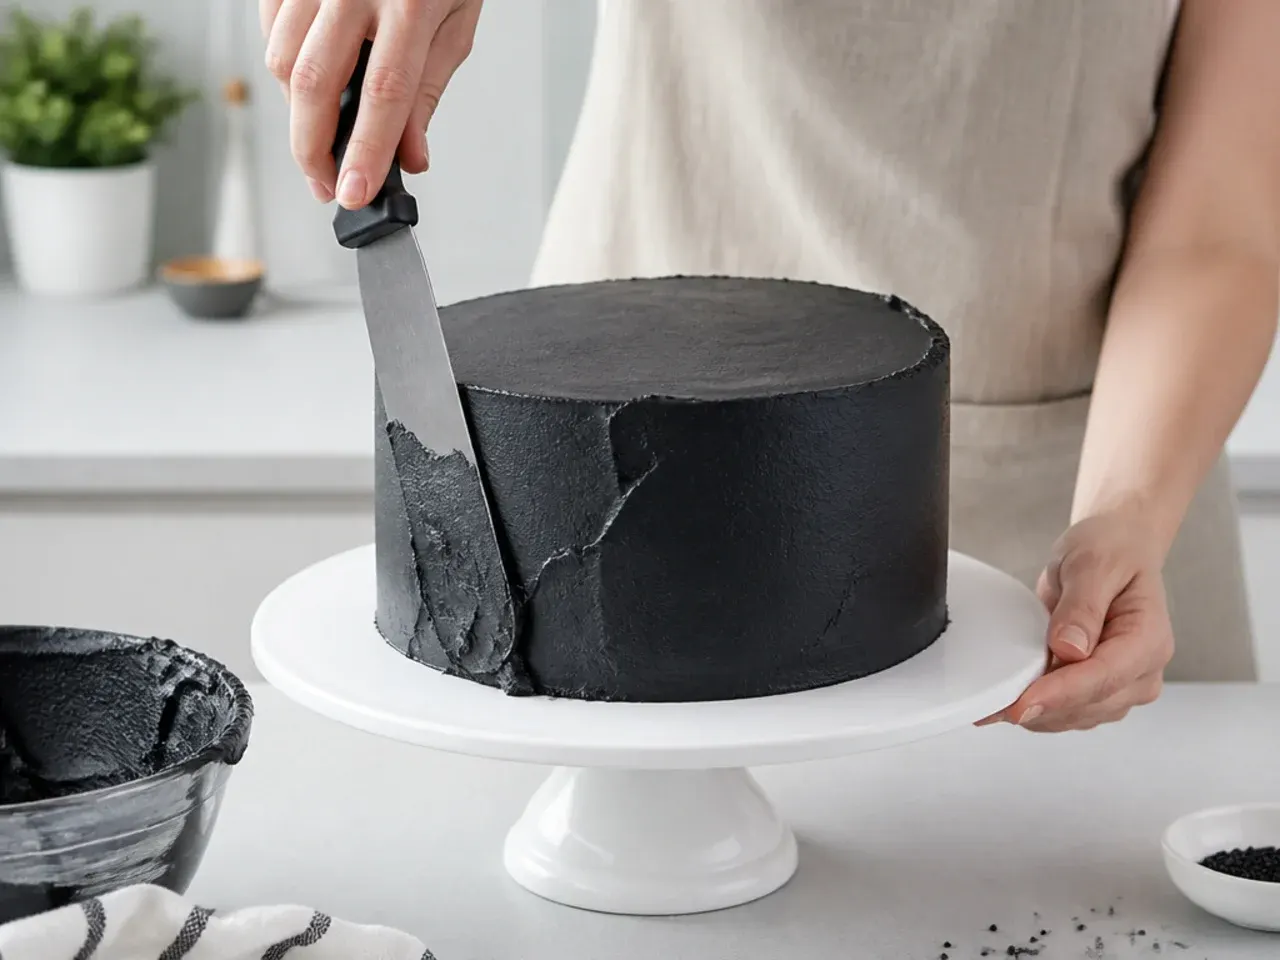
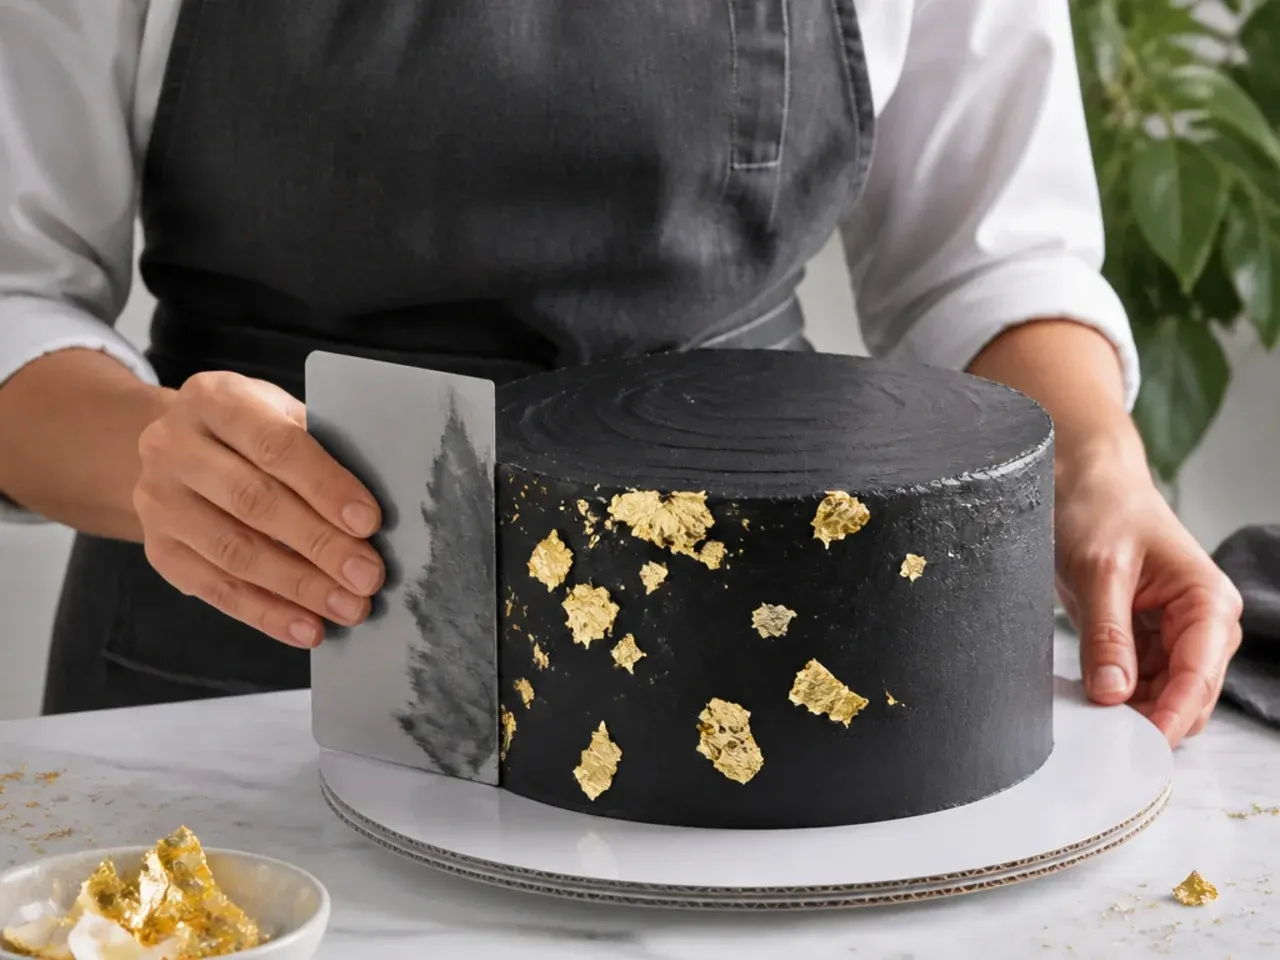
Load a generous, even layer of the rested black buttercream over the chilled crumb-coated cake, covering the top and sides more thickly than you think you need. Use an offset spatula to rough it into place, then plant a bench scraper against the side and spin your turntable a full rotation to shear it smooth. Repeat, filling any gaps with a little more frosting and scraping again, until the sides are straight and the top edge forms a crisp ridge. Sweep that top ridge inward toward the centre with the spatula for a clean, flat top.
Step 5: Polish to a glass-smooth finish
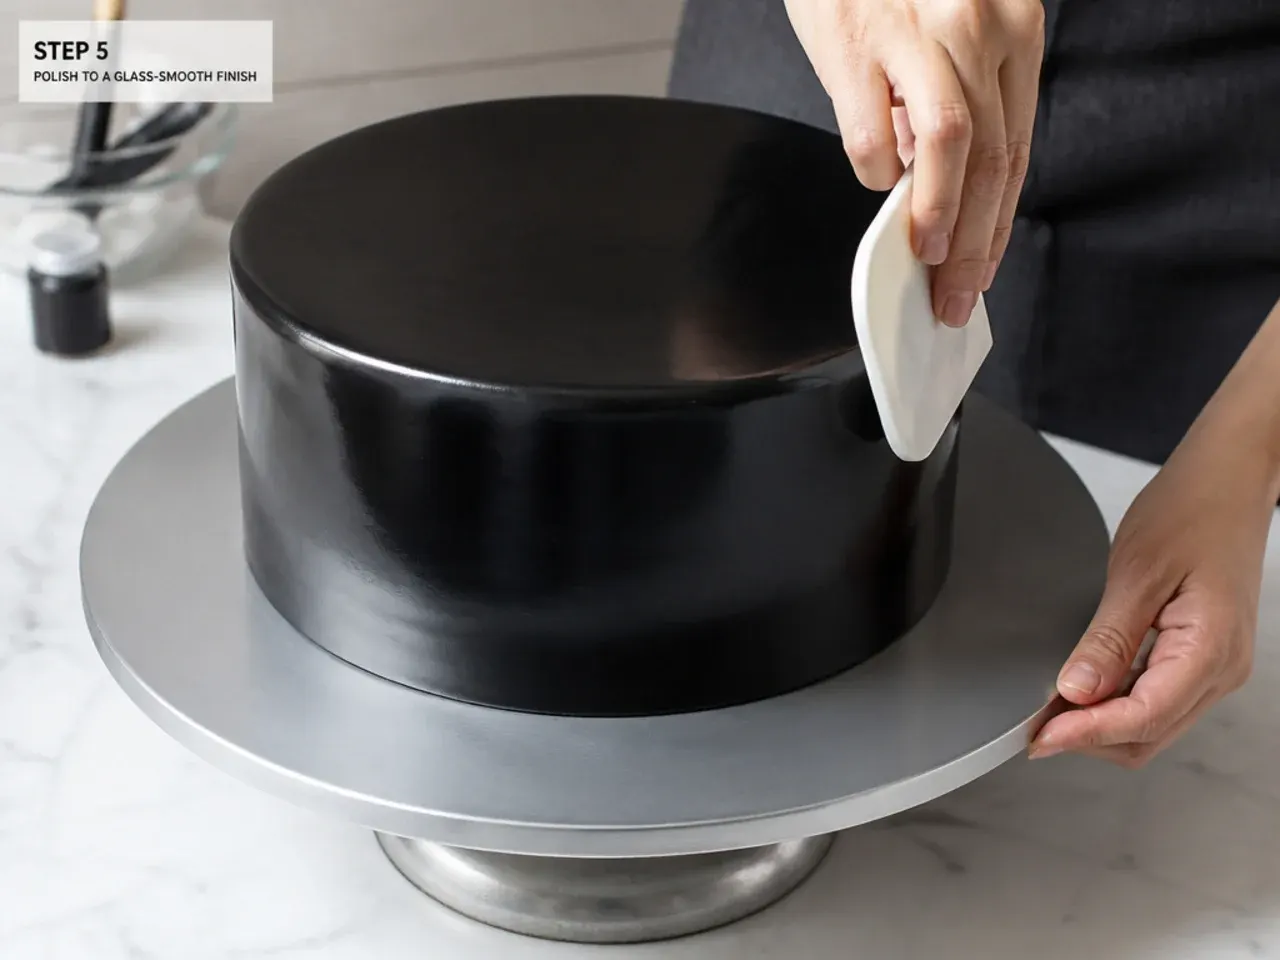
Chill the coated cake for 15 minutes so the surface firms up, then fill a tall jug with just-boiled water. Dip your bench scraper in, wipe it bone dry, and run the warm blade around the sides at a 45-degree angle in one confident turntable rotation. The heat gently melts the very top layer of buttercream into a satin-smooth, seamless black finish, re-heating and wiping the scraper between each pass. Do the same across the top with a hot offset spatula, and don't chase perfection: a hot scraper hides far more marks than cold pressure ever will.
Step 6: Add a glossy black ganache drip
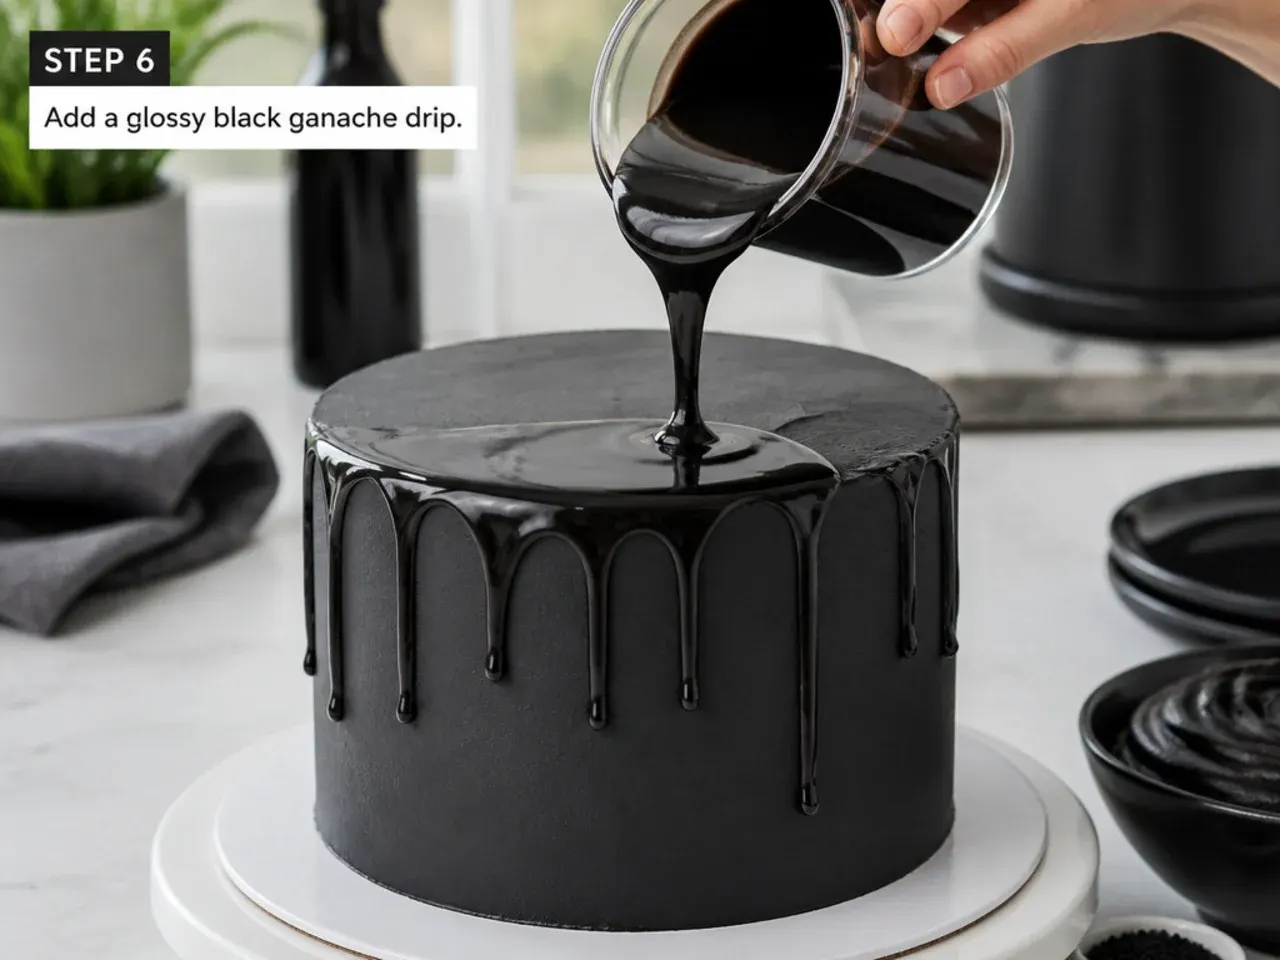
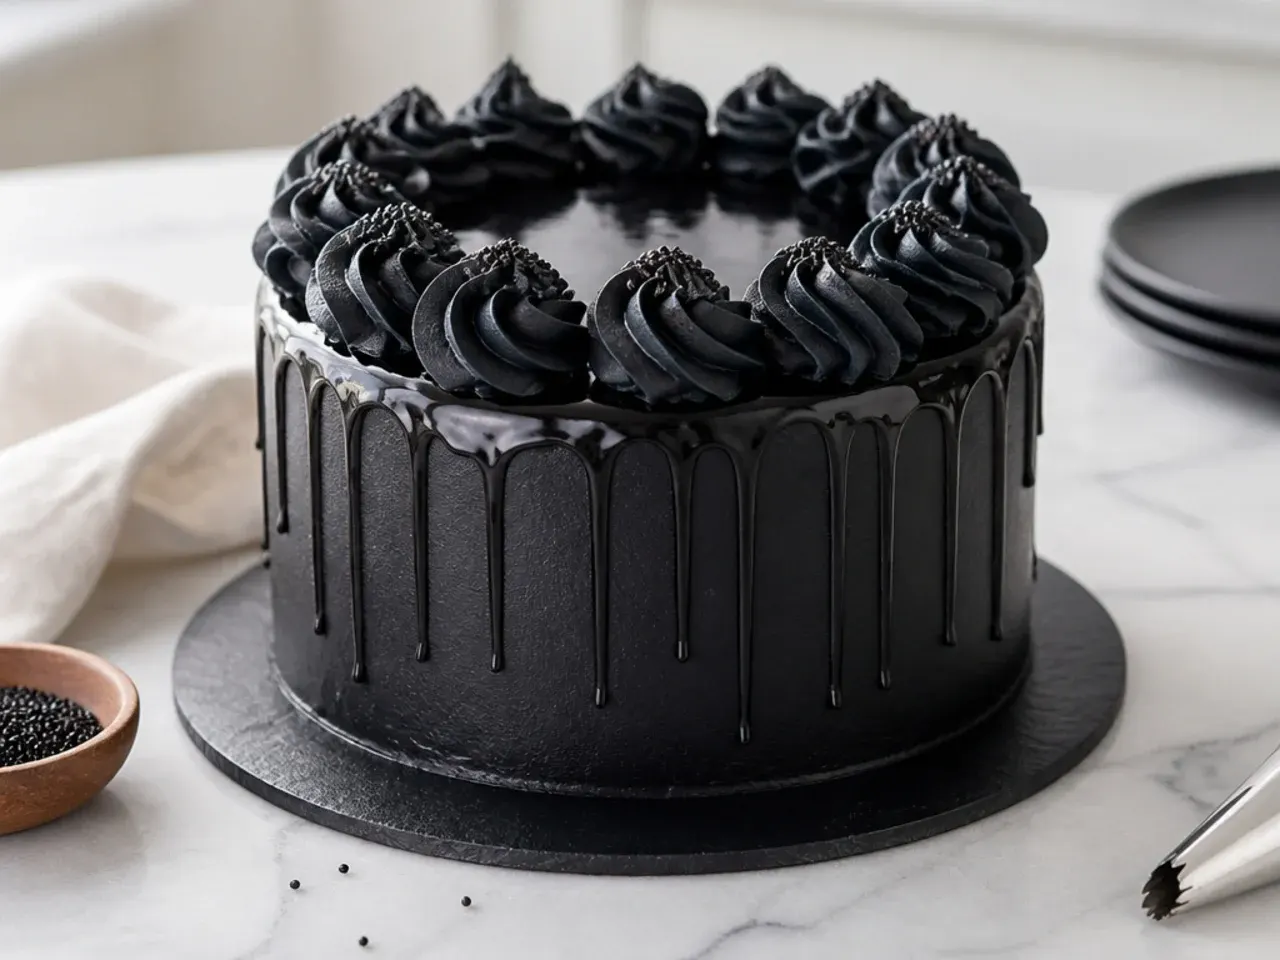
Heat 120ml double cream until steaming, pour it over 150g chopped dark chocolate, wait one minute, then stir to a smooth ganache; the chocolate is so dark it turns near-black with just a few drops of black gel if you want it deeper. Let it cool to lukewarm and slightly thickened, around body temperature, so it clings rather than sheets straight off. Test one drip on the chilled cake's edge with a spoon, if it races to the board, cool the ganache another minute; if it stalls, warm it briefly. Spoon drips unevenly around the top edge, then flood and gently spread the centre. Warm ganache dries glossy; if you'd rather have a matte finish, let it set fully at cool room temperature.
Step 7: Finish with edible gold leaf accents
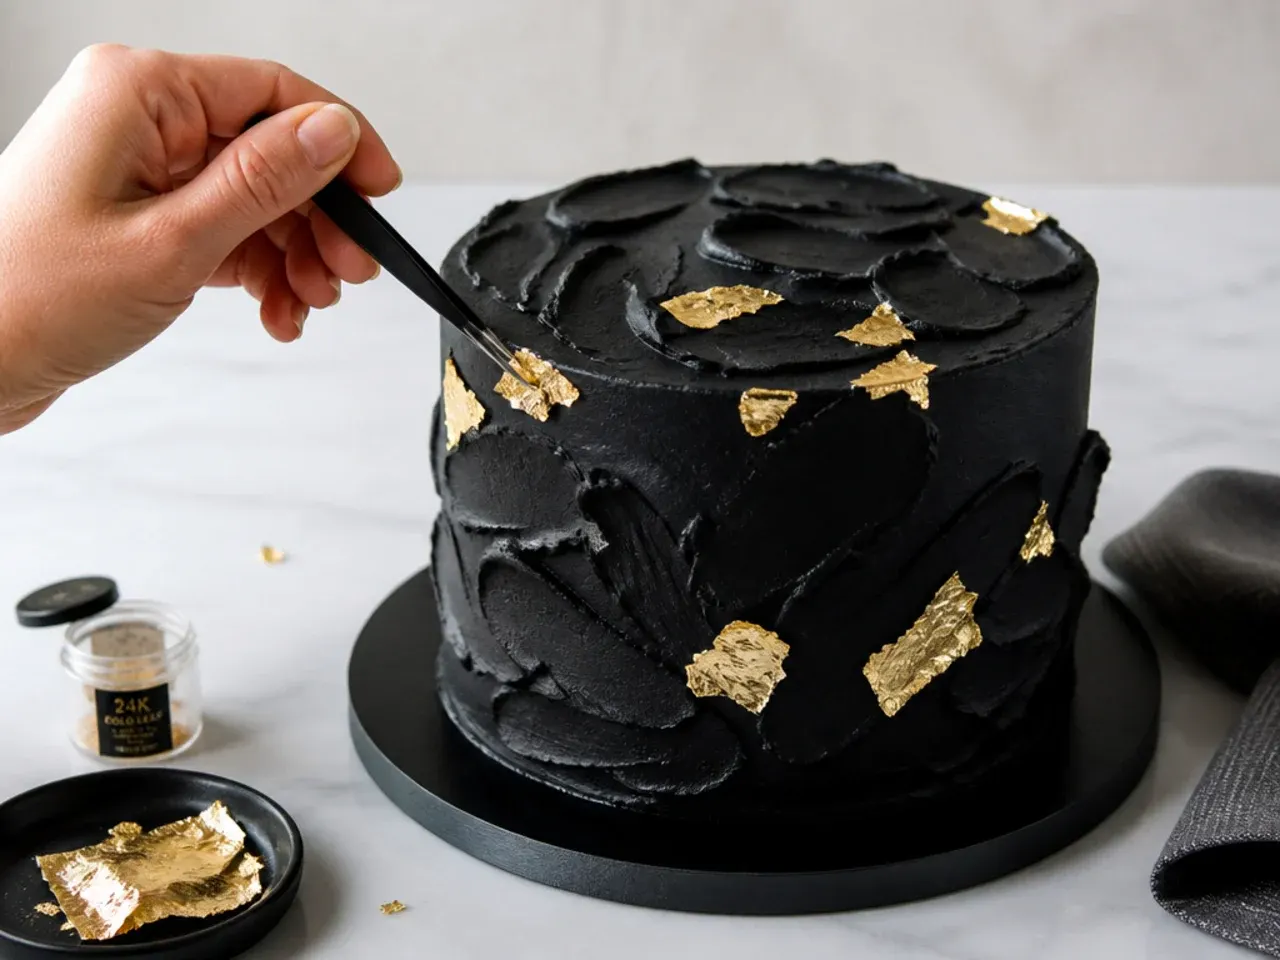
Once the ganache has set and the cake is cold, apply 23-24 karat edible gold leaf, the only karat safe to eat. Lift small torn pieces on the tip of a dry, soft brush and press them onto the black surface in an irregular, drifting pattern up one side and across the top; the cold, firm frosting lets the leaf stick cleanly without smudging. Work in a draught-free spot, gold leaf is whisper-thin and floats away on the slightest breeze. Leave the black background bold and empty around the gold so the metallic accents pop against the matte-to-glossy black. Chill briefly to set, then bring to room temperature before serving.
Pro Tips
Make your black buttercream a day ahead. Black gel color deepens dramatically as it rests, so a frosting that looks charcoal-grey when mixed will turn true black overnight, which means you need far less dye and get zero bitterness. Always start with a white crumb coat under black frosting: the pale barrier stops dark color from bleeding into the crumb and gives your final coat a clean, even base. For glass-smooth sides, dip your bench scraper in a jug of hot water, wipe it dry, then run it around the chilled cake at a 45-degree angle in one smooth turntable rotation, the warm metal melts the surface flat. When you paint on gold leaf, work only on a fully chilled, set cake and use a bone-dry, soft brush, any moisture makes the leaf clump and tear. Finally, use gel or oil-based color like Americolor Super Black or Chef Master Coal Black rather than watery liquid dye, which thins your buttercream and forces you to add so much that it tastes metallic.
Storage or Make-Ahead Tips
Black buttercream is a make-ahead dream: it keeps in an airtight container in the fridge for up to a month and in the freezer for three months, so batch it early. Bring it fully to room temperature and re-whip by hand with a spatula to push out air bubbles before using, cold frosting will crack when you smooth it. A fully decorated black cake holds in the fridge for up to 5 days in a covered container, or at cool room temperature for 2 days; let it come to room temperature before serving so the buttercream tastes creamy, not waxy. Store a ganache-drip cake somewhere cool and dry rather than the fridge if you want to keep the glossy shine, because humidity dulls it to matte and can cause condensation beads. Add edible gold leaf as close to serving as possible, it survives a day in a covered box but can lift or dull if the cake sweats coming out of the fridge.
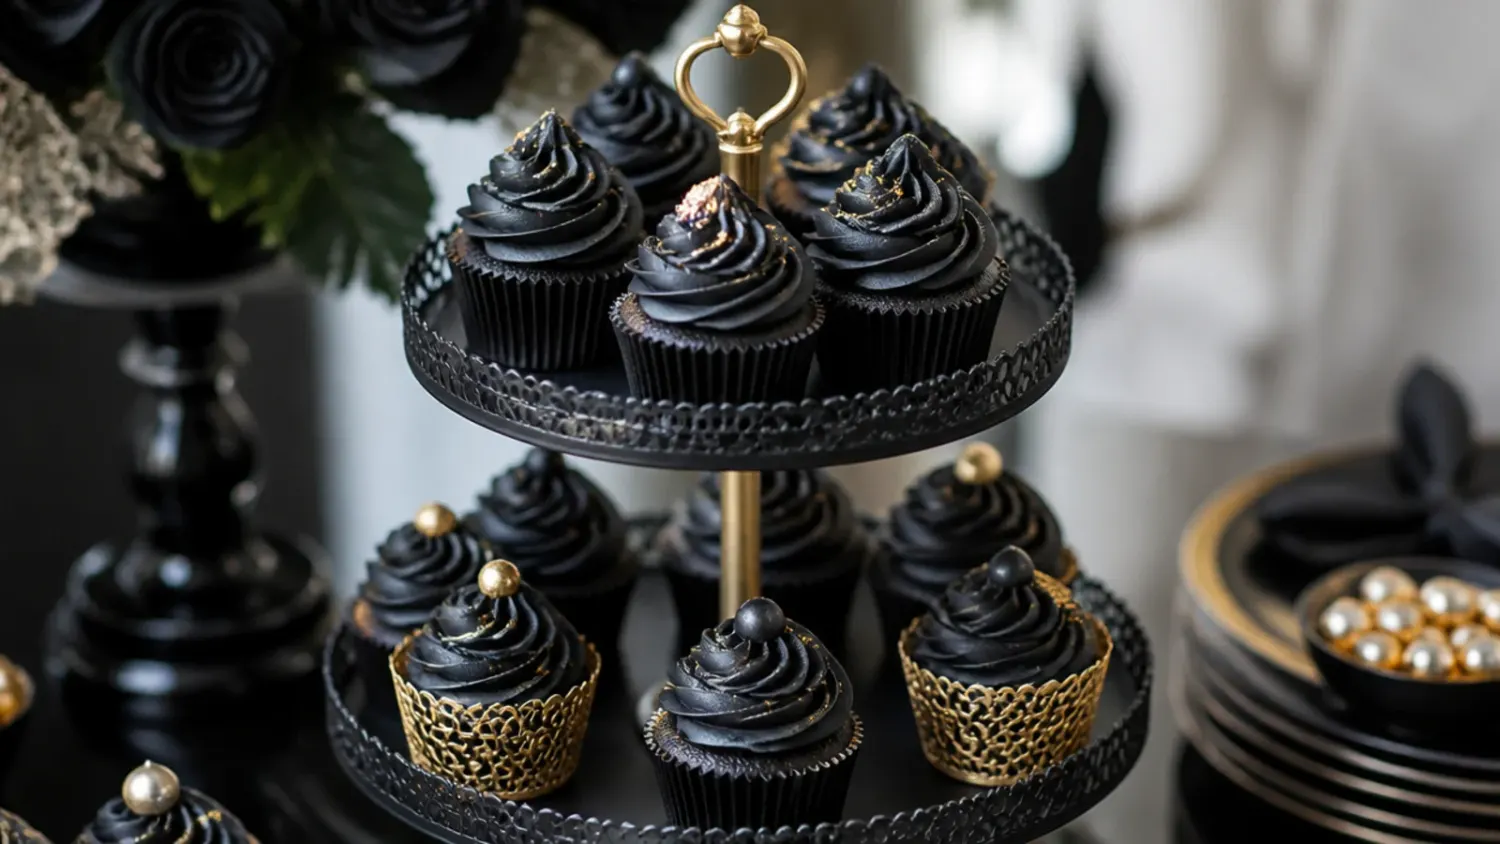
Learn black cake decoration the easy way: a true jet-black buttercream base, a mirror-glossy drip, and gold leaf accents for a stunning finish. For more black cake inspiration, browse the full Black Cake Recipes & Ideas board — every idea there is written for real home kitchens, not professional bakers.
Frequently Asked Questions
Start with a naturally dark base of black cocoa powder and melted dark chocolate, which does most of the colouring for you, then add only a small amount of quality black gel colour like Americolor Super Black. Let the buttercream rest overnight so the pigment deepens on its own. This combination gives a genuine jet-black with an Oreo-like flavour and almost no tooth staining, unlike vanilla frosting that needs a huge amount of dye.

Related Recipes
Save this for later 📌
Pin this article to your Pinterest board so the full list is one tap away when you need it.
Save on Pinterest