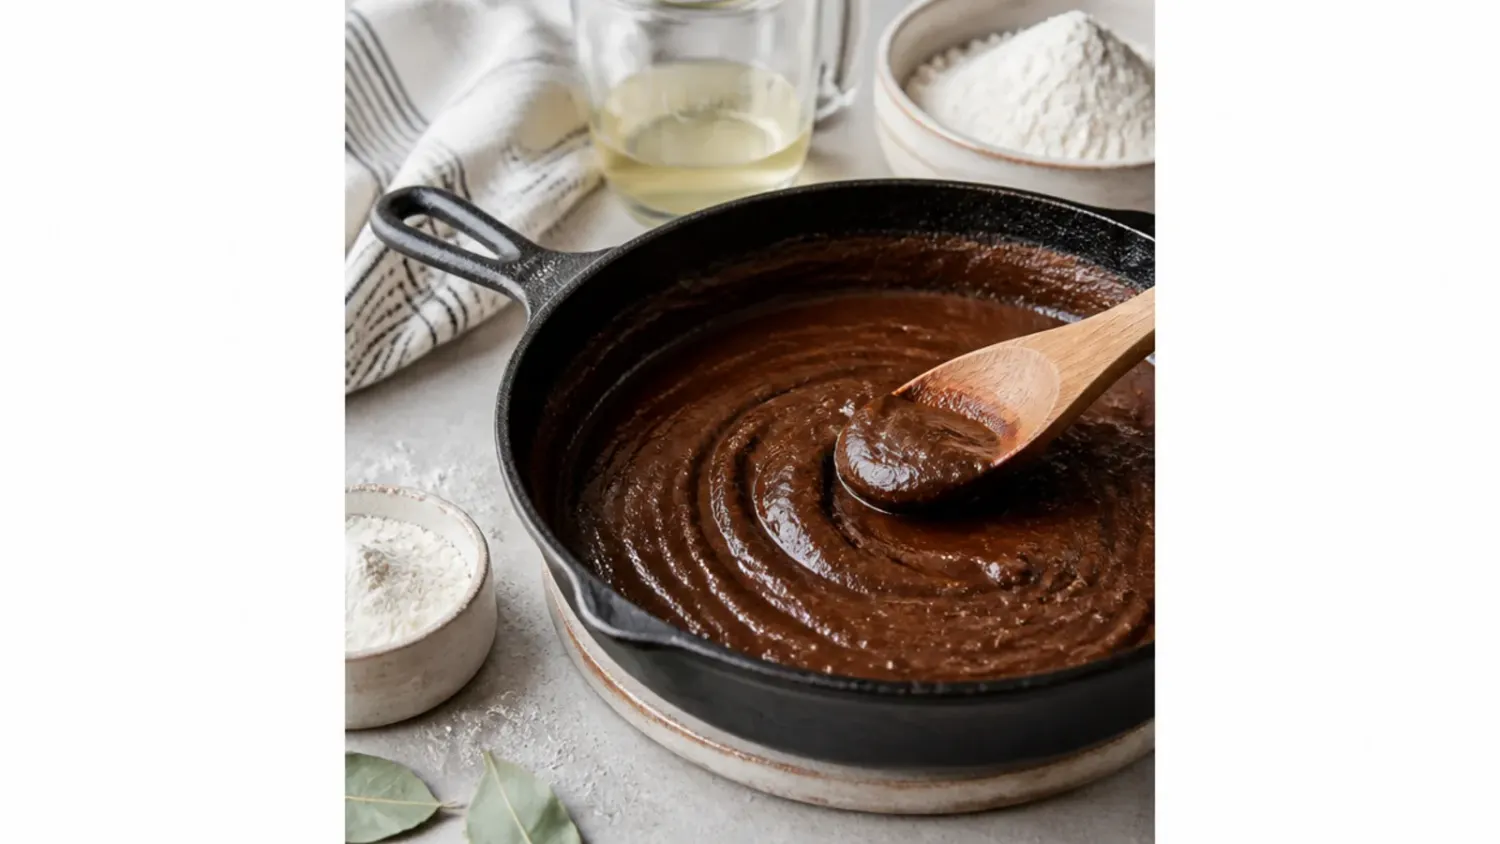
Ingredients 6 Person(s)

Save this for later 📌
Pin this article to your Pinterest board so the full list is one tap away when you need it.
Save on PinterestDirections
Step 1: Gather your gear and measure
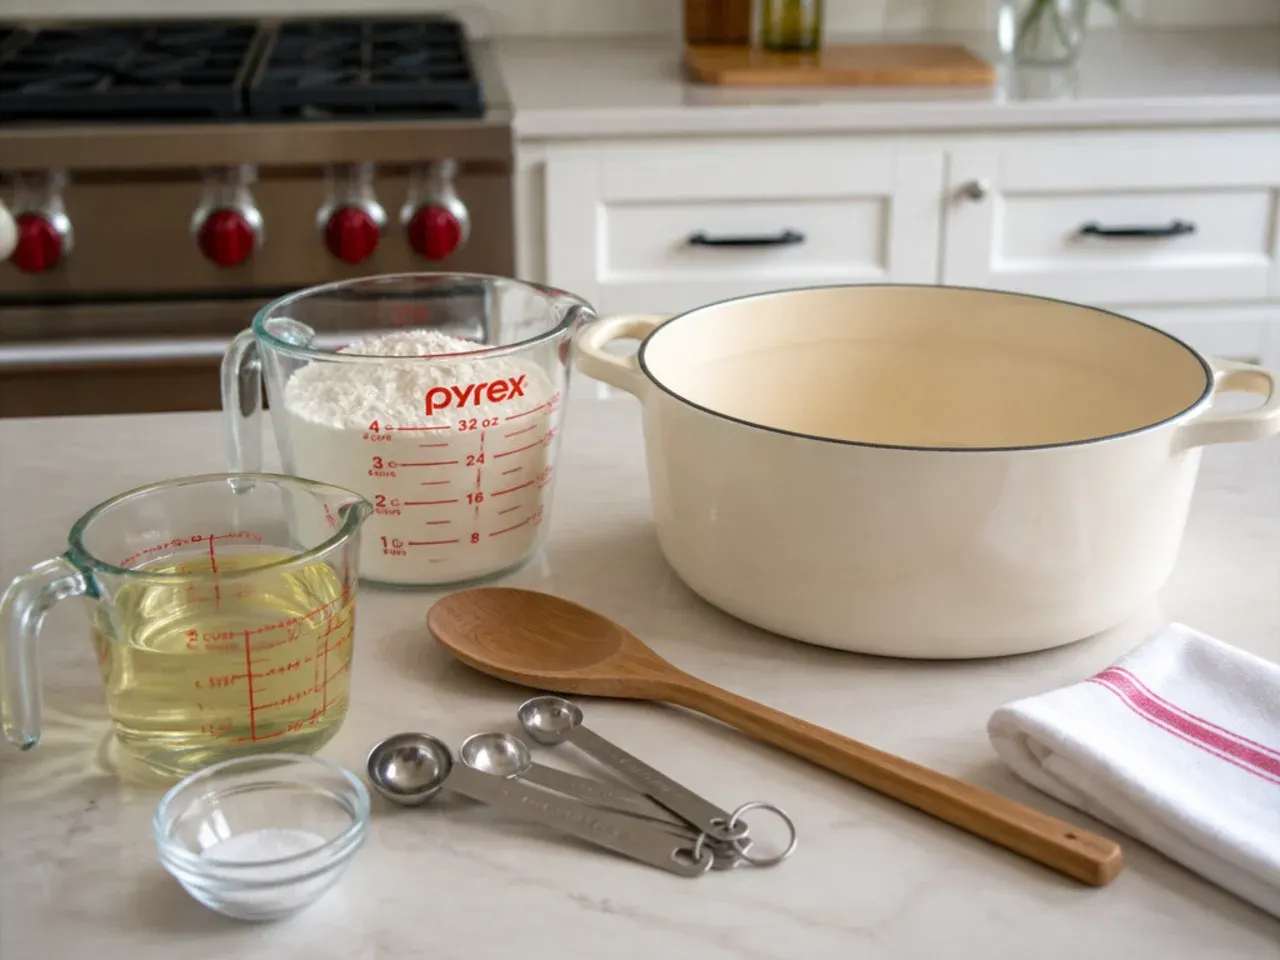
Set out a heavy cast iron skillet or Dutch oven, a flat whisk, a wooden spoon, and a heatproof bowl to hold the finished roux. Measure 1 cup (120 g) all-purpose flour and 3/4 cup (180 ml) neutral oil before you start, because once cooking begins you cannot walk away. Clear the next hour and keep your sink and counter tidy so a hot pot has somewhere to land.
Step 2: Warm the oil, then whisk in the flour
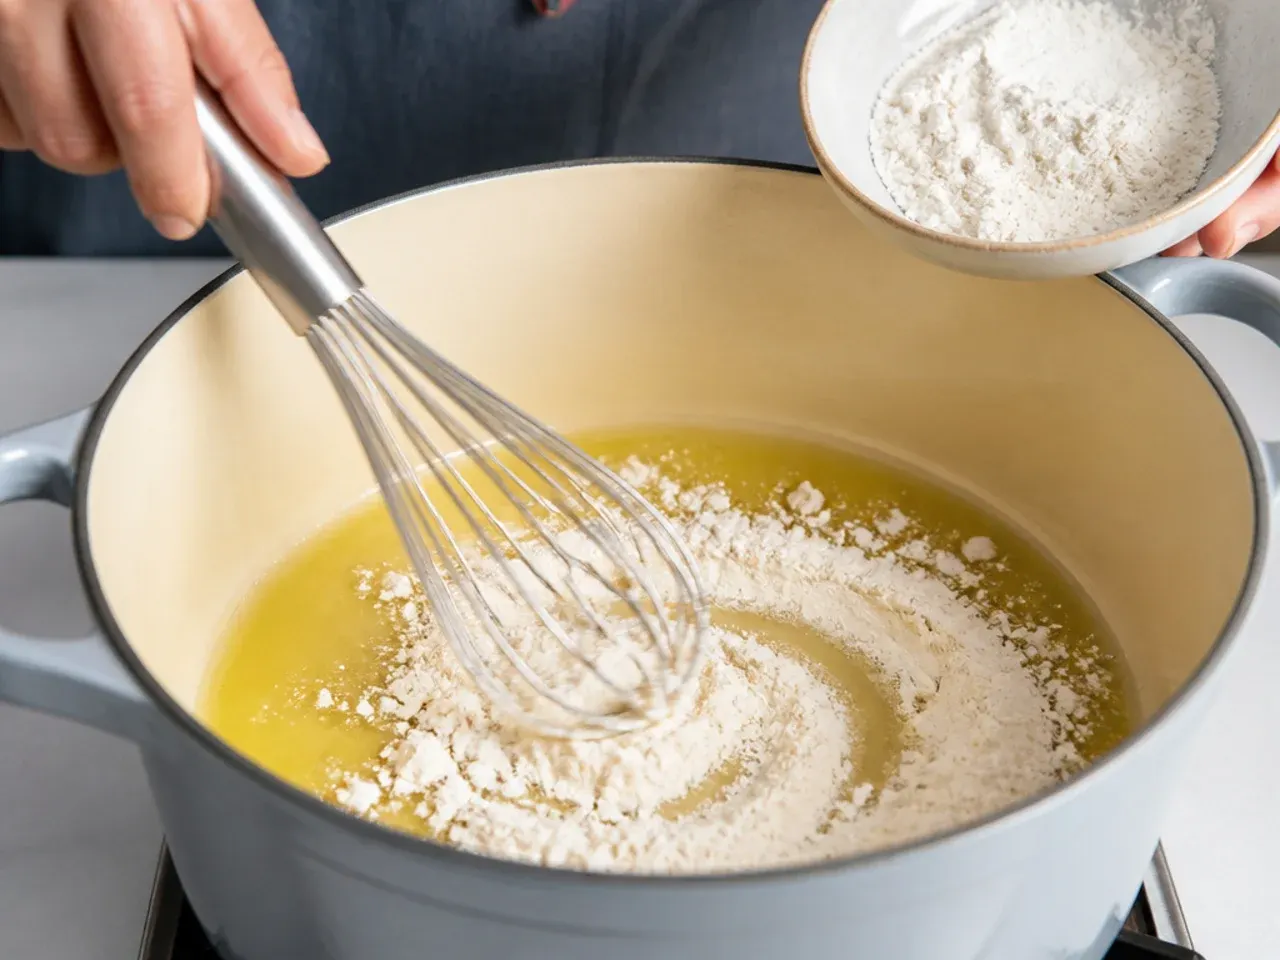
Pour the oil into the cold pot and set it over medium heat until it shimmers, about 2 minutes. Add all the flour at once and whisk hard until you have a smooth, loose paste with no dry pockets. This blonde stage takes 3 to 5 minutes and should look like thin pancake batter.
Step 3: Settle into low-and-slow stirring
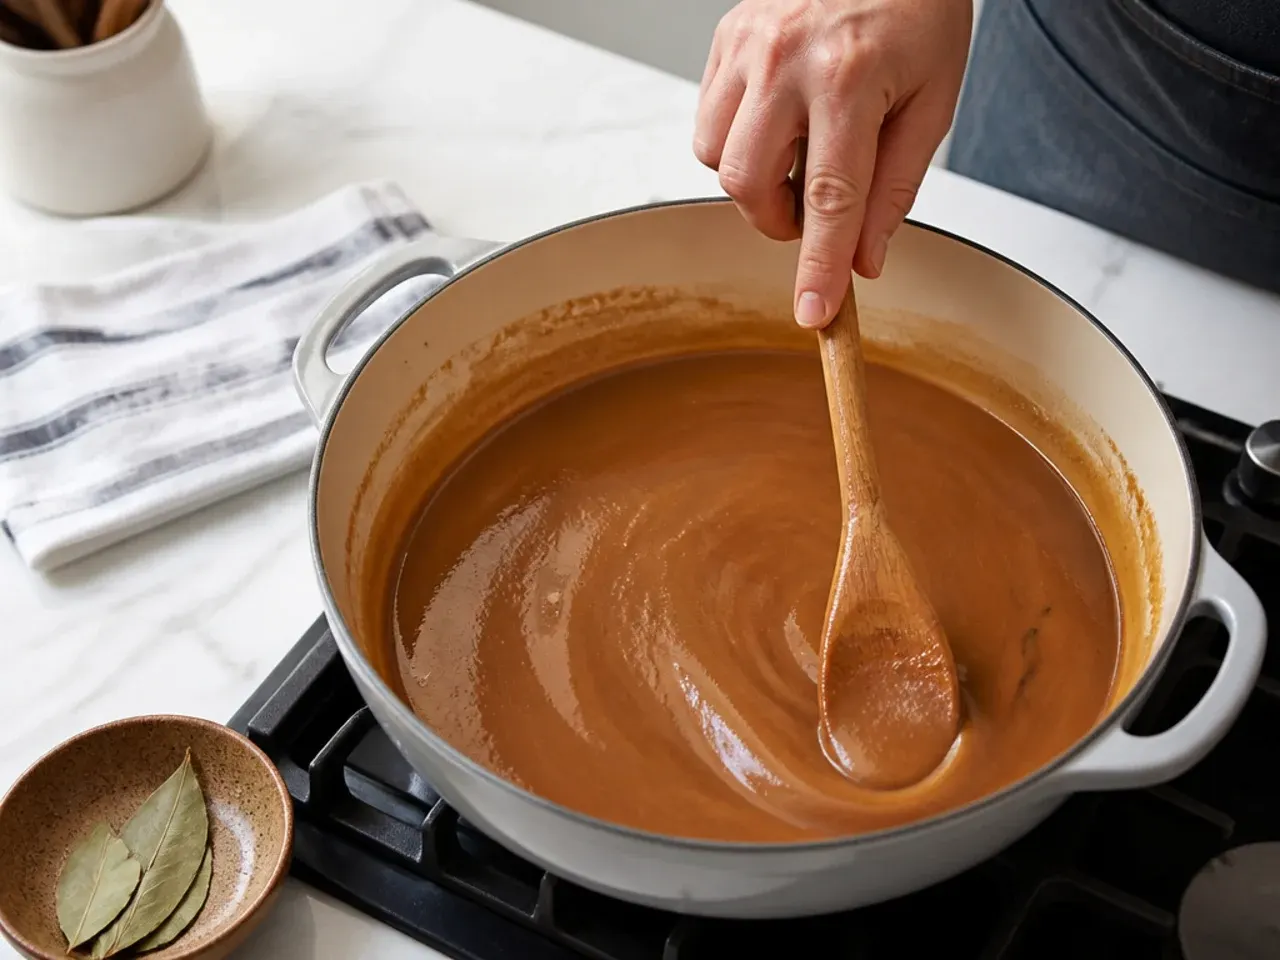
Lower the heat to medium-low, the single most important move for a roux that browns instead of burns. Stir constantly in a figure-eight, scraping the bottom and the corners where flour sticks first. Do not rush this with high heat; a dark roux simply needs 30 to 60 minutes of patient attention.
Step 4: Cook through the peanut-butter stage
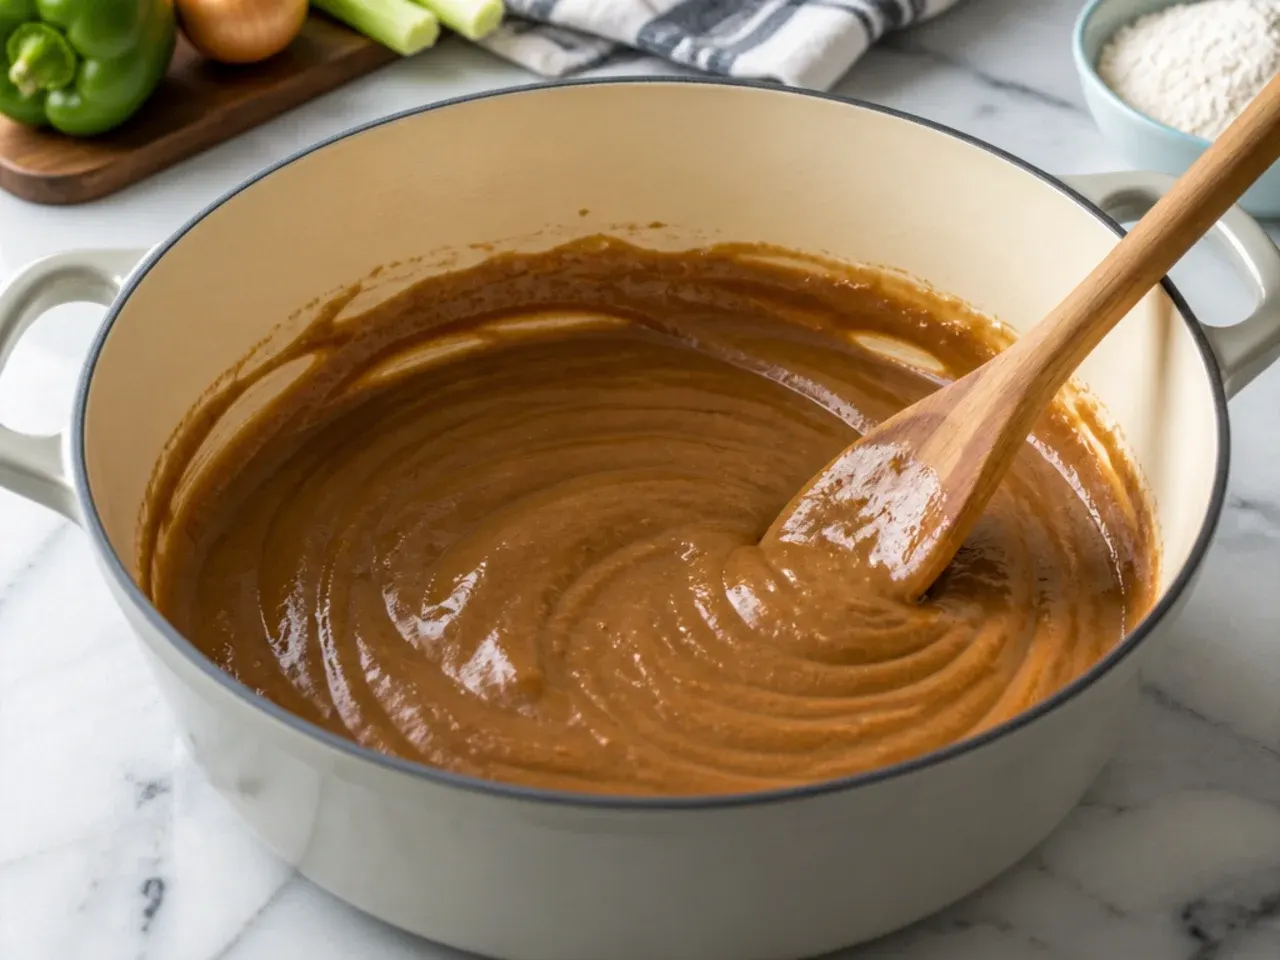
Over the next 15 to 20 minutes the roux deepens from blonde to a light peanut-butter tan, and you will start to smell a warm, nutty, toasty aroma. Keep stirring without pause; if the color looks patchy, your heat is a touch too high, so nudge it down. The paste will loosen and flow more easily as the flour toasts.
Step 5: Take it to copper penny
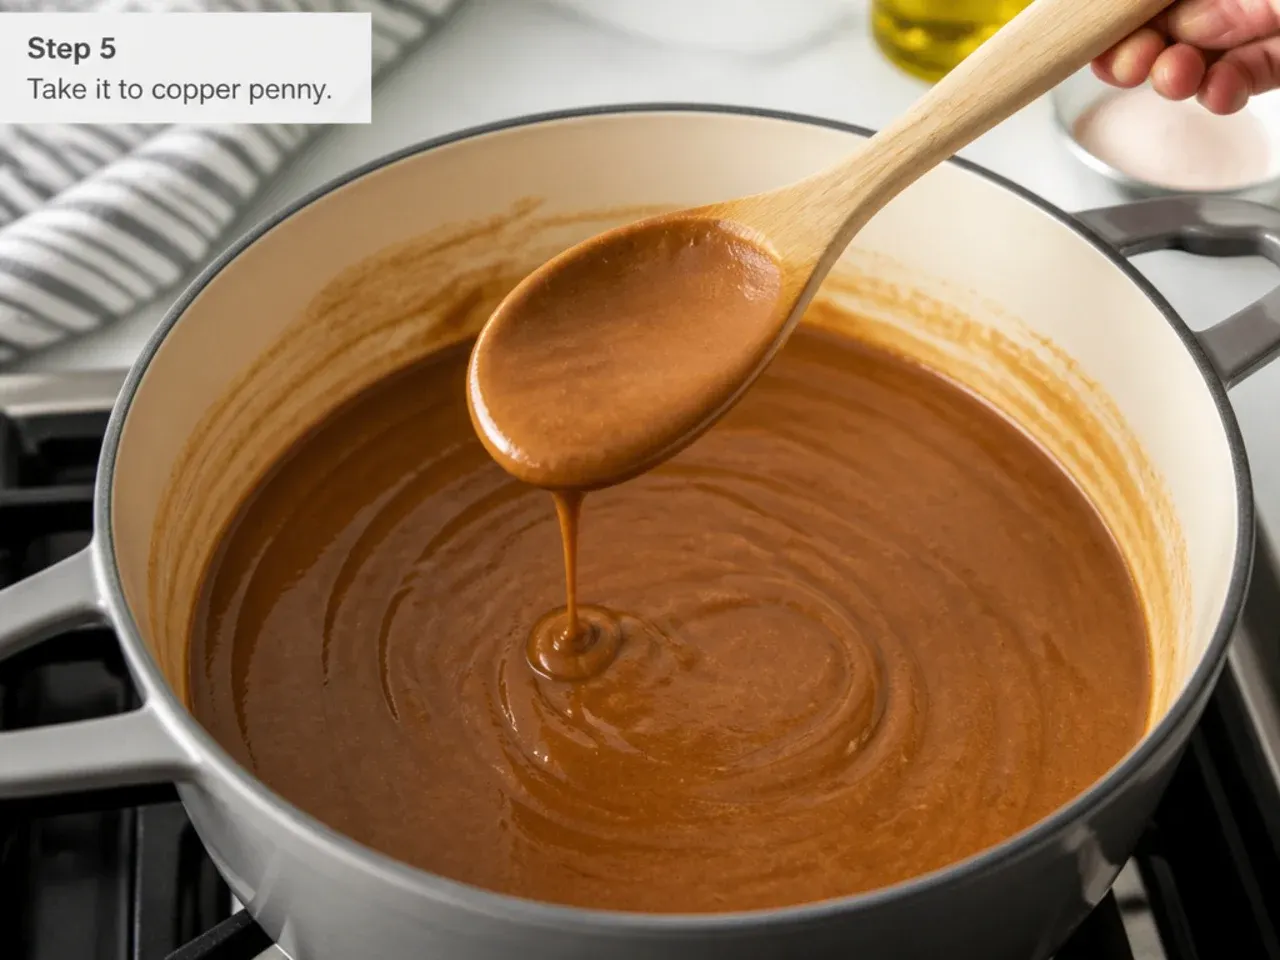
Continue cooking and stirring another 10 to 15 minutes until the roux turns the reddish-brown of an old copper penny. The color now changes faster, so never step away from the pot and keep dragging the spoon through the corners. If you catch a sharp or acrid smell, or spot black specks, the roux has burned and you must start fresh.
Step 6: Reach dark chocolate and pull it off the heat
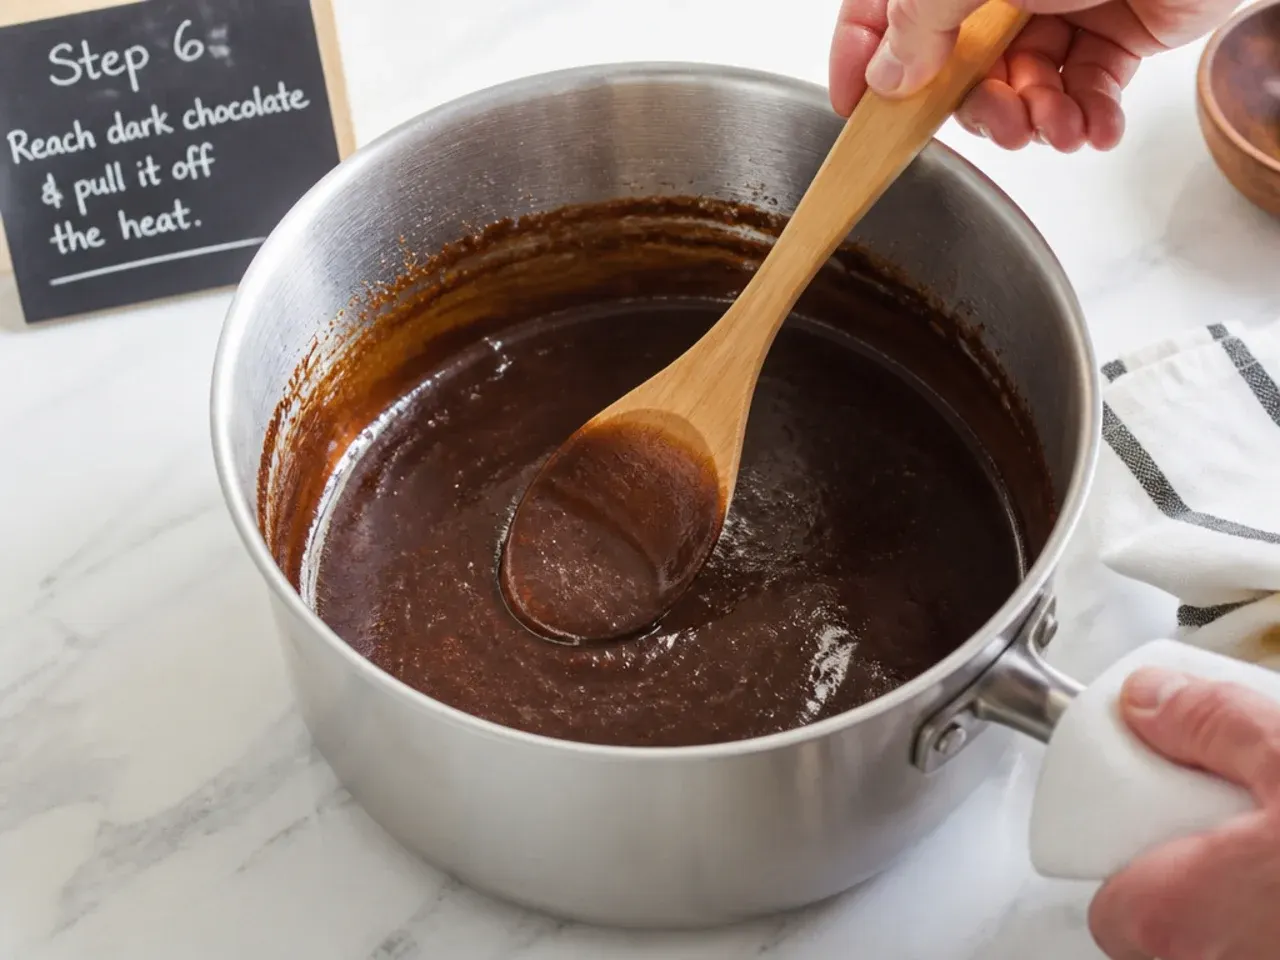
In the final 10 to 15 minutes the roux darkens to a rich, deep chocolate brown, roughly the color of dark cocoa or wet mud. Stop when it hits milk chocolate, because cast iron keeps cooking it two shades darker off the burner. Take the pot off the heat the instant you reach that shade, since the window between perfect and burnt is about 45 seconds.
Step 7: Cool and use or store
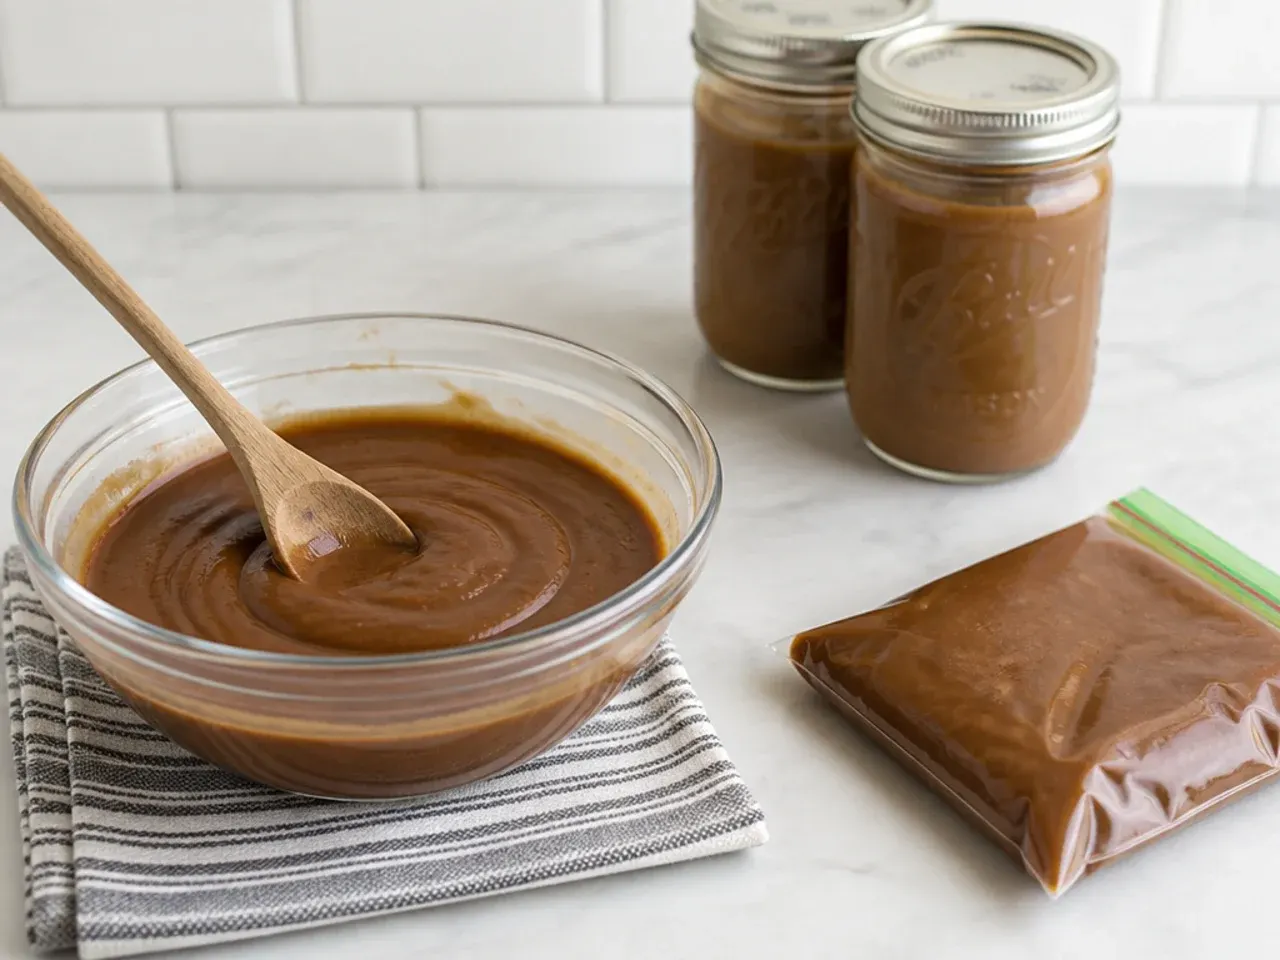
Keep stirring for 2 to 3 minutes off the heat to release steam and stop the cooking, then either build your gumbo or transfer the roux to a heatproof bowl. If you are making gumbo now, add your chopped onion, bell pepper, and celery straight into the warm roux to soften and halt the browning. Otherwise, cool completely and store, and remember to never shock hot roux with cold liquid or it will break.
Pro Tips for the Best Gumbo Roux
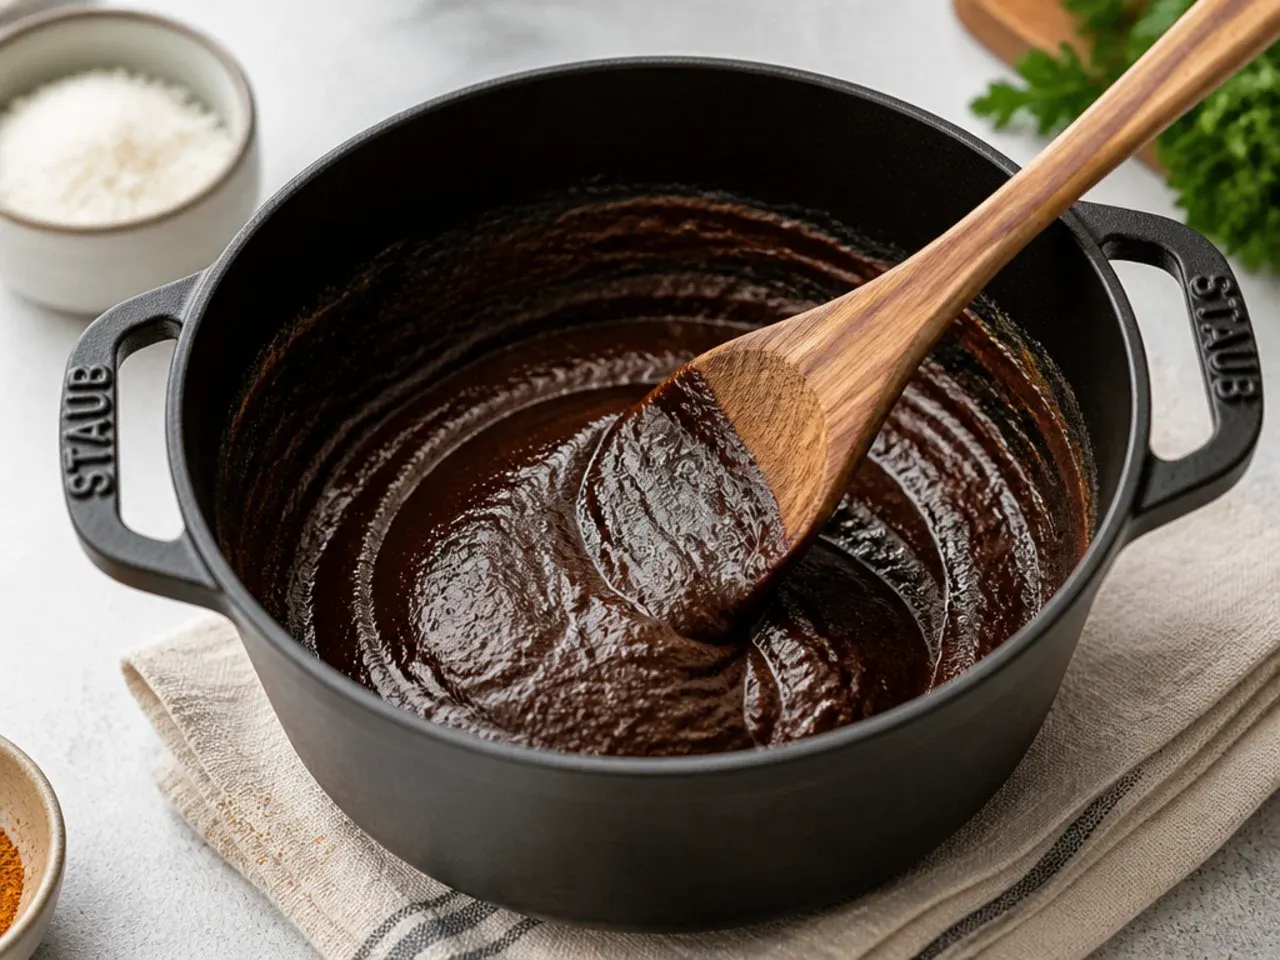
Use a heavy cast iron pot or Dutch oven, not a thin-bottomed pan, because the thick metal spreads heat evenly and gives you a wider margin before hot spots scorch the flour. Warm your oil before adding the flour so the two combine into a smooth paste with no dry lumps, then whisk in the flour off any high heat. Keep a flat-edged whisk for the first 20 minutes and switch to a wooden spoon once the roux thickens, dragging it into the corners of the pot where flour loves to stick and burn. Remember that cast iron holds heat, so pull the pot off the burner two shades lighter than your goal, around milk chocolate, because it keeps darkening to deep chocolate from residual heat. If you see even one black fleck or catch a burnt-popcorn smell, stop and start over, since a scorched roux turns the whole gumbo bitter and cannot be rescued.
Storage and Make-Ahead Tips
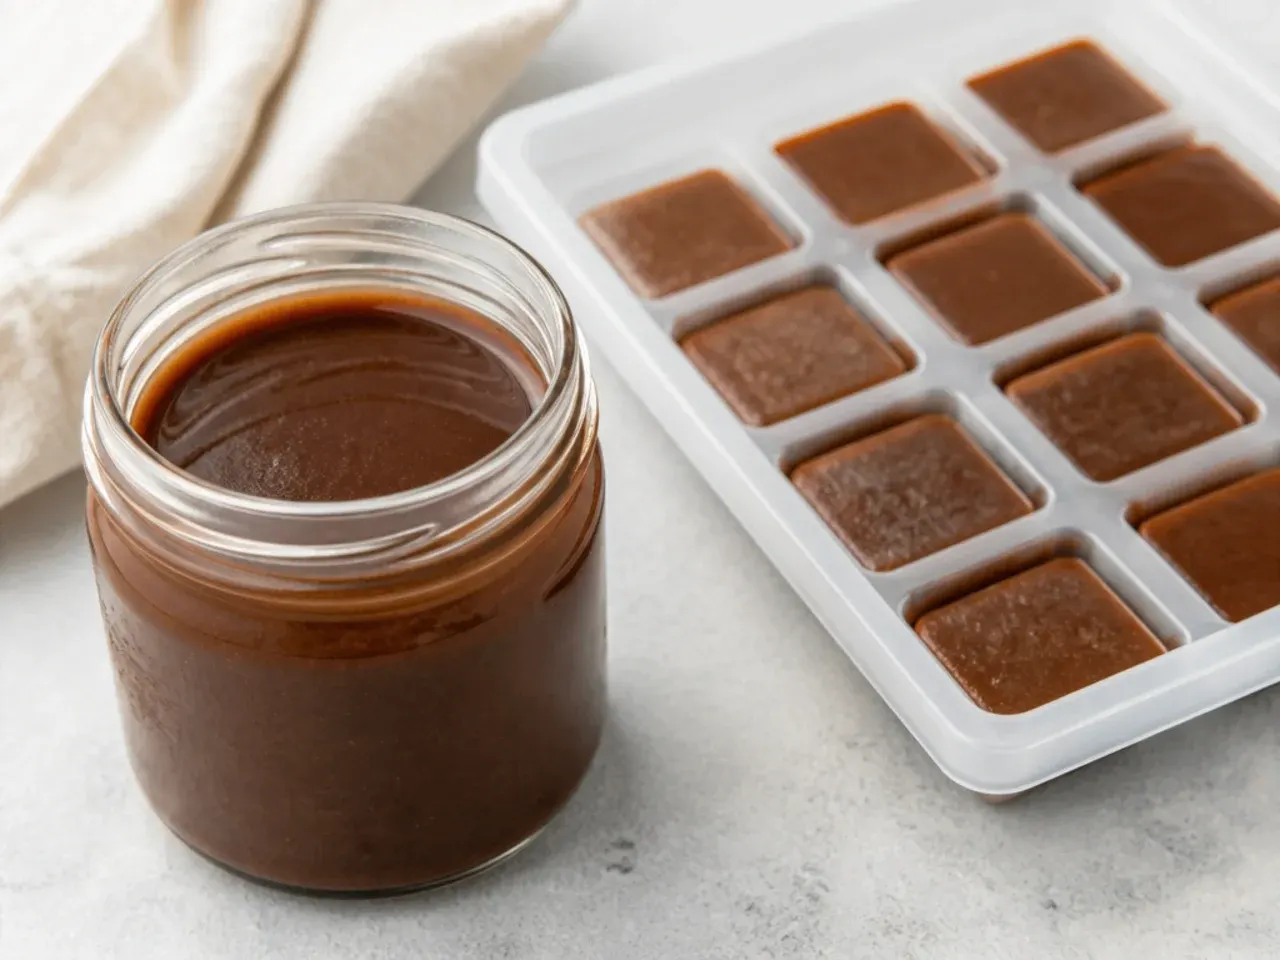
A gumbo roux keeps beautifully, so make a double batch and bank the extra for your next pot. Let it cool completely, then spoon it into an airtight jar or a heavy zip-top bag and refrigerate for up to 1 month, or freeze for up to 1 year. For grab-and-go portions, freeze the cooled roux in an ice cube tray, then pop the cubes into a freezer bag; each cube is roughly 2 tablespoons, an easy way to thicken soups and gravies later. To use stored roux, warm it gently in a pot over low heat, or whisk it straight into warm (never boiling) stock so it dissolves smoothly without breaking. Never combine hot roux with cold liquid or cold roux with boiling liquid, because a sudden temperature swing makes the fat separate into a greasy mess.
Learn to make a perfect gumbo roux in 7 steps. This dark chocolate roux is the flavor base of authentic gumbo, and it is easier than you think. For more gumbo recipe inspiration, browse the full Gumbo Recipes board — every idea there is written for real home kitchens, not professional bakers.
Frequently Asked Questions
For gumbo you want a deep, dark chocolate brown, roughly the color of dark cocoa or wet mud, which is well past peanut butter and copper penny. Darker roux delivers more toasty, nutty flavor but thickens less, so this deep shade is the classic balance. Stop before it turns truly black, because the gap between a perfect dark roux and a burnt one is only about 45 seconds.

Related Recipes



Save this for later 📌
Pin this article to your Pinterest board so the full list is one tap away when you need it.
Save on Pinterest