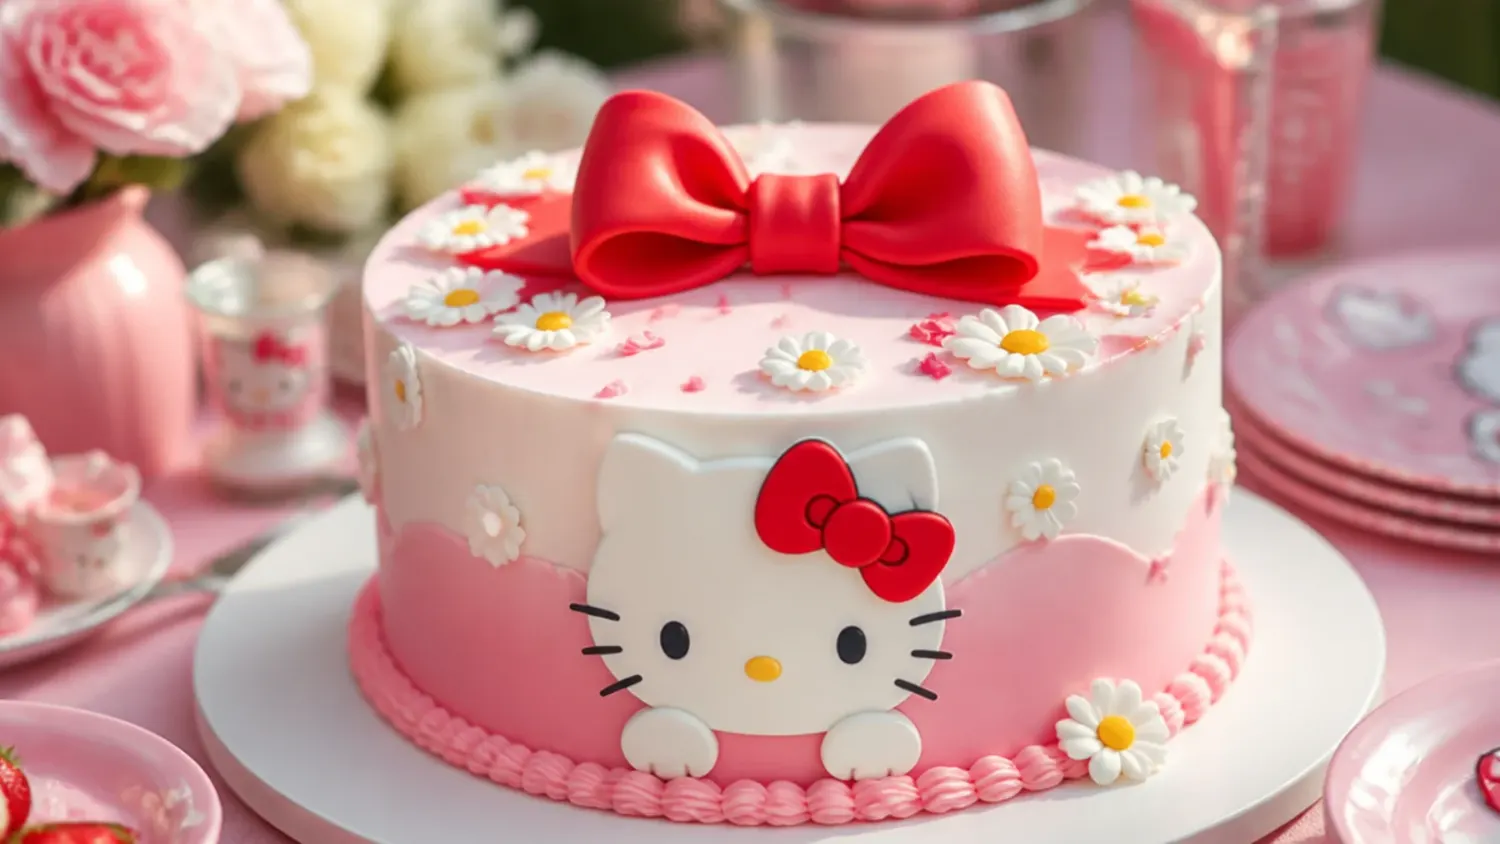
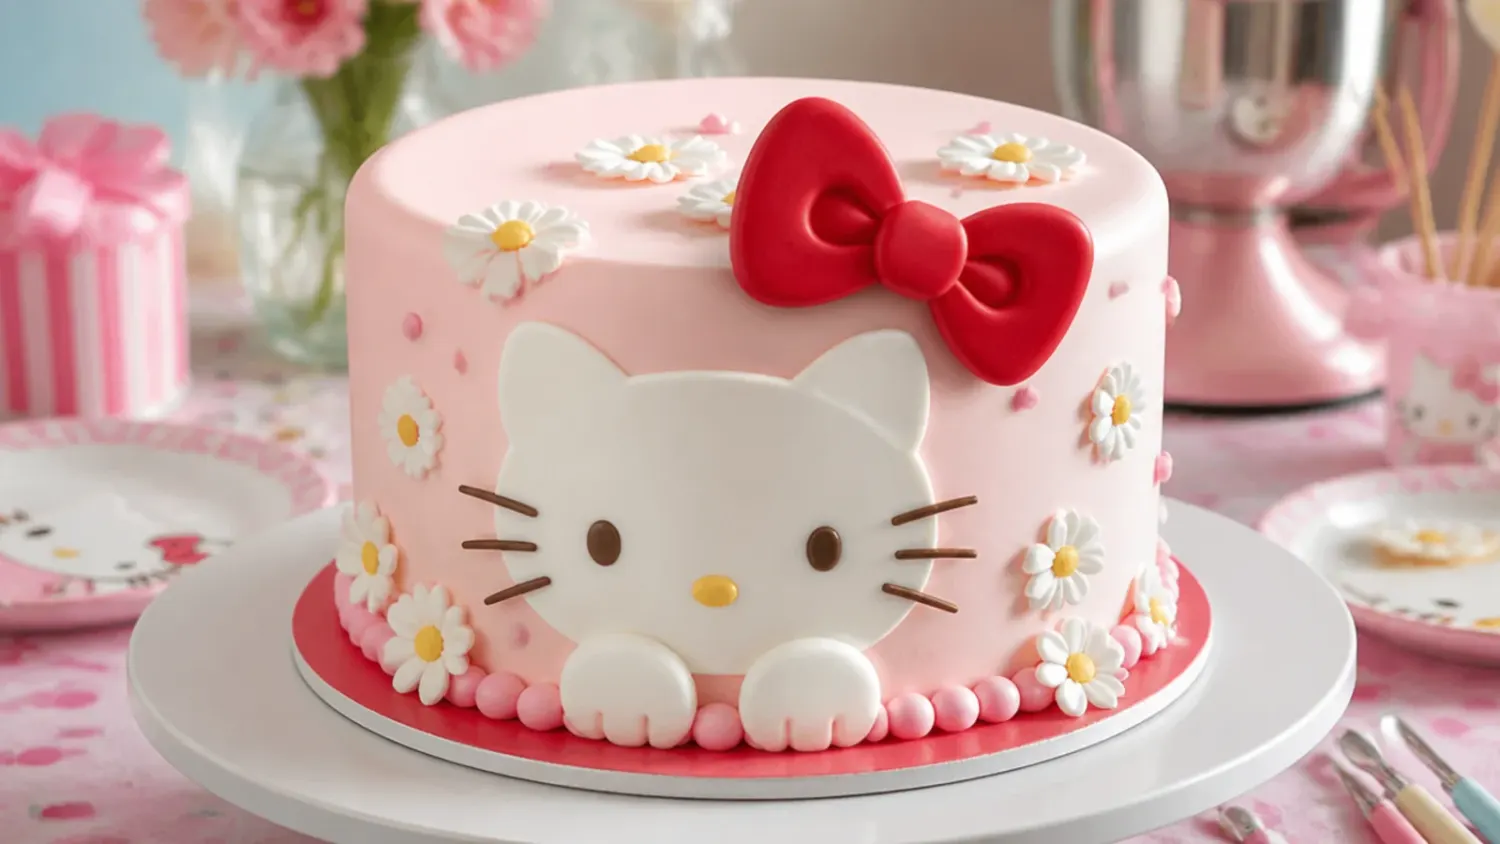
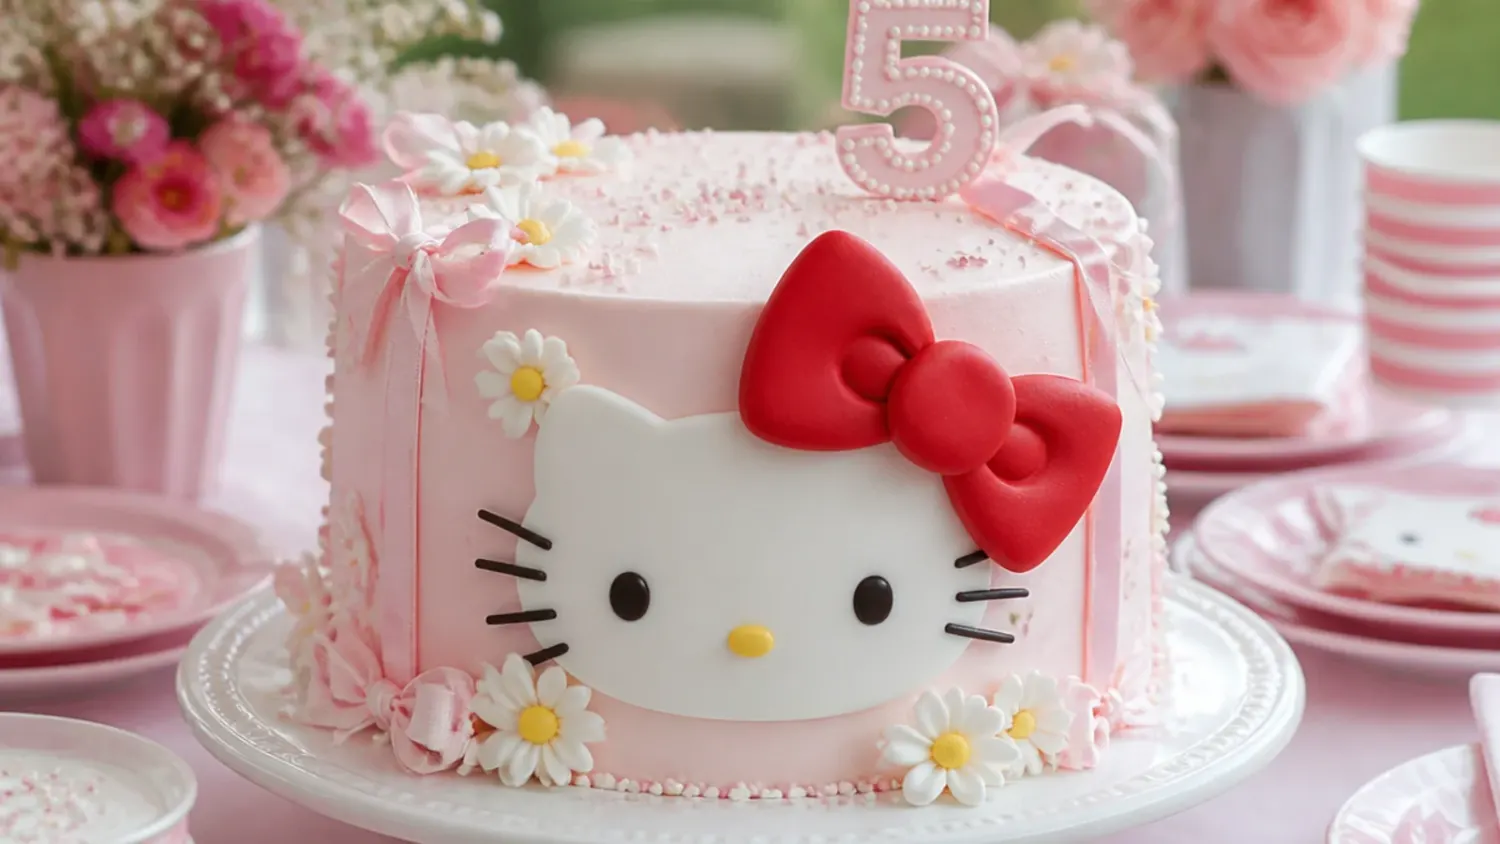
20 Cute Hello Kitty Cake Topper Ideas
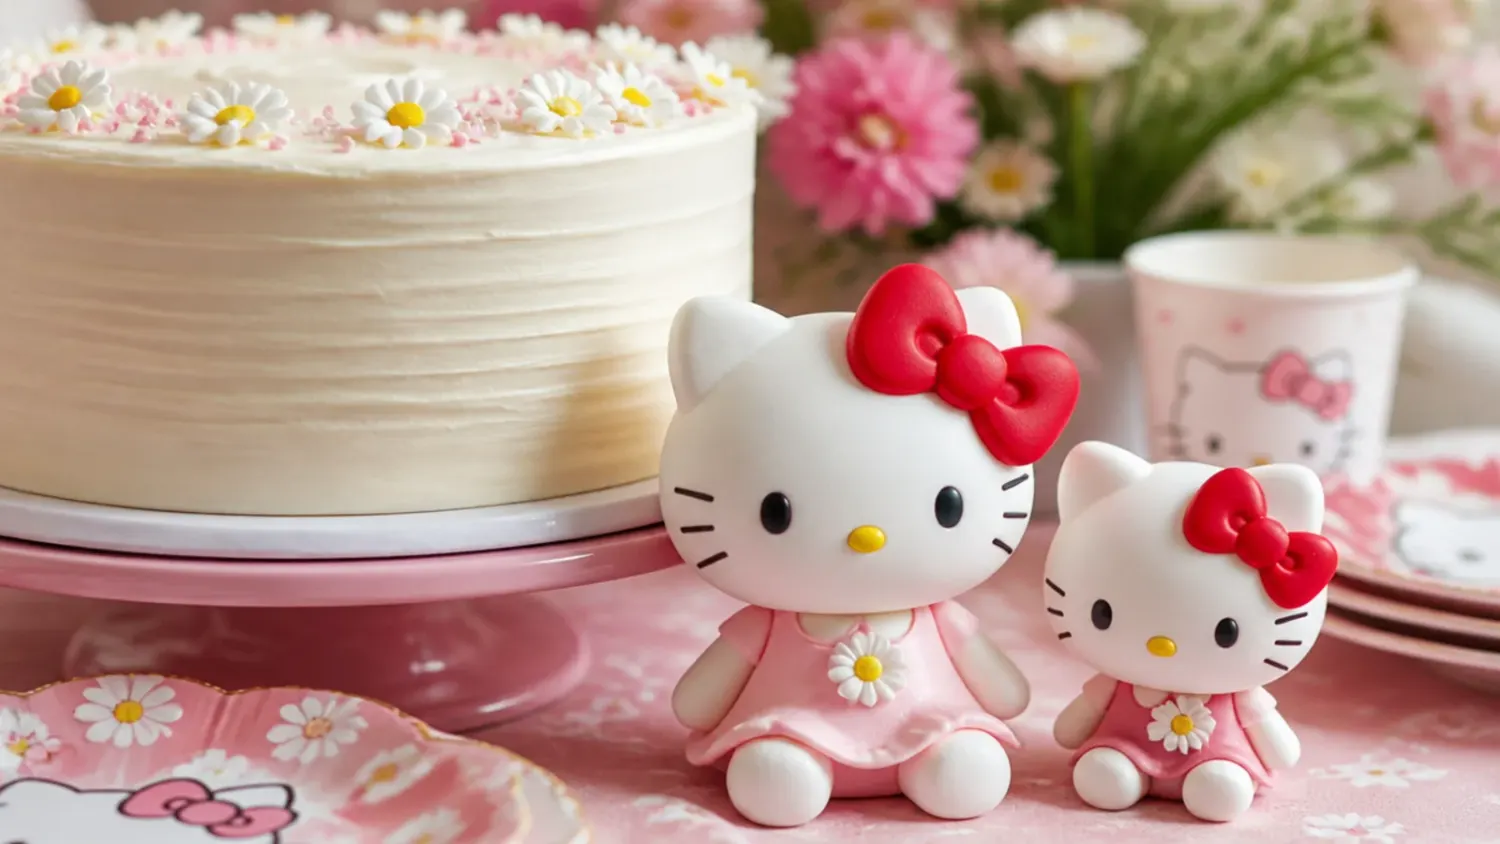
20 cute Hello Kitty cake topper ideas plus an easy vanilla sponge base, with fondant colors, cutter sizes, drying times and no-fail decorating steps. If you love hello kitty cake inspiration, start with our Hello Kitty Cake Ideas collection, then browse the full Cake Ideas hub for more.

Save this for later 📌
Pin this article to your Pinterest board so the full list is one tap away when you need it.
Save on PinterestCake Ideas
Beginner
Ideas
20 ideas
Table of Contents
- 1. Fondant Face Topper Using a Kitty-Shaped Plunger Cutter
- 2. Beginner No-Cutter Topper Built From Simple Circles
- 3. Elegant Pearl-and-Lace Topper in Ivory Fondant
- 4. Playful 3D Sitting Kitty Figure With Skewer Support
- 5. Modern Minimalist Silhouette in Matte White
- 6. Rustic Buttercream-Piped Kitty on a Semi-Naked Cake
- 7. Colorful Rainbow-Bow Topper for a Bright Party
- 8. Minimal Edible-Print Circle Topper
- 9. Festive Christmas Kitty With a Tiny Santa Hat
- 10. Whimsical Fairy Kitty With Wafer-Paper Wings
- 11. Bold Oversized Statement Topper in Hot Pink
- 12. Delicate Pastel Kitty With a Floral Crown
- 13. Vintage Polka-Dot Bow Topper With Muted Tones
- 14. Creative Chocolate Silhouette Topper
- 15. Charming Mini-Kitty Cupcake Topper Set
- 16. Classic Two-Tone Bow-Focused Topper
- 17. Easy Marshmallow-and-Candy No-Fondant Topper
- 18. Elegant Gold-Leaf Accent Topper
- 19. Playful Sports-Themed Kitty With a Team Bow
- 20. Modern Geometric Terrazzo Topper
- Tips to Make These Ideas Easier
- Common Mistakes to Avoid
- The Base Recipe — Make Any of These Ideas
1. Fondant Face Topper Using a Kitty-Shaped Plunger Cutter
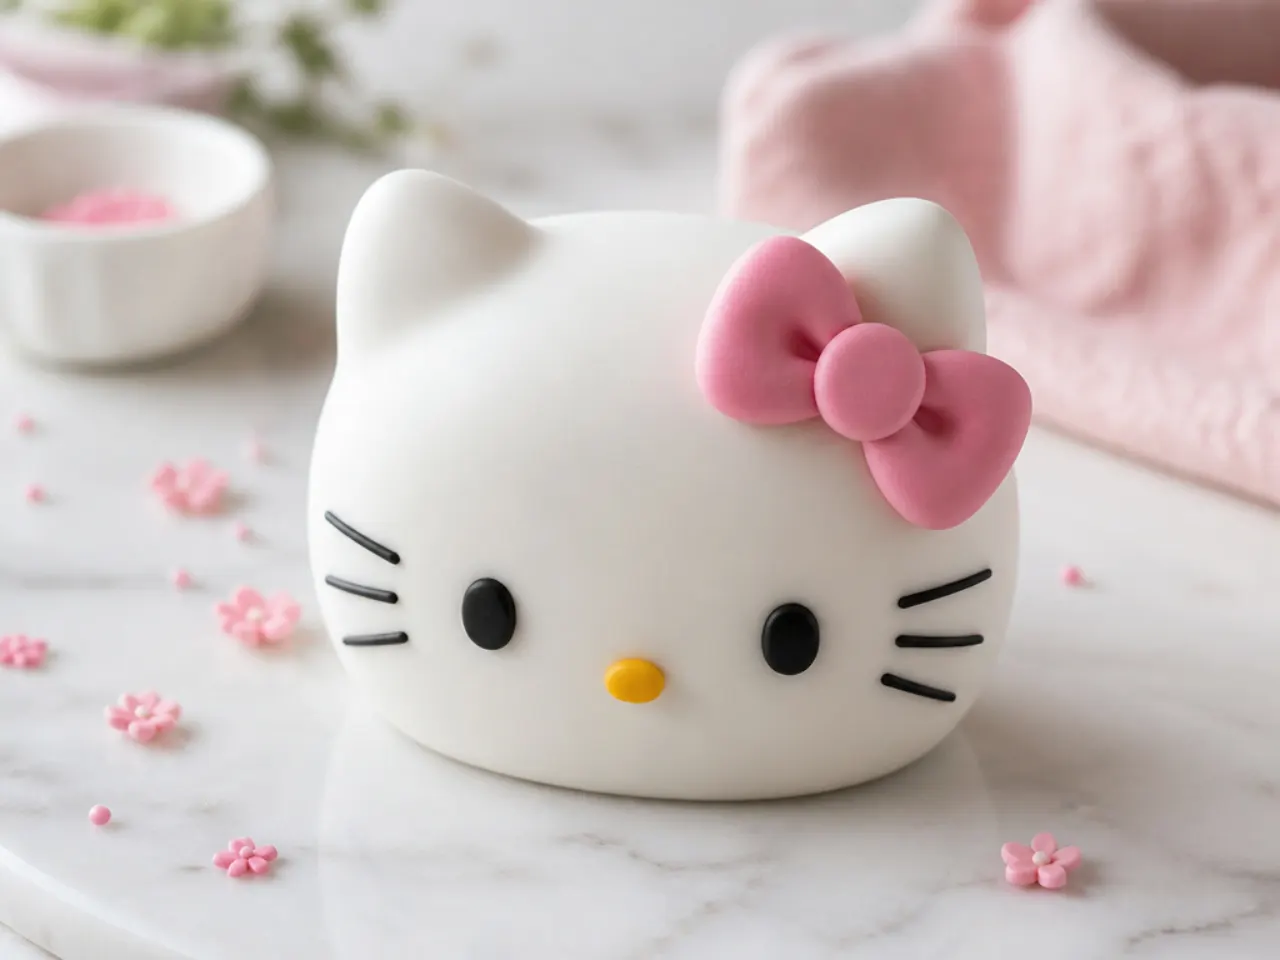
This is the classic kitty-inspired topper: a smooth white fondant head with a colored bow, made in minutes with a plunger cutter. Buy an inexpensive kitty-face plunger cutter (roughly 6-7 cm wide); it stamps the outline plus faint impressions for the eyes, nose and whiskers so a first-timer gets clean placement. Roll white fondant to about 4 mm thick on a cornstarch-dusted surface, stamp, and press the plunger to mark the features. Fill the eye and nose marks with a fine black edible marker and add three short whisker strokes each side, then attach a small pink or red fondant bow with a dab of water. Let it dry flat on parchment for 24 hours before setting it on the cake so it holds its shape.
2. Beginner No-Cutter Topper Built From Simple Circles
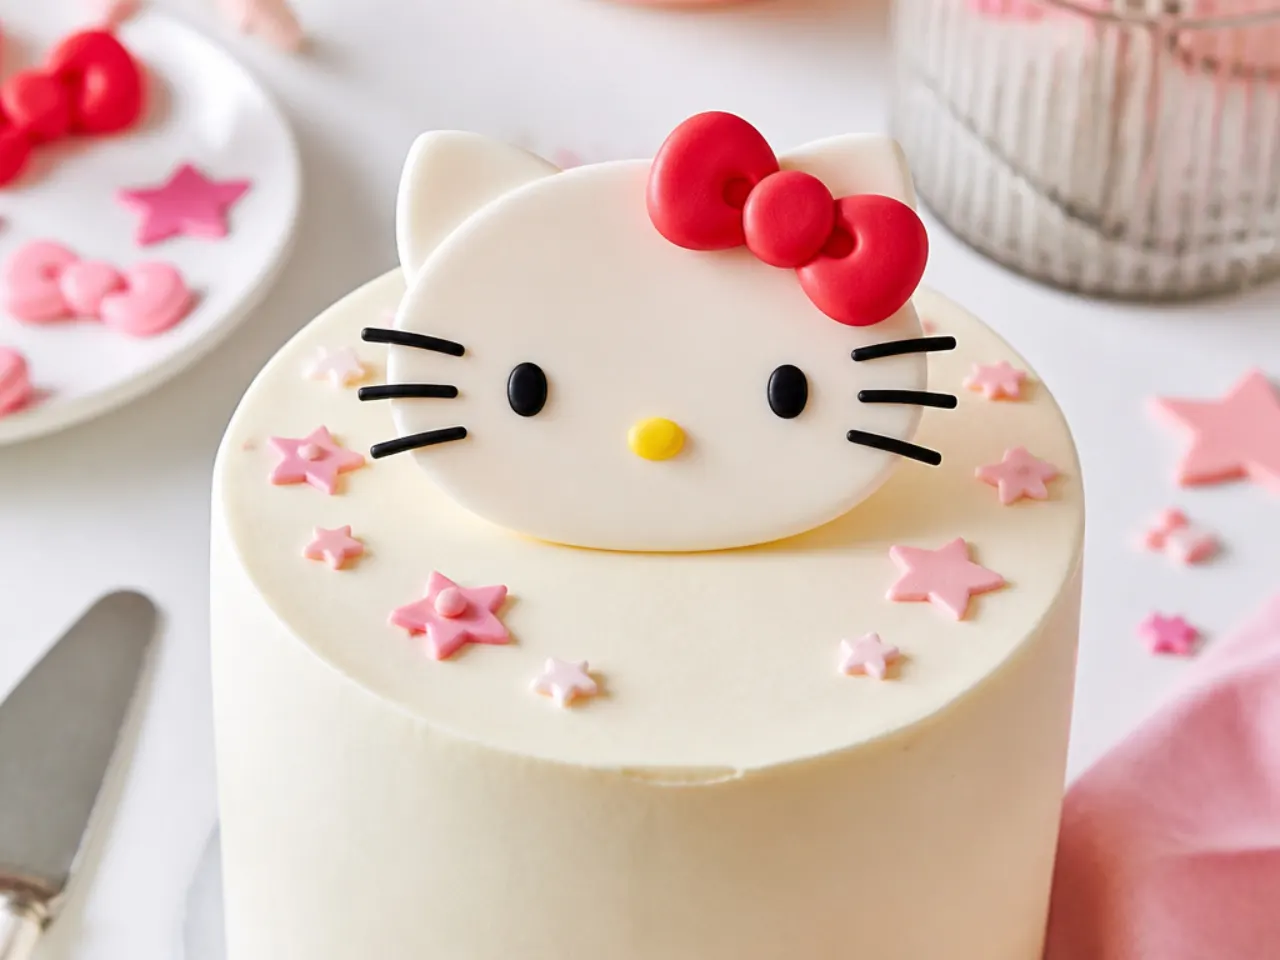
No special cutter? Build the kitty-inspired head from plain round cutters you already own. Use a 6 cm round cutter for the white face, then pinch two triangular ears from the same disc while the fondant is soft. Add facial details with a black edible pen (two oval eyes, a small yellow oval nose and three whisker lines per side) so you never fight tiny fondant pieces. Cut a bow from two small red fondant triangles joined with a center knot and glue it with a water-dampened brush. This method costs almost nothing and dries firm overnight, making it the easiest entry point on the list.
3. Elegant Pearl-and-Lace Topper in Ivory Fondant
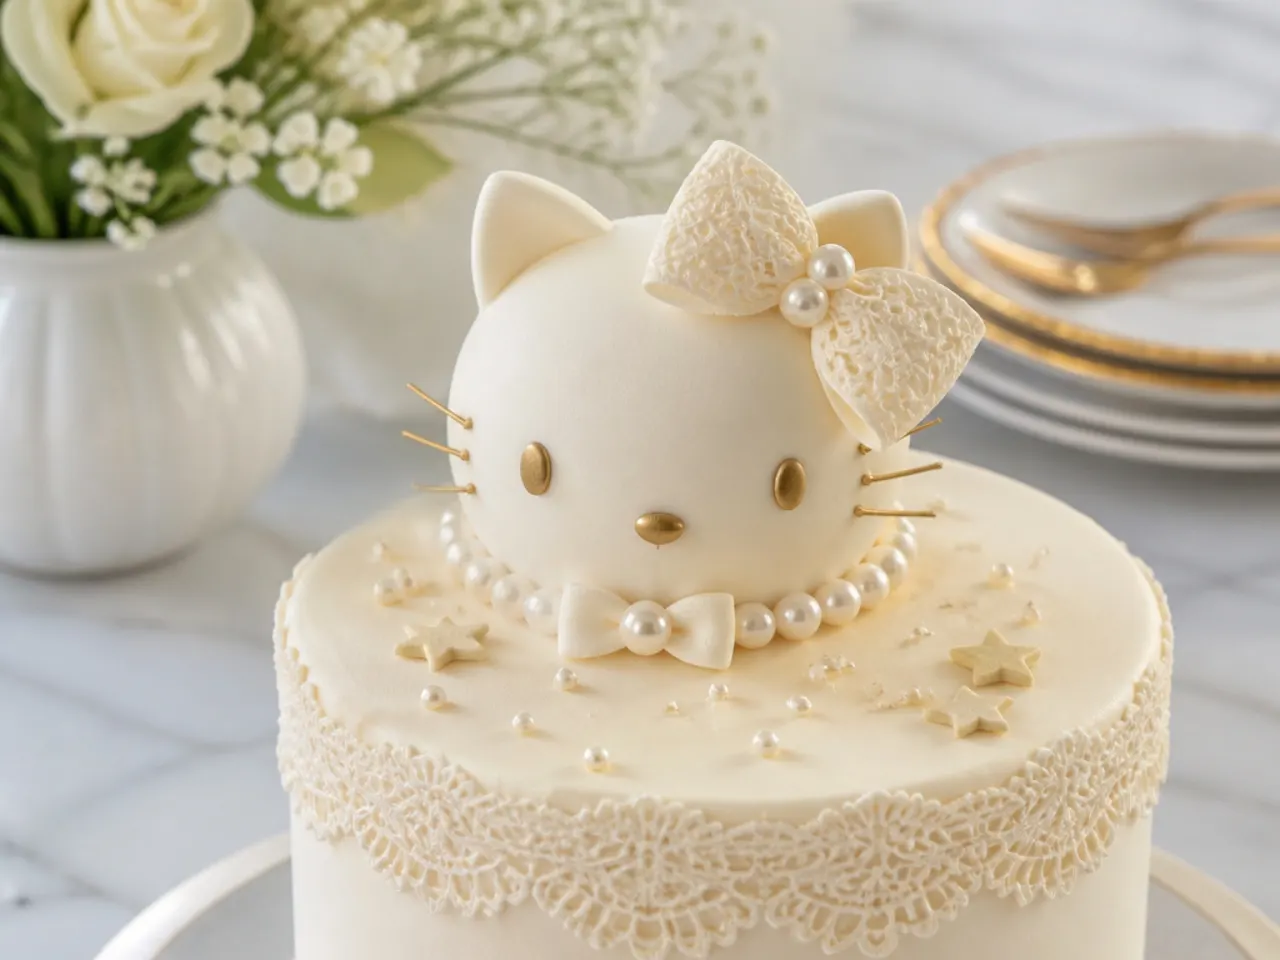
For a grown-up, elegant take, swap bright white for ivory fondant and dress the bow in edible pearls and a lace pattern. Tint fondant with a pinprick of ivory or a whisper of chocolate paste so the head reads soft cream rather than stark white. Emboss the bow with a small lace impression mat, then brush it with pearl or blush luster dust for a satin sheen. Line the base of the head with tiny edible sugar pearls set in a thin bead of royal icing. This looks refined on a smooth ivory or blush buttercream cake for a milestone birthday or bridal shower.
4. Playful 3D Sitting Kitty Figure With Skewer Support
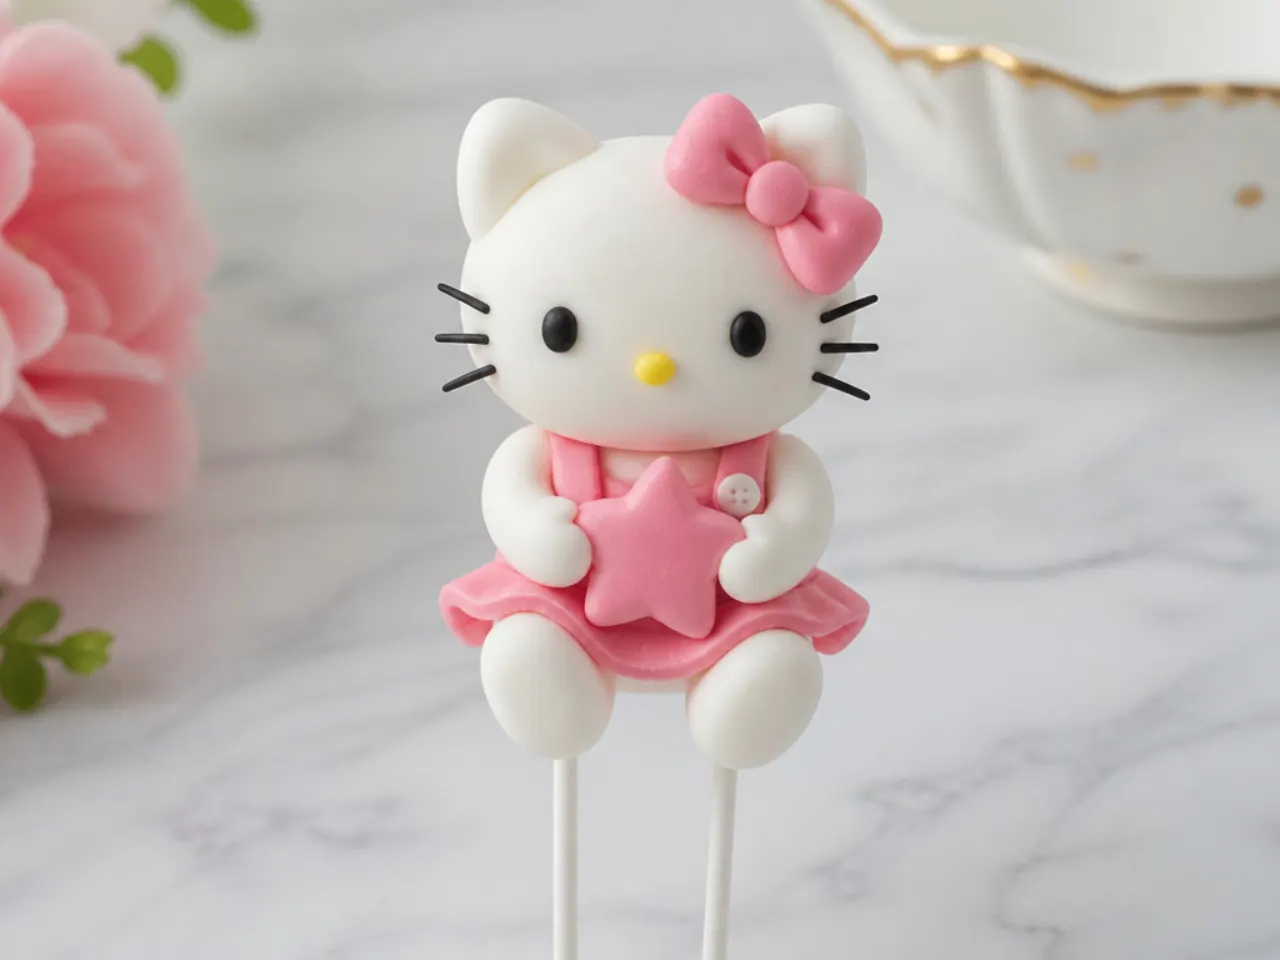
A full 3D sitting figure is the show-stopper, and the trick is internal support so the oversized head does not crack off. Shape a cone body from pink fondant (about a 4 cm ball rolled to a fat teardrop) and add white oval paws and a curled tail. Make the head separately, around 5-6 cm across with pinched ears, and let it dry two full days before joining. Insert two 5 cm food-safe skewers into the body, dampen the tops, and press the dried head onto them. Because the head is heavy, this figure needs a good week of drying in a cool, dark spot before it travels on a cake.
5. Modern Minimalist Silhouette in Matte White
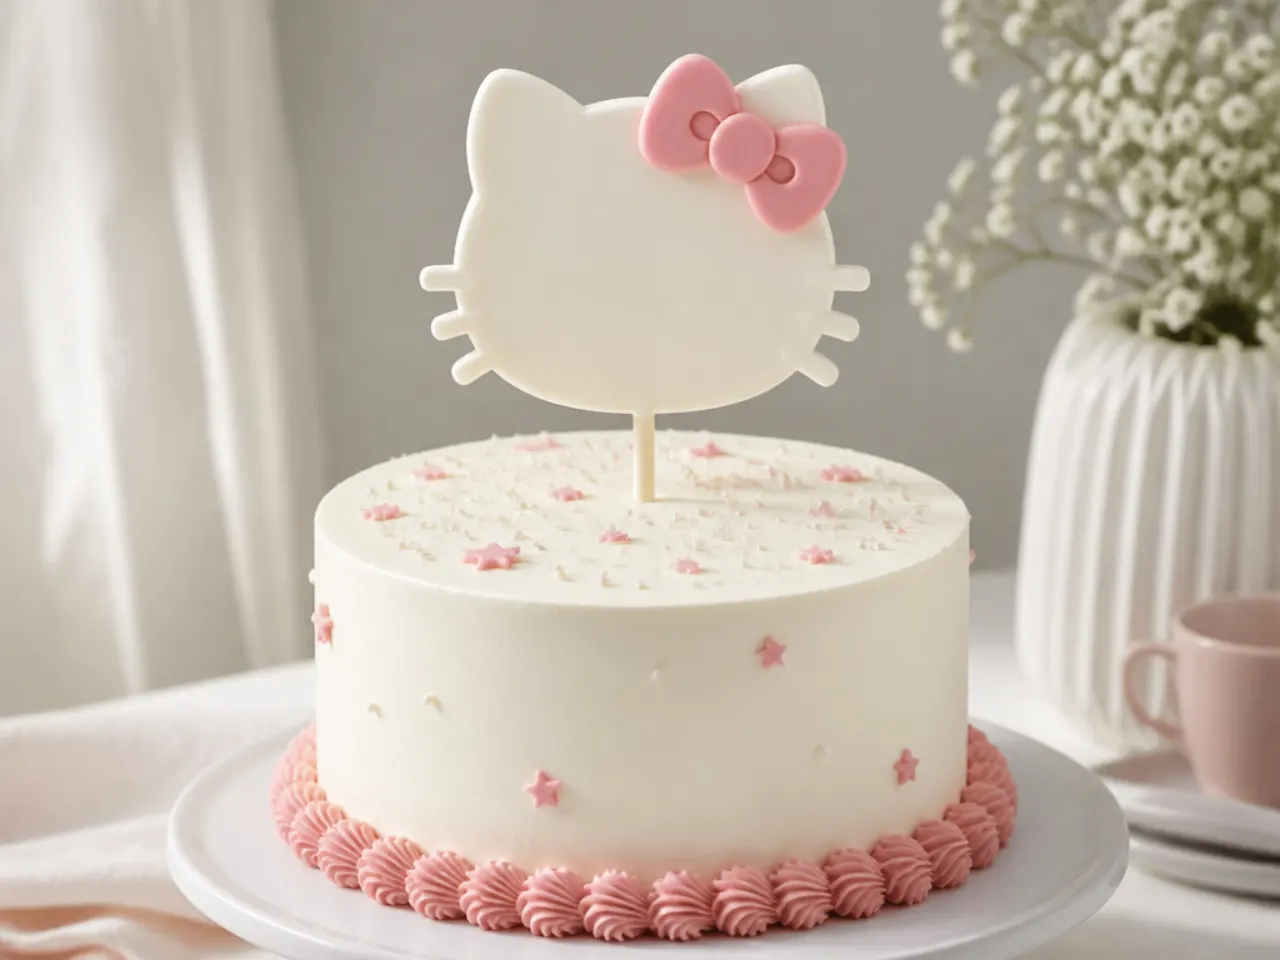
A modern topper strips the character down to a clean kitty-inspired silhouette with almost no facial detail. Cut the head-and-ears outline from firm white fondant or gum paste rolled to 3 mm, and leave the surface matte by dusting lightly with cornstarch instead of glazing. Add only a single slim bow in one accent color, black or a muted terracotta, for a contemporary look. Skip the eyes and whiskers entirely, letting the shape do the work. This graphic style suits a smooth single-tier drip cake and photographs beautifully for a modern party table.
Save this for later 📌
Pin this article to your Pinterest board so the full list is one tap away when you need it.
Save on Pinterest6. Rustic Buttercream-Piped Kitty on a Semi-Naked Cake
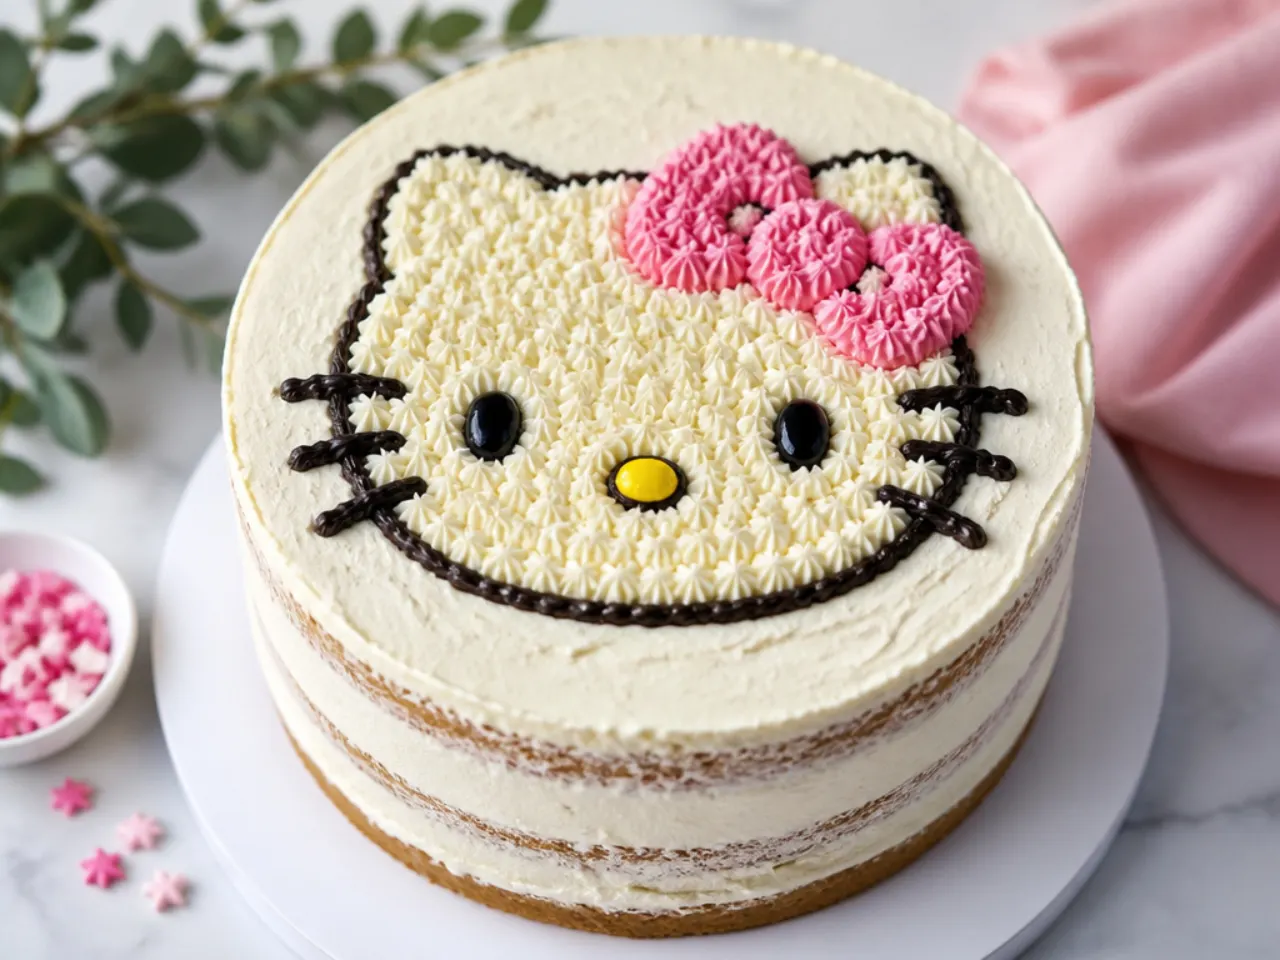
For a rustic, homemade feel, skip fondant and pipe the kitty-inspired face directly in buttercream. Fit a piping bag with a Wilton 1A round tip and pipe a rounded head, then two triangular ears, using stiff white American buttercream. Switch to a Wilton 2 or 3 tip in black to add small eyes and short whisker strokes, and pipe a small bow with a Wilton 104 petal tip in pink. Chill the piped topper on parchment for 20 minutes so it firms before transferring. It pairs perfectly with a semi-naked cake where the sponge shows through the buttercream.
7. Colorful Rainbow-Bow Topper for a Bright Party
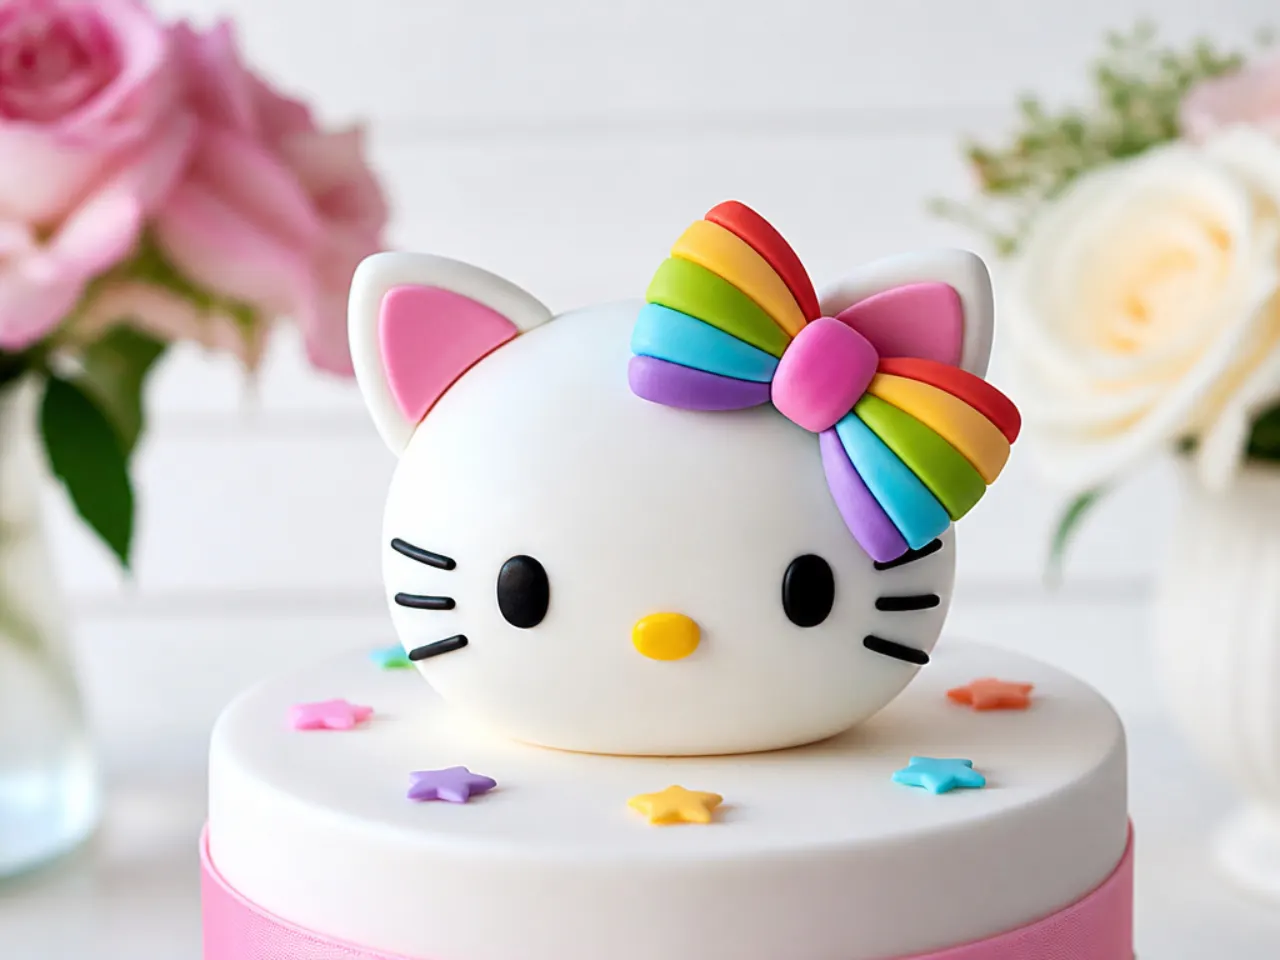
Keep the white face classic but go bold with a multicolored bow for a vivid, colorful topper. Roll five thin strips of fondant in red, orange, yellow, green and blue, lay them side by side, and cut a bow shape so each loop shows a rainbow stripe. Attach the striped bow to a standard white fondant head with a dab of water and pinch a small knot in the center. Echo the colors by scattering tiny rainbow fondant polka dots around the cake board. This is a joyful, kid-pleasing option that still reads clean because only the bow carries the color.
8. Minimal Edible-Print Circle Topper
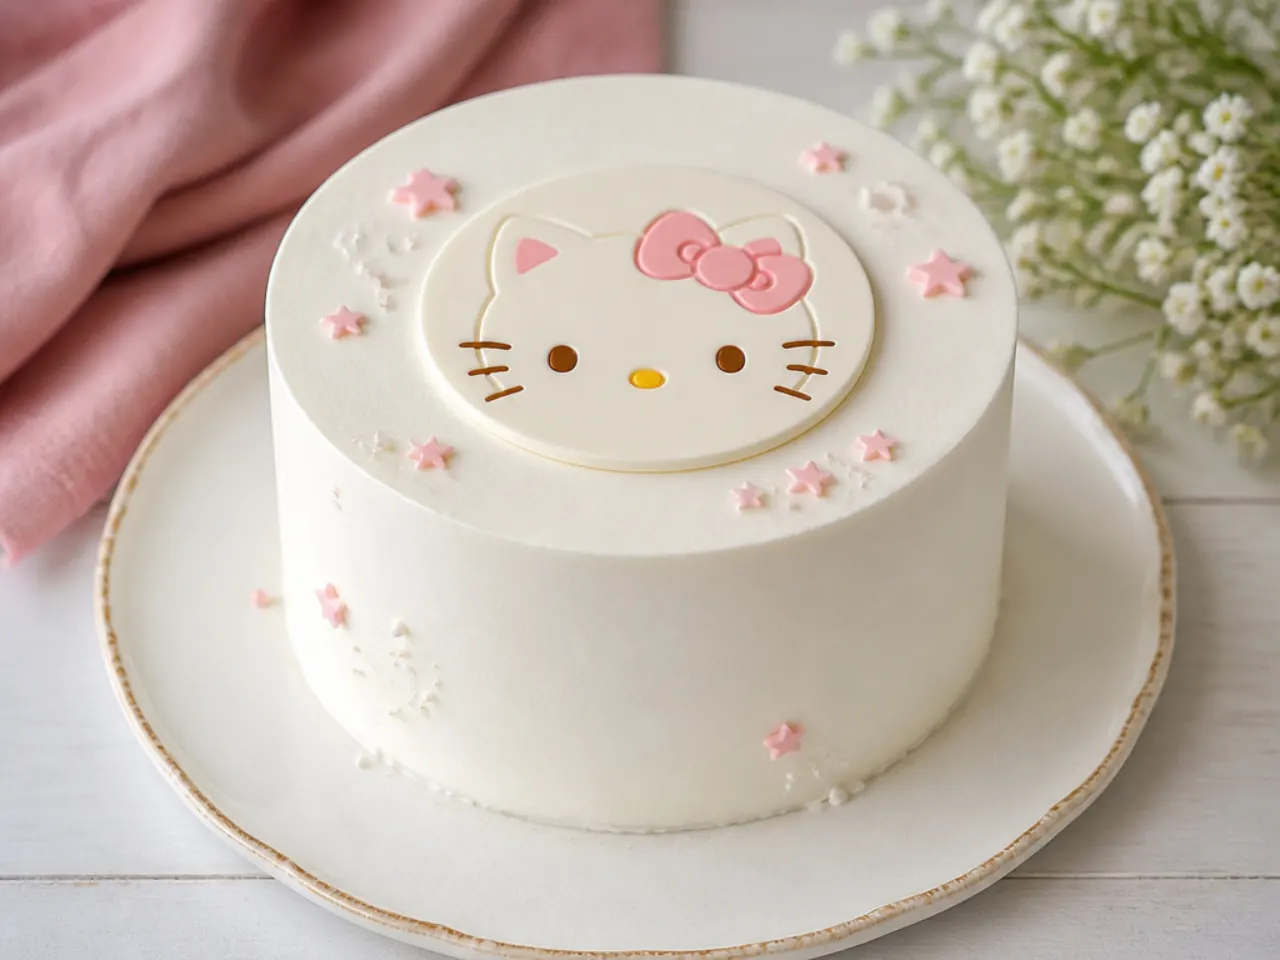
The lowest-effort route is a printed edible topper, ideal when you have no time to sculpt. Order a kitty-inspired design printed on an edible icing or wafer sheet, or print your own with an edible-ink printer, then cut it out with a 7-8 cm round cutter. Brush the back very lightly with piping gel or a smear of buttercream and press it onto a chilled, crusted buttercream surface so it does not wrinkle. Add a slim fondant bow on top for a little dimension if you like. This gives crisp detail with zero sculpting skill and is perfect for last-minute bakes.
9. Festive Christmas Kitty With a Tiny Santa Hat
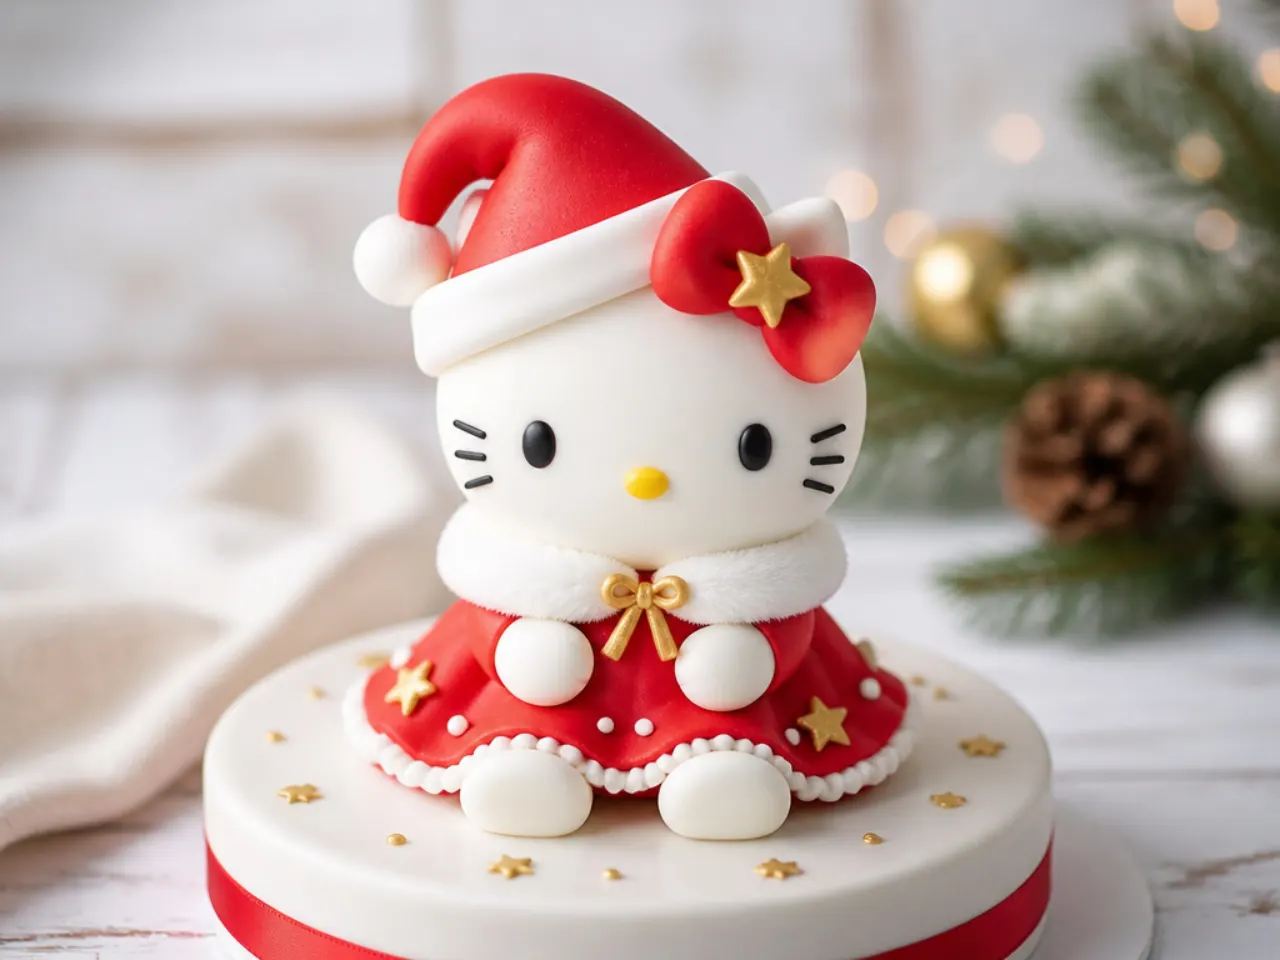
Turn the topper festive by adding a small red-and-white fondant Santa hat tilted over one ear. Make the standard white head, then shape a red fondant cone, curl the tip, and add a white trim band plus a white ball at the point. Swap the usual bow for a sprig of holly cut from green fondant with two red sugar-pearl berries. Dust the ear tips with a touch of white luster to suggest snow. Set this on a cake finished with rustic buttercream 'snow' peaks for an instant holiday centerpiece.
10. Whimsical Fairy Kitty With Wafer-Paper Wings
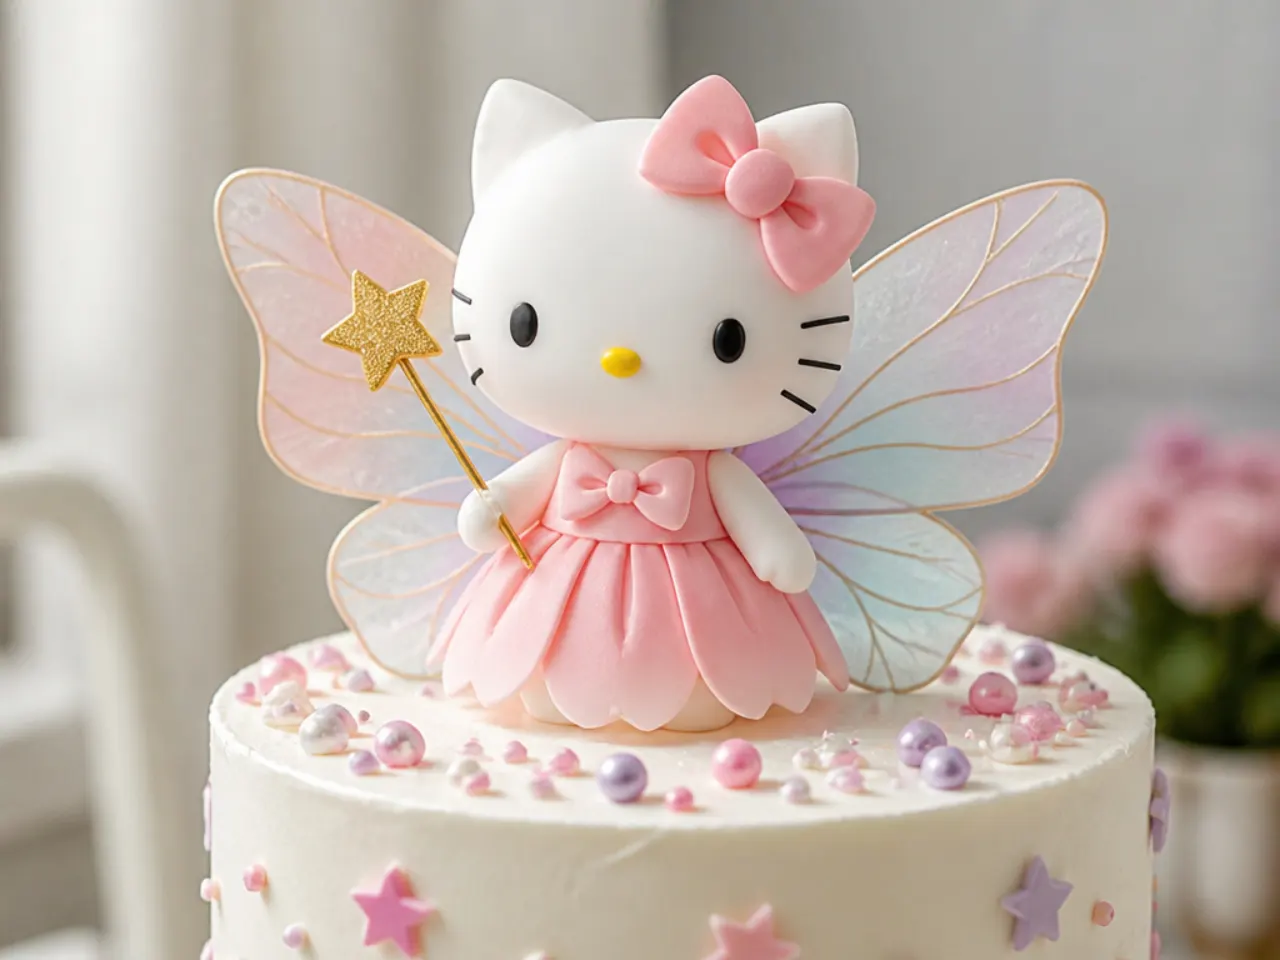
For a whimsical, magical look, give the kitty-inspired head delicate wafer-paper wings and a wand. Cut two teardrop wings from wafer paper, paint them with pastel pink and lilac food-color dusts mixed with a drop of clear alcohol, and let them dry curved over a rolling pin. Attach the wings behind the fondant head with a dot of royal icing so they stand up. Add a tiny fondant star wand and a scatter of edible glitter on the bow. The lightweight wafer wings catch the light and feel airy in a way fondant cannot.
Save this for later 📌
Pin this article to your Pinterest board so the full list is one tap away when you need it.
Save on Pinterest11. Bold Oversized Statement Topper in Hot Pink
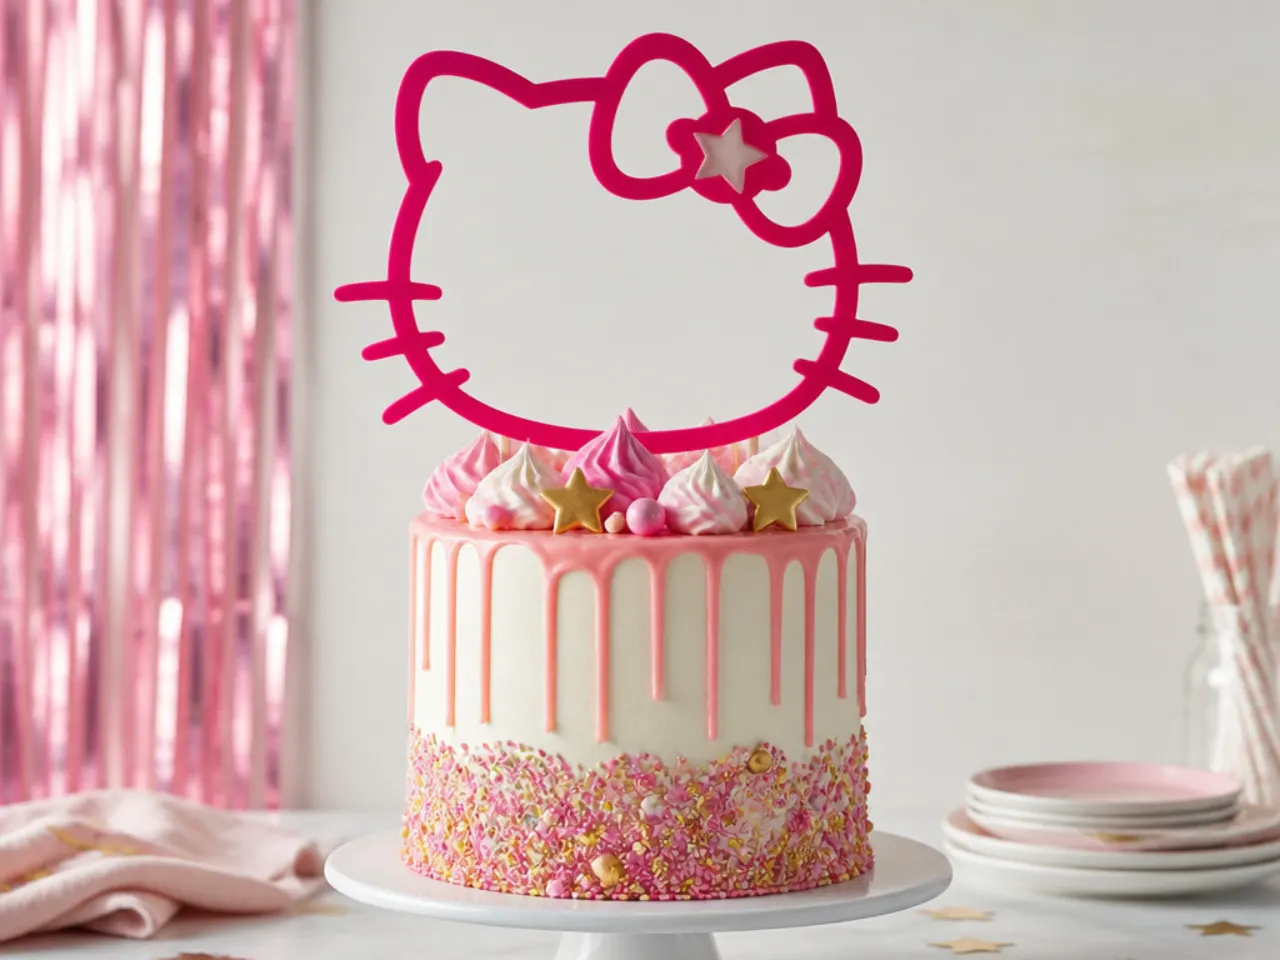
Go big and graphic with an oversized head in a bold hot-pink shade instead of white. Roll pink fondant to 4 mm and cut a large 9-10 cm head so it dominates the top tier as a deliberate statement. Keep the features clean and high-contrast: crisp black eyes and whiskers and a single glossy white or black bow. Firm the large disc on a foam pad for 24 hours, turning once, so it dries flat without slumping. This maximalist topper works best on a tall, simple single-color cake that lets the size shine.
12. Delicate Pastel Kitty With a Floral Crown
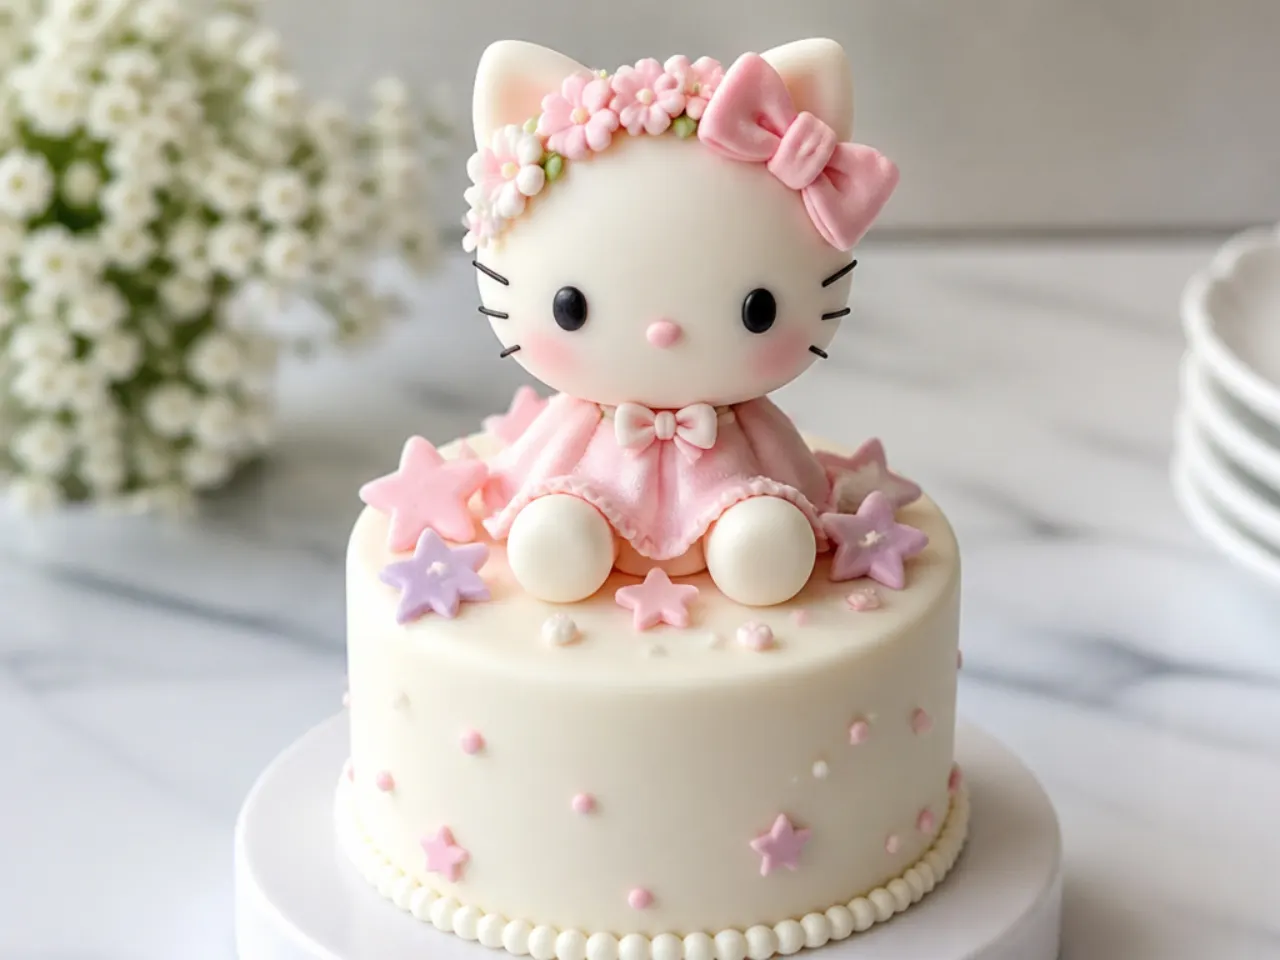
A delicate spring version pairs a pale head with a dainty crown of tiny sugar flowers. Tint the fondant head the faintest blush and give it a soft peach or lavender bow. Cut a row of five-petal blossoms with a small plunger flower cutter, center each with a yellow sugar pearl, and arch them across the top of the head like a crown. Attach every flower with a pinpoint of royal icing so nothing shifts. This soft, feminine topper is lovely for a christening, a first birthday or an afternoon-tea cake.
13. Vintage Polka-Dot Bow Topper With Muted Tones
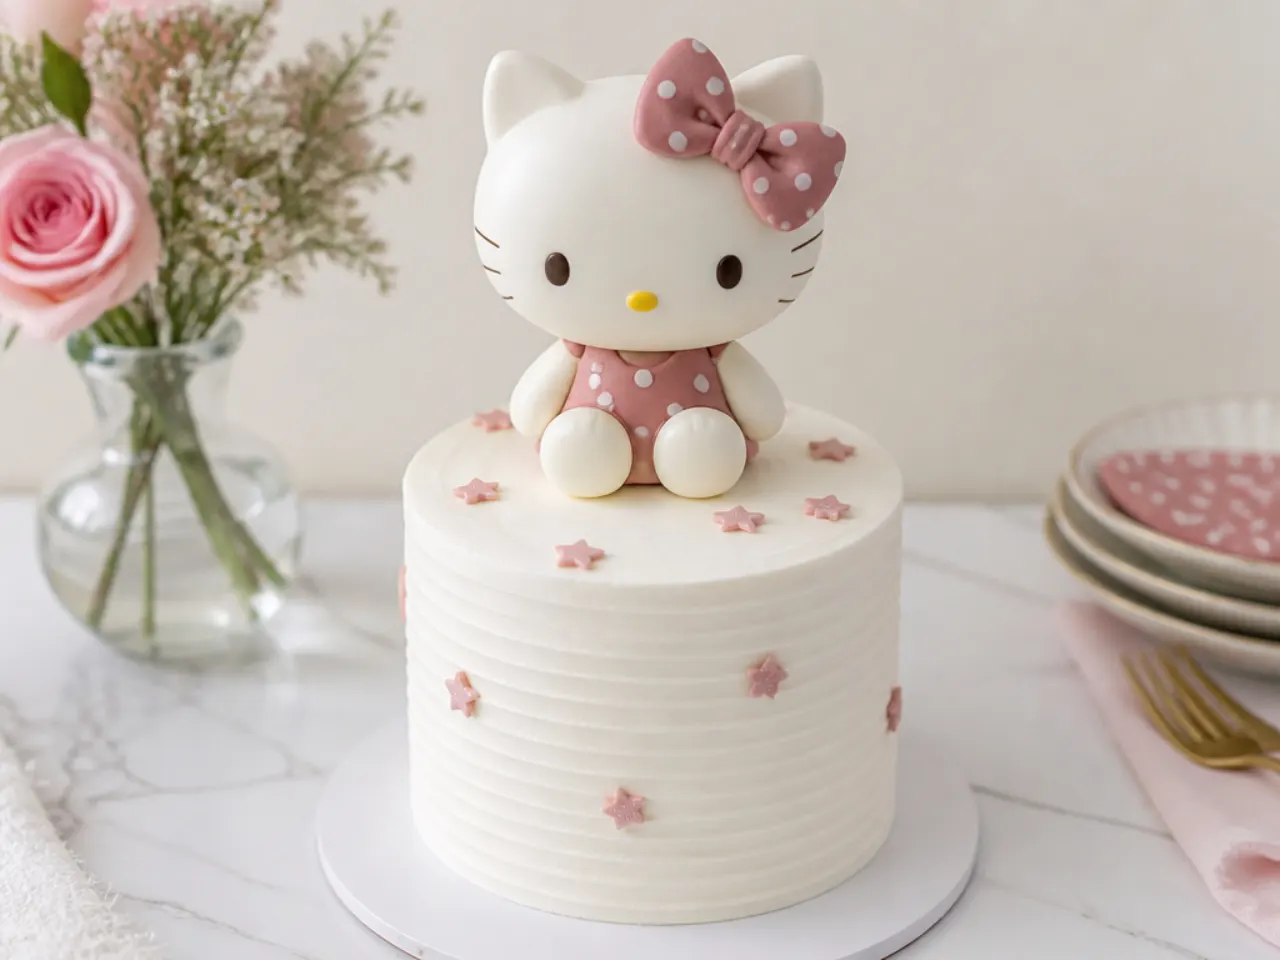
Channel a retro, vintage vibe with a dusty-rose bow covered in cream polka dots. Cut the bow from muted dusty-pink fondant, then press on tiny cream fondant dots cut with the wide end of a piping tip like a #12. Age the palette by keeping the head off-white and adding a faint dusting of ivory or antique-gold luster along the ear edges. Finish with a scalloped fondant collar under the chin for a 1950s feel. Set it on a cake with piped buttercream scallops or a lambeth border to complete the nostalgic look.
14. Creative Chocolate Silhouette Topper
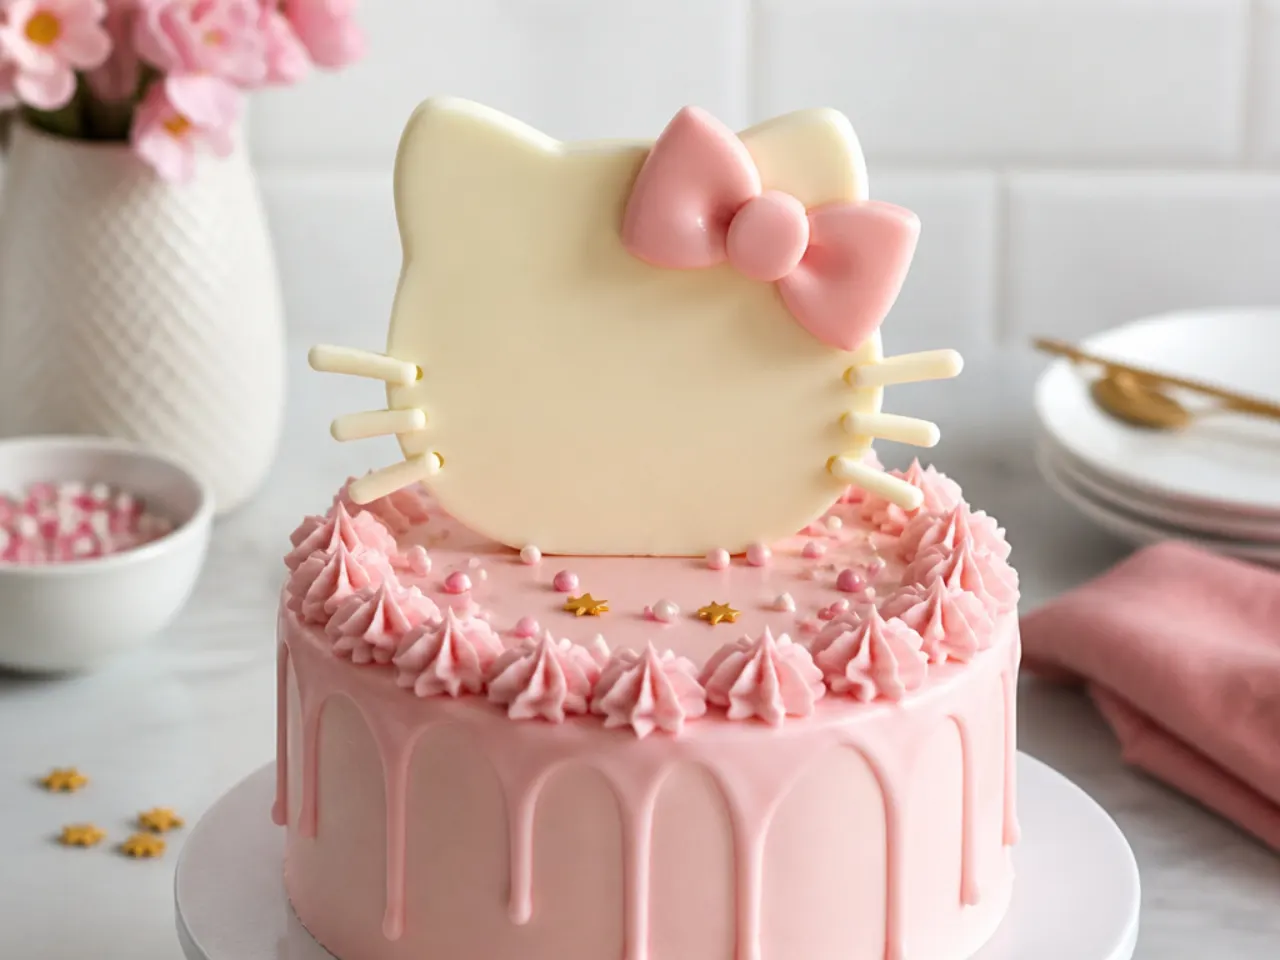
Get creative and skip fondant entirely by casting the kitty-inspired shape in chocolate. Melt and temper white candy melts or couverture, pipe or spread it into a kitty-head silhouette on acetate, and tap out air bubbles. While still soft, press in a bow shaped from pink candy melts and let it set at cool room temperature for 20-30 minutes. Peel it off the acetate for a glossy, snap-clean topper you can stand upright in the cake with a chocolate 'foot.' This is a fun option for chocolate lovers and holds up better than fondant in a warm room if kept cool.
15. Charming Mini-Kitty Cupcake Topper Set
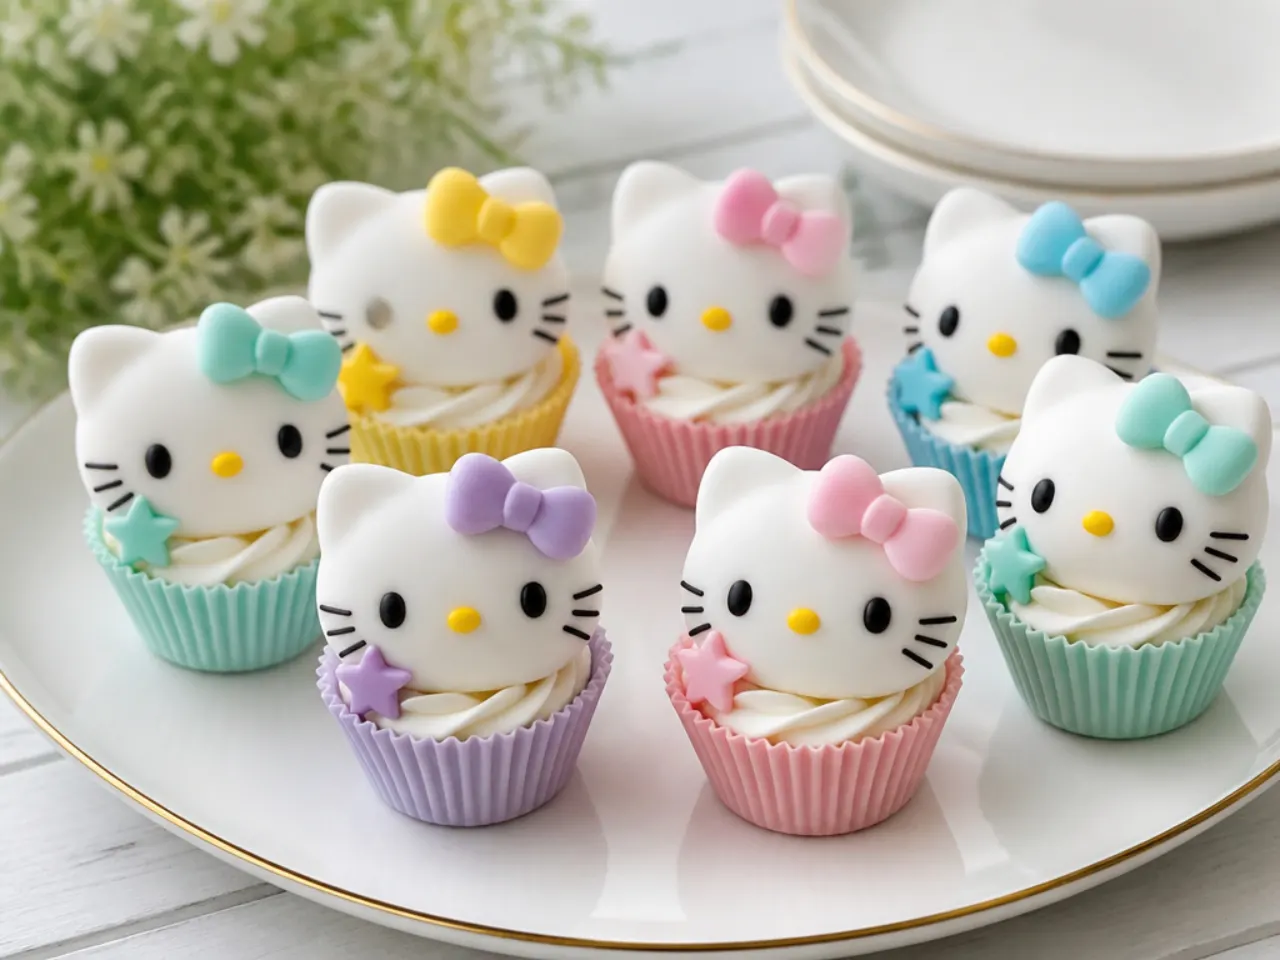
Charming mini toppers let every guest get their own kitty, perfect for a cupcake tower beside the main cake. Cut small 3-4 cm white fondant heads with a round cutter and pinch the ears, then mark faces with a fine black edible pen so the tiny features stay neat. Give each a different pastel bow, one pink, one blue, one mint, so the set looks coordinated but not identical. Dry them overnight on a cornstarch-dusted tray and press onto freshly frosted cupcakes. Scaling the same technique down keeps the whole dessert table cohesive.
Save this for later 📌
Pin this article to your Pinterest board so the full list is one tap away when you need it.
Save on Pinterest16. Classic Two-Tone Bow-Focused Topper
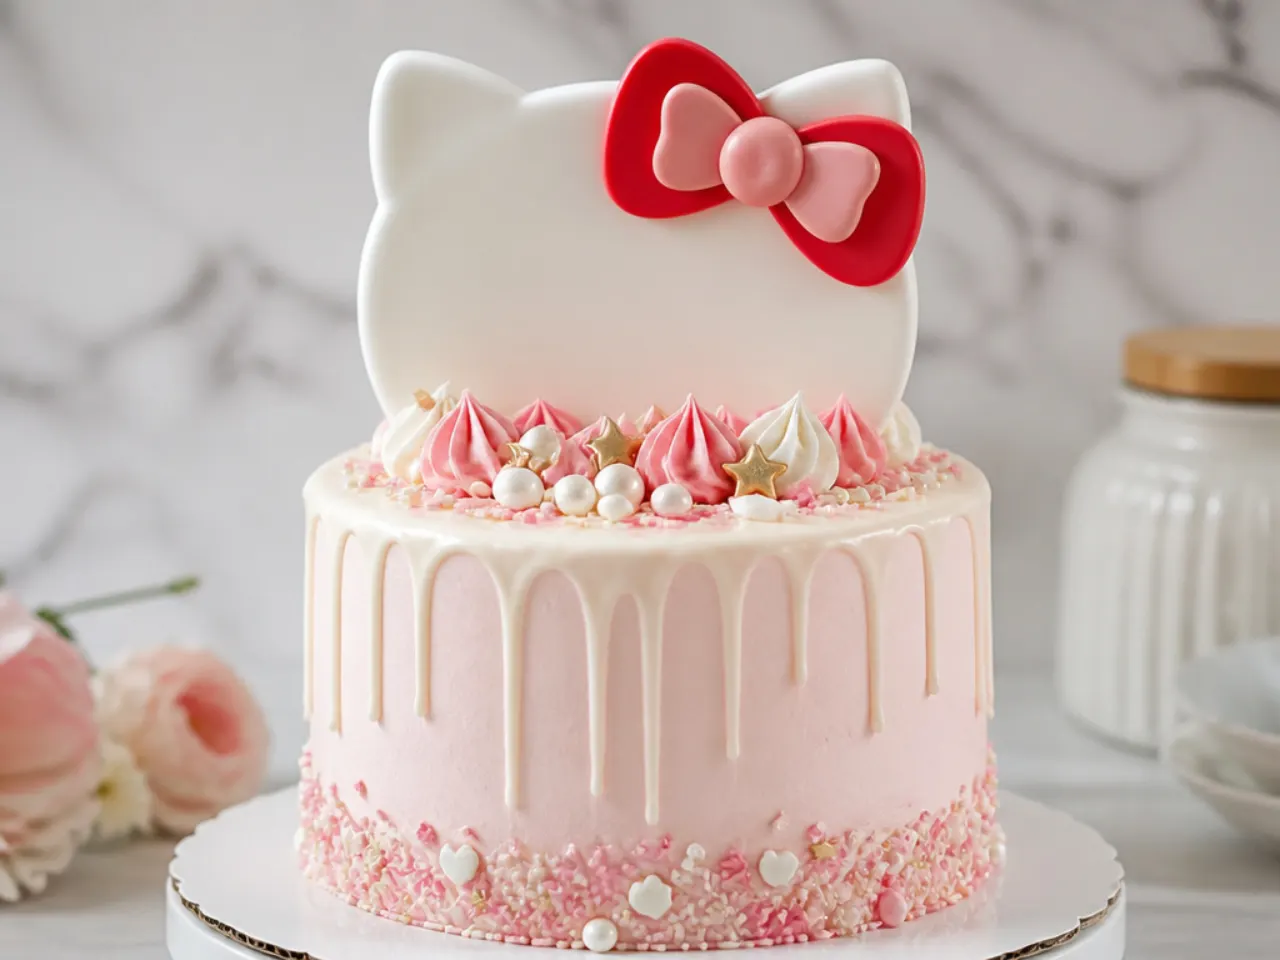
This classic variation puts the spotlight on the signature bow by layering two shades of red. Cut a base bow in deep red fondant and a slightly smaller bow in bright cherry-red on top, offsetting them so both colors show. Add a small yellow fondant oval nose and keep the eyes as simple black ovals for the timeless look. Emboss faint stitch lines around the bow edge with a quilting tool for a tailored finish. Mounted on a clean white head, it is the most recognizable, evergreen version and never looks dated.
17. Easy Marshmallow-and-Candy No-Fondant Topper
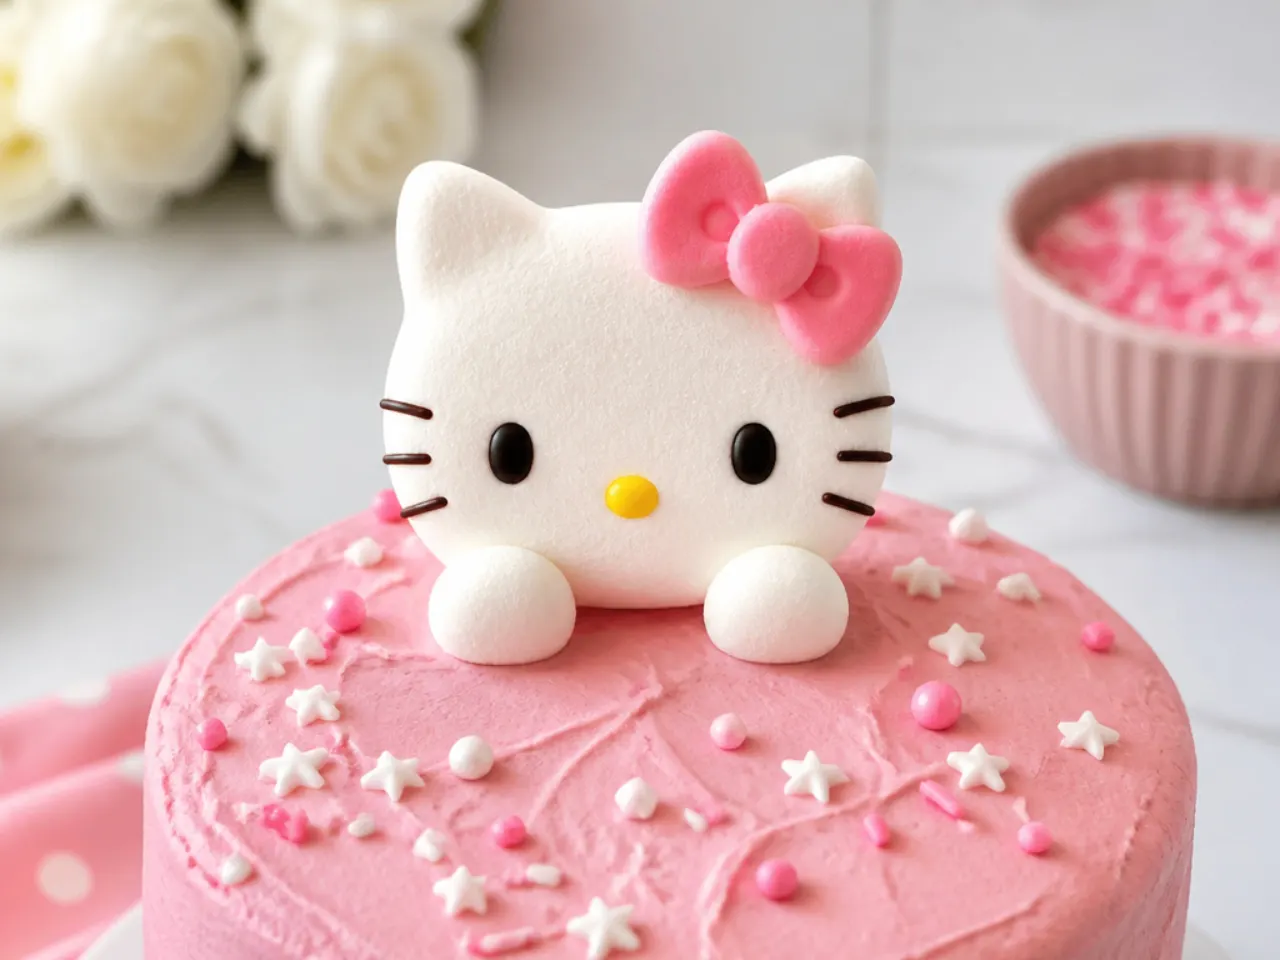
For an easy, kid-friendly topper you can make with pantry candy, use a large marshmallow as the head. Flatten a jumbo marshmallow slightly, snip two small marshmallow pieces for ears and stick them on with a dab of frosting. Add mini chocolate chips for eyes, a piece of yellow candy for the nose and thin licorice laces for whiskers. Press a small pink fruit-chew bow, softened in your hands and shaped, to one side. It is not sculpted-fondant tidy, but children love making these and it takes five minutes with no drying time.
18. Elegant Gold-Leaf Accent Topper
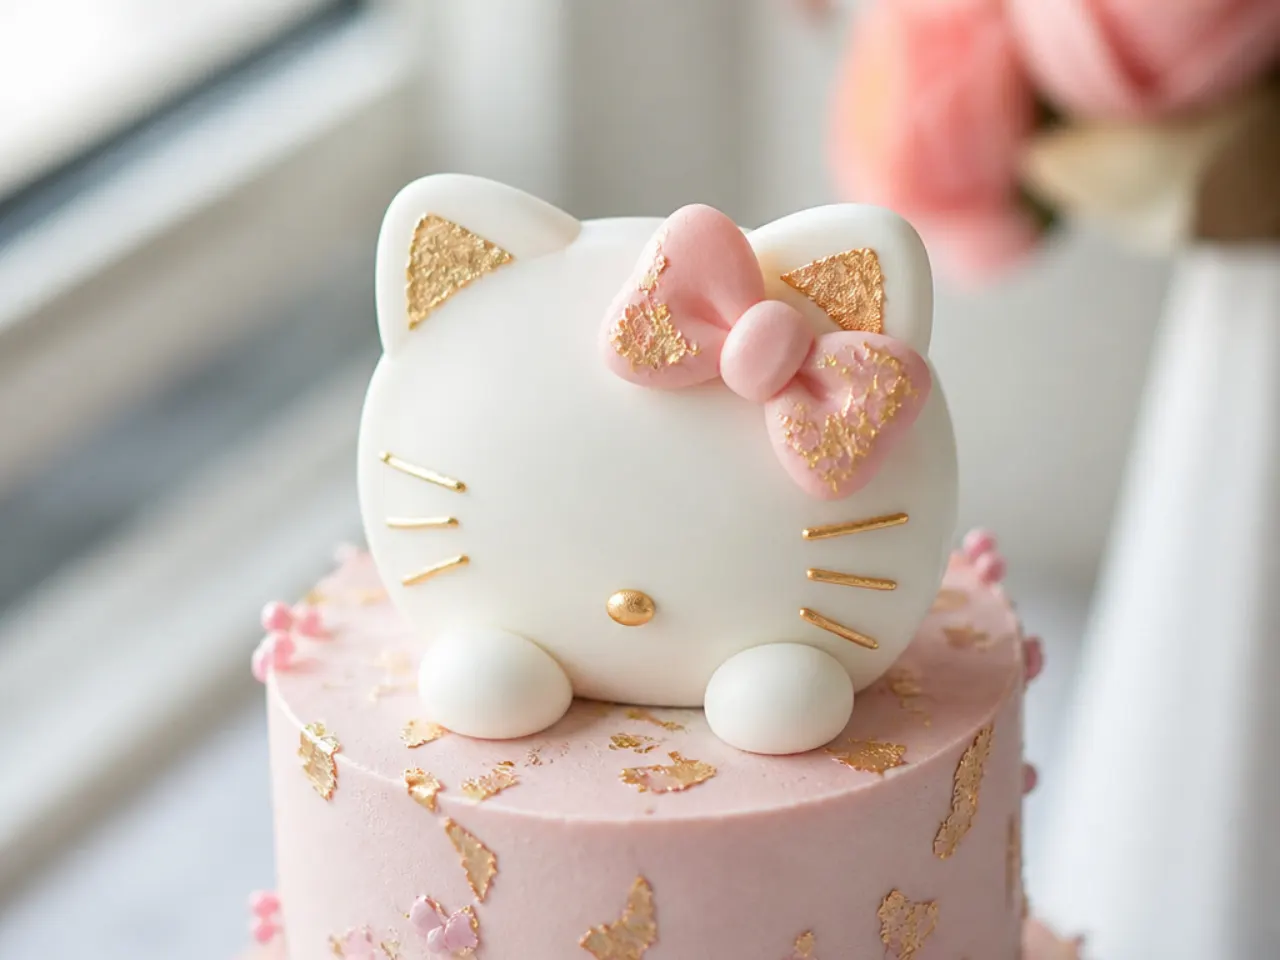
Add quiet luxury with edible gold leaf on an otherwise simple white head. Make a smooth white fondant head with clean features, then apply small torn flakes of edible gold leaf to the ear tips and the outer loops of the bow using a dry brush. Keep the rest matte so the gold reads as an accent, not a coating. Pair it with a bow in deep burgundy or black for contrast. This understated topper suits an elegant adult celebration and looks striking against a white or marble-effect fondant cake.
19. Playful Sports-Themed Kitty With a Team Bow
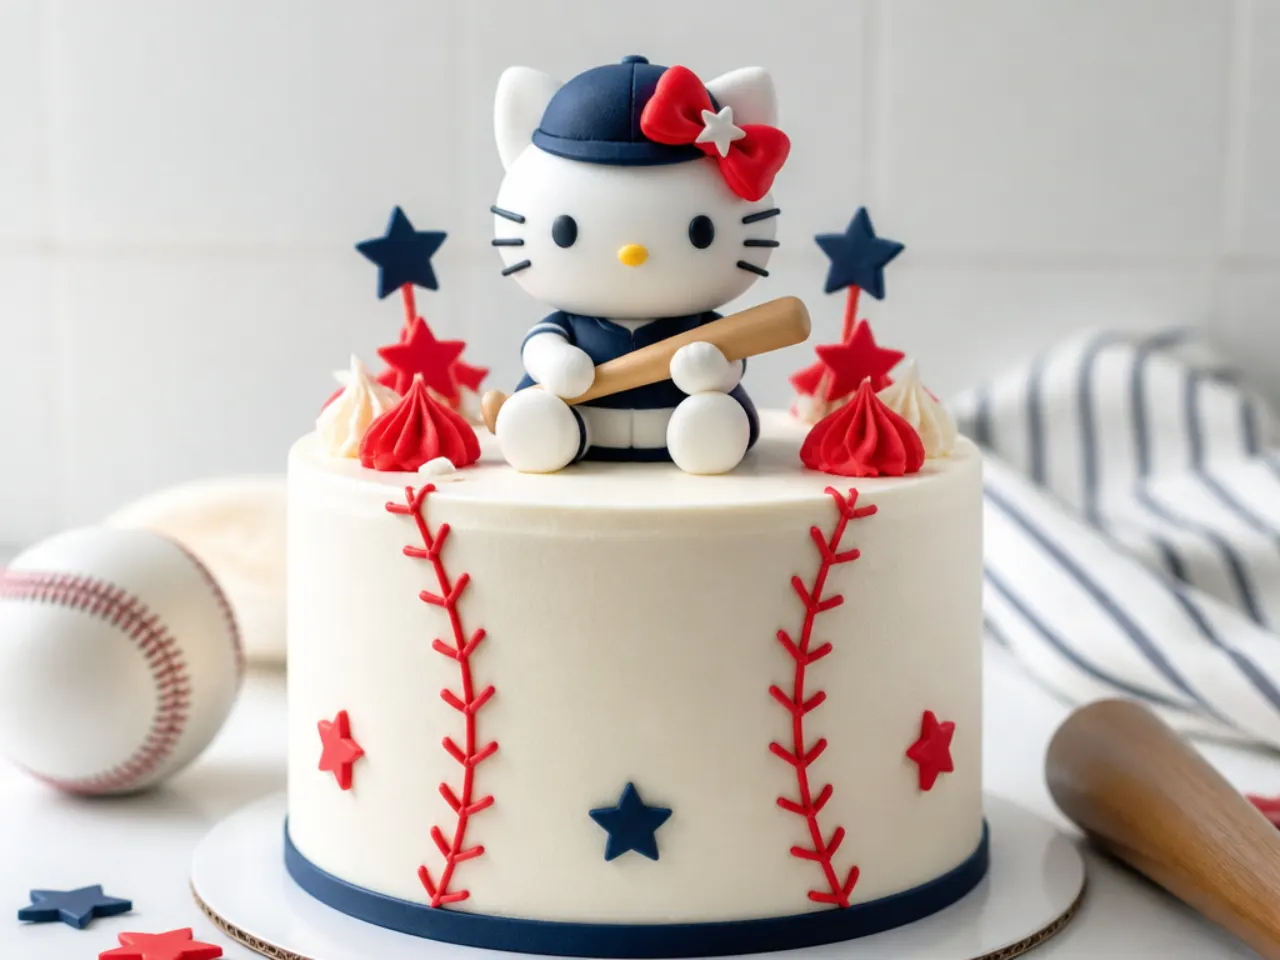
Make the topper playful and personal by dressing the kitty in a favorite team's colors. Swap the bow for one cut in two team shades and pipe a tiny team-inspired stripe or number on it with a fine edible pen. Add a small fondant sweatband across the forehead in the same palette. Keep the face classic so it stays clearly kitty-inspired rather than a licensed logo. This is a great way to personalize a shared birthday cake for a sports-loving kid without needing any special molds.
20. Modern Geometric Terrazzo Topper
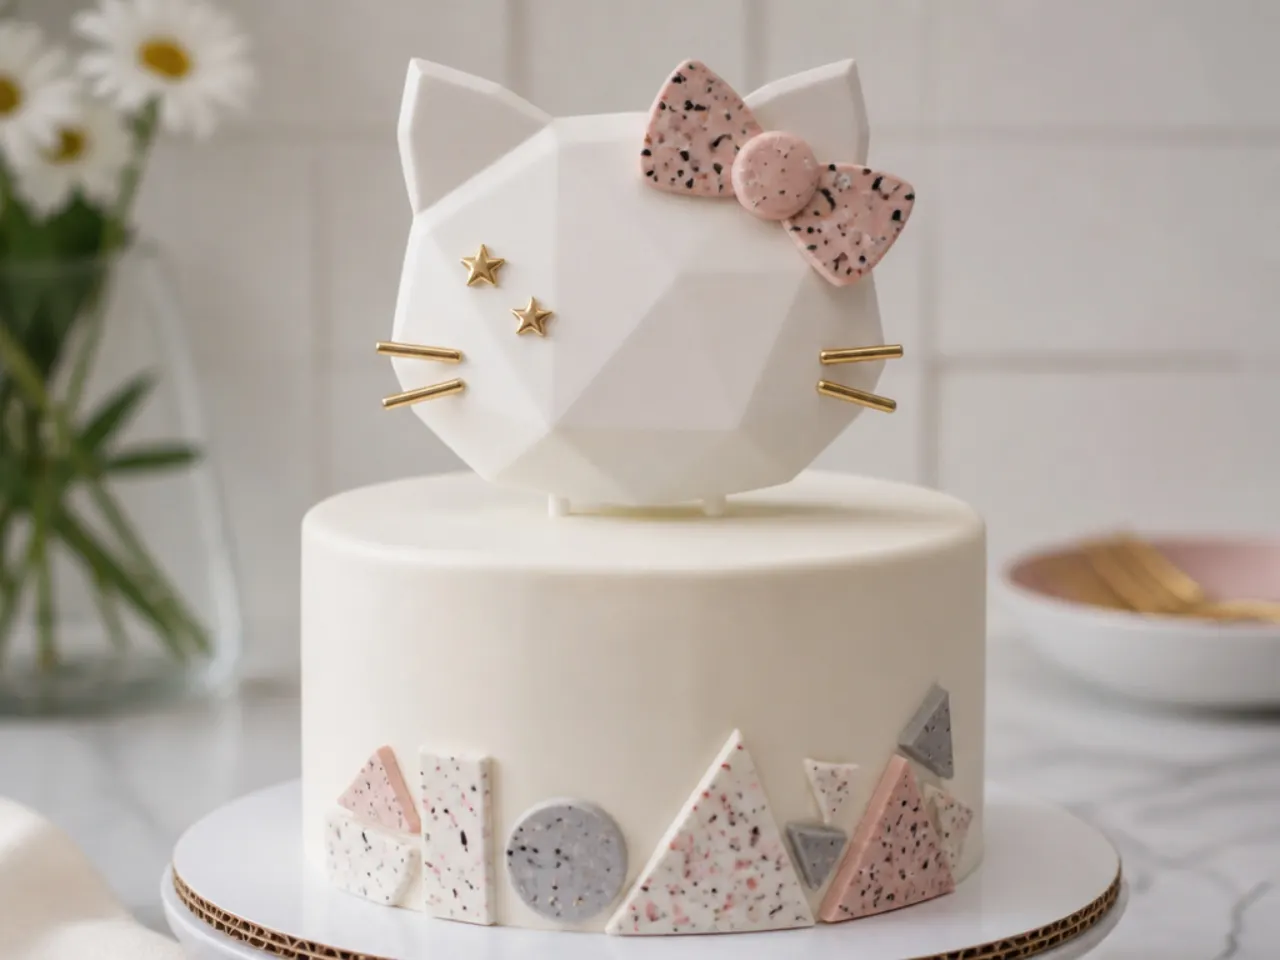
End with a trend-forward, modern topper that sets a plain kitty silhouette against a terrazzo-speckled bow. Cut the head from smooth white fondant, then make the bow from white fondant studded with tiny irregular chips of pink, black and gold fondant pressed in and rolled flat for a terrazzo effect. Keep the face minimal, just two small dot eyes, so the patterned bow is the focus. Seal the terrazzo bow with a light brush of piping gel for a glossy, tile-like finish. This contemporary look fits a stylish adult party or a design-led celebration.
Tips to Make These Ideas Easier
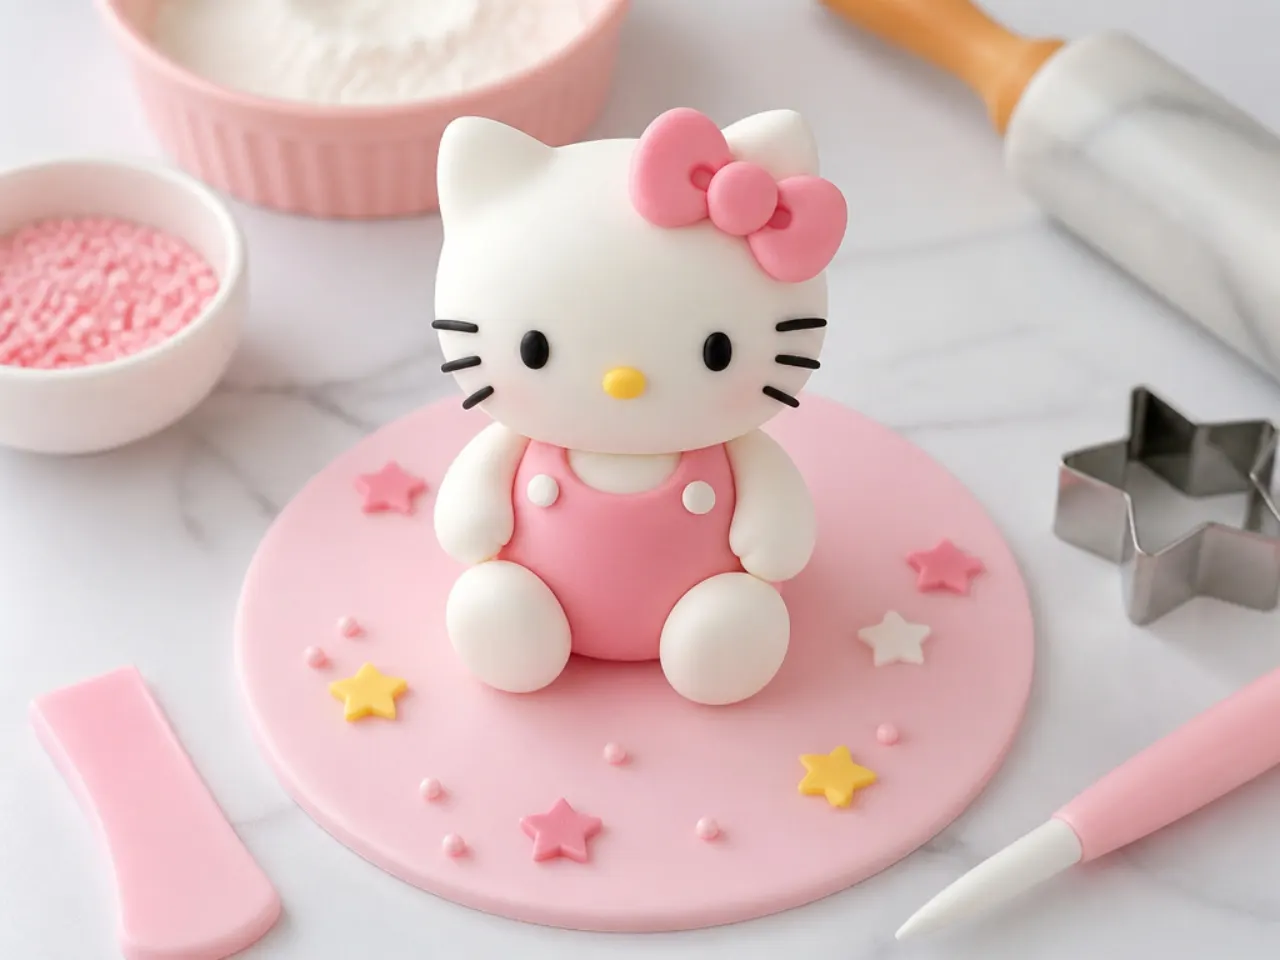
Chill your frosted cake in the fridge for 15-20 minutes before adding any topper so the surface crusts and the decoration does not sink or slide. Always dry fondant and gum-paste toppers flat on parchment for at least 24 hours (2 days for anything large or 3D) so they hold their shape when stood upright. Knead a little Tylo powder or CMC into standard fondant when you need a piece to set rock-hard, like ears or a 3D head. Keep a small brush and a bowl of water on hand for 'gluing' pieces, but use it sparingly because too much water dissolves fondant. Finally, work on cornstarch, not icing sugar, for white pieces, since icing sugar can make bright white fondant look patchy.
Common Mistakes to Avoid
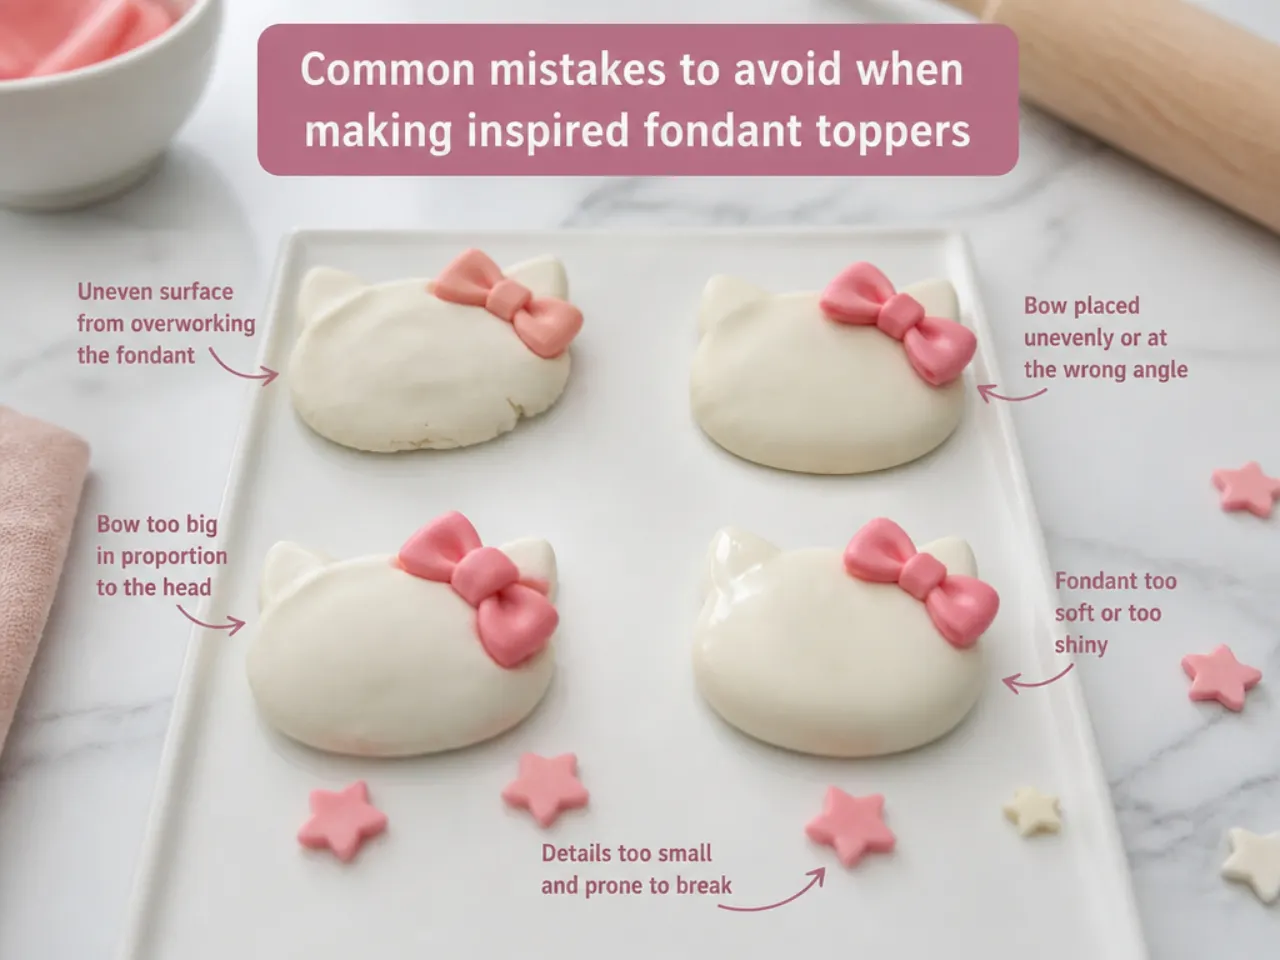
The biggest mistake is attaching a topper before it has dried, which leaves it soft enough to slump or crack, so always build in drying time. Rolling fondant too thin (under 3 mm) makes toppers fragile and prone to tearing, while too thick looks clumsy, so aim for 3-4 mm. Do not refrigerate finished fondant toppers, as condensation makes them sweat and colors bleed; store them in a parchment-lined box at cool room temperature instead. Avoid overloading the face with heavy black marker before the fondant has crusted, or the ink smears. And never place a heavy 3D figure on soft buttercream without an internal skewer or a firm fondant plaque underneath, or it will tip over in transit.
The Recipe
The Base Recipe — Make Any of These Ideas
40 min
30 min
1 hr 10 min
12
Beginner
Ingredients 12 Person(s)
Directions
Step 1: Prep the tins and oven
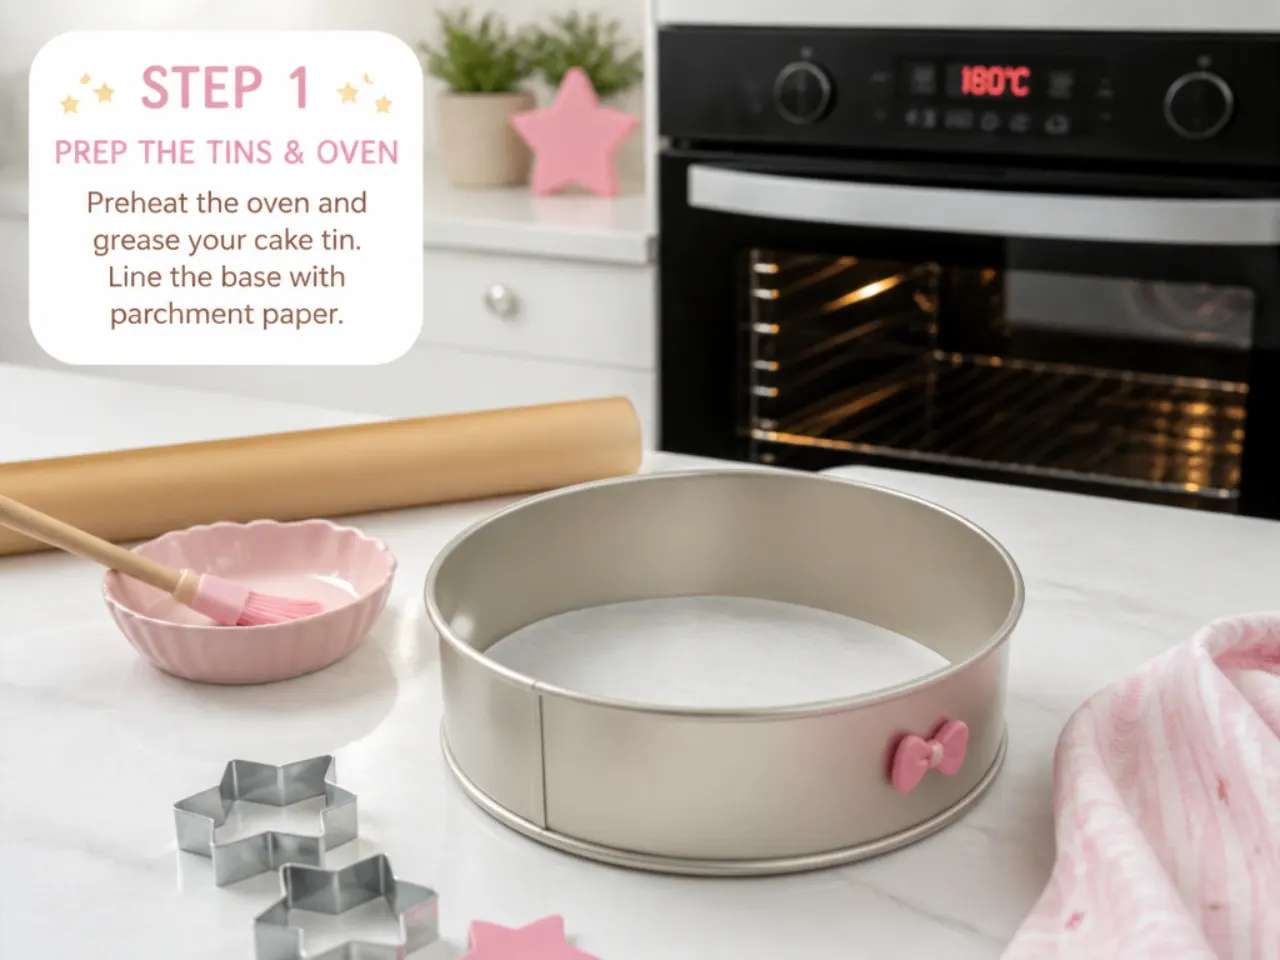
Heat the oven to 180C/160C fan/350F/Gas 4. Grease two 20 cm (8 inch) round sandwich tins and line the bases with baking parchment. Getting the oven fully preheated matters so the sponge rises evenly and does not sink in the middle.
Step 2: Cream the butter and sugar
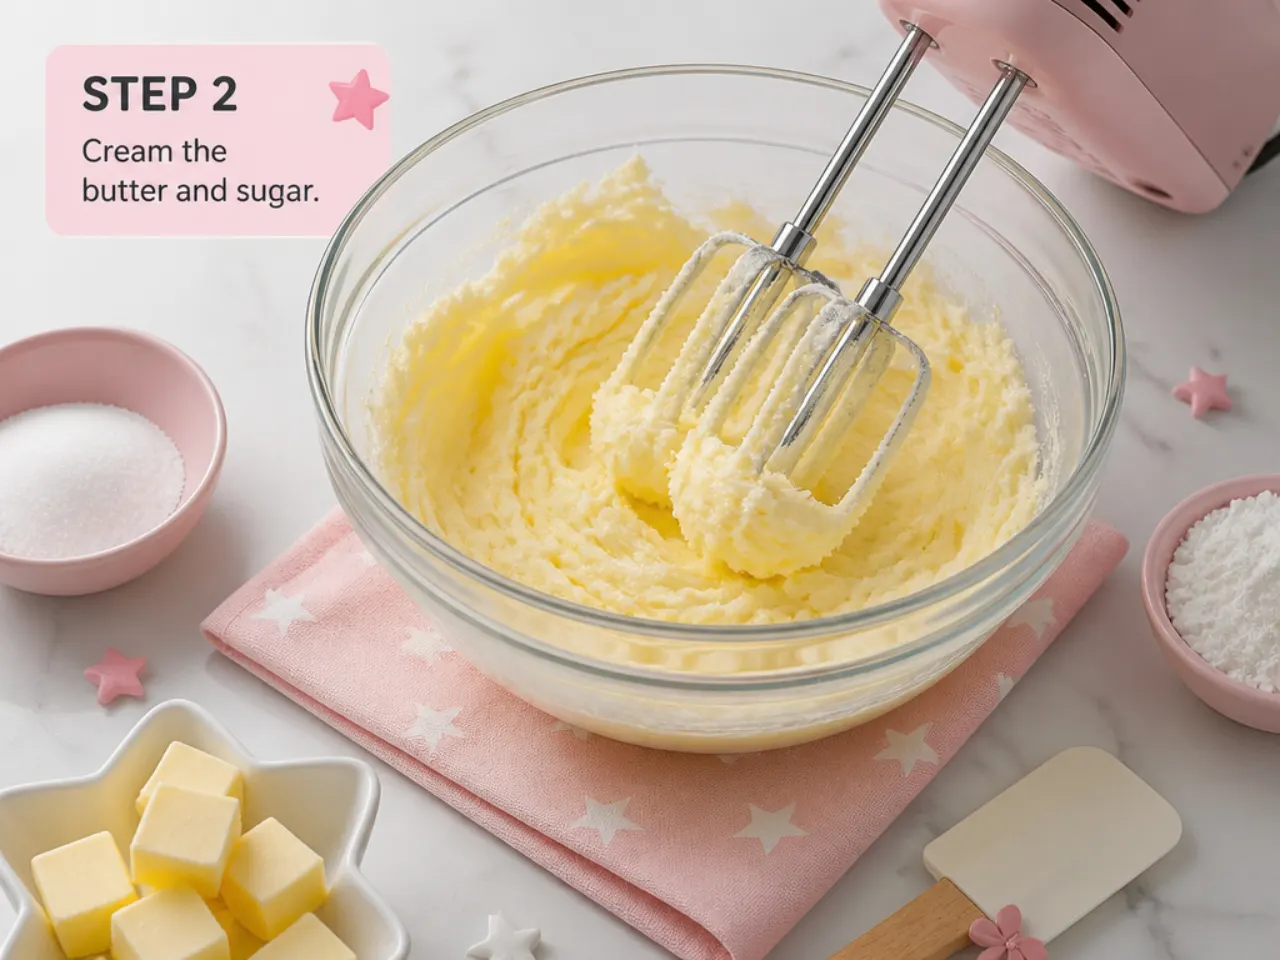
Beat the 225 g softened butter and 225 g caster sugar with an electric mixer for 3-5 minutes until pale and fluffy. This step whips air into the batter, which gives the cake its light crumb, so do not rush it. Scrape down the bowl once or twice.
Step 3: Add the eggs and vanilla
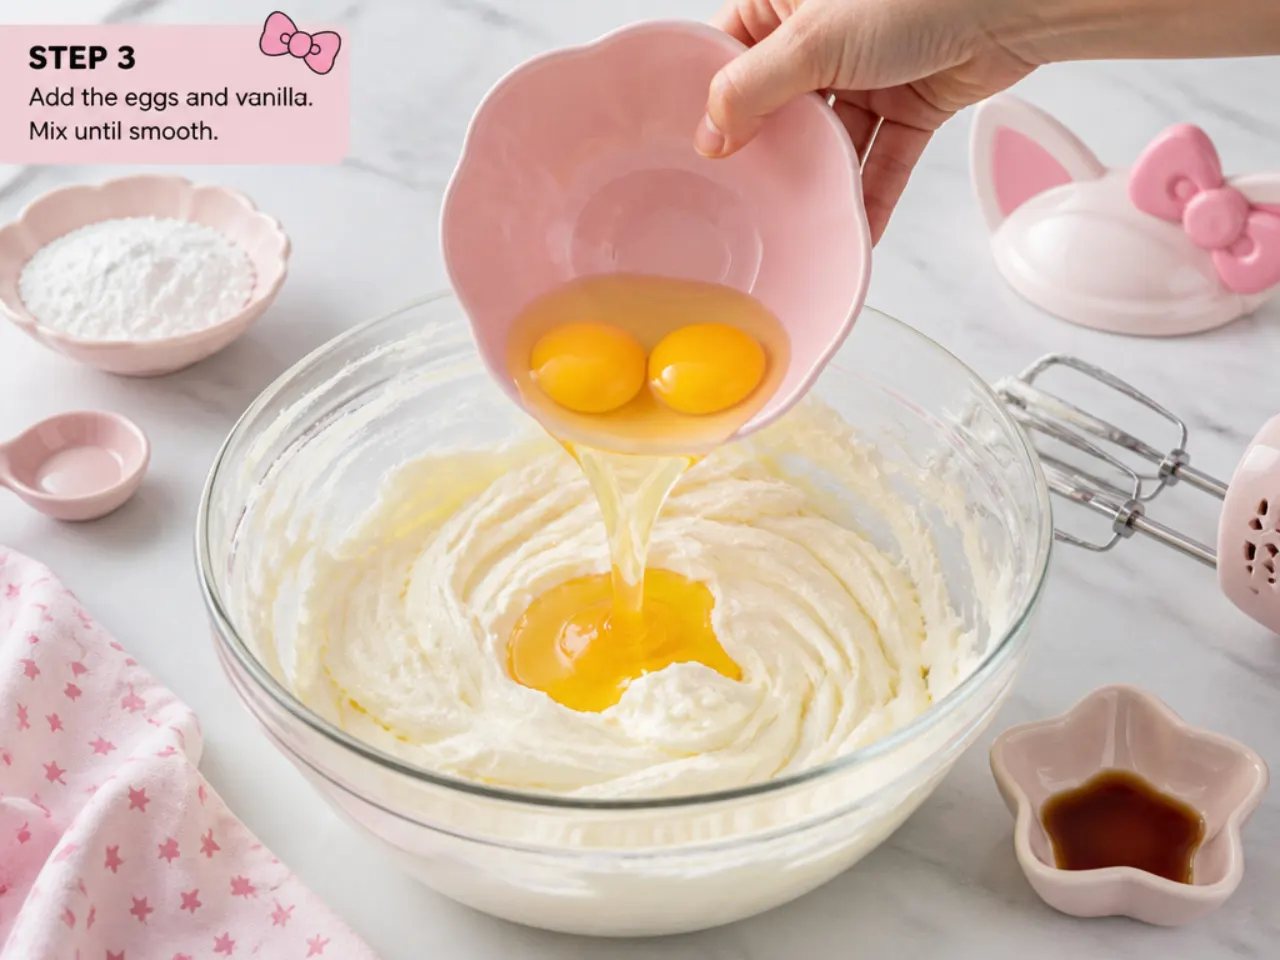
Beat in the 4 eggs one at a time, mixing fully after each and adding a spoonful of the flour with the last egg to stop the batter curdling. Beat in the 1 tsp vanilla. The mixture should look smooth and glossy, not split.
Step 4: Fold in the flour and milk
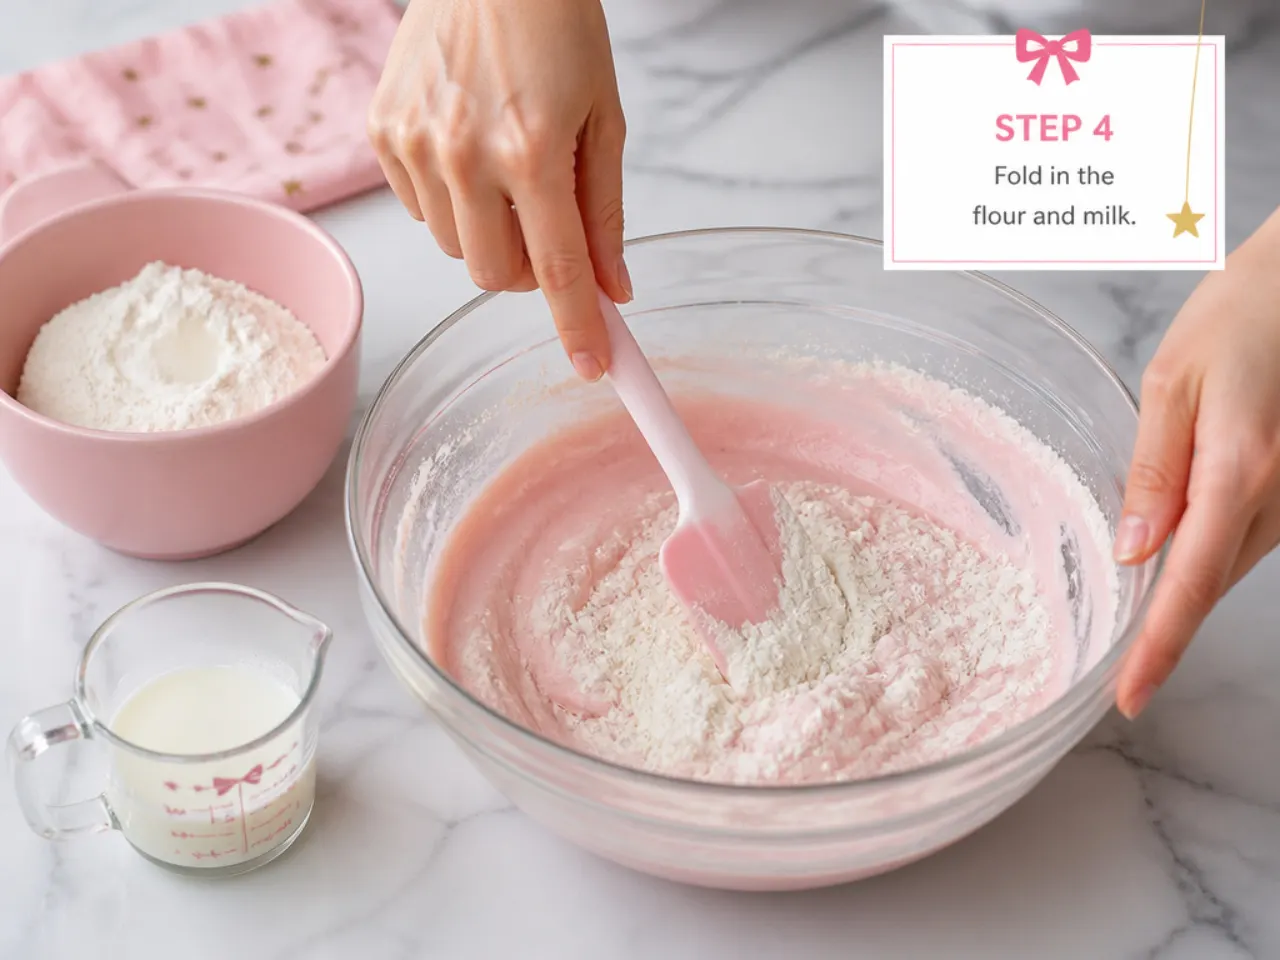
Sift in the 225 g self-raising flour and 1 tsp baking powder and fold gently with a spatula until just combined, then loosen with the 2 tbsp milk to a soft dropping consistency. Stop mixing as soon as the flour disappears; overmixing develops gluten and makes the sponge tough. For a pink cake, fold in a little pink gel color now.
Step 5: Bake the sponges
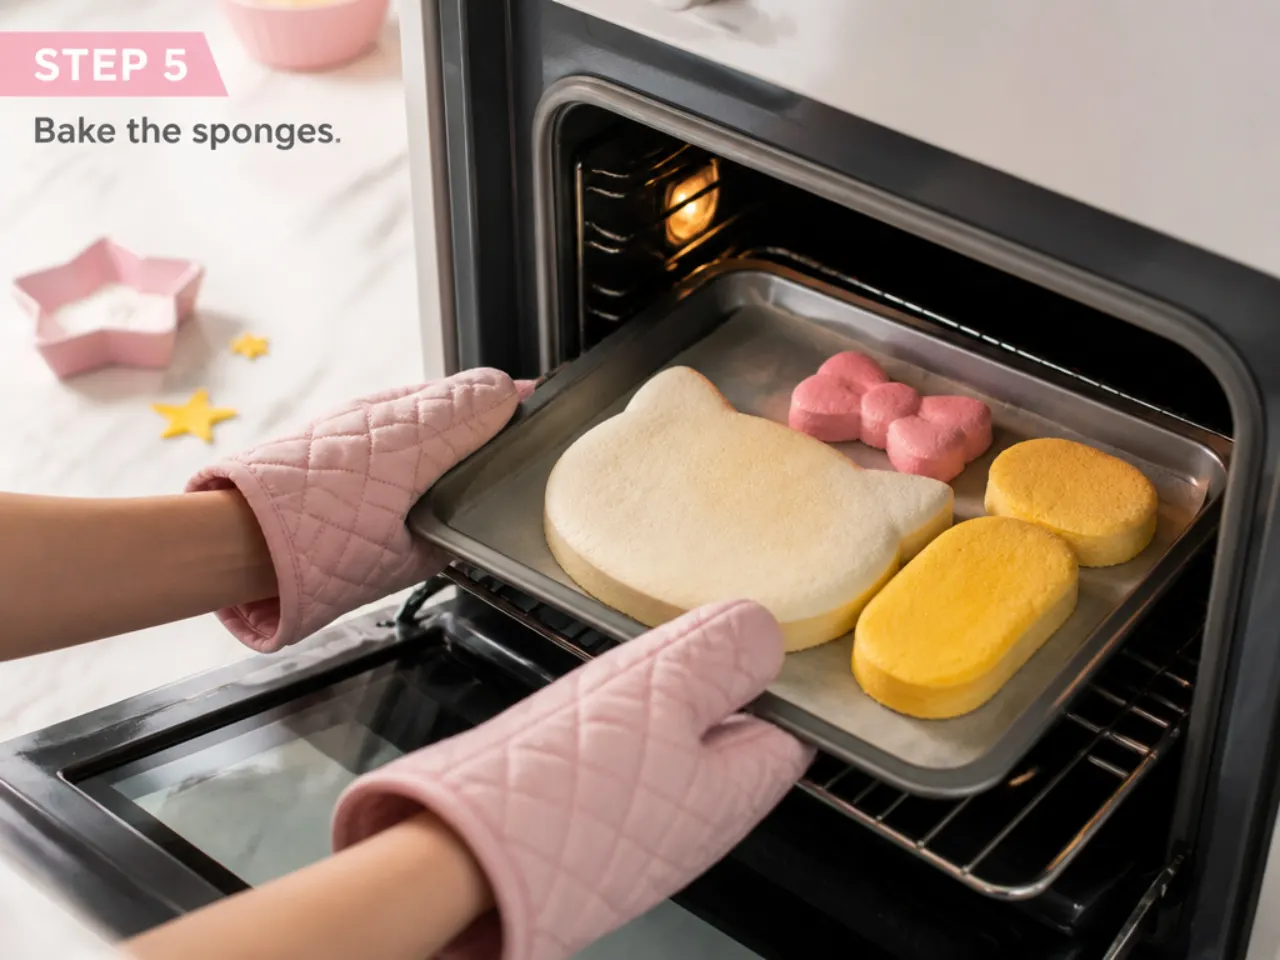
Divide the batter evenly between the two tins and level the tops. Bake for 25-30 minutes until golden and springy, and a skewer inserted in the center comes out clean. Do not open the oven before 25 minutes or the sponges may sink.
Step 6: Cool, then make the buttercream
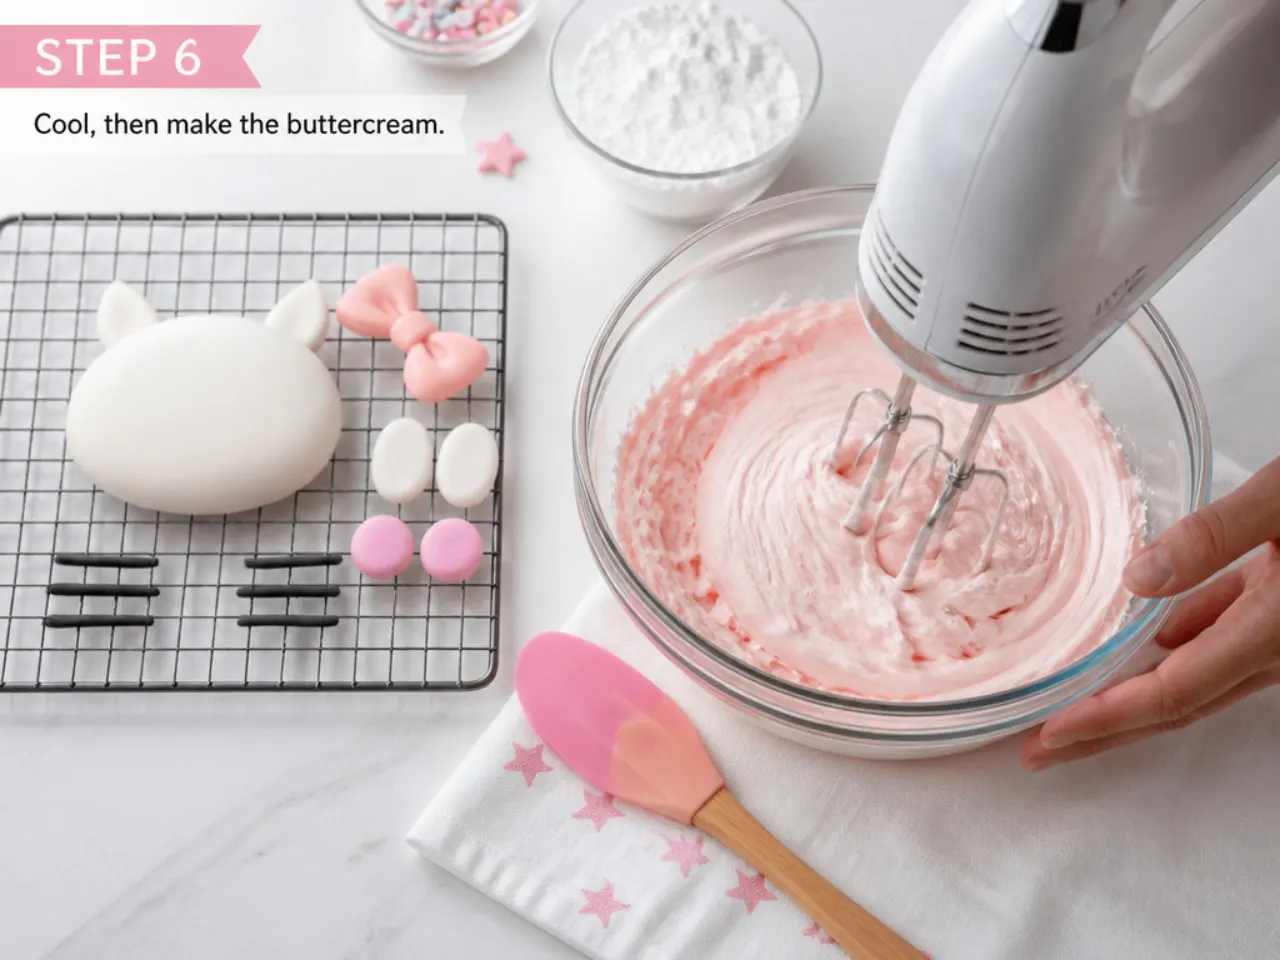
Cool the sponges in the tins for 5 minutes, then turn out onto a wire rack to cool completely. For the buttercream, beat the 250 g butter until pale, then add the 500 g sifted icing sugar in two batches, followed by the 1 tsp vanilla and 2 tbsp milk, beating 3-4 minutes until light and spreadable. Never frost a warm cake or the buttercream will melt and slide.
Step 7: Fill, crumb-coat and top
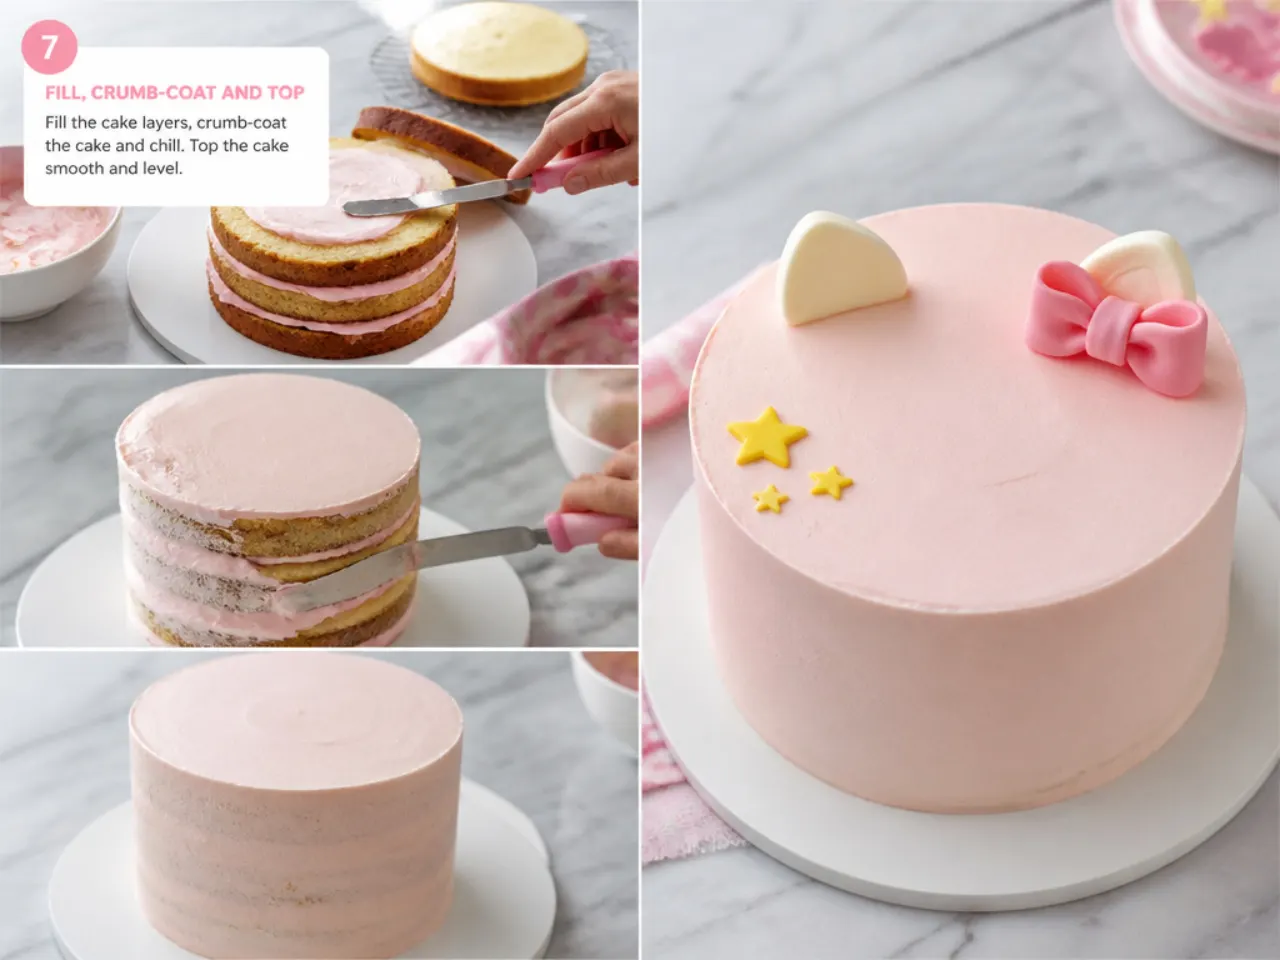
Sandwich the cooled sponges with a layer of buttercream, then spread a thin crumb coat over the top and sides and chill 15-20 minutes. Apply a final smooth layer of buttercream, tint the top pink if you like, and chill again until the surface is set. Once firm, place your chosen Hello Kitty cake topper on the crusted surface so it sits securely without sinking.
Frequently Asked Questions
Fondant and gum-paste toppers can be made up to two weeks ahead if you plan to eat them, or a month or more if they are purely decorative. Let them dry at room temperature for at least 24 hours, then store them in a parchment-lined box away from heat and sunlight. The longer they sit, the harder they get, so two weeks is the sweet spot for a topper that is firm but not rock-solid.
Save this for later 📌
Pin this article to your Pinterest board so the full list is one tap away when you need it.
Save on Pinterest