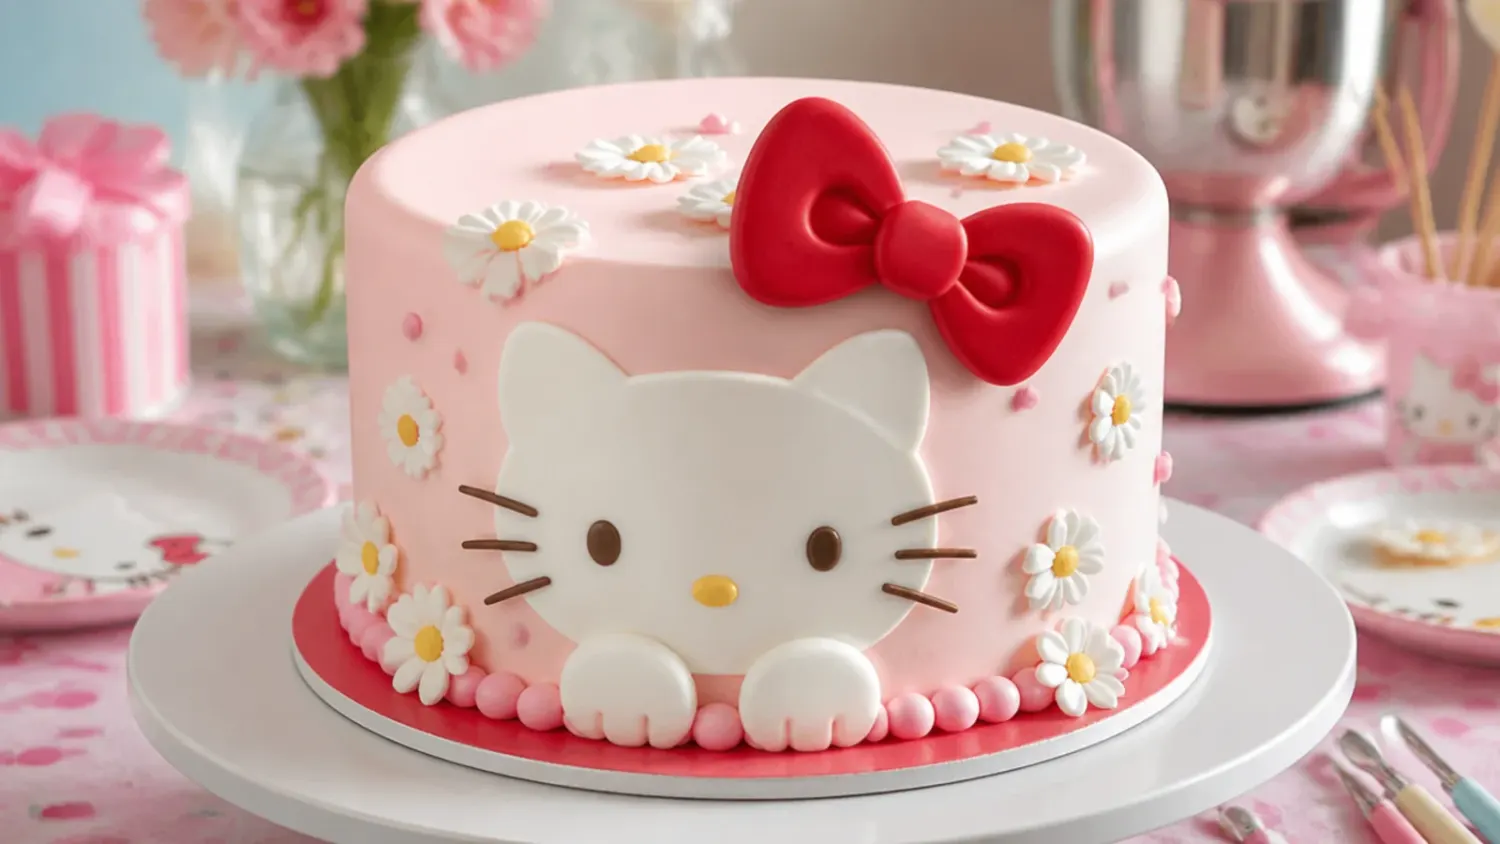
15 Dreamy Pink Hello Kitty Cake Ideas
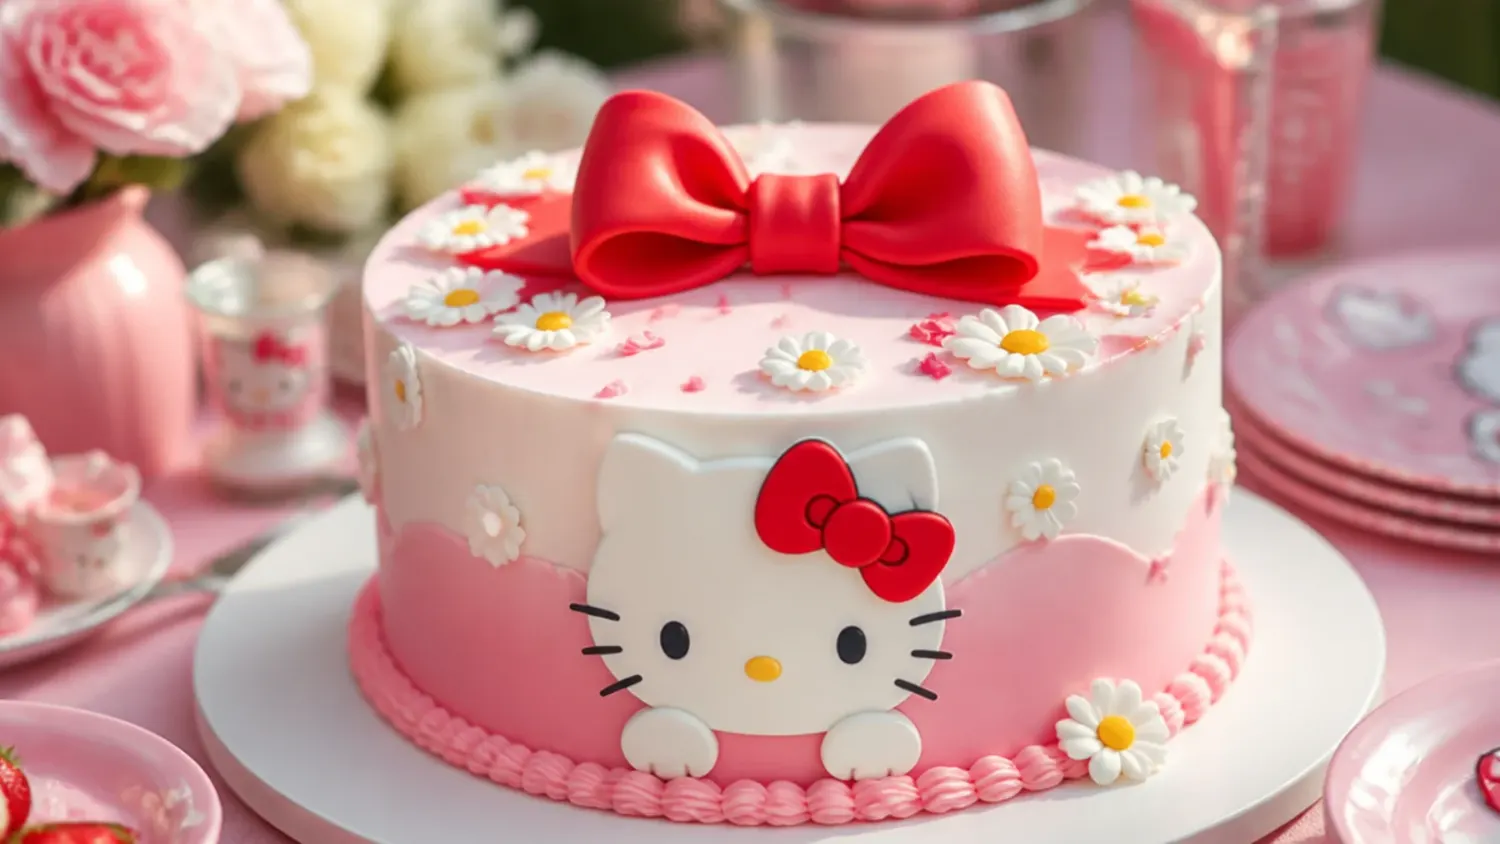
15 dreamy pink Hello Kitty cake ideas plus a foolproof vanilla base recipe, piping tips, and coloring tricks so your kitty-inspired bake turns out perfect. If you love hello kitty cake inspiration, start with our Hello Kitty Cake Ideas collection, then browse the full Cake Ideas hub for more.
Save this for later 📌
Pin this article to your Pinterest board so the full list is one tap away when you need it.
Save on PinterestCake Ideas
Intermediate
Ideas
15 ideas
Table of Contents
- 1. Classic Bow-and-Polka-Dot Layer Cake
- 2. Easy One-Bowl Sheet Cake With a Piped Bow
- 3. Elegant Quilted Buttercream Cake With Edible Pearls
- 4. Playful Pull-Apart Cupcake Cake
- 5. Modern Pink Ombre Drip Cake
- 6. Rustic Semi-Naked Strawberry Cake
- 7. Colorful Pastel Rainbow Layer Cake
- 8. Minimal Single-Bow Blush Cake
- 9. Festive Confetti Celebration Cake
- 10. Whimsical Kitty-Ear Number Cake
- 11. Bold Hot-Pink and Black Contrast Cake
- 12. Delicate Ruffle-Rose Buttercream Cake
- 13. Vintage Lambeth Piped Cake
- 14. Creative Bento Mini Cake for Two
- 15. Charming Heart-Shaped Bow Cake
- Tips to Make These Ideas Easier
- Common Mistakes to Avoid
- The Base Recipe — Make Any of These Ideas
1. Classic Bow-and-Polka-Dot Layer Cake
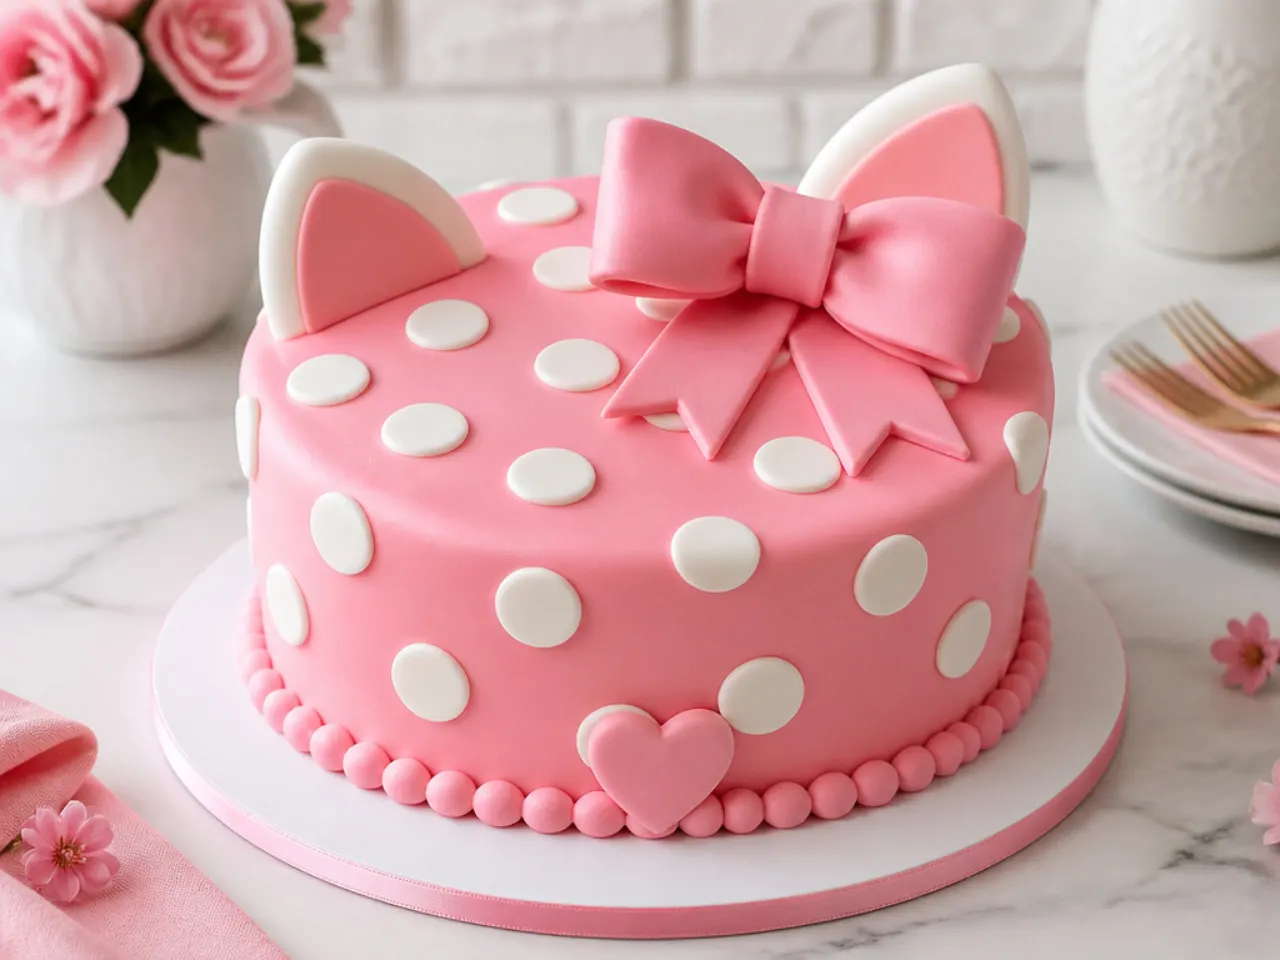
This is the timeless take on a pink Hello Kitty cake: a two-layer 8-inch round finished in smooth pale-pink buttercream with a hot-pink fondant bow on top and scattered white polka dots. It works because the clean pink base reads instantly as kitty-inspired without copying any trademarked face. Crumb-coat the cake, chill 20 minutes, then apply a final coat and smooth with a hot bench scraper dipped in warm water. Roll fondant thin (about 2mm), cut two teardrop loops and a center band for the bow, and press white fondant circles on with a dab of water. Chill the assembled cake 30 minutes so the bow sets firmly before serving.
2. Easy One-Bowl Sheet Cake With a Piped Bow
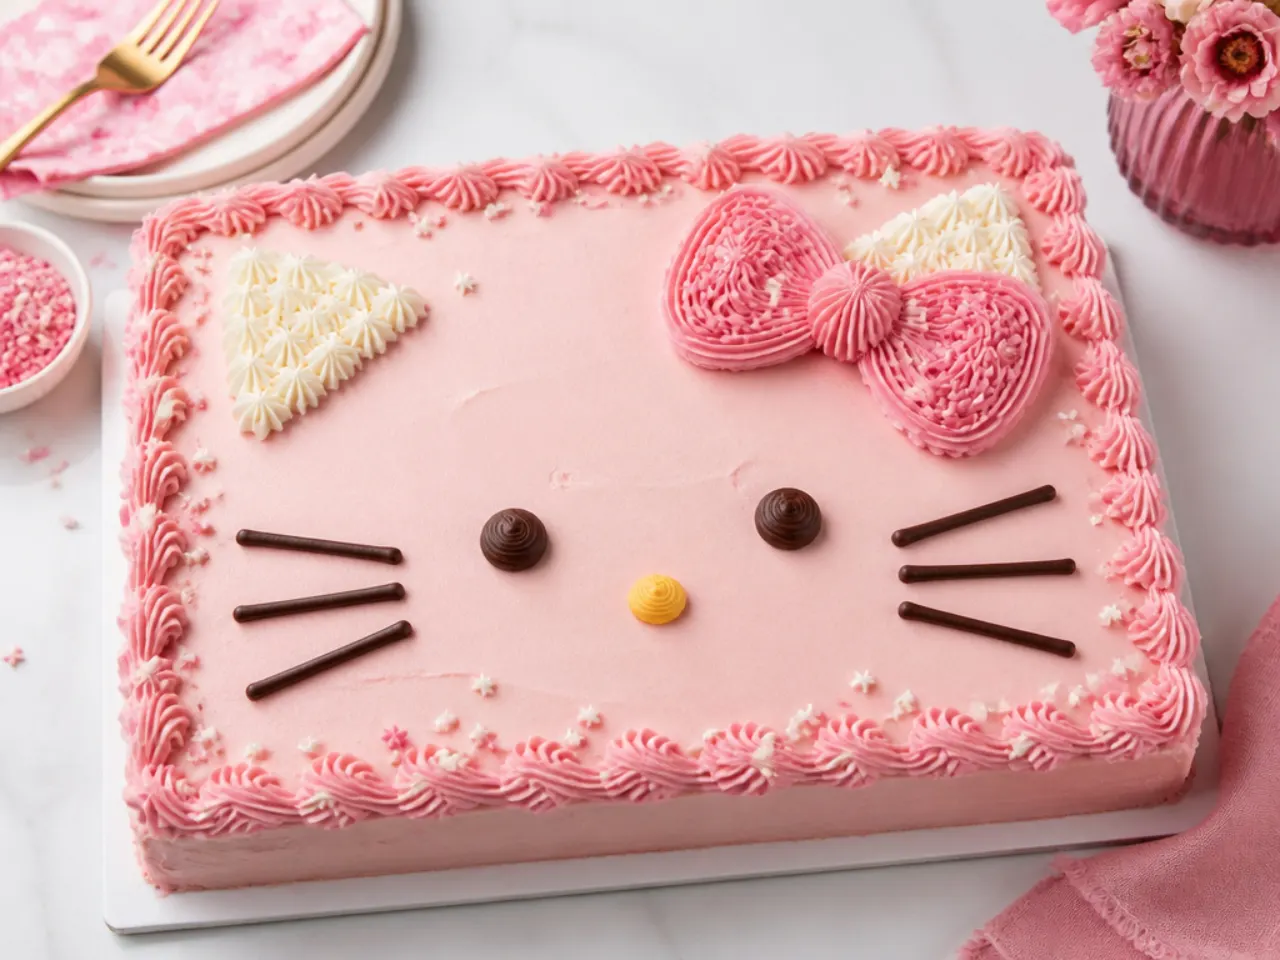
Short on time or new to decorating? Bake the vanilla base in a 9x13-inch pan and decorate flat, so there is no stacking or crumb-coat stress. Spread pale-pink buttercream edge to edge, smooth it with an offset spatula, and pipe a single large bow in hot-pink buttercream using a Wilton 1M star tip. Add a border of small pink shells around the top edge with a Wilton 21 tip to frame it. This design is beginner-friendly because a flat surface hides imperfections and the whole cake decorates in under 20 minutes.
3. Elegant Quilted Buttercream Cake With Edible Pearls
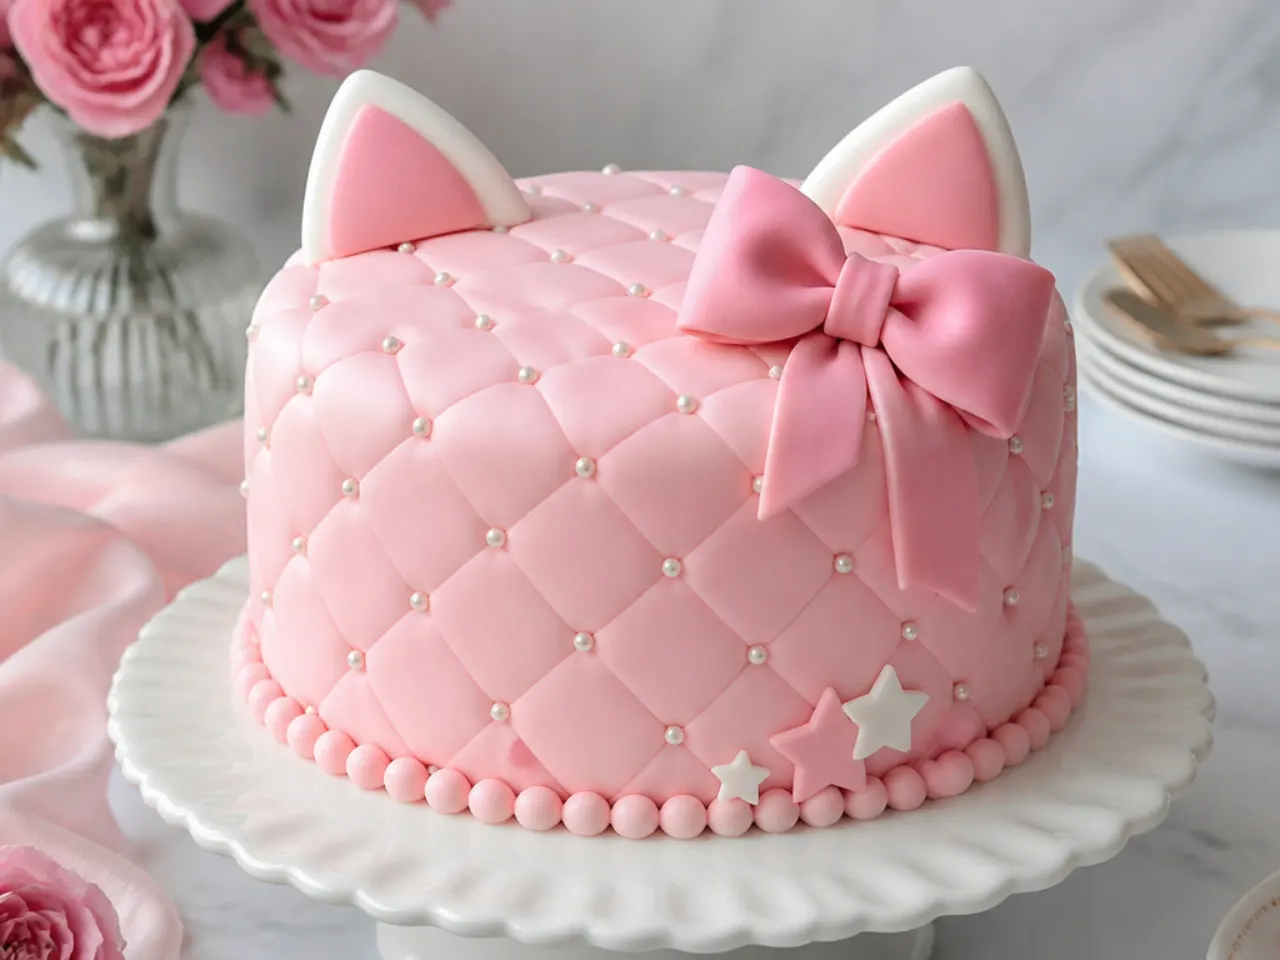
For a refined, grown-up pink Hello Kitty cake, press a quilted diamond pattern into chilled buttercream and place an edible pearl at each intersection. It works because the quilting adds texture and a couture, jewelry-box feel that photographs beautifully. Chill the crumb-coated, fully frosted cake until the buttercream is firm, then run a long ruler across the surface at a diagonal to score even lines, rotating to make diamonds. Set silver or ivory sugar pearls at the crossings and finish with a slim hot-pink fondant bow at the top edge. Keep the palette to two pinks and white so the texture, not color, is the star.
4. Playful Pull-Apart Cupcake Cake
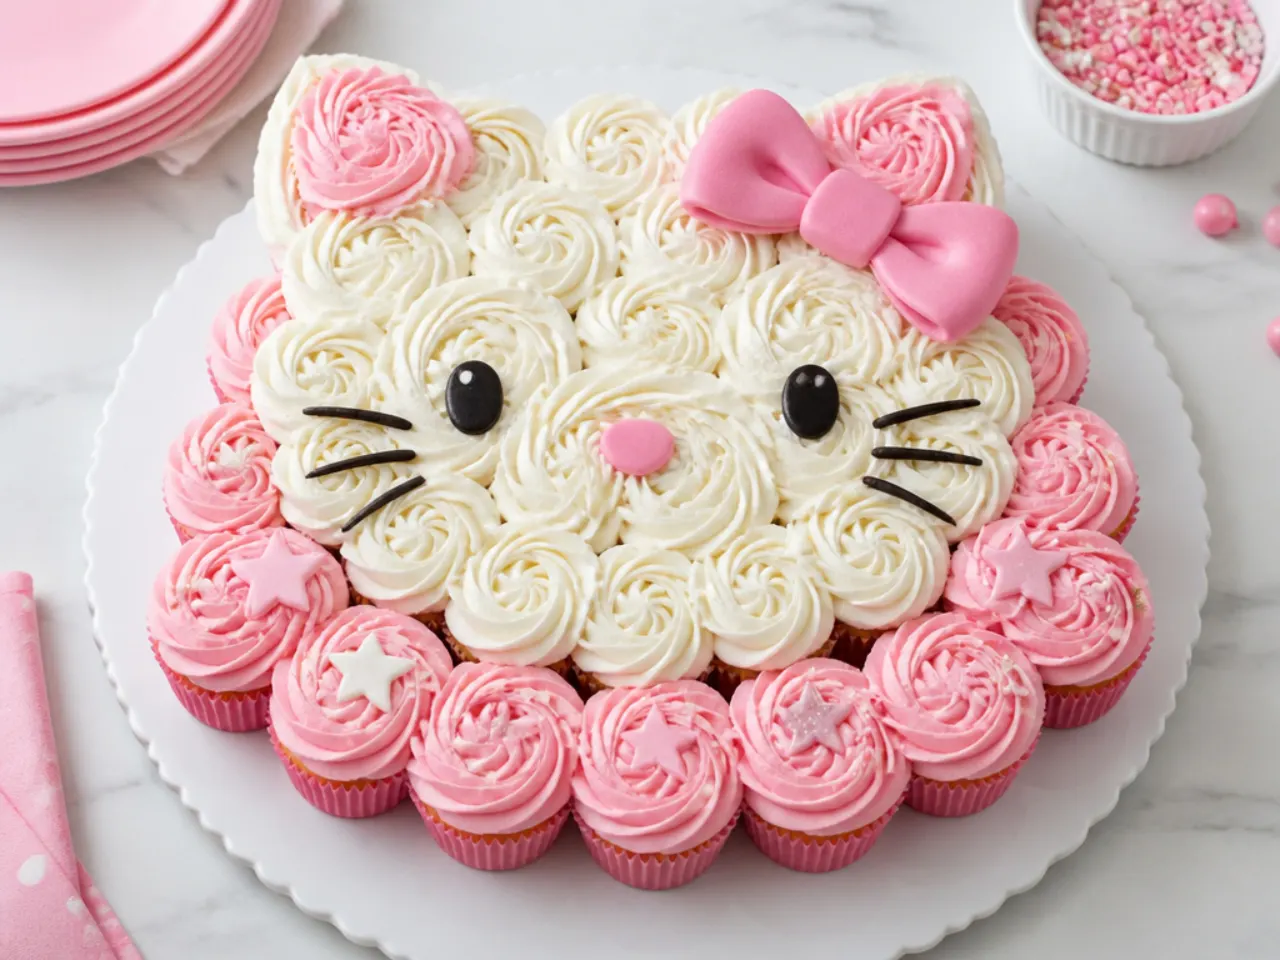
Arrange 24 cupcakes tightly on a board in a rounded, kitty-inspired silhouette so guests can pull apart individual servings, no slicing needed. This is ideal for kids' parties because every child gets their own cupcake and cleanup is simple. Bake the base recipe as cupcakes at 175°C (350°F) for 18-20 minutes, cool completely, then frost the whole cluster together in pale-pink buttercream so it reads as one shape. Use a Wilton 1A round tip and swirl over the seams to blur the gaps. Add a fondant bow and two pink ear-shaped accents at the top corners to suggest the character without recreating a face.
5. Modern Pink Ombre Drip Cake
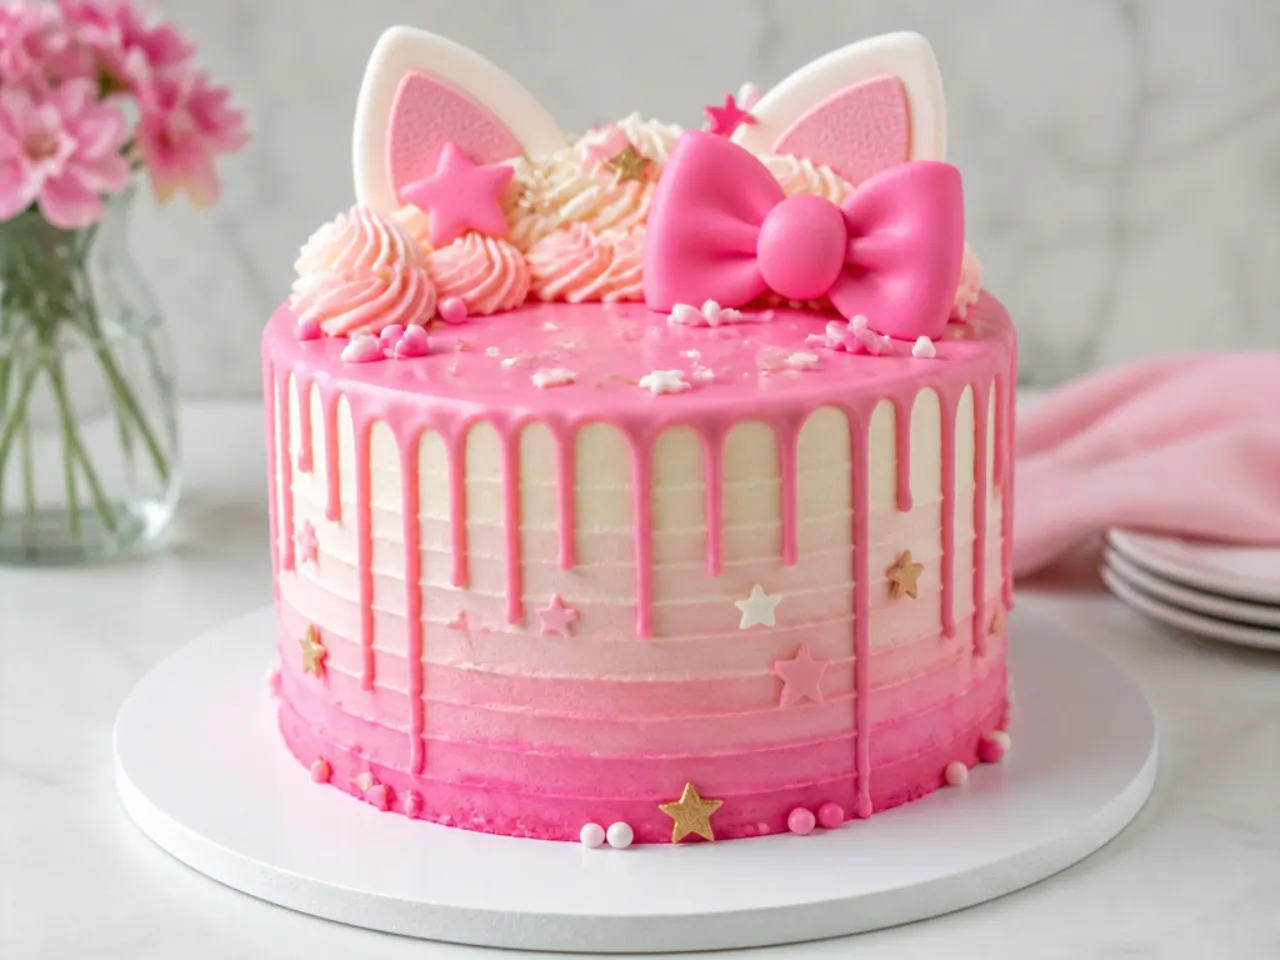
This trendy design fades from deep rose at the base to soft blush at the top, finished with a glossy white or pink chocolate drip. The ombre works because you tint one batch of buttercream in three graduated shades and blend the seams with a warm scraper as you spin the turntable. For the drip, melt 100g white chocolate with 60ml cream, tint it pale pink, cool to about 32°C (90°F), and spoon it over the chilled top edge so it runs in even teardrops. Top with a fondant bow and a few pink macarons or sugar hearts. Chill 15 minutes after the drip so it sets before adding toppers.
Save this for later 📌
Pin this article to your Pinterest board so the full list is one tap away when you need it.
Save on Pinterest6. Rustic Semi-Naked Strawberry Cake
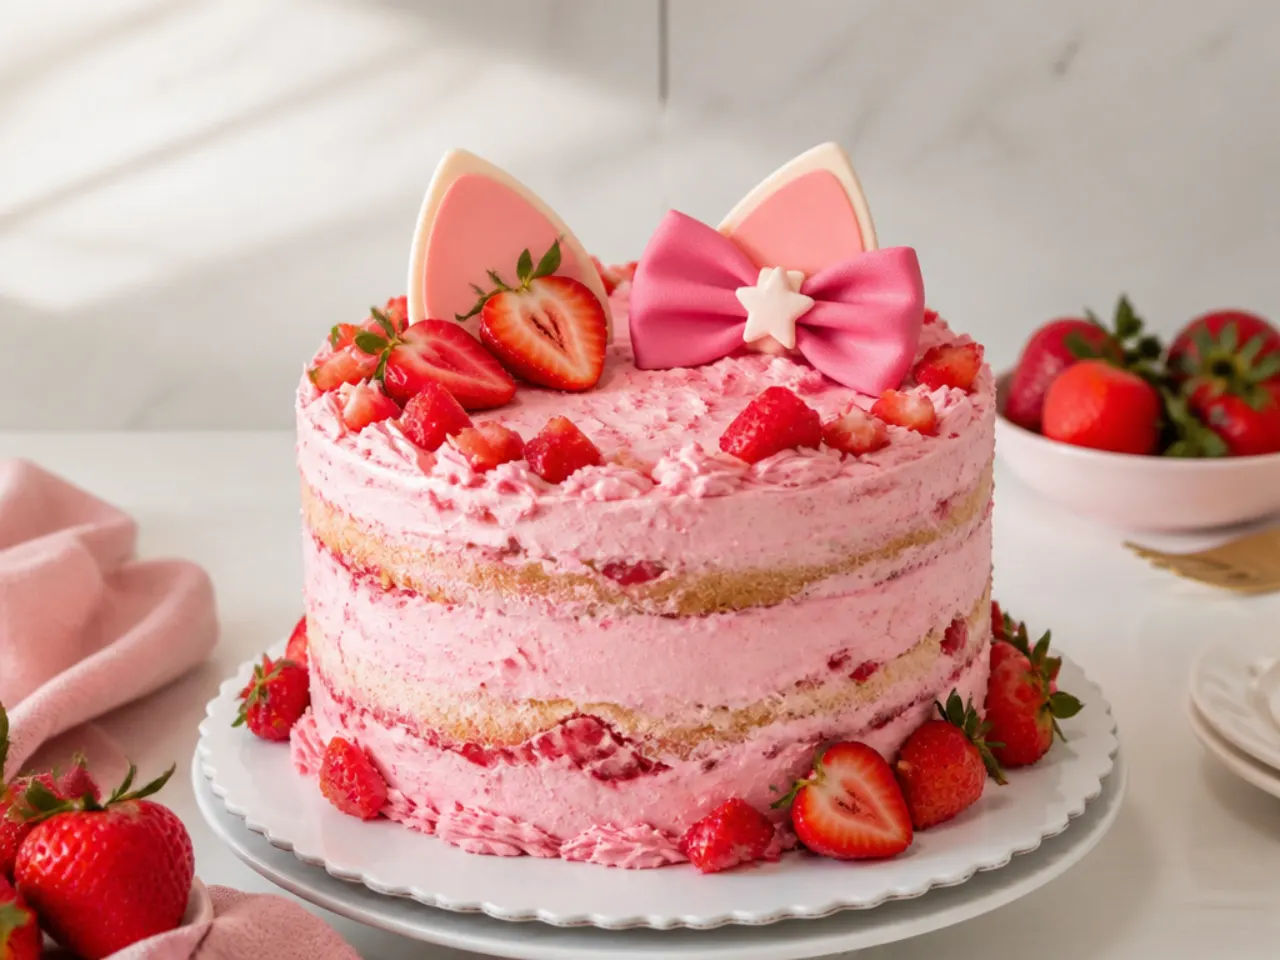
A semi-naked pink Hello Kitty cake shows the sponge through a thin scrape of blush buttercream for a soft, homey, farmhouse feel. It works because the base recipe folds in chopped fresh strawberries, giving natural pink flecks and real fruit flavor that pairs with the light frosting. Fill the layers with strawberry buttercream, apply just enough frosting to coat, then scrape most of it back with a bench scraper so the cake peeks through. Decorate the top with fresh halved strawberries, a dusting of freeze-dried strawberry powder for extra pink, and a simple twine-look fondant bow. Serve the day it is made so the fresh fruit stays bright.
7. Colorful Pastel Rainbow Layer Cake
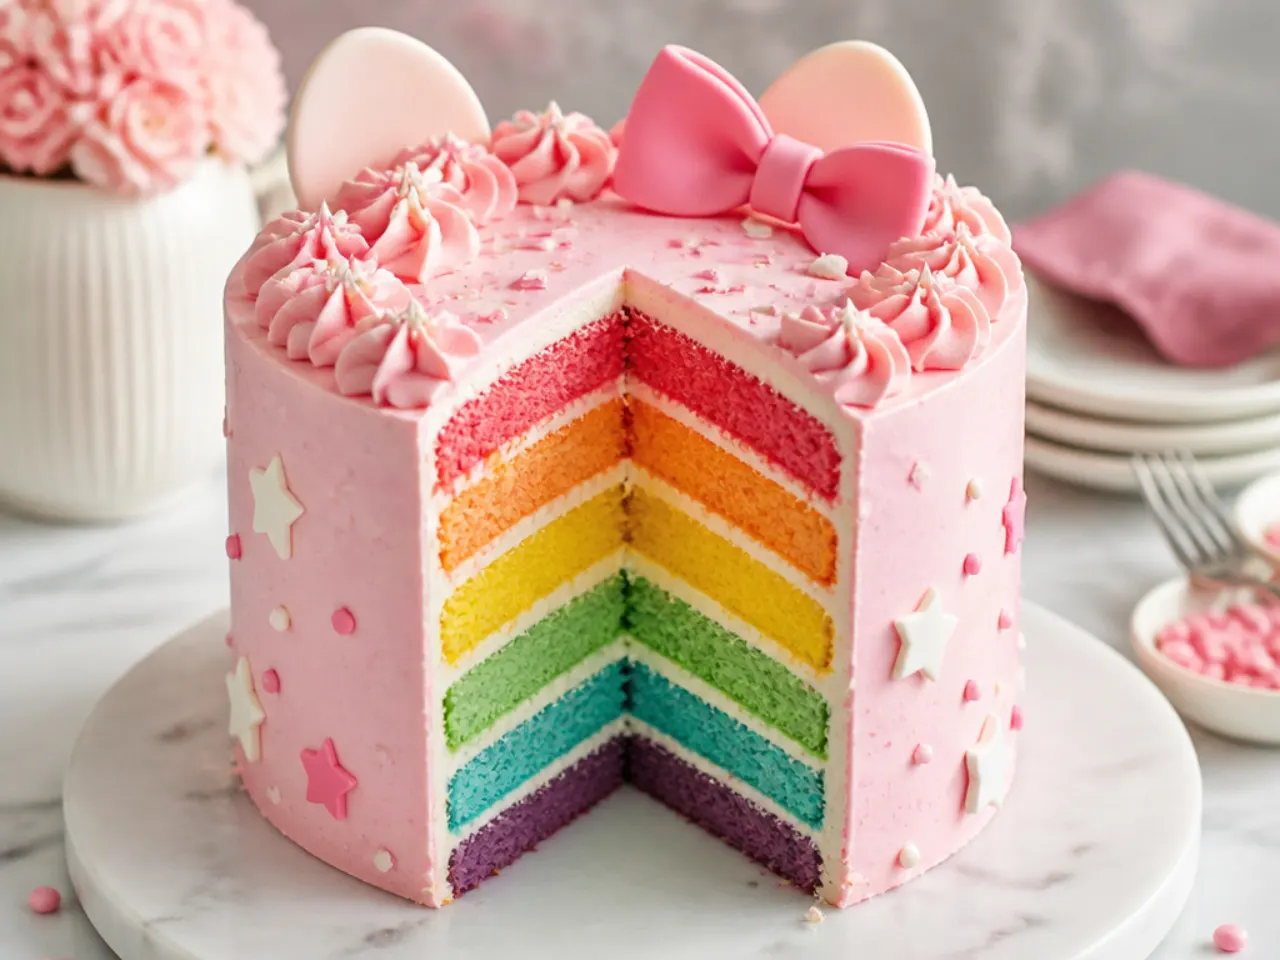
Cut into this cake and reveal pastel rainbow layers, all wrapped in a pink kitty-inspired exterior. It works because you divide the base batter into four bowls and tint each a soft pastel (pink, lavender, mint, lemon) so the inside is a surprise while the outside stays on-theme. Bake each thinner layer at 175°C (350°F) for 20-22 minutes and level them for even stacking. Frost the outside in pale-pink buttercream, add a rainbow of sprinkles up one side, and top with a hot-pink bow. This is a crowd-pleaser for birthdays because the reveal happens at the first slice.
8. Minimal Single-Bow Blush Cake
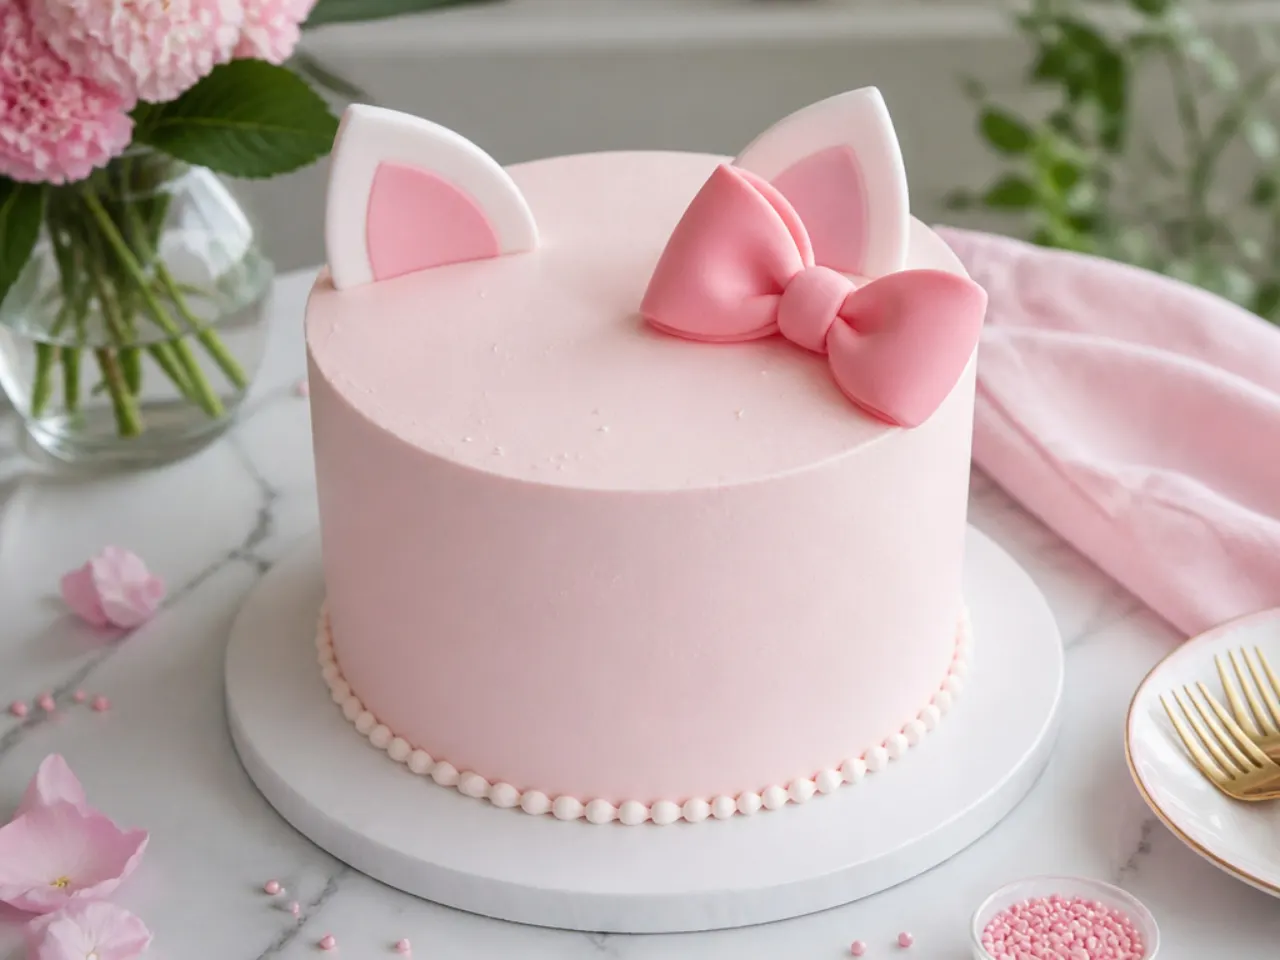
This modern minimalist pink Hello Kitty cake relies on one perfect element: a flawless blush buttercream finish with a single crisp bow and nothing else. It works because restraint reads as elegant, and a clean surface is achievable with practice and a hot scraper. Use a Swiss-style or well-beaten American buttercream tinted with a single drop of pink gel for a barely-there blush. Chill, do a final smooth pass, then place one sculpted fondant bow slightly off-center at the top edge. Leave the sides completely bare of piping so the smooth pink does the talking.
9. Festive Confetti Celebration Cake
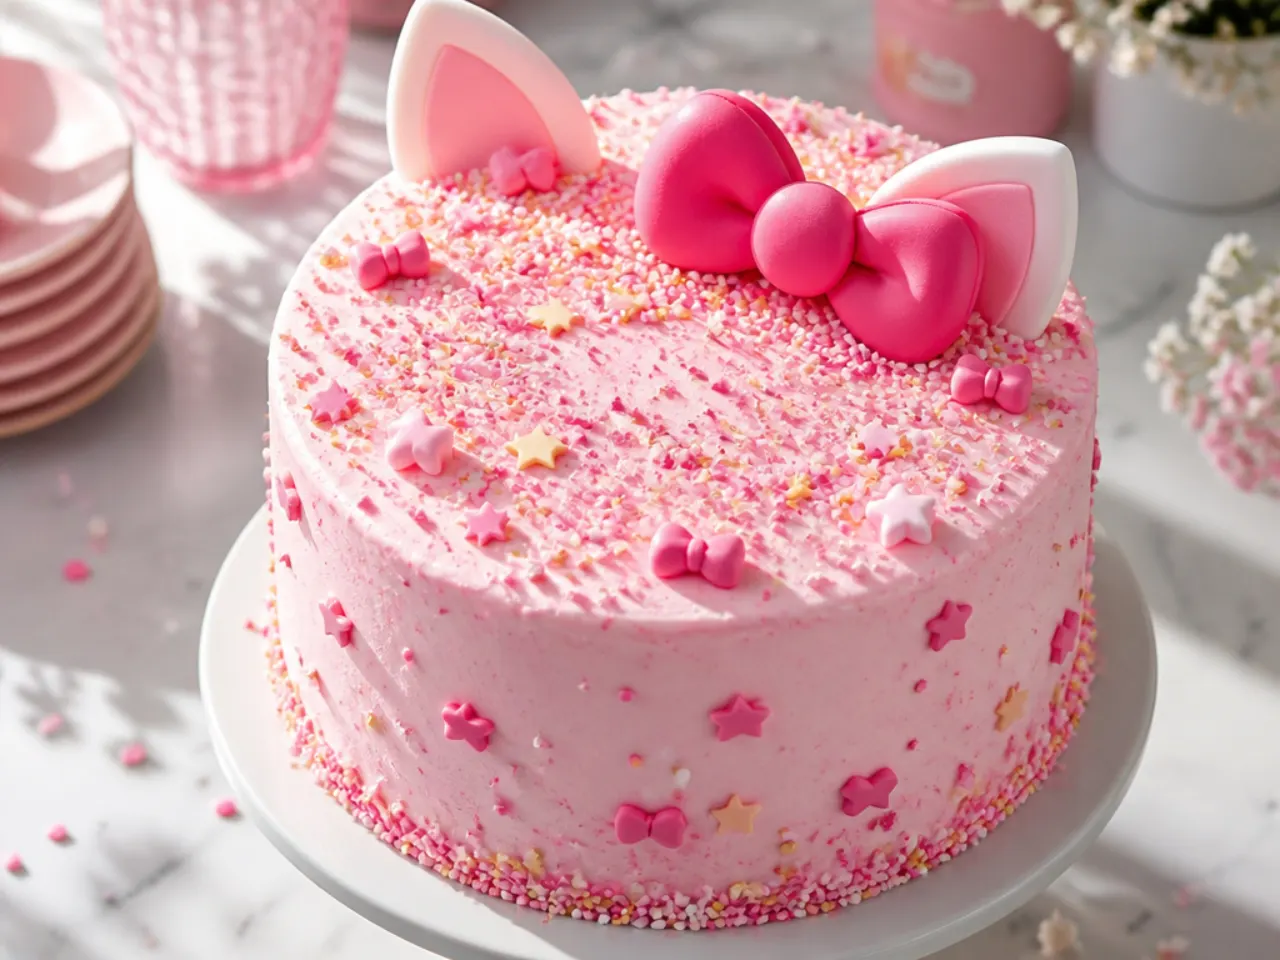
For birthdays, fold rainbow sprinkles right into the batter for a funfetti version and finish the outside in festive pink. It works because the confetti sponge stays cheerful even under a simple frosting job, so decorating pressure drops. Fold 80g of sprinkles into the base batter at the very end and bake immediately so the colors do not bleed. Frost in pale-pink buttercream, press more sprinkles up the bottom third, and add candles plus a pink bow topper. Use jimmies (the long sprinkles), not nonpareils, since nonpareils dissolve and streak the batter gray.
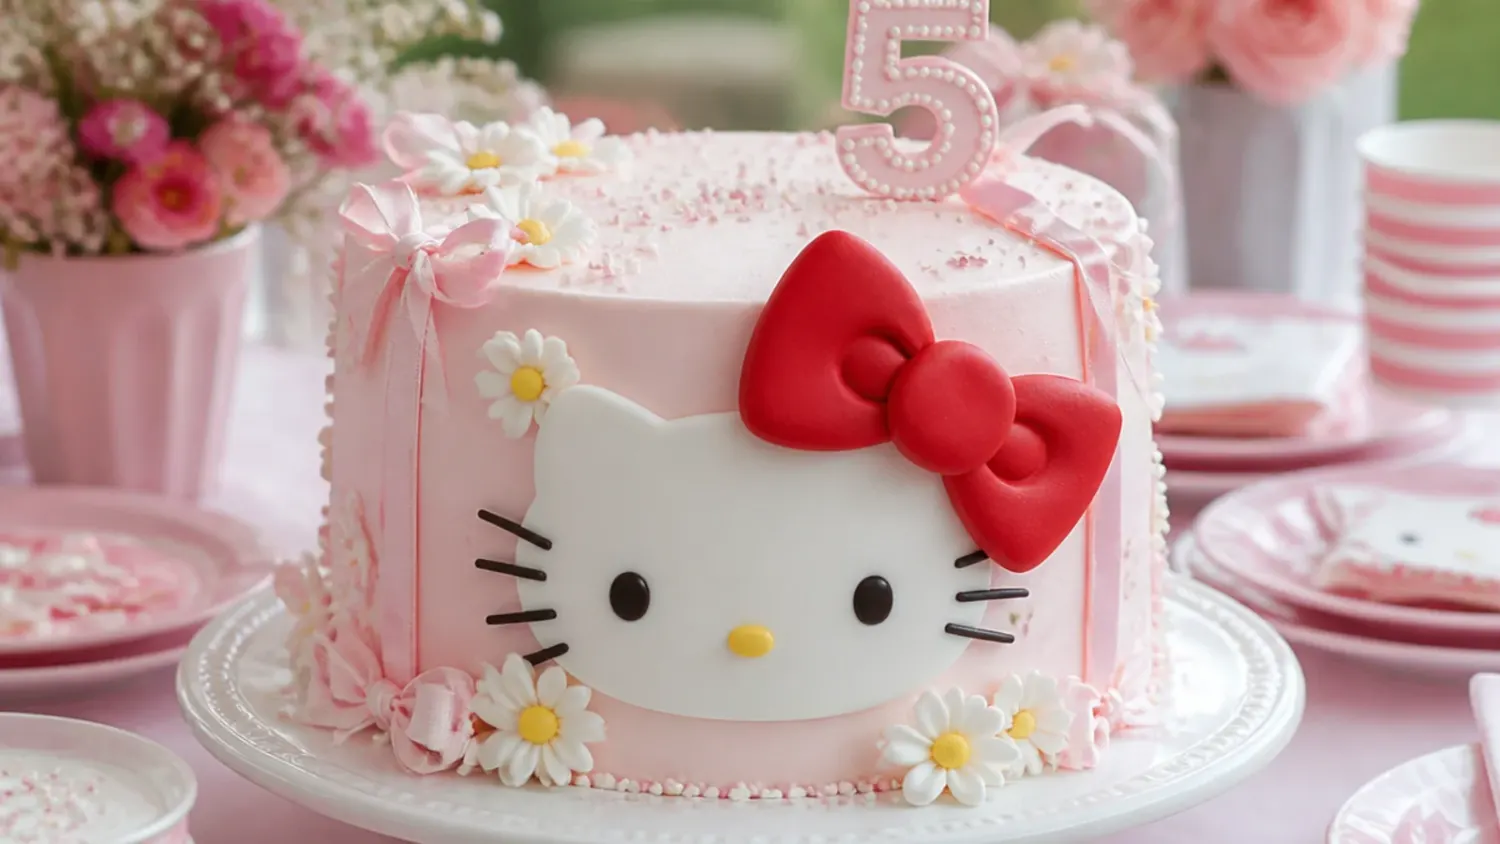
10. Whimsical Kitty-Ear Number Cake
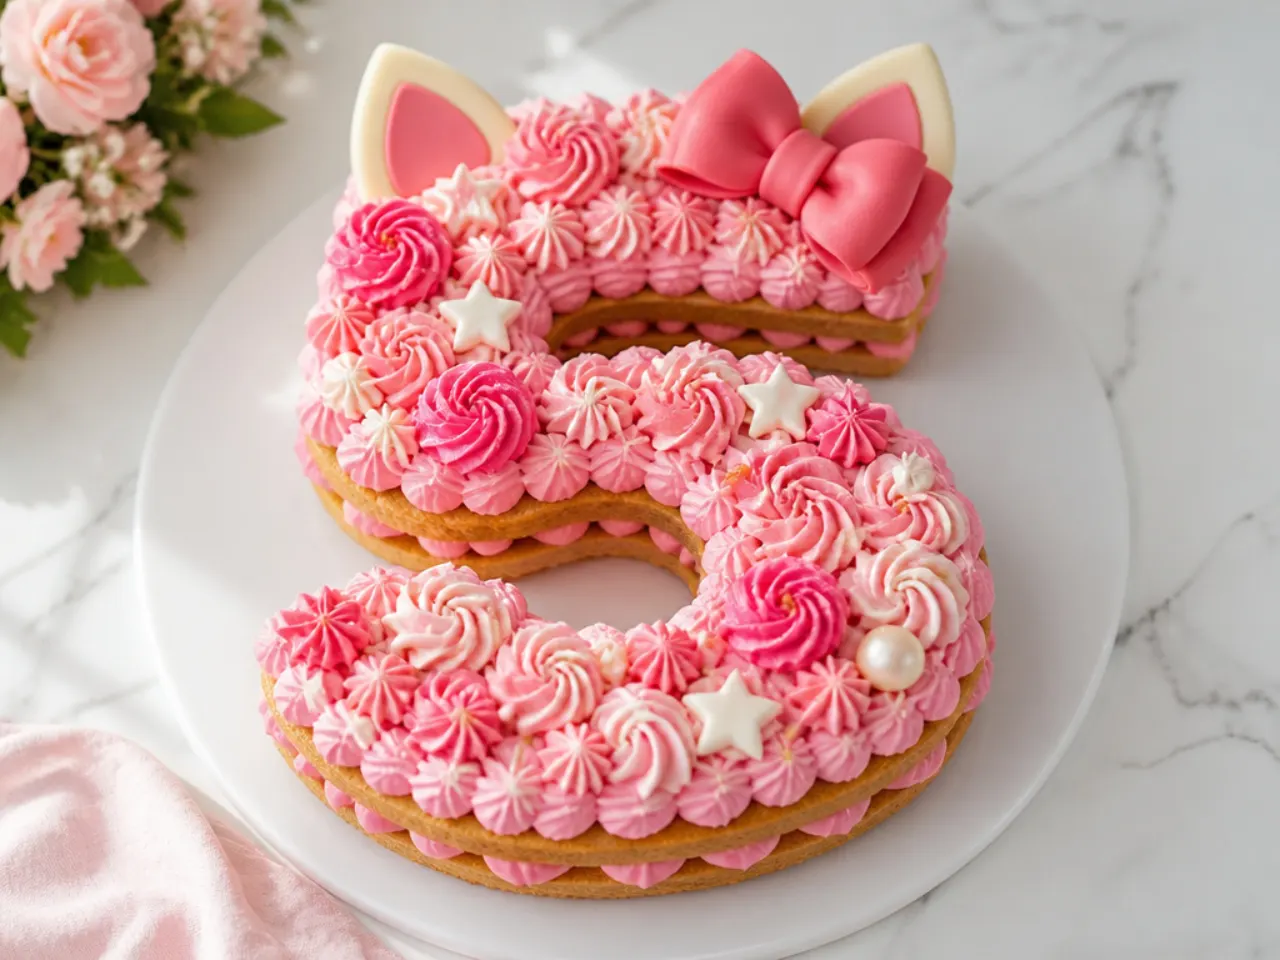
Shape the cake as a birthday number (like a 5 or 7) and add two rounded pink ear bumps and a bow for a whimsical kitty-inspired twist. It works because a number cake makes the celebrant's age the centerpiece while the ears and bow keep it on theme without a full character face. Bake the base in a 9x13 pan, chill it firm, then cut the number using a paper template. Crumb-coat, chill, and cover in pale-pink buttercream, piping small stars with a Wilton 16 tip for a plush texture. Add two half-dome pink cake or fondant ears at the top and a small bow between them.
Save this for later 📌
Pin this article to your Pinterest board so the full list is one tap away when you need it.
Save on Pinterest11. Bold Hot-Pink and Black Contrast Cake
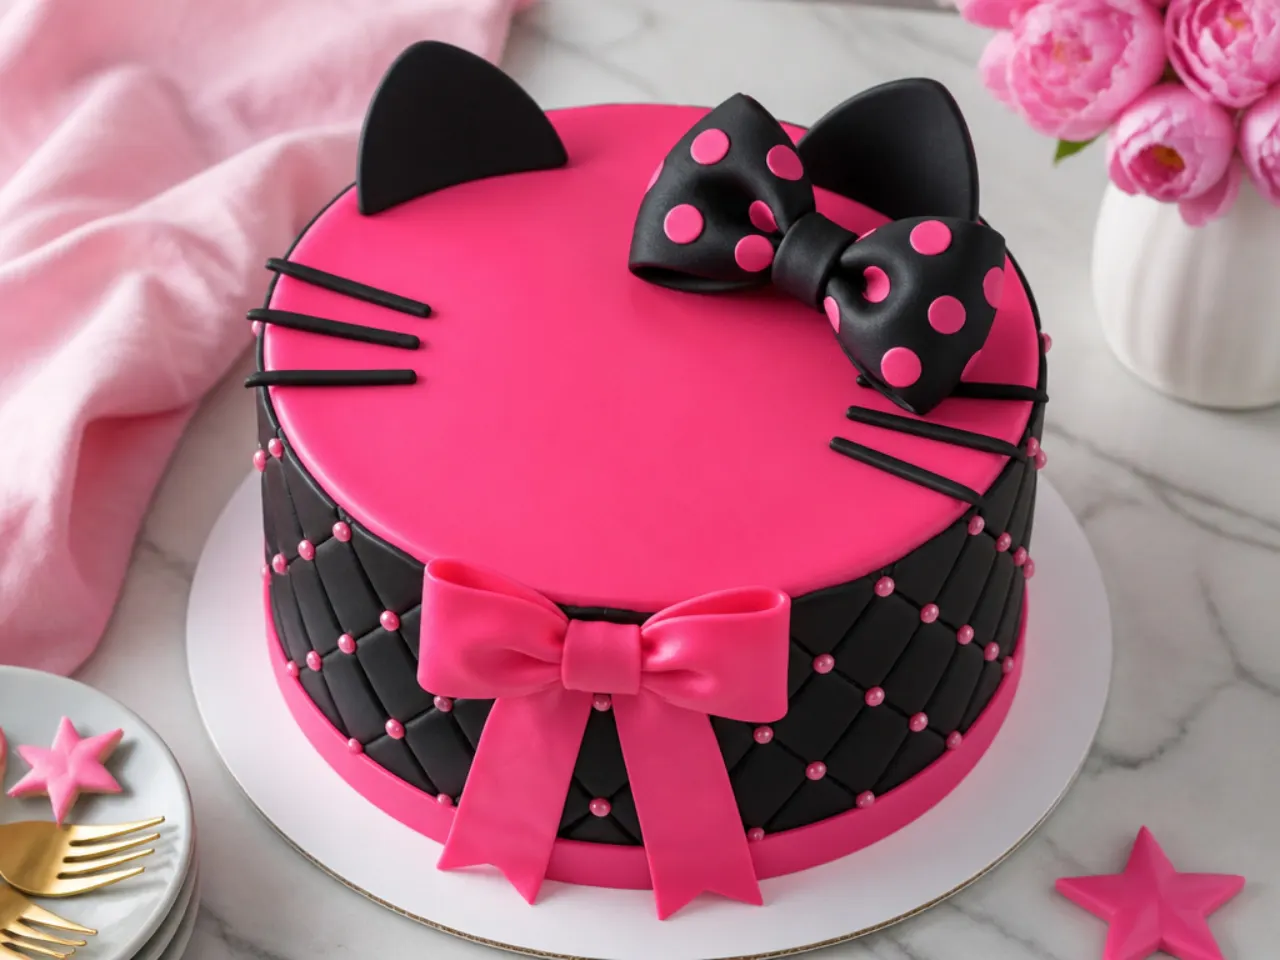
This high-drama design pairs vivid hot-pink buttercream with sharp black accents for a bold, modern party centerpiece. It works because the strong contrast is graphic and photographs well, and the black is used sparingly so it stays chic rather than heavy. Tint buttercream with plenty of pink gel (gel, not liquid, so it stays firm) and pipe a bold shell border in black using a Wilton 21 tip. Add a black-and-white fondant bow with fine white polka dots. Let the pink buttercream rest a few hours before serving so the deep color deepens further and mellows any bitterness from over-coloring.
12. Delicate Ruffle-Rose Buttercream Cake
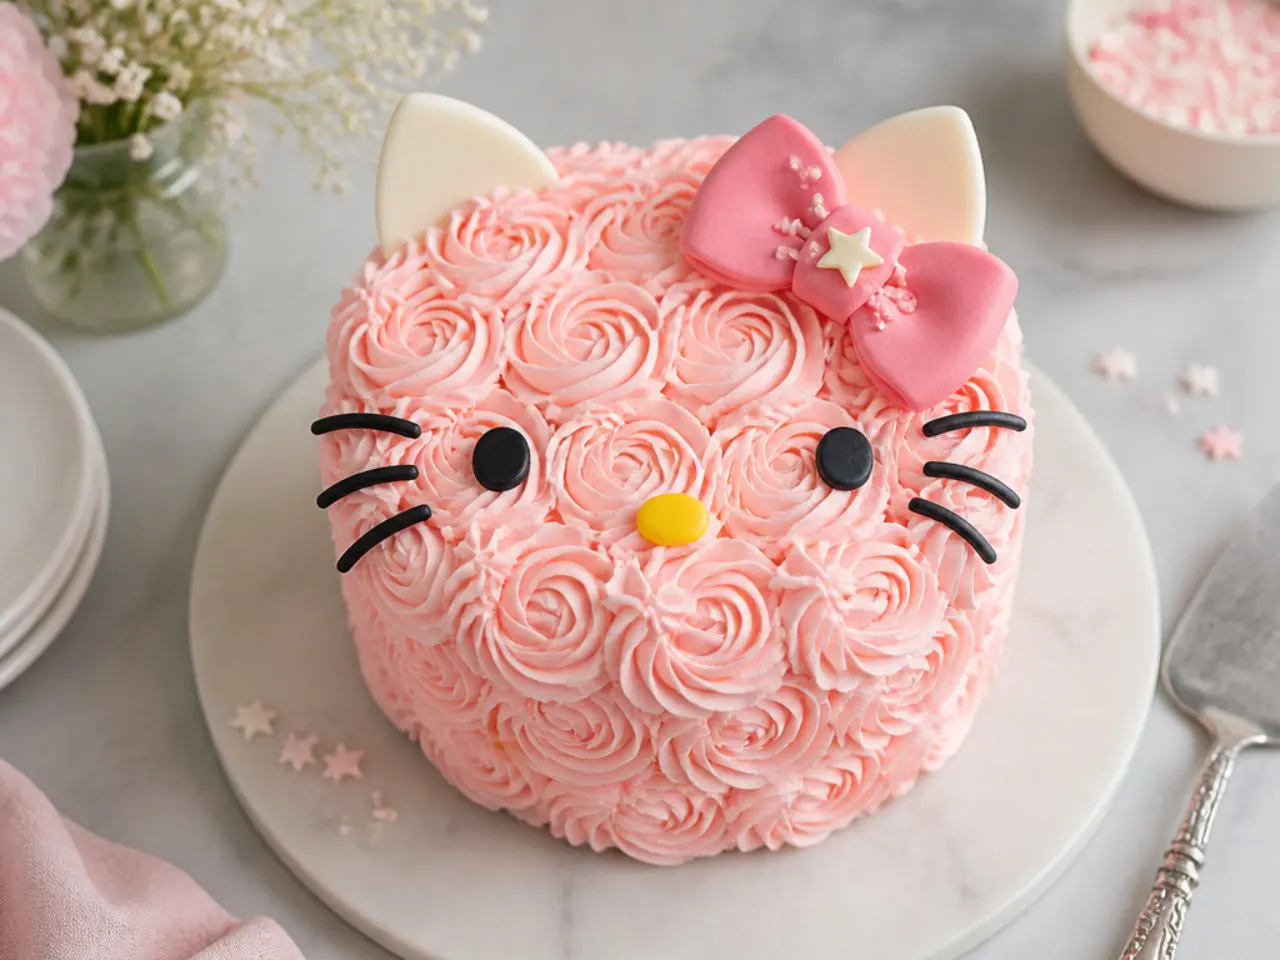
Cover the whole cake in delicate buttercream ruffles or rosettes for a soft, romantic pink Hello Kitty cake. It works because piped roses hide an uneven crumb coat completely, making this surprisingly forgiving despite the elegant look. Fit a piping bag with a Wilton 1M or 2D tip, hold it at 90 degrees to the cake, and pipe tight spirals from the center out, starting at the bottom and working up in rows. Use two shades of pink buttercream and alternate rosettes for depth. Finish with a single fondant bow at the top and let the rosettes firm up in the fridge for 20 minutes before boxing.
13. Vintage Lambeth Piped Cake
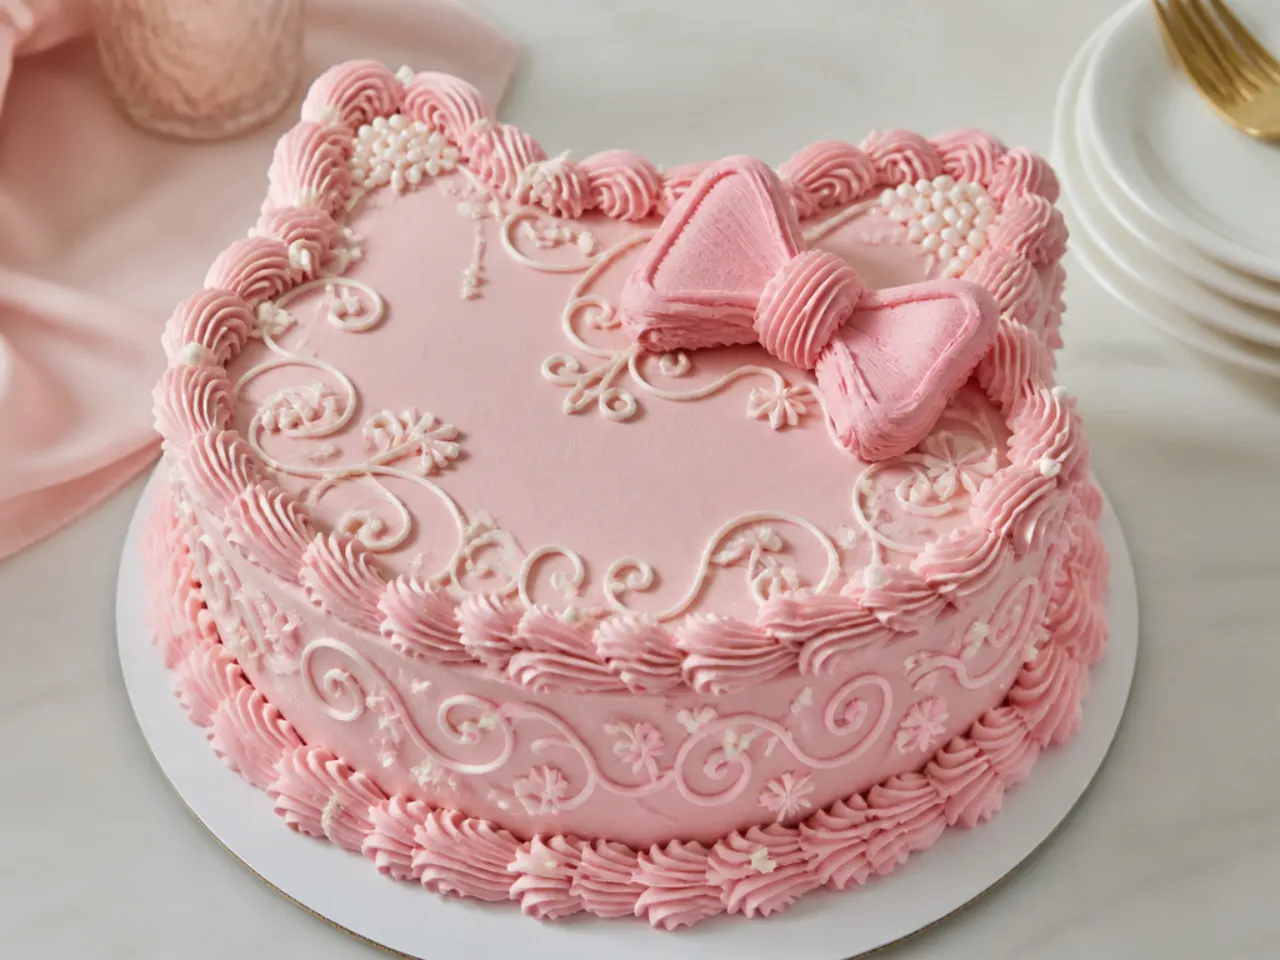
Channel retro elegance with Lambeth-style overpiping: layered swags, beads, and scrollwork in tone-on-tone pink. It works because the intricate piping looks impressively old-fashioned yet uses just a few tips and a steady hand. Frost the cake smooth in pale pink, chill, then overpipe with a Wilton 4 round tip for scrolls and dots and a Wilton 21 tip for shell swags along the top and bottom edges. Keep every element the same pink family, adding just a touch of white for highlights. Add small edible pearls in the piping curves and a vintage-look fabric-style fondant bow for the finishing kitty-inspired touch.
14. Creative Bento Mini Cake for Two
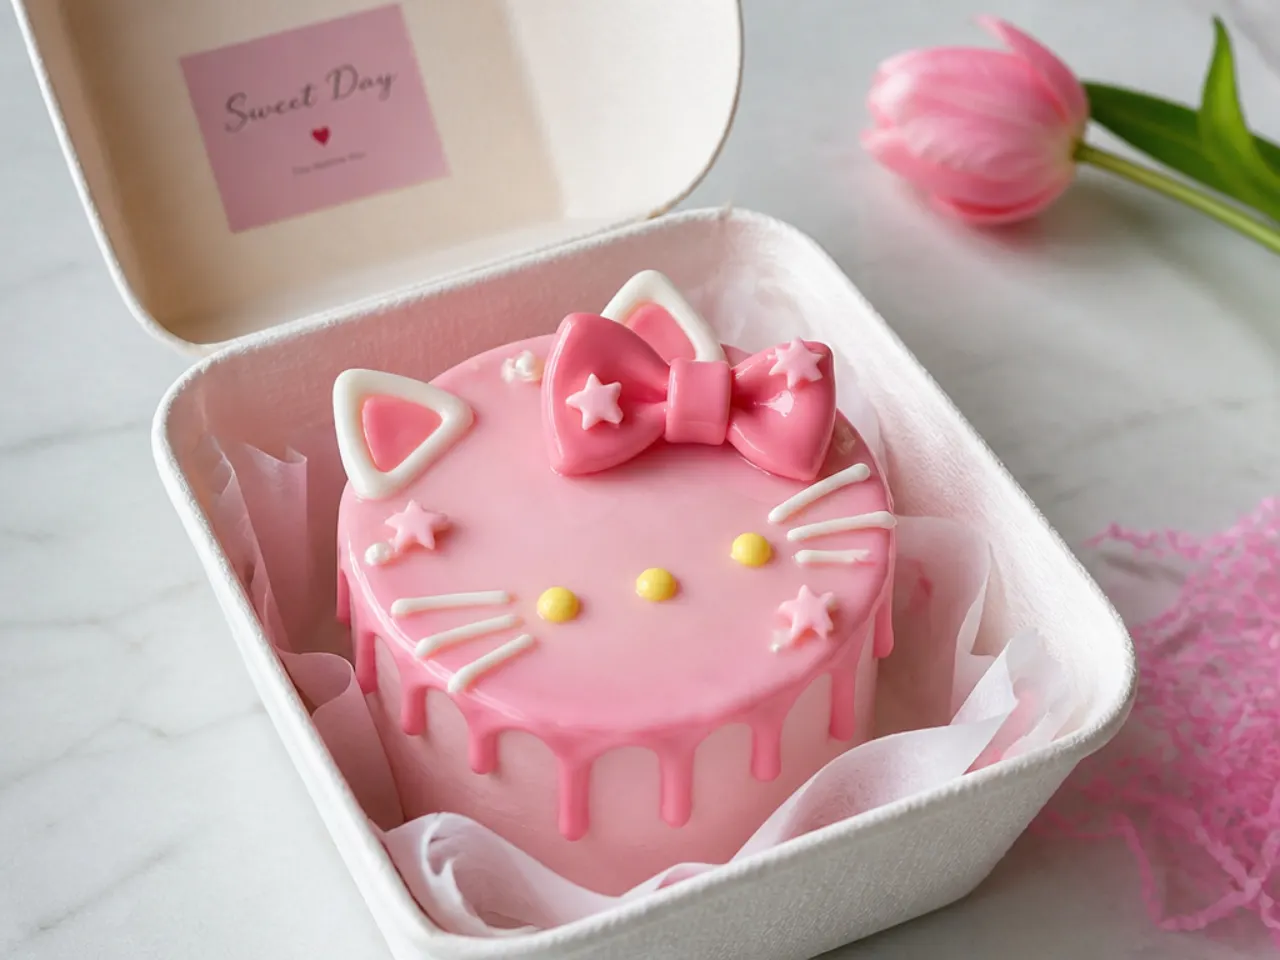
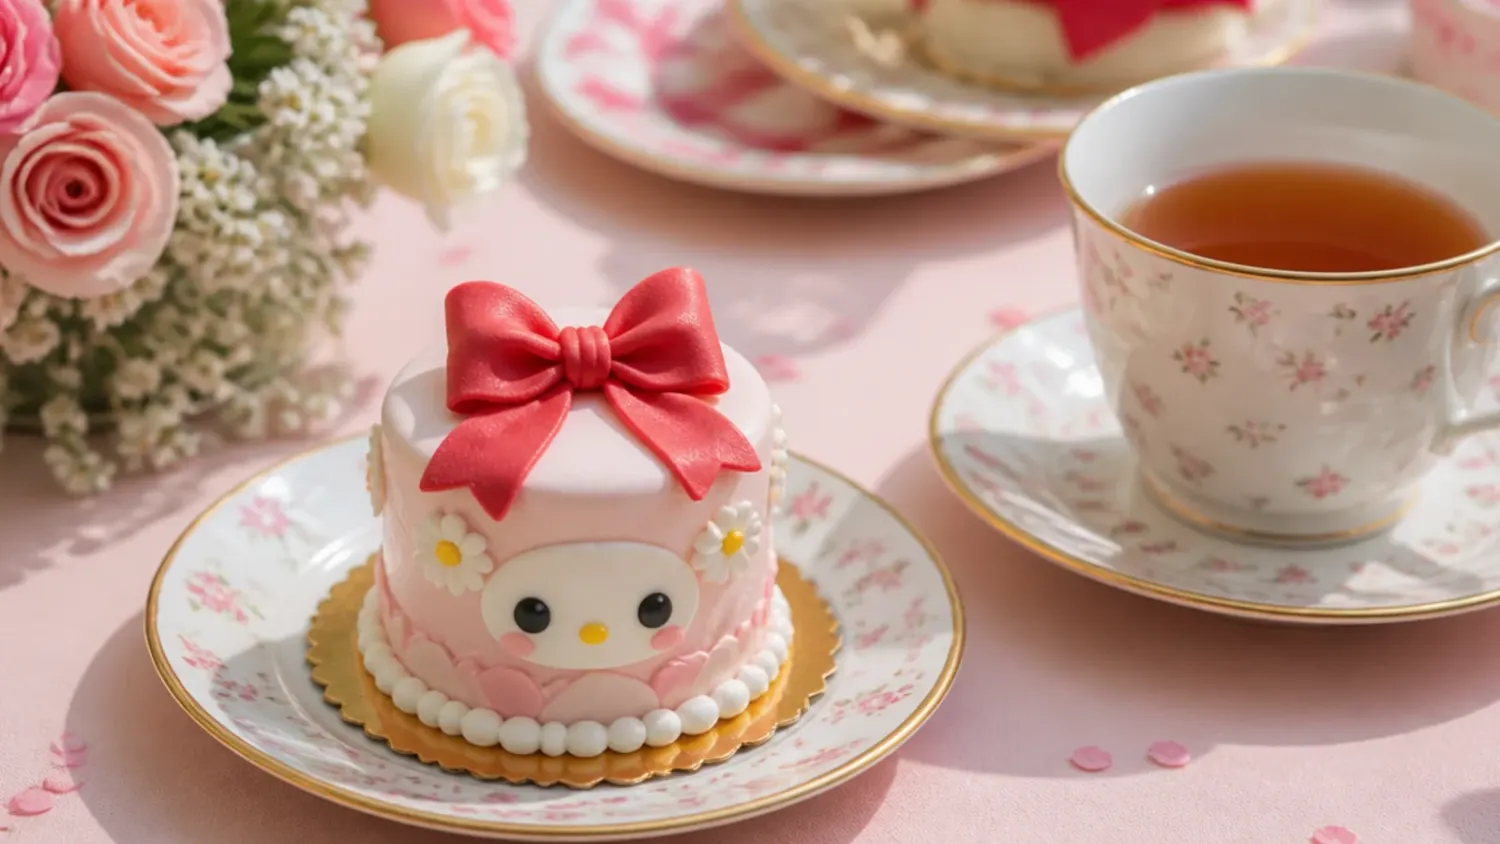
A single-serve bento-style pink Hello Kitty cake is a creative modern trend perfect for small celebrations or gifting. It works because you bake one small layer, split it, and decorate a compact 4-inch cake that fits in a takeout-style box. Bake the base batter in a 4-inch pan or ramekins at 175°C (350°F) for 22-25 minutes, then frost in pale-pink buttercream. Pipe a tiny bow and a few dots with a Wilton 2 round tip, and add a short hand-lettered message in contrasting pink. These minis are ideal for beginners because the small surface is fast to smooth and easy to fix.
15. Charming Heart-Shaped Bow Cake
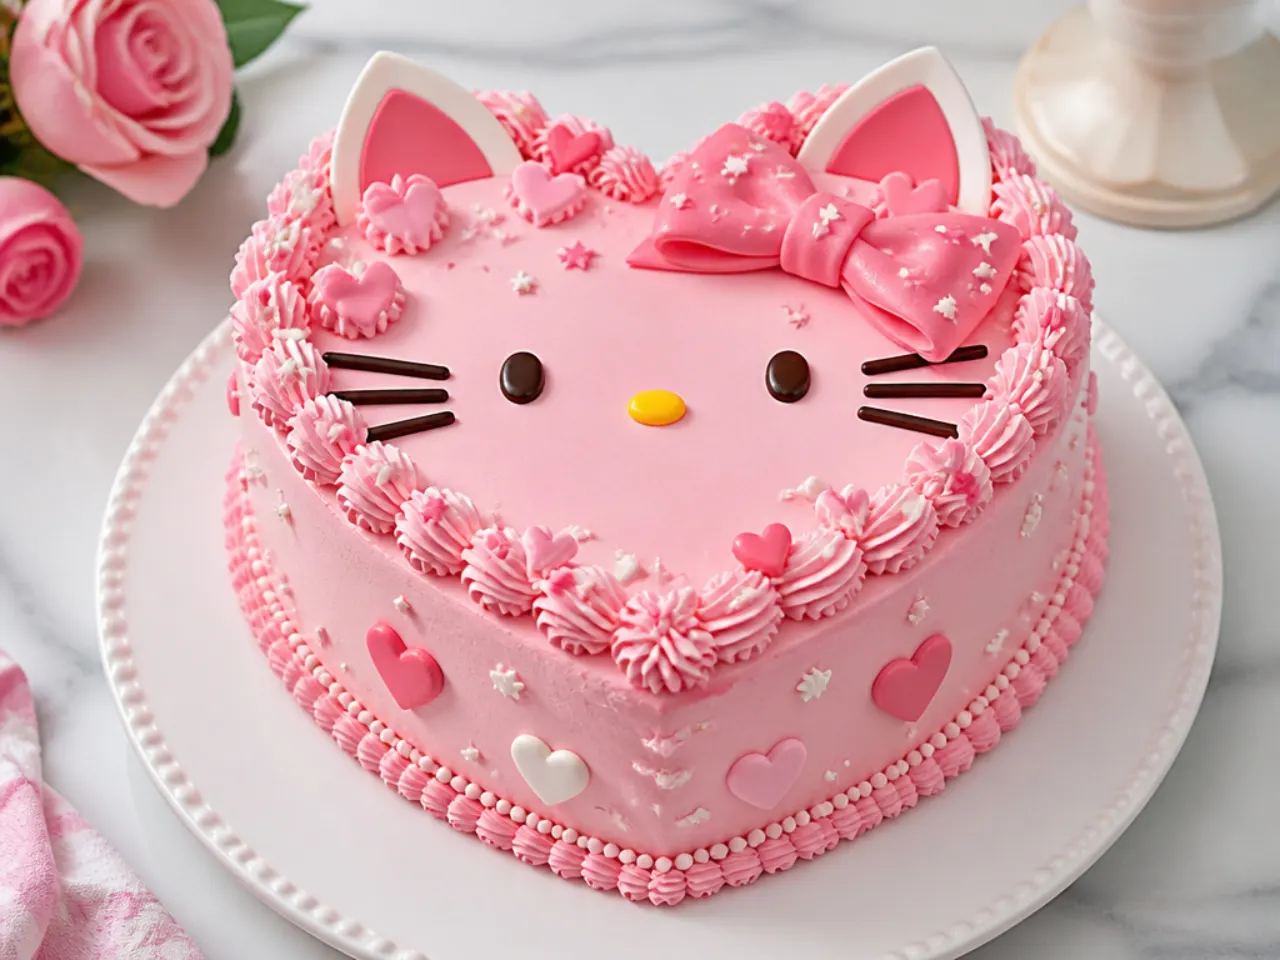
A heart-shaped pink Hello Kitty cake is charming for Valentine's Day, a first birthday, or any sweetheart celebration. It works because the heart silhouette already signals affection, so a simple bow and dots finish the theme. Bake the base in an 8-inch heart pan, or bake one 8-inch round plus one 8-inch square, cut the square in half diagonally, and set the two triangles against the round to form a heart. Frost in pale-pink buttercream, pipe a scalloped shell border with a Wilton 21 tip, and add a hot-pink fondant bow at the top dip of the heart. Scatter tiny white fondant hearts or pearls across the surface to finish.
Tips to Make These Ideas Easier
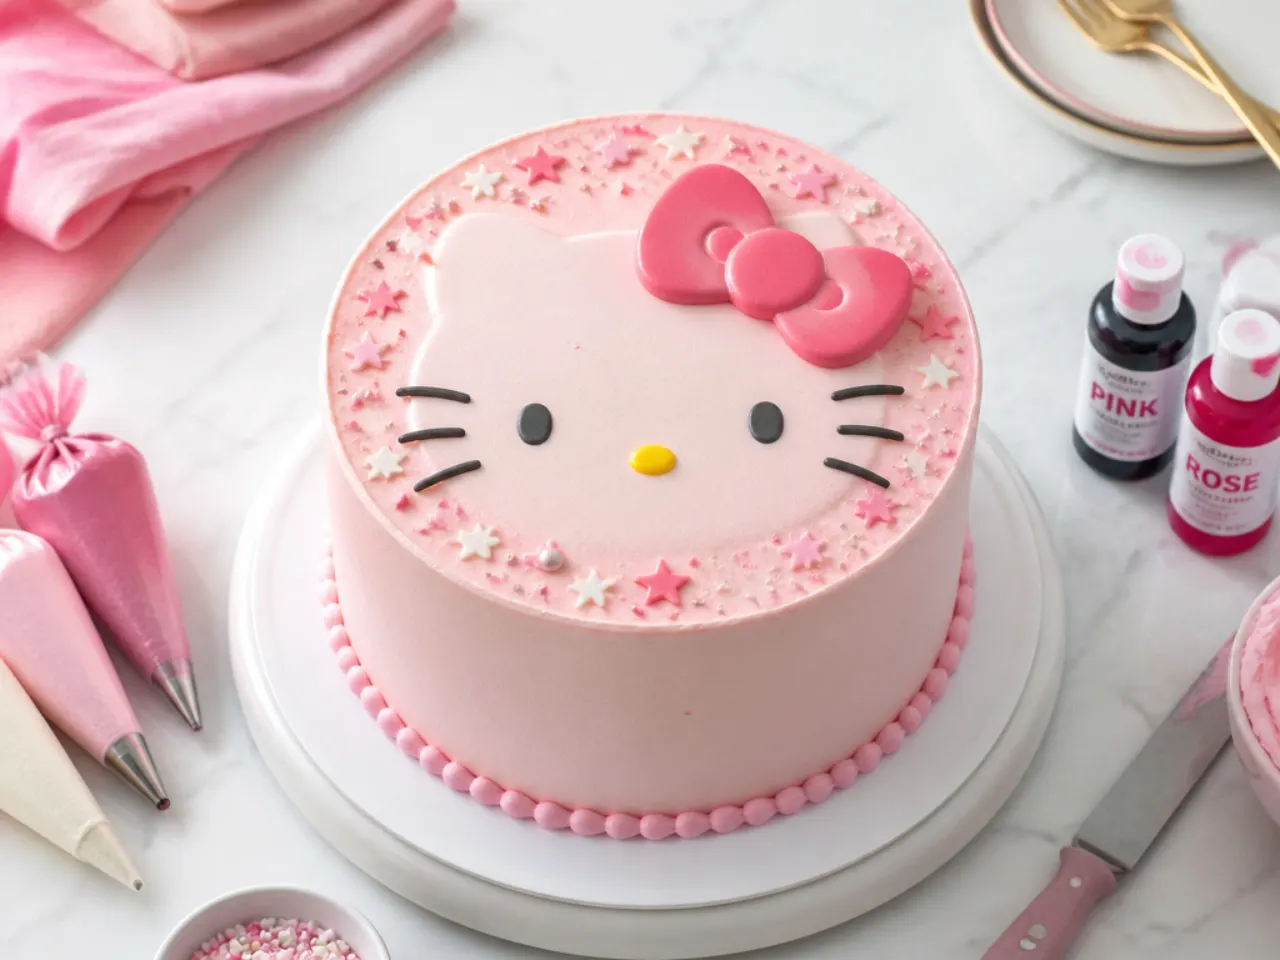
Always use gel food coloring, not liquid, to tint buttercream pink; liquid thins the frosting and dulls the shade, while a single drop of gel gives a clean blush that deepens over a few hours. Bake and freeze your layers a day ahead, well wrapped, because cold cake is far easier to crumb-coat and carve than fresh, warm cake. Keep a mug of hot water beside you to dip your bench scraper and offset spatula; a warm blade melts buttercream into a glass-smooth finish. Make fondant bows and accents a day early so they firm up and hold their shape when you place them. Finally, chill the cake for 15-20 minutes between the crumb coat and the final coat, and again before adding drips or toppers, so nothing slides.
Common Mistakes to Avoid
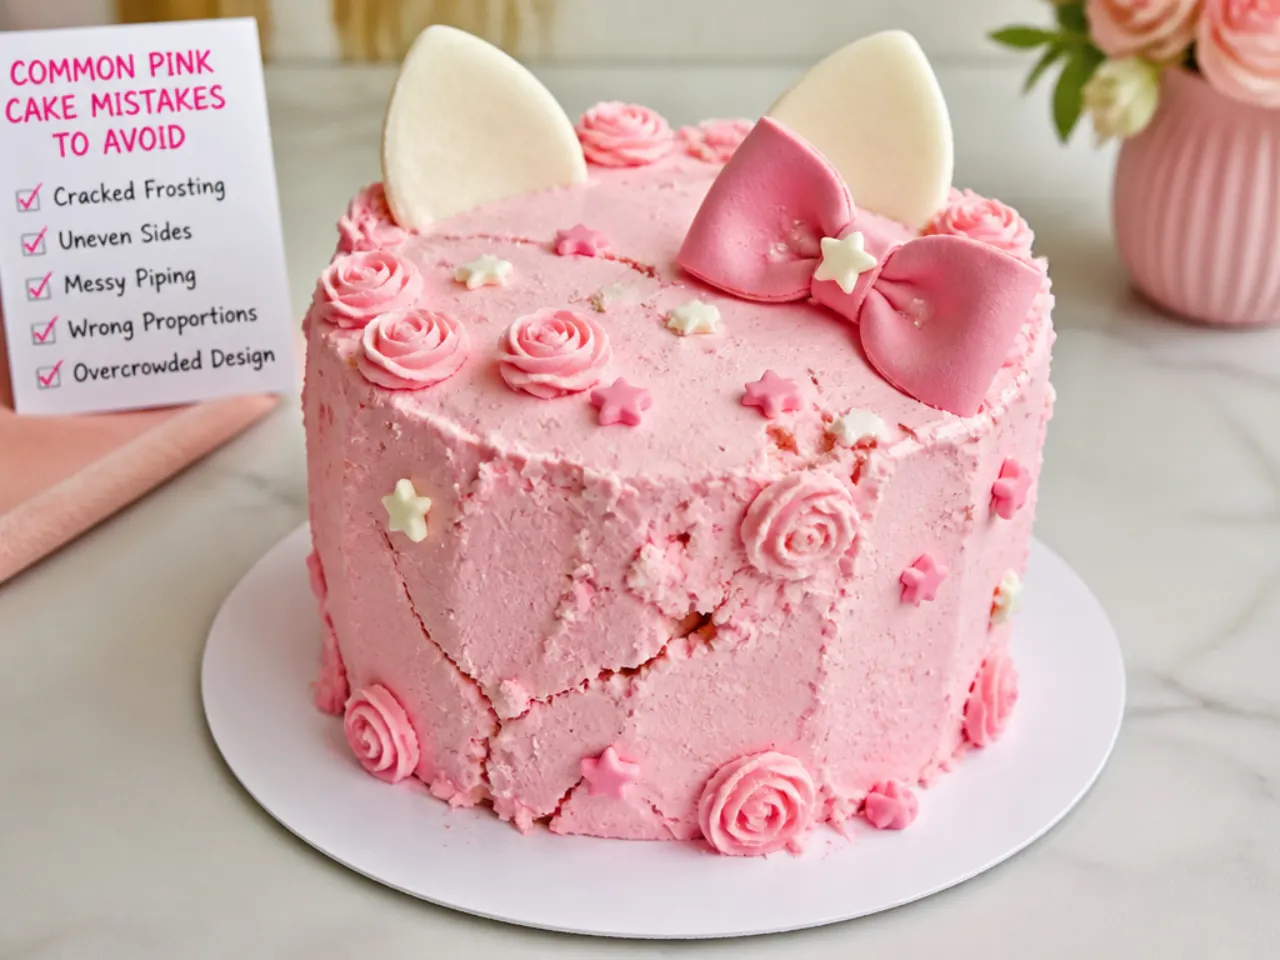
The most common mistake is using too much liquid coloring, which turns pink buttercream soupy and can taste bitter; reach for gel and add it a little at a time. Skipping the crumb coat is another trap, because loose crumbs will streak your final pink layer, so always seal the cake with a thin coat and chill it first. Do not pour a chocolate drip while it is too hot; over 35°C (95°F) it runs straight to the board in thin streaks, so cool it to about 32°C (90°F) and test one drip first. Avoid smoothing buttercream with a cold, dry scraper, which drags and leaves ridges; warm it in hot water and wipe it between passes. Lastly, do not add fresh strawberries or fruit decorations until close to serving, since they weep juice and can bleed pink streaks into your frosting overnight.
The Recipe
The Base Recipe — Make Any of These Ideas
40 min
30 min
3 hr (with cooling and decorating)
12
Intermediate
Ingredients 12 Person(s)
Directions
Step 1: Prep the pans and oven
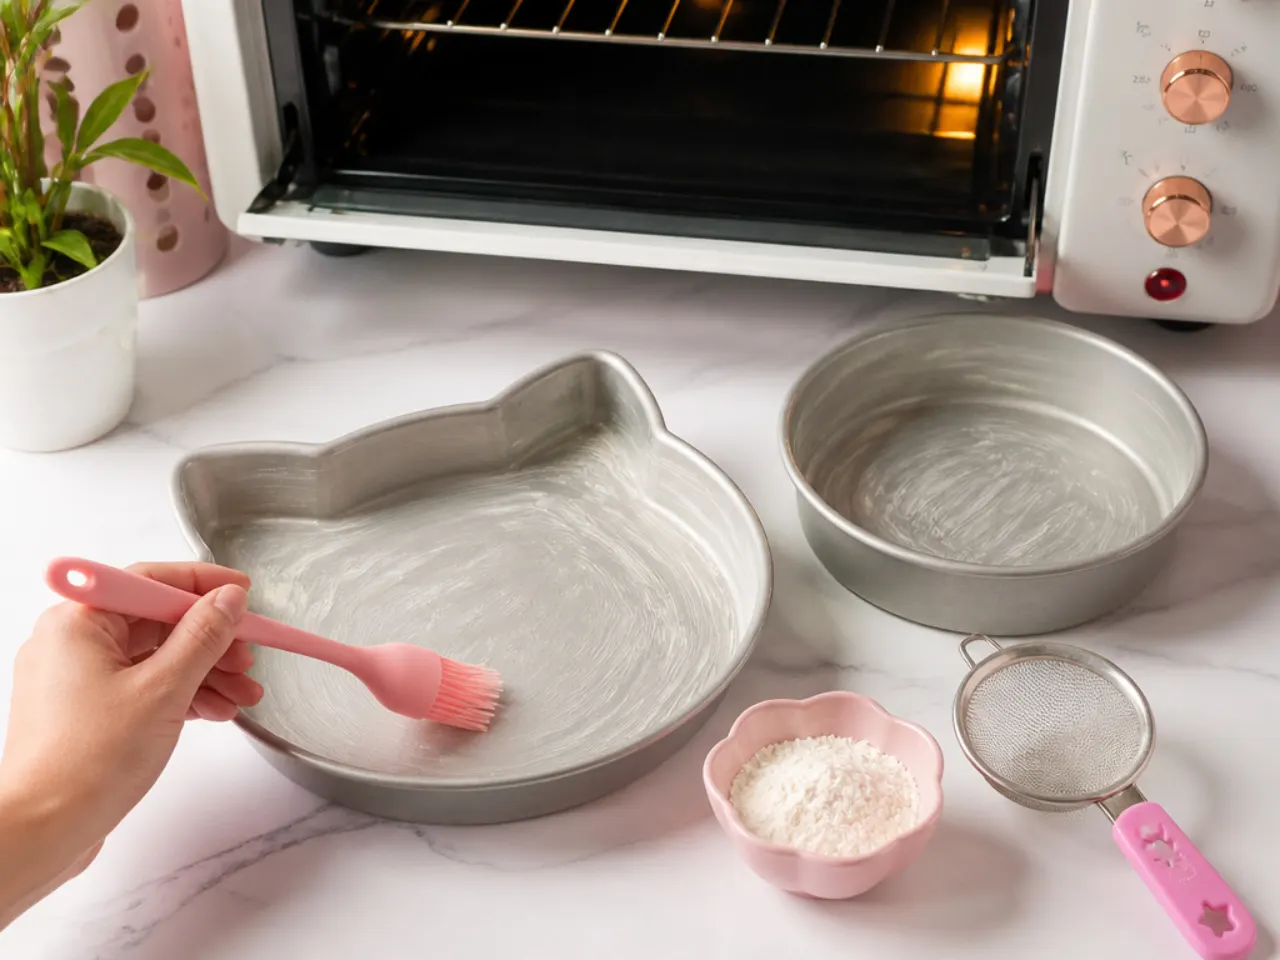
Heat the oven to 175°C (350°F). Grease two 8-inch round cake pans, line the bases with parchment, and lightly grease the parchment. Sift the flour, baking powder, and salt together in a bowl and set aside.
Step 2: Cream the butter and sugar
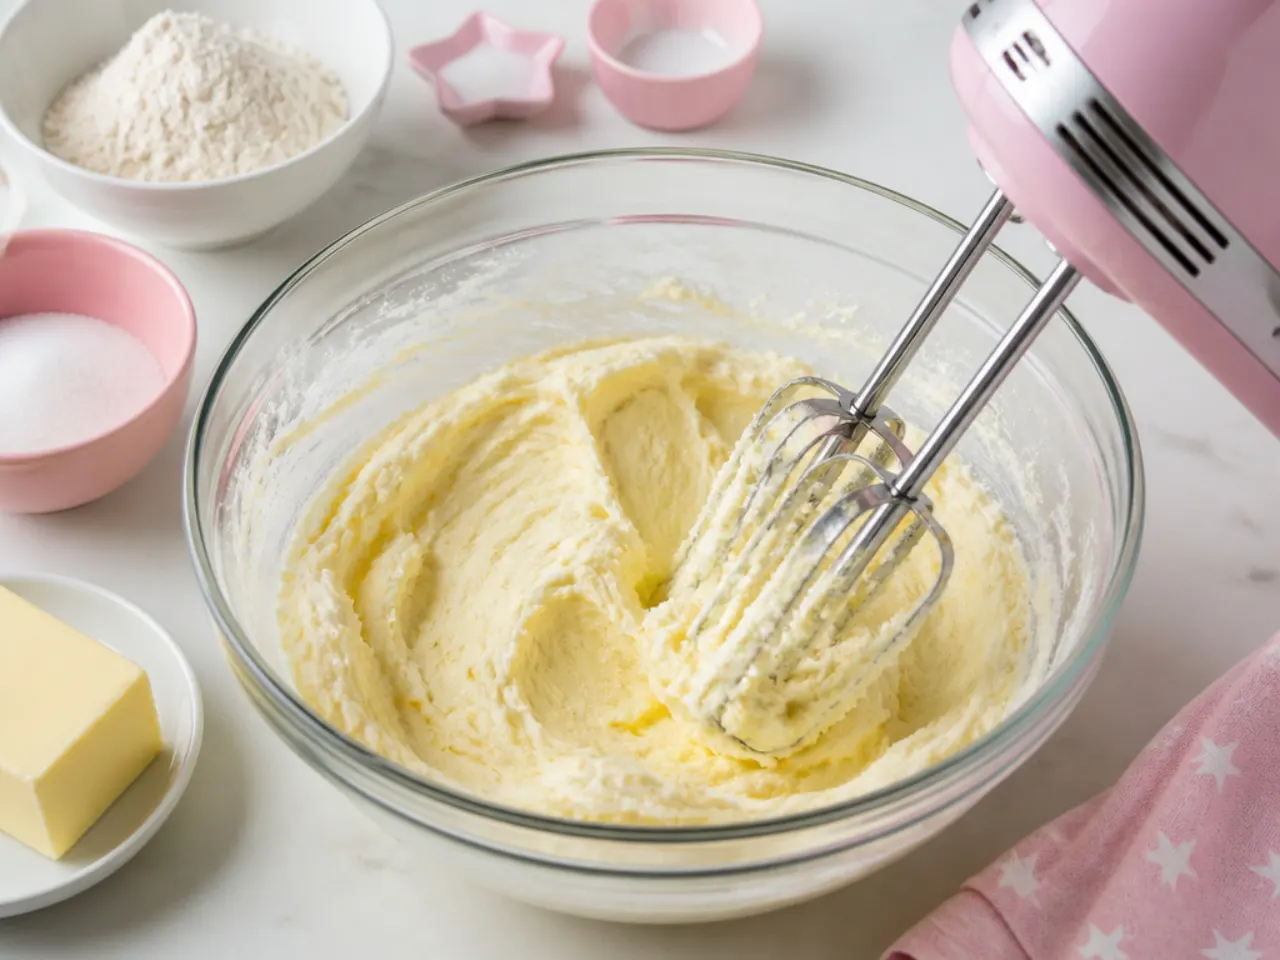
Beat 225g softened butter with the granulated sugar on medium-high for 4-5 minutes until pale and fluffy. Scrape down the bowl once or twice so everything aerates evenly, which gives the cake a light, tender crumb.
Step 3: Add eggs and vanilla
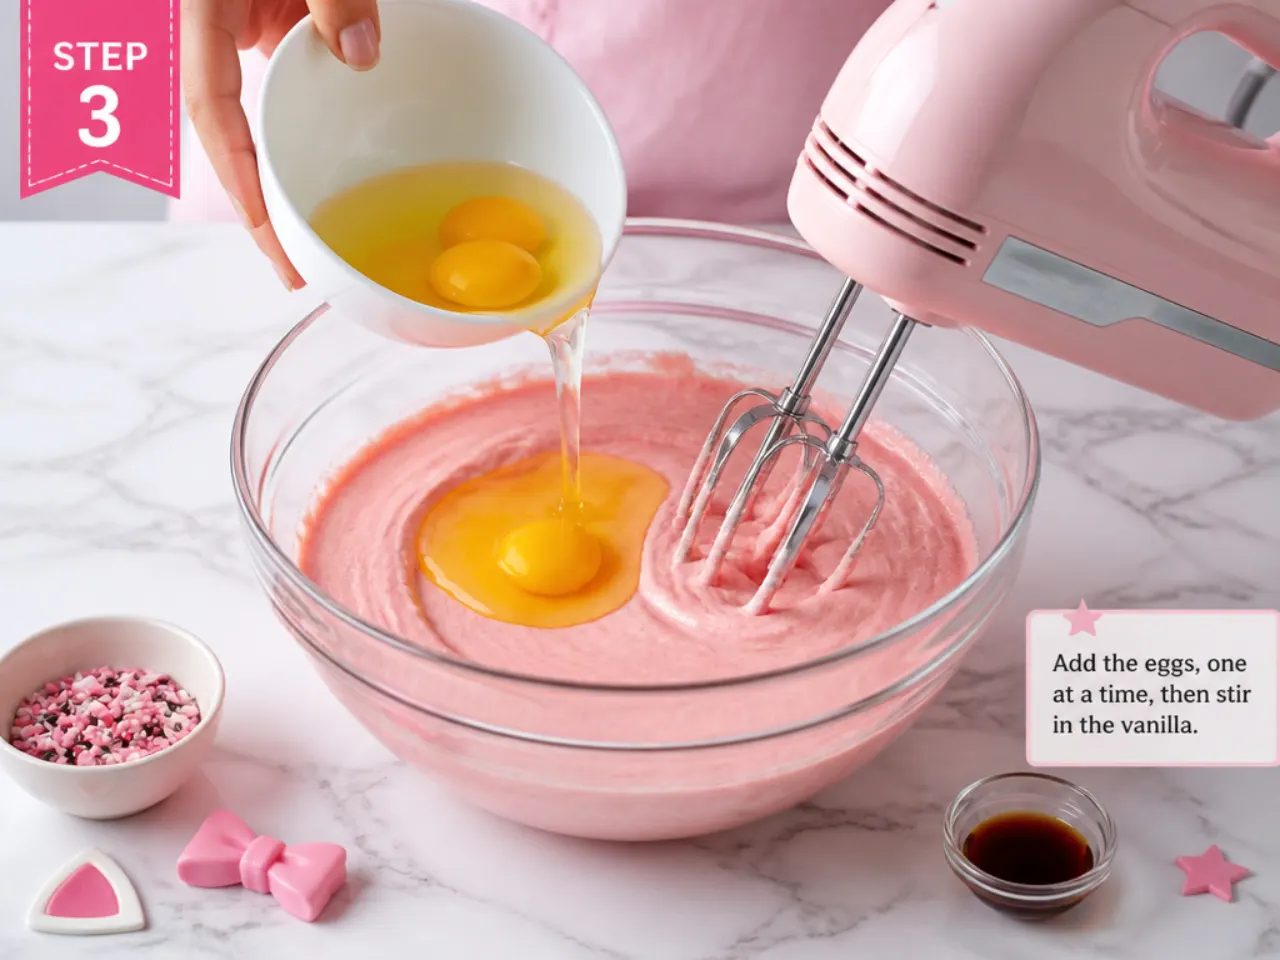
Add the eggs one at a time, beating well after each so the batter stays smooth and does not curdle. Mix in the vanilla extract. If the mixture looks slightly split, add a spoonful of the flour to bring it back together.
Step 4: Alternate flour and milk
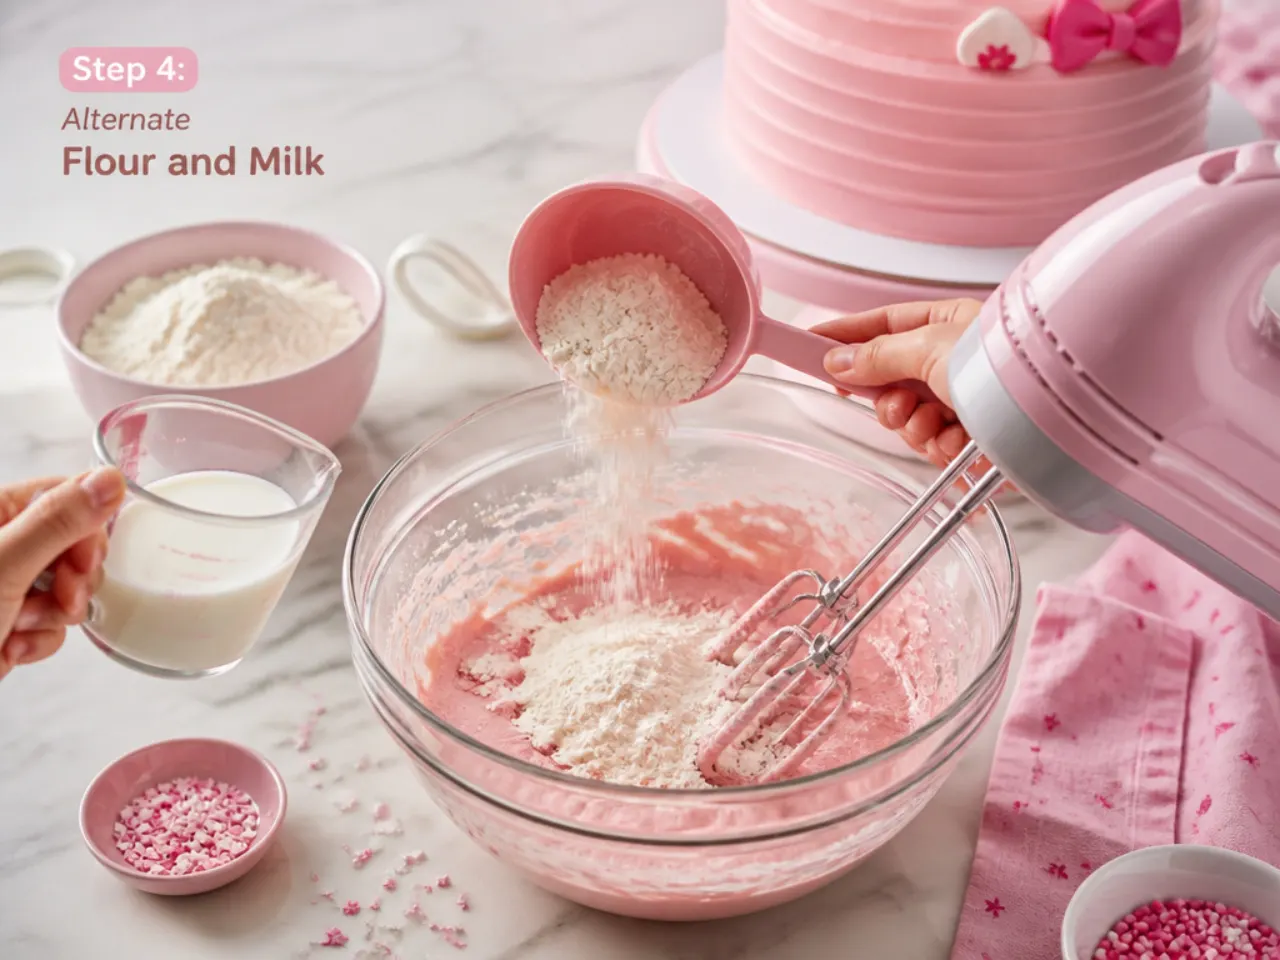
With the mixer on low, add the sifted flour mixture in three parts, alternating with the milk in two parts, starting and ending with flour. Mix just until combined and no dry streaks remain; overmixing here makes the cake tough. If using strawberries, fold them in gently by hand now.
Step 5: Bake the layers
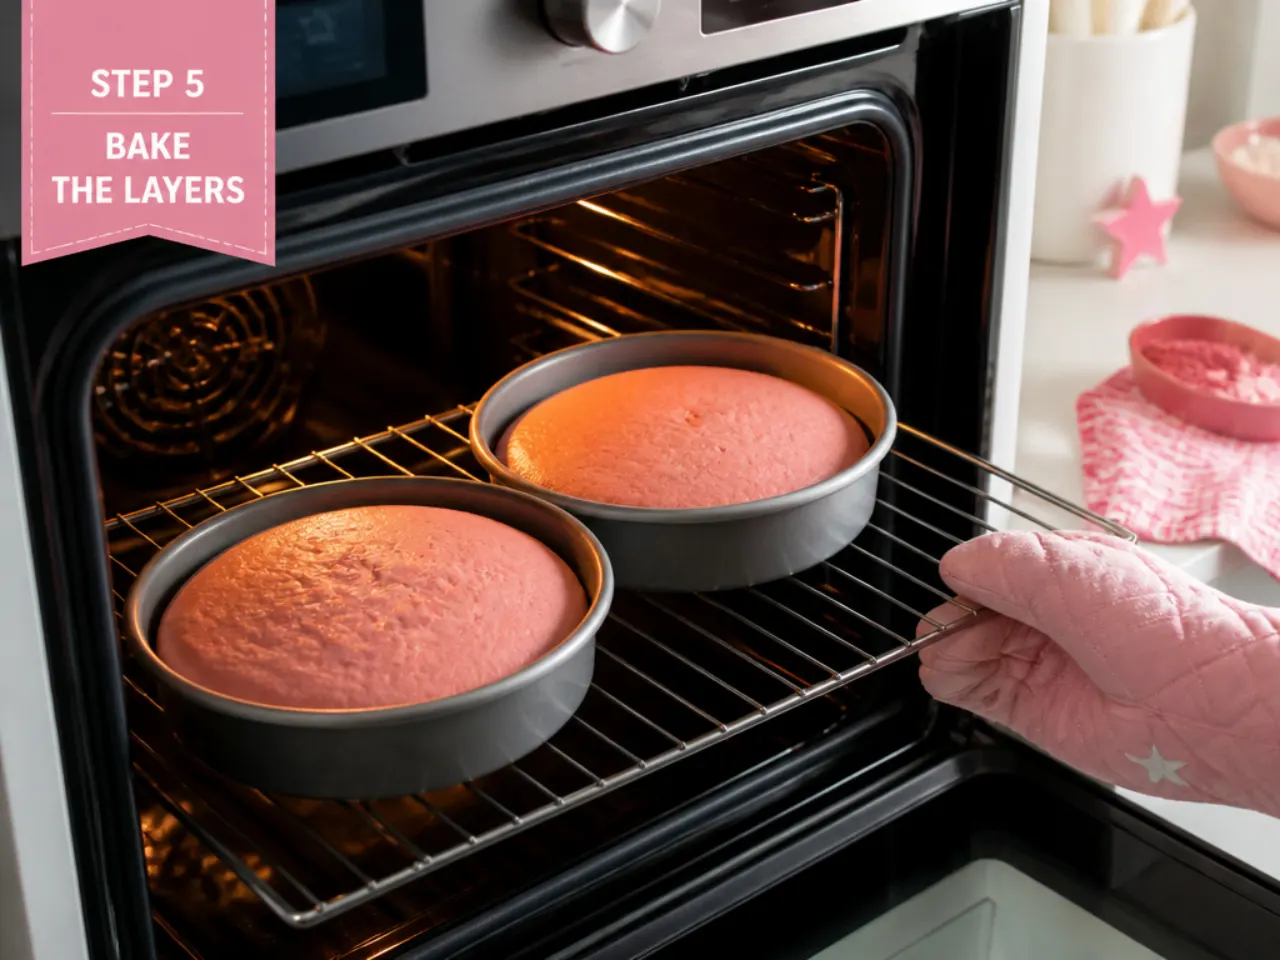
Divide the batter evenly between the two pans and level the tops. Bake at 175°C (350°F) for 28-32 minutes, until a skewer inserted in the center comes out clean and the tops spring back. Cool in the pans for 10 minutes, then turn out onto a wire rack to cool completely before frosting.
Step 6: Make and tint the buttercream
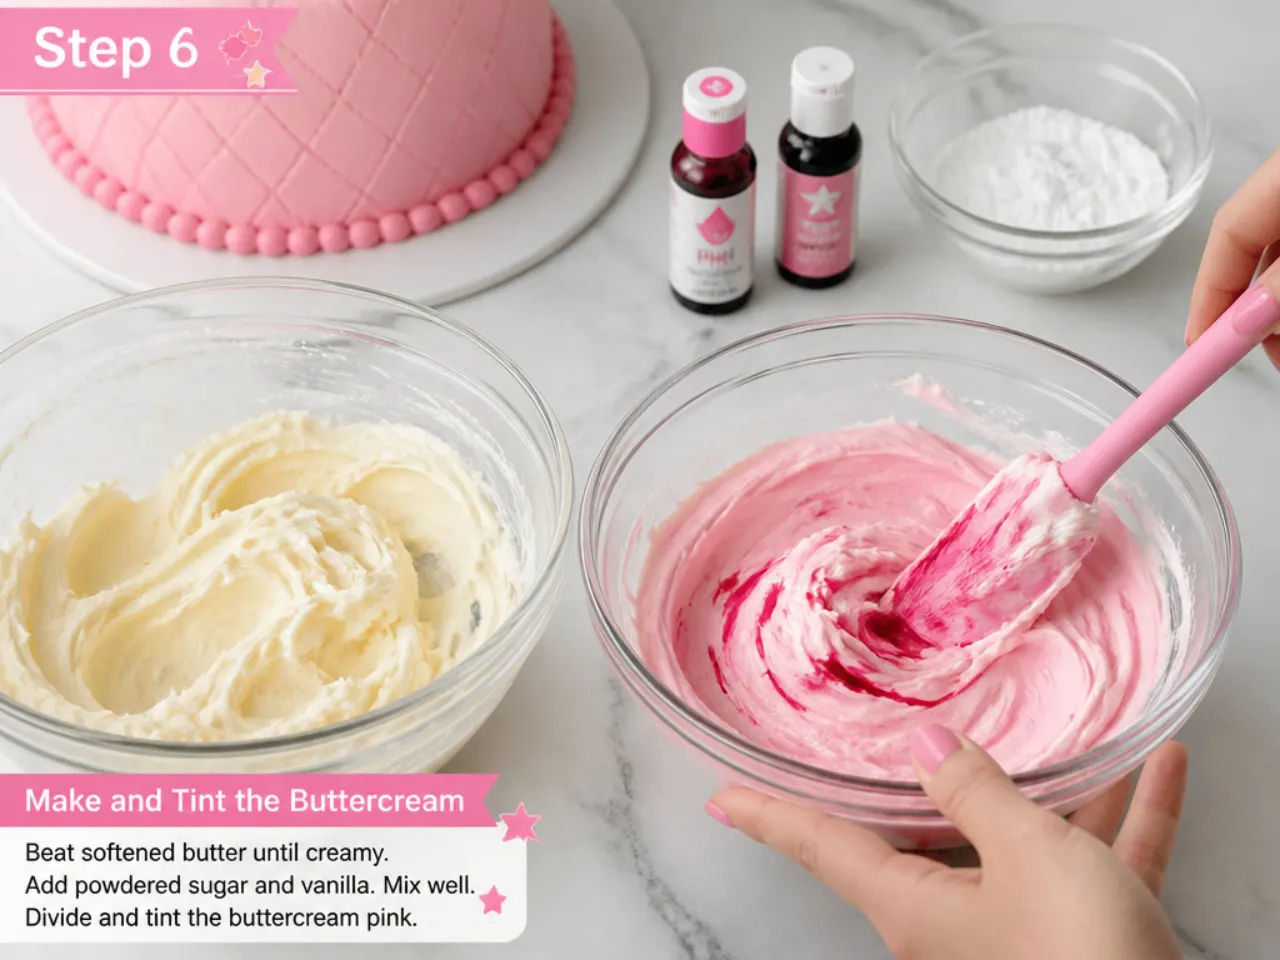
Beat 455g softened butter for 3 minutes until creamy, then add the sifted icing sugar one cup at a time on low, followed by 1 teaspoon vanilla and 2-3 tablespoons of milk to loosen. Beat 3 more minutes until smooth. Set aside about a third for accents, then tint the rest a soft pink with a drop of gel coloring, adding more one dab at a time to reach your shade.
Step 7: Crumb-coat, frost, and decorate
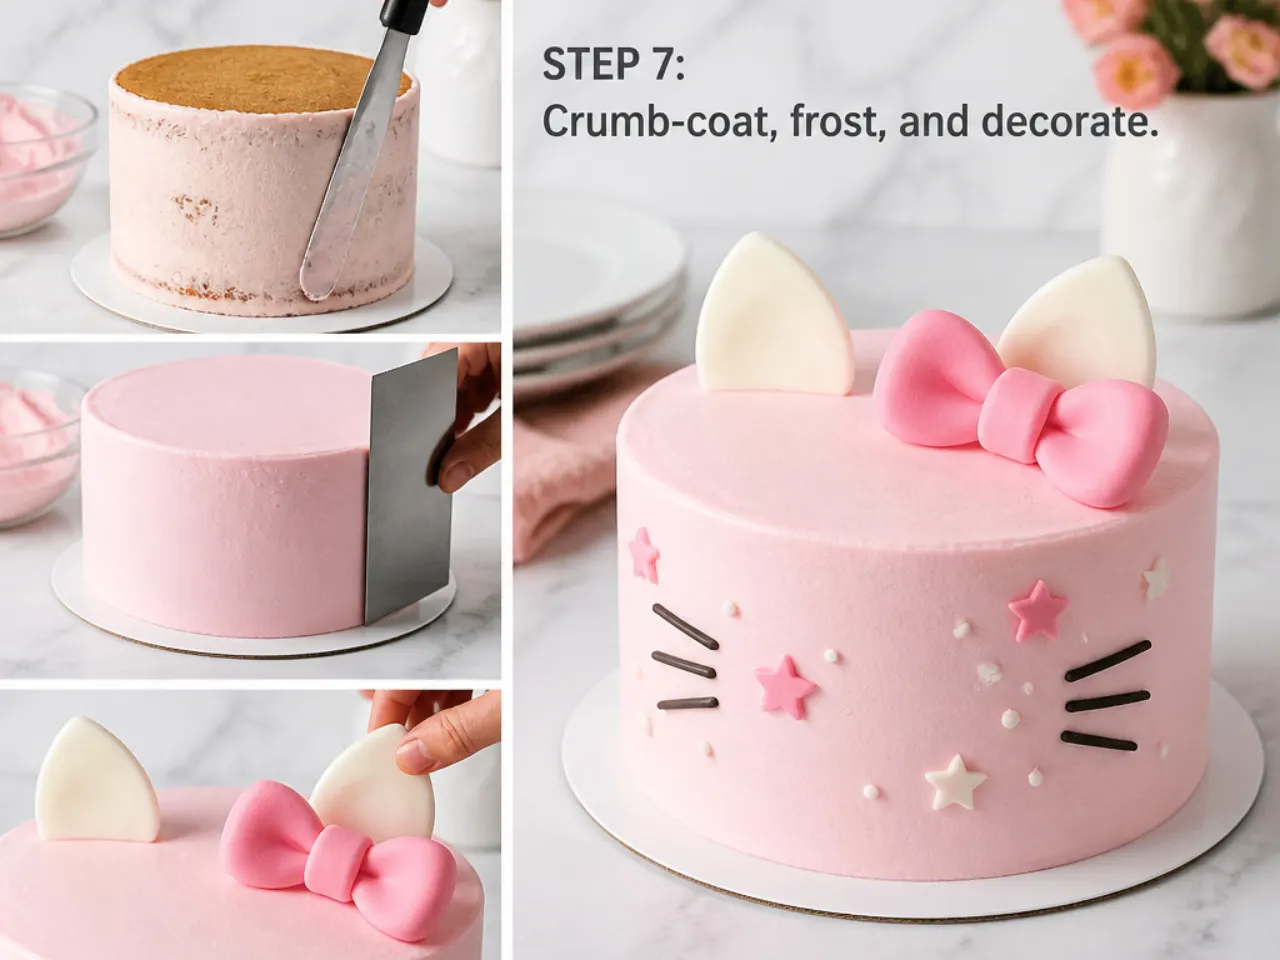
Level the cooled layers, stack with a layer of buttercream between them, then cover the whole cake in a thin crumb coat and chill 20 minutes. Apply a final pink coat and smooth with a warm bench scraper. Finish with your chosen kitty-inspired details, such as a fondant bow, white polka dots, or a piped shell border using a Wilton 21 tip.
Frequently Asked Questions
Use gel or paste food coloring rather than liquid, and add it one small dab at a time. Pink deepens as it rests, so tint the buttercream a shade lighter than you want and let the cake sit a few hours; the color intensifies on its own. Over-coloring is what causes the bitter, chemical taste, so stopping early keeps the flavor clean.
Save this for later 📌
Pin this article to your Pinterest board so the full list is one tap away when you need it.
Save on Pinterest