5 Mistakes I Made Baking a Football Cake
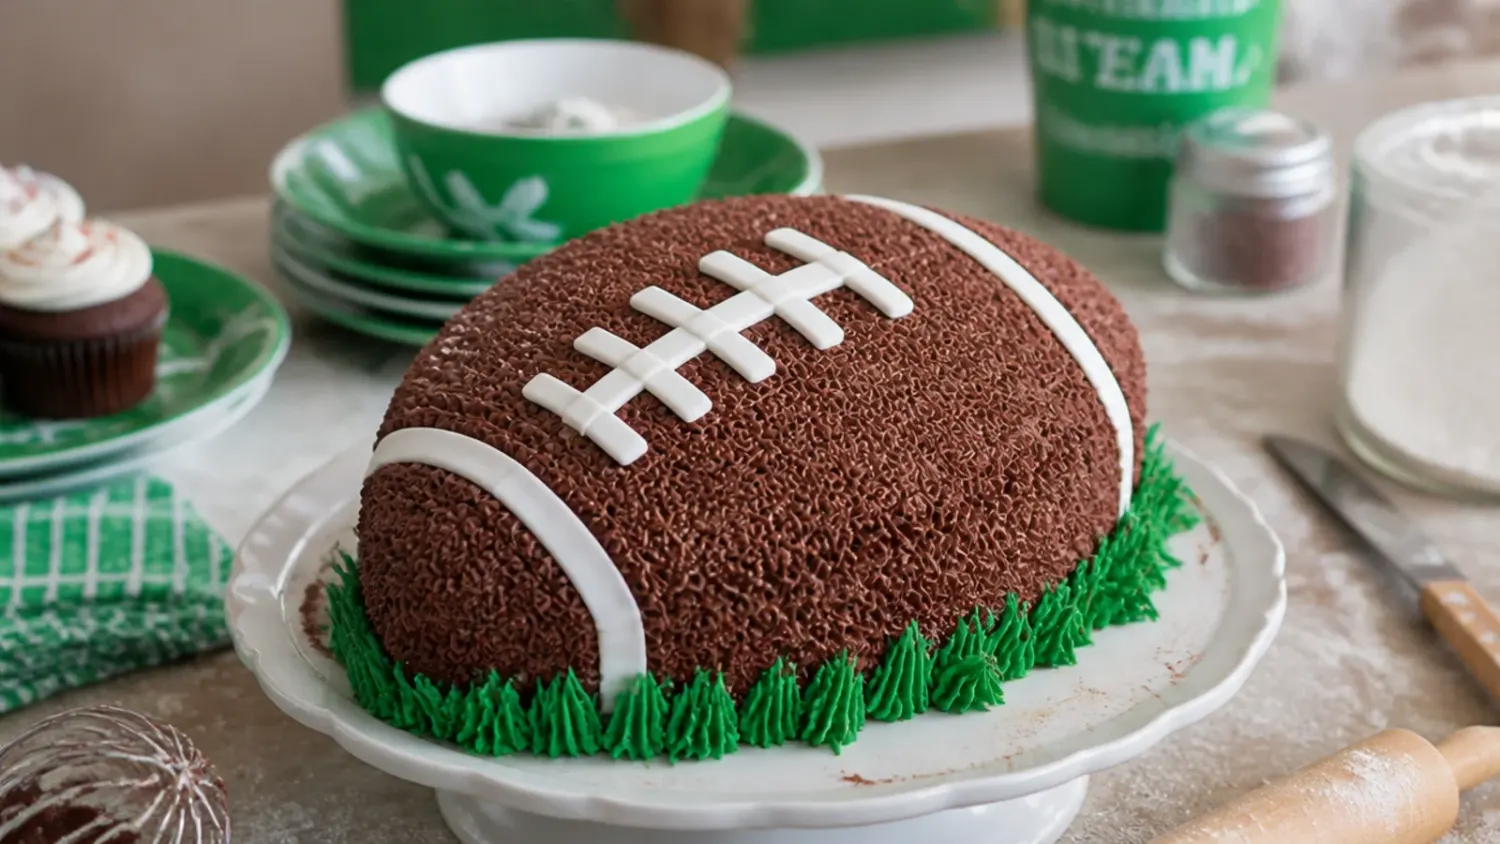
I made every mistake possible on my first homemade football cake — here are the 5 lessons, the round-tin shape trick, and the lace tip that fixed it. If you love football cake inspiration, start with our Football Cake Ideas collection, then browse the full Cake Ideas hub for more.
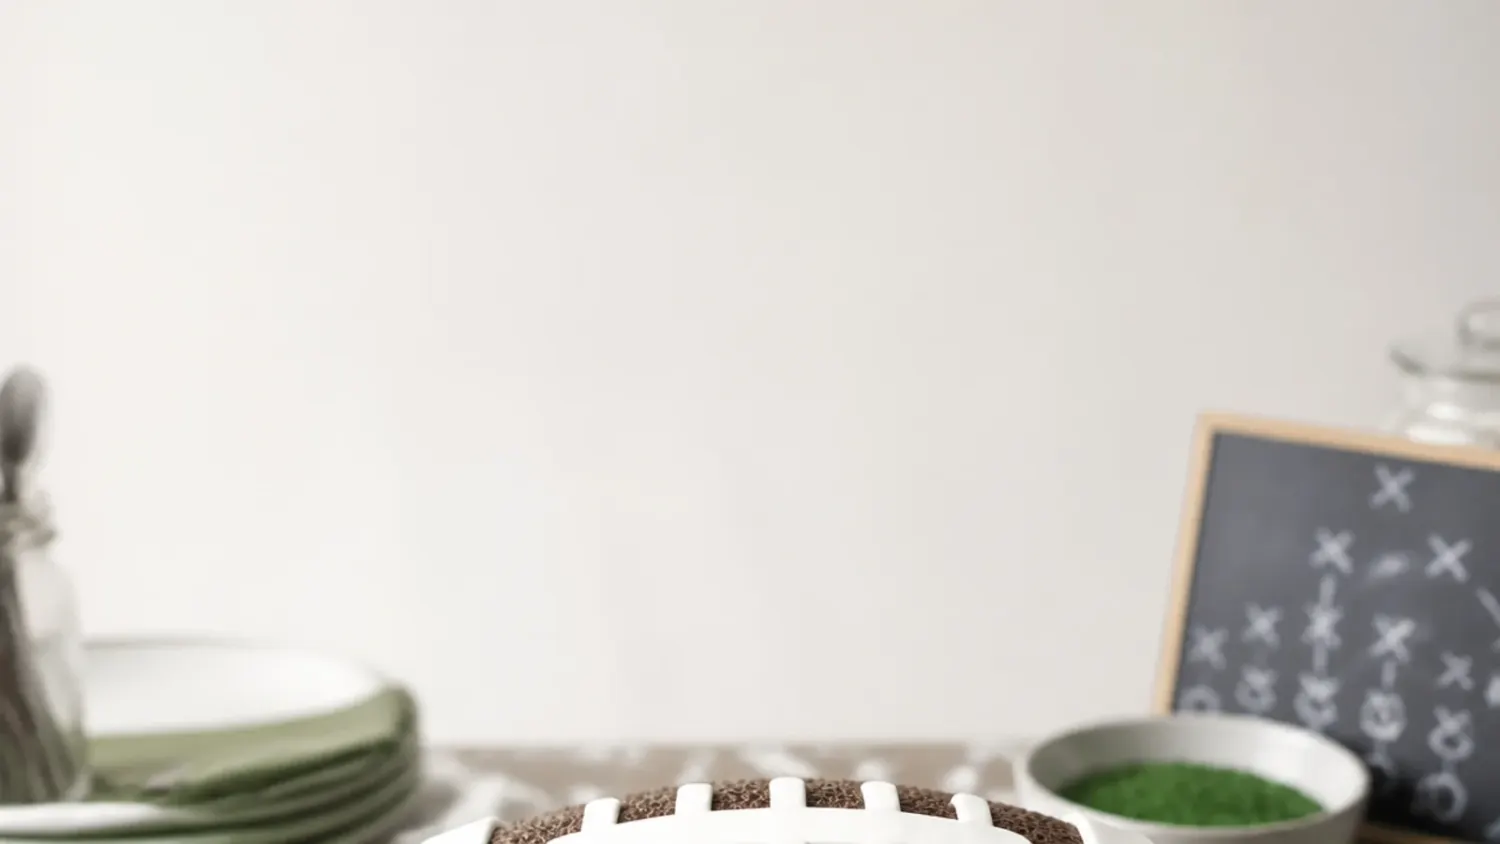
Save this for later 📌
Pin this article to your Pinterest board so the full list is one tap away when you need it.
Save on PinterestCake Ideas
Beginner
Kitchen Journal
5 steps
Table of Contents
Lesson 1: You Don't Need a Football-Shaped Tin
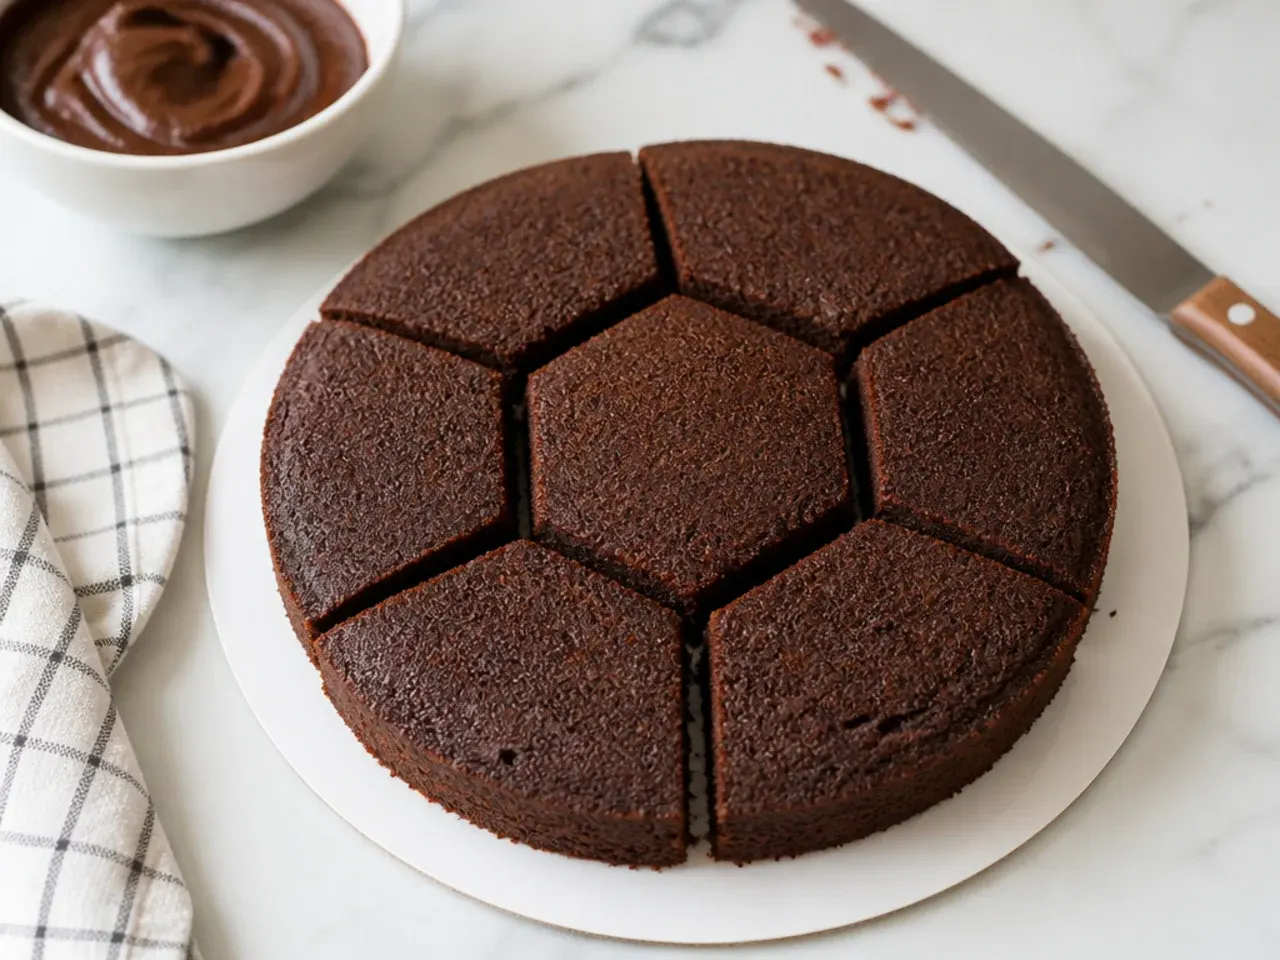
I spent two days hunting for a football-shaped tin before my first attempt, and I'm glad I never bought one. The trick I eventually found: bake two 20cm (8 inch) round layers, stack them with buttercream, then cut a 5cm (2 inch) strip straight across the middle of the whole cake. Push the two curved halves together and the flat cut edges meet in the centre while the remaining curves taper to a point at each end — an instant football. It works because removing that central strip narrows the middle: the two rounded sides become the football's long curves, and the cut edges pull in to form the pointed ends. The finished shape is a little shorter than the original round but properly oval and pointed. Total shaping time was under ten minutes, and no carving skill was required.
Lesson 2: Never Frost a Warm Cake
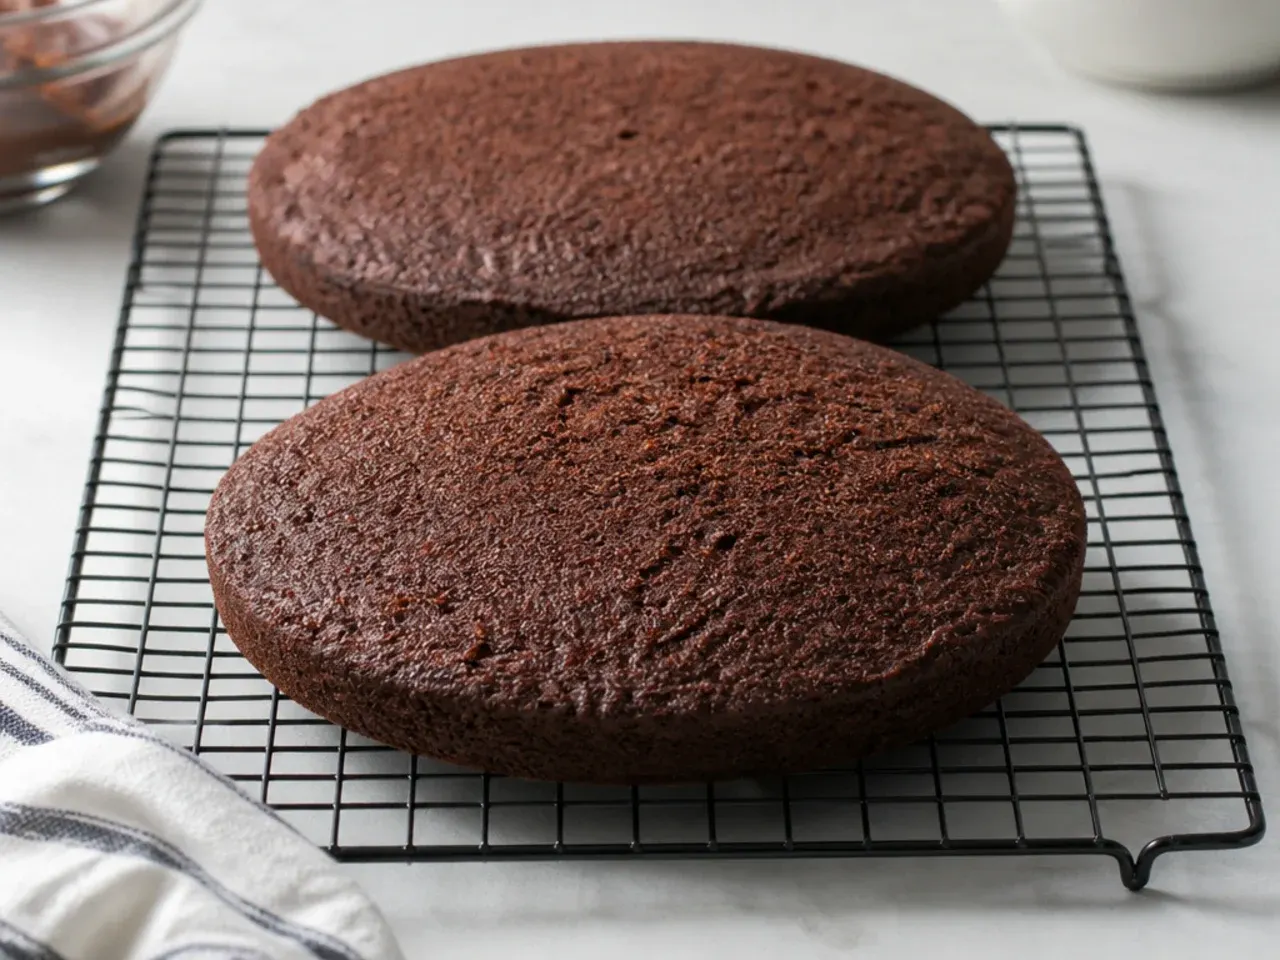
My first layers came out of the oven at 180°C (350°F) looking perfect, and I ruined them by frosting barely 30 minutes later. The buttercream melted on contact, slid down the sides, and dragged crumbs through whatever was left. Now I cool the layers in their tins for 10 minutes, move them to a wire rack for a full hour, then chill the stacked cake in the fridge for 30 minutes (or the freezer for 15) before any frosting touches it. A cold cake also crumbs far less when you cut the football shape. Warm sponge plus butter-based frosting is physics you cannot argue with — butter melts at around 32°C (90°F), and a fresh cake is well above that.
Lesson 3: Glue the Halves or They Will Slide
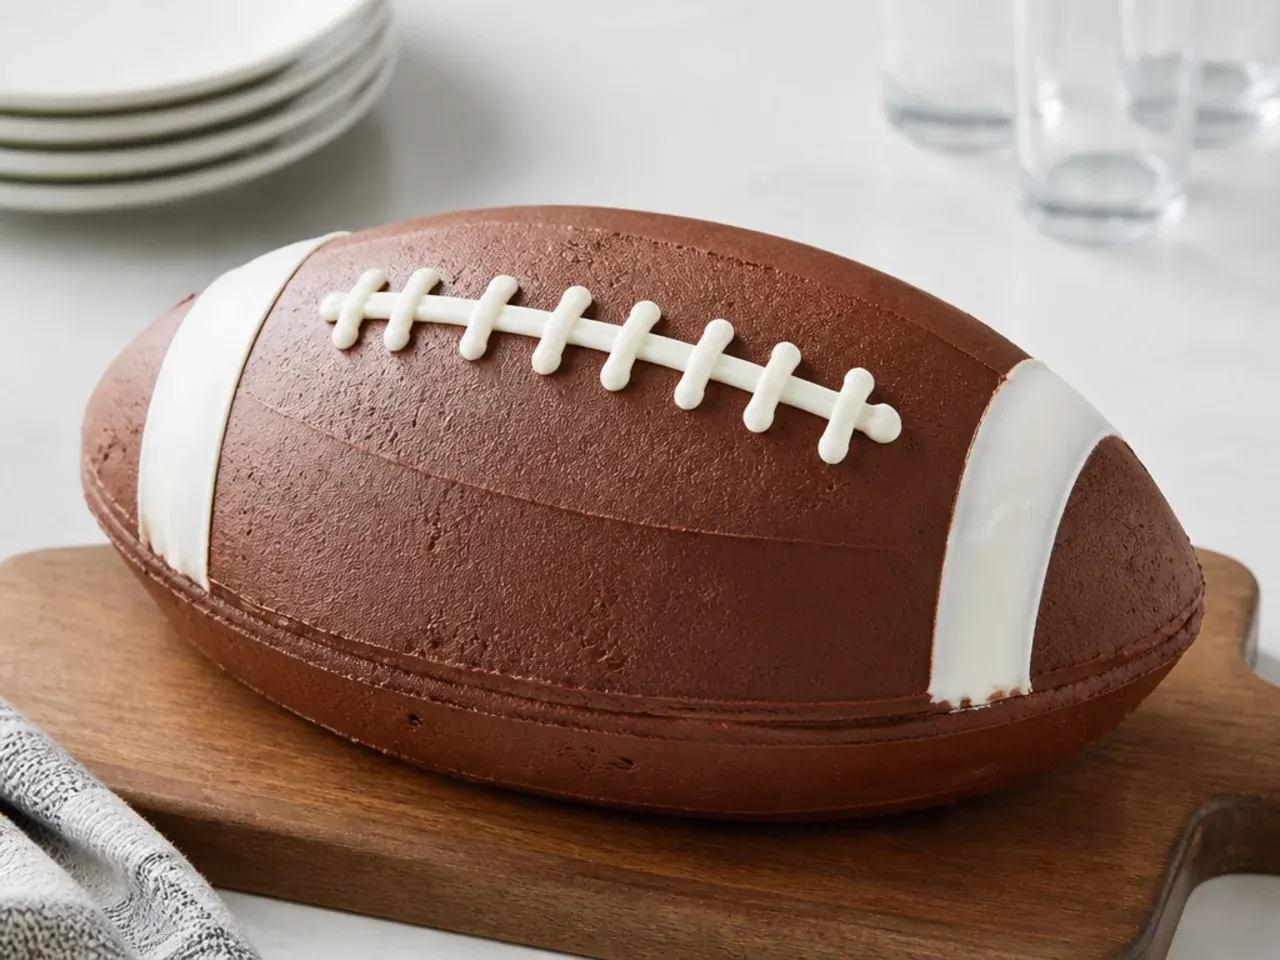
Halfway through frosting, my two halves slowly drifted apart and the seam opened like a fault line. The fix costs nothing: spread a thin layer of buttercream on both cut edges before pressing them together, and put a smear of frosting under the cake to glue it to the board. Then chill the assembled shape for 15 minutes in the freezer so that 'glue' sets before you frost. If the seam still gapes, a spoonful of melted chocolate pressed into the join hardens like cement — a rescue I picked up from another baker after my disaster. One more thing: build the cake on the board you will serve it from, with strips of baking paper tucked underneath to catch drips, because a shaped, frosted football cake does not survive being moved.
Lesson 4: Flat Ribbon Tips Make Real Laces
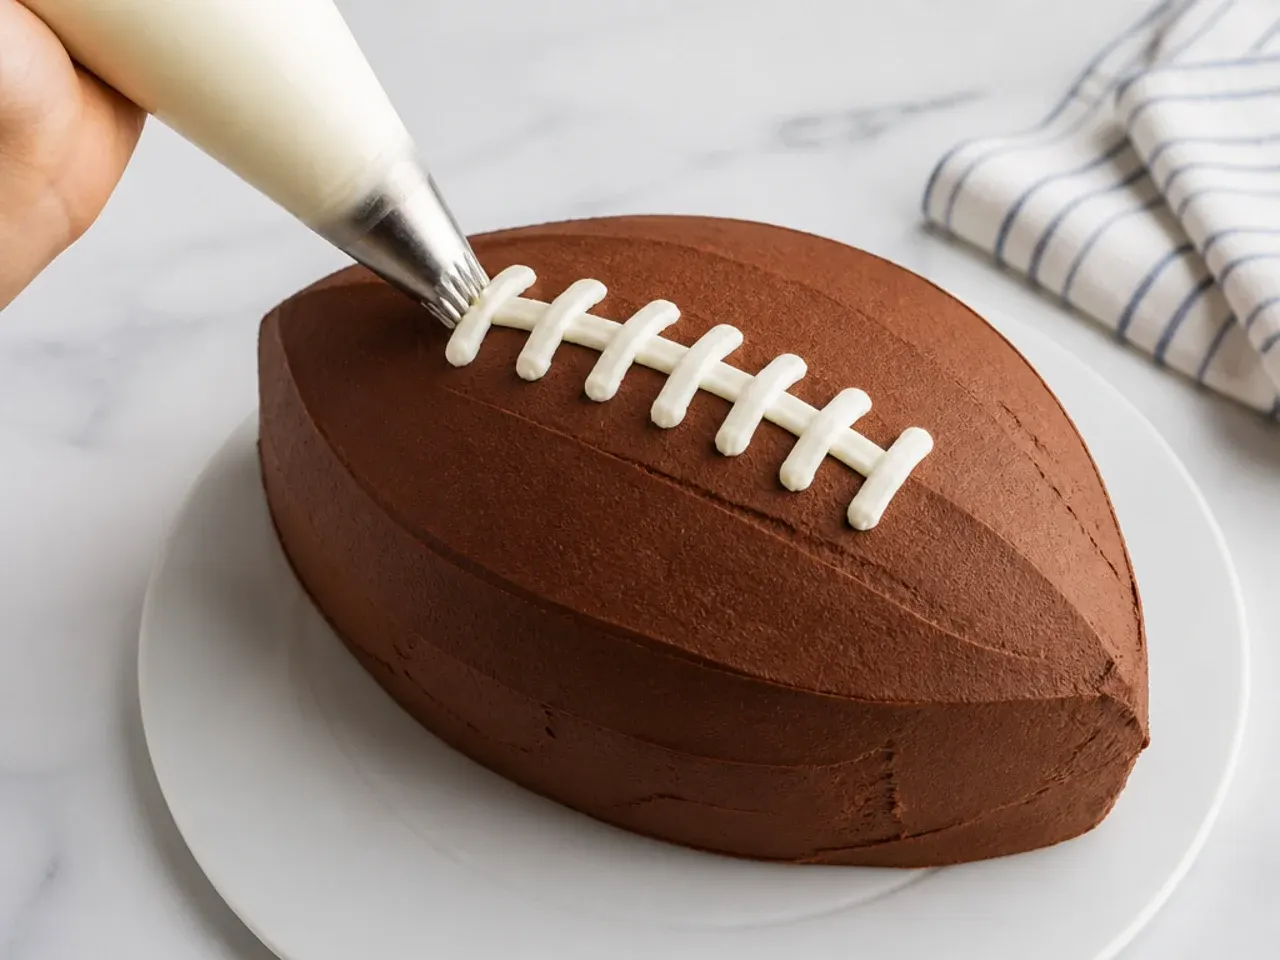
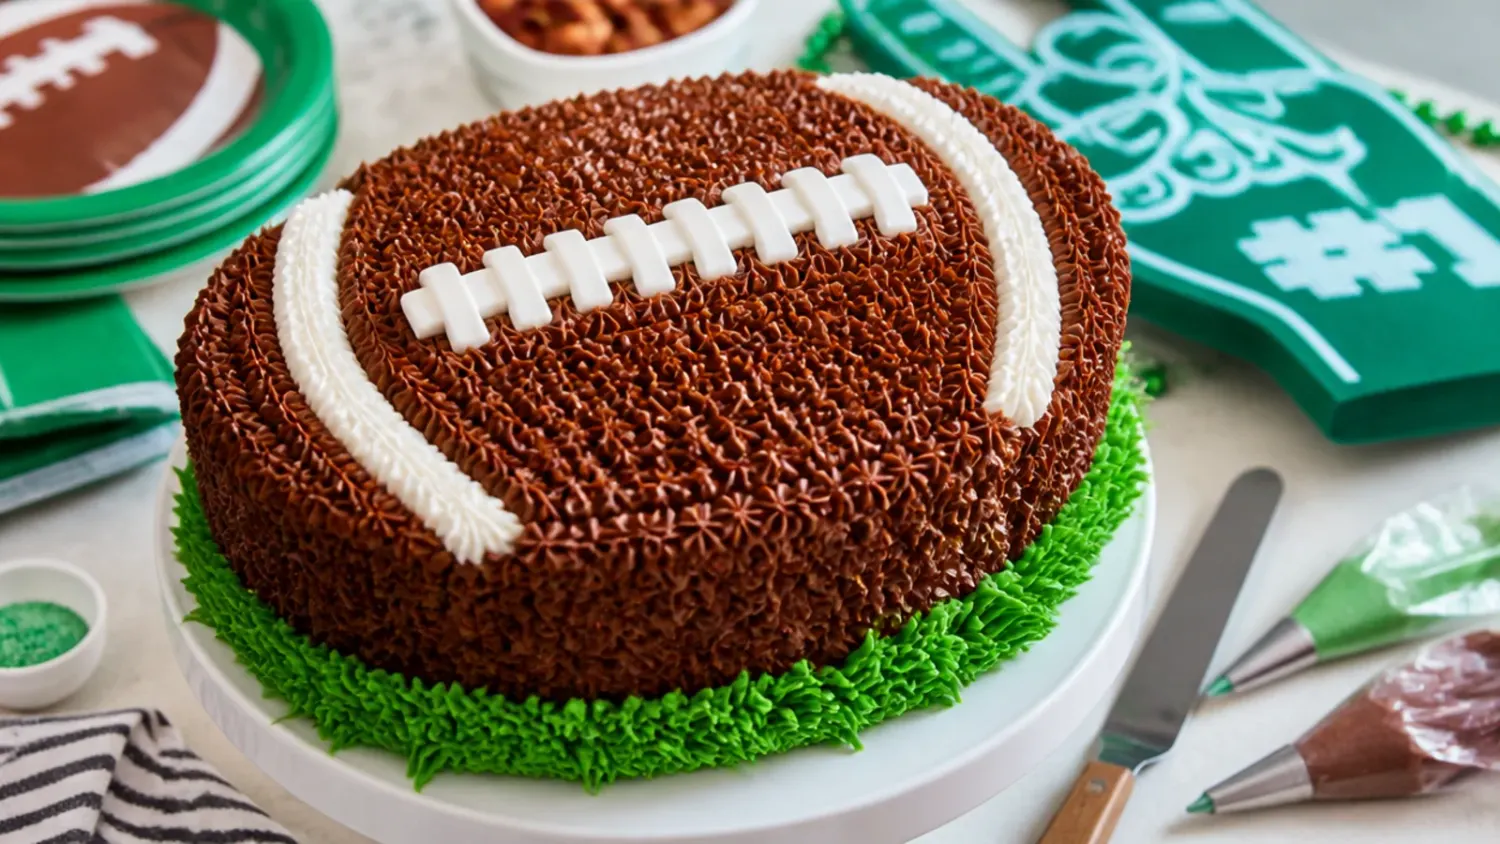
My first set of laces looked like white spaghetti because I piped them with a plain round tip. Football laces are flat, so you want a flat ribbon tip — Wilton 47 or Ateco 45, smooth side up — or simply snip a 5mm opening straight across the end of a piping bag. Pipe the long centre seam first, running the length of the cake, then add five to seven short crossbars about 2.5cm (1 inch) wide, evenly spaced. Practise two or three laces on a sheet of baking paper first, because the pressure feels different than you expect. I also reserve a few tablespoons of plain buttercream before beating in the cocoa, which saves making a separate white icing just for the laces.
Lesson 5: Cut a Wide Strip and Deepen the Brown
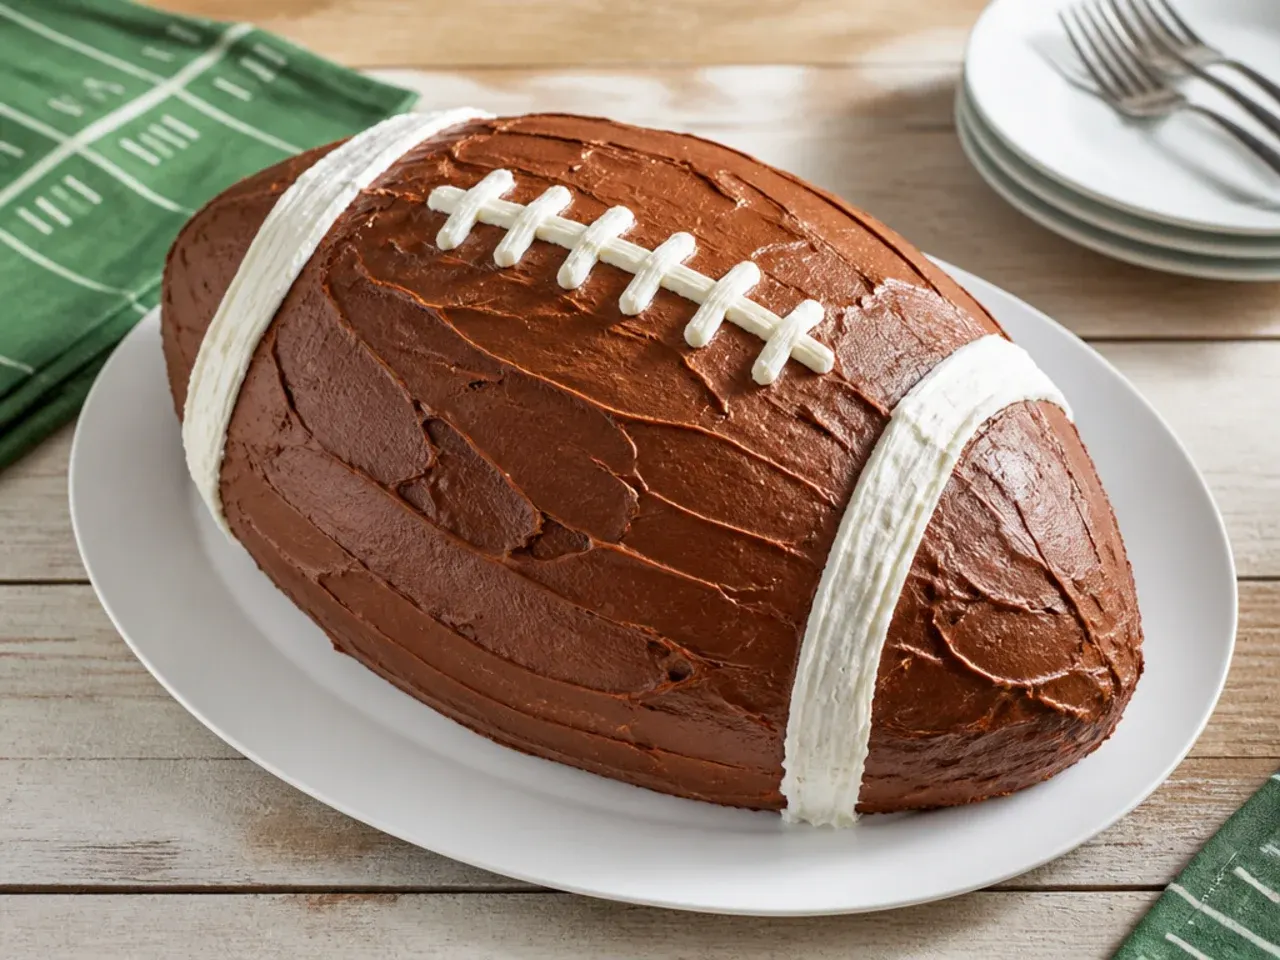
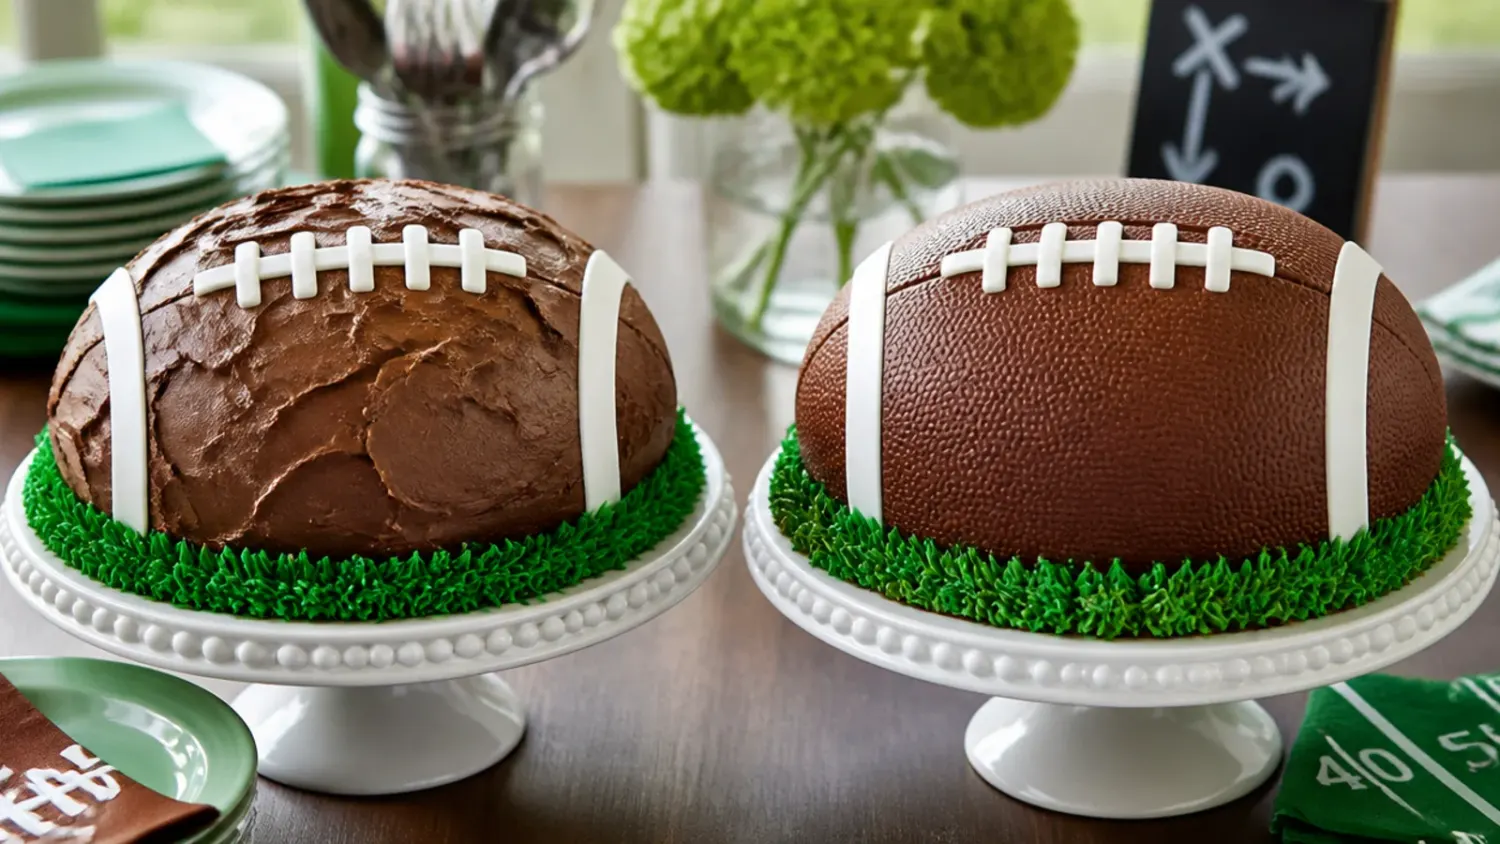
My first cake looked like a football-shaped blob of milk chocolate, because the strip I removed was too narrow and my frosting was too pale. The width of the centre strip controls how pointed the ends are: for a 20cm (8 inch) cake, remove a full 5cm (2 inch) strip — the 2.5cm (1 inch) some tutorials suggest left me with an egg. For colour, I now beat an extra tablespoon of cocoa dissolved in a teaspoon of hot water into the buttercream, which deepens it from pale tan to a proper russet brown; a small drop of brown gel colour works too. For texture, lightly dab the frosted surface all over with a scrunched piece of kitchen paper — the pebbled finish reads as leather from across the room. Small details, but they are the difference between 'cute try' and 'where did you buy that'.
What I'd Tell a Friend Trying This
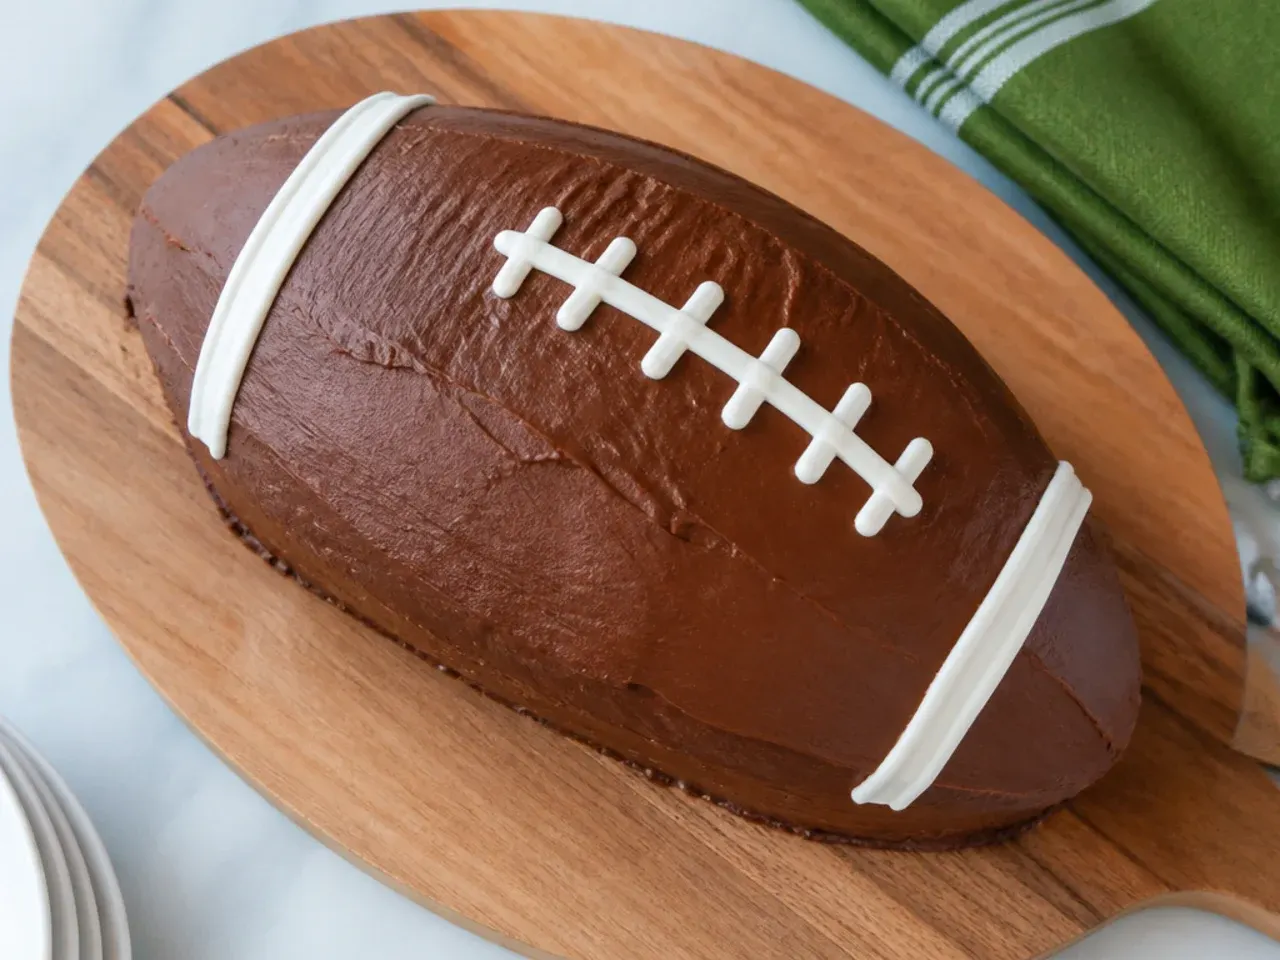
Bake the layers the day before, wrap them in cling film once completely cold, and they will actually cut cleaner the next day. Give yourself 90 unhurried minutes for stacking, shaping and decorating — every disaster I've described happened because I was rushing before guests arrived. Don't bin the offcut strip: it makes half a dozen cake pops, or crumble it over ice cream. The finished cake keeps 2-3 days in an airtight container at cool room temperature; refrigerate it in warm weather and let it stand for an hour before serving so the buttercream softens. And if your laces wobble, nobody cares — mine have wobbled at four parties now, and the cake has vanished every single time.
The Recipe
The Recipe I Used
50 min
35 min
1 hr 25 min
12
Beginner
Ingredients 12 Person(s)
Directions
Step 1: Mix the Batter
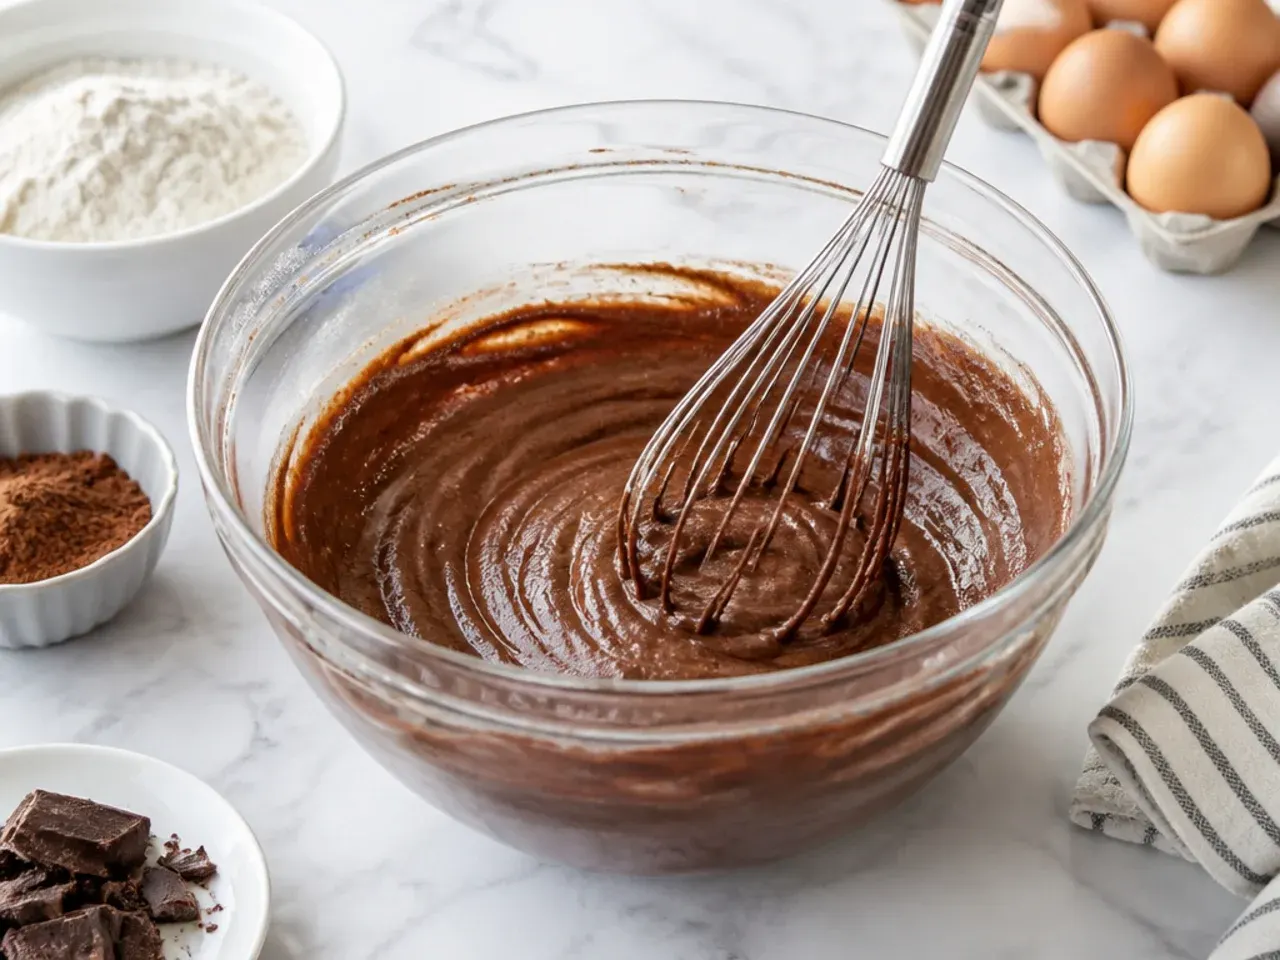
Heat the oven to 180°C/350°F (160°C fan/gas 4) and grease and line two 20cm (8 inch) round sandwich tins. Whisk the flour, caster sugar, 85g of the cocoa, baking powder and bicarbonate of soda together in a large bowl. Add the eggs, 250ml milk, oil and 2 tsp vanilla and beat with an electric mixer for about 2 minutes until smooth. Stir in the boiling water in two additions — the batter will look alarmingly thin, and that is exactly right; it is what makes the crumb moist.
Step 2: Bake and Cool
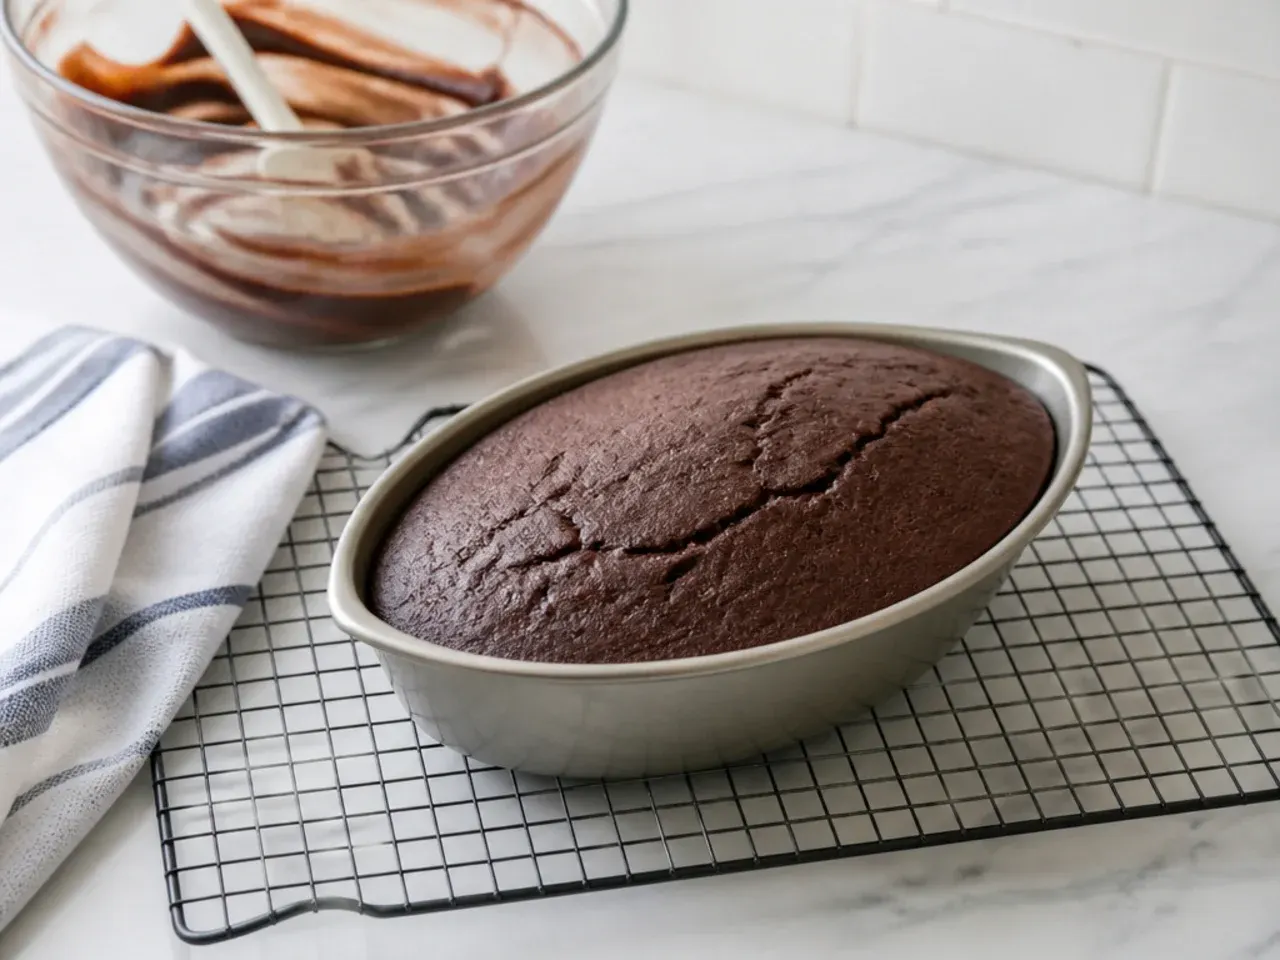
Divide the batter evenly between the two tins and bake for 25-35 minutes, until the tops are firm and a skewer inserted into the centre comes out clean. Cool in the tins for 10 minutes, then turn out onto a wire rack and leave until completely cold, about 1 hour. If the layers have domed, level the tops with a serrated knife.
Step 3: Make the Buttercream
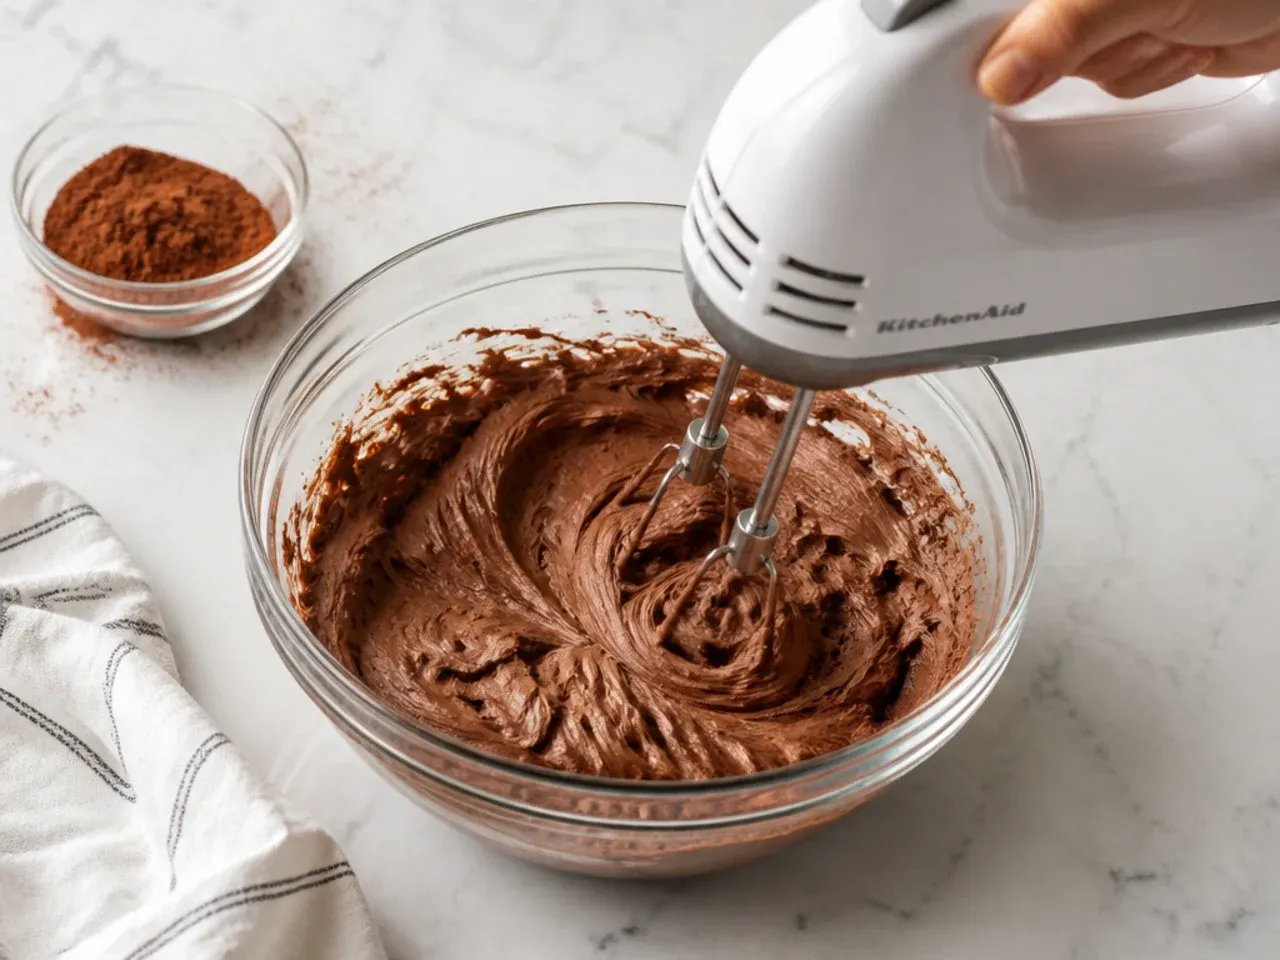
Beat the softened butter for 3-4 minutes until pale and fluffy. Add the icing sugar in two batches, beating slowly at first so it doesn't cloud the kitchen, then beat in 1 tsp vanilla. Spoon 4 tablespoons of this plain white buttercream into a small bowl and set it aside for the laces. Beat the remaining 50g cocoa and 3 tablespoons of milk into the rest until smooth and spreadable.
Step 4: Stack and Chill
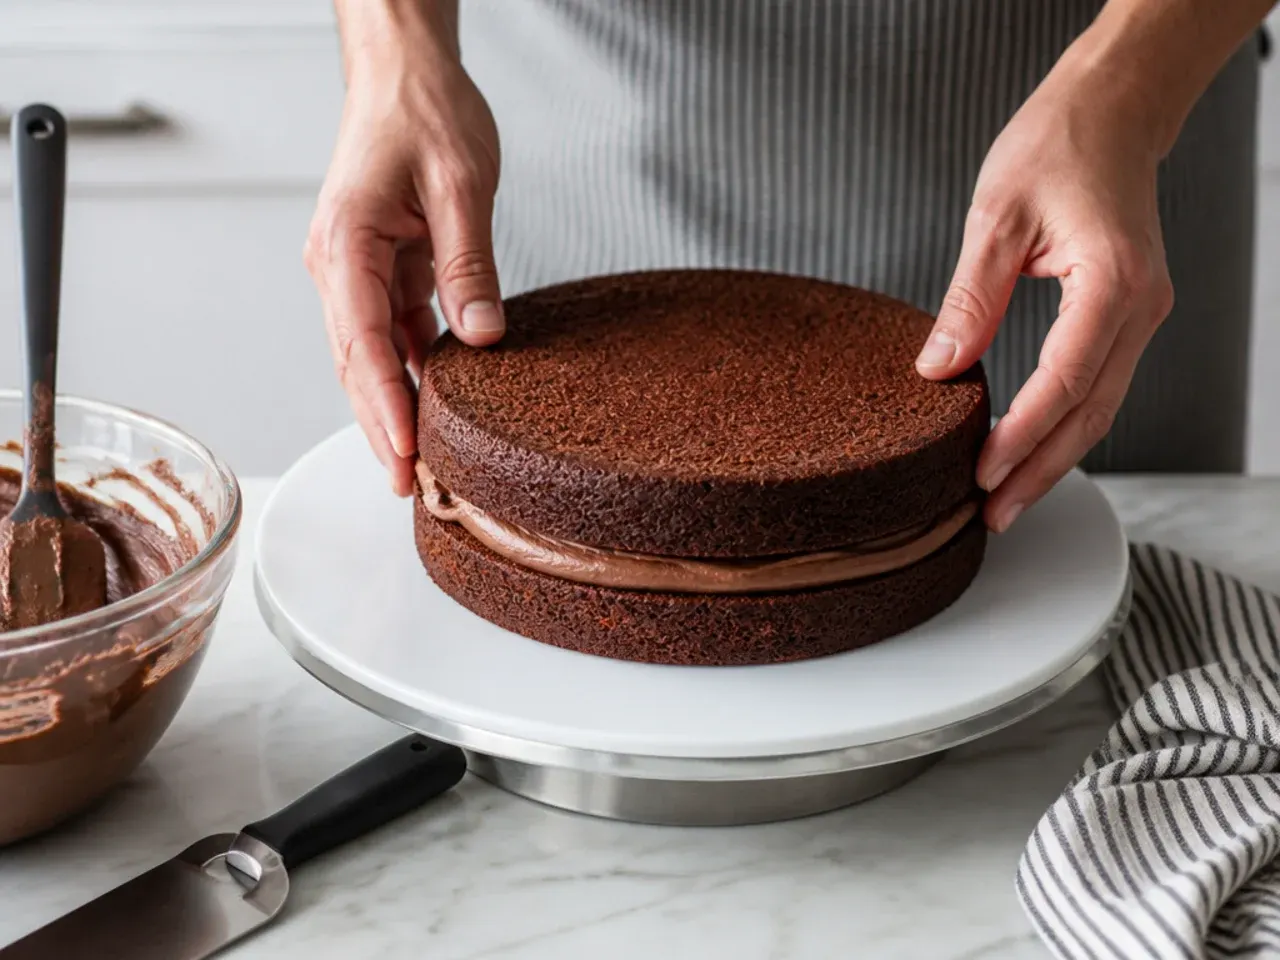
Set one layer flat side down on your serving board, spread about a quarter of the chocolate buttercream over the top, then place the second layer on top, flat side up. Chill the stacked cake in the fridge for 30 minutes, or the freezer for 15 — a cold cake cuts cleanly in the next step instead of tearing.
Step 5: Cut the Football Shape
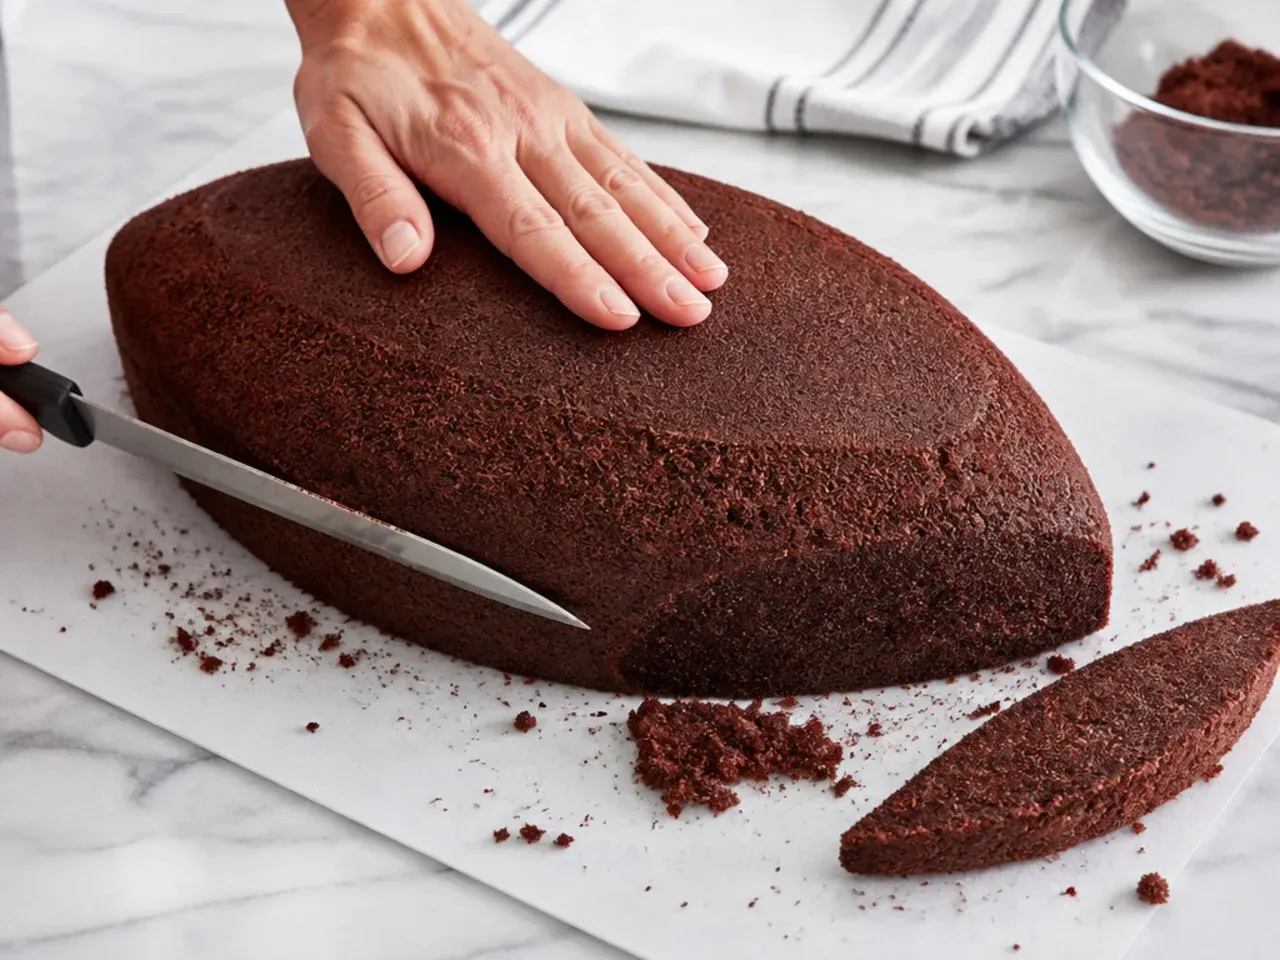
Cut a straight 5cm (2 inch) wide strip out of the centre of the cake: find the middle line, then slice 2.5cm (1 inch) to either side of it, cutting down through both layers. Lift out the strip and save it for cake pops. Spread a little buttercream on both cut edges, push the two halves together so the flat edges meet, and press gently — the curves taper into a pointed football shape. Anchor the cake to the board with a smear of frosting underneath, then freeze for 15 minutes so the join sets firm.
Step 6: Frost and Texture
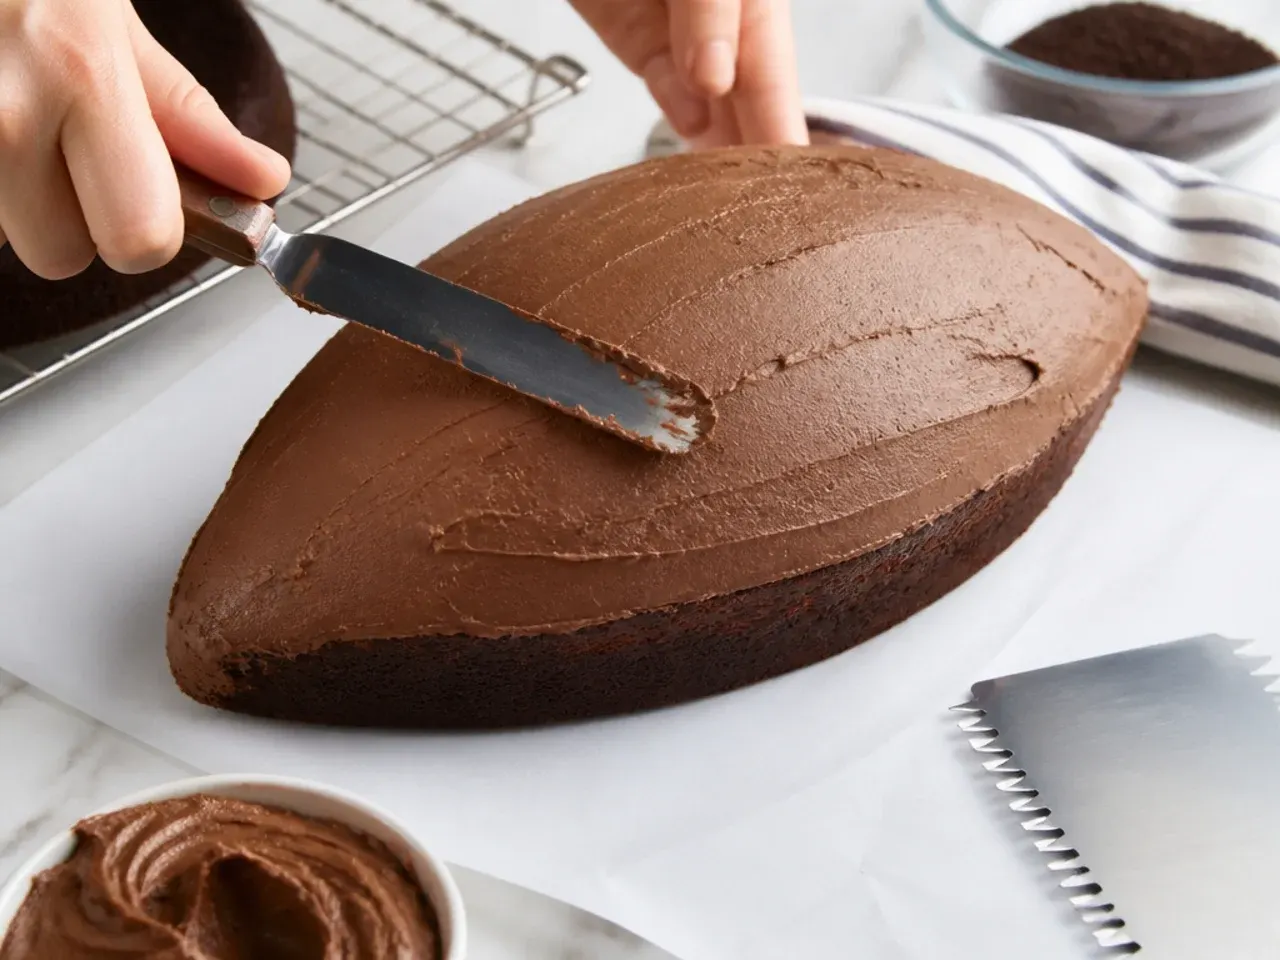
Spread a thin crumb coat of chocolate buttercream over the whole cake, sealing the joined seam, and chill for 20 minutes. Apply the remaining buttercream in an even final coat with a palette knife. For a leather-look finish, lightly dab the surface all over with a scrunched piece of kitchen paper, or drag the knife tip in long strokes running from point to point.
Step 7: Pipe the Laces
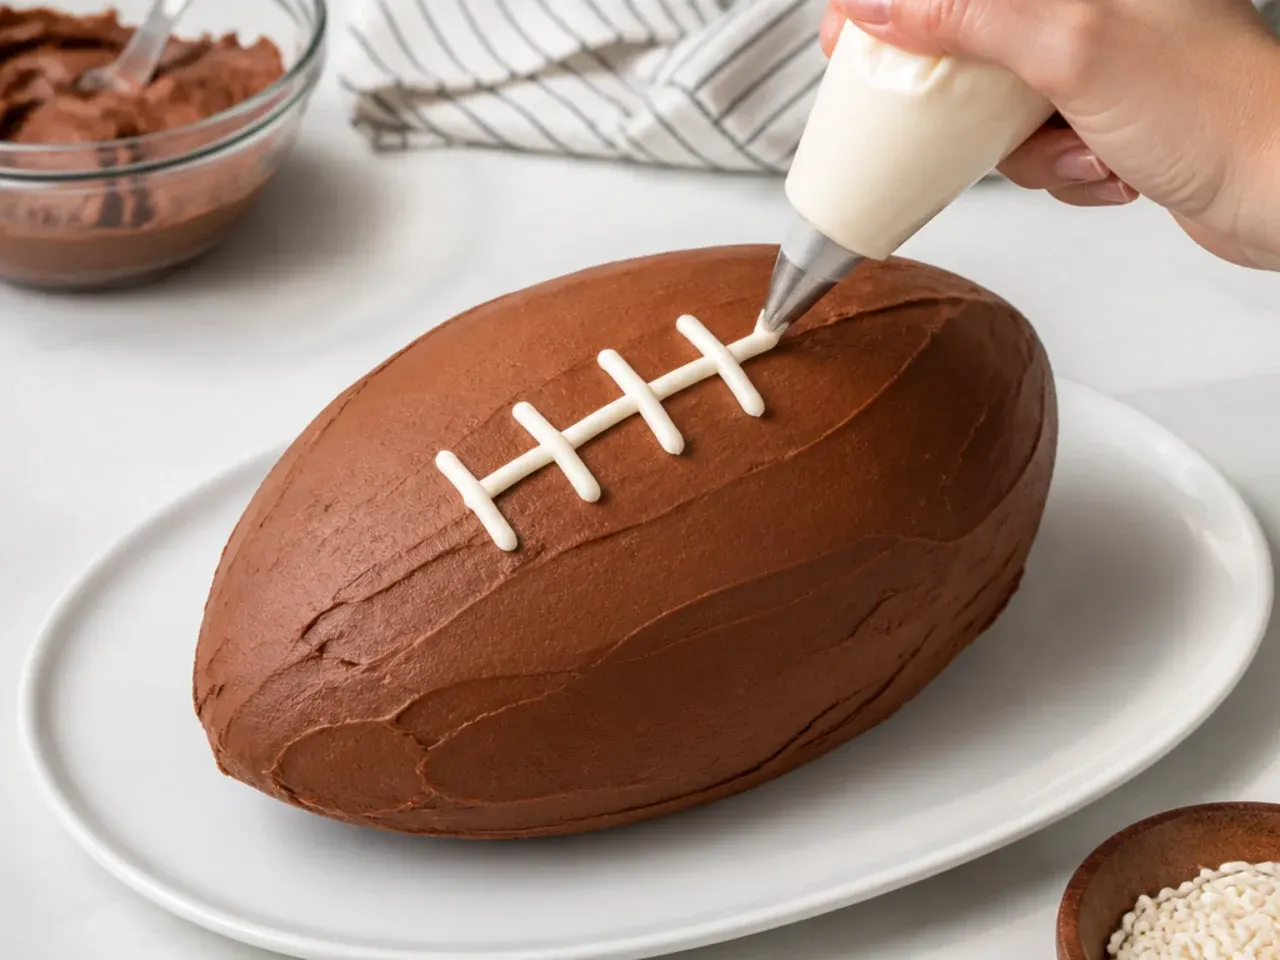
Fill a piping bag fitted with a Wilton 47 or Ateco 45 flat ribbon tip (or snip a 5mm opening straight across the bag) with the reserved white buttercream. Pipe one long seam line down the centre of the football, then five to seven short crossbars about 2.5cm (1 inch) long across it, evenly spaced. Chill the finished cake for 15 minutes to set the laces, then keep it at cool room temperature until serving.
Frequently Asked Questions
Yes — every version I've made used ordinary 20cm (8 inch) round tins. Cut a 5cm (2 inch) strip from the centre of the round cake, push the two halves together along the cut edges, and the curves form a pointed football shape. No carving or template needed.
Save this for later 📌
Pin this article to your Pinterest board so the full list is one tap away when you need it.
Save on Pinterest