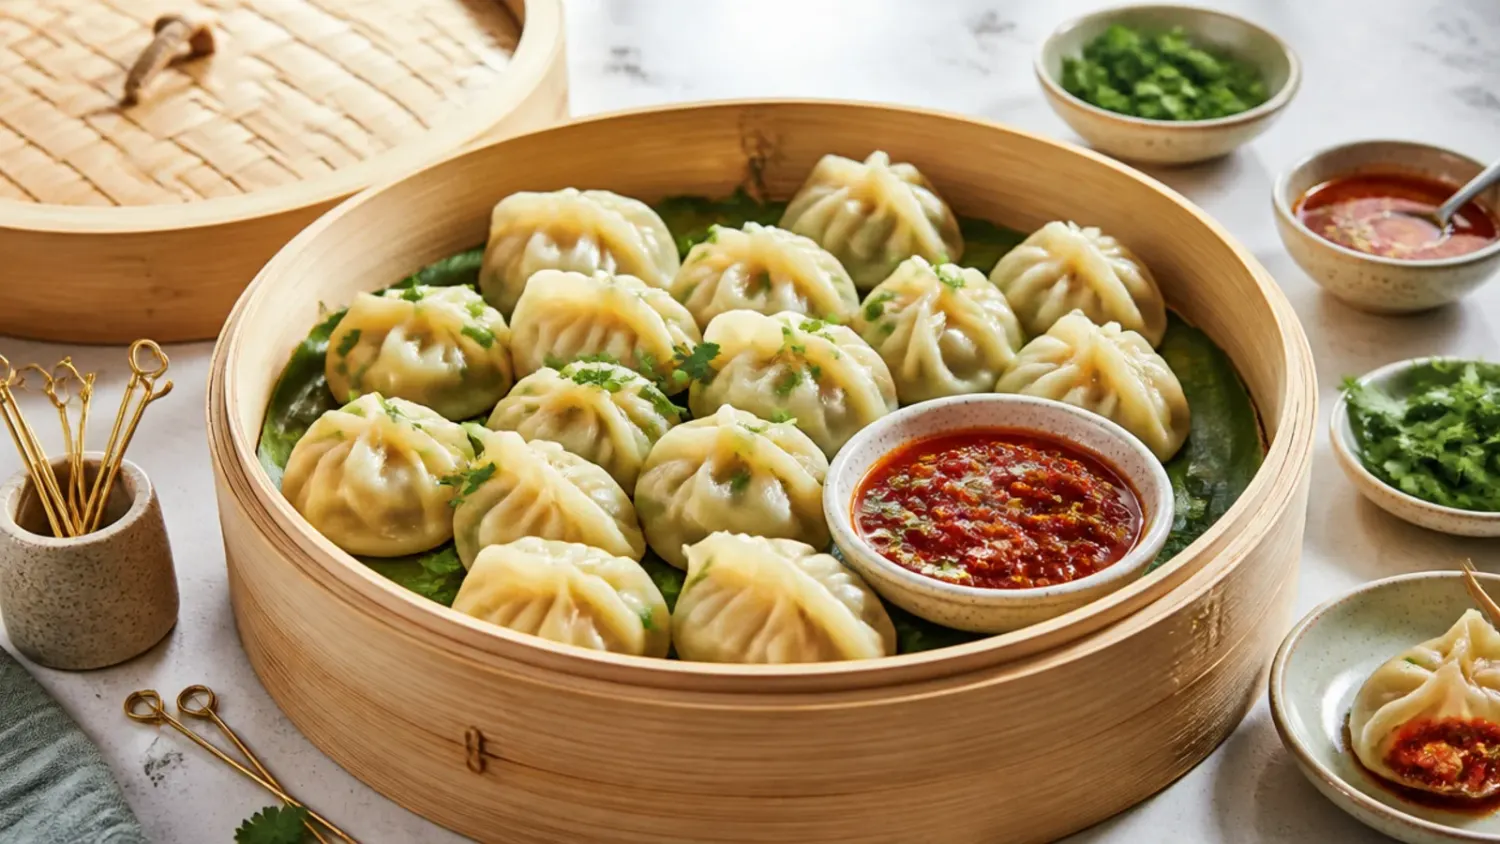
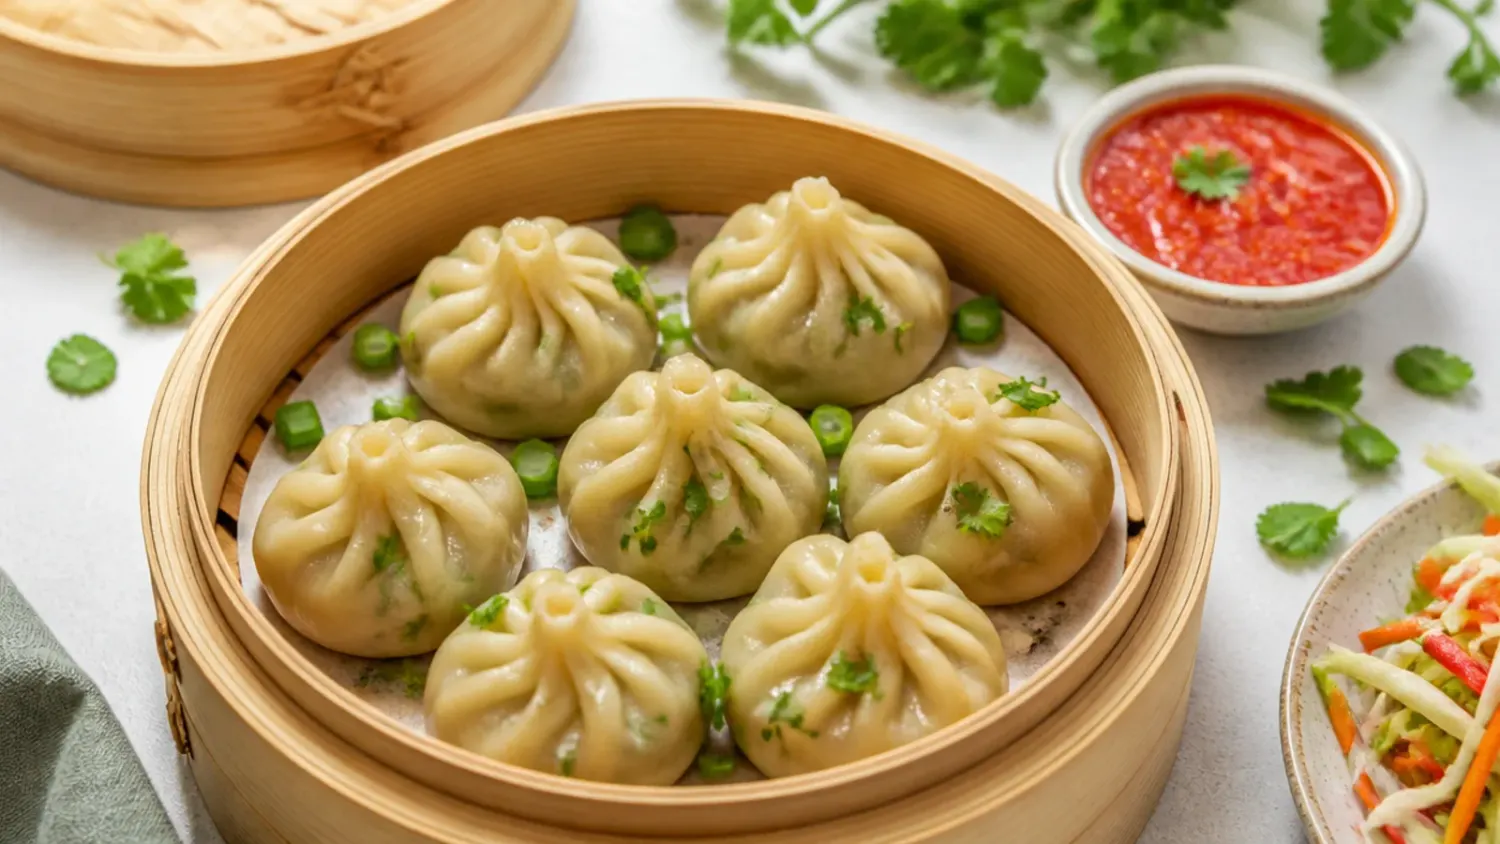
5 Mistakes I Made Making Momos at Home
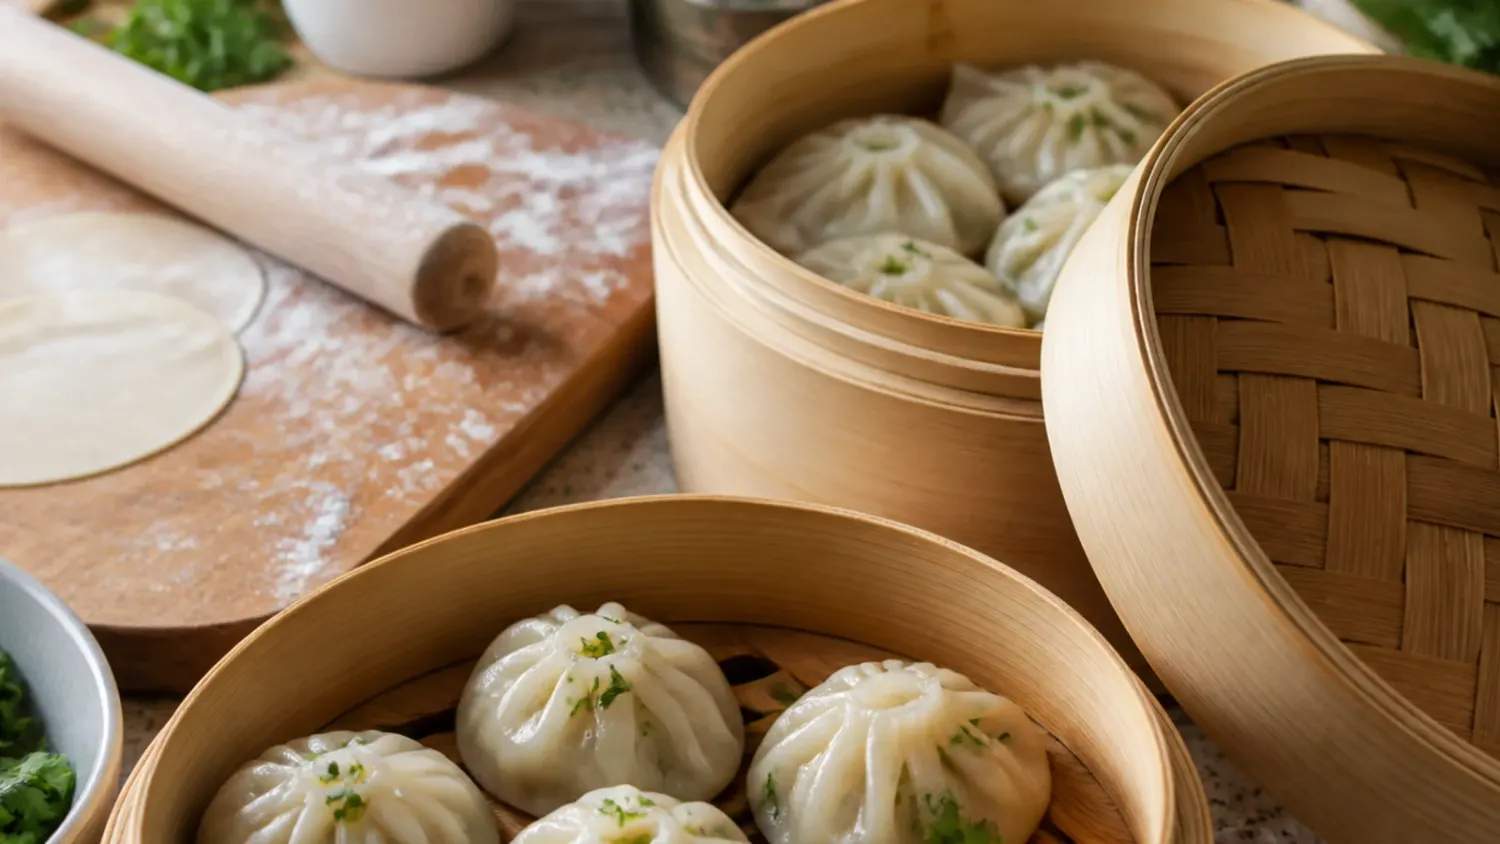
I burst, split and steamed my first batches into rubber. Here are the 5 mistakes I made with homemade momos so you can skip them and get juicy dumplings. If you love momos recipe inspiration, start with our Momos Recipes collection, then browse the full Dinner Recipes hub for more.
Save this for later 📌
Pin this article to your Pinterest board so the full list is one tap away when you need it.
Save on PinterestDinner Recipes
Intermediate
Kitchen Journal
5 steps
Table of Contents
- Lesson 1: I Overfilled Every Single One and They All Burst
- Lesson 2: My Seals Failed Because the Edges Were Dry or Greasy
- Lesson 3: I Used Chicken Breast and the Filling Came Out Dry
- Lesson 4: I Steamed on Bare Metal and Every Momo Welded to the Pan
- Lesson 5: I Over-Steamed Them Trying to Be Safe and They Turned Rubbery
- What I'd Tell a Friend Trying This
- The Recipe I Used
Lesson 1: I Overfilled Every Single One and They All Burst
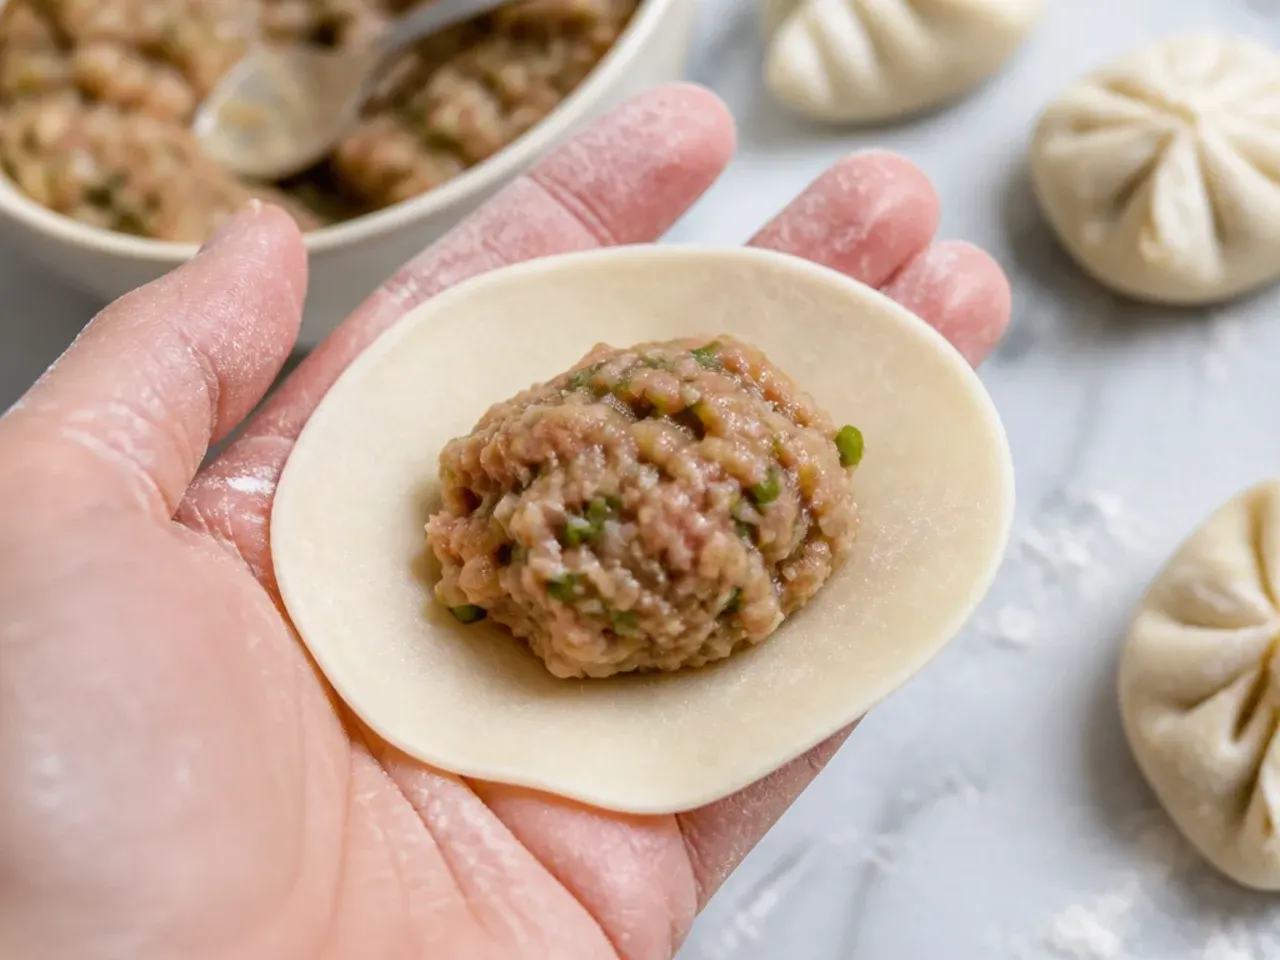
My very first batch looked stuffed and generous, and every one split open in the steamer with filling leaking everywhere. The problem was simple greed: I was cramming nearly two tablespoons of filling into wrappers barely 8cm across. Now I use a level tablespoon, maybe a touch less, and I keep the pile compact in the centre so I have plenty of dough left to pleat and seal. Since I started underfilling on purpose, my burst rate went from every dumpling to basically none. If it looks like there is too much filling to comfortably fold the edges up and pinch them shut, there is.
Lesson 2: My Seals Failed Because the Edges Were Dry or Greasy
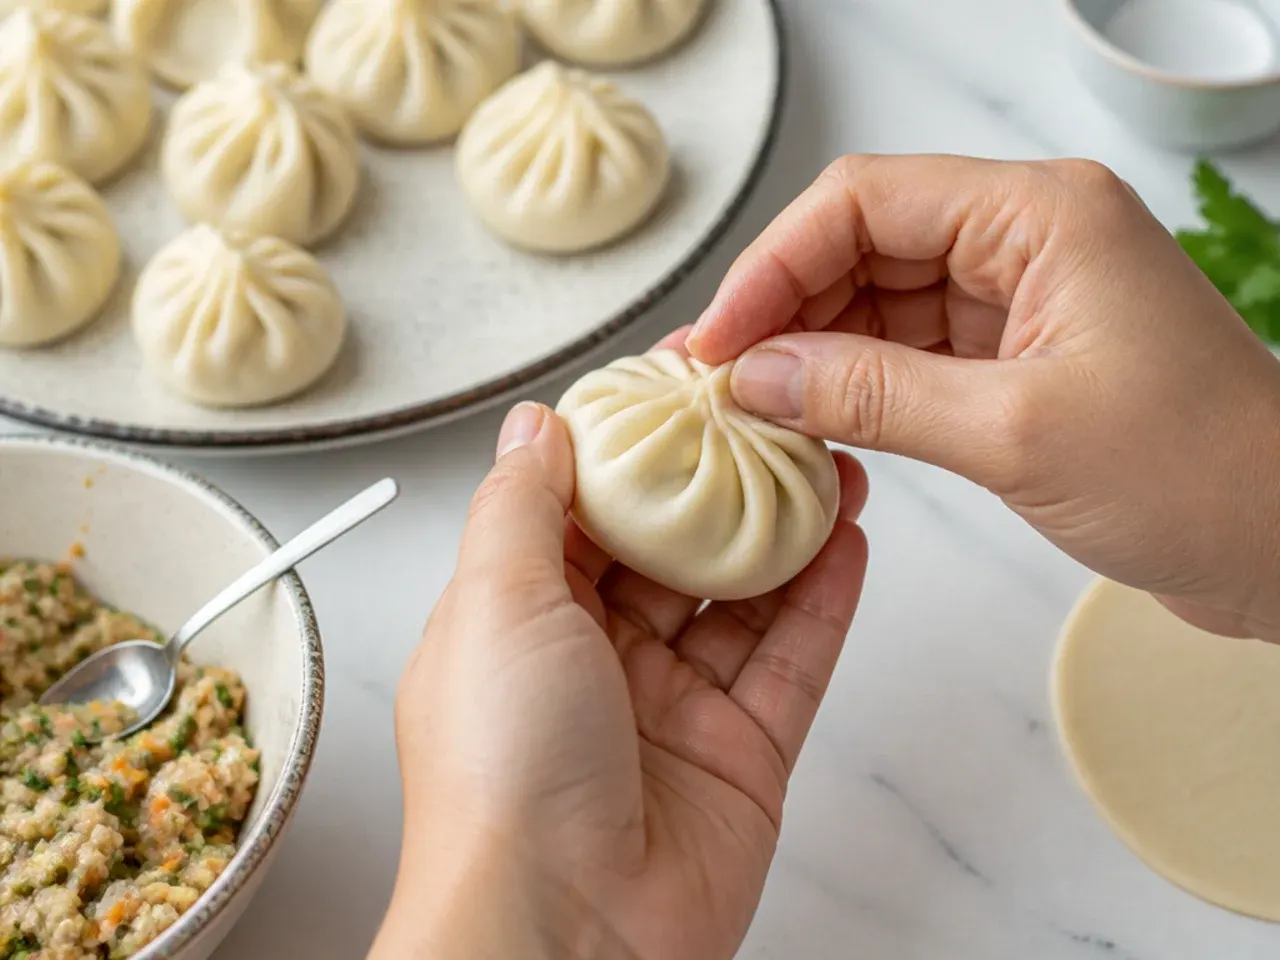
Even after I fixed the overfilling, a few still gaped open along the seam, and I couldn't work out why. It turned out I was letting the wrapper edges dry out while I fiddled with the pleats, and worse, I was smearing oily filling right onto the rim. Now I run a wet fingertip around the outer edge of each wrapper before I fold, and I wipe away any stray filling that lands on the border. That thin film of water acts like glue and the pleats fuse into a solid seam. Keep the rolled wrappers under a damp tea towel too, because a dry edge simply will not stick no matter how hard you pinch.
Lesson 3: I Used Chicken Breast and the Filling Came Out Dry
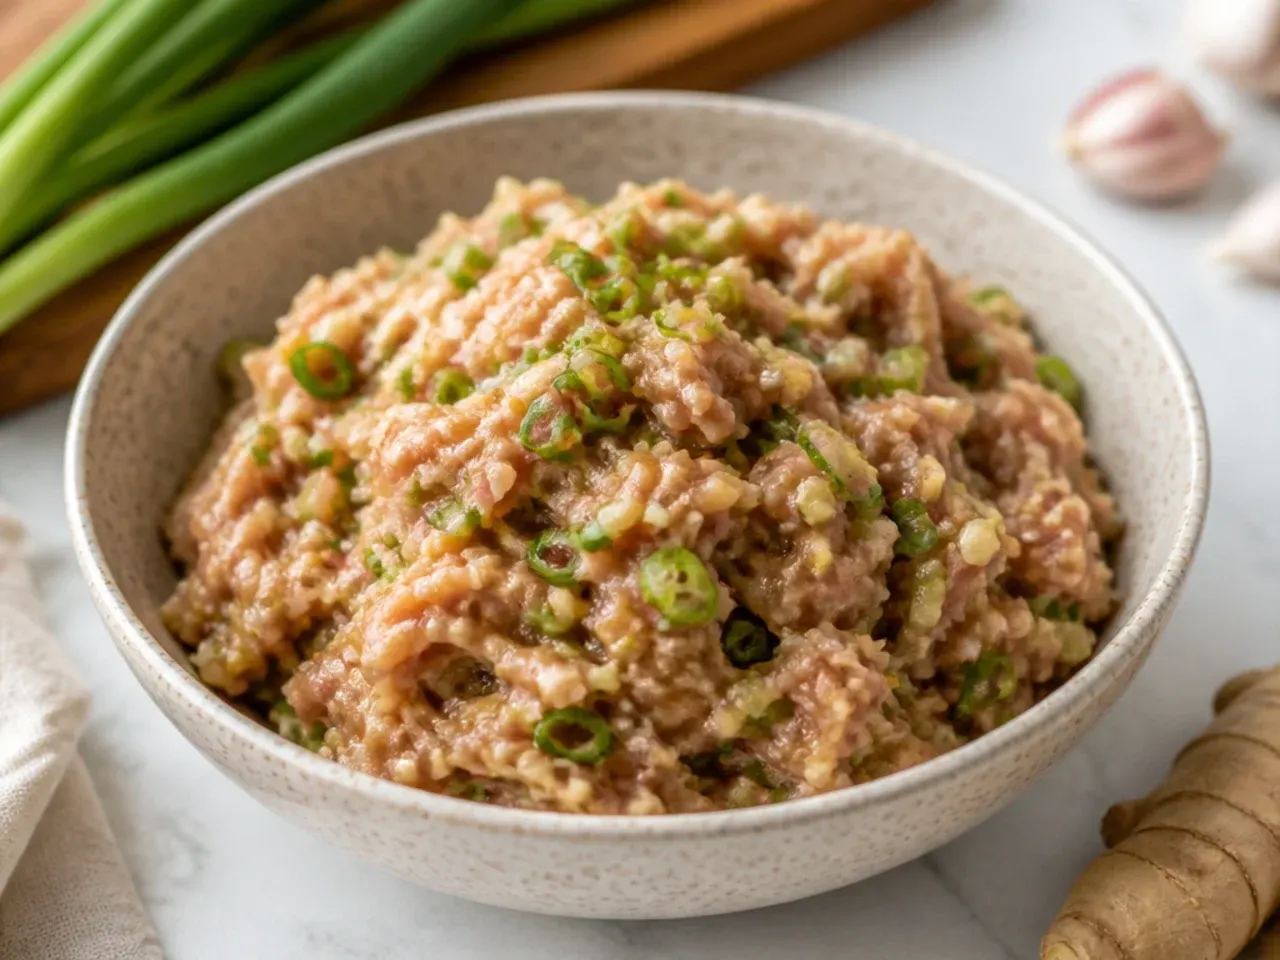
I assumed lean chicken breast was the sensible choice, and I ended up with dry, crumbly momos that tasted of nothing. The fix was switching to minced chicken thigh, which stays juicy and tender through the steam because of its extra fat. I also stopped pre-cooking the meat filling; you mix it raw with ginger, garlic, spring onion and a splash of soy and sesame oil, and it cooks perfectly in the 8 to 10 minutes of steaming. For extra insurance against dryness I fold a teaspoon of oil or a splash of stock through the mince. If you only have breast, blitz in a little grated onion and oil to add back the moisture you're missing.
Lesson 4: I Steamed on Bare Metal and Every Momo Welded to the Pan
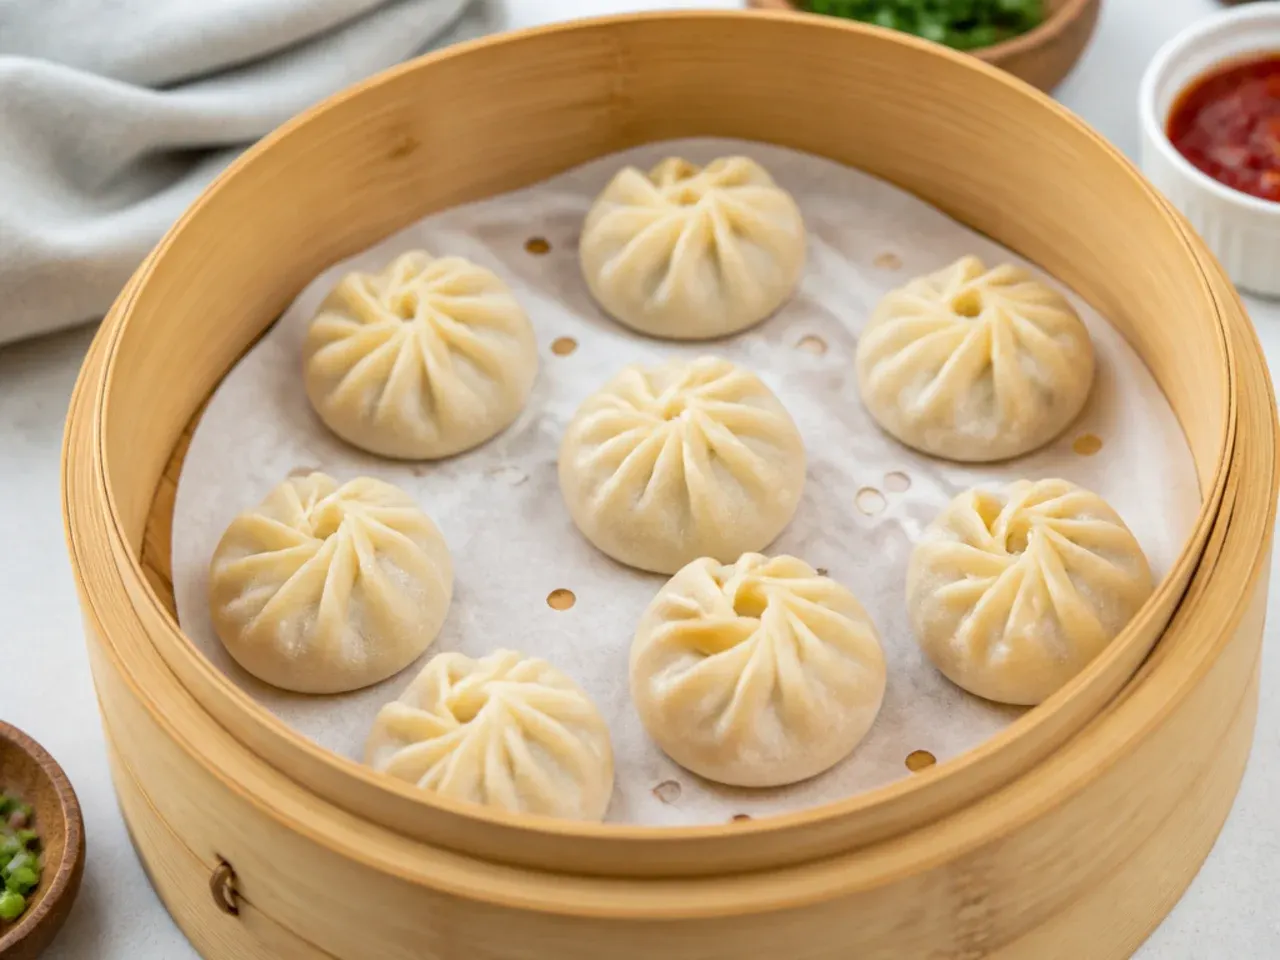
Nothing broke my heart faster than lifting the lid and watching the bottoms tear off, stuck fast to the naked steamer basket. Momos need a barrier between the wet dough and the hot metal, full stop. Now I line the basket with a lightly oiled sheet of parchment poked with a few holes, or the traditional way, with cabbage leaves, then brush the momos themselves with a thin coat of oil. Just as important, I leave a good 2cm gap between each one because they puff as they cook and will fuse to their neighbours if they touch. Since I started lining and spacing them, I have not lost a single momo to the pan.
Lesson 5: I Over-Steamed Them Trying to Be Safe and They Turned Rubbery
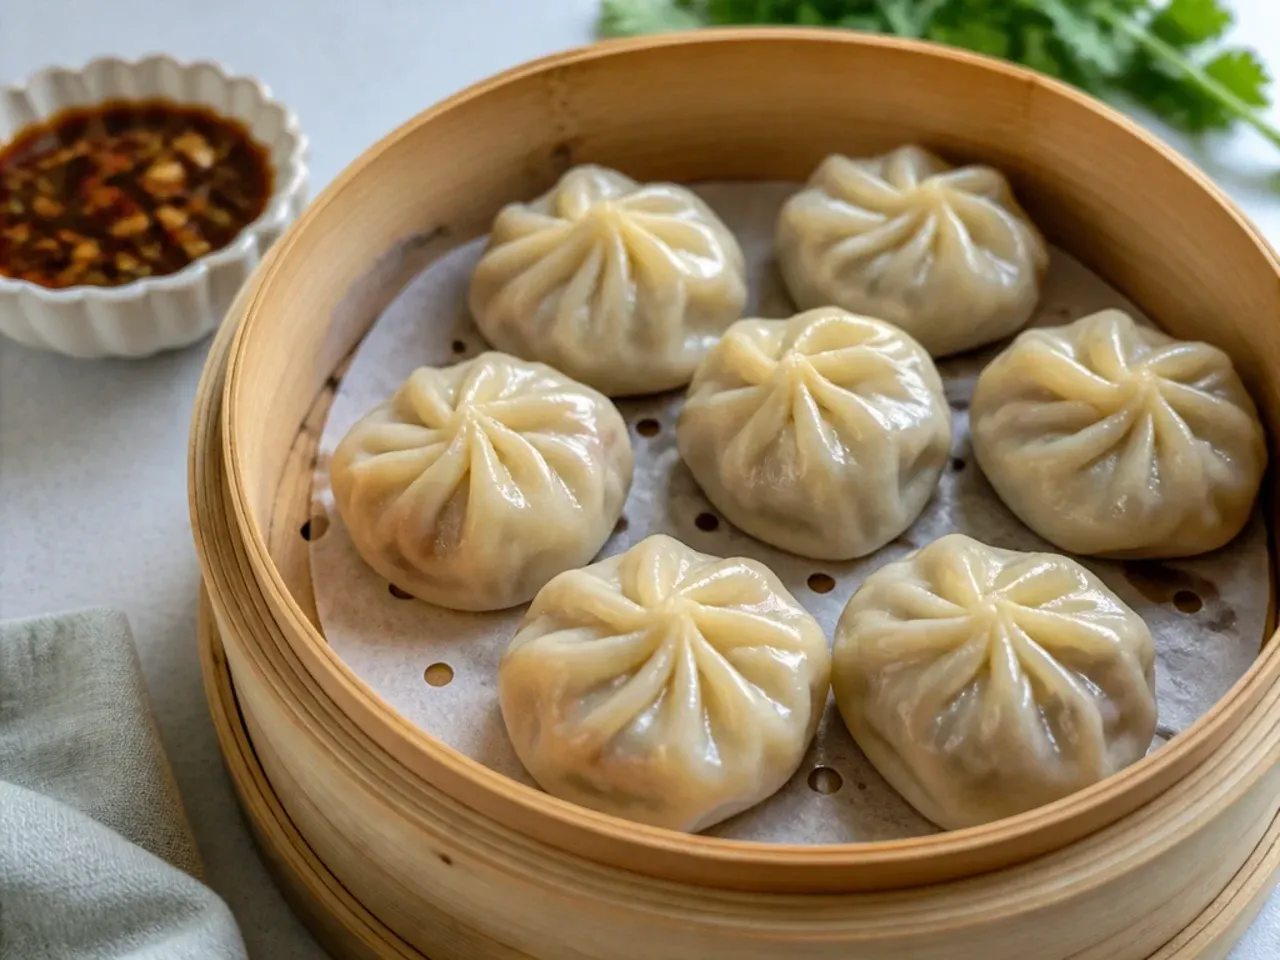
Terrified of serving undercooked chicken, I steamed one batch for a full 20 minutes, and the wrappers went tough, dense and chewy like chewing gum. Momos are ready far sooner than nervous cooks think: the dough turns slightly translucent and stops feeling sticky, which for a chicken filling is about 8 to 10 minutes over a rolling boil. Veg momos need even less, around 6 to 7 minutes. I set a timer now instead of guessing, and I serve them straight away, because the skins start to stiffen and toughen the moment they cool. If you must hold them, keep them in the covered warm steamer off the heat rather than leaving them exposed.
What I'd Tell a Friend Trying This
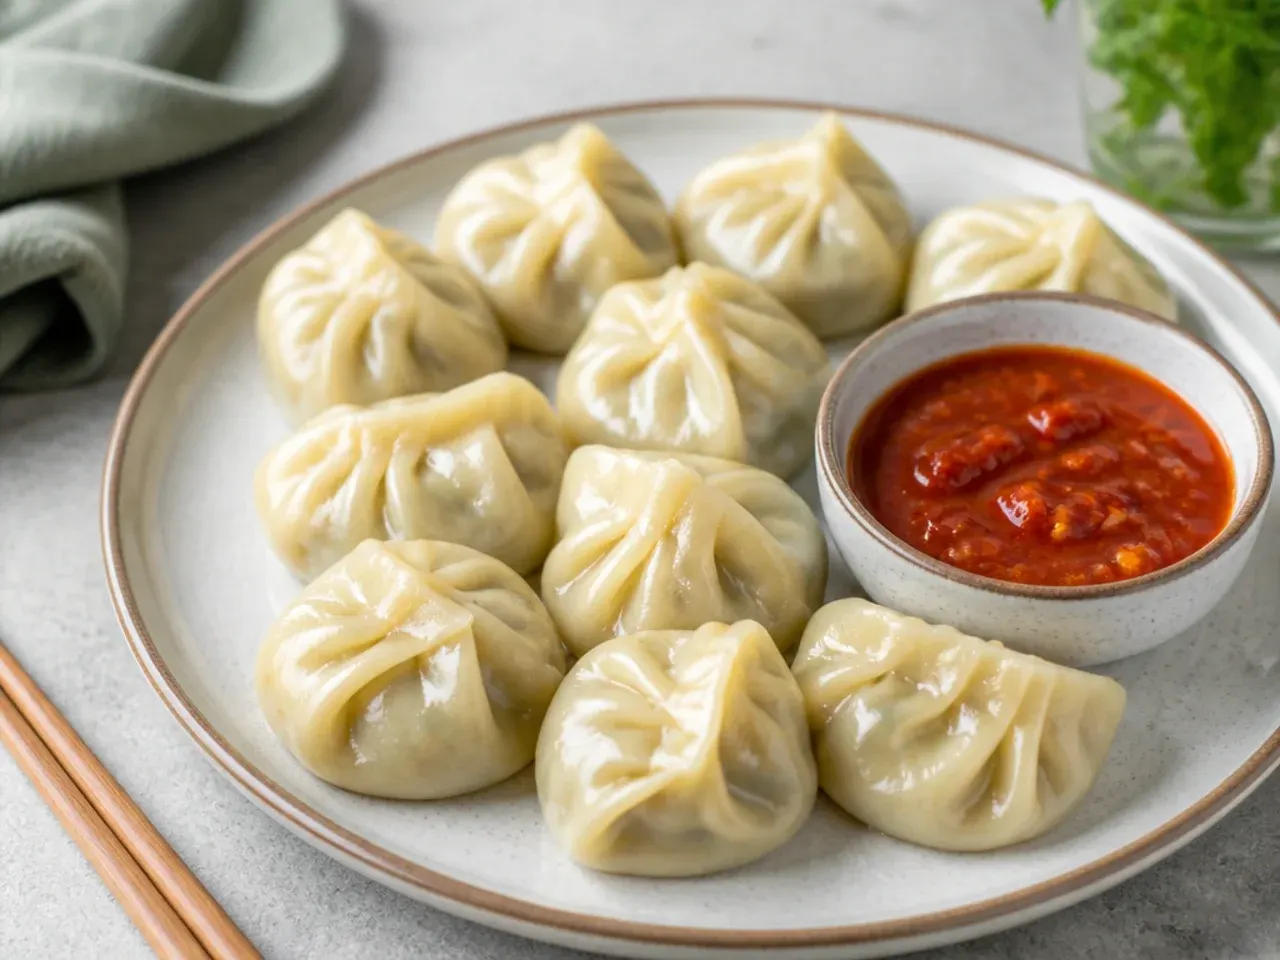
If you're making momos for the first time, do a practice run of just three or four before you commit the whole batch, so you can see how much filling actually fits and how your seals hold. Roll your wrappers thin at the edges and slightly thicker in the middle so the base holds the filling without splitting. Don't stress about neat pleats on day one; a simple half-moon pinched firmly shut steams up just as well as a fancy pouch. Keep a bowl of water and a damp cloth right next to you, work in small batches so nothing dries out, and taste-test a scrap of the raw filling by frying a teaspoon of it so you can adjust the salt before you wrap forty of them. Most of all, make the chilli-tomato achaar dip while the dough rests, because that sauce is honestly half the reason anyone eats momos.
The Recipe
The Recipe I Used
45 min
10 min
1 hr 35 min
4
Intermediate
Ingredients 4 Person(s)
Directions
Step 1: Make and rest the dough
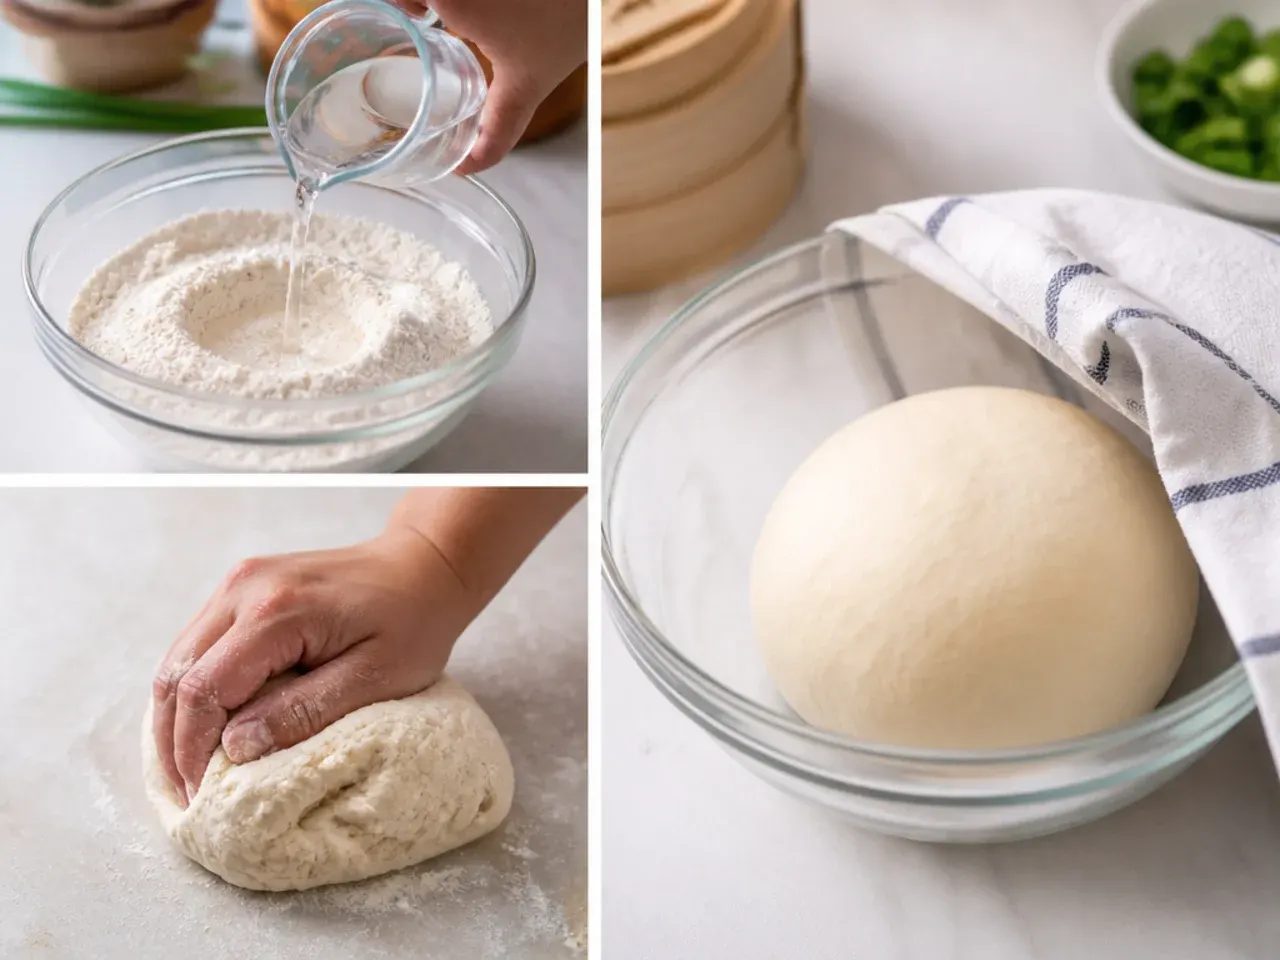
Whisk the flour and salt in a bowl, then stir in the oil and lukewarm water a little at a time until a shaggy dough forms. Knead on a lightly floured surface for 6 to 8 minutes until smooth and firm but not sticky; add a teaspoon more water or flour as needed. Press a finger in and if it springs back slowly, it's ready. Cover with a damp cloth and rest 30 minutes so the gluten relaxes and the dough rolls out without snapping back.
Step 2: Mix the filling
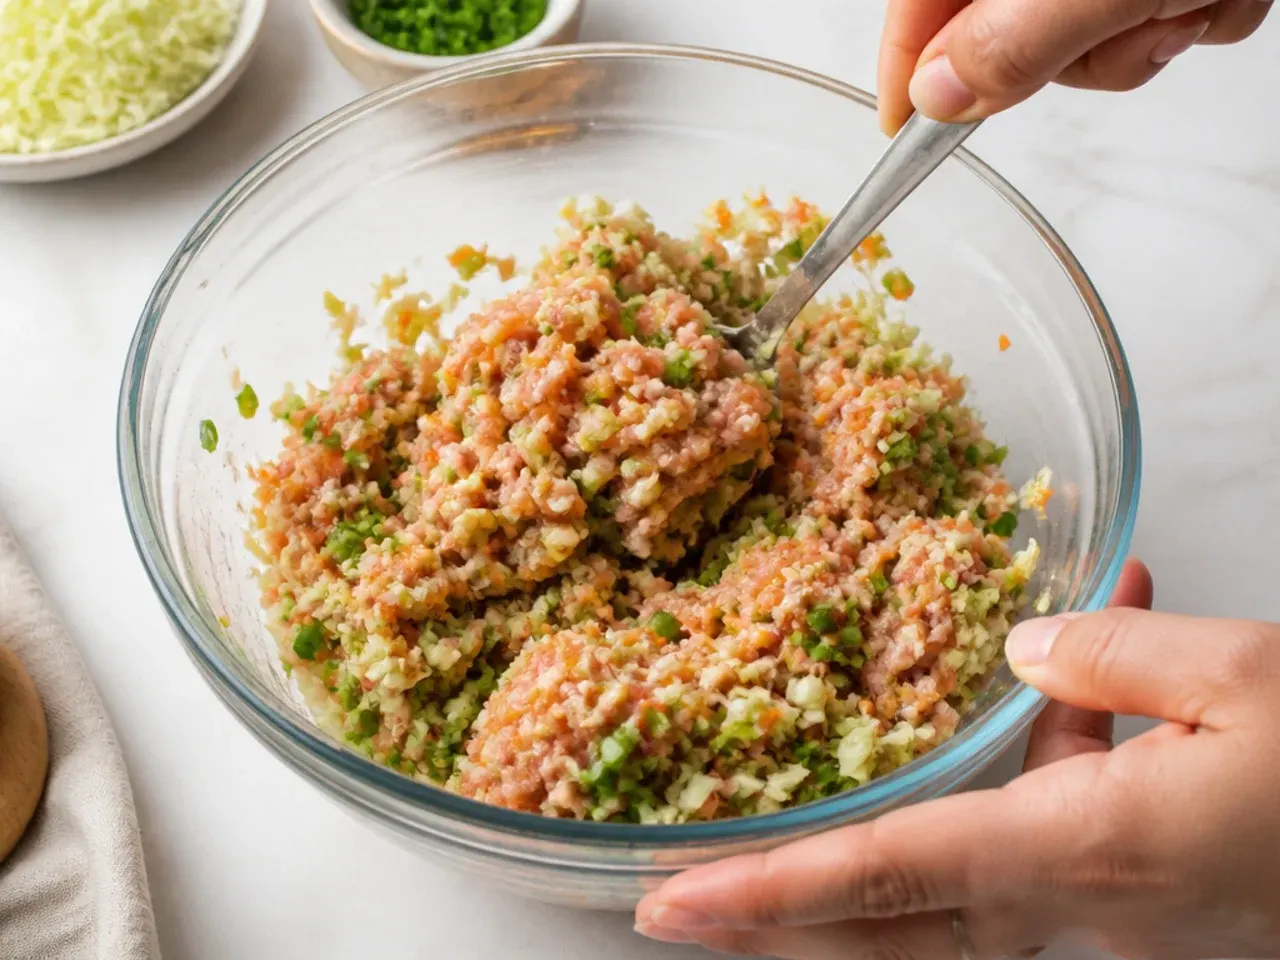
Combine the minced chicken thigh (or finely chopped veg) with the spring onions, ginger, garlic, soy sauce, sesame oil, black pepper and coriander in a bowl. Mix well with your hands for a minute so it becomes slightly sticky and holds together. Fry a teaspoon of it in a pan and taste, then adjust the salt or pepper before you wrap anything. For veg momos, squeeze excess moisture from the vegetables first so the filling doesn't turn watery.
Step 3: Roll the wrappers
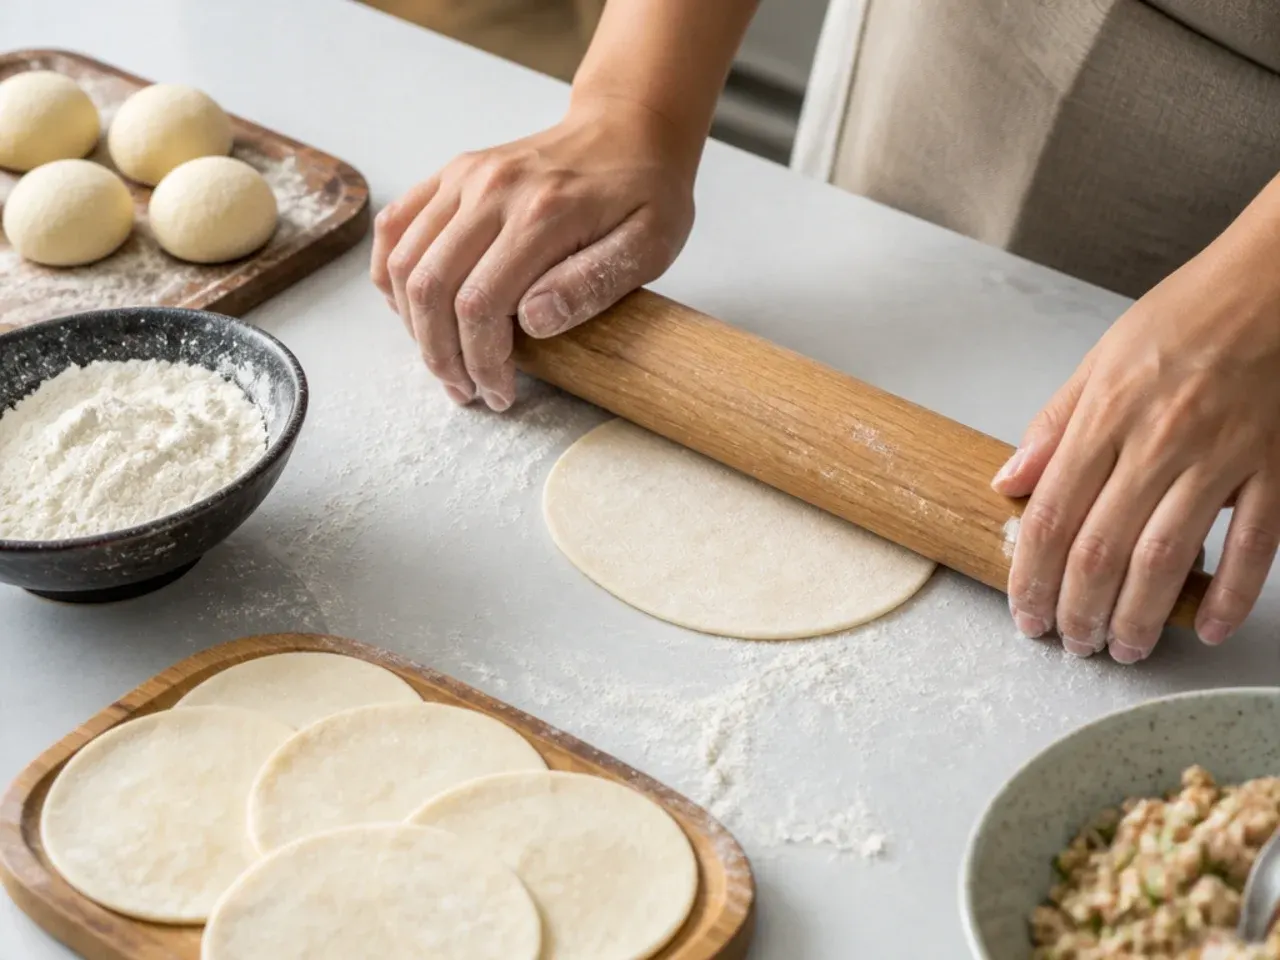
Divide the rested dough into roughly 20 to 22 pieces and roll each into a ball. On a floured surface, roll each ball into a thin circle about 8 to 10cm (3 to 4 inches) across, keeping the edges thinner than the centre. The thin edge pleats and seals cleanly, while the thicker middle holds the filling without tearing. Keep finished wrappers under a damp cloth so they don't dry out.
Step 4: Fill and seal
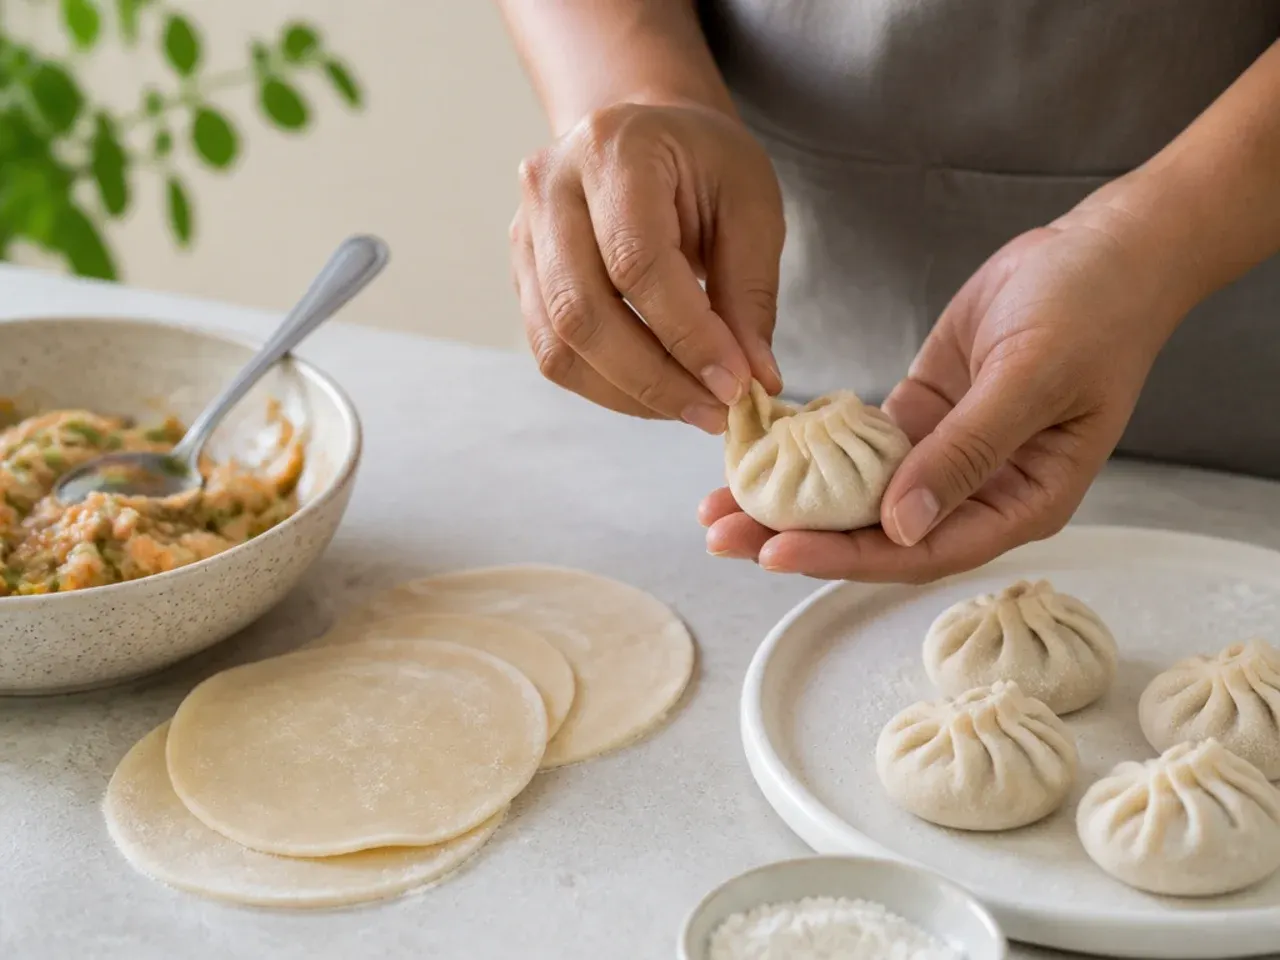
Place a level tablespoon of filling in the centre of a wrapper, keeping the border clean. Run a wet fingertip around the outer edge. For a simple half-moon, fold the wrapper over and pinch firmly from one end to the other; for a pouch, gather and pleat the edges up to the centre and twist to seal. Make sure there are no gaps or filling on the seam, or it will burst in the steamer.
Step 5: Prepare the steamer
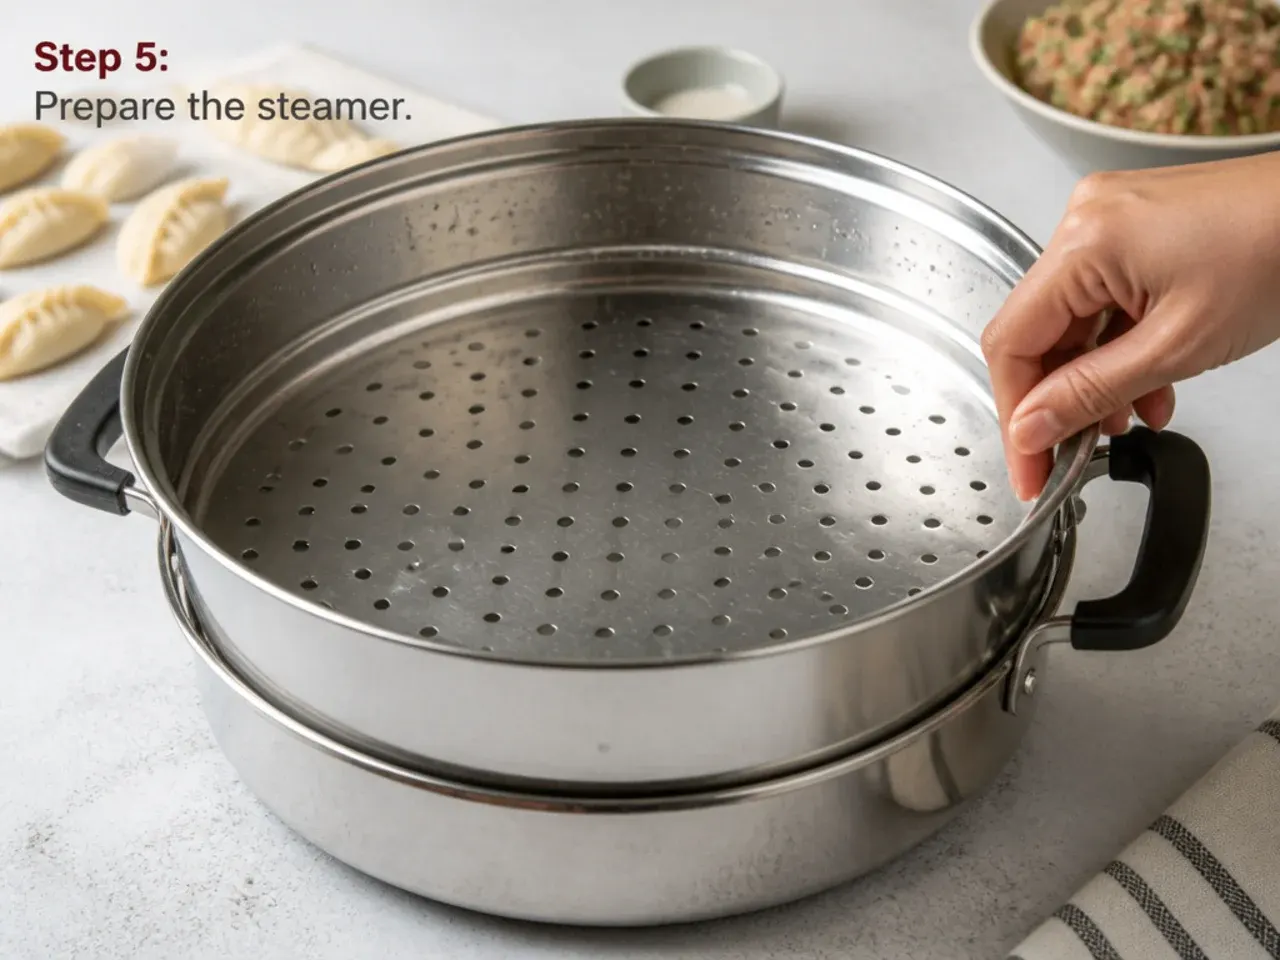
Line your steamer basket with oiled parchment poked with a few holes, or with cabbage leaves, and lightly brush each momo with oil. Arrange the momos in the basket leaving a 2cm gap between each one, as they expand while cooking and will fuse together if they touch. Bring water in the base pan to a rolling boil before the basket goes on.
Step 6: Steam
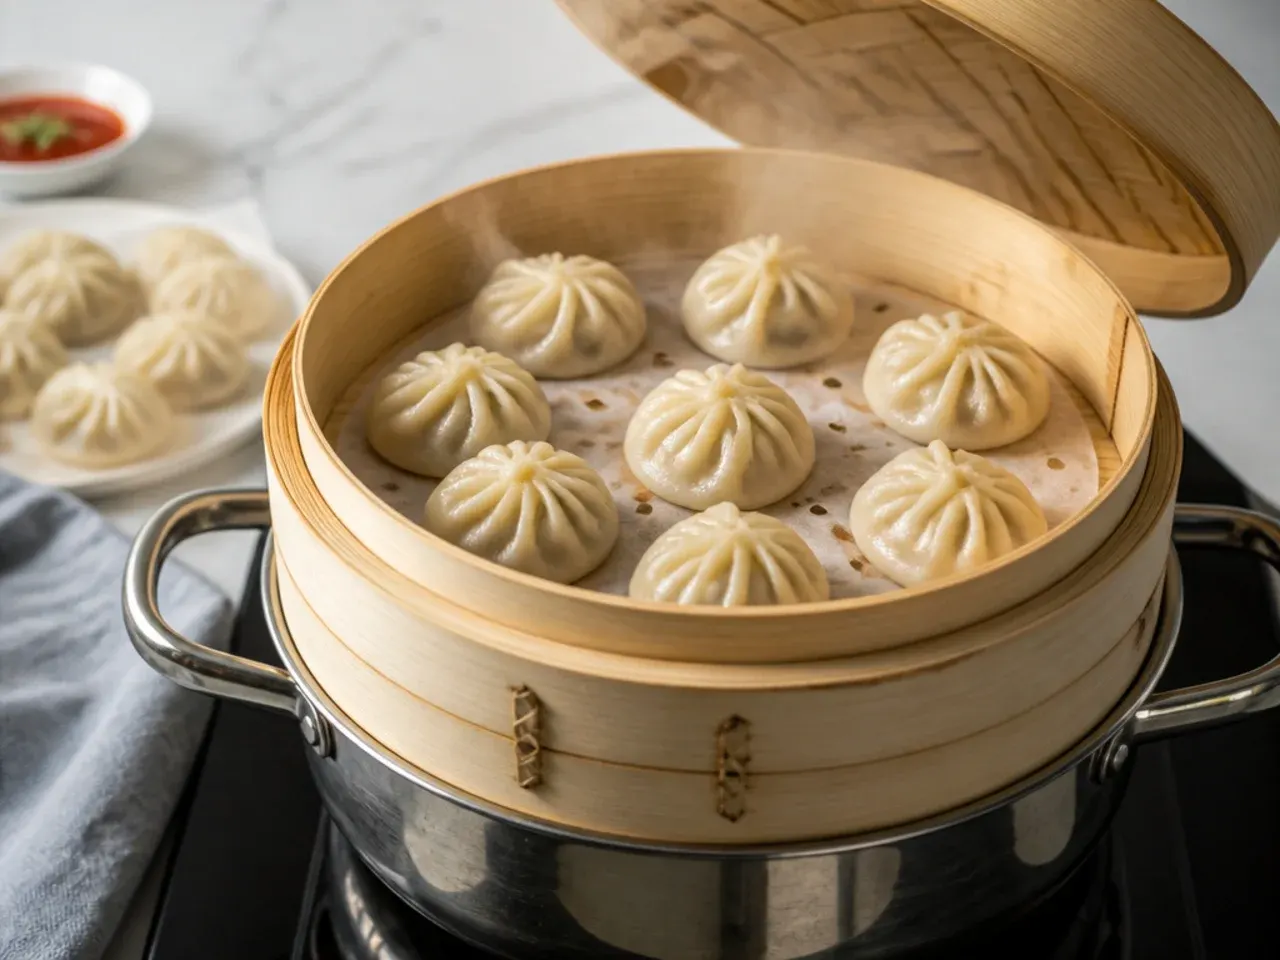
Set the basket over the boiling water, cover, and steam chicken momos for 8 to 10 minutes and veg momos for 6 to 7 minutes. They're done when the wrappers look slightly translucent and no longer feel sticky to the touch. Don't over-steam or the skins turn tough and rubbery. If steaming in batches, keep the water at a steady boil between rounds.
Step 7: Serve straight away
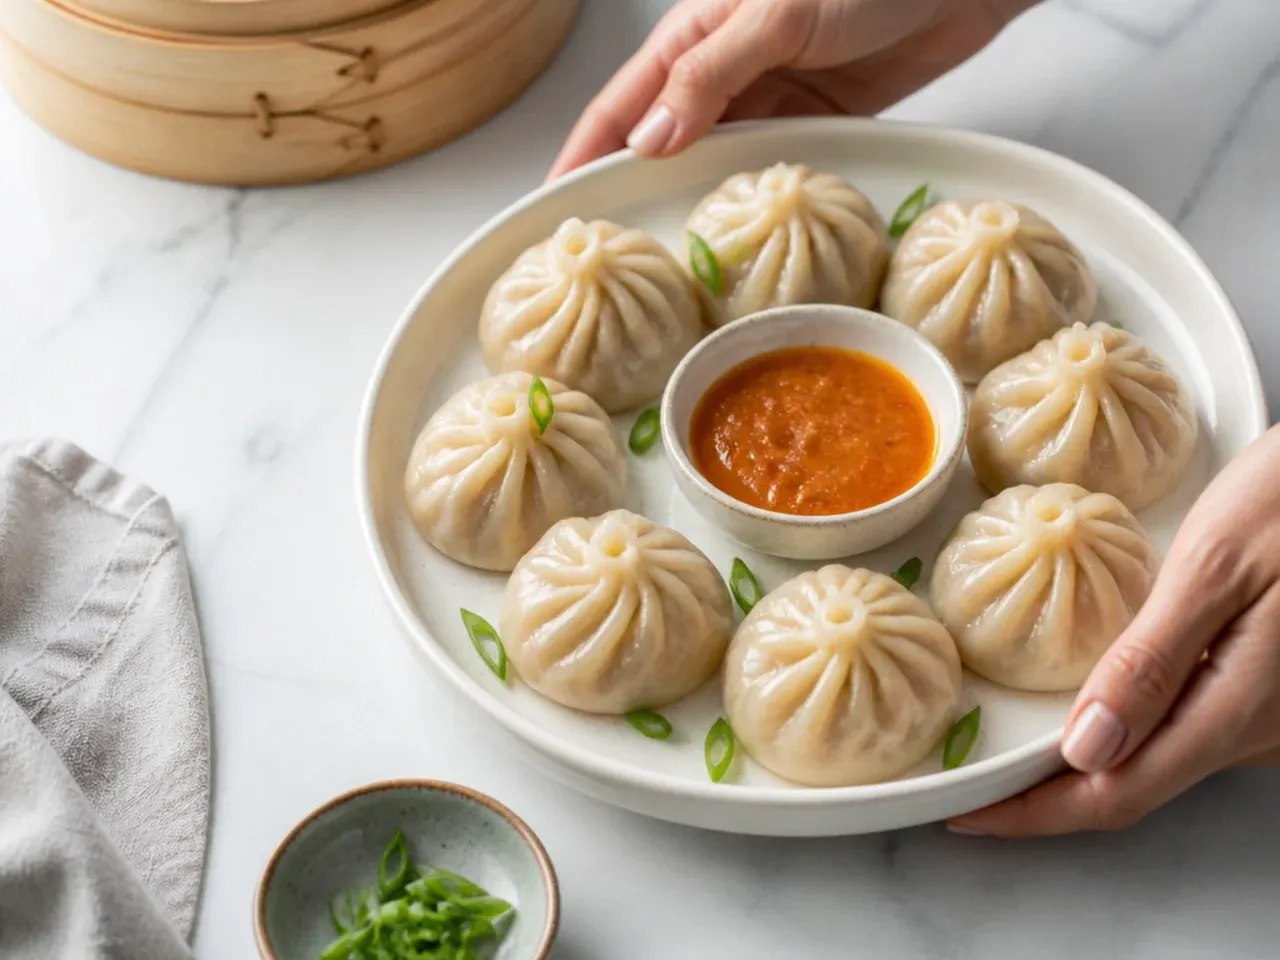
Lift the momos out carefully and serve immediately, because the skins start to stiffen as they cool. Serve with a spicy tomato-chilli achaar made from roasted tomatoes, garlic, dried red chillies and coriander blitzed into a dip. Leftover momos reheat best with a quick re-steam of 2 to 3 minutes rather than a microwave, which makes them rubbery.
Frequently Asked Questions
You have a few options. Set a heatproof plate or metal colander over a pan of boiling water, cover, and steam for 10 to 12 minutes. A pressure cooker works too: add water, place the momos on a greased plate inside without the whistle, and steam on medium for 10 to 12 minutes. Whichever method you use, grease the surface and leave space between each momo so they don't stick.
Save this for later 📌
Pin this article to your Pinterest board so the full list is one tap away when you need it.
Save on Pinterest