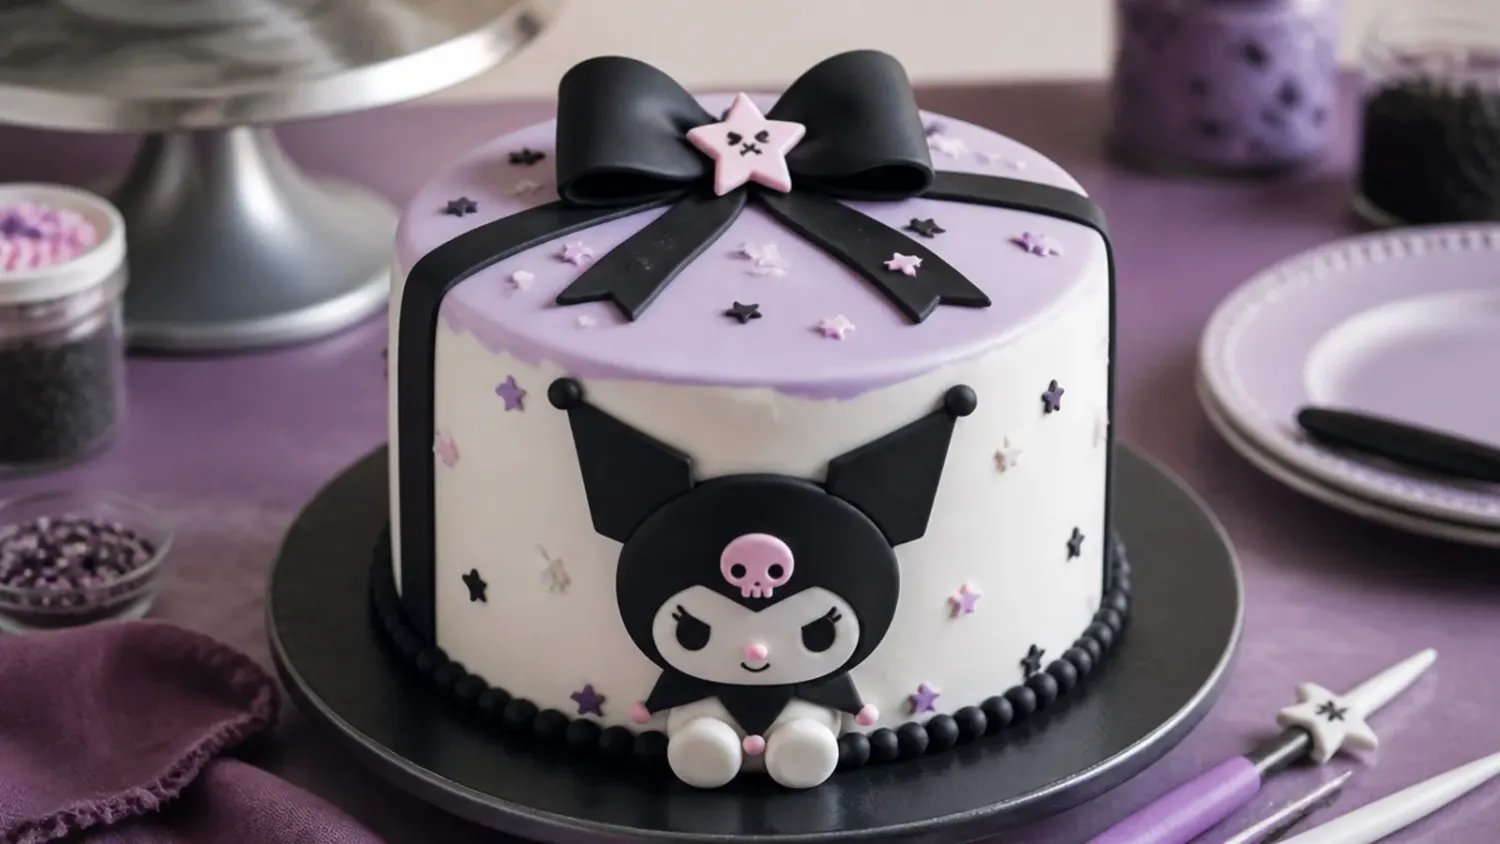
Ingredients 16 Person(s)
Save this for later 📌
Pin this article to your Pinterest board so the full list is one tap away when you need it.
Save on PinterestDirections
Step 1: Bake two firm vanilla sponges
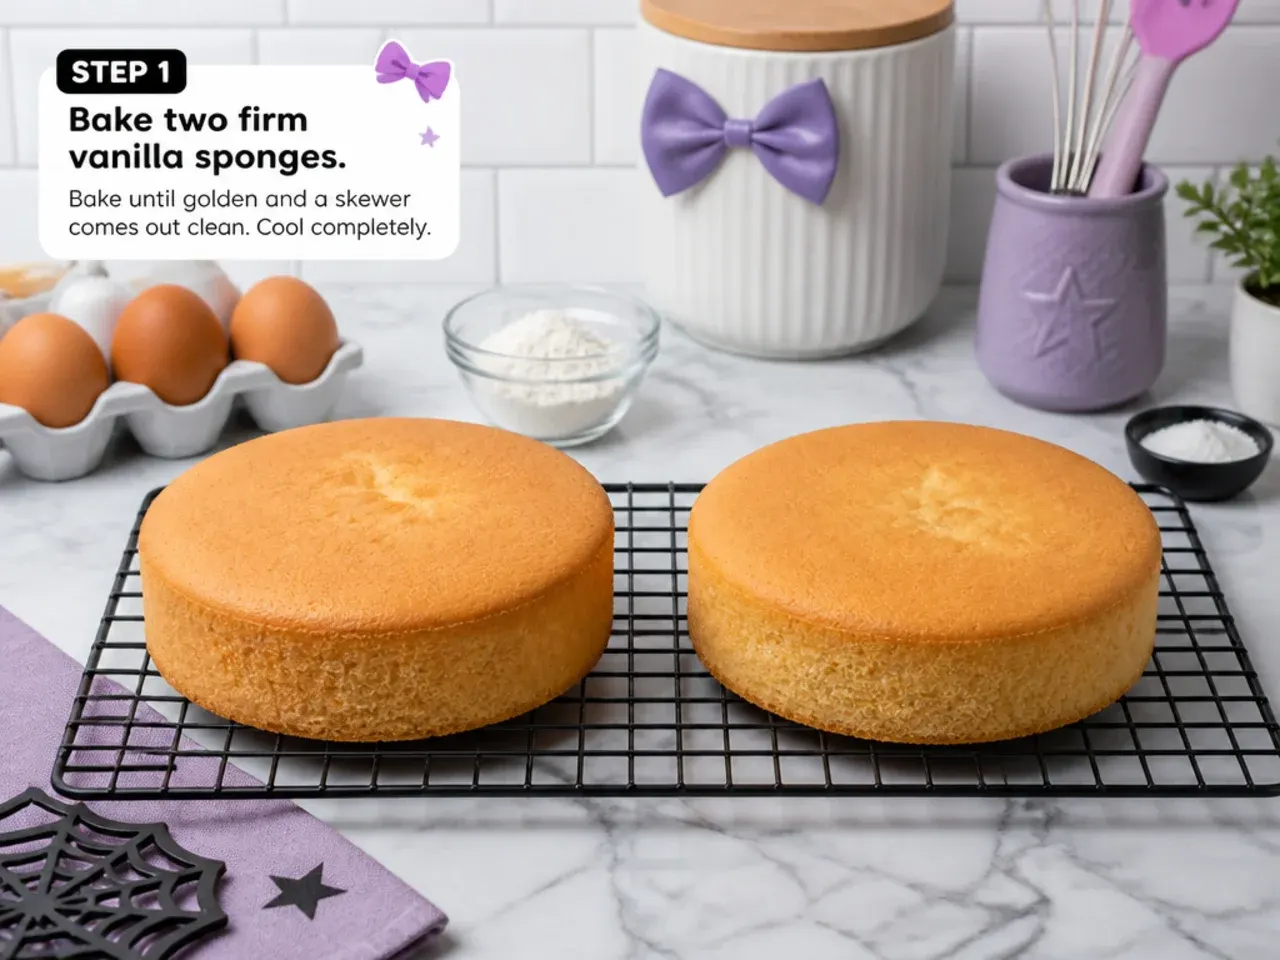
Preheat the oven to 180C/160C fan/350F/Gas 4 and grease two 20cm (8-inch) round tins, lining the bases with baking paper. Cream 340g softened butter with 340g caster sugar for 3-5 minutes until pale and fluffy, then beat in 6 eggs one at a time, adding a spoonful of the flour if it looks like curdling. Fold in 340g self-raising flour and 2 tsp vanilla until just combined, loosen with 2 tbsp milk to a soft dropping consistency, then divide between the tins. Bake for 25-30 minutes until golden and a skewer comes out clean, then cool in the tins for 10 minutes before turning out onto a wire rack. This 1:1:1:1 sponge is deliberately firm so it stacks and holds its shape under fondant without slumping.
Step 2: Level, fill and stack the layers
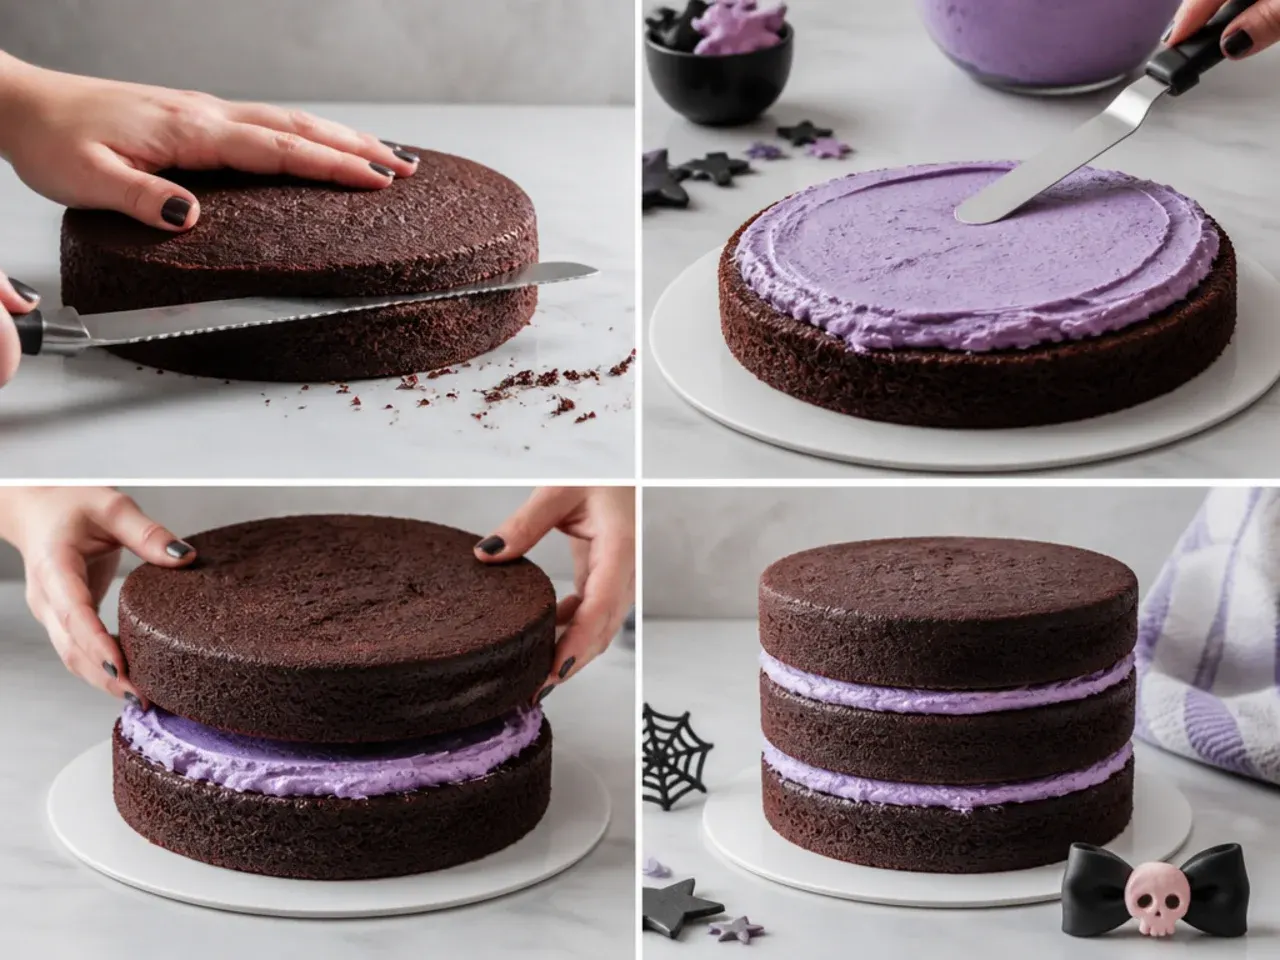
Once fully cool, use a long serrated knife or cake leveller to trim the domed tops flat so the cake stacks square and even. Make the buttercream by beating 250g softened butter until pale, then adding 500g sifted icing sugar in two batches with 1 tbsp vanilla, beating for a full 3-4 minutes until light and spreadable. Set one sponge on a cake board, spread a 5mm layer of buttercream over it, then place the second sponge on top, pressing gently to level. A board slightly larger than the cake gives you something to grip when you lift and move it later.
Step 3: Crumb-coat and chill
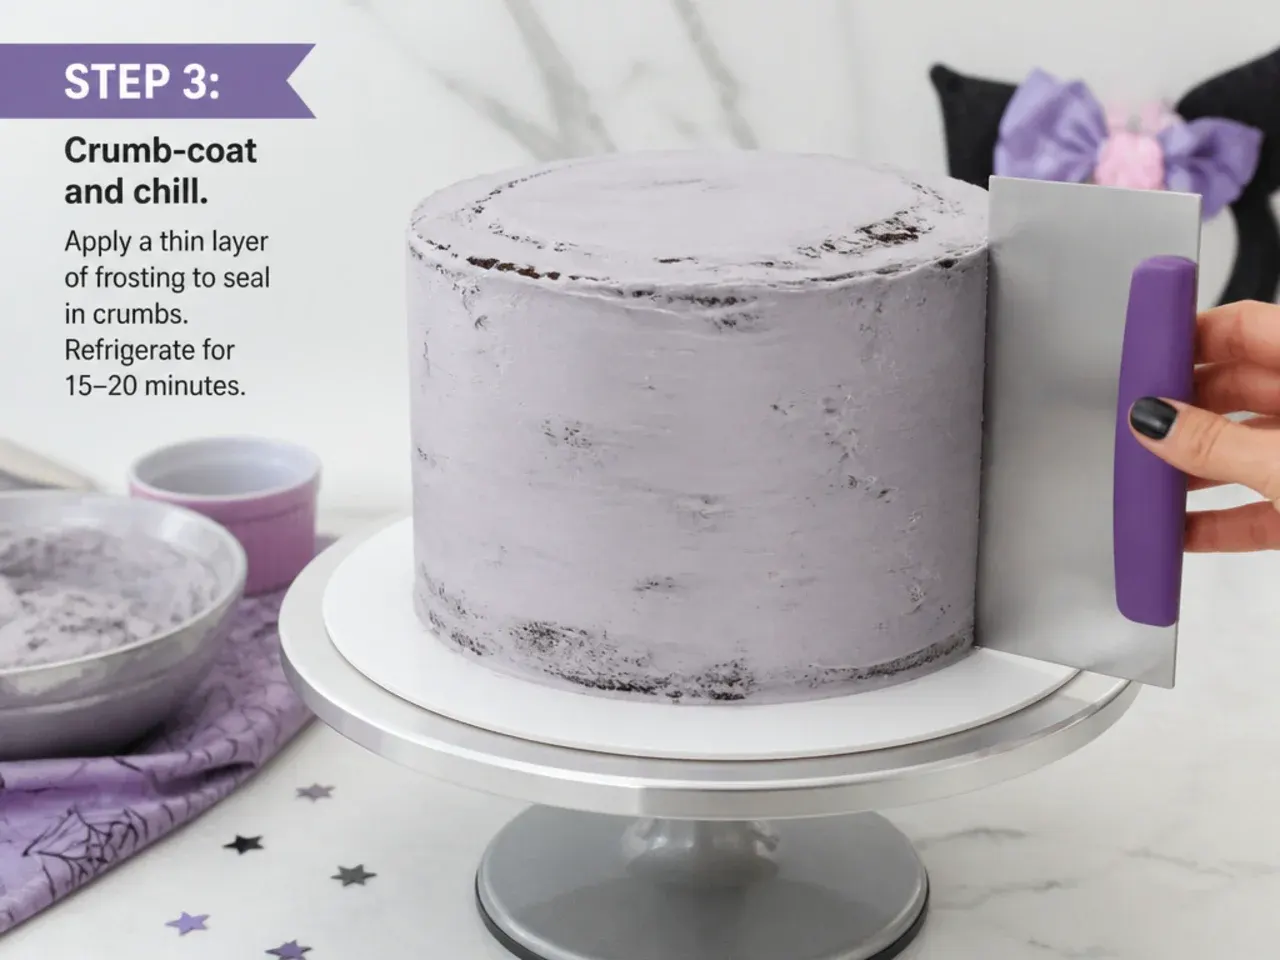
Spread a thin, see-through layer of buttercream all over the top and sides to trap crumbs, filling any gaps at the seam so the finished cake has crisp edges. Scrape it smooth with a palette knife or bench scraper held upright against the side while you turn the cake, then chill for 20-30 minutes until the coating is firm to a light touch. Apply a second, more generous buttercream layer and smooth it as evenly as you can, because every bump underneath will show through the fondant. Chill again for 15 minutes; a firm, crusted surface is the secret to fondant that lies flat and smooth.
Step 4: Cover the cake in smooth white fondant
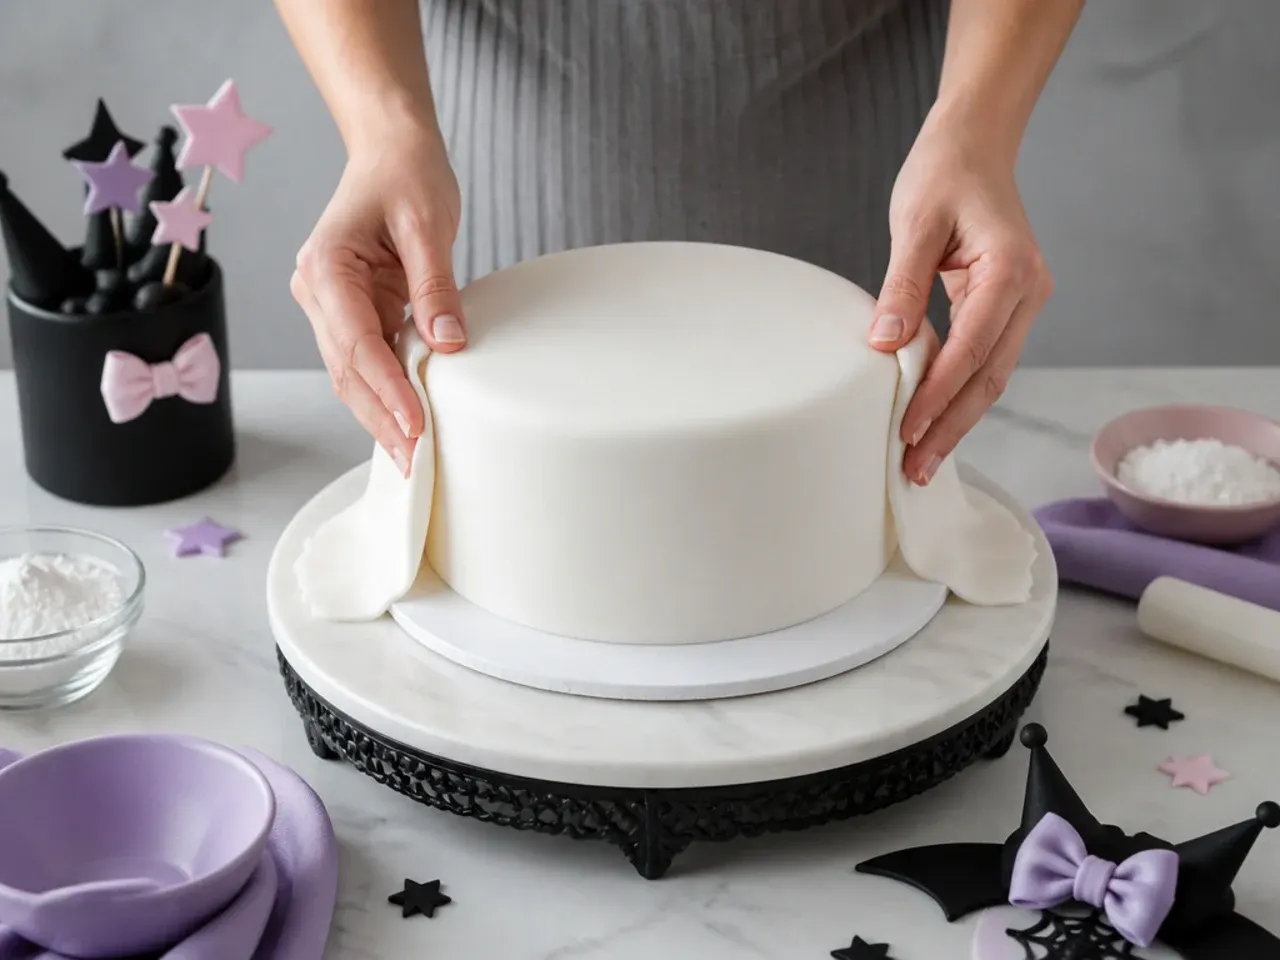
Knead 500g white fondant until pliable, then roll it out to about 4-5mm thick on a surface dusted with icing sugar, large enough to drape the top and sides (roughly the cake's diameter plus twice its height). Lightly brush the chilled buttercream with a whisper of water so the fondant grips, then lift the fondant on your rolling pin and lay it centred over the cake. Smooth the top first with a fondant smoother, then ease the sides down from the top, lifting and releasing the skirt to avoid pleats before pressing it flat. Trim the excess at the base with a sharp knife and buff the whole surface with the smoother for a clean, matte finish that becomes Kuromi's pale face-inspired base.
Step 5: Cut the black hood, ears and jester bow accents
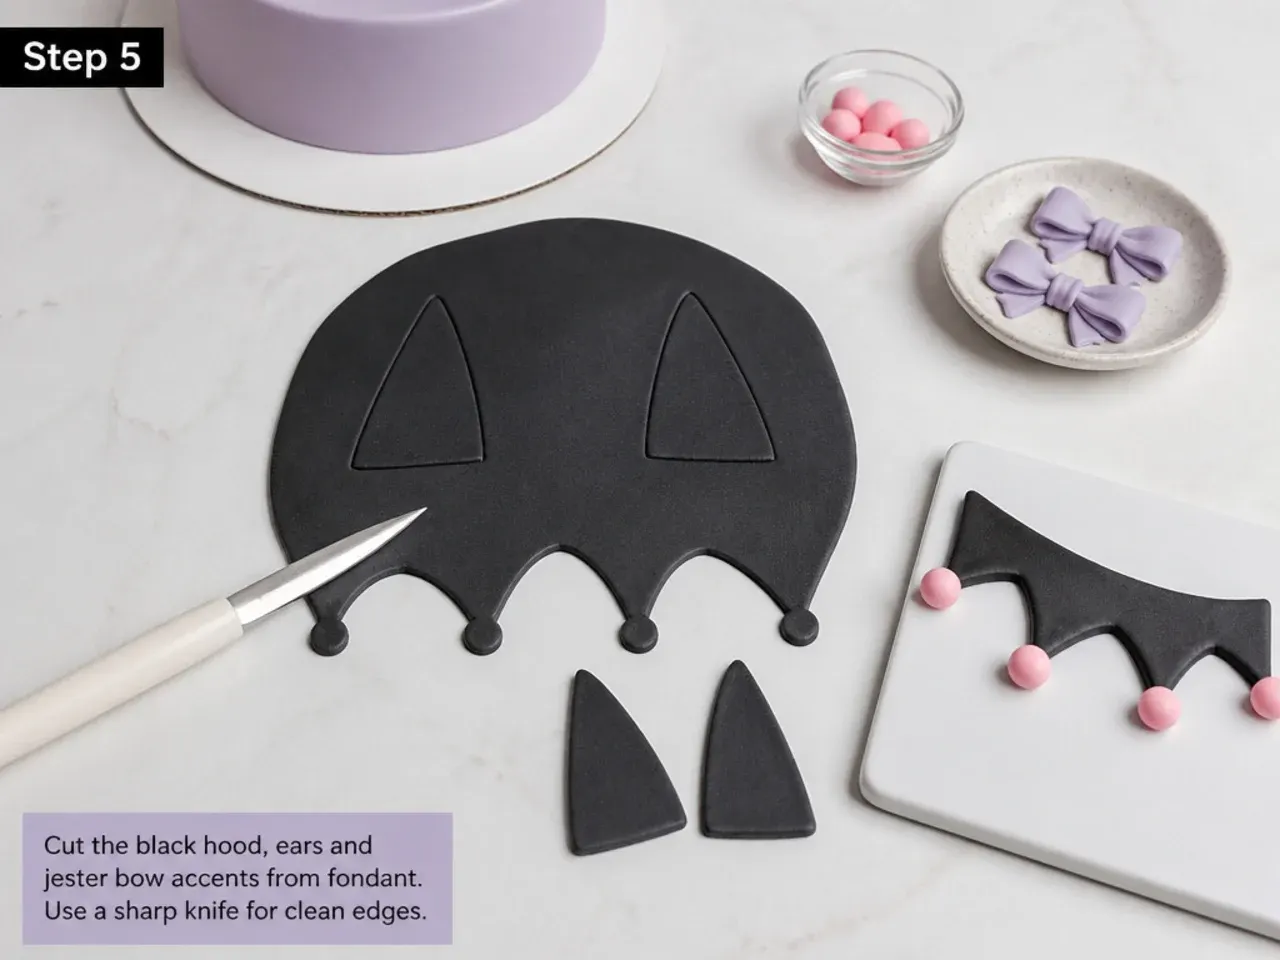
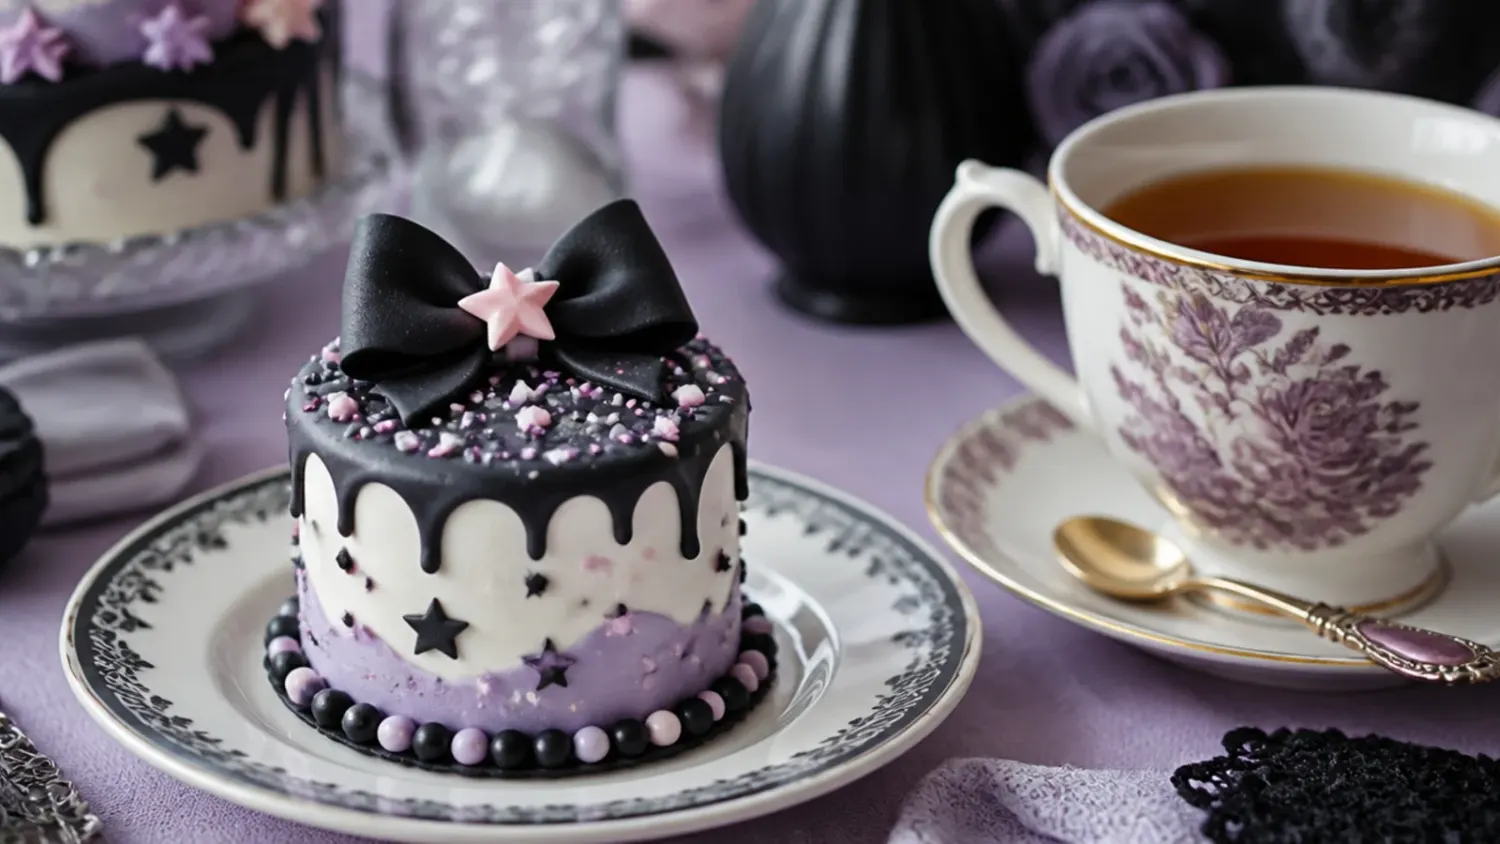
Roll your rested black fondant to 3-4mm thick and cut the shapes that give a Kuromi-inspired look: a rounded hood section for the upper cake, two pointed ear shapes, and a plump jester-style bow with two loops and trailing tails. Cut ears slightly domed at the tip rather than perfectly triangular for that soft, cute silhouette, and add a small pink teardrop of fondant inside each ear. Attach every piece by brushing the back with the tiniest dab of water and pressing gently but firmly onto the white base, holding for a few seconds so it sets. Keep your black shapes crisp and simple; clean cutout accents read as cute and polished, while fussy detail tends to smudge.
Step 6: Add the signature purple, pink and star details
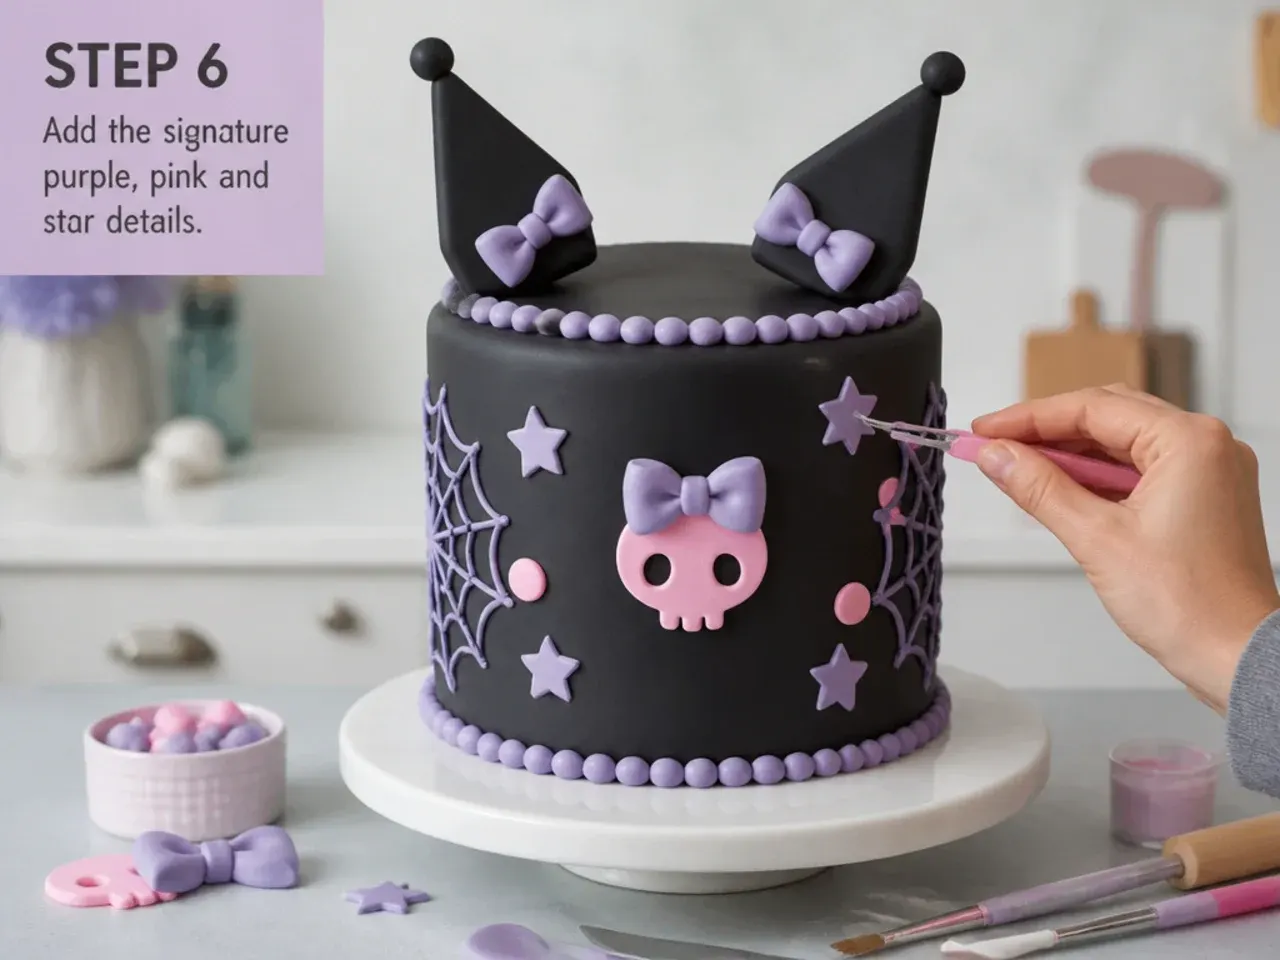
Roll thin purple fondant and cut small stars, swirls and polka dots to scatter around the sides, echoing Kuromi's mischievous purple-and-black palette. Add a pink fondant heart or a scatter of tiny pink dots near the bow for a sweet pop of contrast, and use a fine brush of water to fix each one. For dimension, dust the bow lightly with a little edible pearl or lustre and press a single edible sugar pearl into the centre knot. Vary the size of your stars and dots so the pattern feels playful rather than uniform, and step back often to check the spacing looks balanced from the front.
Step 7: Finish, set and present
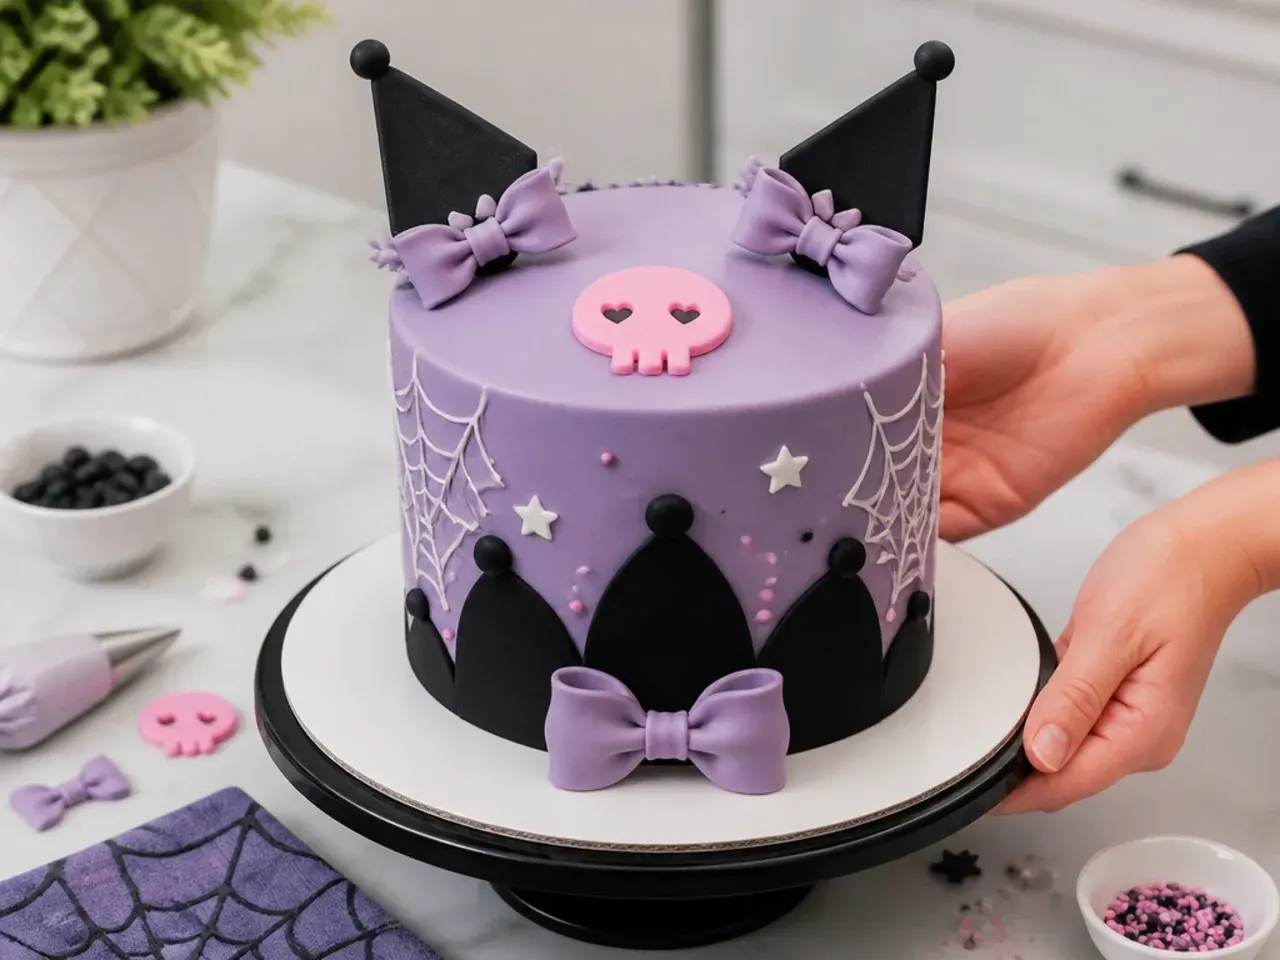
Tidy the base of the cake with a neat band of thin purple or black fondant, pressed against the join to hide the trimmed edge and give a clean finish. Check that every accent is firmly stuck, then leave the cake uncovered at cool room temperature for 1-2 hours so the fondant surface firms and sets to a soft sheen. If you want extra shine on the bow and stars, lightly brush them with a little cooled boiled water or piping gel. Transfer to a serving board or cake stand, add a candle to one side rather than through a fondant accent, and your cute Kuromi fondant cake is ready to serve at room temperature.
Pro Tips for a Flawless Kuromi Fondant Cake
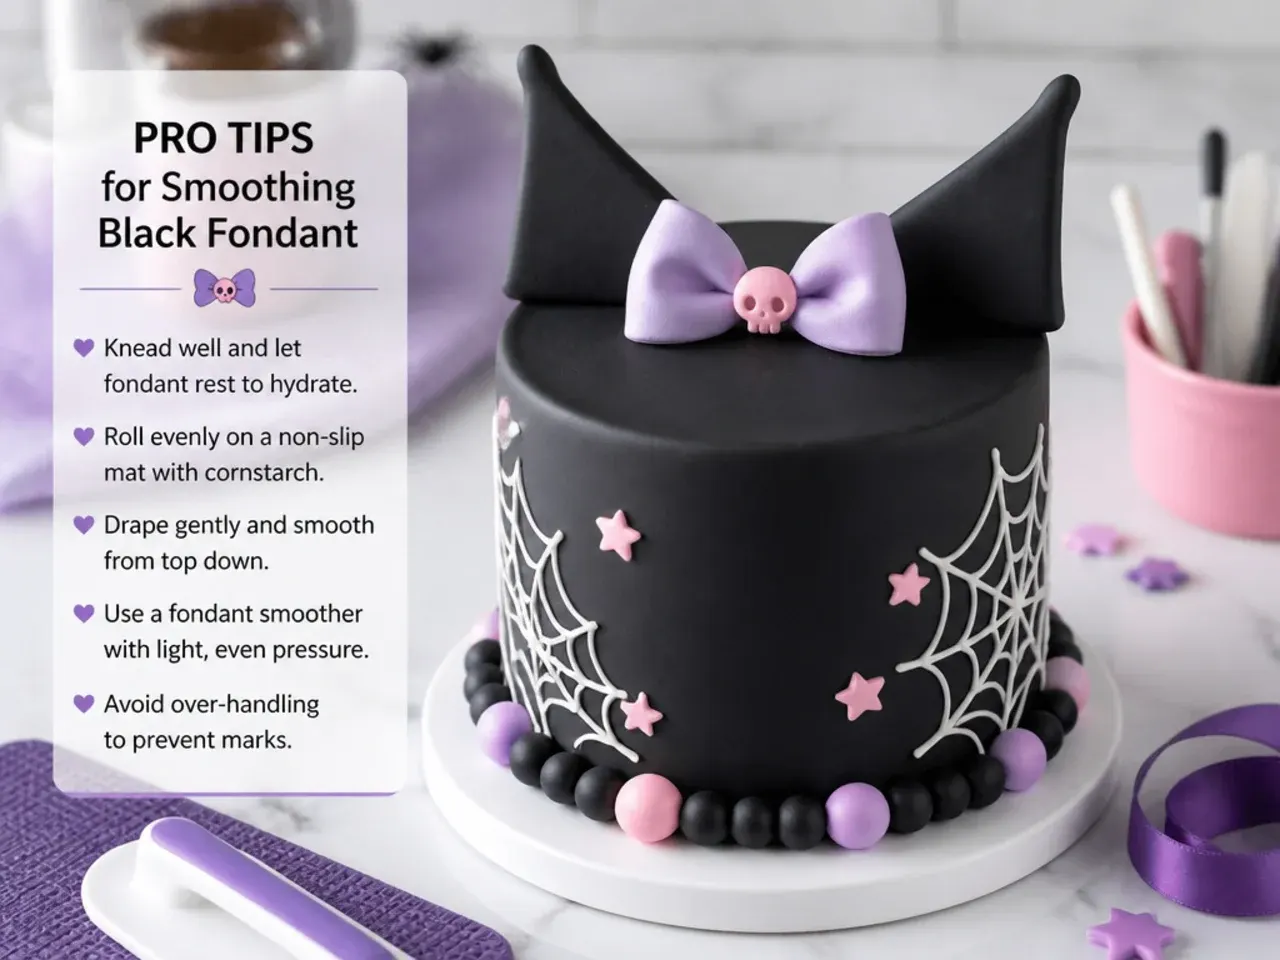
Color your black fondant a day ahead and let it rest overnight in a sealed bag; the shade deepens from grey to true black and you avoid the bitter taste that comes from dumping in too much gel. Work in a cool room around 18-20C (64-68F) because warm hands and warm kitchens make fondant sticky and prone to tearing, so run your wrists under cold water if your hands heat up. Roll fondant to an even 4-5mm thickness on a surface dusted with icing sugar or cornflour, and lift it with a rolling pin rather than your hands to prevent stretching and finger dents. Keep a jar of water and a fine brush nearby to "glue" cutout bows, ears and stars, but use only the barest touch or the pieces will slide. Smooth the covered cake with a plastic fondant smoother, working from the top down and easing out air bubbles by pricking them with a clean pin and pressing flat.
Storage and Make-Ahead Tips
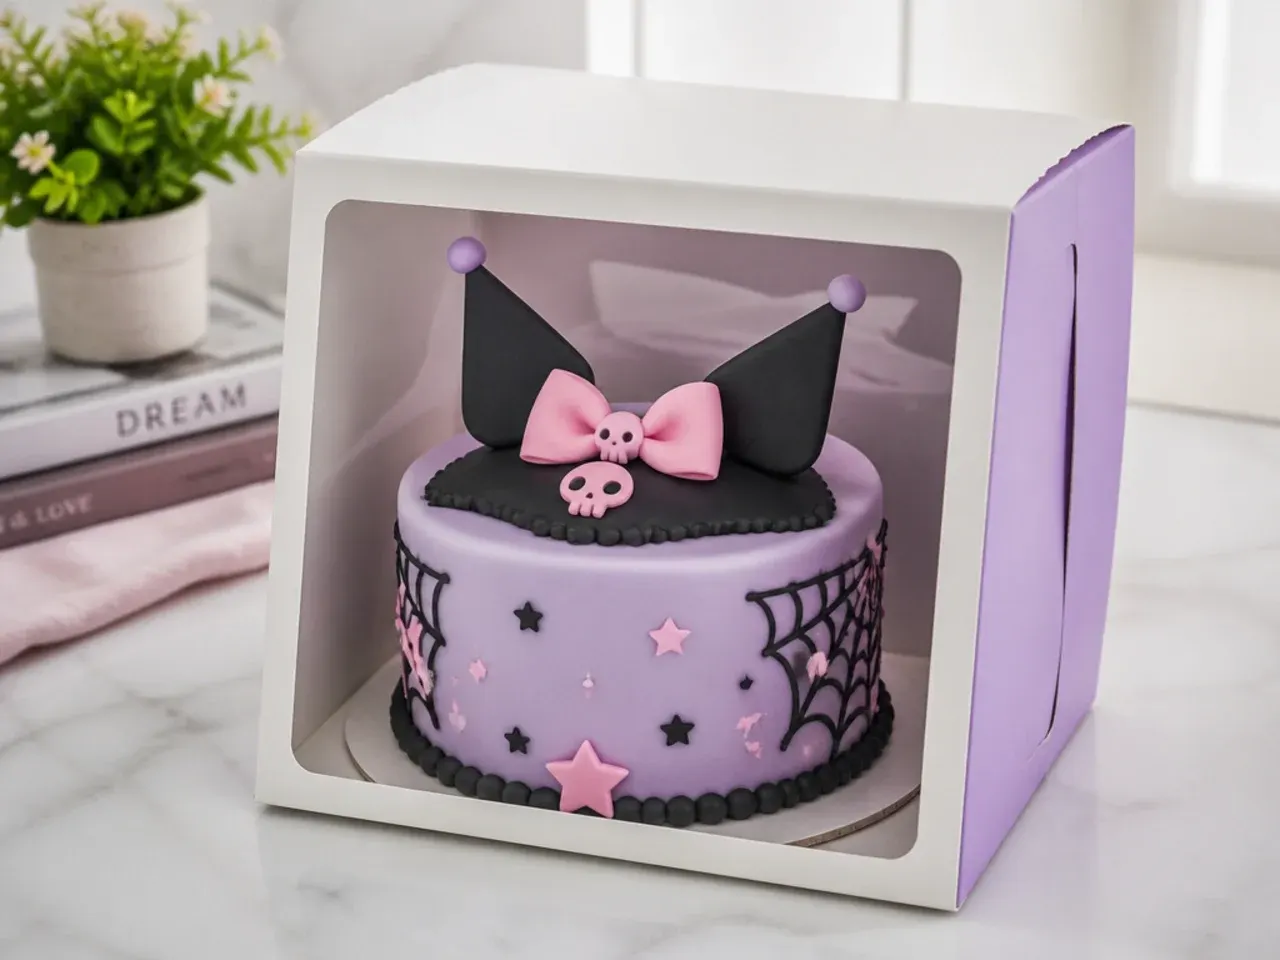
A finished fondant-covered cake keeps beautifully at cool room temperature for 2 to 3 days; box it loosely and keep it out of direct sun and away from any heat source. Do not refrigerate a fondant cake uncovered, because condensation forms as it warms back up and leaves the surface sticky, patchy and dull; if you must chill it, seal it in a box first and let it come fully to room temperature before opening. You can bake the sponge layers up to 2 days ahead, wrap them tightly in cling film once cool, and store at room temperature, or freeze them for up to a month and thaw wrapped. Make your buttercream up to 3 days ahead and keep it in the fridge, then re-whip it until soft and spreadable before crumb-coating. Colored fondant accents like the bow, ears and stars can be cut 2 to 3 days in advance and left to firm up on baking paper, which actually makes them easier to handle and less likely to warp when you place them.
Make a cute Kuromi fondant cake at home with this 7-step how-to: a firm vanilla sponge, smooth buttercream and black-and-purple fondant details. For more kuromi cake inspiration, browse the full Kuromi Cake Ideas board — every idea there is written for real home kitchens, not professional bakers.
Frequently Asked Questions
Start with a chocolate or ready-made black fondant so you need far less colouring, and add black gel colour rather than liquid to keep the fondant workable. Knead the gel in fully, then rest the fondant in a sealed bag overnight; the shade deepens from grey to a proper black as it sits, so you avoid the bitterness that comes from over-adding colour. If you have time, buying a good pre-coloured black fondant is the easiest, most reliable route.

Related Recipes
Save this for later 📌
Pin this article to your Pinterest board so the full list is one tap away when you need it.
Save on Pinterest