30 Gorgeous Minnie Mouse Cake Designs
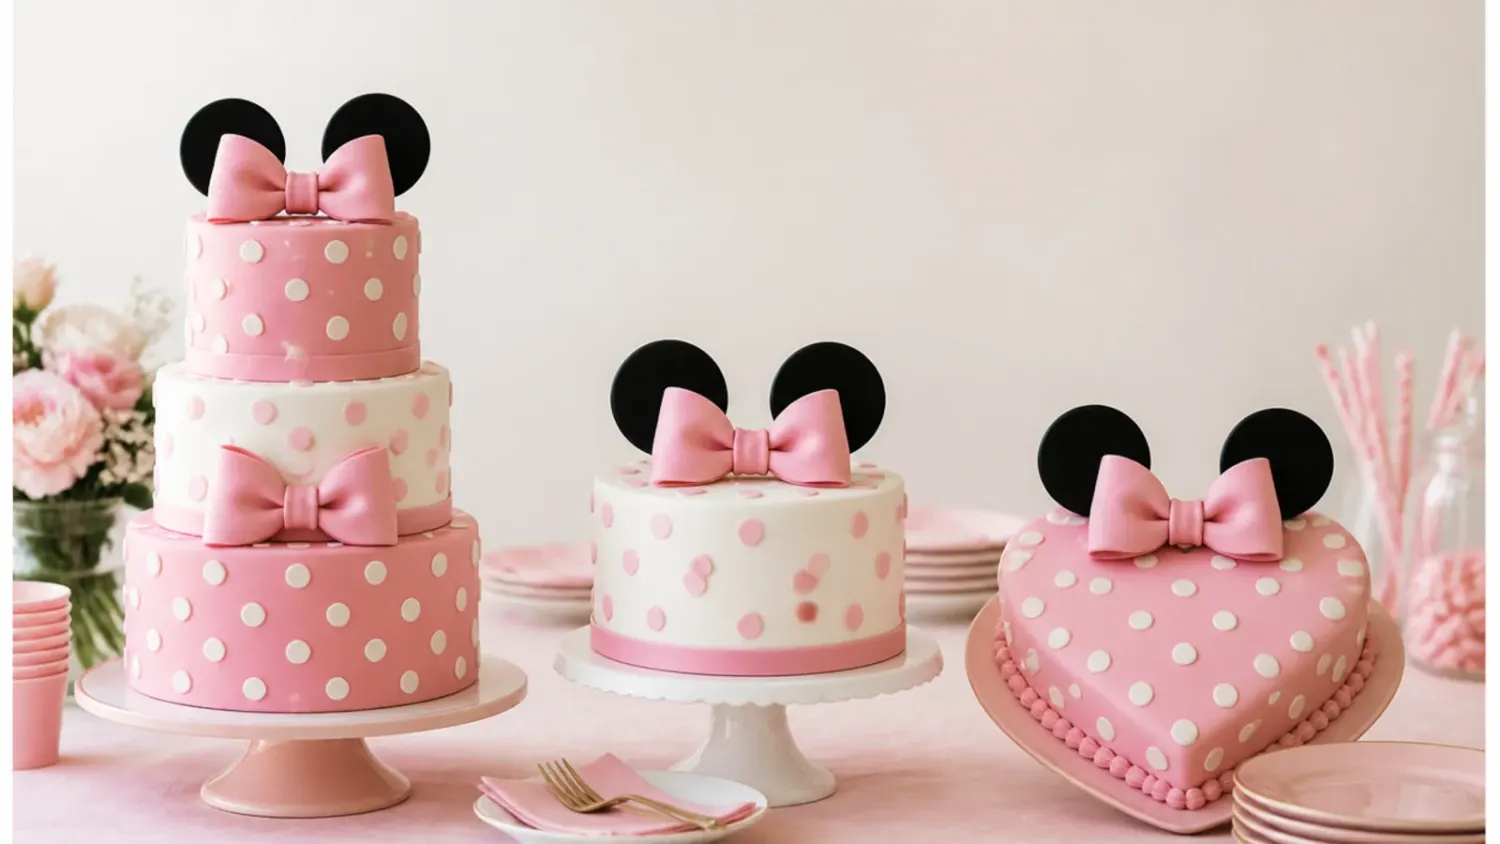
30 gorgeous Minnie Mouse cake designs plus a foolproof base recipe, from classic polka dots to modern drips, elegant tiers and easy buttercream ideas. If you love minnie mouse cake inspiration, start with our Minnie Mouse Cake Ideas collection, then browse the full Cake Ideas hub for more.
Save this for later 📌
Pin this article to your Pinterest board so the full list is one tap away when you need it.
Save on PinterestCake Ideas
Intermediate
Ideas
30 ideas
Table of Contents
- 1. Classic Red, White and Black Polka Dot Cake
- 2. Pink and Black Two-Tone Buttercream Cake
- 3. Elegant White-on-White Textured Cake
- 4. Playful Rainbow Sprinkle Confetti Cake
- 5. Modern Black Drip on Blush Buttercream
- 6. Rustic Semi-Naked Polka Dot Cake
- 7. Colorful Ombre Polka Dot Cake
- 8. Minimal Single Bow Statement Cake
- 9. Festive Number Cake for Milestone Birthdays
- 10. Whimsical Ruffle Skirt Bottom Tier
- 11. Bold Oversized Polka Dot Cake
- 12. Delicate Piped Lace and Pearl Cake
- 13. Vintage Buttercream Rosette Cake
- 14. Creative Half-and-Half Split Design Cake
- 15. Charming Mini Cake and Cupcake Tower
- 16. Two-Tier Classic Stacked Polka Dot Cake
- 17. Easy No-Fondant Buttercream-Only Cake
- 18. Elegant Metallic Gold Accent Cake
- 19. Playful Piñata Surprise-Inside Cake
- 20. Modern Watercolor Buttercream Cake
- 21. Rustic Kraft-Tone Naked Cake with Berries
- 22. Colorful Full Rainbow Layer Cake
- 23. Minimal Single-Dot Accent Cake
- 24. Festive Sparkler and Candle Topper Cake
1. Classic Red, White and Black Polka Dot Cake
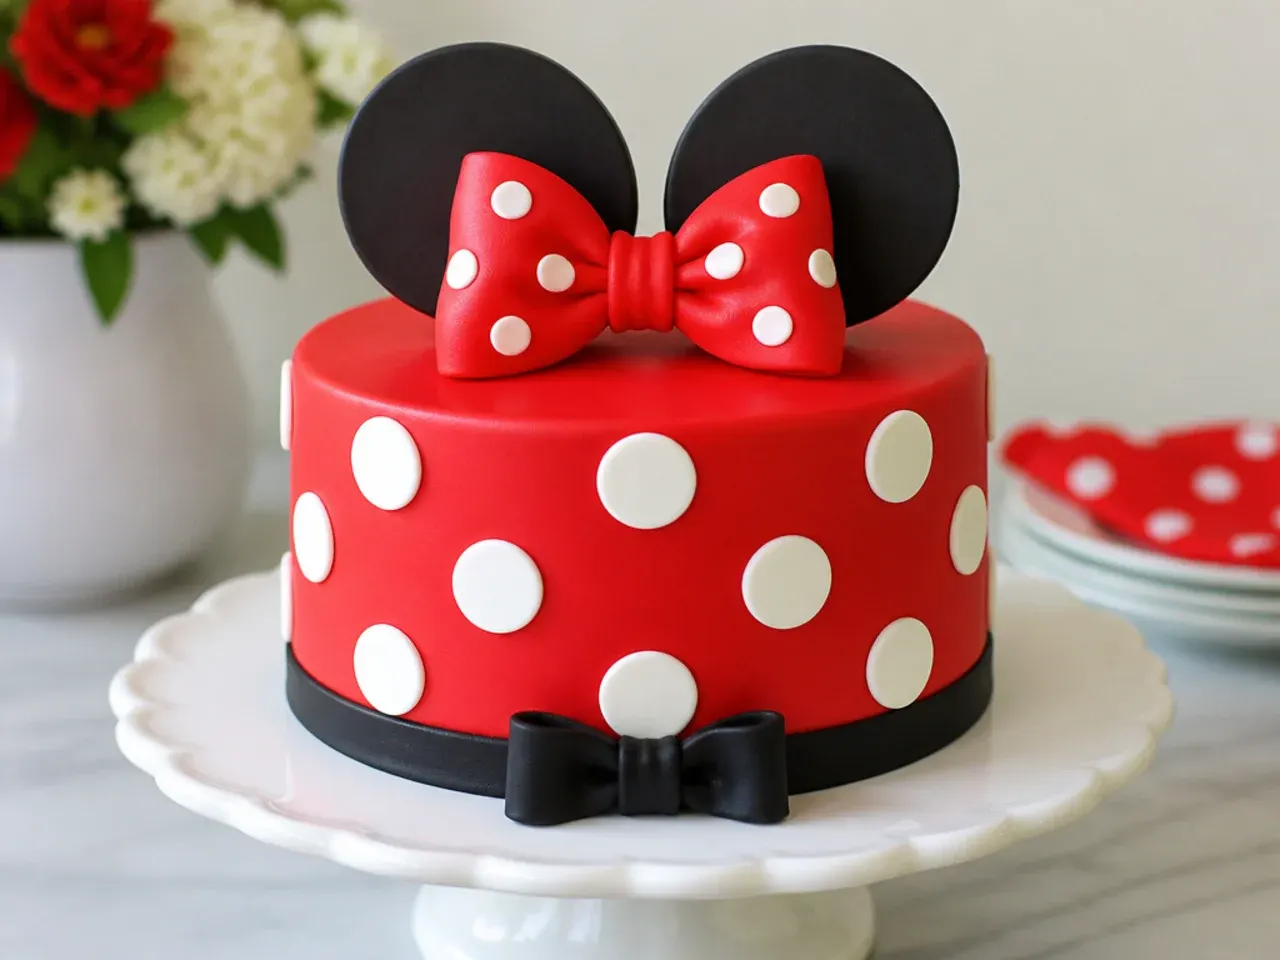
This is the look most people picture: a white buttercream cake with bold red-and-black accents and evenly spaced polka dots. It works because the high-contrast palette reads instantly as Minnie-inspired without copying any character face. Crumb-coat and chill the cake, then apply a smooth final coat of white American buttercream and dot it with black fondant circles cut using a 2cm round cutter or the wide end of a piping tip. Add a red fondant bow with white polka dots on top and a pair of rounded black ear shapes cut from stiffened fondant for the finishing touch.
2. Pink and Black Two-Tone Buttercream Cake
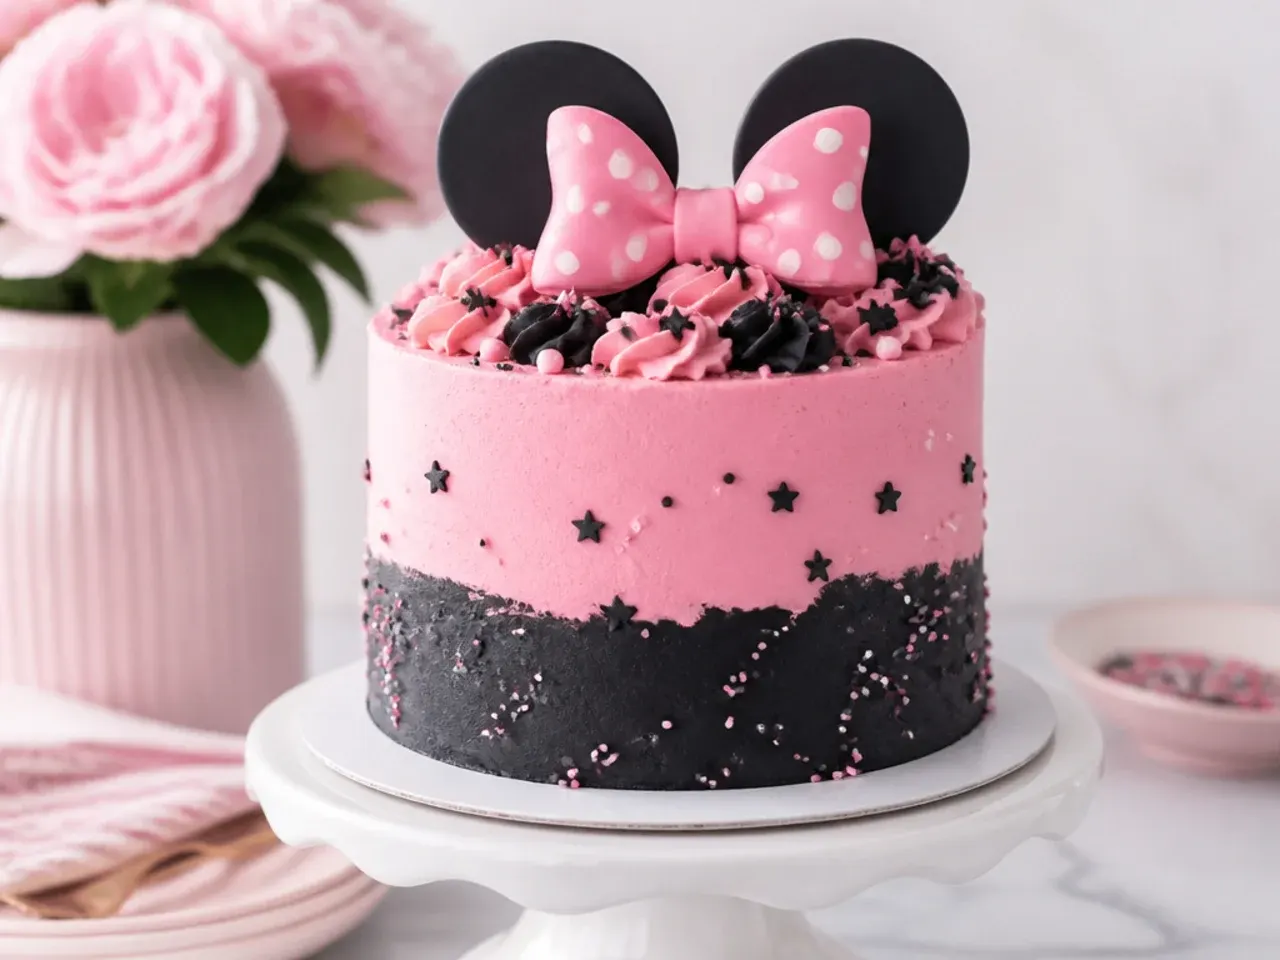
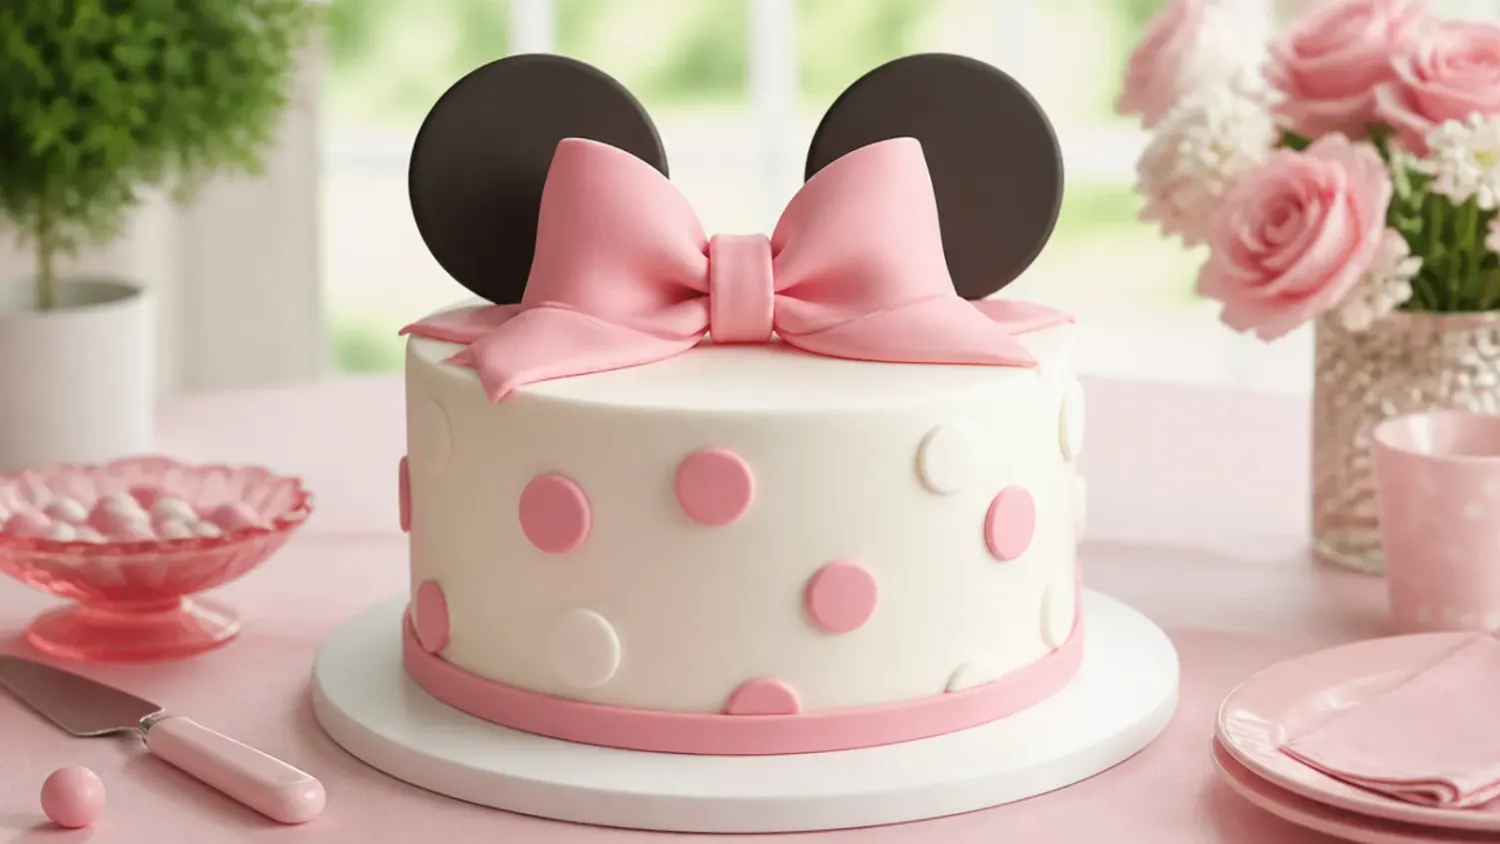
Swap the red for soft baby pink and you get a gentler, girlier version of the classic Minnie-inspired palette. Pink keeps the polka-dot theme feeling sweet rather than punchy, which parents often prefer for a first birthday. Tint your buttercream with a tiny amount of pink gel colour (add it drop by drop; gel is far stronger than liquid) and reserve some plain black-tinted buttercream for the dots. Pipe the dots with a round tip 12 for a raised, glossy finish, or press on fondant circles for a flatter, more graphic look.
3. Elegant White-on-White Textured Cake
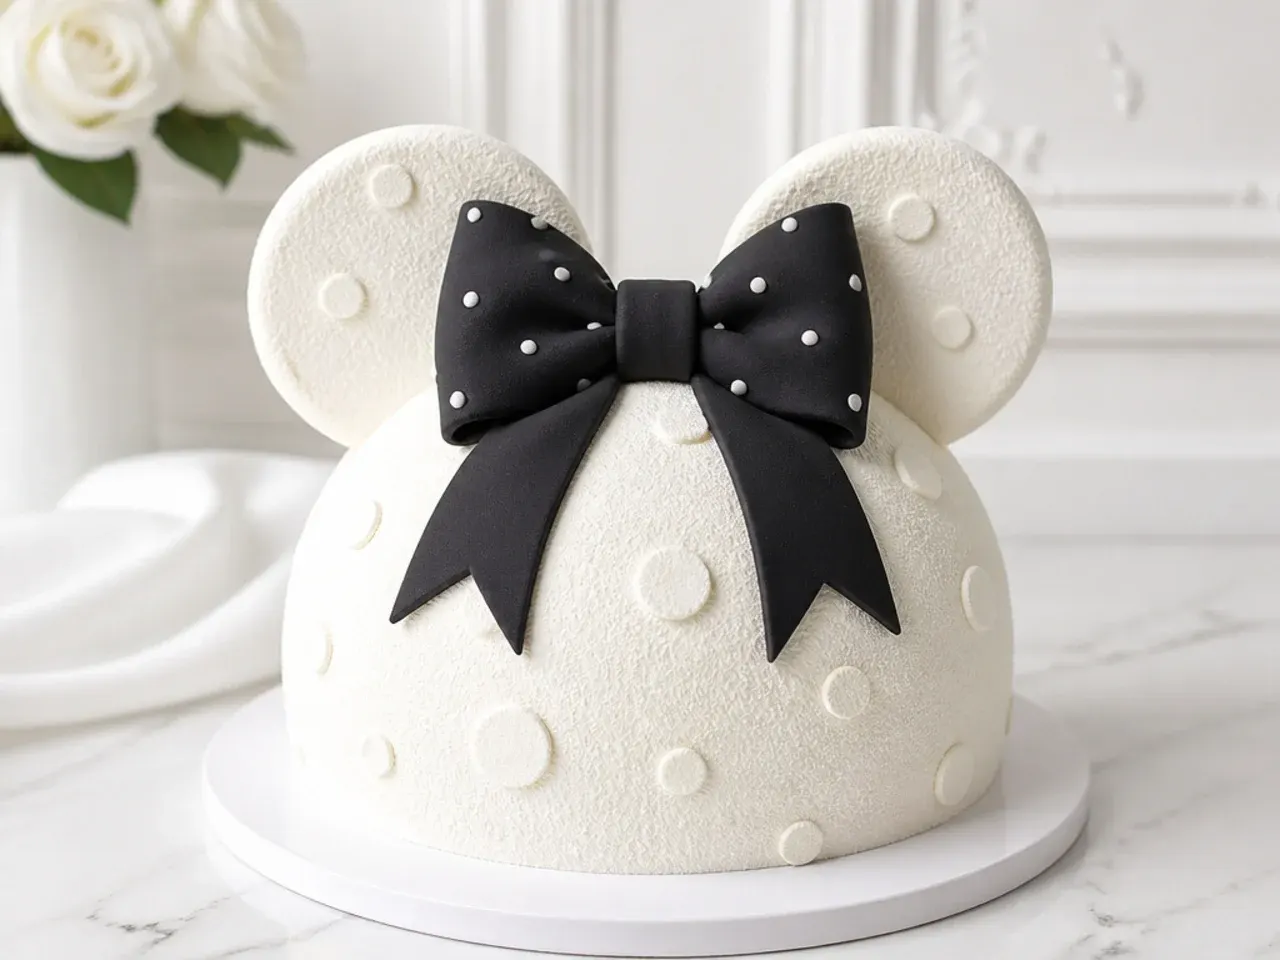
For a grown-up, refined take, keep the whole cake tonal white and let texture and a single black bow do the talking. This design is elegant because restraint reads as expensive, and it suits christenings, bridal showers or milestone birthdays. Cover the chilled cake in smooth ivory buttercream, then add subtle raised polka dots in the same white shade so they only catch the light. A single glossy black fondant bow at the base and two matte white ear shapes on top complete the understated Minnie-inspired look.
4. Playful Rainbow Sprinkle Confetti Cake
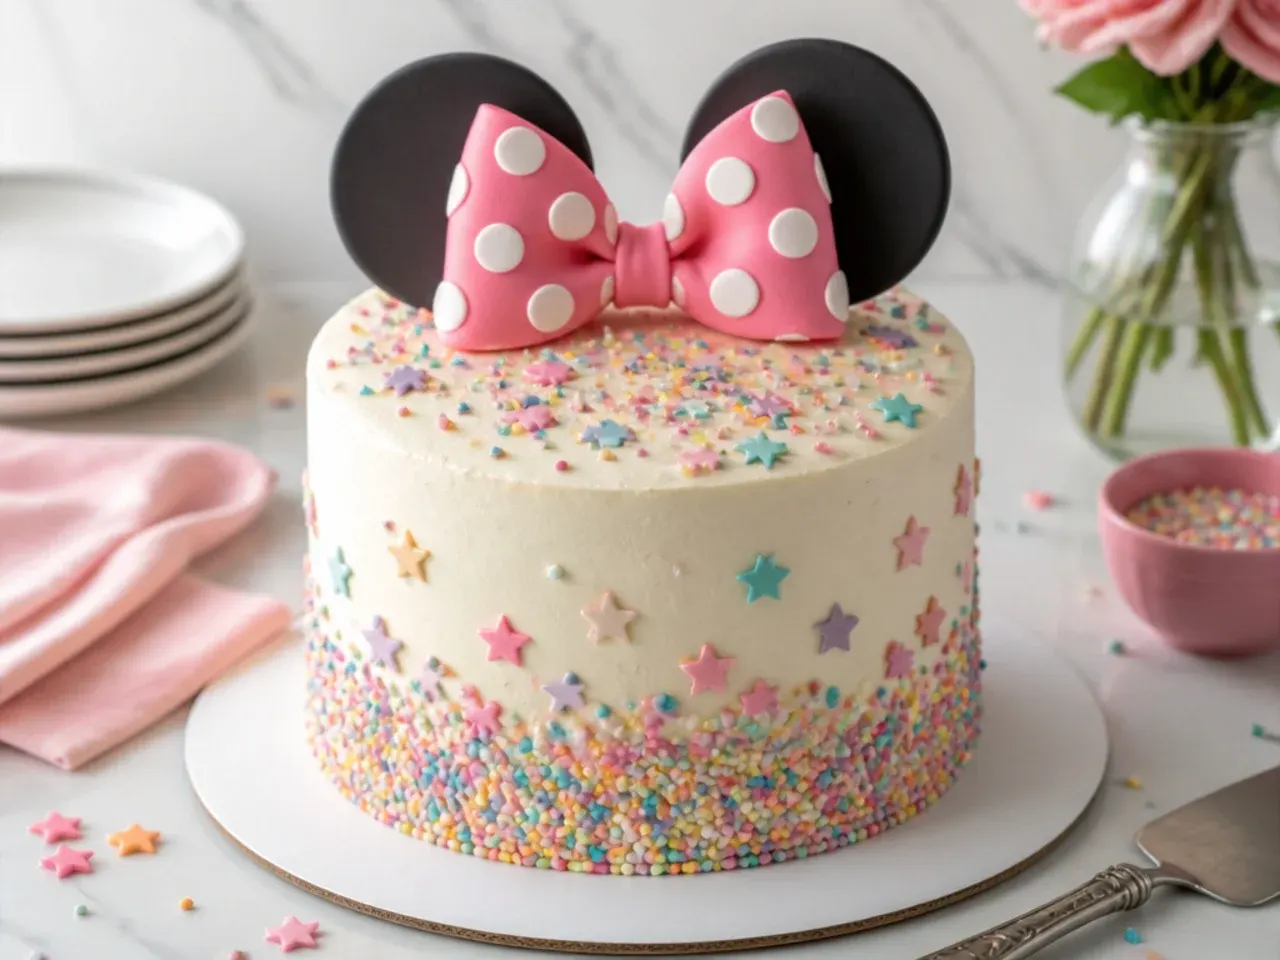
Coat the sides in rainbow sprinkles and keep a clean white top for a joyful, kid-approved party cake. Sprinkles hide any imperfect buttercream, which makes this one of the most forgiving playful designs for beginners. Chill the crumb-coated cake, apply a thin second coat, then while it is still tacky press handfuls of jimmies into the lower third over a baking tray to catch the excess. Finish with a red-and-white polka-dot bow topper and rounded ear shapes so the fun still reads as Minnie-inspired.
5. Modern Black Drip on Blush Buttercream
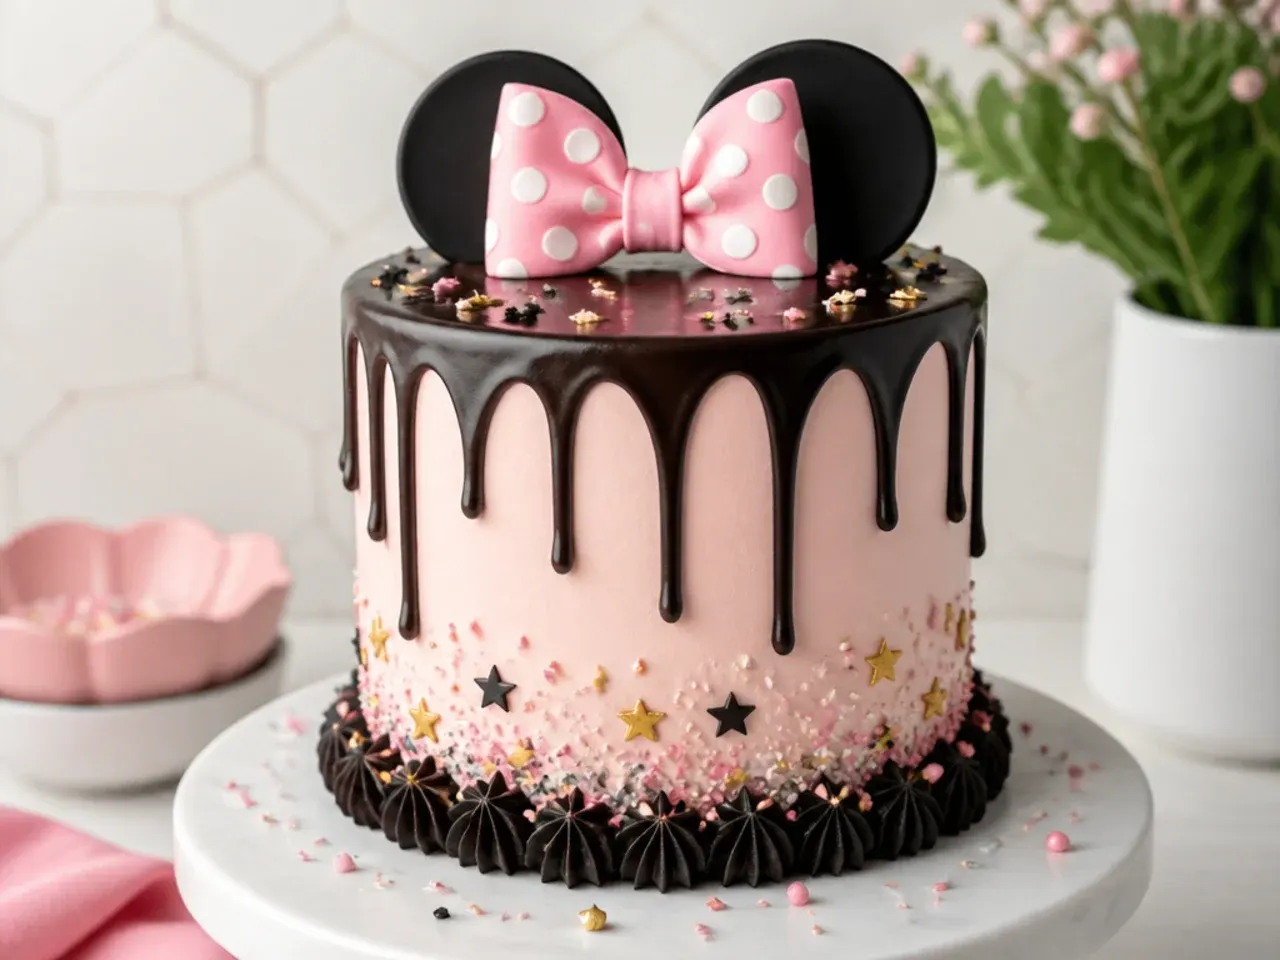
A glossy black chocolate drip running down a smooth blush-pink cake looks straight out of a modern bakery window. The drip is modern because it breaks the neat polka-dot tradition with a loose, editorial edge. Make the drip by melting 60g dark chocolate with 60ml warm cream, cooling it until it coats a spoon but still moves, then piping it around a well-chilled cake so the drips freeze in place instead of pooling. Top with a cluster of black-and-white polka-dot macarons and a minimal bow for a sleek Minnie-inspired centrepiece.
Save this for later 📌
Pin this article to your Pinterest board so the full list is one tap away when you need it.
Save on Pinterest6. Rustic Semi-Naked Polka Dot Cake
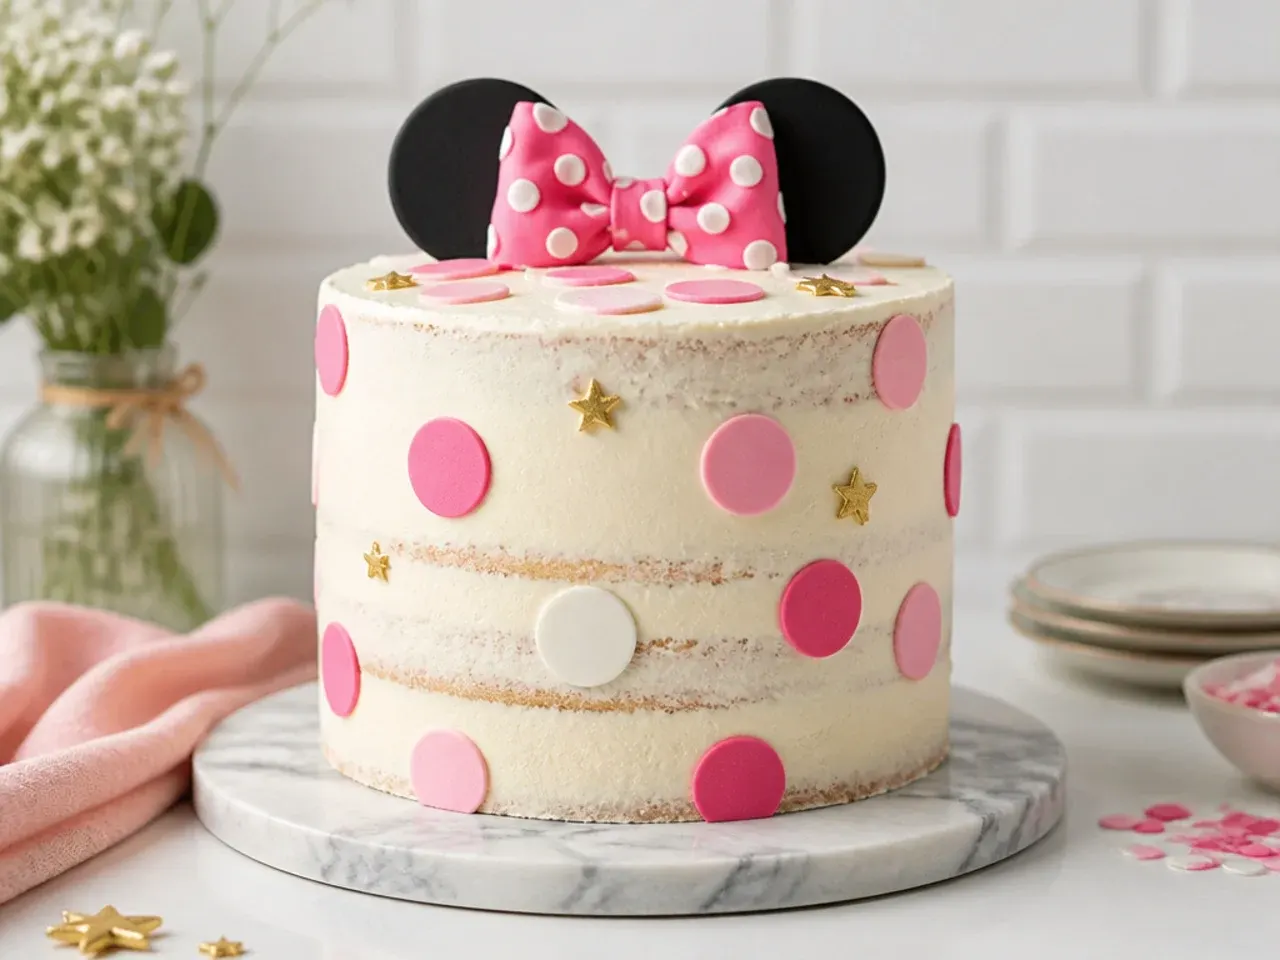
The semi-naked style leaves the sponge peeking through a thin scrape of buttercream for a relaxed, homemade charm. It works for rustic and outdoor parties where a too-perfect fondant cake would feel out of place. Apply buttercream generously between the layers, then scrape the outside back with a bench scraper until the cake edges show through in patches. Press a few red or black fondant polka dots onto the exposed sides and finish with a hand-tied fabric-look fondant bow for a rustic Minnie-inspired feel.
7. Colorful Ombre Polka Dot Cake
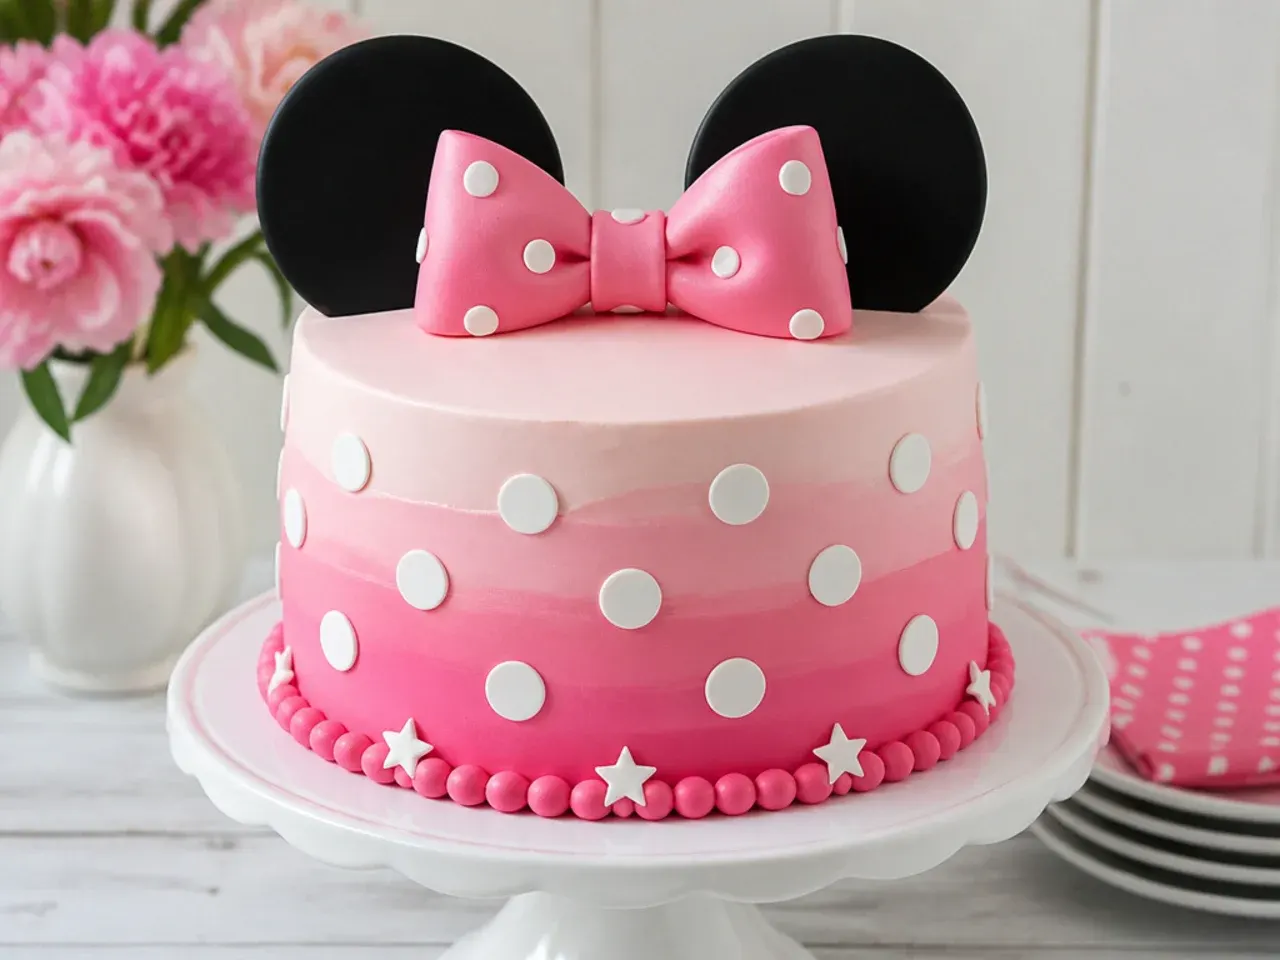
Fade the buttercream from deep pink at the base up to pale pink at the top for a colourful ombre gradient dotted all over. Ombre works because it adds depth and movement to what could otherwise be a flat single-colour cake. Divide your buttercream into three bowls, tint them dark, medium and light pink, then pipe bands around the chilled cake and blend the seams with a warm palette knife before a final smooth. Scatter white polka dots across the whole surface and top with a bold bow for a vibrant Minnie-inspired design.
8. Minimal Single Bow Statement Cake
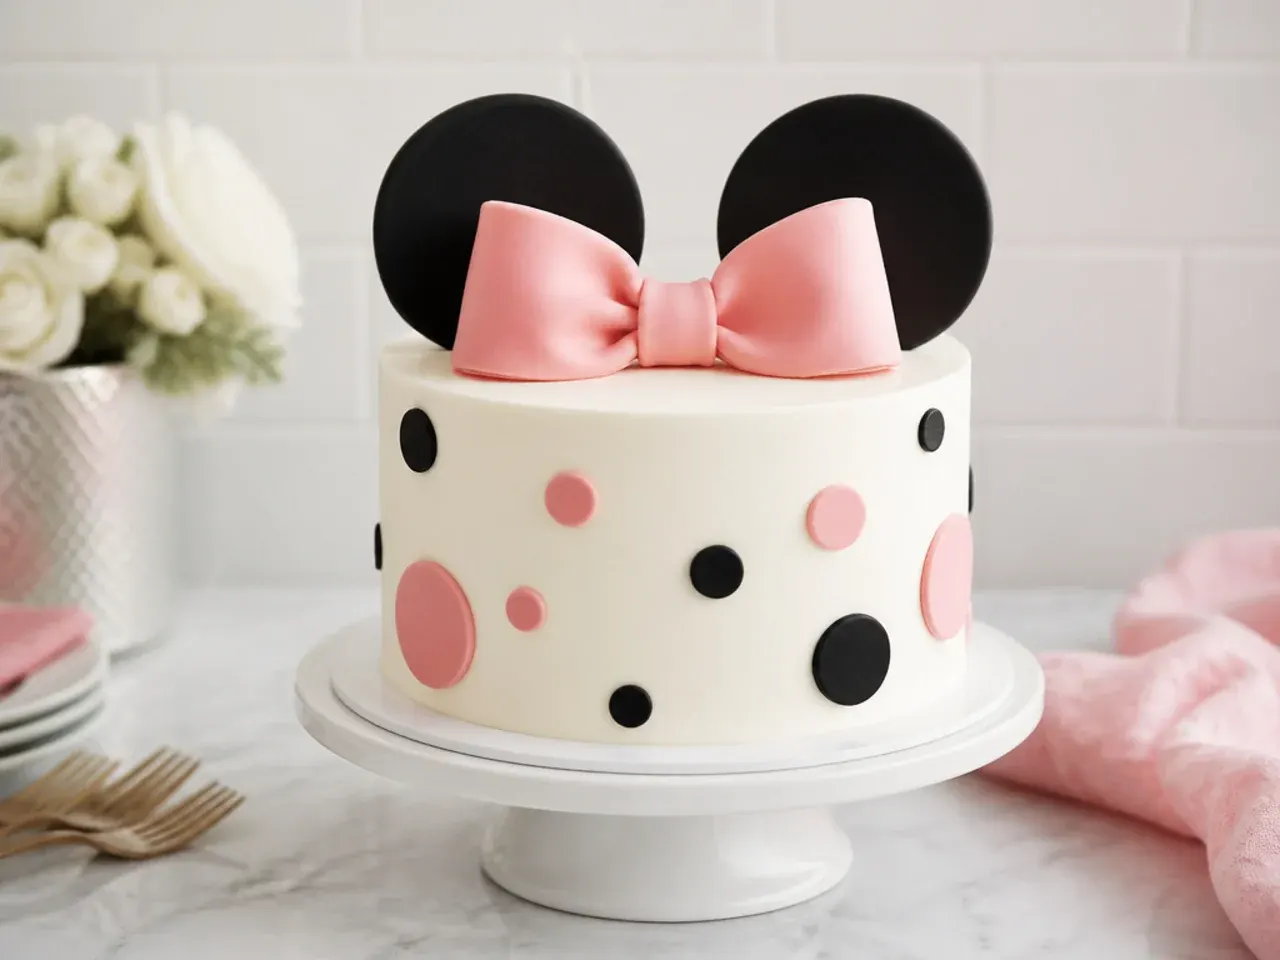
Strip everything back to one smooth white cake and a single oversized bow as the only decoration. This minimal design is striking because the empty space makes the bow feel intentional and modern. Focus all your effort on a flawless buttercream finish: chill, second-coat, and smooth with a scraper dipped in hot water and wiped dry between passes. Set one large red-and-white polka-dot fondant bow slightly off-centre near the top edge, and skip the ears entirely for the cleanest possible Minnie-inspired statement.
9. Festive Number Cake for Milestone Birthdays
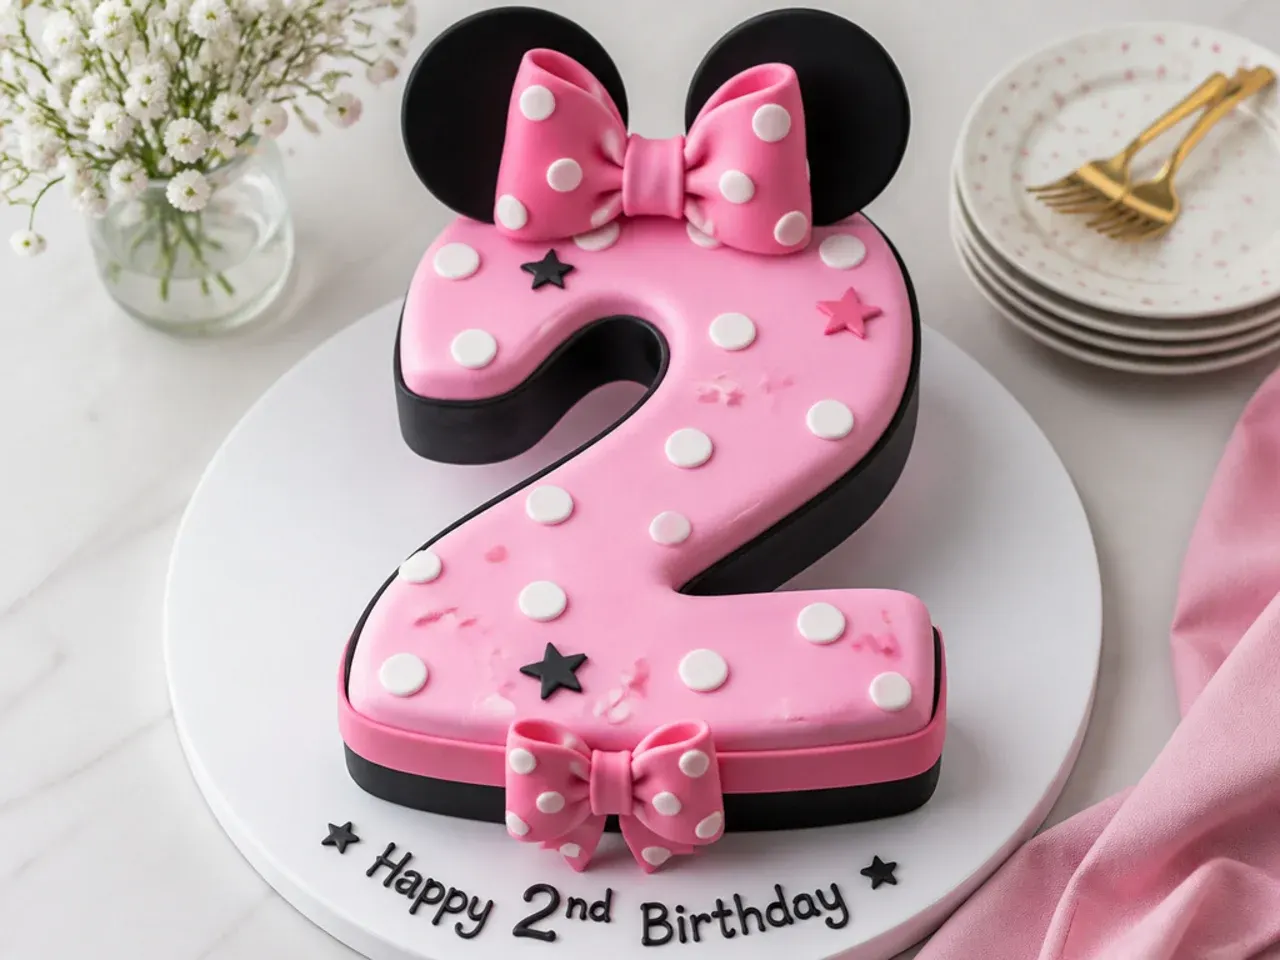
Bake the cake in a number-shaped tin (or carve a number from a sheet cake) and dress it in polka dots for a festive age-specific centrepiece. It works because the number personalises the cake instantly, which photographs beautifully for a first or second birthday. Use a firm-crumbed sponge so the carved edges hold, chill it hard, then coat in pink or white buttercream and press on alternating red and black fondant dots. Perch a small bow and two ear shapes on one corner so the milestone still nods to the Minnie-inspired theme.
10. Whimsical Ruffle Skirt Bottom Tier
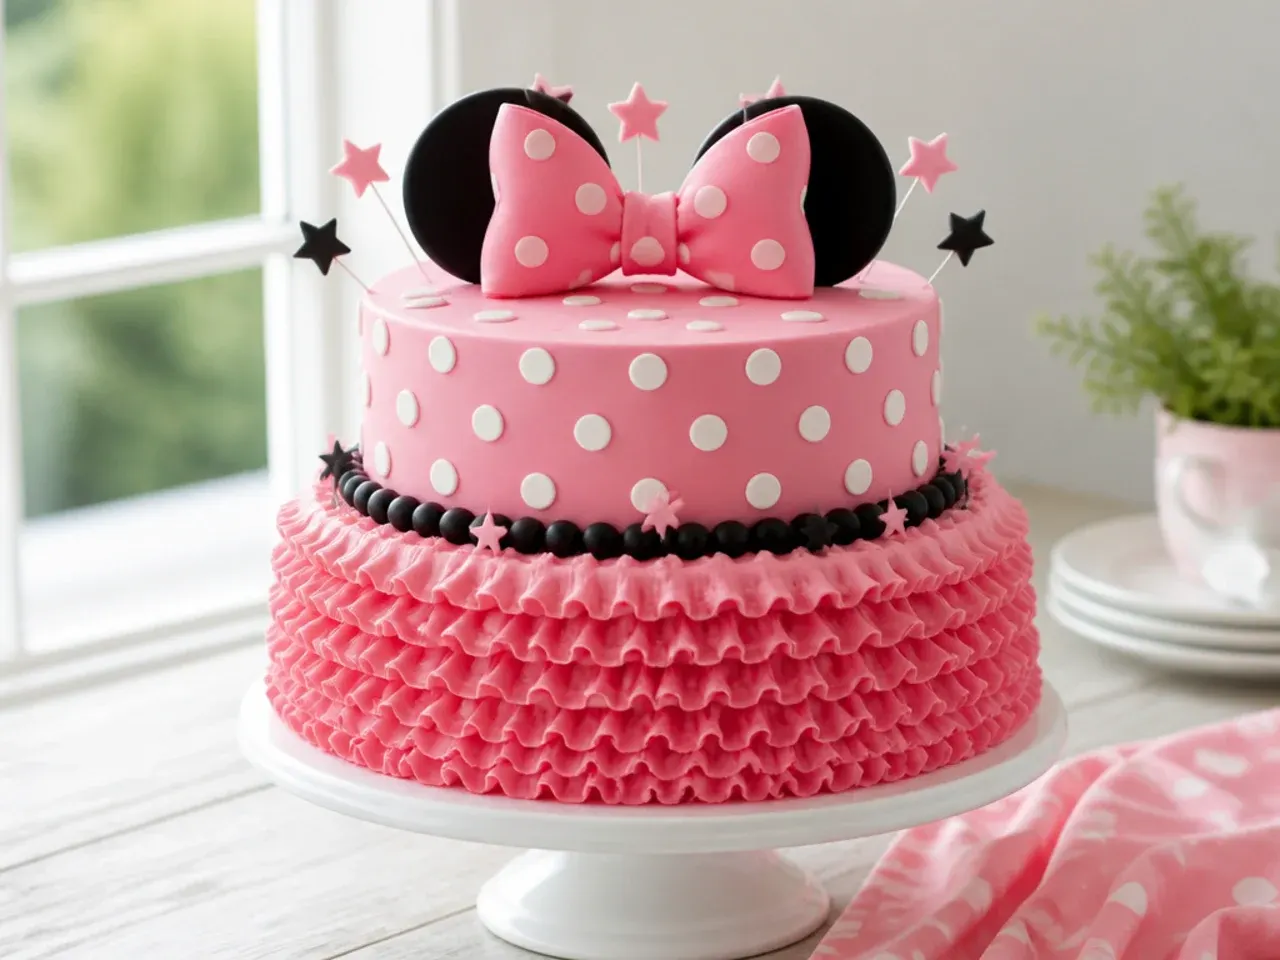
Pipe a full ruffled skirt around the base tier so it mimics a polka-dot dress flaring out at the hem. Ruffles add whimsy and movement, turning a plain cylinder into something that looks like it is mid-twirl. Use a petal tip 104 held with the wide end against the cake, and pipe short overlapping arcs in vertical rows, working from the bottom up so each row tucks under the last. Keep the top tier smooth with scattered dots so the eye travels down to the whimsical Minnie-inspired ruffled skirt.
Save this for later 📌
Pin this article to your Pinterest board so the full list is one tap away when you need it.
Save on Pinterest11. Bold Oversized Polka Dot Cake
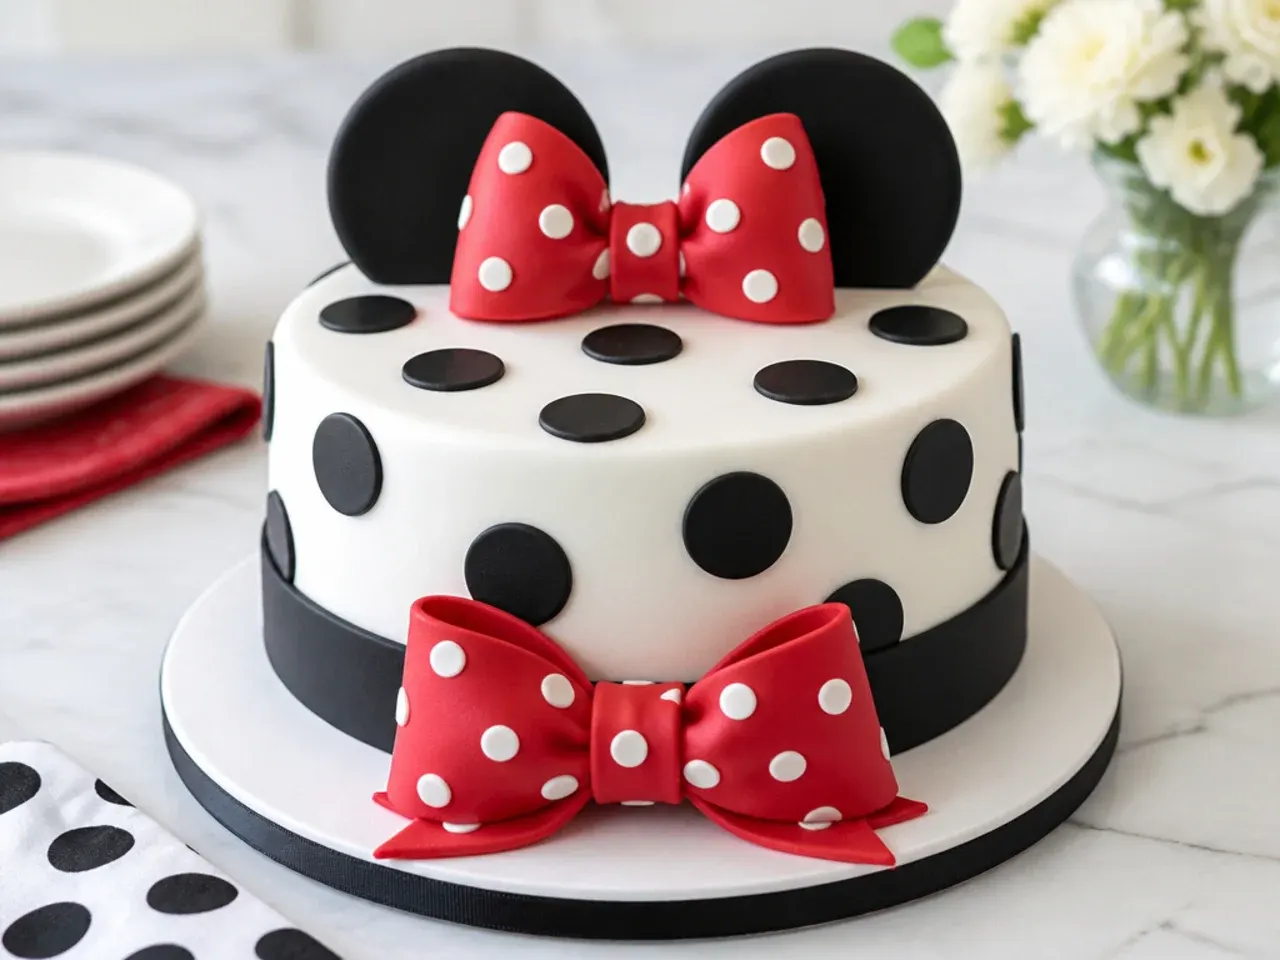
Go large with the dots: instead of many small circles, cover the cake in a few oversized black-and-white spots for a bold graphic punch. Big dots work because they read clearly from across a party room and photograph strongly for social media. Cut circles up to 6cm across from rolled fondant using a cookie cutter or a cup rim, and space them so the white buttercream between them becomes part of the pattern. Balance the drama with a single tidy red bow so the bold design still feels Minnie-inspired rather than chaotic.
12. Delicate Piped Lace and Pearl Cake
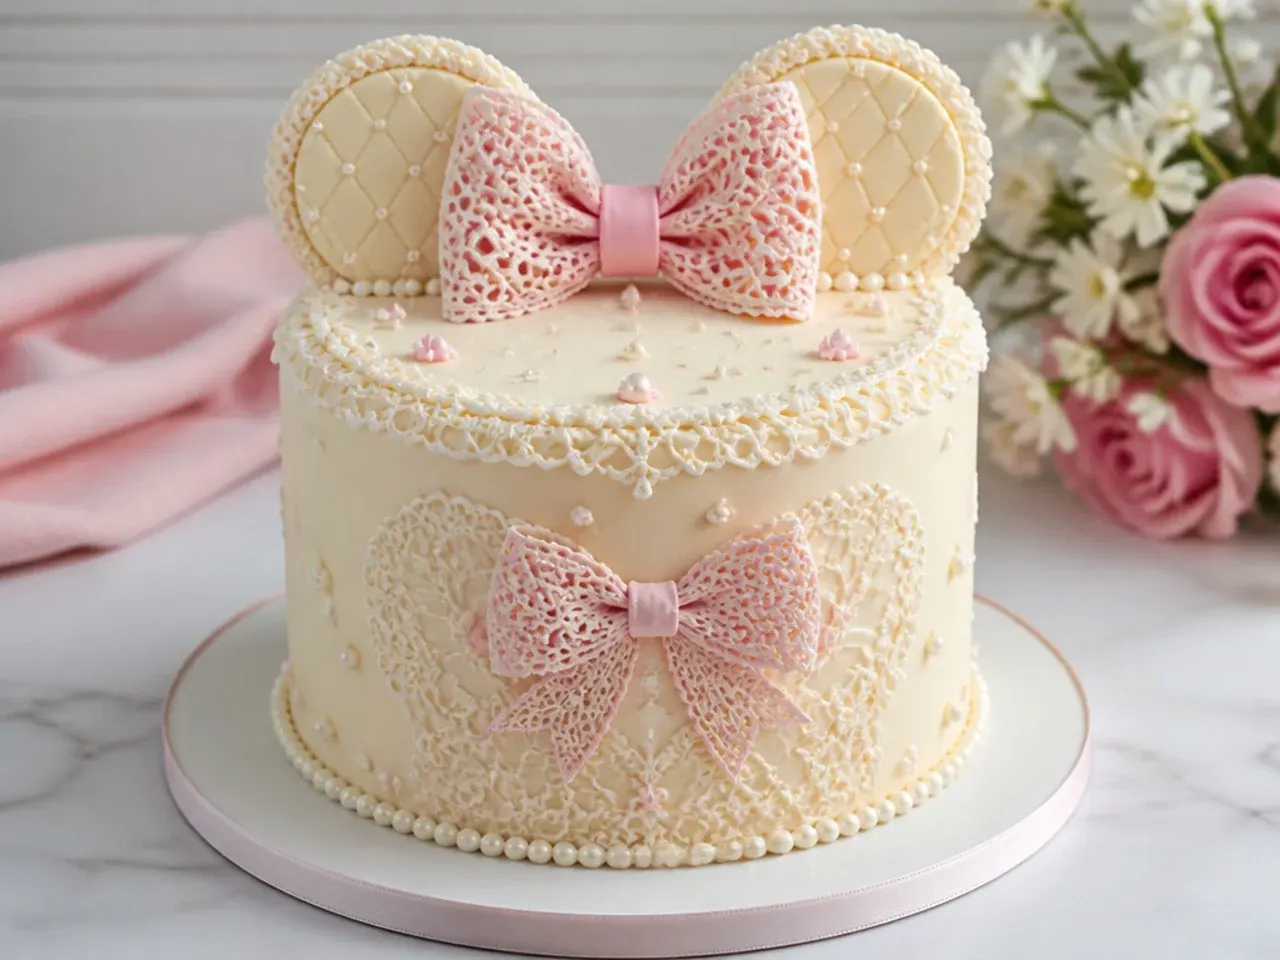
Layer fine piped lace patterns and edible pearls over a pale cake for a delicate, almost bridal Minnie-inspired look. It works because the intricate detail elevates a simple theme into something that feels handcrafted and special. Use a fine round tip 1 or 2 to pipe cornelli lace (continuous looping squiggles that never cross) over chilled buttercream, then dot the crossings with edible sugar pearls. Add a small black bow and a scatter of tone-on-tone dots so the delicate work still reads clearly as the theme.
13. Vintage Buttercream Rosette Cake
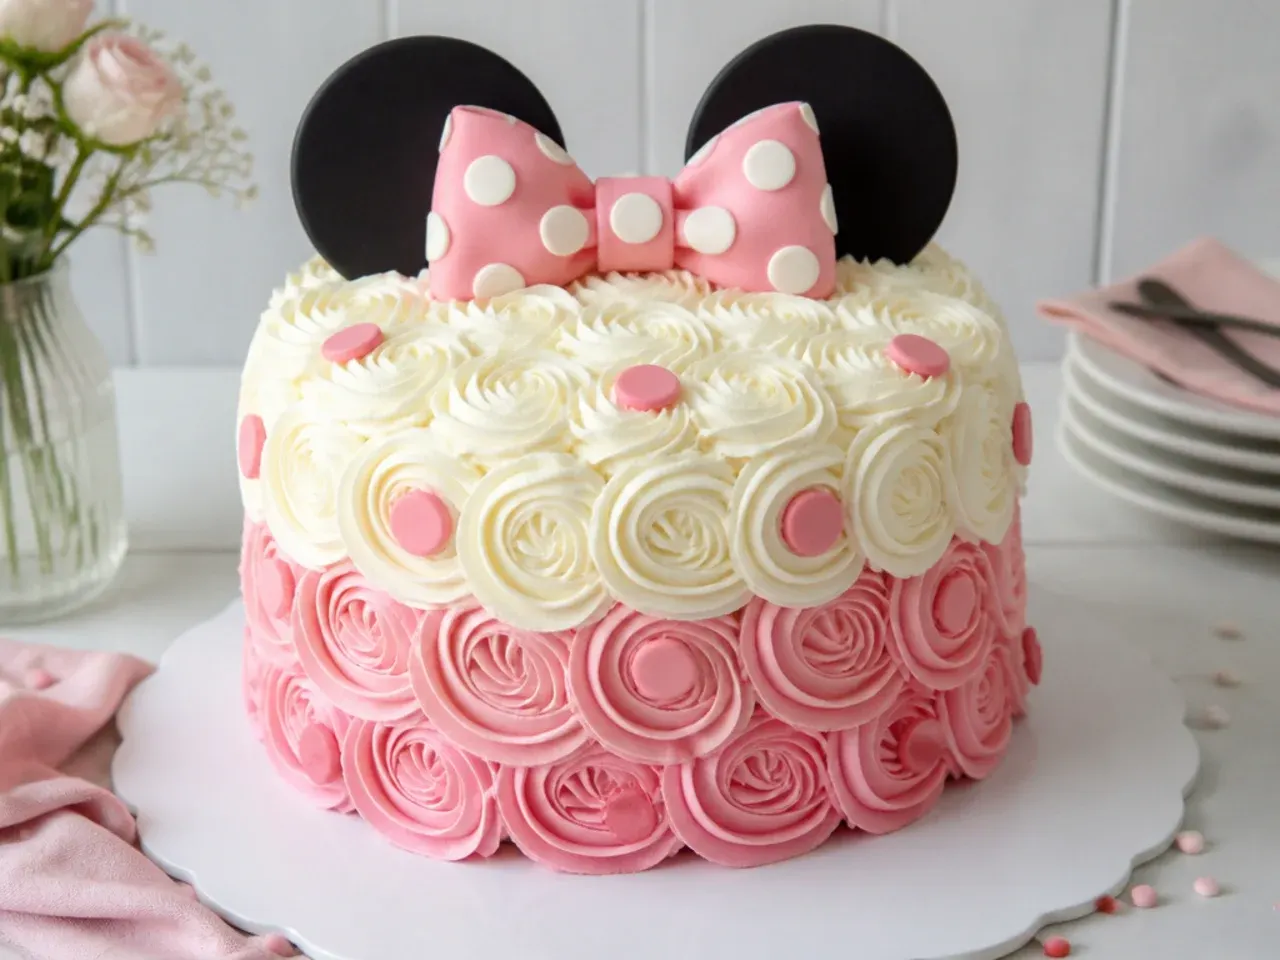
Cover the whole cake in swirled buttercream rosettes for a soft, vintage-parlour finish dotted with a few polka-dot accents. Rosettes work because they hide an uneven crumb coat entirely while looking deliberately old-fashioned and lush. Fit a large star tip 1M, hold the bag straight out from the cake, and pipe tight spirals starting in the centre and curling outward, covering the surface row by row. Nestle a few flat fondant dots between the rosettes and add a vintage-style bow for a nostalgic Minnie-inspired cake.
14. Creative Half-and-Half Split Design Cake
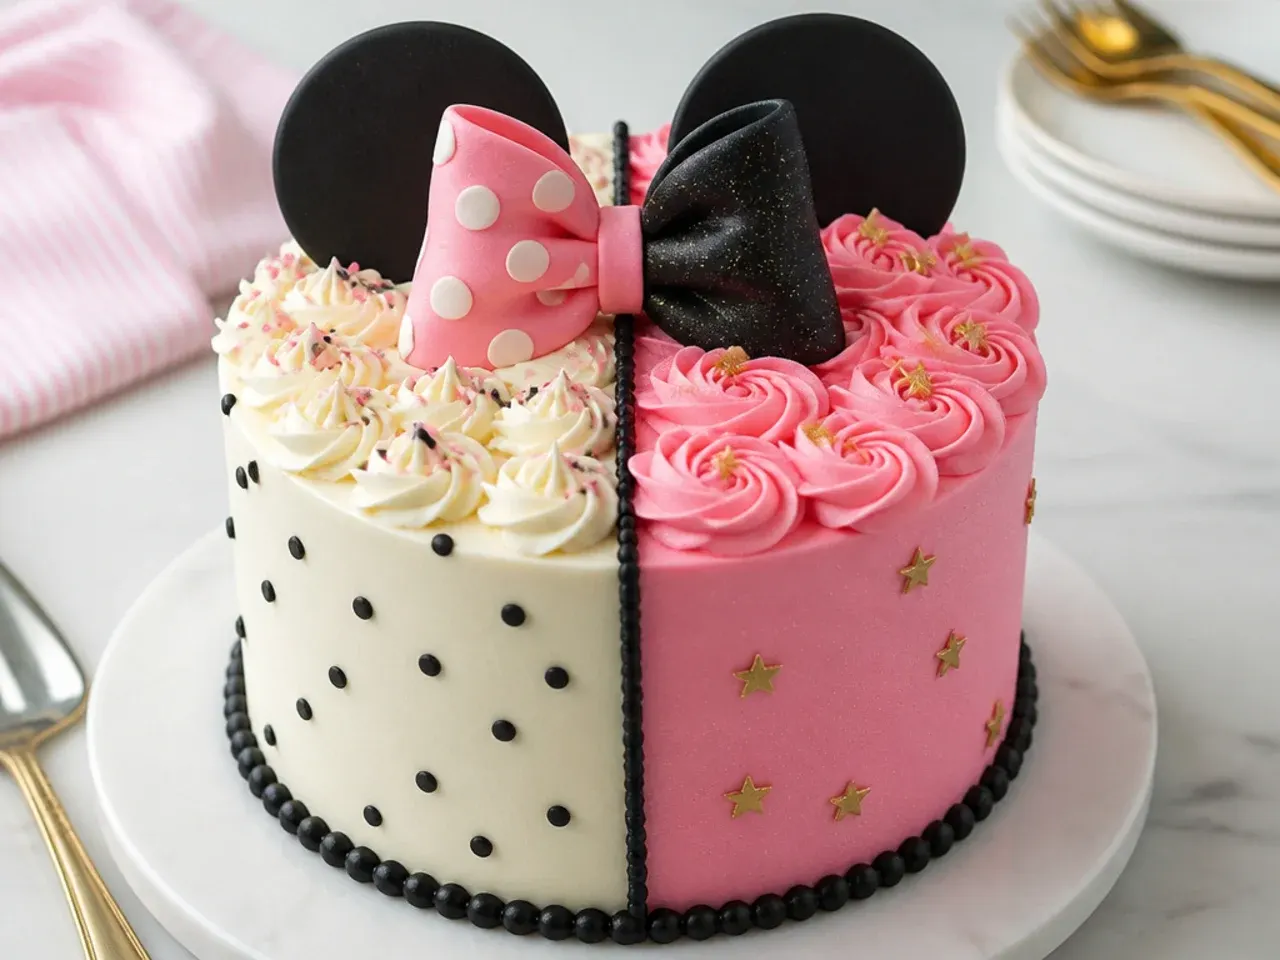
Split the cake vertically down the middle: smooth polka dots on one side, textured buttercream or a different colour on the other. This creative approach lets you feature two ideas on one cake, which is perfect when siblings share a party. Chill the crumb coat, then mask one half with a strip of parchment while you smooth the first side, reposition the mask, and finish the second in a contrasting style. A shared bow straddling the seam ties the two Minnie-inspired halves together into one deliberate design.
15. Charming Mini Cake and Cupcake Tower
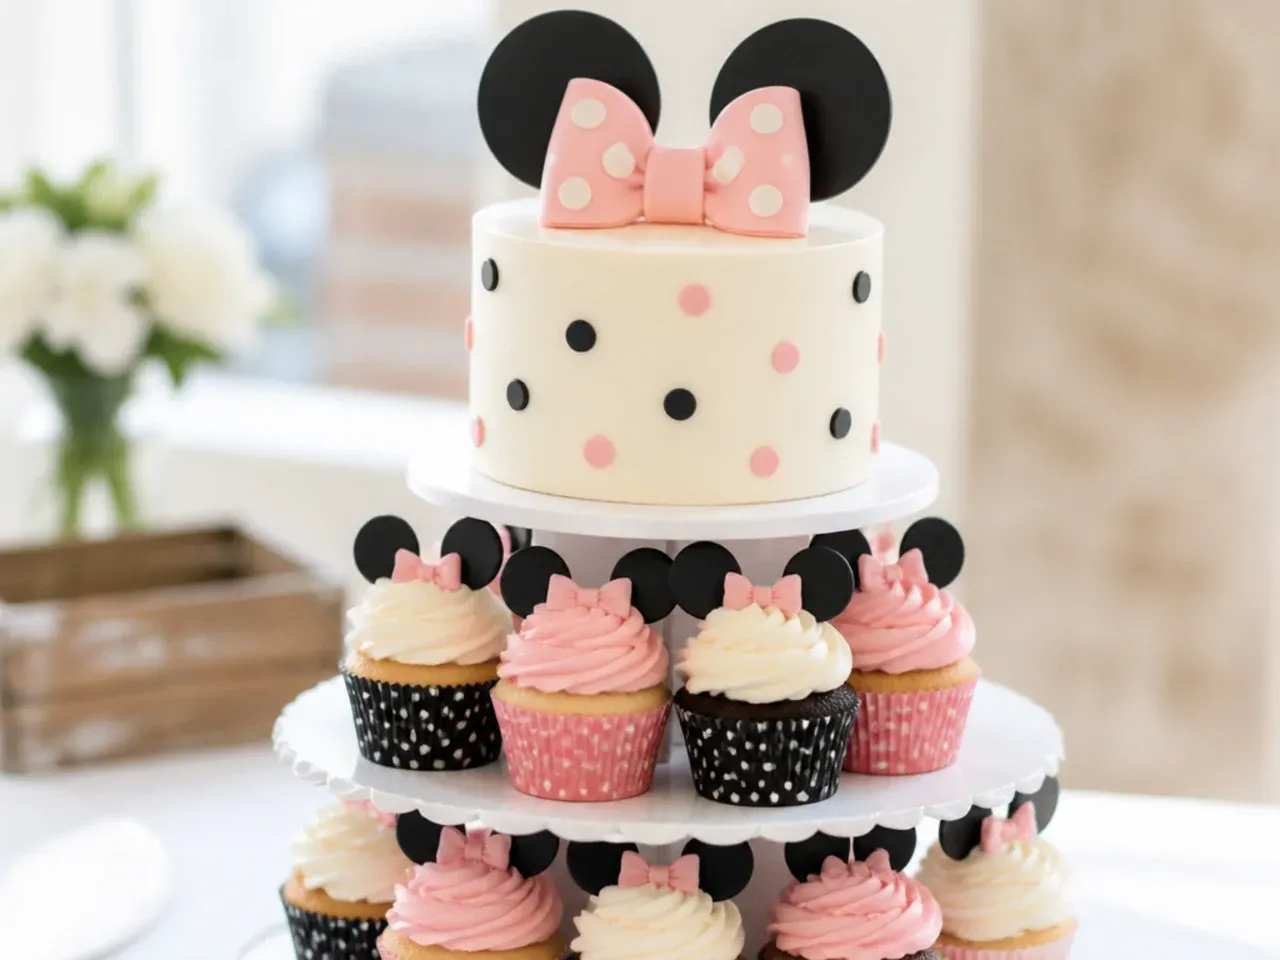
Pair a small Minnie-inspired smash cake with a tower of matching polka-dot cupcakes for a charming, portion-friendly spread. It works because guests get individual servings while the centre cake stays photogenic and easy to cut. Bake the cupcakes in red and white polka-dot liners, swirl on pink buttercream with a star tip 1M, and top each with a single fondant dot or tiny bow. Set them on a tiered stand around one 4-inch smash cake with its own bow and ear shapes for a coordinated, charming display.
Save this for later 📌
Pin this article to your Pinterest board so the full list is one tap away when you need it.
Save on Pinterest16. Two-Tier Classic Stacked Polka Dot Cake
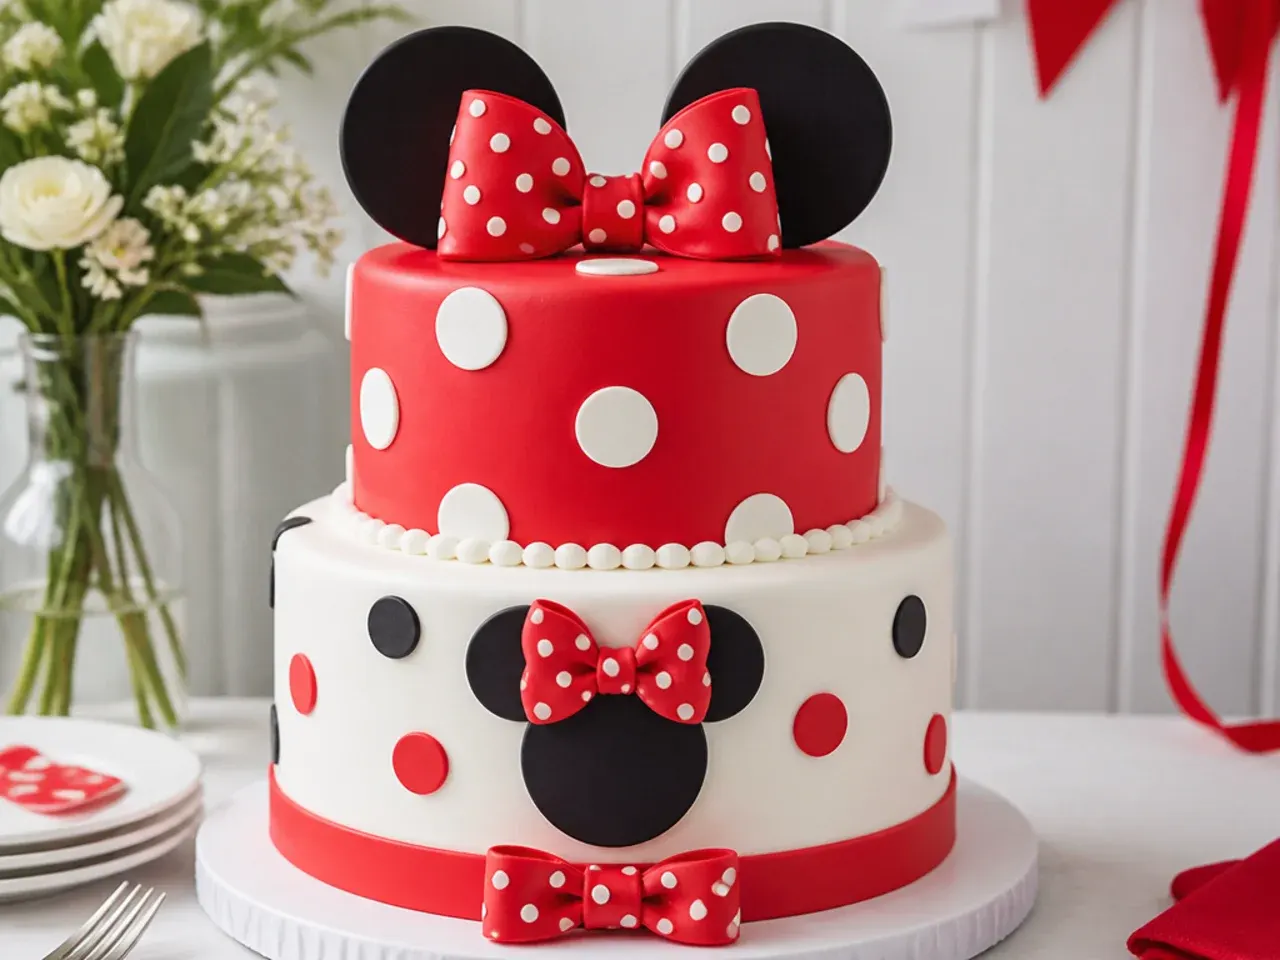
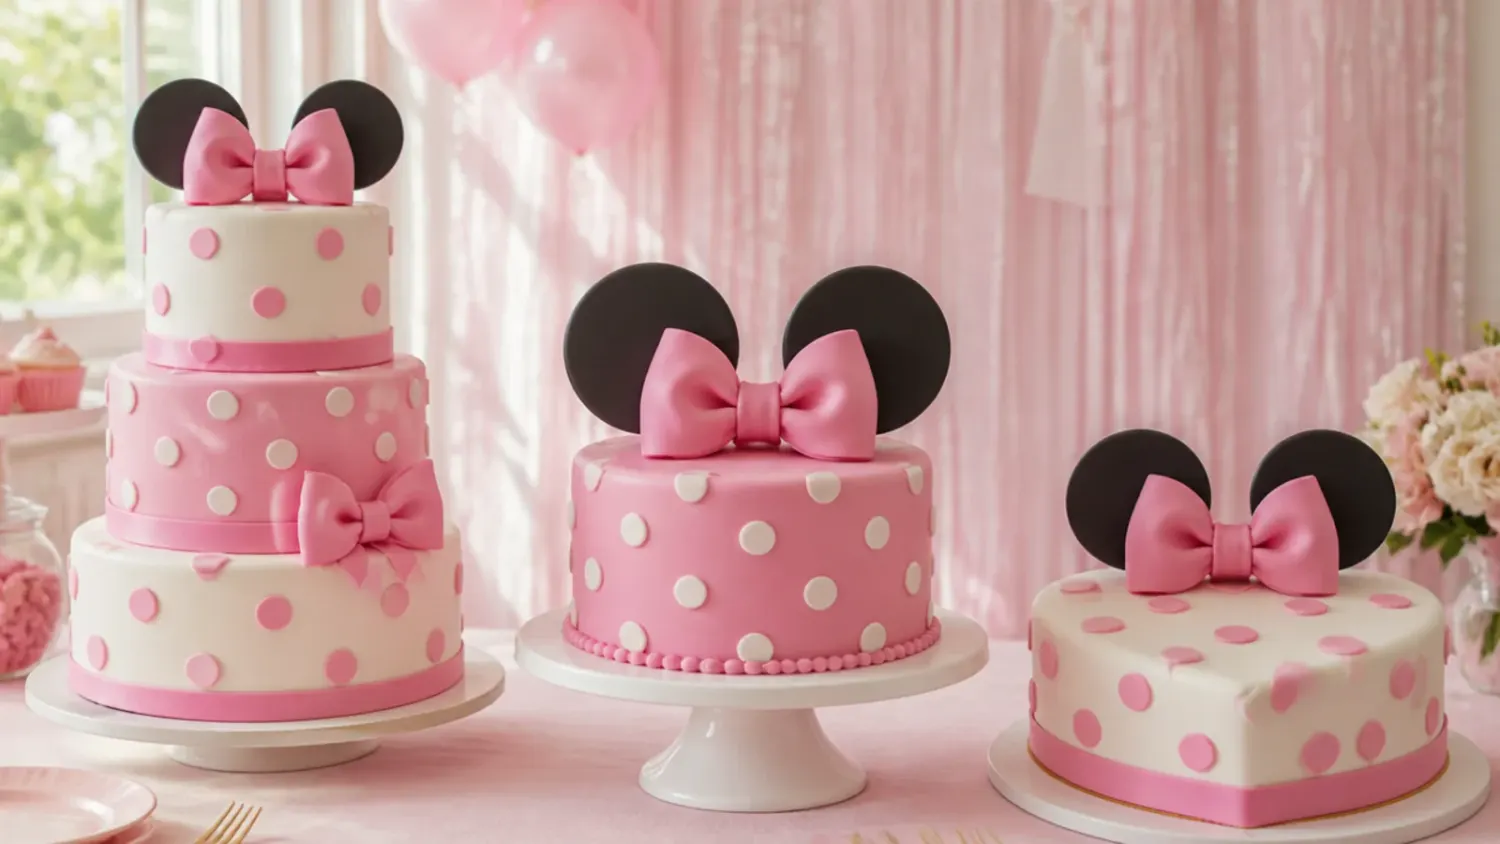
Stack a smaller tier on a larger one, dressing the bottom in white with dots and the top in a bold accent colour. Two tiers work because the height turns an ordinary cake into a proper party centrepiece for a bigger crowd of 20 to 30. Cover and chill each tier separately, then insert four dowels cut to the exact height of the bottom tier before stacking so the upper cake cannot sink in. Add a piped or fondant border where the tiers meet, plenty of polka dots, and a bow on top for a classic Minnie-inspired stack.
17. Easy No-Fondant Buttercream-Only Cake
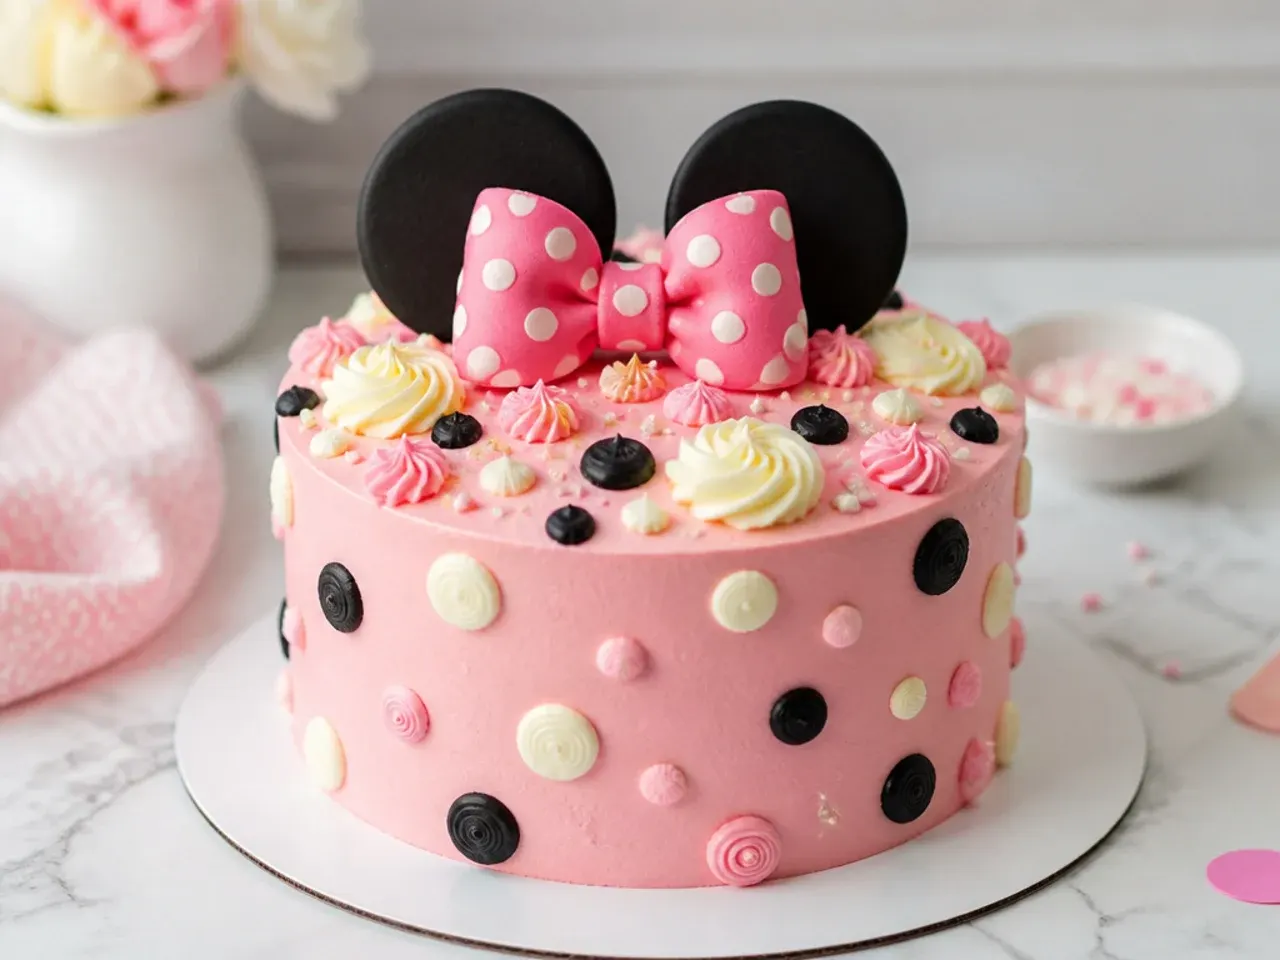
Skip fondant entirely and do every detail (dots, bow and ears) in piped buttercream for the easiest possible route. This works for beginners who find fondant fiddly, and it tastes better to most people too. Frost the cake smooth in white, then pipe polka dots with a round tip 10, drawing straight up and releasing so each dot sits proud without a peak (a damp finger tap flattens any tips). Pipe a simple bow shape with a flat basketweave tip and use two large piped mounds for the rounded ear shapes.
18. Elegant Metallic Gold Accent Cake
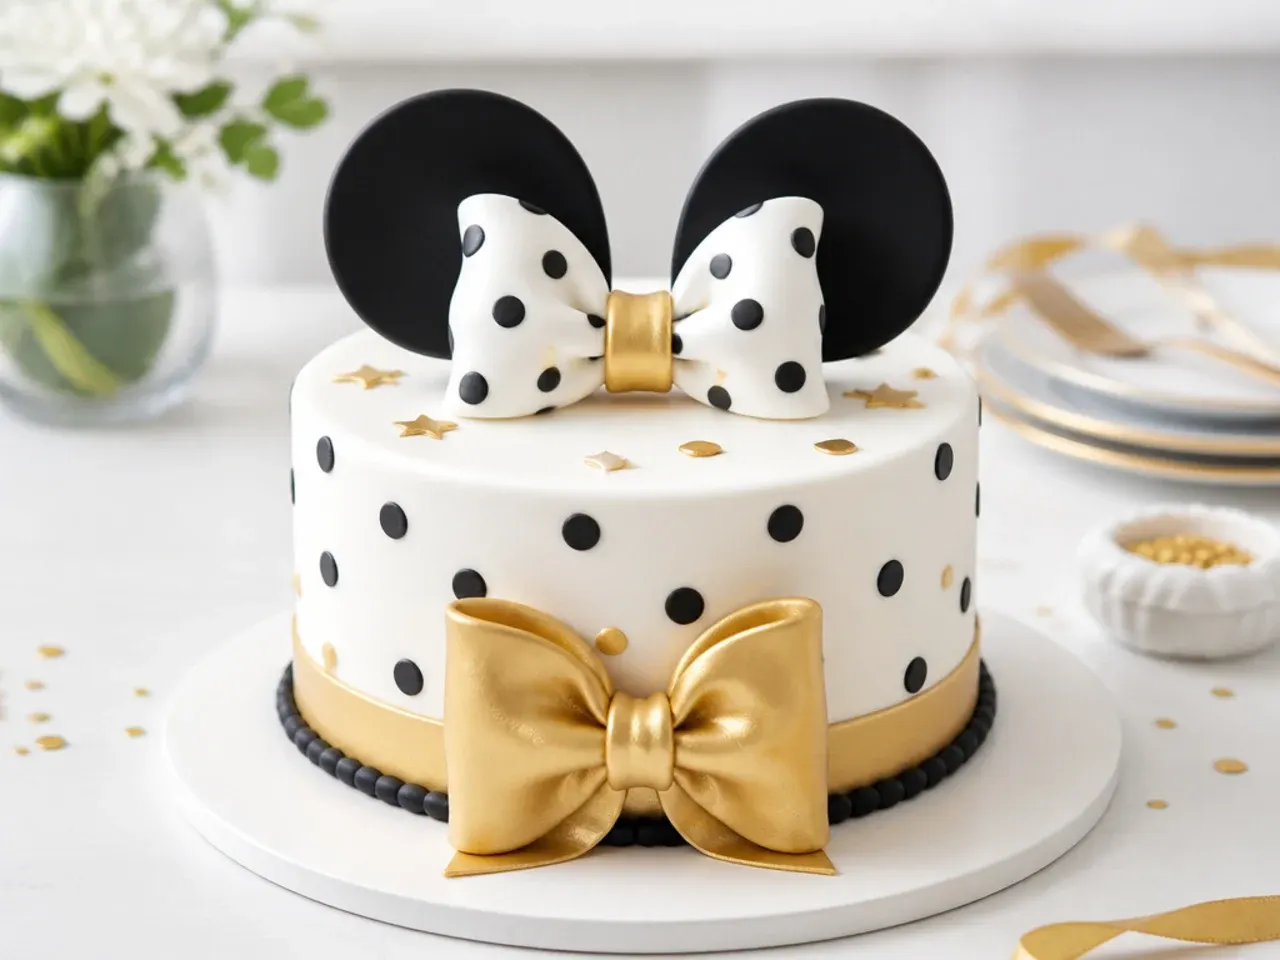
Add hand-painted or brushed edible gold to a black-and-white polka-dot cake for an elegant, upscale finish. Gold works because a touch of metallic instantly lifts a simple palette into something that looks bakery-made. Mix edible gold lustre dust with a few drops of clear alcohol or lemon extract to make a paint, then brush it onto selected fondant dots or the bow edges with a fine flat brush. Keep most dots matte so the gold ones stand out, and add a black bow for a polished Minnie-inspired centrepiece.
19. Playful Piñata Surprise-Inside Cake
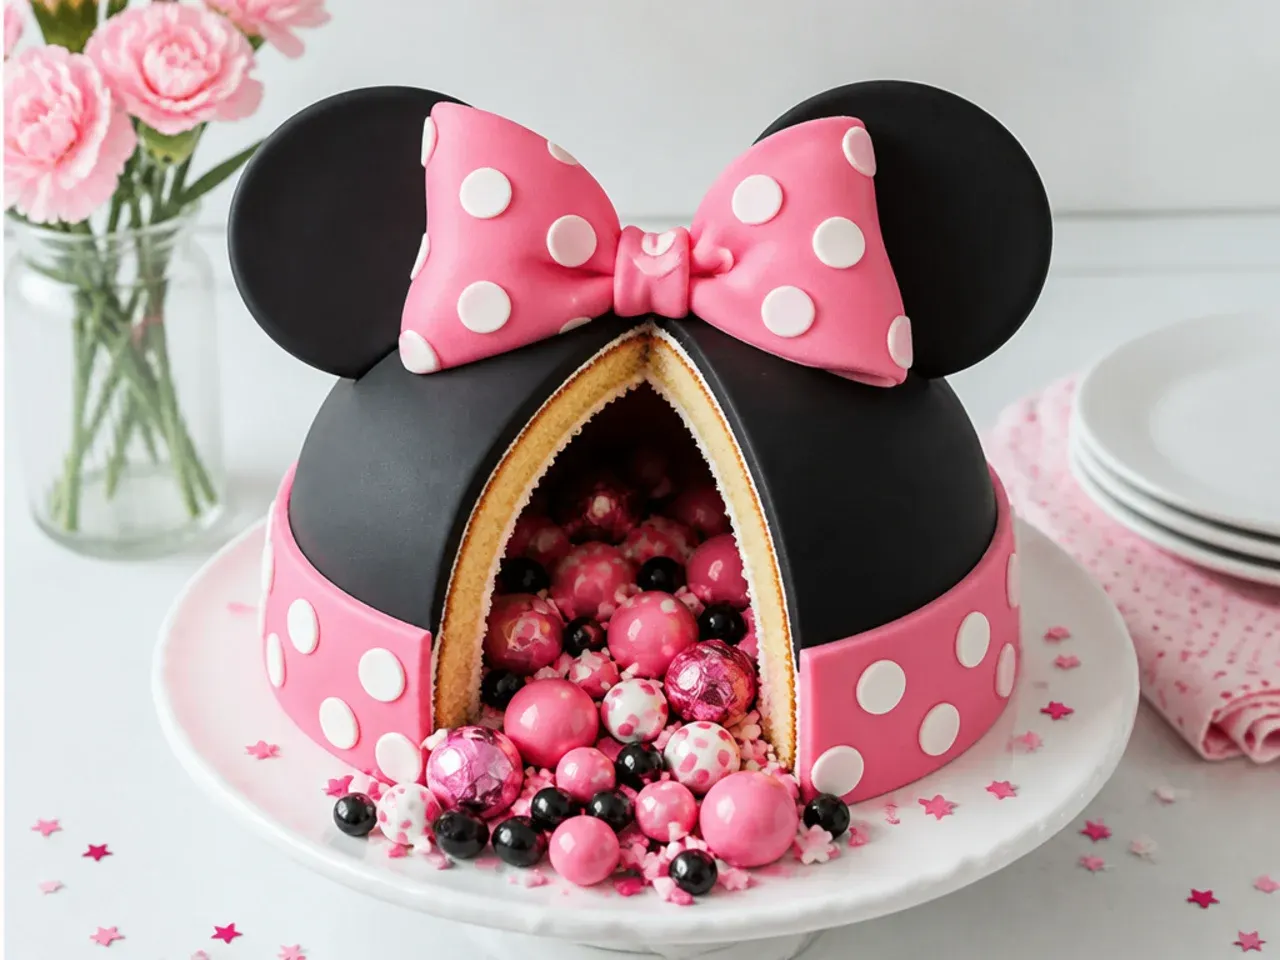
Hollow out the centre of the middle layer and fill it with sweets so a cascade spills out when the cake is cut. The surprise-inside trick works because the reveal becomes the party's big moment, not just the decoration. Bake three layers, use a round cutter to remove the centre of the middle one, fill the cavity with small polka-dot-coloured sweets, then stack and frost as normal so the outside gives nothing away. Decorate the exterior with classic dots and a bow so the playful Minnie-inspired surprise stays hidden until the first slice.
20. Modern Watercolor Buttercream Cake
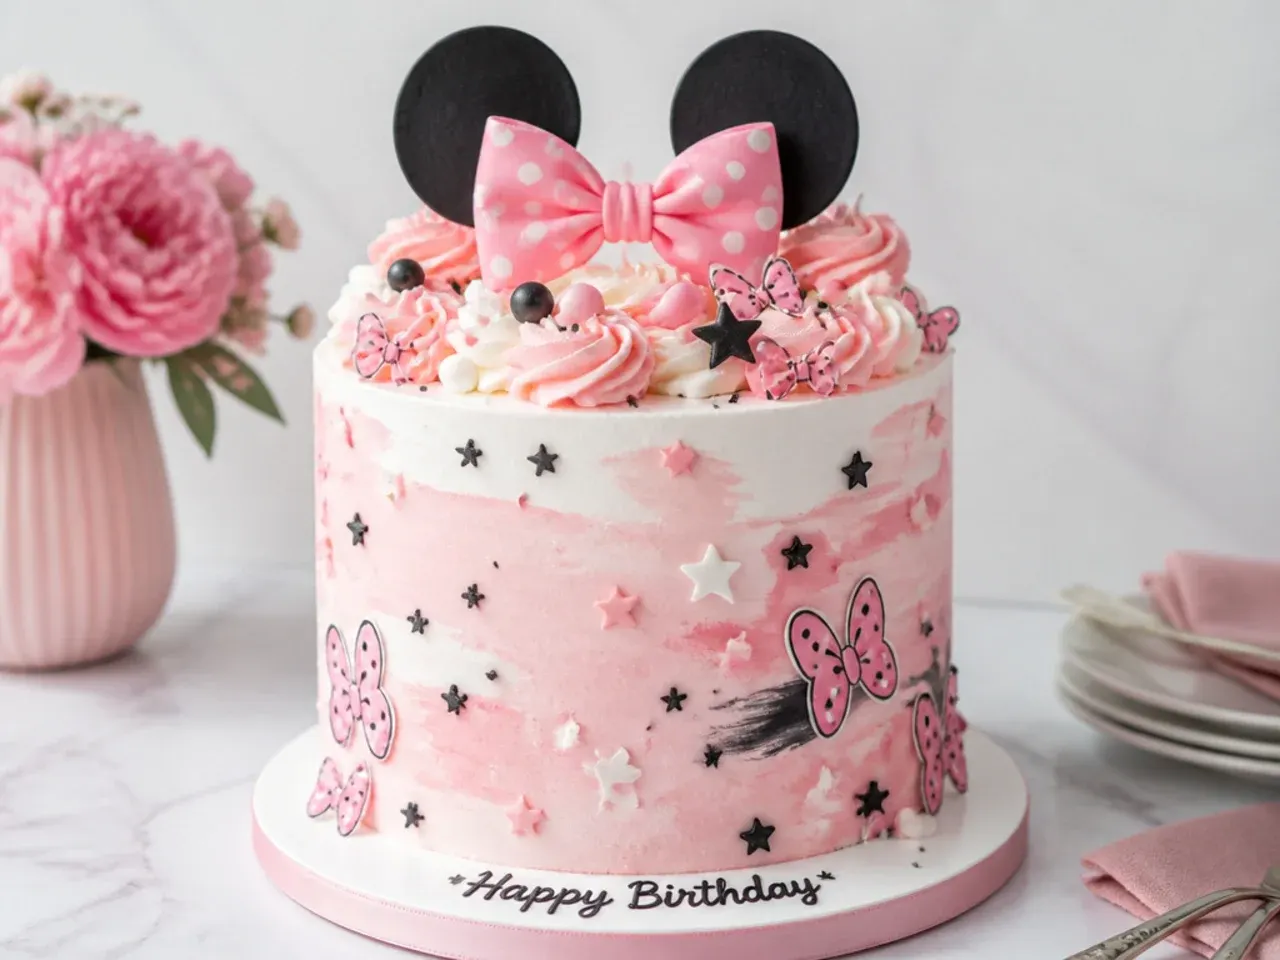
Streak soft washes of pink, black and grey buttercream around the sides for a modern watercolour effect. It works because the painterly blur feels contemporary and hides the streaks a beginner's scraper might leave. Dab small blobs of tinted buttercream randomly over a white base coat, then drag a clean scraper around the cake in one continuous turn so the colours smear into soft bands. Finish with a scatter of tiny black dots and a minimal bow so the modern wash still reads as Minnie-inspired.
Save this for later 📌
Pin this article to your Pinterest board so the full list is one tap away when you need it.
Save on Pinterest21. Rustic Kraft-Tone Naked Cake with Berries
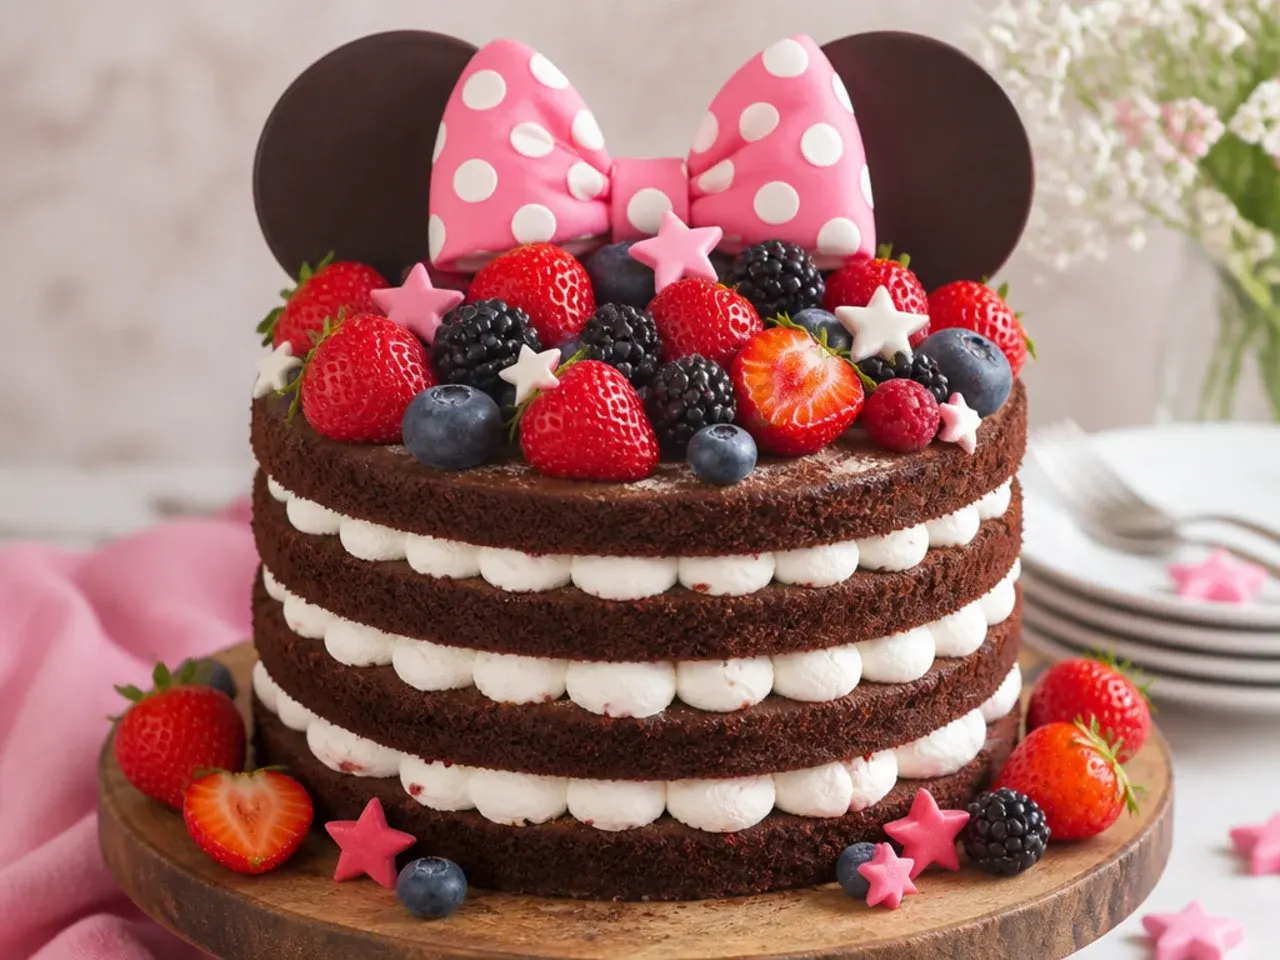
Leave the sponge fully naked between thin buttercream layers and decorate with fresh berries and a rustic bow. This suits garden parties and grazing-table setups where a fondant cake would look too formal. Stack the layers with buttercream and a little seedless raspberry jam, wipe the sides clean of stray frosting, and tuck fresh raspberries and blackberries around the top edge. A twine-look fondant bow and a few dark berries stand in for the polka dots, giving a soft rustic Minnie-inspired result.
22. Colorful Full Rainbow Layer Cake
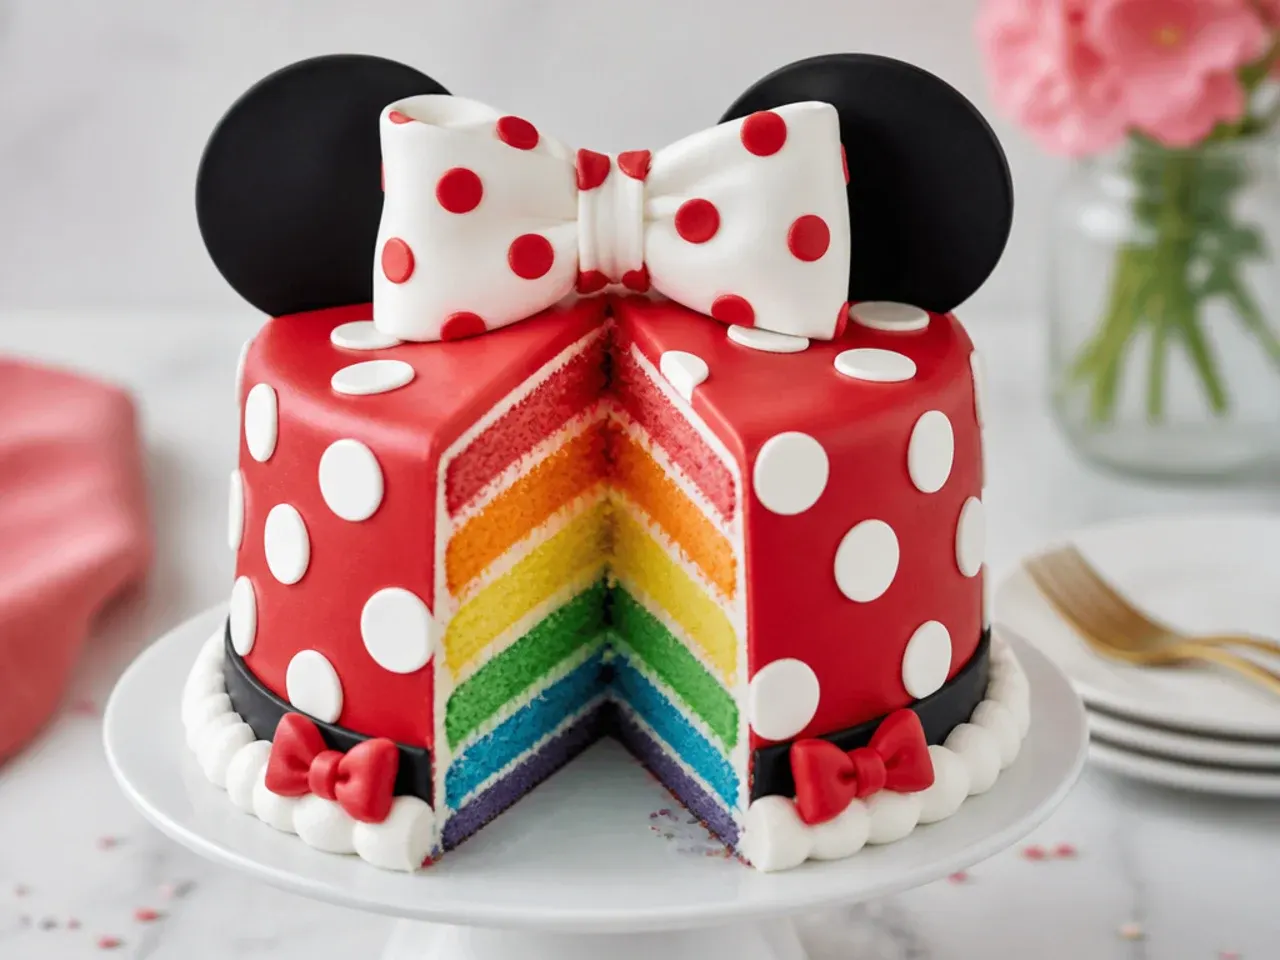
Bake each internal layer a different colour so cutting the cake reveals a full rainbow beneath the polka-dot exterior. The hidden rainbow works because the outside stays on-theme while the inside delivers a colourful wow at slicing time. Divide one batch of vanilla batter into five or six bowls, tint each with gel colour, and bake them as thin layers, trimming flat before stacking with buttercream. Coat the outside in white with red and black dots and a bow so the colourful Minnie-inspired surprise only shows when served.
23. Minimal Single-Dot Accent Cake
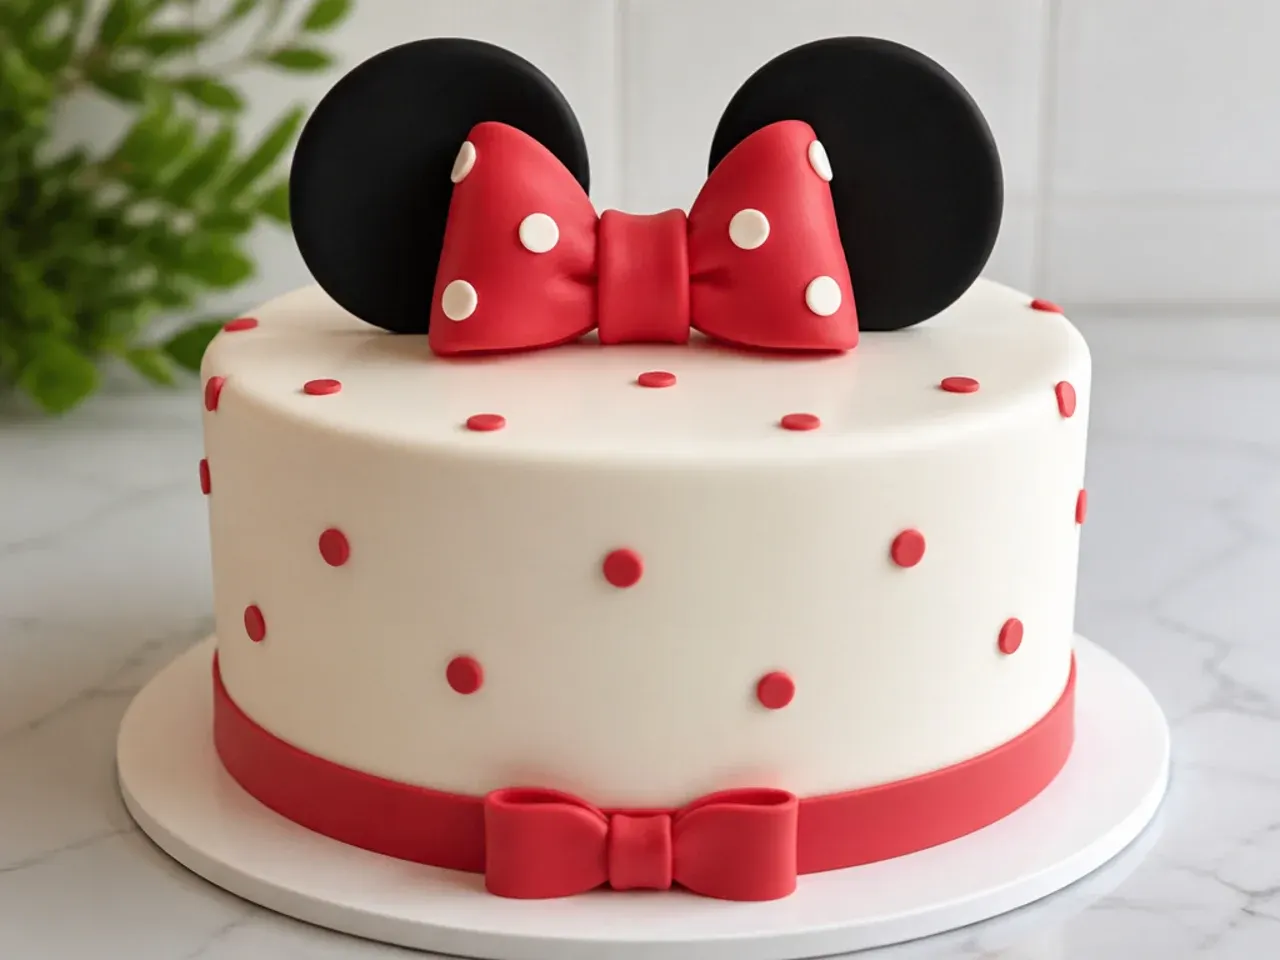
Use just one perfectly placed oversized dot and a small bow on an otherwise bare cake for a minimalist, design-led look. It works because a single dot becomes a focal point in a way that a full pattern never could. Smooth the cake in one flat colour, then place one large black fondant circle low on the front and a small matching bow at the top. The generous negative space keeps the eye calm, making this one of the most sophisticated minimal takes on a Minnie-inspired cake.
24. Festive Sparkler and Candle Topper Cake
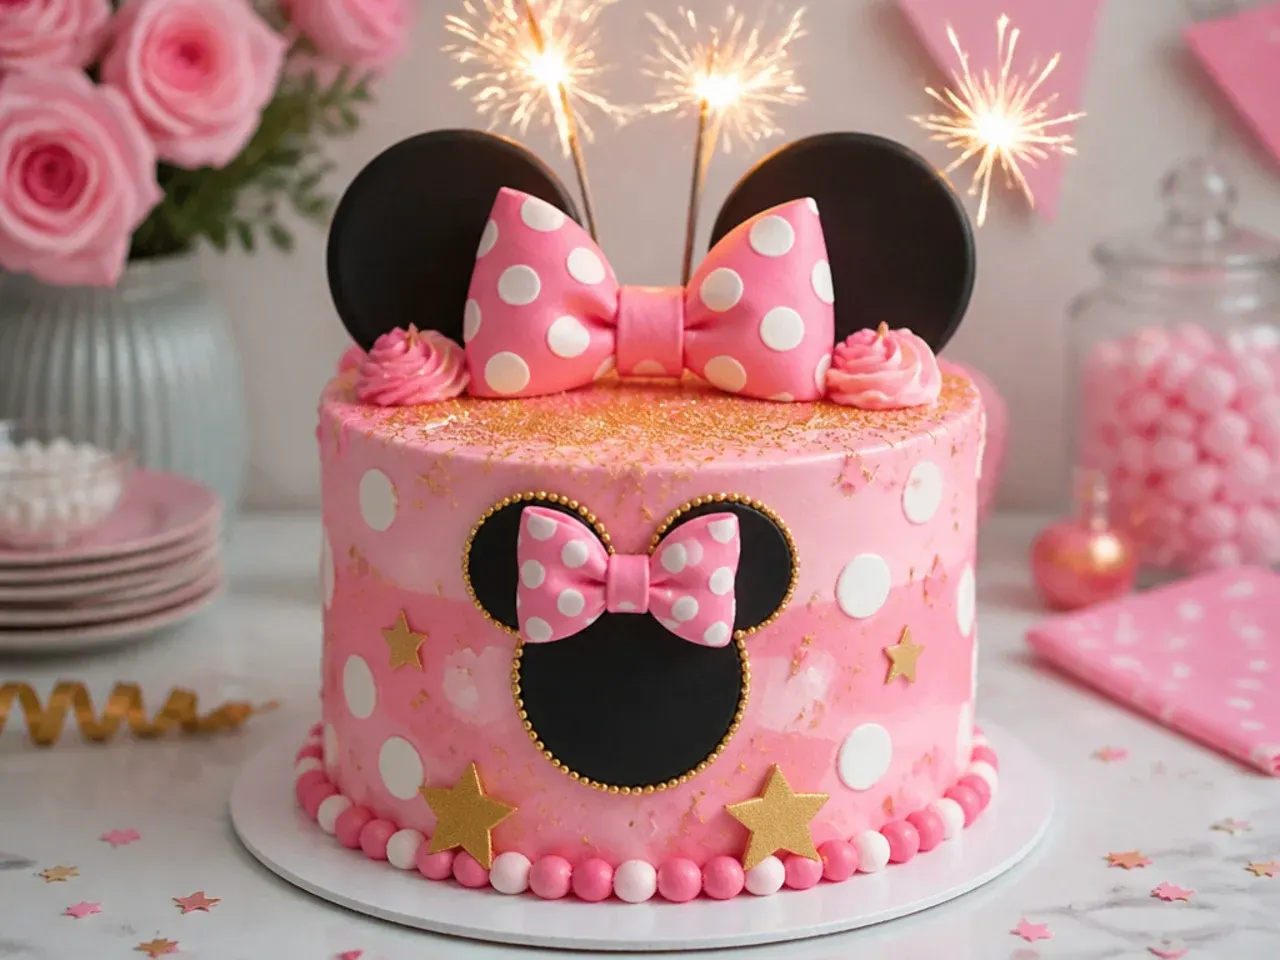
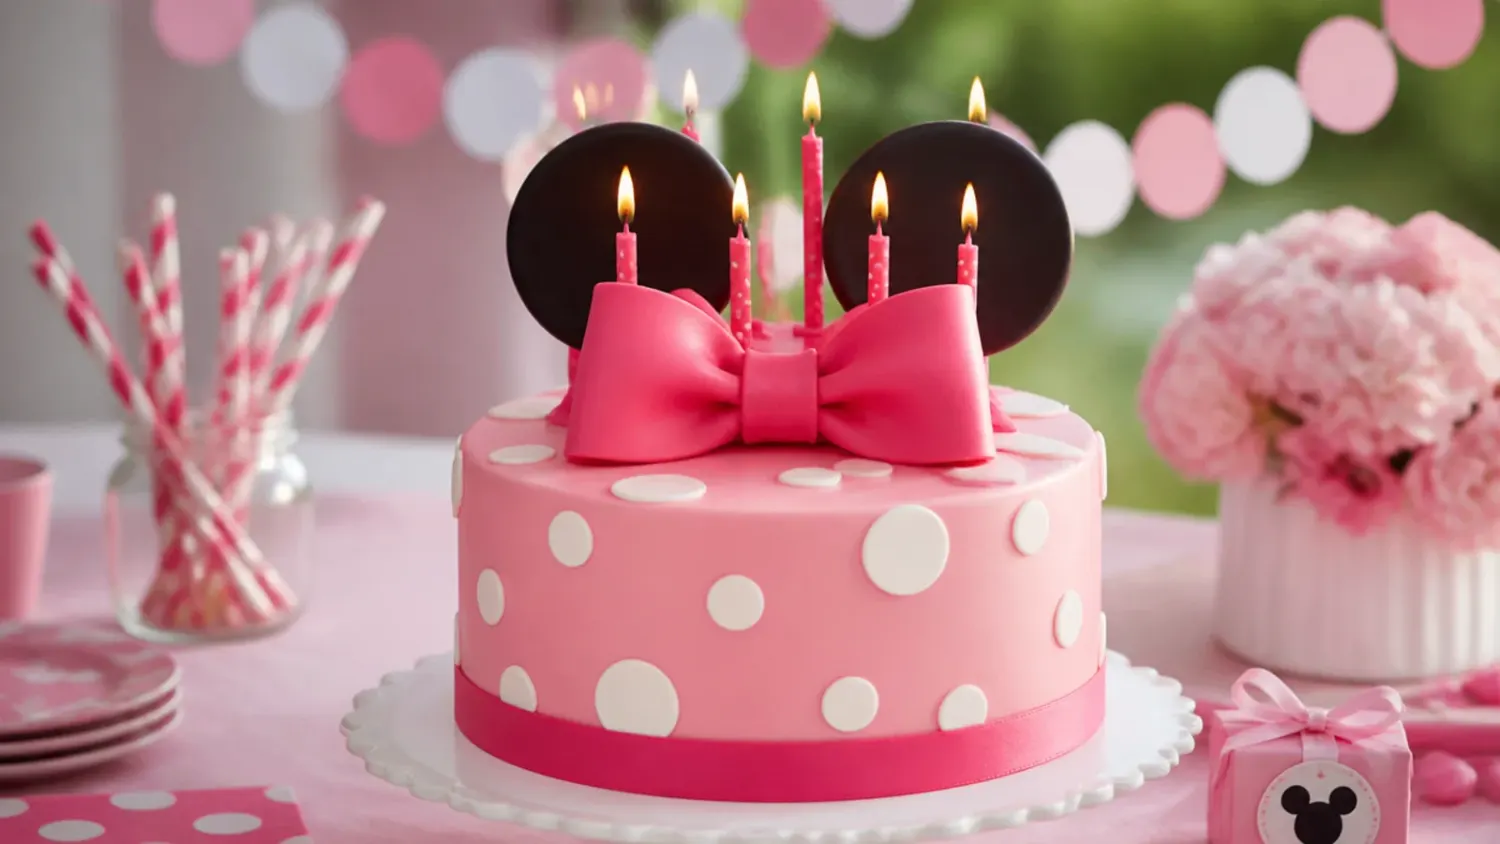
Turn any polka-dot cake into a festive showstopper with edible glitter, a sparkler and a bank of candles clustered under the bow. It works because lights and shimmer make the cake feel like the party's grand finale when it is carried in. Dust the finished cake lightly with edible glitter, arrange candles in a tight group rather than spread out, and add one food-safe sparkler in the centre for the entrance. Keep the base decoration simple with dots and a bow so the festive Minnie-inspired sparkle takes centre stage.
25. Whimsical Floral Crown Cake
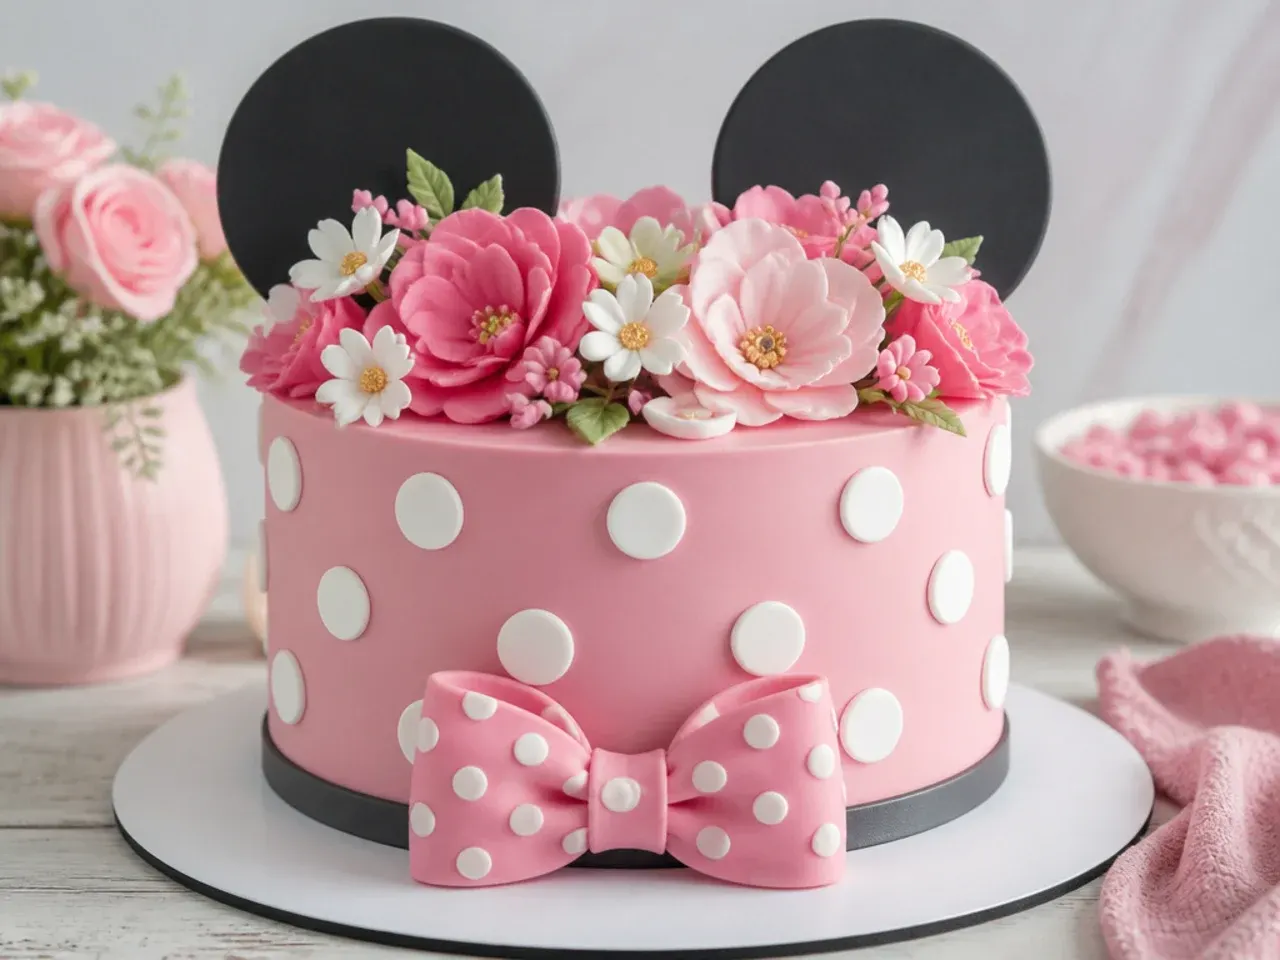
Ring the top edge with a crown of piped or fresh flowers above a polka-dot body for a whimsical garden feel. Flowers work because the soft organic shapes contrast beautifully with the graphic dots below. Pipe buttercream blooms with a drop-flower tip 2D, or arrange food-safe fresh flowers wrapped at the stems in florist tape so no sap touches the cake. Let the crown frame a small bow at the front, giving a dreamy, whimsical spin on the Minnie-inspired theme that suits spring and summer parties.
Save this for later 📌
Pin this article to your Pinterest board so the full list is one tap away when you need it.
Save on Pinterest26. Bold Color-Block Red and Black Cake
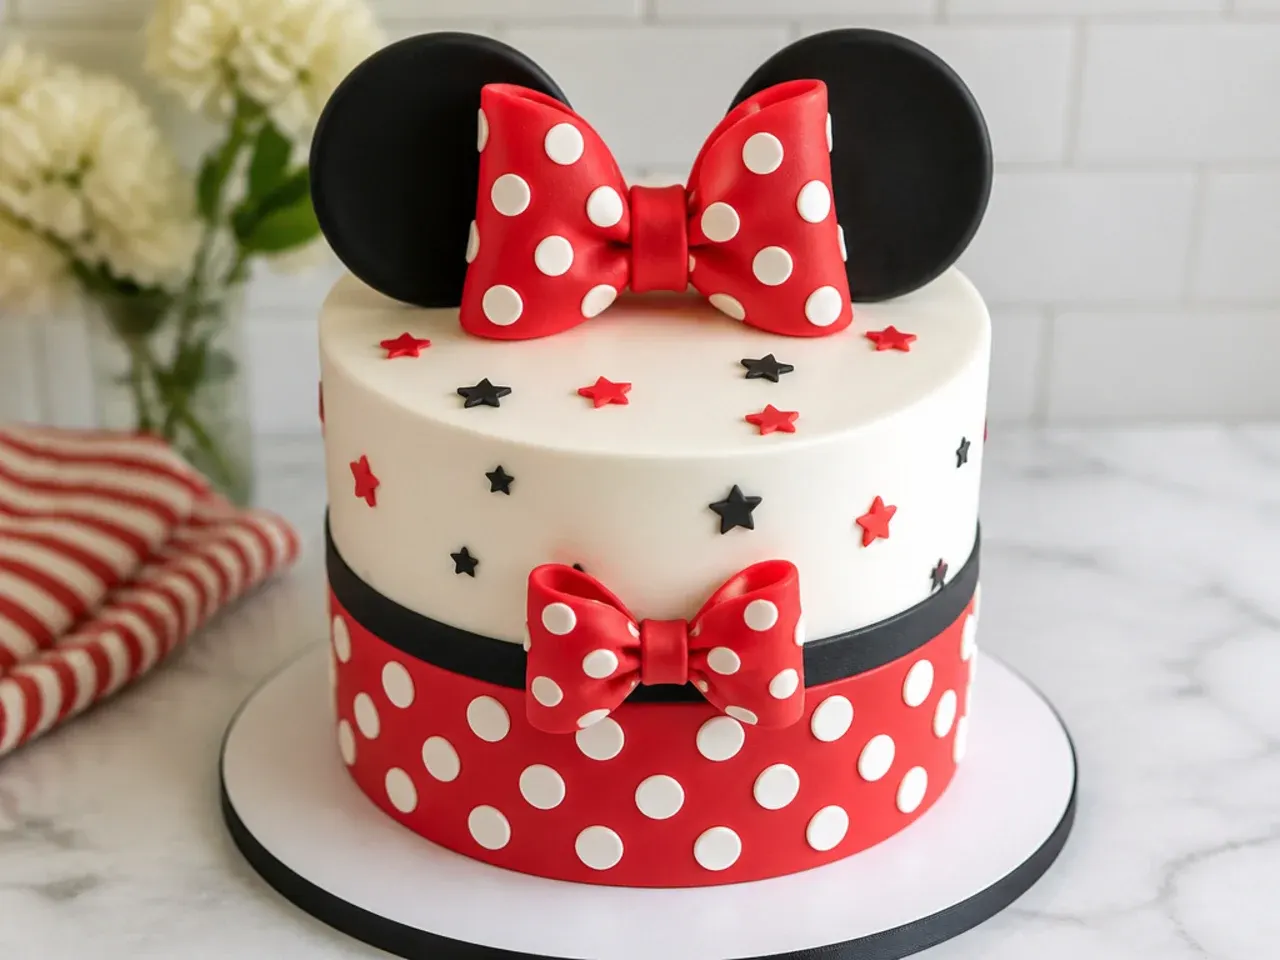
Divide the cake into strong horizontal bands of red, white and black for a bold, retro color-block effect. It works because clean blocks of the signature colours feel confident and modern without a single polka dot. Coat the cake white, chill it, then pipe and smooth a solid red band around the middle and a black band around the base, using masking tape as a guide line for crisp edges. A large white bow with dots sits on top so the bold color-block design still nods clearly to the Minnie-inspired look.
27. Delicate Pastel Polka Dot Cake
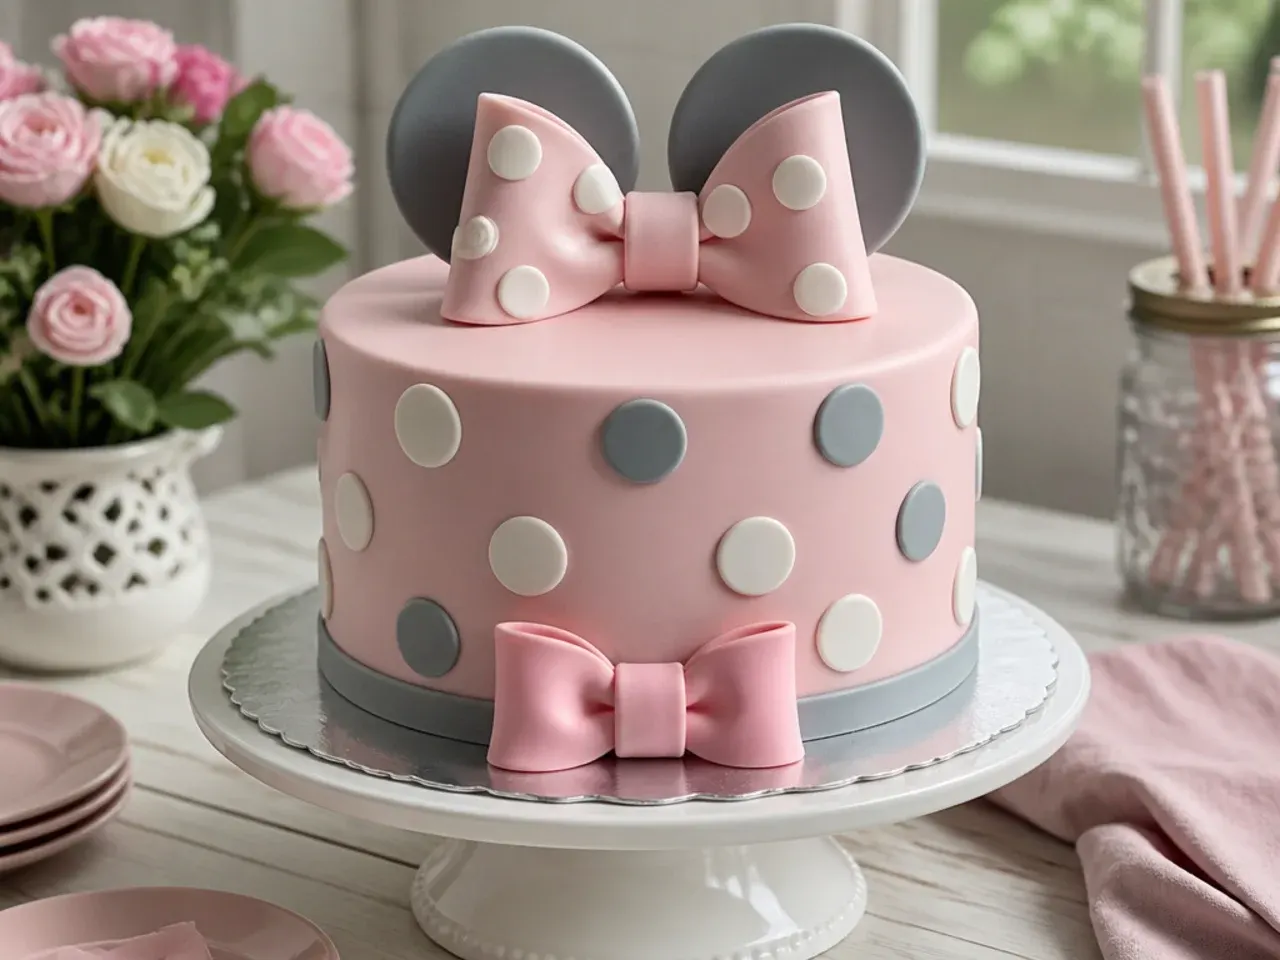
Trade the punchy classic colours for a soft pastel palette of blush, cream and dusty grey for a delicate, gentle cake. Pastels work beautifully for a first birthday or a quiet celebration where bright red might feel too loud. Tint your buttercream with the tiniest amount of gel so the colours stay muted, and use pale grey fondant dots instead of stark black. A cream bow with faint dots and softly rounded ear shapes keeps the delicate Minnie-inspired theme readable without overwhelming the pastel scheme.
28. Vintage Polka Dot Hatbox Cake
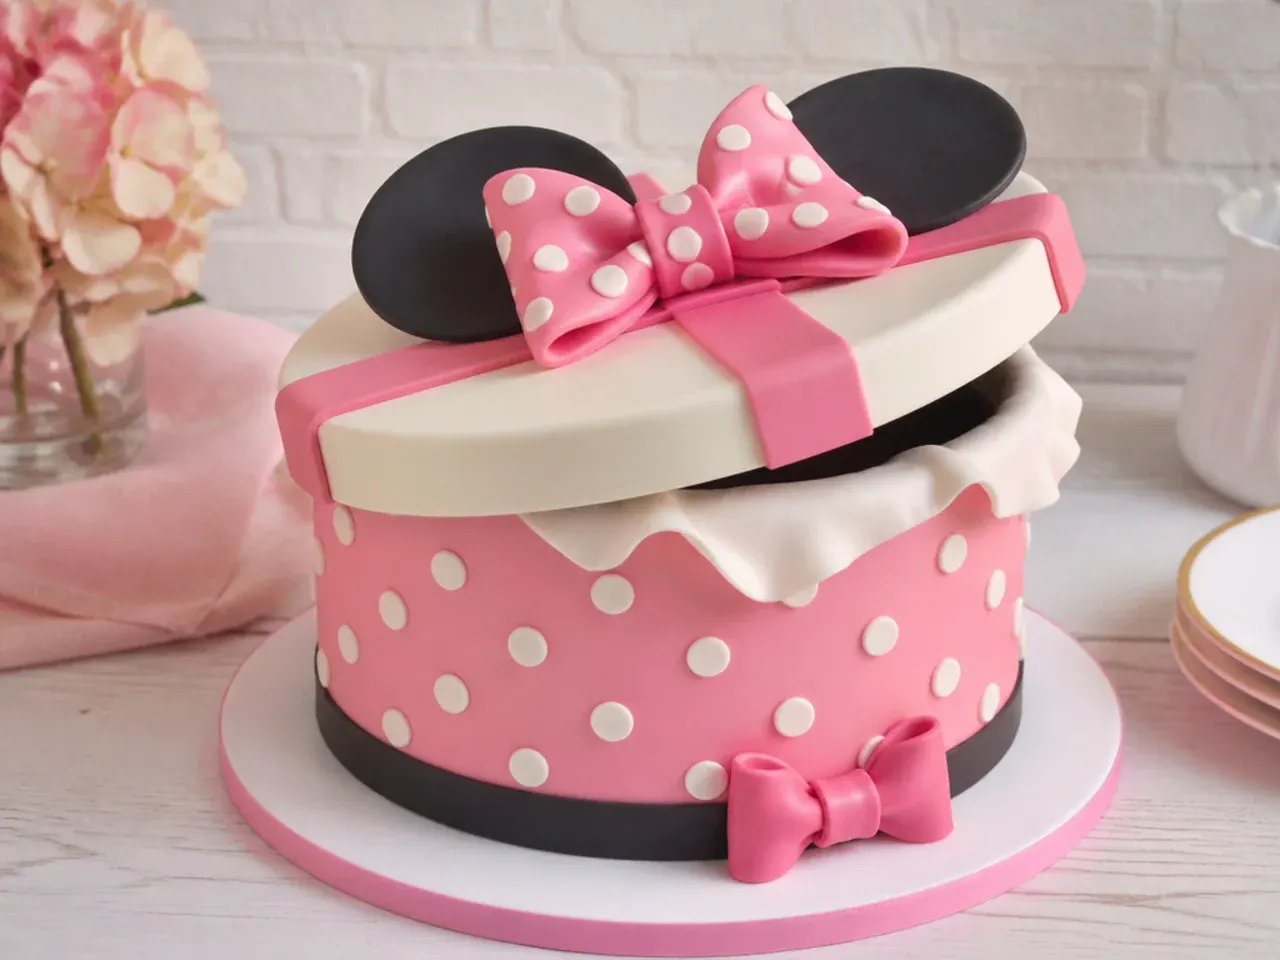
Shape the cake to look like a round vintage hatbox complete with a lid line and a big bow on top. The hatbox illusion works because it gives the cake a story and a reason for the oversized bow. Bake tall layers, crumb-coat and smooth them into a clean cylinder, then score a shallow horizontal line near the top with a scraper edge to suggest a lid. Cover it in polka dots, add a piped ribbon border along the lid line, and finish with a large fondant bow for a charming vintage Minnie-inspired hatbox.
29. Creative Geometric Faceted Cake
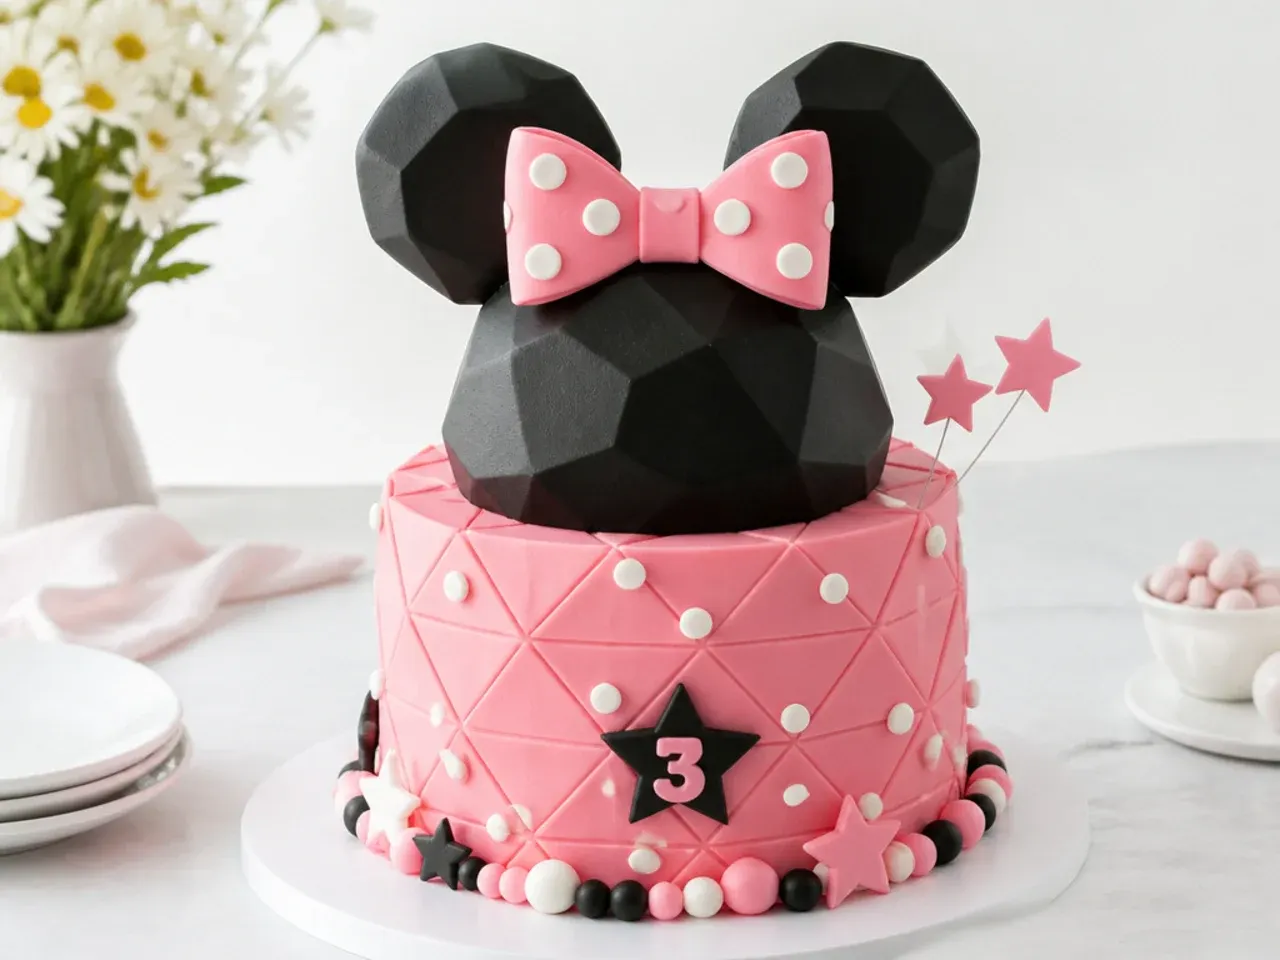
Carve or pipe sharp geometric facets into the buttercream for a creative, contemporary cake that still uses the classic colours. Geometric edges work because they feel unexpected and grown-up, making the theme suitable for an older child or a themed adult party. Chill a firm buttercream cake hard, then use a warm palette knife to slice flat angled planes into the surface, catching different light on each facet. Add a scatter of black dots and a single crisp bow so the creative Minnie-inspired geometry stays anchored to the theme.
30. Charming Chalkboard-Effect Message Cake
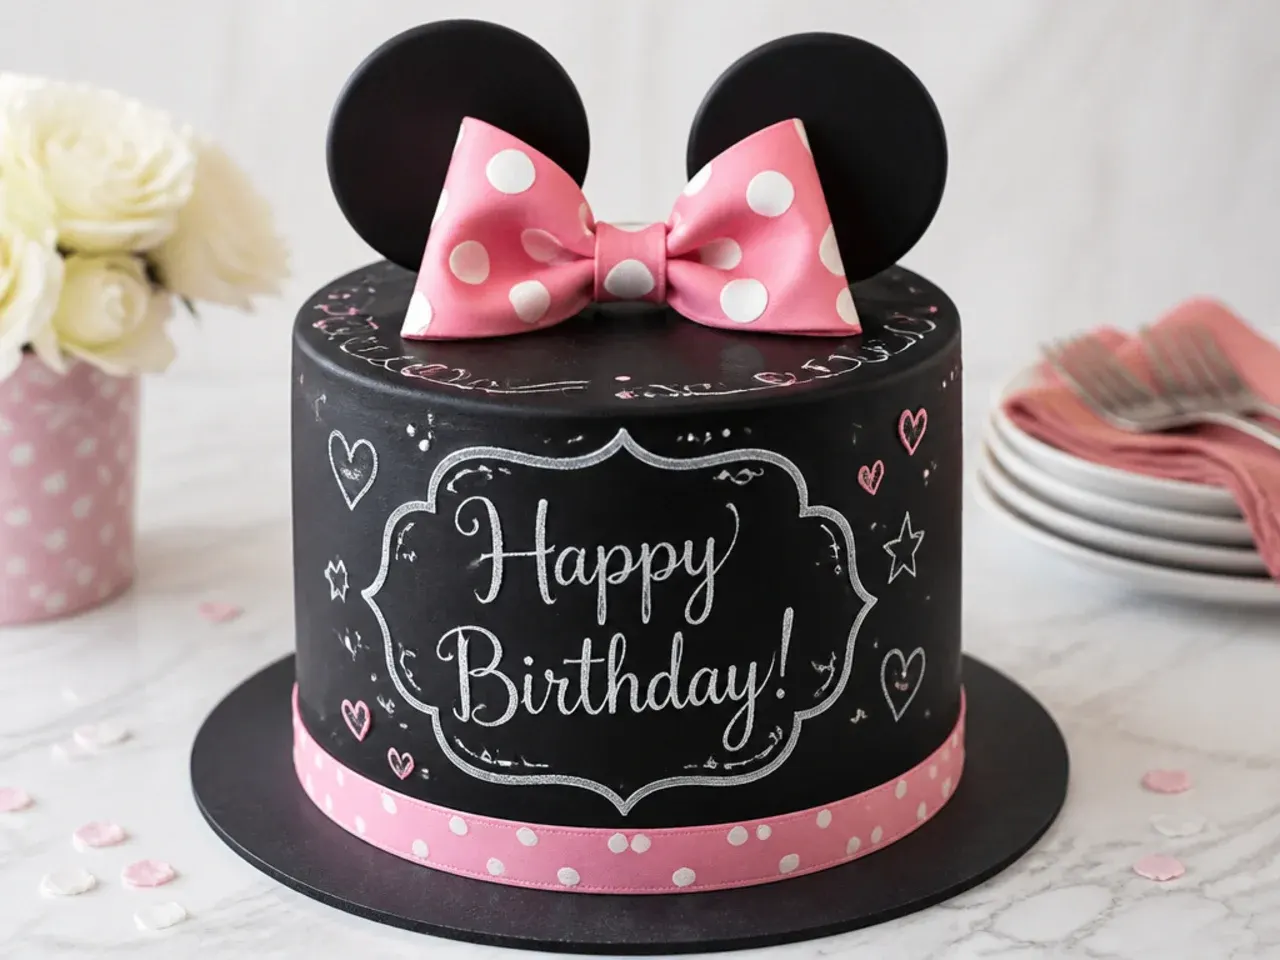
Coat the cake in matte black buttercream and pipe a white message in a chalk-style script for a charming, personal touch. The chalkboard effect works because it turns the cake into a keepsake sign that names the birthday child front and centre. Tint buttercream deep black with a generous dose of gel (let it deepen overnight so you use less), smooth it flat, then pipe the name and small doodled dots and a bow in white with a fine tip 2. The white-on-black contrast makes the charming Minnie-inspired lettering pop in every photo.
Tips to Make These Ideas Easier
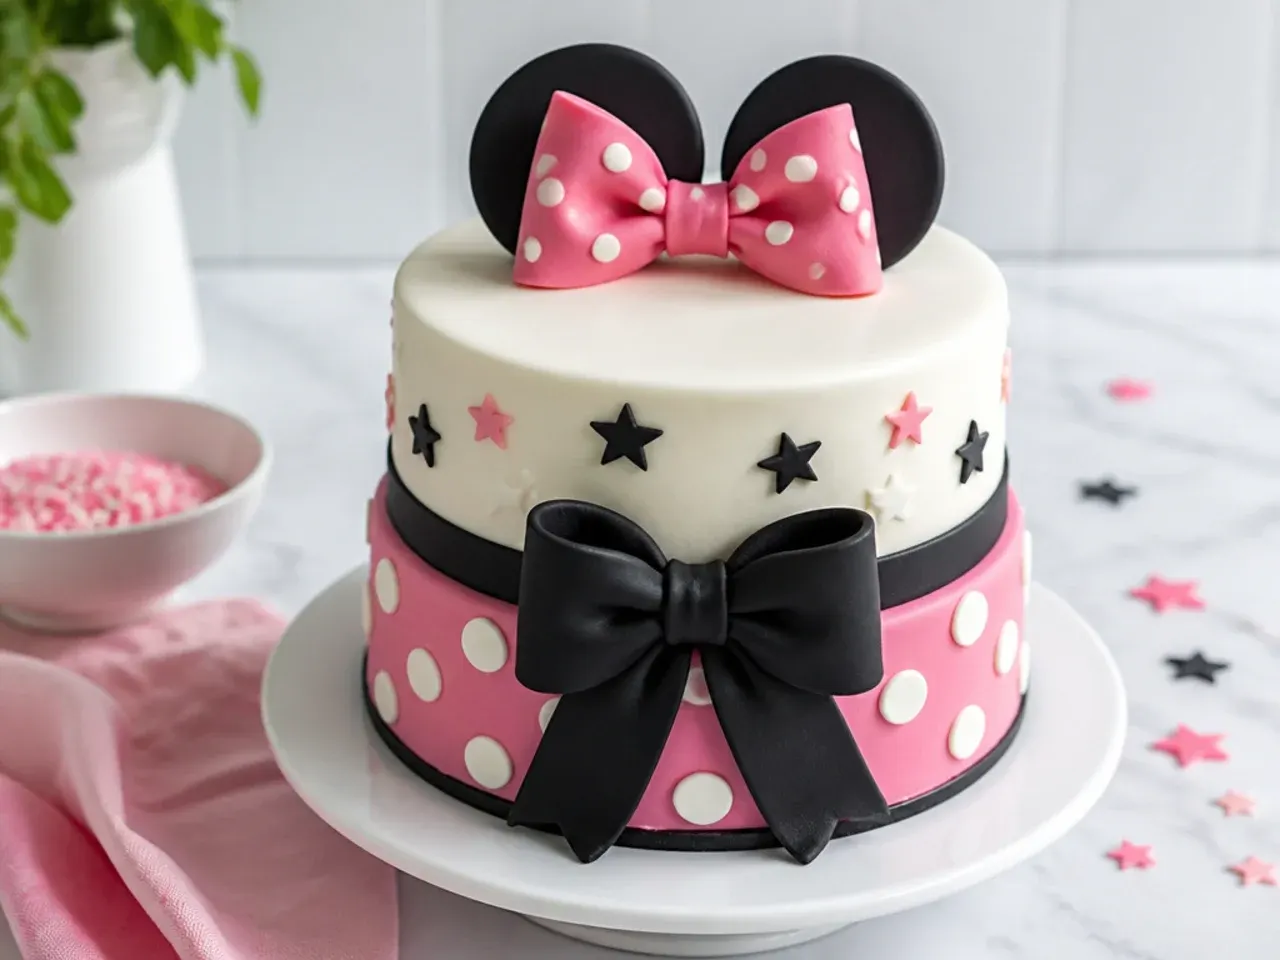
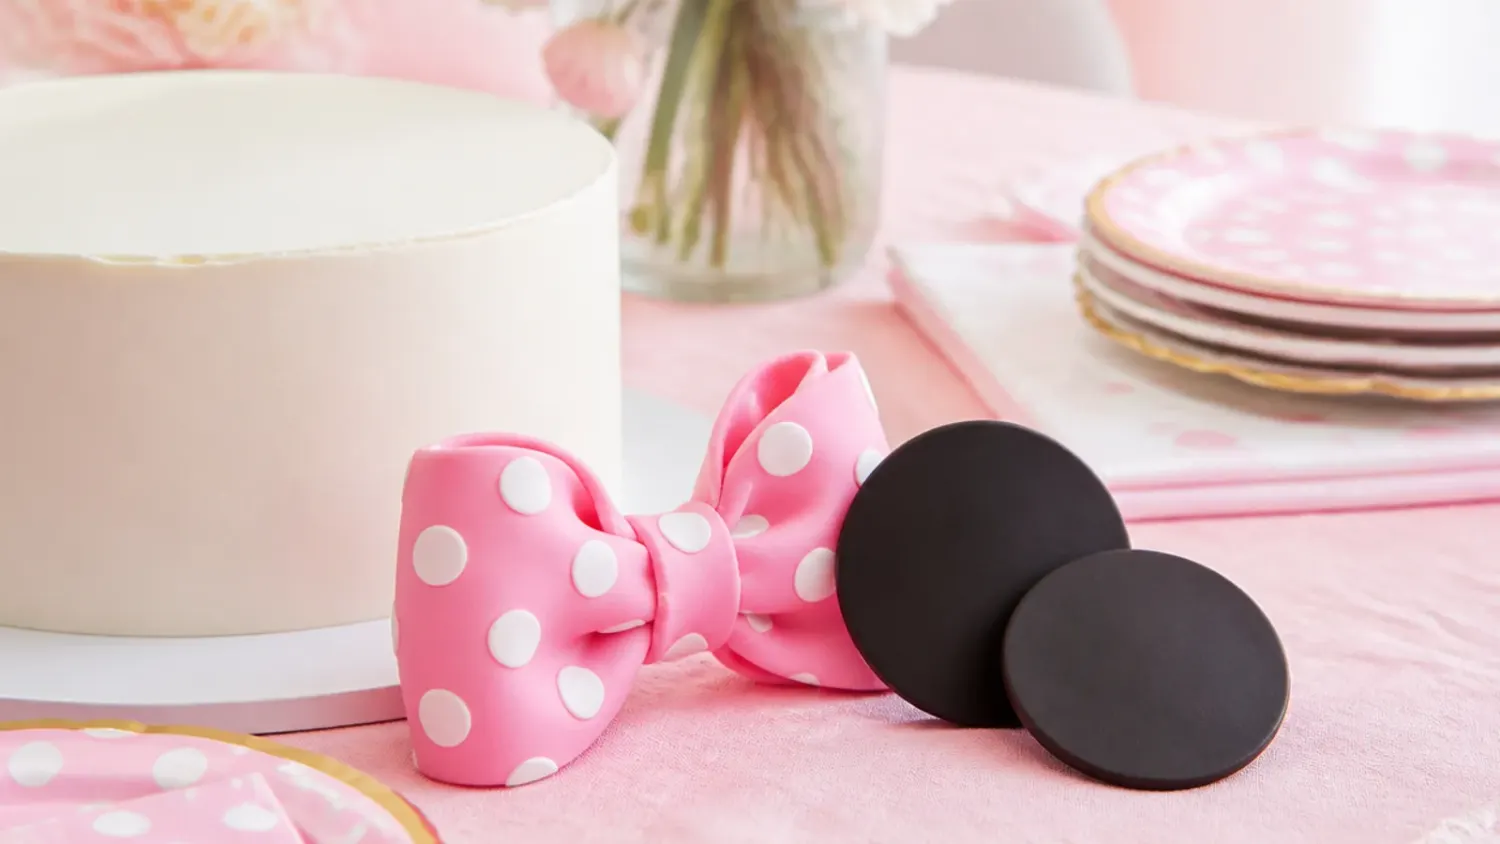
Bake and freeze your sponge layers up to a month ahead, wrapped tightly in cling film, then decorate on party day when the chilled cake is firm and far easier to handle. Make fondant ears and bows two to three days in advance so they dry hard; insert a wooden skewer into each ear shape before it sets so it stands upright without flopping. Always crumb-coat and chill the cake for at least 30 minutes before the final coat, and smooth buttercream with a scraper dipped in hot water and wiped dry for a mirror finish. Keep a bowl of white and black tinted buttercream in reserve so you can fix dots or borders without mixing a fresh batch mid-decoration.
Common Mistakes to Avoid
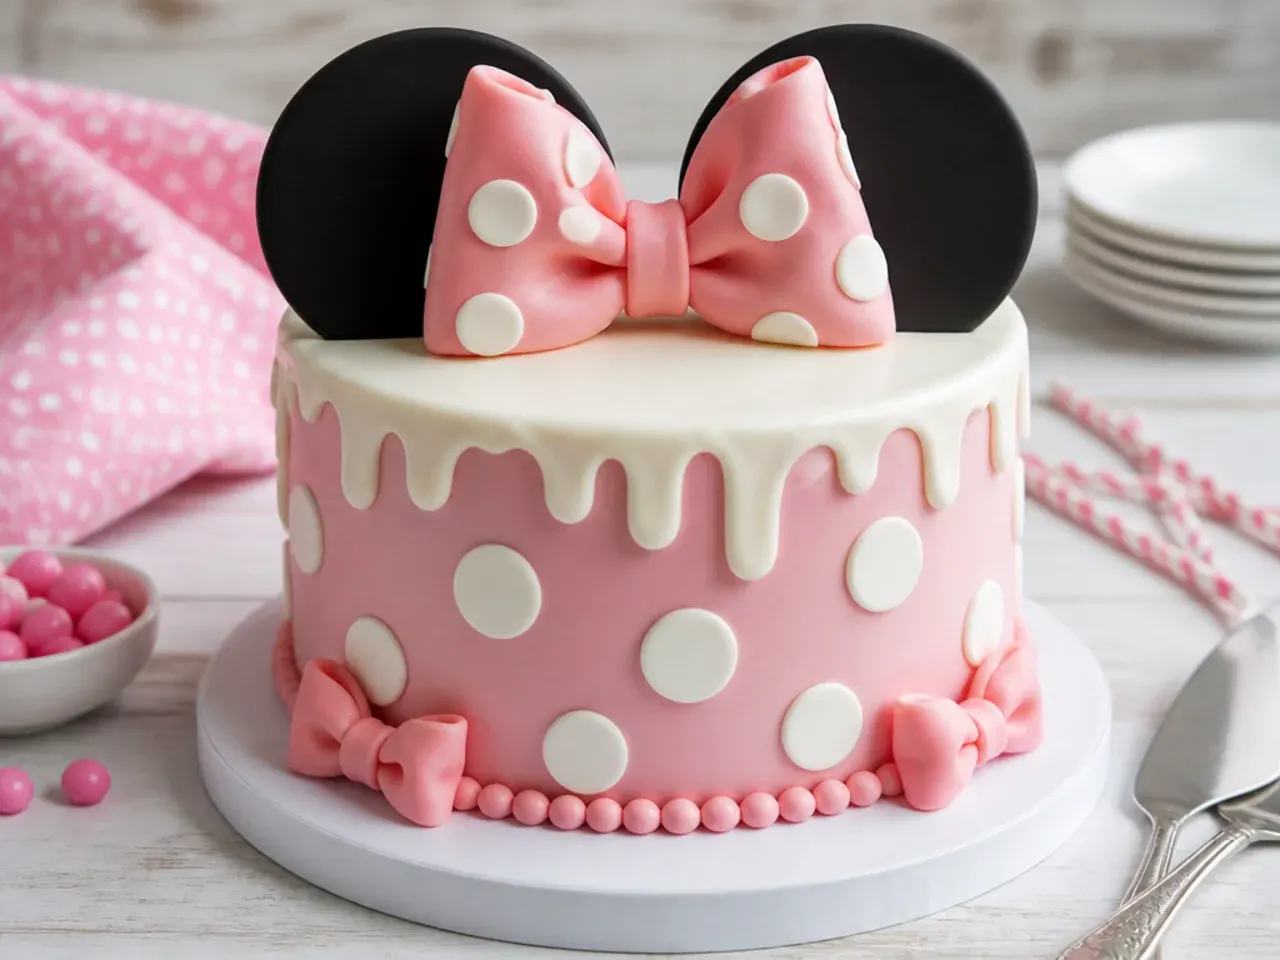
The biggest mistake is decorating a warm cake, which melts the buttercream and lifts fondant dots, so always work on a fully cooled, chilled cake. Do not use liquid food colouring for deep reds or blacks; it thins the buttercream and needs so much that it tastes bitter, so use concentrated gel and mix black a day ahead so the colour deepens. Skipping internal dowels when stacking two tiers causes the top cake to sink and crack the lower one, so always support stacked tiers. Finally, spacing polka dots by eye leads to a lopsided pattern, so lightly mark positions with a toothpick first, and never attempt to sculpt the exact trademarked character face or logo. Keep to inspired shapes, colours and polka dots instead.
The Recipe
The Base Recipe — Make Any of These Ideas
40 min
30 min
2 hr 10 min
14
Intermediate
Ingredients 14 Person(s)
Directions
Step 1: Prep pans and oven
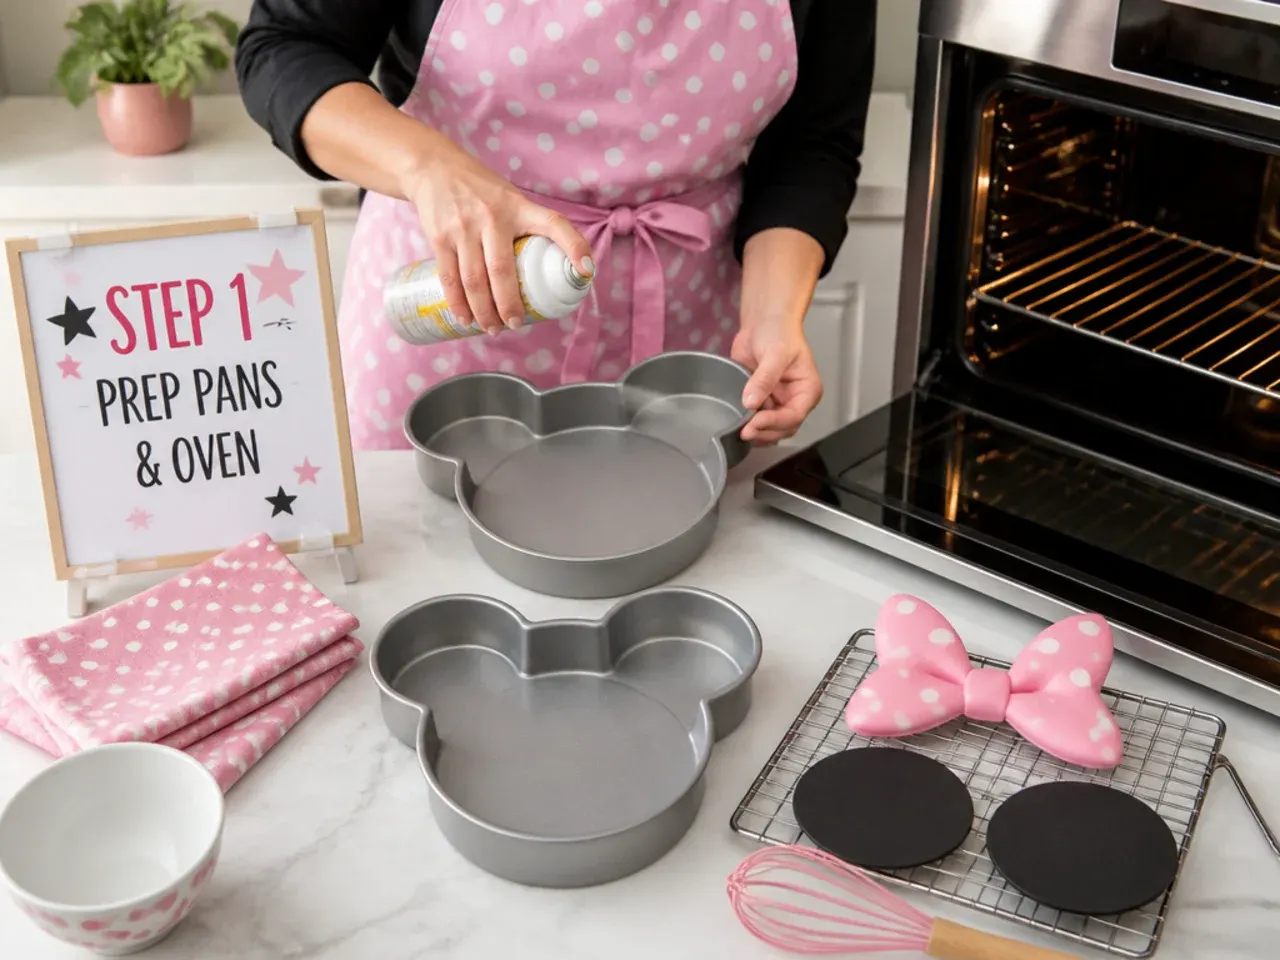
Preheat the oven to 175°C (350°F), or 160°C (325°F) for a fan oven. Grease two 8-inch (20cm) round cake tins and line the bases with baking parchment. This size is the sweet spot for a Minnie-inspired cake: tall enough to decorate and enough to serve 12 to 14.
Step 2: Cream butter and sugar
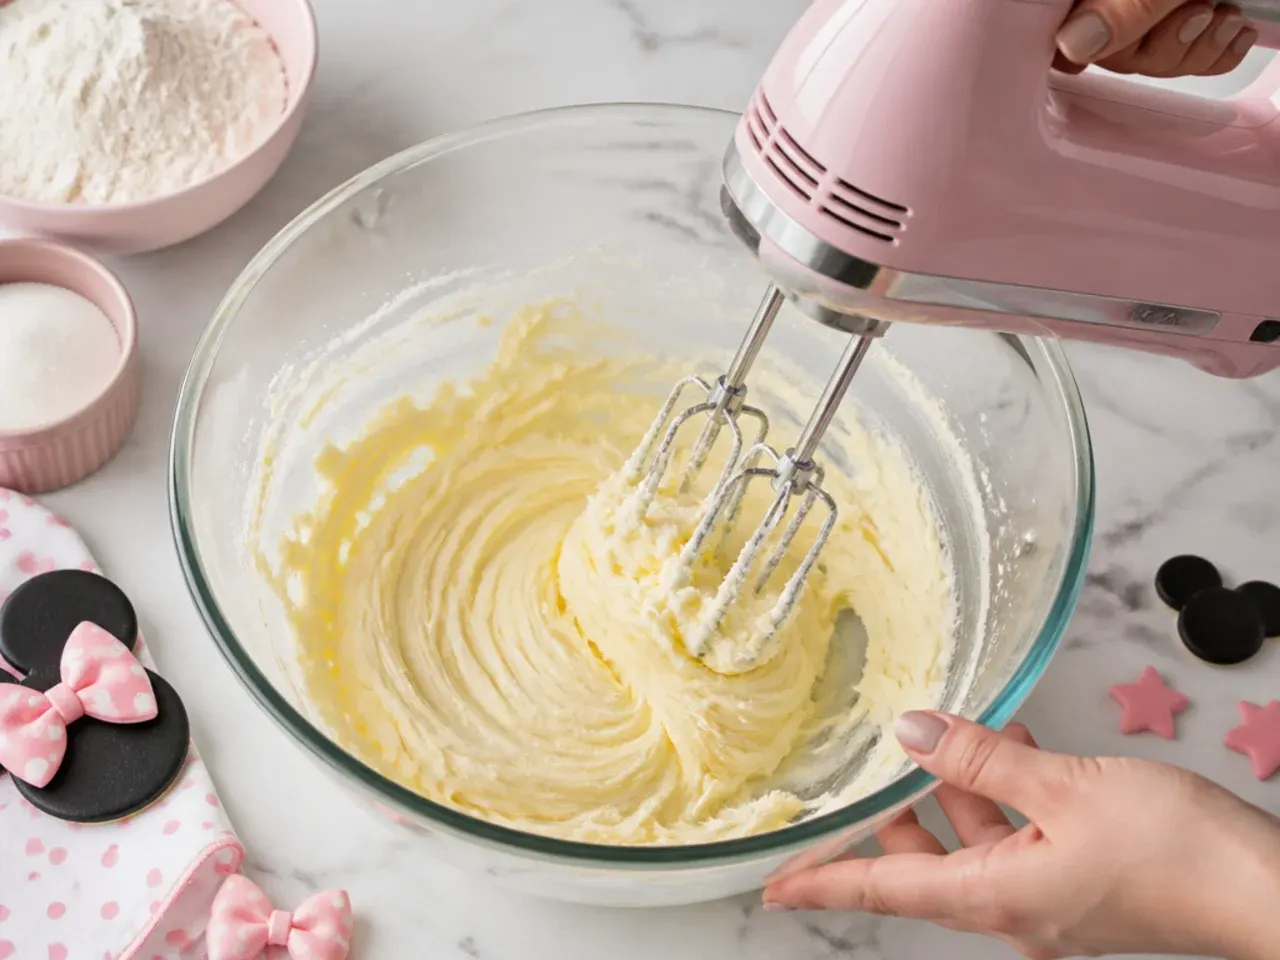
Beat the 225g softened butter and 225g sugar with an electric mixer on medium-high for 3 to 4 minutes until pale and fluffy. This step whips air into the batter for a light crumb, so do not rush it. Scrape down the bowl halfway through so no butter is left unbeaten at the bottom.
Step 3: Add eggs and vanilla
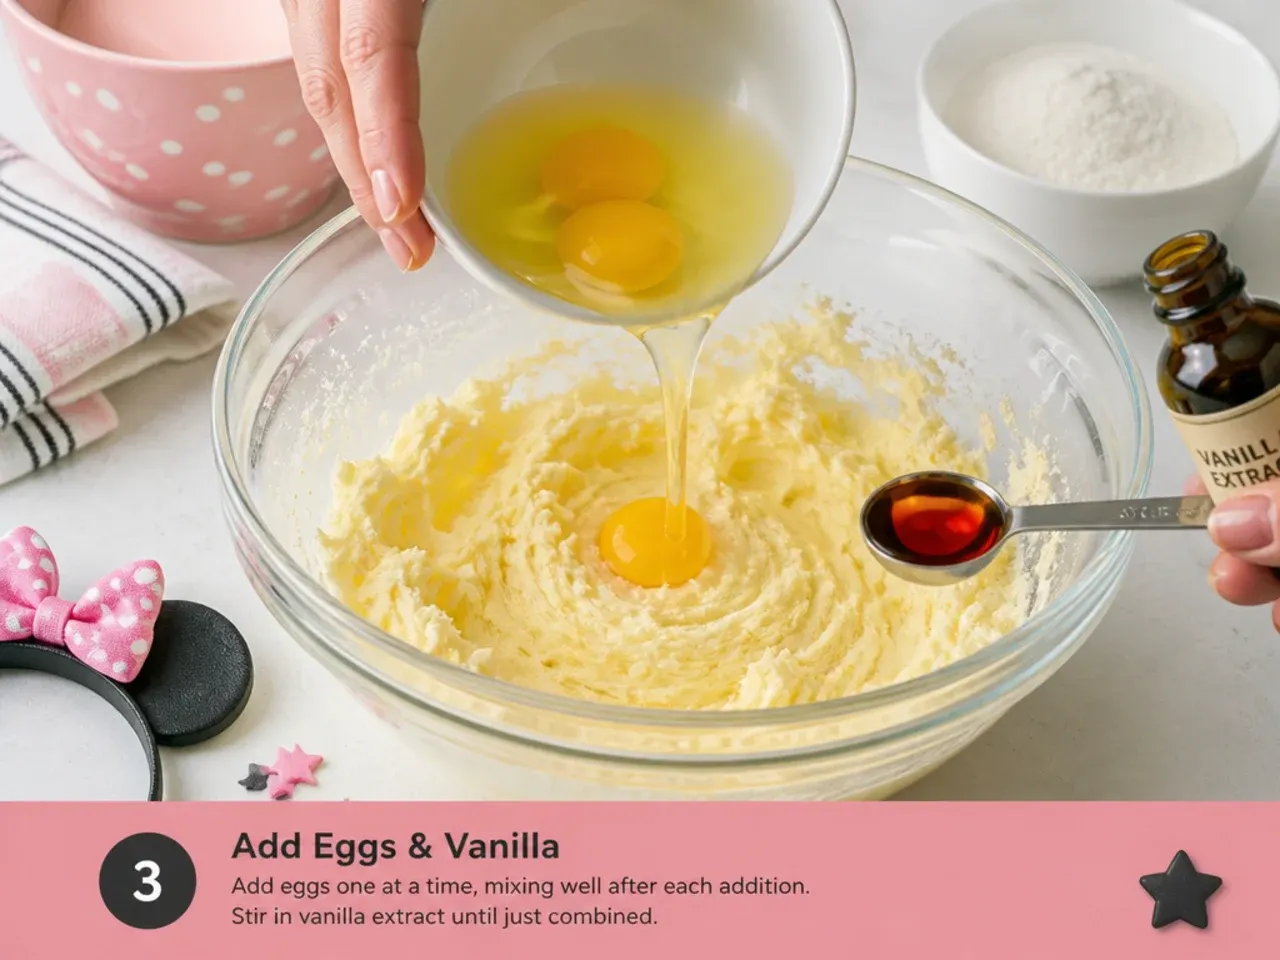
Add the 4 eggs one at a time, beating well after each and adding a tablespoon of the flour with the last egg to stop the batter curdling. Beat in the 2 tsp vanilla. Room-temperature eggs blend in far more smoothly than cold ones and give a more even rise.
Step 4: Fold in the dry ingredients
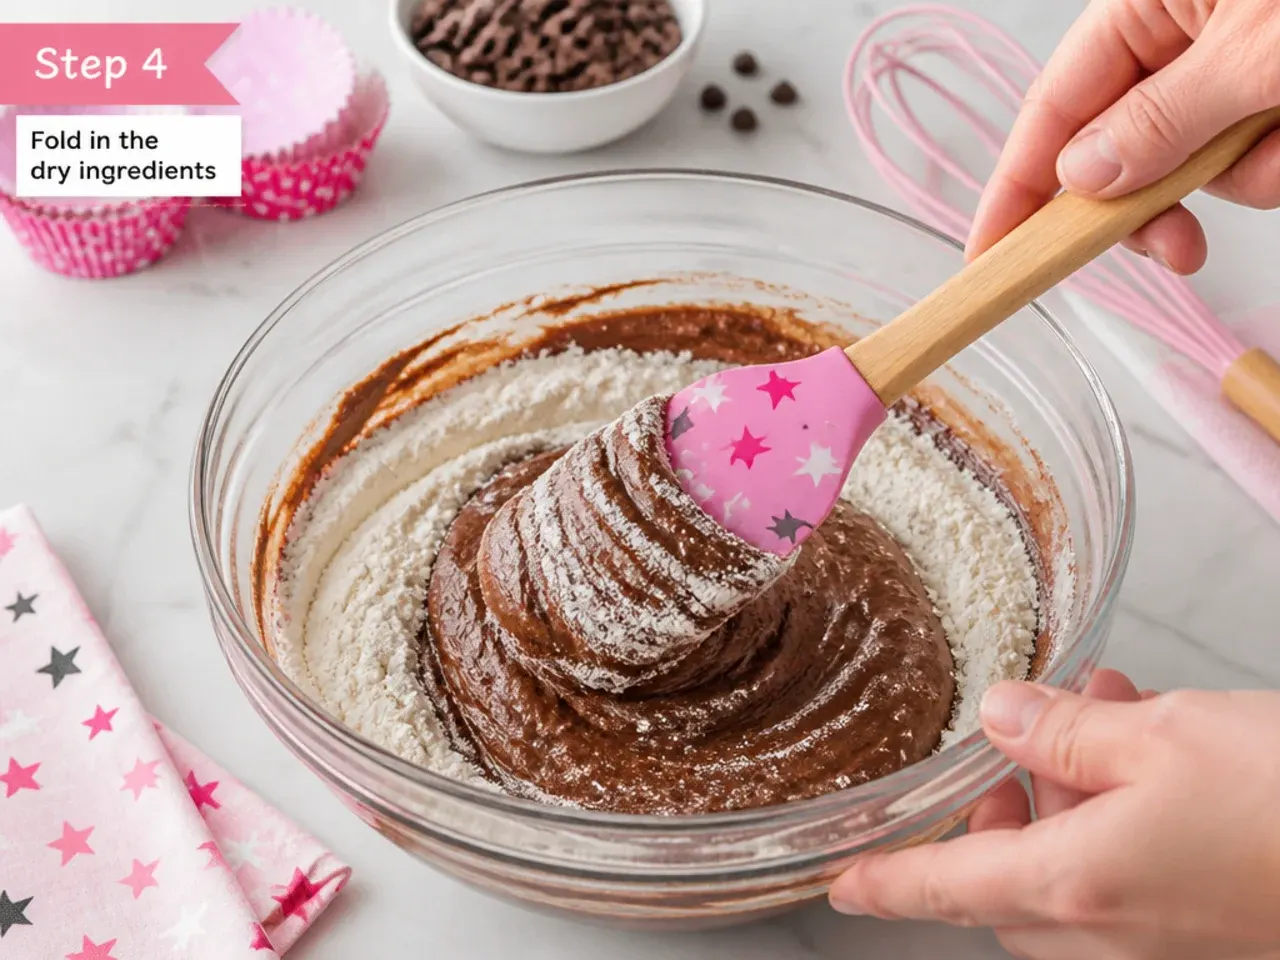
Sift together the 225g flour, 1 tsp baking powder and salt, then fold into the batter in two additions on low speed, alternating with the 3 tbsp milk. Mix only until no flour streaks remain; overmixing develops gluten and toughens the sponge. The finished batter should drop softly off the spoon.
Step 5: Bake the layers
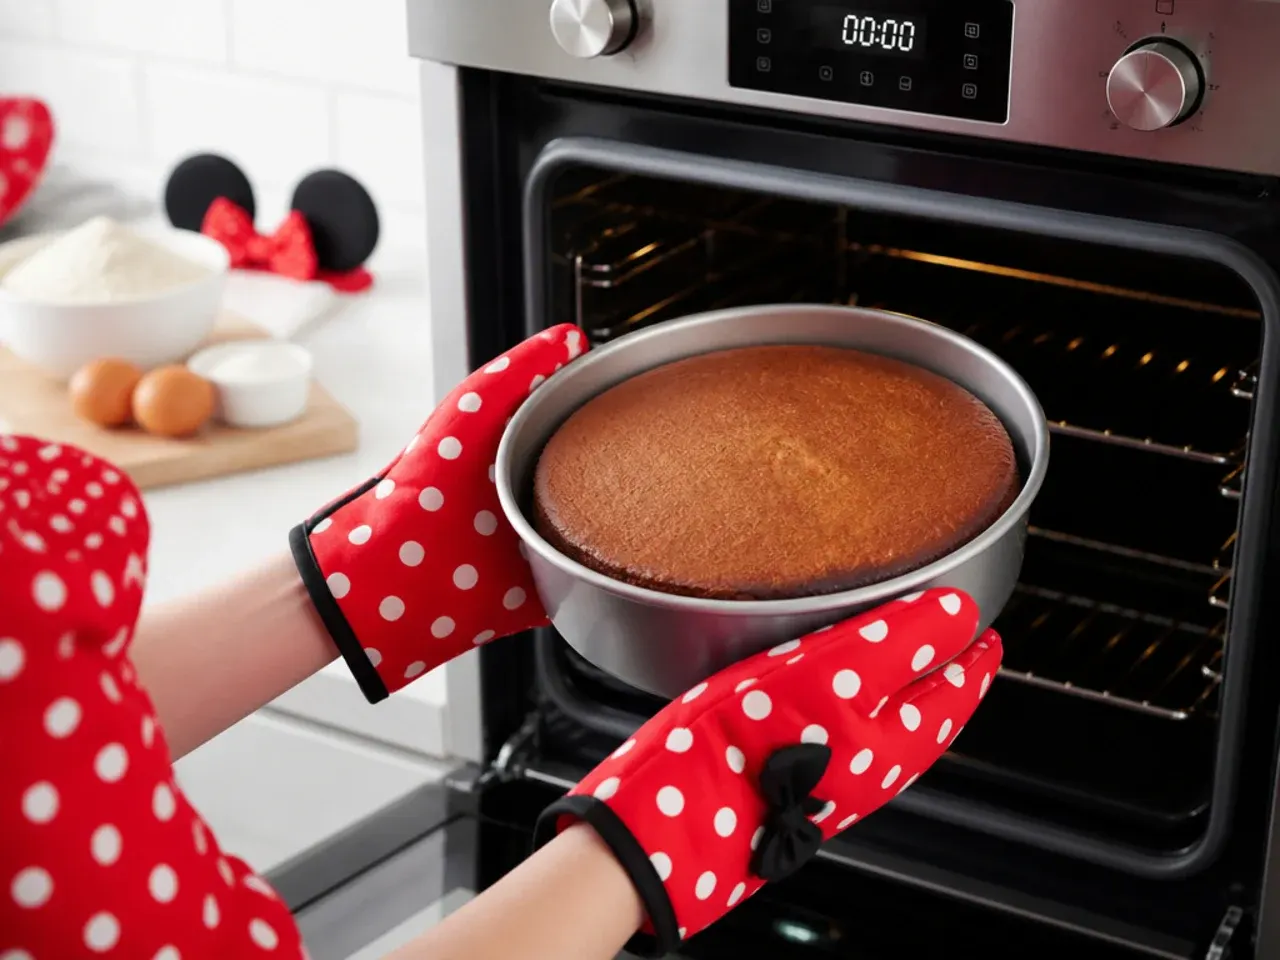
Divide the batter evenly between the two tins and level the tops. Bake for 25 to 30 minutes, until the sponge springs back when lightly pressed and a skewer inserted in the centre comes out clean. Avoid opening the oven before 25 minutes or the cakes may sink in the middle.
Step 6: Cool and make buttercream
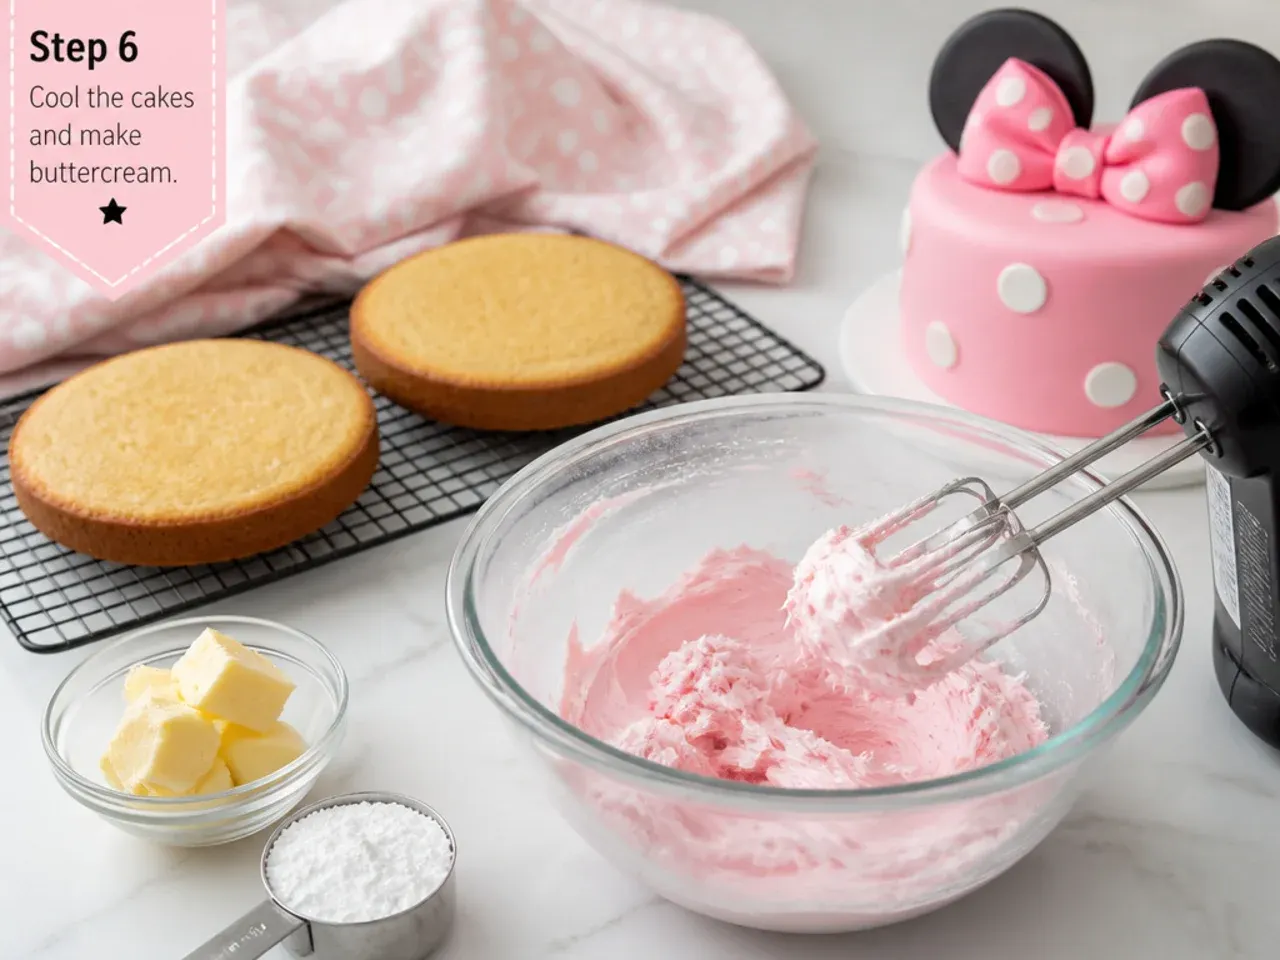
Cool the cakes in their tins for 10 minutes, then turn out onto a wire rack to cool completely (at least 1 hour) before decorating. Meanwhile, beat the 340g butter for 2 minutes, then add the 650g icing sugar in stages, followed by the milk and vanilla, and beat 3 minutes until smooth. Tint portions with gel colour as your chosen design needs.
Step 7: Fill, crumb-coat and decorate
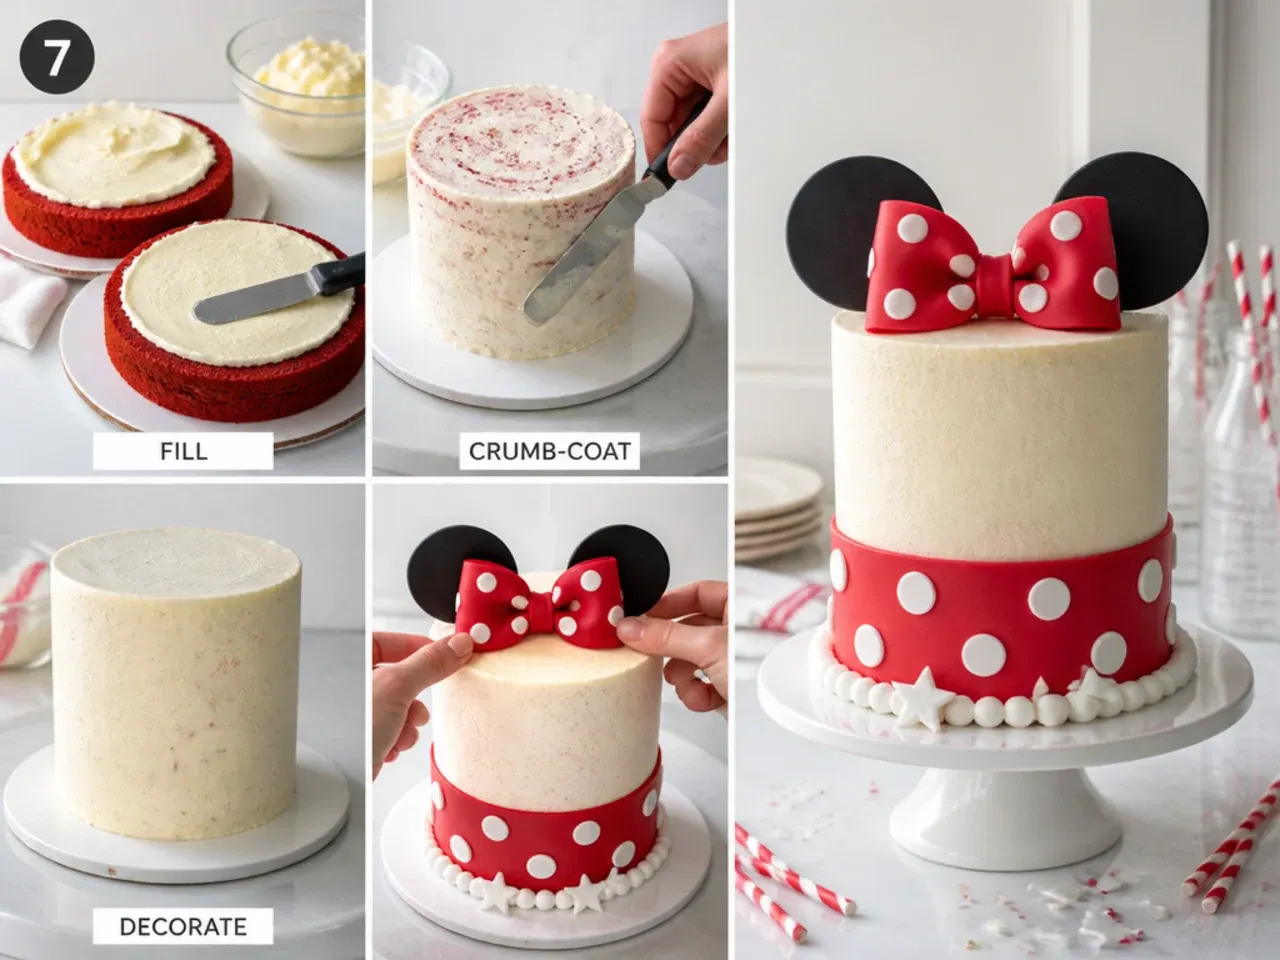
Trim any dome flat, sandwich the layers with buttercream, then apply a thin crumb coat over the whole cake and chill for 30 minutes. Add a smooth final coat, then decorate with the polka dots, bow and rounded ear shapes from your chosen design. Chill the finished cake 30 minutes before serving so it slices cleanly.
Frequently Asked Questions
Bake the sponge layers one to two days ahead (or freeze them wrapped for up to a month), and make any fondant bows and ear shapes two to three days ahead so they dry hard and hold their shape. Fully decorate the cake the day before or the morning of the party, and keep it chilled. Let it come to room temperature for about an hour before serving so the sponge is soft.
Save this for later 📌
Pin this article to your Pinterest board so the full list is one tap away when you need it.
Save on Pinterest