20 Cute Minnie Mouse Cake Topper Ideas
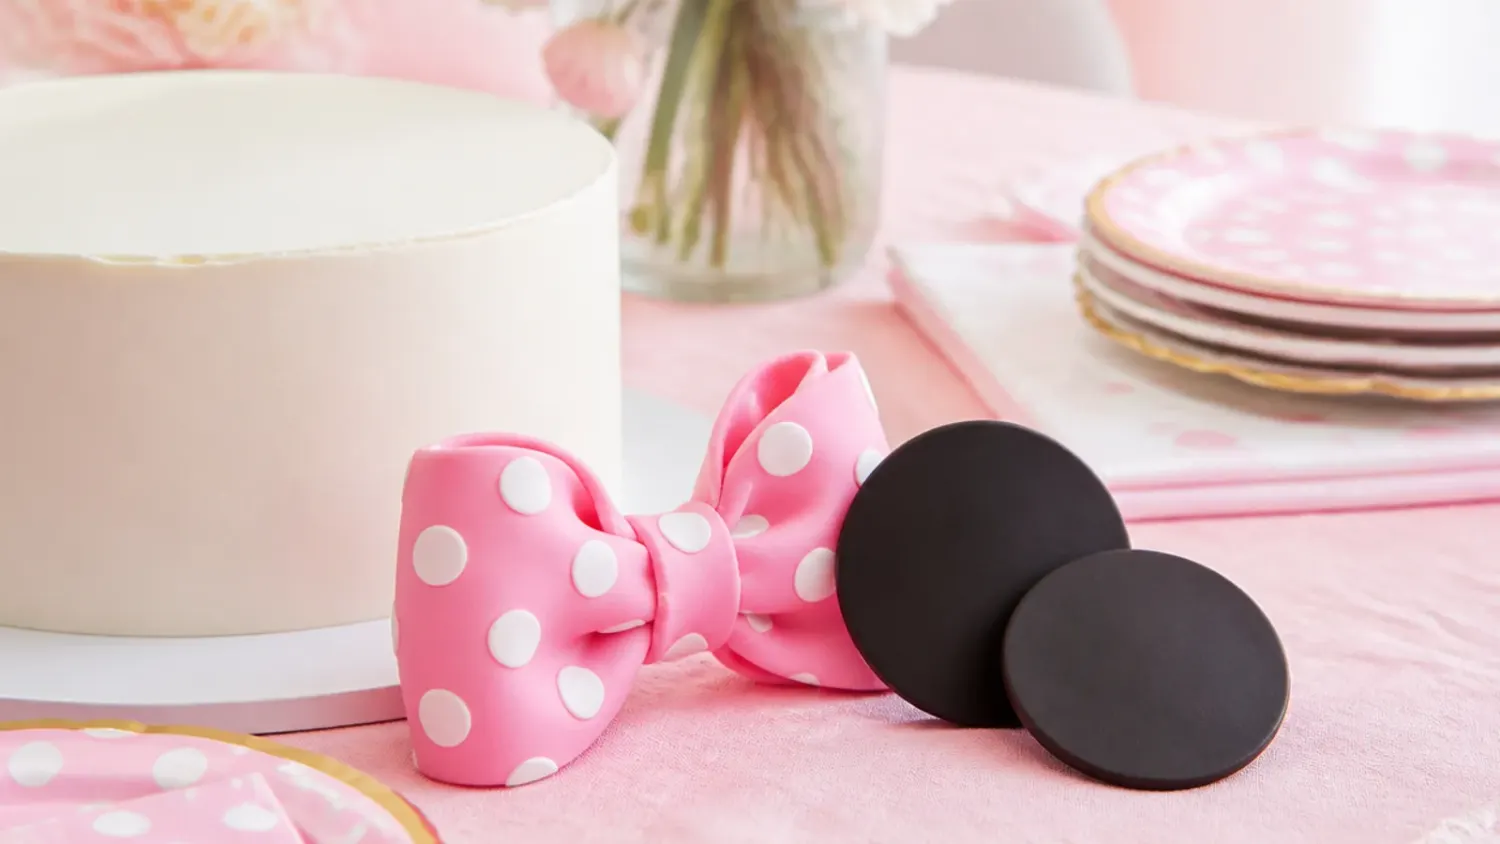
20 cute Minnie Mouse cake topper ideas plus an easy vanilla base cake, fondant bow and ear techniques, colors, polka dots and beginner-friendly tips. If you love minnie mouse cake inspiration, start with our Minnie Mouse Cake Ideas collection, then browse the full Cake Ideas hub for more.
Save this for later 📌
Pin this article to your Pinterest board so the full list is one tap away when you need it.
Save on PinterestCake Ideas
Beginner
Ideas
20 ideas
Table of Contents
- 1. Classic Polka-Dot Bow and Ears Topper
- 2. No-Fuss Printable Paper Topper
- 3. Elegant Pearl-Dusted Bow Topper
- 4. Playful 3D Chocolate Ears Topper
- 5. Modern Minimalist Silhouette Topper
- 6. Rustic Kraft and Twine Topper
- 7. Colorful Rainbow Bow Topper
- 8. Minimal Wire-and-Bead Ears Topper
- 9. Festive Gold-Glitter Bow Topper
- 10. Whimsical Floral Crown Topper
- 11. Bold Oversized Statement Bow Topper
- 12. Delicate Lace-Effect Bow Topper
- 13. Vintage Cameo-Style Topper
- 14. Creative Watercolor Wafer-Paper Topper
- 15. Charming Buttercream-Piped Topper
- 16. Classic Standing Bow-on-a-Stick Topper
- 17. Easy Cookie-Cutter Fondant Topper
- 18. Elegant Monochrome Black-and-White Topper
- 19. Playful Confetti Cake-Ears Topper
- 20. Modern Acrylic-Look Sugar Topper
- Tips to Make These Ideas Easier
- Common Mistakes to Avoid
- The Base Recipe — Make Any of These Ideas
1. Classic Polka-Dot Bow and Ears Topper
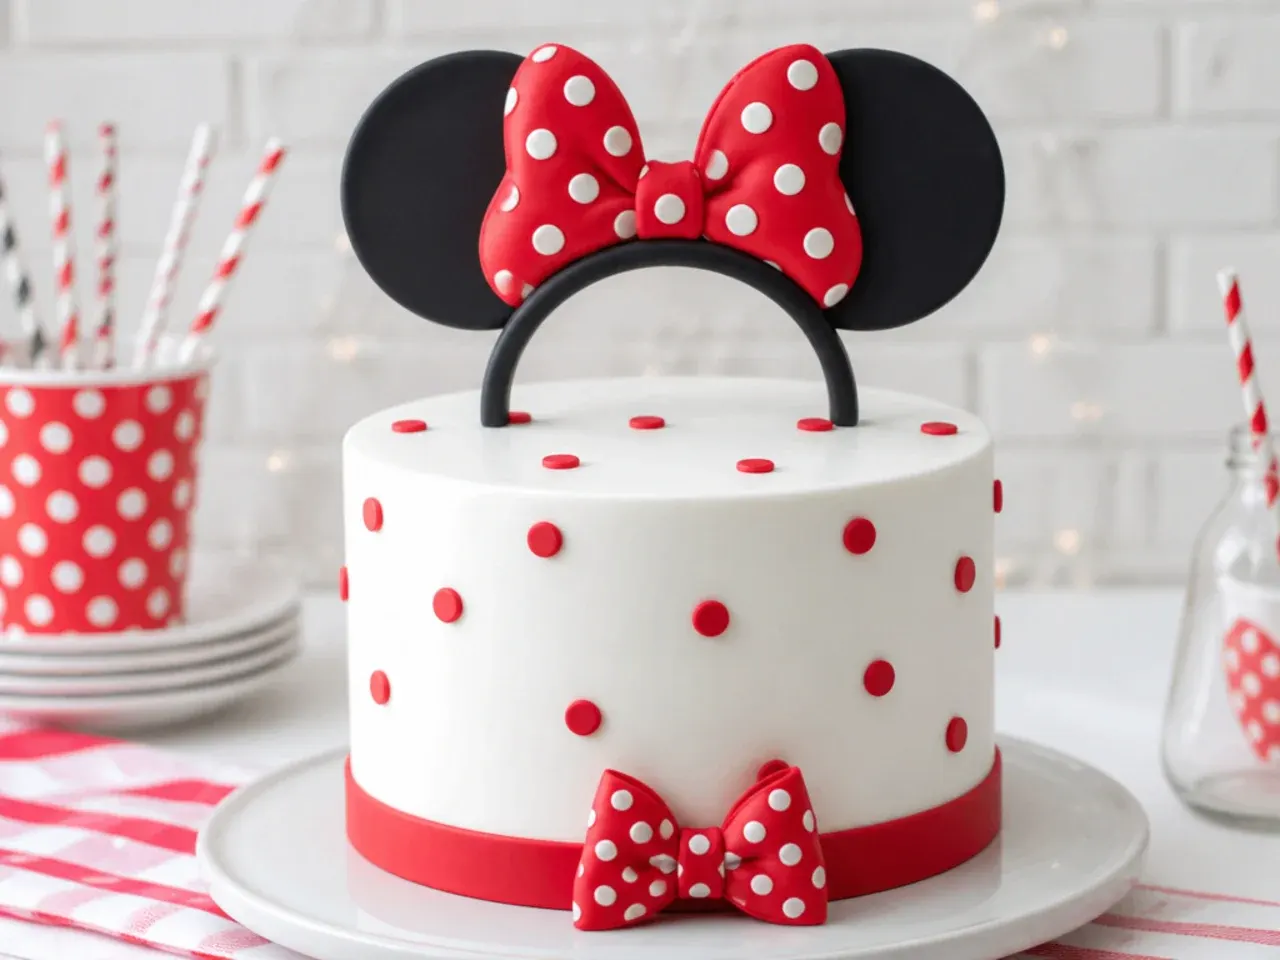
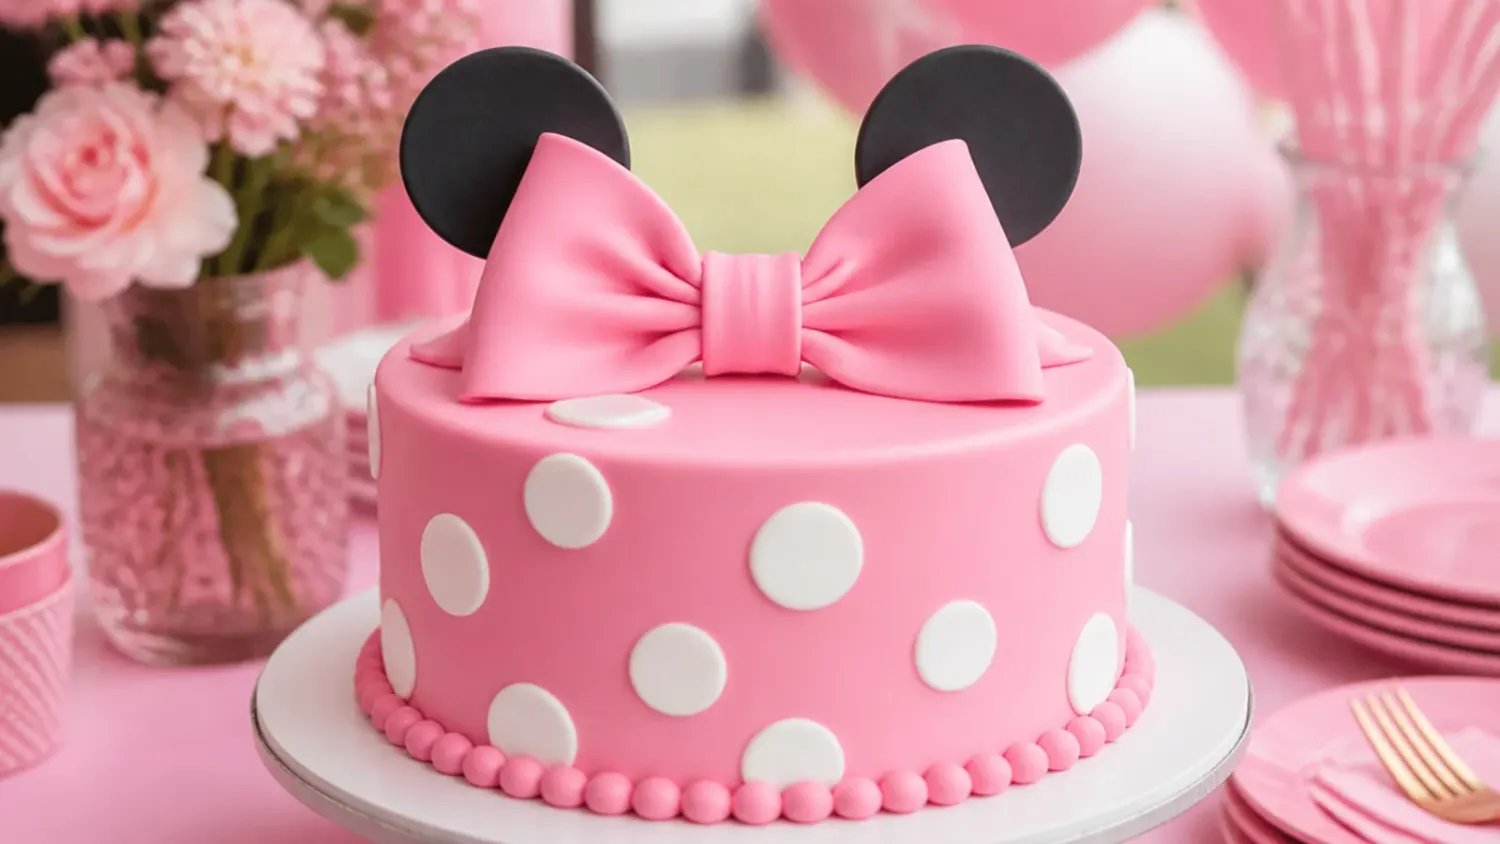
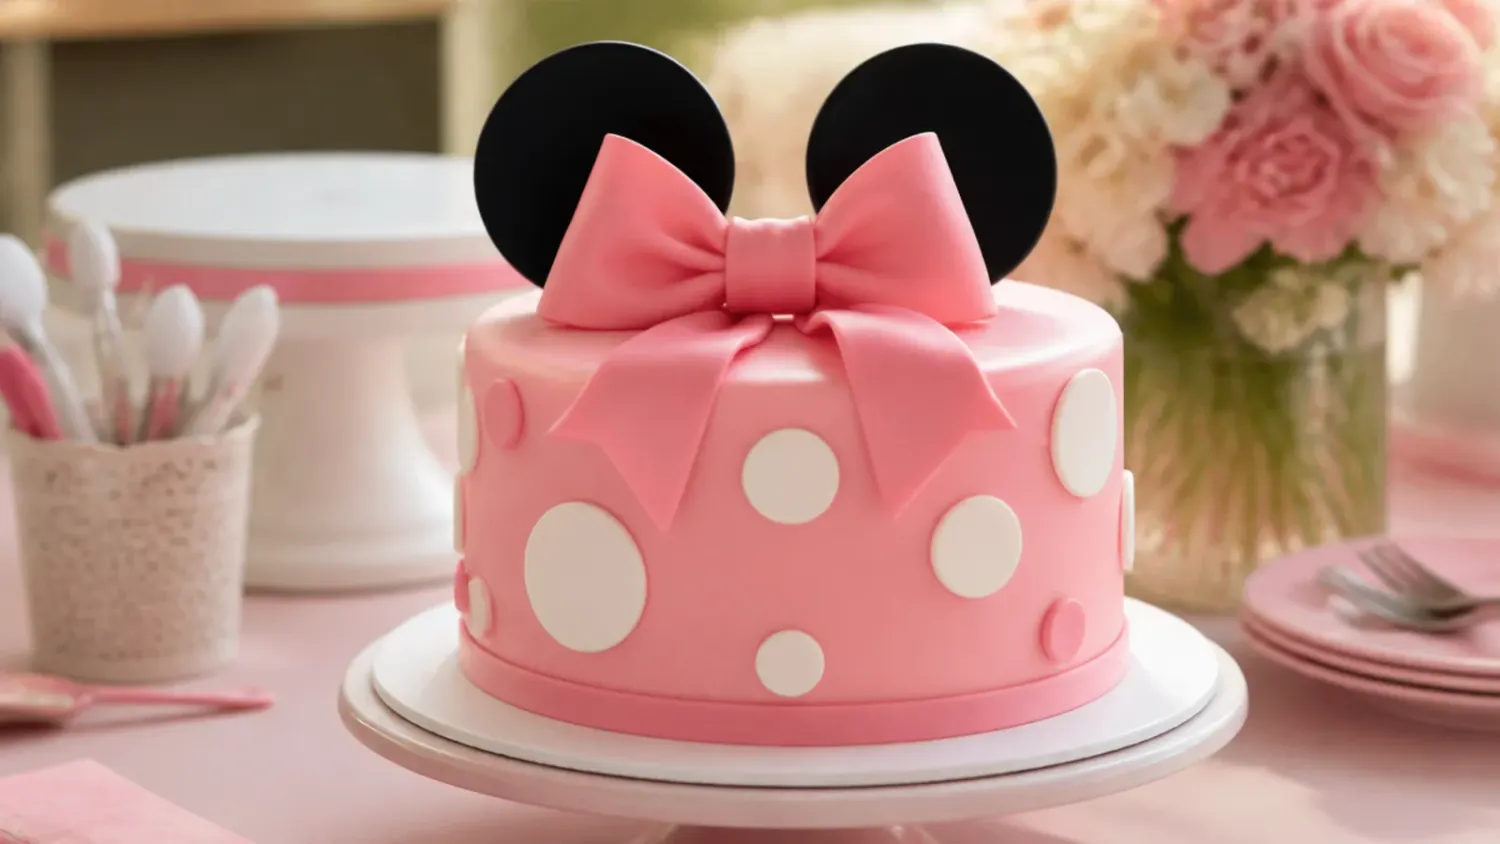
This is the topper everyone pictures first: two rounded ears and a red-and-white polka-dot bow sitting on top. Roll black gum paste 4mm thick and cut two 6cm circles for the ears, then a 9cm x 3cm strip for the bow, pinching the center and dotting it with white circles cut from a 1cm plunger cutter. It works because the silhouette reads instantly even from across the room, and the polka dots add movement without extra effort. Support the ears on two lollipop sticks pushed into the cake and let both pieces dry 12 to 24 hours on a foam pad so they hold firm.
2. No-Fuss Printable Paper Topper
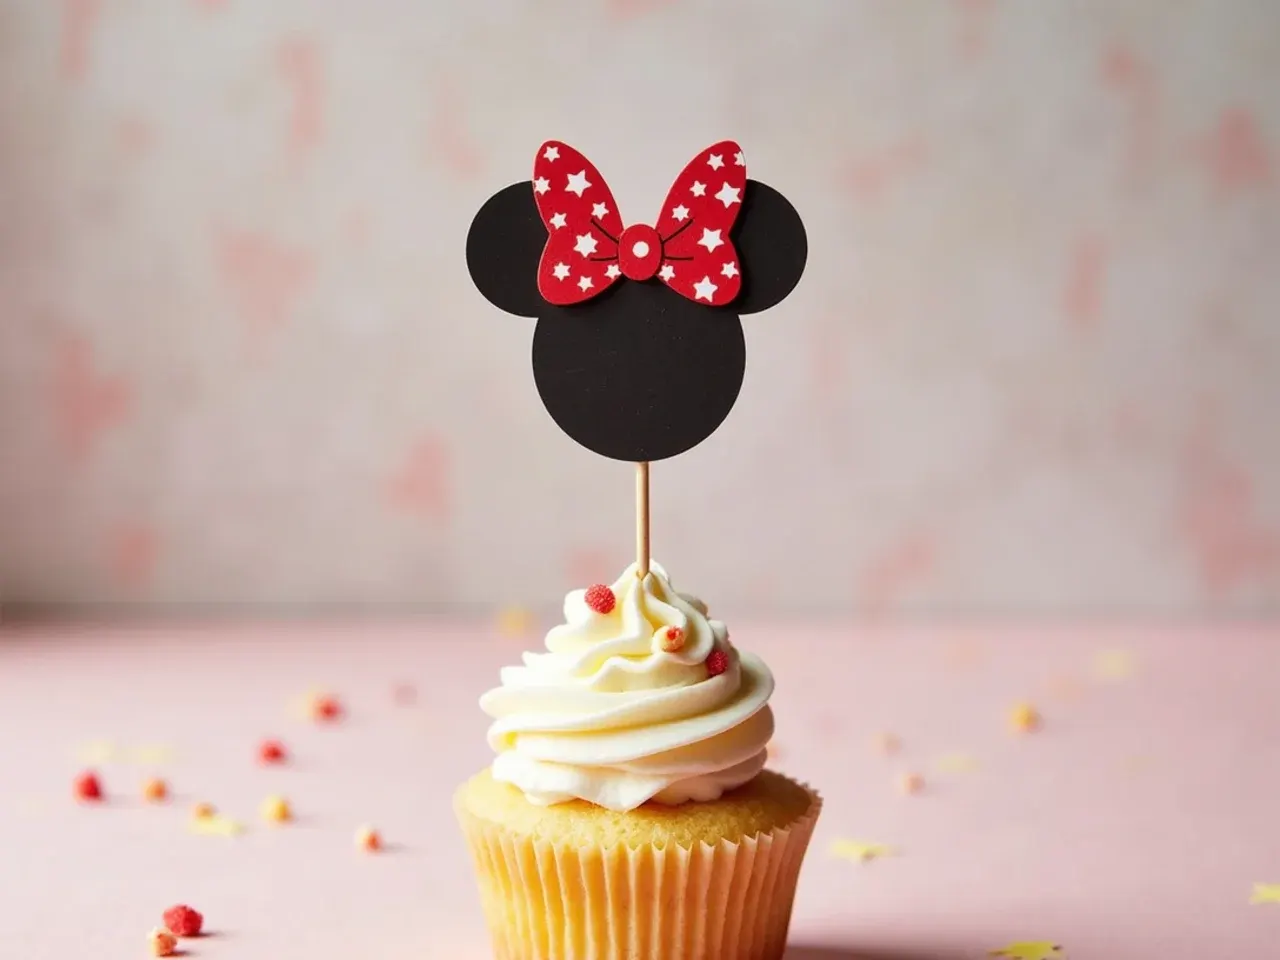
When you have no time for fondant, a printable paper topper is the fastest route to a Minnie-inspired cake. Print a bow-and-ears design onto 200gsm card, cut it with a sharp craft knife, and glue a wooden skewer to the back with a strip of card so it stands straight. It works because you get crisp edges and bold color that fondant beginners struggle to match. Seal the front with a light spray of food-safe glaze so it does not curl in a warm kitchen, and push the skewer in only just before serving to keep the card dry.
3. Elegant Pearl-Dusted Bow Topper
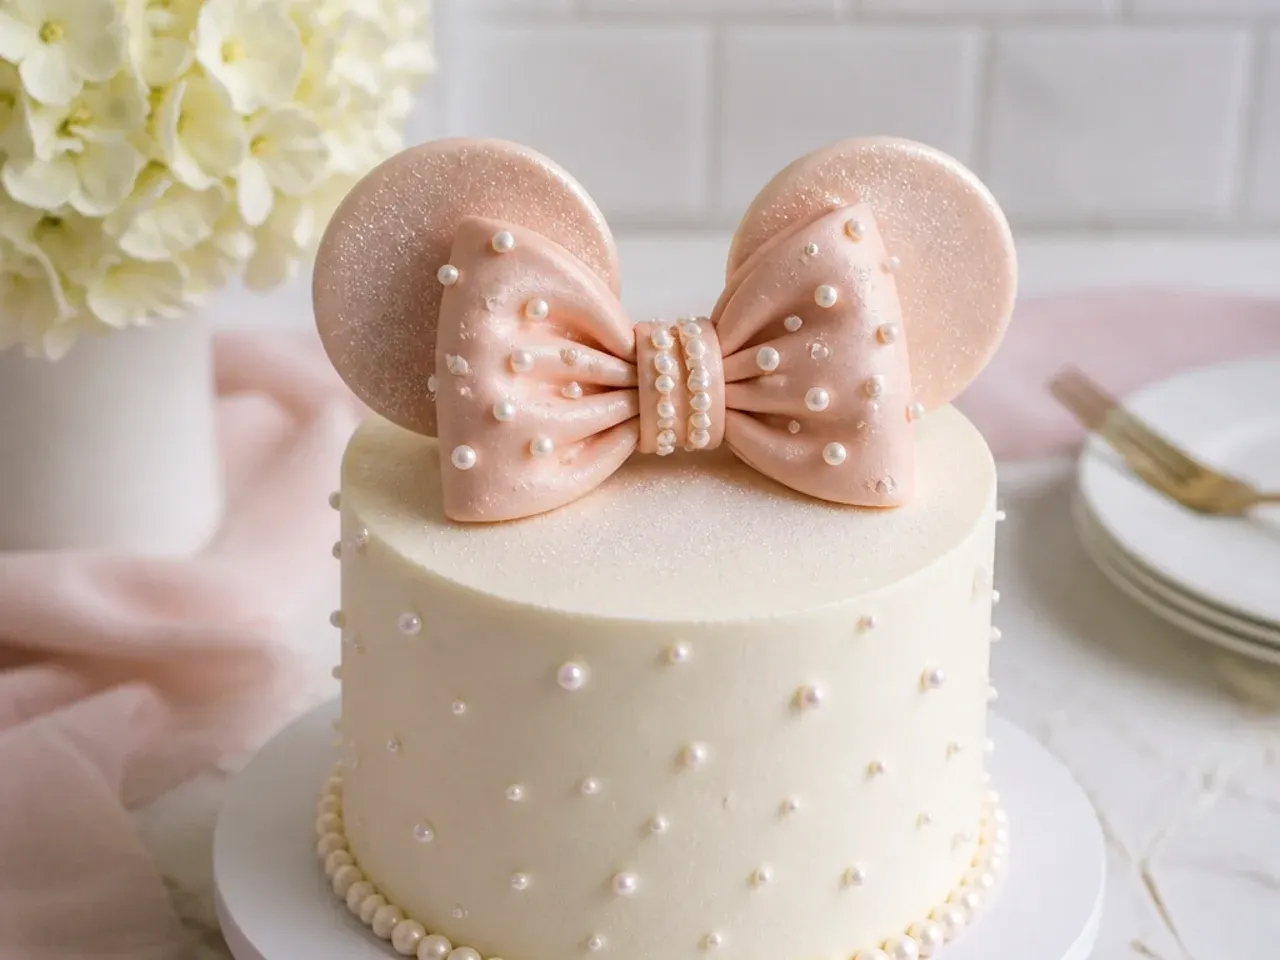
For a grown-up party, swap bright red for a soft blush bow brushed with edible pearl lustre. Make the bow from white gum paste, tint it pale pink with a touch of rose gel, and once dry dust it with pearl or ivory lustre using a dry flat brush. It works because the muted palette and satin sheen lift the design from kids' party to refined celebration. Pair it with a smooth ivory buttercream finish and slim black ears with a pearl edge, and keep the polka dots tone-on-tone white for subtlety.
4. Playful 3D Chocolate Ears Topper
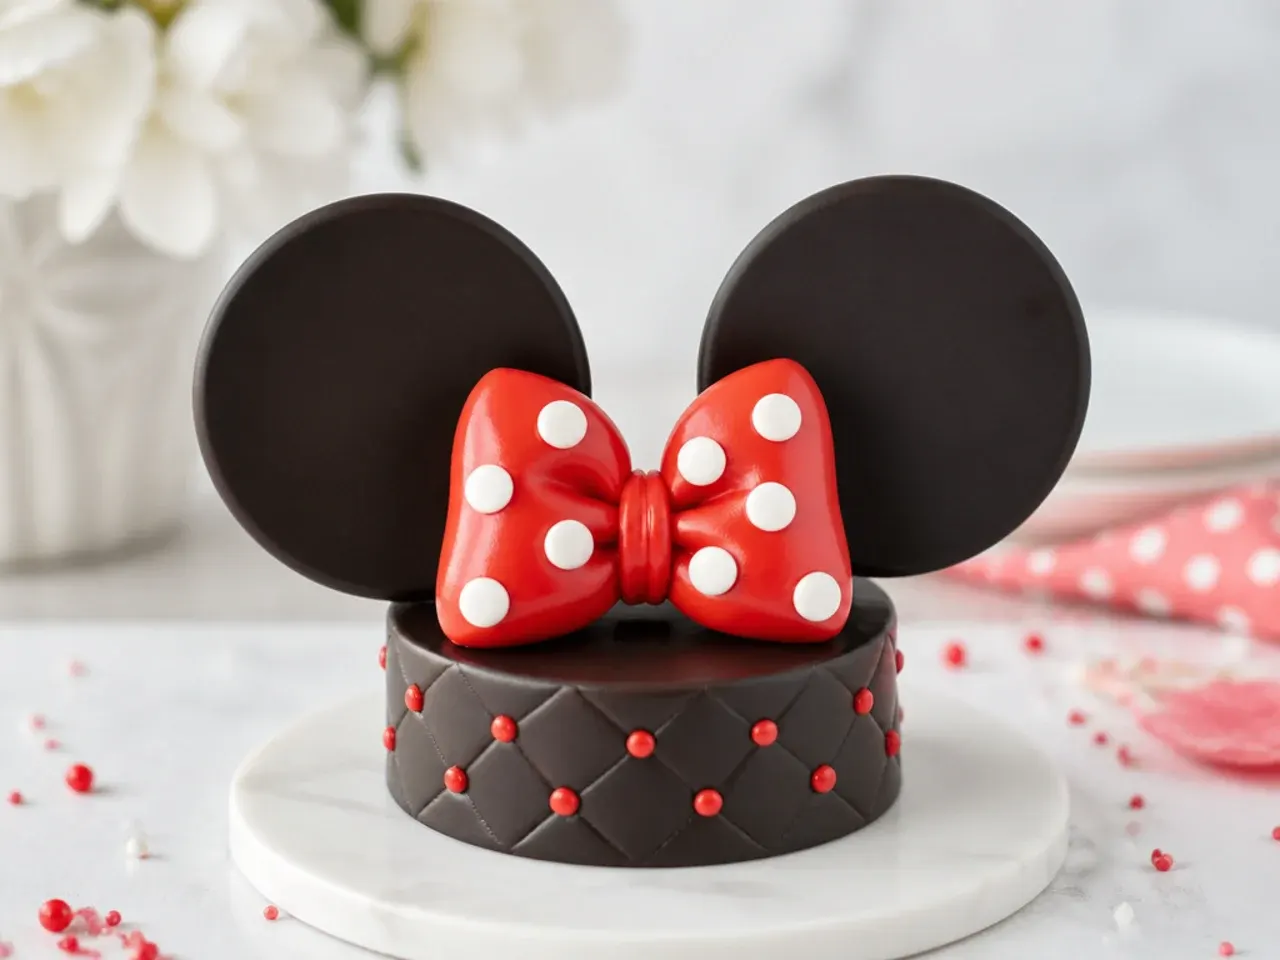
Melted chocolate ears give a glossy, edible topper that kids can actually eat. Pipe two 5cm rounds of tempered dark chocolate onto a parchment sheet, tap flat, and chill 10 minutes until set, then press each onto a chocolate-coated pretzel stick for support. It works because the deep shine and snap feel special, and it avoids fondant entirely. Add a red candy-melt bow piped in a simple figure-eight and dotted with white candy melts, and stand the ears at a slight tilt for a fun, animated look.
5. Modern Minimalist Silhouette Topper
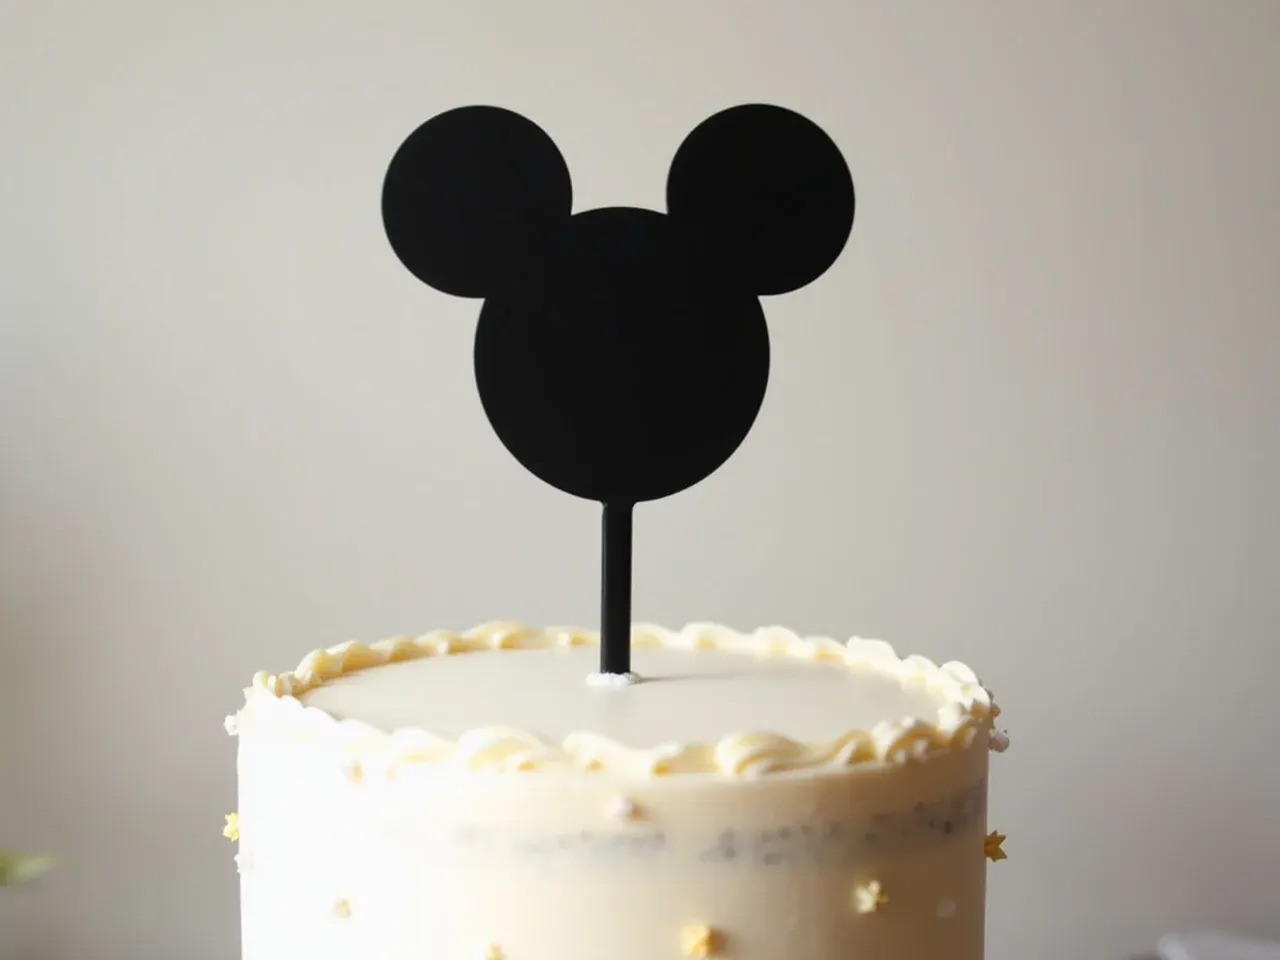
A single flat black silhouette of ears-and-bow cut from thin gum paste suits a clean, contemporary cake. Roll black gum paste 2mm thick, cut the whole ears-and-bow shape in one piece with a template, and let it dry flat between two sheets of parchment so it stays perfectly straight. It works because one graphic shape against a bare buttercream cake feels intentional and stylish. Insert it into a shallow slit on top rather than a skewer for a floating, frame-like effect, and keep the cake itself all-white to let the shape do the talking.
Save this for later 📌
Pin this article to your Pinterest board so the full list is one tap away when you need it.
Save on Pinterest6. Rustic Kraft and Twine Topper
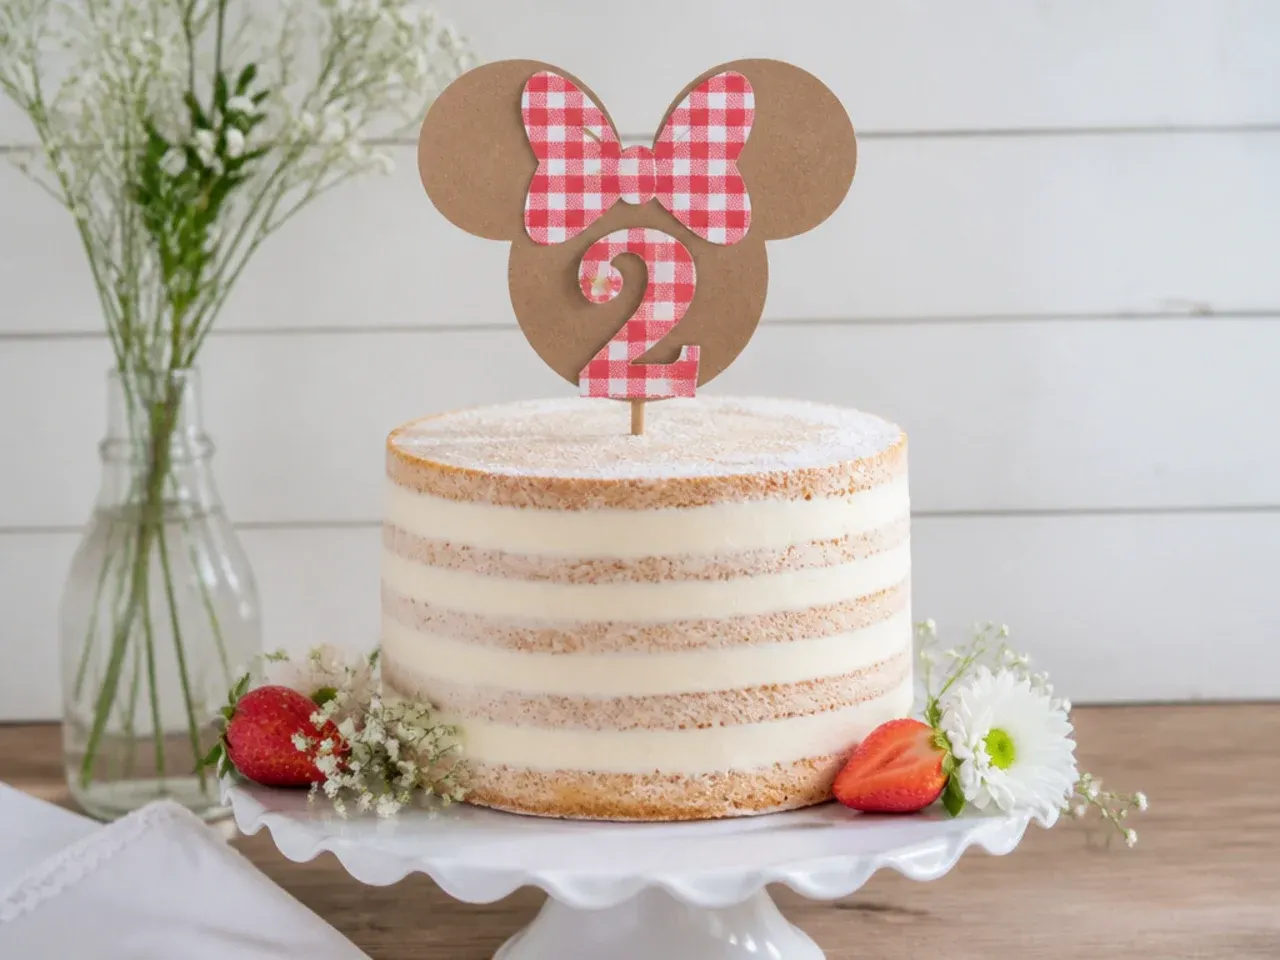
A rustic naked cake pairs beautifully with a kraft-card topper and a fabric polka-dot bow. Cut ears and a bunting-style banner from brown kraft card, tie a small red gingham ribbon into the bow, and mount everything on two thin dowels wrapped in bakers twine. It works because the natural textures balance the sweetness of a semi-naked buttercream cake and photograph warmly. Add a hand-lettered name tag in black ink between the ears, and finish the cake sides with a light scrape of buttercream so the sponge peeks through.
7. Colorful Rainbow Bow Topper
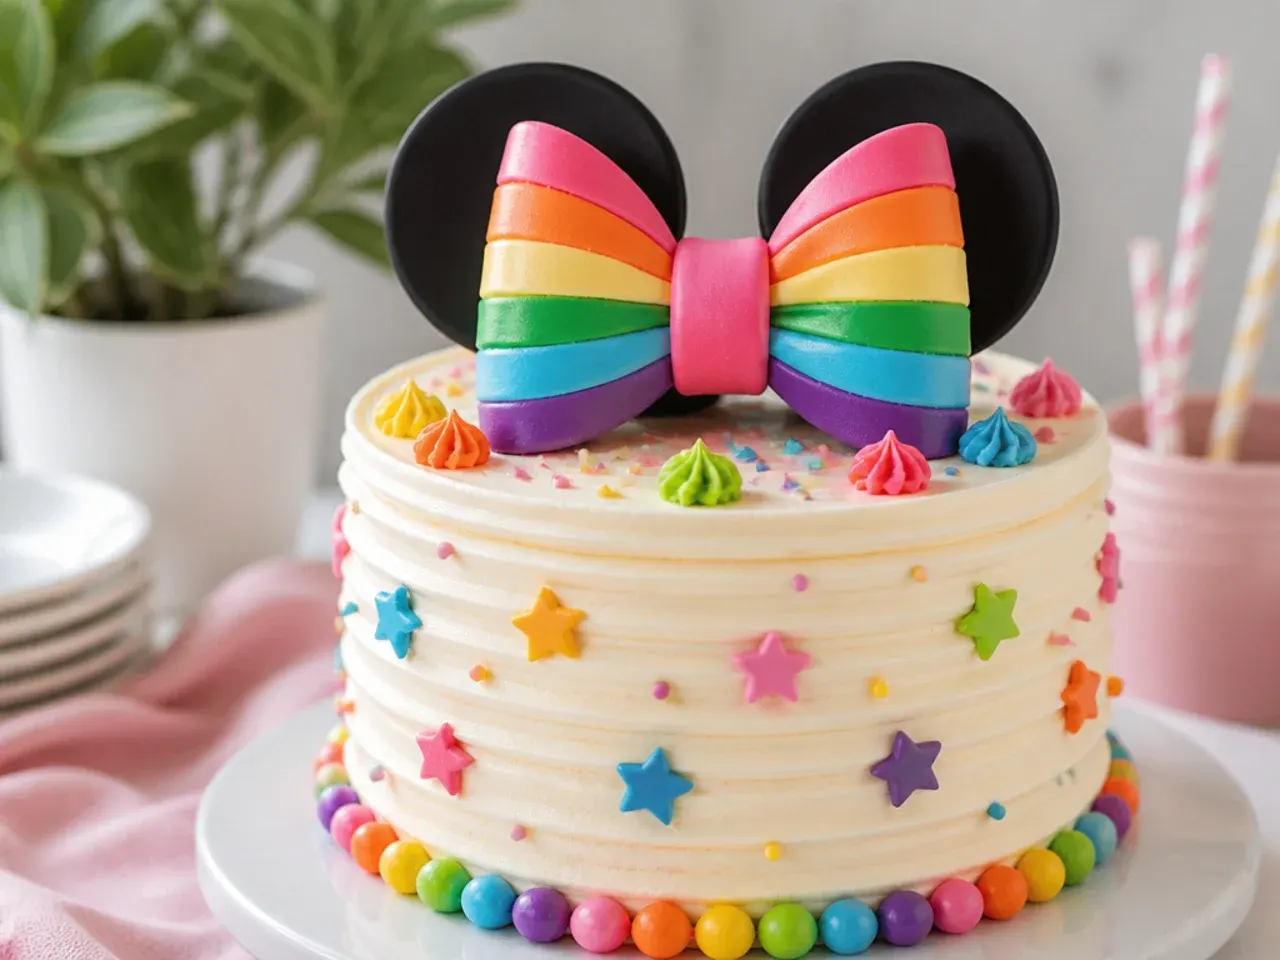
Break from tradition with a bow made of rainbow-striped gum paste for a vibrant party cake. Roll thin ropes of red, orange, yellow, green, blue and purple gum paste, press them side by side, roll flat, then cut your bow strip from the striped sheet. It works because the graphic rainbow reads as celebratory and modern while keeping the recognizable bow shape. Keep the ears solid black so the colorful bow stays the hero, and scatter matching rainbow sprinkles around the cake base to tie it together.
8. Minimal Wire-and-Bead Ears Topper
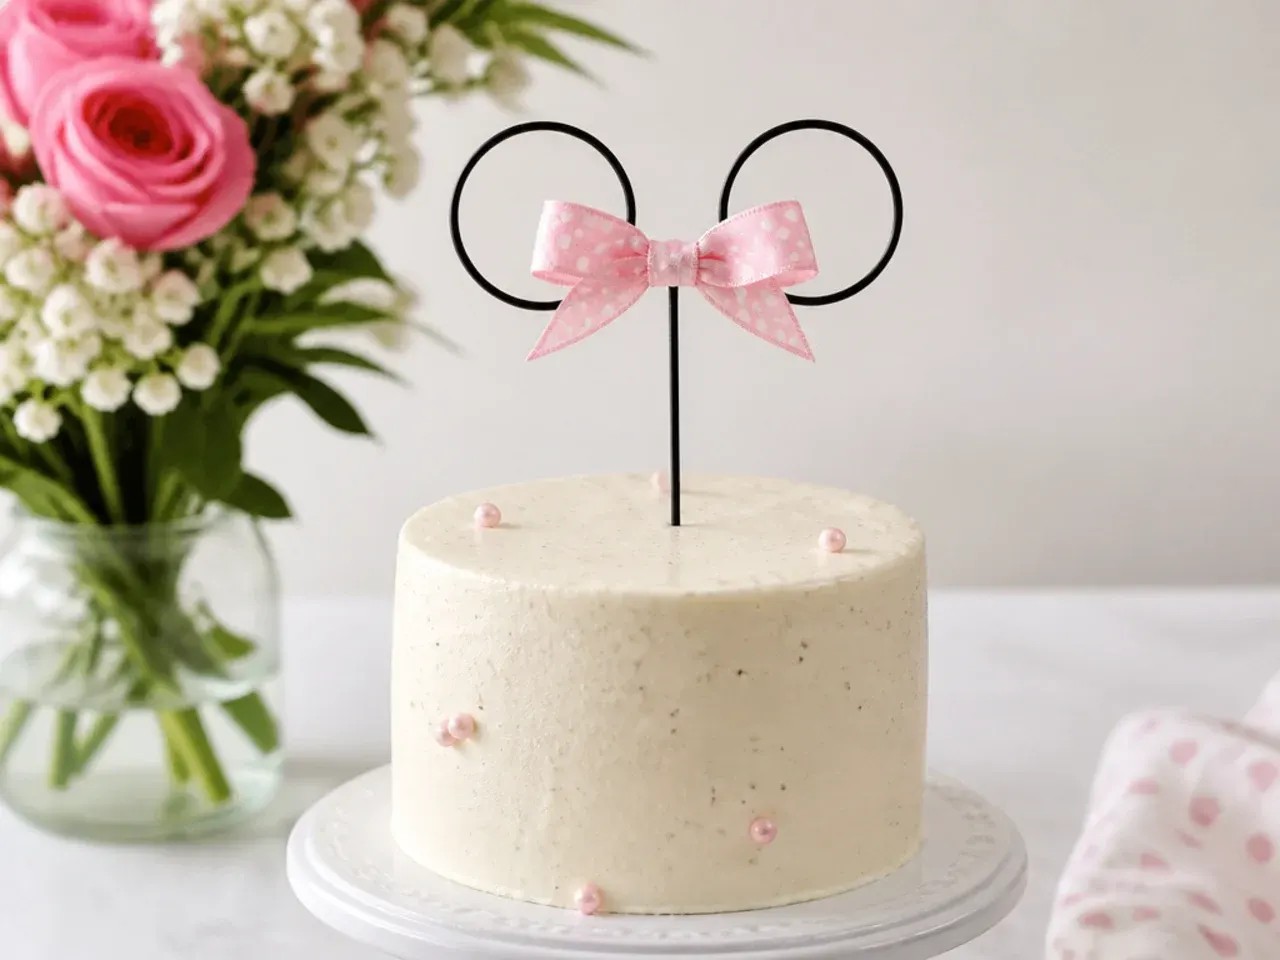
A reusable, non-edible topper made from florist wire keeps things clean and keepsake-worthy. Bend 20-gauge floral wire into two ear loops and a bow outline, wrap it in red or black satin ribbon, and anchor it in a small ball of fondant so it stands upright. It works because there is nothing to bake or dry and the topper can be washed and saved after the party. Wrap the base of the wire in a food-safe pick before inserting so it never touches the cake directly, and dab a few pearl beads into the bow center for a delicate finish.
9. Festive Gold-Glitter Bow Topper
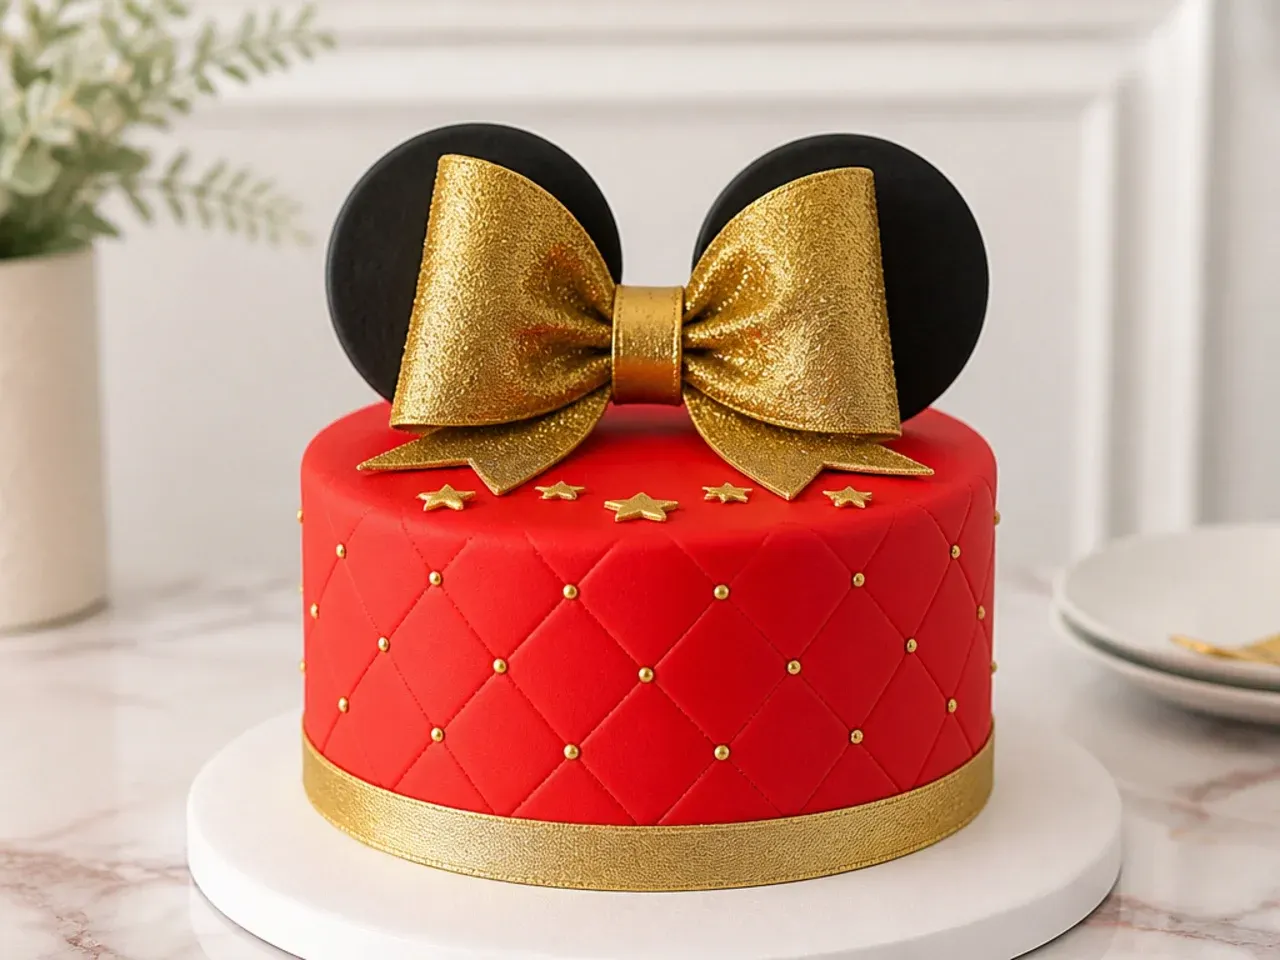
For New Year or a milestone birthday, a gold-glitter bow makes the topper feel celebratory. Make the bow from red gum paste, let it dry hard, then paint it with edible gold glitter mixed with a drop of clear alcohol so the shimmer sticks evenly. It works because the metallic sparkle catches candlelight and instantly signals a special occasion. Edge the black ears with the same gold for a coordinated look, and pipe small gold buttercream stars around the cake board to extend the festive feel.
10. Whimsical Floral Crown Topper
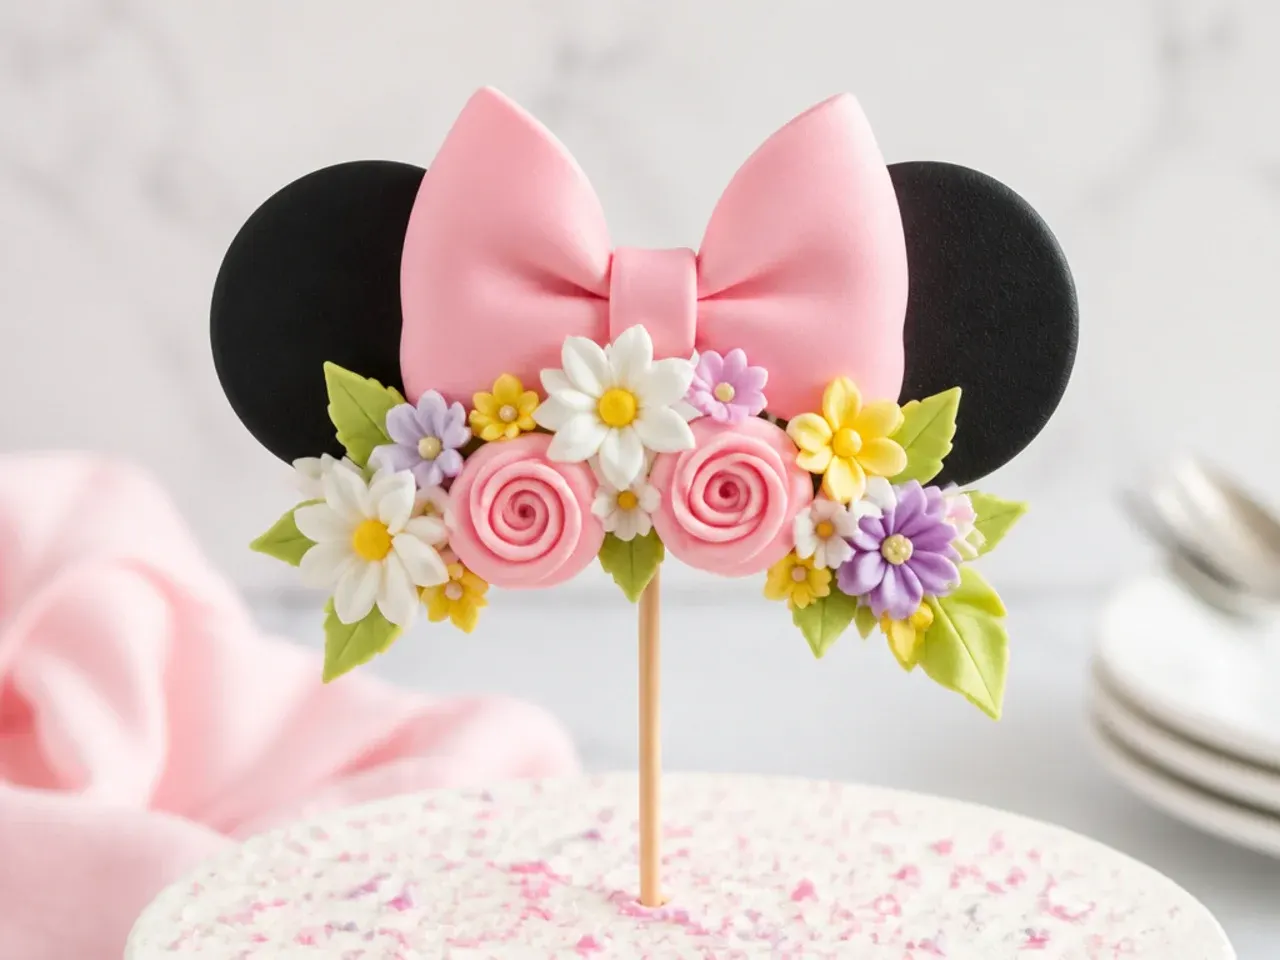
Soften the classic look by nestling the ears and bow inside a small crown of sugar flowers. Pipe or shape tiny blossoms in pink and white from gum paste, arrange them in an arc between the ears, and tuck the polka-dot bow off to one side rather than dead center. It works because the asymmetry and flowers feel fresh and garden-party pretty while keeping the Minnie-inspired shapes. Use a leaf tip (Wilton 352) to pipe small buttercream leaves around the base, and keep the bow small so the flowers can breathe.
Save this for later 📌
Pin this article to your Pinterest board so the full list is one tap away when you need it.
Save on Pinterest11. Bold Oversized Statement Bow Topper
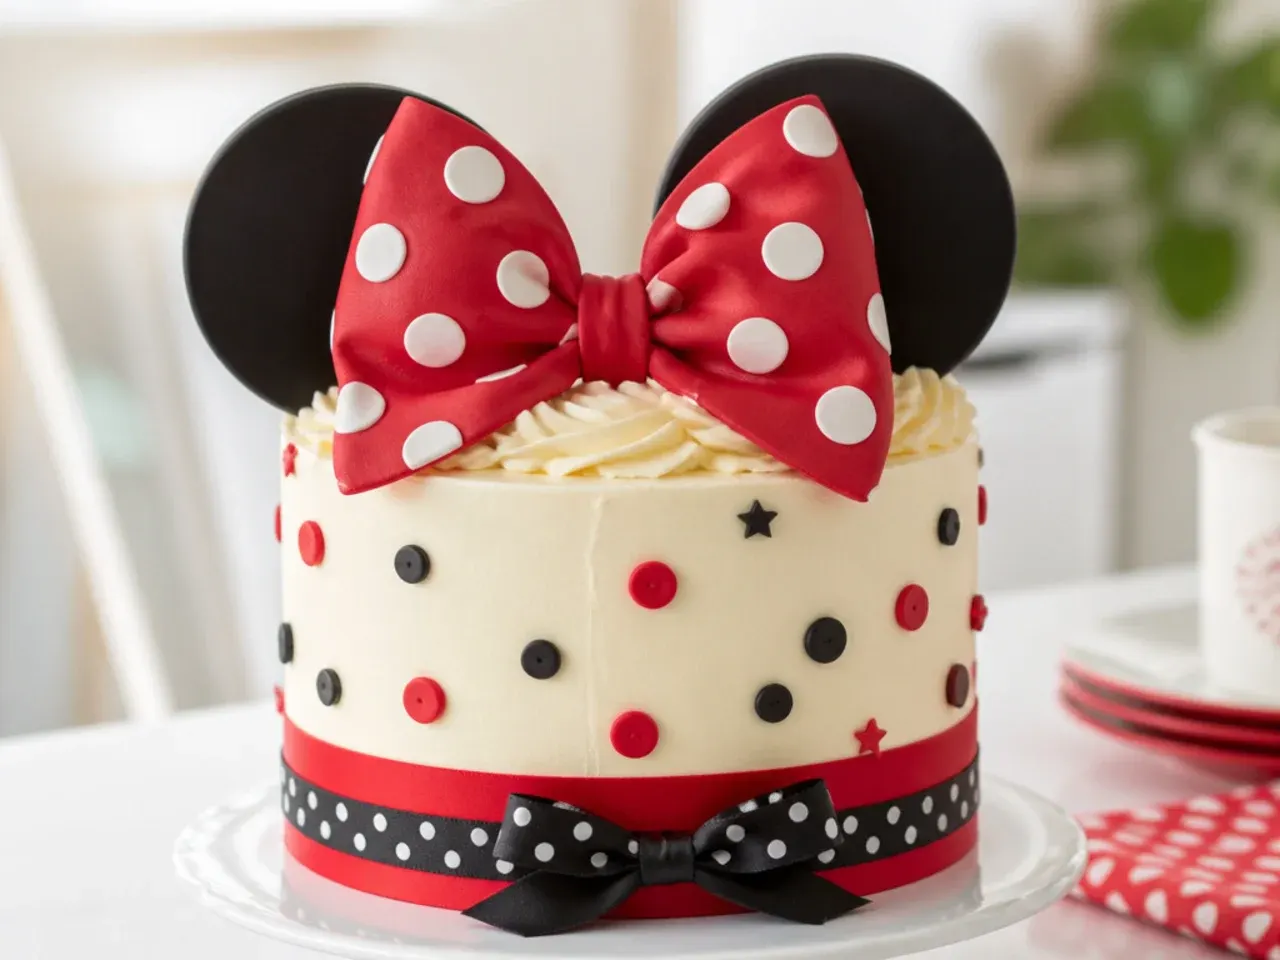
Go big with a single oversized bow that dominates the top of the cake. Cut a 14cm x 5cm gum-paste strip, form generous loops supported by rolled-up parchment while it dries, and mount it flat across the top so it spans most of the surface. It works because the exaggerated scale is dramatic and photographs boldly, perfect for a statement centerpiece. Keep the polka dots large, around 1.5cm, so they stay in proportion, and skip the ears entirely so the bow alone carries the theme.
12. Delicate Lace-Effect Bow Topper
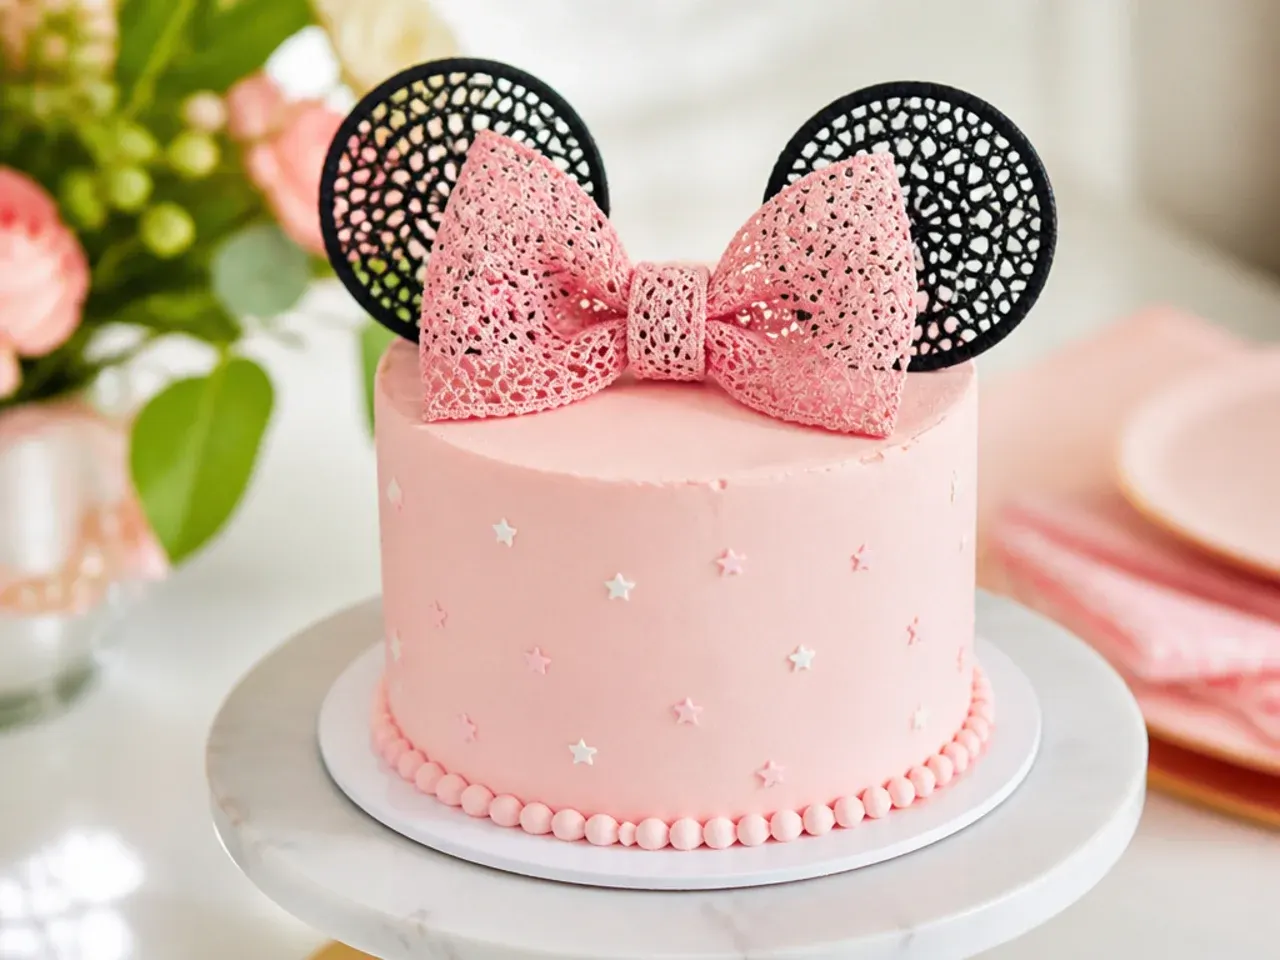
A lace-textured bow adds a delicate, vintage-tea-party feel. Roll white gum paste, press a lace impression mat firmly into it, cut your bow strip from the embossed sheet, then dust the raised pattern lightly with pink lustre. It works because the fine texture reads as handmade and refined without needing advanced piping. Pair it with slim ears and a smooth pale-pink cake, and add a thin red ribbon around the base of the cake board to echo the classic color pop.
13. Vintage Cameo-Style Topper
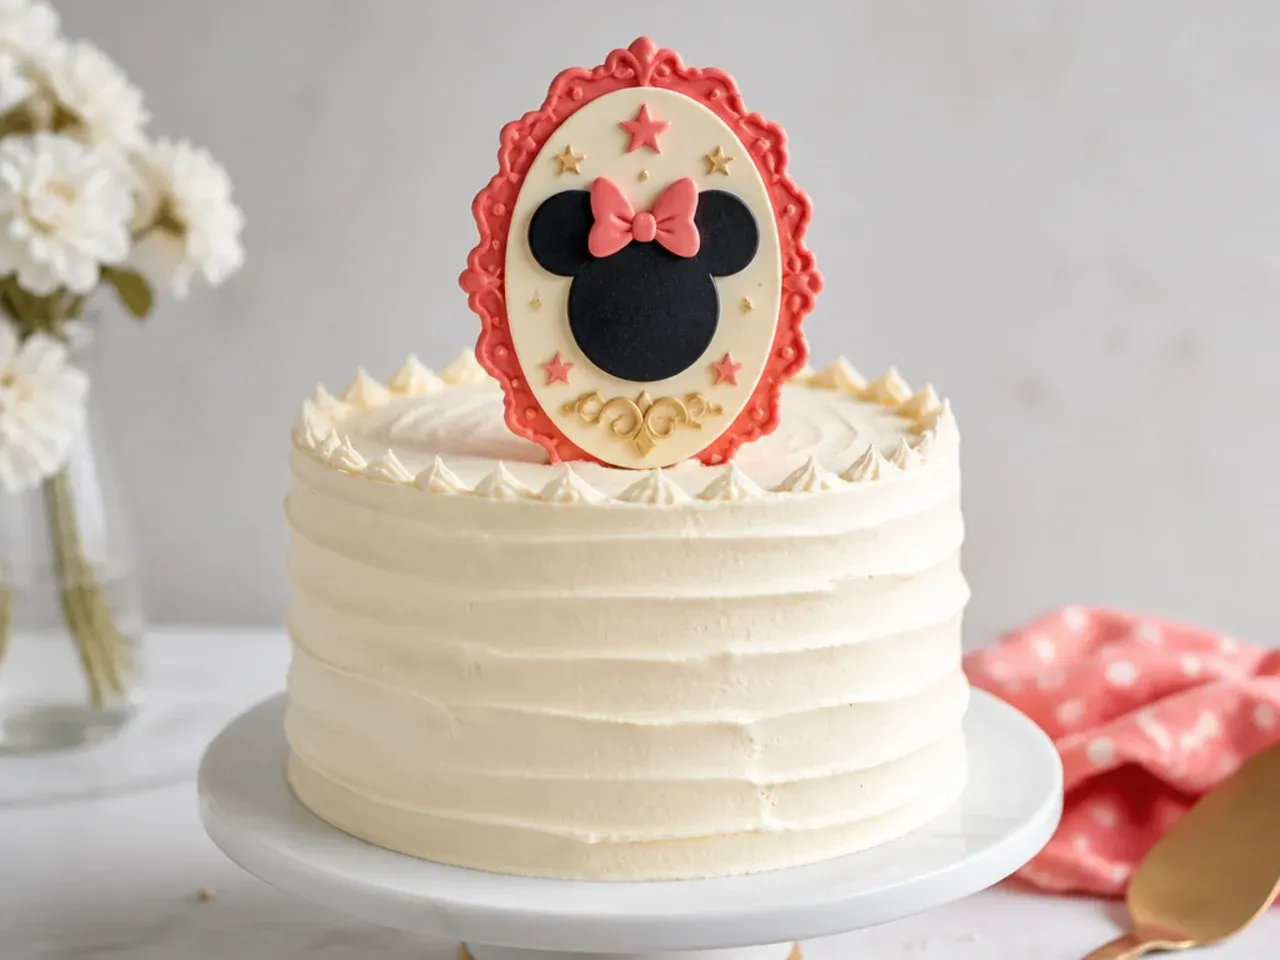
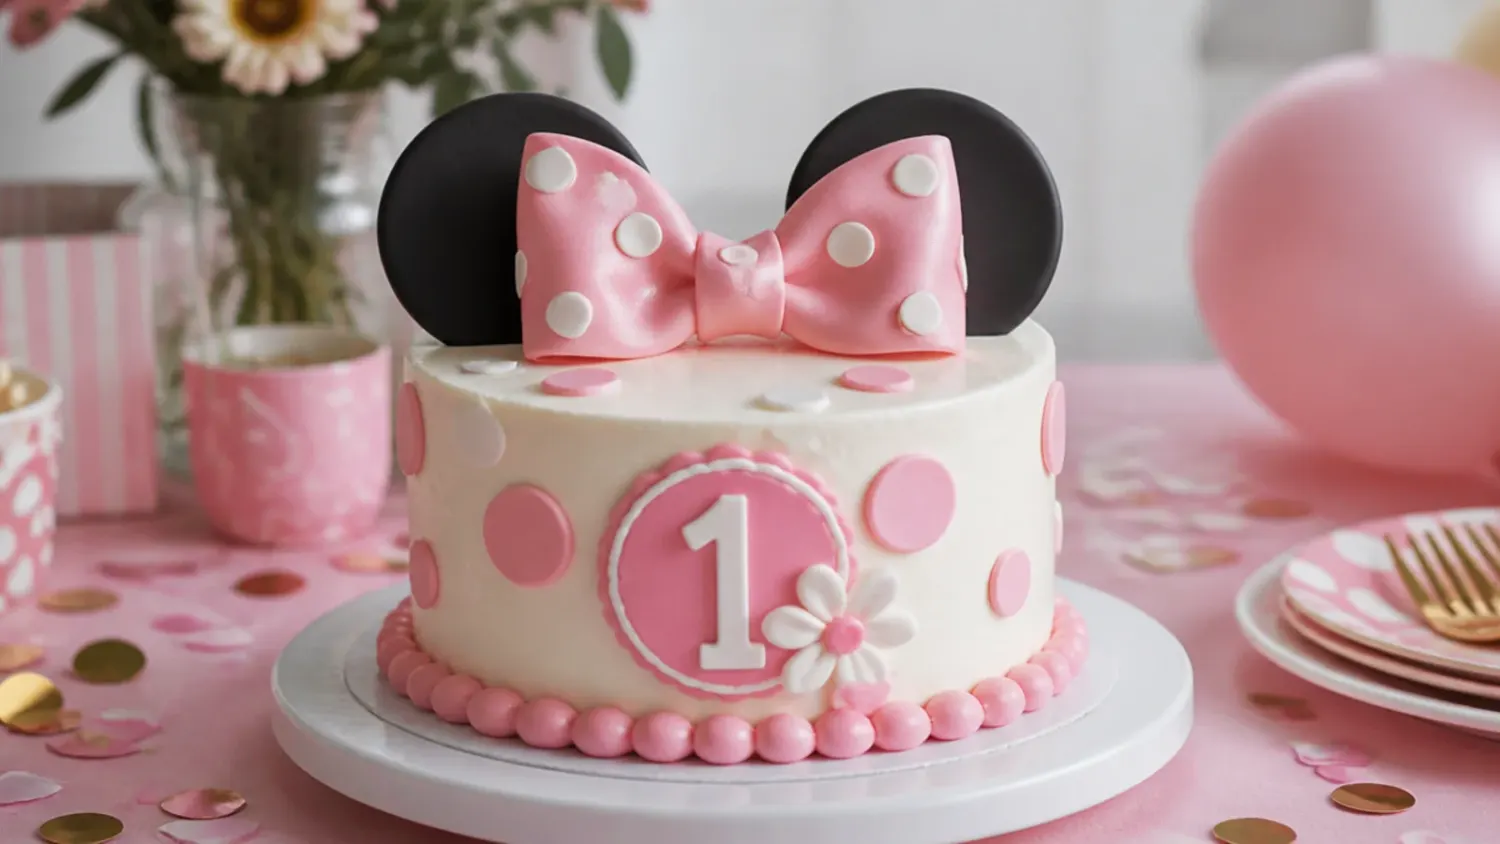
A vintage look frames the ears-and-bow inside an oval cameo plaque. Roll pale-pink gum paste, cut a 7cm oval with a fluted edge, and layer a small black ears-and-bow silhouette in the center like a brooch. It works because the framed medallion feels antique and gift-like, ideal for a christening or first birthday keepsake. Brush the fluted edge with ivory lustre, mount the plaque on a single dowel at the back of the cake, and keep the cake finish a soft antique cream.
14. Creative Watercolor Wafer-Paper Topper
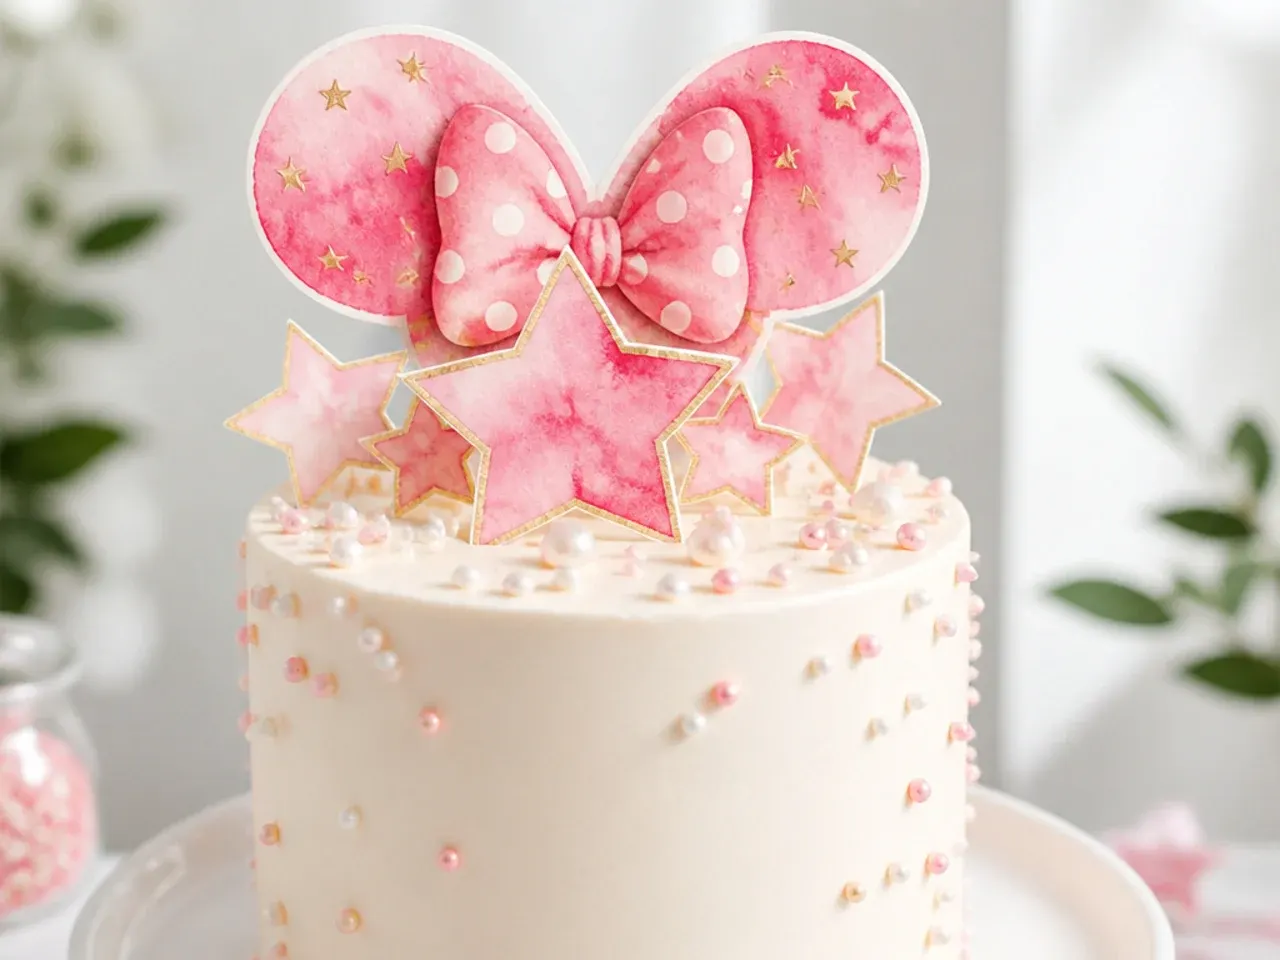
Wafer paper lets you paint a soft, artistic ears-and-bow topper. Brush edible watercolor or diluted gel colors onto wafer paper in blended pink and red washes, let it dry flat, then cut the ears-and-bow shape and mount it on a wafer-paper tab pushed into the cake. It works because the translucent, painterly finish is unlike anything you can buy and dries in minutes. Keep the shapes simple so the color does the work, and store the finished topper in a sealed box away from humidity, which makes wafer paper curl.
15. Charming Buttercream-Piped Topper
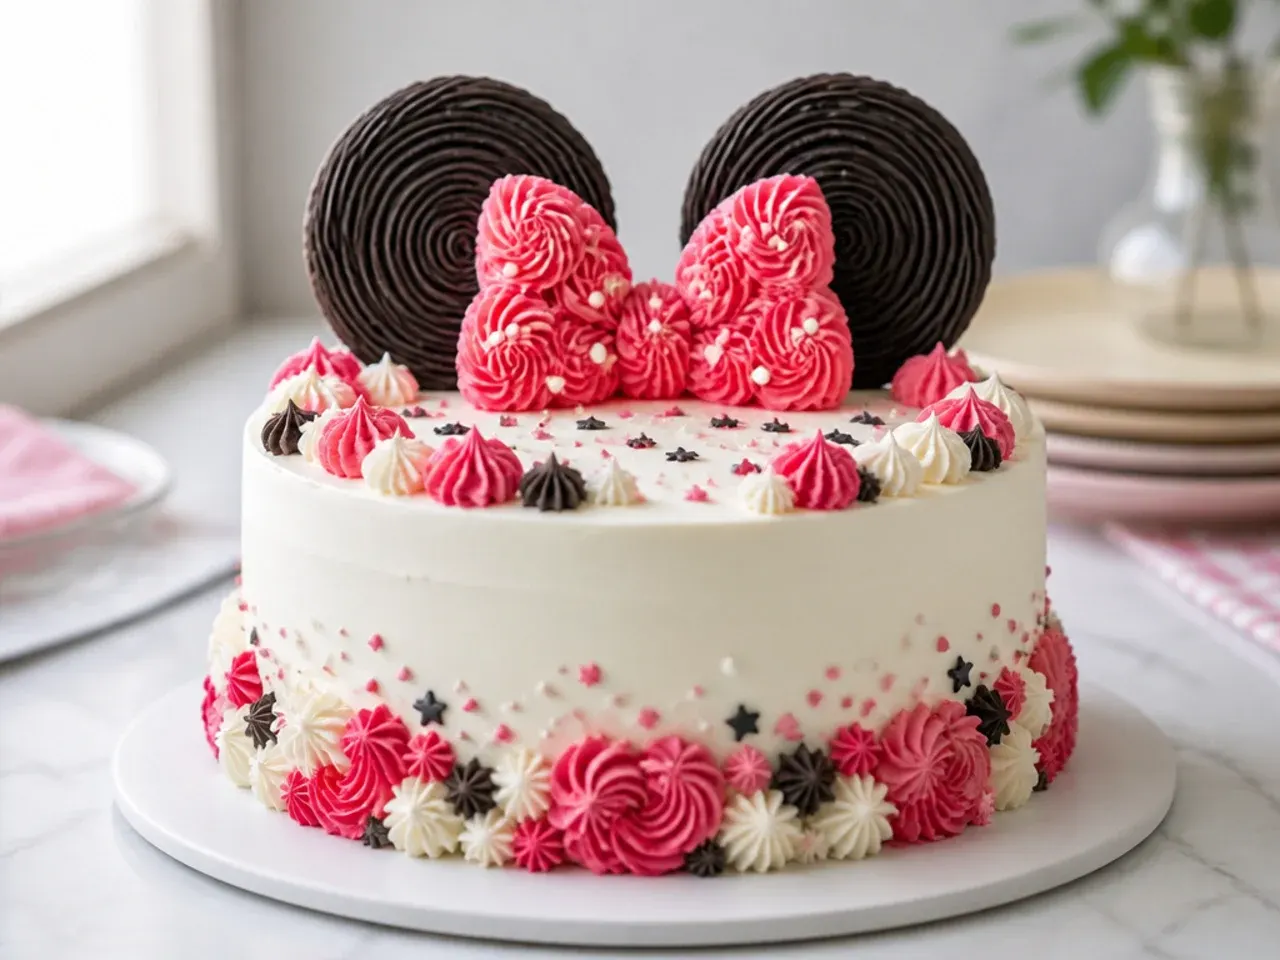
Skip fondant altogether and pipe the whole look directly on the cake in buttercream. Use a round tip (Wilton 12) to pipe two solid black ear discs and a star tip (Wilton 21) to build a red bow from short shells, then dot white with a fine tip (Wilton 3). It works because everything is soft, edible, and made from the same buttercream you already have, so nothing needs drying time. Chill the cake 15 minutes before piping so the surface is firm, and pipe the bow last so the loops sit crisply on top.
Save this for later 📌
Pin this article to your Pinterest board so the full list is one tap away when you need it.
Save on Pinterest16. Classic Standing Bow-on-a-Stick Topper
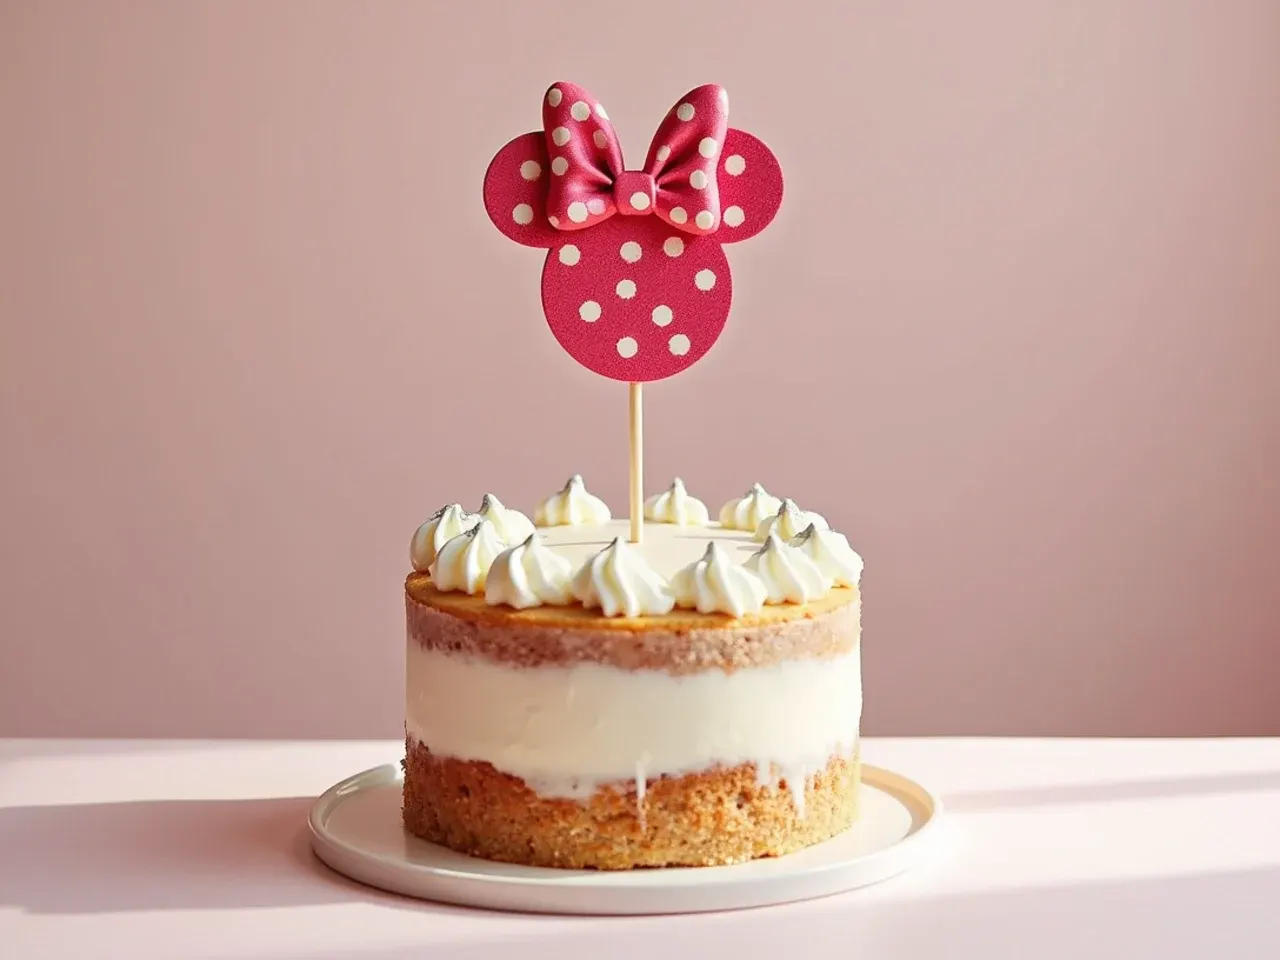
A freestanding bow that rises above the cake gives height and a classic party feel. Make a firm gum-paste bow, insert a bubble-tea straw or dowel into the base while soft, and let it dry upright for 24 hours so it stays rigid. It works because the raised bow creates a focal point above the candles and reads clearly in photos. Push the straw into the center of the cake, hide the join with a small buttercream rosette, and add two flat ears on the cake surface below for the full silhouette.
17. Easy Cookie-Cutter Fondant Topper
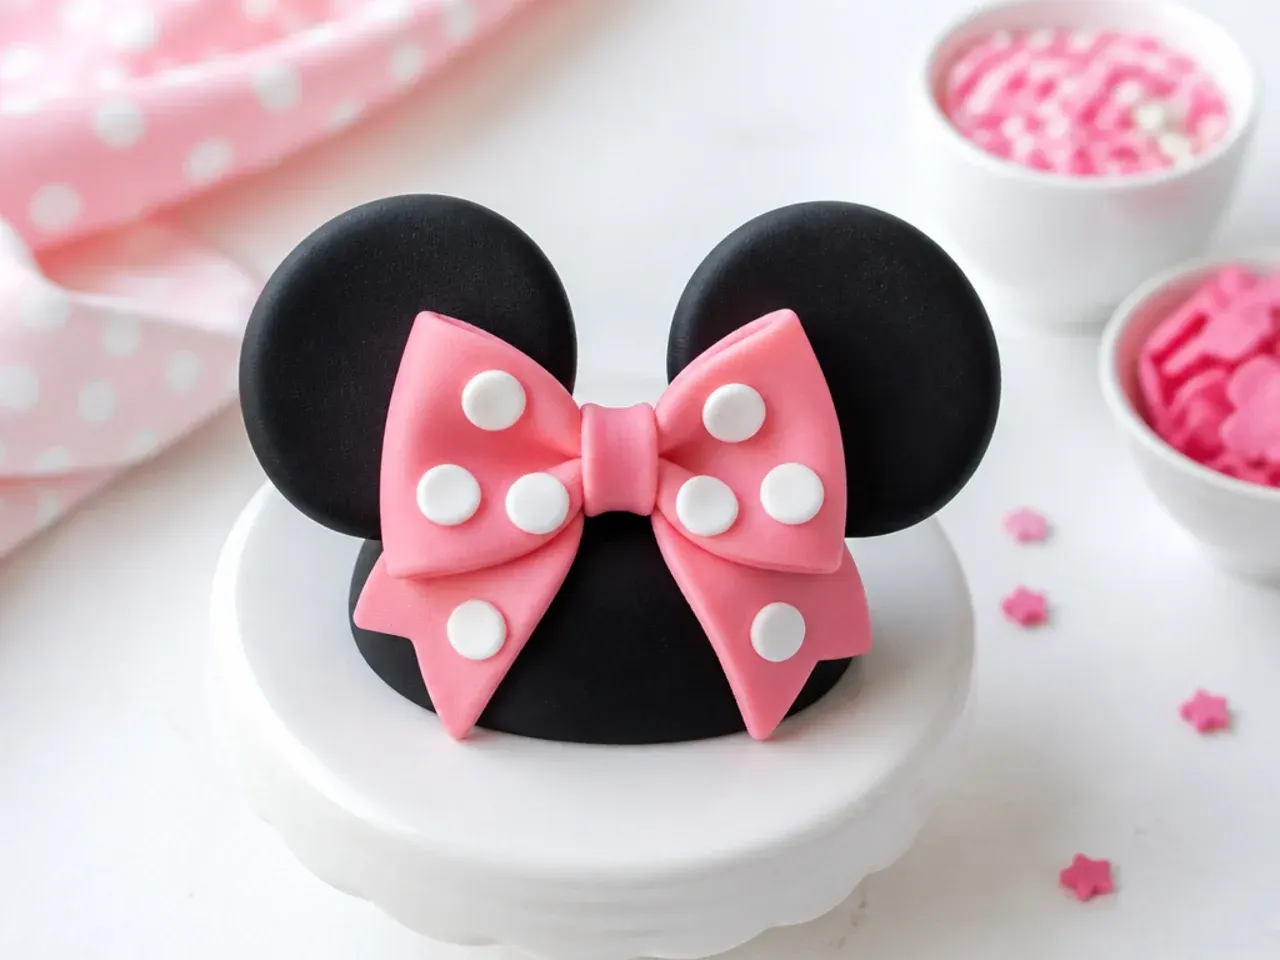
If free-handing shapes feels daunting, a set of round cutters does the work for you. Use a large round cutter for each ear, a small oval for each bow loop, and a tiny circle cutter for the polka dots, then simply assemble the pieces with a dab of water. It works because uniform cutter shapes look neat and remove the guesswork for first-timers. Roll the fondant to an even 3mm using spacer rings so every piece is the same thickness, and let the assembled topper firm up for a few hours before placing.
18. Elegant Monochrome Black-and-White Topper
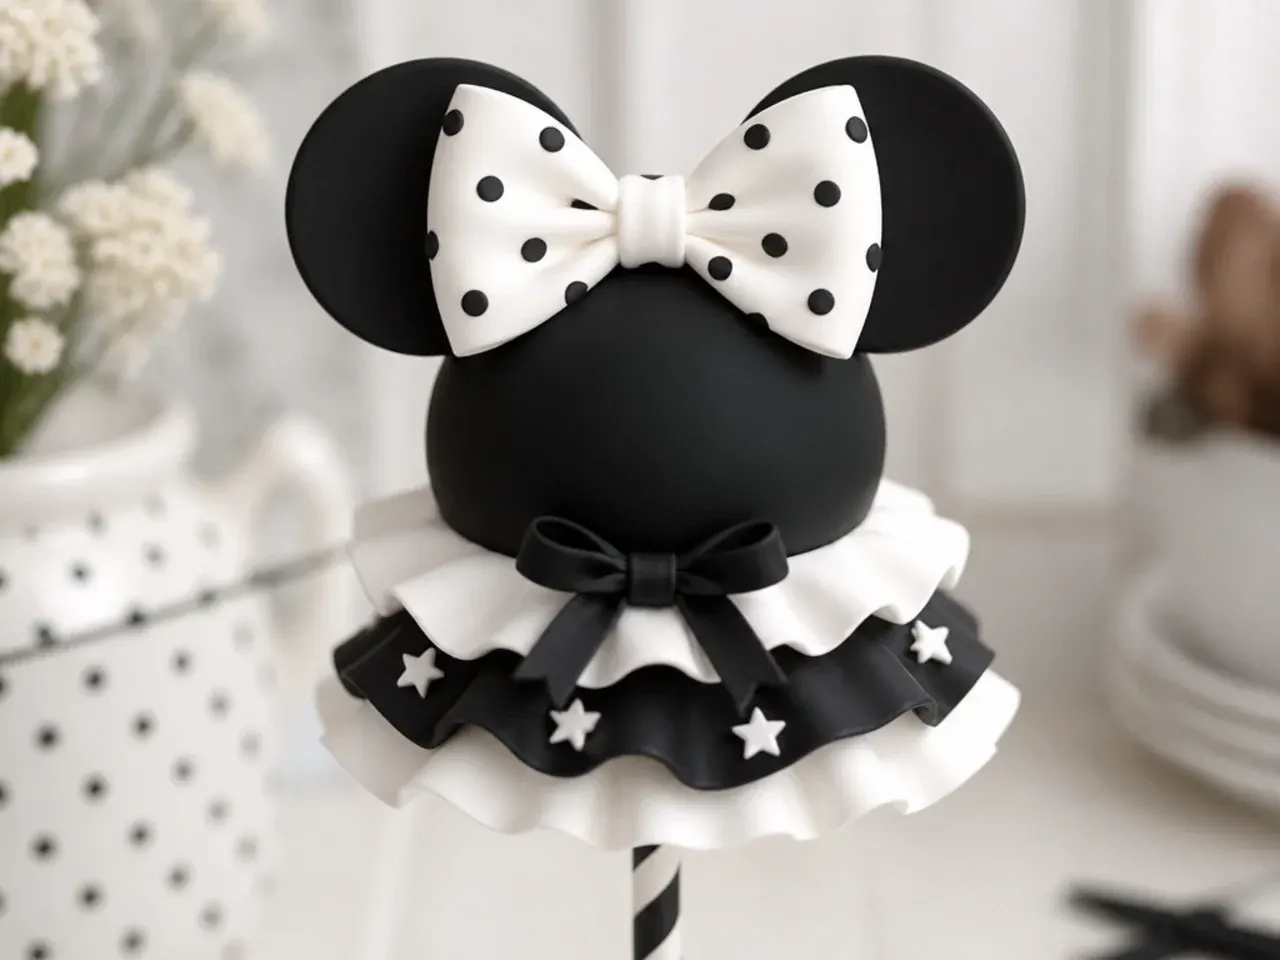
A striking black-and-white scheme feels chic and modern for older kids and adults. Make black ears and a black bow, but do the polka dots in glossy white and finish the cake in a crisp white buttercream with a single black ribbon at the base. It works because the high-contrast, color-free palette looks deliberate and sophisticated rather than childish. Use a fine paintbrush to add a thin white outline around the bow for definition, and keep every edge sharp by cutting with a scalpel rather than tearing.
19. Playful Confetti Cake-Ears Topper
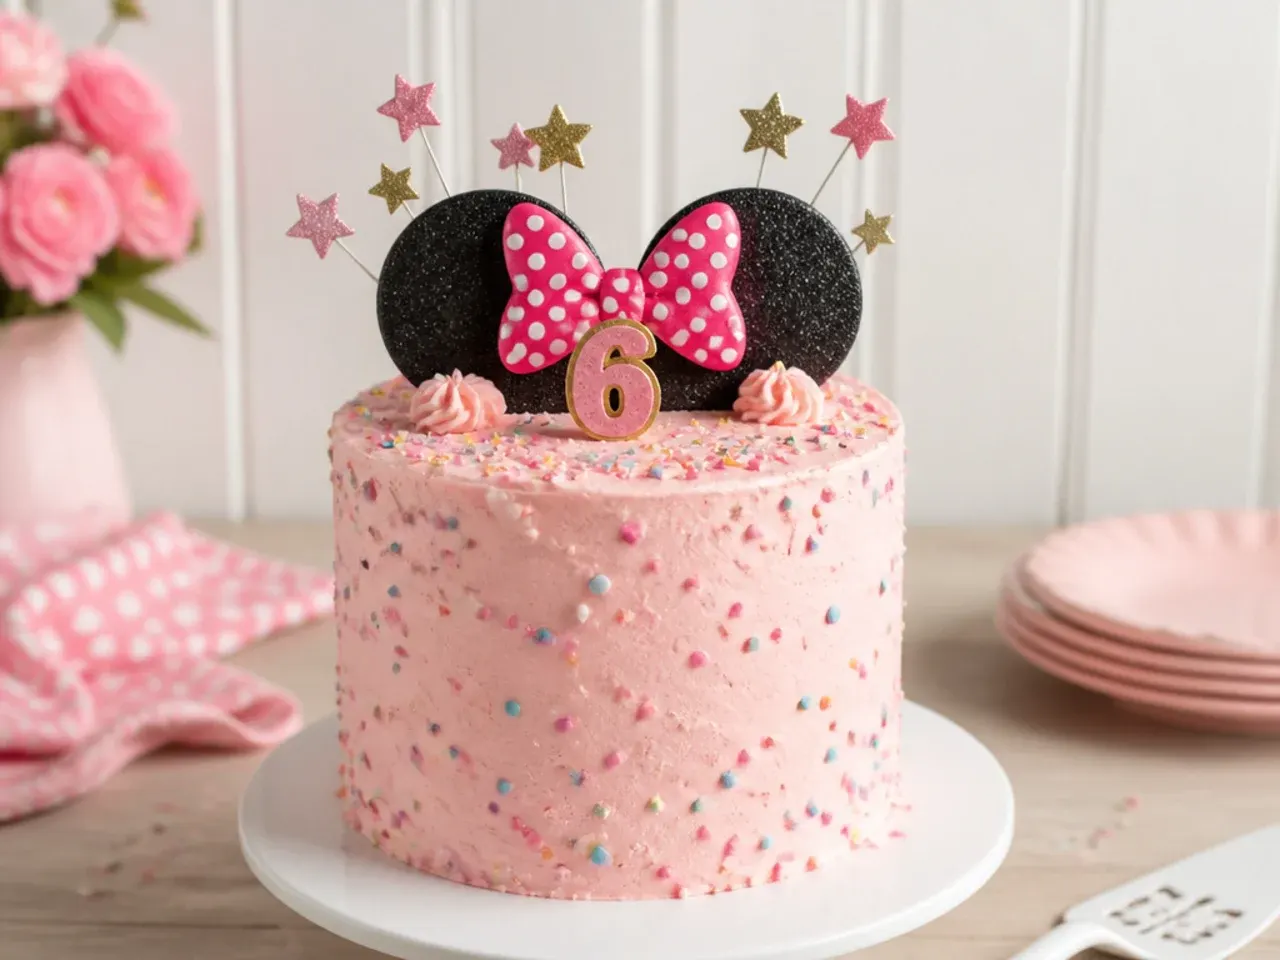
Turn the ears themselves into mini cakes for a playful, edible topper. Bake two cupcakes, trim them into domes, cover in black fondant, and stand them upright in the top of the main cake as chunky 3D ears. It works because the oversized, cakey ears are fun to cut into and give every guest a bit of the theme. Add a fondant bow between them, hide the fondant seams with a thin snake of rolled fondant, and pin the ears in place with a dowel through each so they do not lean.
20. Modern Acrylic-Look Sugar Topper
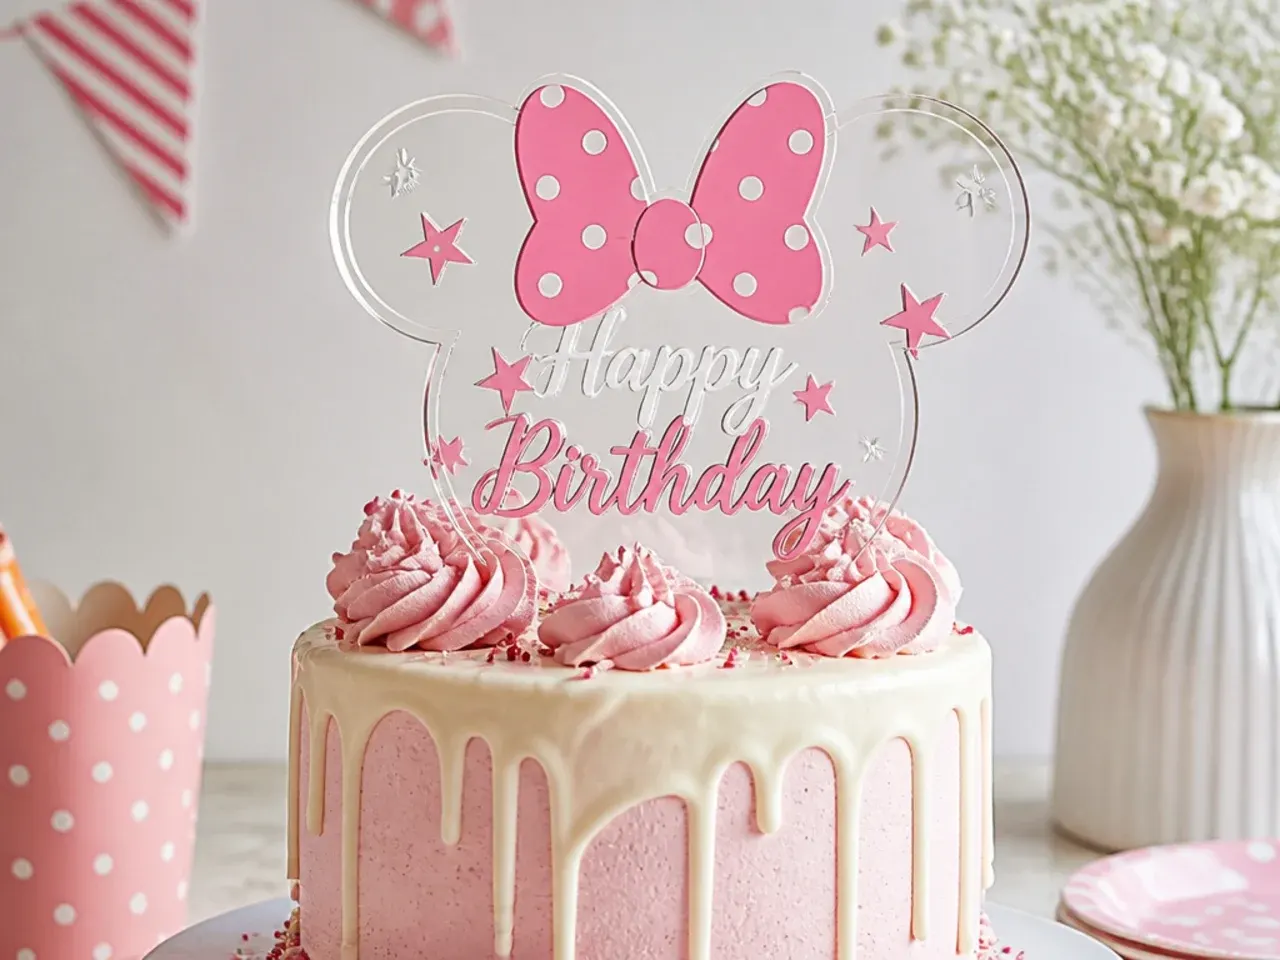
Mimic the trendy clear-acrylic toppers with a glossy isomalt or gelatin sugar panel. Set clear isomalt into a flat rectangle, let it harden, then paint a pink ears-and-bow motif on the back with edible paint so it shows through the glassy front. It works because the see-through, mirror-like finish looks boutique and on-trend without a laser cutter. Handle isomalt with care as it is very hot when melted, mount the cooled panel on two food-safe picks, and add a few edible pearls along the base for a polished modern edge.
Tips to Make These Ideas Easier
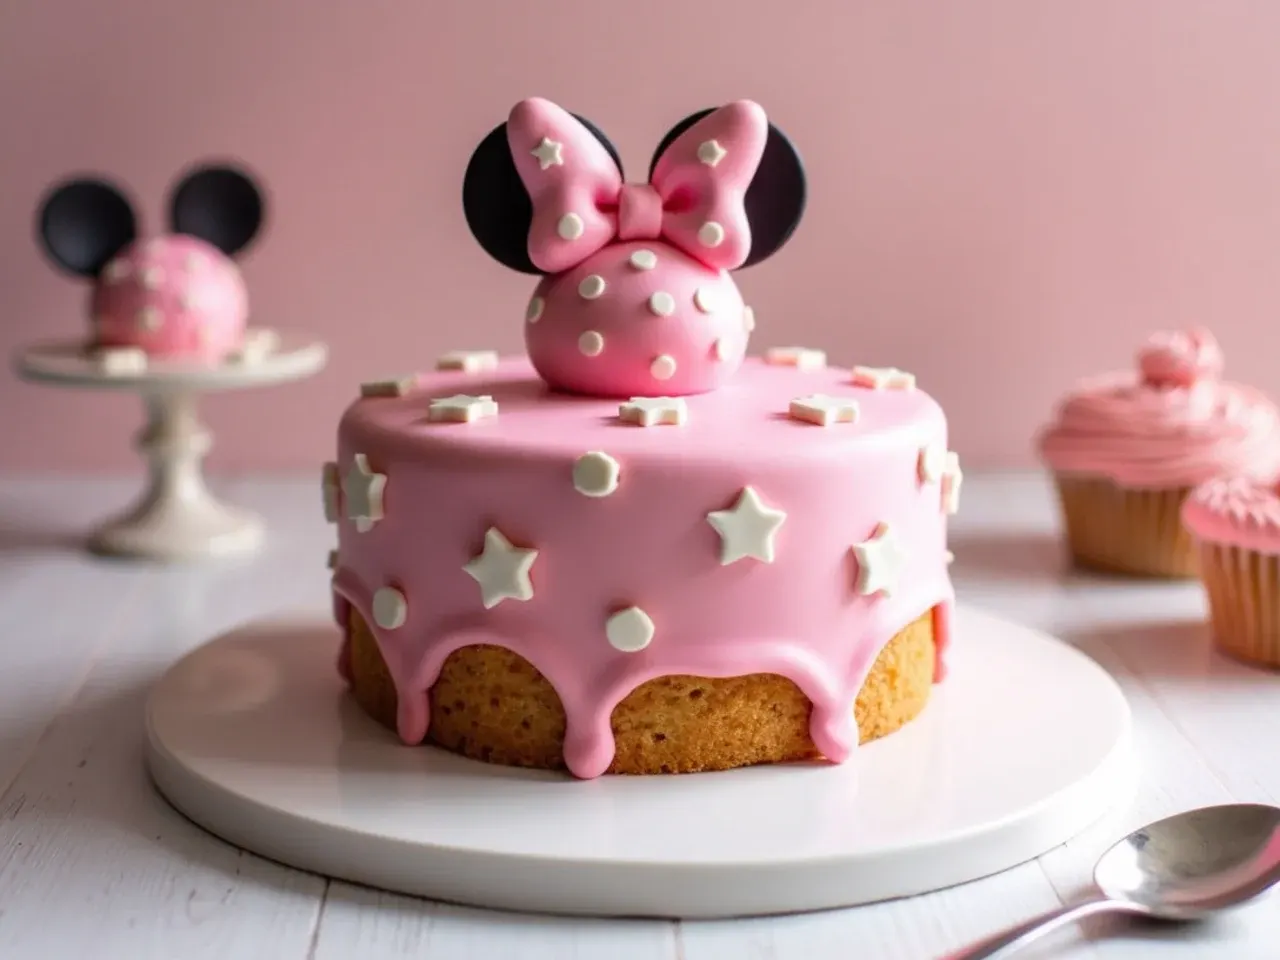
Make any gum-paste or fondant topper 2 to 3 days ahead so it dries rock-hard and travels without drooping, and always add 1 teaspoon of CMC (tylose) per 250g of fondant to firm it up. Roll to an even thickness using spacer rings or two stacked rulers, and keep a small dish of water and a fine brush handy to glue pieces together cleanly. Support ears and standing bows on lollipop sticks, dowels, or rolled parchment while they dry so they hold their shape. Insert non-edible parts like wire or unwrapped skewers into a food-safe pick first, and place delicate paper or wafer toppers only just before serving so kitchen humidity does not curl them.
Common Mistakes to Avoid
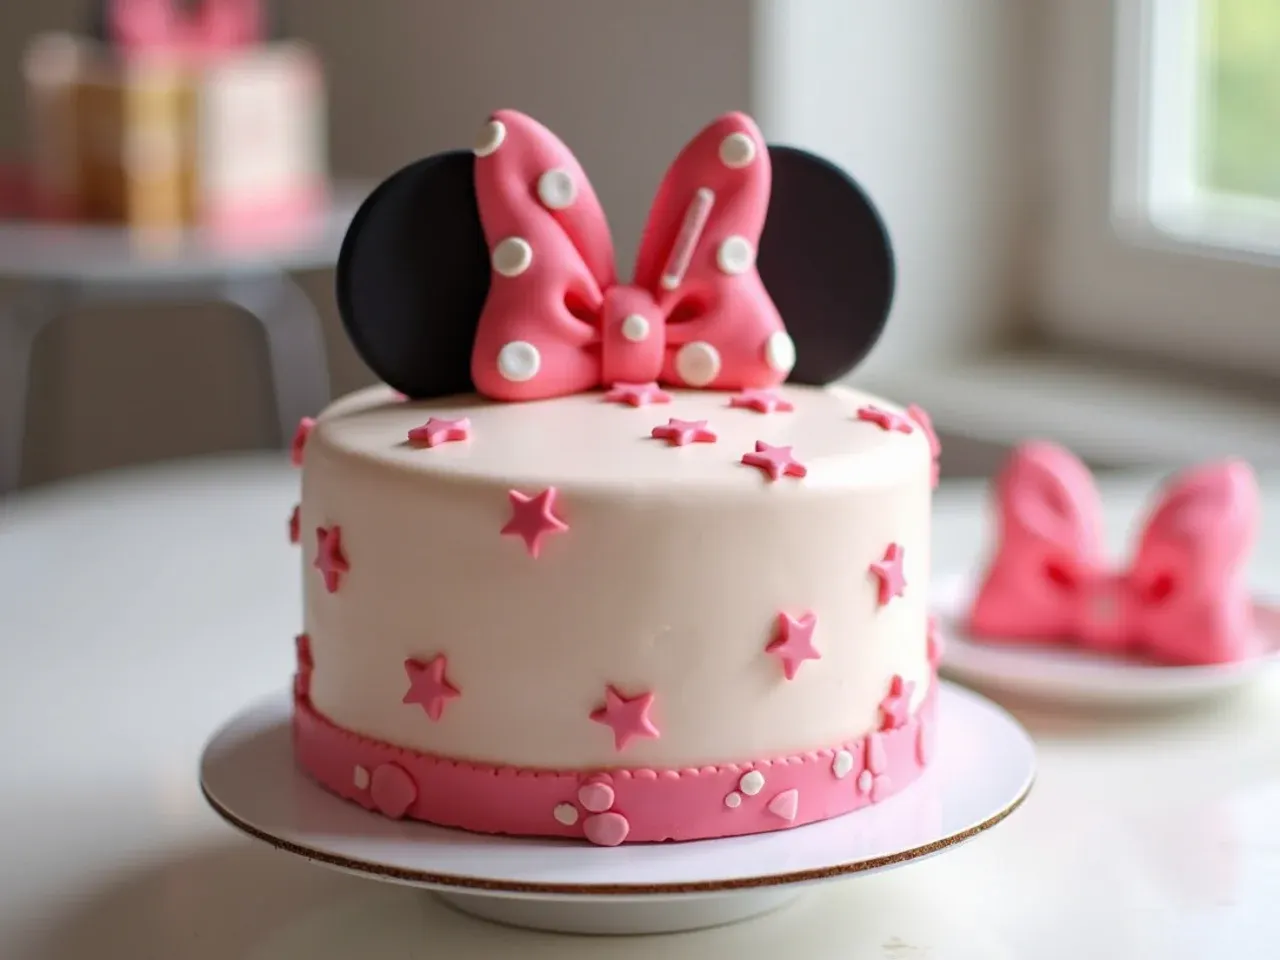
The biggest mistake is not drying pieces long enough, so a bow placed on a warm cake sags within an hour; give every fondant element at least 12 to 24 hours to set hard. Rolling fondant unevenly leaves lumpy ears, so use spacers for a consistent 3mm. Adding polka dots while the base is bone-dry means they pop off, so brush a whisper of water or shortening first so they bond. Pushing bare wooden skewers or wire straight into the cake risks splinters and contamination, so always sheath them in a food-safe pick. Finally, coloring fondant too dark too fast makes it sticky, so build black gradually with gel color and rest it before rolling.
The Recipe
The Base Recipe — Make Any of These Ideas
30 min
30 min
1 hr 30 min
12
Beginner
Ingredients 12 Person(s)
Directions
Step 1: Prep the pans and oven
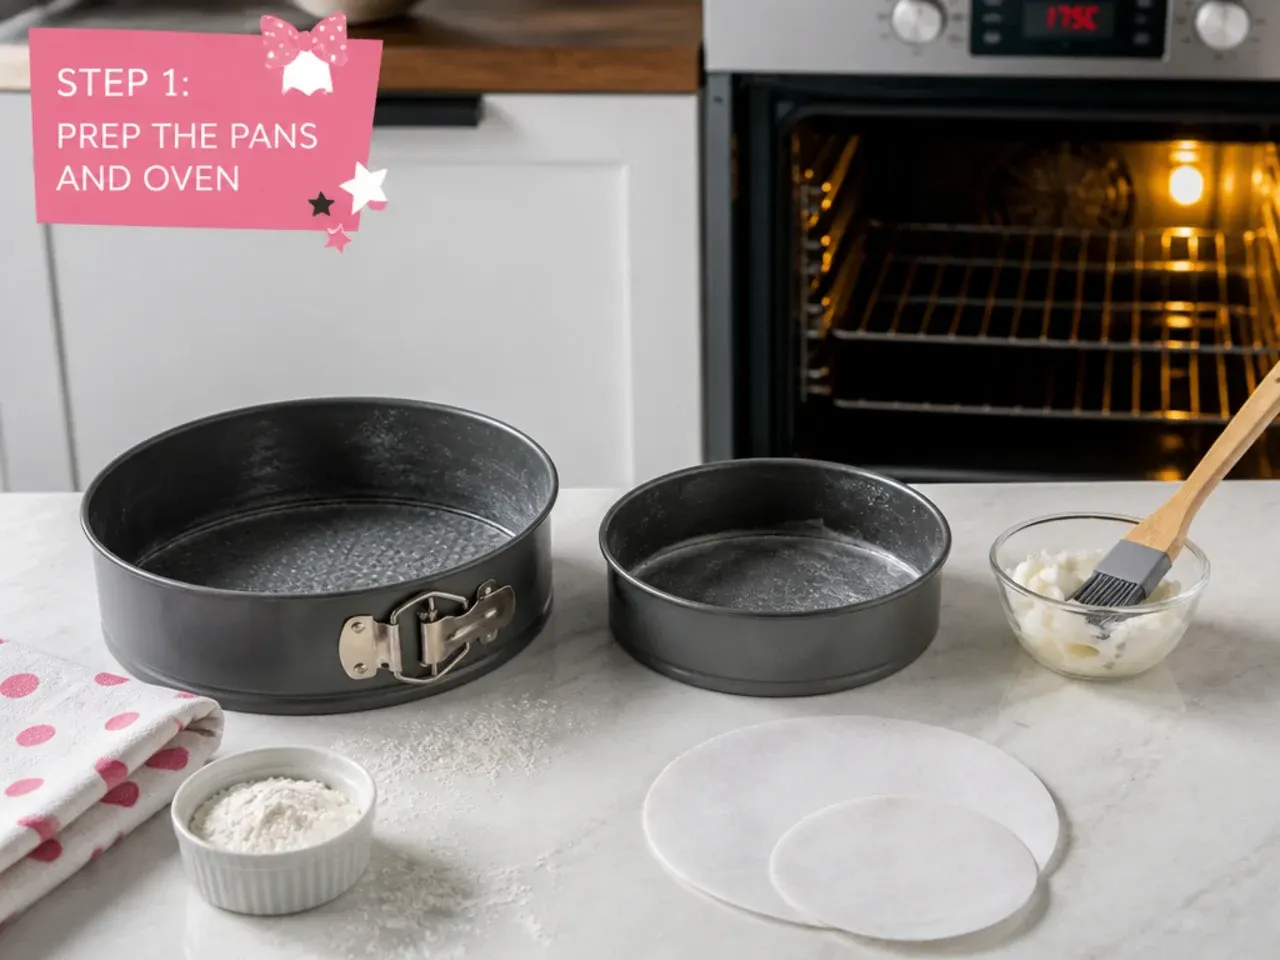
Preheat the oven to 180°C (350°F), or 160°C fan. Grease two 20cm (8-inch) round cake pans and line the bases with parchment paper. Getting the oven fully up to temperature before the batter goes in gives an even rise and a level top that is easy to decorate.
Step 2: Cream the butter and sugar
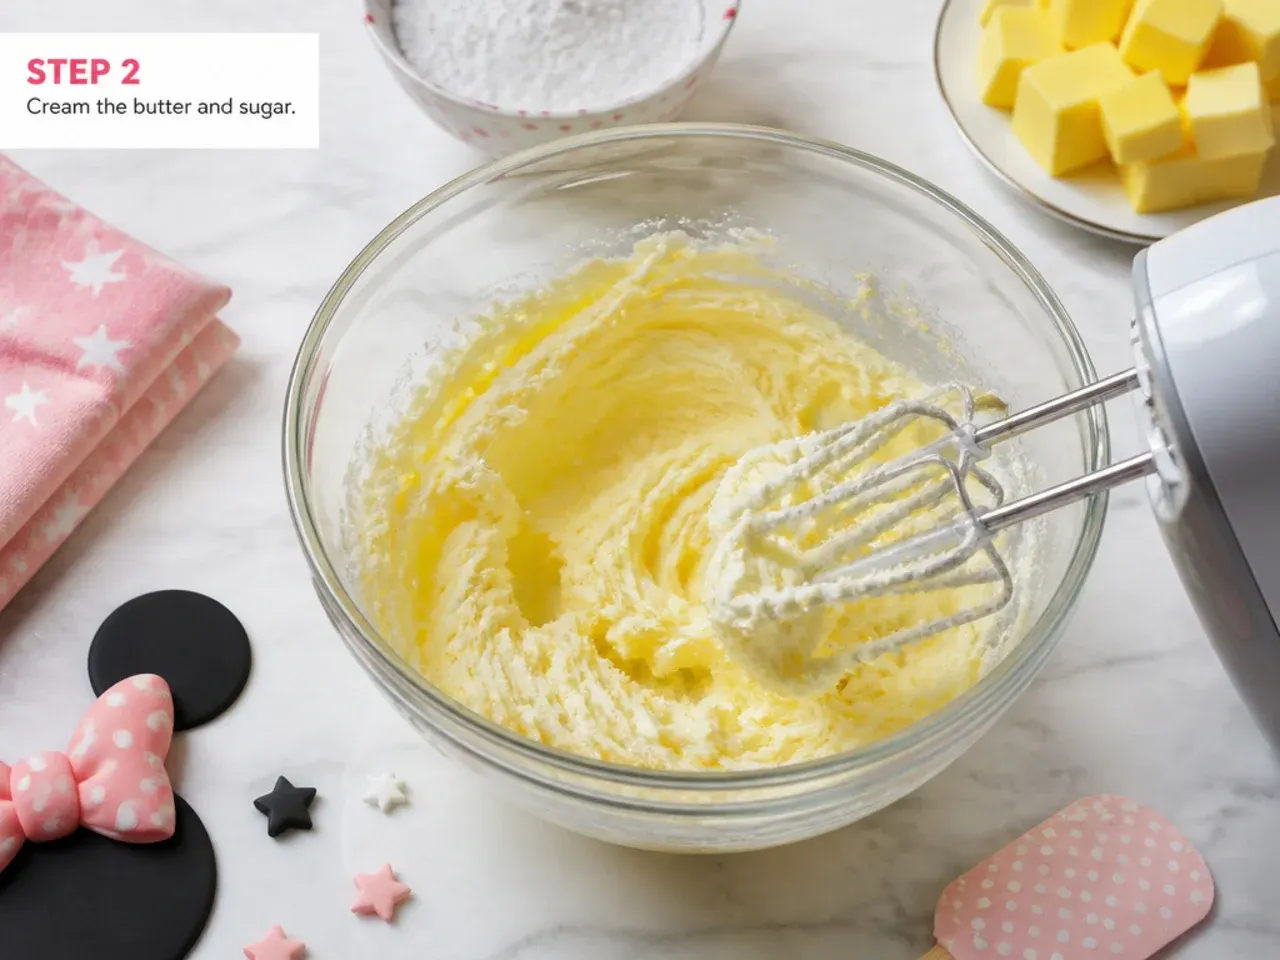
Beat the 225g softened butter and 225g caster sugar with a pinch of salt on medium-high speed for 3 to 4 minutes until pale and fluffy. Scrape down the bowl halfway through. This step whips in air, which is what gives the sponge its light, tender crumb.
Step 3: Add the eggs
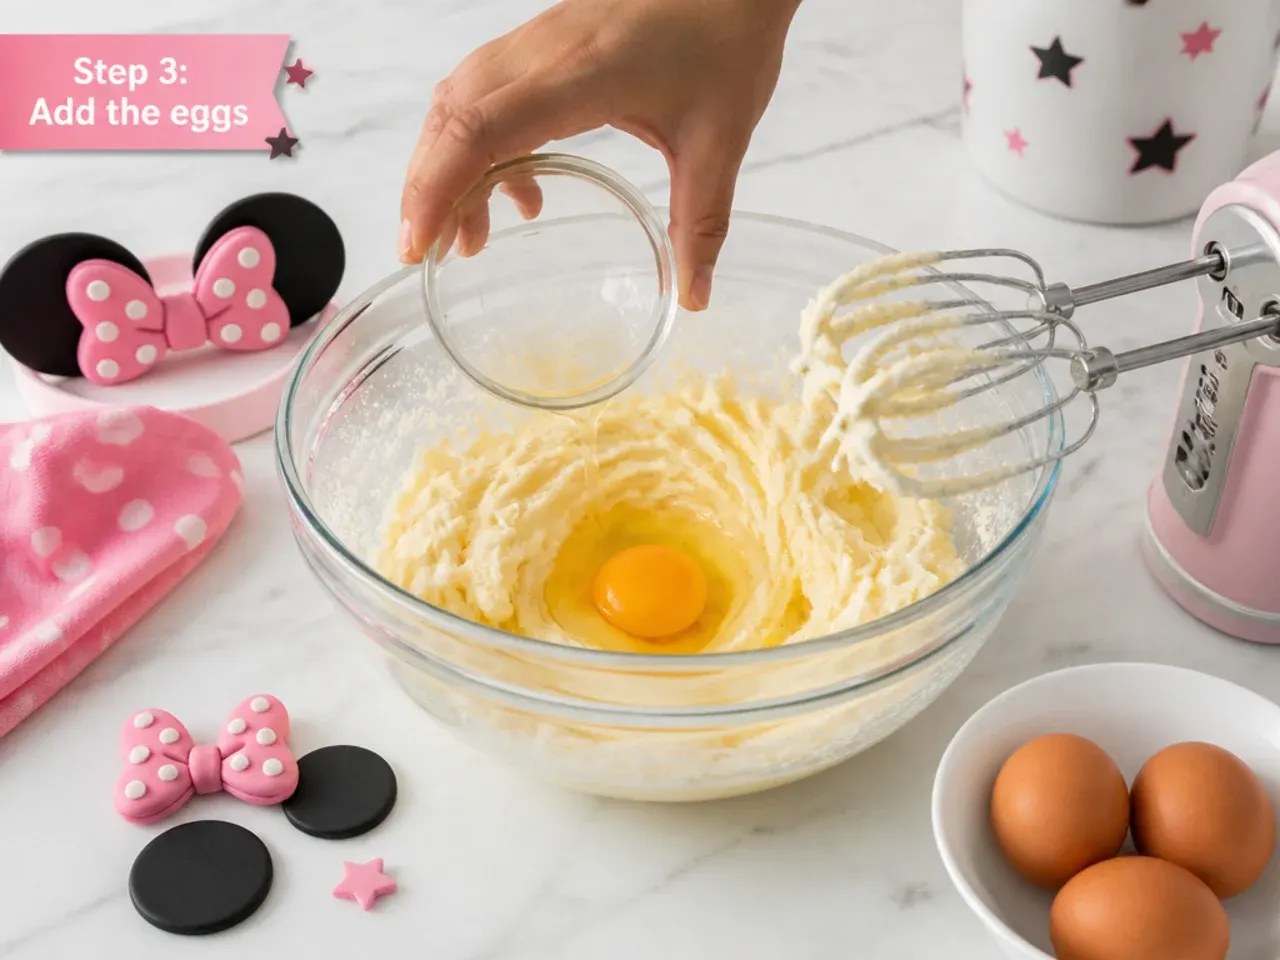
Add the 4 eggs one at a time, beating well after each addition. If the mixture starts to look curdled, beat in a tablespoon of the weighed flour to bring it back together. Adding eggs slowly keeps the batter emulsified so the cake does not turn dense.
Step 4: Fold in the dry ingredients
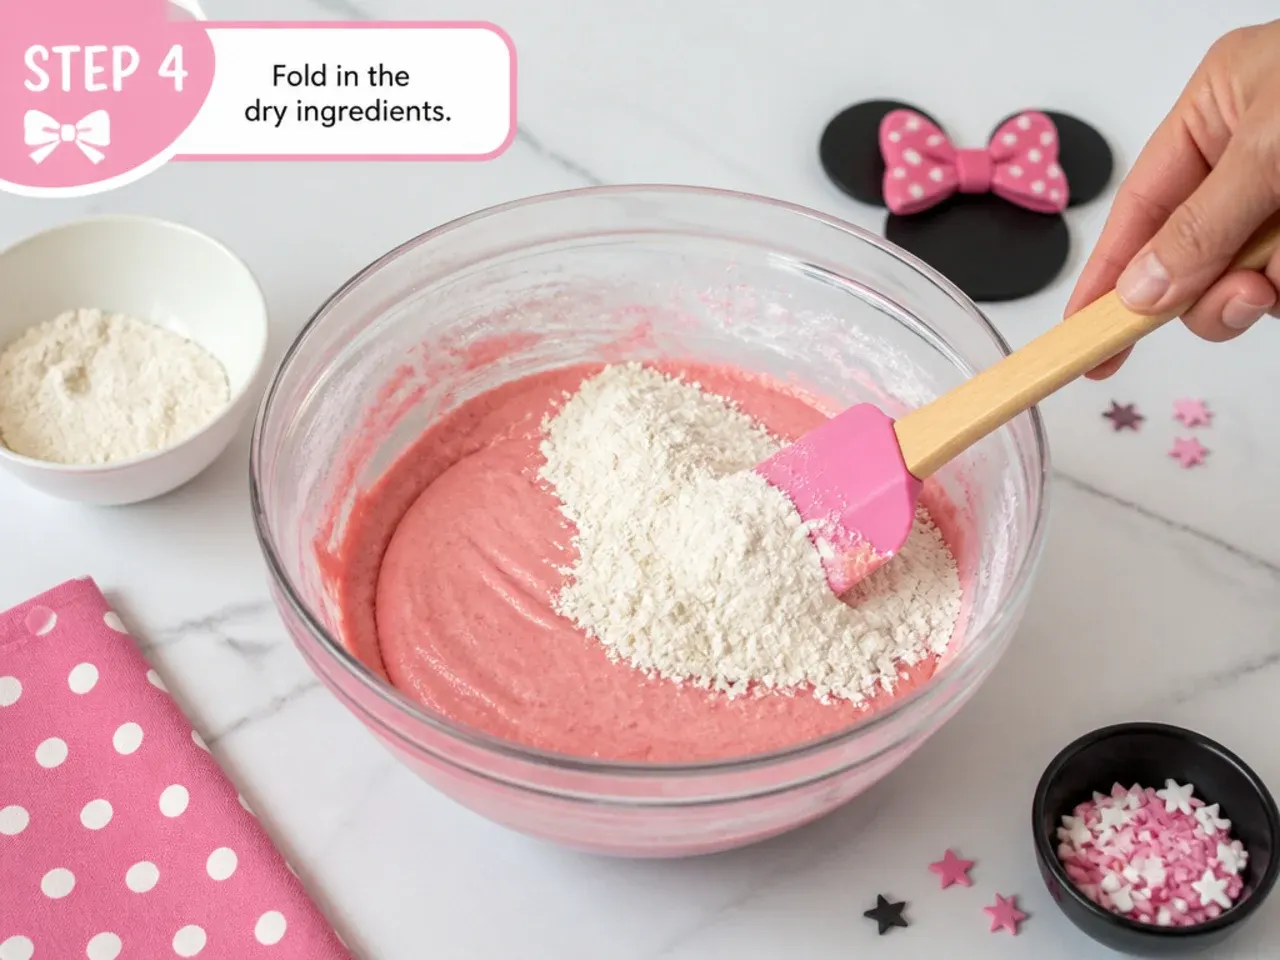
Sift the 225g self-raising flour and 1 tsp baking powder over the bowl and fold in gently with a spatula until just combined. Add the 2 tbsp milk and 2 tsp vanilla and fold until the batter drops easily off the spoon. Fold, do not beat, so you keep the air you just created.
Step 5: Bake
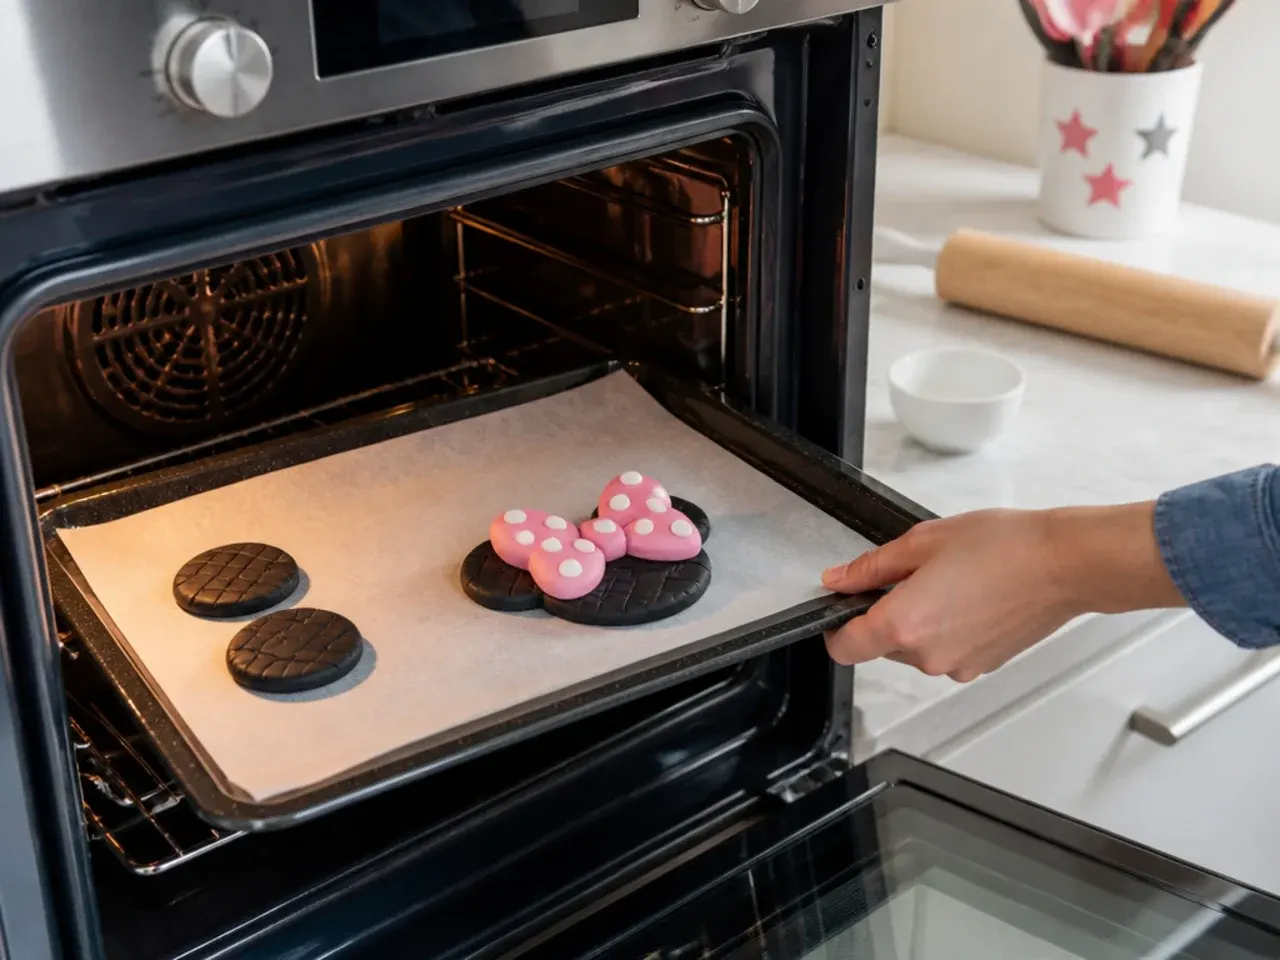
Divide the batter evenly between the two pans and level the tops. Bake for 25 to 30 minutes, until golden and a skewer inserted in the center comes out clean and the sponge springs back when pressed. Avoid opening the oven before 22 minutes, as the sudden cold can make the center sink.
Step 6: Cool completely
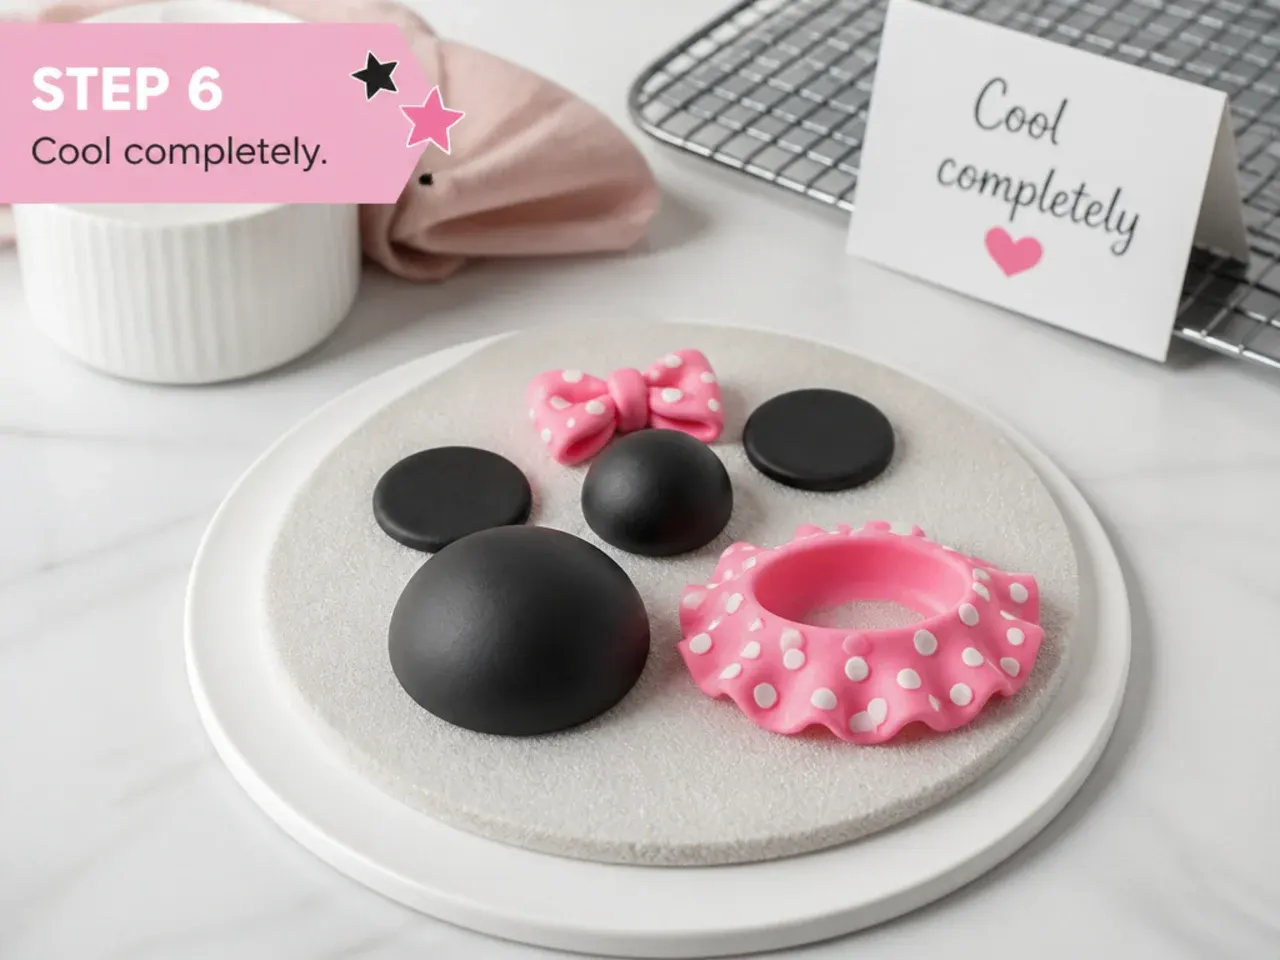
Let the cakes rest in their pans for 10 minutes, then turn out onto a wire rack and peel off the parchment. Cool completely, at least 1 hour, before frosting. Warm sponge melts buttercream, so patience here keeps your topper base neat.
Step 7: Make buttercream and assemble
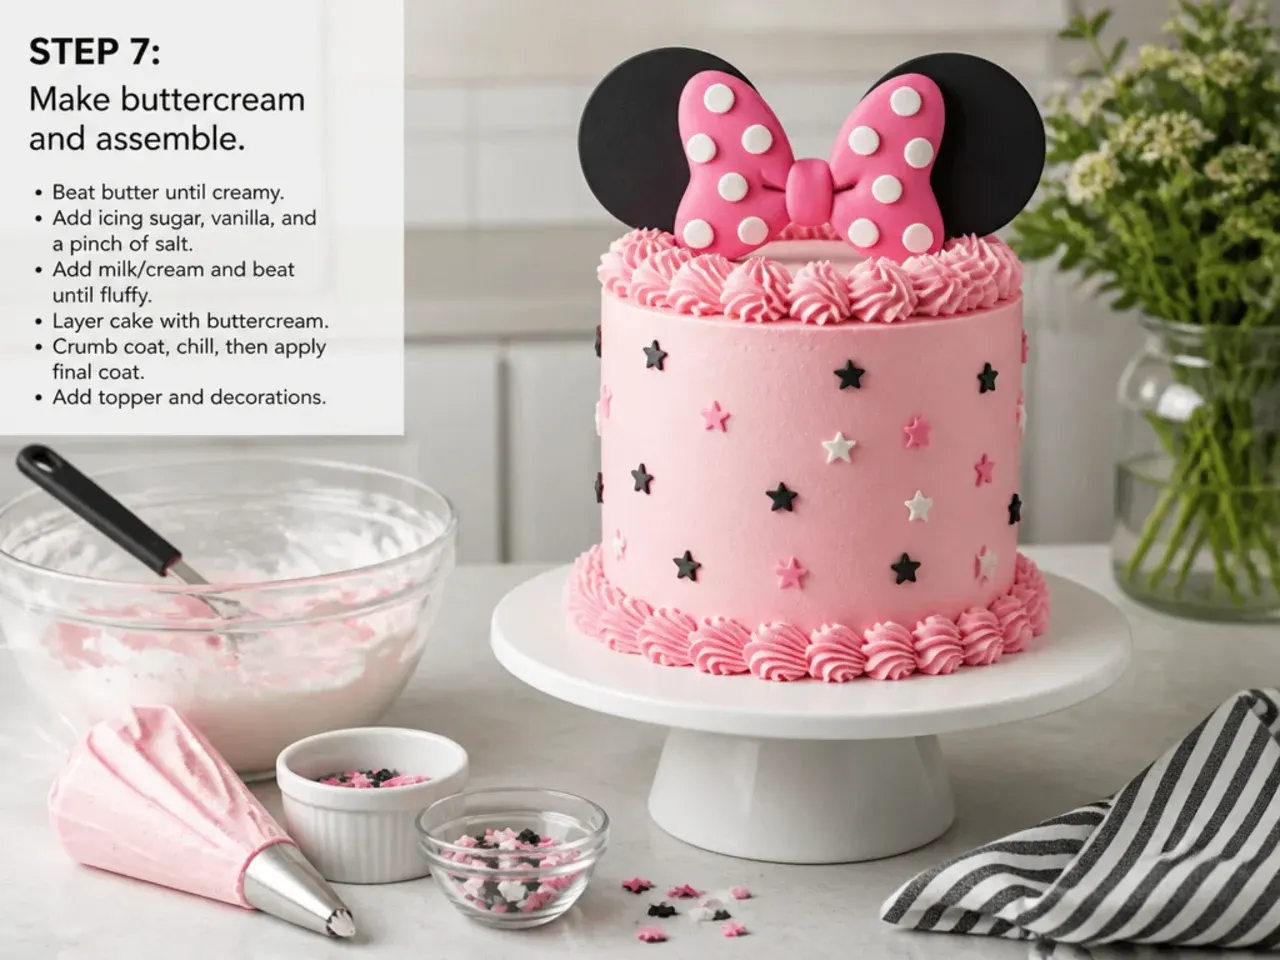
Beat the 250g softened butter for 5 minutes until very pale, then add the 500g sifted icing sugar in two batches with the 2 tbsp milk and beat smooth. Sandwich the two sponges with buttercream, coat the top and sides in a smooth layer, chill 15 minutes, then add your chosen Minnie-inspired topper. A firm chilled surface makes placing ears and bows far easier.
Frequently Asked Questions
Make fondant or gum-paste toppers 2 to 3 days ahead so they dry completely hard and travel without drooping. They need at least 12 to 24 hours to set, and firmer pieces like standing bows and ears benefit from the full 2 to 3 days. Store dried toppers in a loosely covered box at room temperature, never the fridge, where humidity softens them.
Save this for later 📌
Pin this article to your Pinterest board so the full list is one tap away when you need it.
Save on Pinterest