15 Dreamy Pink Minnie Mouse Cake Ideas
15 pink Minnie Mouse cake ideas with exact piping tips, pan sizes and an easy vanilla base recipe — from simple buttercream bakes to party showstoppers. If you love minnie mouse cake inspiration, start with our Minnie Mouse Cake Ideas collection, then browse the full Cake Ideas hub for more.

Save this for later 📌
Pin this article to your Pinterest board so the full list is one tap away when you need it.
Save on PinterestCake Ideas
Beginner
Ideas
15 ideas
Table of Contents
- 1. Classic Pink Polka Dot and Bow Cake
- 2. Easy Oreo-Ears Buttercream Cake
- 3. Elegant Rosette-Covered Two-Tier Cake
- 4. Playful Pull-Apart Cupcake Cake
- 5. Modern Pink Drip Cake with Gold Accents
- 6. Rustic Semi-Naked Cake with Fresh Berries
- 7. Colourful Pink Ombre Layer Cake
- 8. Minimal Blush Cake with One Black Bow
- 9. Festive Polka Dot Number Cake
- 10. Whimsical Hot Air Balloon Cake
- 11. Bold Hot Pink Ruffle Cake
- 12. Delicate Watercolour Buttercream Cake
- 13. Vintage Lambeth-Piped Heart Cake
- 14. Creative Surprise-Inside Polka Dot Cake
- 15. Charming Meringue Kiss and Pearl Cake
- Tips to Make These Ideas Easier
- Common Mistakes to Avoid
- The Base Recipe — Make Any of These Ideas
1. Classic Pink Polka Dot and Bow Cake
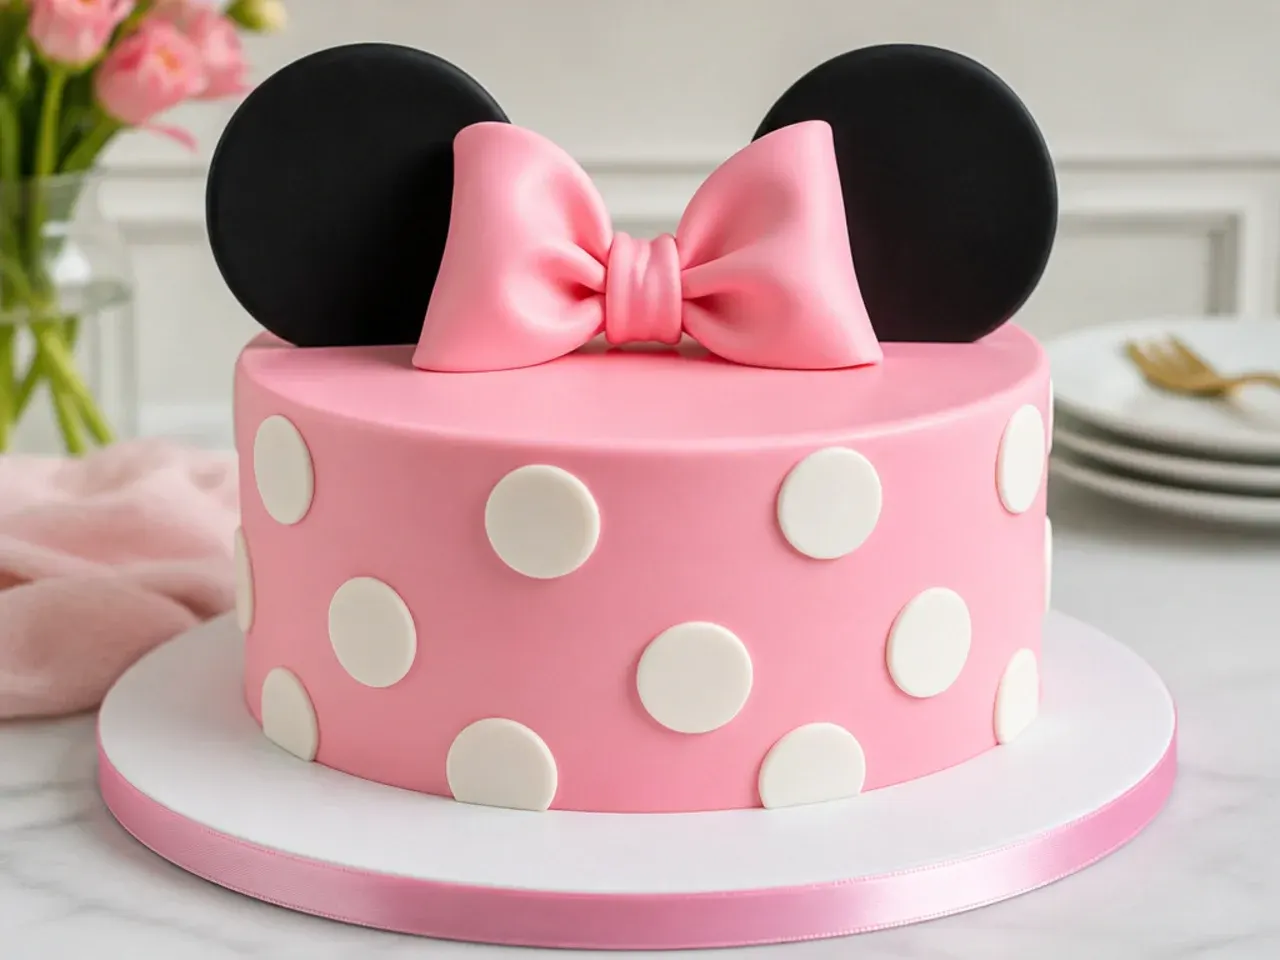
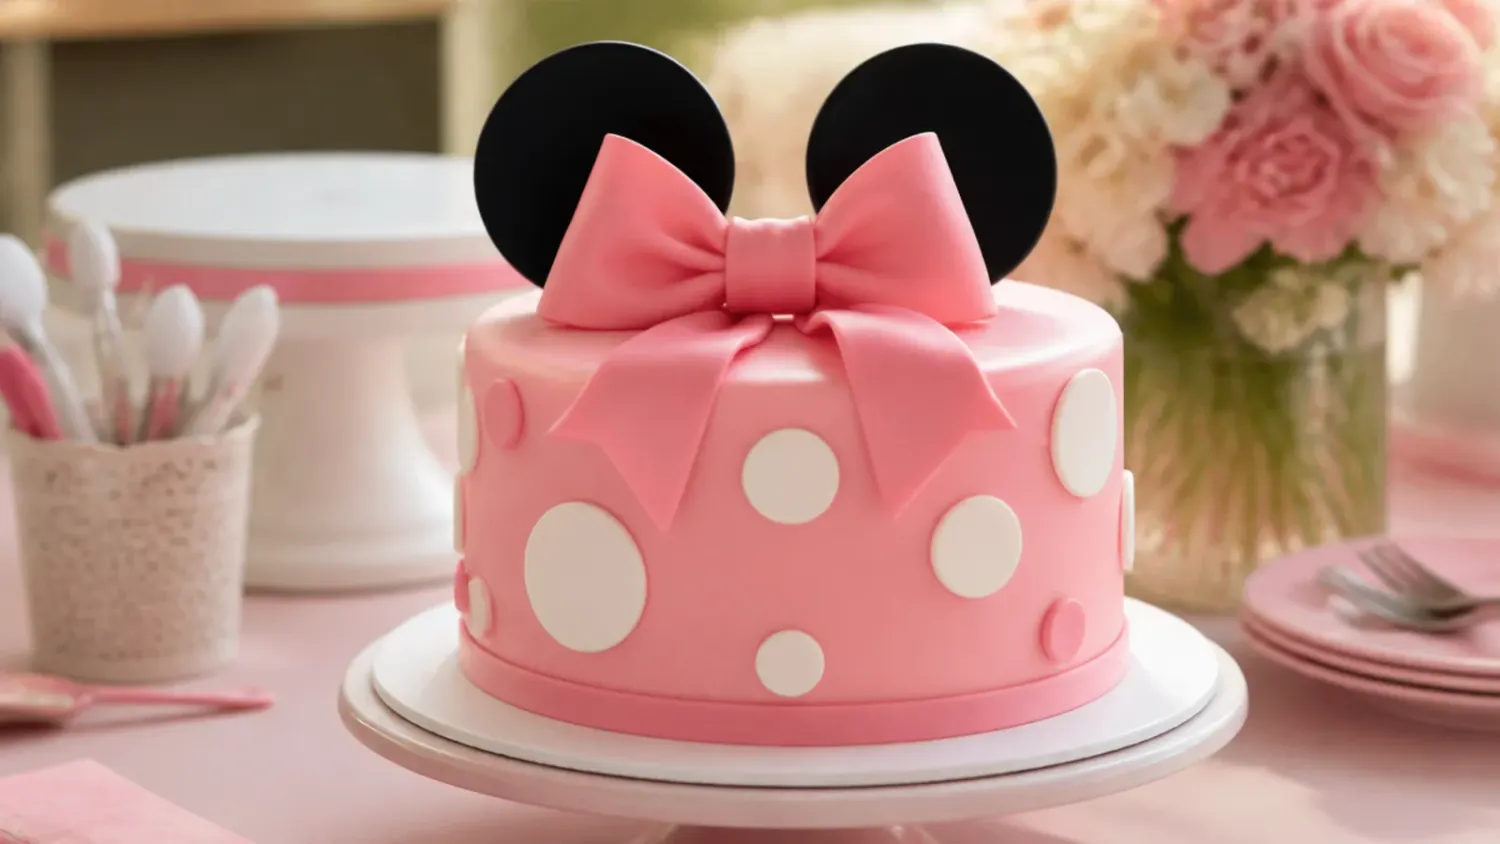
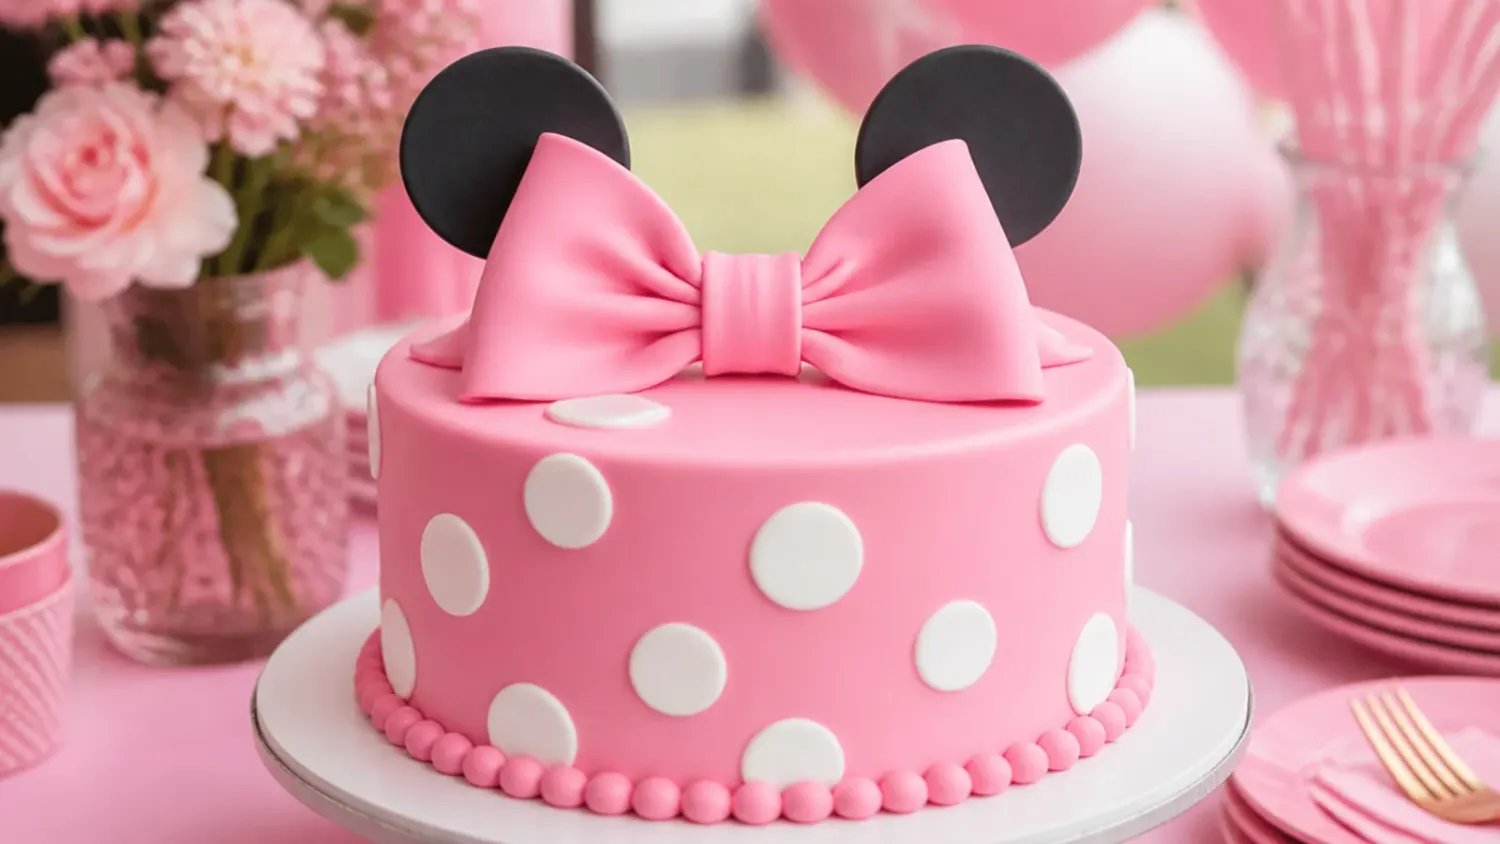
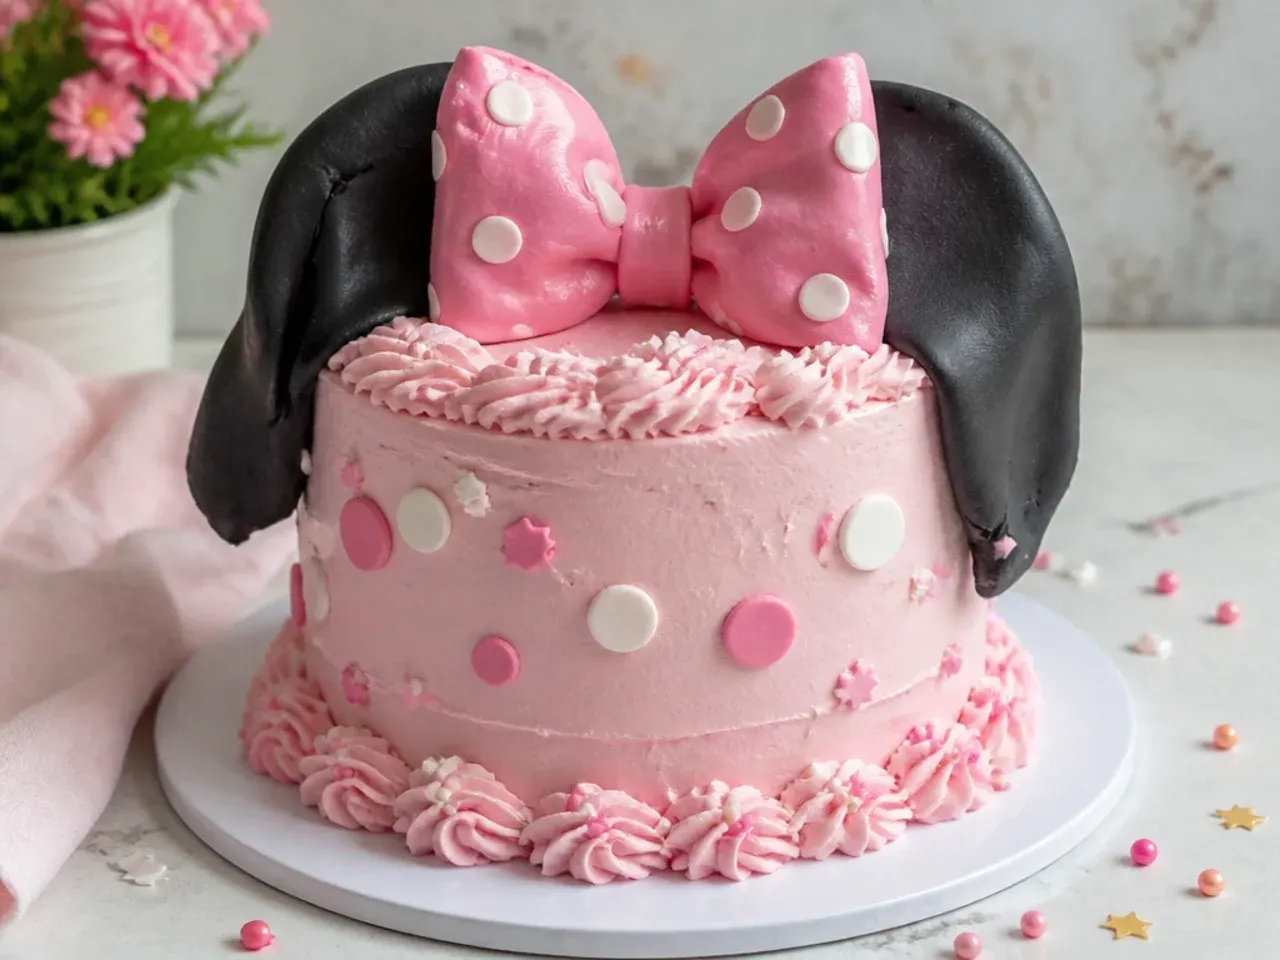
This is the design most bakers picture first: a 20cm (8-inch) round cake covered in medium-pink buttercream, dotted with white polka dots and topped with black ears and a big pink bow. Pipe the dots with a Wilton 12 round tip and flatten each peak with a fingertip dipped in cornflour, or cut 2.5cm circles from white fondant for perfectly crisp edges. For the ears, cut two 9cm circles from black fondant kneaded with 1/2 tsp tylose powder, push a wooden skewer into each and let them dry flat for 48 hours. It works because the three signature cues — pink, polka dots and a bow — read instantly as Minnie-inspired without copying any character artwork. Finish with a fondant or wired-ribbon bow sitting between the ears.
2. Easy Oreo-Ears Buttercream Cake
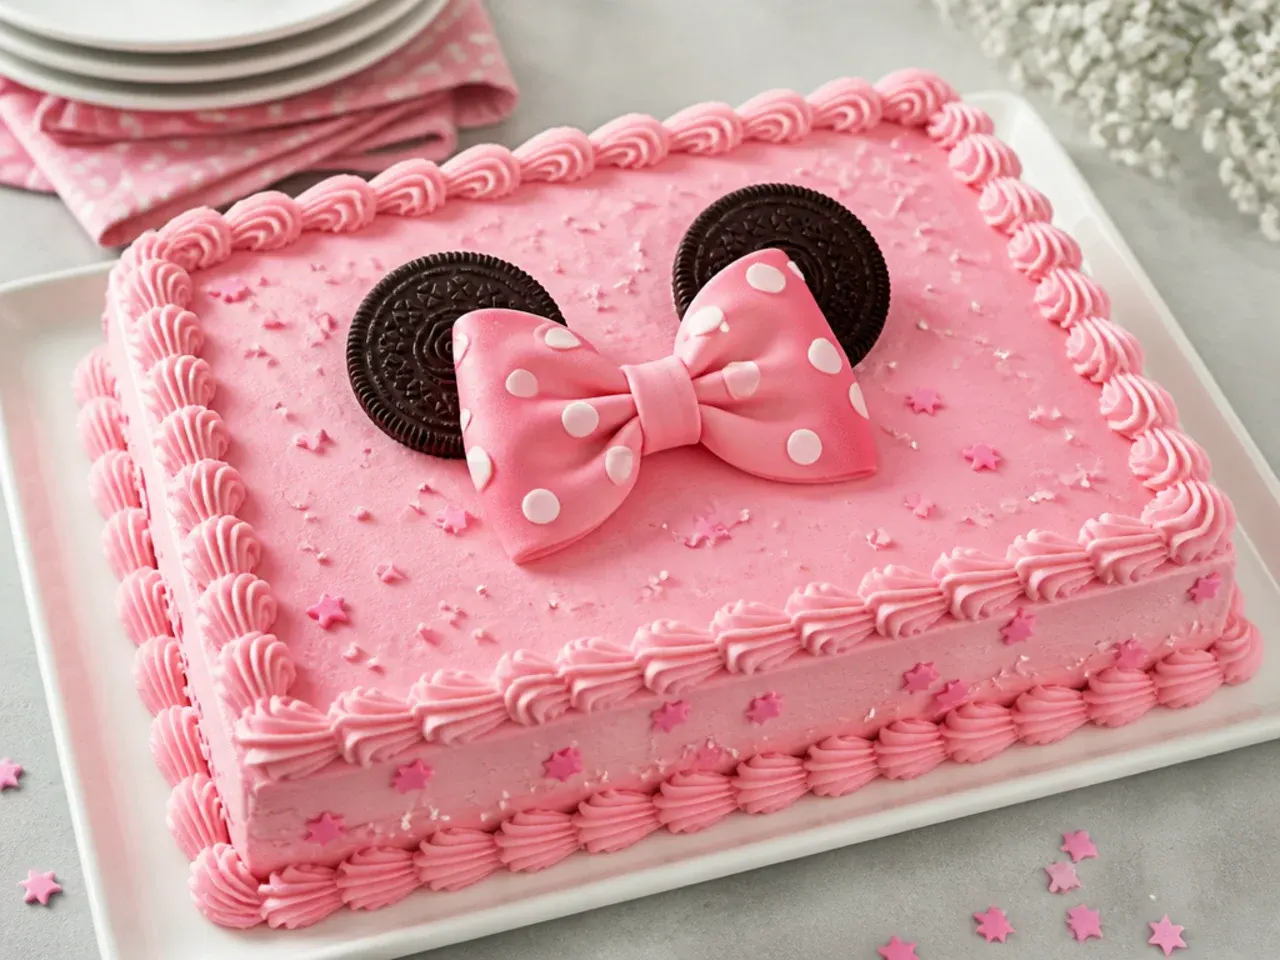
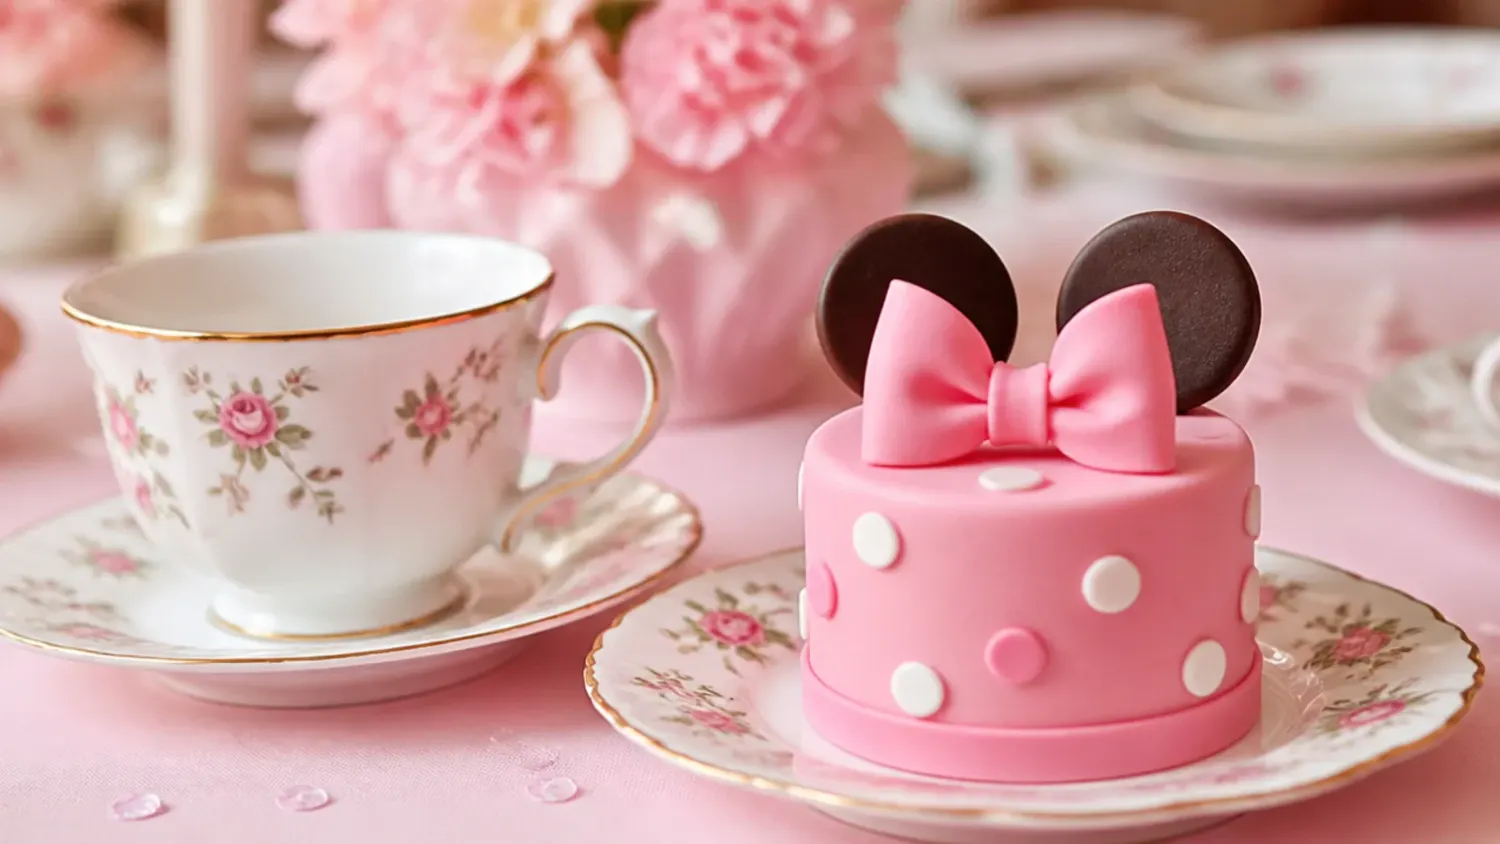
If you have one hour and no fondant skills, bake the base recipe in a 23x33cm (9x13-inch) sheet pan for 30-35 minutes at 180°C (350°F) instead of round tins. Spread the pink buttercream straight onto the cooled cake with an offset spatula — rustic swirls hide imperfections, so don't chase a smooth finish. Press two whole Oreo cookies into the top edge as ears and add a ready-made ribbon bow just below them. Pipe white dots with a round tip 10, or simply press white chocolate buttons into the frosting in staggered rows. It's the most forgiving idea on this list and still photographs beautifully on a party table.
3. Elegant Rosette-Covered Two-Tier Cake
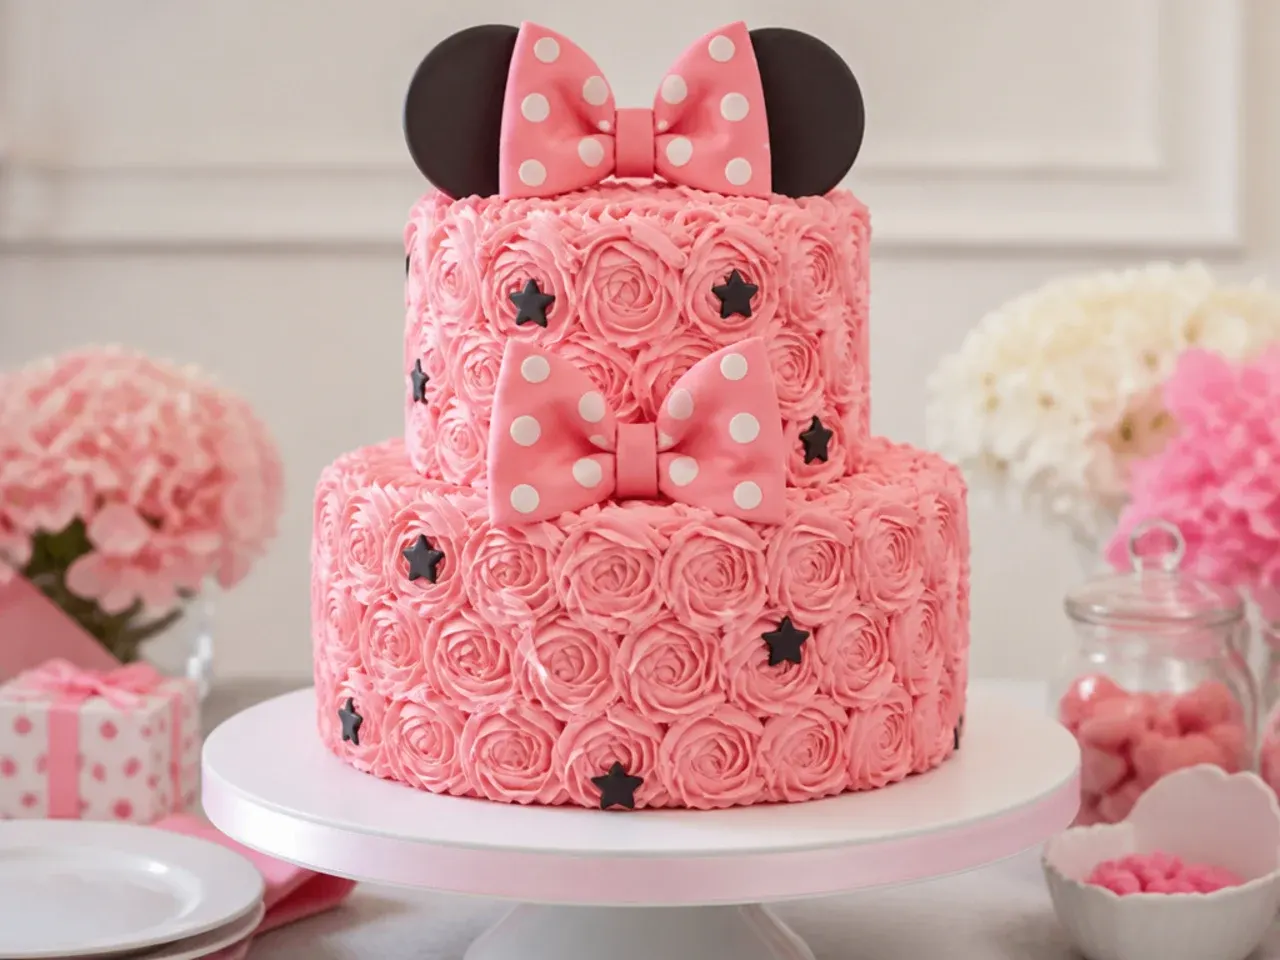
Rosettes turn plain buttercream into texture that looks professionally done, and they conveniently hide the seam where stacked tiers meet. Bake the base recipe as a 15cm (6-inch) top tier and double the quantities for a 20cm (8-inch) bottom tier, then push four dowels or bubble tea straws into the bottom tier before stacking so it carries the weight. Fit a Wilton 1M star tip, hold the bag perpendicular to the cake and pipe each rosette from the centre outwards in one continuous swirl, working in rows from the base upwards. Use two tones — blush on one tier, deeper rose on the other — for a soft ombre effect. Top with dried black fondant ears and a white polka dot bow to complete the inspired look.
4. Playful Pull-Apart Cupcake Cake
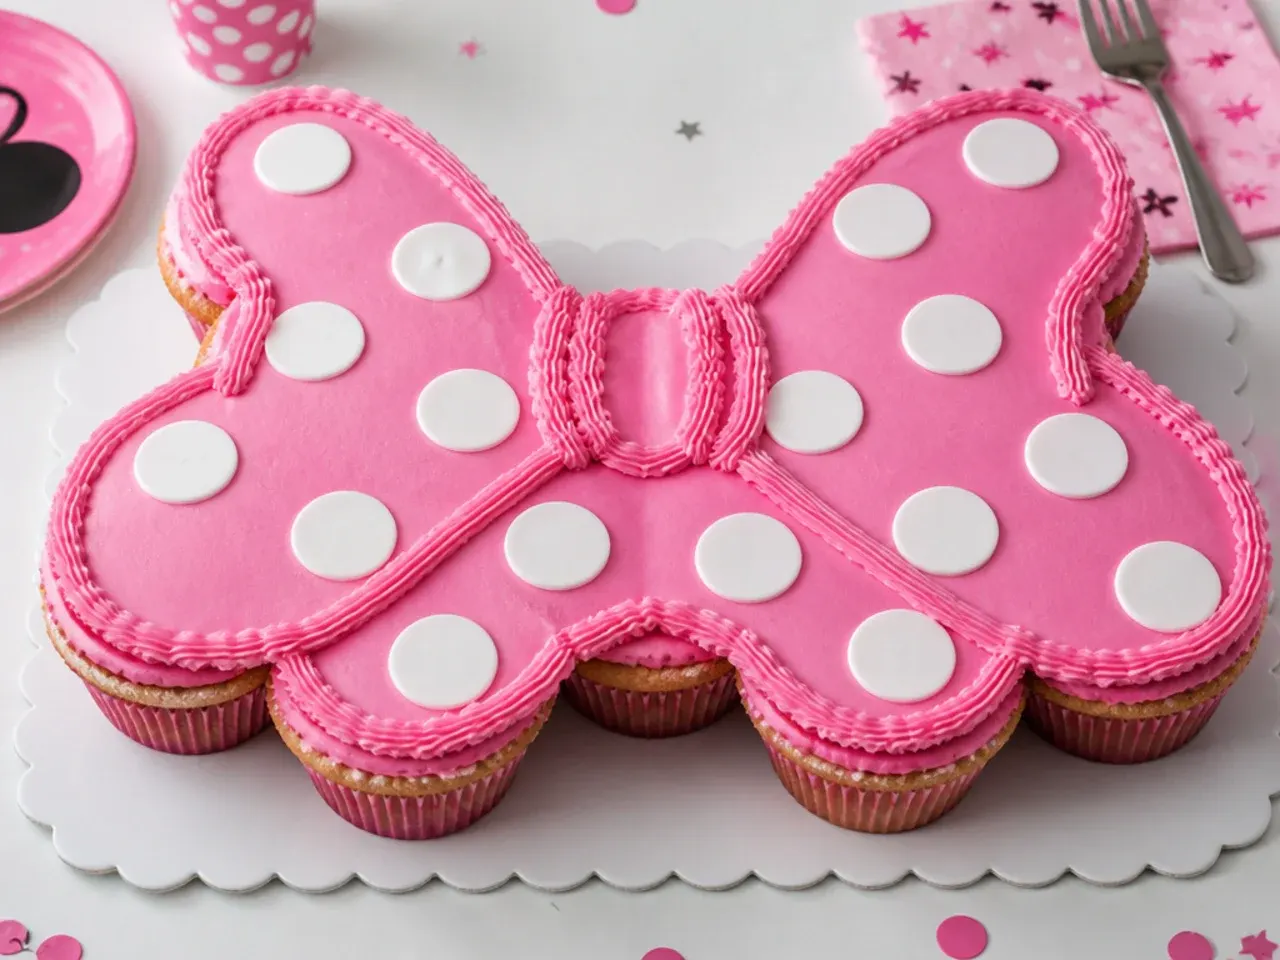
Arrange 24 cupcakes snugly on a covered board in a large bow or heart shape, then frost across the tops as if they were one cake — guests pull a cupcake away, so no knife is needed. Fill the cases two-thirds full with the base recipe batter and bake for 18-20 minutes at 180°C (350°F) until the tops spring back. Pipe pink buttercream over the whole shape with a 1M tip, then add white dots with a round tip 12 so the polka dot pattern flows across the gaps between cupcakes. This one is brilliant for school and nursery parties because the portions are built in and it travels flat. A scattering of pink sanding sugar makes the whole shape sparkle under party lights.
5. Modern Pink Drip Cake with Gold Accents
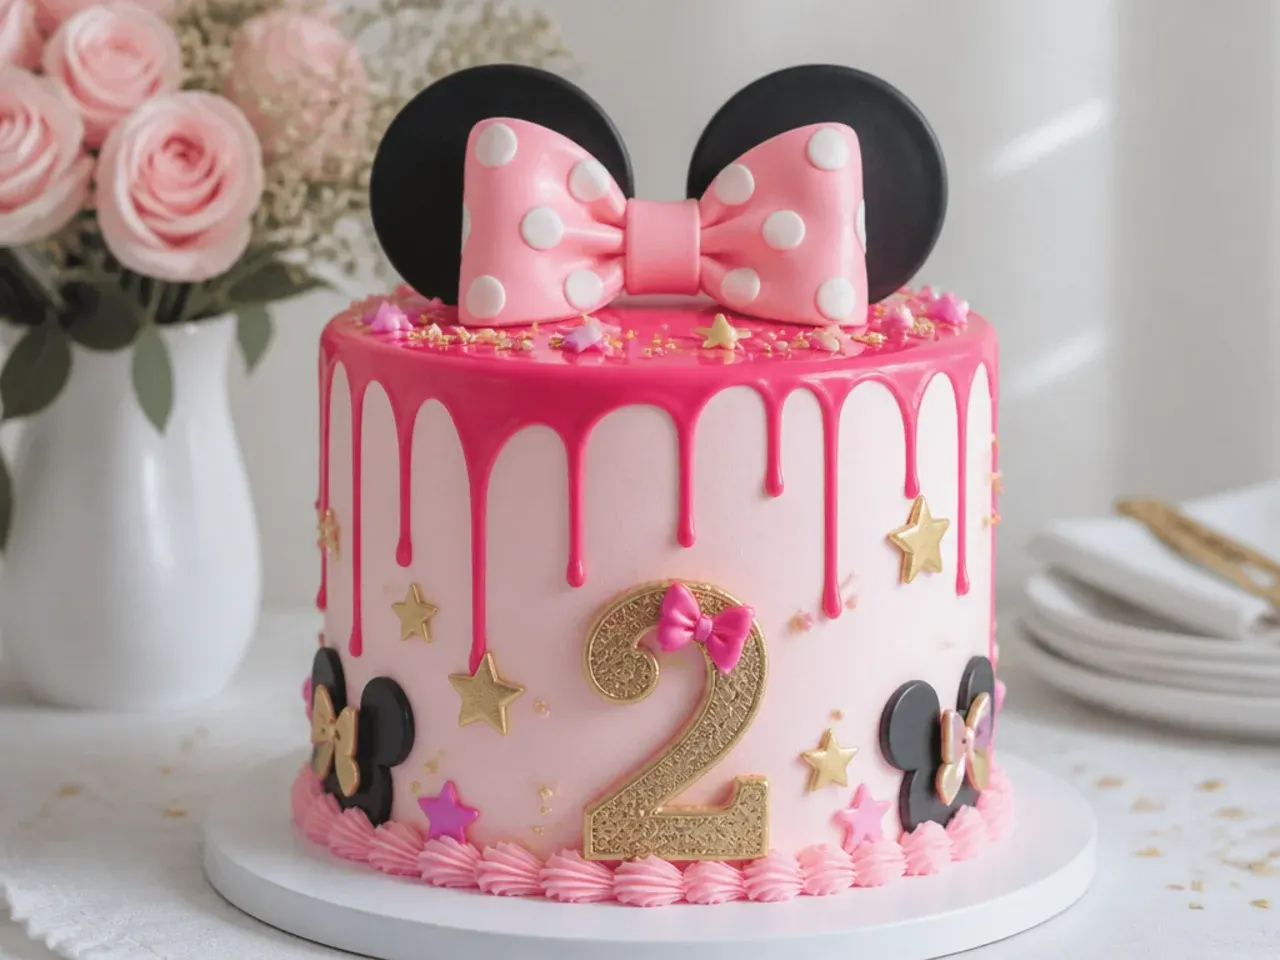
A drip cake delivers the modern bakery look: smooth pale-pink buttercream, a glossy hot-pink drip and touches of gold. Make the drip with 100g white chocolate melted into 40ml warm double cream, coloured with an oil-based or gel pink, and cool it to 32-34°C (90-93°F) before it goes anywhere near the cake. Chill the frosted cake for at least 30 minutes first — cold cake plus barely-warm ganache is exactly what creates slow, even drips that stop mid-side. Test one drip on the back of the cake, then run the rest around the top edge with a squeeze bottle or teaspoon. Finish with ears painted in edible gold lustre, a few gold sprinkles and one or two pink macarons on top.
Save this for later 📌
Pin this article to your Pinterest board so the full list is one tap away when you need it.
Save on Pinterest6. Rustic Semi-Naked Cake with Fresh Berries
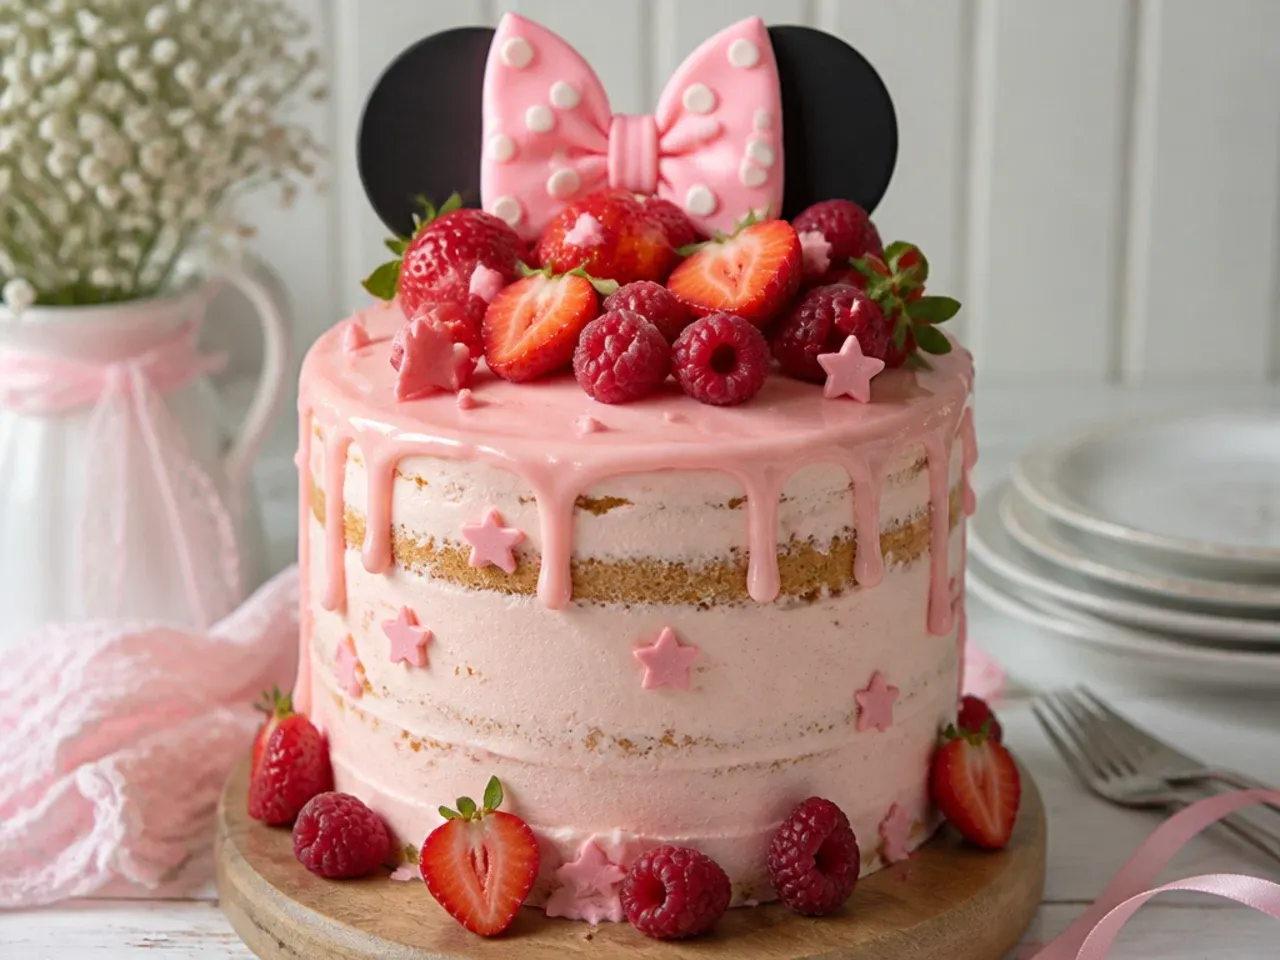
For a relaxed, garden-party feel, crumb coat the cake with a thin layer of pink buttercream and scrape most of it back off with a metal bench scraper so the sponge shows through in soft patches. Chill for 20 minutes to set the coat, then pile fresh strawberries and raspberries on top and dust lightly with icing sugar. Tint the sponge itself pink with gel colour before baking, because the exposed layers are the whole point of the style. For understated ears, spread melted dark chocolate into two 7cm circles on baking paper, chill until snapped-firm and slot them into the top. No fondant and no perfection needed — the slightly undone finish is the design.
7. Colourful Pink Ombre Layer Cake
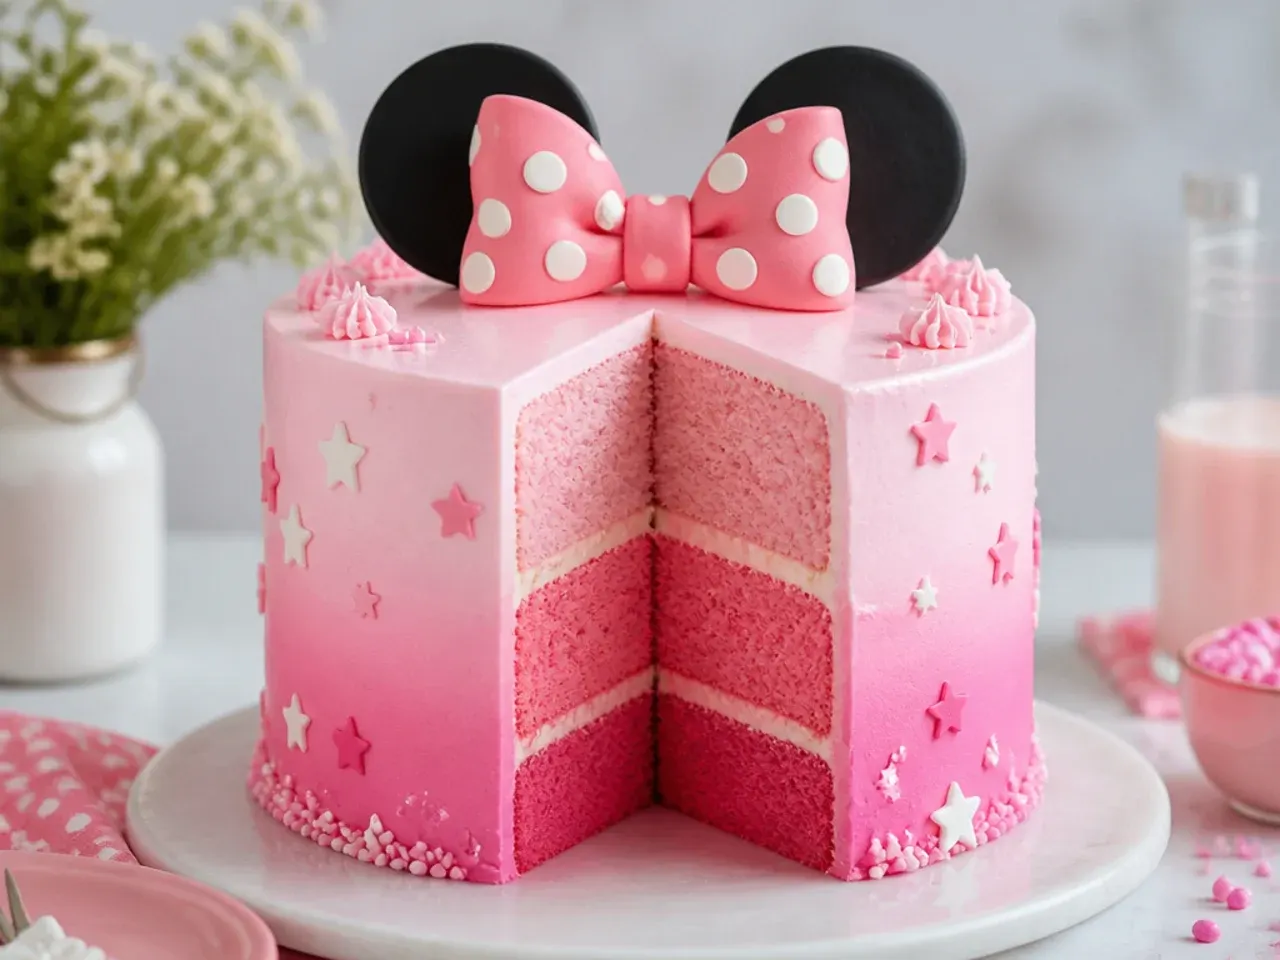
Slice into this cake and you get three graduated shades of pink — the wow moment happens at cutting time. Divide the base batter into three bowls and colour them with increasing amounts of pink gel: a toothpick dab in the first, double in the second and roughly four times in the third. Bake in three 18cm (7-inch) tins for 22-25 minutes at 180°C (350°F), then stack with the darkest layer on the bottom for the classic gradient. Frost the outside in the palest pink so the interior stays a surprise, and echo the effect with three rows of polka dots in matching shades. Rose Bakes made this style famous for character-inspired parties, and it takes no more skill than the classic version.
8. Minimal Blush Cake with One Black Bow
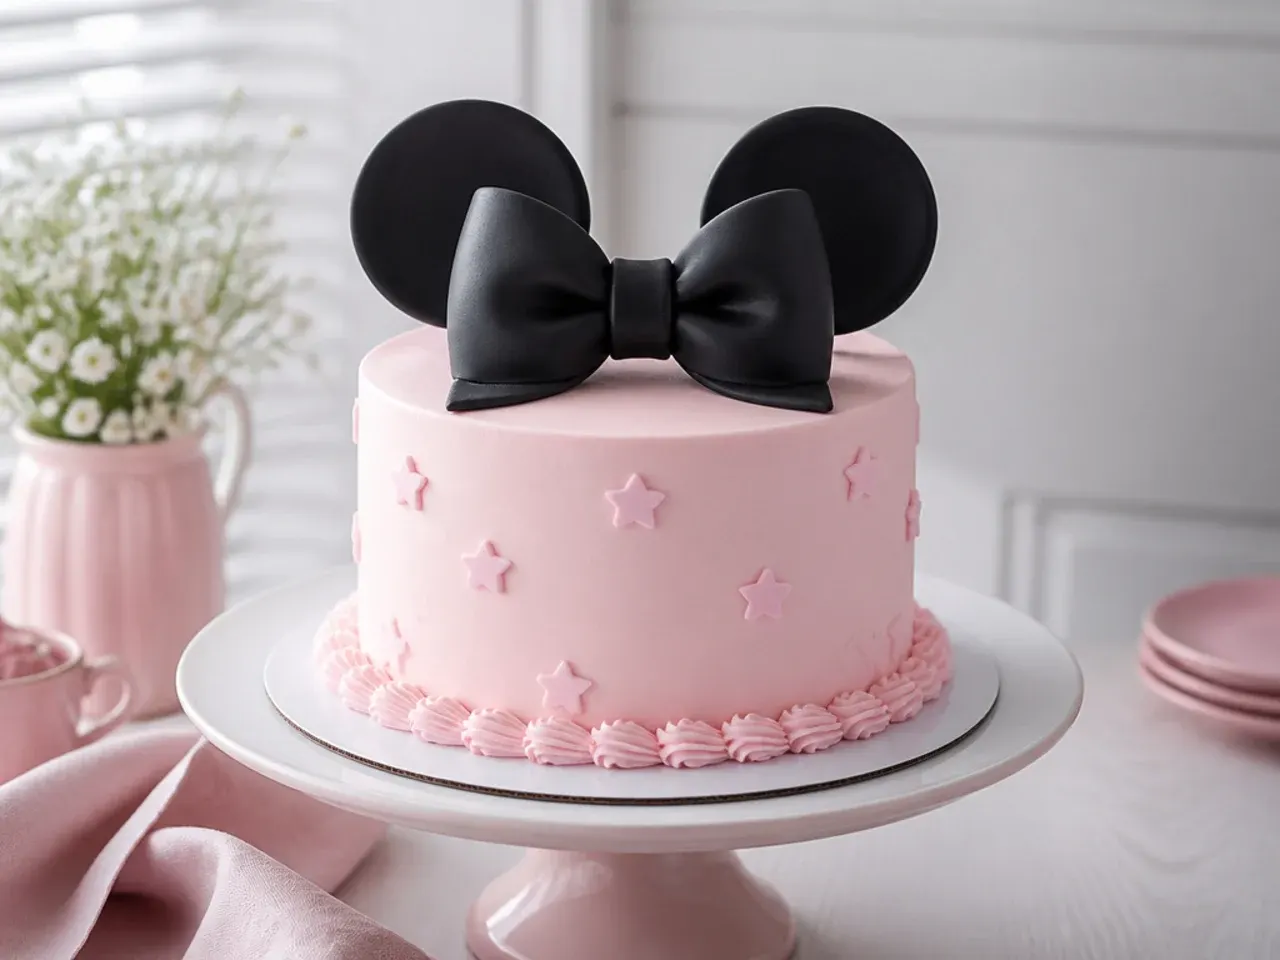
One flawless blush-pink cake, razor-sharp edges and a single oversized black bow — nothing else. Get the smooth finish by applying a generous final coat of buttercream, then holding a metal or acrylic scraper against the side while rotating the turntable in one continuous motion; chill for 20 minutes and repeat once. Make the bow from two loops and two tails of black fondant, propping the loops open with rolled kitchen paper until they dry firm, about 24 hours. The restraint is the point: one strong cue against a clean pink canvas reads grown-up and modern, ideal for an adult birthday. If you want a whisper more theme, add three tiny white dots near the base — and stop there.
9. Festive Polka Dot Number Cake
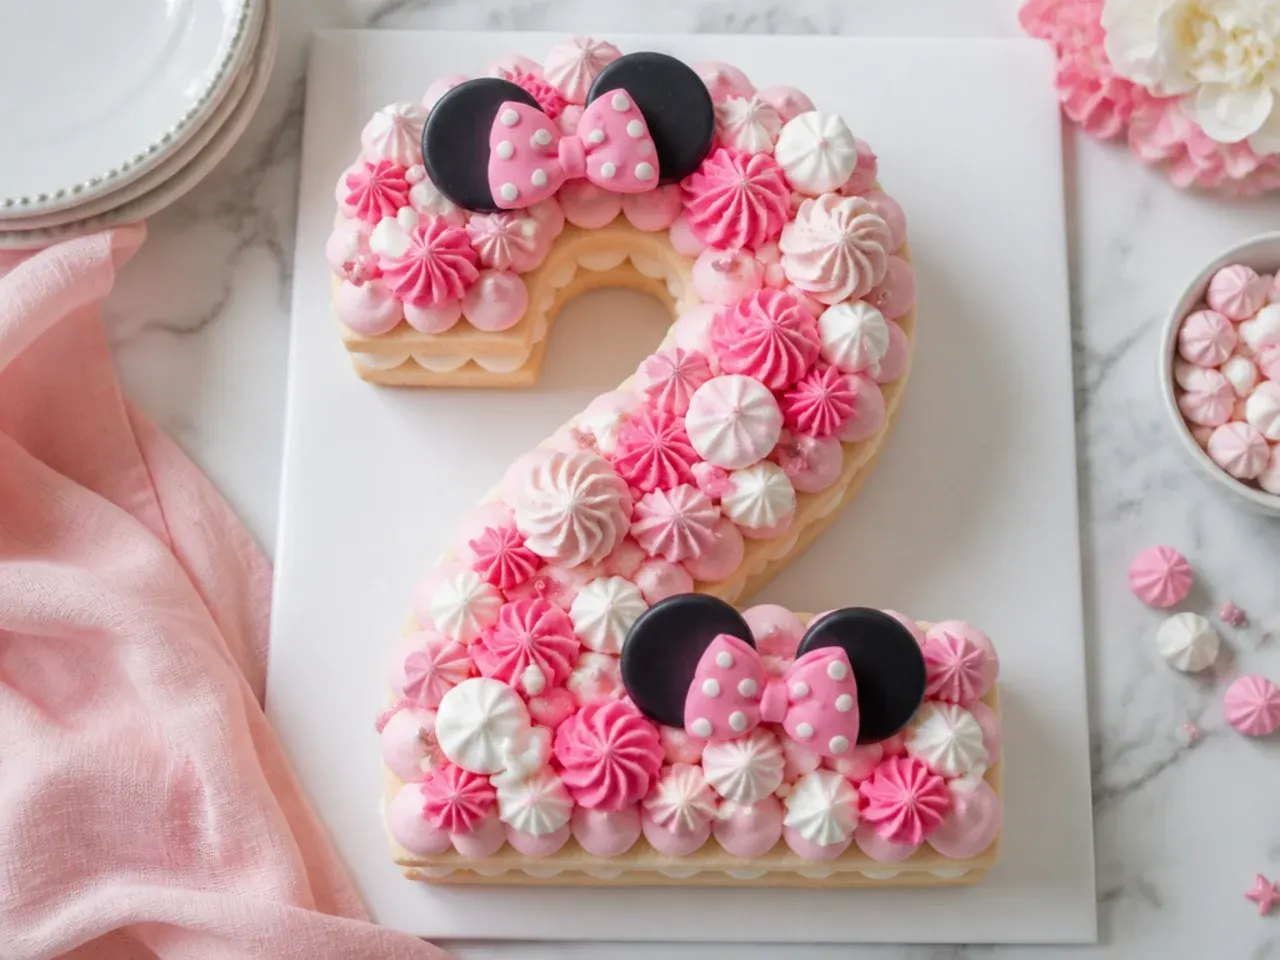
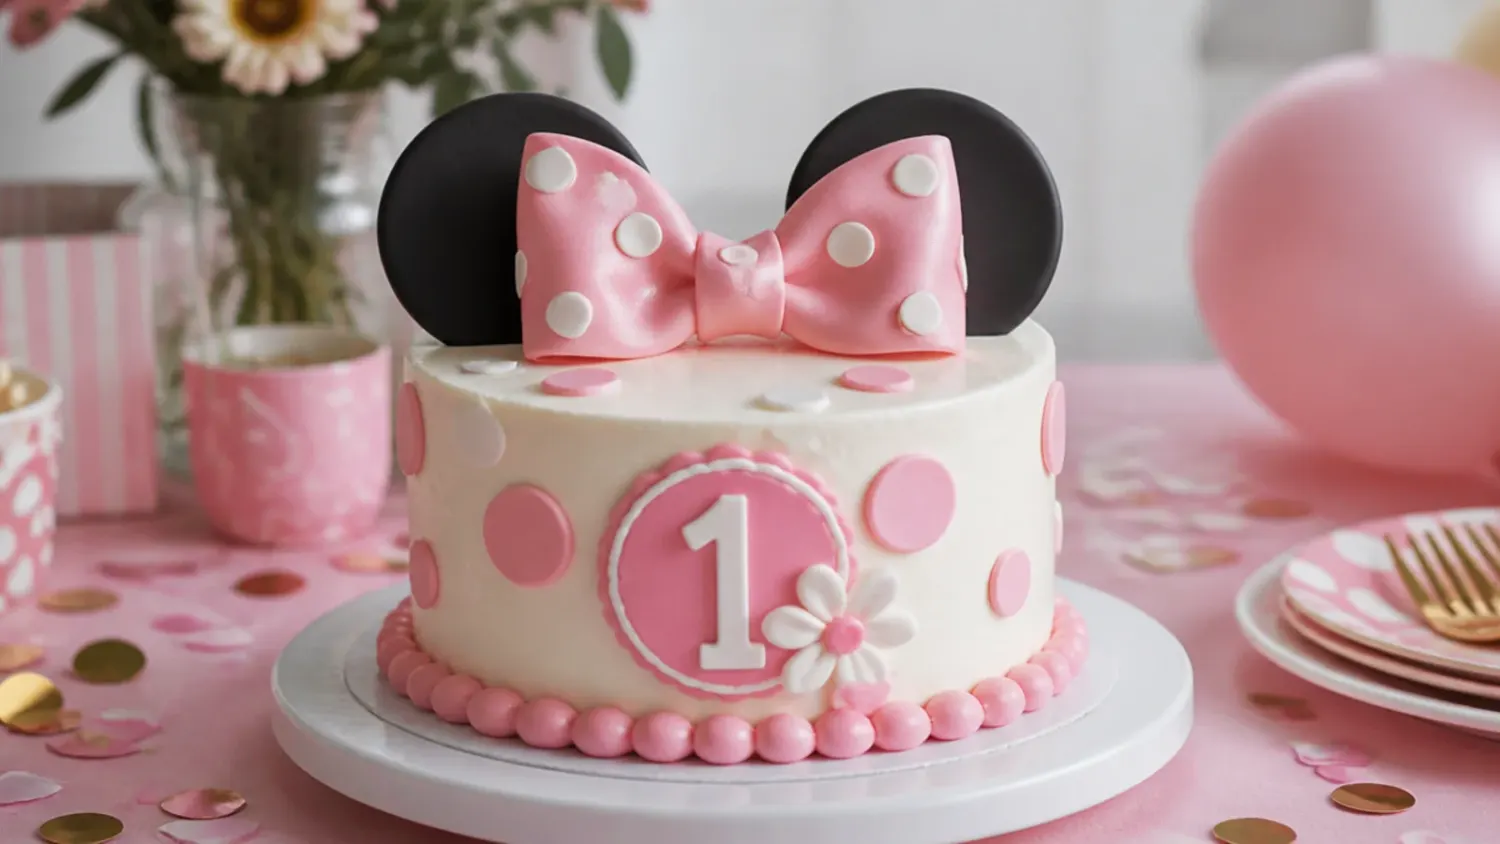
Bake the base recipe in a 23x33cm sheet, chill it thoroughly, then cut out the birthday child's age using a printed paper numeral template about 25cm tall. Pipe vanilla or cream-cheese buttercream dollops over the surface with a Wilton 2A round tip, alternating pale pink and white so the top reads as polka dots. Fill the gaps with mini fondant bows, pink meringue kisses, white chocolate buttons and a couple of ear-topped party picks. Number cakes are hugely popular for first and second birthdays because the cake itself announces the age and needs no additional topper. Chill the finished cake for 30 minutes before transporting so the dollops firm up.
10. Whimsical Hot Air Balloon Cake
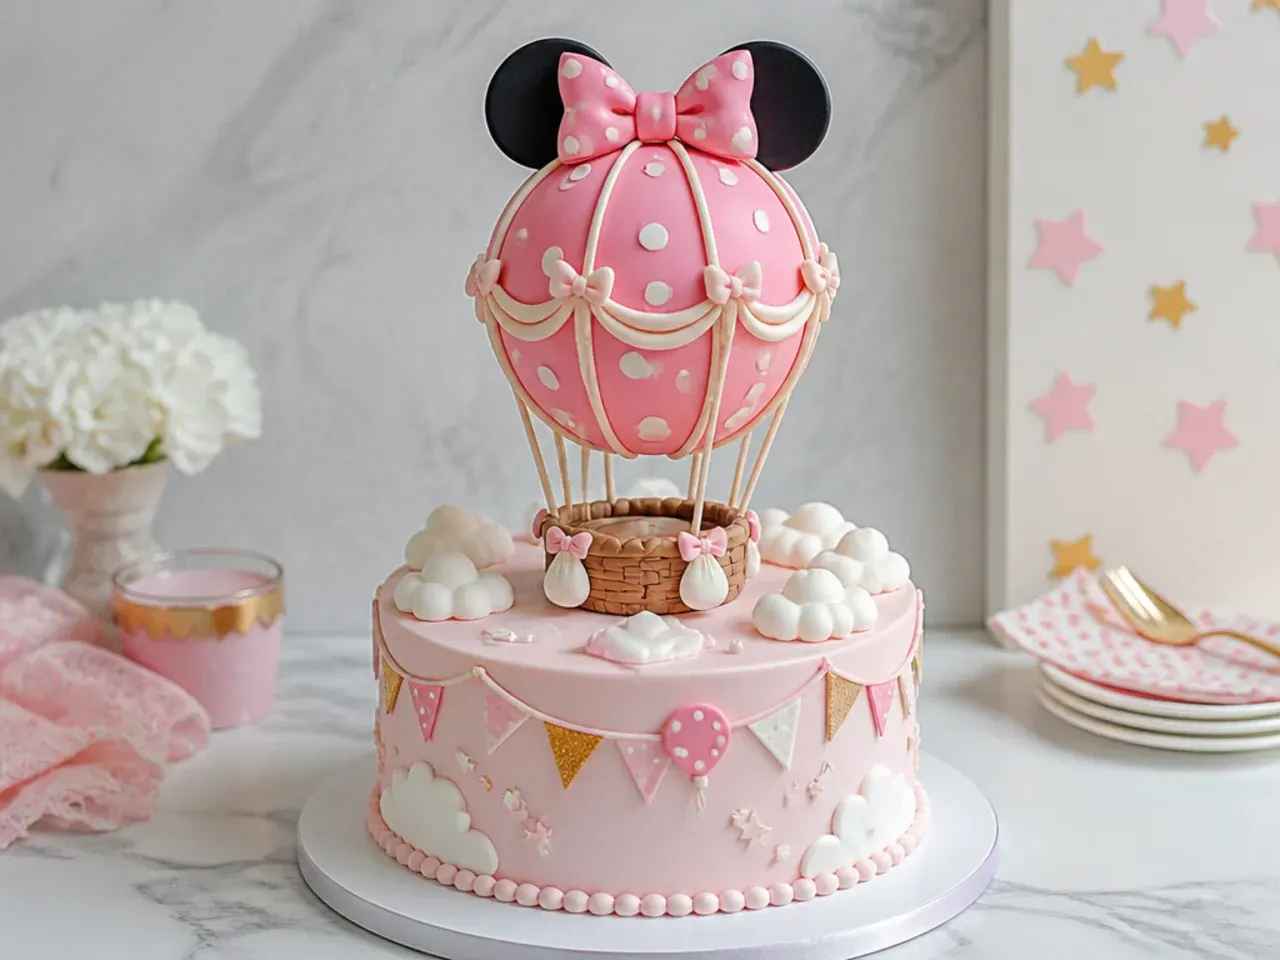
Cover a two-layer 15cm (6-inch) cake in a soft blue-to-pink ombre, then pipe fluffy clouds around the sides with a Wilton 1A round tip and white buttercream. For the balloon, wrap a 7cm polystyrene ball in alternating pink and white fondant stripes, hang a small woven-fondant basket beneath it on four cocktail sticks and fill the basket with tiny fondant hearts and a polka dot bow. Mount the balloon on a central skewer so it floats above the cake, and add mini paper bunting strung between two skewers behind it. Stick to pastels — blush, baby blue and lemon — so the whole scene stays dreamy rather than loud. This design wins the room at first-birthday parties and baby showers.
Save this for later 📌
Pin this article to your Pinterest board so the full list is one tap away when you need it.
Save on Pinterest11. Bold Hot Pink Ruffle Cake
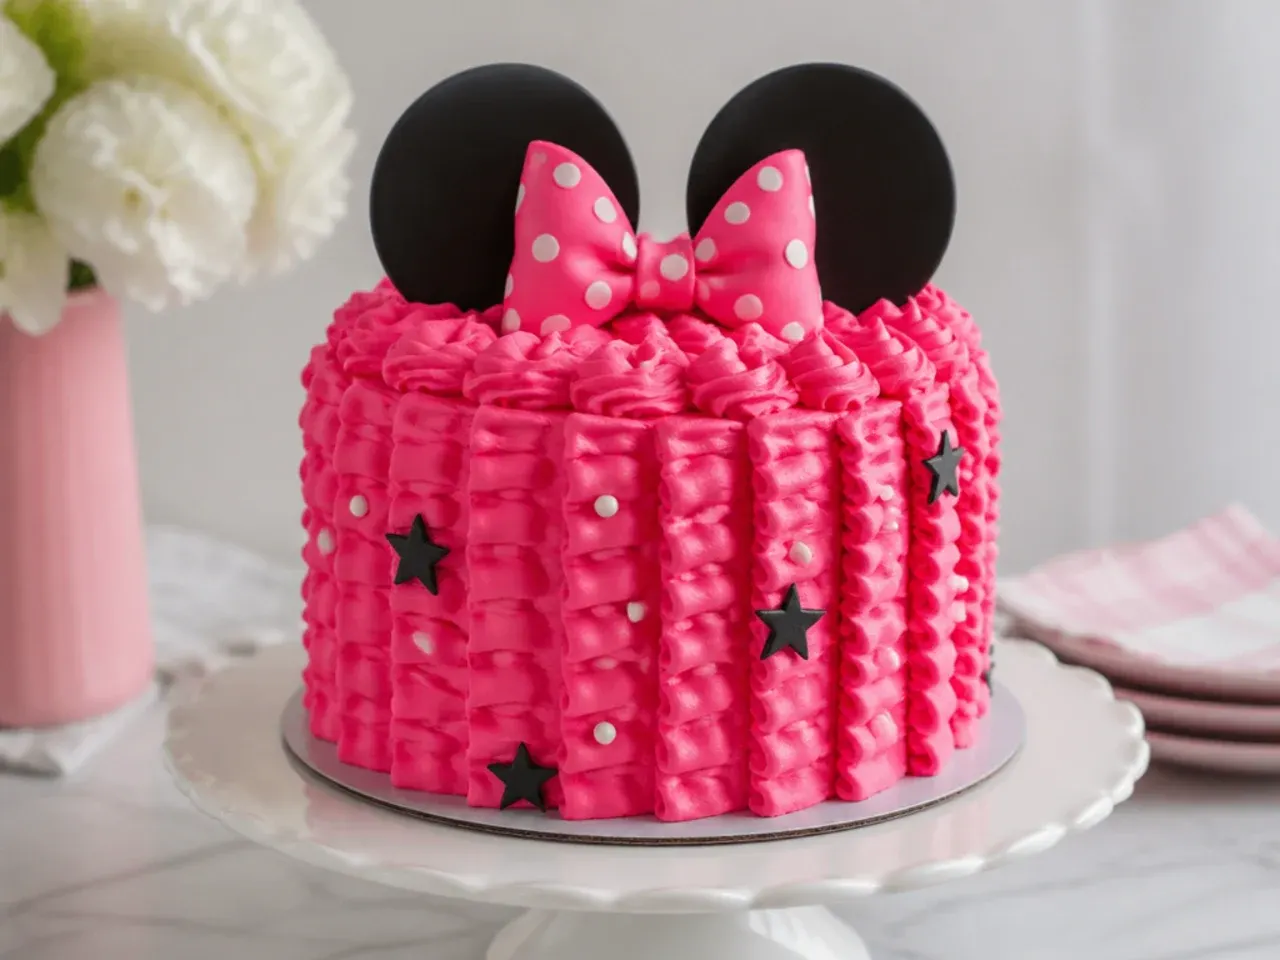
Ruffles in saturated fuchsia make a statement guests can see across the room. Colour the buttercream with AmeriColor Electric Pink or Sugarflair Fuchsia gel, then pipe vertical ruffles with a petal tip 104 (or 127 for wider ribbons): hold the wide end of the tip against the cake with the thin end angled outwards, and move upwards in a gentle side-to-side zigzag from base to top edge. Work in columns around the whole cake — each one takes about 20 seconds once you find the rhythm. Pair the loud pink with black ears and a crisp white bow so the palette looks deliberate instead of overwhelming. Practise two columns on the back of the cake first; ruffles hide restarts remarkably well.
12. Delicate Watercolour Buttercream Cake
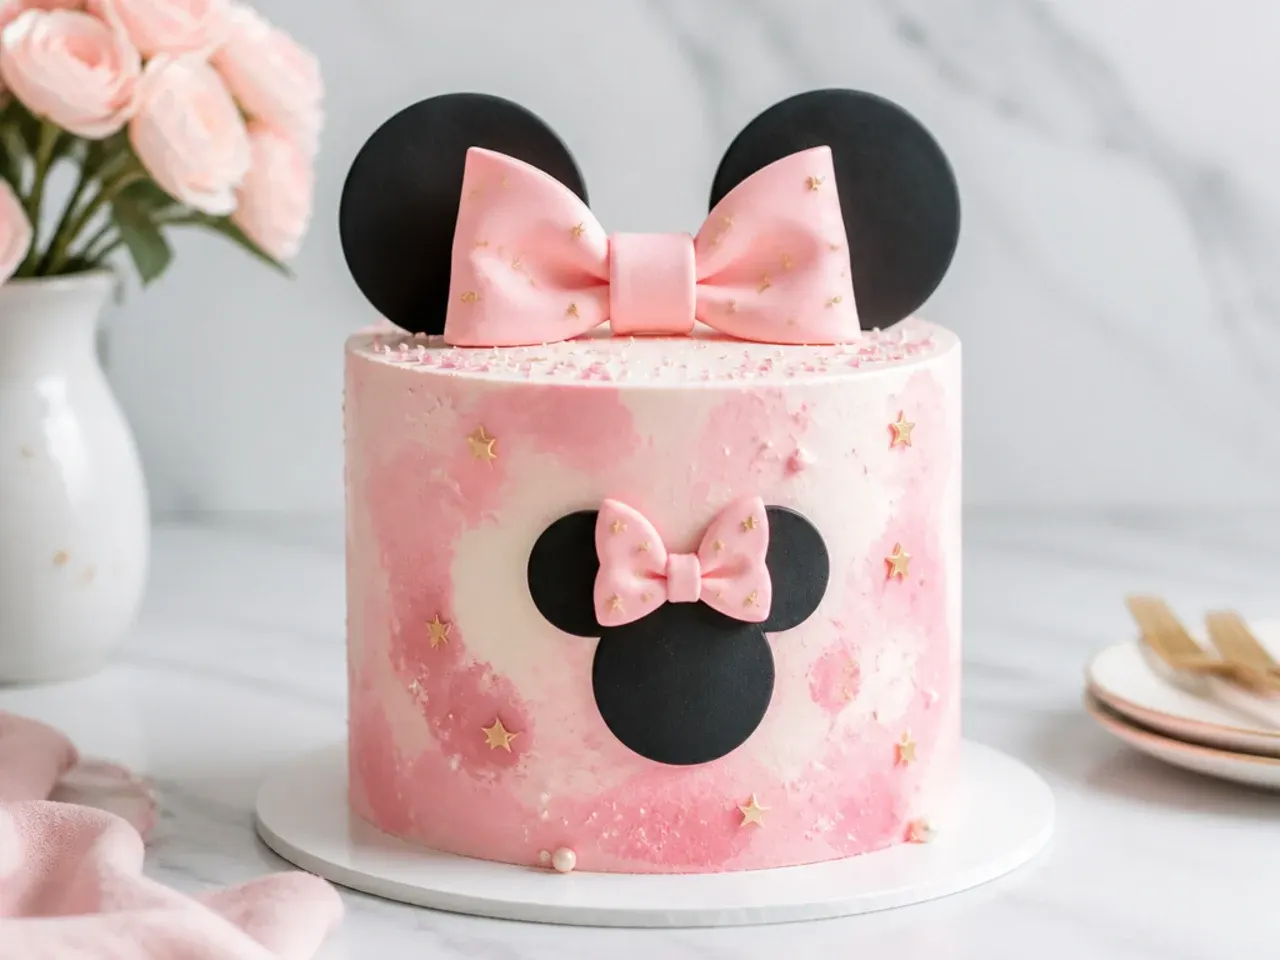
Watercolour buttercream looks hand-painted but is genuinely beginner-friendly. Frost the cake in white, then dab small patches of two or three pinks — blush, rose and dusty pink — randomly over the surface with a small palette knife. Hold a clean scraper against the side and rotate the turntable in one slow, continuous pass so the colours blur together like a wash; stop after one or two passes or the shades turn muddy. Add fine details: a thin gold line piped at the base, tiny white dots with a tip 2 and a small blush fondant bow with fabric-style creases. The soft, faded finish suits christenings and first birthdays where hot pink would feel too much.
13. Vintage Lambeth-Piped Heart Cake
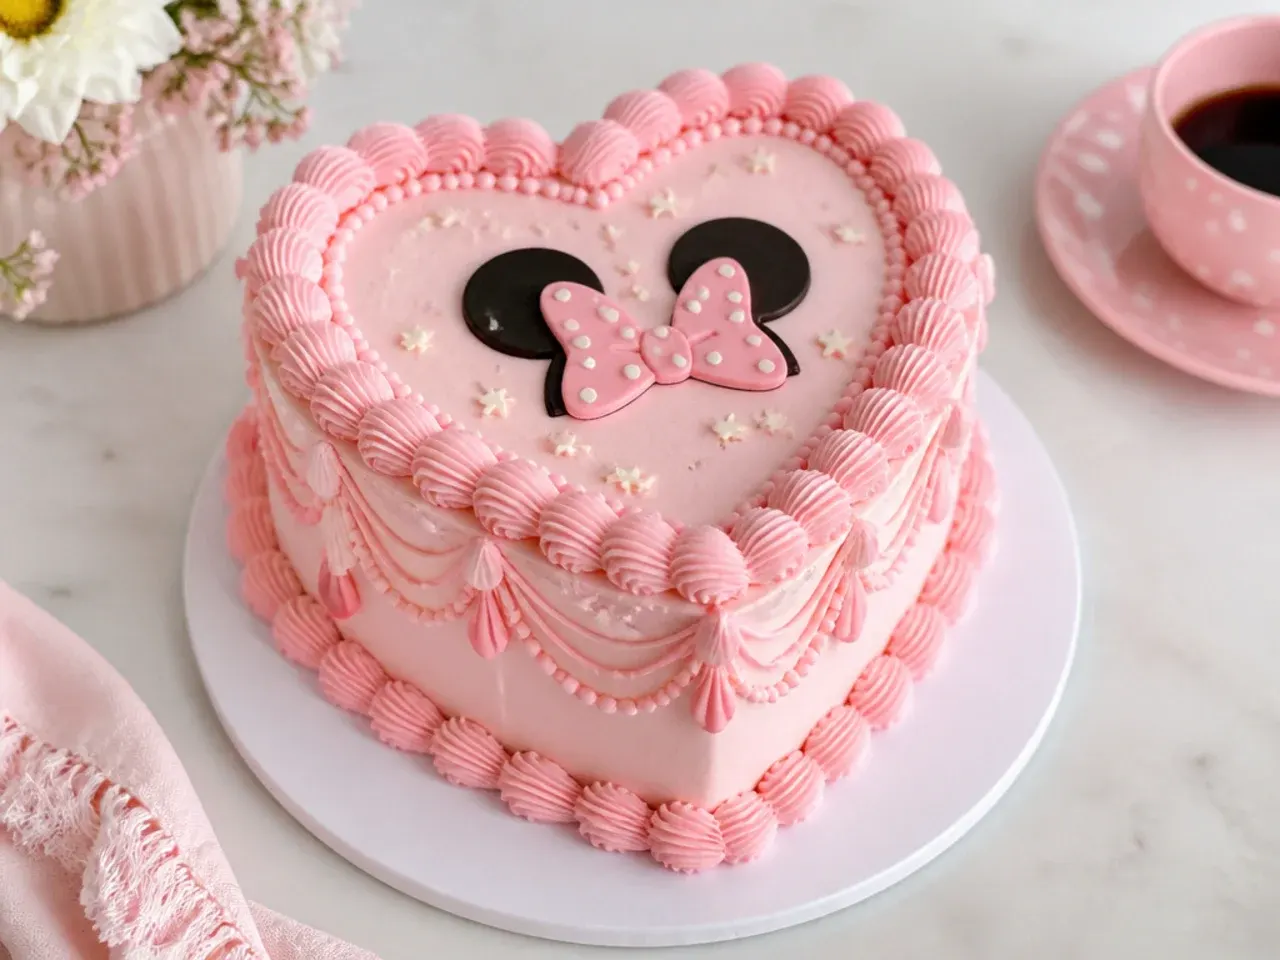
Vintage piping is everywhere again, and it suits this theme perfectly because bows, shells and dots are already part of its language. Bake the base recipe in two deep 15cm (6-inch) tins for a tall cake, frost it soft pink, then pipe overlapping shell borders around the top and base edges with a Wilton 4B or 8B star tip. Add drop strings and pearl dots with a tip 3, and pipe a heart-shaped frame on the front — fill it with the birthday name in deep pink script rather than any character face. A cherries-and-cream palette of pink, burgundy and white looks authentically retro. Chill the cake between piping stages so the earlier rows stay sharp while you overpipe.
14. Creative Surprise-Inside Polka Dot Cake
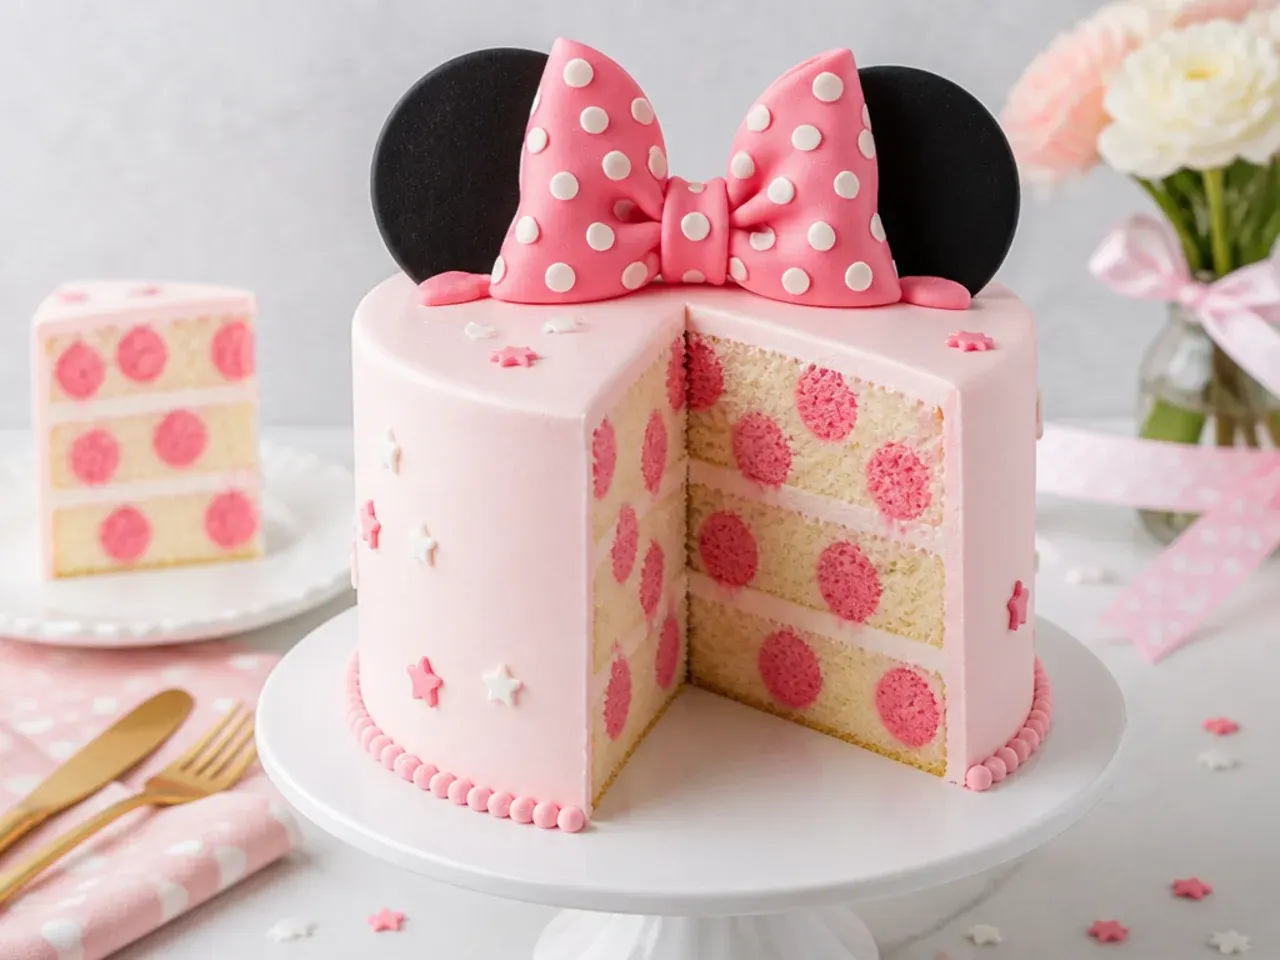
From the outside it's a simple white cake with a pink bow — the polka dots are hidden inside the sponge. Bake a thin pink sheet cake first, crumble it, bind it with 2-3 tablespoons of buttercream, then roll it into 2.5cm cake balls and freeze them for 30 minutes. Sit the frozen balls in rows in your white cake batter about 3cm apart — they hold their shape while the cake bakes around them — and add roughly 5 extra minutes to the baking time. When you slice the finished cake, every piece reveals pink polka dots baked right into the crumb. It's a guaranteed gasp at the party, and it's an angle most cake tutorials skip entirely.
15. Charming Meringue Kiss and Pearl Cake
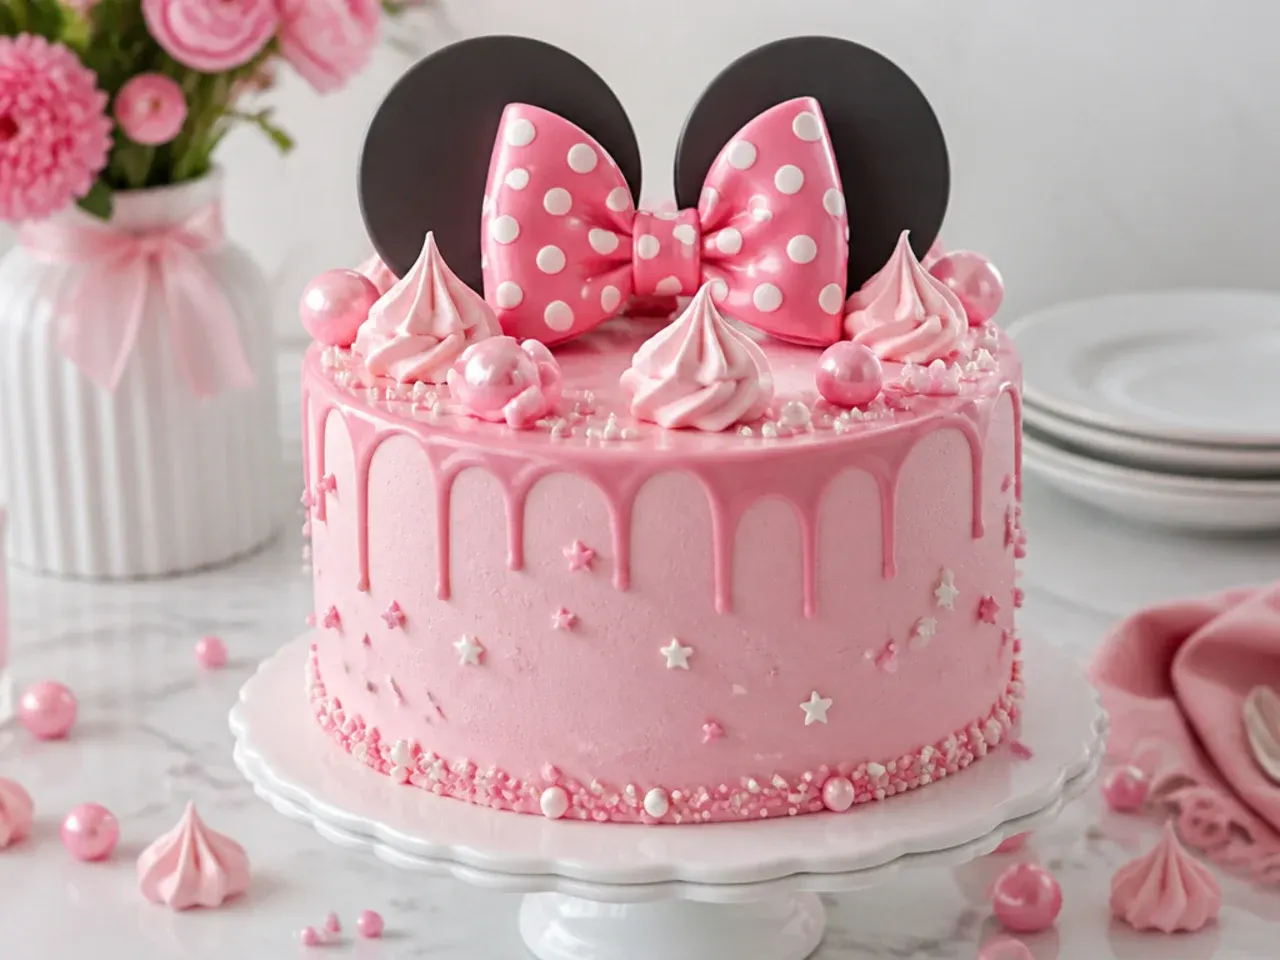
Meringue kisses give a bakery-window look for pennies. Whisk 2 egg whites with 100g caster sugar to stiff glossy peaks, paint two stripes of pink gel inside the piping bag, and pipe small kisses with a Wilton 1M tip; bake at 100°C (212°F) for 75-90 minutes until they lift cleanly off the paper. Crown a pale pink cake with a cluster of kisses in mixed sizes, then scatter white sugar pearls down one side like falling confetti. A blush satin ribbon around the base and two small chocolate ears give a clear nod to the theme without any fondant work. Make the kisses up to two weeks ahead and store them airtight — they're the ultimate prep-ahead decoration.
Tips to Make These Ideas Easier
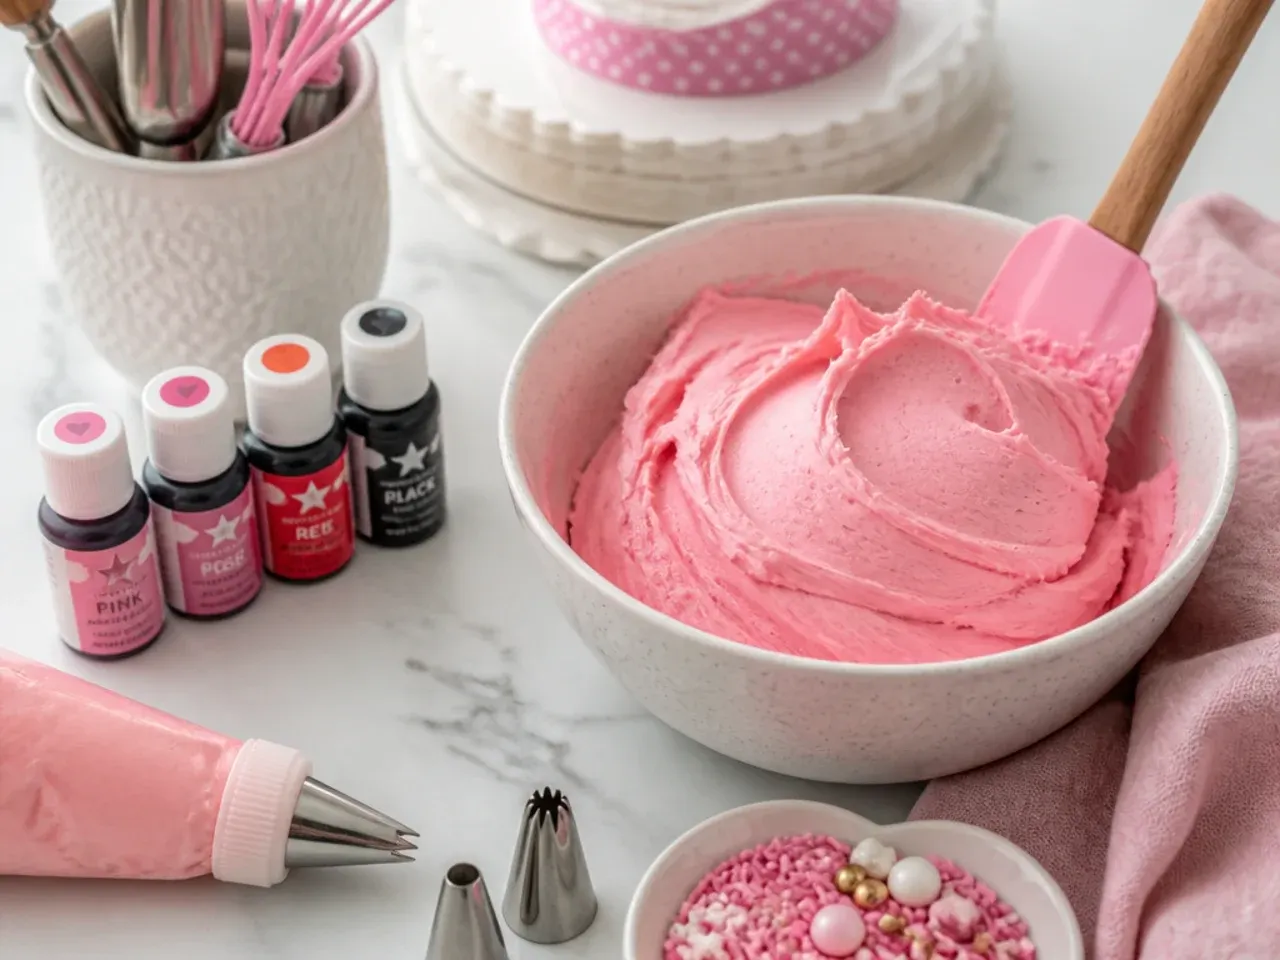
Bake the sponges a day ahead, wrap them in cling film and chill overnight — cold cake carves, stacks and crumb coats far more cleanly than fresh. Always use gel or paste colours (Sugarflair, Wilton or AmeriColor); liquid colouring waters buttercream down long before you reach a true pink. Mix your pink slightly lighter than the shade you want, because gel colours deepen noticeably over 30-60 minutes. For evenly spaced polka dots, mark the pattern first with a toothpick dipped in colour, then pipe over the marks. Buy ready-made bows, ear-shaped picks and ribbon when time is short — nobody at the party checks what was handmade. And chill for 20-30 minutes between the crumb coat and the final coat, every single time.
Common Mistakes to Avoid
Don't stack or frost warm layers — trapped heat melts buttercream and causes the dreaded mid-tier bulge, so cool completely and ideally chill first. Don't make fondant ears on the day of the party; without 24-48 hours of drying time and tylose powder in the fondant, they flop within an hour of standing upright. Don't chase hot pink in one go — rest the buttercream for half an hour and re-check, or you'll overshoot the shade and too much colouring can taste bitter. Don't pour ganache drips onto a room-temperature cake, because the drips race straight down to the board instead of stopping mid-side. Never skip the crumb coat either: pink frosting shows every stray crumb, especially over a chocolate sponge. Finally, check the sponge at 25 minutes — no amount of decoration rescues an overbaked, dry layer.
The Recipe
The Base Recipe — Make Any of These Ideas
40 min
30 min
1 hr 10 min
16
Beginner
Ingredients 16 Person(s)
Directions
Step 1: Prep the tins and oven
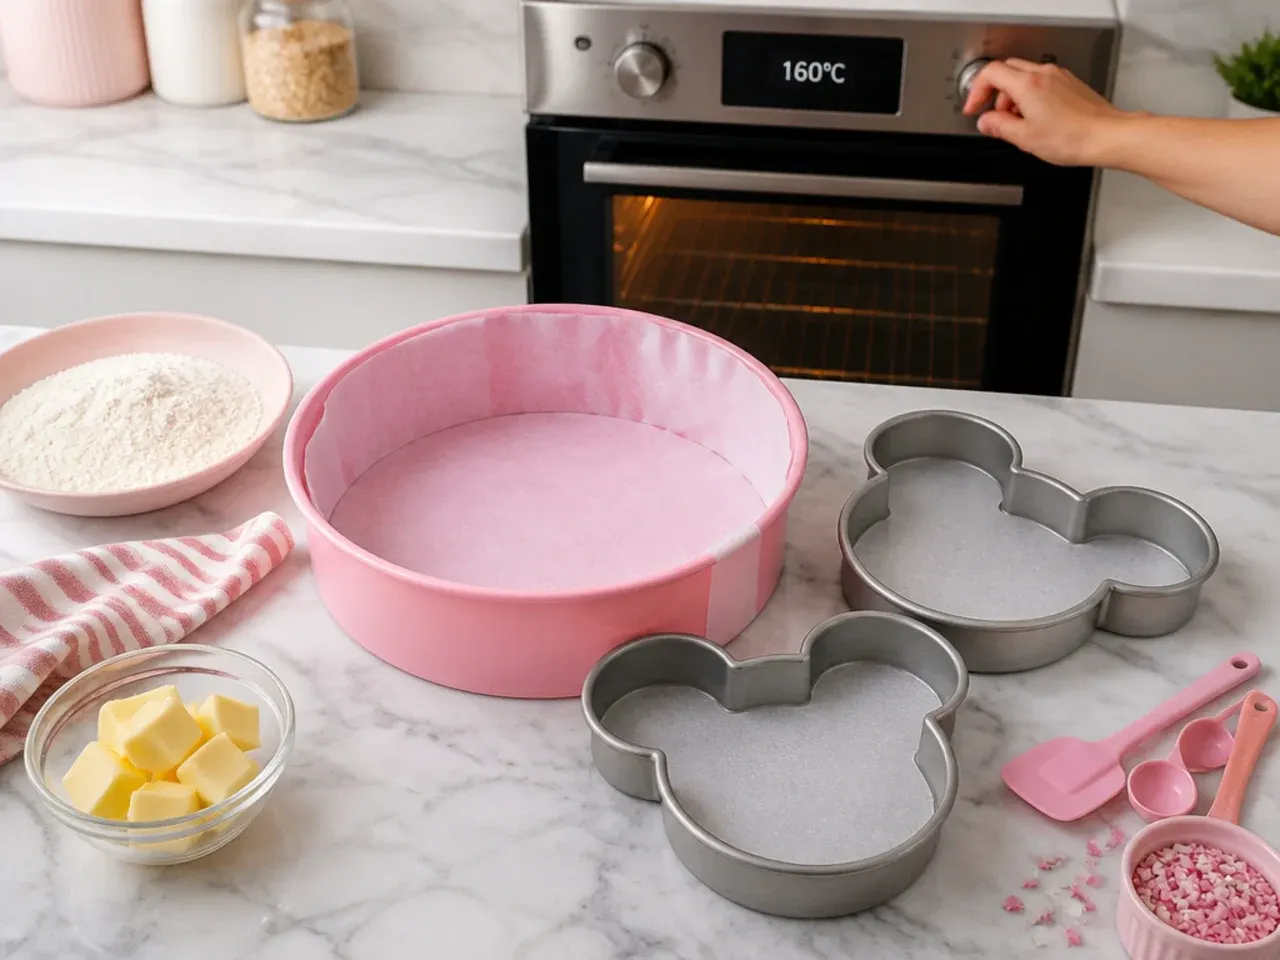
Heat the oven to 180°C (350°F), or 160°C fan. Grease two 20cm (8-inch) round cake tins and line the bases with baking parchment. If the butter and eggs came straight from the fridge, let them sit at room temperature for 30 minutes — cold ingredients make the batter curdle.
Step 2: Cream the butter and sugar
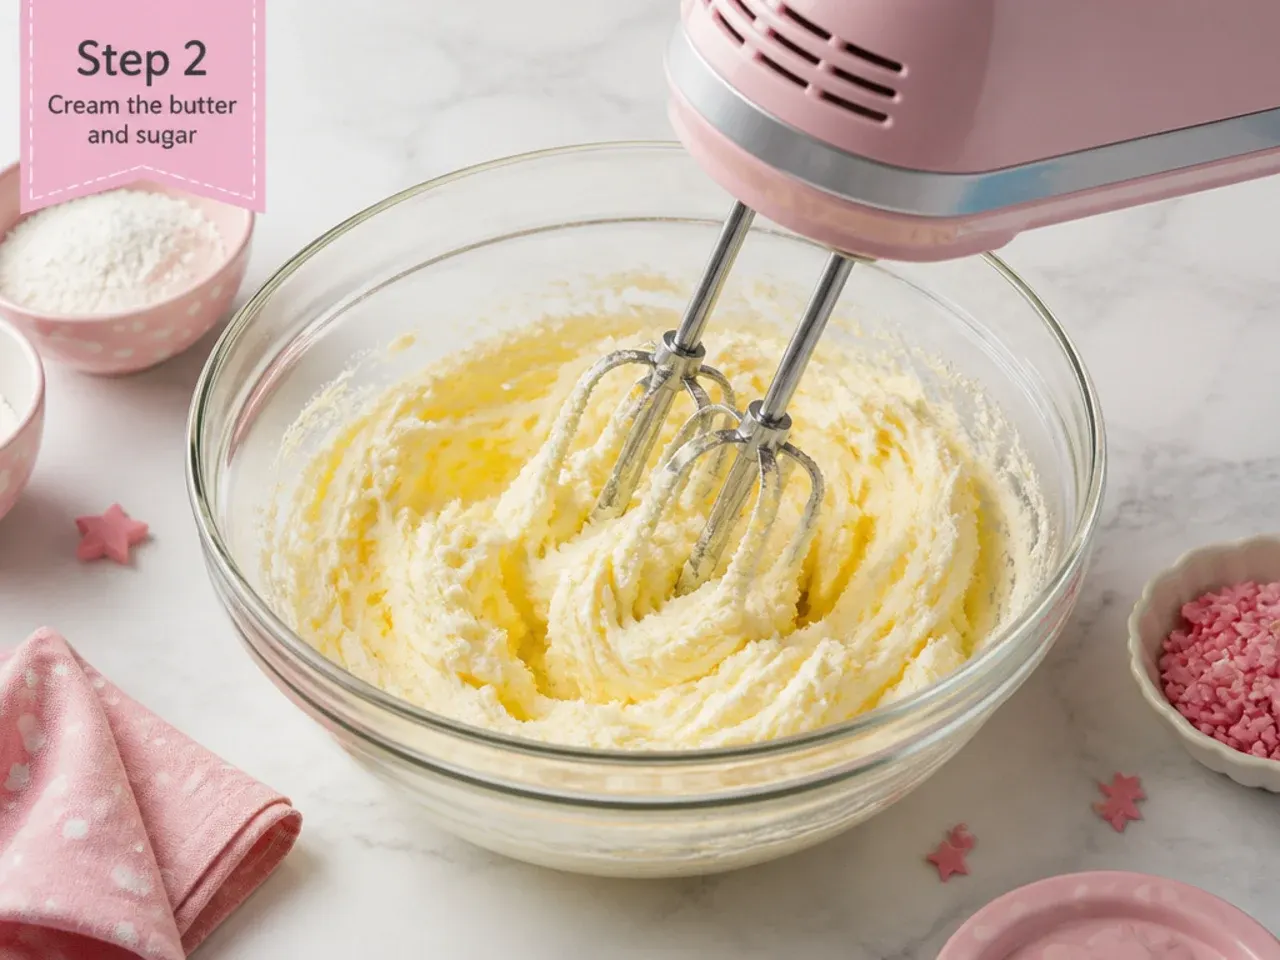
Beat 225g softened butter and 225g caster sugar with an electric mixer on medium speed for 3-4 minutes, scraping down the bowl once, until the mixture is noticeably paler and fluffy. This stage whips in the air that makes the sponge light, so don't cut it short.
Step 3: Add the eggs and vanilla
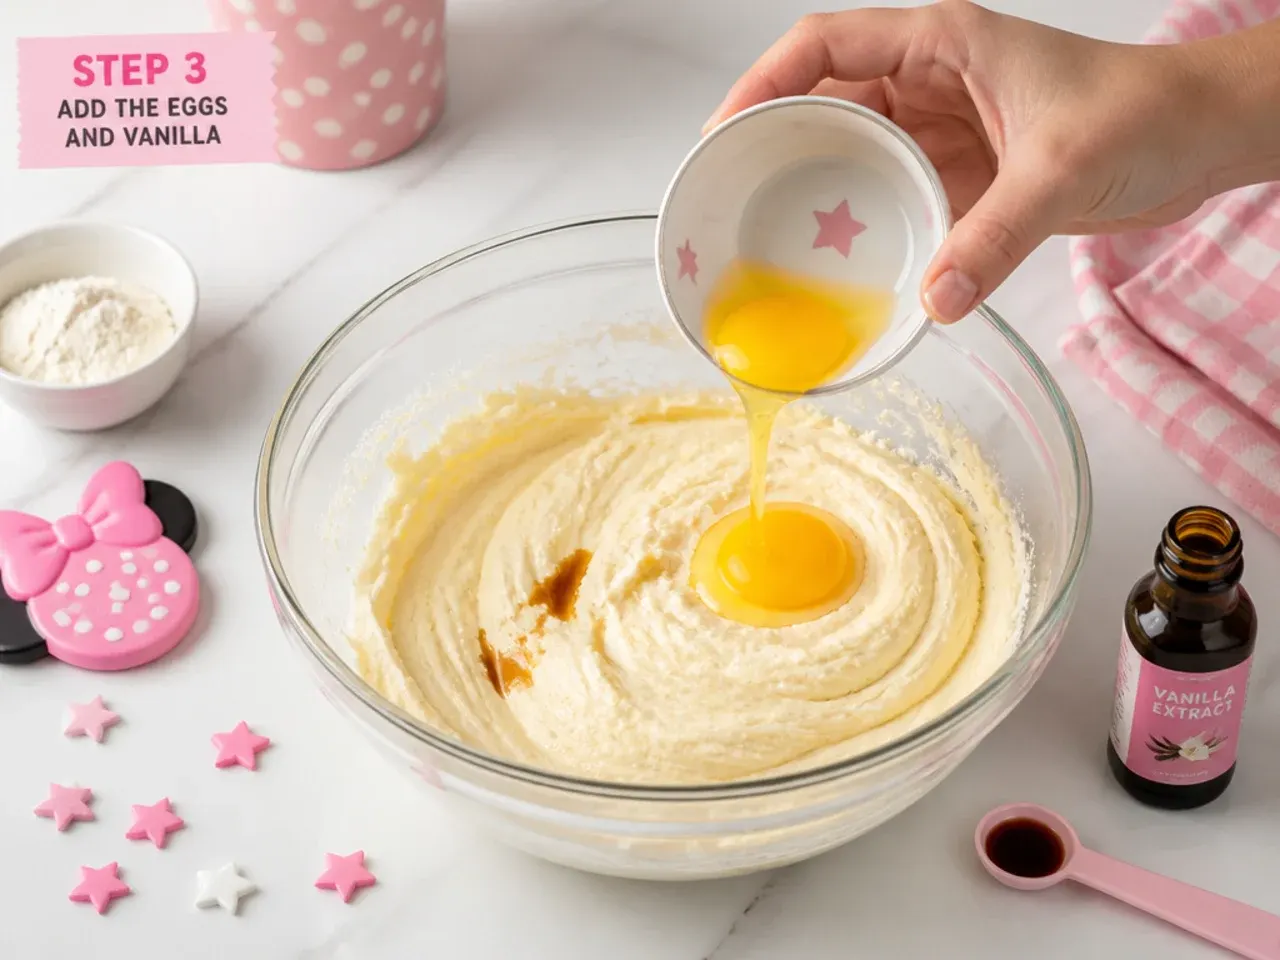
Beat in the 4 eggs one at a time, mixing well after each addition, then beat in 2 tsp of the vanilla extract. If the mixture starts to look curdled, add 1 tablespoon of the measured flour and keep going — it will come back together.
Step 4: Fold in the flour and tint it pink
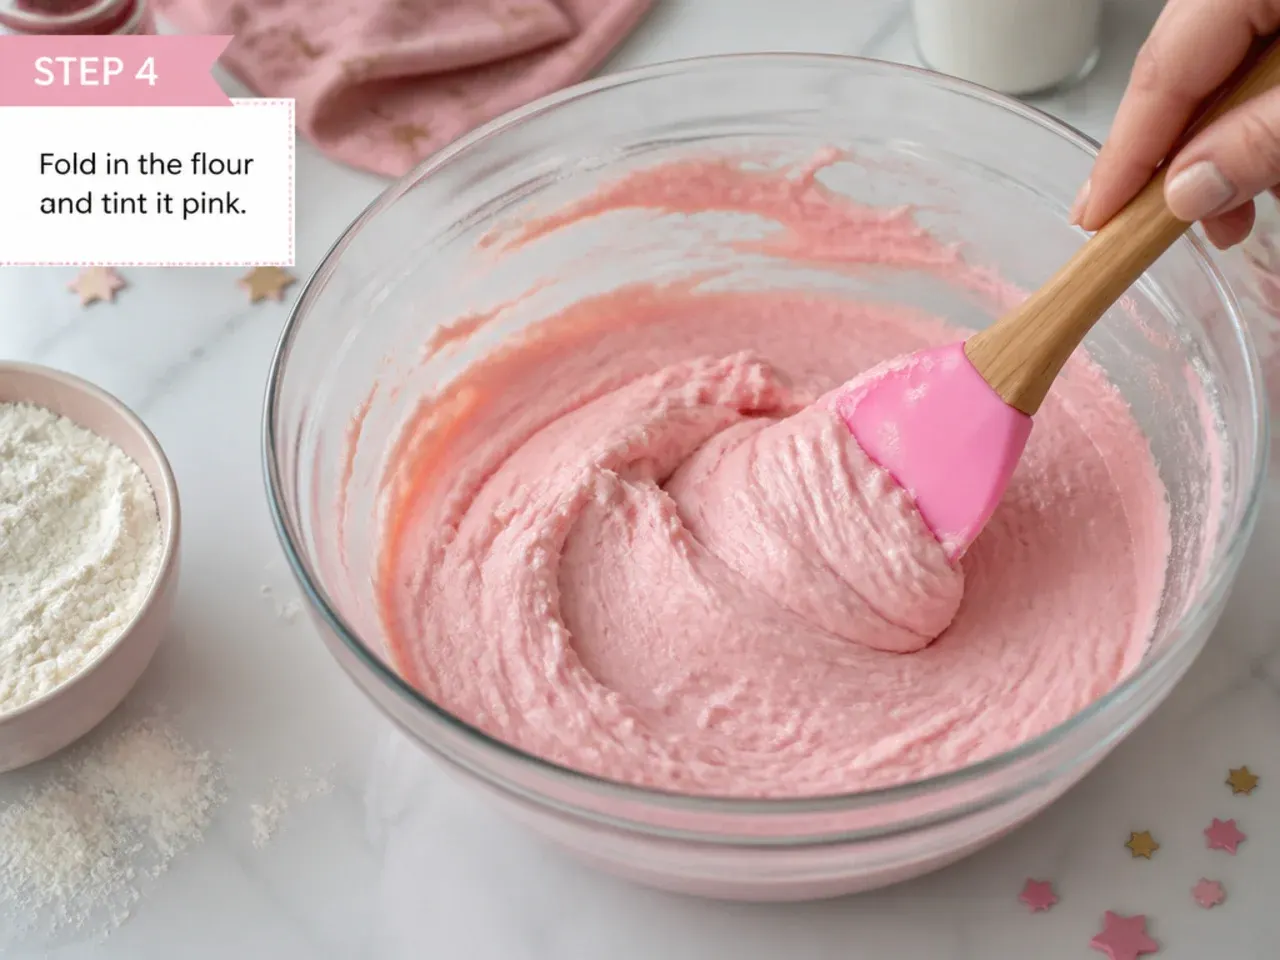
Sift the self-raising flour, baking powder and salt over the bowl and fold in gently with a spatula until no dry streaks remain, then loosen with 2 tbsp of the milk to a soft dropping consistency. Add a toothpick dab of pink gel colour and fold until the batter is an even pastel pink — the colour deepens slightly as it bakes, so stop early.
Step 5: Bake and cool
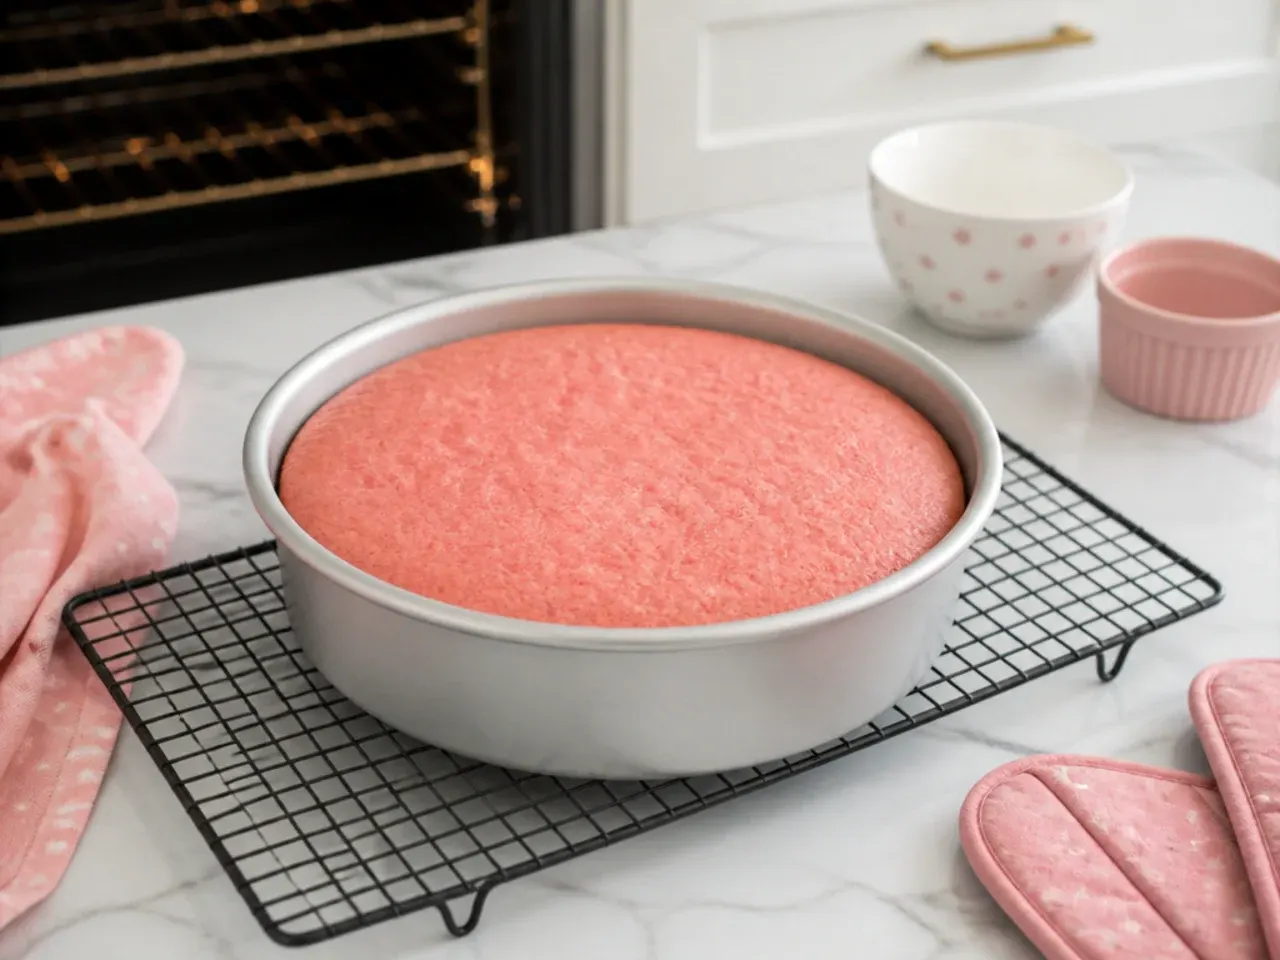
Divide the batter evenly between the two tins (weigh them for perfectly level layers) and smooth the tops. Bake for 25-30 minutes, until the sponge springs back when lightly pressed and a skewer inserted in the centre comes out clean. Cool in the tins for 10 minutes, then turn out onto a wire rack and cool completely — at least 1 hour — before any frosting touches them.
Step 6: Make the pink buttercream
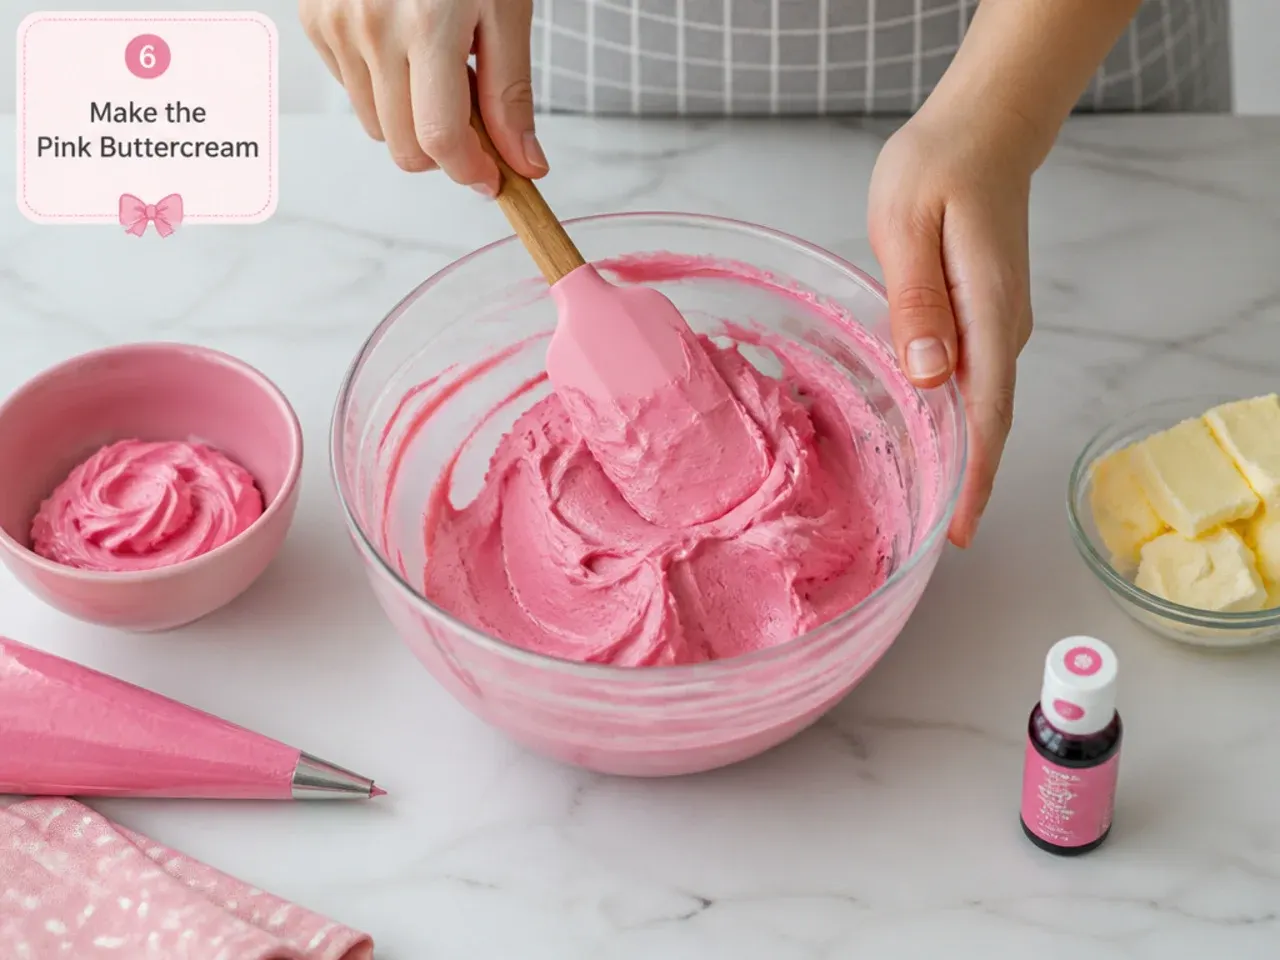
Beat 250g softened butter for 4-5 minutes until very pale, then add 500g sifted icing sugar in two additions, starting the mixer on low so it doesn't cloud the kitchen. Beat in 1 tsp vanilla and 2 tbsp milk, then whip for 2 more minutes until fluffy. Tint with pink gel one toothpick dab at a time, stopping just short of your target shade — it deepens as it rests.
Step 7: Assemble and decorate
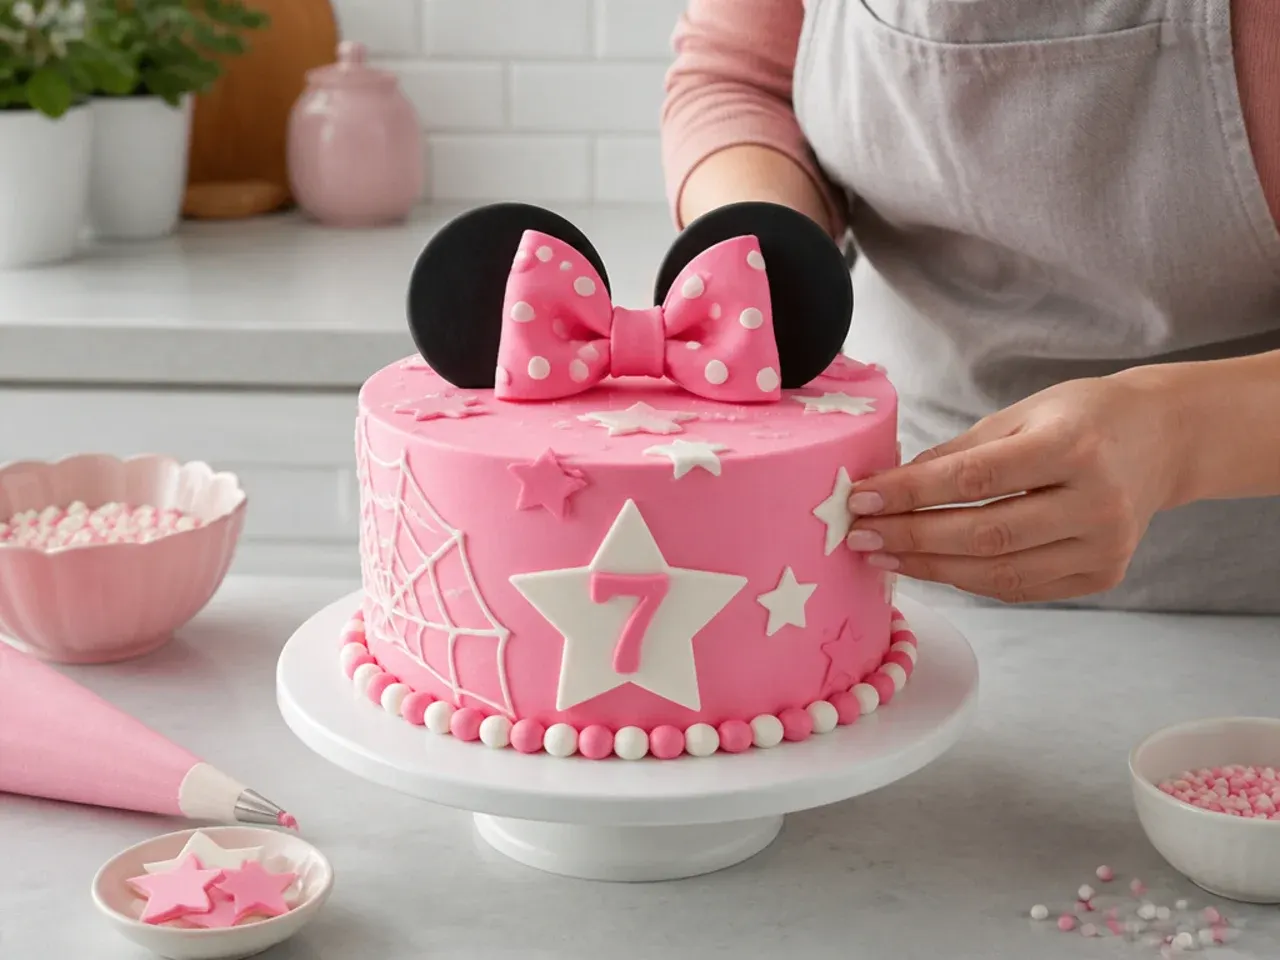
Level the domed tops with a serrated knife, sandwich the layers with about a quarter of the buttercream, then apply a thin crumb coat and chill for 20-30 minutes. Spread on the final coat, smooth it with a bench scraper, and decorate in whichever style you picked from the list — piped white polka dots, dried black fondant ears on skewers and a pink bow are the classic starting point. Keep the finished cake cool, and add any biscuit or wafer decorations within a few hours of serving so they stay crisp.
Frequently Asked Questions
Knead 1/2 tsp tylose or CMC powder into black fondant, roll it 4-5mm thick, cut two 9cm circles and push a wooden skewer into each. Dry them flat for 24-48 hours so they stand firm in the cake. For a no-fondant version, use whole Oreo cookies or 7cm dark chocolate discs set on baking paper.
Save this for later 📌
Pin this article to your Pinterest board so the full list is one tap away when you need it.
Save on Pinterest