20 Adorable Mini Minnie Mouse Cakes
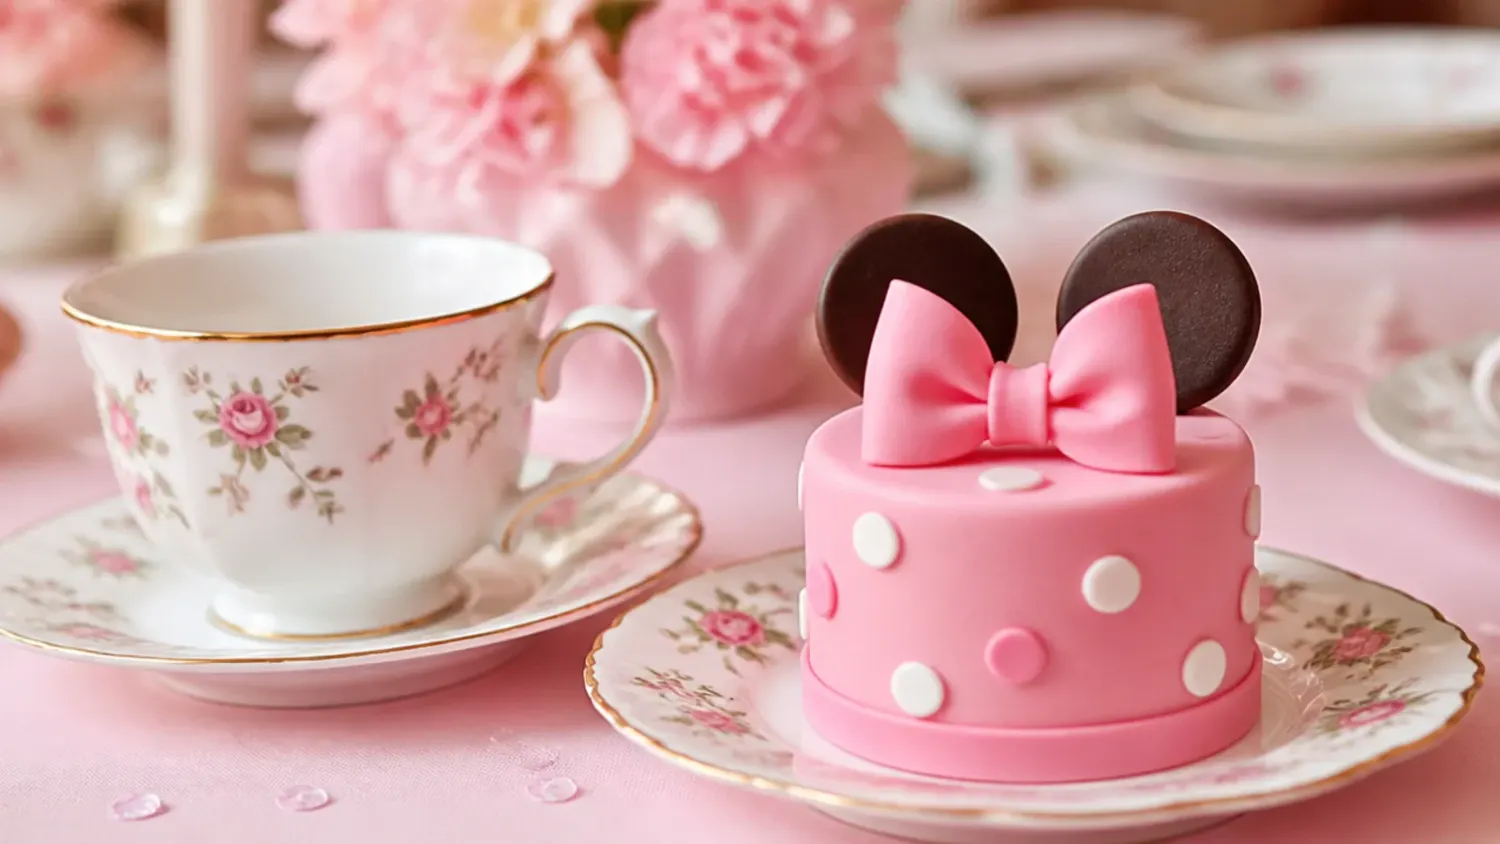
20 adorable mini Minnie Mouse cake ideas with polka dots, bows and rounded ears, plus a foolproof 6-inch vanilla base recipe anyone can bake. If you love minnie mouse cake inspiration, start with our Minnie Mouse Cake Ideas collection, then browse the full Cake Ideas hub for more.
Save this for later 📌
Pin this article to your Pinterest board so the full list is one tap away when you need it.
Save on PinterestCake Ideas
Intermediate
Ideas
20 ideas
Table of Contents
- 1. Classic Red, White and Black Polka-Dot Mini Cake
- 2. Easy Box-Mix Buttercream Mini Cake
- 3. Elegant Pink Ombre Mini Cake with Fondant Bow
- 4. Playful Rainbow Polka-Dot Mini Cake
- 5. Modern Black-and-White Minimalist Mini Cake
- 6. Rustic Naked Mini Cake with Berries
- 7. Colorful Hot-Pink and Yellow Mini Cake
- 8. Minimal Single-Bow Mini Cake
- 9. Festive Birthday-Number Mini Cake
- 10. Whimsical Pastel Cloud Mini Cake
- 11. Bold Colour-Block Mini Cake
- 12. Delicate Lace-Piped Mini Cake
- 13. Vintage Cream and Gold Mini Cake
- 14. Creative Watercolour Buttercream Mini Cake
- 15. Charming Ruffle-Skirt Mini Cake
- 16. Classic Two-Tier Mini Stacked Cake
- 17. Easy Cupcake-Style Pull-Apart Mini Cake
- 18. Elegant White-Chocolate Drip Mini Cake
- 19. Playful Sprinkle-Explosion Mini Cake
- 20. Modern Geometric Polka-Dot Mini Cake
- Tips to Make These Ideas Easier
- Common Mistakes to Avoid
- The Base Recipe — Make Any of These Ideas
1. Classic Red, White and Black Polka-Dot Mini Cake
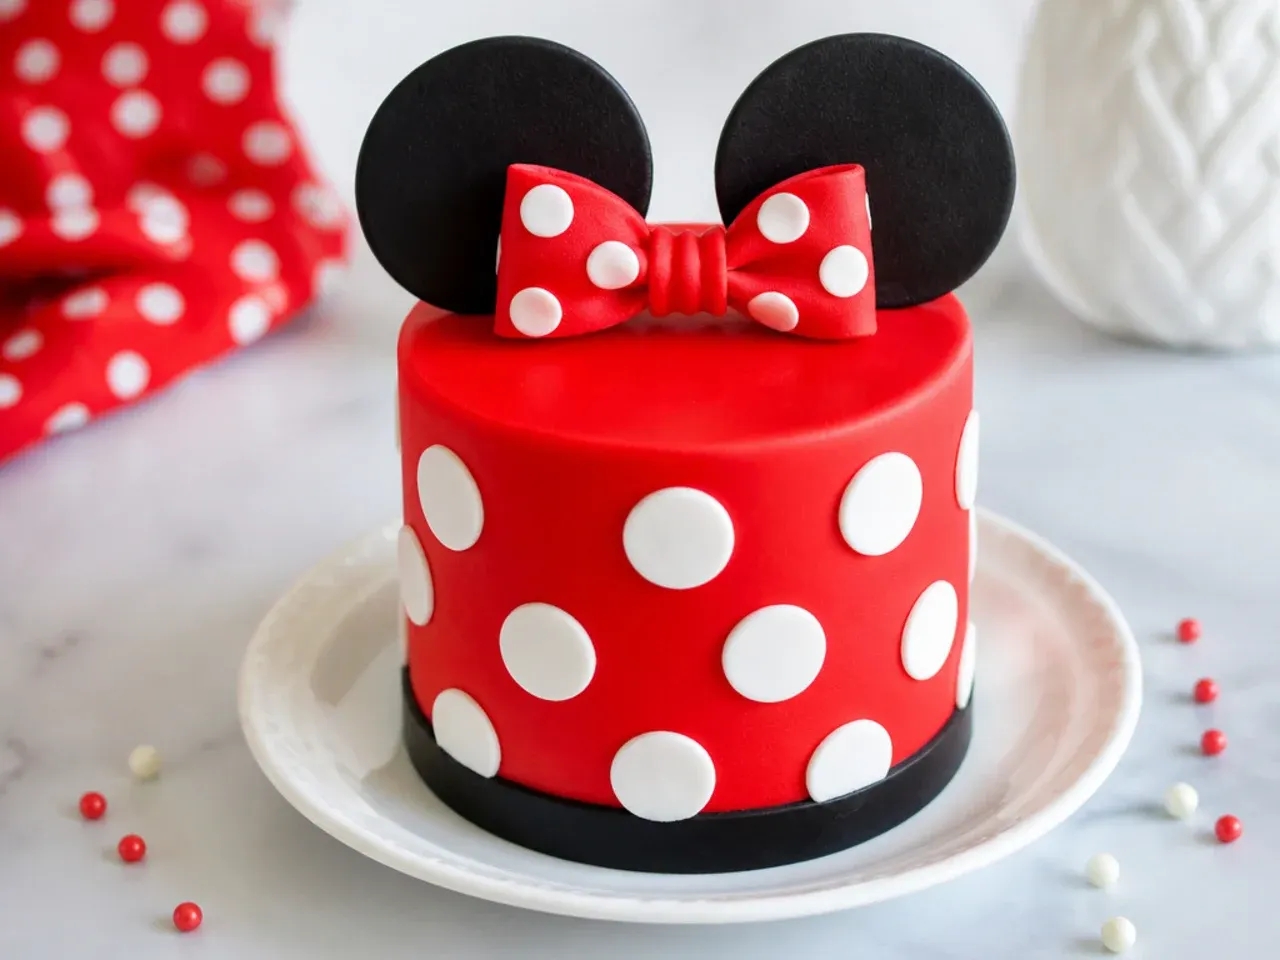
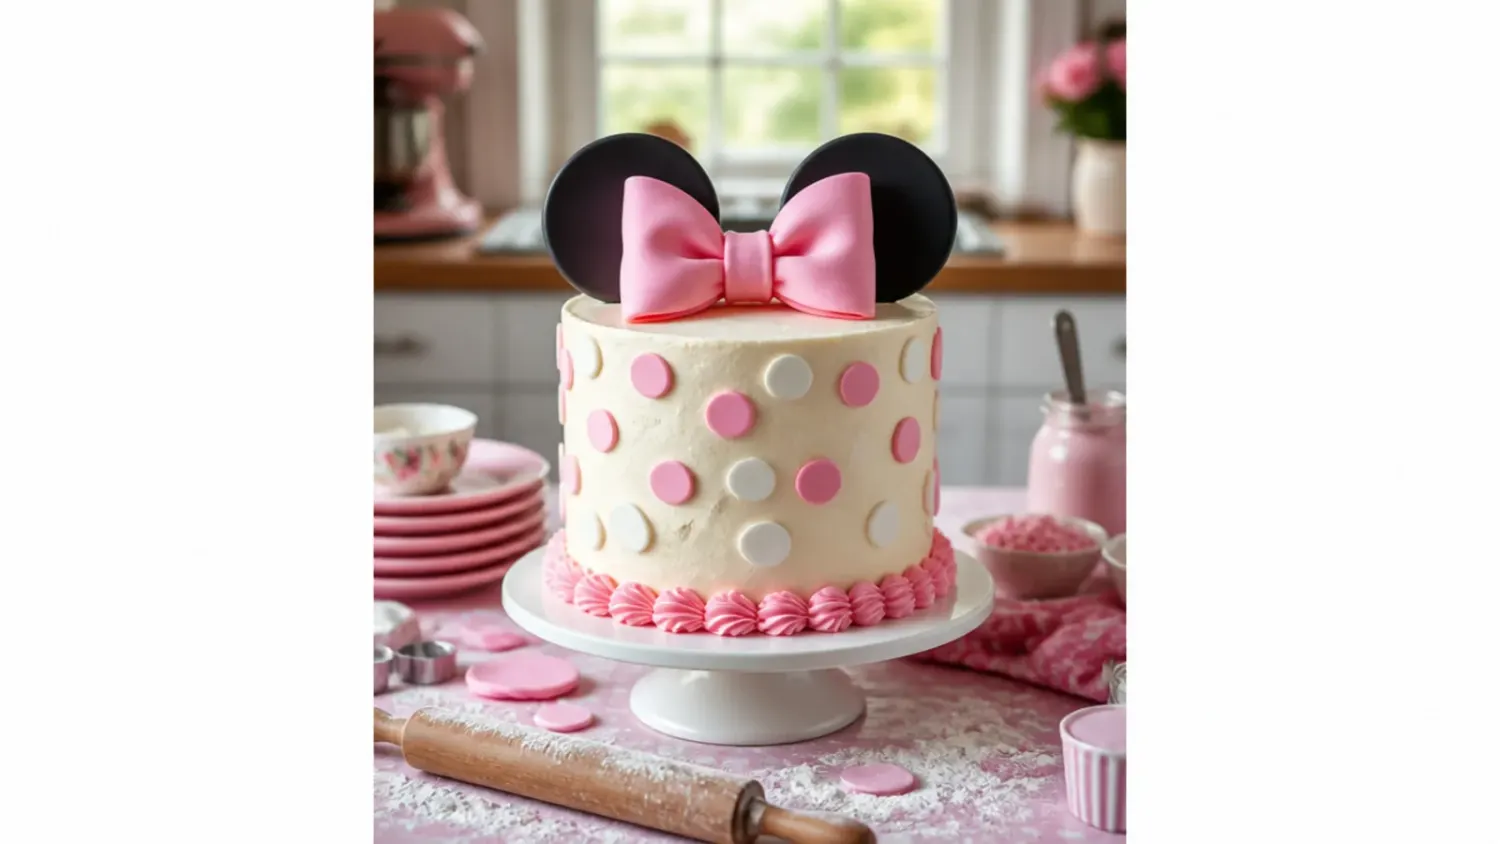
This is the design most people picture: a white buttercream 6-inch cake covered in evenly spaced red polka dots, finished with two rounded black ears and a red bow on top. Colour your buttercream with gel (not liquid) food dye so the cake stays firm, and pipe the dots with a Wilton 12 round tip held straight down for uniform circles. It works because the tight red-white-black palette reads instantly as Minnie-inspired without copying any trademarked face. For the ears, freeze two extra cake rounds cut with a 2.5-inch cutter, crumb-coat them in black buttercream and press them into the top with a bubble-tea straw for support.
2. Easy Box-Mix Buttercream Mini Cake
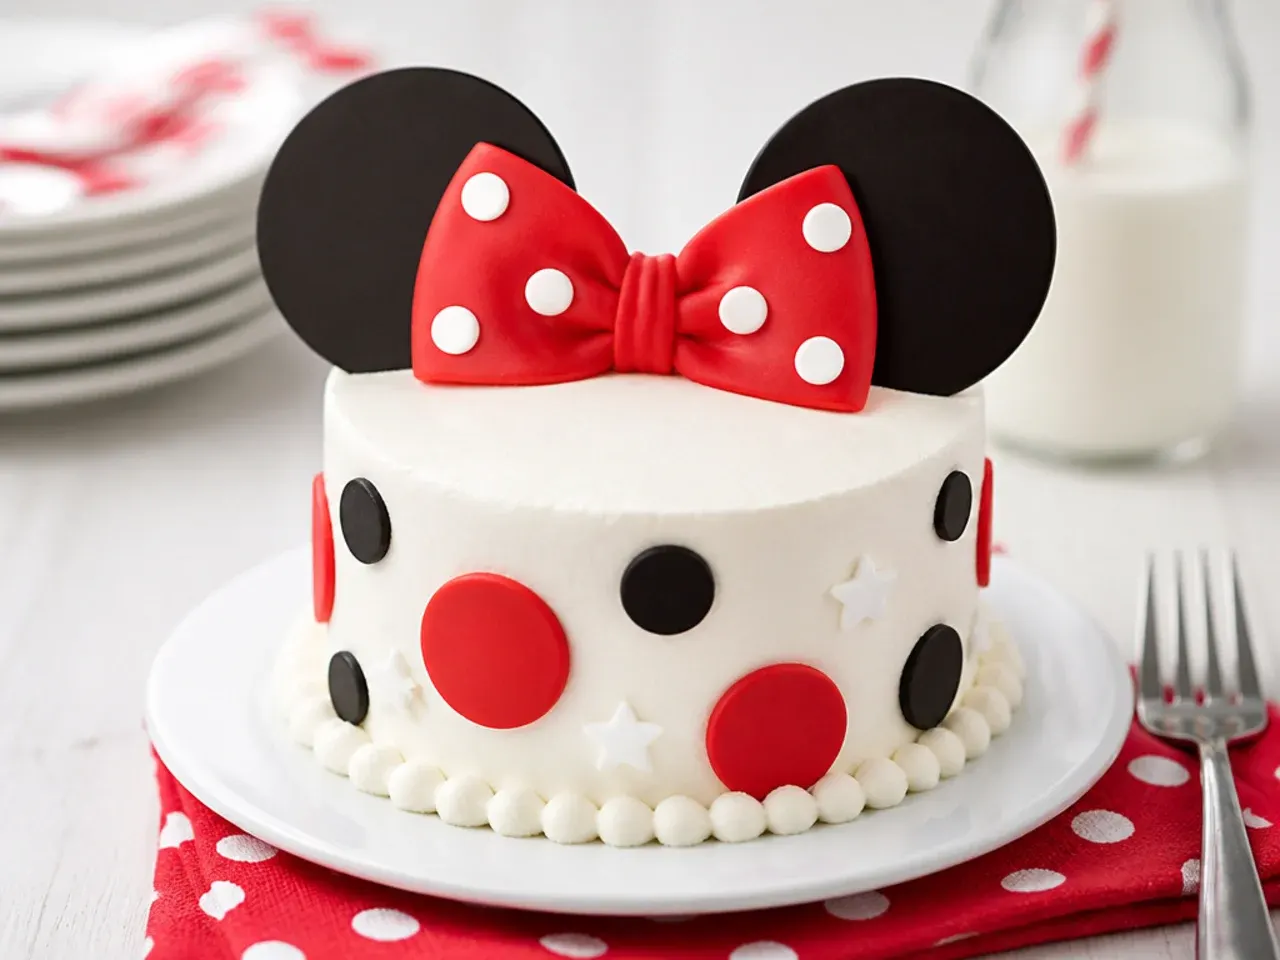
If you are short on time, bake the two 6-inch layers from a good box mix and focus your energy on decorating. Add an extra egg yolk and swap water for milk in the box directions to give the crumb a more homemade, moist texture. Smooth on white American buttercream, then use a piping bag with a coupler so you can switch between a round tip for dots and a leaf tip for a bow. This route is beginner-friendly because the cake itself is fail-safe and all the character comes from the black ears and red-and-white polka dots you add on top.
3. Elegant Pink Ombre Mini Cake with Fondant Bow
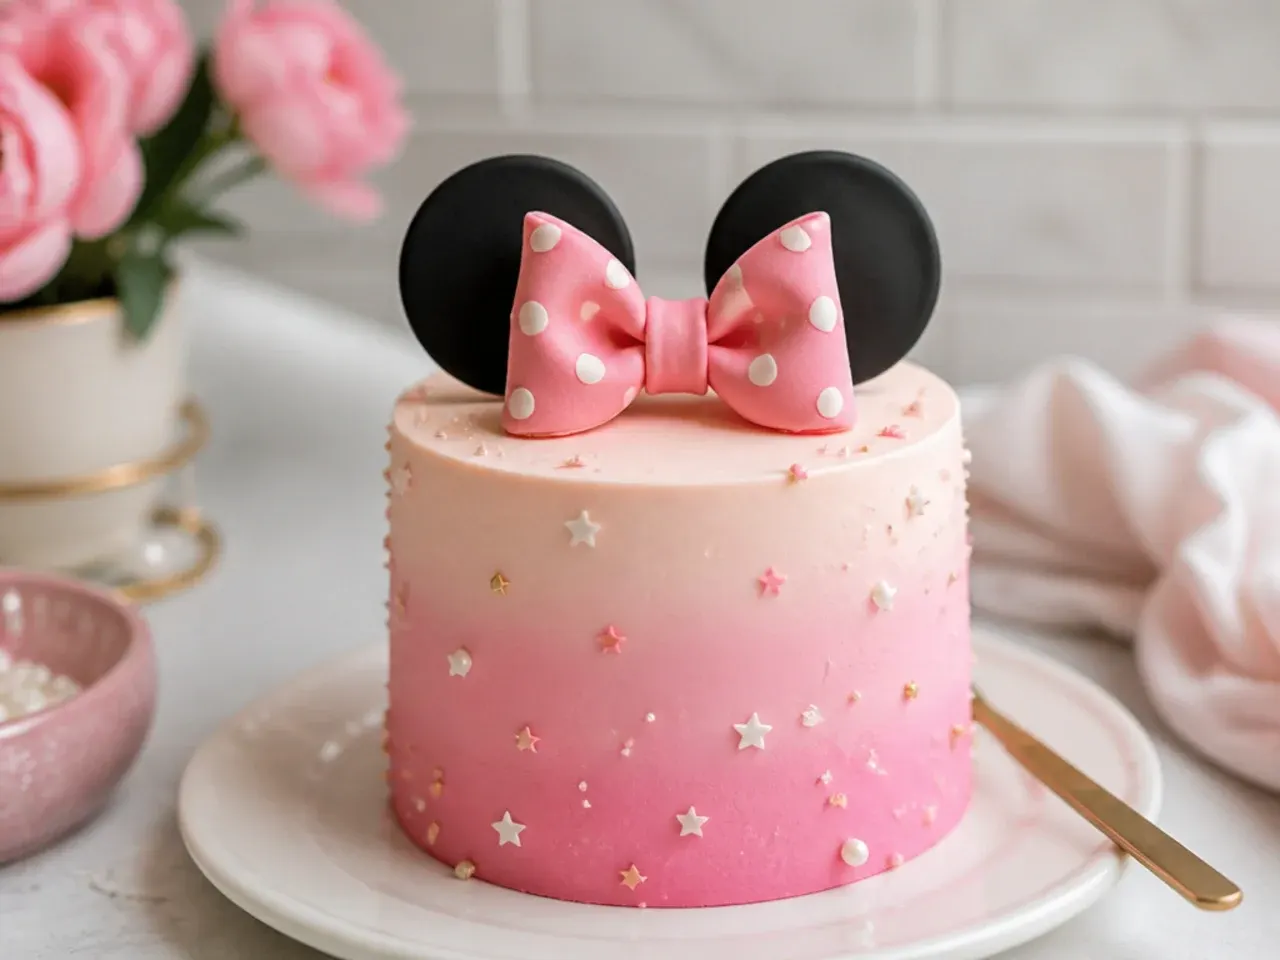
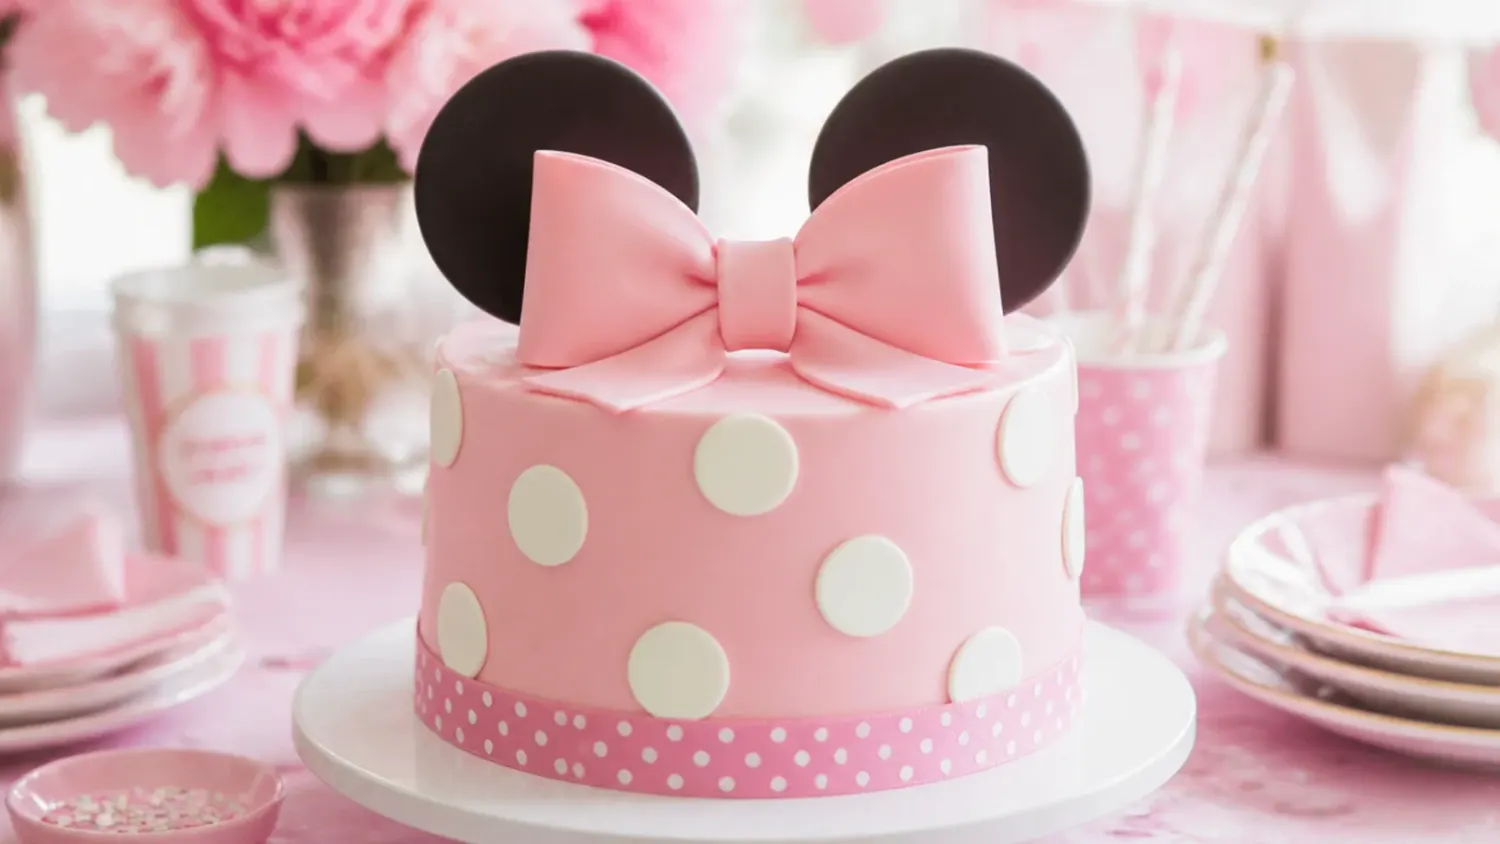
For a dressier look, frost the cake in three bands of pink buttercream that fade from deep rose at the base to pale blush at the top, then blend the seams with a warm bench scraper. Roll a fondant bow ahead of time using fondant stiffened with a quarter-teaspoon of CMC (tylose) powder so it holds a crisp loop shape overnight. Elegant cakes rely on clean edges, so chill the crumb coat for 20 minutes before the final coat and scrape the sides while the buttercream is cold. Add a scatter of tiny white fondant polka dots and one dusty-rose bow for a grown-up, tea-party feel.
4. Playful Rainbow Polka-Dot Mini Cake
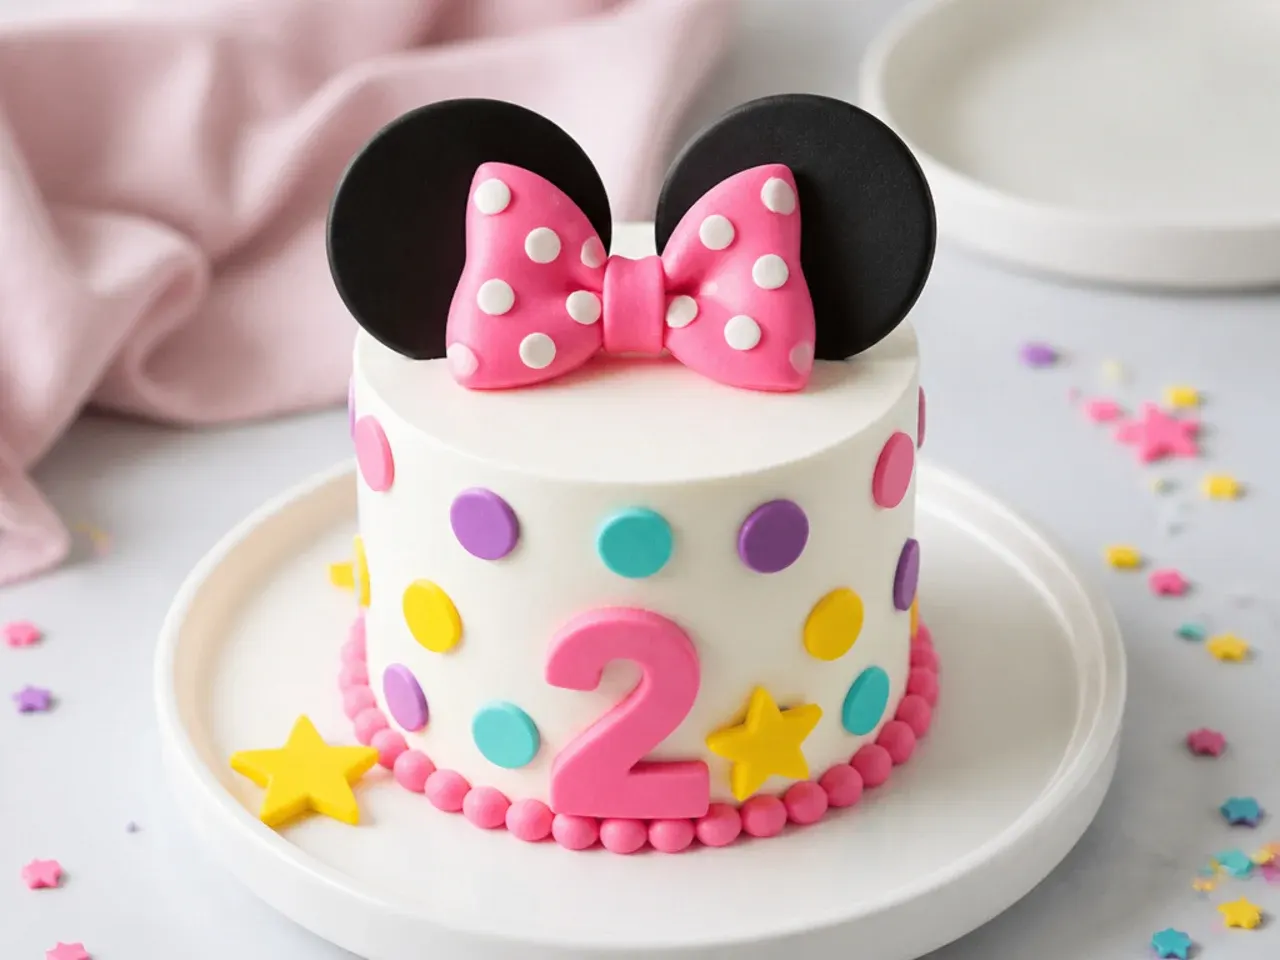
Swap the classic red for a confetti of multicolour dots piped in pink, yellow, teal and purple over a white base. Use a Wilton 10 round tip and vary the dot sizes slightly so it looks hand-scattered and fun rather than rigid. This design is perfect for a toddler party because the bright colours photograph beautifully and hide small imperfections. Keep the two rounded ears and a single bright bow so the cake still reads as Minnie-inspired even with the playful palette.
5. Modern Black-and-White Minimalist Mini Cake
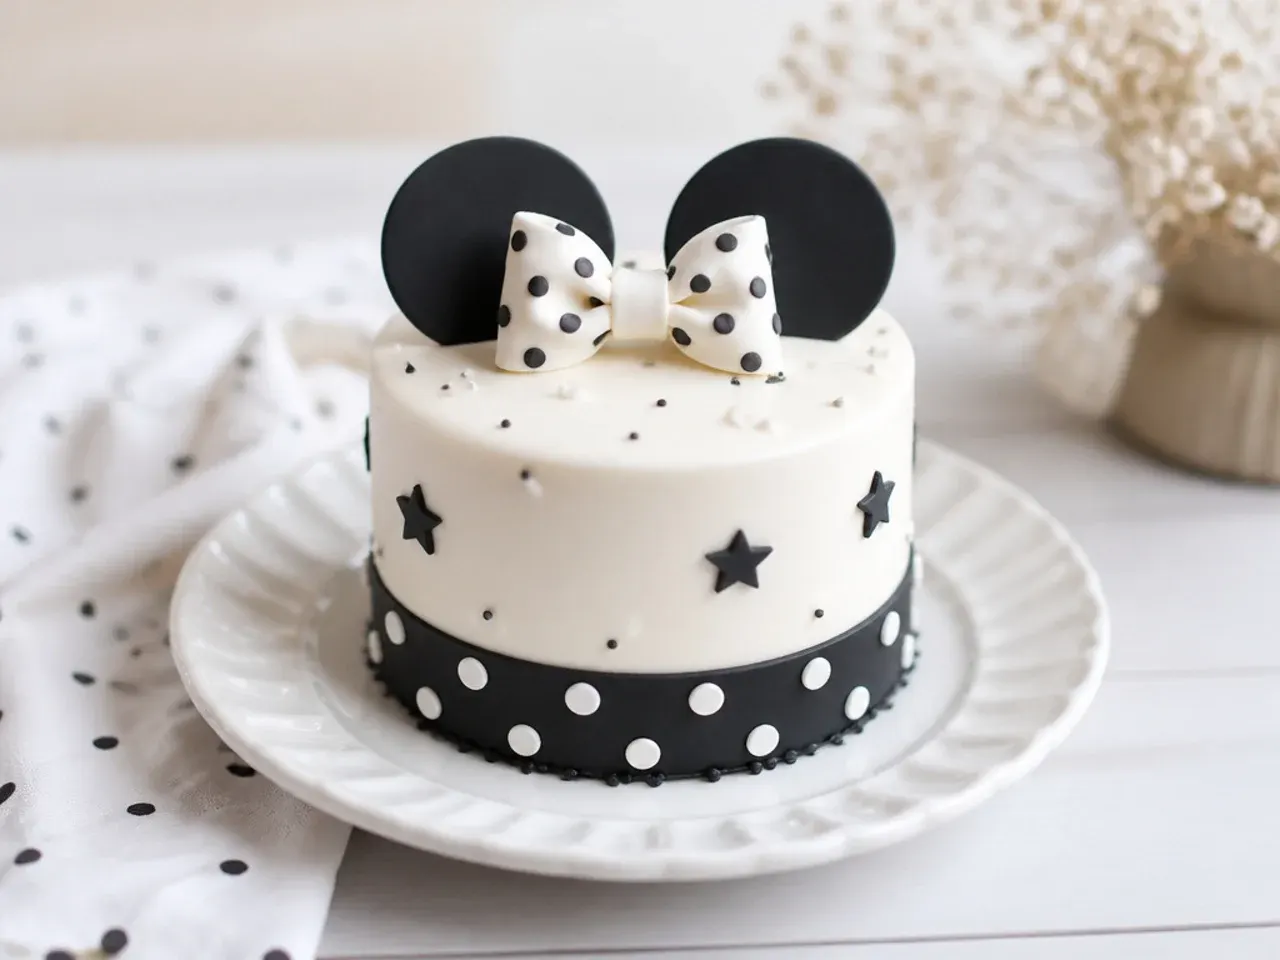
A modern take drops the pink entirely: a sharp white cake with a single row of oversized black polka dots and matte black ears. Achieve crisp edges by using a metal side scraper and doing a final smooth with a scraper dipped in hot water and dried. The restraint is what makes it feel contemporary, like something from a boutique bakery rather than a kids' party. Finish with one glossy black-and-white striped bow made from fondant ribbon folded into loops for a graphic, high-contrast statement.
Save this for later 📌
Pin this article to your Pinterest board so the full list is one tap away when you need it.
Save on Pinterest6. Rustic Naked Mini Cake with Berries
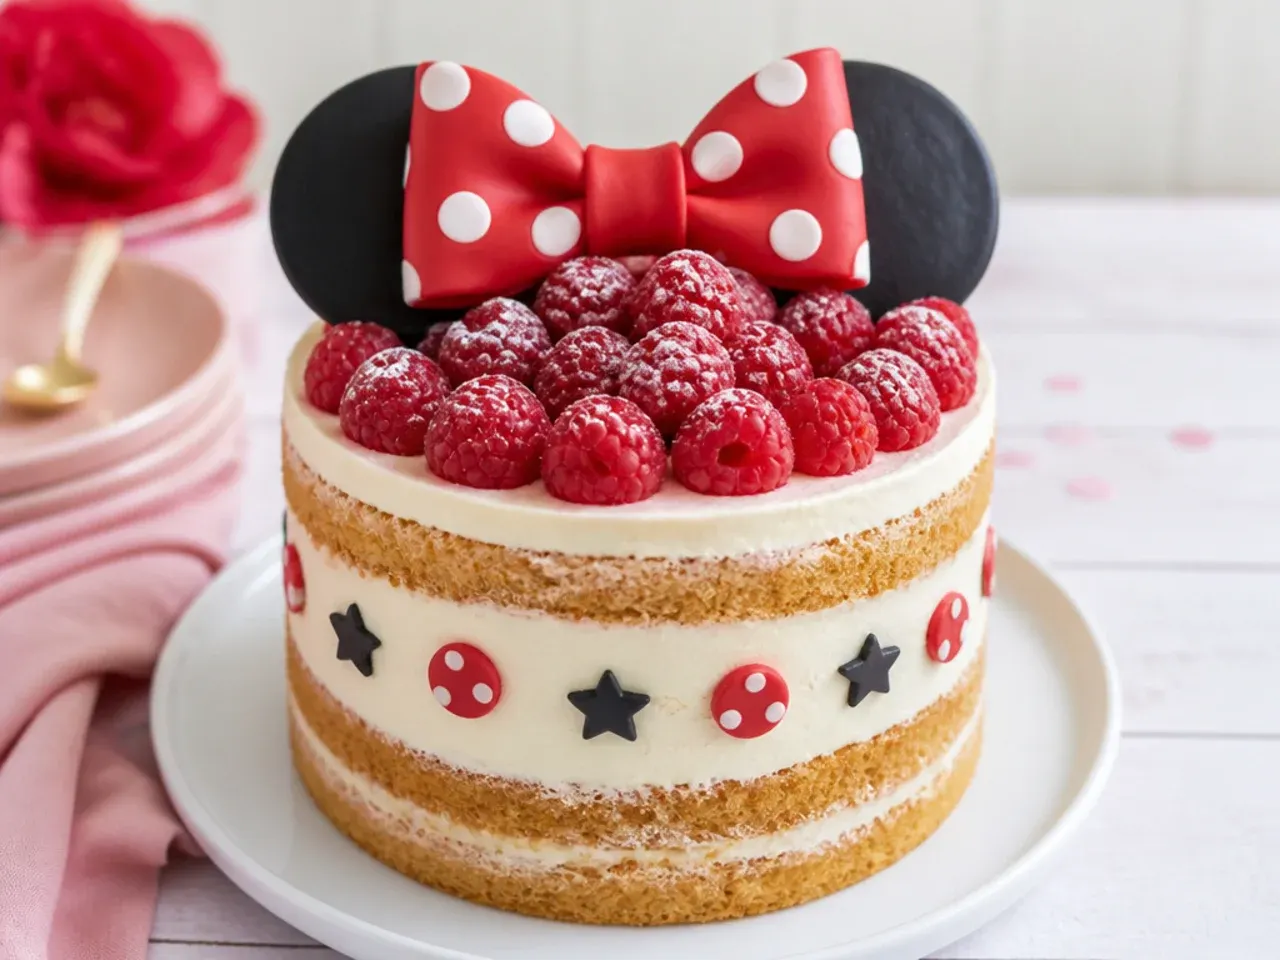
Skip full coverage and scrape most of the buttercream off so the vanilla sponge peeks through in a naked-cake style. Pipe just a few red polka dots on the exposed sides and pile fresh raspberries and a red bow on top for a semi-homemade, farmhouse look. This works because the imperfect finish is forgiving for beginners and the berries echo Minnie's red without any fondant. Dust the top lightly with icing sugar and add two rounded chocolate-cookie ears (use two round wafer biscuits) for an easy, rustic ear alternative.
7. Colorful Hot-Pink and Yellow Mini Cake
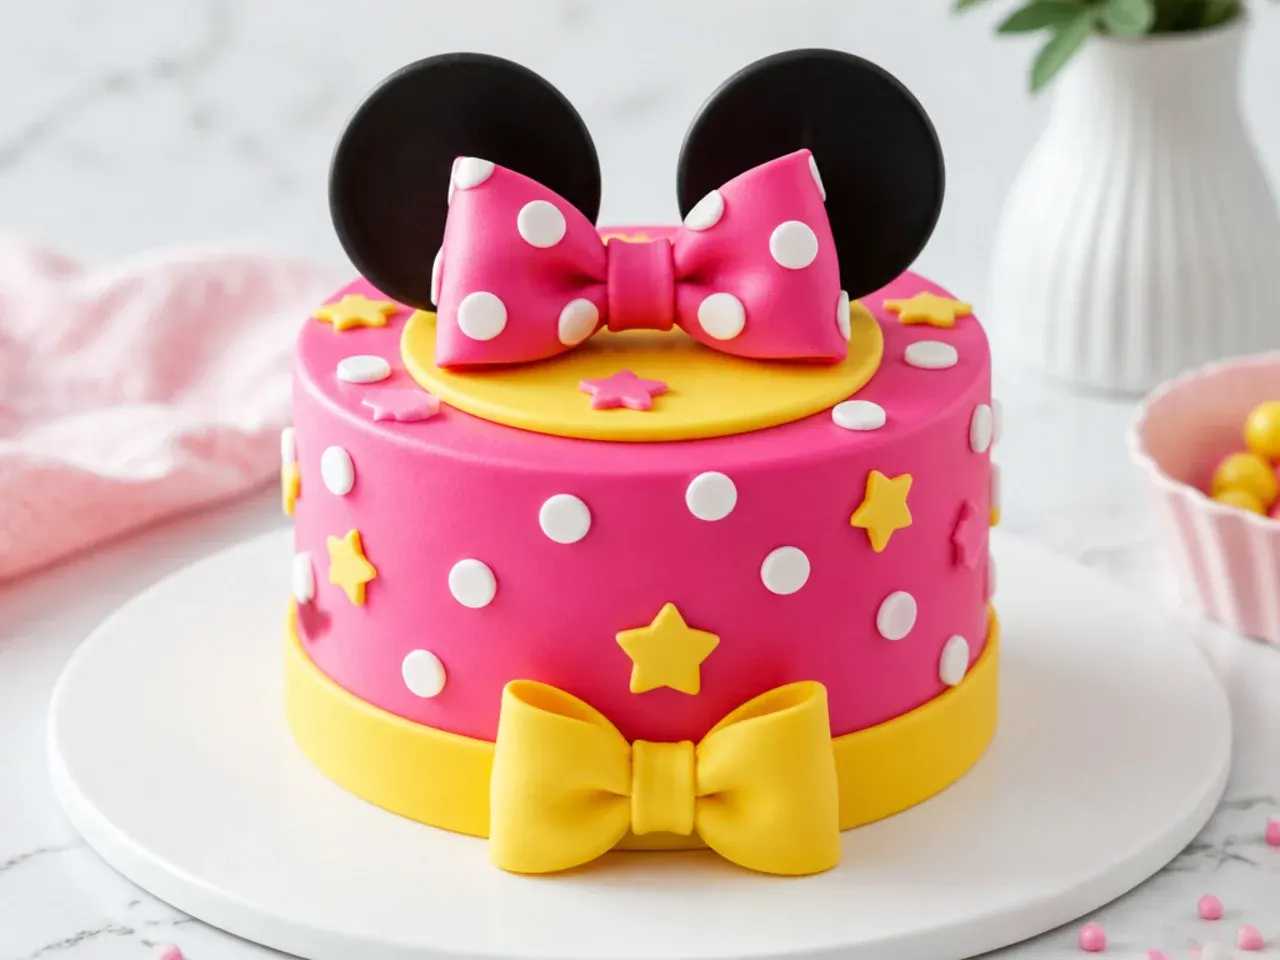
Turn up the saturation with a hot-pink buttercream base, a bright yellow bow and white polka dots. Use gel colours and let the tinted buttercream rest an hour before piping, as pink and red deepen over time and you can avoid over-colouring. The bold pink-and-yellow combo nods to Minnie's sunnier outfits and stands out on a dessert table. Pipe the polka dots in two sizes with Wilton 8 and 12 tips to add visual rhythm across the sides.
8. Minimal Single-Bow Mini Cake
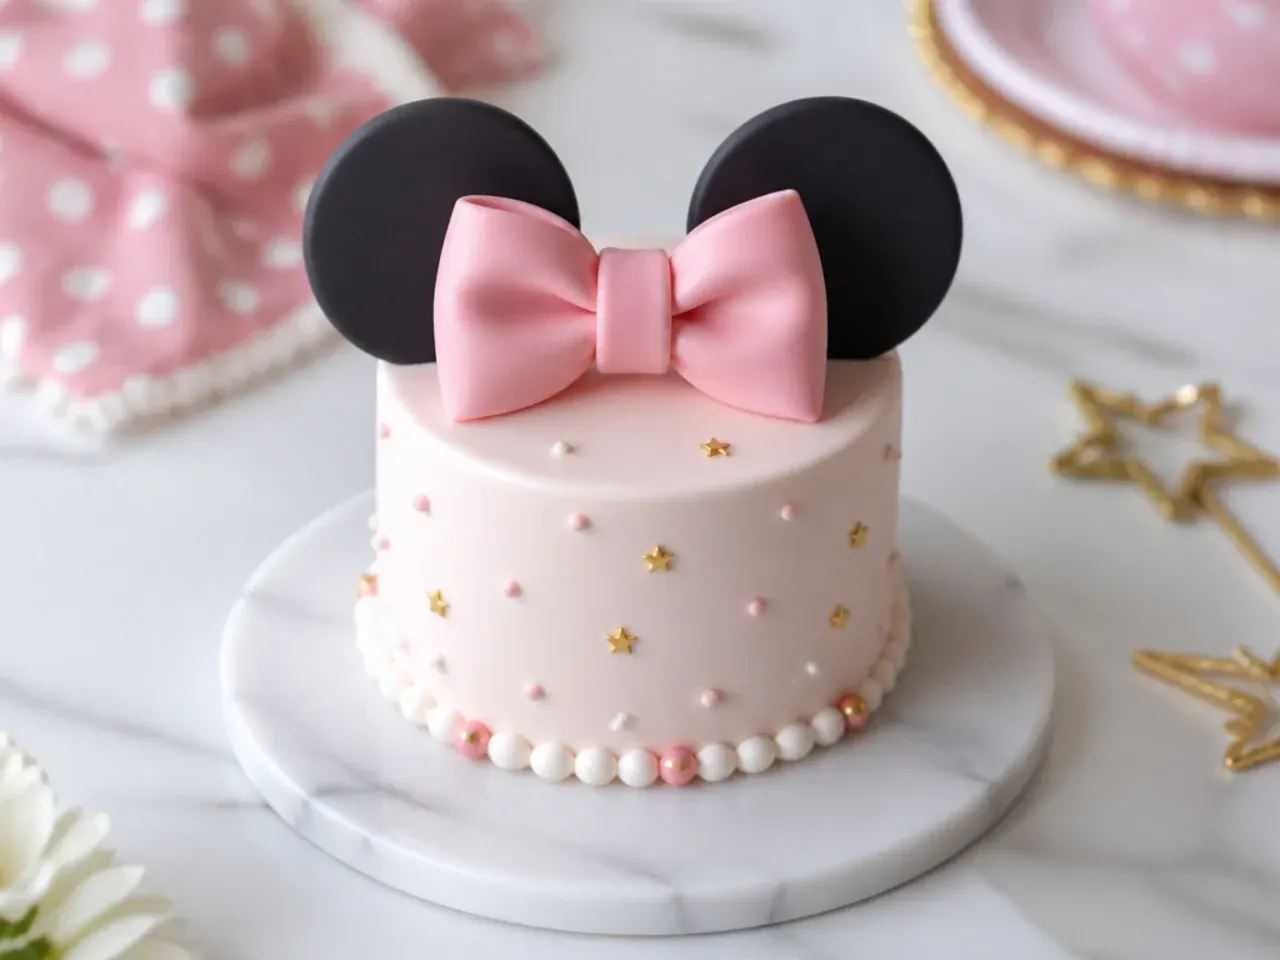
Sometimes one perfect detail is enough: a plain white or blush cake with clean sides and a single, large statement bow as the only decoration. Make the bow oversized (about a third of the cake's height) so it becomes the focal point, and position it slightly off-centre for a designer feel. This minimalist approach is ideal if you are nervous about piping dozens of even polka dots. The simplicity keeps it elegant while the bow and two subtle ears still signal the Minnie-inspired theme.
9. Festive Birthday-Number Mini Cake
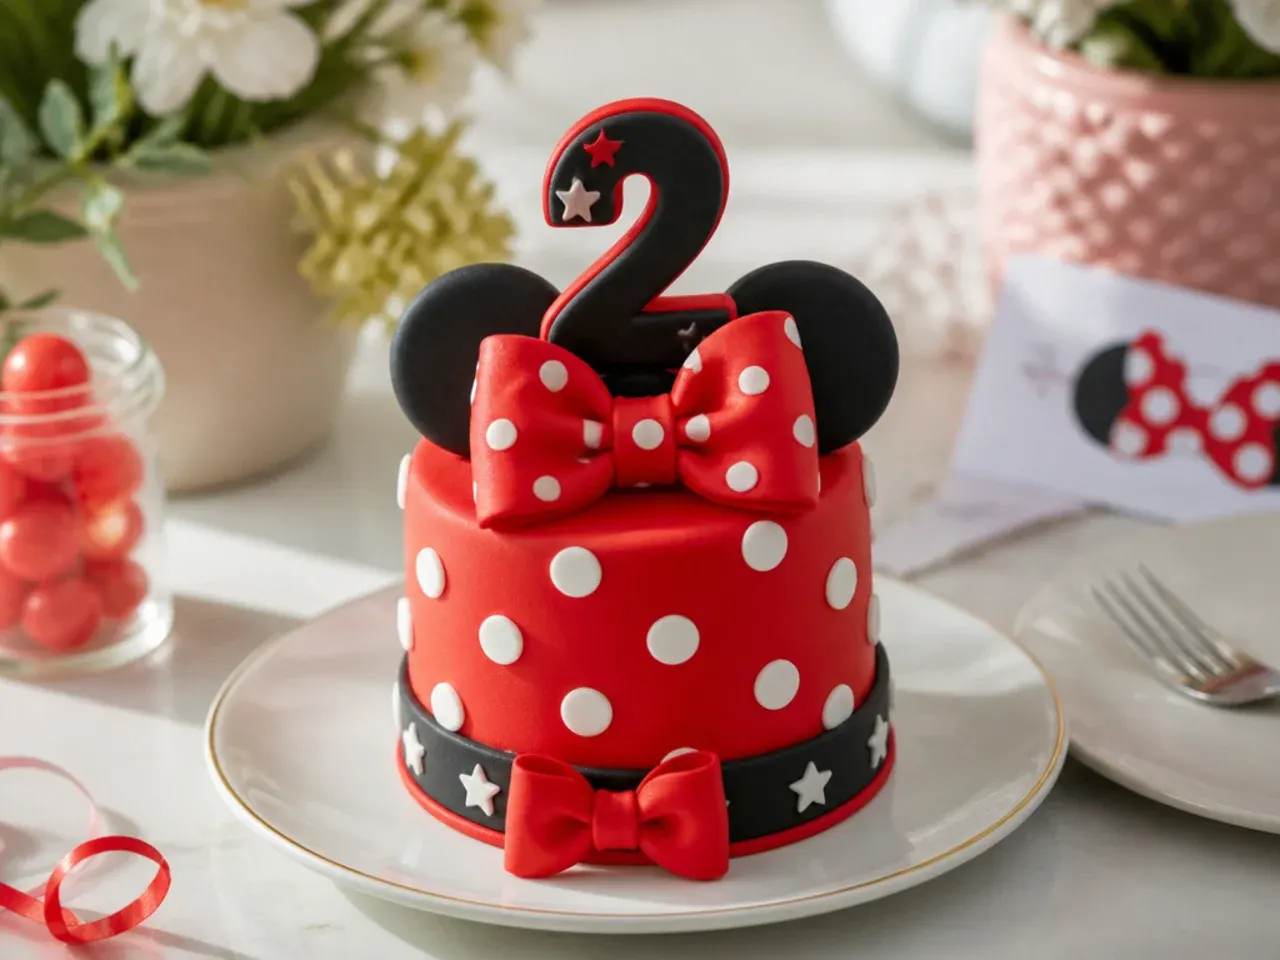
Add a fondant or acrylic number topper to turn the cake into a dated birthday centrepiece, pairing it with red-and-white polka dots and a bow. Cut the number from fondant using a set of number cutters, let it dry flat on parchment overnight, then push a toothpick into the base to anchor it upright. This is the version parents search for most because it personalises the cake for a specific age. Keep the ears and bow so the theme stays clear even with the number added front and centre.
10. Whimsical Pastel Cloud Mini Cake
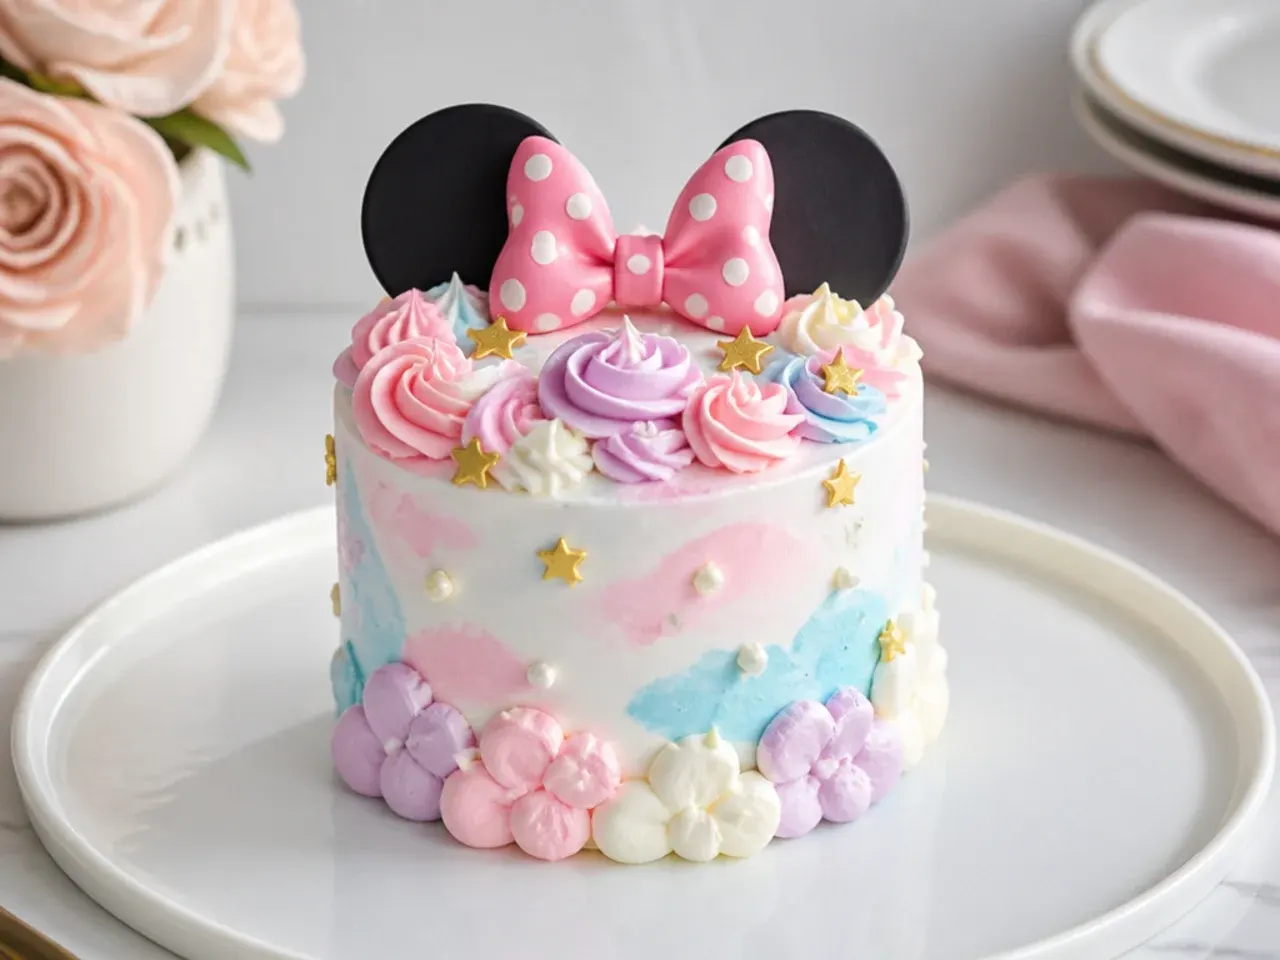
For a soft, dreamy version, frost in pale pastel pink and pipe fluffy buttercream clouds around the base using a Wilton 1M star tip in a swirling motion. Scatter a few white polka dots and add a pastel bow for a gentle, storybook aesthetic. The whimsy comes from texture rather than sharp lines, which makes it very forgiving for beginners who struggle with perfectly smooth sides. Two rounded ears floating above the clouds complete the airy, playful theme.
Save this for later 📌
Pin this article to your Pinterest board so the full list is one tap away when you need it.
Save on Pinterest11. Bold Colour-Block Mini Cake
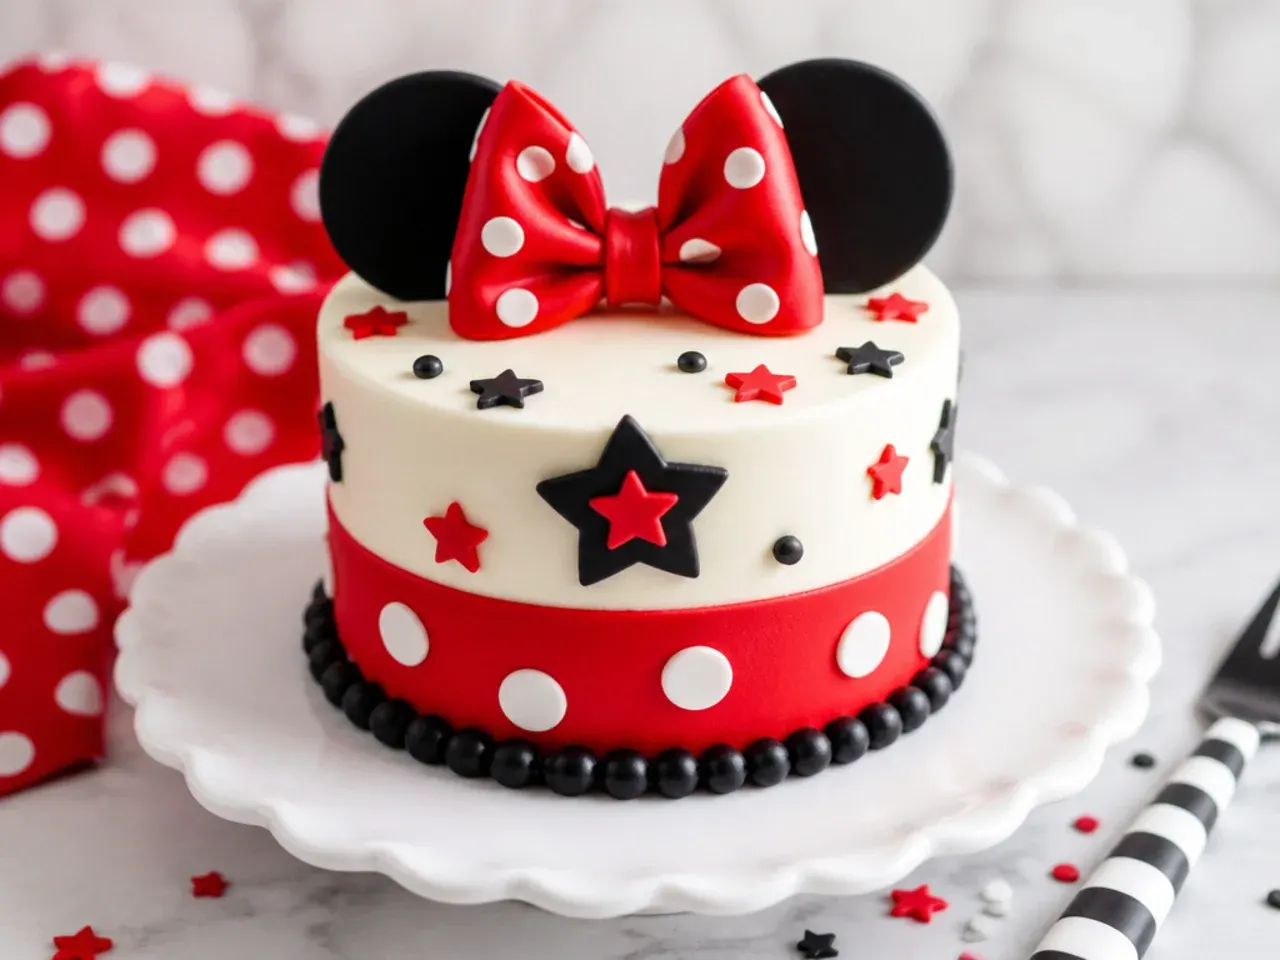
Divide the cake vertically or horizontally into blocks of solid red, white and black for a striking graphic look. Chill each colour section before adding the next so the buttercream colours stay crisp and do not bleed into one another. Bold colour-blocking feels modern and is surprisingly easy because you are working with large flat areas rather than fiddly details. Add a few contrasting polka dots at the seams and a single bow to keep it recognisably Minnie-inspired.
12. Delicate Lace-Piped Mini Cake
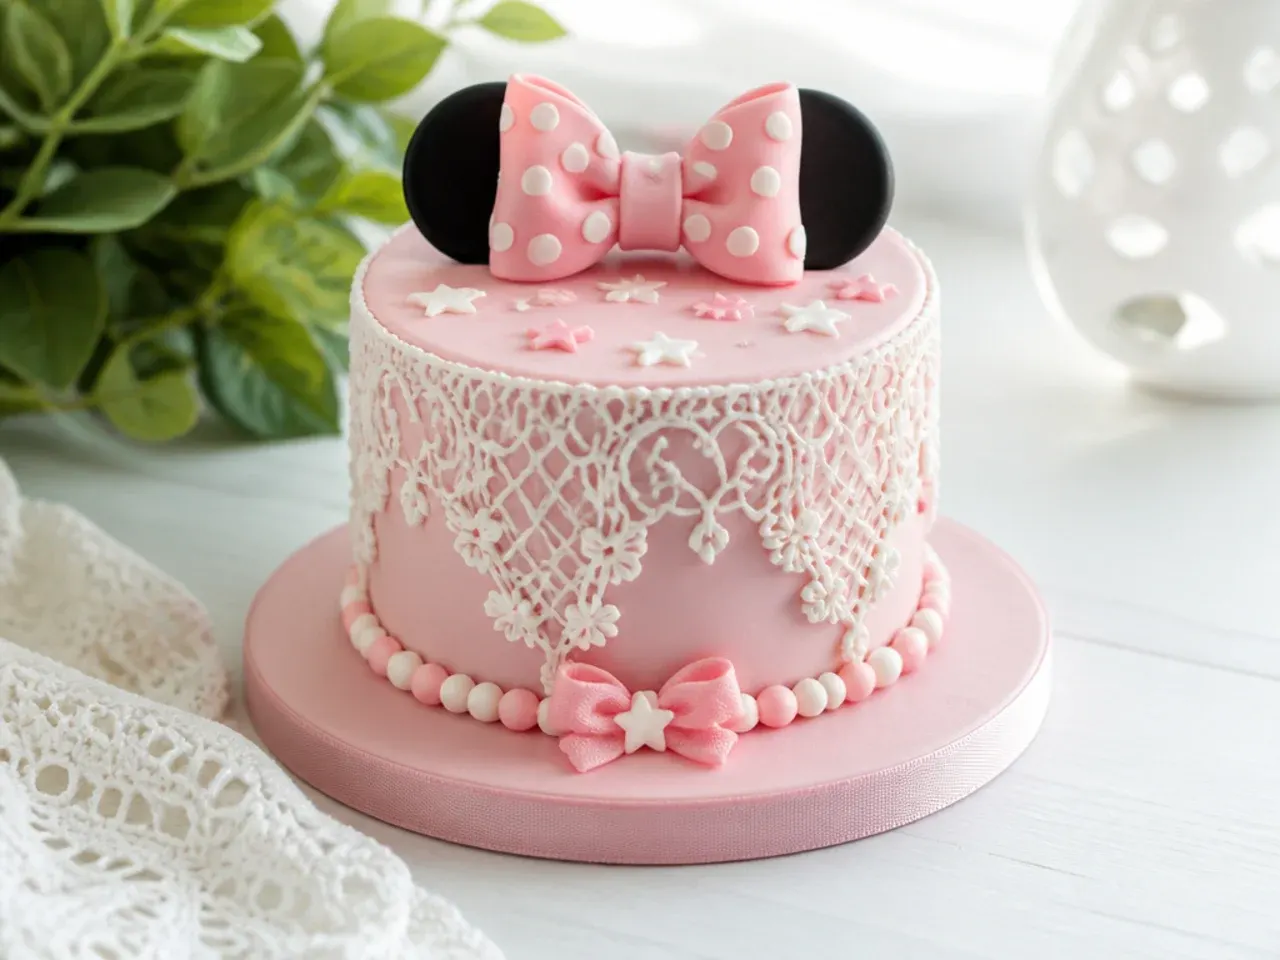
Give the cake a vintage, feminine finish with delicate white piped lace using a Wilton 1 or 2 round tip over a blush base. Pipe the lace freehand or trace a pattern with a food-safe marker first, keeping consistent pressure for even lines. This delicate detail work elevates a simple cake into something that looks bakery-made and is lovely for a christening or first birthday. Finish with a small bow and tiny pearl sprinkles instead of big dots to keep the look refined.
13. Vintage Cream and Gold Mini Cake
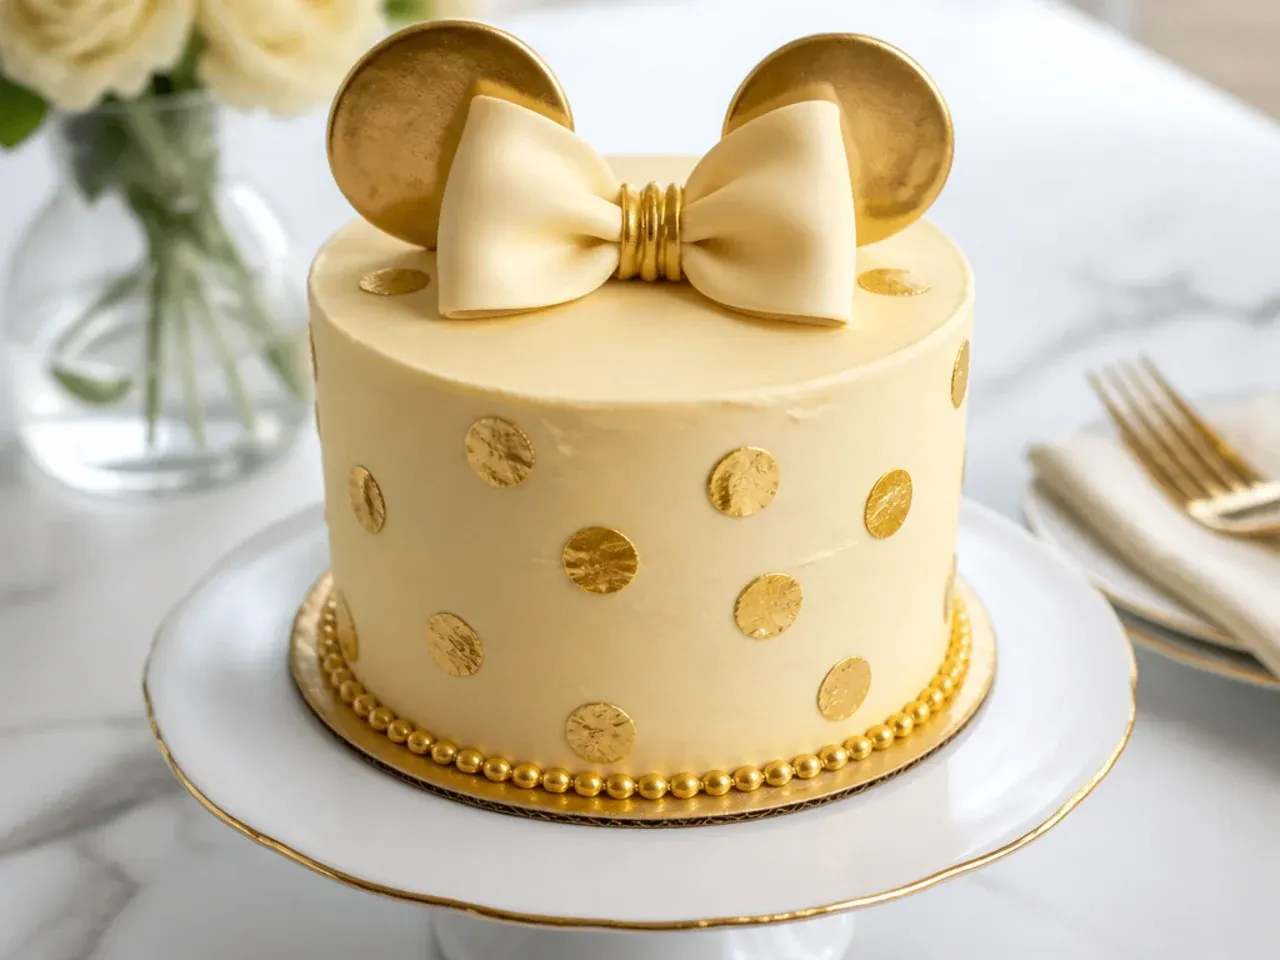
Trade bright red for a soft cream buttercream accented with edible gold-leaf polka dots and a dusty-rose bow. Apply gold leaf with a dry, clean brush and a dab of piping gel so the flakes stick cleanly to the buttercream. The muted, antique palette feels sophisticated and photographs beautifully in natural light for an elegant celebration. Two cream-coloured ears with a subtle gold dust finish keep it Minnie-inspired while feeling grown-up and timeless.
14. Creative Watercolour Buttercream Mini Cake
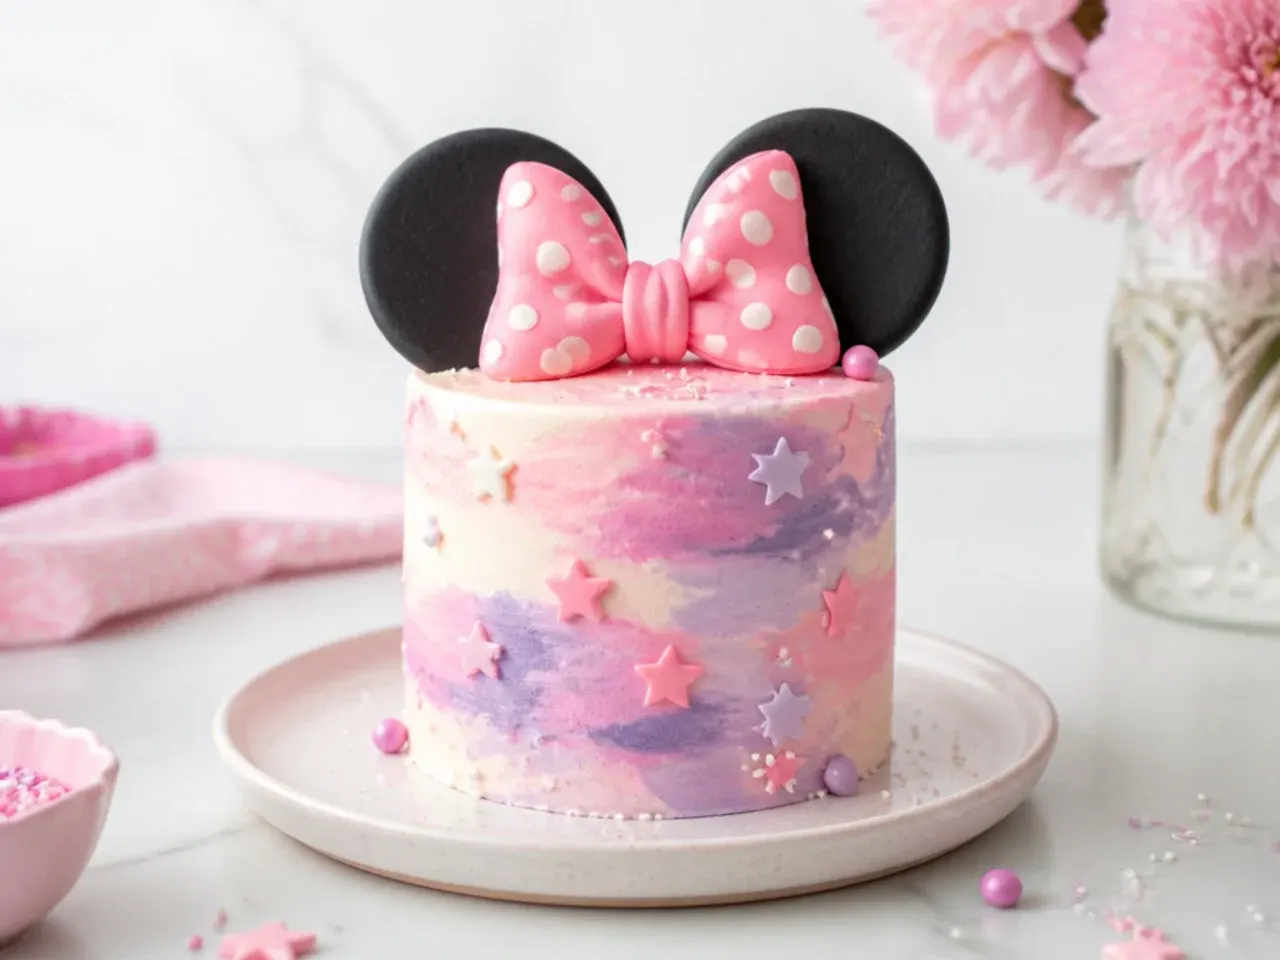
Create a watercolour effect by dabbing thinned patches of pink, lilac and grey buttercream onto a white base and blending gently with an offset spatula. Work quickly while the buttercream is soft, then chill and smooth with a warm scraper for a painterly, wispy finish. This artistic technique hides streaks and is genuinely hard to get wrong, making it great for confident beginners. Add scattered white polka dots and a bow so the creative background still ties back to the Minnie-inspired theme.
15. Charming Ruffle-Skirt Mini Cake
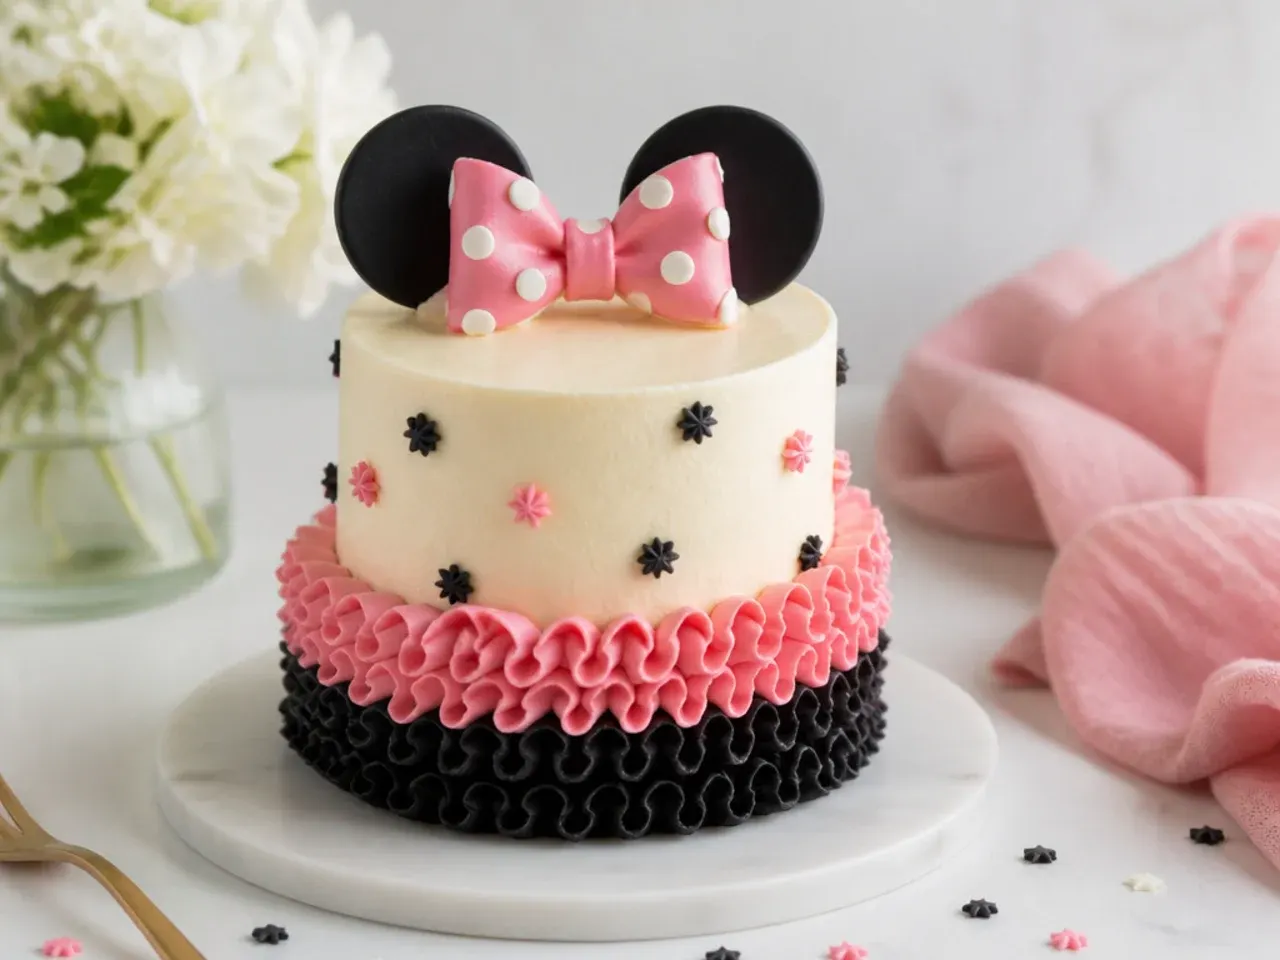
Pipe overlapping vertical buttercream ruffles down the sides using a Wilton 104 petal tip to mimic a polka-dot dress skirt. Hold the tip with the wide end down and wiggle gently as you pull upward for soft, ribbon-like folds. The ruffled texture is charming and forgiving because the folds disguise any uneven crumb coat underneath. Top with a smooth cap of buttercream, a few red polka dots and a bow with two rounded ears for a sweet, dressed-up finish.
Save this for later 📌
Pin this article to your Pinterest board so the full list is one tap away when you need it.
Save on Pinterest16. Classic Two-Tier Mini Stacked Cake
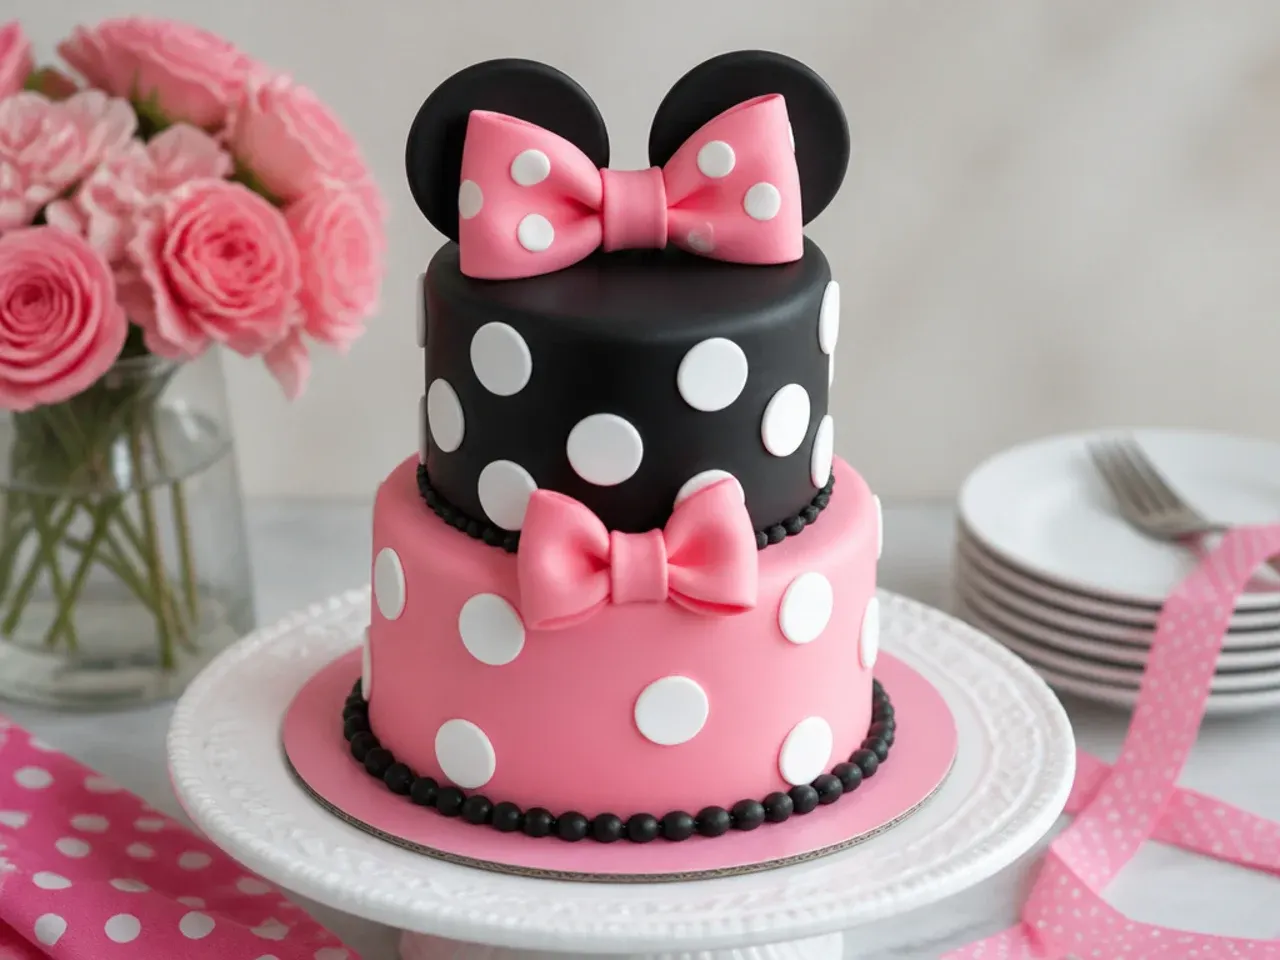
Stack two small tiers (a 4-inch on top of a 6-inch) for a formal look that still stays mini and manageable. Insert three bubble-tea straws or dowels into the bottom tier, trimmed flush, to carry the weight of the upper tier without sinking. Keep the bottom tier white with red polka dots and the top tier pink, echoing the classic dress-and-bow palette. This tiered format looks impressively professional yet uses the same easy 6-inch base recipe scaled down for the top tier.
17. Easy Cupcake-Style Pull-Apart Mini Cake
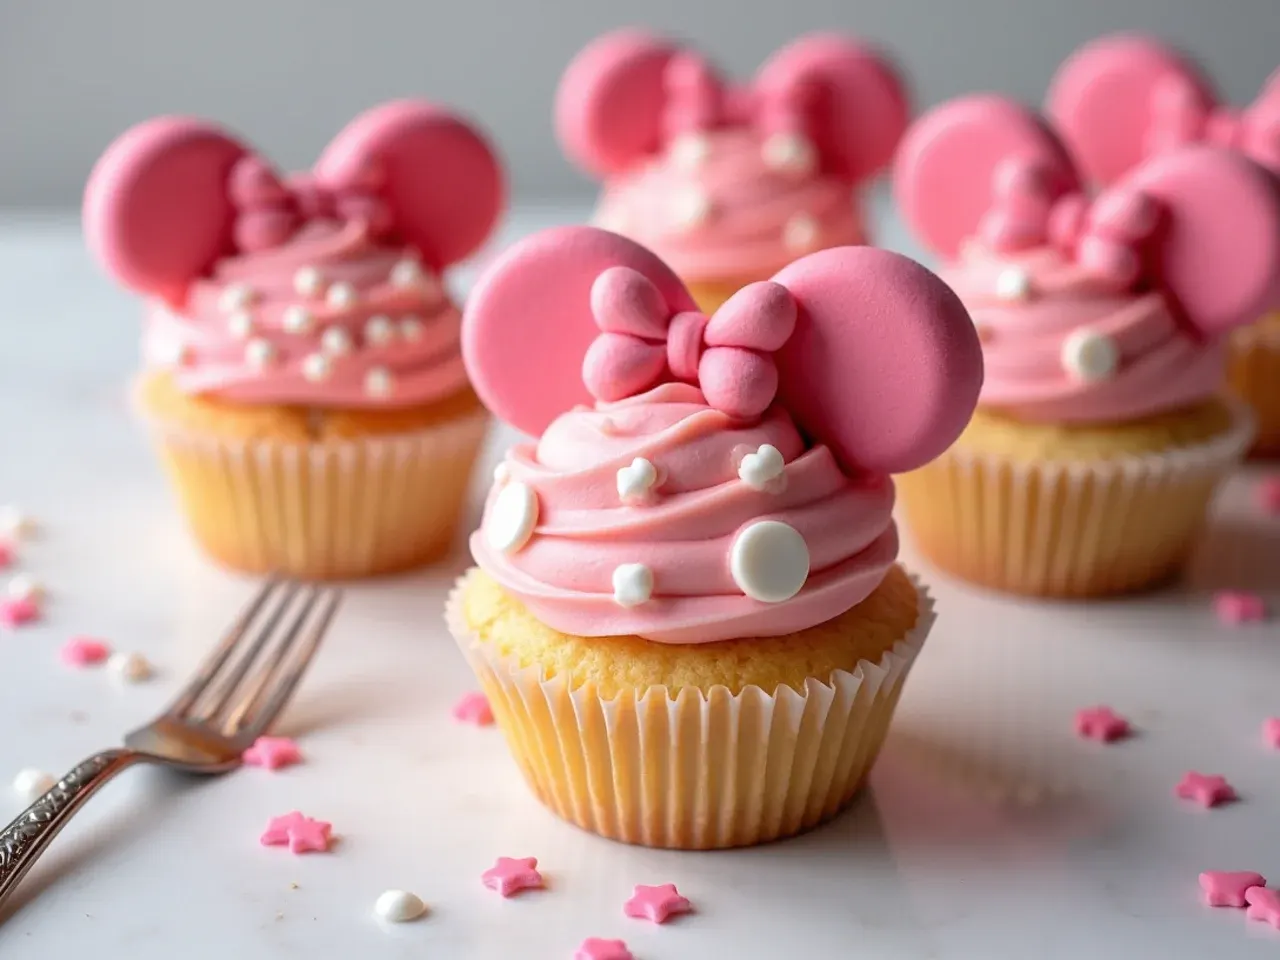
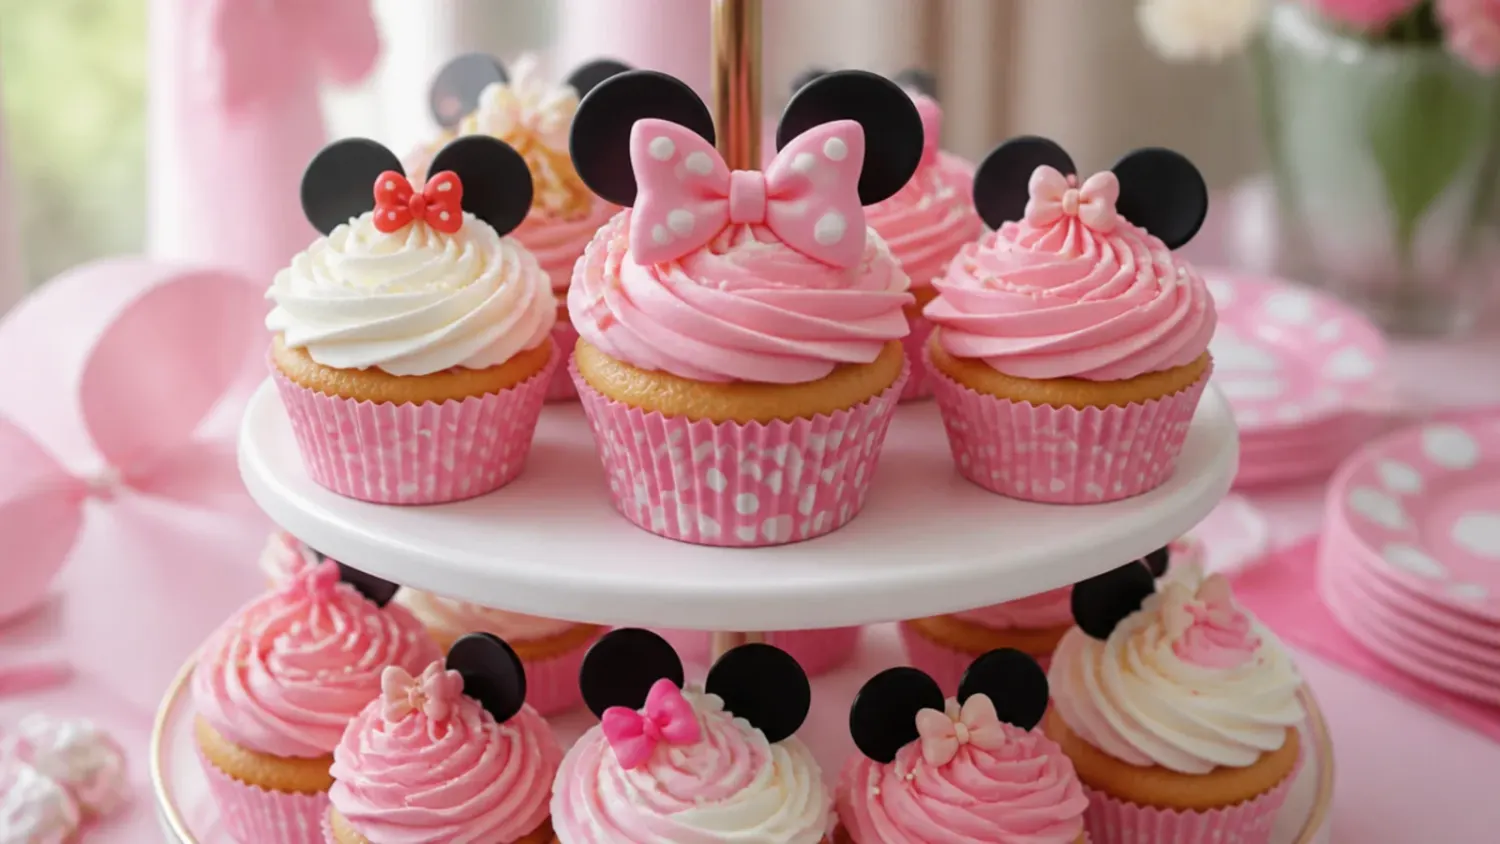
Arrange a cluster of mini cupcakes to form one large shareable cake, icing them together so the polka-dot pattern spans the whole surface. Bake the batter in a mini muffin tin at 350°F (177°C) for 12-14 minutes, then frost with a Wilton 1M swirl before adding tiny fondant dots. This pull-apart style is the easiest to serve at a party because guests simply lift a cupcake with no cutting required. Place two larger frosted cupcakes at the top as the rounded ears and add a fondant bow in the centre.
18. Elegant White-Chocolate Drip Mini Cake
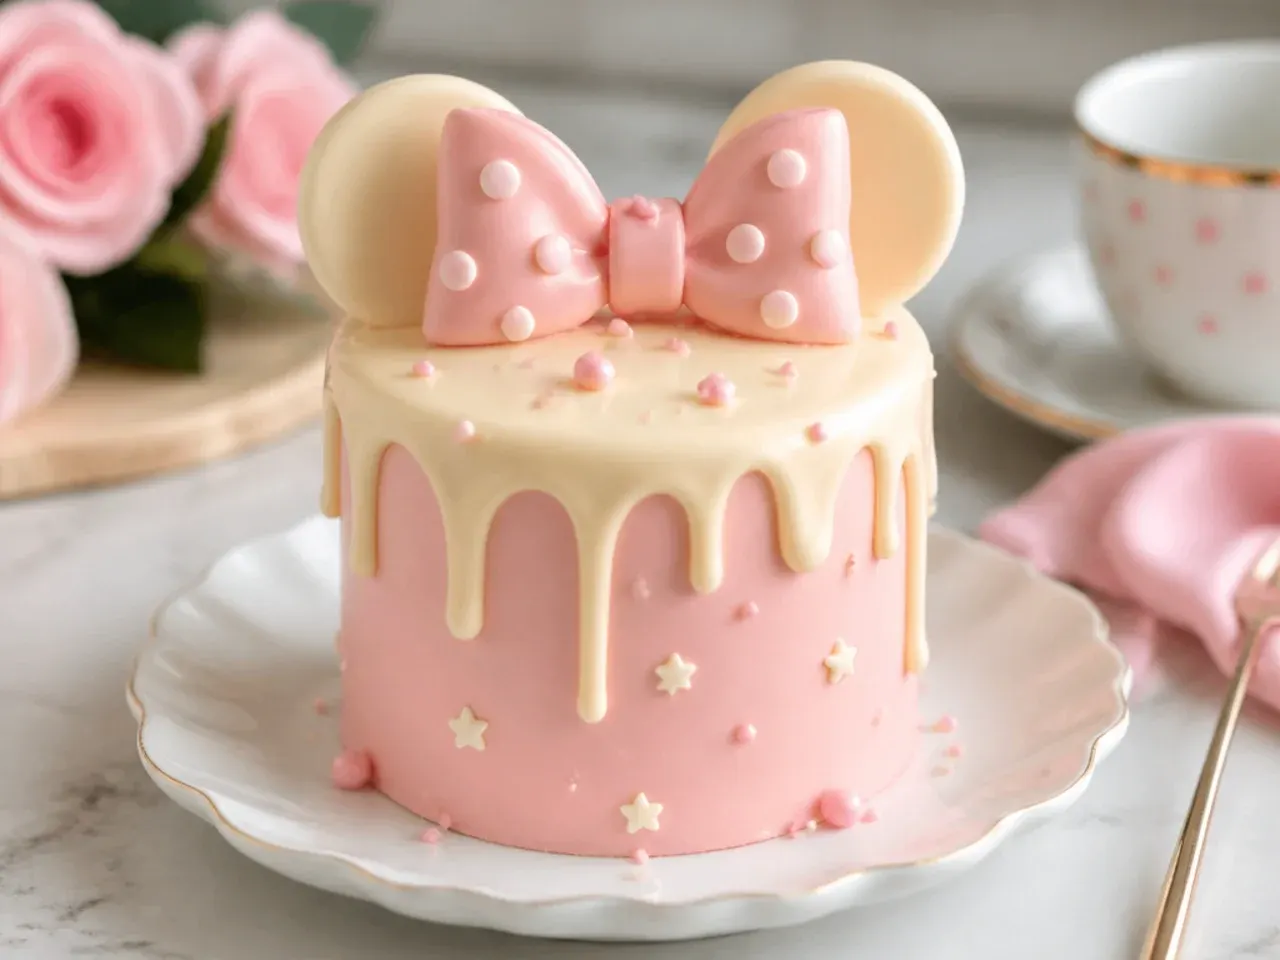
Add a modern pink or red white-chocolate drip cascading down the sides of a white buttercream cake. Melt white chocolate with a little cream, tint it, cool it to about 32°C (90°F) so it is pourable but not runny, and test one drip on the chilled cake before doing the full ring. The glossy drip instantly upgrades a simple cake to a trendy, elegant finish. Crown it with polka dots, a bow and two ears for a Minnie-inspired cake that looks straight out of a modern bakery.
19. Playful Sprinkle-Explosion Mini Cake
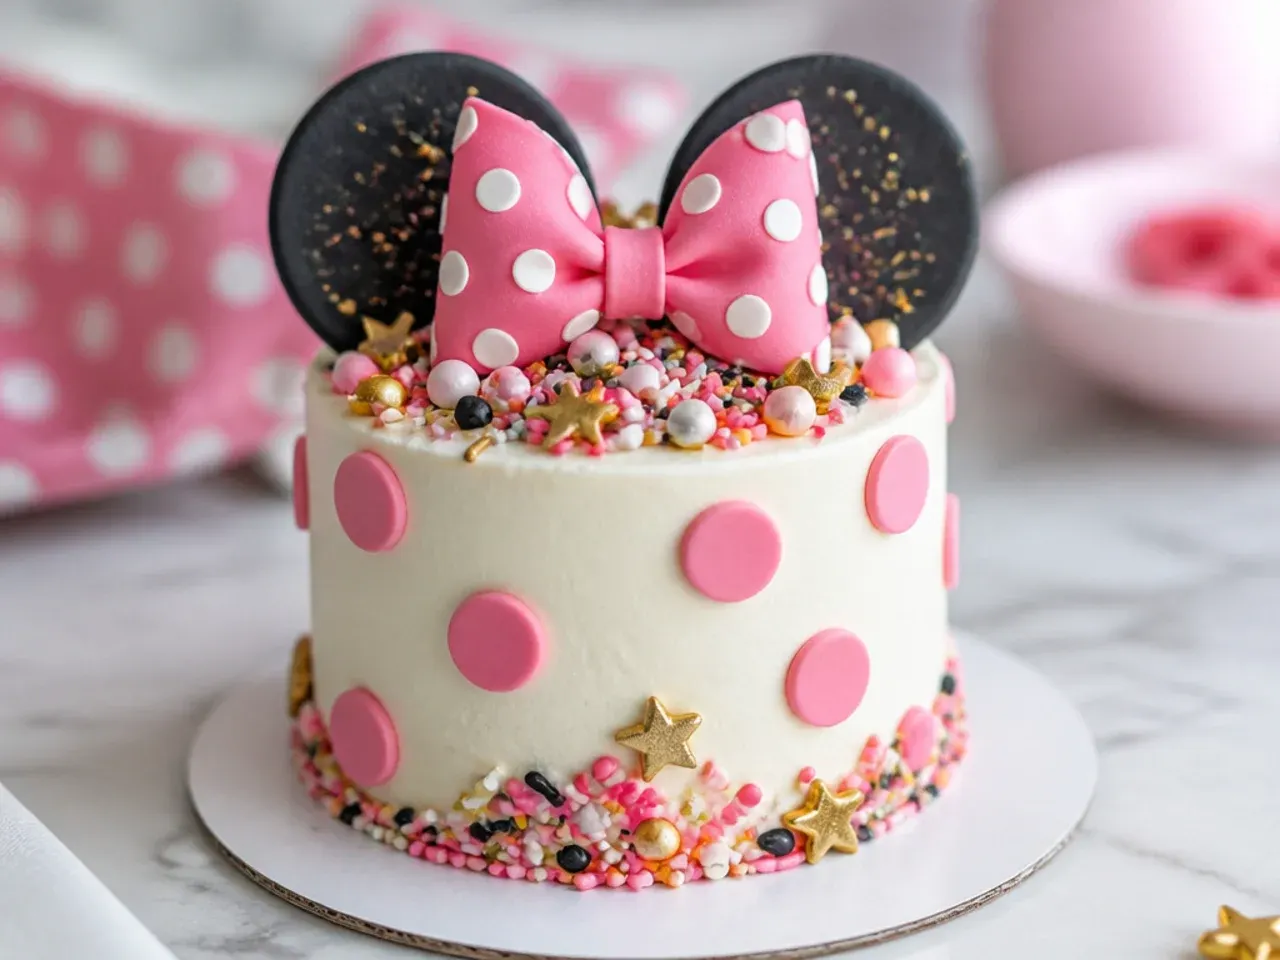
Press a generous coat of red, white and black sprinkles onto the lower half of the cake for a fun, textured funfetti border. Hold the cake over a tray on your palm and gently press handfuls of sprinkles into chilled buttercream, letting the excess fall back for reuse. Kids love the confetti effect and it is one of the fastest ways to cover imperfect sides. Leave the top clean for a few piped polka dots, a bow and rounded ears so the playful sprinkles do not overwhelm the theme.
20. Modern Geometric Polka-Dot Mini Cake
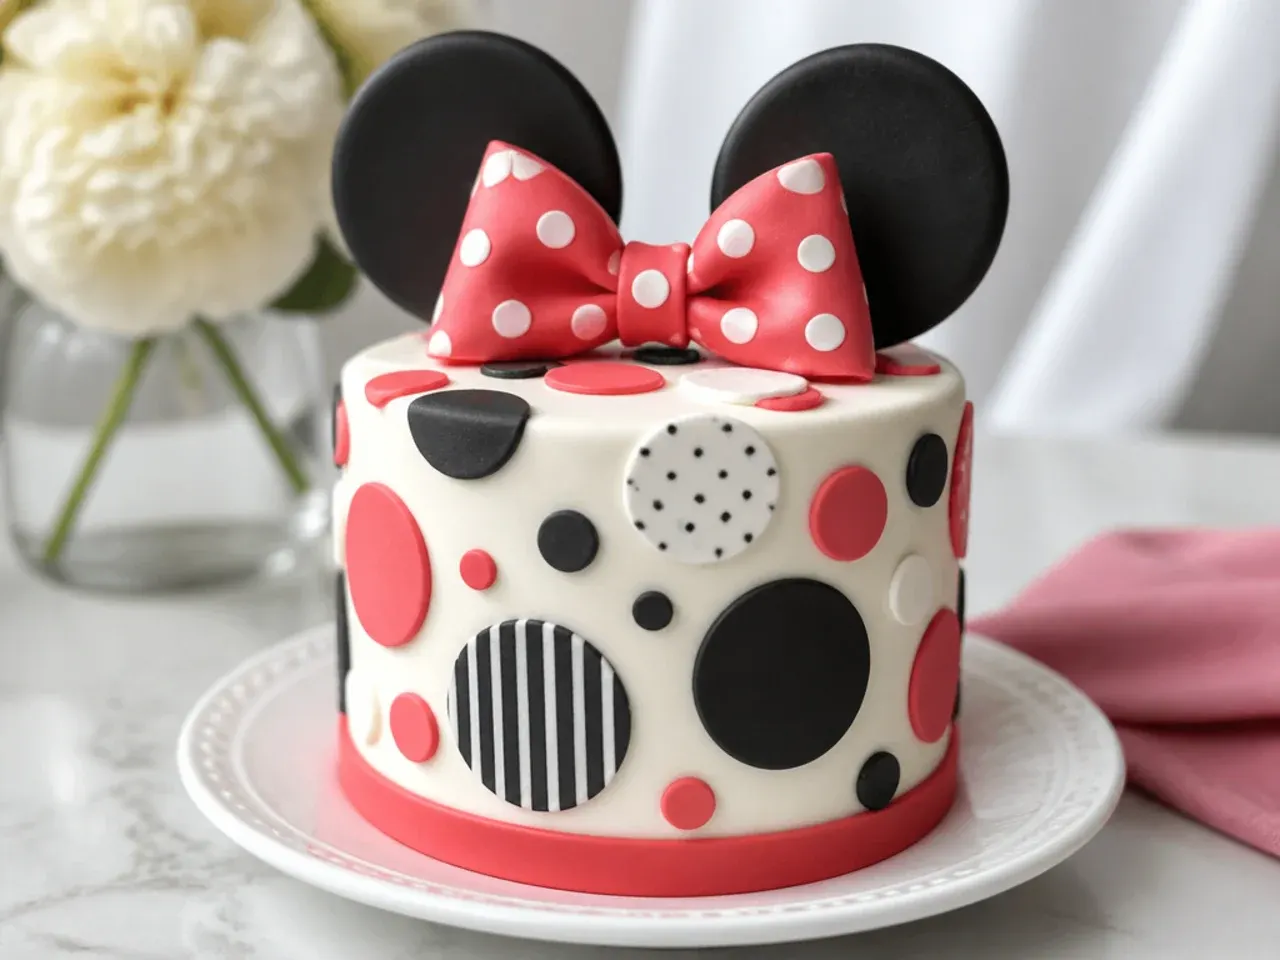
Arrange the polka dots in a deliberate diagonal or grid pattern rather than scattering them, for a clean modern-design feel. Mark faint guide lines with a cake comb or a ruler and edible marker before piping so the dots line up precisely. This geometric precision reads as intentional and contemporary, ideal for an older child or an adult Disney fan. Pair with matte black ears and a single sleek bow to keep the modern, minimalist Minnie-inspired look sharp and grown-up.
Tips to Make These Ideas Easier
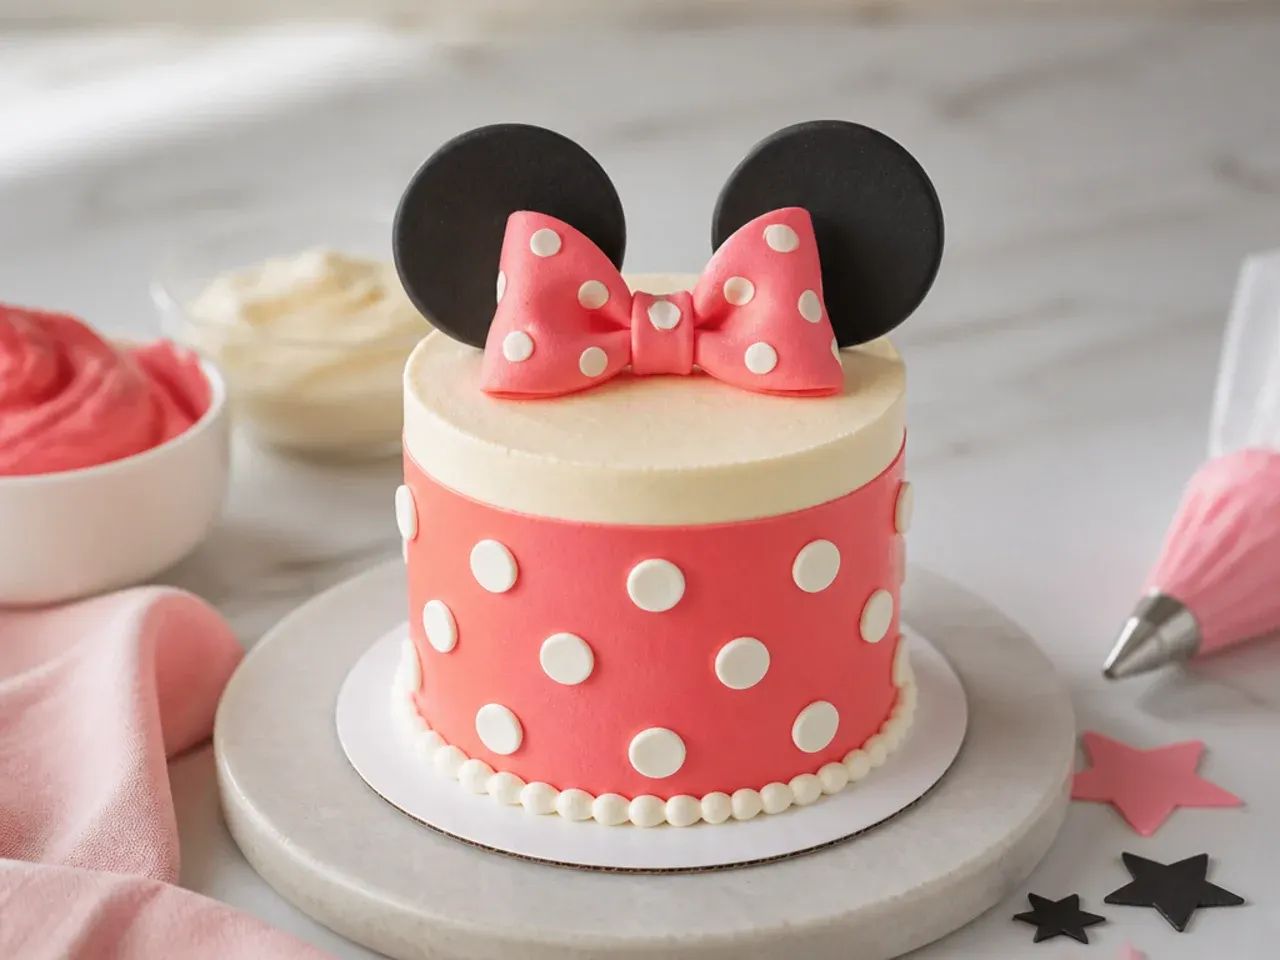
Bake the sponge and cut the ear rounds a day ahead, then wrap and freeze them so they are firm and easy to crumb-coat. Colour all your buttercream in one batch before you start piping, and always use gel colours so you do not thin the frosting. Chill the cake for 20-30 minutes between the crumb coat and the final coat to get sharp edges, and keep a jug of hot water nearby to warm your scraper for a glass-smooth finish. For the ears, bubble-tea straws are stronger than toothpicks and stop them from tipping, and a small offset spatula plus a turntable will do more for your results than any expensive tool.
Common Mistakes to Avoid
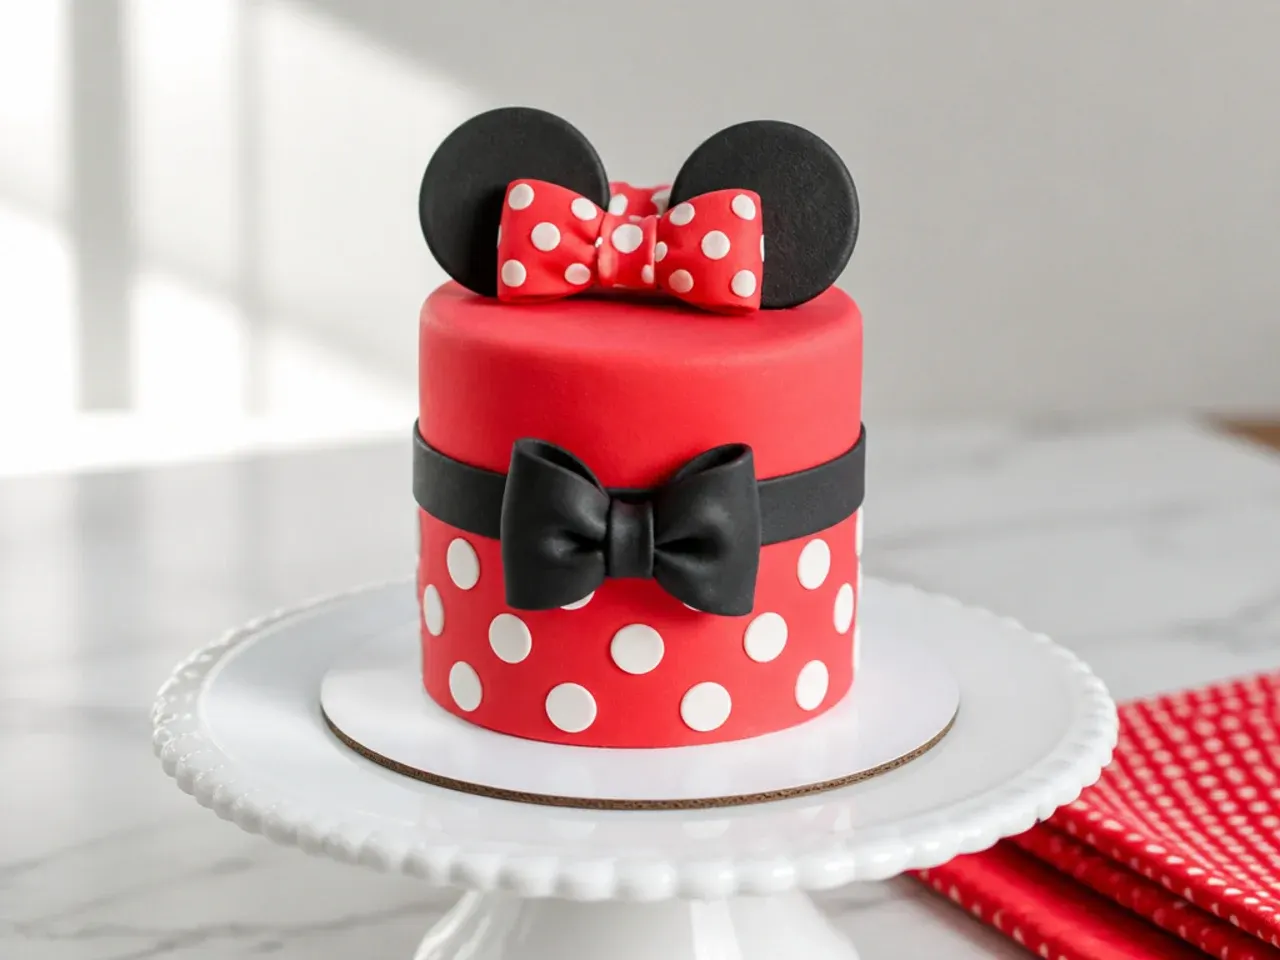
The biggest mistake is using liquid food colouring, which thins the buttercream and makes it slide off the cake, so always reach for gel or paste dye. Do not skip the crumb coat, as decorating straight onto a bare sponge traps crumbs in your final layer and ruins clean polka dots. Avoid piping polka dots onto warm or soft buttercream because they smear, so chill the base coat firm first. Do not overfill the pans; fill only two-thirds full or the mini layers dome and crack, and always let the cake cool completely before frosting or the buttercream will melt into a greasy mess.
The Recipe
The Base Recipe — Make Any of These Ideas
40 min
25 min
2 hr 30 min
8
Intermediate
Ingredients 8 Person(s)
Directions
Step 1: Prep pans and oven
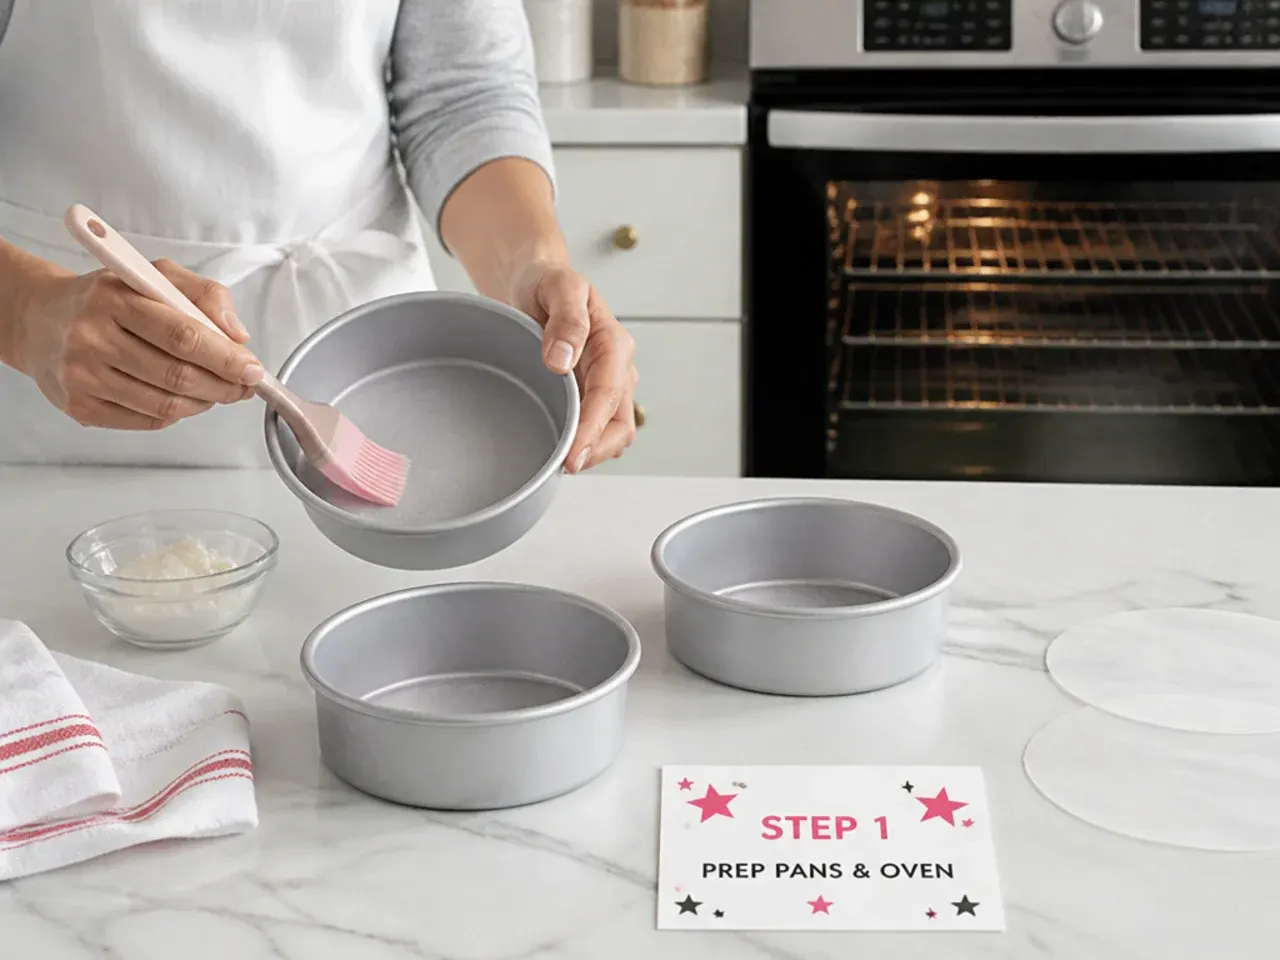
Preheat the oven to 350°F (177°C). Grease two 6-inch round cake pans, line the bottoms with parchment circles, and lightly flour the sides. If you want moulded ears, prepare one extra small pan or bake a little batter in a muffin tin to cut ear rounds from later.
Step 2: Mix the dry ingredients
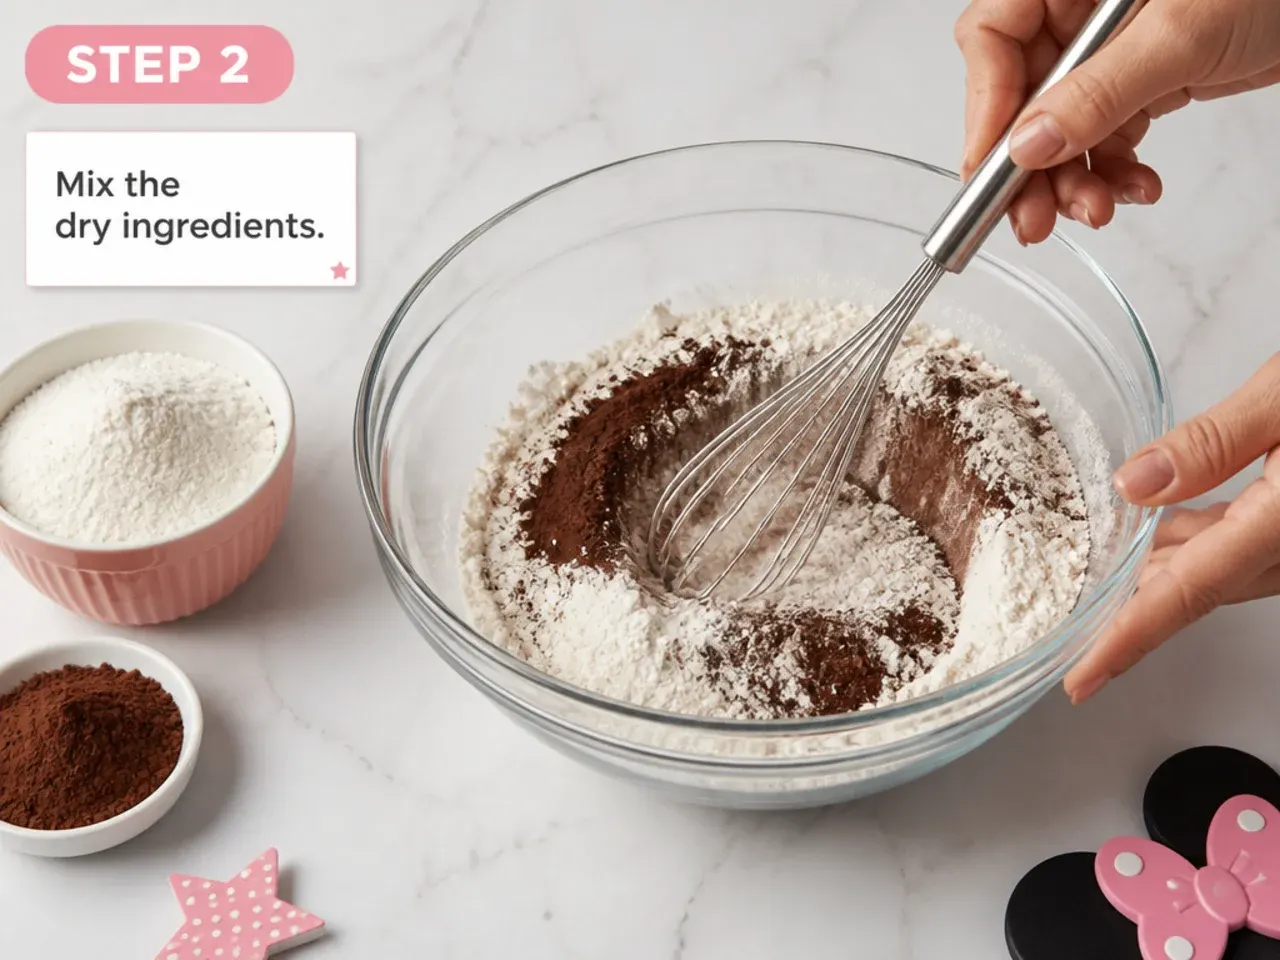
Whisk together the cake flour, baking powder, baking soda and salt in a bowl until evenly combined. Set aside. Sifting once at this stage keeps the mini layers light and prevents pockets of leavening that cause uneven doming.
Step 3: Cream the butter and sugar
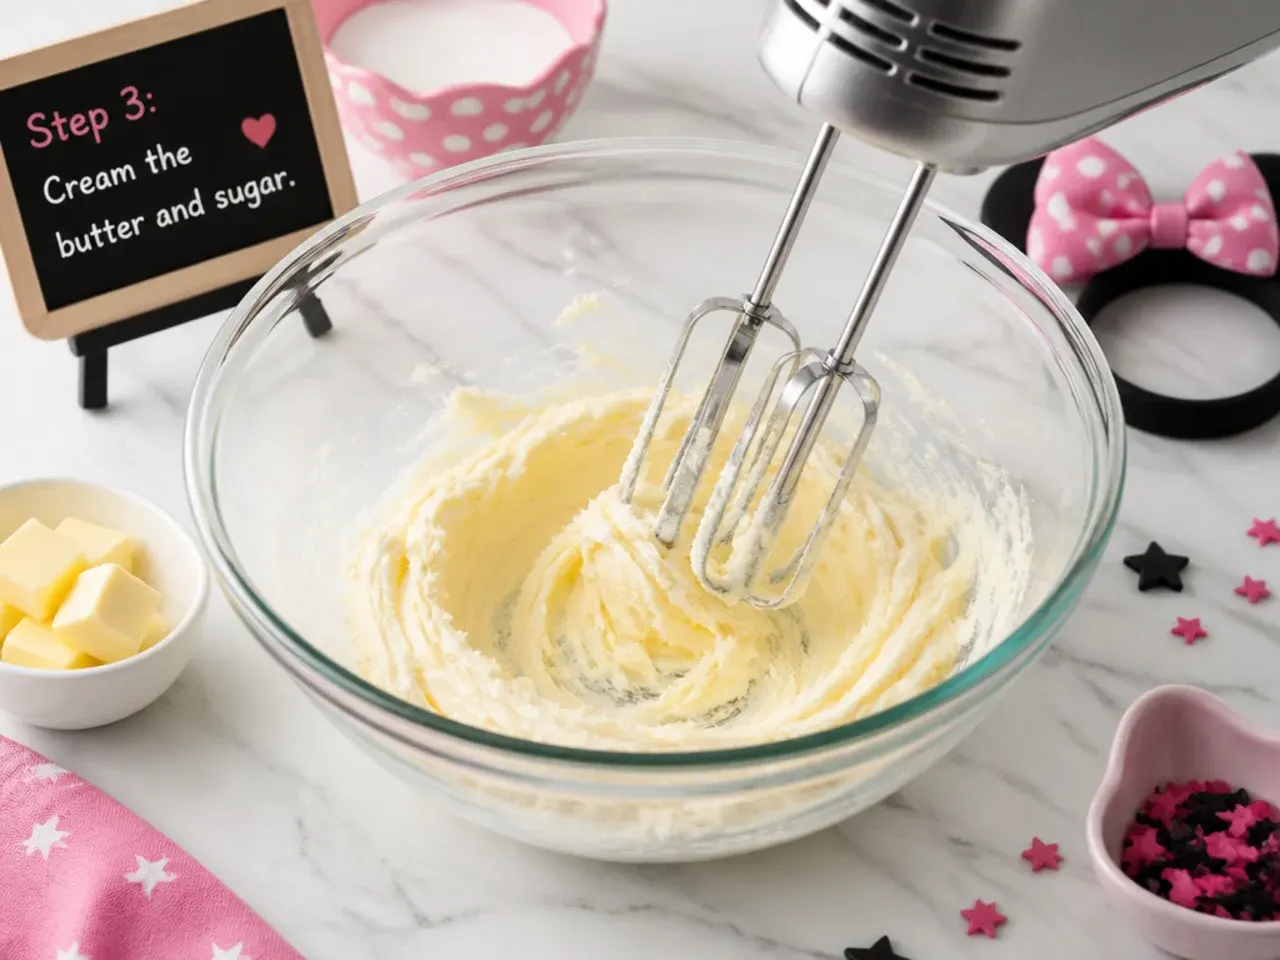
Beat the 115g softened butter and granulated sugar on medium-high speed for 3-4 minutes until pale and fluffy. Scrape down the bowl, then beat in the eggs one at a time, followed by the vanilla and the 30ml of oil. The mixture should look smooth and slightly aerated.
Step 4: Alternate dry and wet
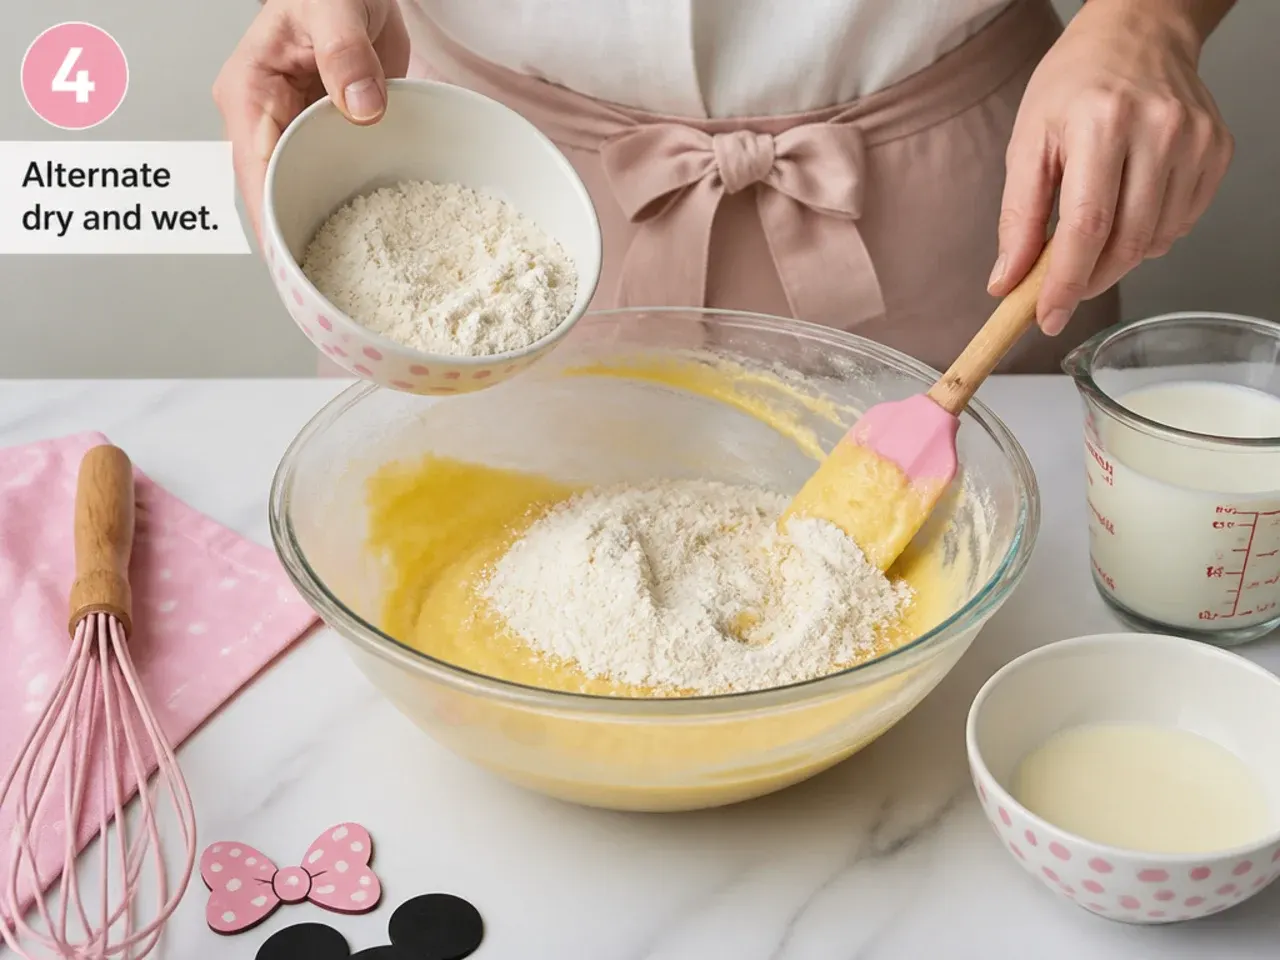
With the mixer on low, add the flour mixture in three additions, alternating with the buttermilk in two additions, beginning and ending with flour. Mix just until no streaks remain; overmixing develops gluten and makes the crumb tough. The batter will be thick but scoopable.
Step 5: Bake the layers
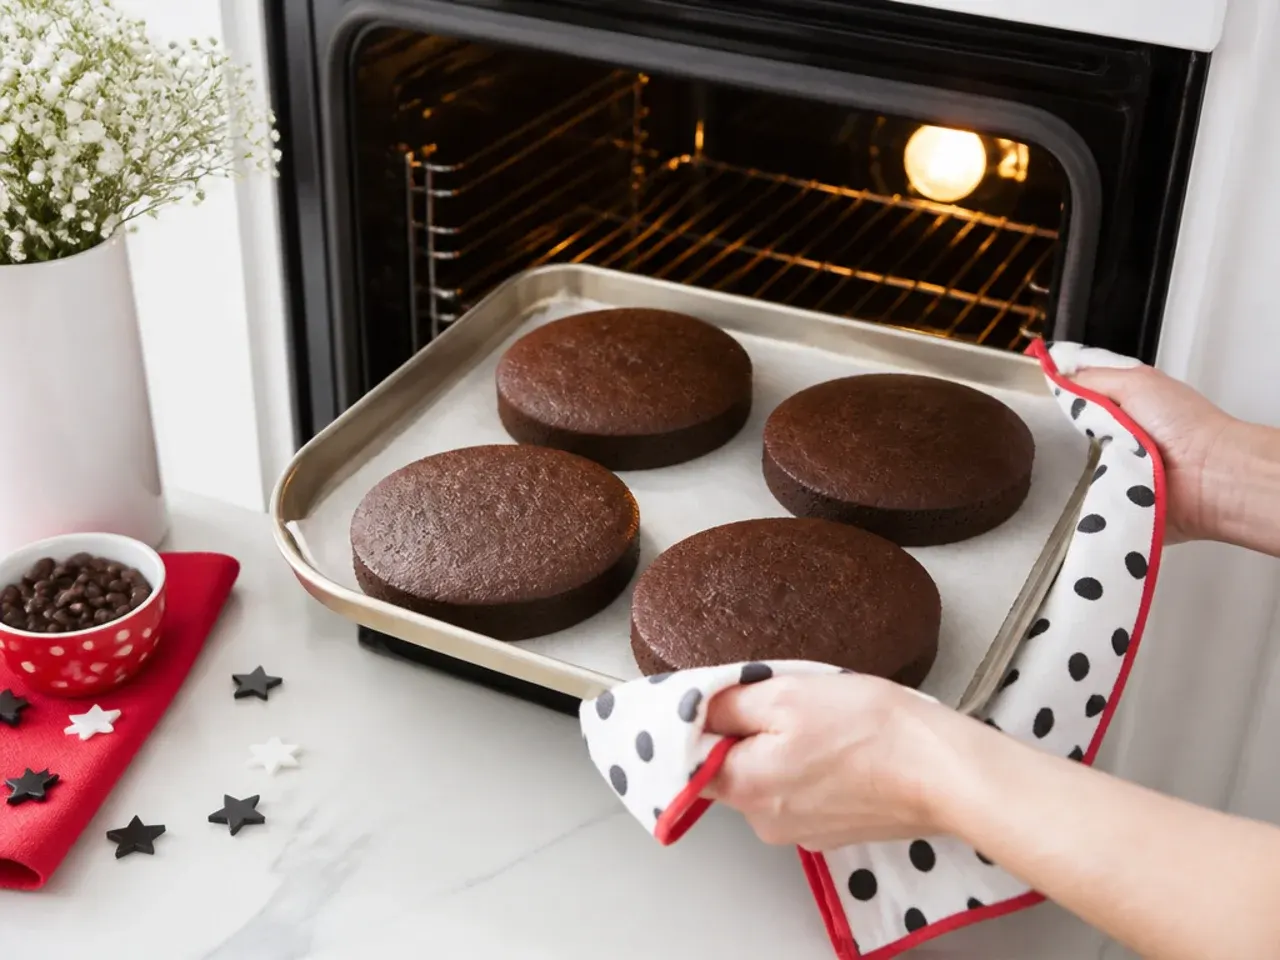
Divide the batter evenly between the two pans, filling each about two-thirds full, and smooth the tops. Bake at 350°F (177°C) for 22-26 minutes, until a skewer inserted in the centre comes out with a few moist crumbs and the tops spring back when pressed.
Step 6: Cool completely
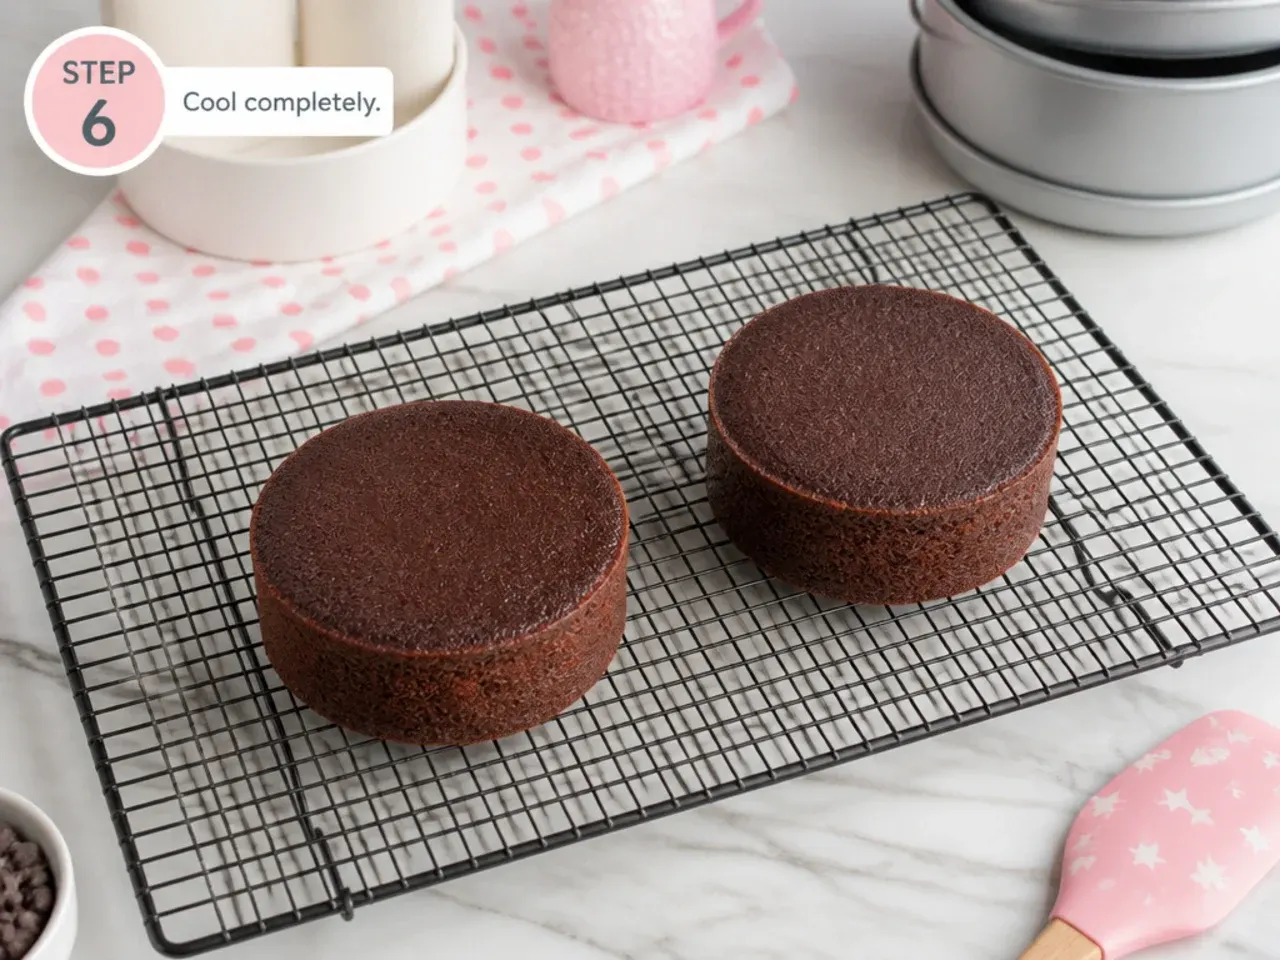
Cool the cakes in their pans on a wire rack for 15-20 minutes, then turn them out and peel off the parchment. Let them cool completely, at least 1 hour, before frosting. For the cleanest results, wrap the cooled layers and chill for 30 minutes so they are firm and easy to level and stack.
Step 7: Make buttercream and decorate
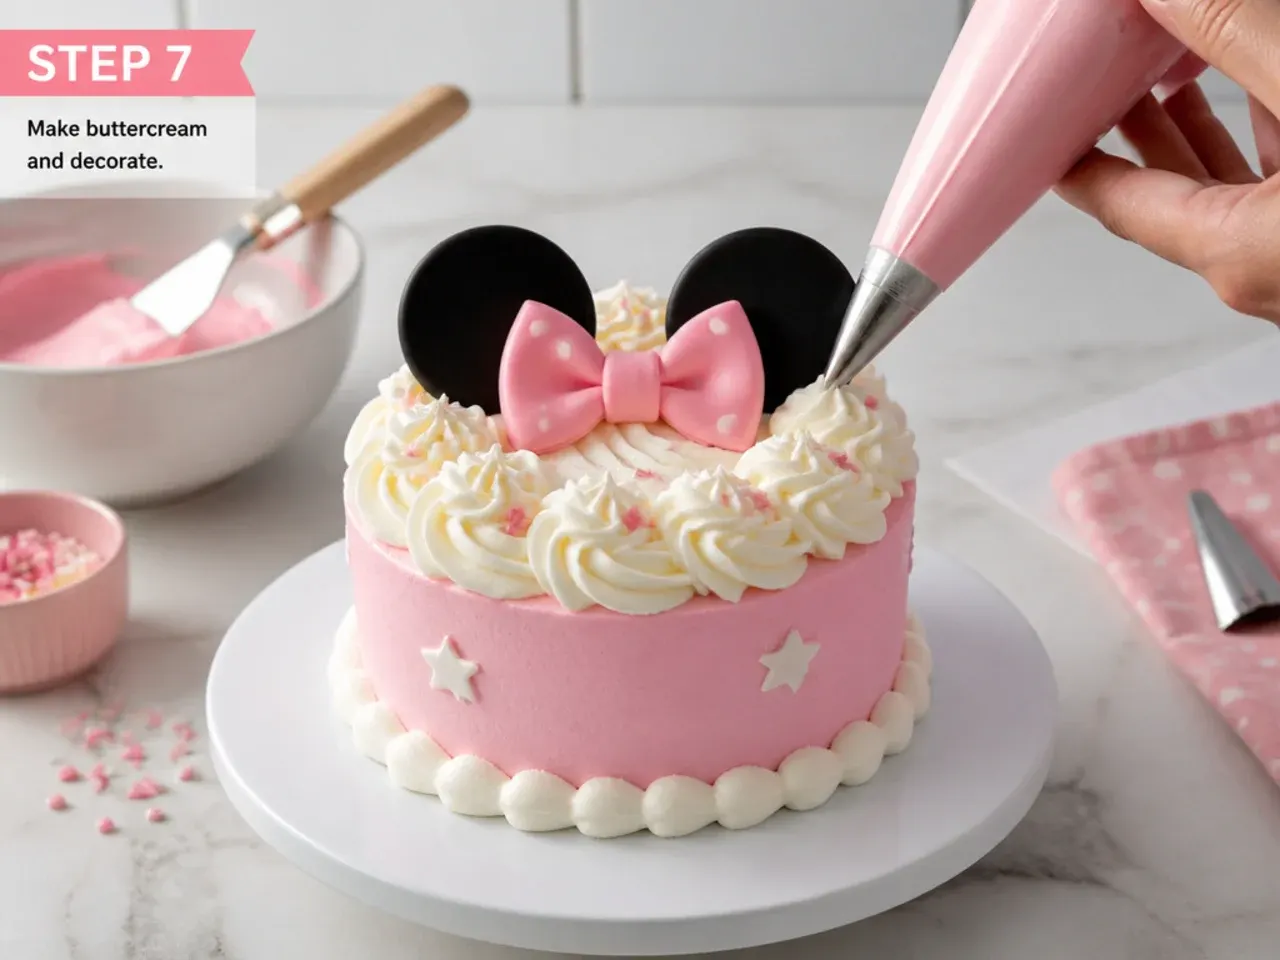
Beat the 230g butter for 2 minutes until creamy, then add the sifted 360g icing sugar in two additions with a splash of milk and a pinch of salt, beating until fluffy. Colour portions with gel dye, crumb-coat the stacked layers, chill 20 minutes, then add your final coat, polka dots, bow and two rounded ears to finish your chosen mini Minnie Mouse cake design.
Frequently Asked Questions
Yes. Every design in this guide can be done in buttercream alone. Use gel-coloured American buttercream for the polka dots (piped with a round tip), shape the ears from extra cake rounds crumb-coated in black buttercream, and pipe the bow with a leaf or petal tip. Fondant is only needed if you want a perfectly smooth, sculpted bow that holds its shape.
Save this for later 📌
Pin this article to your Pinterest board so the full list is one tap away when you need it.
Save on Pinterest