5 Things I Learned Making a Minnie Cake
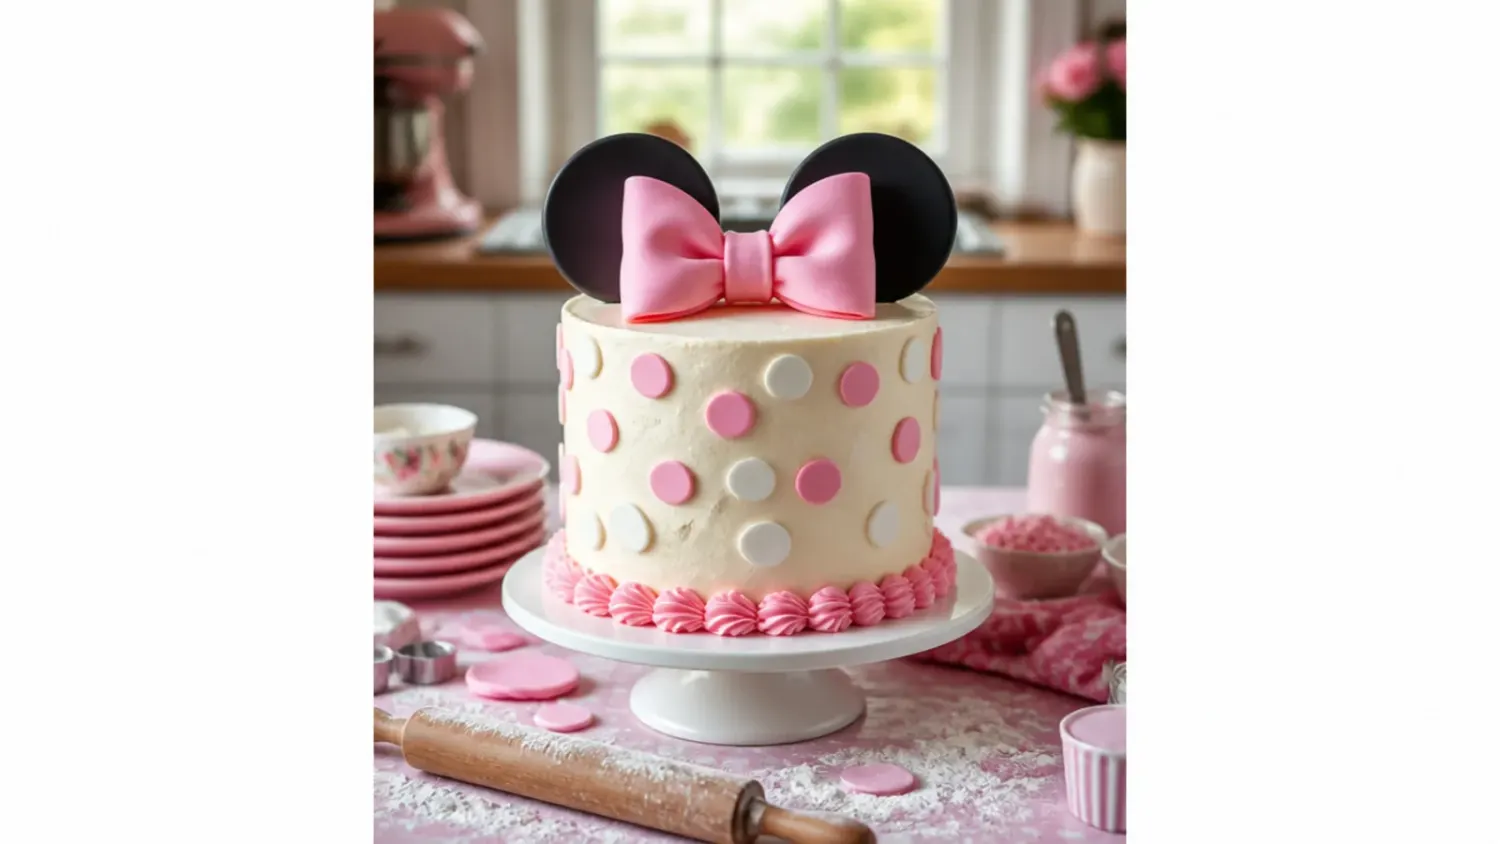
The five honest lessons I learned making a homemade Minnie Mouse cake — candy melt ears, gel colouring, chill times, and the bow trick that saved it. If you love minnie mouse cake inspiration, start with our Minnie Mouse Cake Ideas collection, then browse the full Cake Ideas hub for more.

Save this for later 📌
Pin this article to your Pinterest board so the full list is one tap away when you need it.
Save on PinterestCake Ideas
Intermediate
Kitchen Journal
5 steps
Table of Contents
- Lesson 1: Make the Ears from Candy Melts, Not Fondant
- Lesson 2: Chill the Cake Before Every Coat of Buttercream
- Lesson 3: Use Gel Colouring and Stop One Shade Early
- Lesson 4: Build the Bow the Night Before
- Lesson 5: Map the Polka Dots Before You Pipe a Single One
- What I'd Tell a Friend Trying This
- The Recipe I Used
Lesson 1: Make the Ears from Candy Melts, Not Fondant
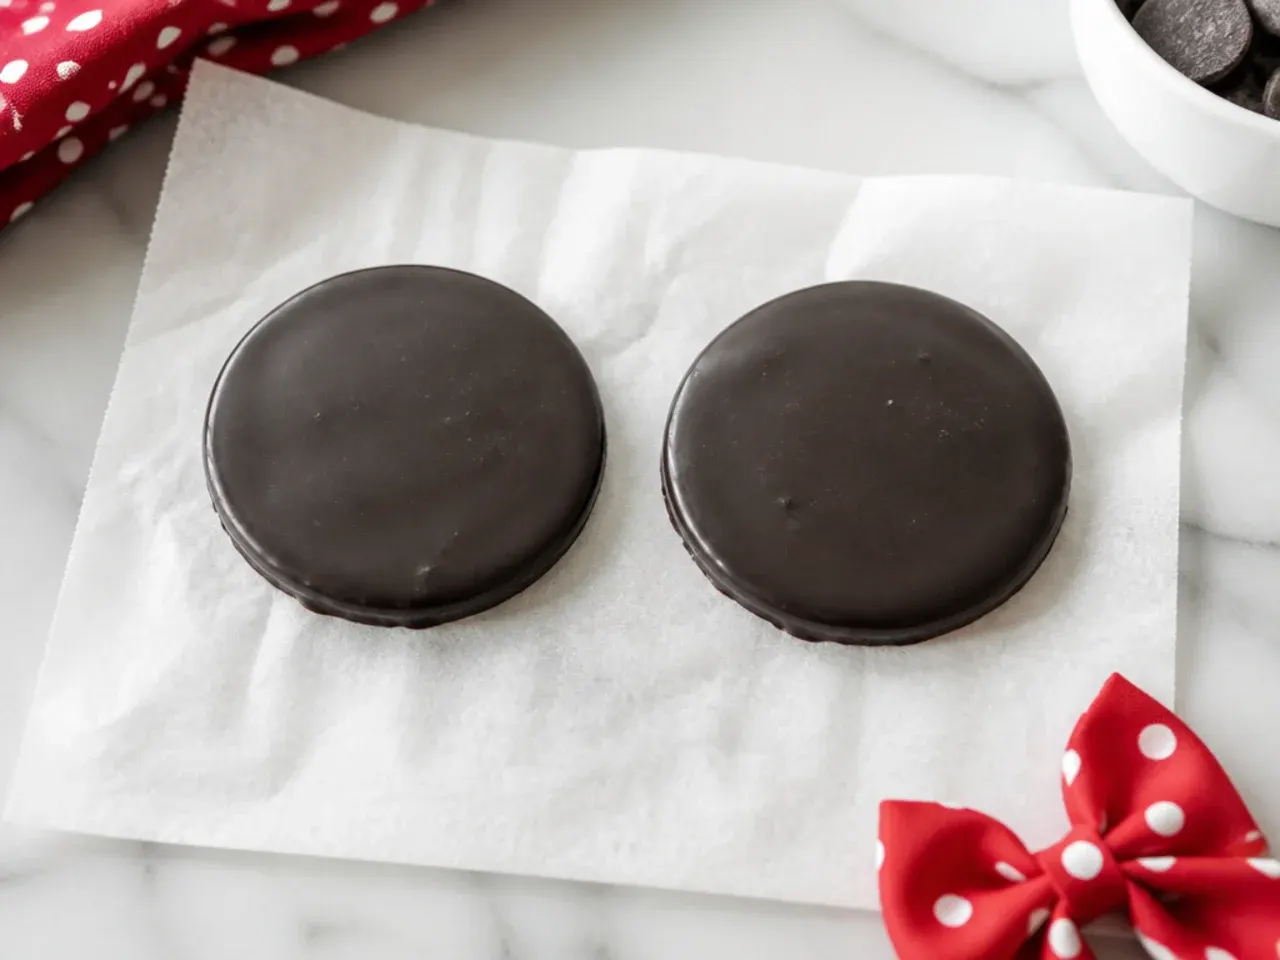
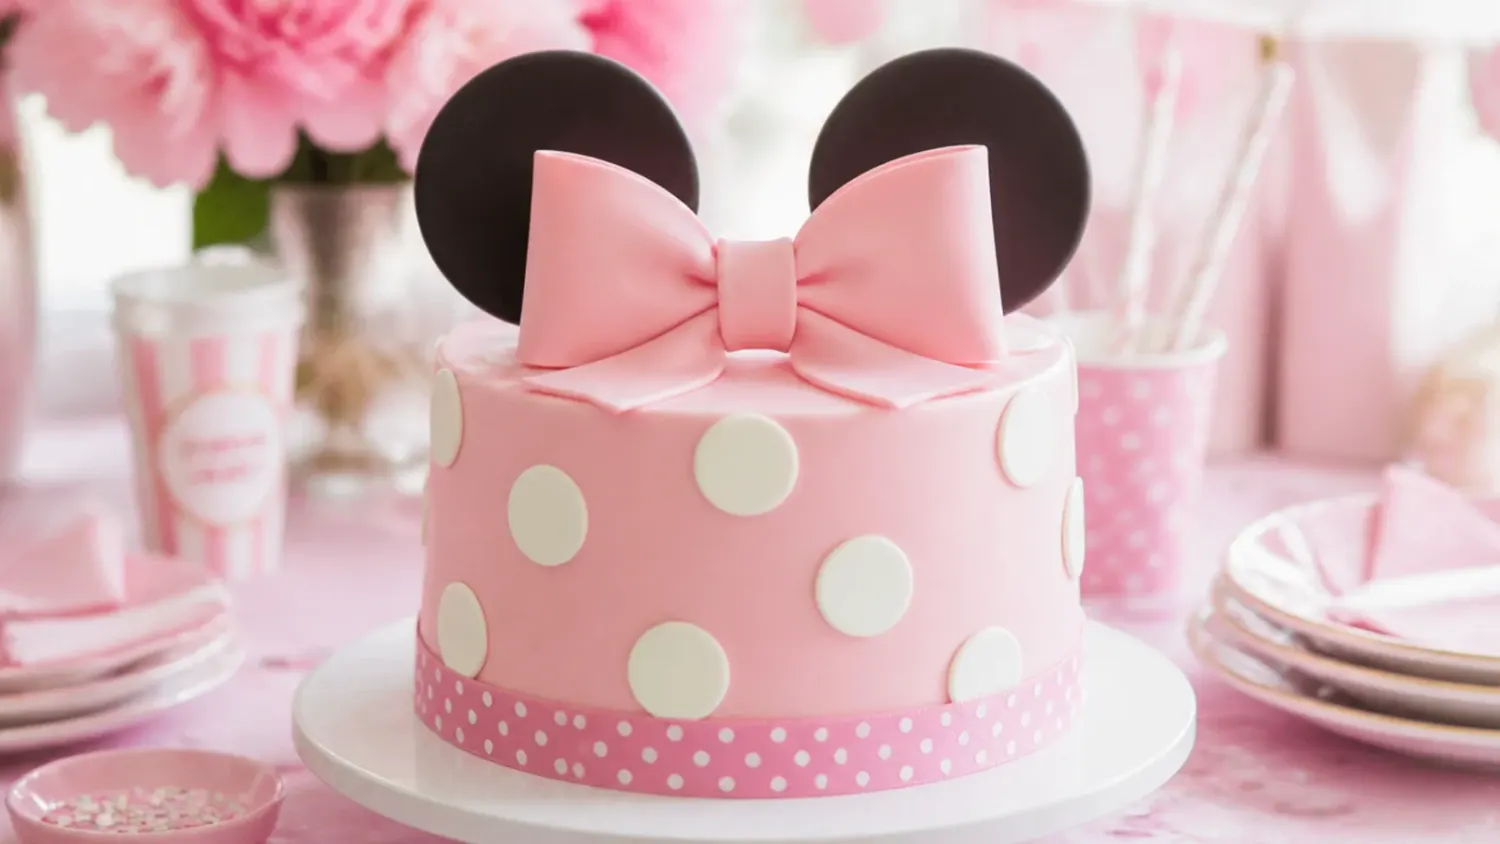
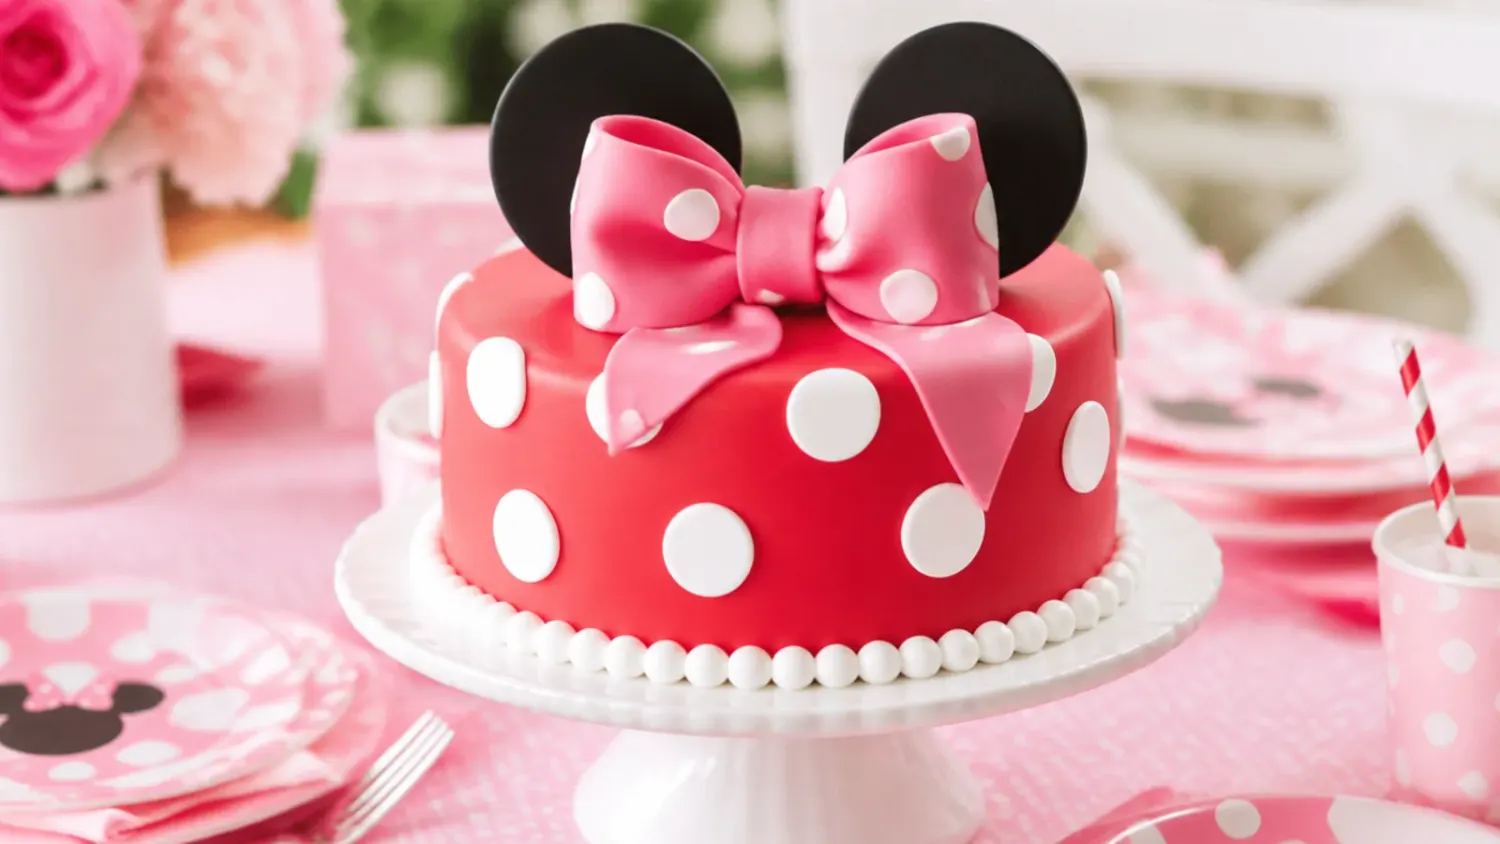
My first set of ears was rolled black fondant, and after two full days of drying they still flopped over the moment I stood them up. Round two used candy melts and took 40 minutes start to finish: I melted 100g of black candy melts in 30-second microwave bursts, spooned them into two 9cm (3.5 inch) circles on parchment, and pressed a lollipop stick halfway into each while the discs were still wet. After 30 minutes in the fridge they were rock solid and snapped into the cake without a wobble. Fondant ears only work if you knead in gum paste or CMC powder and let them dry for up to a week — candy melts get you the same round ear silhouette the same afternoon. When you place them, push the sticks in at a slight backwards angle so the weight leans into the cake instead of tipping forward.
Lesson 2: Chill the Cake Before Every Coat of Buttercream
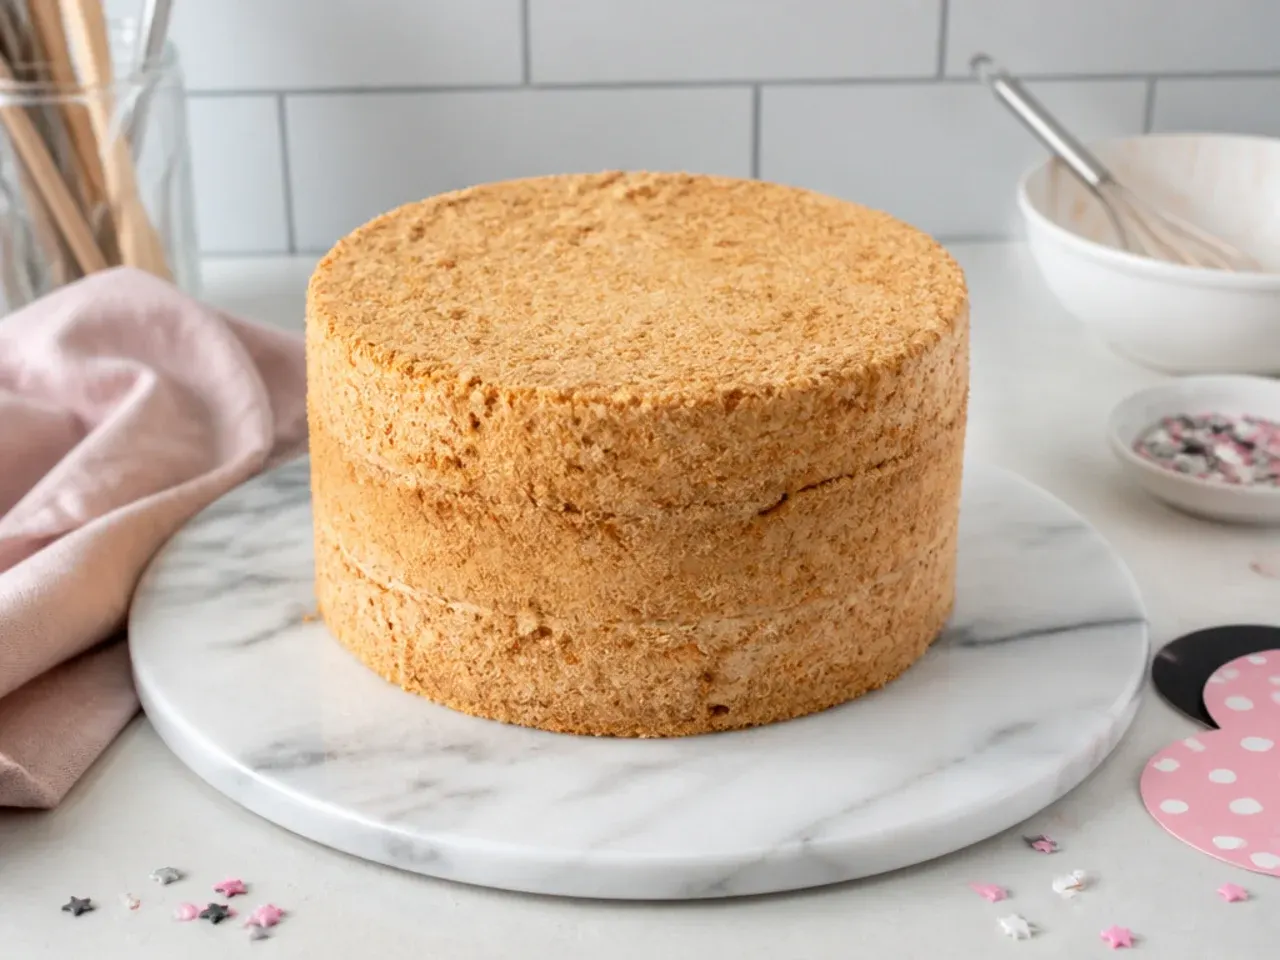
I frosted my test cake straight after filling it, and the pink coat dragged brown crumbs across the surface like a bad plaster job. The fix is boring but non-negotiable: 20 minutes in the fridge after stacking and filling, a thin crumb coat, then another 30 minutes chilled before the final pink layer goes anywhere near it. A chilled crumb coat sets into a hard shell, so the finishing coat glides on and you can smooth it with a scraper without tearing the surface. I also chilled the finished cake for 15 minutes before piping the polka dots, which stopped the dots sliding on soft buttercream. Build the chill time into your schedule — it adds about an hour but it is the difference between smooth and scruffy.
Lesson 3: Use Gel Colouring and Stop One Shade Early
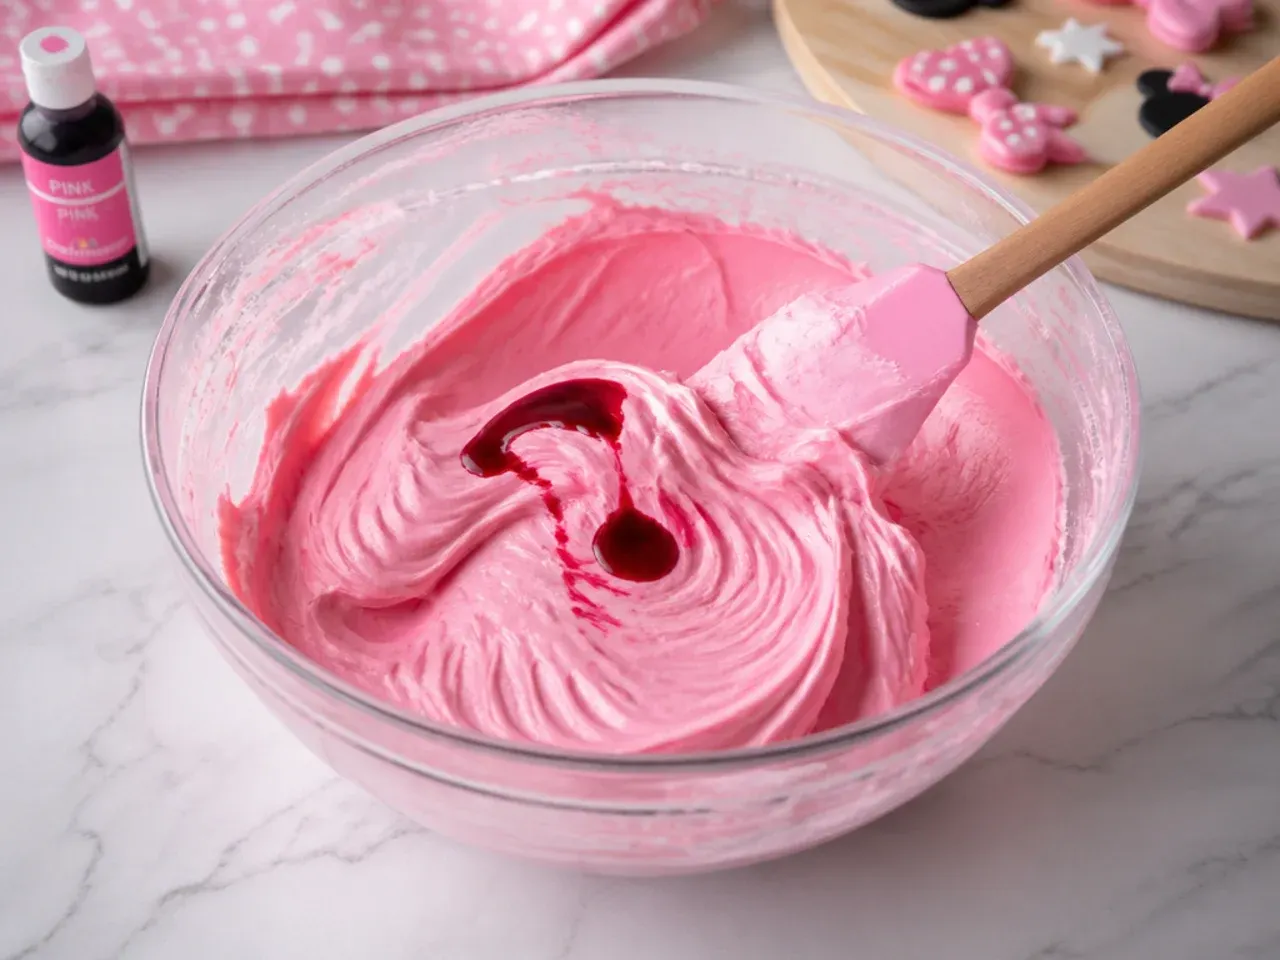
Supermarket liquid food colouring nearly ruined my buttercream — I needed so much to get past pastel pink that the icing went loose and started sliding off the spatula. Gel colouring (I used a Wilton pink) is concentrated enough that a toothpick dab at a time gets you to a proper bubblegum pink without changing the texture. The lesson nobody told me: gel colour keeps deepening for 2 to 3 hours after mixing, so my perfect pink turned two shades darker by assembly time. Now I mix to one shade lighter than I actually want, cover the bowl, and check back after an hour. Keep 3 to 4 tablespoons of buttercream white before you add any colour — you will need it for the polka dots.
Lesson 4: Build the Bow the Night Before
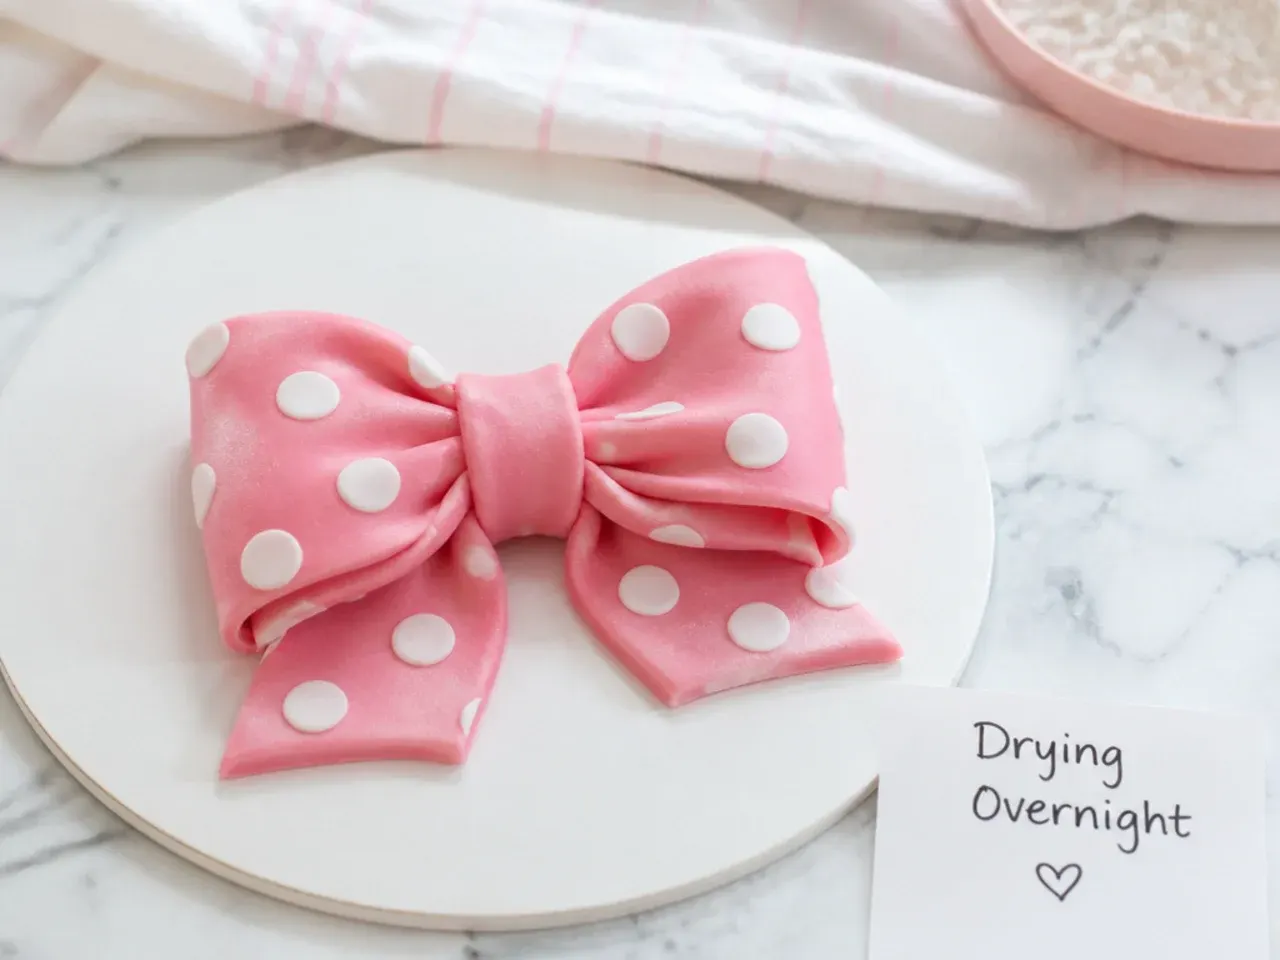
A freshly made fondant bow is too soft to hold its loops — mine slumped into a sad pink puddle within an hour of sitting on the cake. The version that worked: roll 100g of pink fondant to about 3mm thick, cut two strips roughly 2.5cm x 15cm (1 x 6 inches), fold each into a loop, and pinch the ends together. Wrap a short 2.5cm strip around the middle where the loops meet, then stuff each loop with a scrunched piece of kitchen paper so it keeps its shape. Left overnight on the counter, the bow firms up enough to sit proudly on top of the cake without sagging. If you want the classic polka dot look, press on tiny white fondant dots cut with the wide end of a piping tip before it dries.
Lesson 5: Map the Polka Dots Before You Pipe a Single One
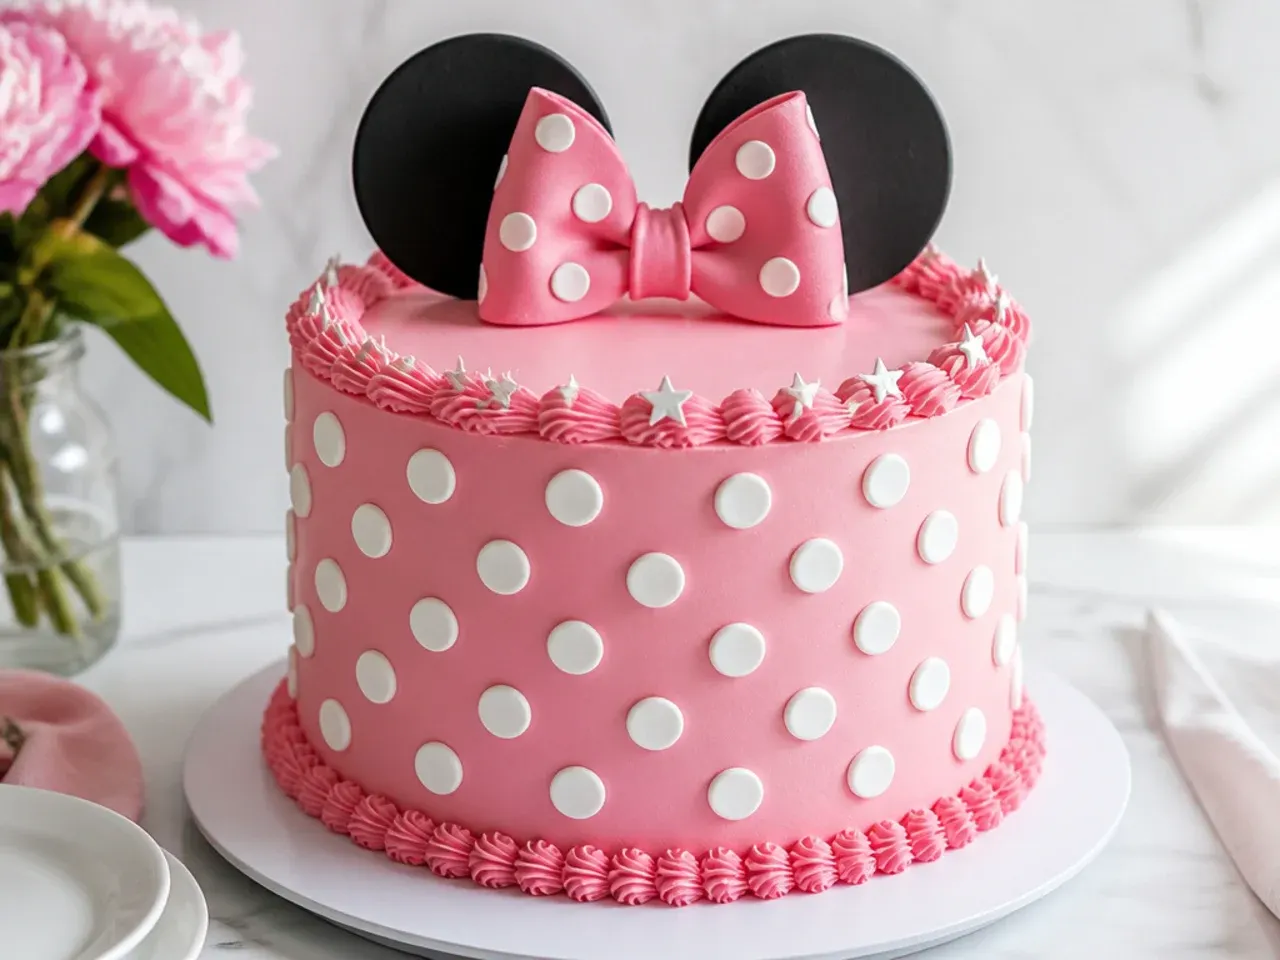
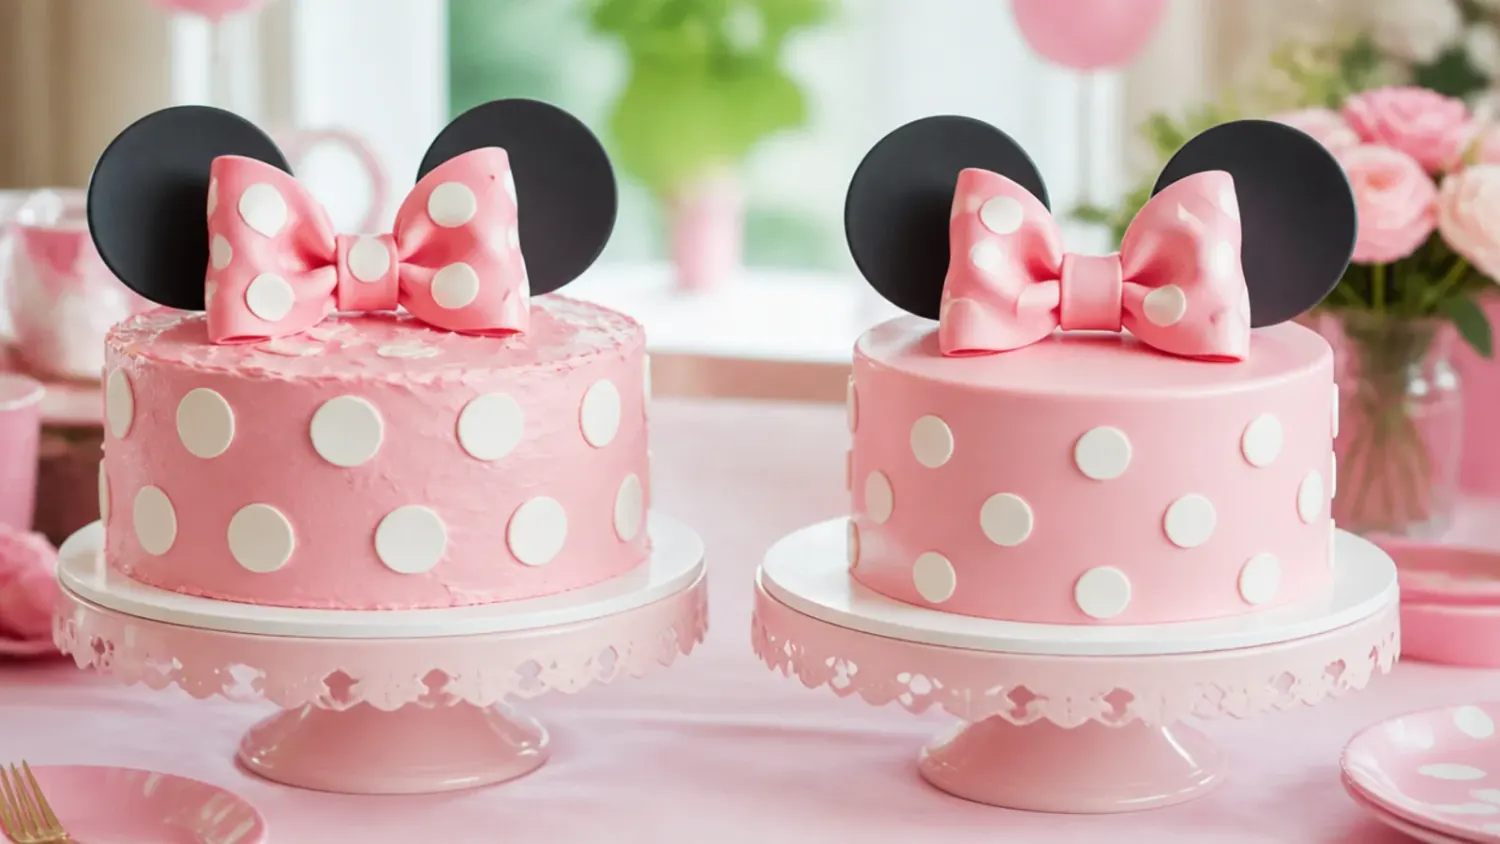
I freestyled the dots on my first attempt and ended up with three crowded together on one side and a bare patch on the other — random never looks random. Before piping, I now mark light guide points with a toothpick in offset rows, like bricks: a row of marks about 5cm apart, then the next row shifted so each dot sits between the two above it. Pipe the white dots with a Wilton #12 round tip held perpendicular to the cake, squeeze, stop pressure, then pull away. Each dot has a little peak, so flatten them with a fingertip dipped in cornflour once you have piped a full side. If piping scares you, cut dots from rolled white fondant with a small round cutter and press them gently onto the chilled buttercream instead.
What I'd Tell a Friend Trying This
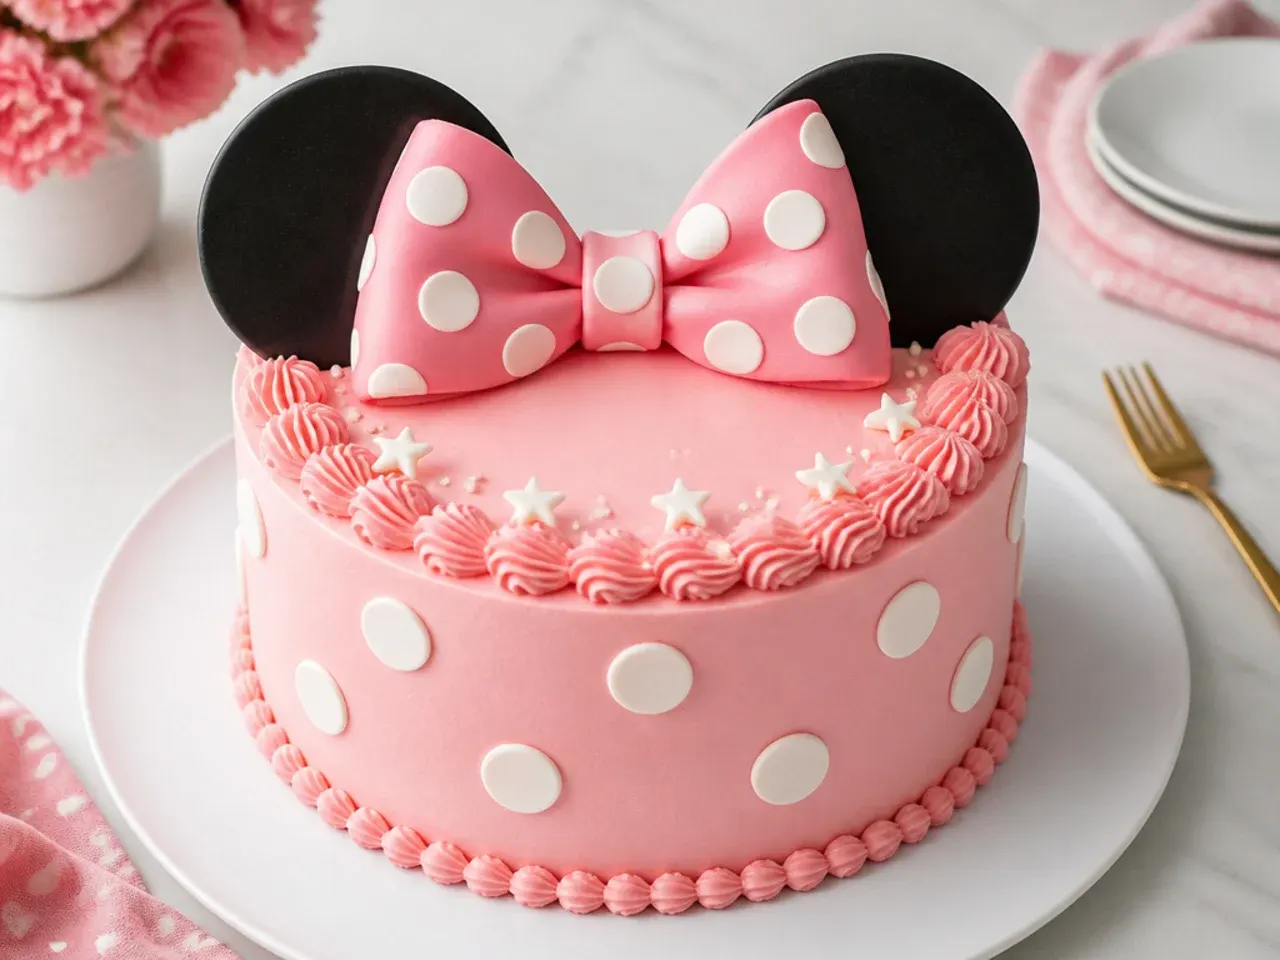
Split it over two days and it stops being stressful: bake the sponges and make the bow and ears on day one, then fill, frost, and decorate on day two. The whole cake cost me about £16 in ingredients versus the £60-plus my local bakery quoted for a character-style cake, and the homemade one fed twelve. Do not aim for a perfect replica of the cartoon character — a pink cake with white polka dots, a big bow, and two round ear shapes reads instantly as Minnie Mouse inspired, and a two-year-old only sees the colours anyway. Chill the finished cake before transporting it, and carry it flat on the car floor, never on a seat. Most of all, take a photo before the candles go in, because it will be demolished within minutes.
The Recipe
The Recipe I Used
45 min
30 min
3 hr
12
Intermediate
Ingredients 12 Person(s)
Directions
Step 1: Prep the Tins and Oven
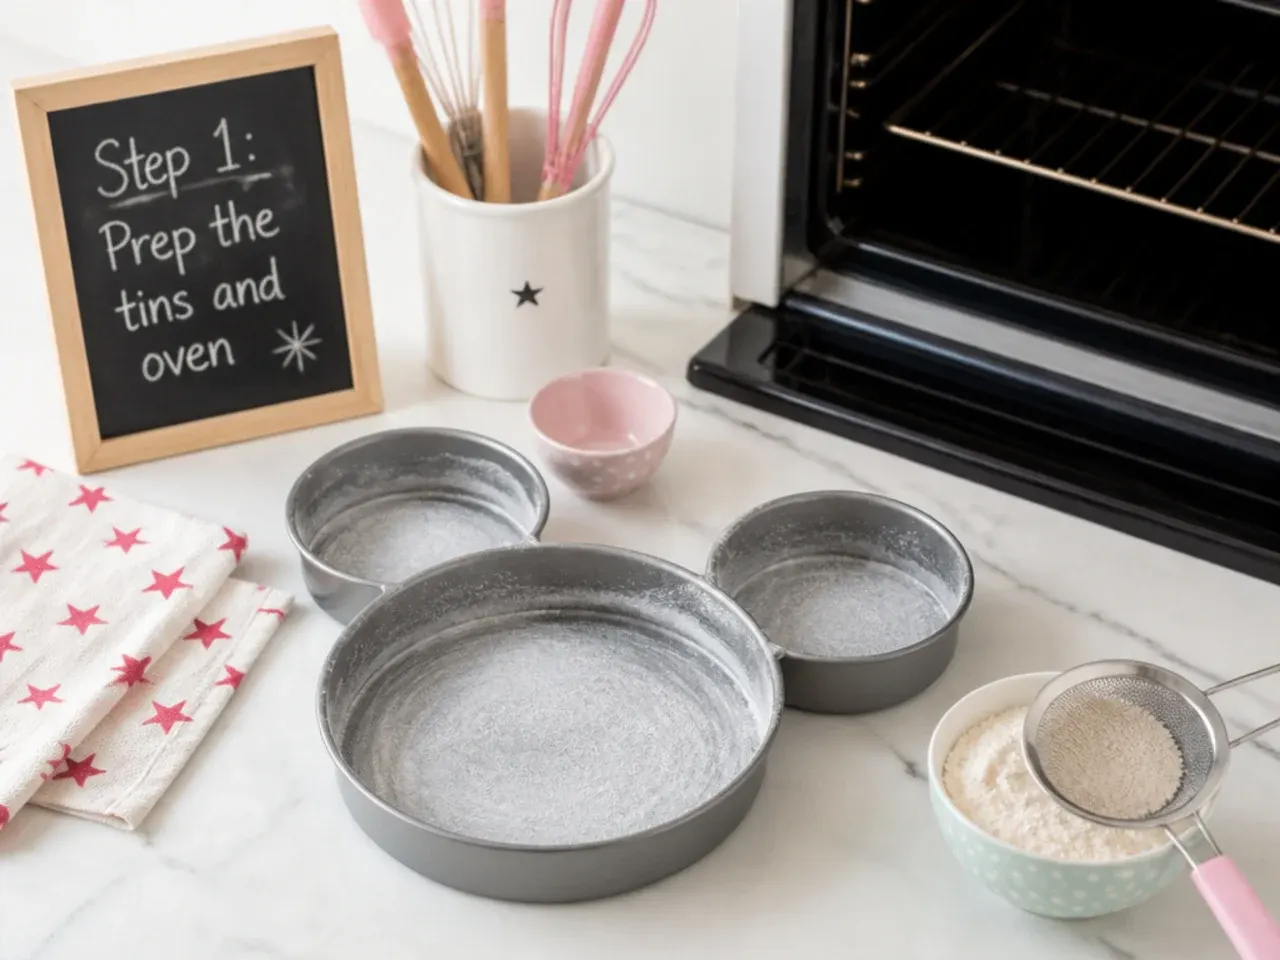
Heat the oven to 180°C / 350°F (160°C fan). Grease two 20cm (8 inch) round cake tins, line the bases with baking parchment, and lightly dust the sides with flour. Getting this done first means the batter goes straight into the oven — sponge batter loses lift if it sits around.
Step 2: Make the Sponge Batter
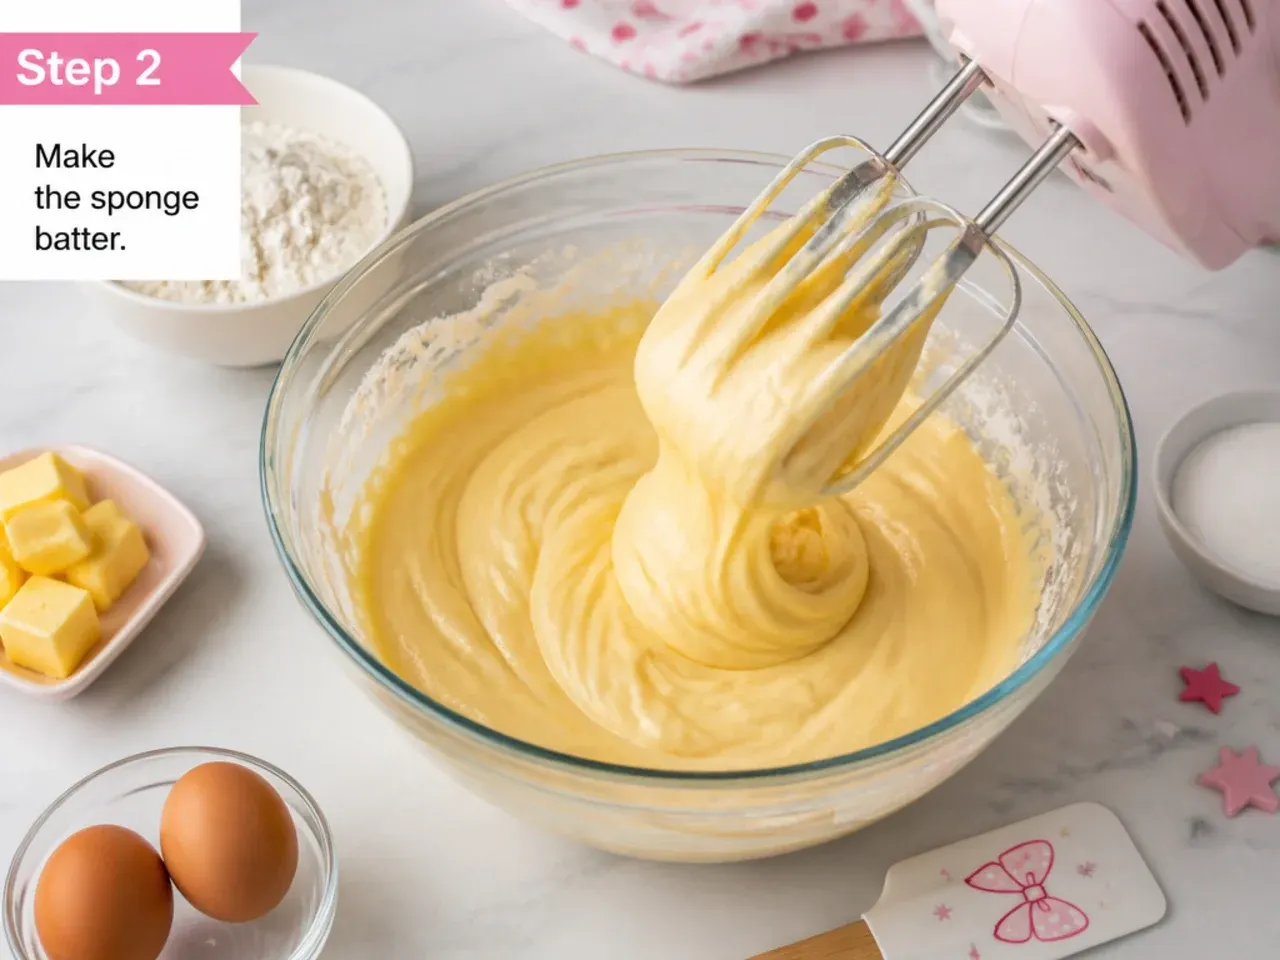
Beat 225g softened butter and 225g caster sugar with an electric mixer for a full 3 minutes, until pale and fluffy. Add the 4 eggs one at a time, beating well after each and scraping the bowl down; if the mix looks curdled, add a spoonful of the flour. Sift in the 225g self-raising flour and 1 tsp baking powder and fold gently with a spatula until no streaks remain, then stir in 1 tsp vanilla and 2 tbsp milk until the batter drops slowly off the spoon.
Step 3: Bake and Cool Completely
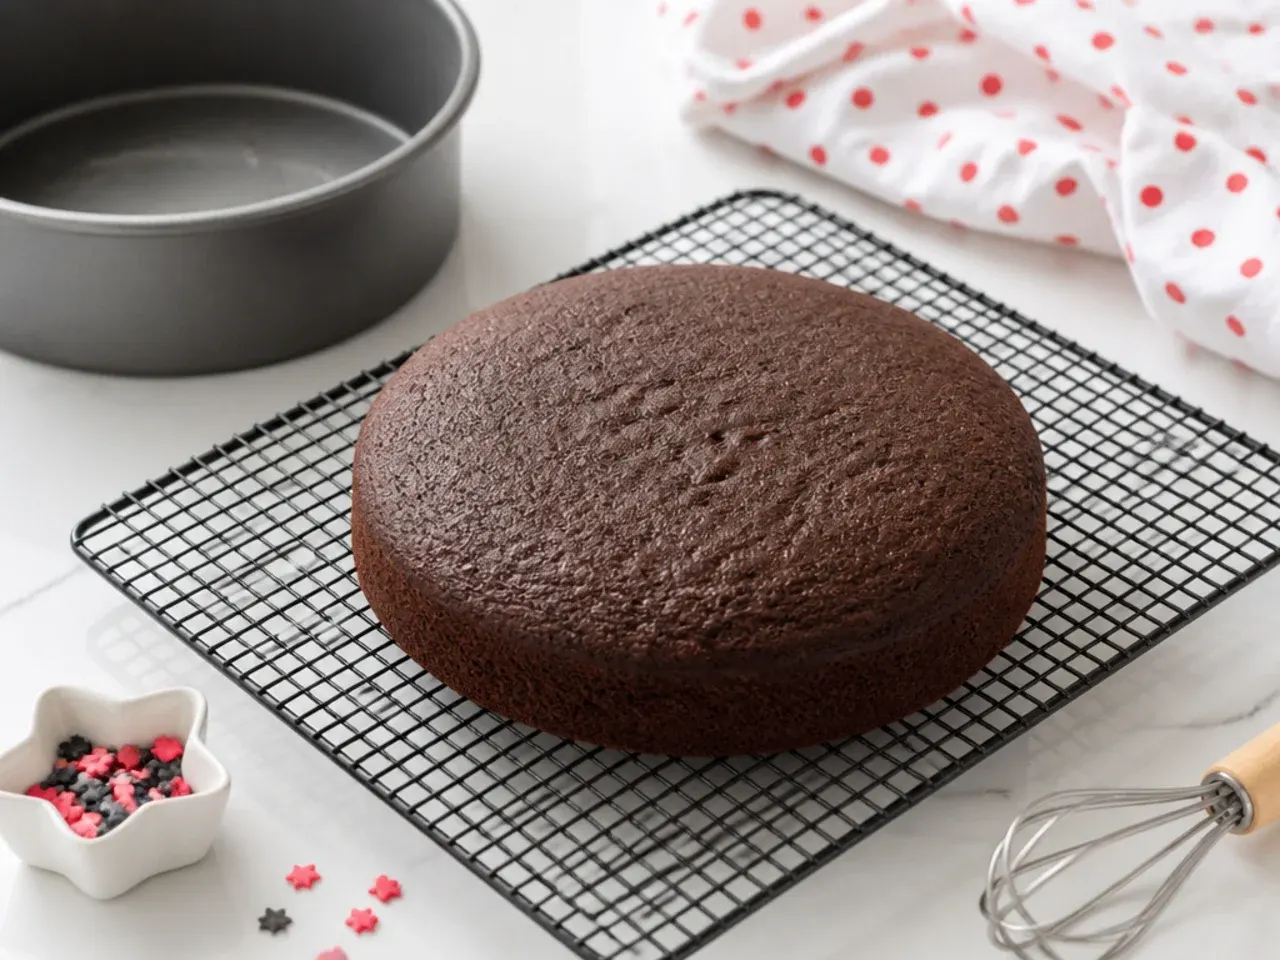
Divide the batter evenly between the two tins (about 550g each if you have scales) and level the tops. Bake for 25 to 30 minutes, until golden and a skewer inserted in the centre comes out clean. Cool in the tins for 10 minutes, then turn out onto a wire rack and leave for at least 1 hour — warm sponge will melt buttercream on contact, so do not rush this.
Step 4: Make the Ears and the Bow
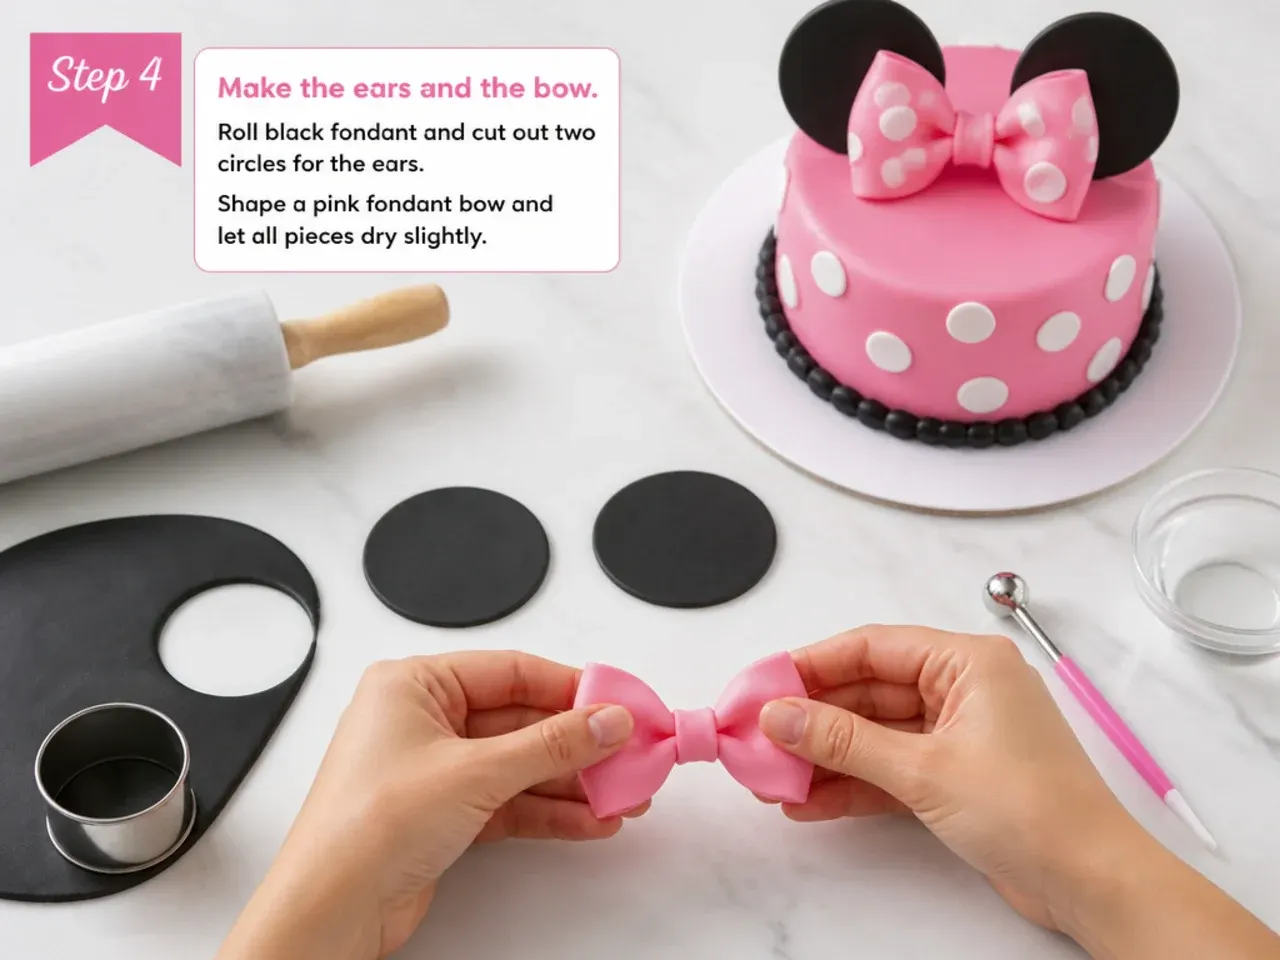
Melt 100g black candy melts in 30-second microwave bursts, stirring between each. Spoon into two 9cm (3.5 inch) circles on parchment, press a lollipop stick halfway into each while wet, and chill for 30 minutes until solid. For the bow, roll 100g pink fondant to 3mm, cut two 2.5cm x 15cm strips, fold each into a loop, pinch the ends, wrap a short strip around the join, and stuff the loops with kitchen paper to hold their shape — ideally overnight.
Step 5: Make the Pink Buttercream
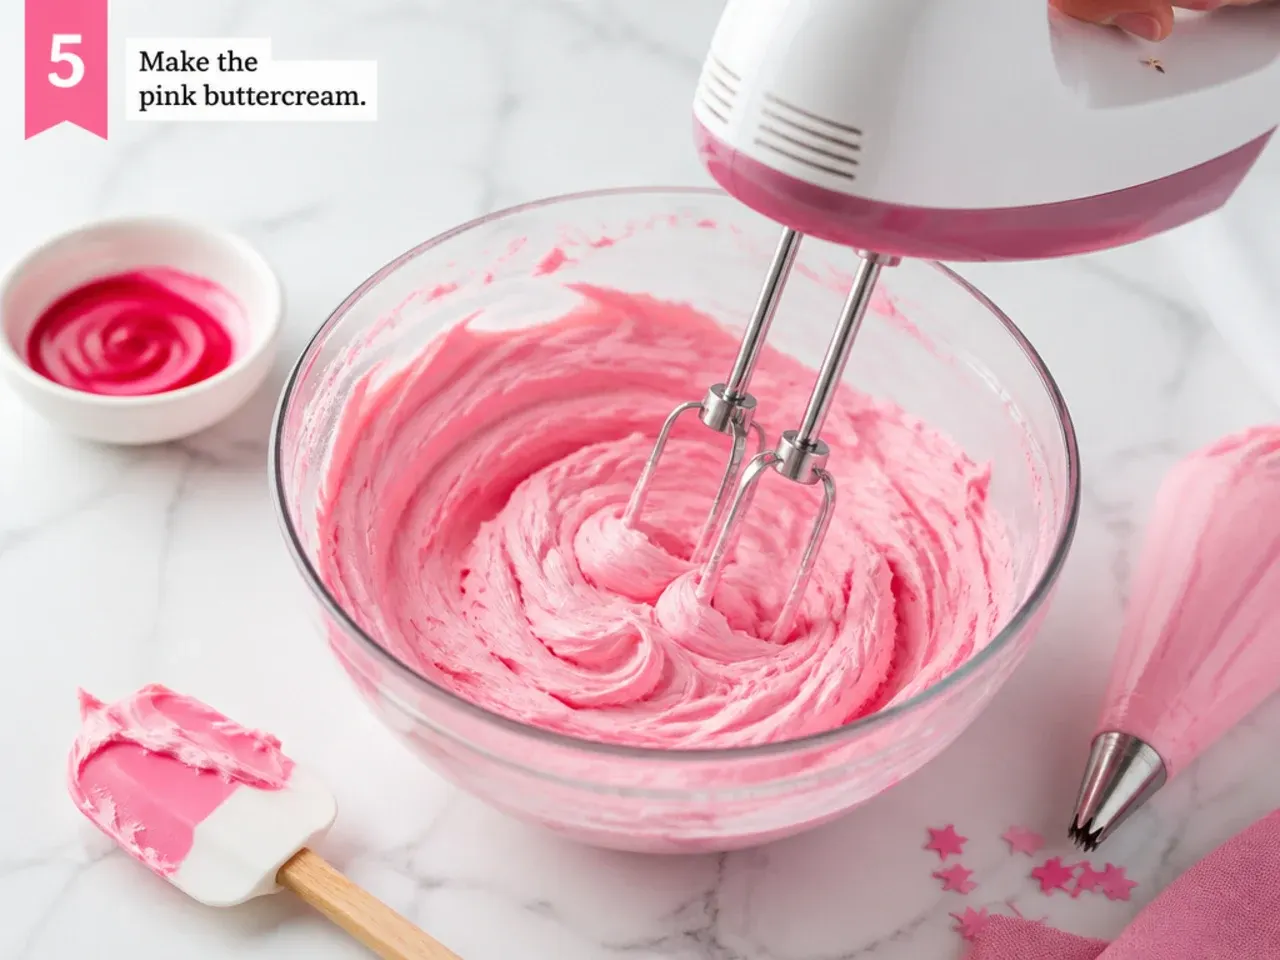
Beat 250g softened butter on high for 5 minutes until very pale — this is what makes buttercream light instead of greasy. Add 500g sifted icing sugar in three additions, beating between each, then add 1 tsp vanilla and 1 to 2 tbsp milk until spreadable. Set aside 3 to 4 tablespoons of white buttercream for the polka dots, then tint the rest with pink gel colouring one toothpick dab at a time, remembering the colour deepens over the next couple of hours.
Step 6: Fill, Crumb Coat and Chill
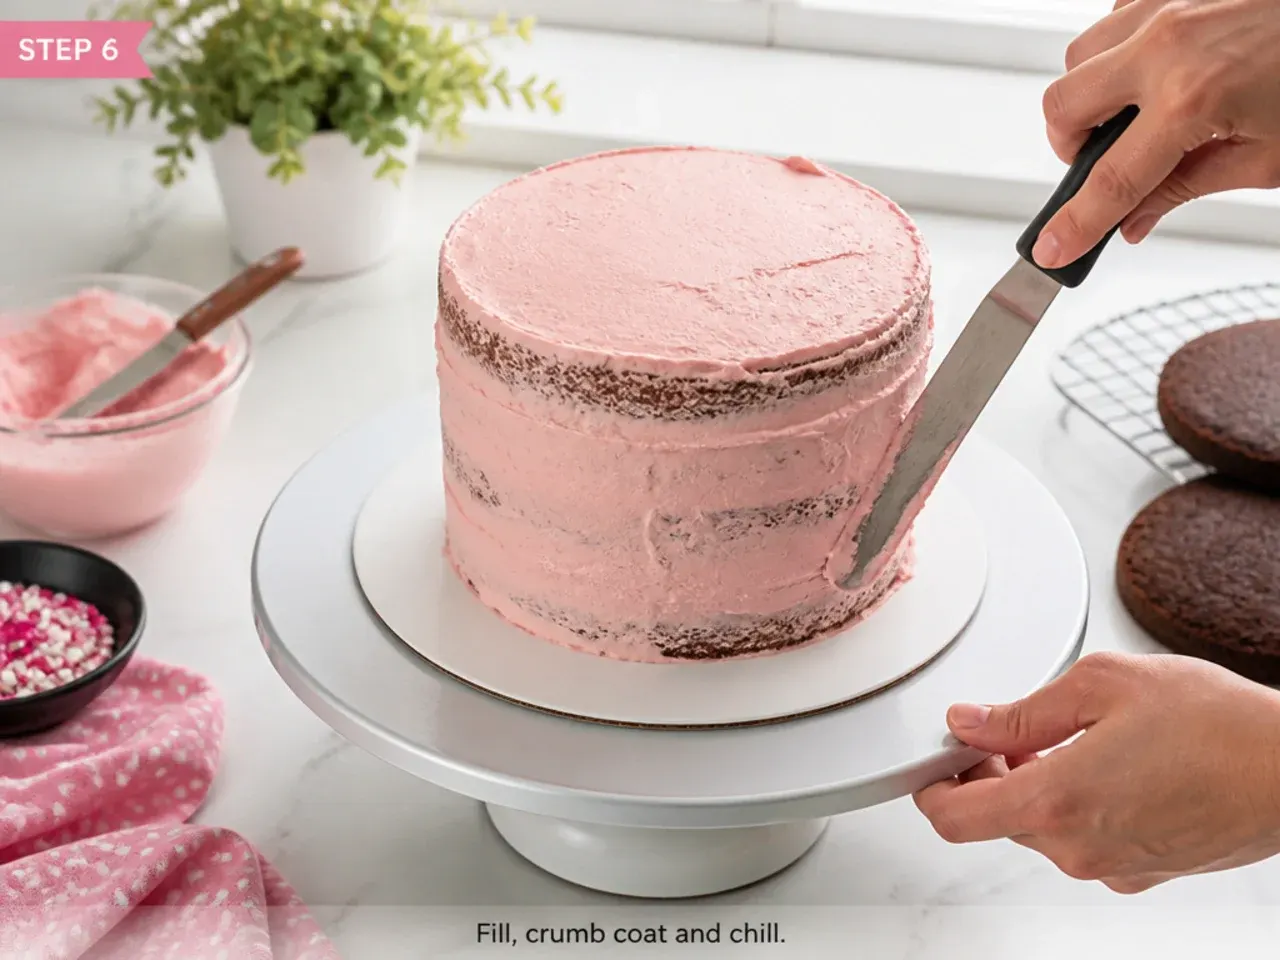
Level the domed tops of the cooled sponges with a serrated knife. Stack the layers on a cake board with a generous layer of pink buttercream between them, then chill for 20 minutes. Spread a thin crumb coat over the top and sides, scrape it smooth, and chill for another 30 minutes until the surface is firm to the touch.
Step 7: Frost, Dot and Decorate
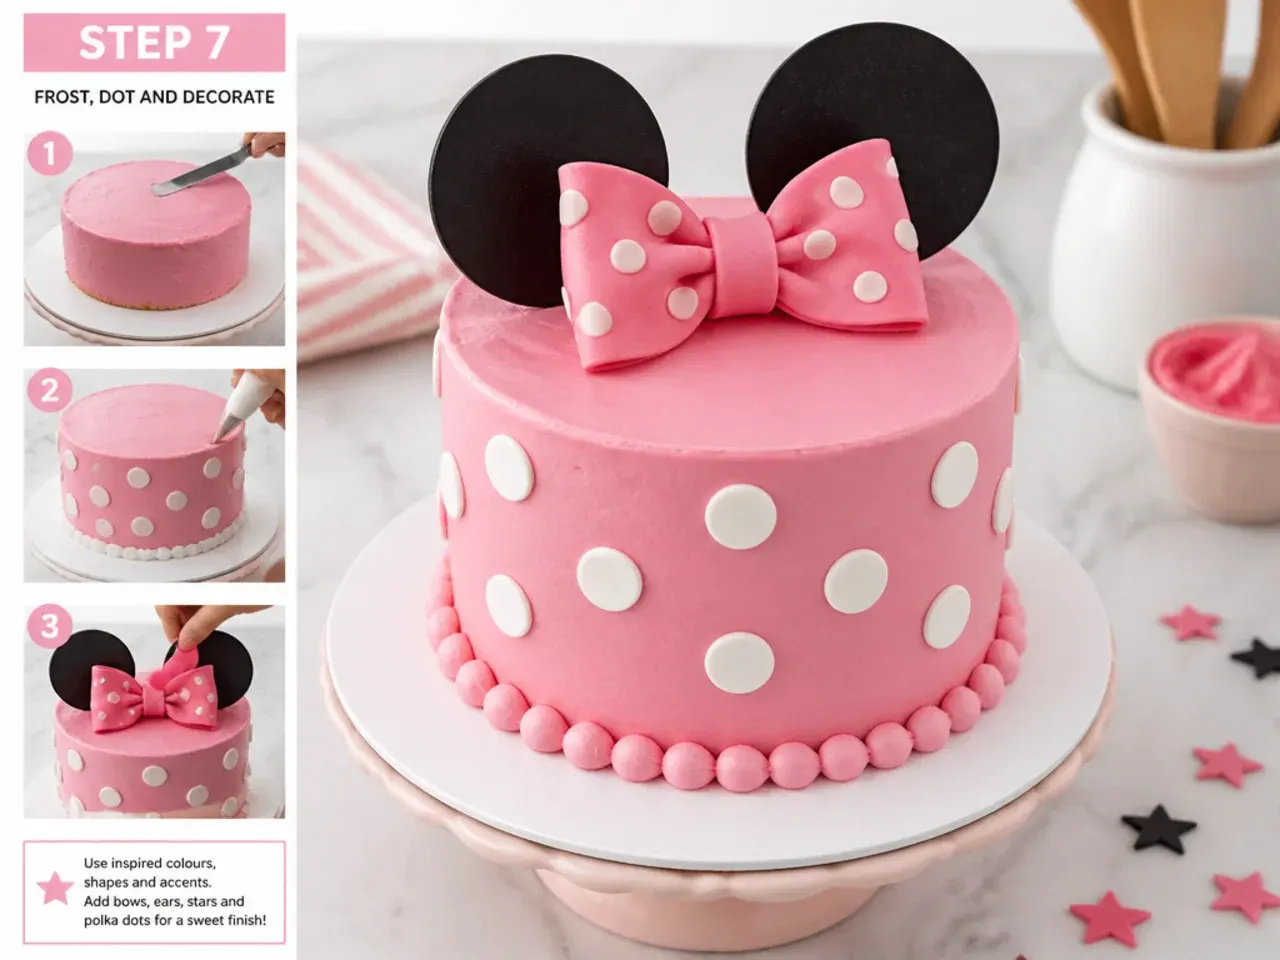
Apply the final coat of pink buttercream and smooth it with a bench scraper or palette knife. Mark dot positions with a toothpick in offset rows, pipe white dots with a #12 round tip, and flatten the peaks with a fingertip dipped in cornflour. Push the ear sticks into the top near the back edge, angled slightly backwards, and sit the bow front and centre between them. Chill until 30 to 60 minutes before serving so the sponge comes back to room temperature.
Frequently Asked Questions
Candy melts or dark chocolate are the most reliable option for a home baker. Spread the melted chocolate into two 9cm circles on parchment, press a lollipop stick halfway into each, and chill for 30 minutes — then insert the sticks into the cake angled slightly backwards. Fondant ears only stand up if you knead in gum paste or CMC powder and dry them for several days, sandwiched around a skewer.
Save this for later 📌
Pin this article to your Pinterest board so the full list is one tap away when you need it.
Save on Pinterest