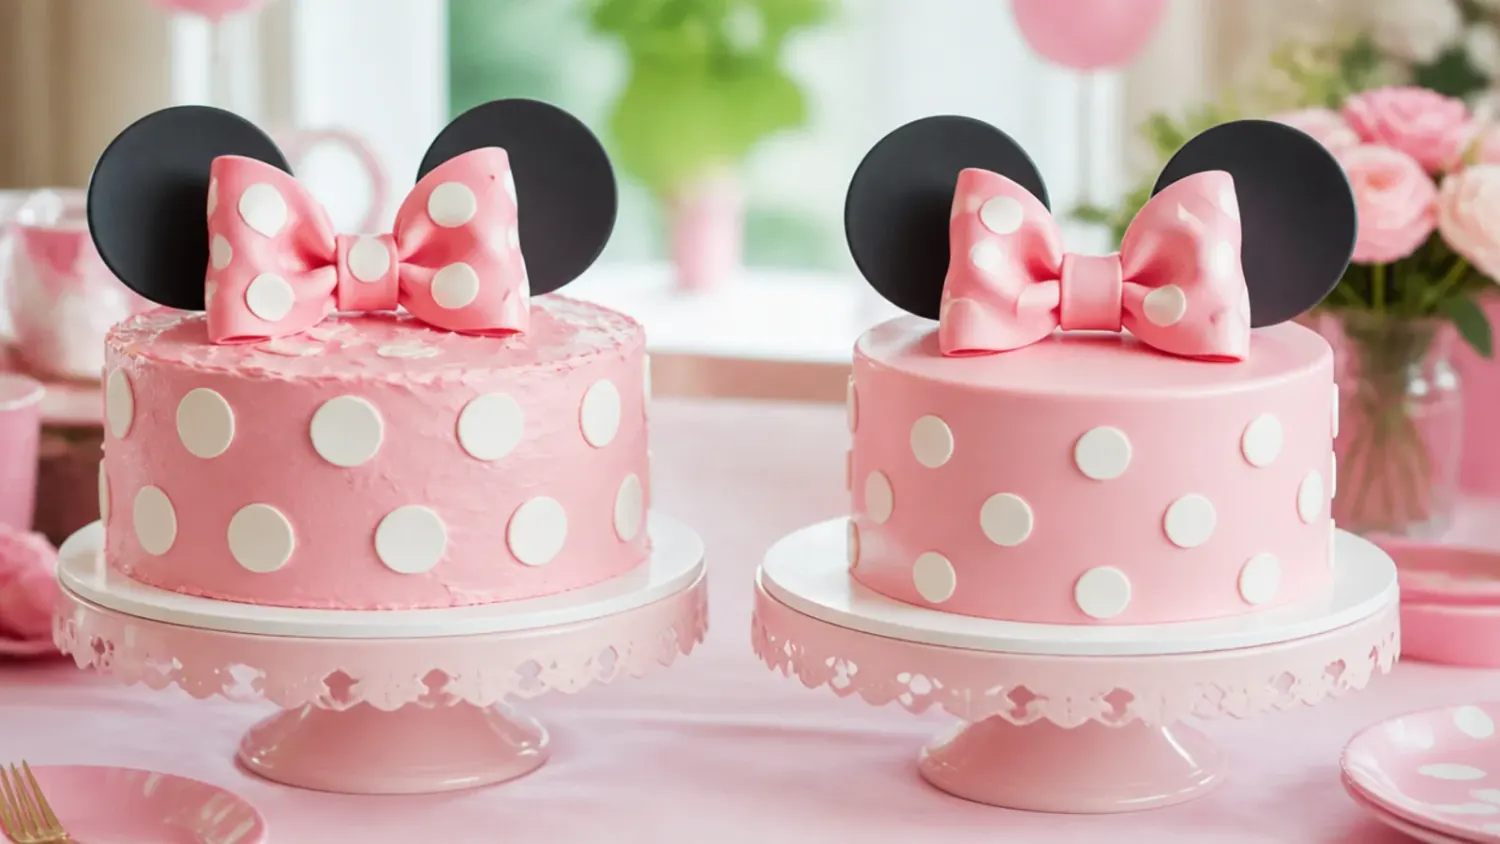
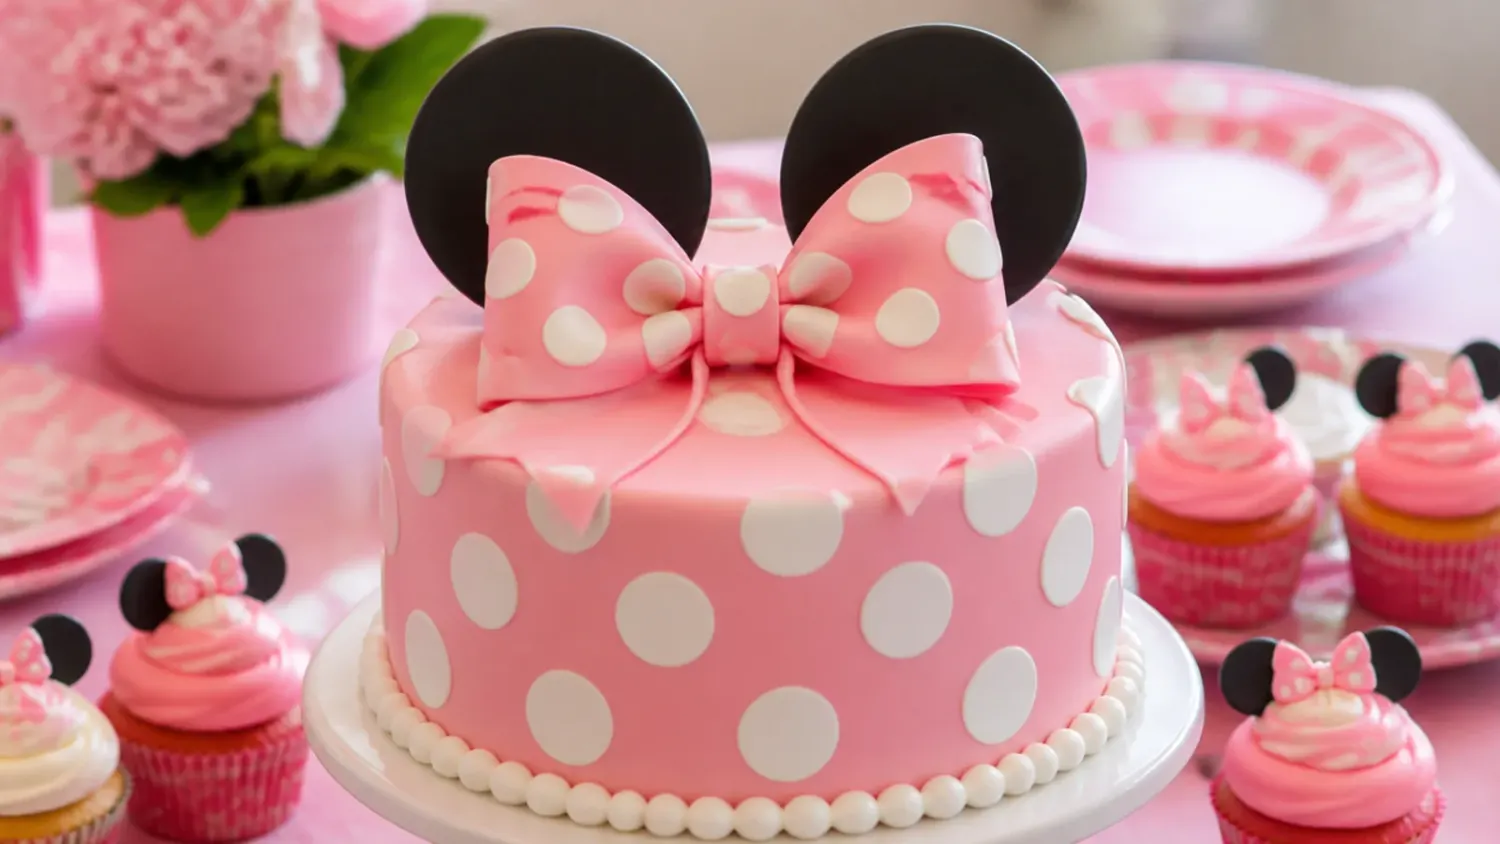
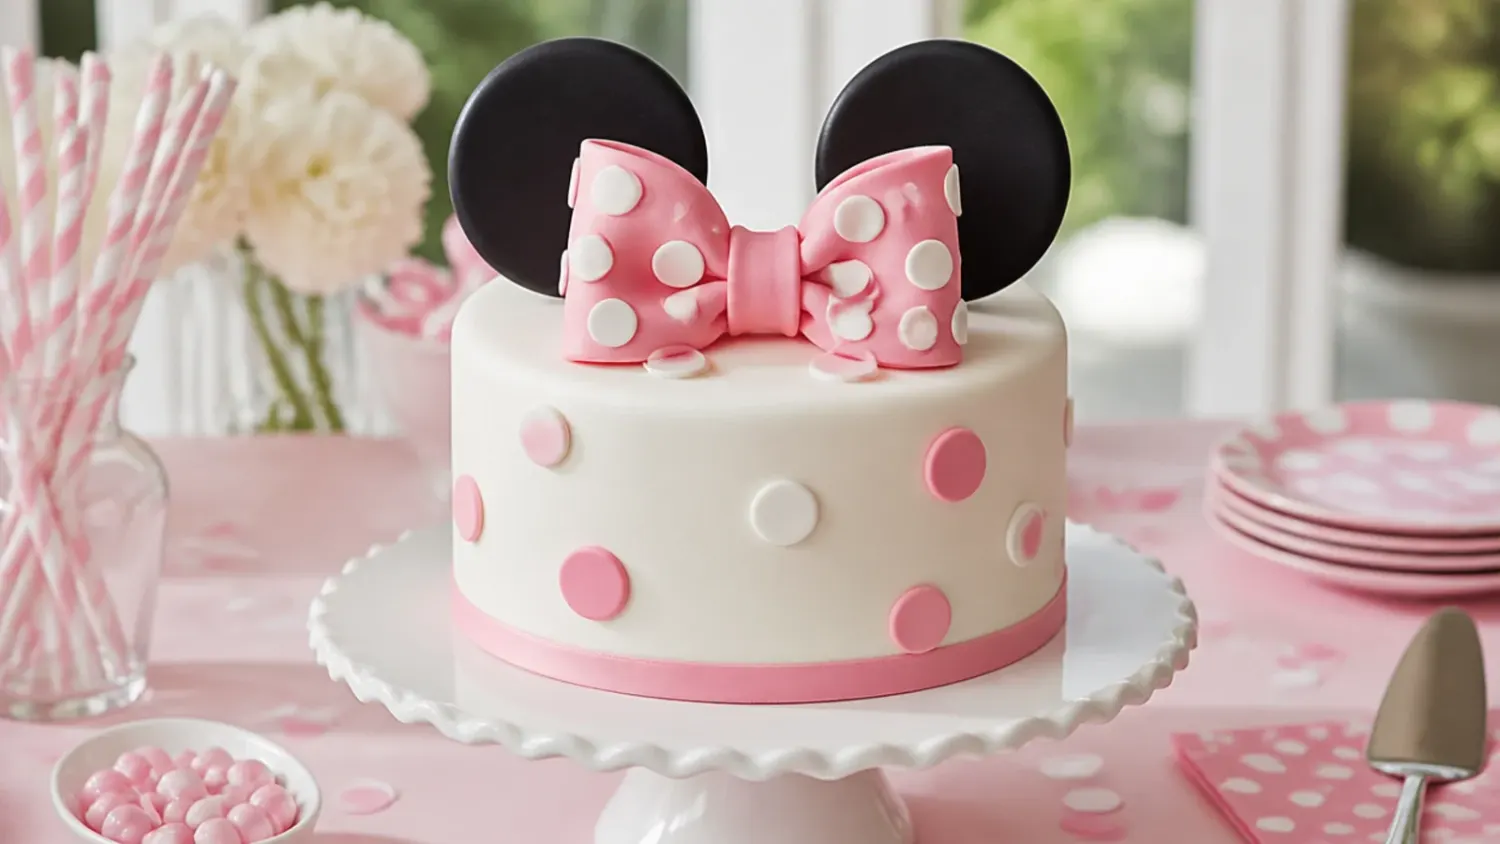
20 Bold Red Minnie Mouse Cake Ideas
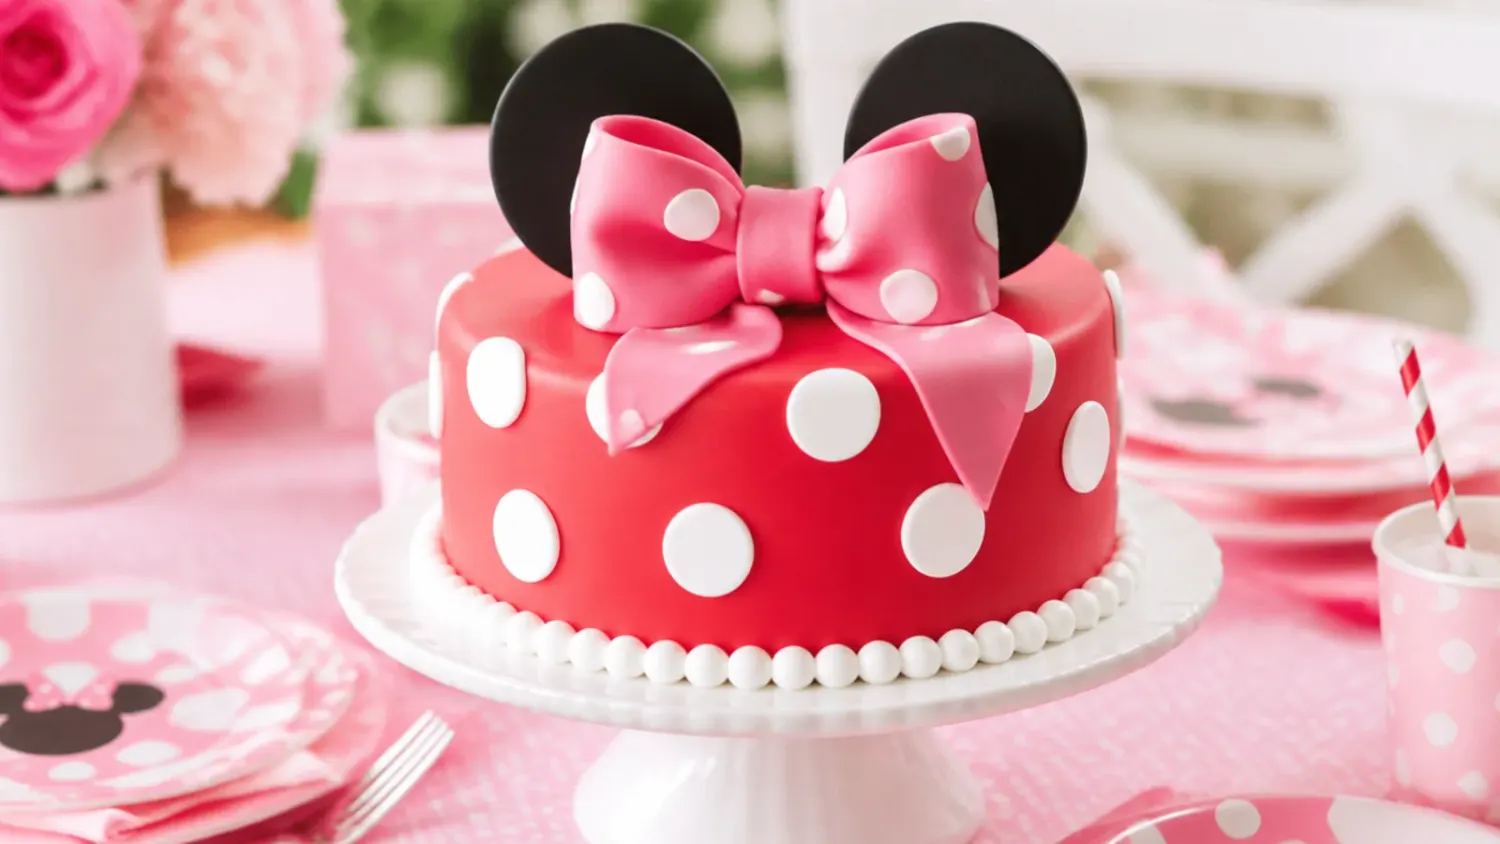
20 bold red Minnie Mouse cake ideas with polka dots, bows and ears, plus a foolproof vanilla base and vibrant red buttercream that never tastes bitter. If you love minnie mouse cake inspiration, start with our Minnie Mouse Cake Ideas collection, then browse the full Cake Ideas hub for more.

Save this for later 📌
Pin this article to your Pinterest board so the full list is one tap away when you need it.
Save on PinterestCake Ideas
Intermediate
Ideas
20 ideas
Table of Contents
- 1. Classic Red, White and Black Polka Dot Cake
- 2. One-Bowl Easy Red Buttercream Cake for Beginners
- 3. Elegant Two-Tier Red Ombre Cake
- 4. Playful Polka Dot Explosion Cake
- 5. Modern Red Drip Cake with Gold Accents
- 6. Rustic Semi-Naked Red Velvet Cake
- 7. Colorful Rainbow-Inside Red Cake
- 8. Minimal Modern Buttercream Cake with One Bow
- 9. Festive Red Christmas-Party Cake
- 10. Whimsical Floating Bow Topper Cake
- 11. Bold All-Red Statement Cake with Black Ribbon
- 12. Delicate Lace and Dot Cake for a Tea Party
- 13. Vintage Ruffle Cake in Cherry Red
- 14. Creative Handbag-Shaped Cake
- 15. Charming Mini Smash Cake for First Birthdays
- 16. Classic Dotted-Dress Cupcake Pull-Apart Cake
- 17. Easy No-Bake Red Icebox Cake
- 18. Elegant Red and Gold Metallic Cake
- 19. Playful Ice Cream Cone Topper Cake
- 20. Modern Fault-Line Cake with a Dotted Reveal
- Tips to Make These Ideas Easier
- Common Mistakes to Avoid
- The Base Recipe — Make Any of These Ideas
1. Classic Red, White and Black Polka Dot Cake
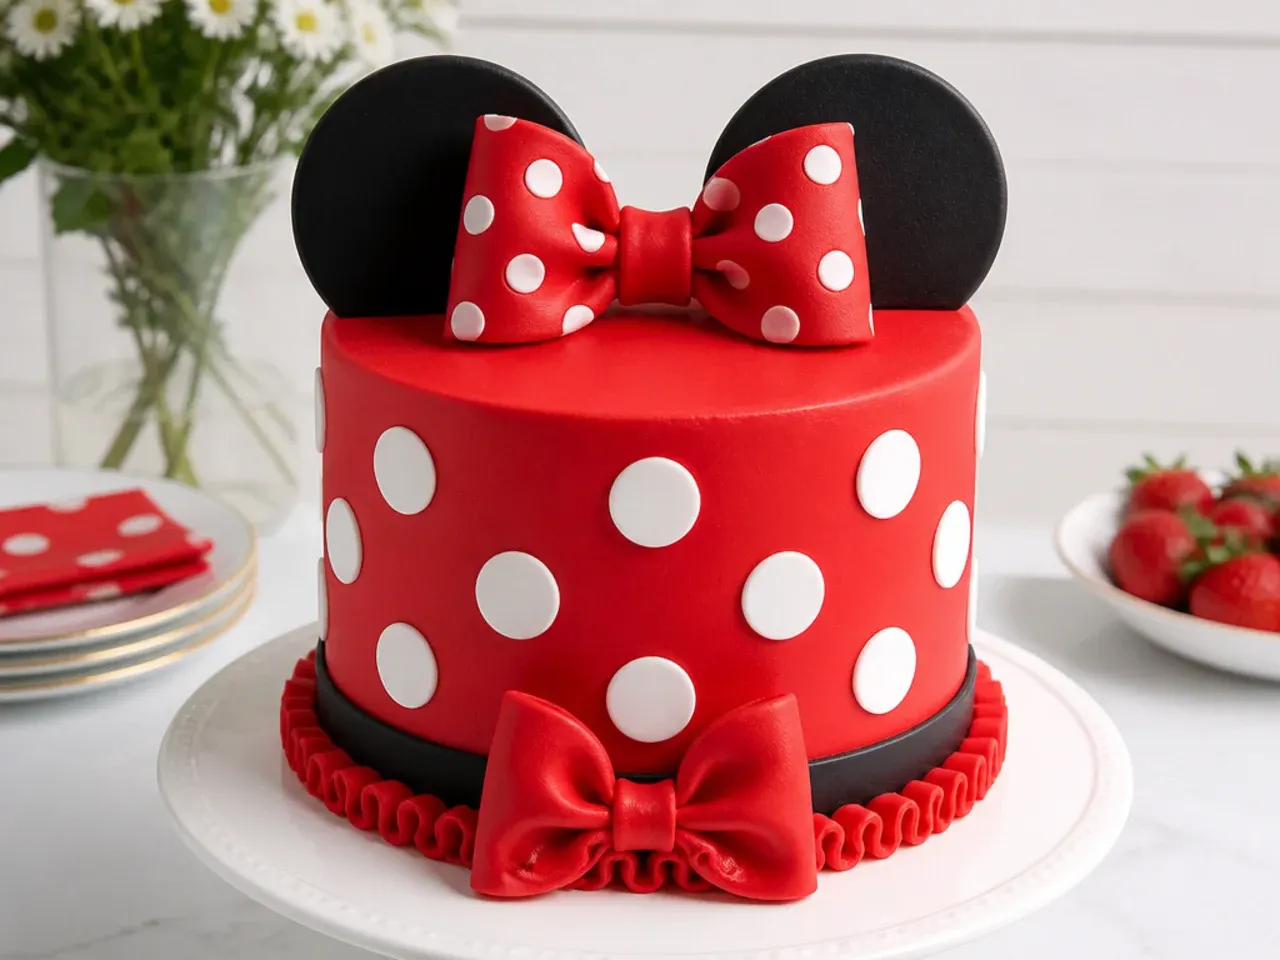
This is the design everyone pictures: a red buttercream base wrapped in evenly spaced white polka dots, finished with a black-and-red bow and two rounded ear shapes on top. It works because the three high-contrast colors read instantly from across a party table, and the dots hide small icing imperfections. Cover a chilled two-layer 8-inch cake in red buttercream, then pipe uniform white dots using a plain round tip 8 held straight against the side. Cut the ears from two 3-inch fondant circles stiffened with a little CMC powder and push them onto skewers so they stand upright.
2. One-Bowl Easy Red Buttercream Cake for Beginners
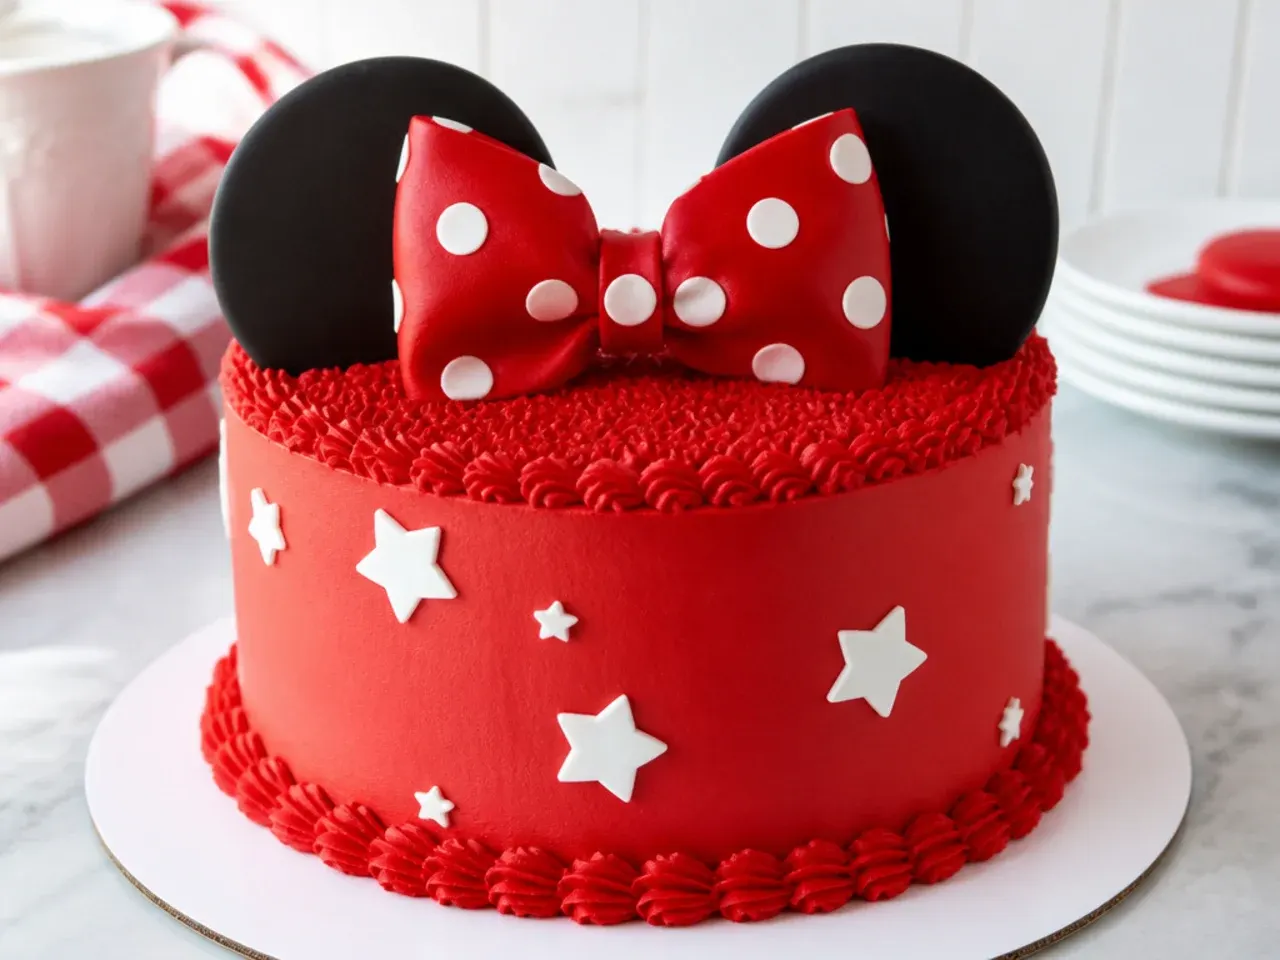
If you have never decorated a character cake, this stripped-back version skips fondant entirely and uses only red and white buttercream. It works because a smooth red coat plus a simple piped bow gives the Minnie-inspired look with zero sculpting. Frost the chilled cake with red buttercream, smooth it with a hot bench scraper, then pipe a bow shape freehand with a star tip 1M in white or pink. Add three or four oversized white dots for the polka-dot cue and you are done in under 20 minutes of decorating. This is the ideal first attempt for a busy weeknight birthday.
3. Elegant Two-Tier Red Ombre Cake
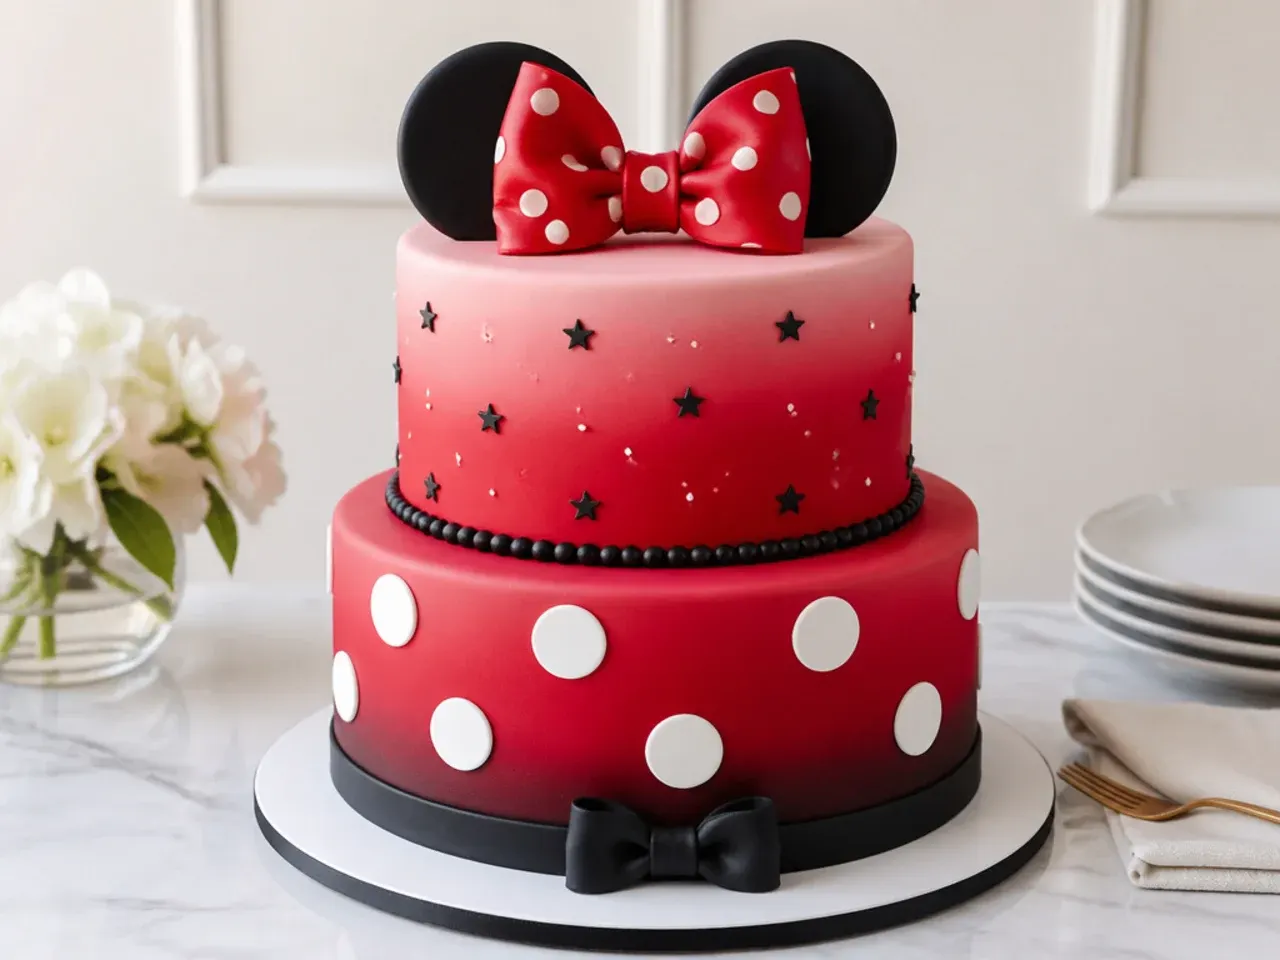
For a grown-up celebration, stack a 6-inch tier on an 8-inch tier and blend the red buttercream from deep crimson at the base to soft blush at the top. The ombre reads as sophisticated rather than childish while still nodding to the Minnie-inspired palette. Divide your buttercream into three bowls, tint them dark red, medium red and pale pink, then pipe horizontal bands and smooth them together with a warm scraper for a seamless fade. Finish with a single fondant bow and a scatter of tiny white dots near the top edge only. Dowel the bottom tier so the upper layer does not sink.
4. Playful Polka Dot Explosion Cake
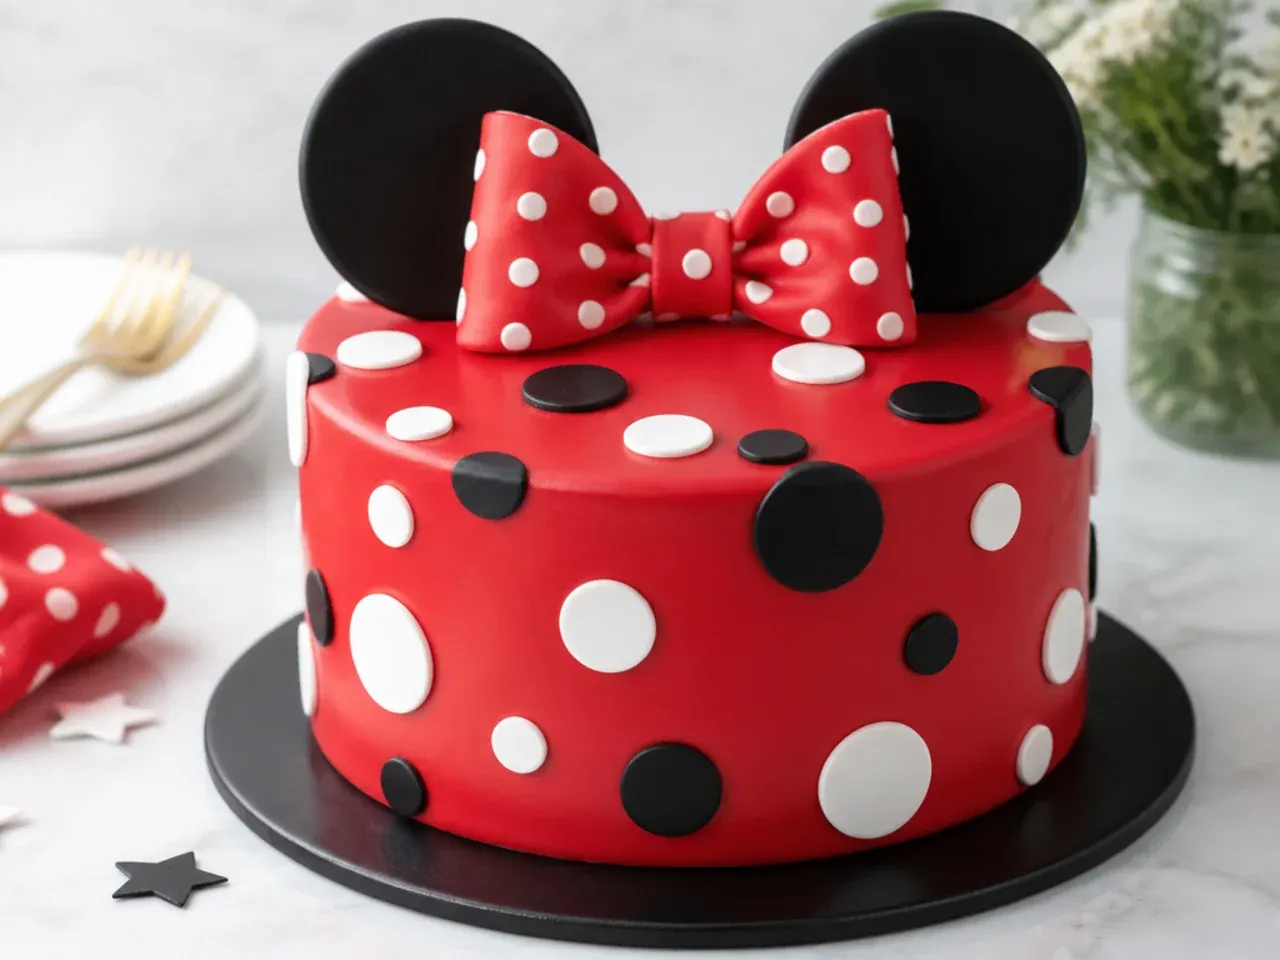
Instead of neat rows, this idea covers the whole cake in white dots of three different sizes scattered at random for a confetti-burst feel. It works because the busy pattern is forgiving and genuinely fun for younger kids. Pipe the dots with round tips 12, 8 and 4 so the varied scale looks intentional rather than messy. Add a few black dots between the white ones to echo the classic color story, and press a couple of red-and-white striped candy sticks in as a bow accent. Chill the cake for 15 minutes first so the dots hold their domed shape.
5. Modern Red Drip Cake with Gold Accents
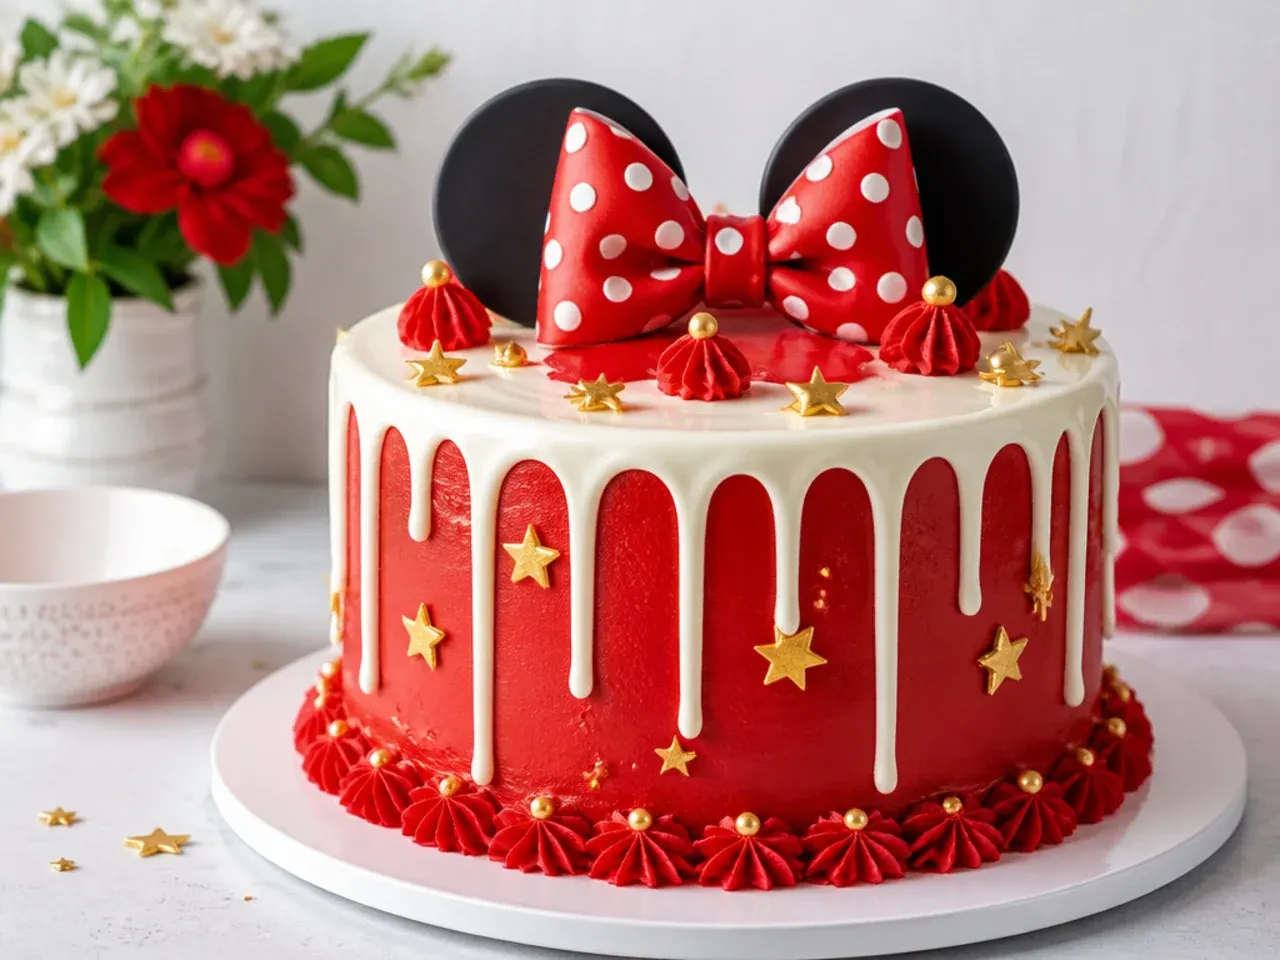
A tall, sharp-edged red cake with a glossy white chocolate drip and gold leaf feels current and photographs beautifully. The clean drip contrasts the matte red sides and gives a trend-forward twist on the party classic. Make the drip by melting 100g white chocolate with 30ml cream, tint it bright white with a touch of titanium dioxide, cool to body temperature, then spoon it over a well-chilled cake so the drips stop halfway down. Add edible gold leaf flecks and a modern acrylic bow topper. Keep the sides ultra-smooth with a metal scraper for the sharpest look.
Save this for later 📌
Pin this article to your Pinterest board so the full list is one tap away when you need it.
Save on Pinterest6. Rustic Semi-Naked Red Velvet Cake
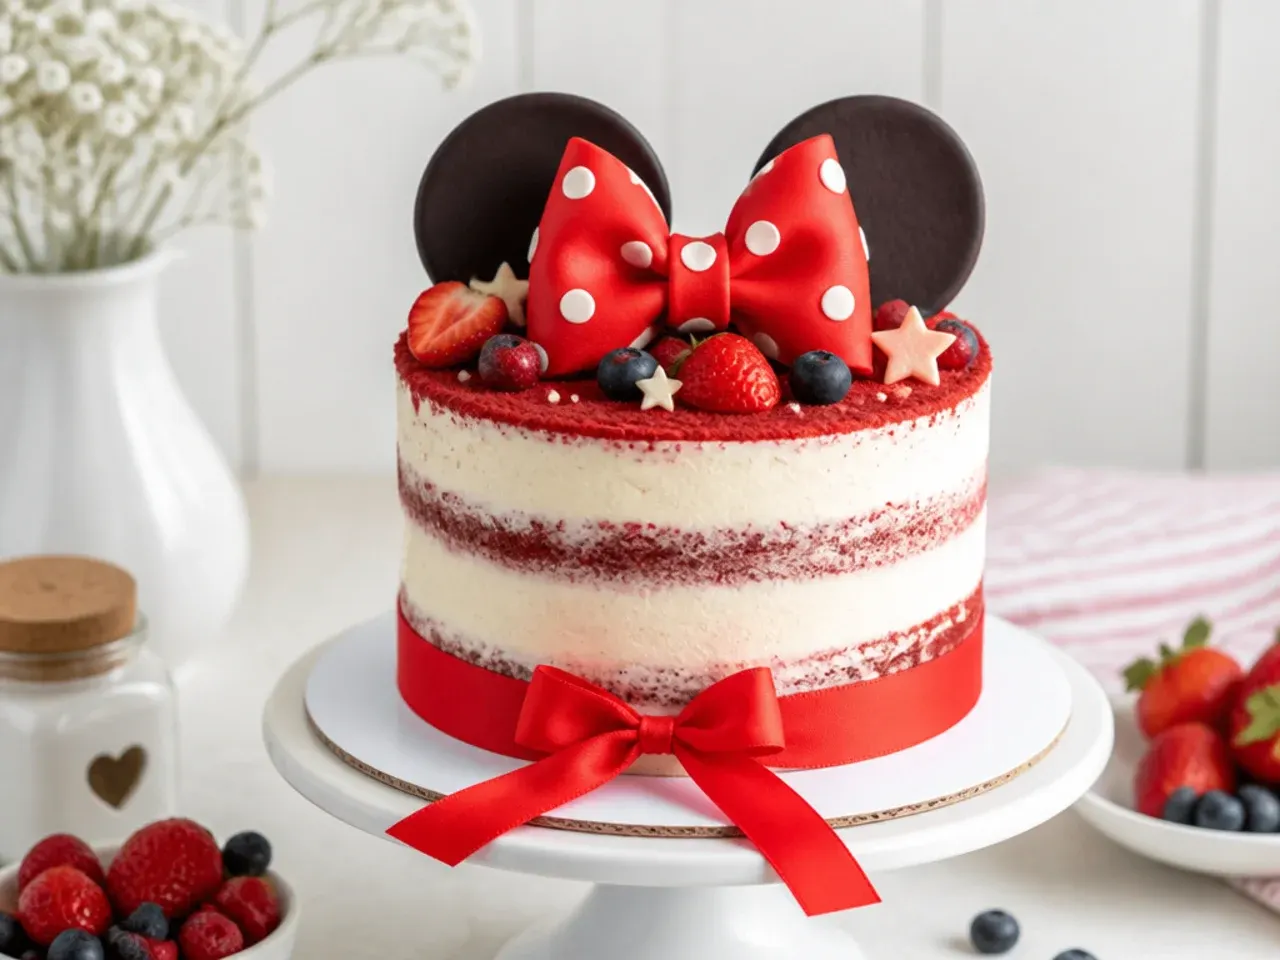
Swap the plain vanilla base for red velvet layers and barely coat the outside so the red crumb peeks through the frosting. This semi-naked style suits a cozy, homespun party and needs far less icing skill. Scrape most of the buttercream off with a bench scraper so only a thin veil remains, letting the red layers show. Top with fresh red berries, a few white buttercream dots and a burlap-style ribbon bow for the rustic finish. Because there is no full coat to hide flaws, chill between the crumb coat and final scrape so the layers stay put.
7. Colorful Rainbow-Inside Red Cake
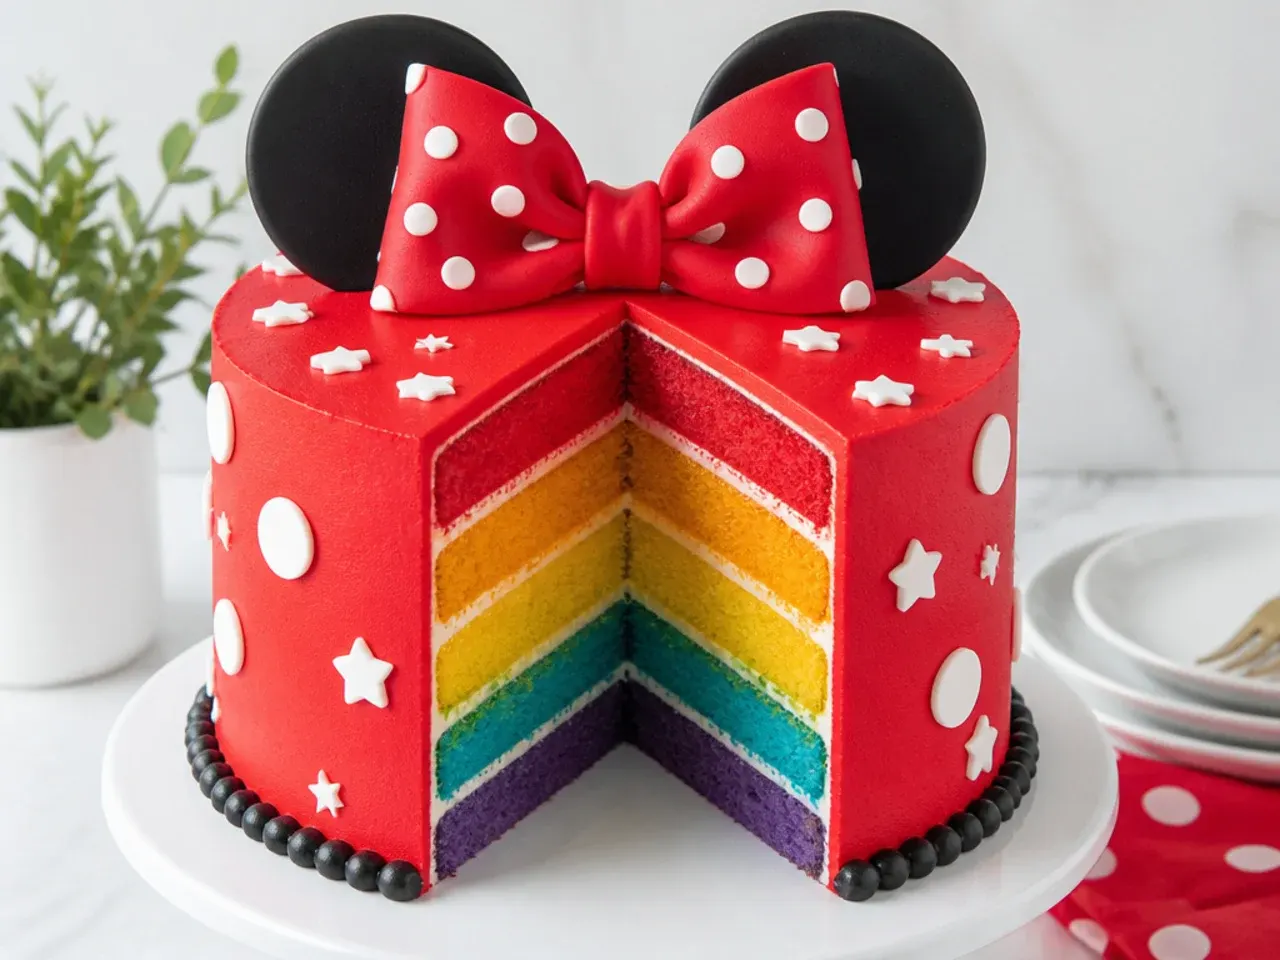
Keep the outside a bold red polka-dot design but bake rainbow layers inside for a surprise reveal when it is cut. Kids love the moment the knife shows hidden colors, and it turns one cake into two wow factors. Divide your batter into five bowls, tint each a different color with gel, and bake them as thin layers so the stack shows clear stripes. Coat the outside in red buttercream with white dots so the exterior still matches the theme. Level each layer flat before stacking so the rainbow reads as crisp horizontal bands.
8. Minimal Modern Buttercream Cake with One Bow
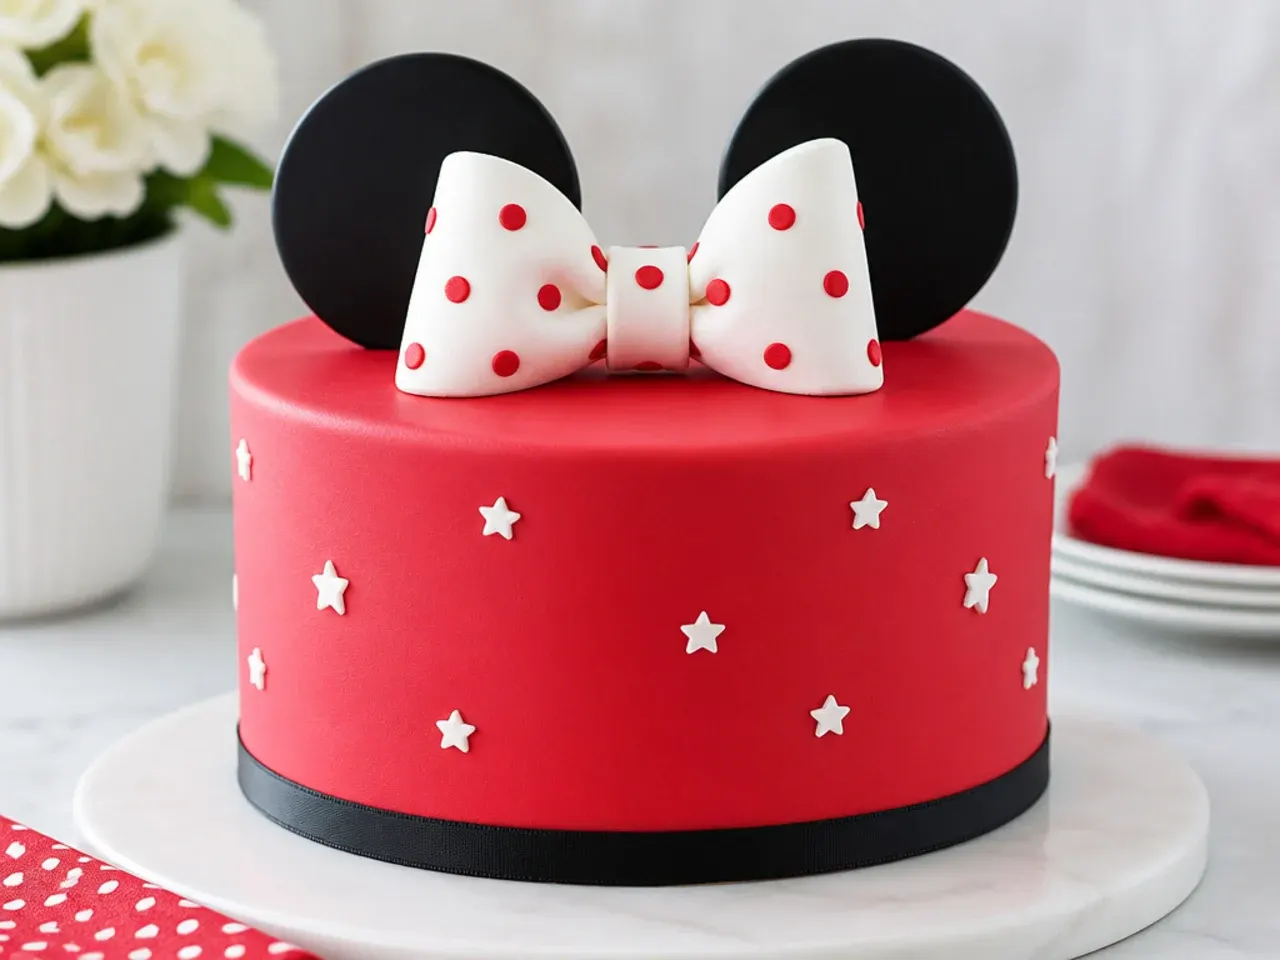
This pared-down idea uses a flawless matte red coat, no dots, and a single crisp white fondant bow as the only decoration. It works because restraint looks expensive and lets the color do the talking. Focus all your effort on a mirror-smooth finish: apply a crumb coat, chill 30 minutes, then a final coat smoothed with a scraper dipped in hot water and dried. Place one oversized bow slightly off-center on the top edge and add just two small ear shapes behind it. A single fresh red ranunculus can replace the bow for an even sleeker look.
9. Festive Red Christmas-Party Cake
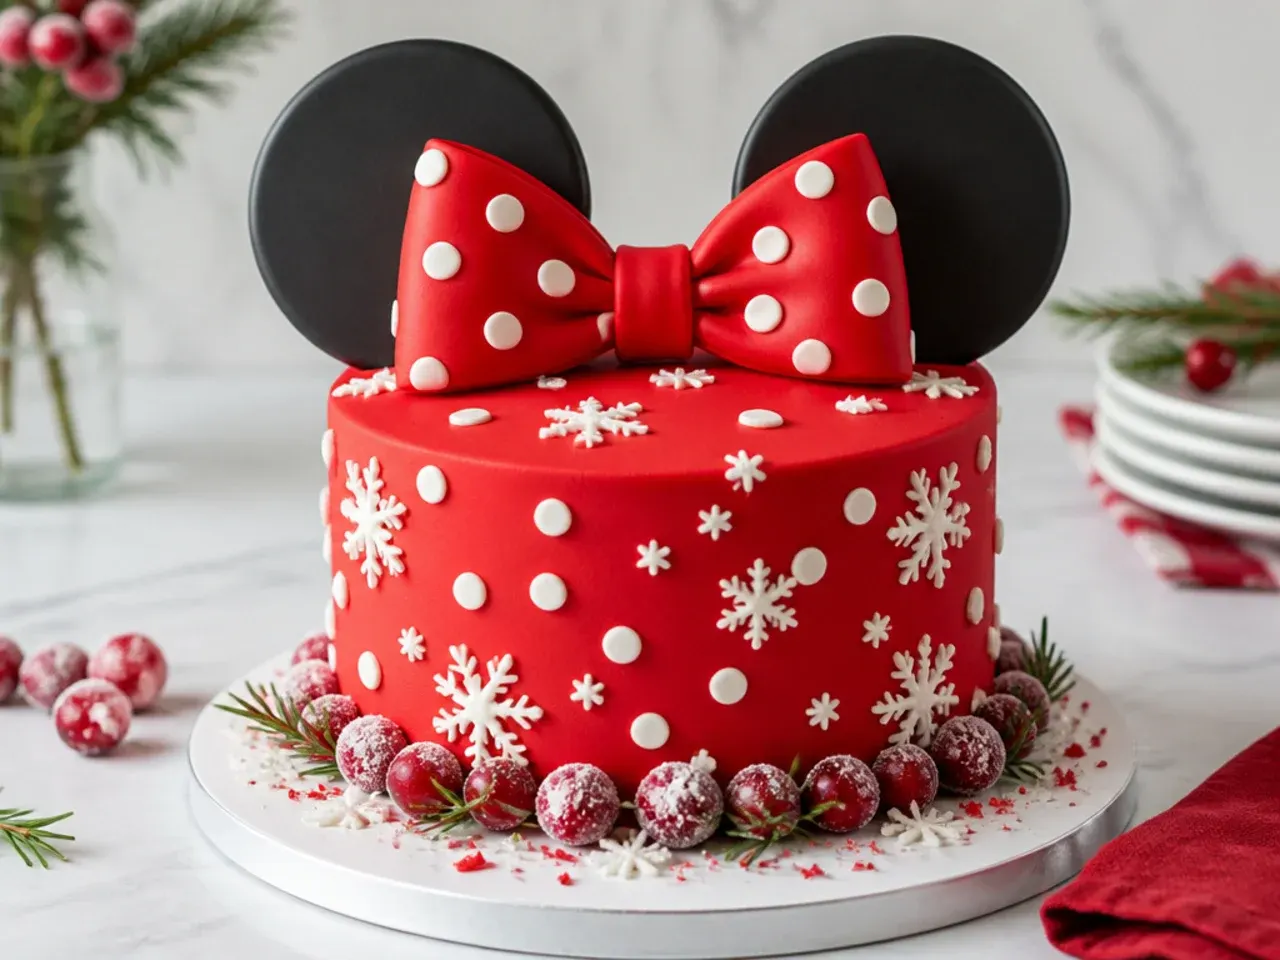
Lean into the red palette for a holiday birthday by adding white snowflake dots, a sprig of sugared cranberries and a tartan-print bow. The red-and-white combination already reads festive, so it doubles as a Christmas centerpiece. Pipe white buttercream dots in loose snowflake clusters and dust them with edible shimmer for a frosty sparkle. Roll a bow from red-and-white gingham fondant made by laying thin white strips over red before cutting. Store any sugared cranberries separately and add them just before serving so they stay crisp.
10. Whimsical Floating Bow Topper Cake
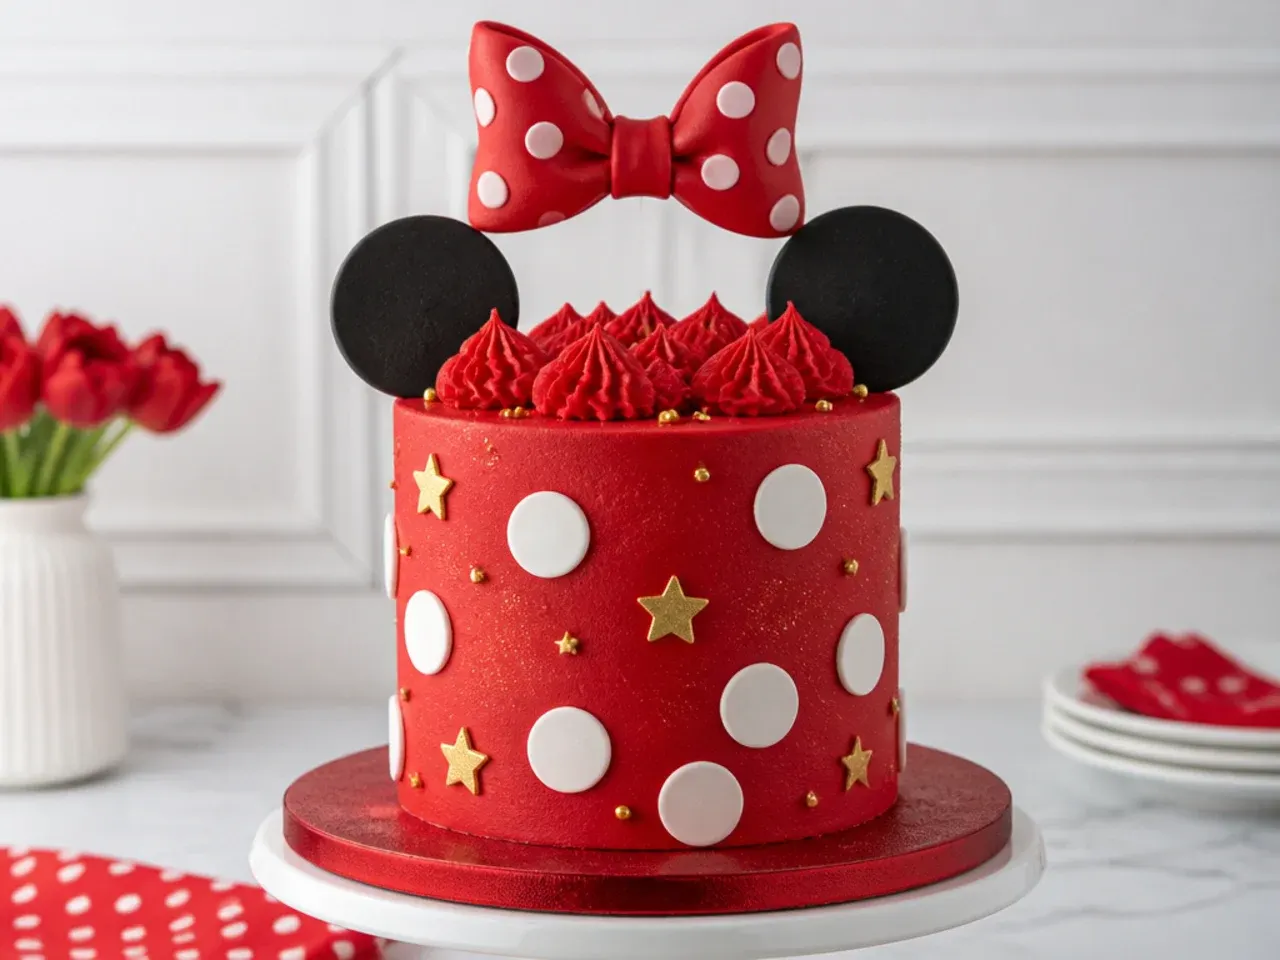
Make the signature bow appear to float above the cake on a hidden clear acrylic stand for a magical, gravity-defying effect. The whimsy comes from the illusion, and it keeps the delicate bow away from little fingers. Build the bow from gum paste over a curved former so the loops hold their shape, let it dry 24 hours, then mount it on a clear food-safe rod pushed into the cake. Surround the base with a ring of red and white buttercream rosettes piped with tip 1M. Keep the finished cake out of direct sun so the gum paste bow does not soften and droop.
Save this for later 📌
Pin this article to your Pinterest board so the full list is one tap away when you need it.
Save on Pinterest11. Bold All-Red Statement Cake with Black Ribbon
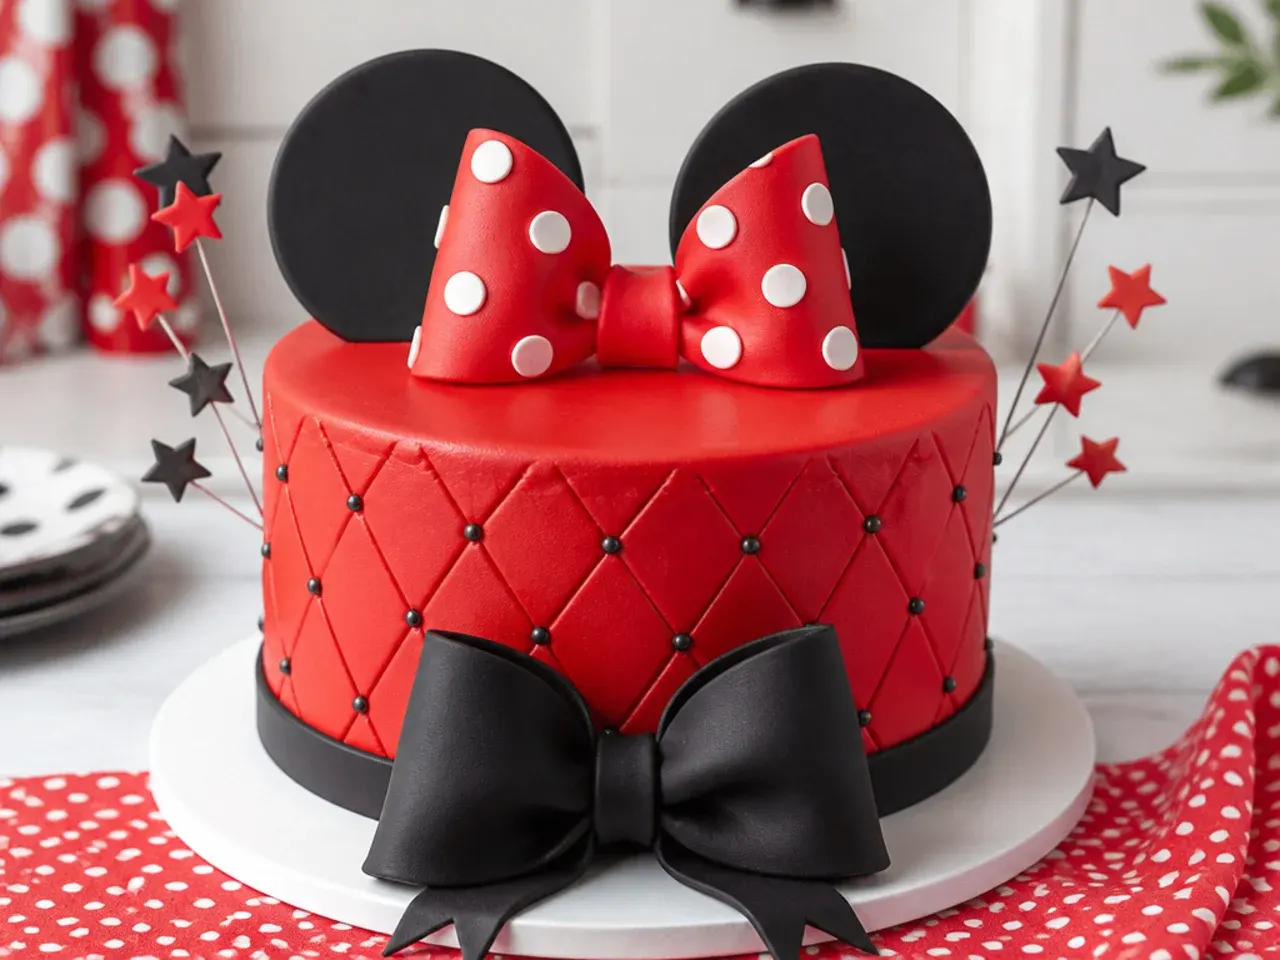
Go monochrome-bold with a deep saturated red cake wrapped in a single glossy black satin-look ribbon and dramatic oversized ears. The high-drama simplicity makes it a striking dessert-table hero. Achieve the deepest red by making your buttercream one to three days ahead so the color darkens in the fridge, and start from a pink base to use less gel. Wrap a food-safe black ribbon around the chilled base and secure the seam at the back with a dot of buttercream. Cut the ears large, from 4-inch circles, so they read boldly against the red.
12. Delicate Lace and Dot Cake for a Tea Party
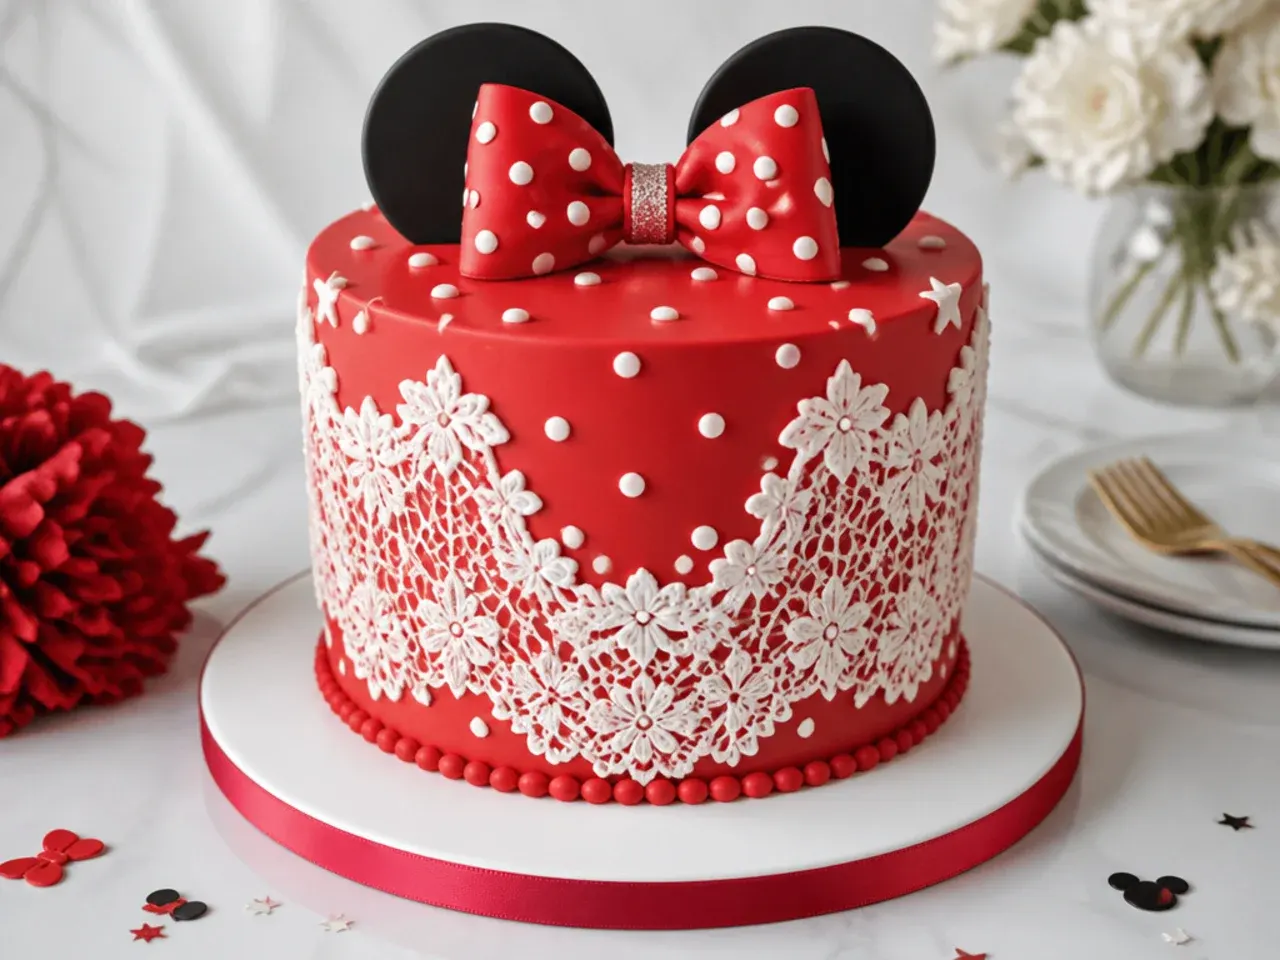
Pair the red base with fine white edible-lace panels and pin-dot detailing for a dainty, tea-party feel. The lace softens the bold red and gives a refined, feminine finish. Make edible lace by spreading lace mix into a silicone mat, baking briefly at 100°C (212°F) until set, then peeling and wrapping it around the chilled cake. Add rows of tiny piped white pin dots with a fine tip 2 above and below the lace band. A small blush-pink bow and a few ear shapes keep the Minnie-inspired theme intact without overpowering the delicacy.
13. Vintage Ruffle Cake in Cherry Red
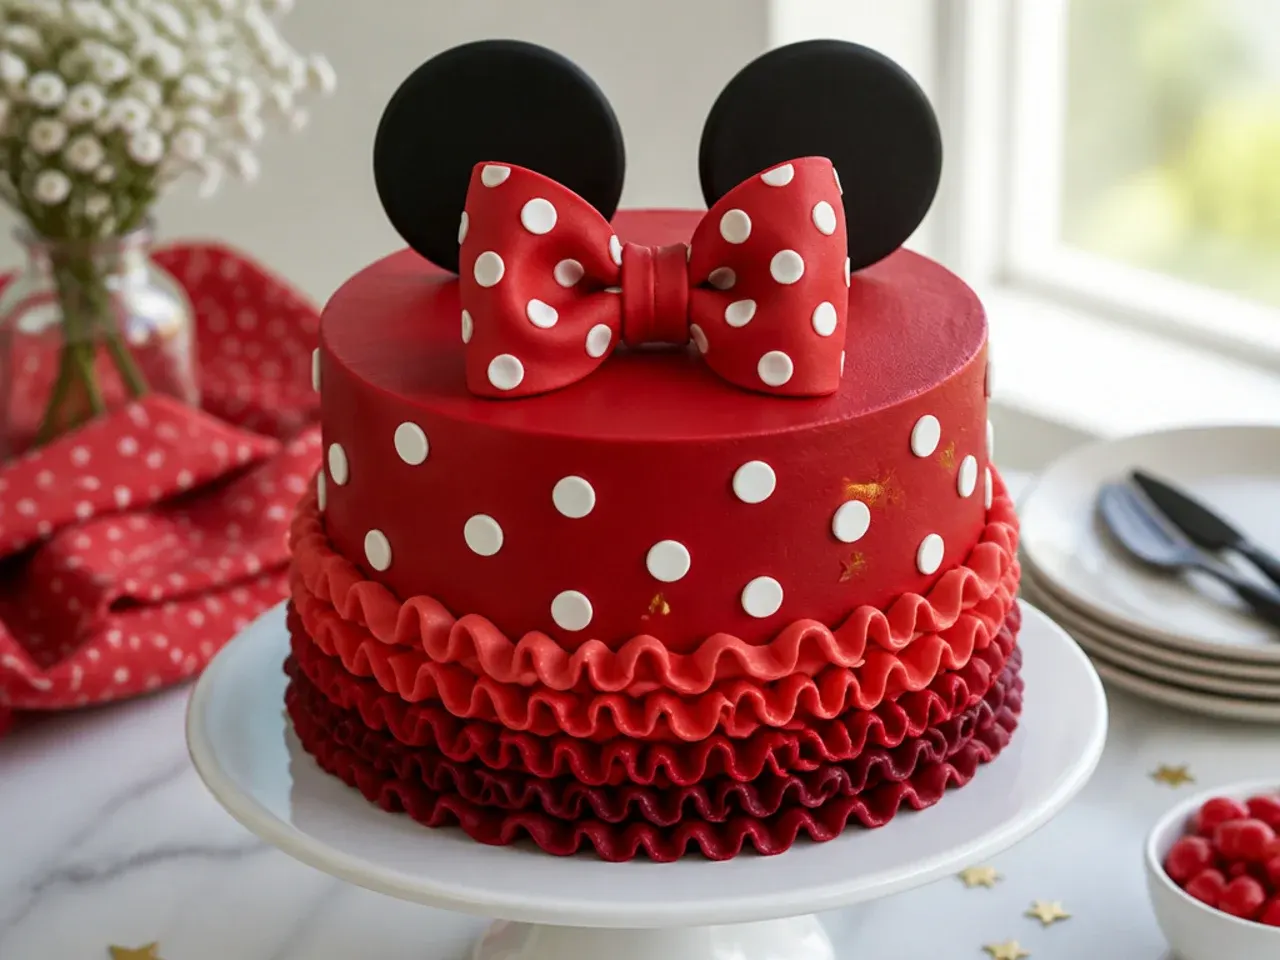
Channel a retro bakery look with vertical buttercream ruffles cascading down a cherry-red cake, topped with a classic dotted bow. The ruffles feel nostalgic and hide any unevenness in the crumb coat. Pipe the ruffles with a petal tip 104, keeping the wide end against the cake and wiggling gently as you move down each vertical row. Alternate red and pale-pink ruffle columns for depth, then add white dots only on the bow. Chill the cake well before piping so the buttercream ruffles set with clean, defined edges.
14. Creative Handbag-Shaped Cake
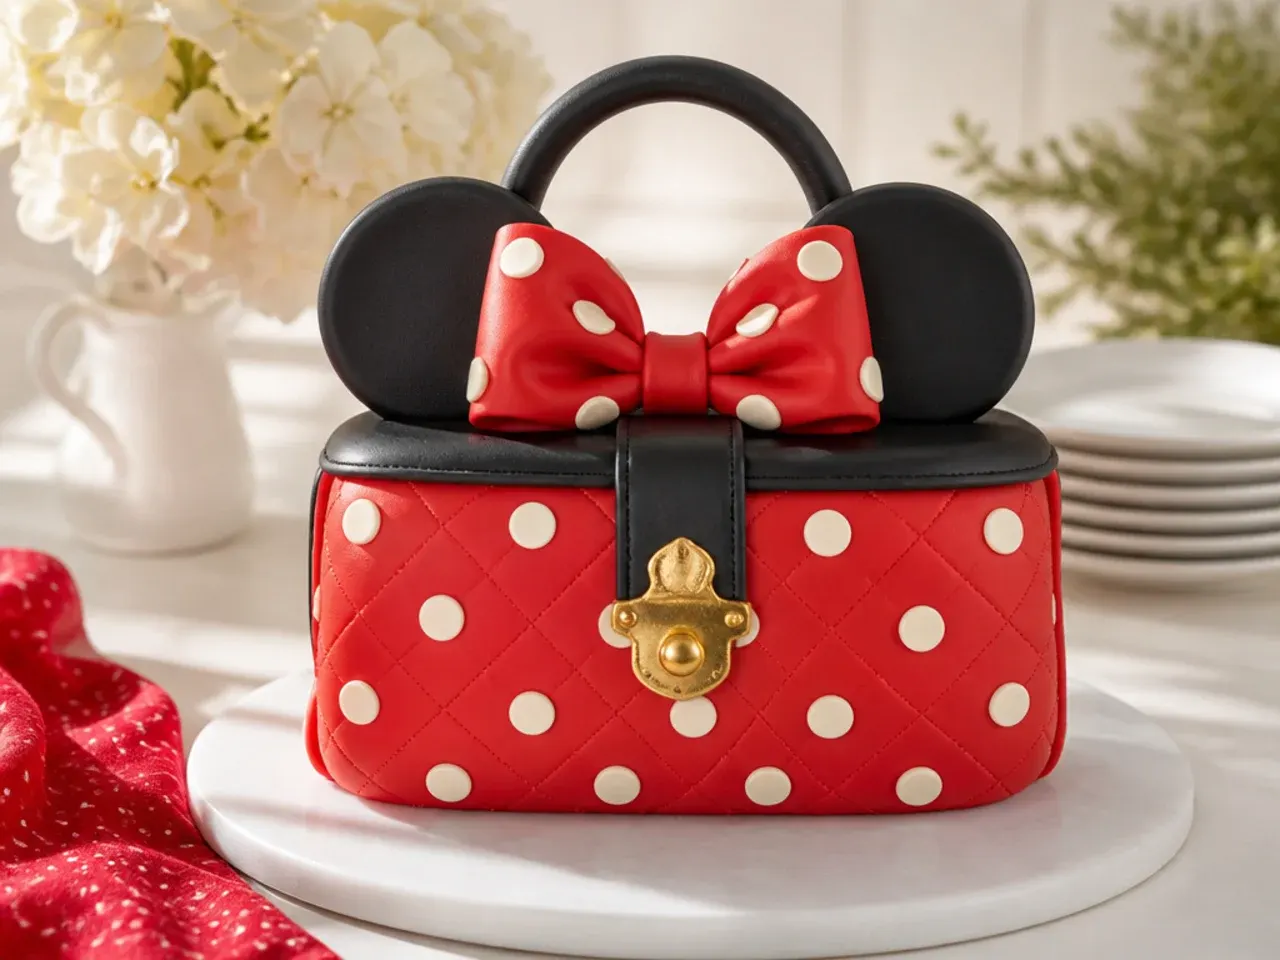
Carve the cake into a chic red handbag with a fondant clasp, stitching detail and a bow, a fun departure from a standard round. It works because the shape is instantly recognizable and still fits the red-bow-polka-dot theme. Bake the cake in a loaf tin, stand it upright, then carve the top corners into a soft handbag curve and chill hard before covering in red fondant. Add a strip-and-loop handle reinforced with wire, a fondant clasp, and pressed stitch marks made with a tracing wheel. Support the standing cake with an internal dowel so it does not lean.
15. Charming Mini Smash Cake for First Birthdays
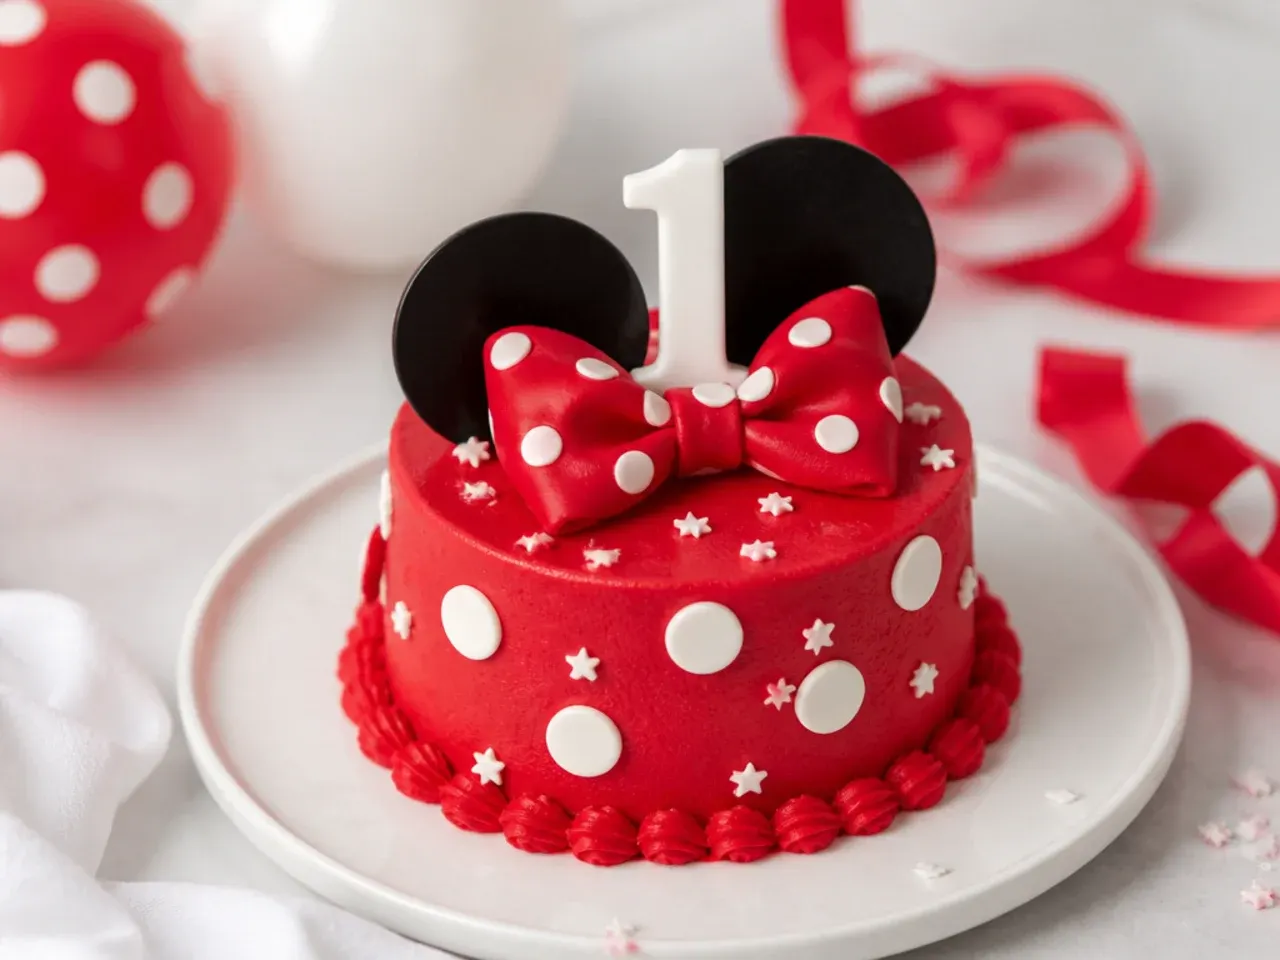
Bake a single 4-inch layer cake sized perfectly for a one-year-old to dig into, coated in soft red buttercream with a tiny bow. It works because the small scale is safe for little hands and photographs adorably during the smash. Use one-quarter of the base recipe batter in a 4-inch pan and lower the sugar slightly for a gentler first-birthday treat. Keep decoration to a smooth red coat, a few white dots and a small fondant-free piped bow so nothing is a choking hazard. Bake a matching 6-inch cake alongside for the guests to eat.
Save this for later 📌
Pin this article to your Pinterest board so the full list is one tap away when you need it.
Save on Pinterest16. Classic Dotted-Dress Cupcake Pull-Apart Cake
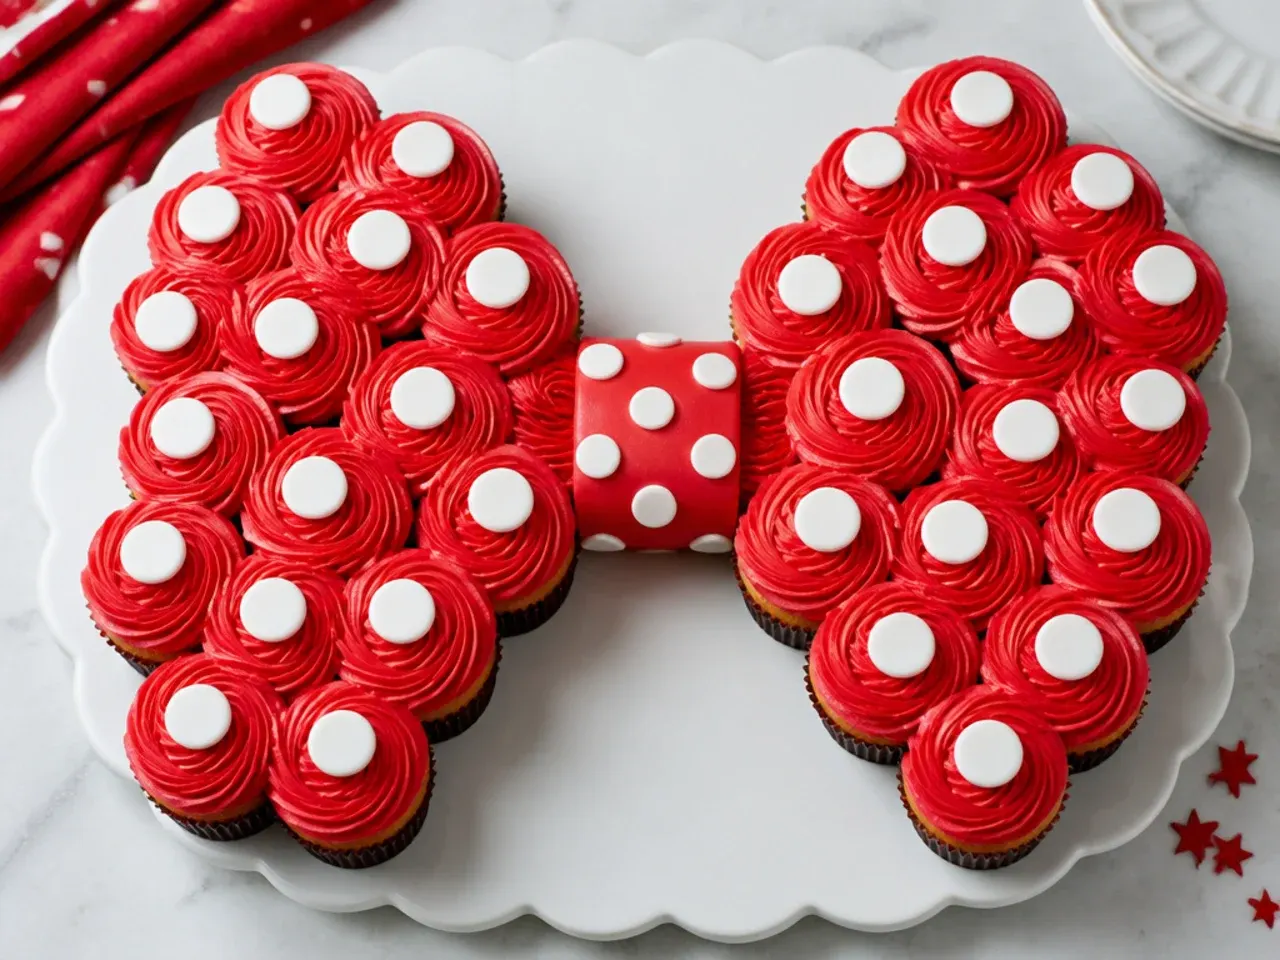
Arrange 24 cupcakes in the outline of a Minnie-inspired dress or bow shape and frost them as one connected polka-dot surface. This pull-apart format serves a crowd with zero slicing and zero carving. Frost each cupcake in red buttercream, then pipe white dots across the whole arrangement so the pattern flows over the seams. Set the cupcakes tightly on a single board and use a printed template underneath to keep the shape accurate. Frost from the center outward so the dots line up neatly across neighboring cupcakes.
17. Easy No-Bake Red Icebox Cake
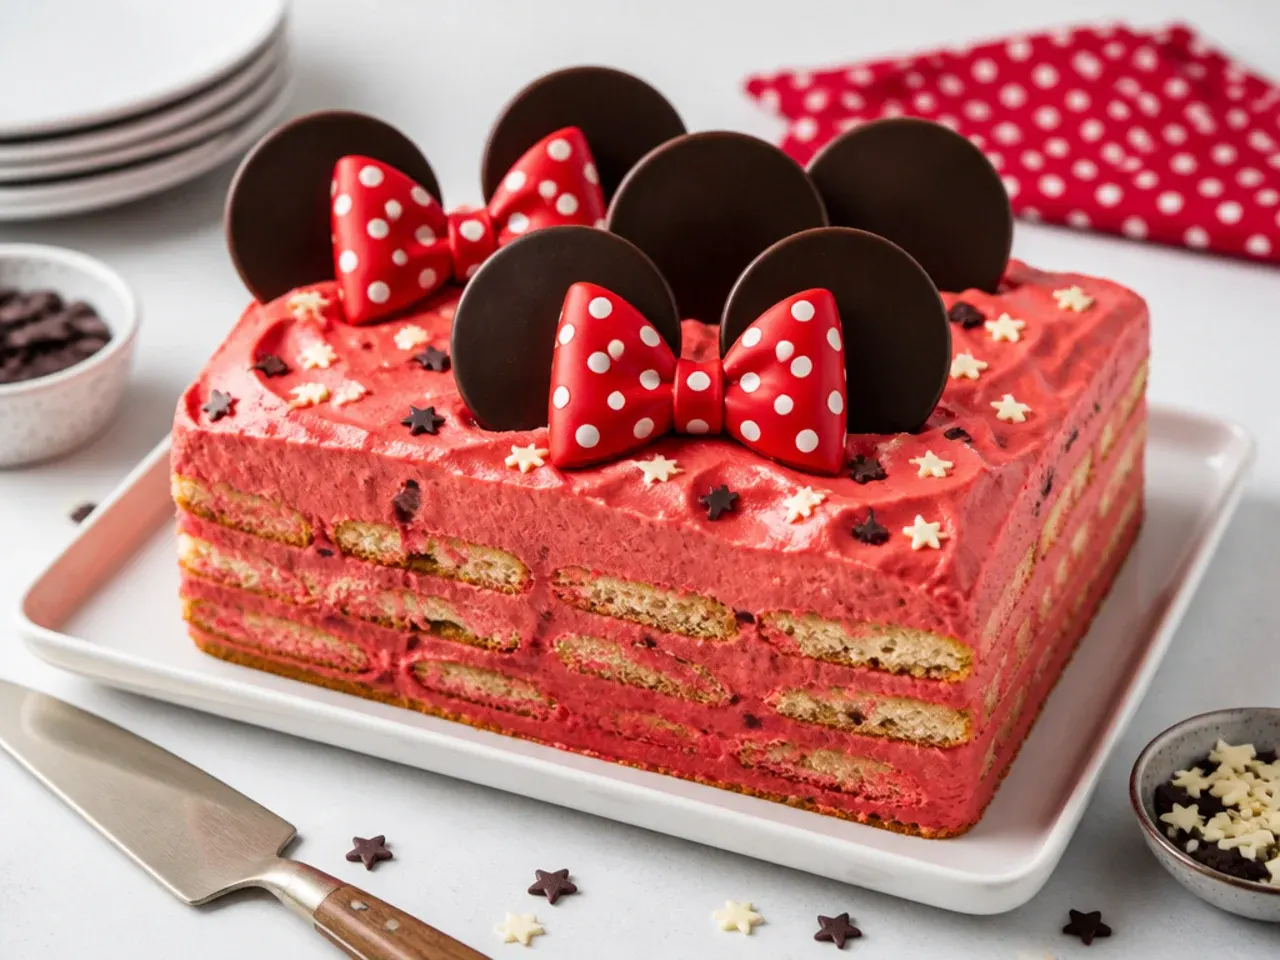
Skip the oven entirely by layering red-tinted whipped cream with chocolate wafers and chilling overnight into a sliceable icebox cake. It works in summer heat and for cooks who do not want to bake. Whip 500ml cream with 60g sugar to stiff peaks, fold in bright red gel, then alternate with chocolate wafers in a lined loaf tin and refrigerate 8 hours. Unmold, coat the outside in more red cream, and finish with white cream dots and a chocolate-wafer bow. Slice with a warm knife so the wafers cut cleanly rather than shattering.
18. Elegant Red and Gold Metallic Cake
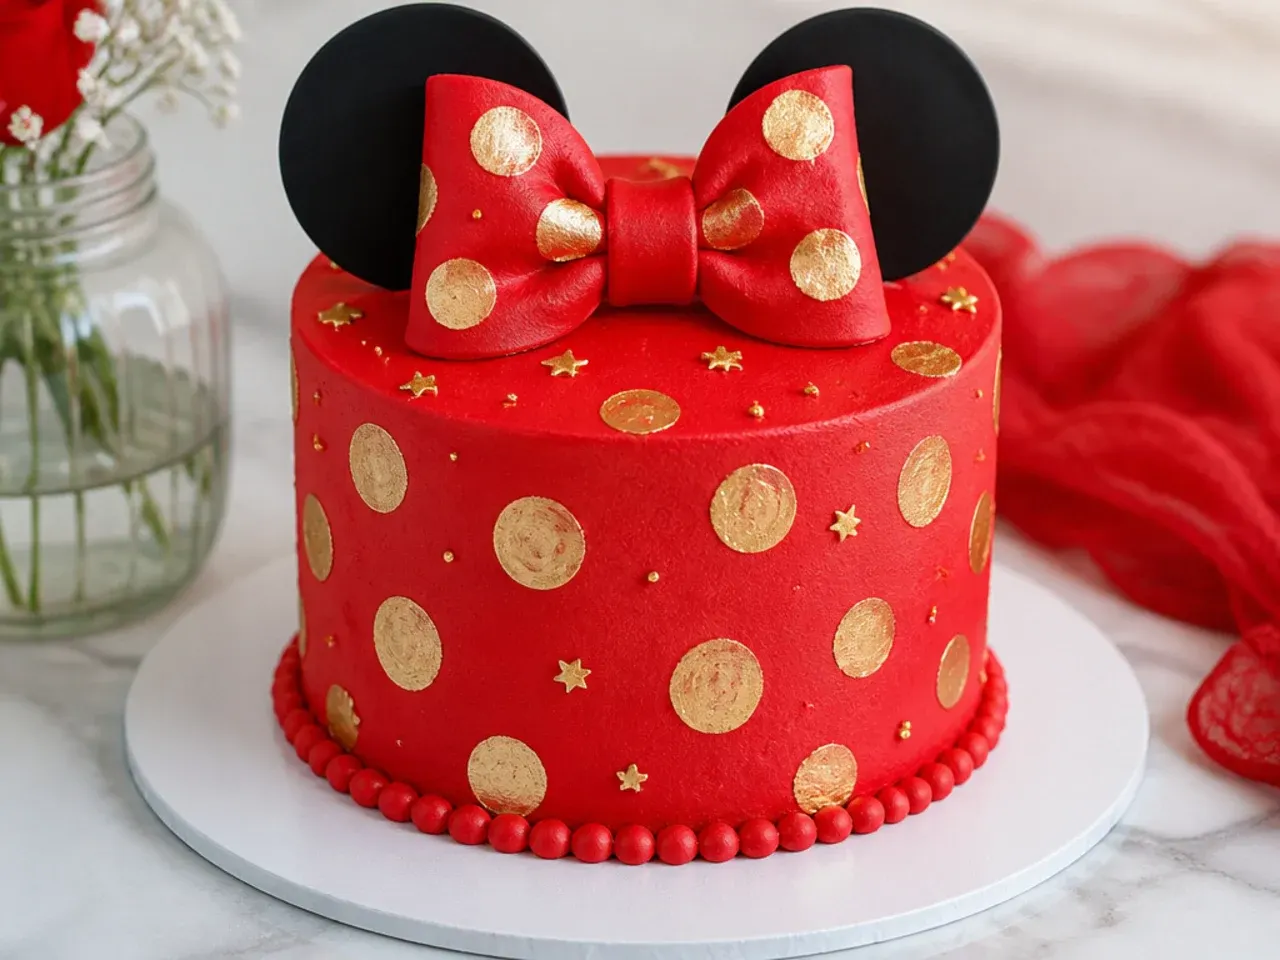
Elevate the red base with hand-painted gold polka dots and a gold-dusted bow for a luxe, celebratory look. The metallic accents turn the playful theme into something suitable for a milestone party. Mix edible gold luster dust with a few drops of clear alcohol to make an edible paint, then dab dots on with a round brush over the chilled red buttercream. Dust a pre-made fondant bow with the same gold using a soft dry brush for an even sheen. Let the crumb coat set fully first so the painted dots sit crisp rather than smearing.
19. Playful Ice Cream Cone Topper Cake
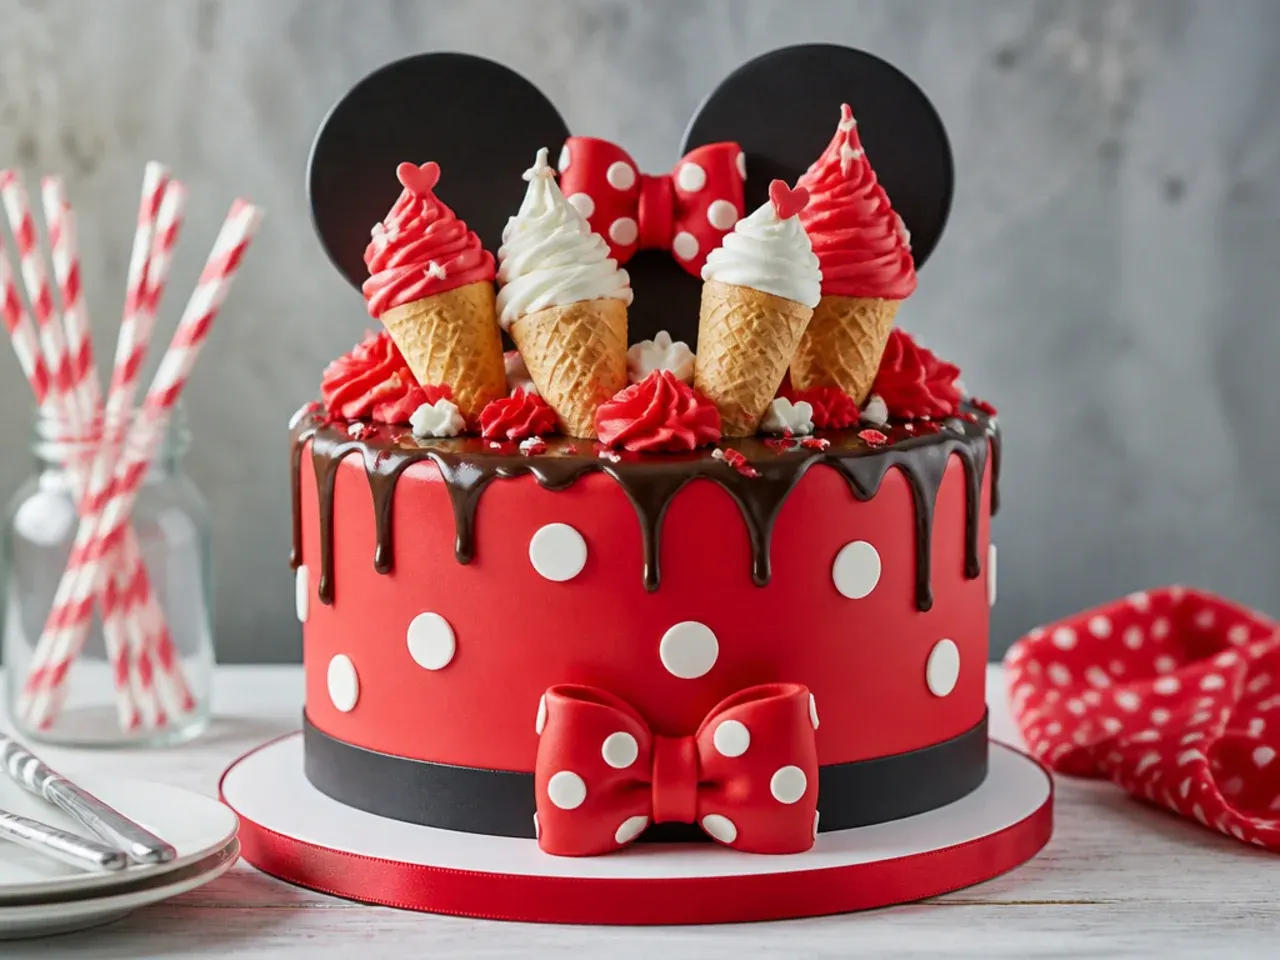
Crown a red polka-dot cake with mini ice cream cones and candy ears for a carnival-fair vibe that kids adore. The edible toppers double as party favors and add height without extra piping skill. Fill mini cones with a swirl of red and white buttercream using a star tip 1M, then perch them upright around the top edge. Use two chocolate cookies or candy melts pressed onto skewers for the ear shapes so they stand tall. Add the cones just before serving so they stay crisp and do not soften against the buttercream.
20. Modern Fault-Line Cake with a Dotted Reveal
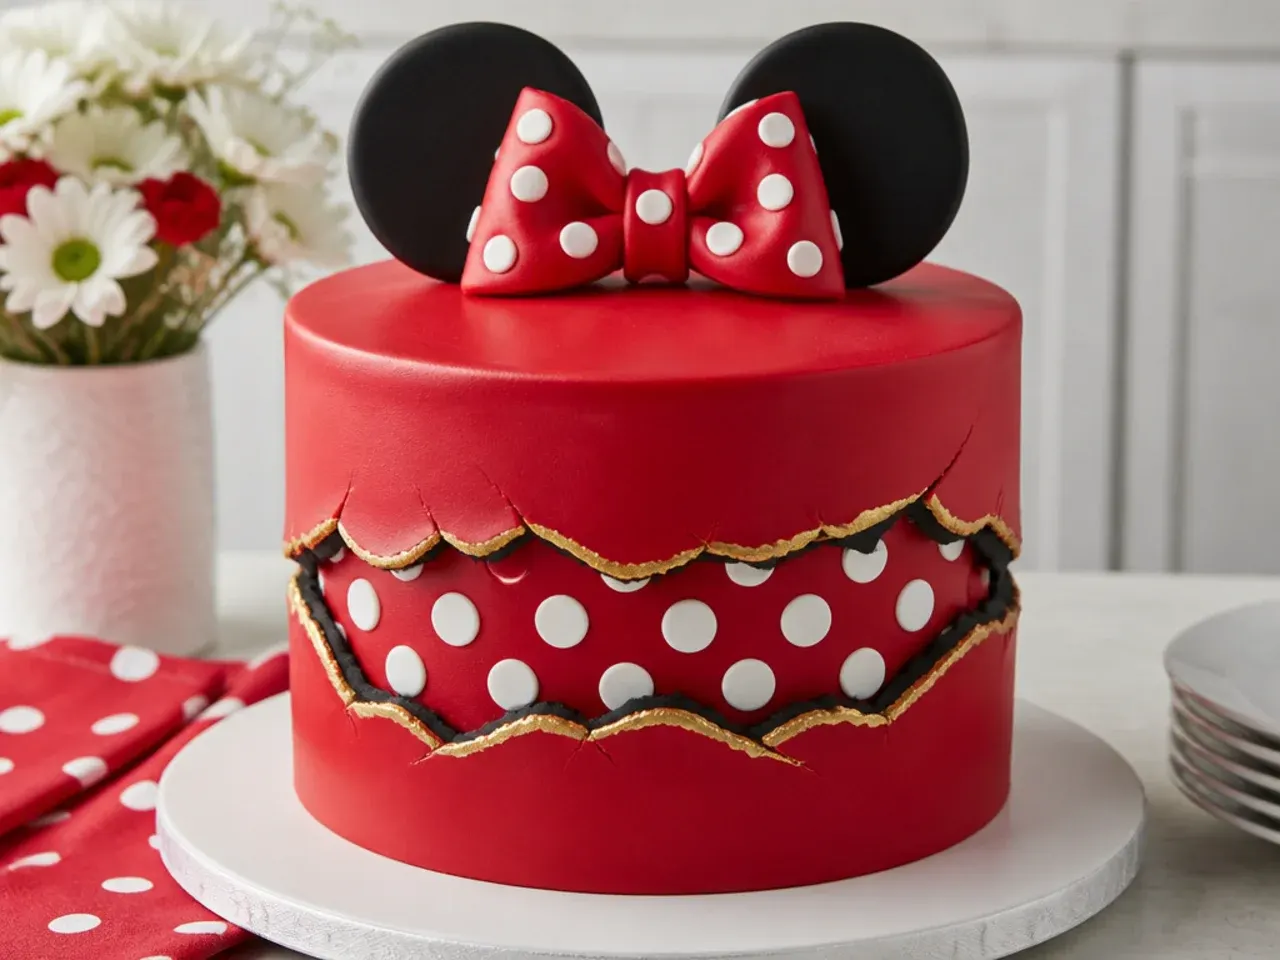
Create a trendy horizontal fault line around the cake where the red buttercream splits to reveal a band of white polka dots underneath. The optical stripe looks advanced but relies on a simple chilling-and-stacking trick. Frost the center band with white buttercream and press on fondant or sprinkle dots, chill it, then add red buttercream above and below, leaving the dotted band exposed. Smooth the red edges sharply against the dotted stripe with a warm scraper. A small bow above the fault line ties it back to the Minnie-inspired theme.
Tips to Make These Ideas Easier
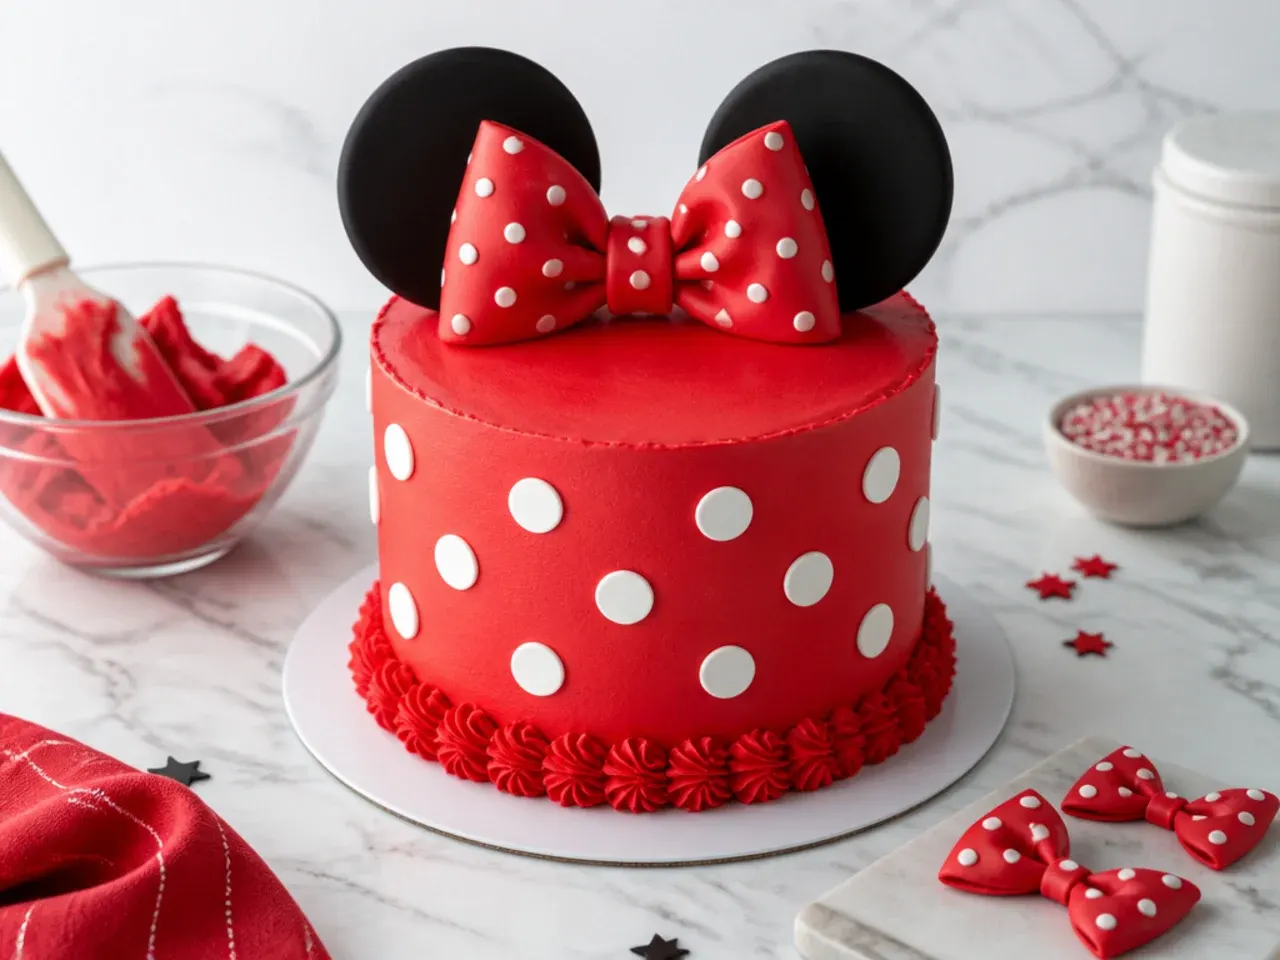
Always chill the cake between coats: a 20-30 minute fridge rest firms the buttercream so dots hold their dome and scrapers glide smoothly. Make your red buttercream one to three days ahead and refrigerate it so the color deepens on its own, which saves you from adding so much gel that it turns bitter. Prep all fondant bows and ear shapes at least 24 hours in advance so they harden and stand upright without slumping. Use gel or powdered food coloring, never liquid, so the buttercream stays firm enough to pipe. Keep a mug of hot water and a clean towel beside you to warm and wipe your scraper for the smoothest possible sides.
Common Mistakes to Avoid
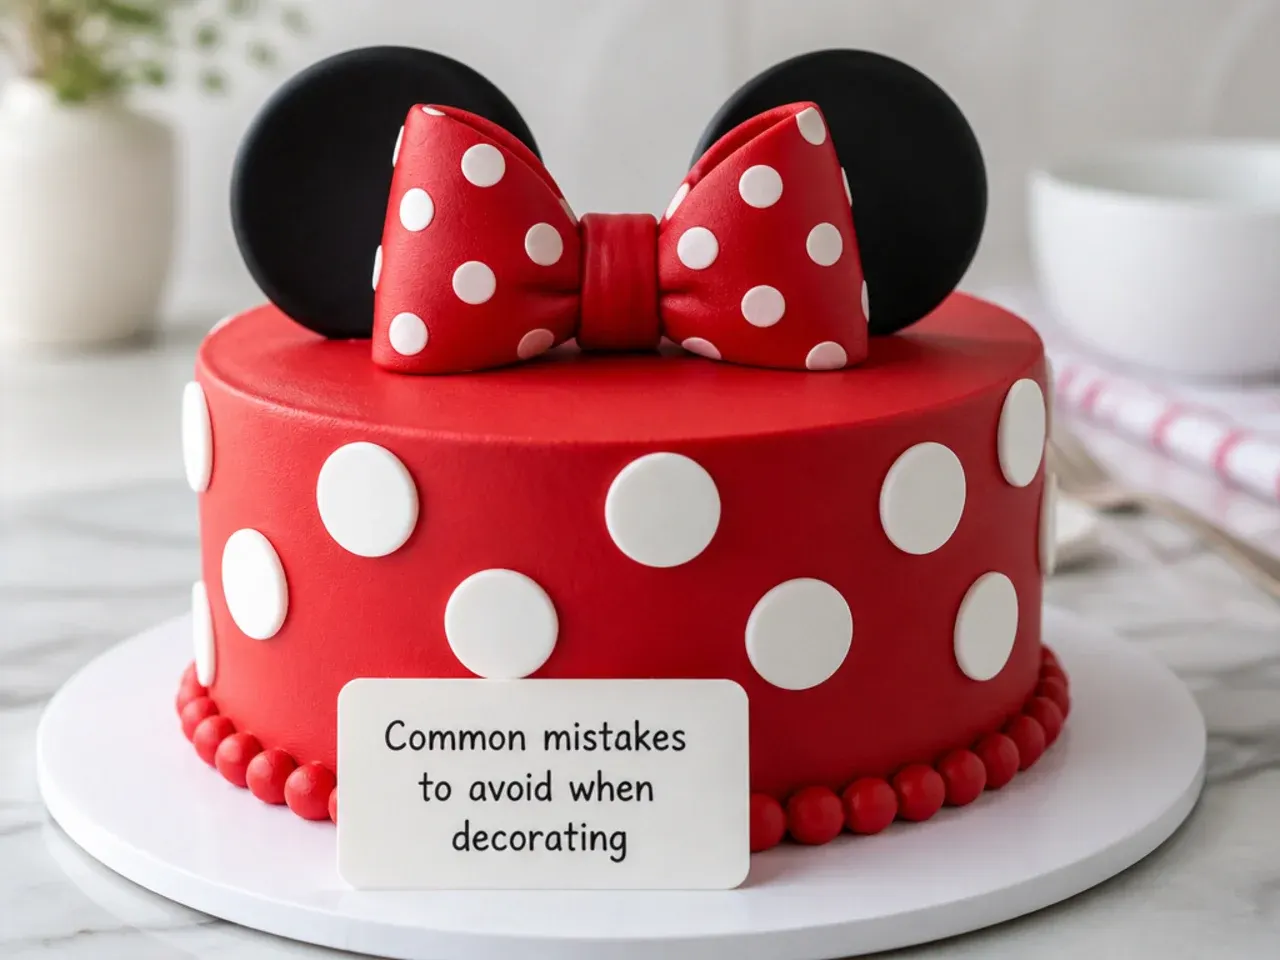
The biggest mistake is coloring buttercream red at the last minute; it stays pink and turns bitter when you overload the gel, so tint it early and let it rest. Do not skip chilling the cake before decorating, or your dots will slump and your ears will flop over. Avoid liquid food coloring, which thins the buttercream until it slides off the cake. Never attach heavy fondant ears without a skewer or dowel, as they will slowly sink into the soft frosting. Finally, do not frost a warm cake straight from the oven; cool the layers completely, ideally wrapped and chilled, so the buttercream does not melt and slide.
The Recipe
The Base Recipe — Make Any of These Ideas
40 min
30 min
2 hr 20 min
14
Intermediate
Ingredients 14 Person(s)
Directions
Step 1: Prep pans and oven
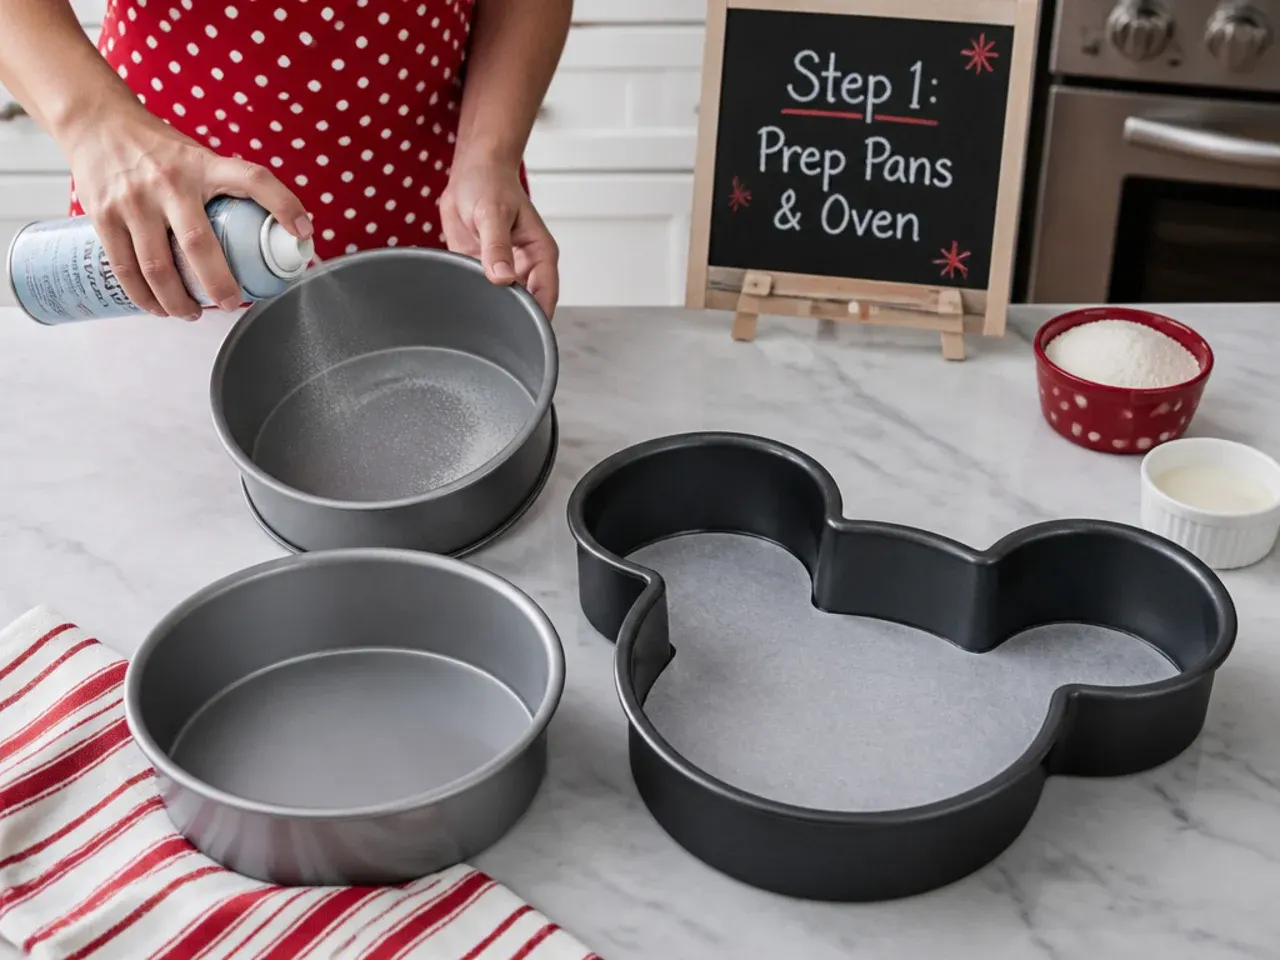
Preheat the oven to 175°C (350°F). Grease two 8-inch round cake pans, line the bases with parchment circles, and lightly flour the sides. Whisk the cake flour, baking powder and salt together in a bowl and set aside. Bringing the eggs, butter and buttermilk to room temperature first gives a smoother, evenly risen crumb.
Step 2: Cream butter and sugar
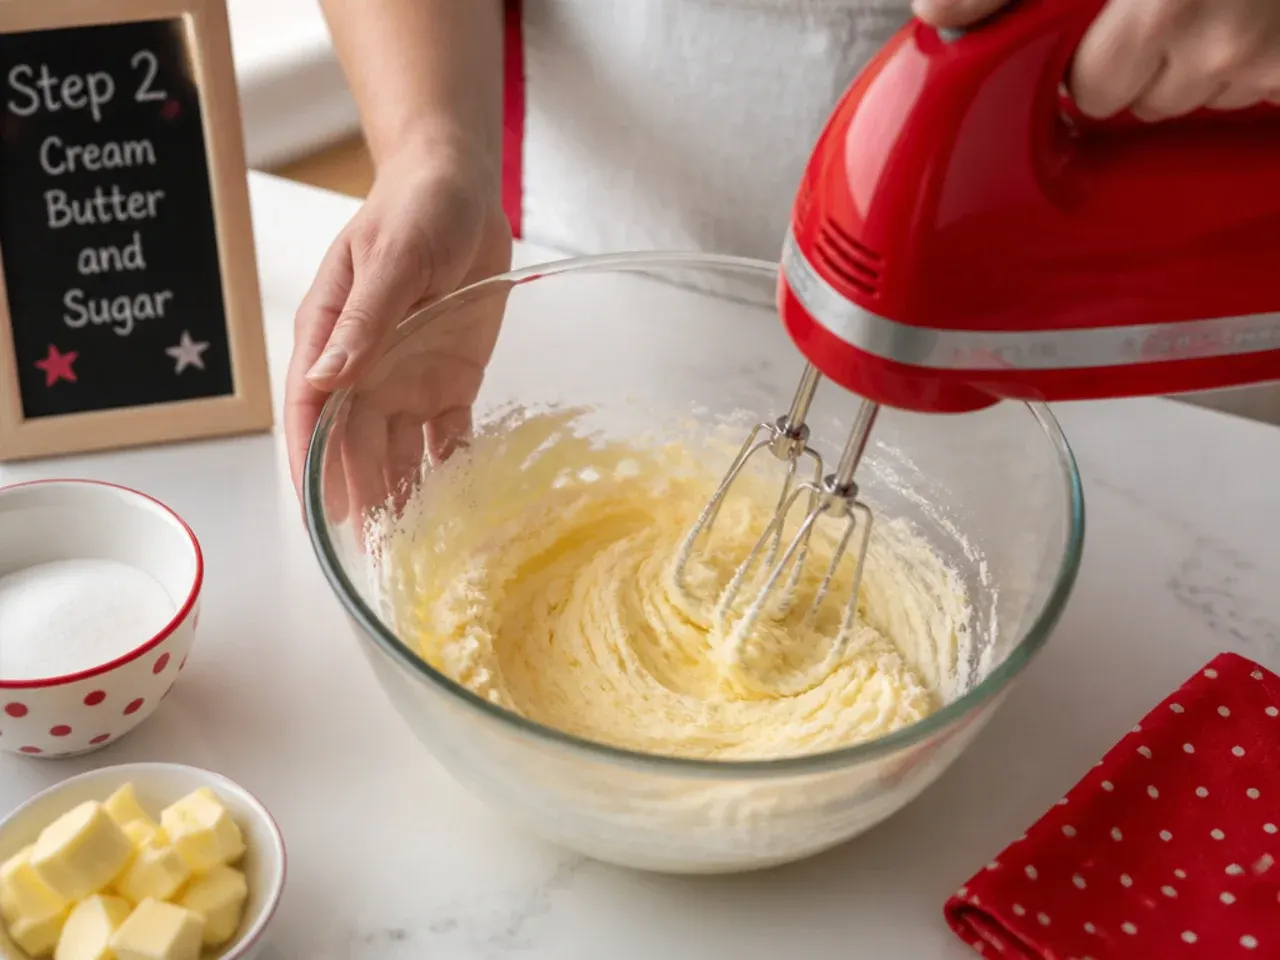
Beat the 225g softened butter and granulated sugar with an electric mixer on medium-high for 3 to 4 minutes until pale and fluffy. This step whips in air that helps the cake rise, so do not rush it. Scrape down the bowl once halfway through so everything blends evenly.
Step 3: Add eggs and vanilla
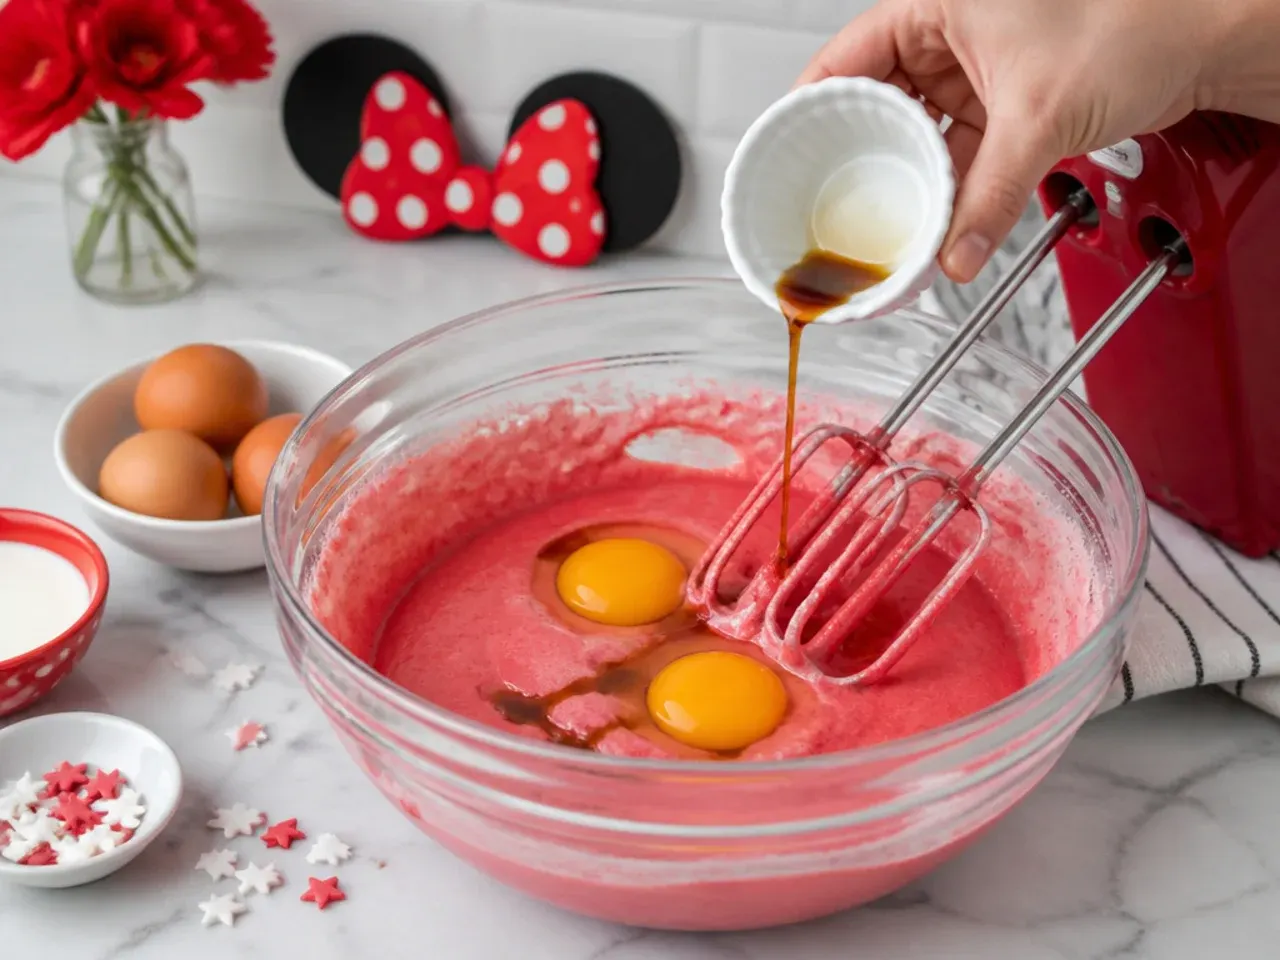
Add the eggs one at a time, beating for 20 seconds after each so the batter stays emulsified and does not curdle. Mix in the vanilla extract. If the batter looks slightly split, add a spoonful of the measured flour to bring it back together.
Step 4: Alternate flour and buttermilk
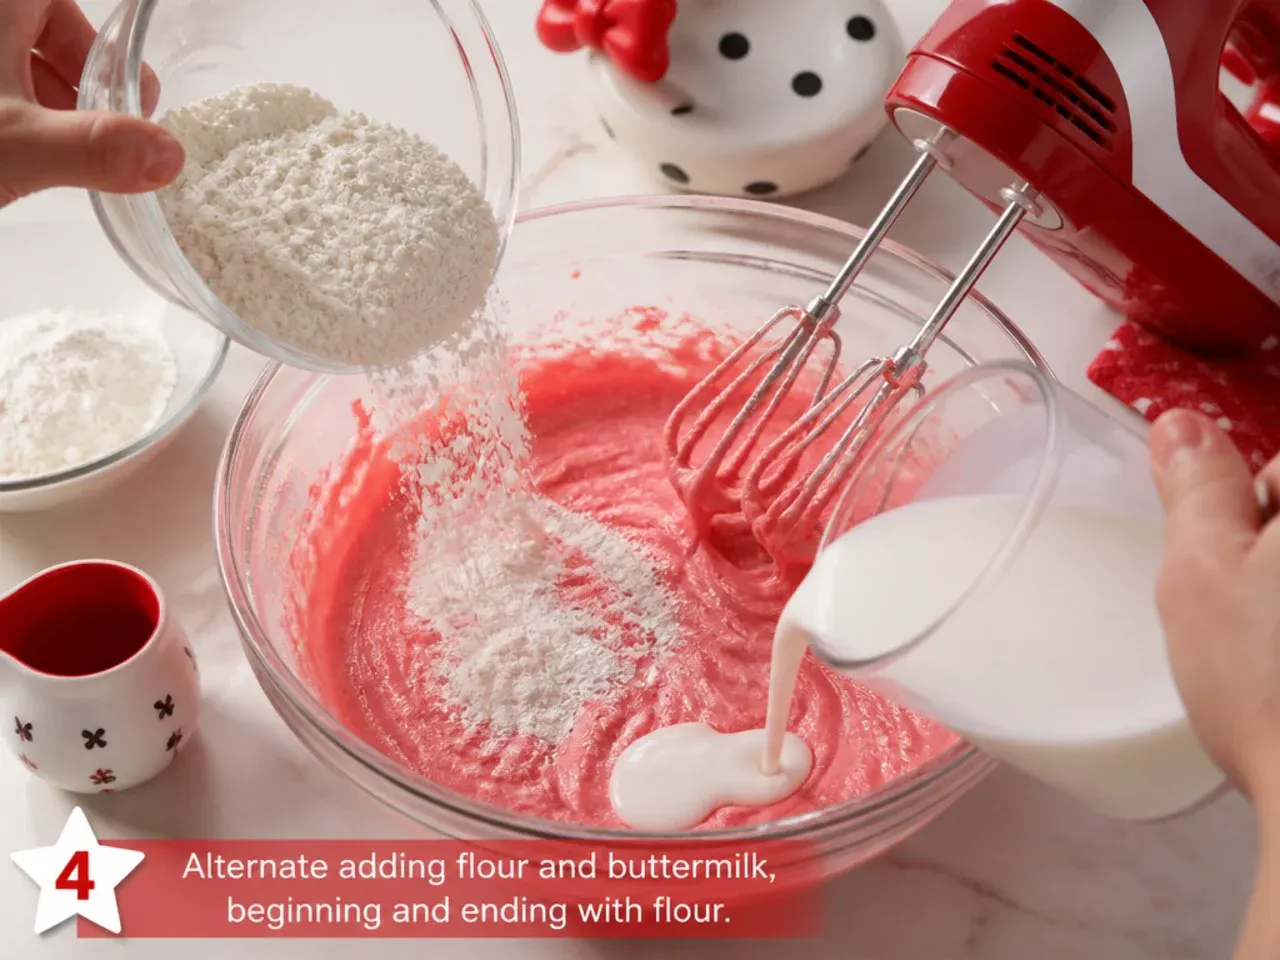
With the mixer on low, add the flour mixture in three additions alternating with the buttermilk, starting and ending with flour. Mix each addition just until it disappears; overmixing develops gluten and makes the cake tough. The final batter should be thick, smooth and spoonable.
Step 5: Bake the layers
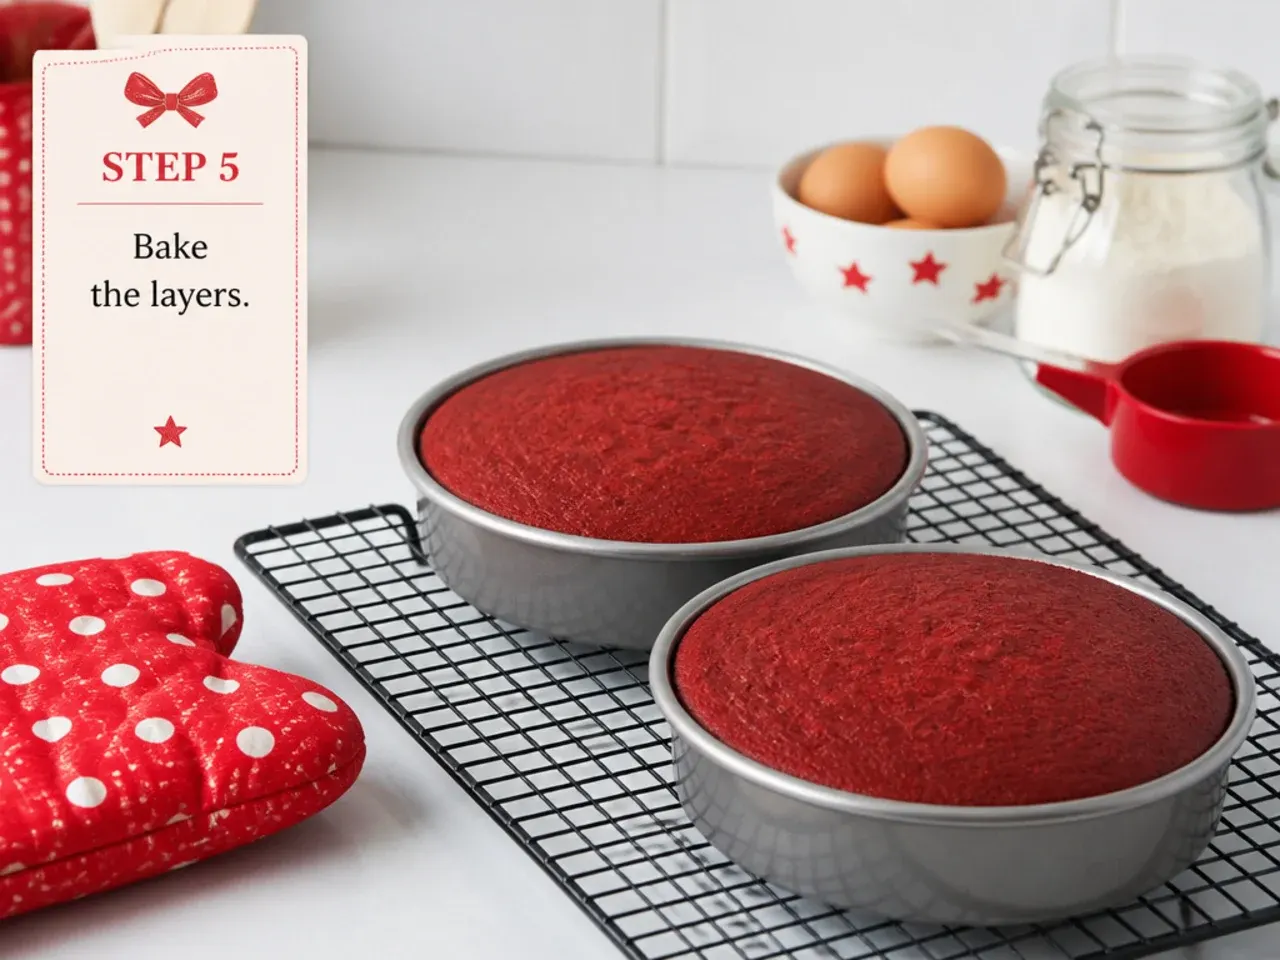
Divide the batter evenly between the two pans and smooth the tops. Bake at 175°C (350°F) for 28 to 32 minutes, until a skewer inserted in the center comes out with a few moist crumbs and the tops spring back when pressed. Avoid opening the oven before 25 minutes so the cakes do not sink.
Step 6: Cool completely
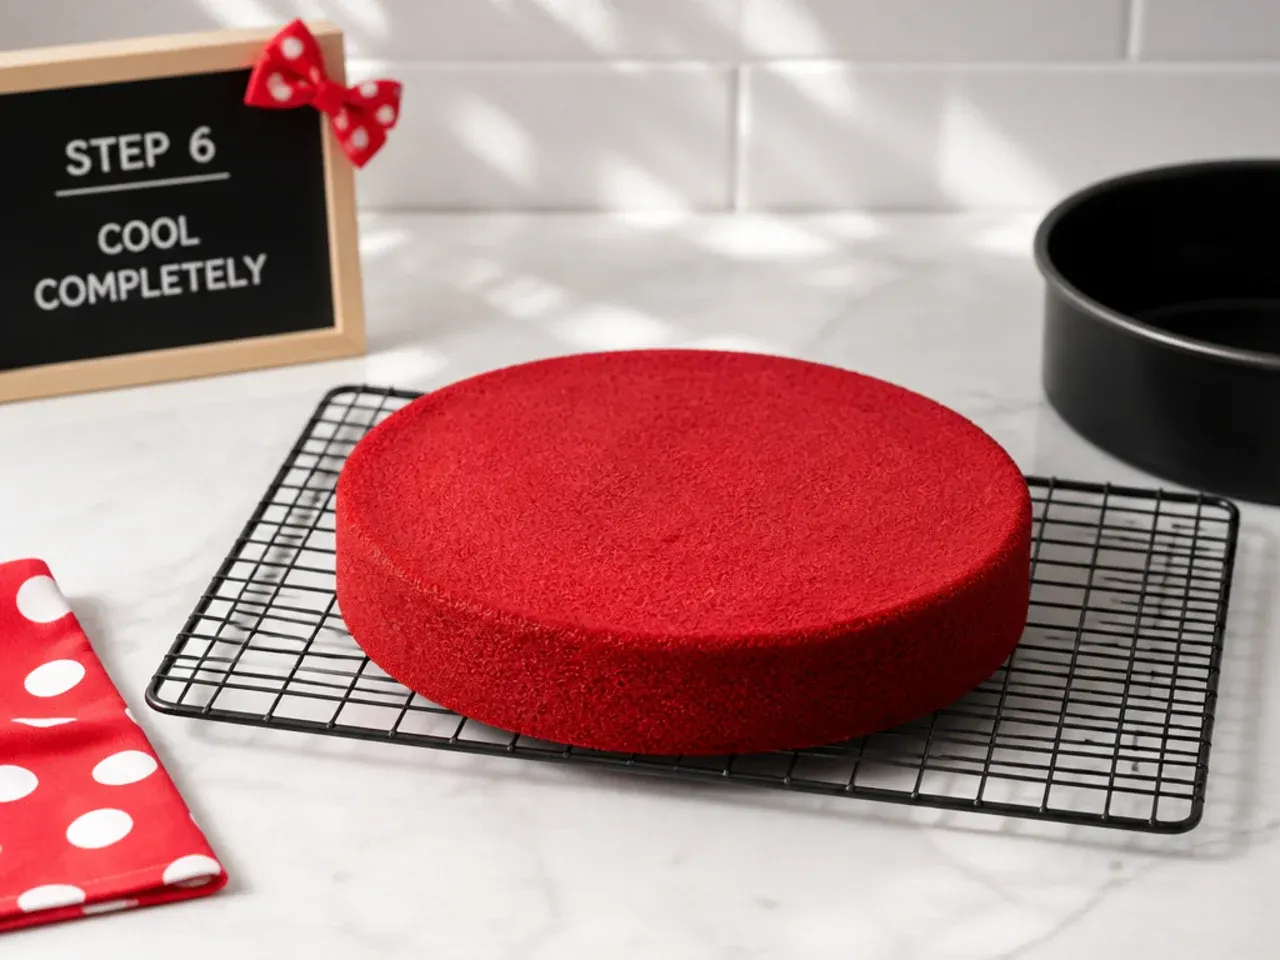
Cool the cakes in their pans for 10 minutes, then turn them out onto a wire rack and cool fully, at least 1 hour. For the cleanest decorating, wrap the cooled layers and chill them for 30 minutes so they firm up. Never frost a warm cake or the buttercream will melt and slide off.
Step 7: Make and color the red buttercream
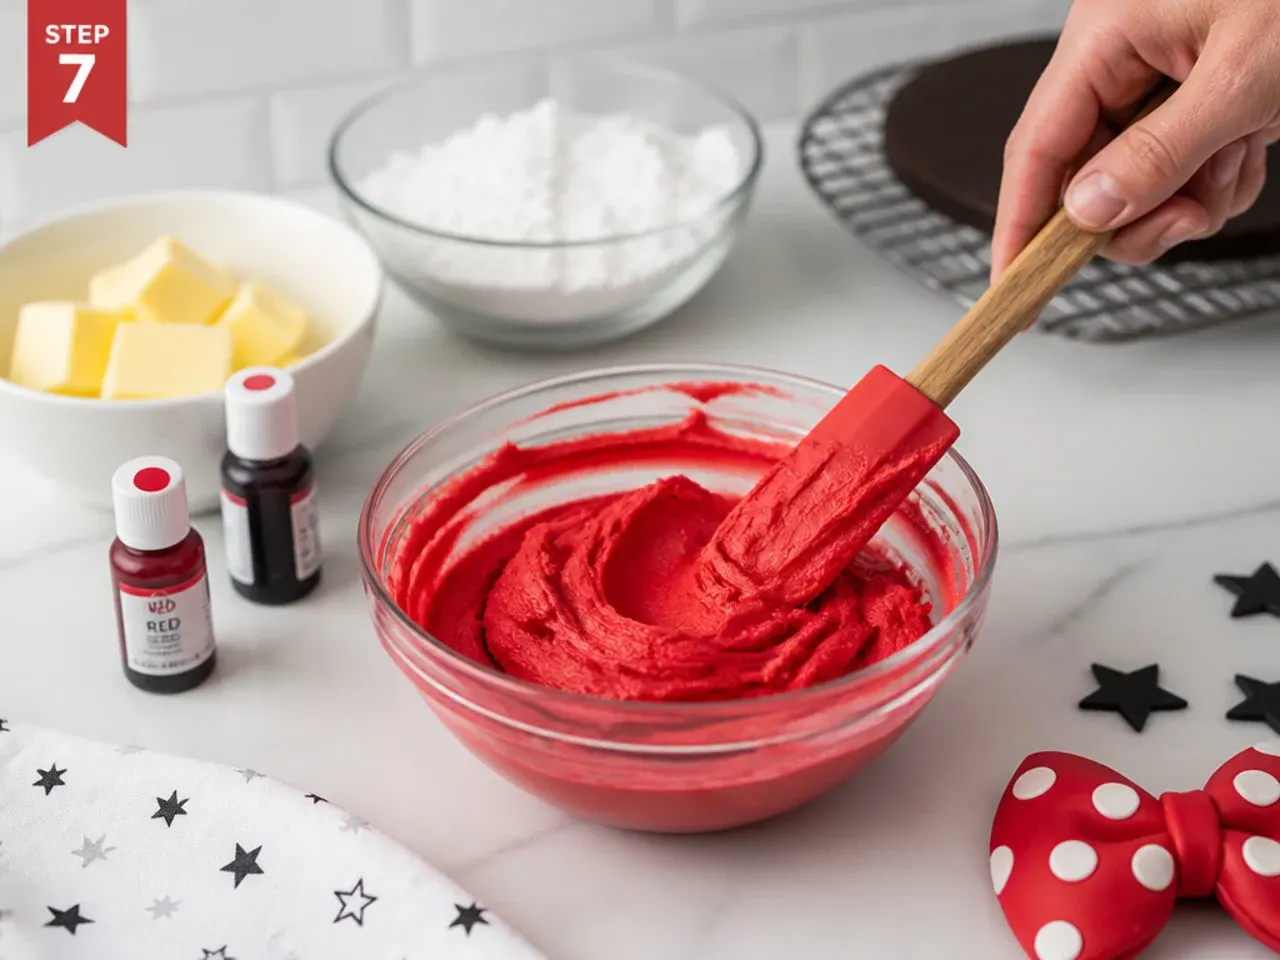
Beat the 340g softened butter until creamy, then add the confectioners' sugar a cup at a time, followed by a splash of milk if needed for a spreadable texture. Beat in the almond or vanilla extract, then the red gel, starting with 1 tsp and adding more until you reach a rich red; the shade deepens overnight, so make it 1 to 3 days ahead for the truest color. Crumb-coat the chilled stacked layers, refrigerate 30 minutes, then apply a smooth final red coat and decorate as your chosen idea directs.
Frequently Asked Questions
Use a gel color like Americolor Super Red and start from a white or lightly pink base so you need less coloring. Make the buttercream one to three days ahead and refrigerate it, because the red naturally deepens as it rests. Stir in a little clear almond or vanilla extract to balance any faint bitterness from the gel. Powdered red coloring is another option that adds color with almost no aftertaste.
Save this for later 📌
Pin this article to your Pinterest board so the full list is one tap away when you need it.
Save on Pinterest