20 Easy Minnie Mouse Cakes to Make
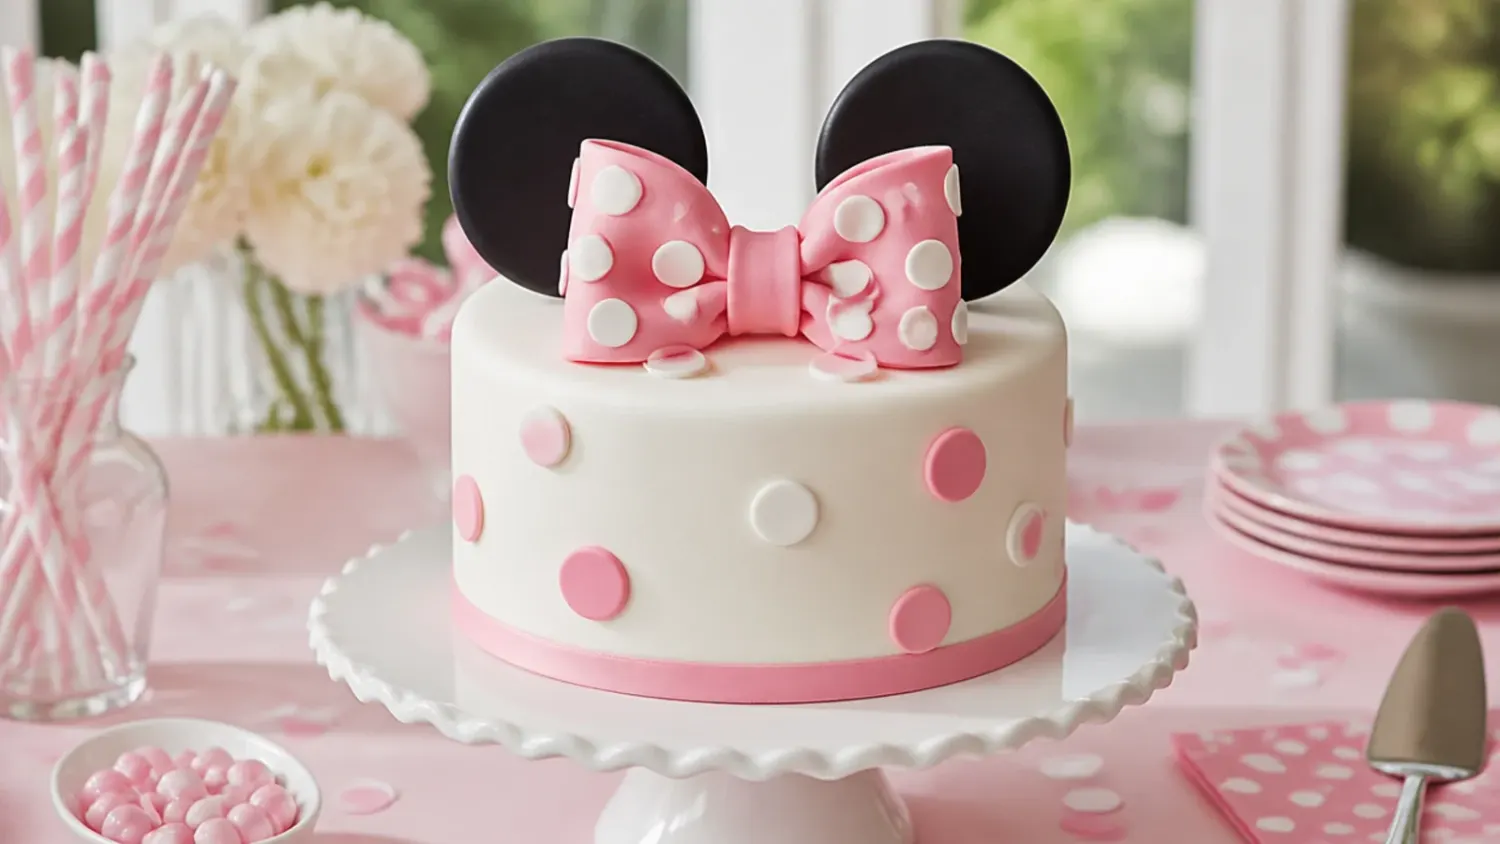
Try these 20 easy Minnie Mouse cake ideas, from Oreo-ear sponges to rosette tiers, with a beginner vanilla cake recipe, exact temps and piping tips. If you love minnie mouse cake inspiration, start with our Minnie Mouse Cake Ideas collection, then browse the full Cake Ideas hub for more.
Save this for later 📌
Pin this article to your Pinterest board so the full list is one tap away when you need it.
Save on PinterestCake Ideas
Beginner
Ideas
20 ideas
Table of Contents
- 1. Classic Pink Polka-Dot Cake with Cookie Ears
- 2. One-Bowl Sheet Cake with Candy Dots
- 3. Rosette Two-Tier in Blush and Black
- 4. Pull-Apart Cupcake Cake
- 5. Modern Striped Comb Cake
- 6. Rustic Semi-Naked Strawberry Cake
- 7. Gumball Polka-Dot Party Cake
- 8. Minimal White Cake with Silhouette Topper
- 9. Festive Number Cake with Dots and Mini Bows
- 10. Whimsical Pink Drip Cake
- 11. Bold Black Cocoa Cake with Hot Pink Bow
- 12. Delicate Pastel Smash Cake
- 13. Vintage Piped Heart Cake
- 14. Frozen Buttercream Transfer Dots and Bow
- 15. Charming Ombre Ruffle Cake
- 16. Polka-Dot Surprise-Inside Cake
- 17. Star-Fill Traybake
- 18. Elegant Chocolate-Dipped Strawberry Topper Cake
- 19. No-Bake Icebox Cake
- 20. Modern Fault-Line Sprinkle Cake
- Tips to Make These Ideas Easier
- Common Mistakes to Avoid
- The Base Recipe — Make Any of These Ideas
1. Classic Pink Polka-Dot Cake with Cookie Ears
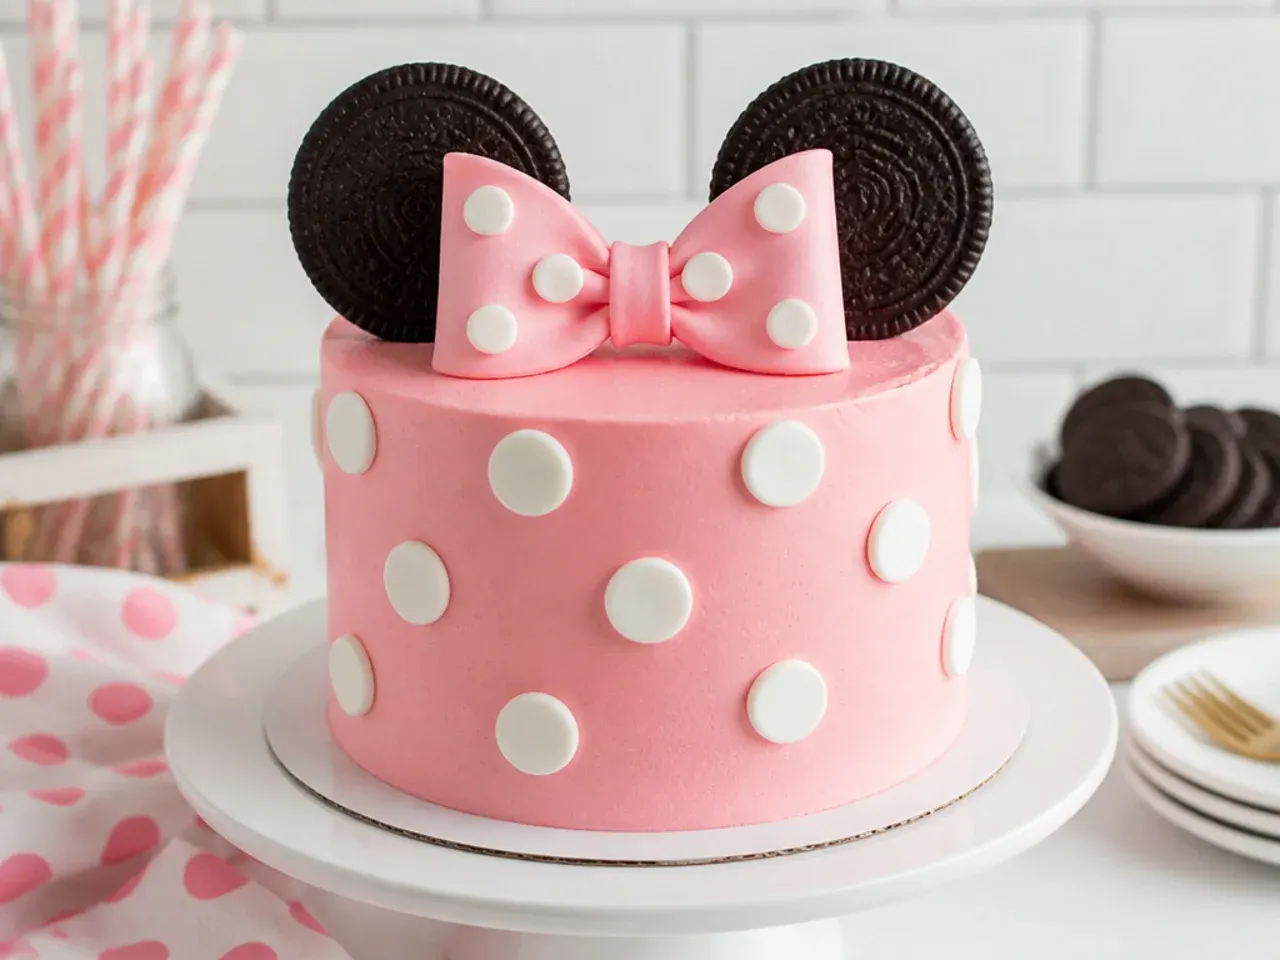
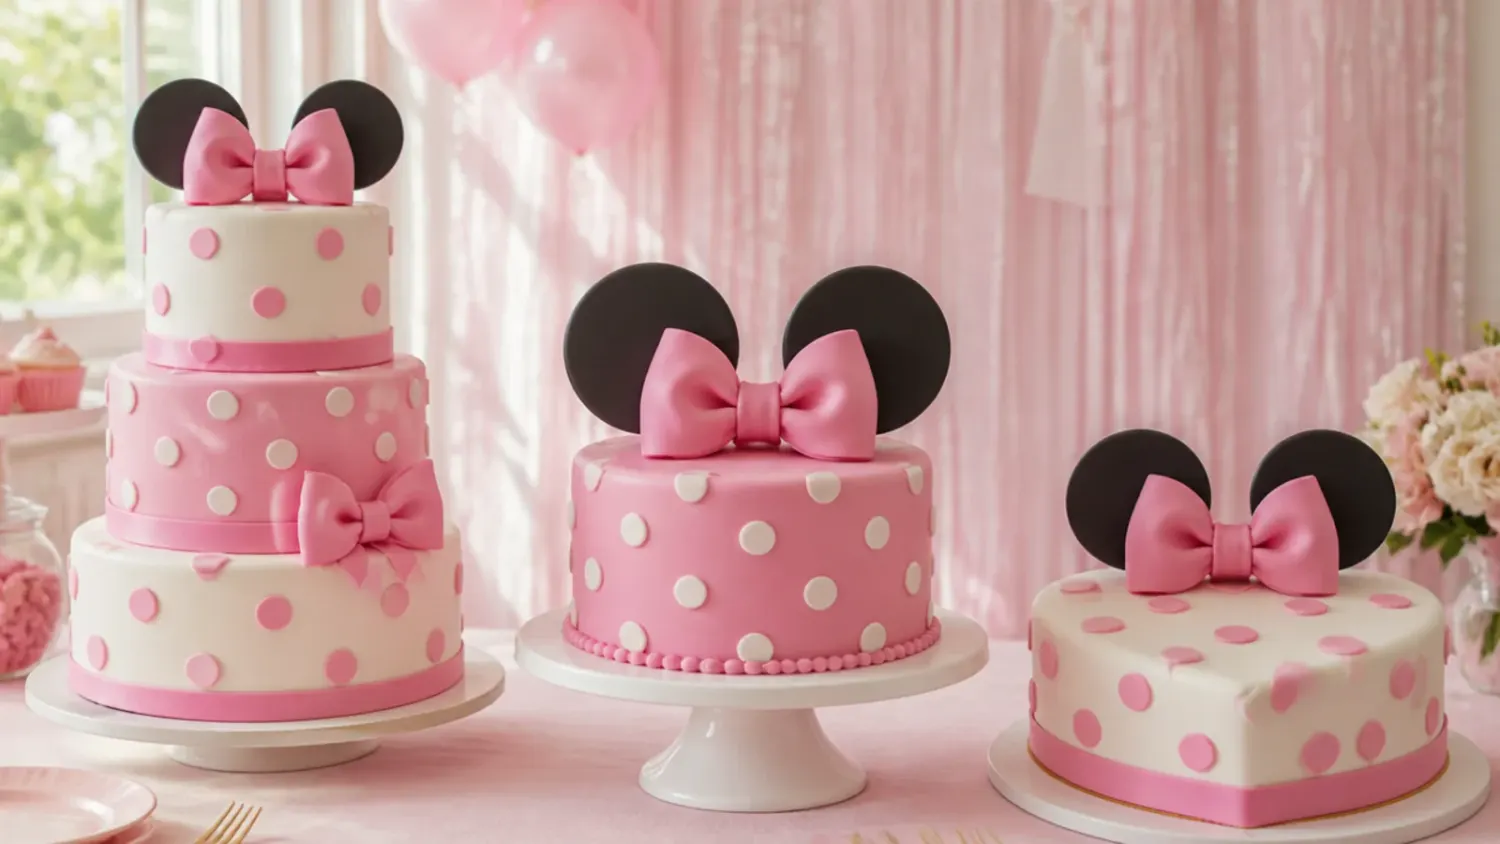
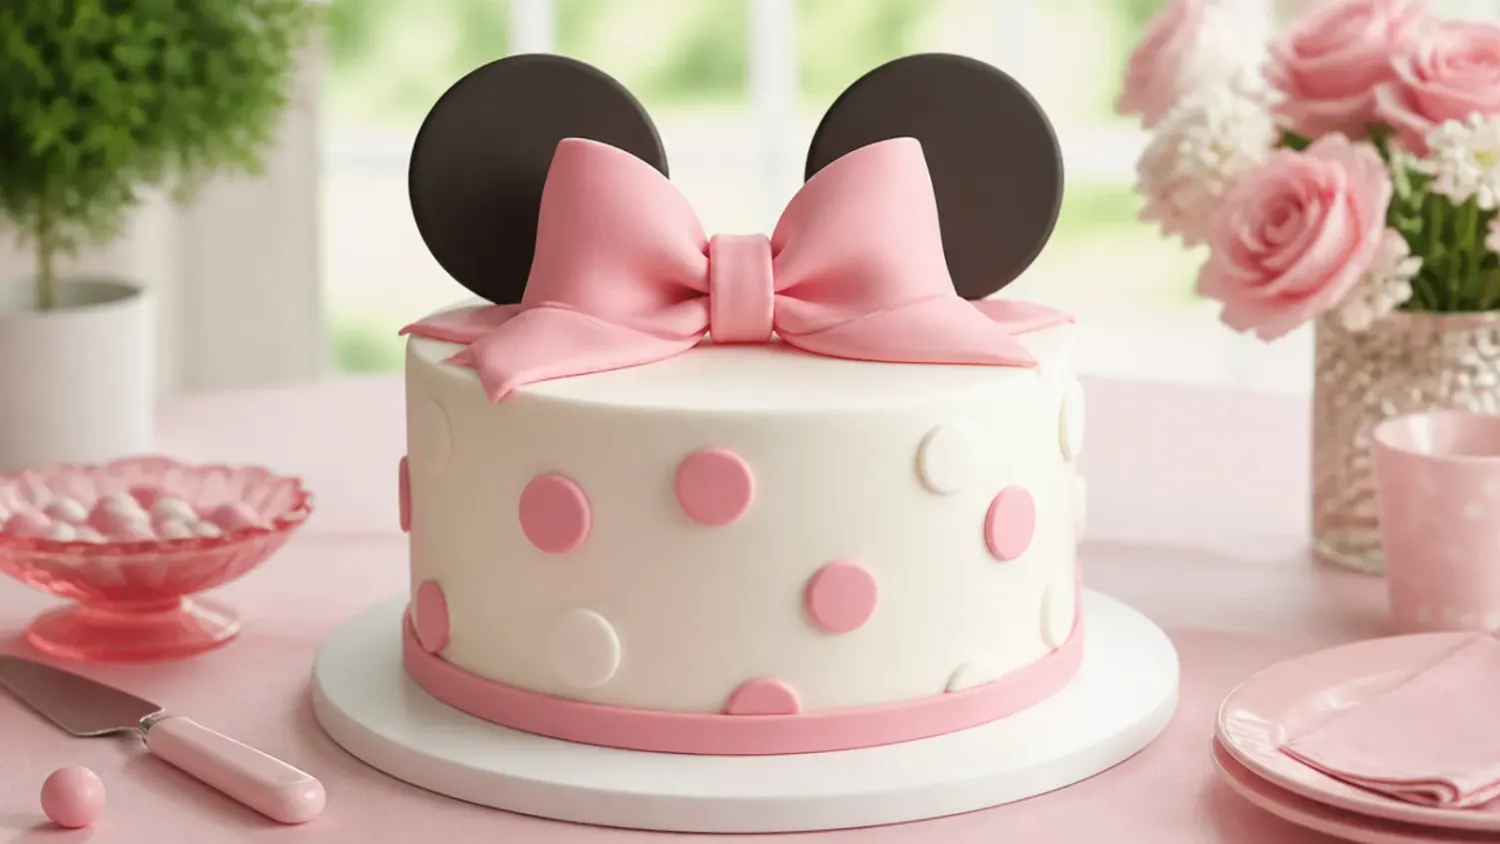
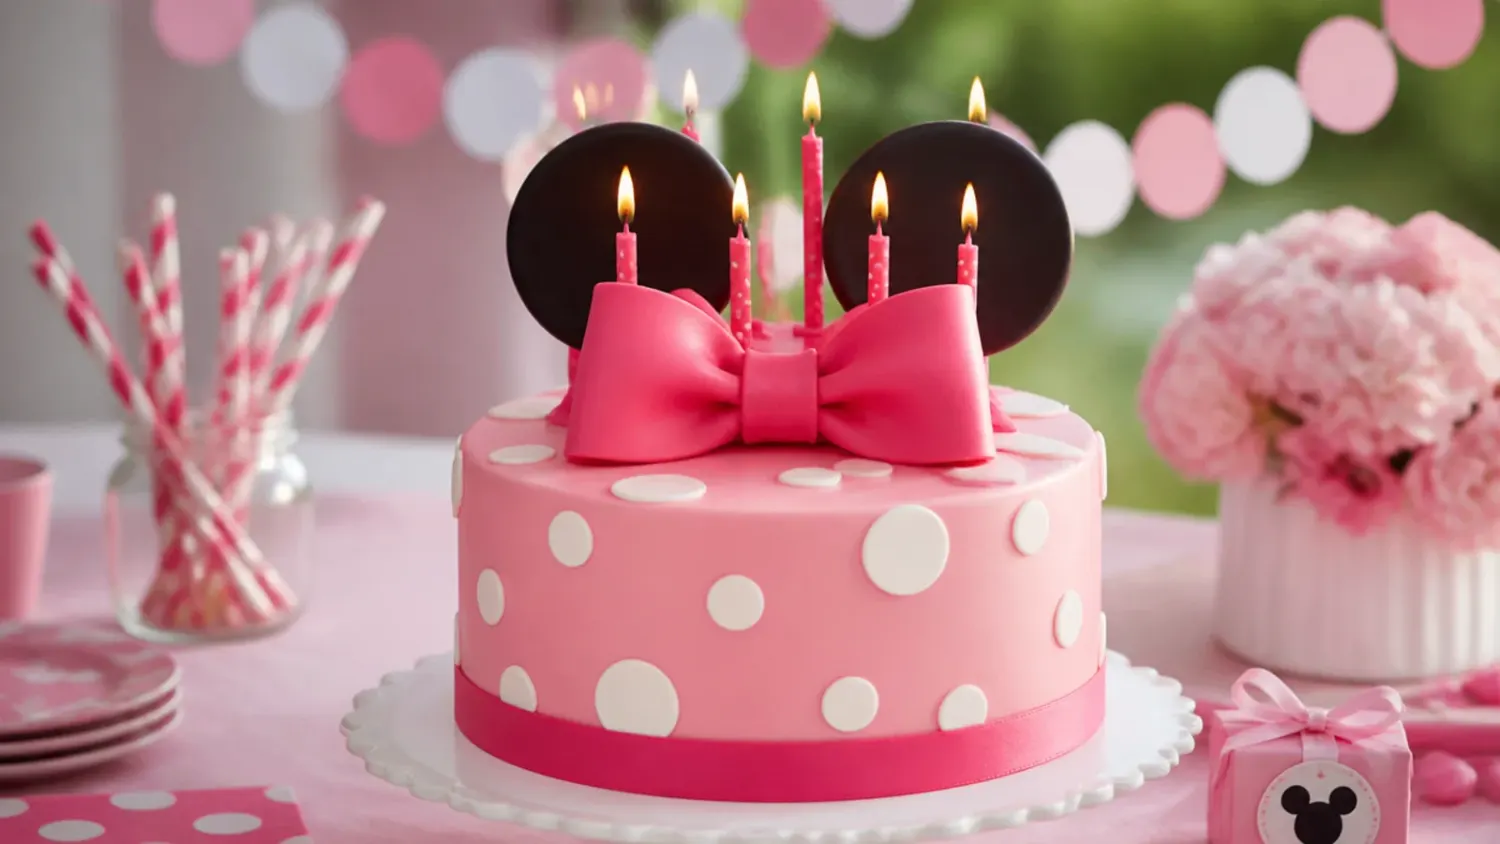
This is the version most beginners should start with: two 20cm (8in) vanilla sponge layers covered in medium-pink buttercream, with two whole Oreo-style sandwich cookies pushed into the top edge to form the ear silhouette. Pipe white polka dots with a Wilton 12 round tip, spacing them about 4cm (1.5in) apart in offset rows so the pattern looks deliberate rather than random. Finish with a bow made from two folded strips of pink fondant, or simply tie a ribbon around the cake board. Because everything sits on a standard round cake there is no carving and no template, and the decorating takes about 30 minutes. Chill the frosted cake for 15 minutes before piping so the dots hold a clean domed shape.
2. One-Bowl Sheet Cake with Candy Dots
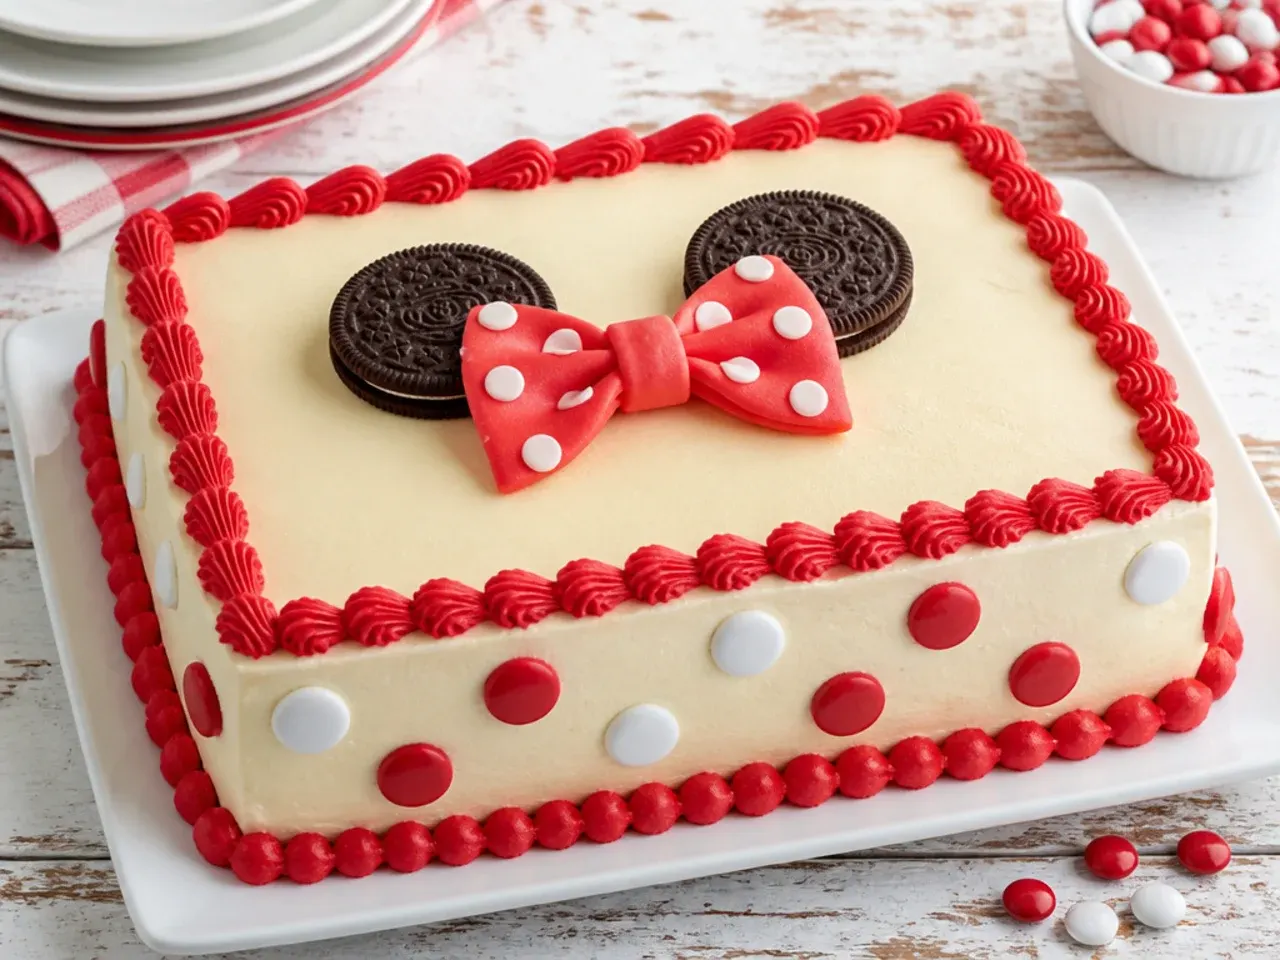
If you need the fastest possible option, bake the base recipe in a single 23x33cm (9x13in) tin at 180°C (350°F) for 30-35 minutes and decorate it right in the pan. Swirl on pink buttercream with an offset spatula, press two chocolate sandwich cookies into one corner as the ear shapes, and scatter Smarties or M&M's in rows as polka dots. There is zero stacking, zero crumb coating and about 20 minutes of decorating. A sheet cake also cuts into 24 tidy squares and travels to a party venue without any risk of toppling.
3. Rosette Two-Tier in Blush and Black
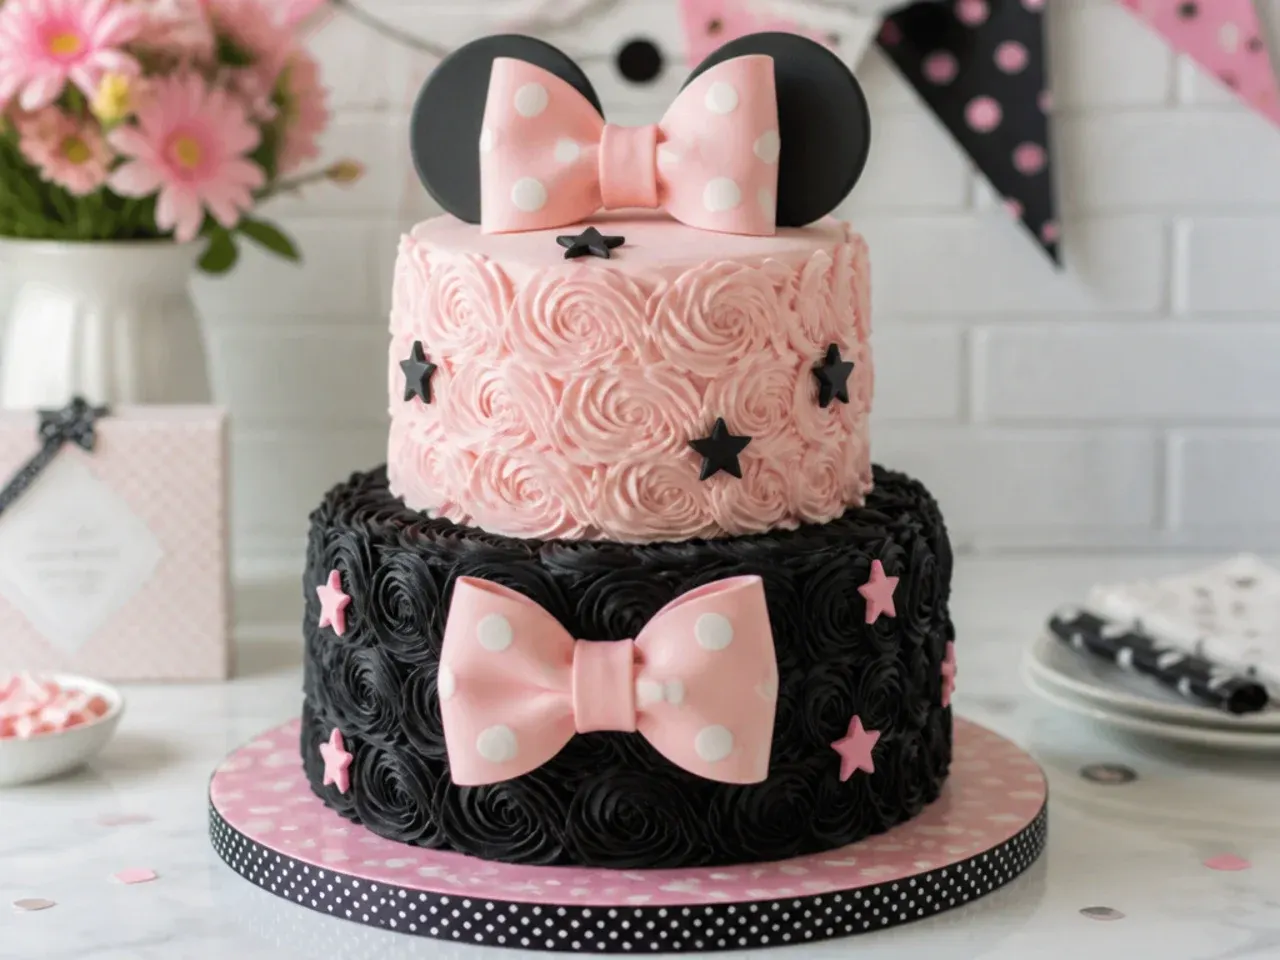
Stack a 15cm (6in) tier on a 20cm (8in) tier, supporting the bottom tier with four bubble tea straws or dowels cut level with the cake. Cover both tiers in blush-pink rosettes piped with a Wilton 1M tip: start each rosette in the centre and spiral outward once, working in rows from the bottom up. Rosettes are the most forgiving finish in cake decorating because they hide uneven frosting and seams completely. Top with a black fondant ears-and-bow topper rolled 5mm thick, cut with round cutters, and dried on skewers for 24 hours so it stands upright. This one looks bakery-bought but needs only one piping tip.
4. Pull-Apart Cupcake Cake
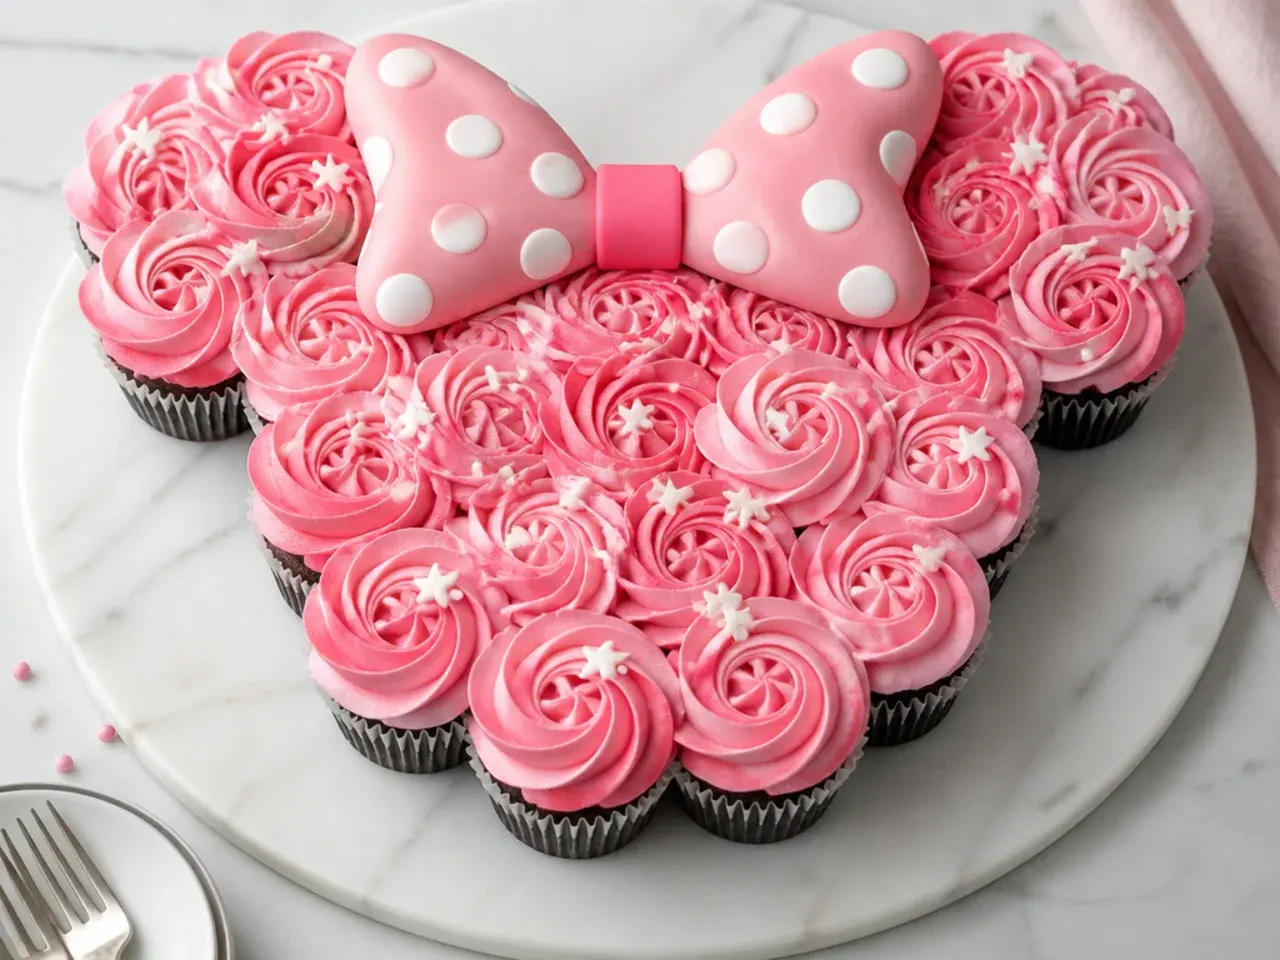
Arrange 24 cupcakes on a covered board: 18 in a tight round cluster and 3 per circle above it for the ear shapes. Pipe the ear clusters with chocolate frosting and the main cluster with pink swirls using a Wilton 1M, then scatter white confetti sprinkles over the pink area as dots. Because the swirls bridge the gaps, the cupcakes read as one big cake from a few steps away. This is the best format for school parties and toddler birthdays since there is no knife, no plates needed, and every child gets an identical portion. The base recipe makes exactly 24 cupcakes baked for 18-20 minutes at 180°C (350°F).
5. Modern Striped Comb Cake
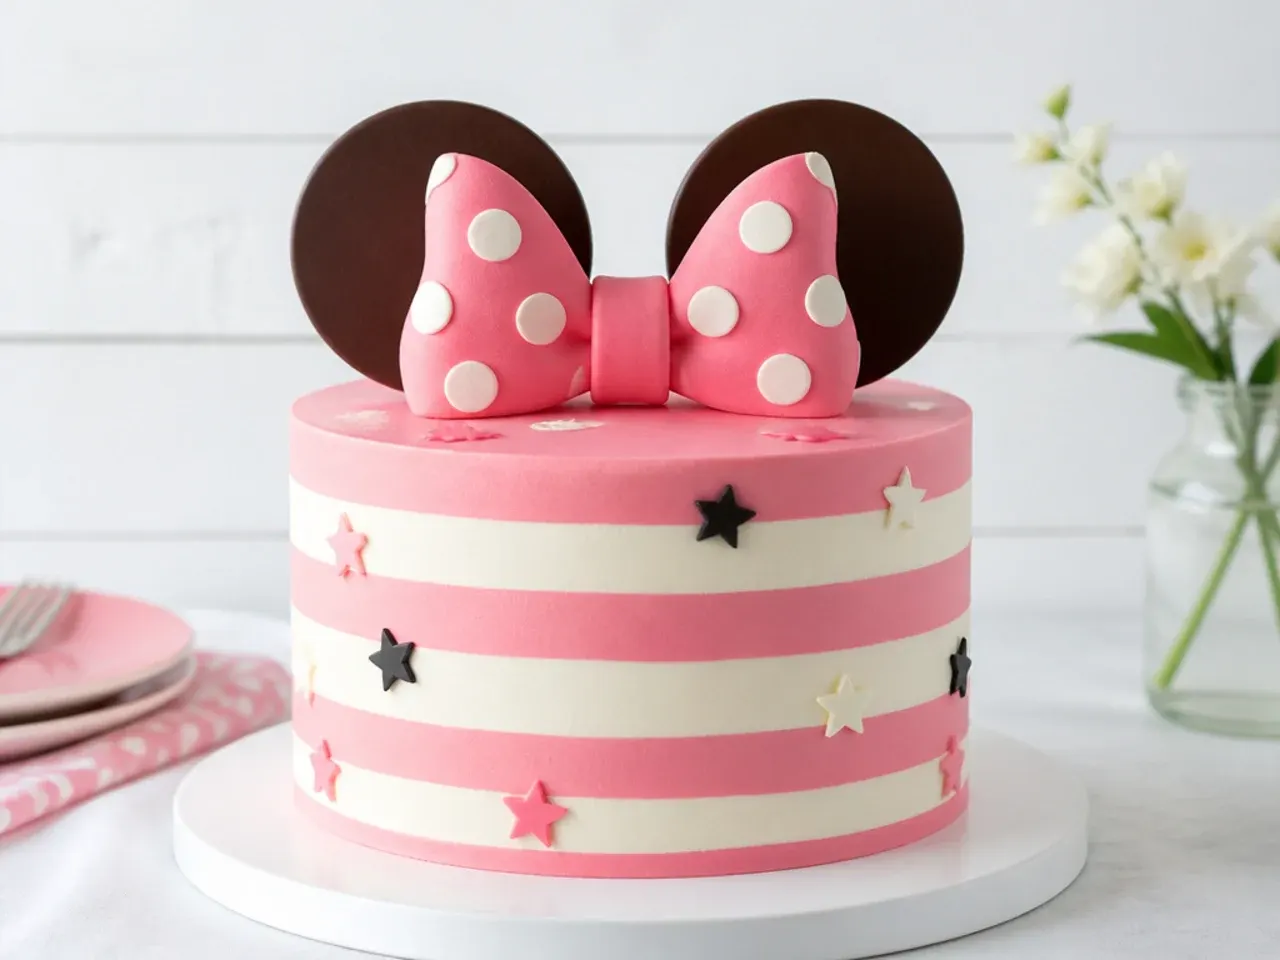
Frost the cake with a thick, even coat of white buttercream, then drag an icing comb around the sides while spinning the turntable to cut in grooves. Chill for 20 minutes, fill the grooves with hot-pink buttercream using a piping bag, and scrape once more with a straight-edge scraper to reveal crisp alternating stripes. For the ears, pipe two 7cm (2.75in) circles of melted dark candy melts onto baking parchment, let them set for 20 minutes, and slide them into the top of the cake. The graphic stripes-plus-dots look feels current and needs no freehand piping skill at all.
Save this for later 📌
Pin this article to your Pinterest board so the full list is one tap away when you need it.
Save on Pinterest6. Rustic Semi-Naked Strawberry Cake
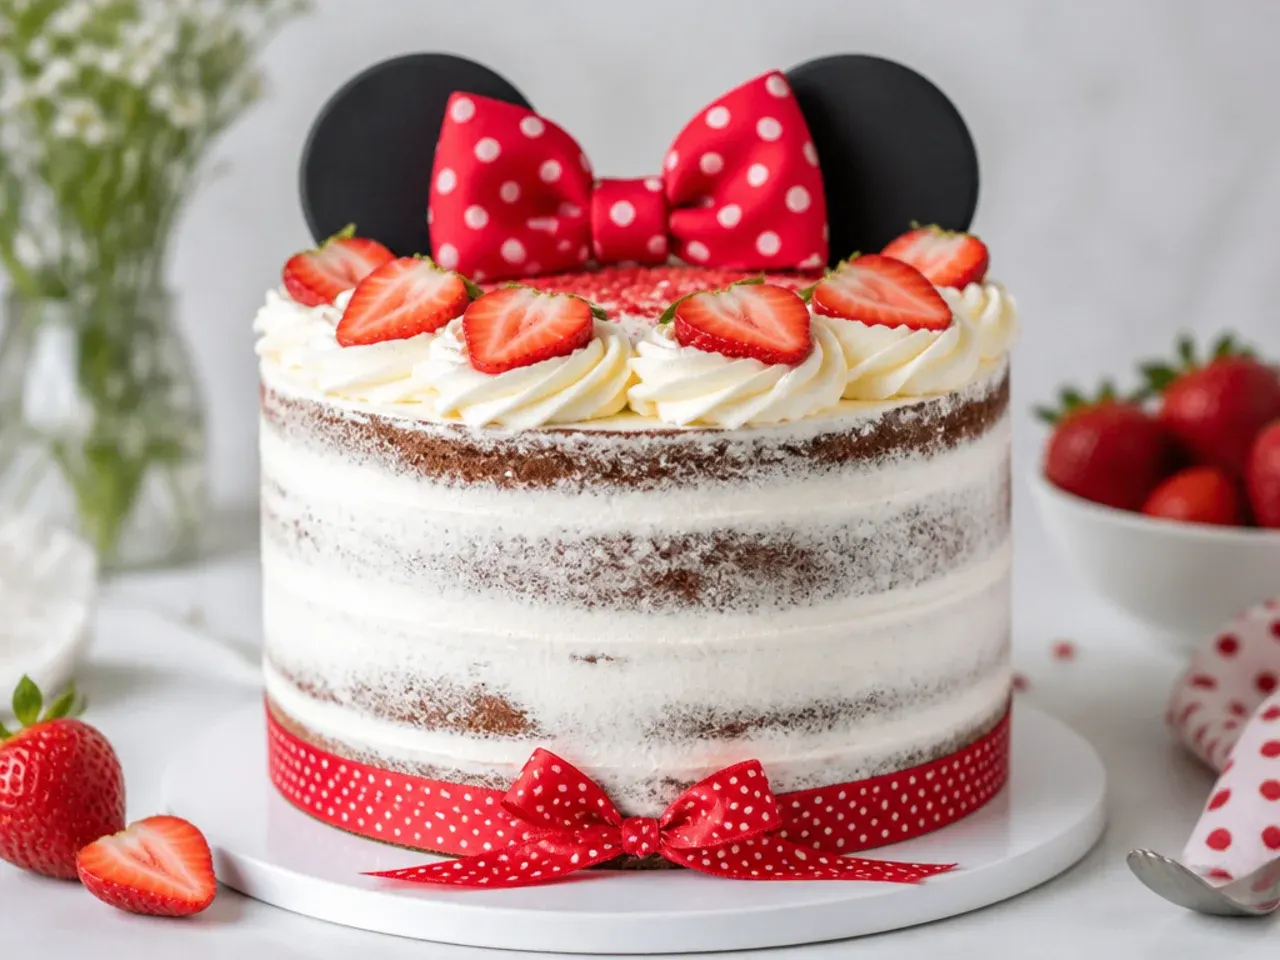
Apply only a thin coat of buttercream and drag a bench scraper around the sides until the sponge just shows through, which is why this style is perfect when your frosting skills are still developing. Pile halved fresh strawberries on top so the red plays into the classic colour scheme, and add a wide grosgrain ribbon bow around the base board. Tuck two chocolate cookie halves behind the strawberries for the ear shapes. The rustic finish means every imperfection looks intentional, and the strawberries do the decorating for you. Assemble no more than 4-5 hours before serving so the berries stay glossy.
7. Gumball Polka-Dot Party Cake
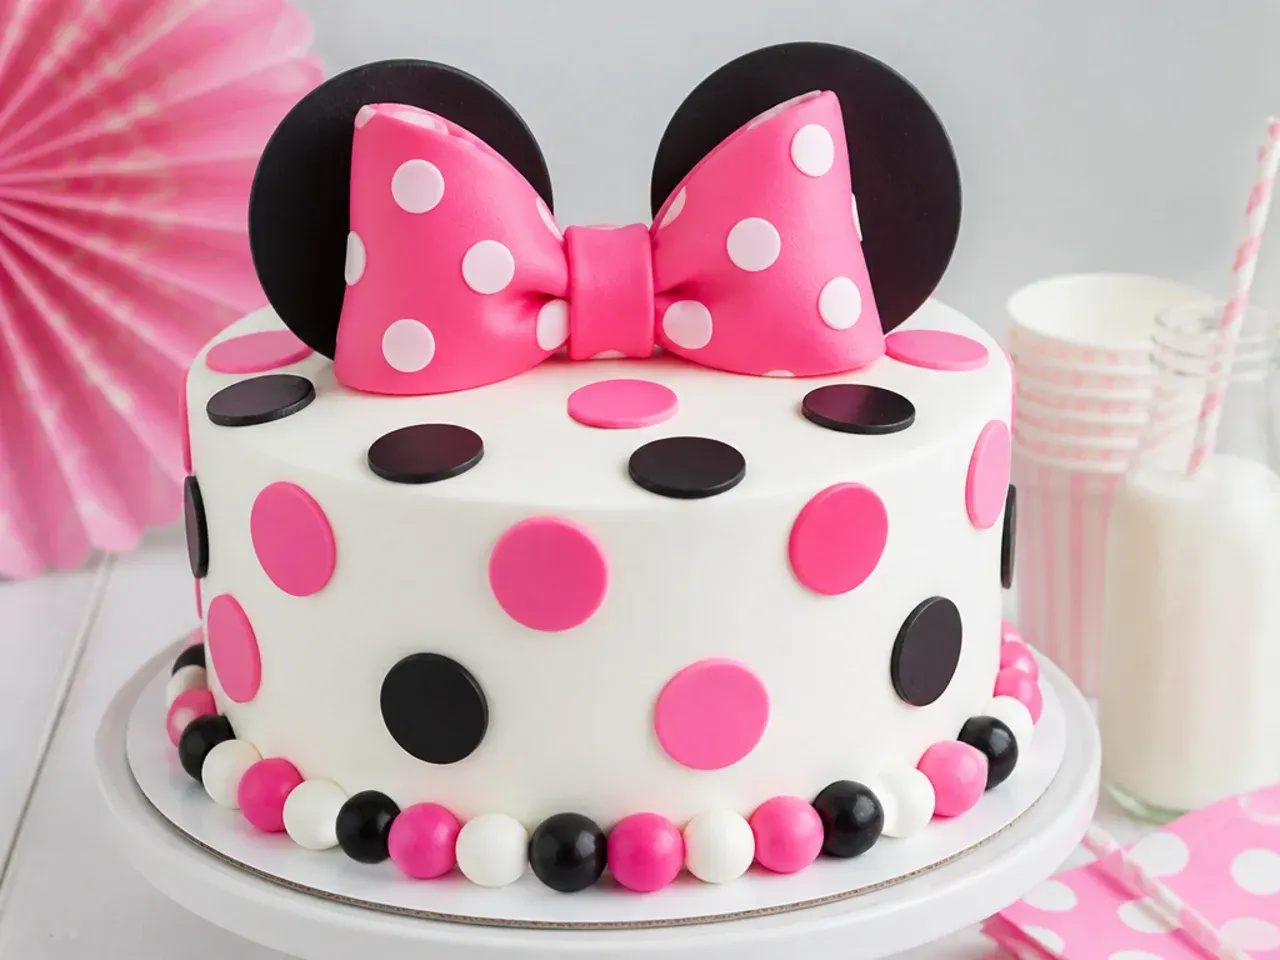
Frost an 8in (20cm) round in smooth white buttercream, then press about 50 pink, red and white gumballs into the sides in a grid pattern while the frosting is still soft, spacing them 3-4cm apart. The gumballs give you perfectly round, uniform dots without piping a single one. For the bow, pipe melted pink candy melts over a printed bow template under baking parchment, let it set 15-20 minutes, then stand it on top against two cookie ears. Work in sections so the buttercream does not crust before the gumballs go on; if it does, pipe a small dab of fresh frosting behind each one as glue.
8. Minimal White Cake with Silhouette Topper
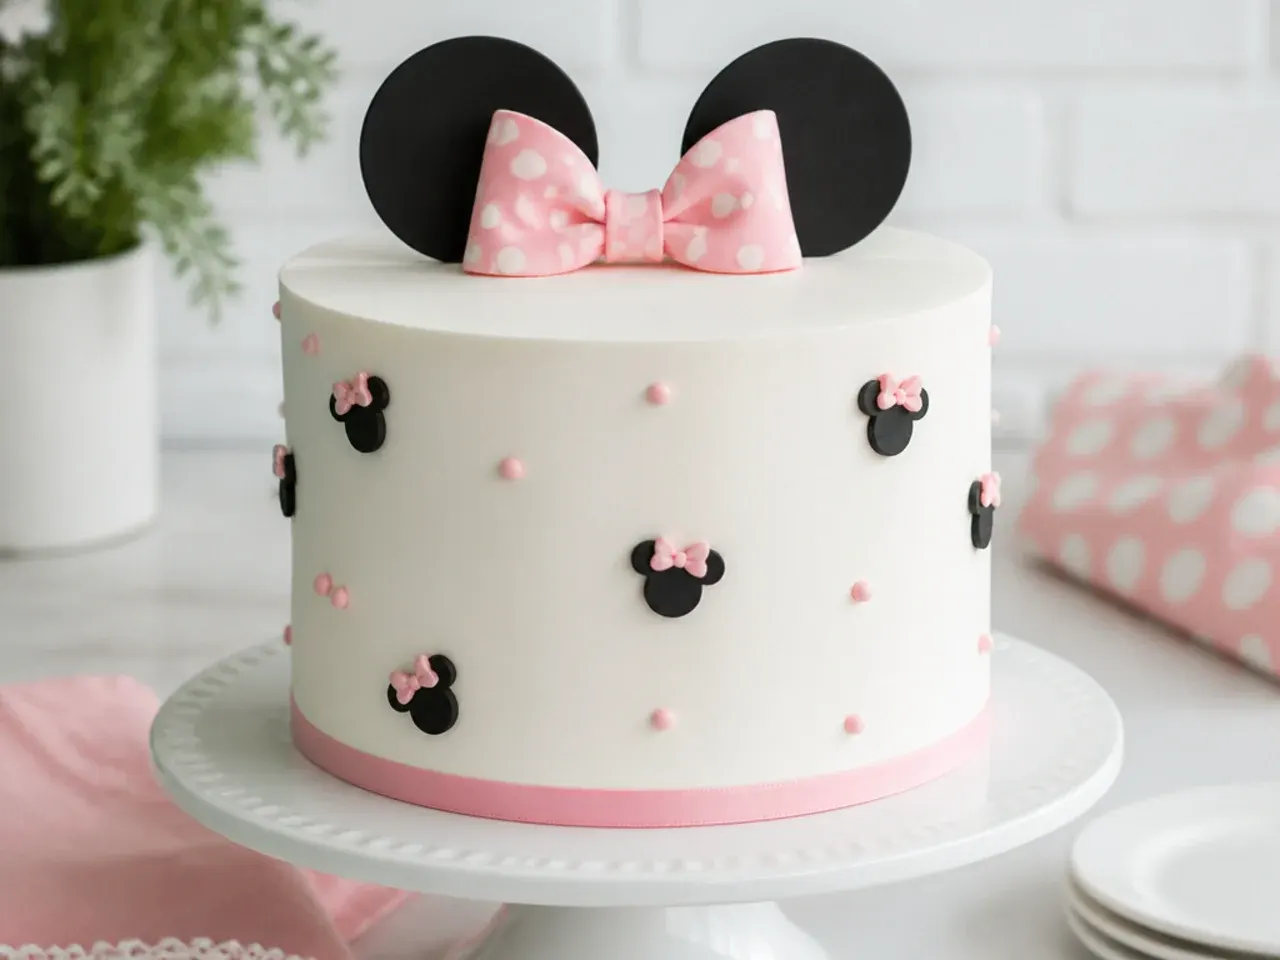
Sometimes the easiest cake is the most striking: a smooth all-white buttercream cake with a single black ears-and-bow silhouette topper and one ring of black dots piped around the base with a #5 round tip. Get the smooth finish by chilling the crumb coat 20 minutes, applying a second coat, and sweeping it with a metal bench scraper dipped in hot water and wiped dry. Cut the topper from black card stock glued to a food-safe stick, or from fondant stiffened with a pinch of tylose and dried for 48 hours. Total decorating list: white frosting, black gel colour, one topper. This suits older kids and adults who want the theme without the sugar overload.
9. Festive Number Cake with Dots and Mini Bows
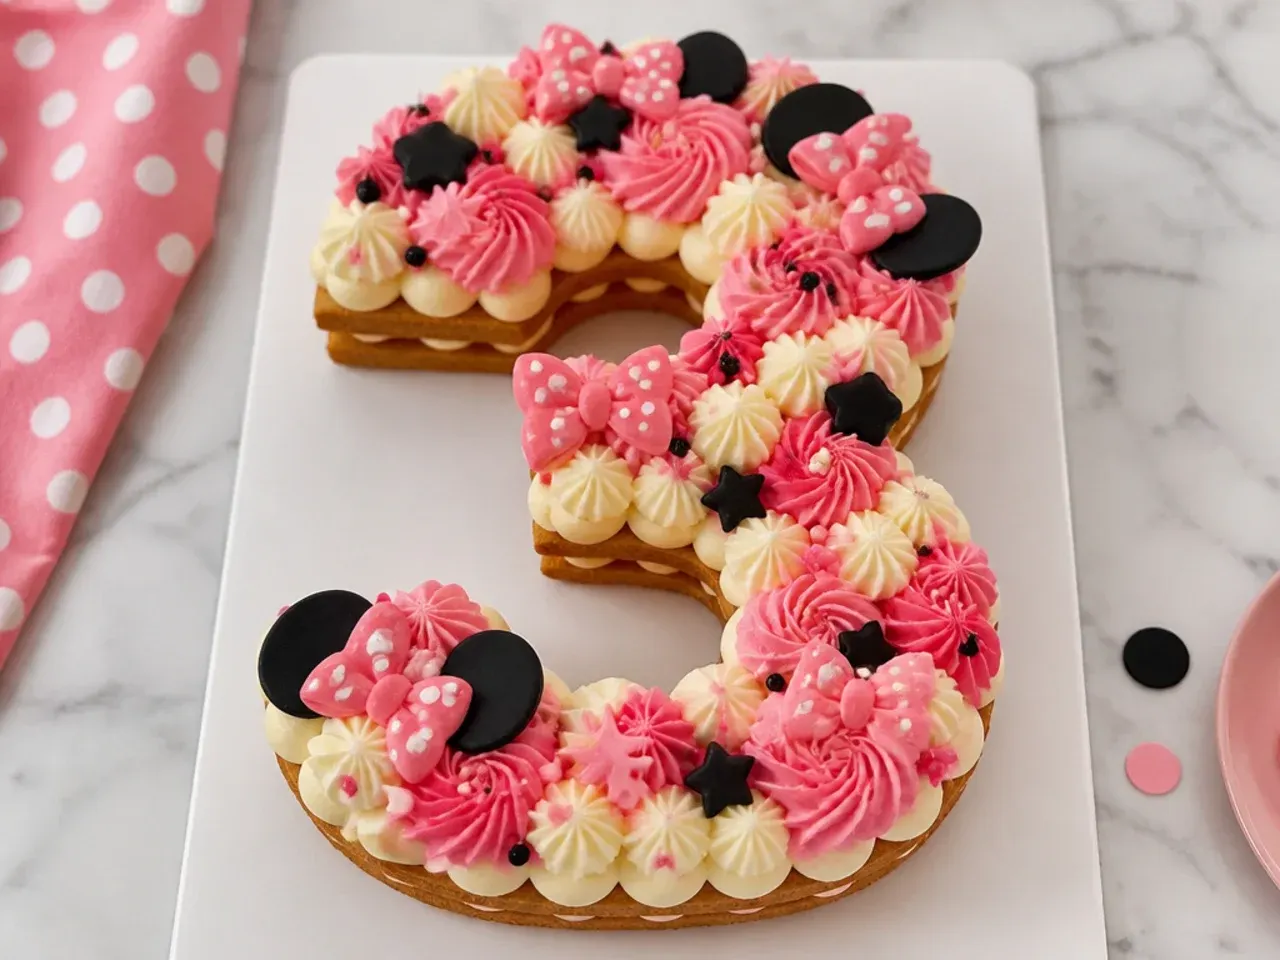
Bake the base recipe as a 23x33cm (9x13in) sheet, chill it for an hour, then cut out the birthday child's age using a printed number template as a guide — chilled cake cuts far cleaner than room-temperature cake. Cover the number with alternating blobs of pink and white buttercream piped with a Wilton 2A round tip, pressing lightly and pulling up for a plump cushion shape. Decorate the top with sprinkle dots, tiny fondant bows, and a few red candies for the classic palette. The number itself becomes the centrepiece, so nobody expects perfect frosting. Leftover cake scraps become cake pops or a polka-dot surprise cake (see idea 16).
10. Whimsical Pink Drip Cake
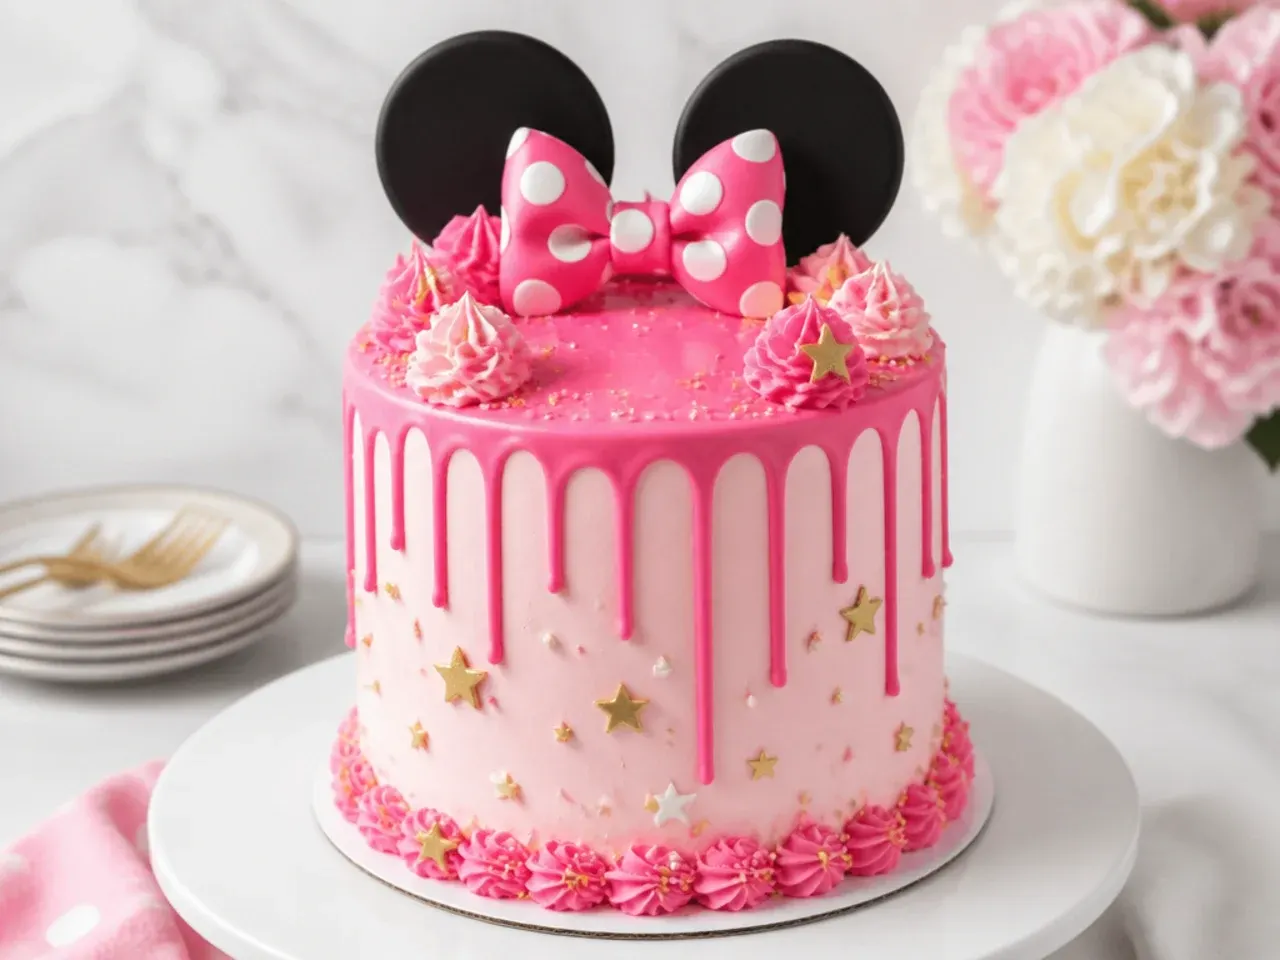
Make the drip by pouring 35ml warm double (heavy) cream over 100g chopped white chocolate, stirring smooth, and tinting it pink with an oil-based or gel colour. Chill your frosted cake for 30 minutes first — a cold cake is the whole secret to controlled drips. Let the ganache cool to about 32°C (90°F), test one drip on the back of the cake, then spoon it around the edge so it runs a third to halfway down the sides. Finish with gold star sprinkles, a swirl border piped with a 1M tip, and a black ears topper. The drip adds instant wow factor for maybe ten extra minutes of work.
Save this for later 📌
Pin this article to your Pinterest board so the full list is one tap away when you need it.
Save on Pinterest11. Bold Black Cocoa Cake with Hot Pink Bow
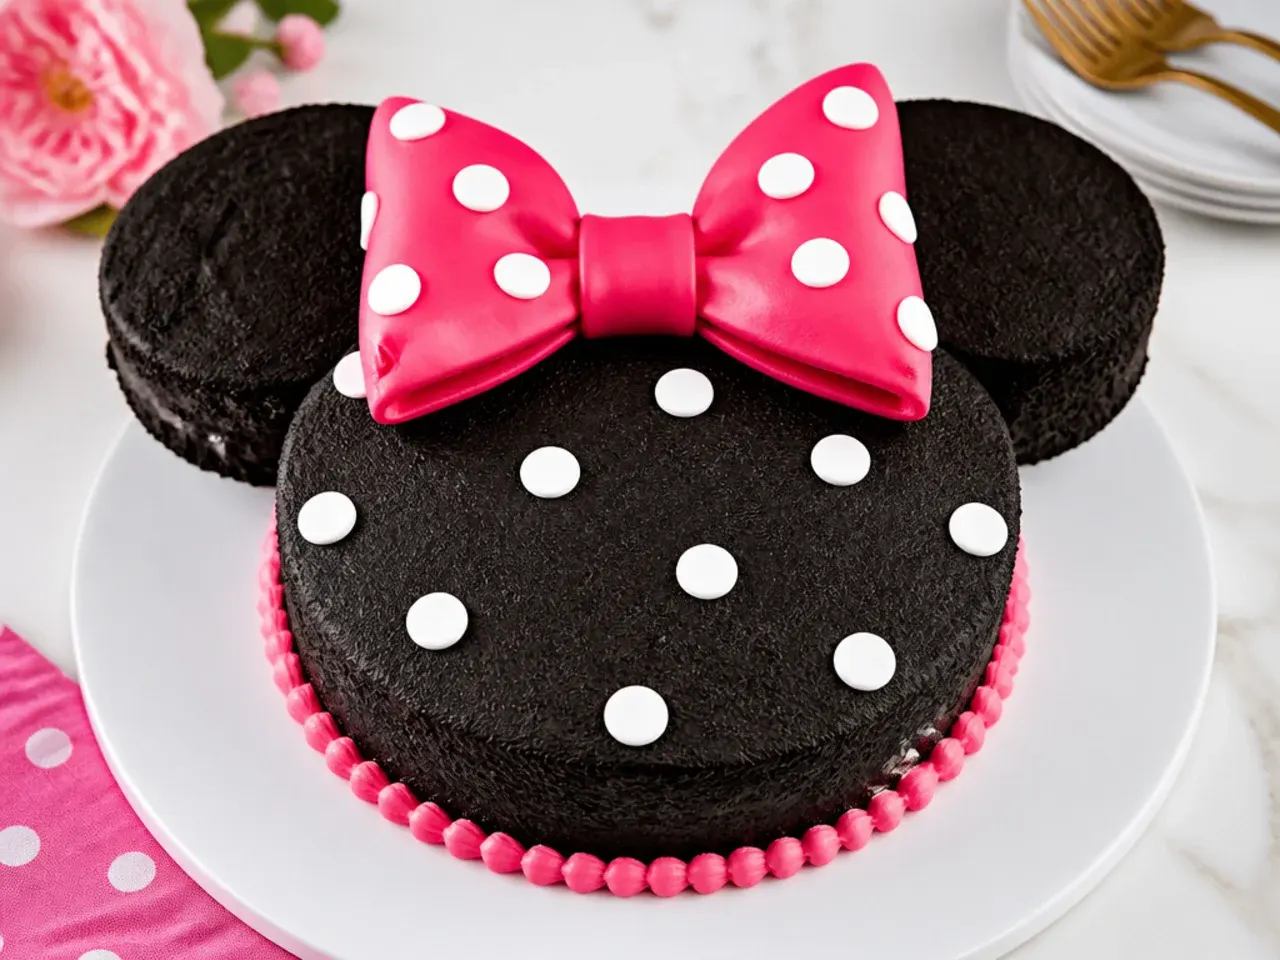
For deep black frosting that does not taste bitter or stain teeth, skip the heavy gel colour and beat 40g of black cocoa powder (the Dutch-processed kind used in Oreo cookies) into the buttercream with 1-2 tablespoons of extra milk. Cover the cake in this near-black frosting, then add a hot-pink fondant bow and bold white polka dots piped with a #10 round tip. The high-contrast black, hot pink and white palette photographs brilliantly and feels grown-up enough for a teen birthday. Only a small touch of black gel is needed at the end to push the cocoa colour to true black.
12. Delicate Pastel Smash Cake
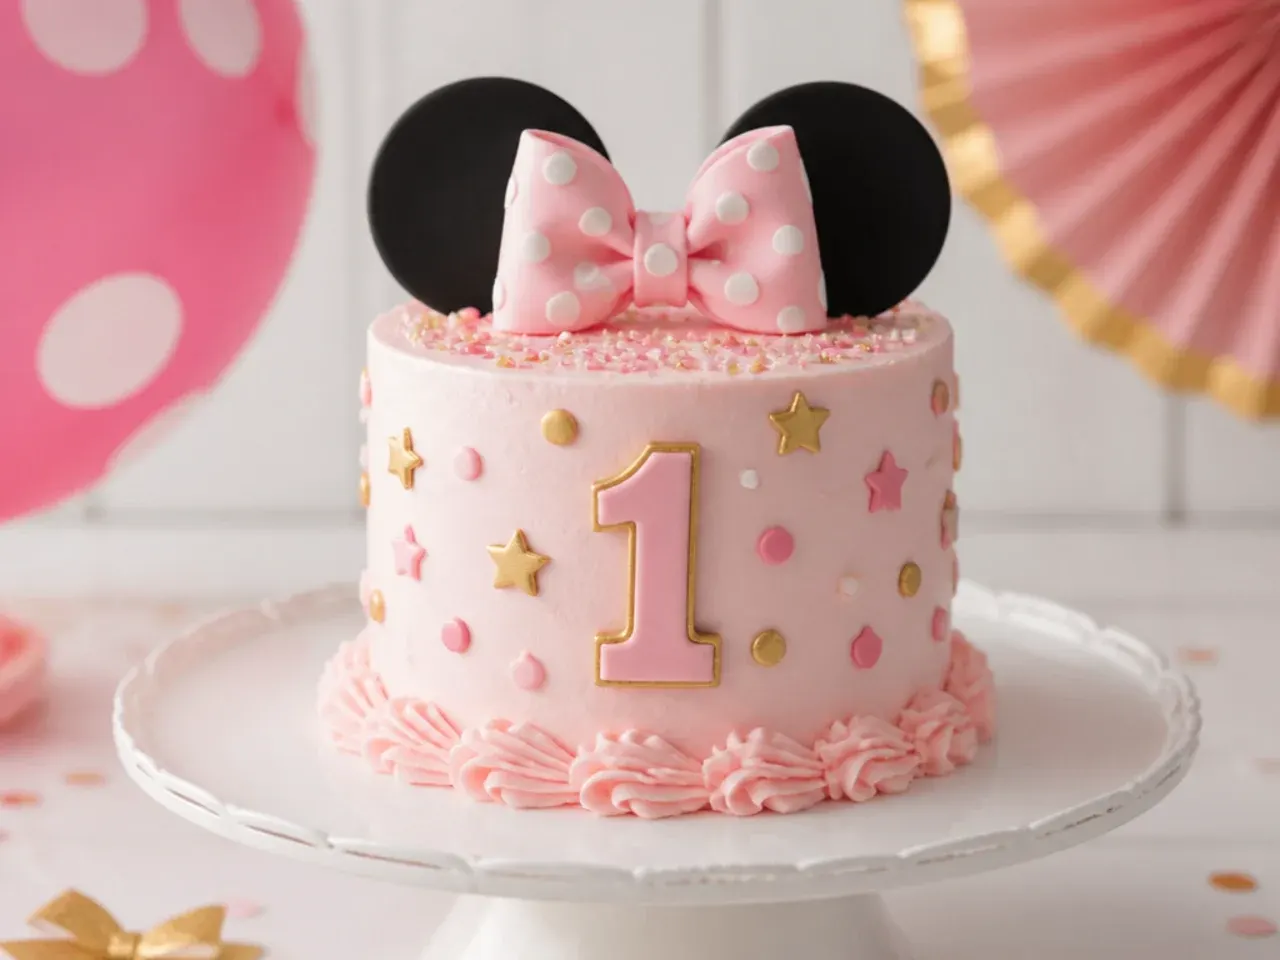
For a first birthday, bake a third of the base batter in two 10cm (4in) tins for 20-22 minutes at 180°C (350°F) and stack a tiny two-layer cake. Tint the buttercream the palest pink with a single drop of gel colour, pipe miniature dots with a #3 tip, and add one small soft fondant bow. Keep it completely free of skewers, cookies, hard candies and toppers — everything on a smash cake should be soft enough for a baby to grab and eat safely. Bake the rest of the batter as a full-size cake so the adults get dessert too. Photographers recommend pastels over deep colours because vivid frosting stains skin and outfits during the smash.
13. Vintage Piped Heart Cake
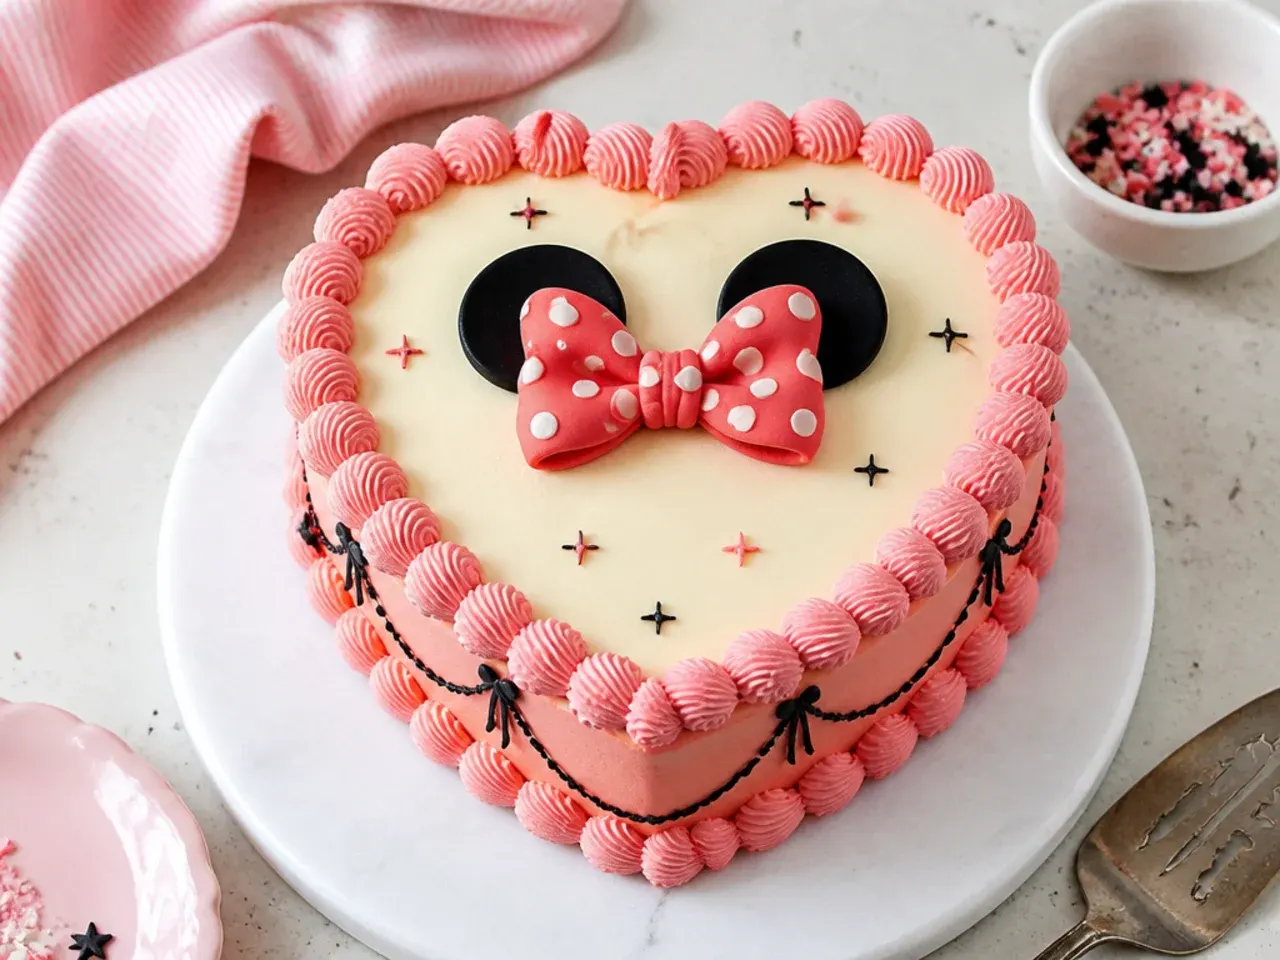
No heart pan needed: bake one 20cm (8in) round and one 20cm square, cut the round in half, and place the two half-circles on adjacent sides of the square turned like a diamond. Frost in deep rose buttercream, then pipe vintage-style shell borders around the top and base edges with a Wilton 21 star tip, overlapping each shell onto the tail of the last. Add white dots between the shells and a cherry-red fondant bow at the heart's dip. This retro Lambeth-lite look is trending hard on Pinterest, and shells are the first border every beginner masters. Chill the assembled heart 30 minutes before frosting so the joins do not shift.
14. Frozen Buttercream Transfer Dots and Bow
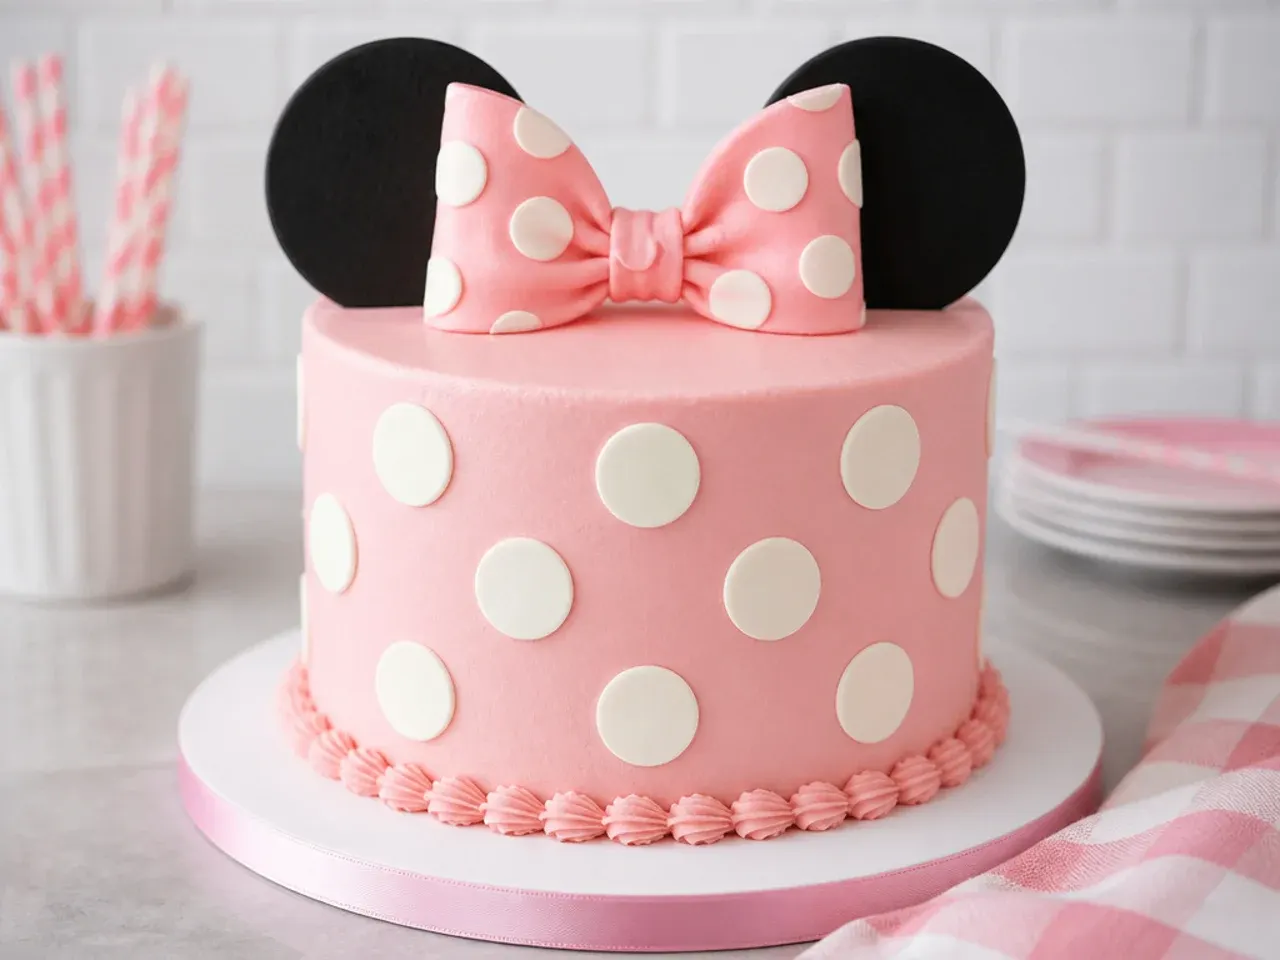
A frozen buttercream transfer lets you 'trace' a perfect design instead of piping freehand. Tape a printed pattern of polka dots and a bow under a sheet of baking parchment, pipe over the lines with stiff buttercream (mirror-image if it includes text), fill in the shapes, and freeze the sheet flat for 30-40 minutes until solid. Flip the frozen design onto the top of your frosted cake, press gently, and peel away the parchment. You get razor-sharp dots and a symmetrical bow with zero artistic skill. Keep the design to simple shapes and work fast — the transfer starts softening within a couple of minutes at room temperature.
15. Charming Ombre Ruffle Cake
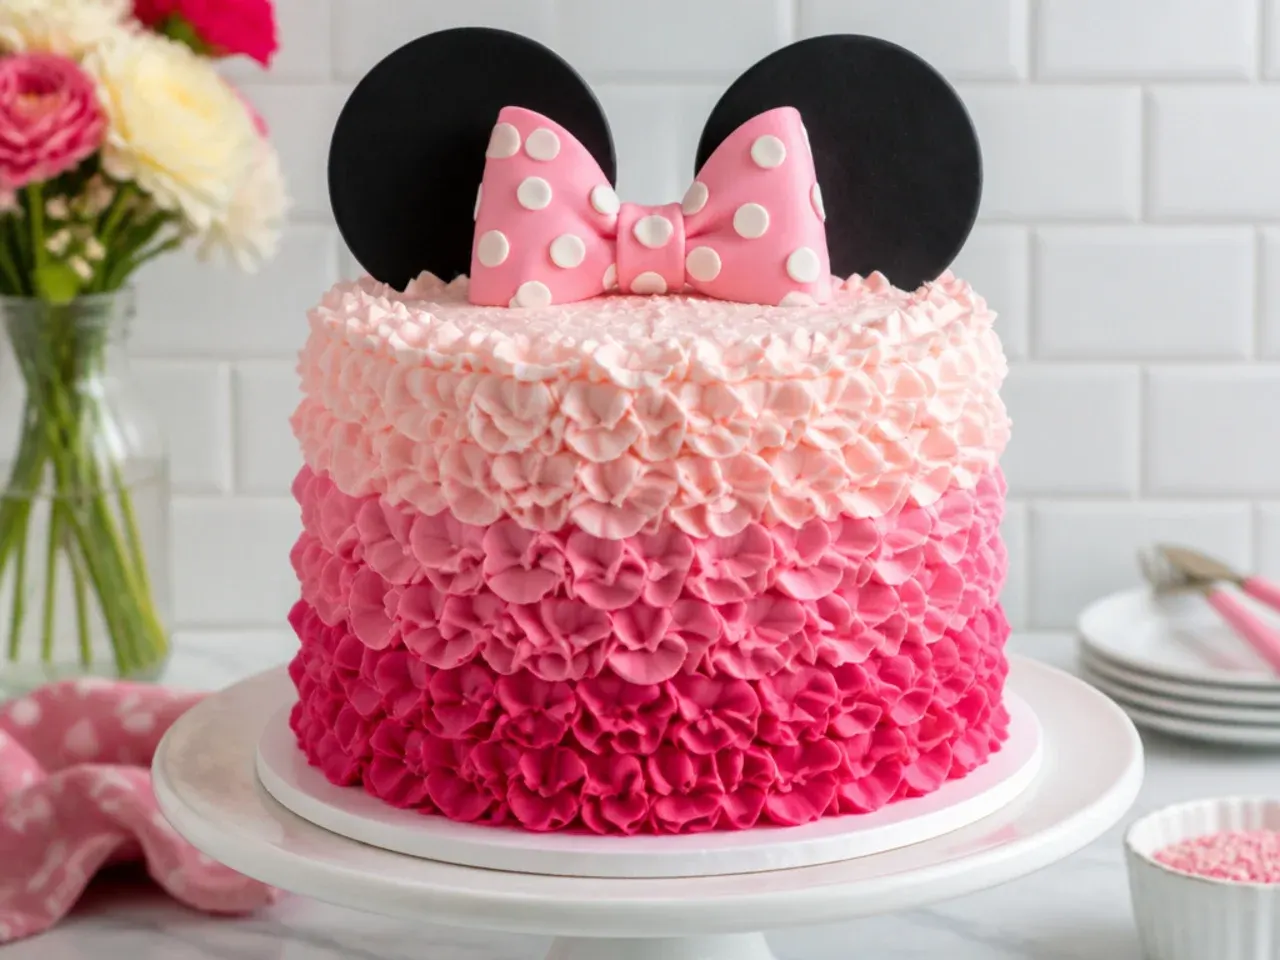
Divide 600g of buttercream into three bowls and tint them with roughly 1, 2 and 4 drops of pink gel for three graduated shades. Using a Wilton 104 petal tip with the wide end touching the cake, pipe vertical ruffles from the base up: darkest shade on the bottom third, medium in the middle, palest on top, each row overlapping the last by half. The constant ruffle texture hides every wobble, so this looks far harder than it is. Crown it with a ribbon bow and two dark chocolate ear shapes. Practise two or three ruffles on the side of a bowl first to find your pressure.
Save this for later 📌
Pin this article to your Pinterest board so the full list is one tap away when you need it.
Save on Pinterest16. Polka-Dot Surprise-Inside Cake
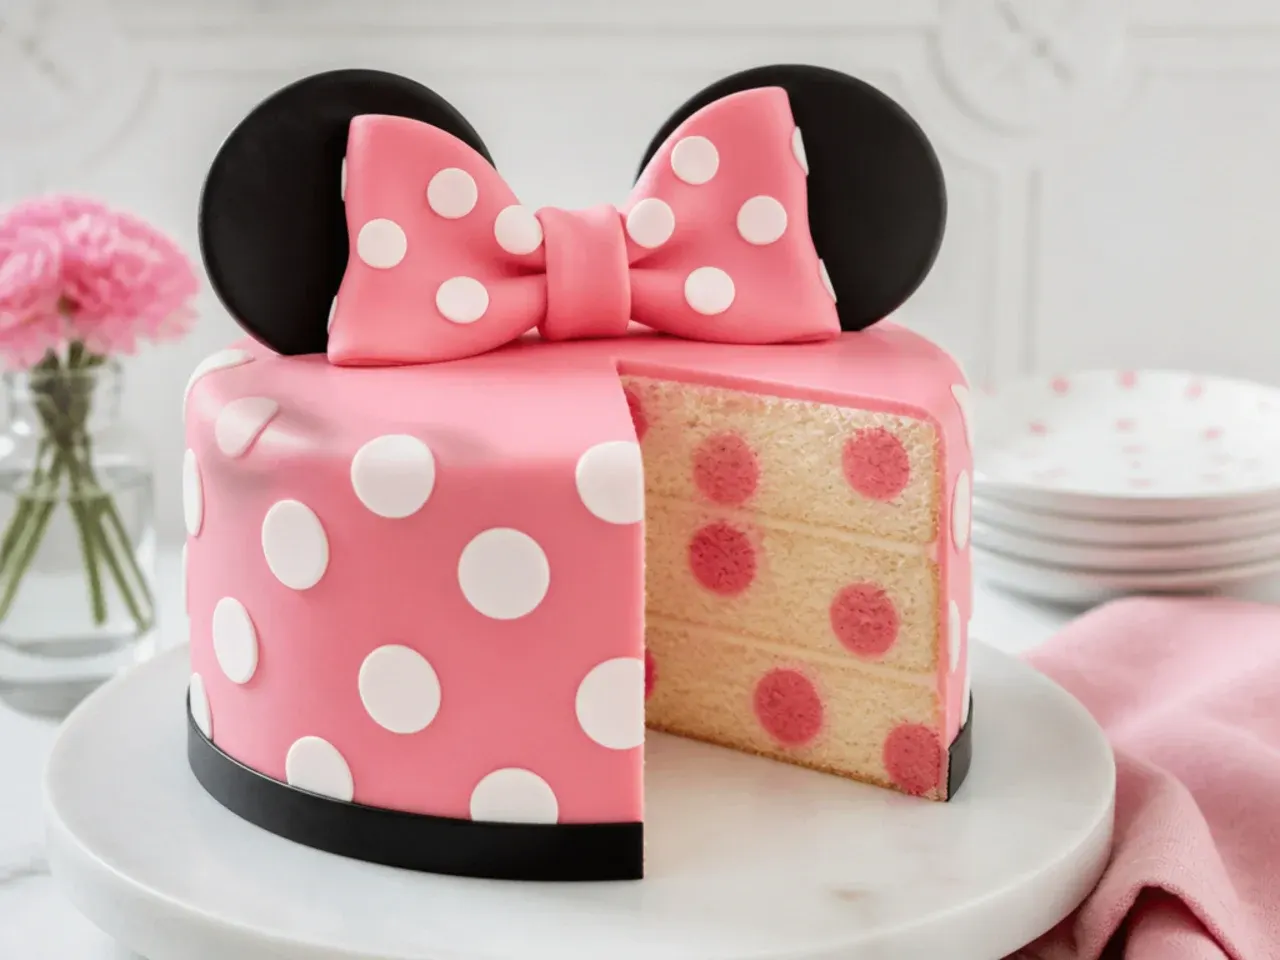
Here the polka dots are baked inside: make pink cake balls first by tinting a small batch of batter pink, baking it in a cake-pop mould (or rolling crumbled pink sponge with 2 tablespoons of frosting), and freezing the balls for 20 minutes. Stand the frozen balls in the white batter in your tins, spacing them 3cm apart, and bake as normal — they hold their shape while the batter sets around them. Every slice reveals a scatter of pink dots, which gets a louder reaction than any exterior decoration. Keep the outside simple: white frosting, a ribbon bow and cookie ears. None of the big roundup posts cover this trick, and it is easier than it sounds.
17. Star-Fill Traybake
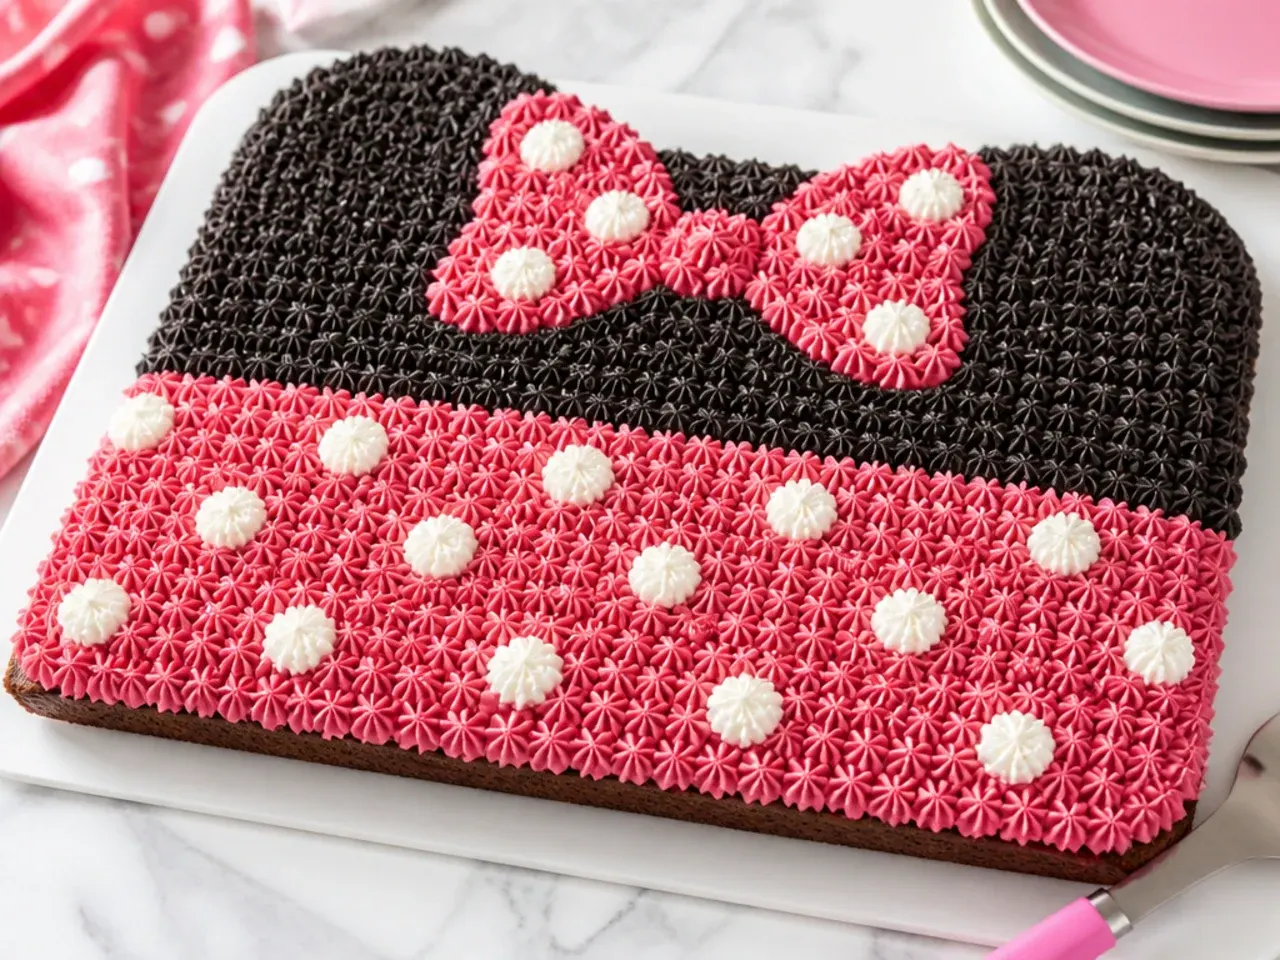
Bake a sheet cake, let a crusting buttercream coat set for 15 minutes, then lightly trace two circles and a bow outline on top with a toothpick — just simple shapes, no drawing skill required. Fill the circles with tightly packed black buttercream stars piped with a Wilton 16 or 21 star tip, the bow with pink stars, and the background with white stars, holding the bag vertical and giving a short squeeze-and-lift for each. Star-fill is the classic decorated-sheet-cake technique because the dense texture hides gaps and mistakes completely. Expect about 45 minutes of piping, so queue up a podcast. One batch of buttercream tinted in three bowls covers the whole tray.
18. Elegant Chocolate-Dipped Strawberry Topper Cake
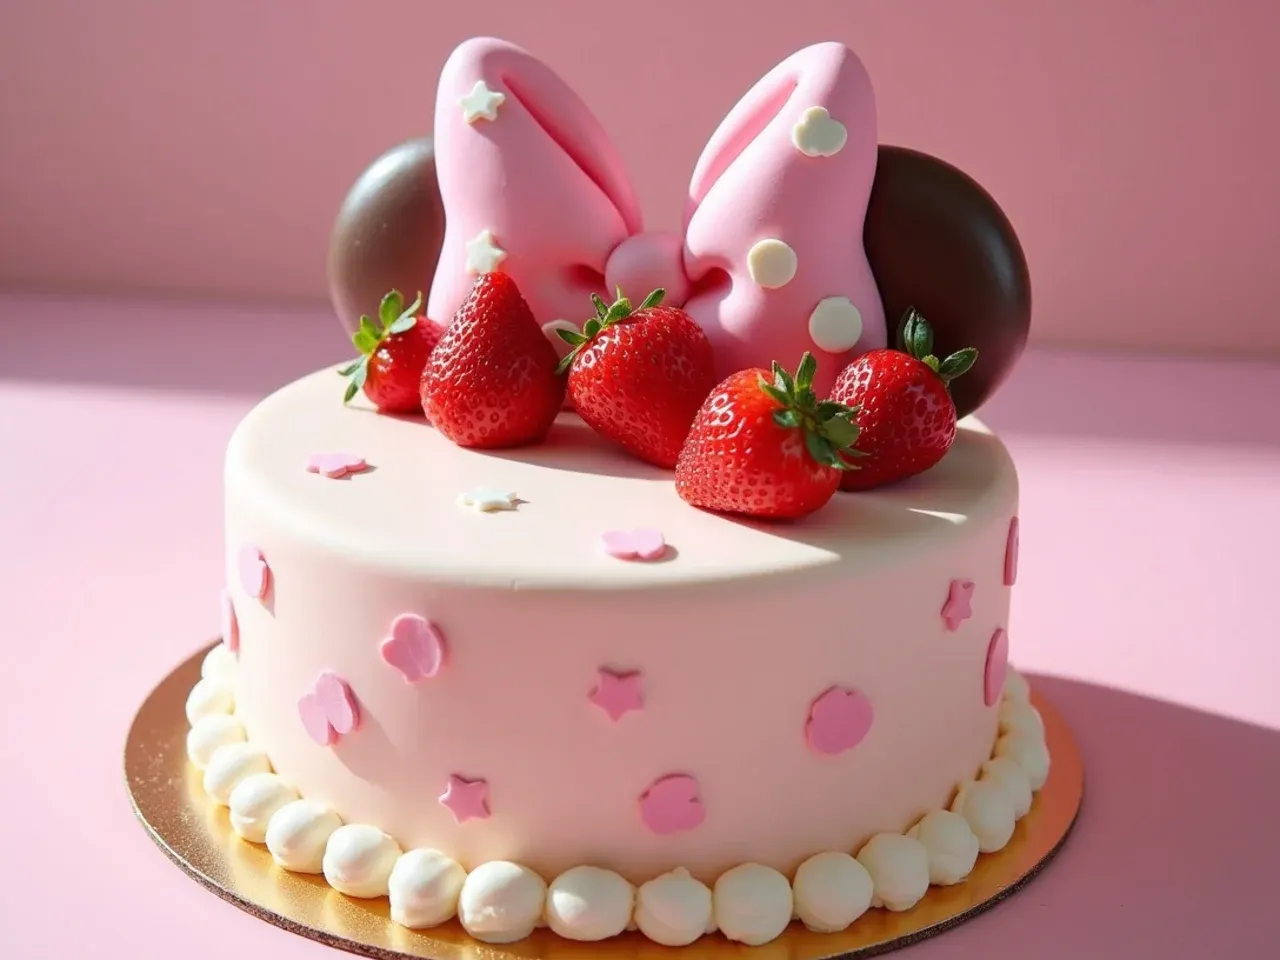
Melt pink candy melts in 30-second bursts at 50% microwave power, dip 10-12 dry strawberries, and stand them on parchment to set for 5 minutes. Once firm, pipe tiny white dots onto each berry with a #2 tip so every strawberry becomes a miniature polka-dot decoration. Pile them in the centre of a smooth white cake, pipe a shell border with a Wilton 21, and wrap a black ribbon around the base. The berries double as dessert and decoration, which makes this the most elegant option for a joint kids-and-adults party. Dip the berries the same day you serve, as moisture shortens their life to about 24 hours.
19. No-Bake Icebox Cake
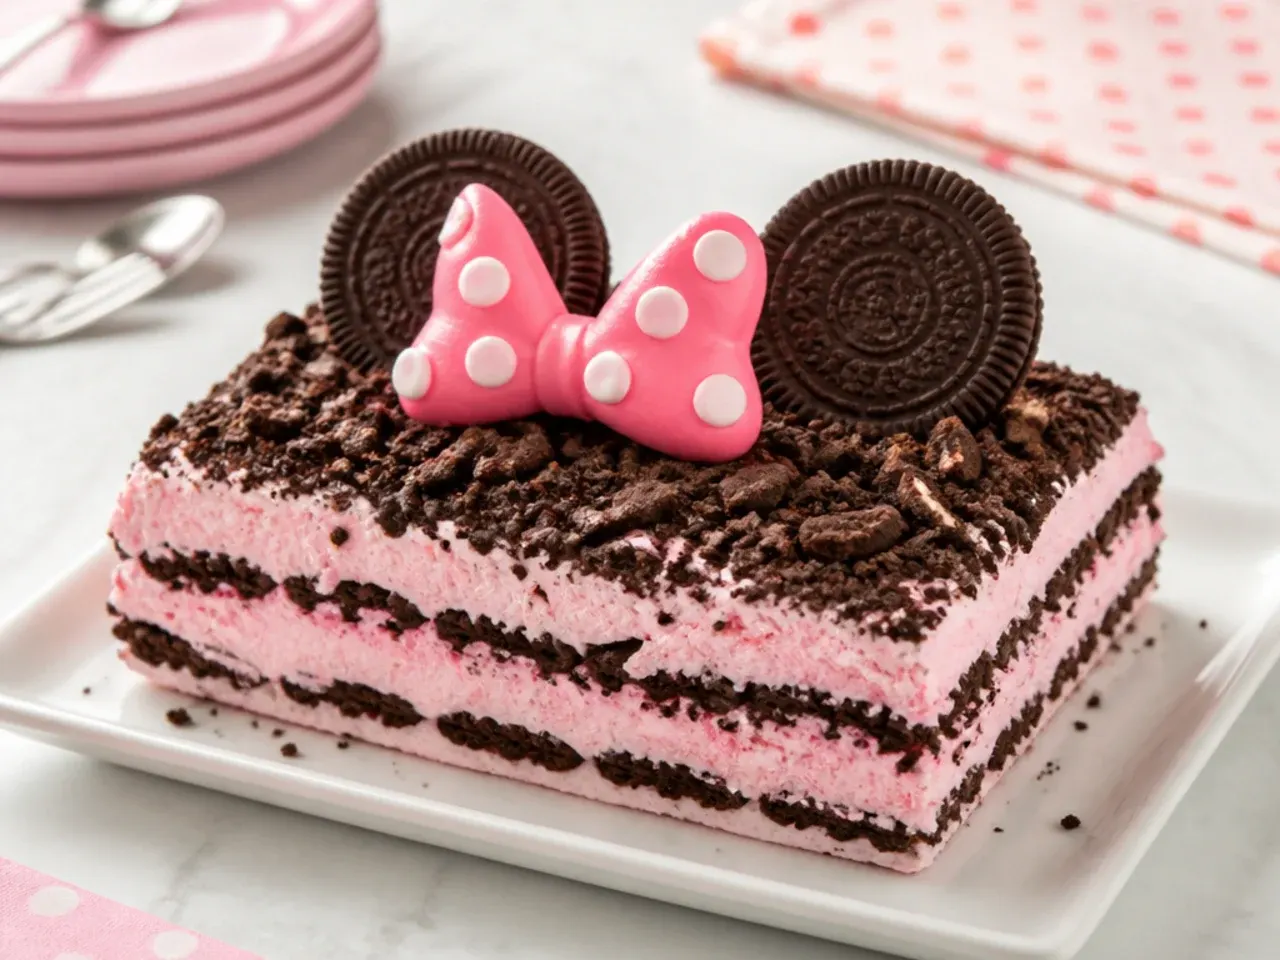
No oven required: whip 600ml double (heavy) cream with 60g icing sugar and 1 teaspoon of vanilla to soft peaks, and tint half of it pink. Layer about 36 chocolate biscuits or graham crackers with the cream in a loaf tin or springform, alternating pink and white layers, then chill for at least 6 hours or overnight until the biscuits soften to a cake-like texture. Top with pink cream, sprinkle dots and two sandwich-cookie ear shapes just before serving. This is the answer for summer birthdays, holiday rentals and anyone who does not bake. It also slices beautifully straight from the fridge.
20. Modern Fault-Line Sprinkle Cake
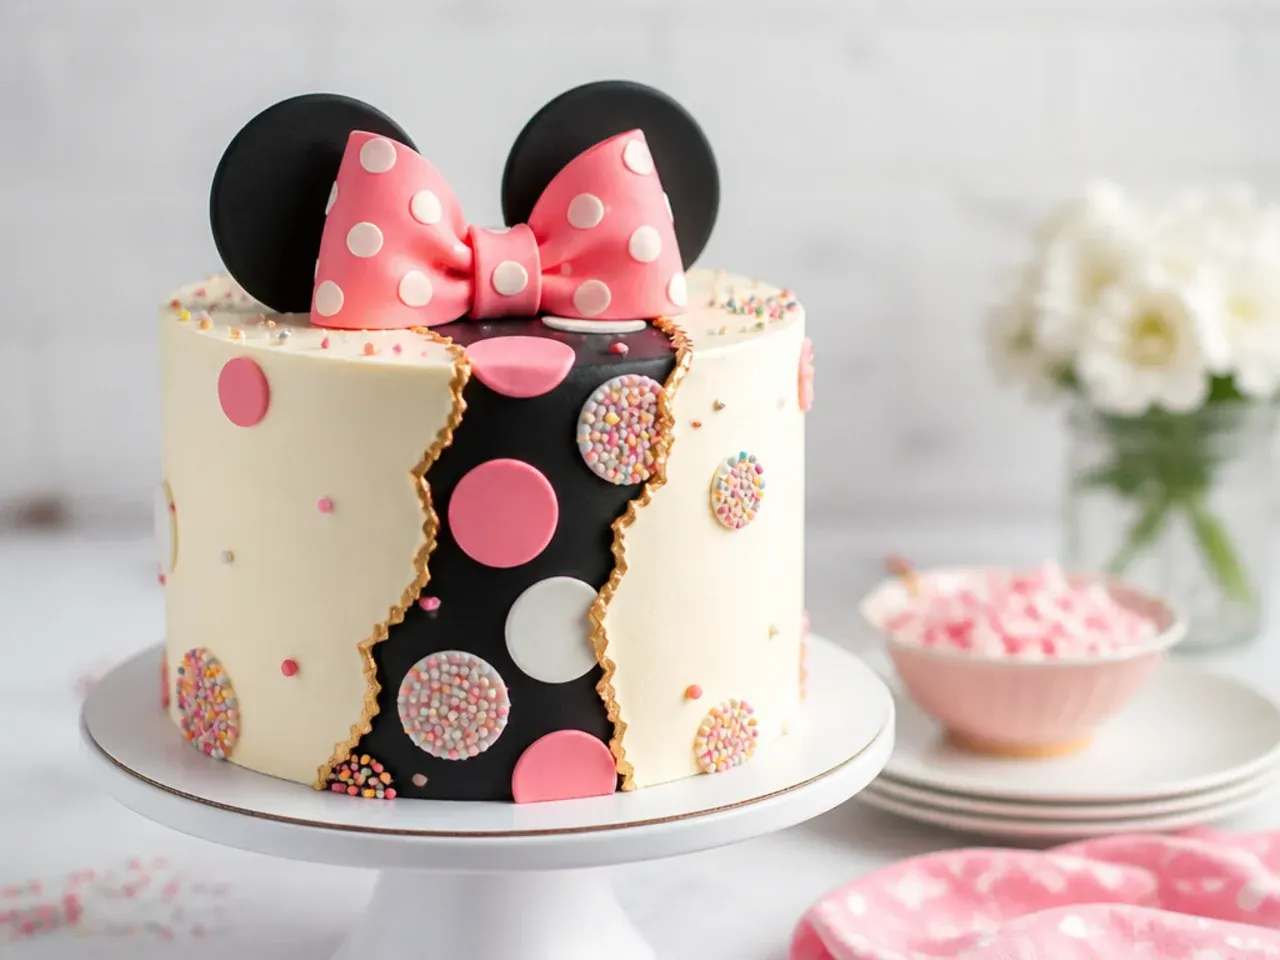
Frost a band of buttercream around the middle of the cake and press pink, white and black confetti sprinkles into it, then chill 20 minutes. Pipe fresh buttercream above and below the band, standing slightly proud of it, and scrape smooth so a rough-edged 'fault line' of sprinkle dots stays exposed through the middle. Edge the line with piped gold or pink buttercream for a polished look, and finish with a black ears-and-bow topper. The fault line is deliberately imperfect, so it is one of the most forgiving trendy techniques for beginners. The sprinkle band reads as polka dots, tying the modern style back to the theme.
Tips to Make These Ideas Easier
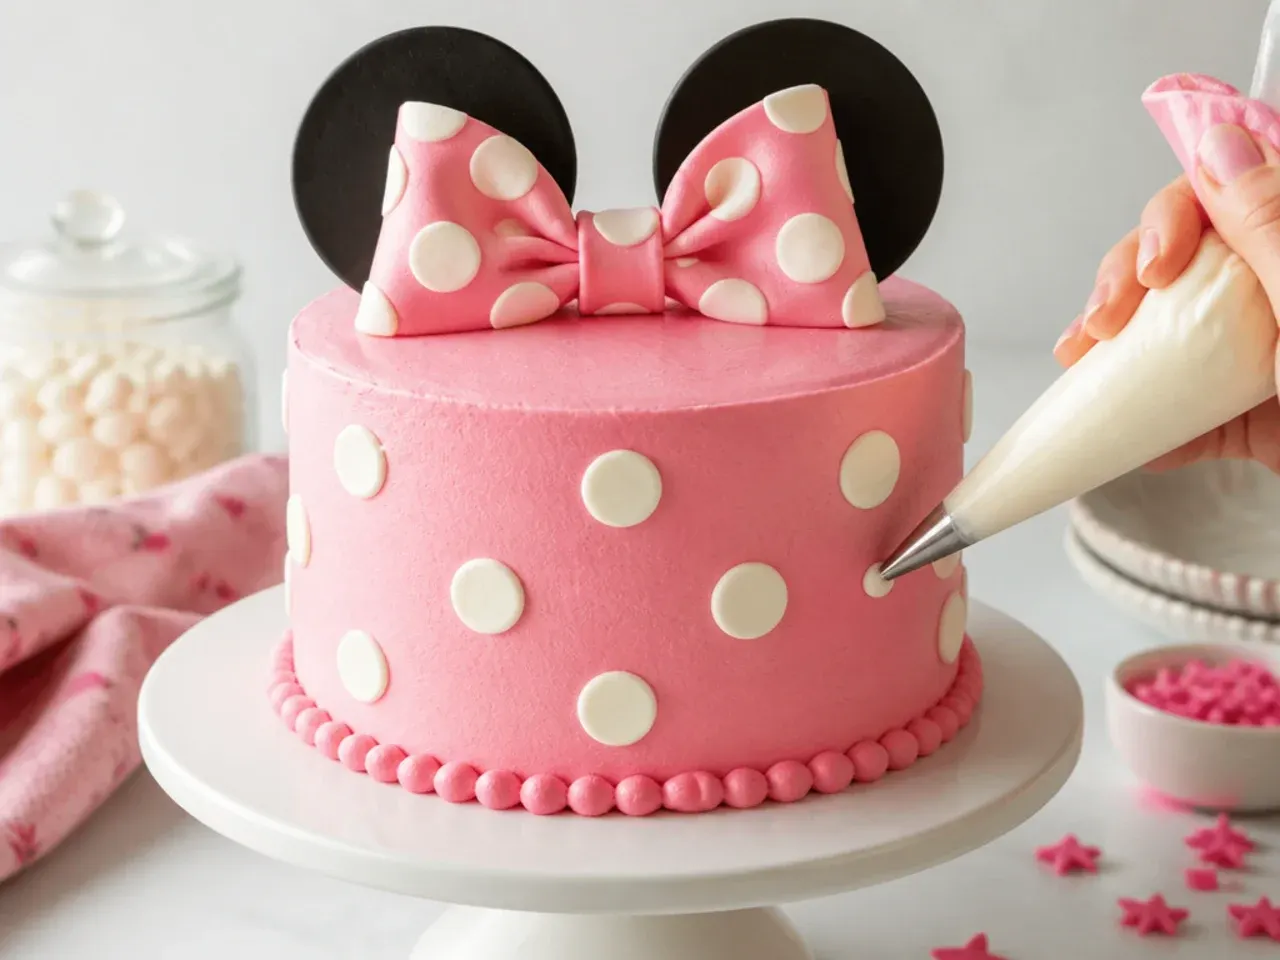
Bake the sponges a day ahead, wrap them well in cling film and chill overnight — cold cake is sturdier, carves cleaner and sheds fewer crumbs (layers also freeze for up to 3 months). Make all hard decorations first: fondant ears with tylose need 24-48 hours to dry, and candy-melt bows need at least 20 minutes to set. Always use gel food colouring rather than liquid, which thins buttercream and never reaches deep pink or black. Crumb coat every stacked cake and chill it 20 minutes before the final coat; this one habit fixes most beginner frosting problems. And if time is short, two boxes of cake mix substitute for the base recipe with no shame — the decorating is what makes these cakes.
Common Mistakes to Avoid
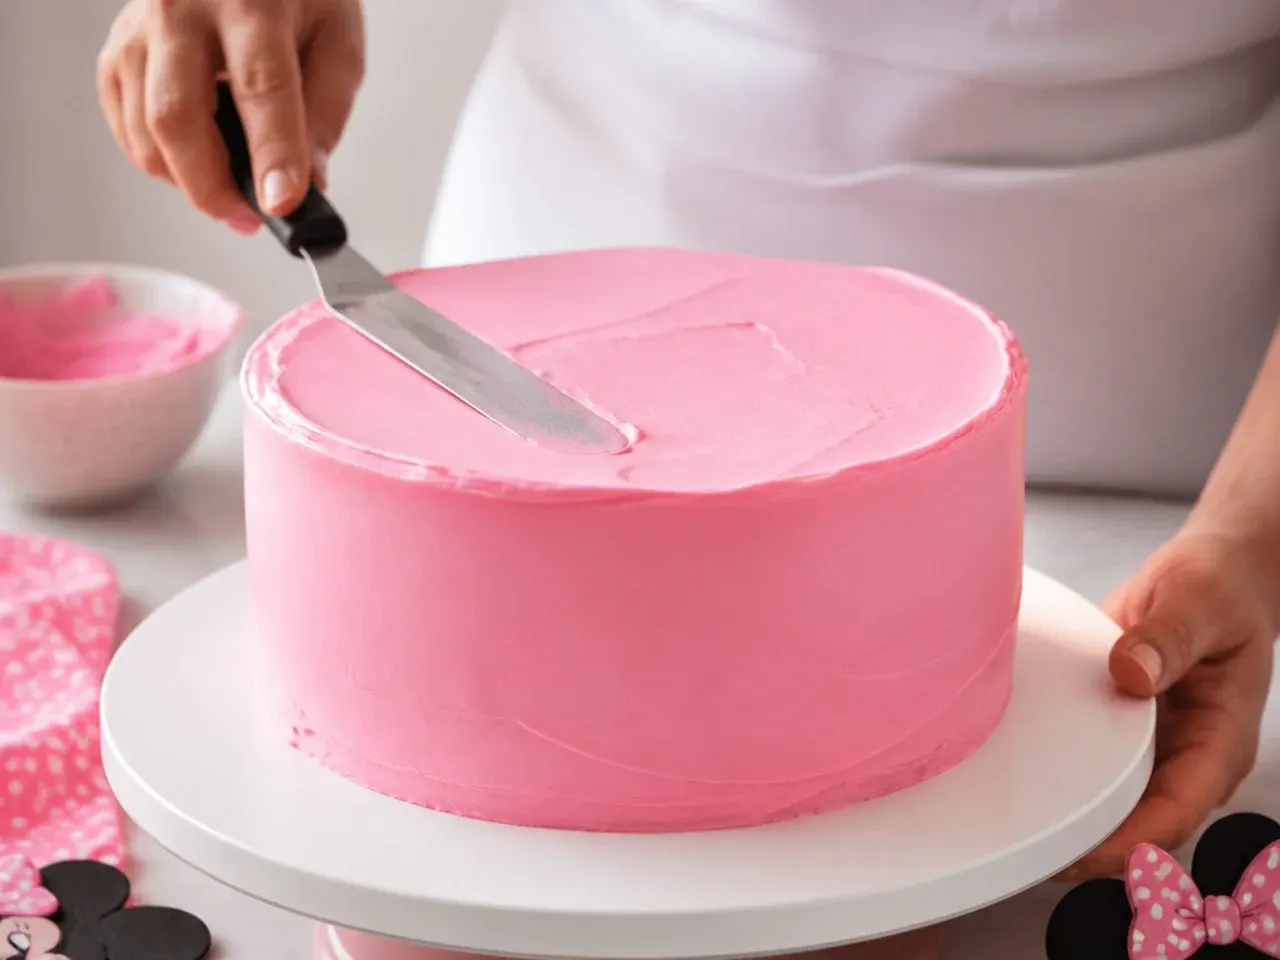
Never frost a warm cake: buttercream melts, slides and drags crumbs, so wait until the layers are completely cold, about an hour on a rack. Do not keep adding colour chasing a deep shade — gel colours darken over 1-2 hours, so mix pink and black slightly lighter than you want and let them rest. Check the sponge 5 minutes before the timer ends, because an overbaked cake turns dry and domed; it is done when a skewer comes out clean and the top springs back. Heavy toppers pushed straight into soft cake will lean and fall — tape or glue them to skewers or cake-pop sticks and insert those instead. Finally, press candies and gumballs on while the frosting is still soft; once it crusts, they fall off unless you glue each one with a dab of fresh buttercream.
The Recipe
The Base Recipe — Make Any of These Ideas
40 min
28 min
1 hr 8 min
12
Beginner
Ingredients 12 Person(s)
Directions
Step 1: Prep the tins and oven
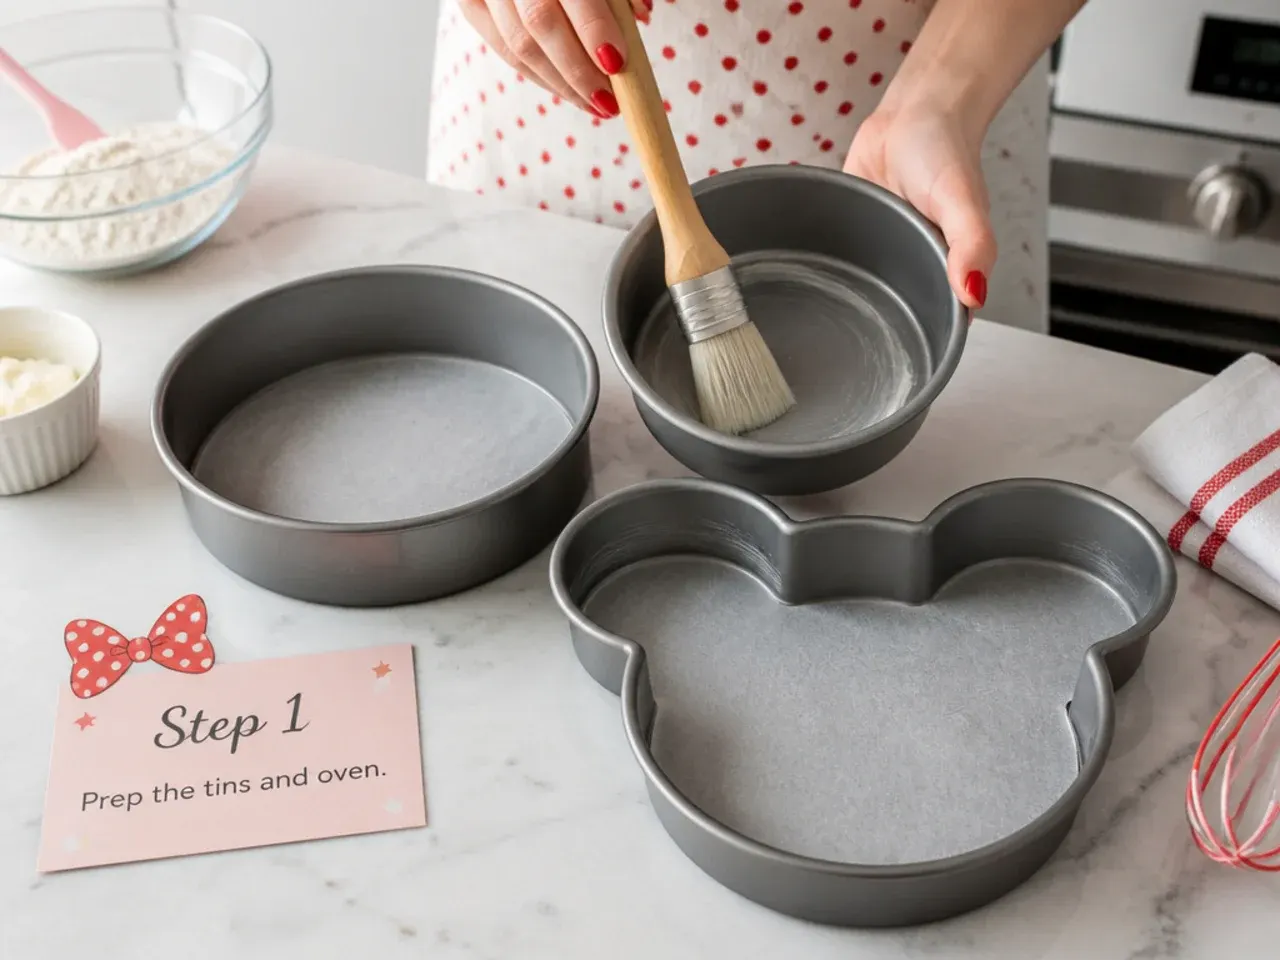
Heat the oven to 180°C (350°F), or 160°C fan. Grease two 20cm (8in) round sandwich tins and line the bases with baking parchment. Check your butter is properly soft — a finger should dent it easily — because cold butter will not cream and gives a dense, heavy sponge.
Step 2: Cream the butter and sugar
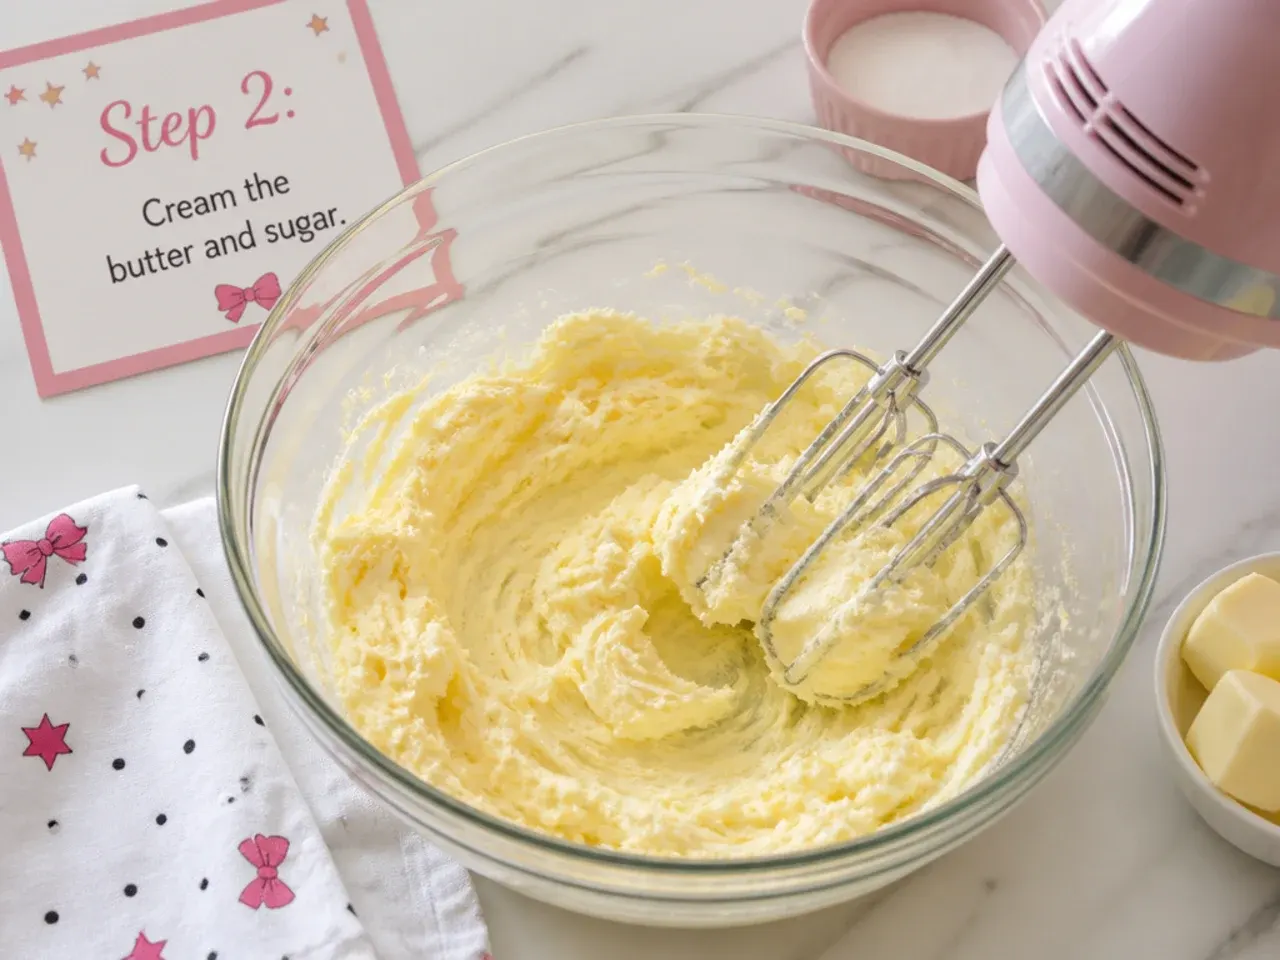
Beat 225g softened butter and 225g caster sugar with an electric mixer on medium-high for 3-4 minutes, scraping the bowl once. Do not stop early: the mixture is ready when it is very pale, almost white, and noticeably fluffy. This trapped air is what makes the sponge rise light.
Step 3: Add the eggs and vanilla
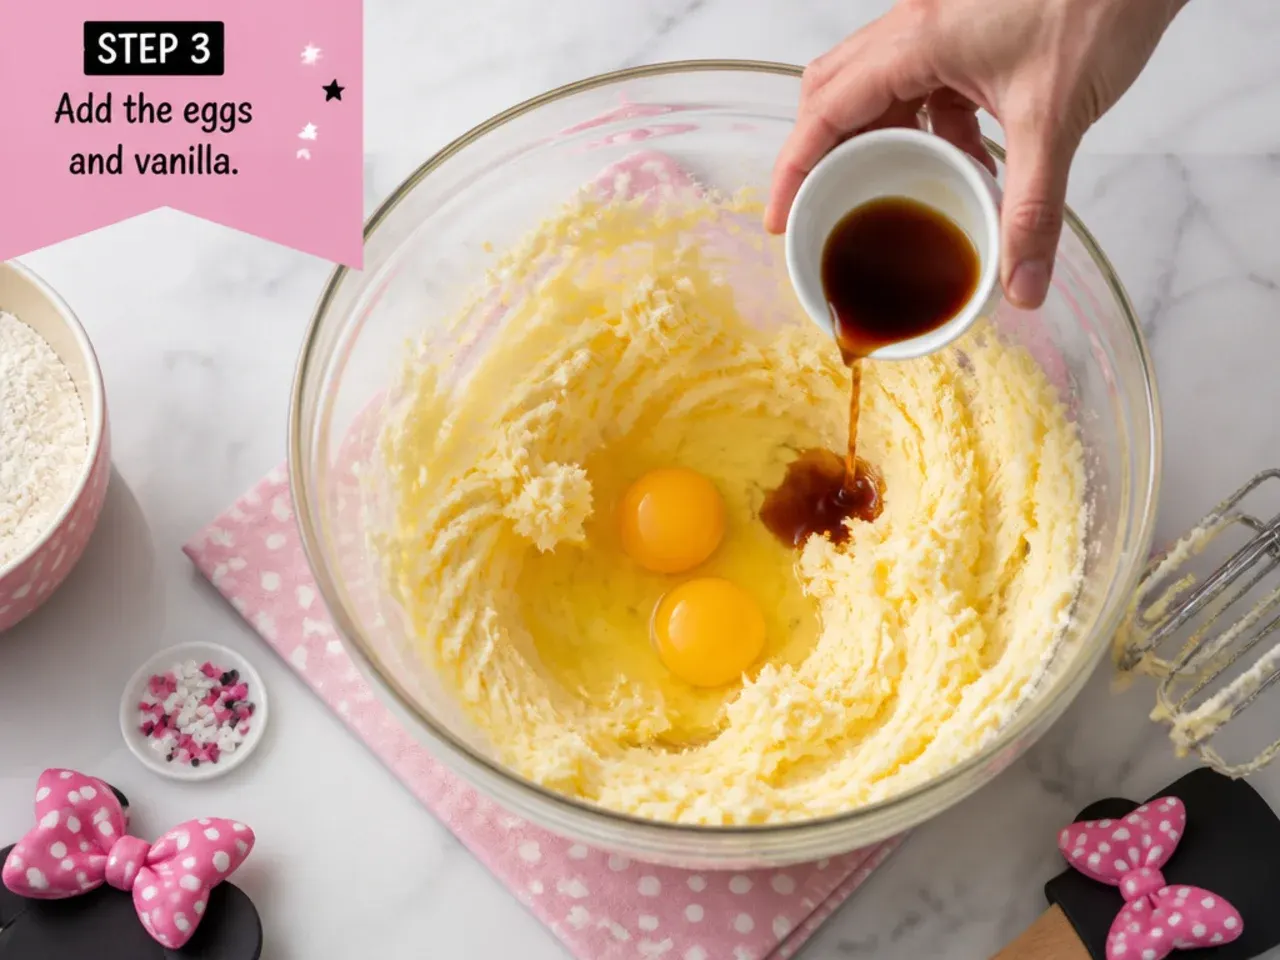
Add the 4 eggs one at a time, beating for about 30 seconds after each, then beat in 2 teaspoons of vanilla extract. If the mixture starts to look curdled or split, beat in 1 tablespoon of the measured flour and carry on — the batter will come back together smooth and glossy.
Step 4: Fold in the dry ingredients
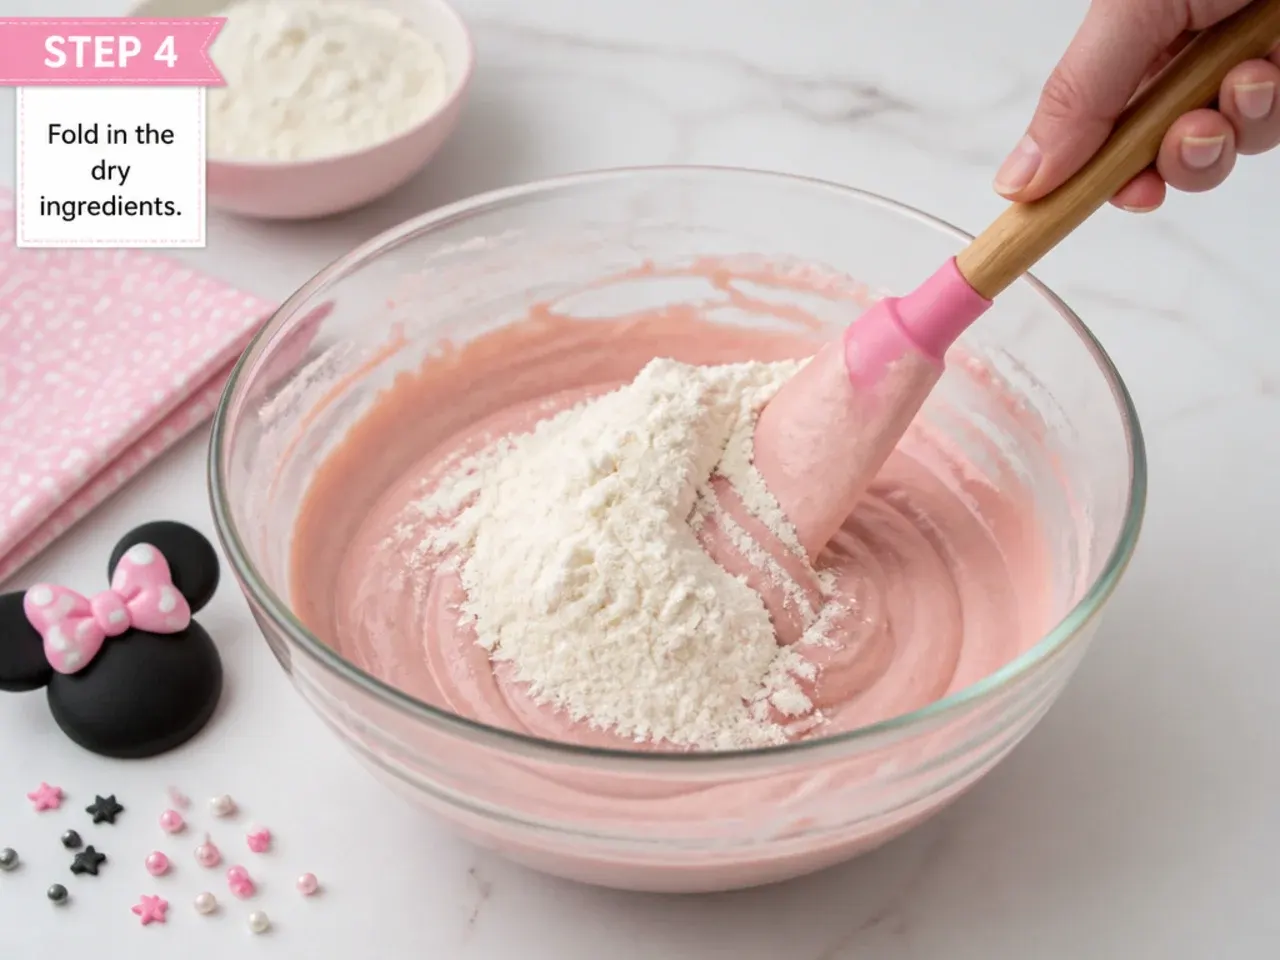
Sift the 225g self-raising flour, 1 teaspoon baking powder and ¼ teaspoon salt over the bowl and fold in gently with a spatula until no dry streaks remain, then stir in 2 tablespoons of milk. The finished batter should drop slowly off the spatula — a soft dropping consistency. Stop as soon as it is combined; overmixing makes the cake tough.
Step 5: Bake the layers
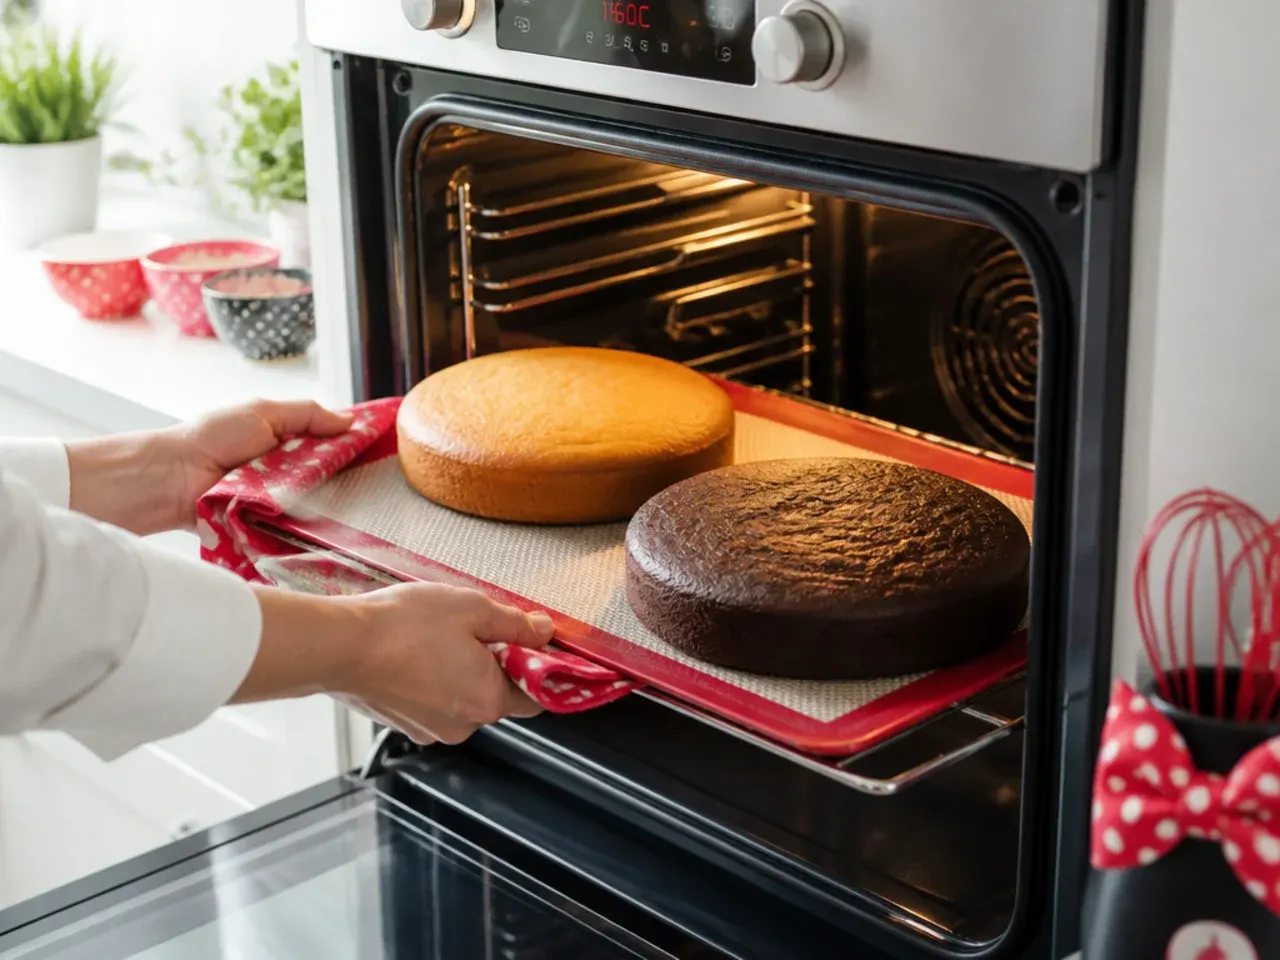
Divide the batter evenly between the two tins (about 550g each if you have scales) and smooth the tops. Bake at 180°C (350°F) for 25-28 minutes, until the sponges are golden, spring back when lightly pressed, and a skewer inserted in the centre comes out clean. Cool in the tins for 10 minutes, then turn out onto a wire rack until completely cold, about 1 hour.
Step 6: Make the buttercream
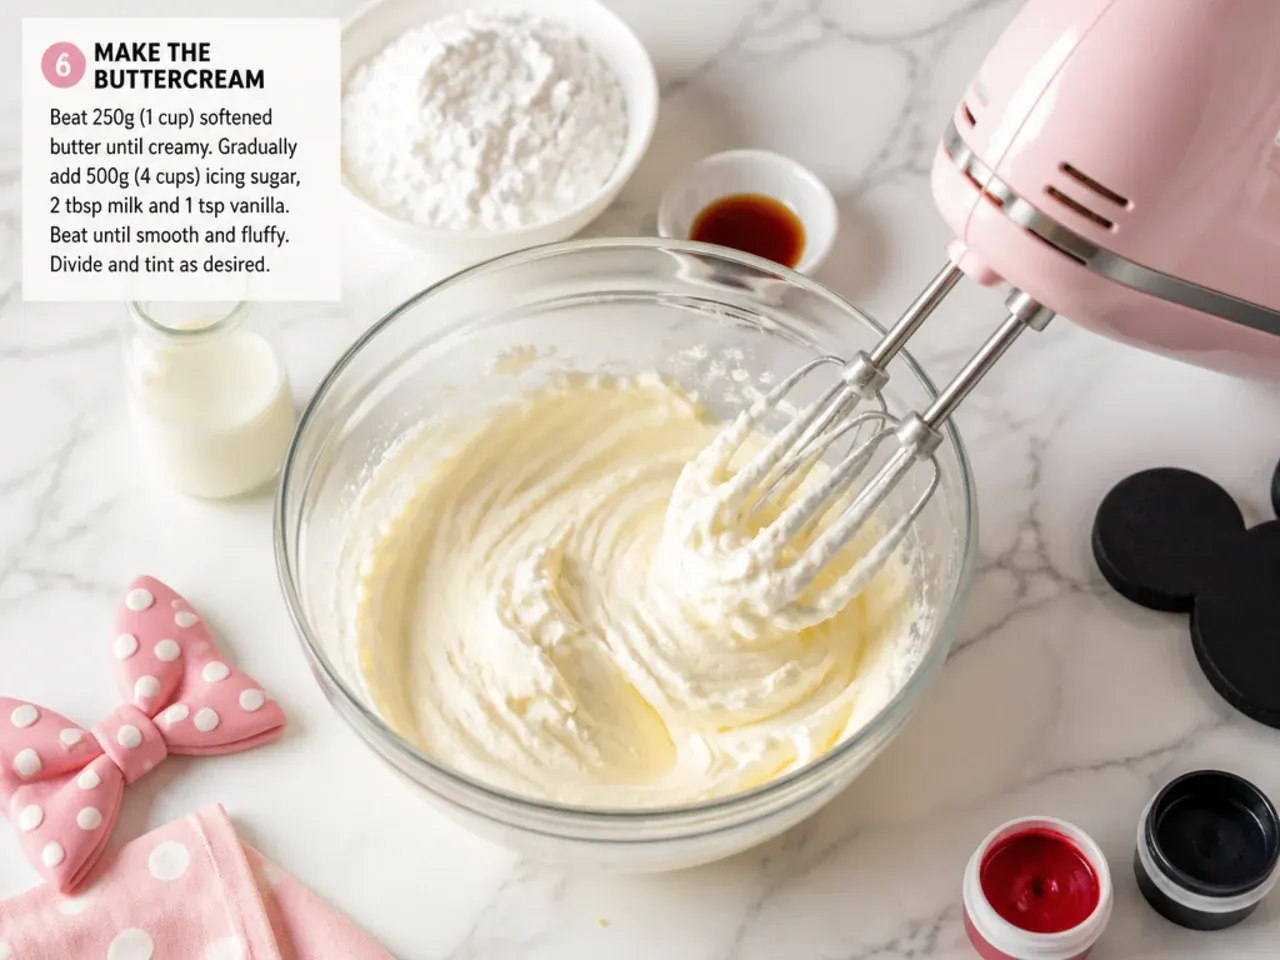
Beat 250g softened butter on high for 5 minutes until pale and creamy. Add 500g sifted icing sugar in two additions, mixing on low first so it does not cloud, then beat on high for 3 minutes with 2-3 tablespoons of milk until light and spreadable — it should hold a soft peak. Tint about two-thirds pink with gel colouring a drop at a time, keeping the rest white (reserve a spoonful for black details if your design uses them).
Step 7: Fill, coat and decorate
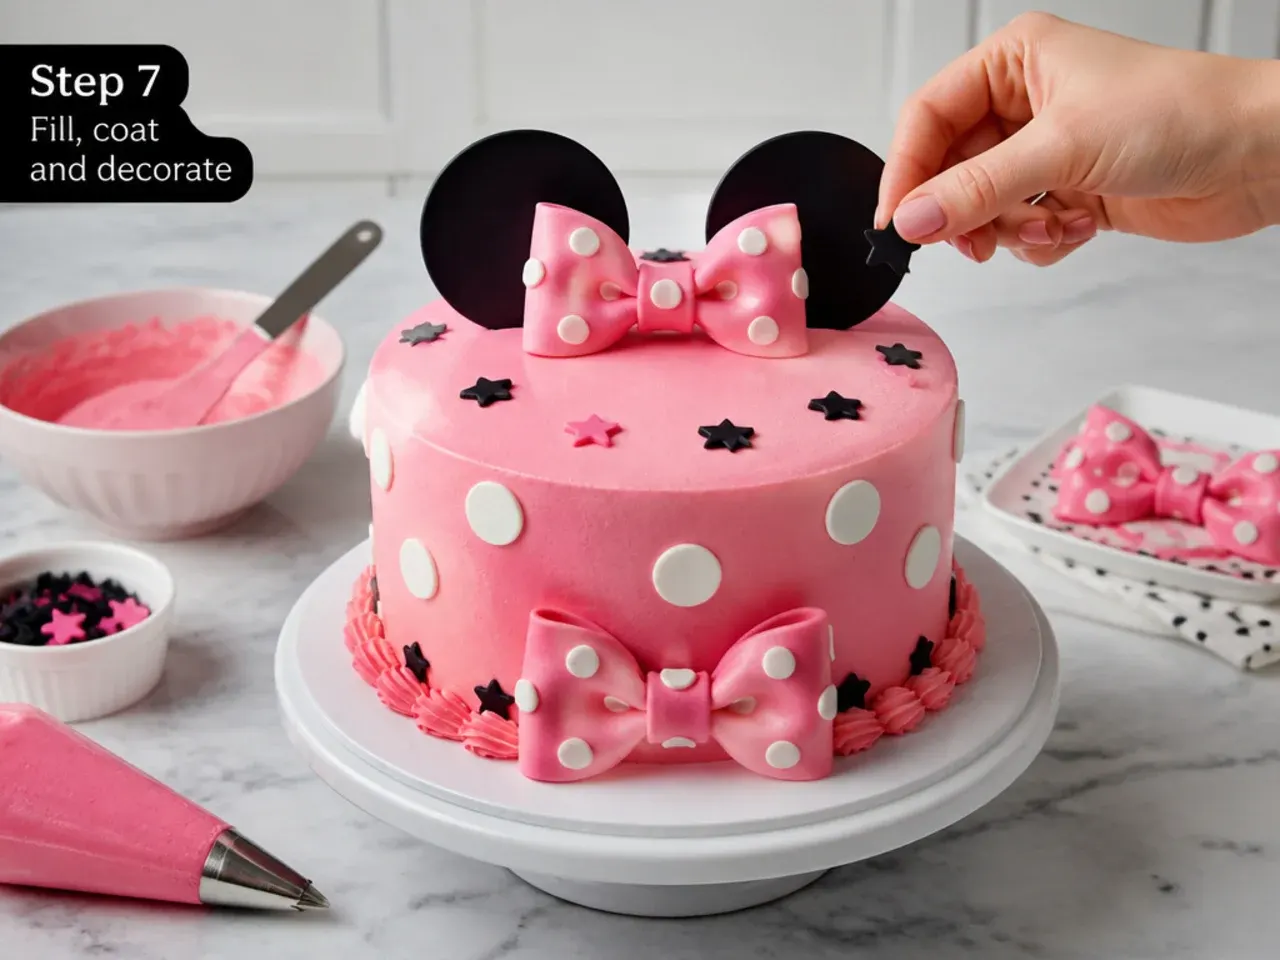
Level the cold layers with a serrated knife, sandwich them with about 150g of buttercream, then spread a thin crumb coat over the whole cake and chill for 20 minutes. Apply the final coat, smooth the sides with a bench scraper, and decorate following your chosen idea — for the classic look, pipe white dots with a Wilton 12 tip, add two sandwich cookies as ear shapes, and finish with a ribbon or fondant bow. The finished cake should have an even coat with dots that hold a rounded shape without slumping.
Frequently Asked Questions
The easiest ears are two whole Oreo-style sandwich cookies pushed into the top of the cake. For bigger, sturdier ears, roll black fondant mixed with a pinch of tylose (CMC) powder to about 5mm thick, cut circles around 6-7cm wide with a round cutter, press a wooden skewer into the back of each and let them dry flat for 24-48 hours before inserting them. You can also pipe circles of melted dark candy melts onto baking parchment and let them set for 20 minutes.
Save this for later 📌
Pin this article to your Pinterest board so the full list is one tap away when you need it.
Save on Pinterest