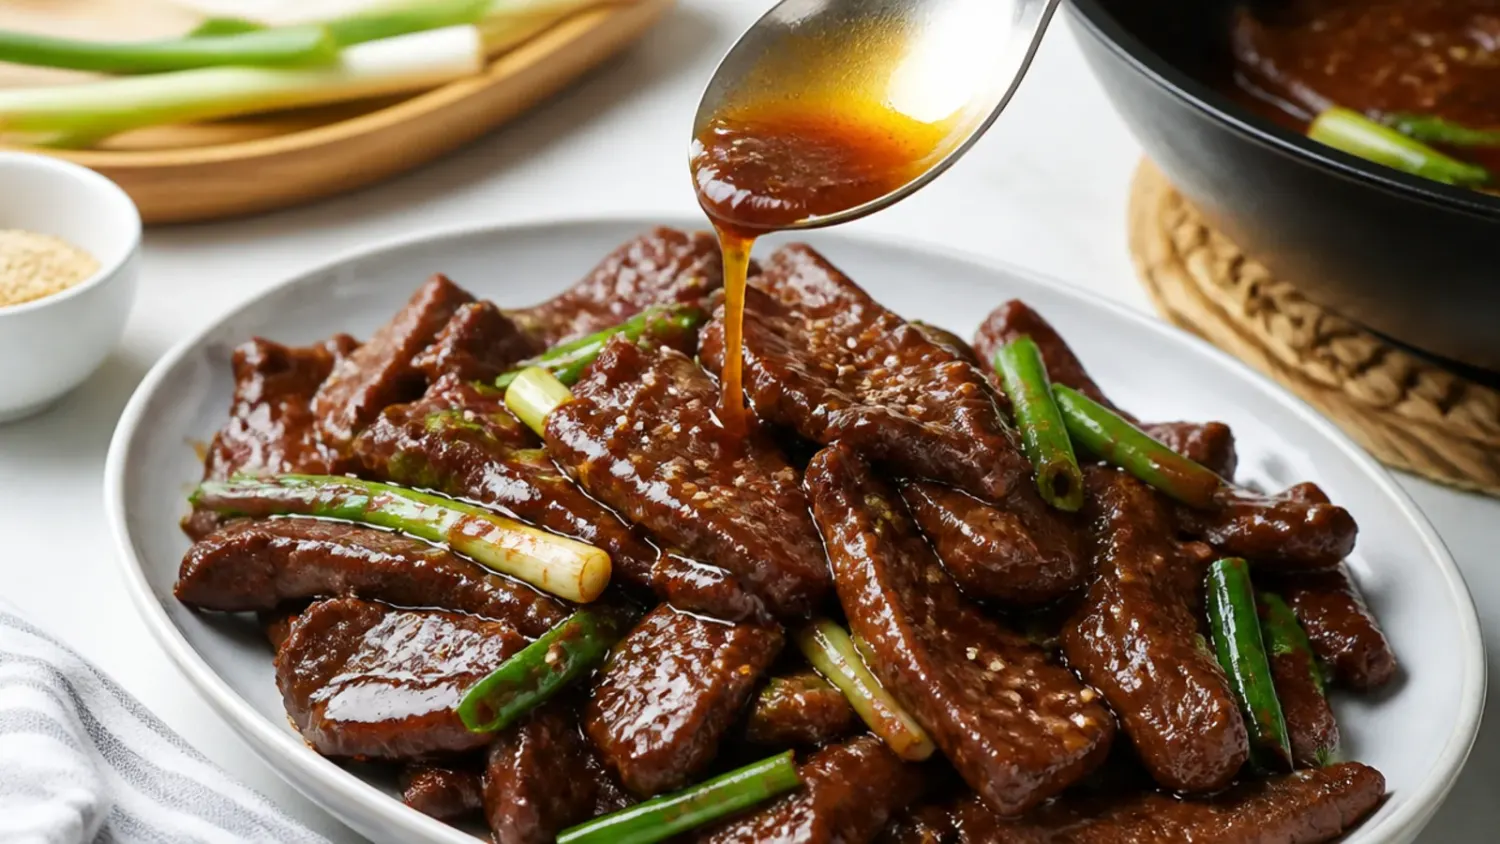
Ingredients 4 Person(s)
Save this for later 📌
Pin this article to your Pinterest board so the full list is one tap away when you need it.
Save on PinterestDirections
Step 1: Mix the Sauce Base and Slurry
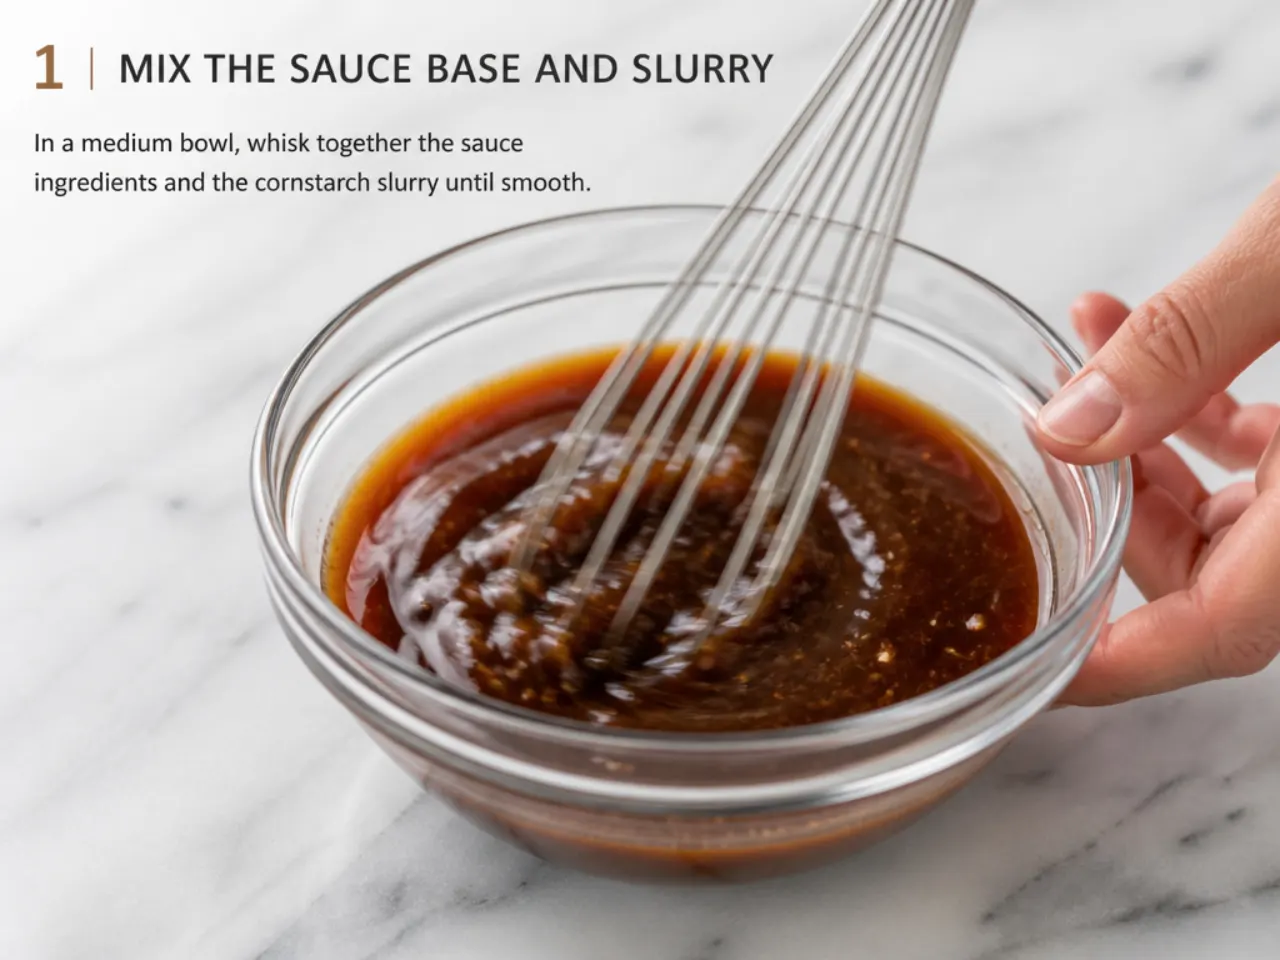
In a jug, whisk together 120 ml (1/2 cup) low-sodium soy sauce, 100 g (1/2 cup packed) light brown sugar, 160 ml (2/3 cup) water and 1 teaspoon dark soy sauce until the sugar is mostly dissolved. In a separate small bowl, stir 1 tablespoon cornstarch into 2 tablespoons cold water until smooth; this is your slurry. Mince the garlic, grate the ginger and slice the scallions now, because the cooking moves fast.
Step 2: Bloom the Garlic and Ginger
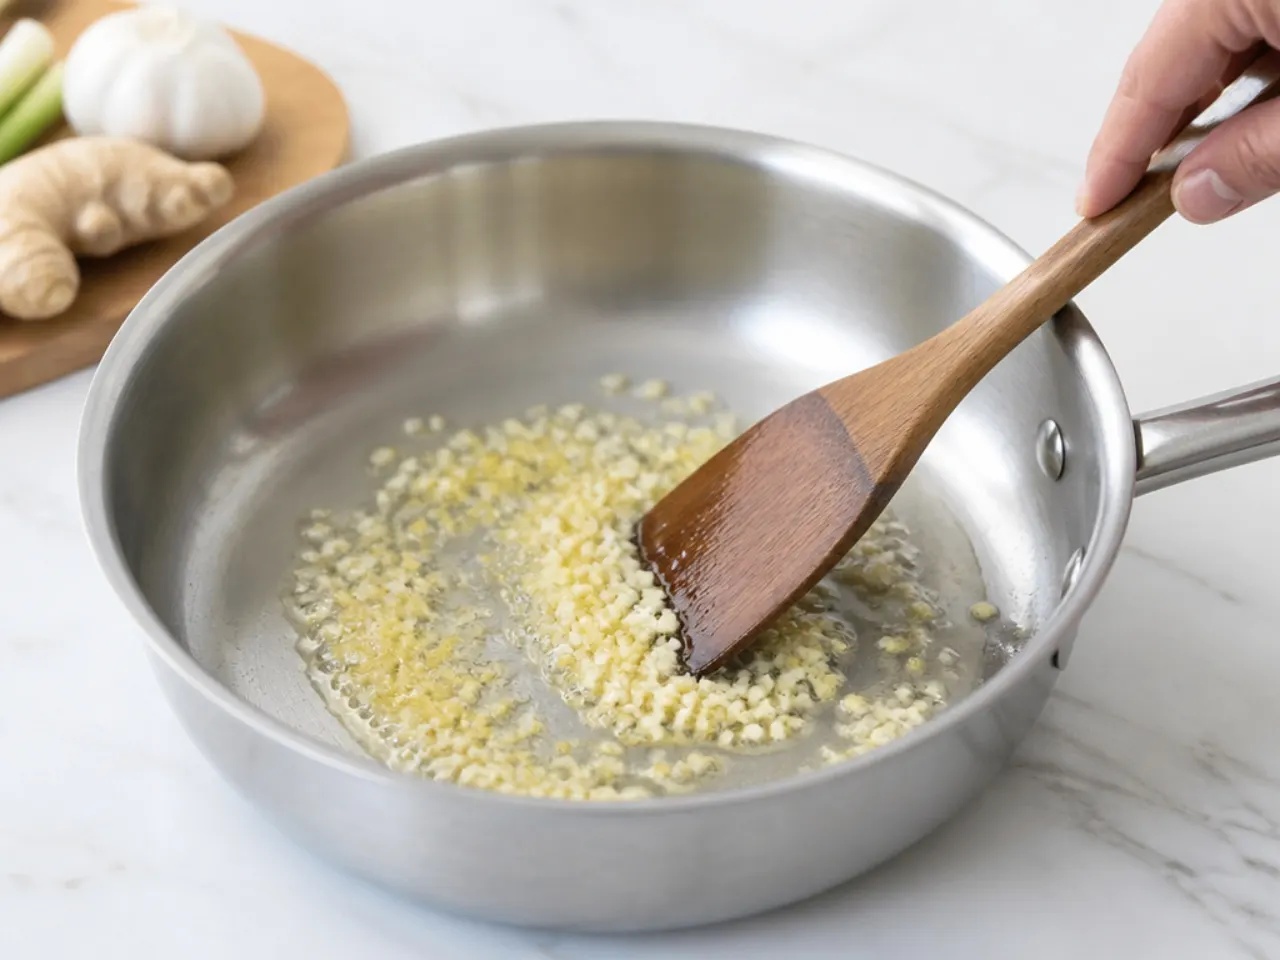
Heat 2 teaspoons of neutral oil in a small saucepan over medium heat until it shimmers but does not smoke. Add the minced garlic and grated ginger and stir constantly for 30 to 45 seconds, just until fragrant. Do not let them brown; scorched garlic will make the whole sauce taste bitter.
Step 3: Add the Liquid
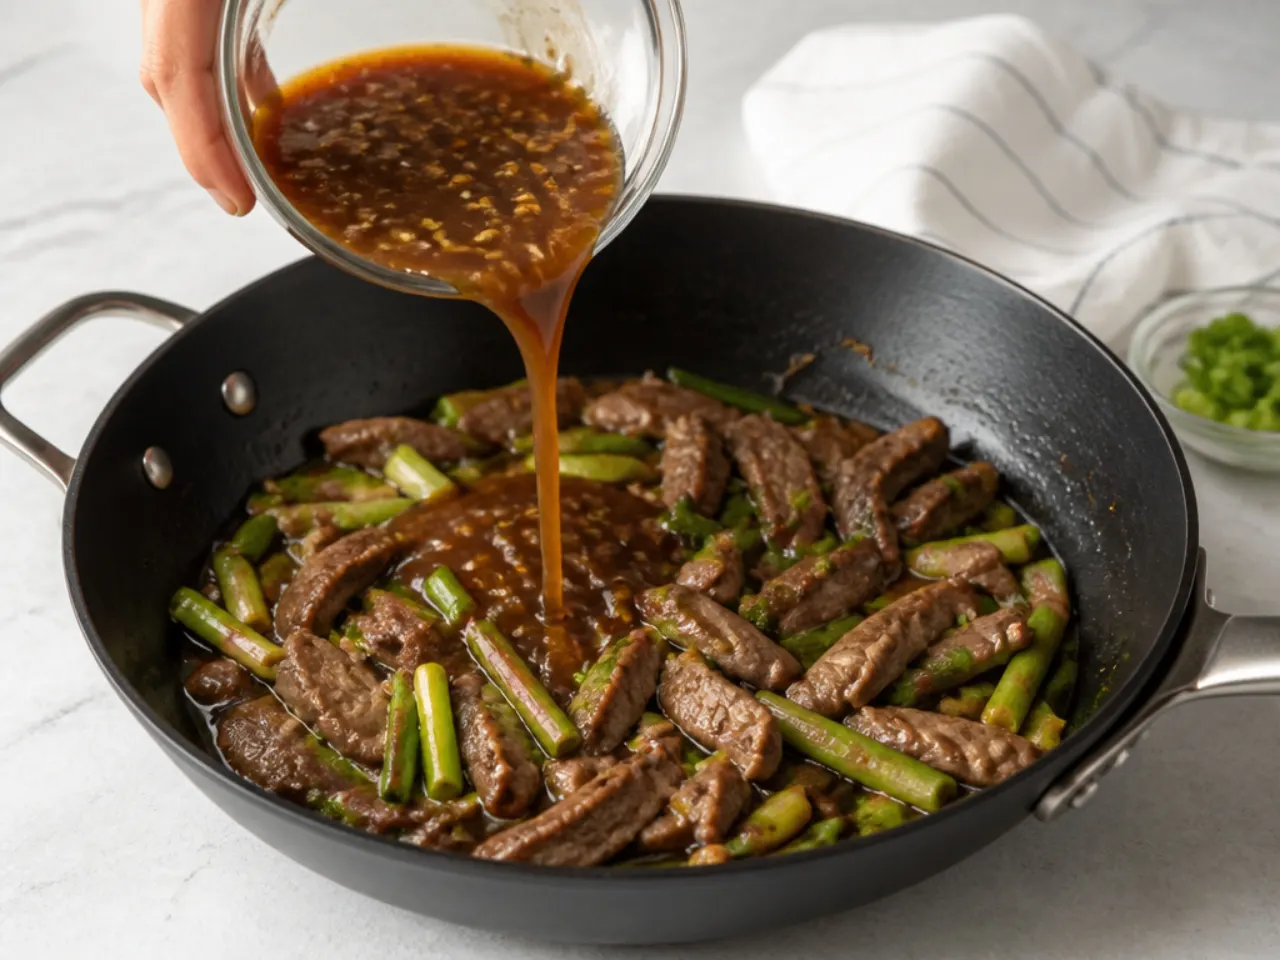
Pour the soy sauce mixture into the saucepan, scraping the jug so all the sugar goes in. Stir well to lift the garlic and ginger off the bottom of the pan and bring the sauce to a gentle simmer over medium heat, about 1 to 2 minutes. Give it one more stir to make sure no sugar is sitting on the base of the pan.
Step 4: Simmer to Build Flavor
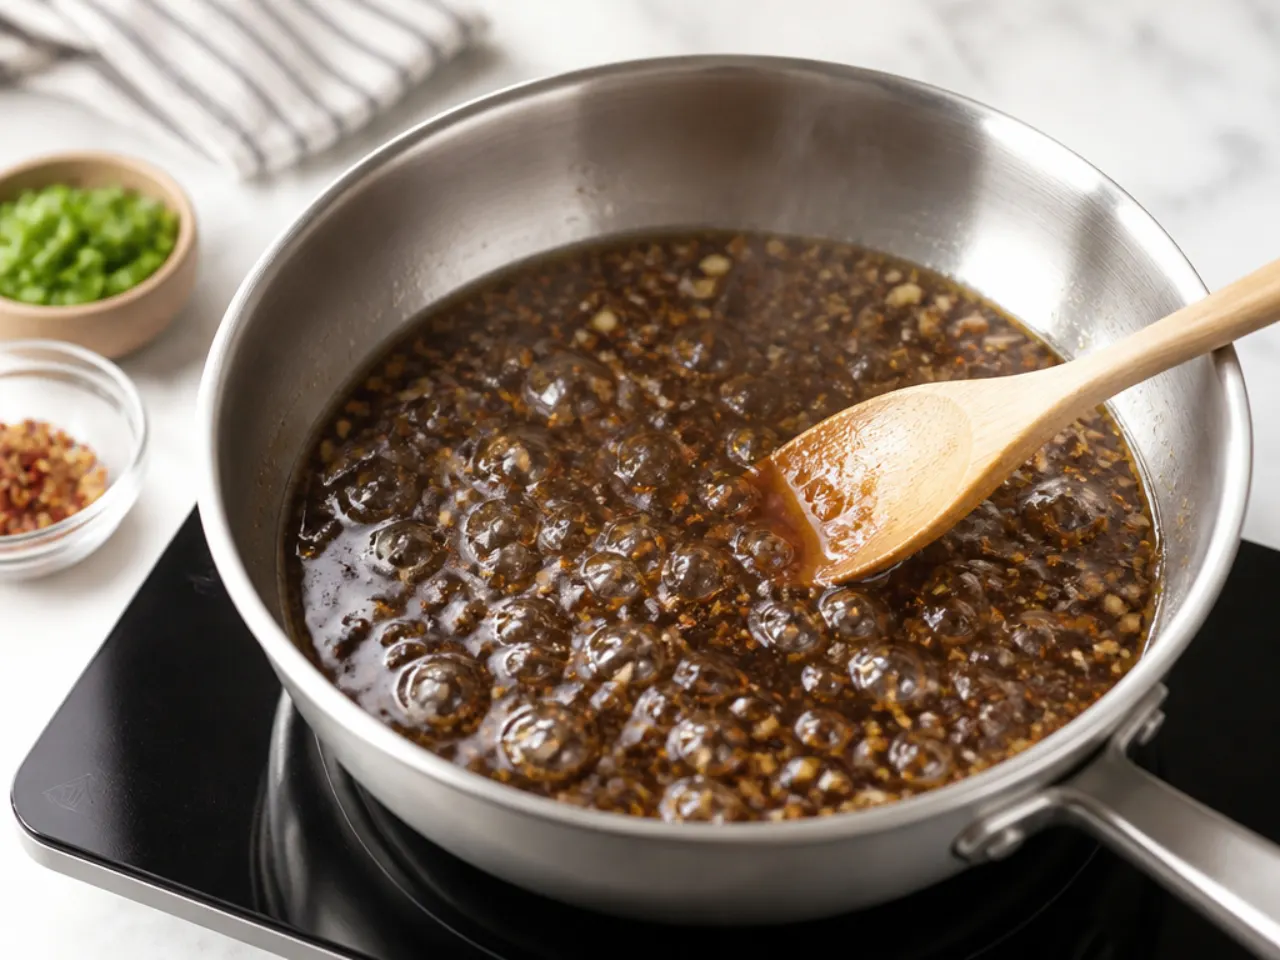
Keep the sauce at a gentle simmer for 3 to 4 minutes, stirring occasionally. This slightly reduces the liquid, melds the garlic and ginger into the base, and starts caramelizing the brown sugar for that signature sticky-sweet depth. The sauce will still look thin at this point; that is exactly right.
Step 5: Thicken with the Slurry
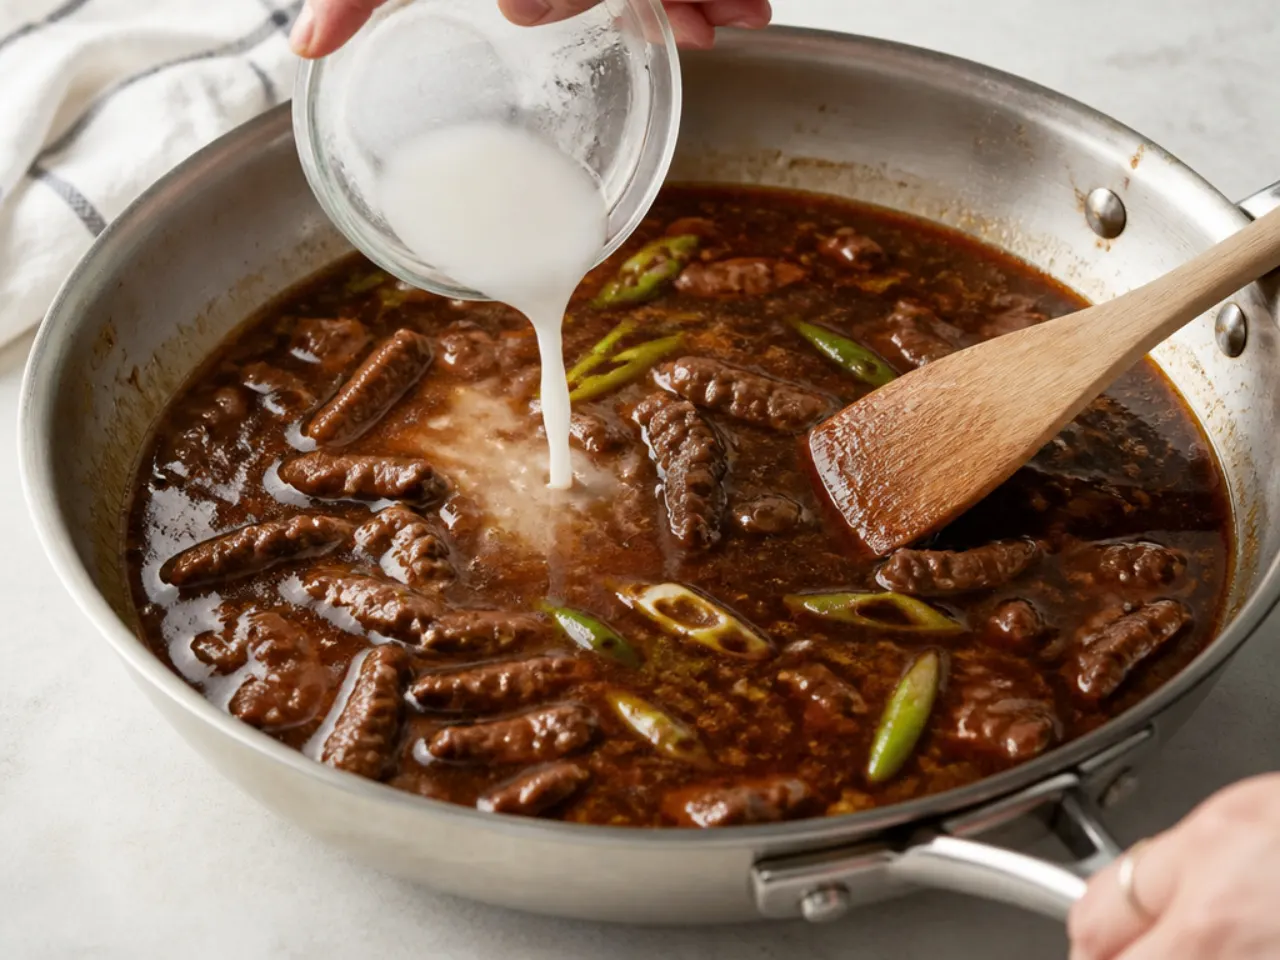
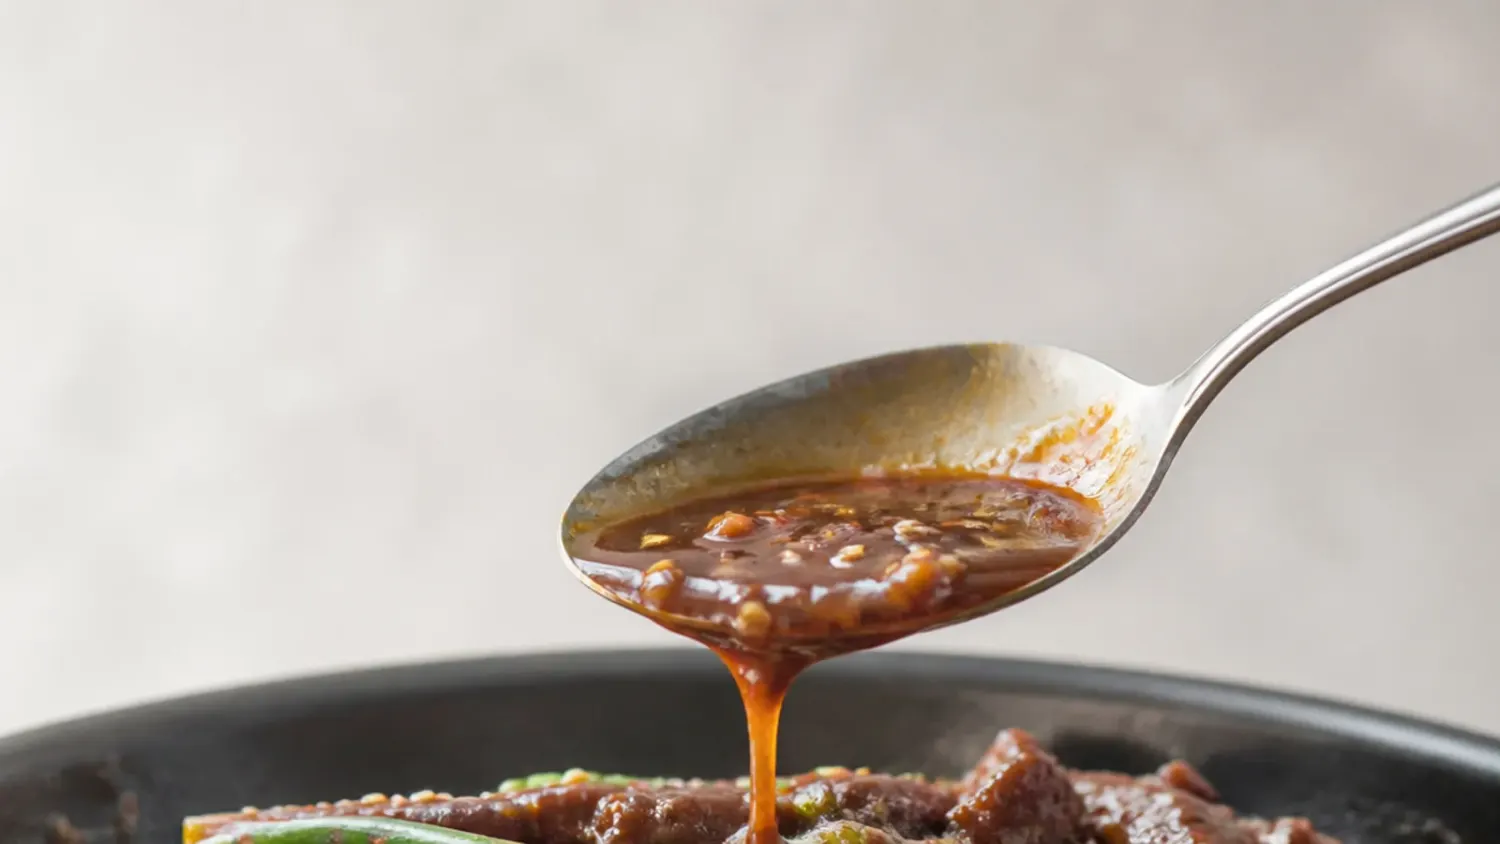
Give the cornstarch slurry a quick re-stir, because it settles fast. Pour it into the simmering sauce in a slow stream while whisking constantly, then simmer for 30 to 60 seconds until the sauce turns glossy and coats the back of a spoon. Pull the pan off the heat as soon as it reaches that stage; it thickens a little more as it cools.
Step 6: Finish, Taste and Use
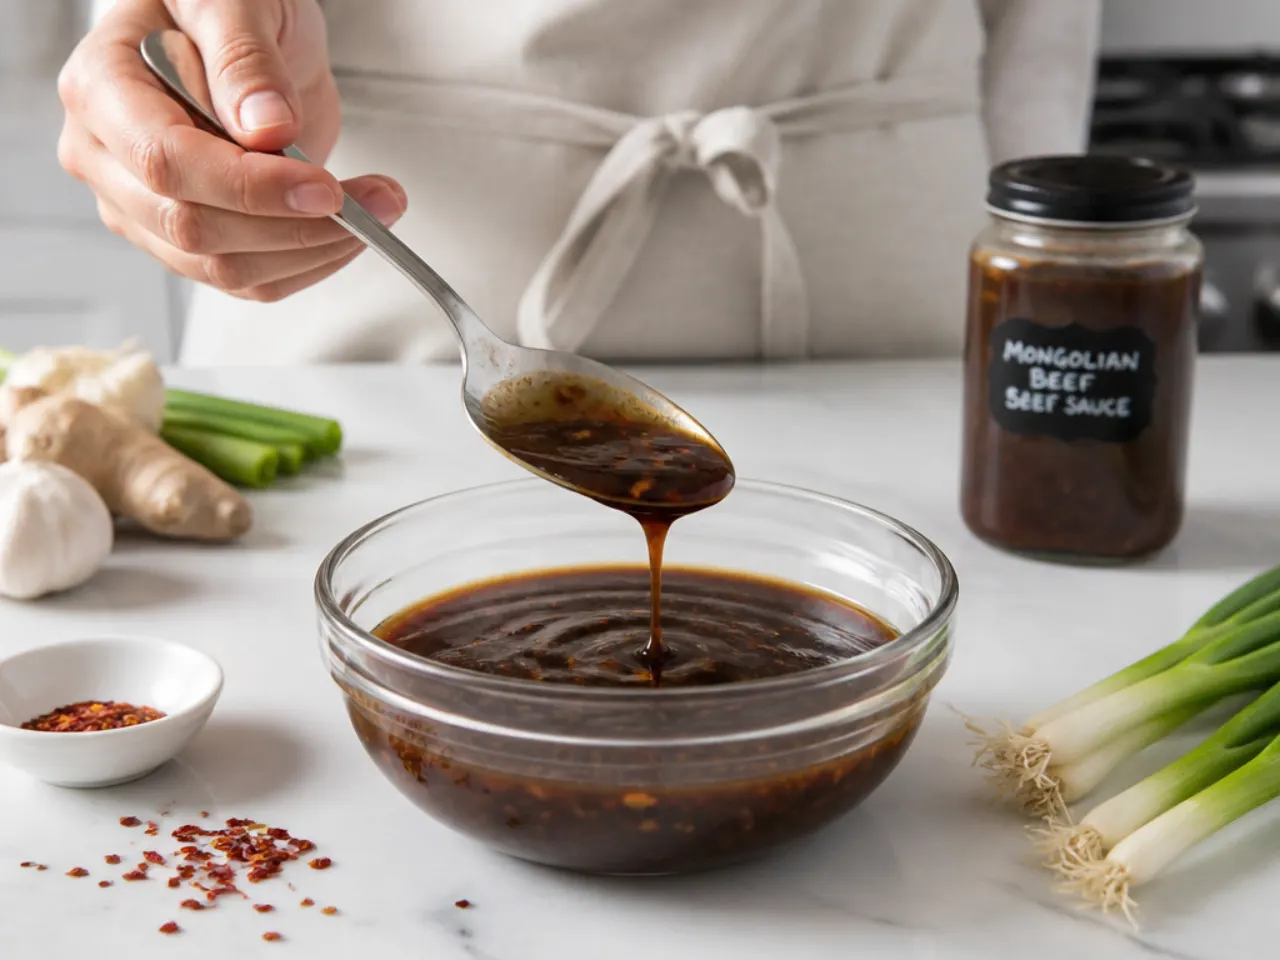
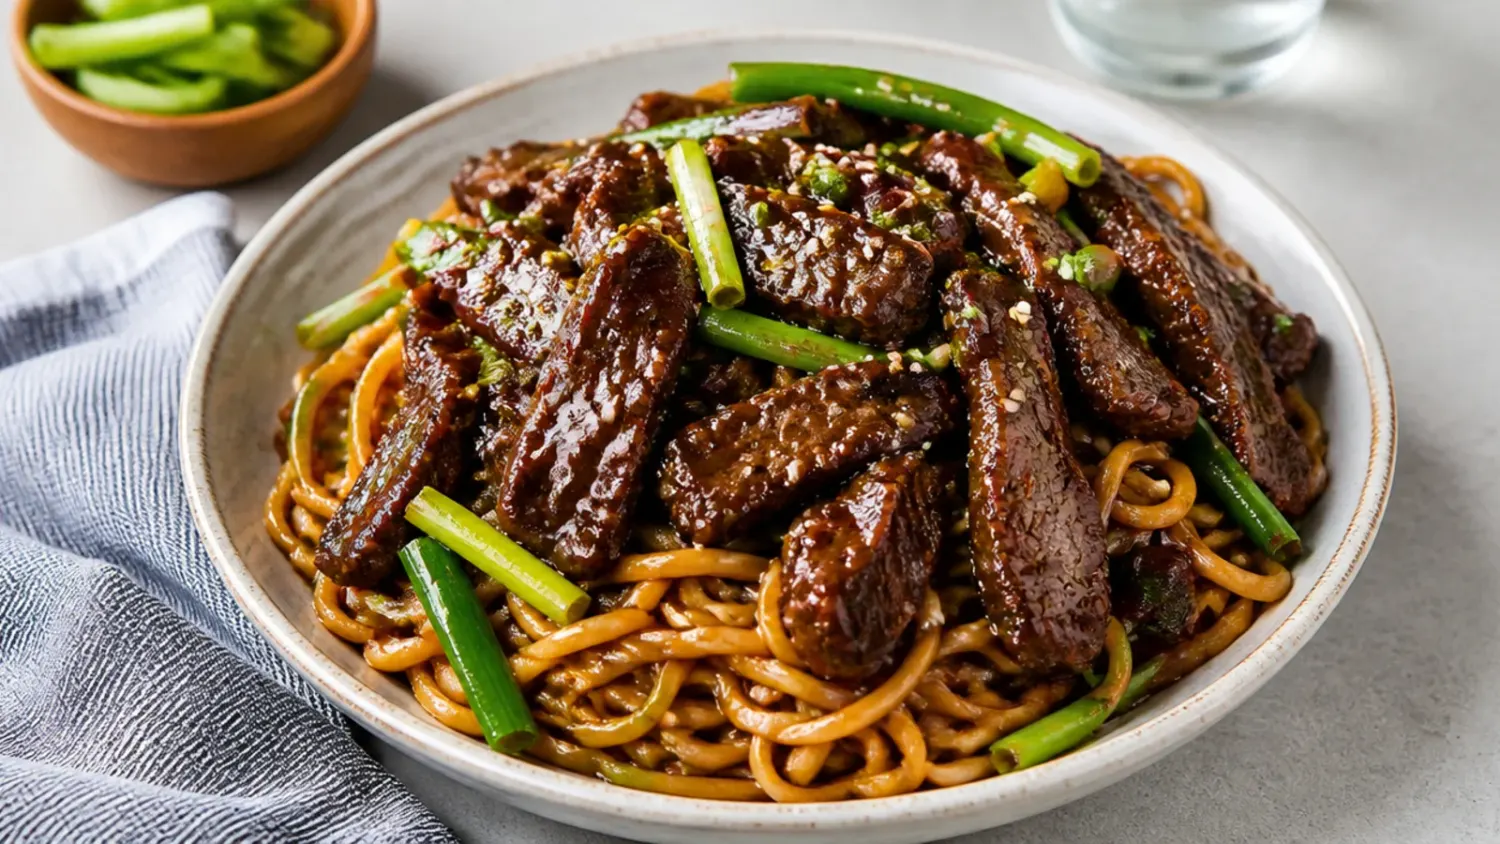
Off the heat, stir in 1/2 teaspoon toasted sesame oil, the red pepper flakes if using, and the sliced scallions. Taste it: if it is too salty, stir in 1 to 2 tablespoons of water; if it is too sweet, add 1 teaspoon of rice vinegar to sharpen it. Toss immediately with 450 g (1 lb) of seared or crispy-fried beef, spoon it over chicken or noodles, or cool it completely for storage.
Pro Tips for the Best Mongolian Beef Sauce
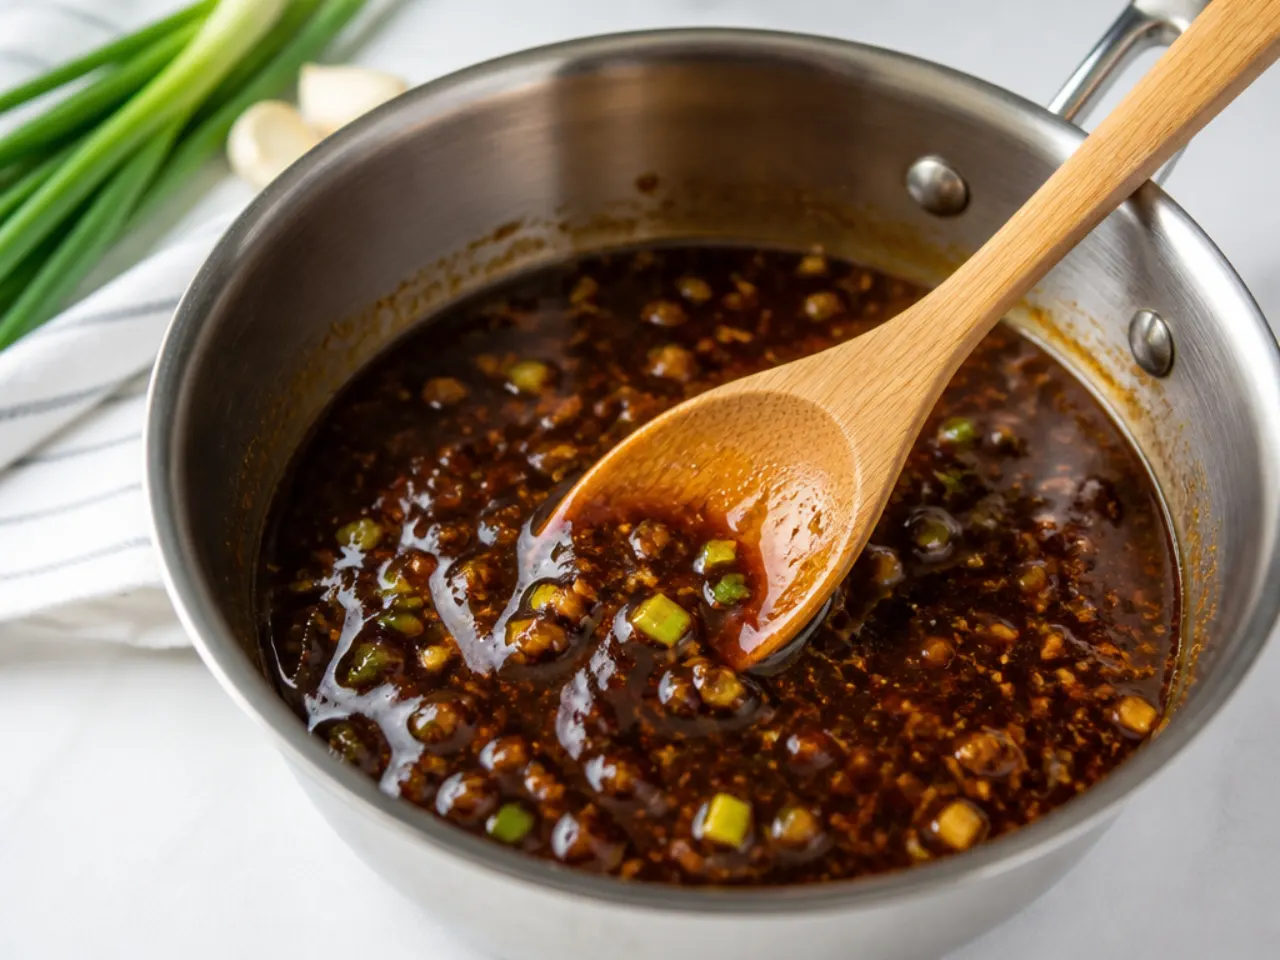
Use low-sodium soy sauce; the sauce reduces as it simmers, and regular soy turns it unpleasantly salty by the time it thickens. Bloom the garlic and ginger in oil over medium heat for 30 to 45 seconds before adding any liquid; this one step is what separates a flat sauce from a restaurant-style one. Don't skip the 1 teaspoon of dark soy sauce if you can find it, as it gives the sauce that deep mahogany takeout color that light soy alone can't. Once the cornstarch slurry goes in, keep the sauce at a gentle simmer and pull it off the heat within a minute; hard boiling breaks cornstarch down and the sauce will thin back out. If you're making classic Mongolian beef, dredge 450 g (1 lb) of thinly sliced flank steak in cornstarch and shallow-fry it in 190°C (375°F) oil for about 1 minute per side, then toss it through the finished sauce. For a spicier version, add 6 to 8 dried red chilies with the garlic instead of using pepper flakes at the end.
Storage and Make-Ahead Tips
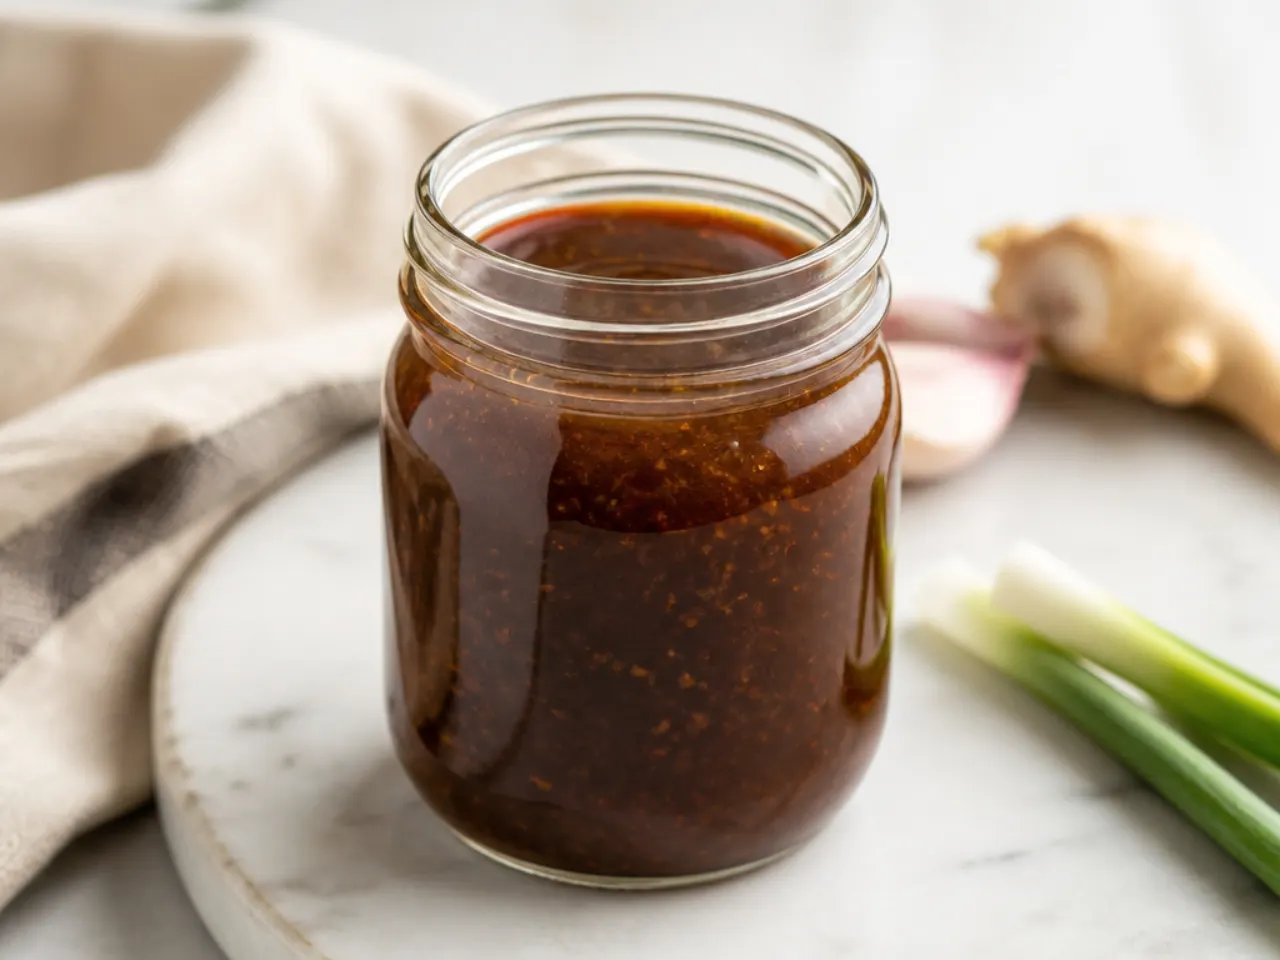
Cool the finished sauce completely, then store it in an airtight jar in the fridge for up to 5 days; it will thicken further when cold, so loosen it with a tablespoon of water as you reheat. Reheat gently in a small saucepan over low heat, stirring often, rather than boiling it, which can split the cornstarch and dull the gloss. For longer storage, freeze the sauce in an ice cube tray (about 2 tablespoons per cube), then transfer the frozen cubes to a freezer bag for up to 3 months; 3 to 4 cubes is enough for one stir-fry portion. The best make-ahead trick is to prepare the sauce base through Step 4 without the slurry; the unthickened base keeps up to 2 weeks refrigerated and thickens fresh in under 2 minutes on the night you cook. One batch coats 450 g (1 lb) of beef, so double everything in the same pan if you're meal-prepping for the week.
Make glossy, sticky Mongolian beef sauce in 15 minutes with soy sauce, brown sugar, garlic and ginger. Six simple steps that beat takeout every time. For more mongolian beef recipe inspiration, browse the full Mongolian Beef Recipes board — every idea there is written for real home kitchens, not professional bakers.
Frequently Asked Questions
The classic base is soy sauce, brown sugar, garlic, fresh ginger and water, thickened with a cornstarch slurry. Many recipes finish it with sesame oil and scallions, and a teaspoon of dark soy sauce deepens the color. The brown sugar caramelizes into the soy as it simmers, which is what makes the sauce sticky and glossy.

Related Recipes
Save this for later 📌
Pin this article to your Pinterest board so the full list is one tap away when you need it.
Save on Pinterest