15 Simple Unicorn Cakes for Beginners
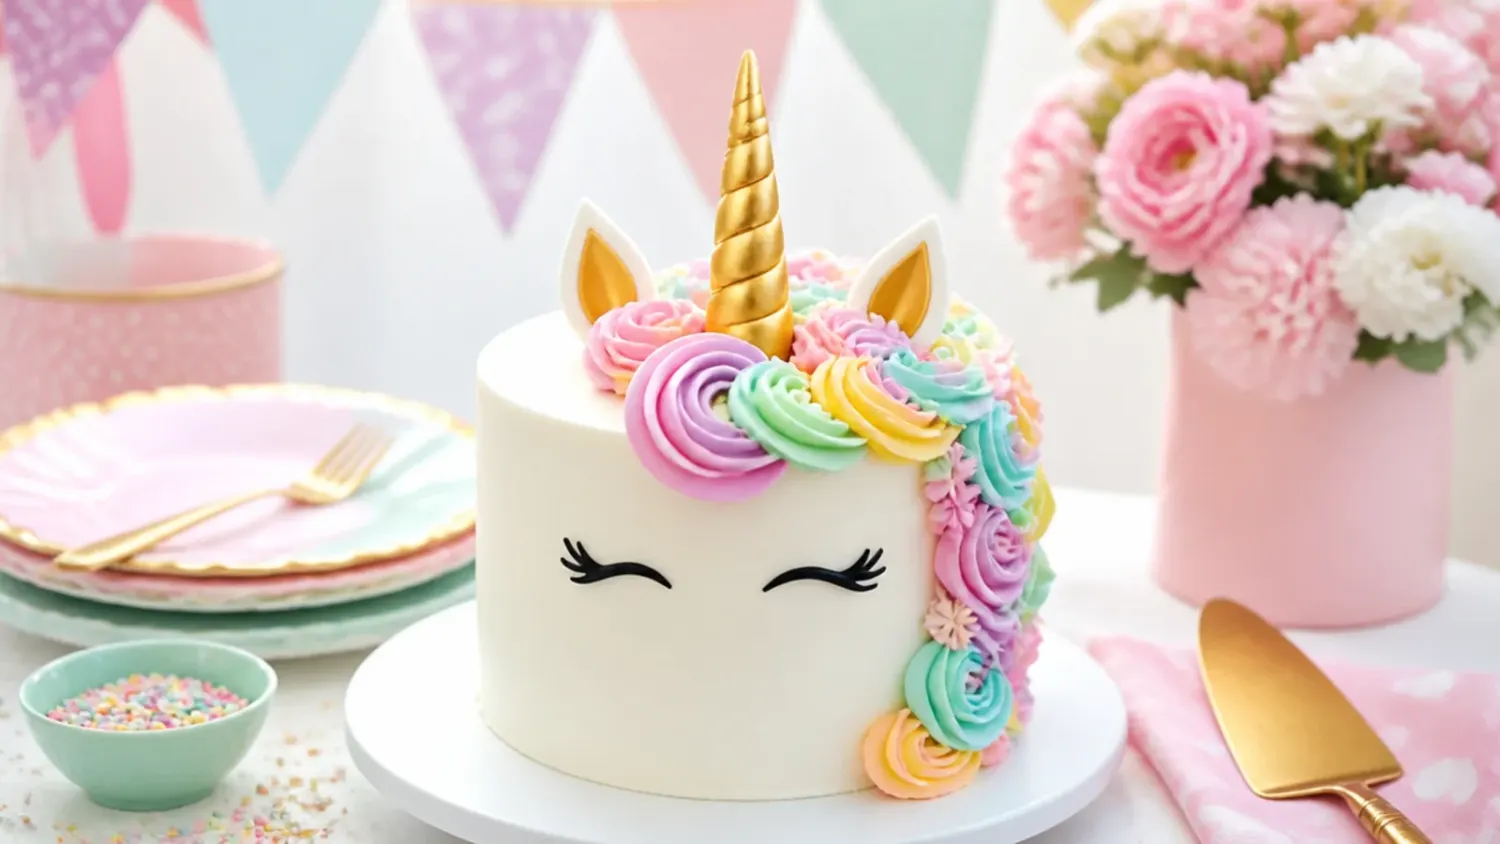
Learn to make a simple unicorn cake at home with 15 beginner-friendly designs, a foolproof vanilla base recipe, and easy buttercream mane tips. If you love unicorn cake inspiration, start with our Unicorn Cake Ideas collection, then browse the full Cake Ideas hub for more.

Save this for later 📌
Pin this article to your Pinterest board so the full list is one tap away when you need it.
Save on PinterestCake Ideas
Beginner
Ideas
15 ideas
Table of Contents
- 1. Classic Buttercream Mane Unicorn Cake
- 2. No-Bake Ice Cream Cone Horn Unicorn Cake
- 3. Elegant Single-Color Ombre Unicorn Cake
- 4. Playful Sprinkle Explosion Unicorn Cake
- 5. Modern Geometric Gold-Drip Unicorn Cake
- 6. Rustic Naked Unicorn Cake
- 7. Colorful Rainbow-Layer Unicorn Cake
- 8. Minimal One-Tier Buttercake Unicorn Cake
- 9. Festive Holiday Unicorn Cake
- 10. Whimsical Cloud and Star Unicorn Cake
- 11. Bold Neon Party Unicorn Cake
- 12. Delicate Watercolor Unicorn Cake
- 13. Vintage Piped-Ruffle Unicorn Cake
- 14. Creative Cupcake Pull-Apart Unicorn Cake
- 15. Charming Mini Smash Unicorn Cake
- Tips to Make These Ideas Easier
- Common Mistakes to Avoid
- The Base Recipe — Make Any of These Ideas
1. Classic Buttercream Mane Unicorn Cake
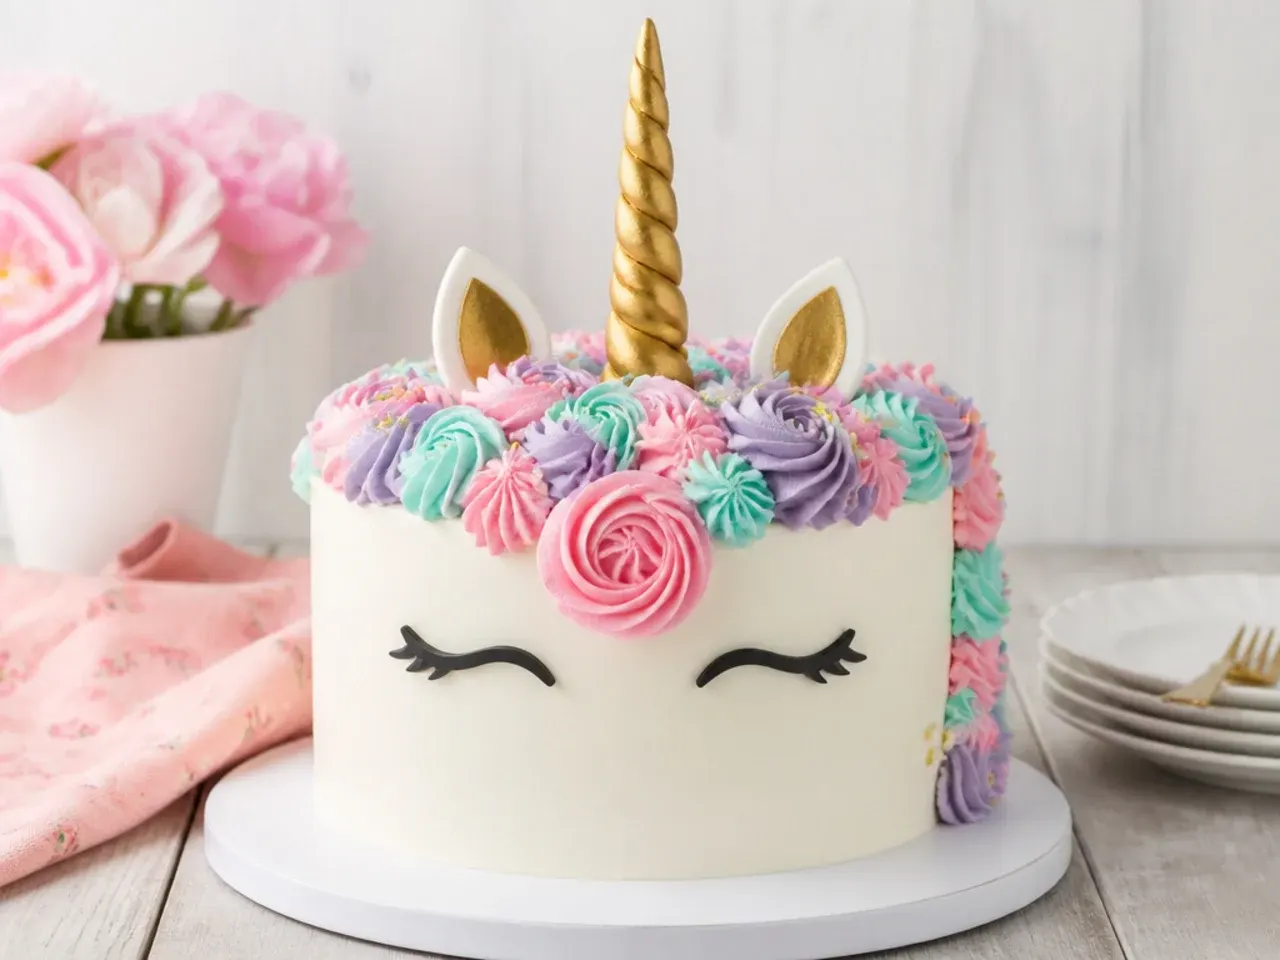
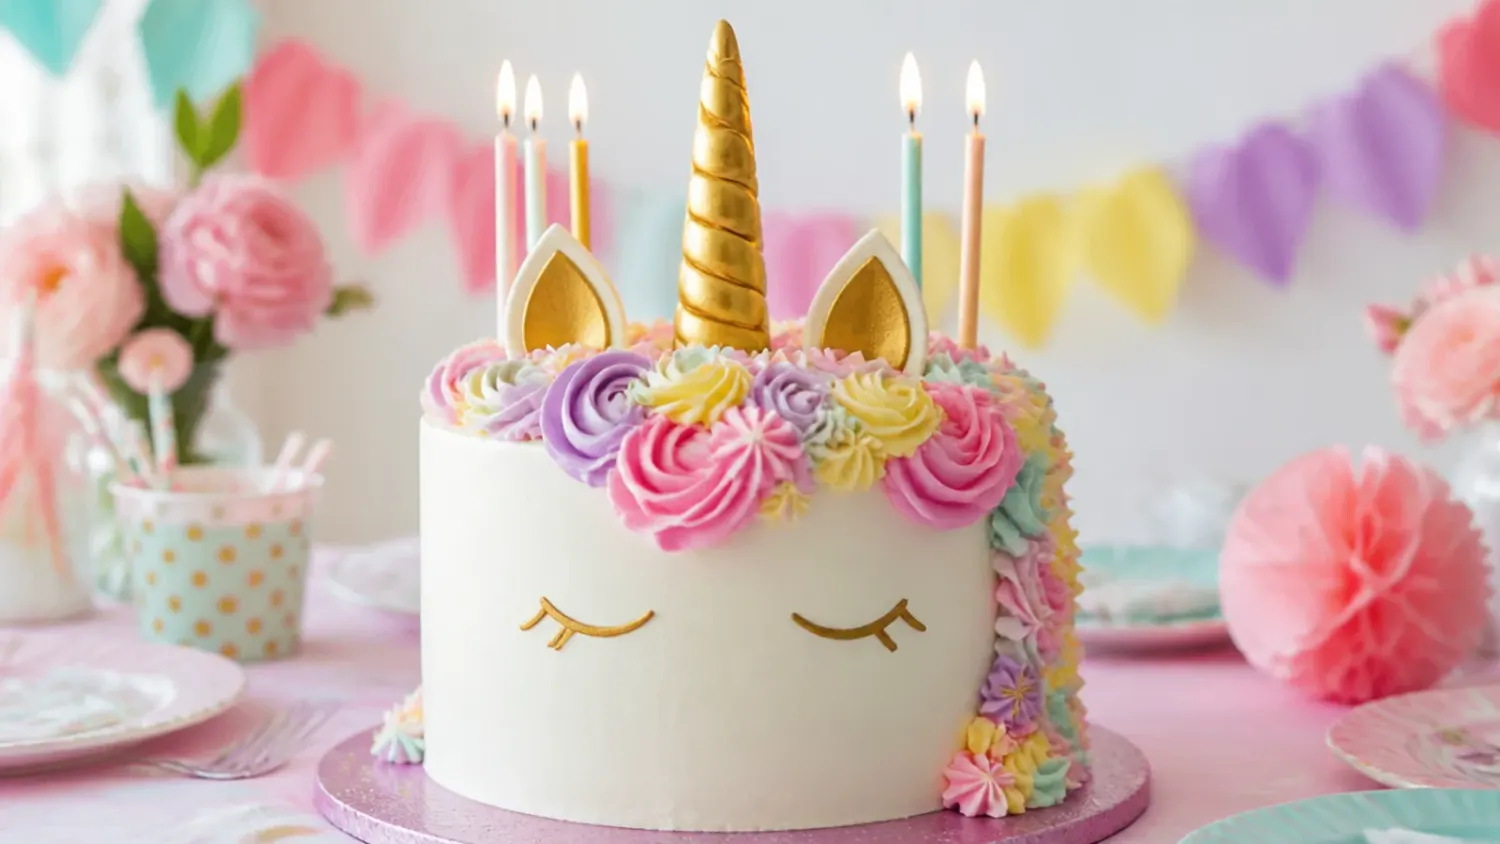
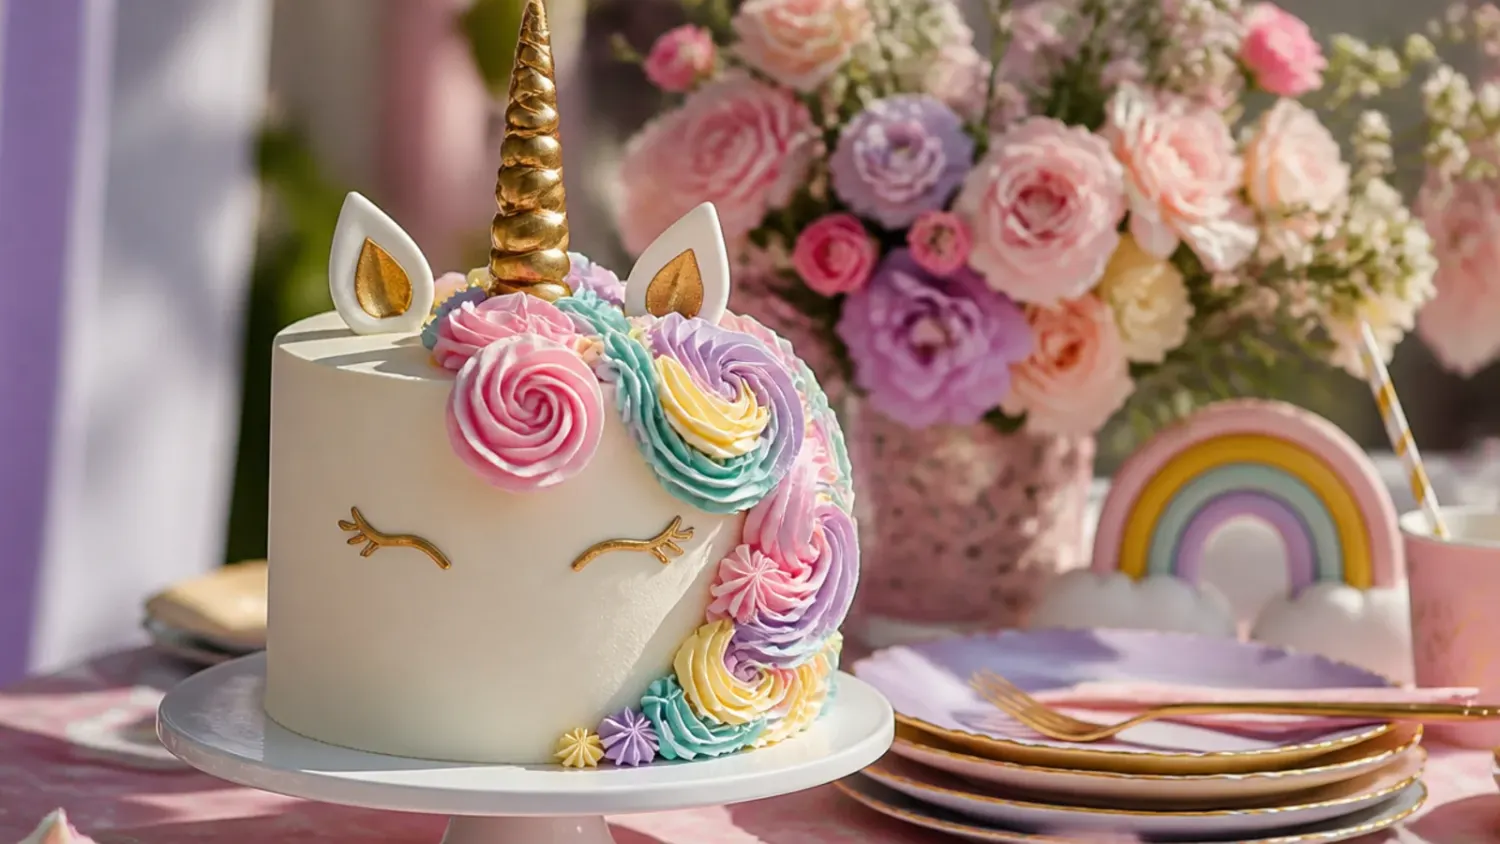
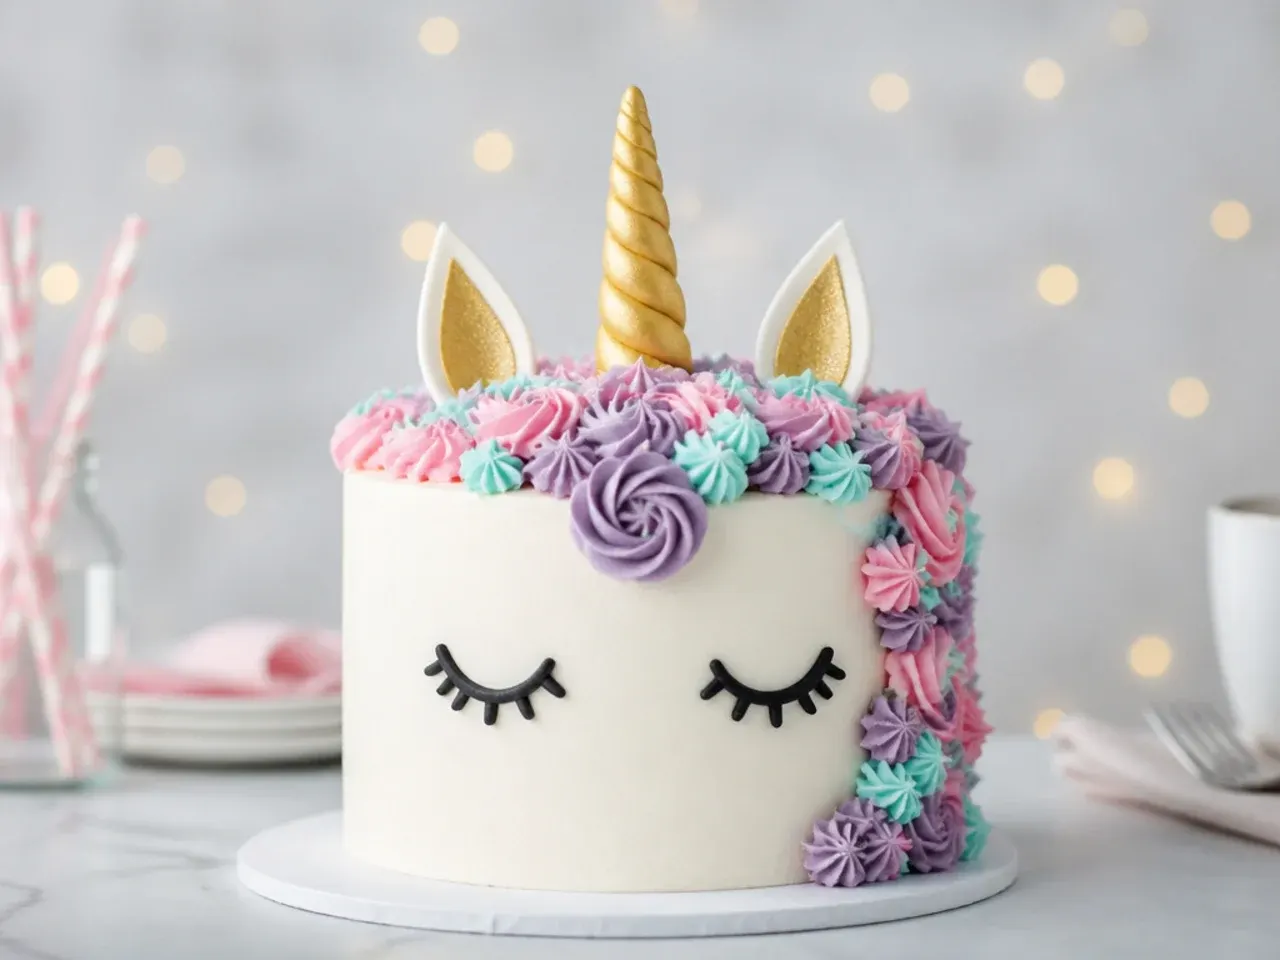
This is the design most people picture: a smooth white cake topped with a cascading buttercream mane of rosettes and swirls falling down one side. Pipe the mane with a Wilton 1M open star tip for large rosettes and a Wilton 2D or 21 tip to fill gaps, using four bags of pastel buttercream in pink, lavender, teal, and pale yellow. Work from the top of the cake down toward the front, overlapping the swirls so no white cake shows through the mane. It works because the varied star tips create natural-looking texture in minutes, and pastel gel colors keep the buttercream stiff enough to hold each rosette's shape.
2. No-Bake Ice Cream Cone Horn Unicorn Cake
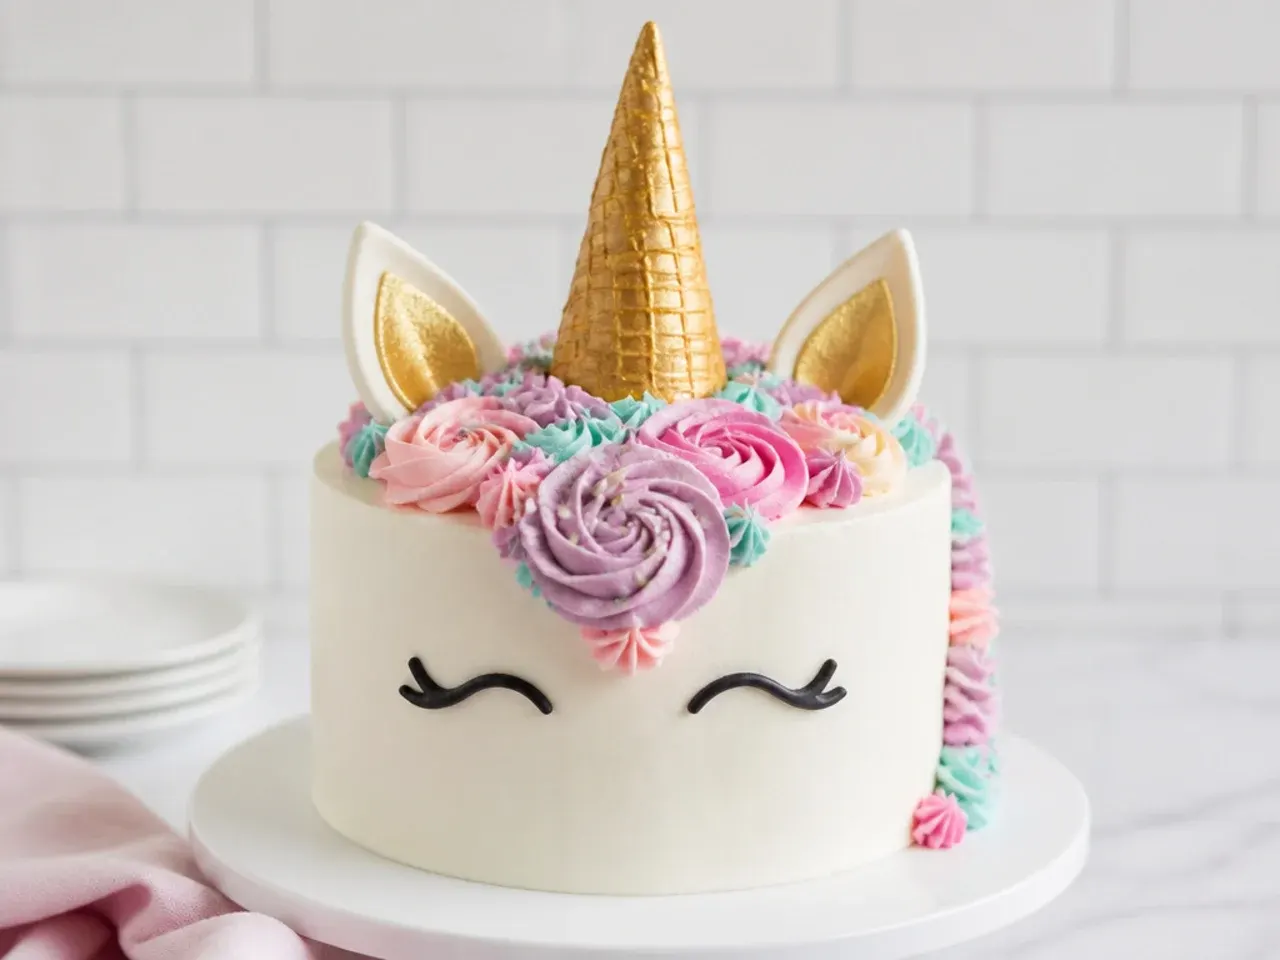
Skip fondant entirely and use a sugar ice cream cone as the horn, which is the single easiest shortcut for beginners. Paint a plain pointed sugar cone with gold luster dust mixed with a few drops of clear vanilla or lemon extract, then let it dry for 20 minutes before pressing it into the top of the cake. For the spiral, pipe a thin line of golden buttercream from the tip down and around the cone, or simply leave it smooth gold. This approach works because sugar cones are naturally horn-shaped, food-safe, and cost under a dollar, so there is no rolling, drying, or cracking fondant to worry about.
3. Elegant Single-Color Ombre Unicorn Cake
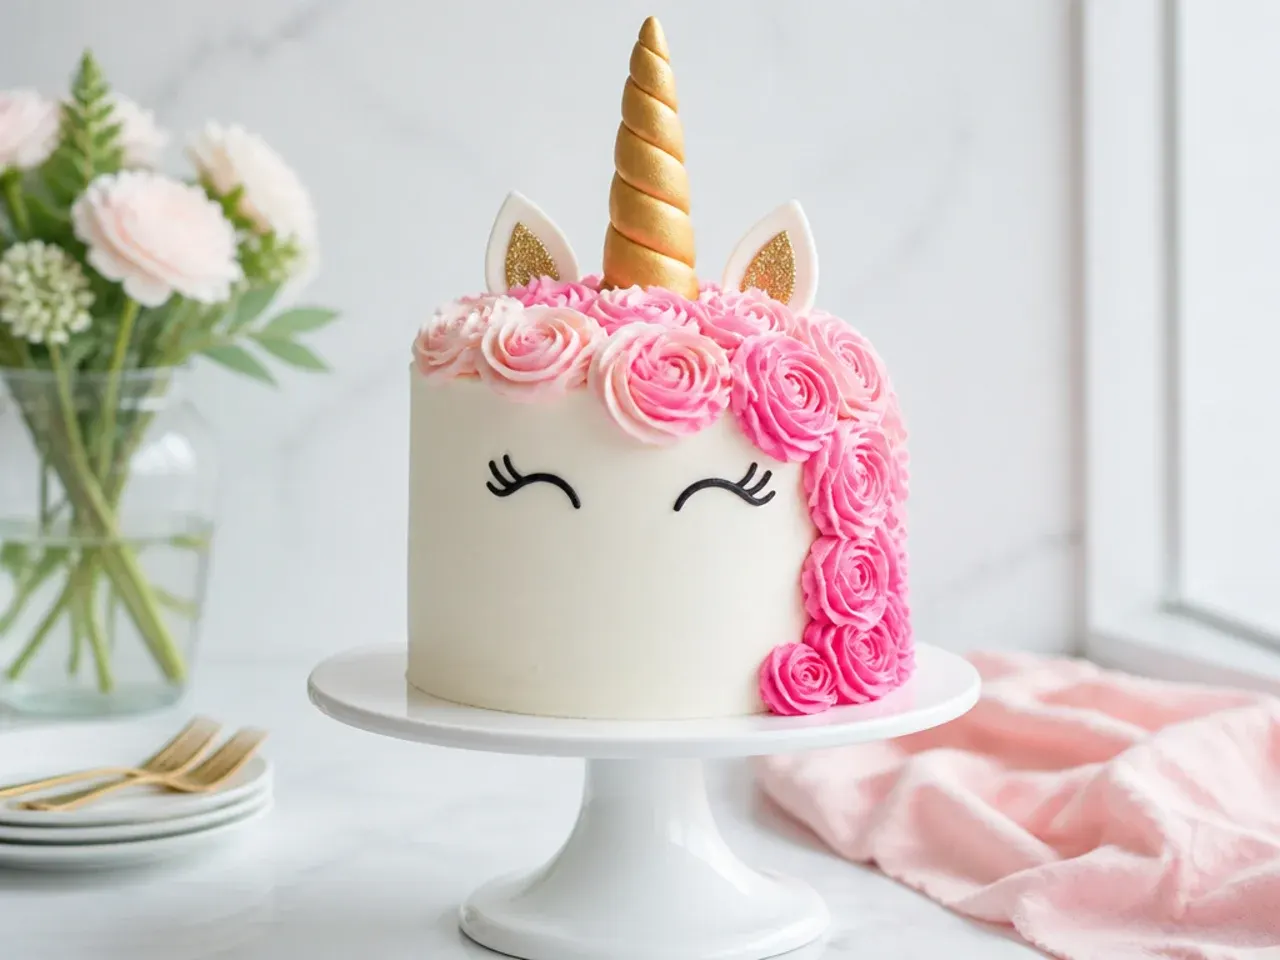
For a grown-up, elegant take, cover the cake in a smooth blush-pink buttercream and pipe the mane in a single-color ombre running from deep magenta at the top to the palest pink at the tips. Divide one batch of buttercream into three bowls and tint them dark, medium, and light with the same gel color to keep mixing simple. Use a Wilton 1M tip throughout and pipe rosettes in bands so the color fades gradually down the mane. It works because a tonal palette reads as sophisticated rather than childish, making this design perfect for a bridal shower or a milestone birthday.
4. Playful Sprinkle Explosion Unicorn Cake
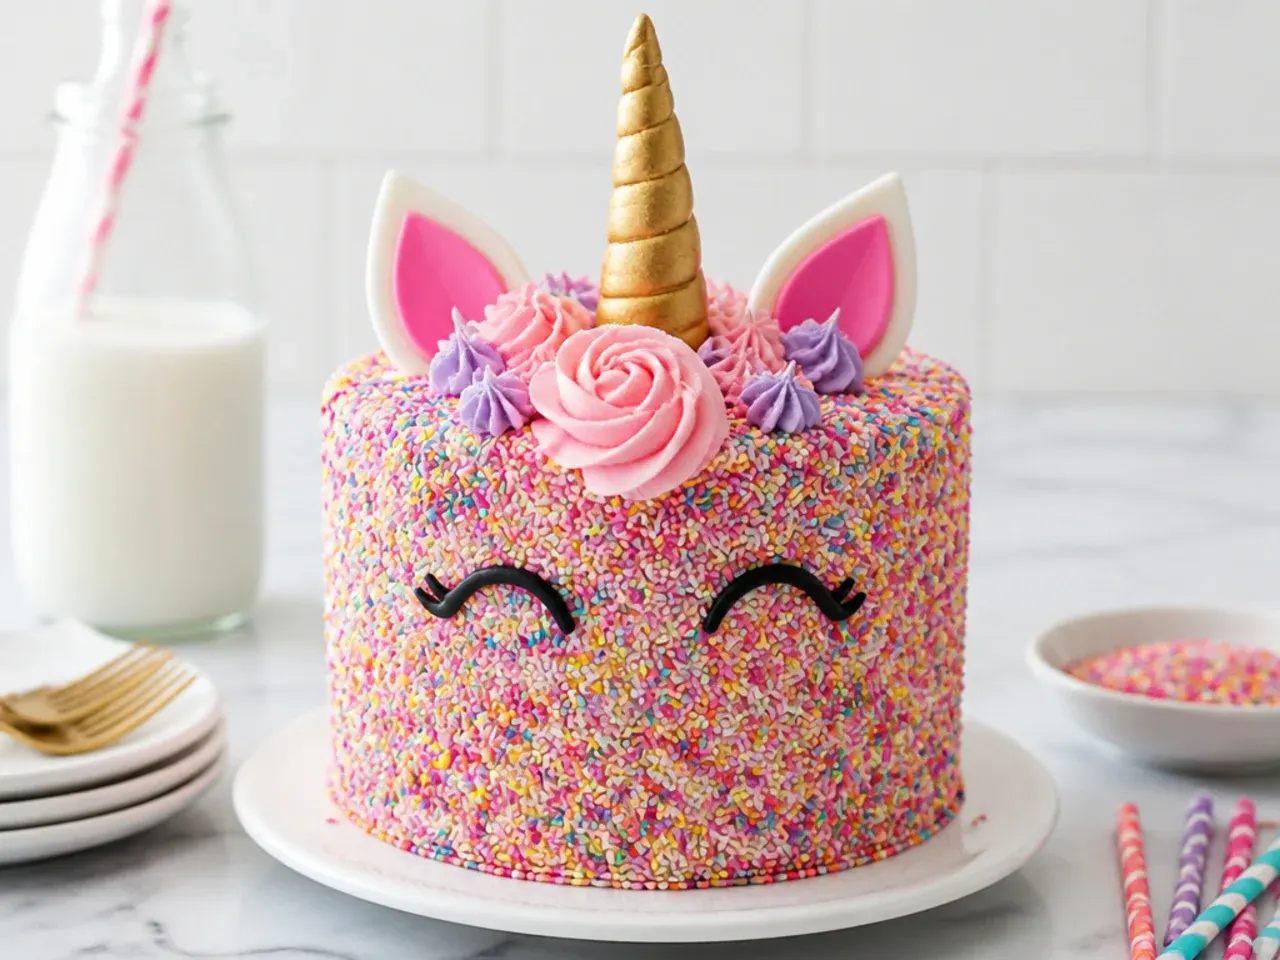
Turn the mane into a party by pressing a generous mix of rainbow jimmies, nonpareils, and star confetti sprinkles into freshly piped buttercream before it crusts. Pipe the mane as normal, then, while the frosting is still tacky, gently press handfuls of sprinkles along the swirls and let the excess fall onto a tray you can reuse. Add a few gold or silver dragees near the horn for extra sparkle. This design works because sprinkles hide any wobbly piping, forgive beginner mistakes, and give kids exactly the colorful, messy magic they love.
5. Modern Geometric Gold-Drip Unicorn Cake
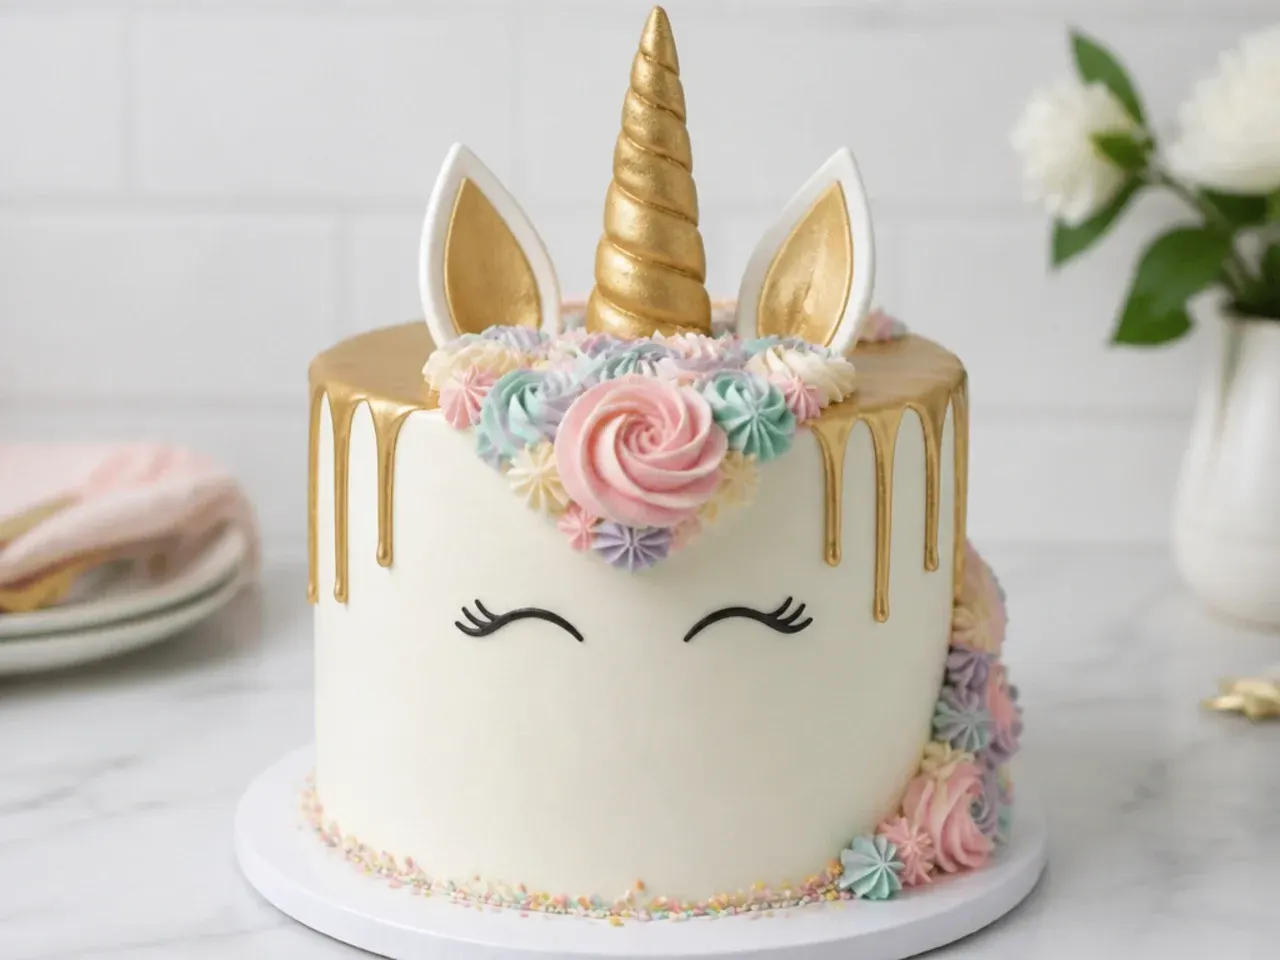
For a modern look, keep the cake body a clean white or pale grey and add a metallic gold drip around the top edge instead of a full mane. Make the drip by warming white chocolate with a little cream, tinting it with oil-based gold coloring, and spooning it over the chilled cake so it runs down in even fingers. Place a slim fondant or clay horn straight up and a small tuft of just three or four buttercream rosettes at its base. It works because the negative space and metallic accent feel deliberate and contemporary, a nice contrast to the usual maximalist unicorn cake.
Save this for later 📌
Pin this article to your Pinterest board so the full list is one tap away when you need it.
Save on Pinterest6. Rustic Naked Unicorn Cake
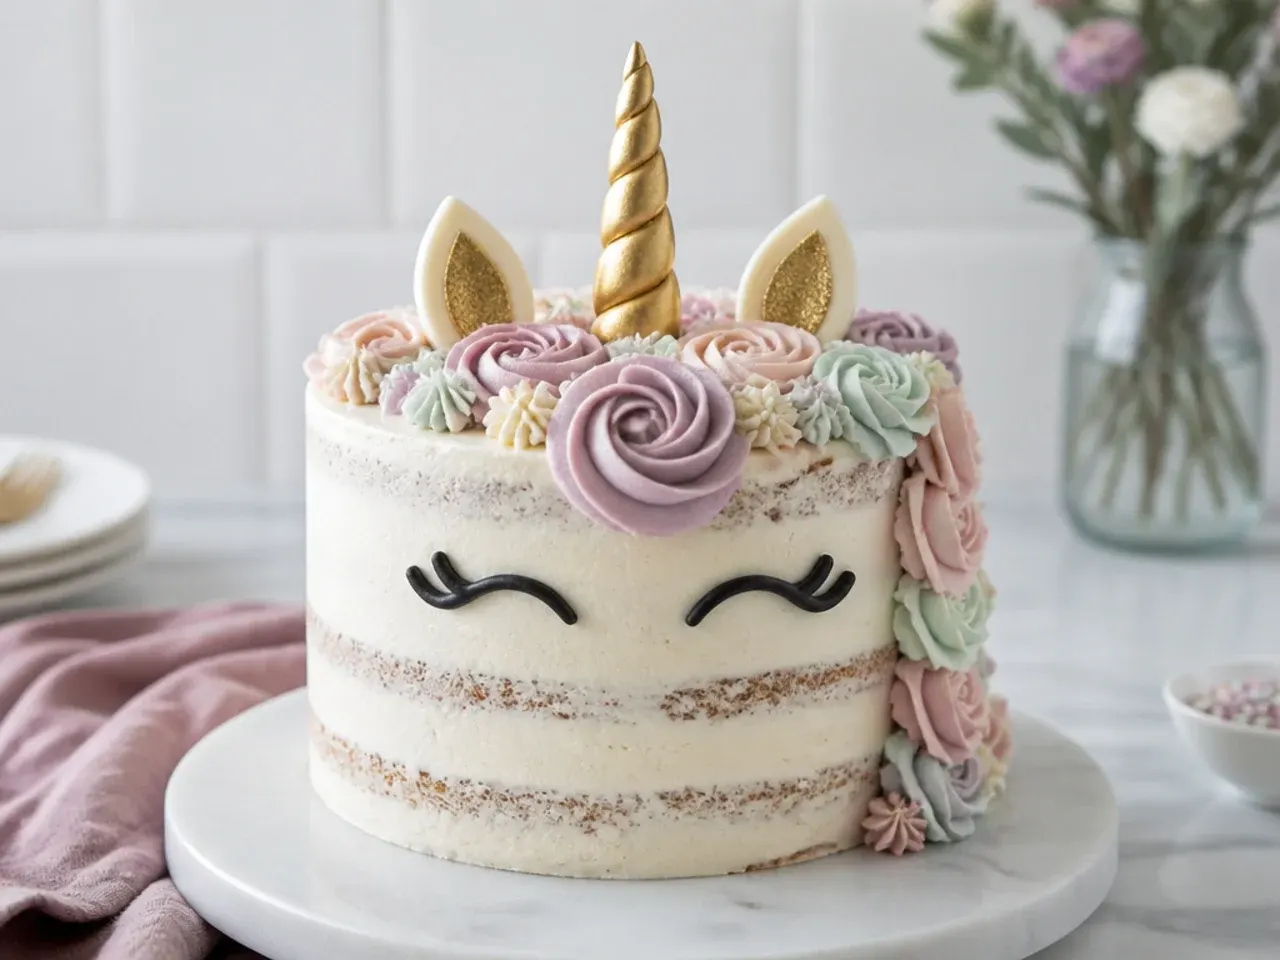
A rustic, semi-naked unicorn cake shows the cake layers through a thin scrape of buttercream, so it forgives an uneven crumb coat. Frost the cake, then drag a bench scraper around the sides to reveal streaks of sponge for that lived-in bakery look. Add the mane in muted, dusty tones like sage, mauve, and cream rather than bright pastels, and finish with a few fresh or sugared flowers near the horn. This works because the imperfect finish is the point, taking the pressure off achieving glass-smooth sides on your first attempt.
7. Colorful Rainbow-Layer Unicorn Cake
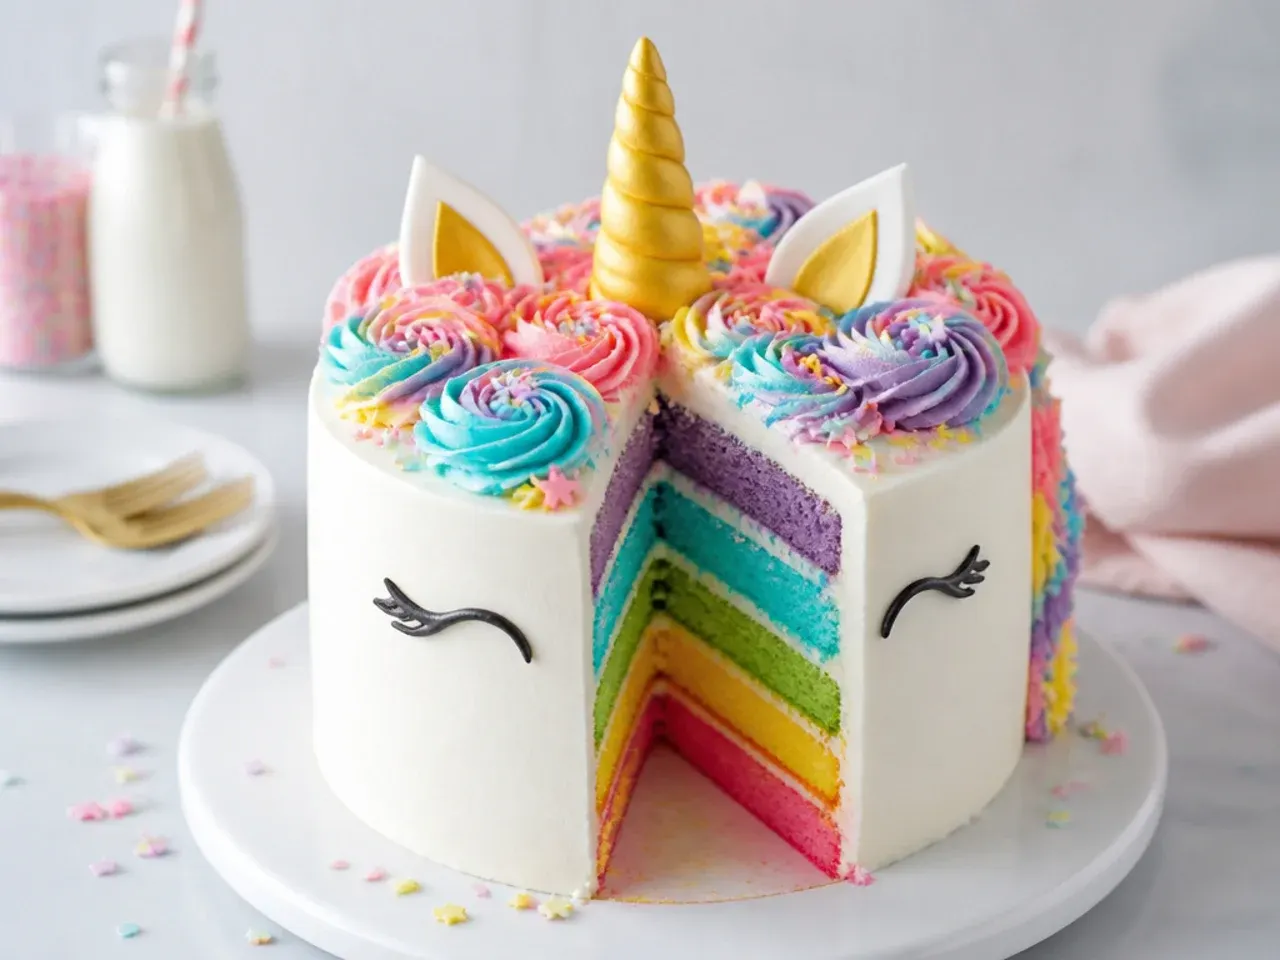
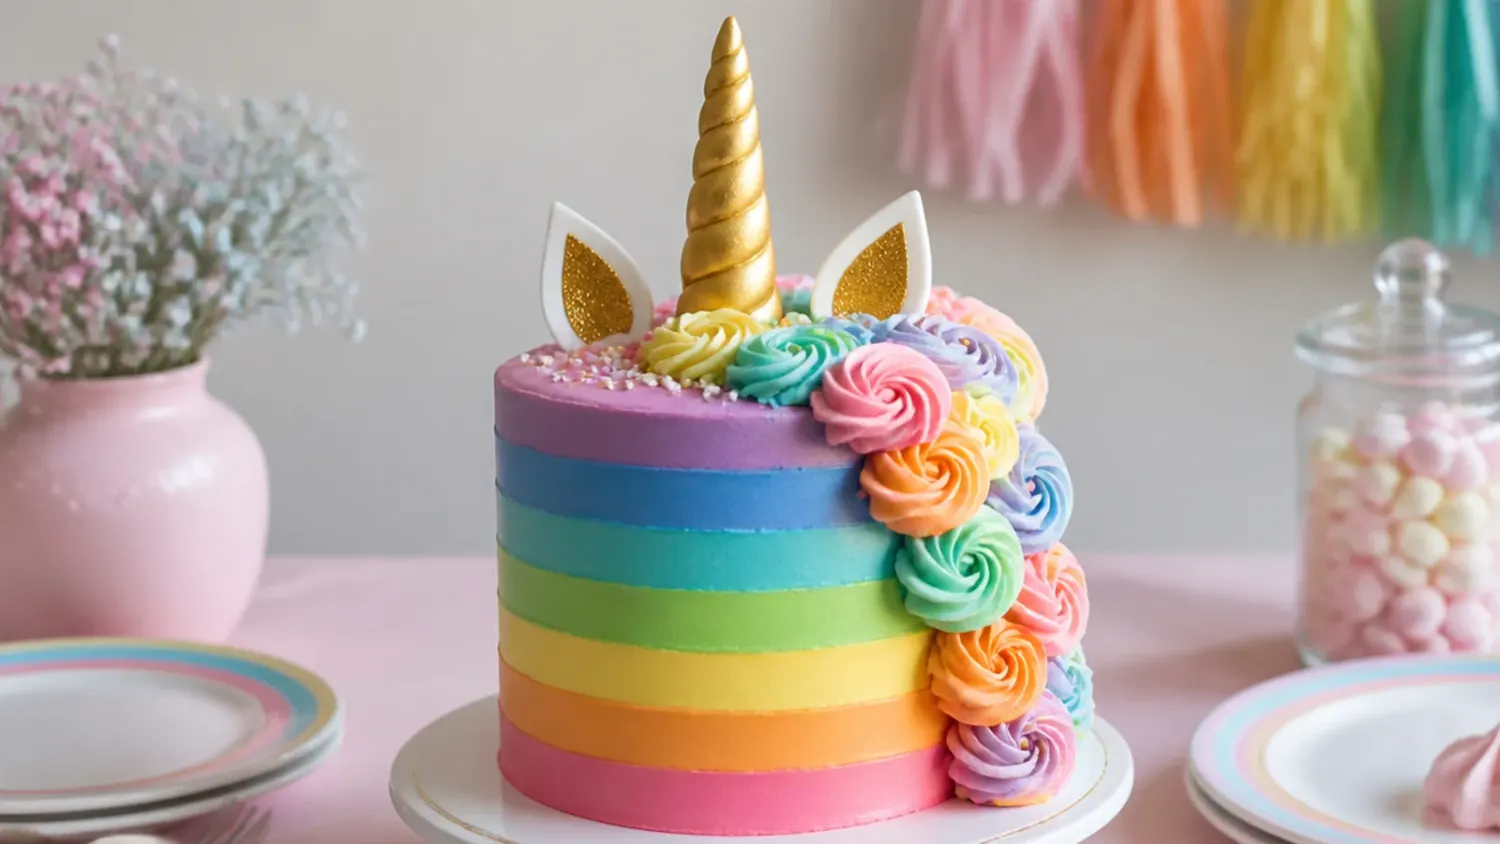
Make the magic happen on the inside by dividing the vanilla batter into bowls and tinting each a rainbow color before baking, so every slice reveals a rainbow. Use gel food coloring, not liquid, so the colors stay vivid without thinning the batter, and bake the tinted layers in the same 6-inch pans. Keep the outside simply frosted in white with a modest pastel mane so the interior is the surprise. It works because the reveal when the cake is cut gets the biggest reaction, and gel colors let a beginner get bold shades with just a few drops.
8. Minimal One-Tier Buttercake Unicorn Cake
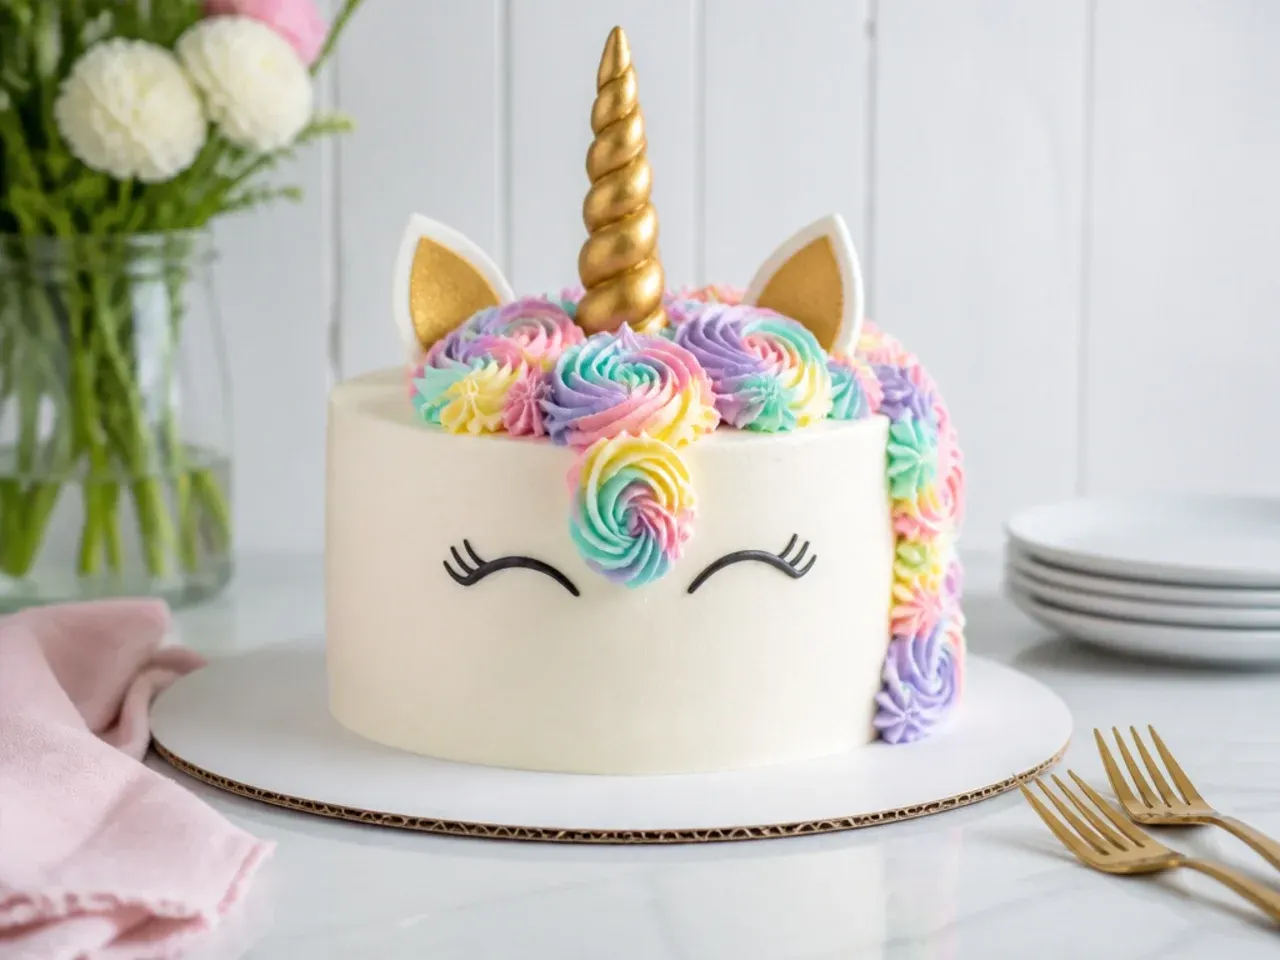
The most beginner-proof design of all is a single 6-inch layer with a tiny mane of five rosettes, one horn, and two ears. Bake just one layer, frost it smooth, and pipe a small cluster of rosettes on top instead of a full cascade, which cuts your piping time to under five minutes. This is ideal for a small family celebration or a smash cake for a first birthday. It works because less surface area means fewer chances for mistakes, and a minimal mane still reads clearly as a unicorn.
9. Festive Holiday Unicorn Cake
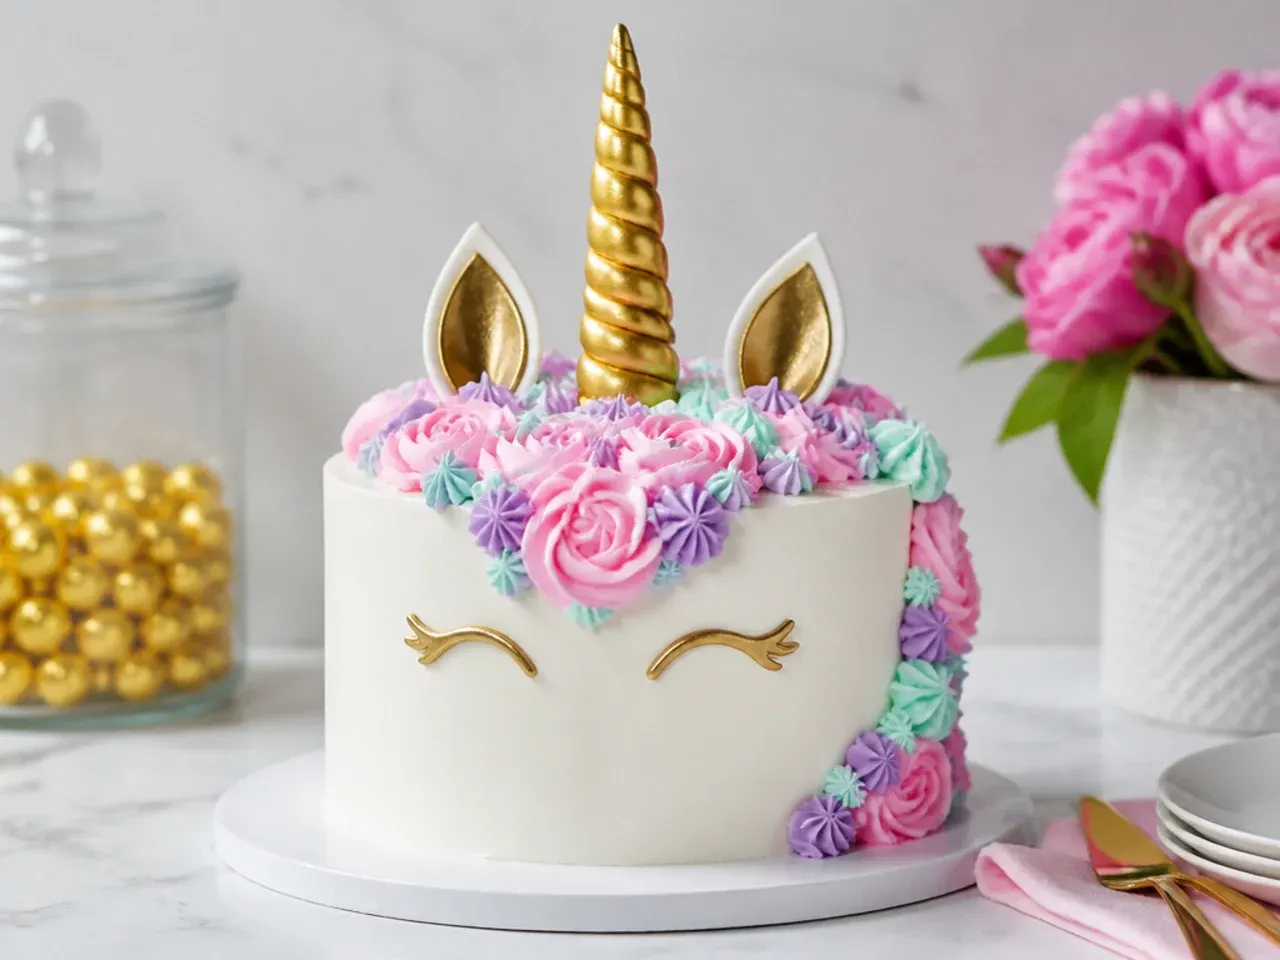
Adapt the classic unicorn for holidays by swapping the mane colors to match the season, such as red, green, and white for Christmas or pink, red, and gold for Valentine's Day. Keep the horn and ears the same but add themed accents like tiny sugar holly leaves, edible snowflakes, or heart sprinkles tucked into the mane. Pipe the mane with the usual 1M and 2D tips so only the palette changes, not the technique. This works because you get a fresh cake for every occasion from one method you have already practiced.
10. Whimsical Cloud and Star Unicorn Cake
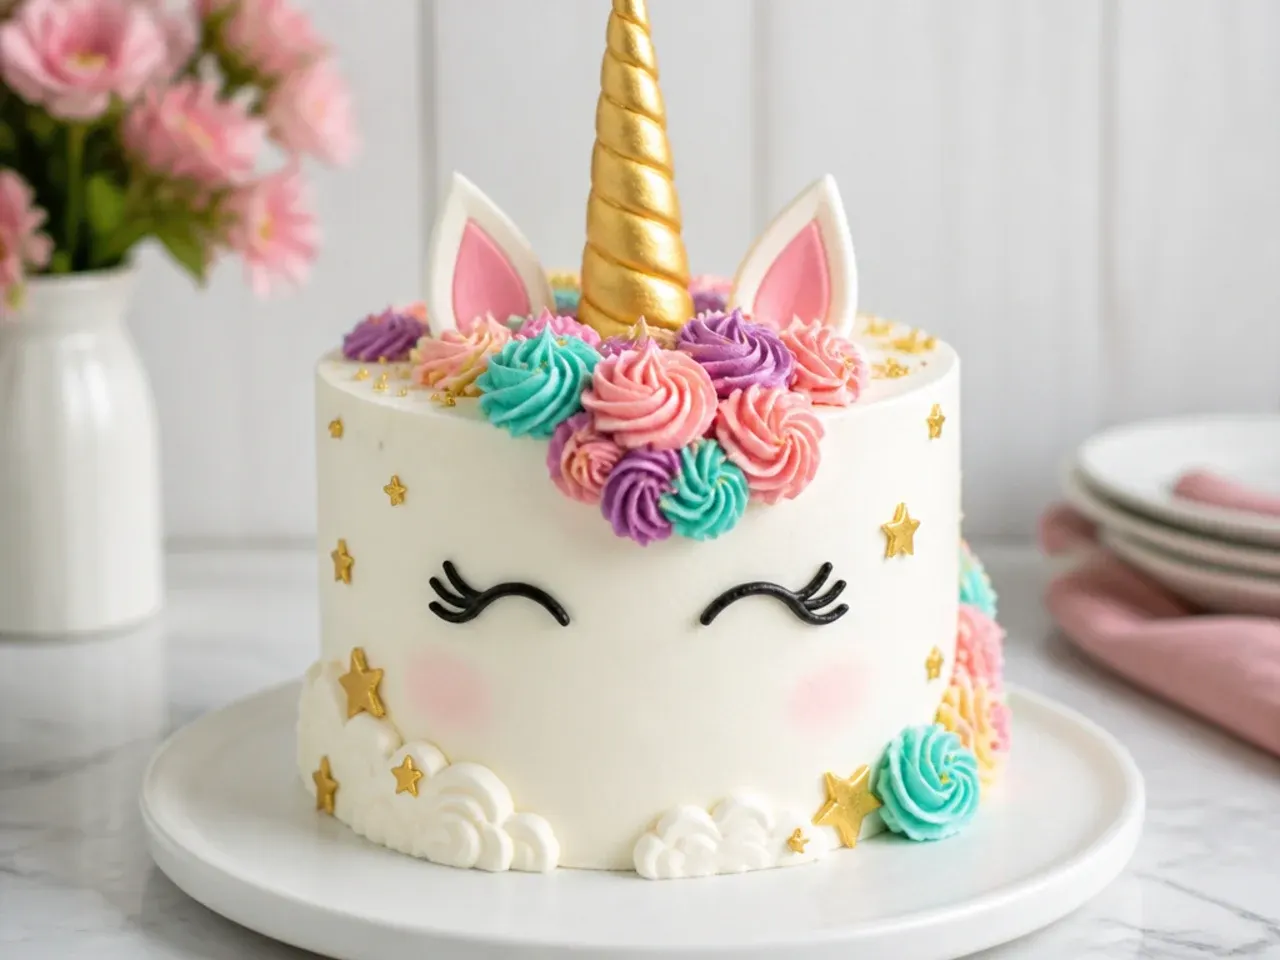
Add a dreamy sky theme by piping soft white buttercream clouds around the base of the cake and scattering gold edible stars across the sides. Use a round tip such as a Wilton 12 to pipe overlapping cloud puffs, then press gold star sprinkles or gold leaf onto the buttercream while it is still soft. Keep the mane in cool blues, lavenders, and silvery grey to match the night-sky feel. It works because the extra scene turns a plain cake into a full storybook centerpiece without needing any new piping skills.
Save this for later 📌
Pin this article to your Pinterest board so the full list is one tap away when you need it.
Save on Pinterest11. Bold Neon Party Unicorn Cake
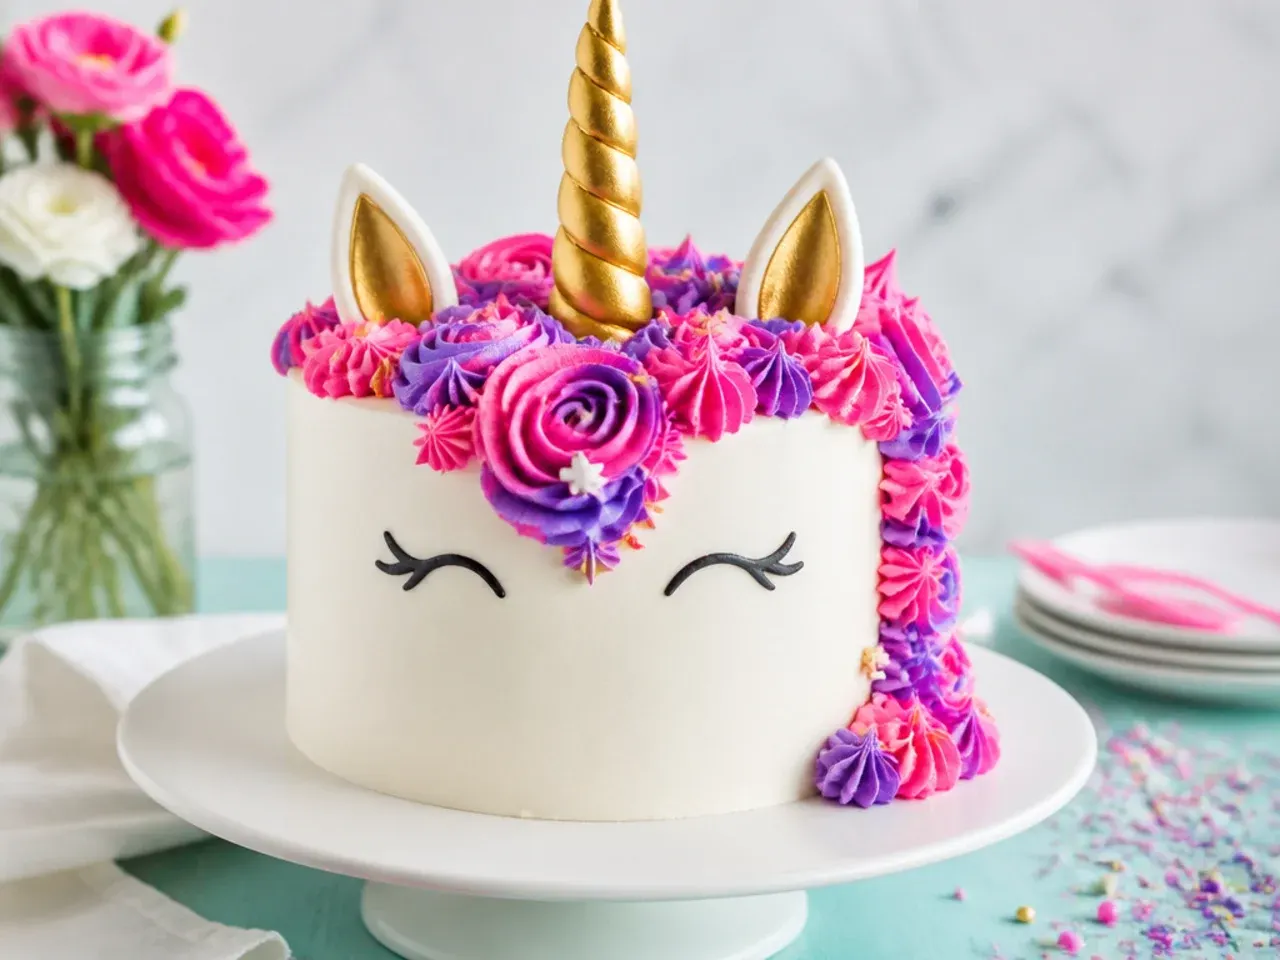
For an eye-popping cake, ditch pastels for saturated neon buttercream in hot pink, electric purple, lime, and turquoise. Achieve true neon shades by starting with a bright white buttercream base (a tiny drop of violet gel neutralizes the yellow of butter) and building color gradually with concentrated gel. Pipe the mane thick and full, and add a bright metallic horn to match. This works because bold, high-contrast colors photograph beautifully and suit an older child or teen who has outgrown soft pastels.
12. Delicate Watercolor Unicorn Cake
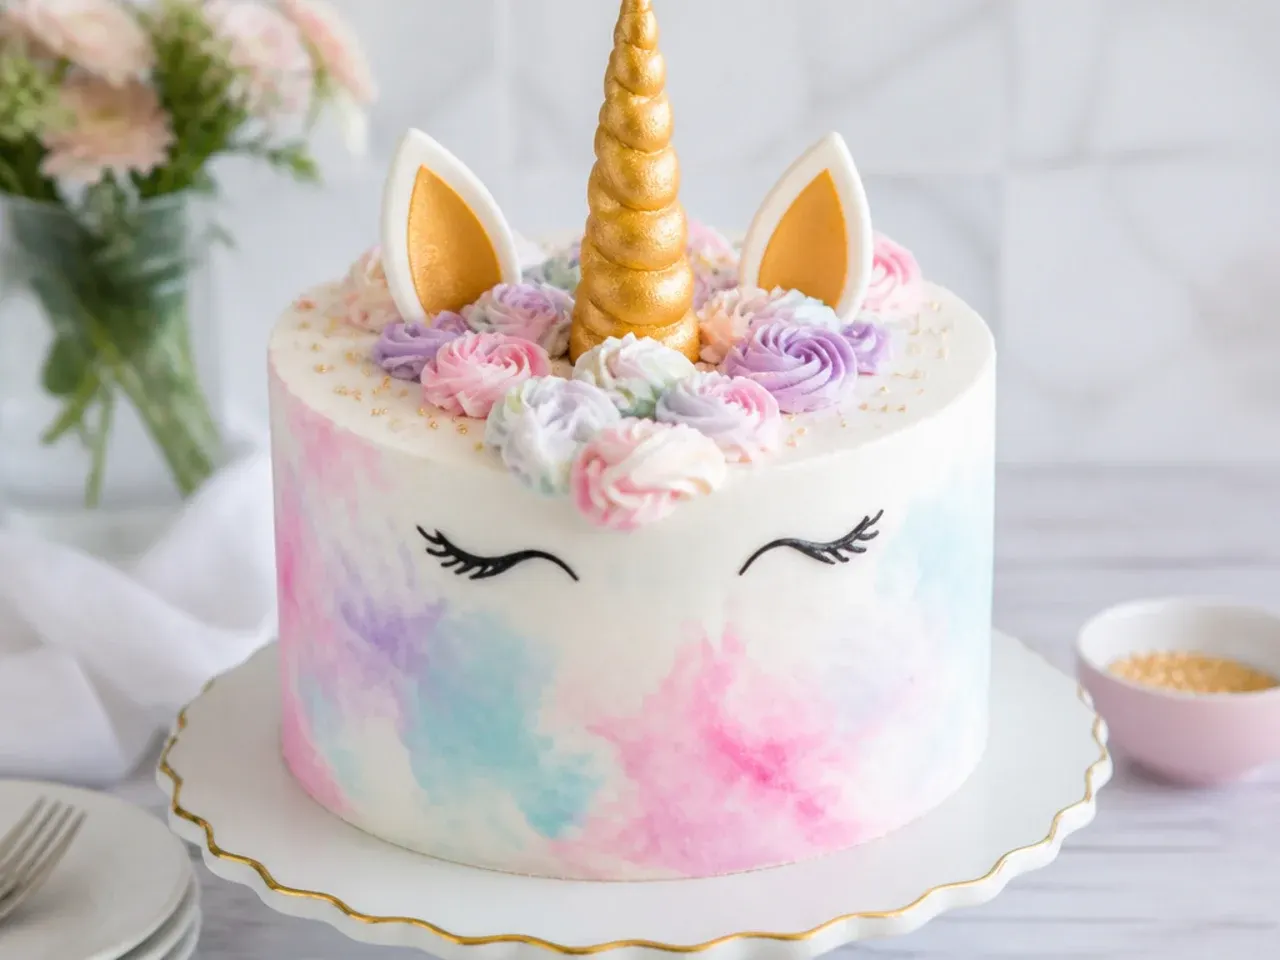
Create a soft watercolor effect by dabbing thinned gel colors onto white buttercream sides with a clean pastry brush, blending pale pink, blue, and lilac into a dreamy wash. Chill the frosted cake first so the buttercream is firm, then apply the diluted colors in light, overlapping strokes and smooth them gently with an offset spatula. Keep the mane small and in matching muted tones so it does not compete with the painted sides. It works because the loose, blended finish looks artistic yet is far more forgiving than trying to pipe perfectly even rosettes.
13. Vintage Piped-Ruffle Unicorn Cake
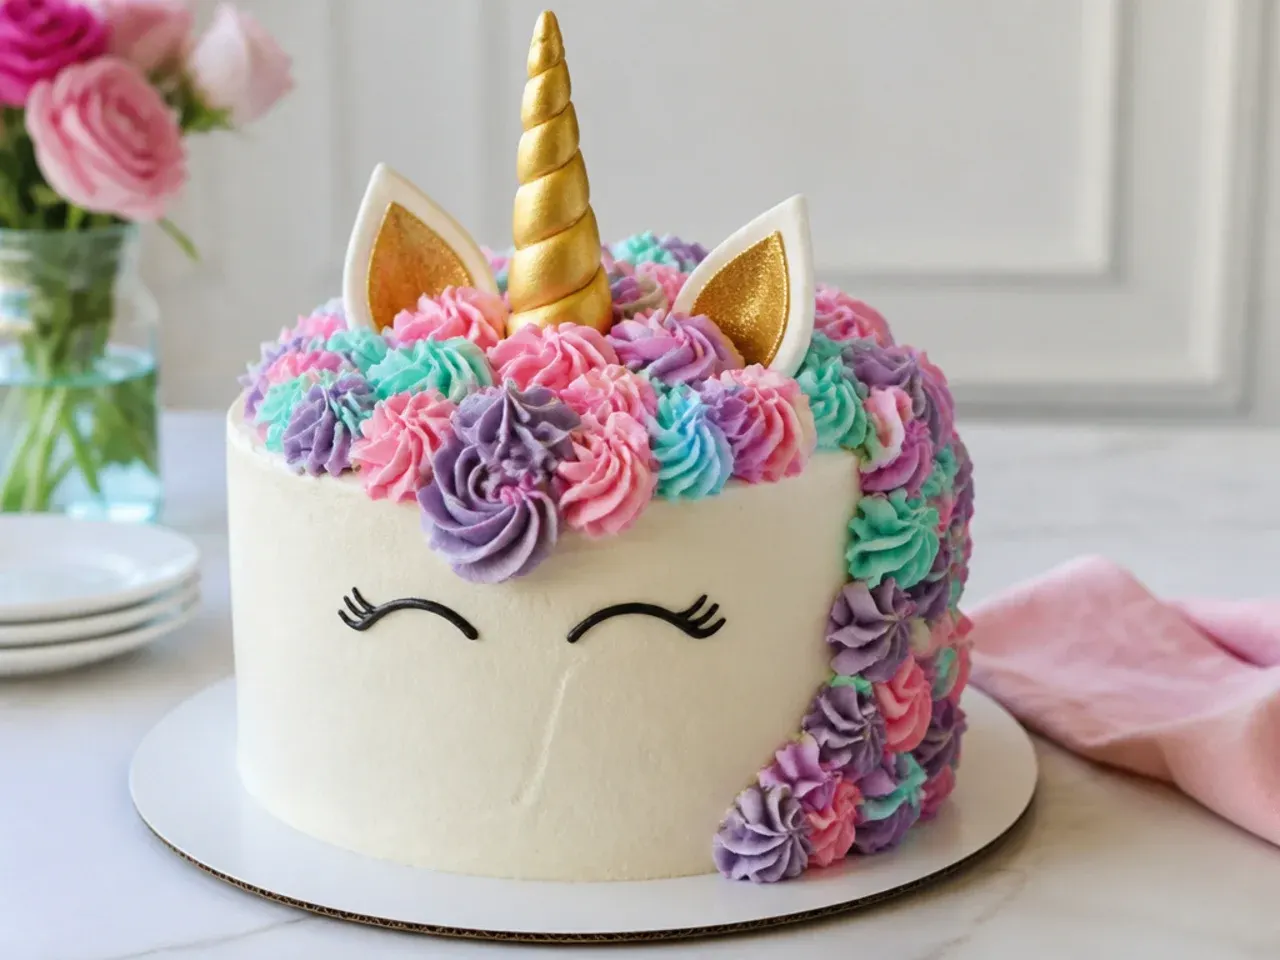
Give your unicorn a vintage, heirloom feel by replacing the rosette mane with old-fashioned buttercream ruffles and shell borders in soft cream and dusty rose. Use a Wilton 104 petal tip held at a slight angle to pipe cascading ruffles, and a small star tip for a shell border around the base. Add a pearl-white horn and a few piped forget-me-not flowers for a nostalgic touch. This works because classic piping techniques give the cake a timeless bakery elegance that stands apart from modern rosette designs.
14. Creative Cupcake Pull-Apart Unicorn Cake
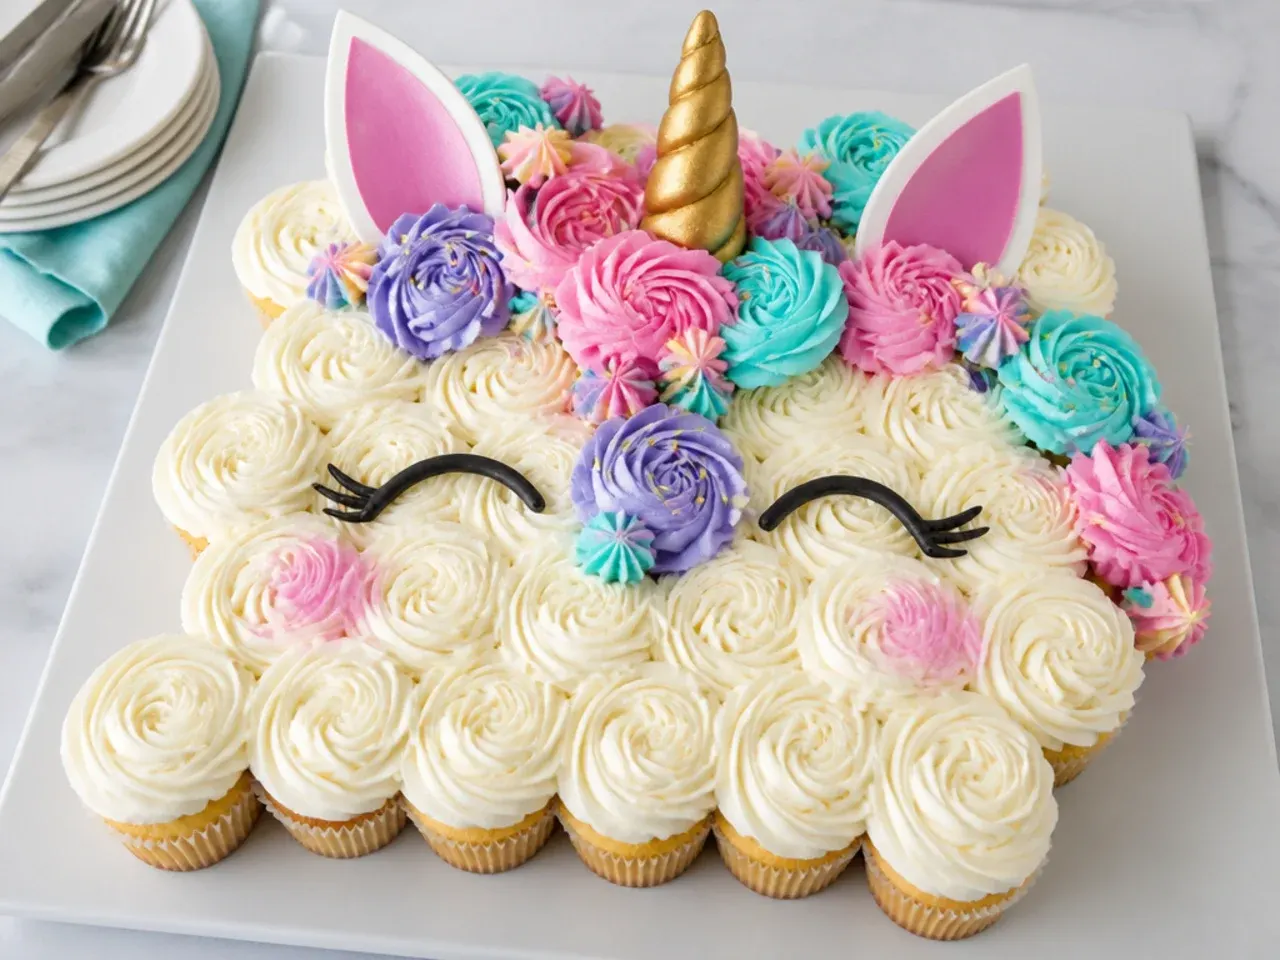
For a no-slicing option, arrange frosted cupcakes into the shape of a unicorn head on a board so guests can each grab one. Bake the base recipe as cupcakes at 350°F (177°C) for 18 to 20 minutes, frost each with a swirl, and lay them out to form the face, with mane cupcakes in pastel colors and a fondant or cone horn placed on top. Cover any board gaps with extra piped buttercream so the shape reads clearly from above. It works because pull-apart cakes skip cutting and serving mess entirely, which is perfect for a classroom party or busy event.
15. Charming Mini Smash Unicorn Cake
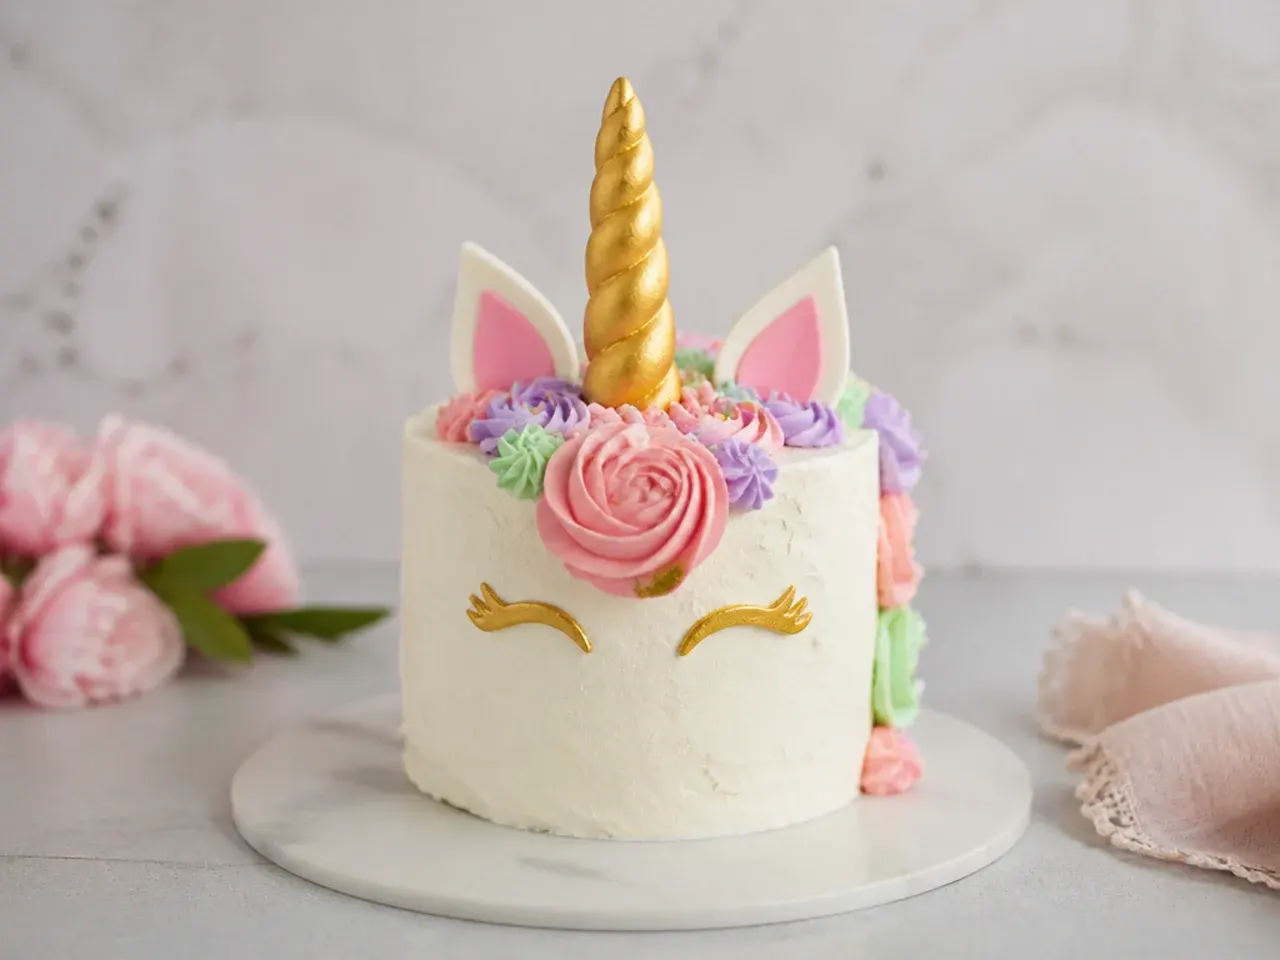
A charming mini smash cake is a single 4-inch layer sized for a first birthday photo shoot and easy for little hands to grab. Bake a small portion of the batter in a 4-inch pan for about 20 to 22 minutes, frost it soft, and add a tiny mane of three rosettes, a small horn, and little ears. Keep the buttercream light on sugar since it is meant for a one-year-old, and use natural color options if you prefer to avoid dyes. It works because the tiny scale is quick to make, adorable in photos, and portioned just right for the birthday baby.
Tips to Make These Ideas Easier
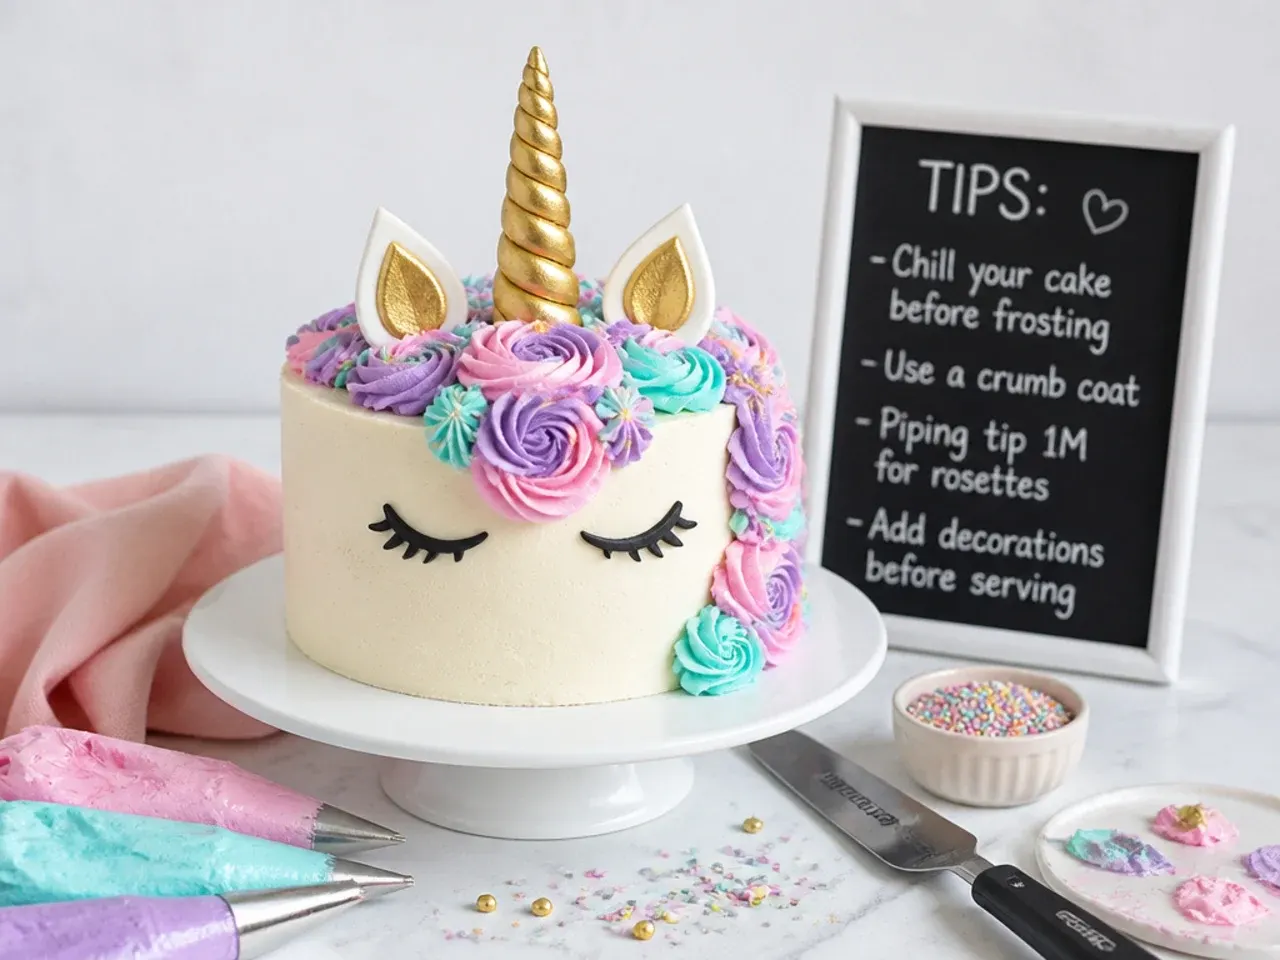
Chill your cake layers in the freezer for 20 to 30 minutes before frosting, because firm layers do not crumble and the buttercream glides on smoothly. Always crumb coat first: apply a thin layer of frosting, chill 15 minutes, then add your final coat to trap loose crumbs. Tint all your buttercream and load your piping bags before you start piping the mane so you can work fast while the frosting is soft. Use gel food coloring rather than liquid to get vivid color without thinning the buttercream, and keep a cup of hot water nearby to warm your offset spatula for glass-smooth sides. Finally, buy a pre-made fondant or acrylic horn-and-ears topper if piping feels overwhelming, since it turns any frosted cake into a unicorn in seconds.
Common Mistakes to Avoid
The biggest mistake is frosting a warm cake, which melts the buttercream and causes the mane to slide, so always cool layers completely and chill before decorating. Do not use liquid food coloring in buttercream, as it thins the frosting and makes rosettes collapse; use gel instead. Avoid skipping the crumb coat, or loose crumbs will show through your final white layer and ruin the clean look. Many beginners also overbake, so start checking at the low end of the time range with a toothpick, which should come out with a few moist crumbs. Lastly, do not overload the top of the cake with a heavy fondant horn on a hot day, since it can sink or lean; insert a small dowel or cake pop stick to anchor it upright.
The Recipe
The Base Recipe — Make Any of These Ideas
40 min
30 min
2 hr 30 min
12
Beginner
Ingredients 12 Person(s)
Directions
Step 1: Prep pans and oven
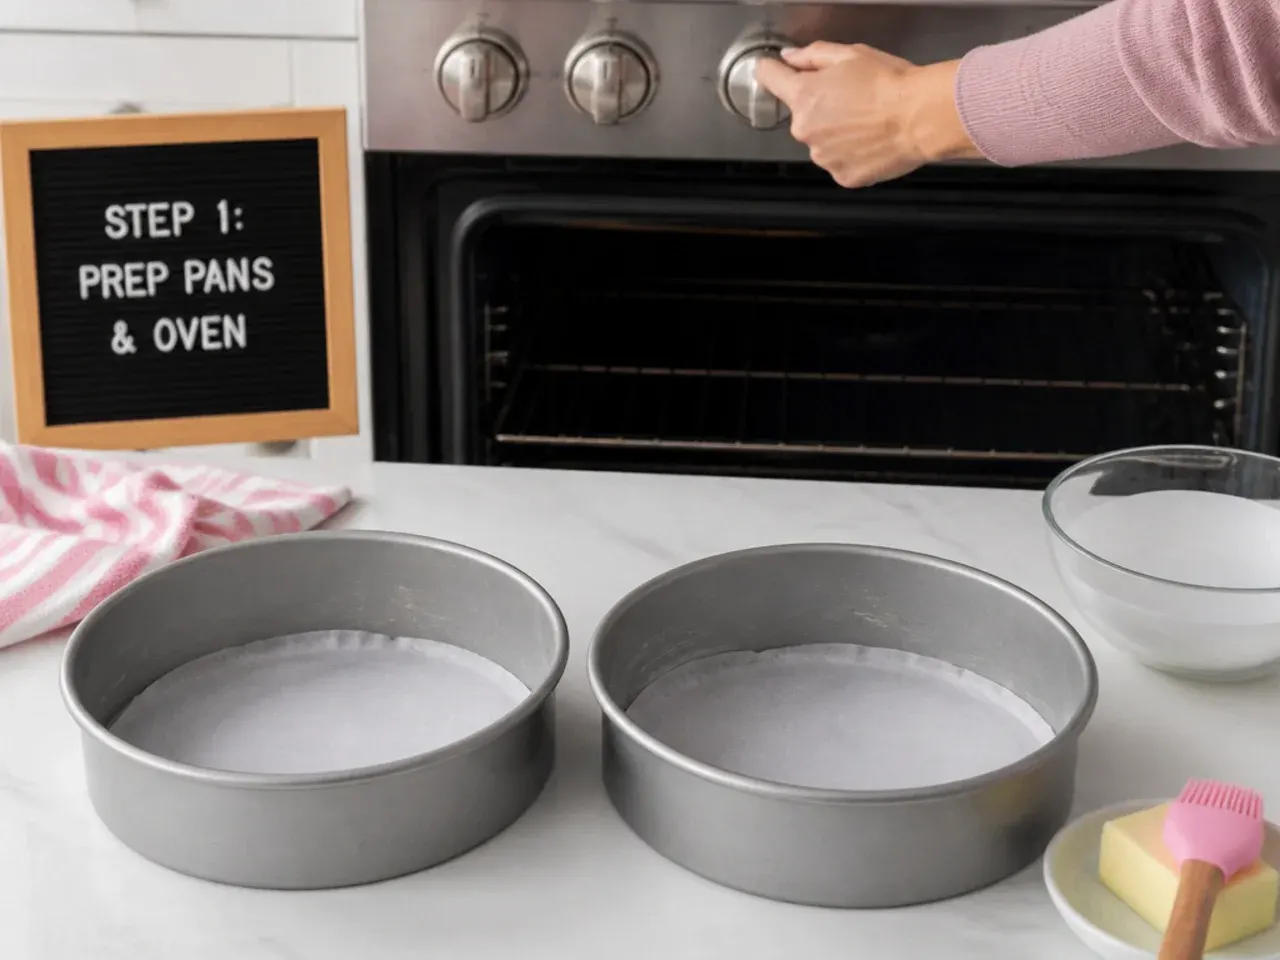
Preheat the oven to 350°F (177°C). Grease three 6-inch round cake pans and line the bases with parchment circles. Set all cold ingredients out at room temperature at least an hour ahead so the batter mixes evenly.
Step 2: Cream the butter and sugar
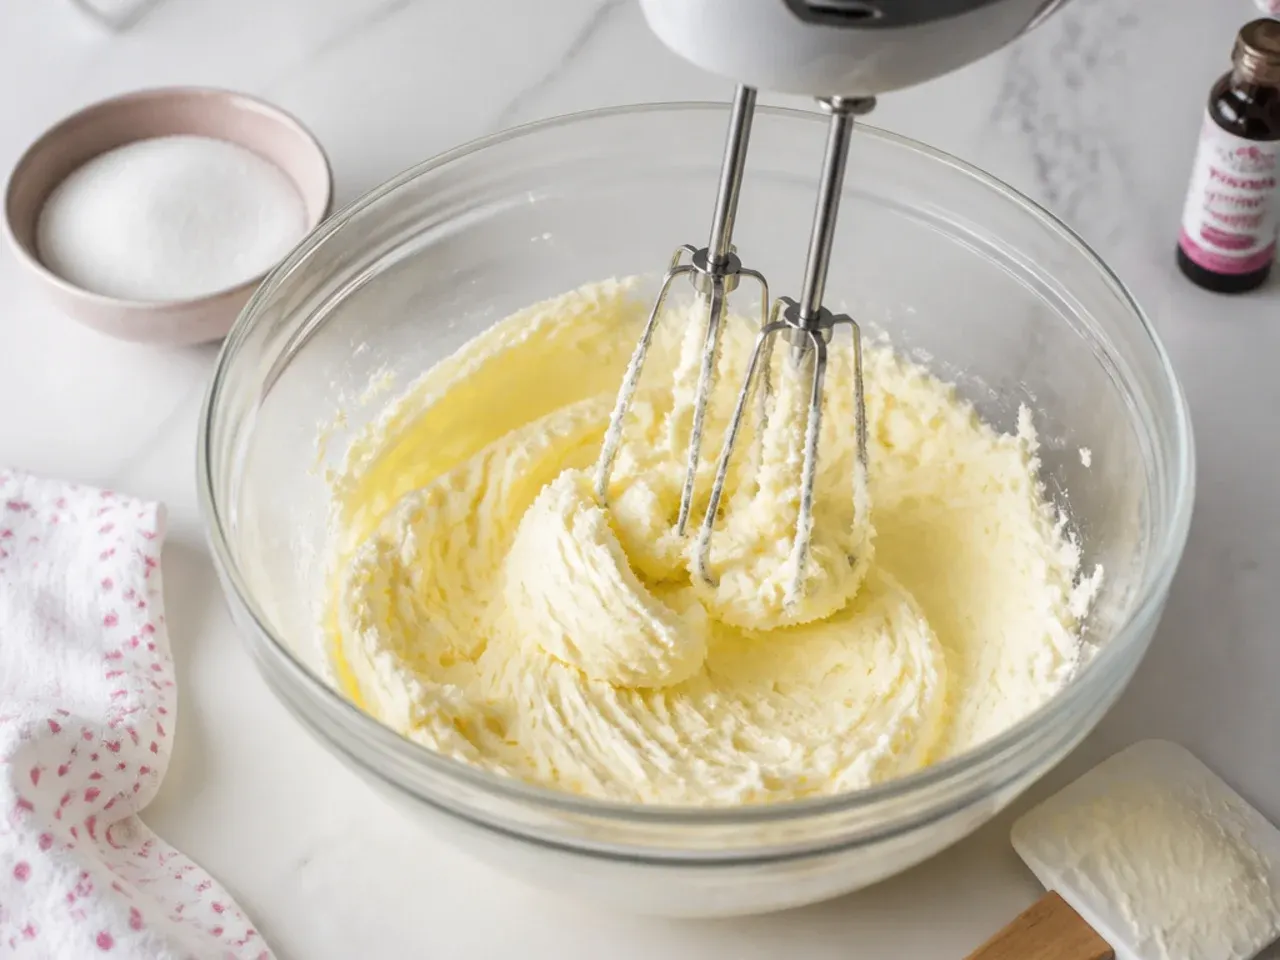
In a large bowl, beat the 225g softened butter with the caster sugar on high speed for about 3 minutes until pale, light, and fluffy. This step builds the airy texture, so do not rush it. Scrape down the bowl once or twice.
Step 3: Add eggs and vanilla
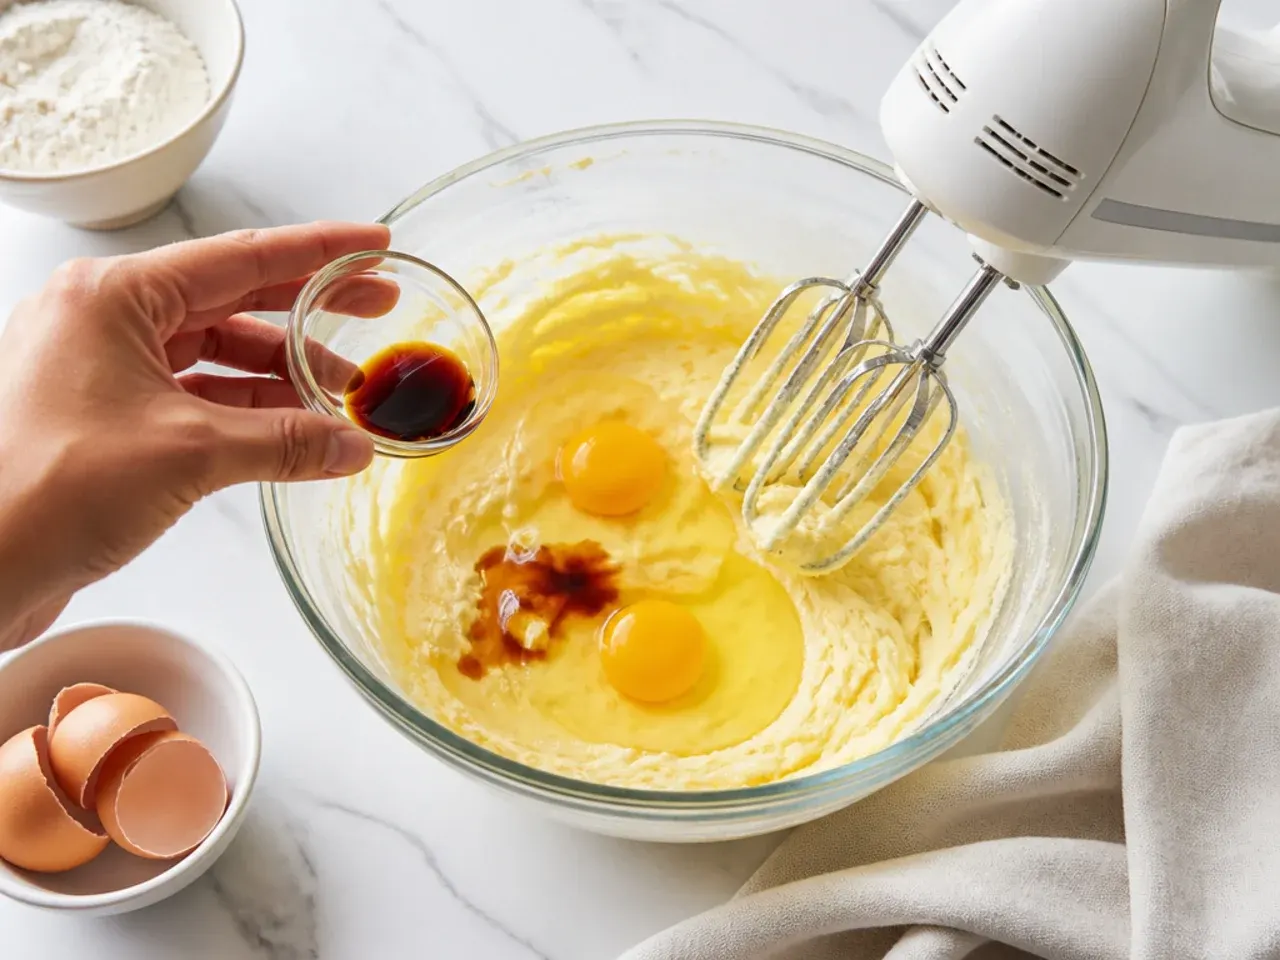
Beat in the eggs one at a time, mixing fully after each addition, then add the vanilla extract. The batter may look slightly curdled, which is normal and will smooth out once the flour goes in.
Step 4: Alternate dry and wet
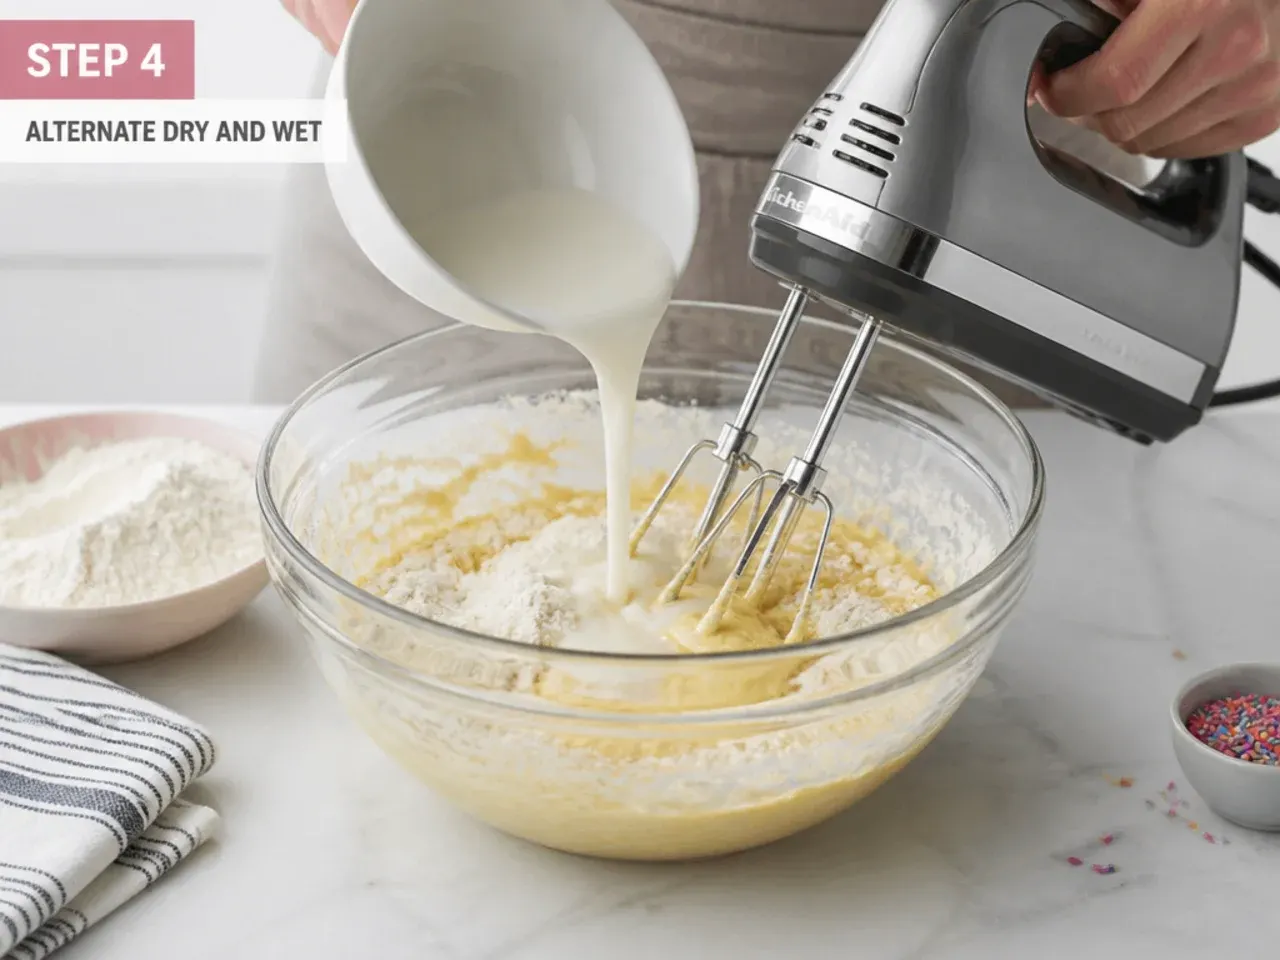
Whisk the flour, baking powder, and salt together in a separate bowl. Add the dry mix to the butter mixture in three additions, alternating with the buttermilk and beginning and ending with the flour. Mix on low just until combined to avoid a tough, dense cake.
Step 5: Bake the layers
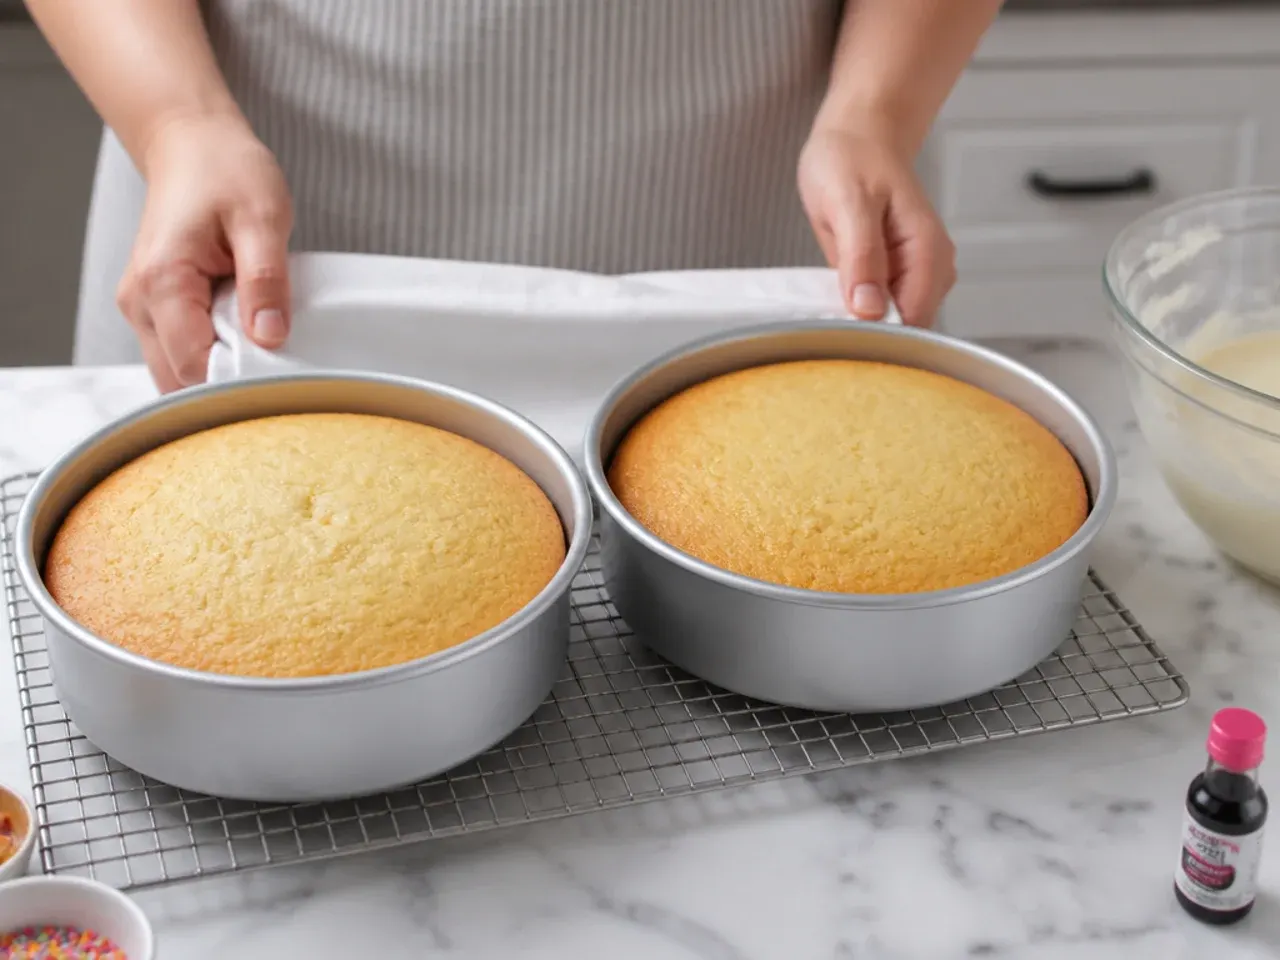
Divide the batter evenly between the three pans and smooth the tops. Bake for 25 to 30 minutes, until a toothpick inserted in the center comes out with a few moist crumbs. Start checking at 25 minutes so you do not overbake.
Step 6: Cool and make the buttercream
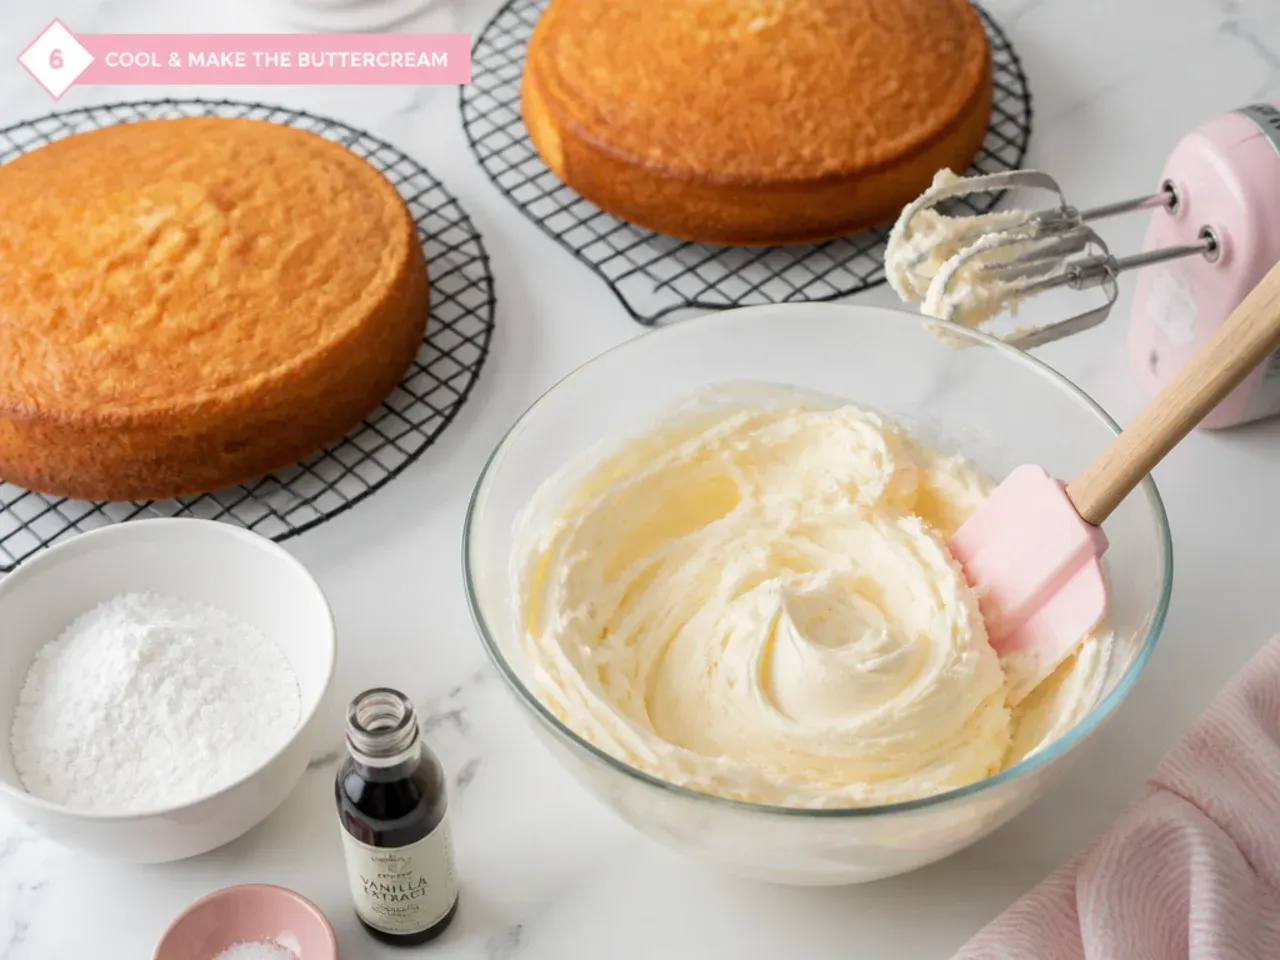
Cool the layers in their pans for 10 minutes, then turn out onto a rack to cool completely; chill them for 20 minutes for easier frosting. For the buttercream, beat the 340g softened butter until creamy, then add the sifted icing sugar in batches with the milk and a pinch of salt, beating until light. Divide and tint portions with gel color.
Step 7: Stack, crumb coat, and decorate
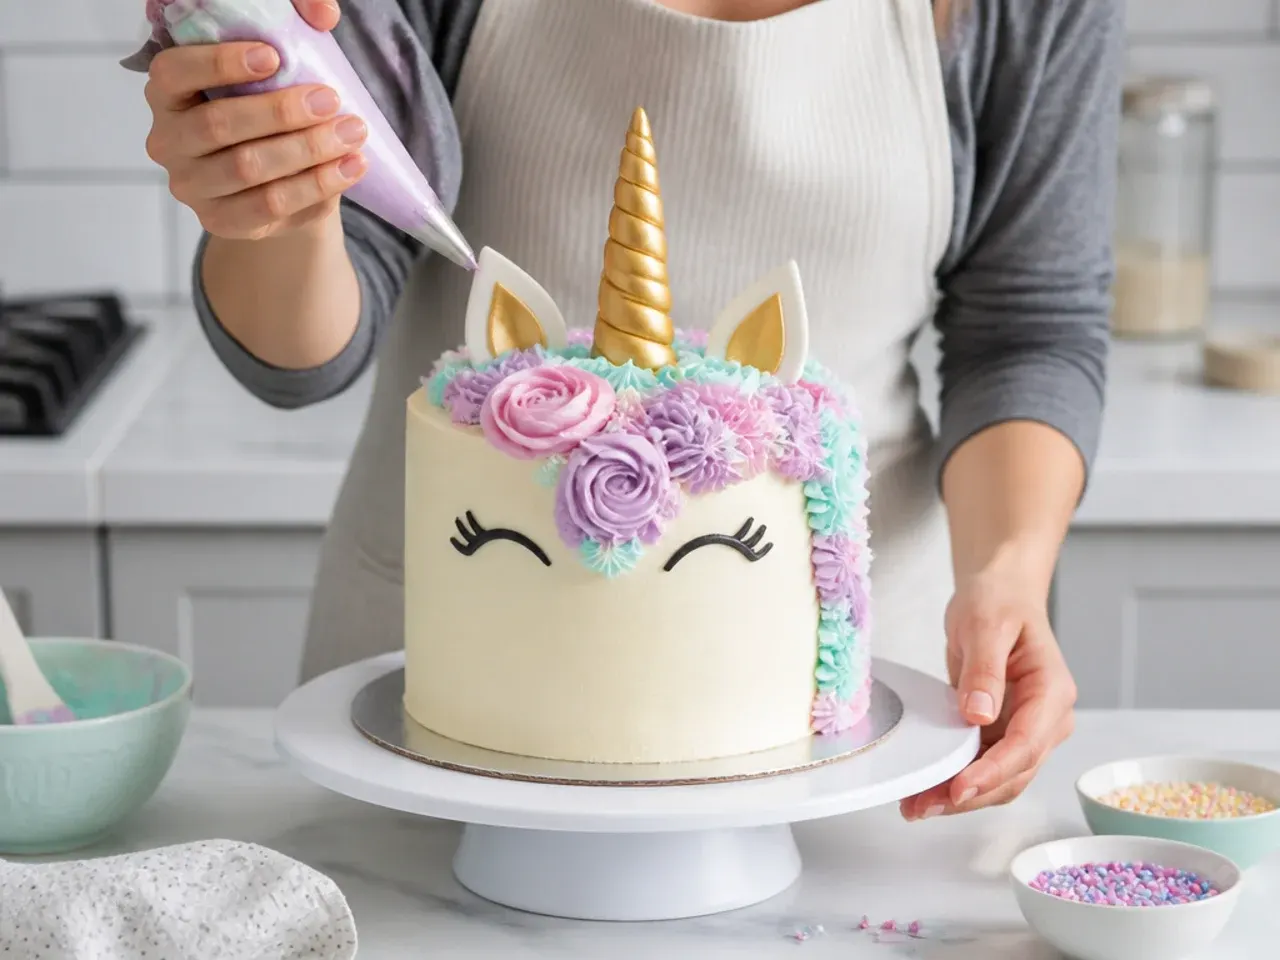
Stack the layers with buttercream between each, then spread a thin crumb coat over the whole cake and chill 15 minutes. Add a smooth white final coat, then pipe the mane with a 1M and 2D star tip in your chosen pastel colors down one side. Add the horn and ears, pipe small eyes with black buttercream, and chill until serving.
Frequently Asked Questions
The easiest fondant-free horn is a pointed sugar ice cream cone painted with gold luster dust mixed with a few drops of clear extract. Let it dry for 20 minutes, then press it into the top of the cake. You can also shape a horn from a stick of gum paste or buy a reusable acrylic topper if you want to reuse it.
Save this for later 📌
Pin this article to your Pinterest board so the full list is one tap away when you need it.
Save on Pinterest