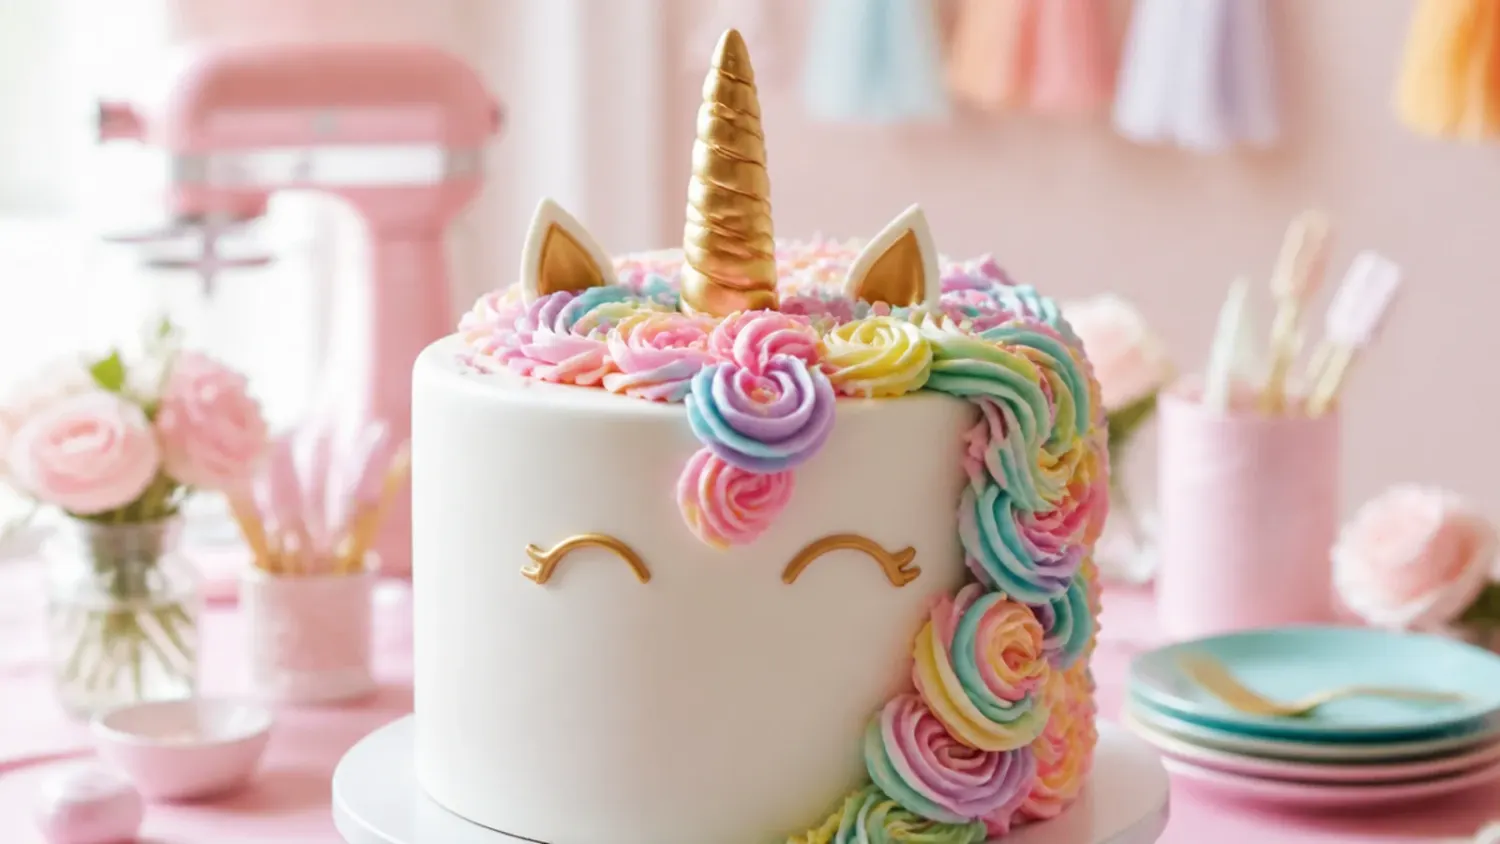
Ingredients 16 Person(s)

Save this for later 📌
Pin this article to your Pinterest board so the full list is one tap away when you need it.
Save on PinterestDirections
Step 1: Bake the vanilla sponge layers
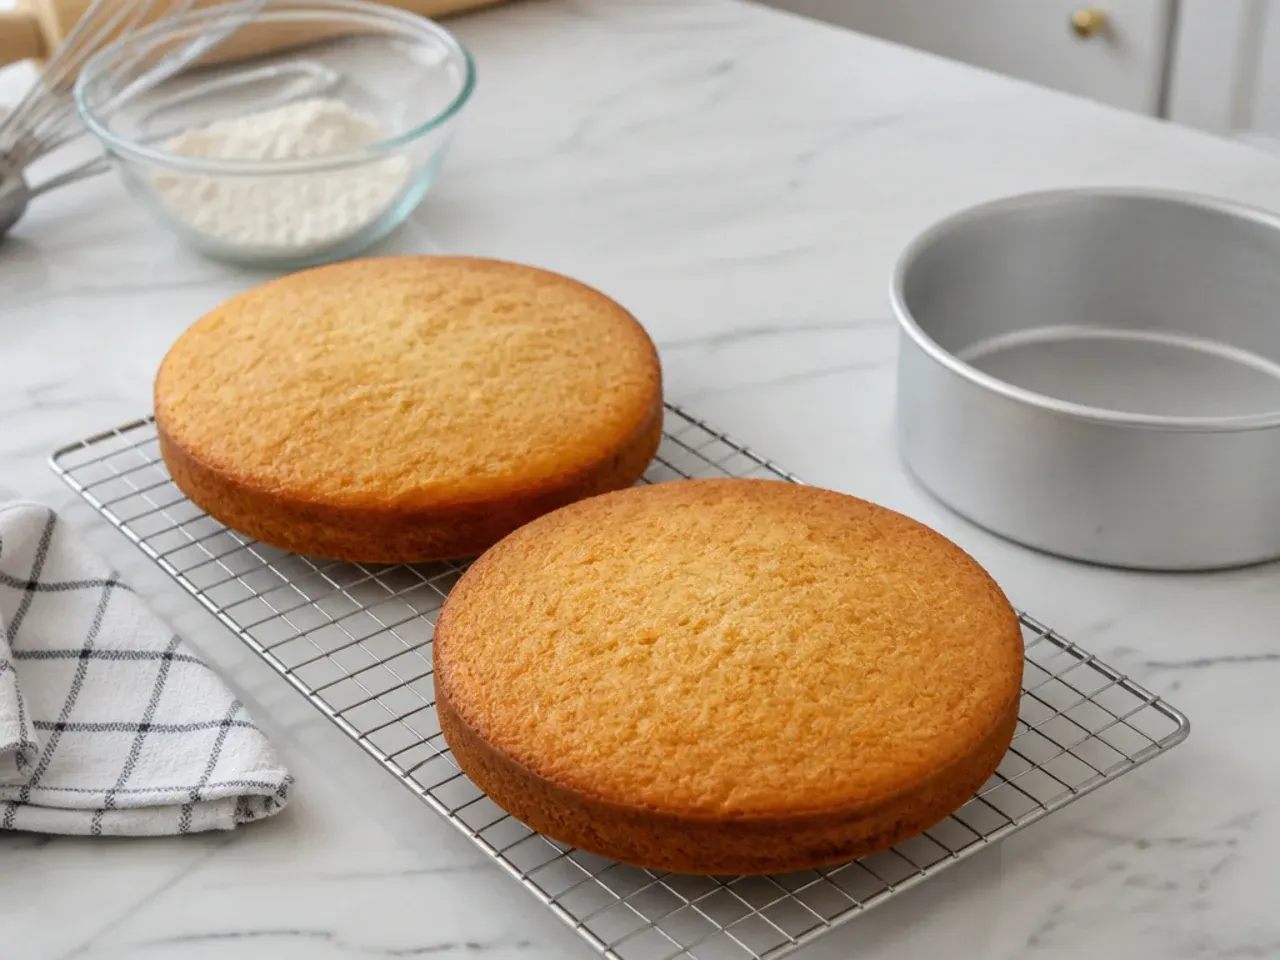
Preheat the oven to 180C / 160C fan / 350F and line three 20cm (8-inch) round tins with baking paper. Cream 225g softened butter with 400g caster sugar for 4-5 minutes until pale and fluffy, then beat in the 4 eggs one at a time followed by 1 tbsp vanilla. Sift together 375g flour, 1 tbsp baking powder and 1/2 tsp salt, then fold into the batter in three additions, alternating with the 300ml milk, until just smooth. Divide evenly between the tins and bake for 25-30 minutes, until golden and a skewer comes out clean. Cool in the tins for 10 minutes, then turn out onto a wire rack to cool completely before levelling the tops with a serrated knife.
Step 2: Shape and dry the fondant horn and ears
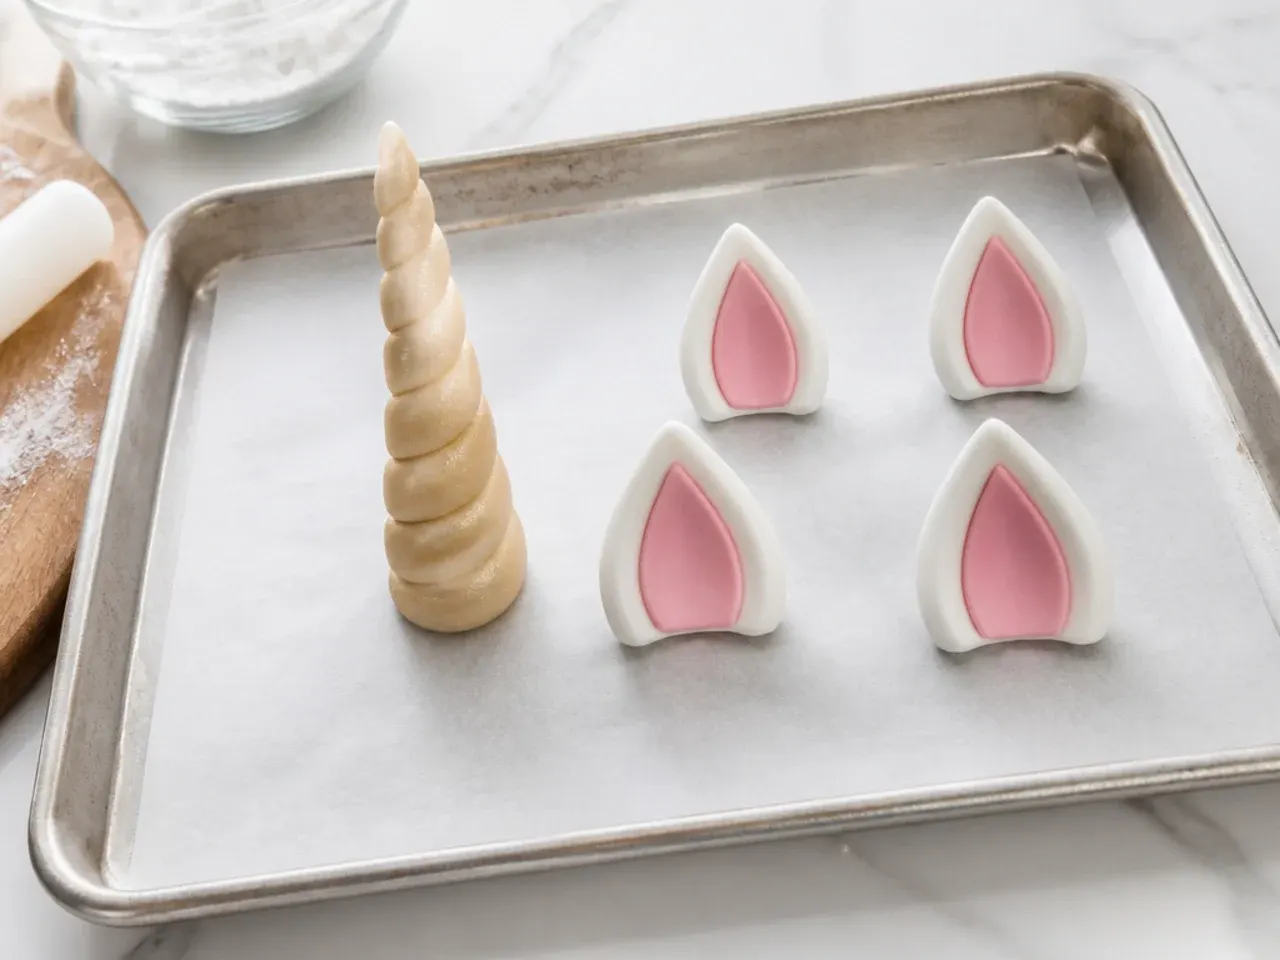
Knead 1 tsp CMC (tylose) powder into 250g white fondant to help it set hard. For the horn, split off a golf-ball-sized piece, roll two tapered ropes about 20cm long, press them side by side and gently twist into a spiral with a sharp point and a wider flat base. Push a wooden skewer up through the base for support. For the ears, roll two small balls, flatten into teardrop shapes, pinch the base of each and curve them over a rolling pin so they cup inward. Set the horn upright in a foam block and lay the ears on a curved surface, then leave everything uncovered overnight to harden.
Step 3: Paint the horn gold and dust the ears
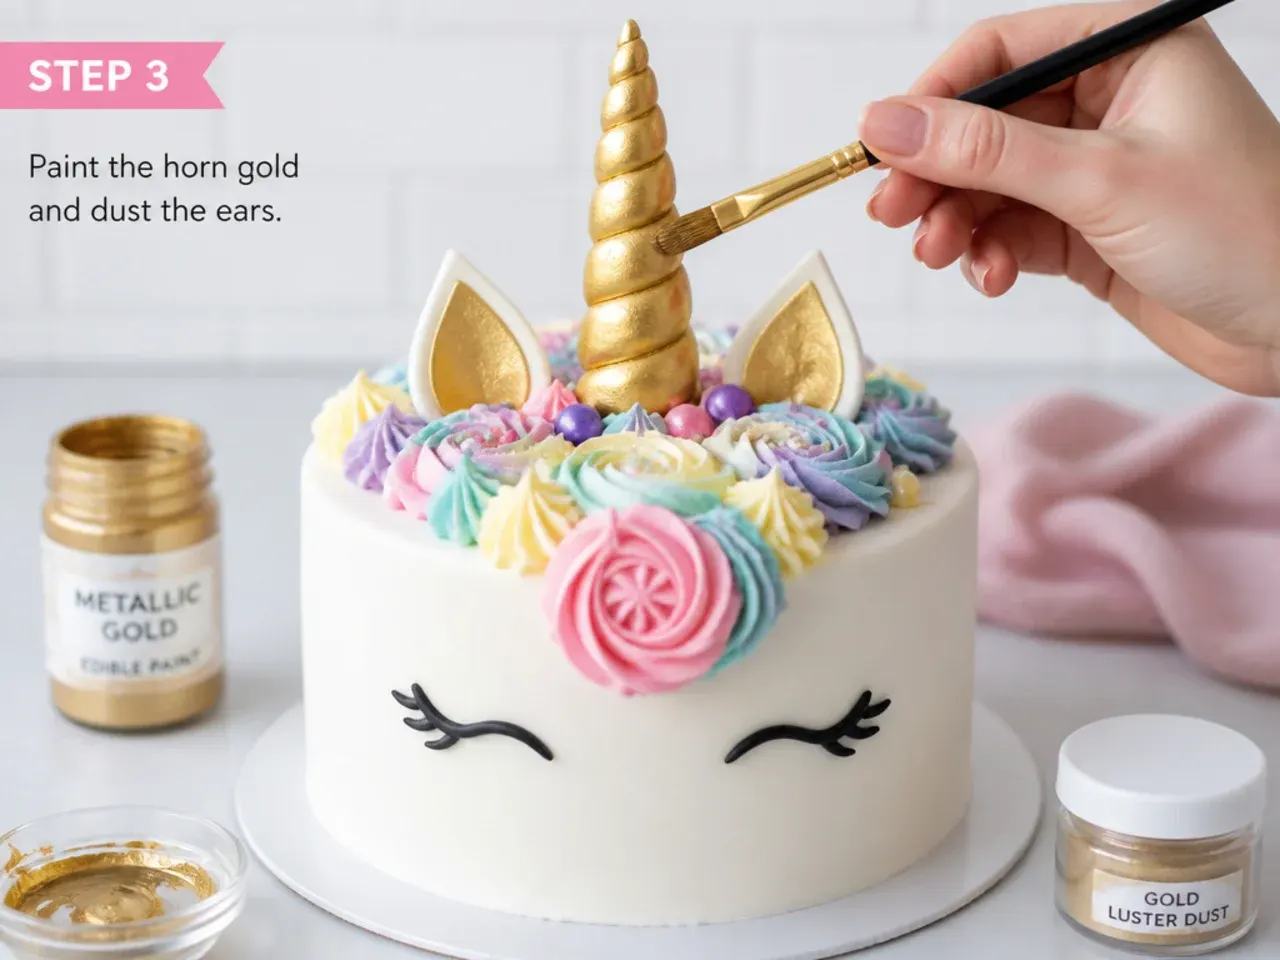
Once the horn is fully firm, mix 1 teaspoon edible gold dust with a few drops of lemon extract or clear alcohol to make a thick, paintable gold. Stand the horn in the foam block and paint two thin coats with a wide, soft brush, letting the first dry for 10-15 minutes before the second so the colour is even and rich. Brush a little pink petal dust into the centre of each fondant ear for a soft, rosy inner-ear look. For the eyes, roll a small piece of black fondant and shape two closed, curved-lash eyes with three little lashes each, keeping them cartoon-inspired rather than realistic. Set all the pieces aside to dry while you make the buttercream.
Step 4: Make and colour the buttercream
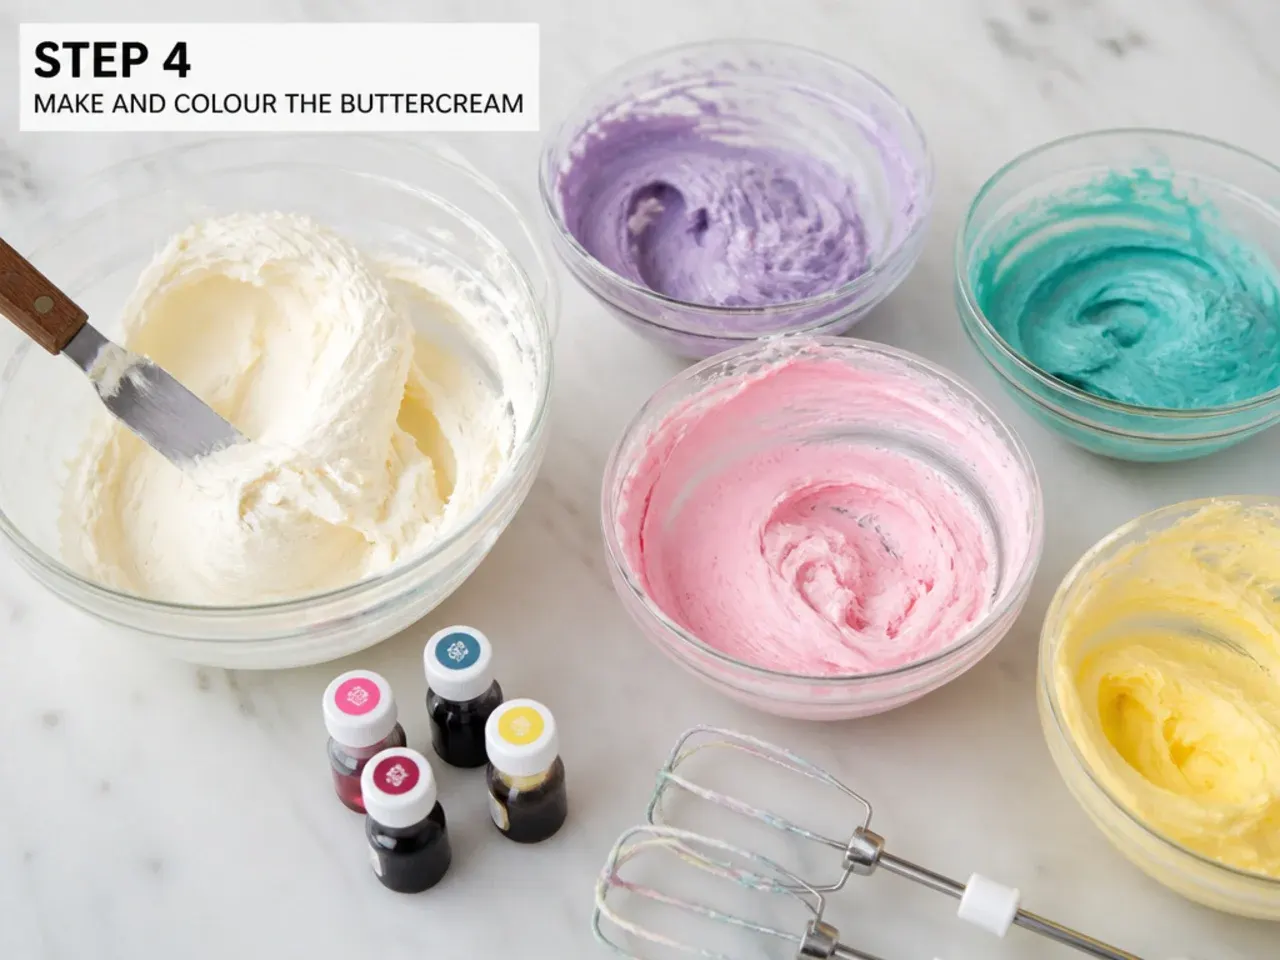
Beat 350g softened butter for 3-4 minutes until very pale, then add 700g icing sugar in three batches, mixing on low first so it doesn't fly out, then on high until light and fluffy. Beat in 1 tsp vanilla and a splash of milk if it feels stiff; you want a smooth, pipeable consistency that holds a peak. Set aside about a third for the crumb coat and final white coat. Divide the rest into three bowls and tint them pastel pink, blue and purple with a little gel colouring at a time, mixing well between additions to keep the shades soft.
Step 5: Stack and crumb-coat the cake
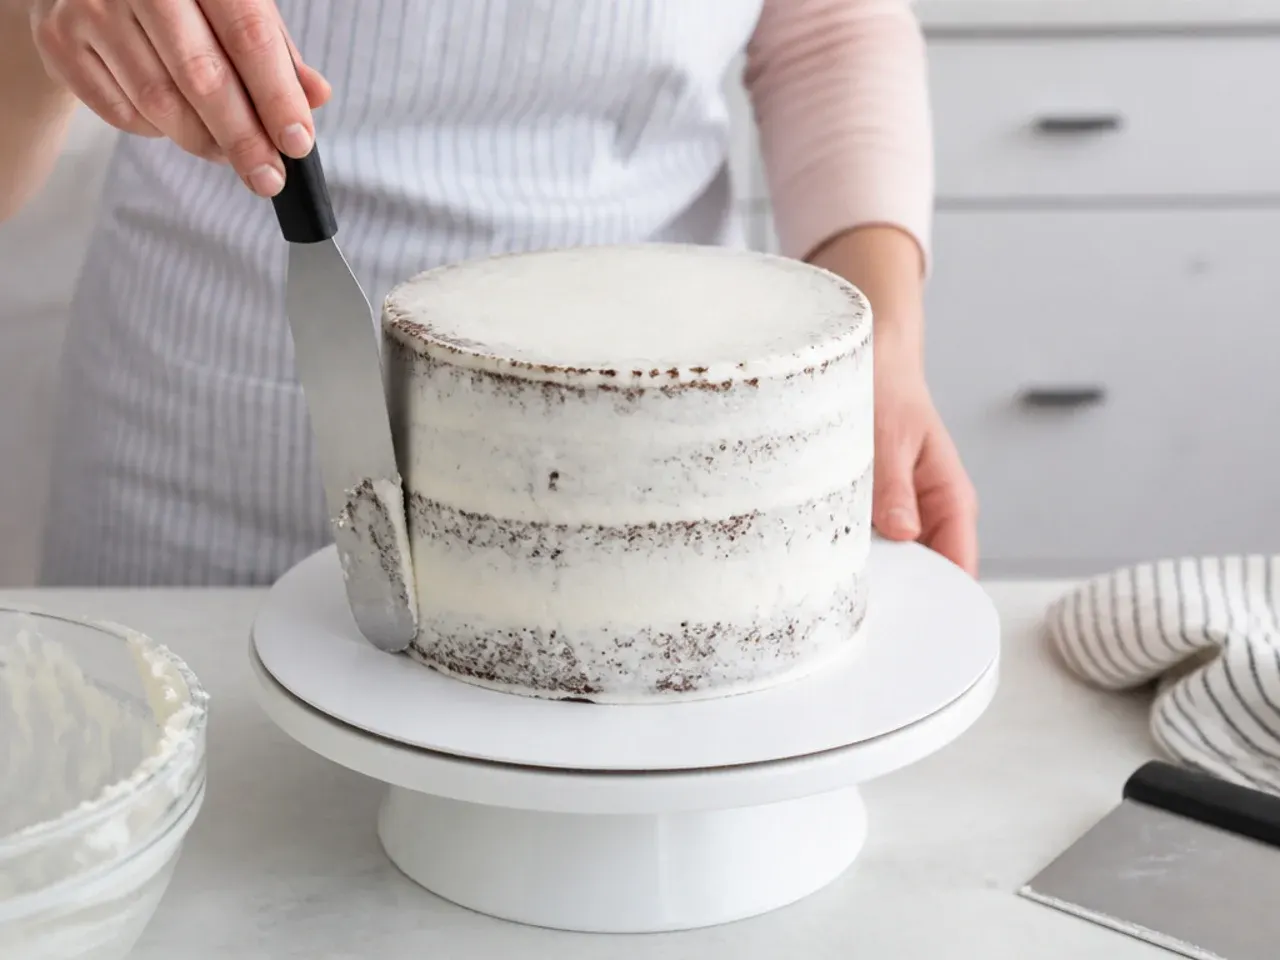
Place the first sponge on a cake board and spread with a generous layer of white buttercream, then repeat with the second and third layers, keeping them straight and level. Cover the whole cake in a thin crumb coat of white buttercream to trap any loose crumbs, smoothing the sides with a bench scraper. Chill the cake for 20-30 minutes until the coat is firm to the touch. Apply a second, smoother layer of white buttercream over the top and sides, and scrape until the surface is clean and even. This white base is the unicorn's face and gives the fondant details something firm to sit against.
Step 6: Pipe the buttercream mane
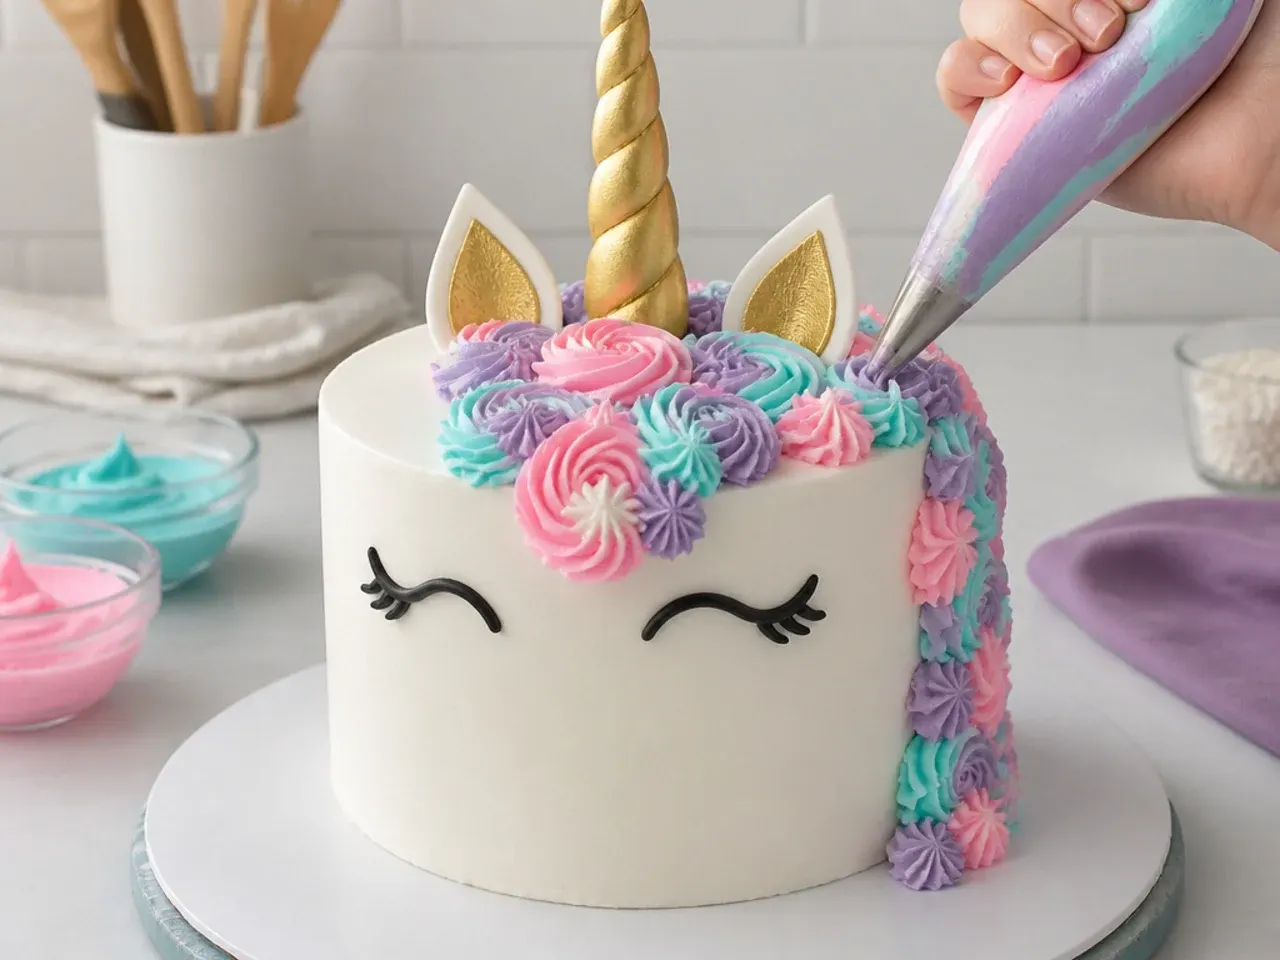
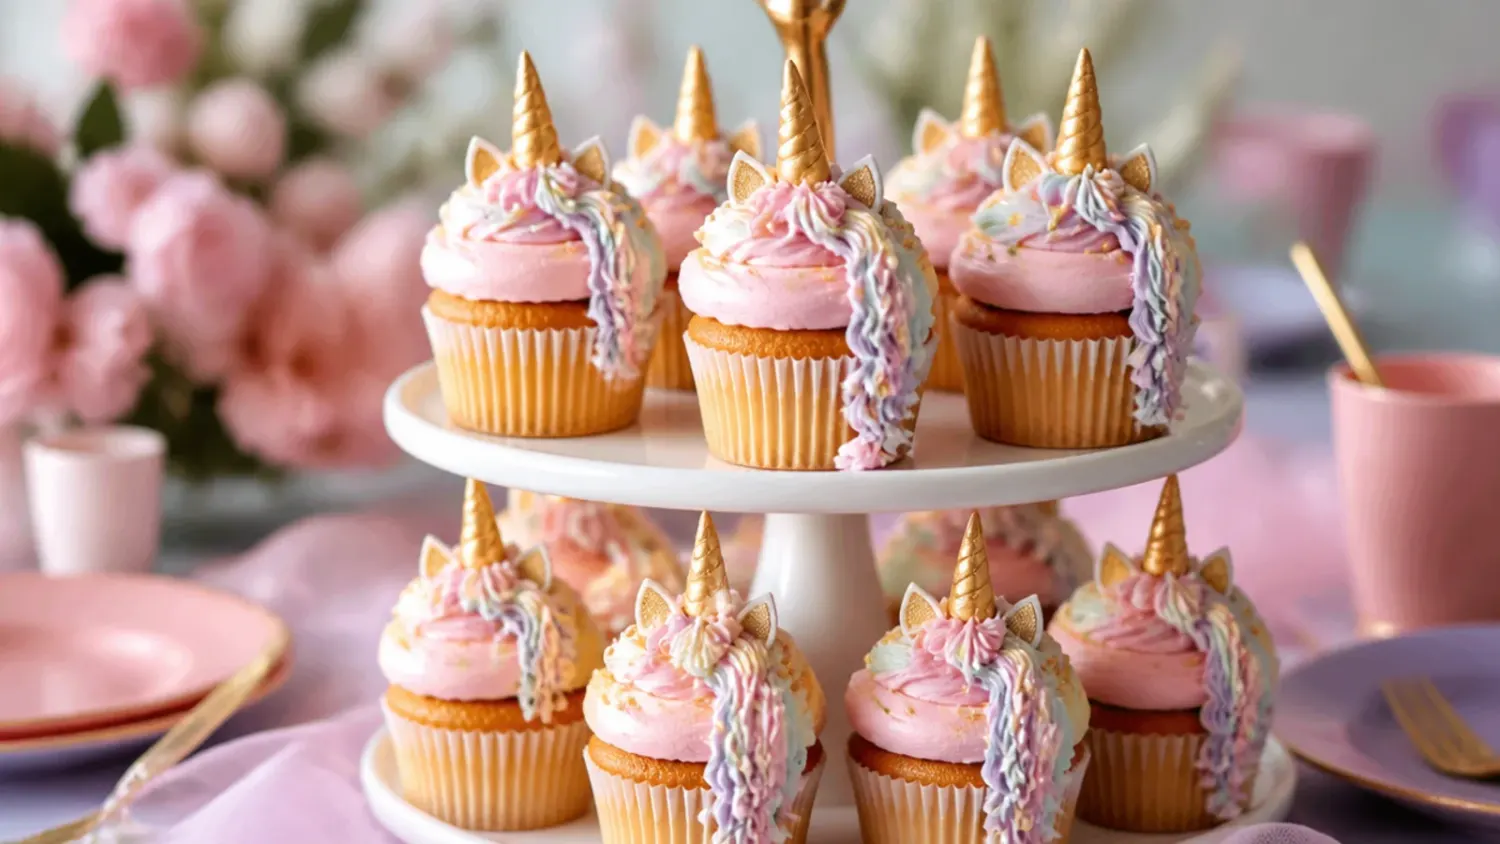
Fit piping bags with large star tips (a 1M or 2D works well) and fill them with the pink, blue and purple buttercreams. Starting at the top of the cake where the horn will go, pipe swirled rosettes and swirls cascading down one side and slightly onto the front, mixing the three colours in irregular clusters for a flowing mane. Vary the size of the swirls and let some trail down the side of the cake so the mane looks natural and full. Hold the bag at 90 degrees, squeeze from the centre, and stop pressure before you lift to keep each swirl neat. Add a few extra small stars to fill any gaps between colours.
Step 7: Assemble the unicorn features
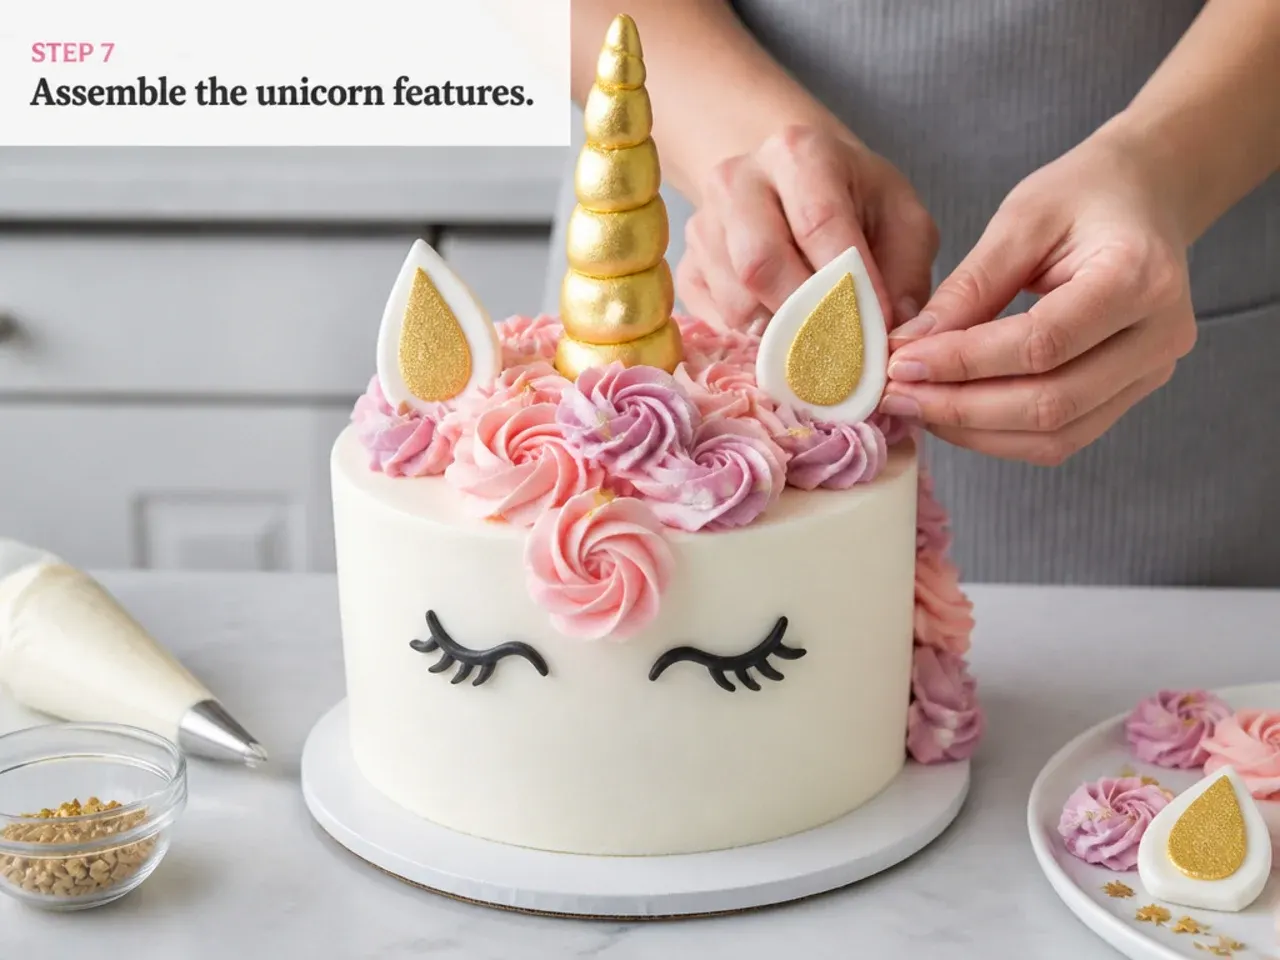
Press the gold horn firmly into the top of the cake, just in front of the mane, so the skewer anchors it upright. Insert the two fondant ears on either side of the horn, angled slightly outward, securing the base of each with a dab of buttercream. Gently press the fondant eyes onto the front of the cake below the mane, positioned close together and low for a sweet, cartoon-inspired face. Finish with a light scatter of edible glitter or pastel sprinkles over the mane. Let the cake sit at room temperature for about 30 minutes before serving so every layer is soft and the buttercream is creamy.
Pro Tips
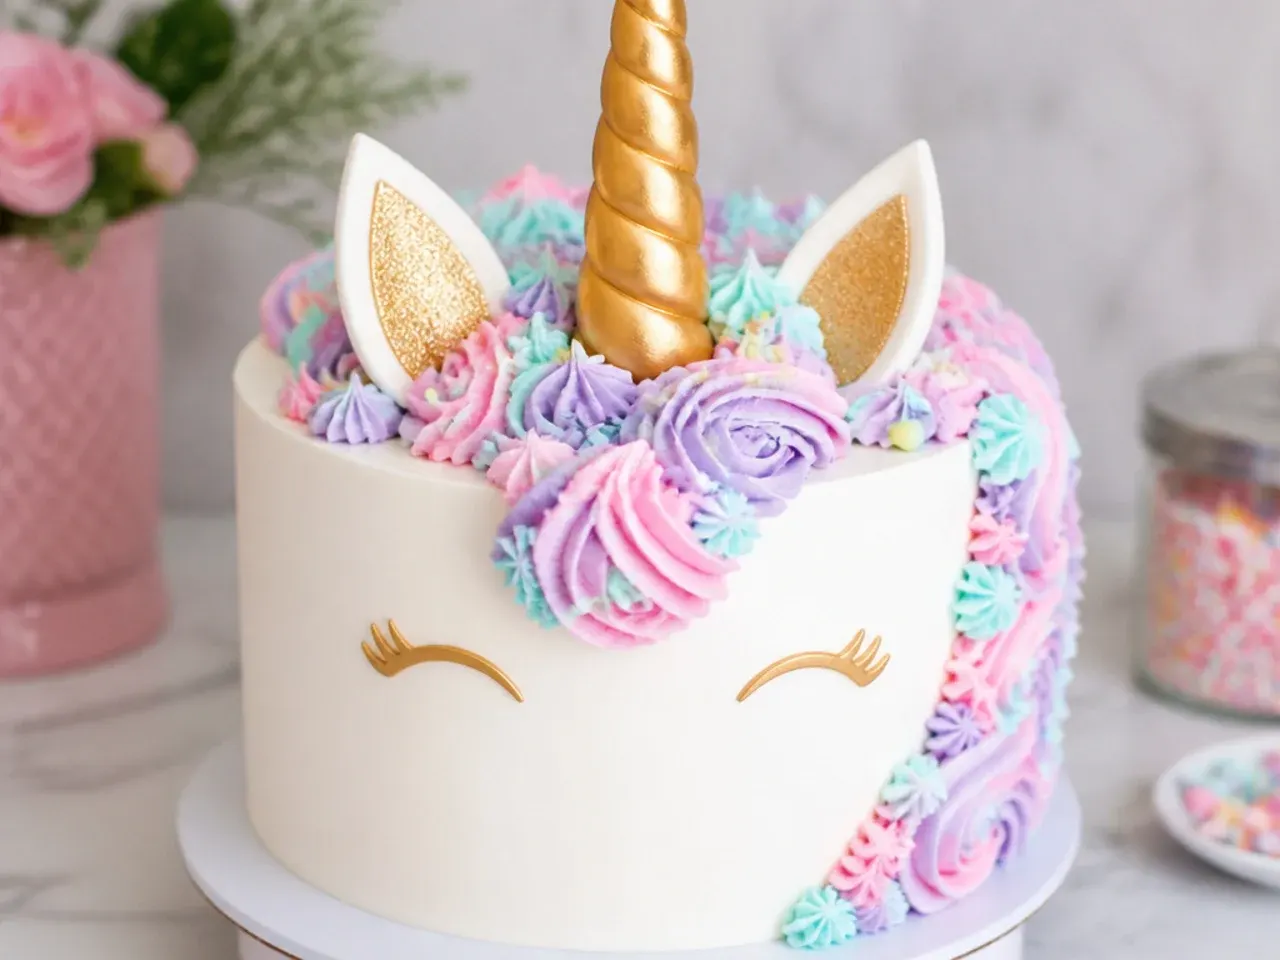
Add 1 teaspoon of CMC (tylose) powder per 250g of white fondant before shaping the horn and ears so they set rock-hard and stand up straight. Chill your crumb-coated cake for 20-30 minutes before the final buttercream layer, which firms the base so your fondant details don't slide. When piping the mane, hold the piping bag at a steady 90-degree angle and let each rosette build from the center out, working colors in irregular clusters rather than tidy rows for that tousled unicorn look. Keep a small dish of water and a fine brush handy: brush a dab on fondant seams to glue pieces without cracking. If your buttercream feels too soft in a warm kitchen, refrigerate the whole bag for 10 minutes before continuing to pipe.
Storage or Make-Ahead Tips
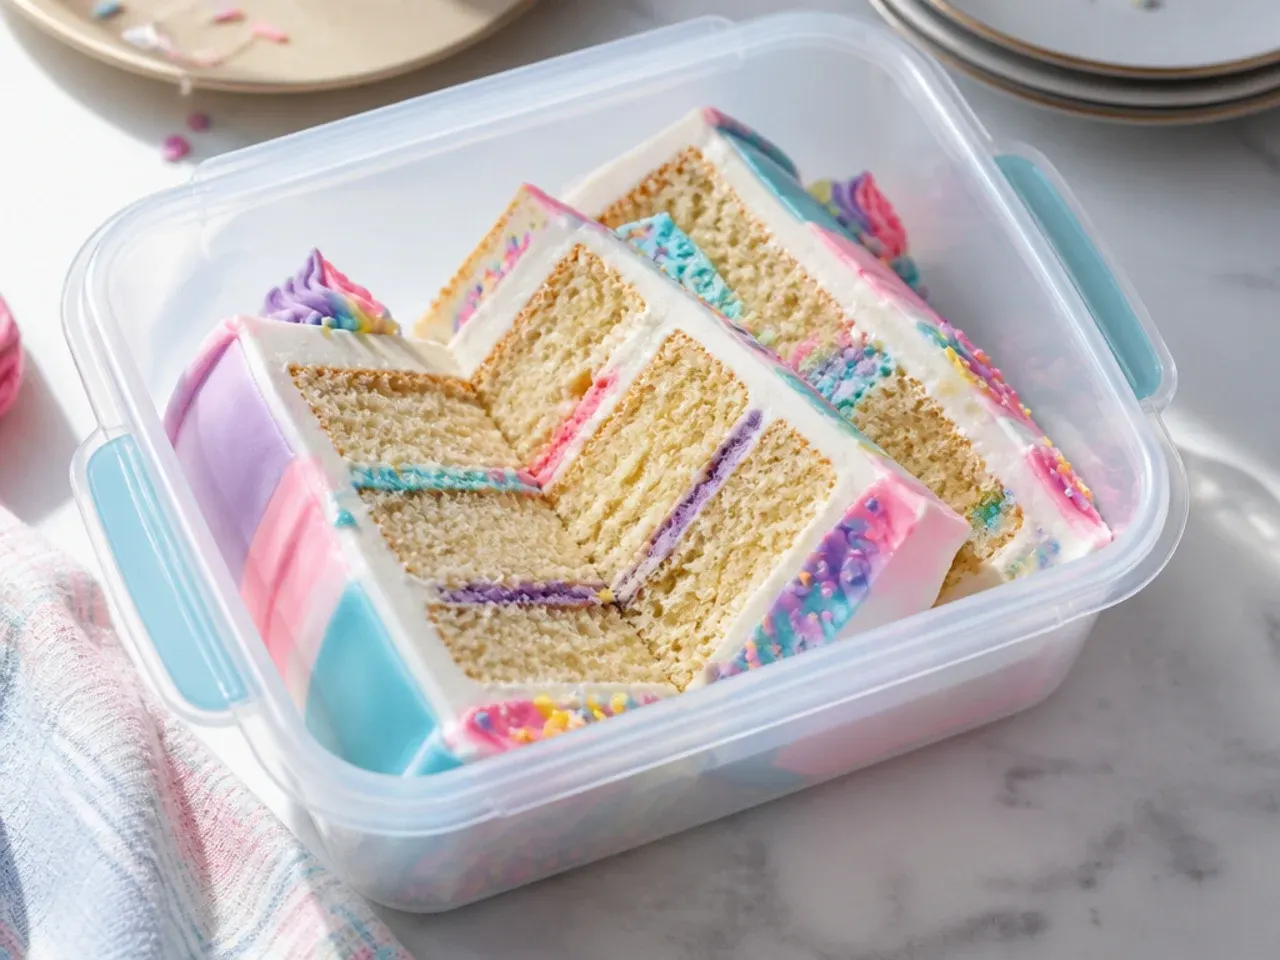
Make the fondant horn and ears 1-2 days ahead and leave them uncovered at room temperature to harden fully before painting and assembly. The vanilla sponge layers can be baked up to 2 days in advance, wrapped tightly in cling film, and stored at room temperature, or frozen for up to 1 month and thawed overnight. Once decorated, keep the finished unicorn fondant cake in a large airtight container in the fridge for up to 3 days, but bring it to room temperature for about an hour before serving so the sponge is soft and the buttercream is creamy. Avoid refrigerating painted fondant uncovered, as condensation can make the gold horn sticky and streaky. Leftover slices keep in an airtight container in the fridge for 3-4 days.
Make a showstopping unicorn fondant cake at home with this 7-step guide covering a moist vanilla sponge, a gold fondant horn, ears, and a pastel mane. For more unicorn cake inspiration, browse the full Unicorn Cake Ideas board — every idea there is written for real home kitchens, not professional bakers.
Frequently Asked Questions
Make them at least 24 hours ahead, or ideally 1-2 days before assembly. Fondant needs time to dry and harden so the horn stands up straight and the ears hold their curve. Kneading in CMC (tylose) powder speeds up and strengthens the set. Leave the pieces uncovered at room temperature, never in the fridge, where moisture would keep them soft.

Related Recipes
Save this for later 📌
Pin this article to your Pinterest board so the full list is one tap away when you need it.
Save on Pinterest