15 Authentic Mongolian Beef Recipes to Try
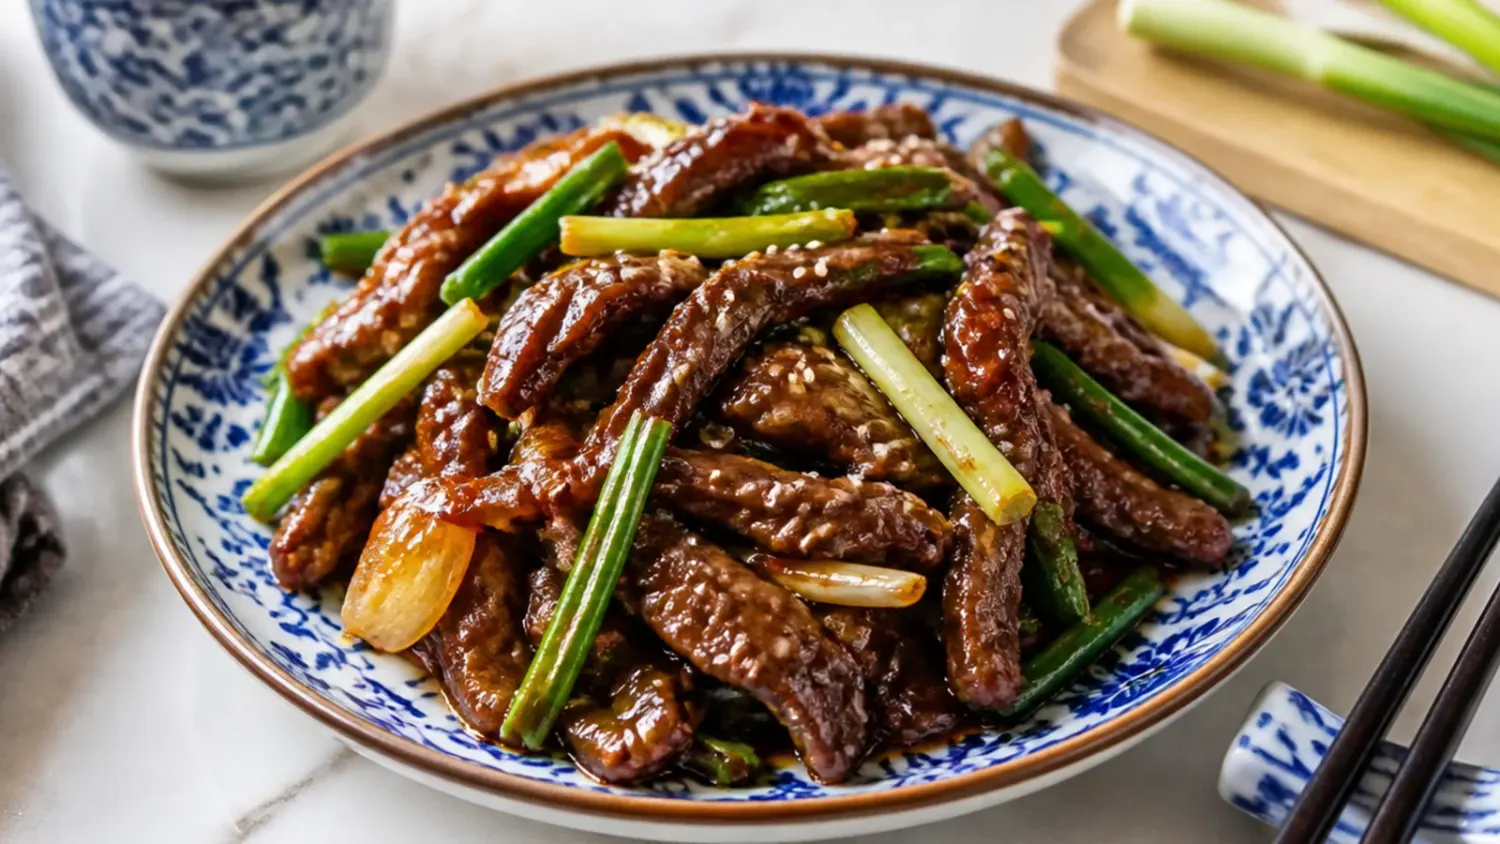
Try 15 authentic Mongolian beef recipes, from crispy flank steak to slow cooker and keto twists, plus a tested base recipe ready in 40 minutes. If you love mongolian beef recipe inspiration, start with our Mongolian Beef Recipes collection, then browse the full Dinner Recipes hub for more.
Save this for later 📌
Pin this article to your Pinterest board so the full list is one tap away when you need it.
Save on PinterestDinner Recipes
Beginner
Recipes
15 ideas
Table of Contents
- Why You'll Love These
- 1. Classic Crispy Flank Steak Mongolian Beef
- 2. 20-Minute One-Pan Mongolian Beef
- 3. P.F. Chang's Copycat Mongolian Beef
- 4. Ground Beef Mongolian Beef Bowls
- 5. Slow Cooker Mongolian Beef
- 6. Instant Pot Mongolian Beef
- 7. Air Fryer Mongolian Beef
- 8. Mongolian Beef Udon Noodles
- 9. Mongolian Beef and Broccoli
- 10. Sichuan-Style Spicy Mongolian Beef
- 11. Mongolian Beef Lettuce Wraps
- 12. Keto Low-Carb Mongolian Beef
- 13. Taiwanese Barbecue-Style Mongolian Beef (The Original)
- 14. Crispy Shredded Chilli Mongolian Beef
- 15. Mongolian Beef Meal-Prep Rice Bowls
- Pro Tips
- Serving Suggestions
- Storage and Reheating
- The Master Recipe
Why You'll Love These
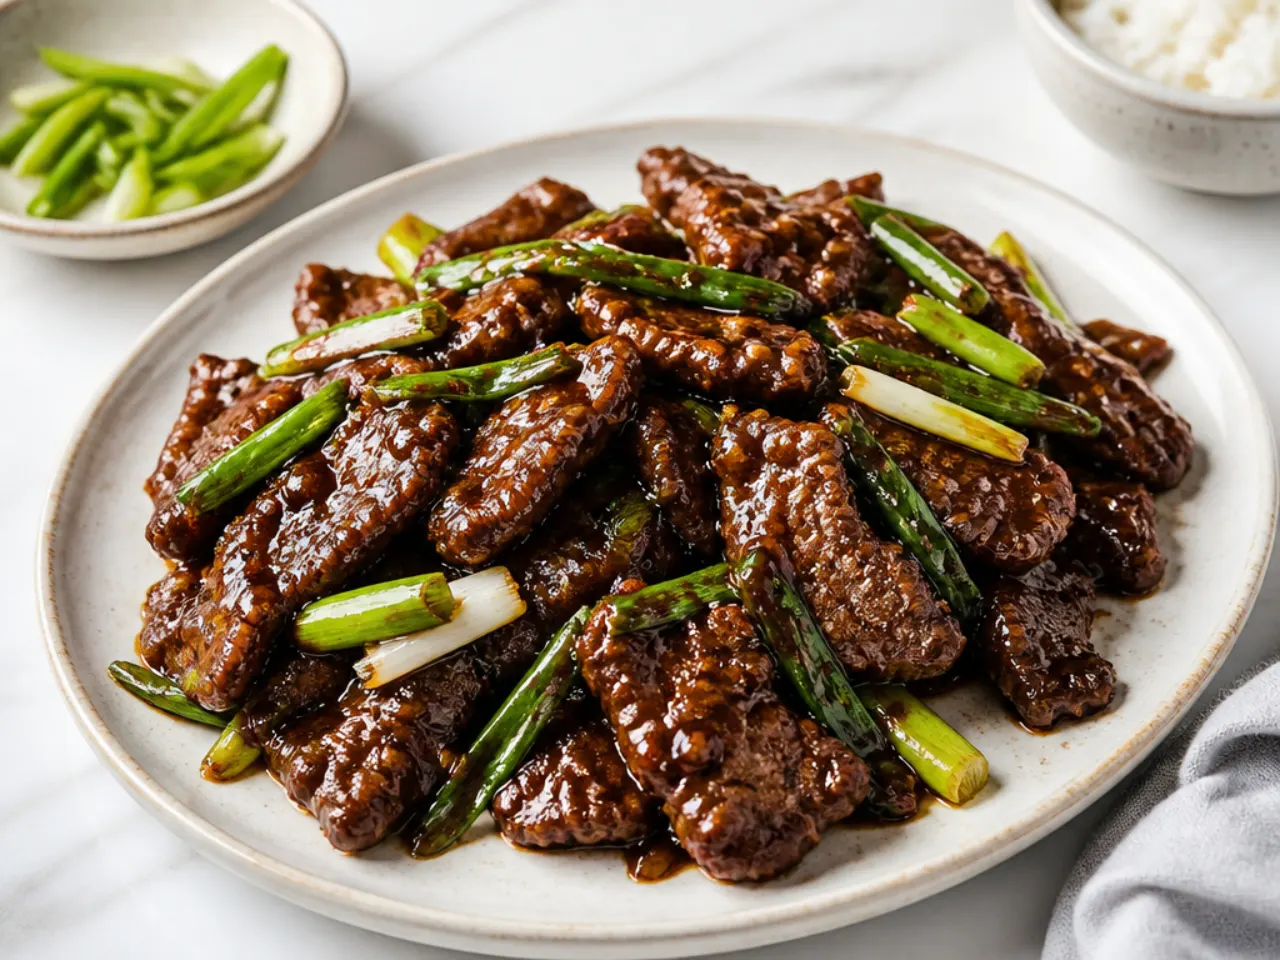
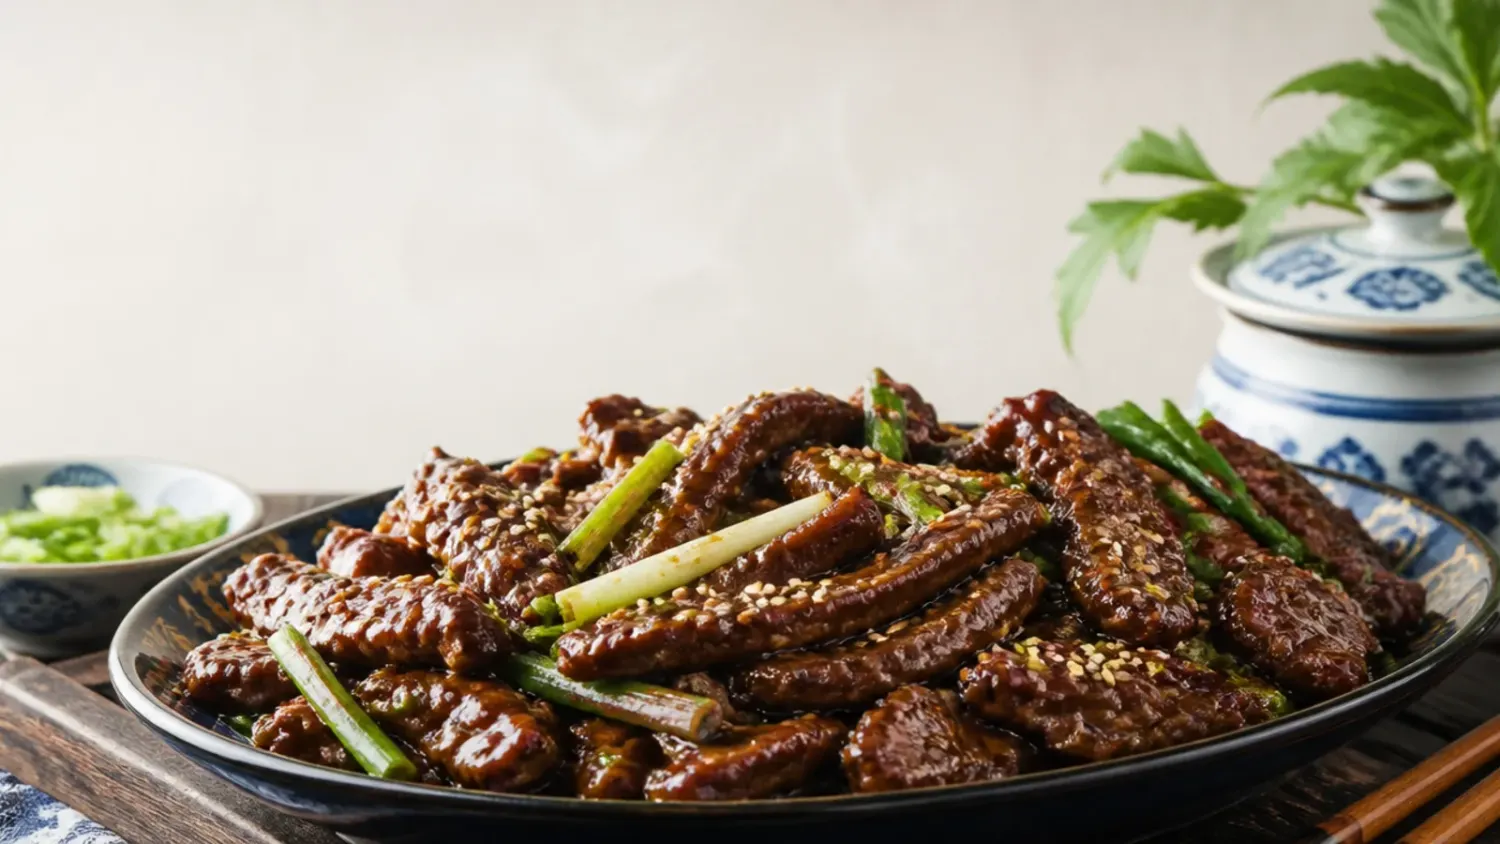
Mongolian beef is not actually Mongolian — it grew out of Taiwanese barbecue restaurants in the 1950s and became a Chinese-American takeaway classic. What makes it worth cooking at home is the contrast: crispy, velveted strips of flank steak coated in a glossy sauce of soy, dark brown sugar, garlic and ginger. Every one of the 15 recipes below builds on the same tested base recipe, which serves 4 in about 40 minutes and costs a fraction of a takeaway order. You will find versions for the slow cooker, Instant Pot and air fryer, plus budget mince, keto and noodle spins. Each idea tells you exactly what to change from the base recipe, so you can pick one tonight and follow it without guesswork.
1. Classic Crispy Flank Steak Mongolian Beef
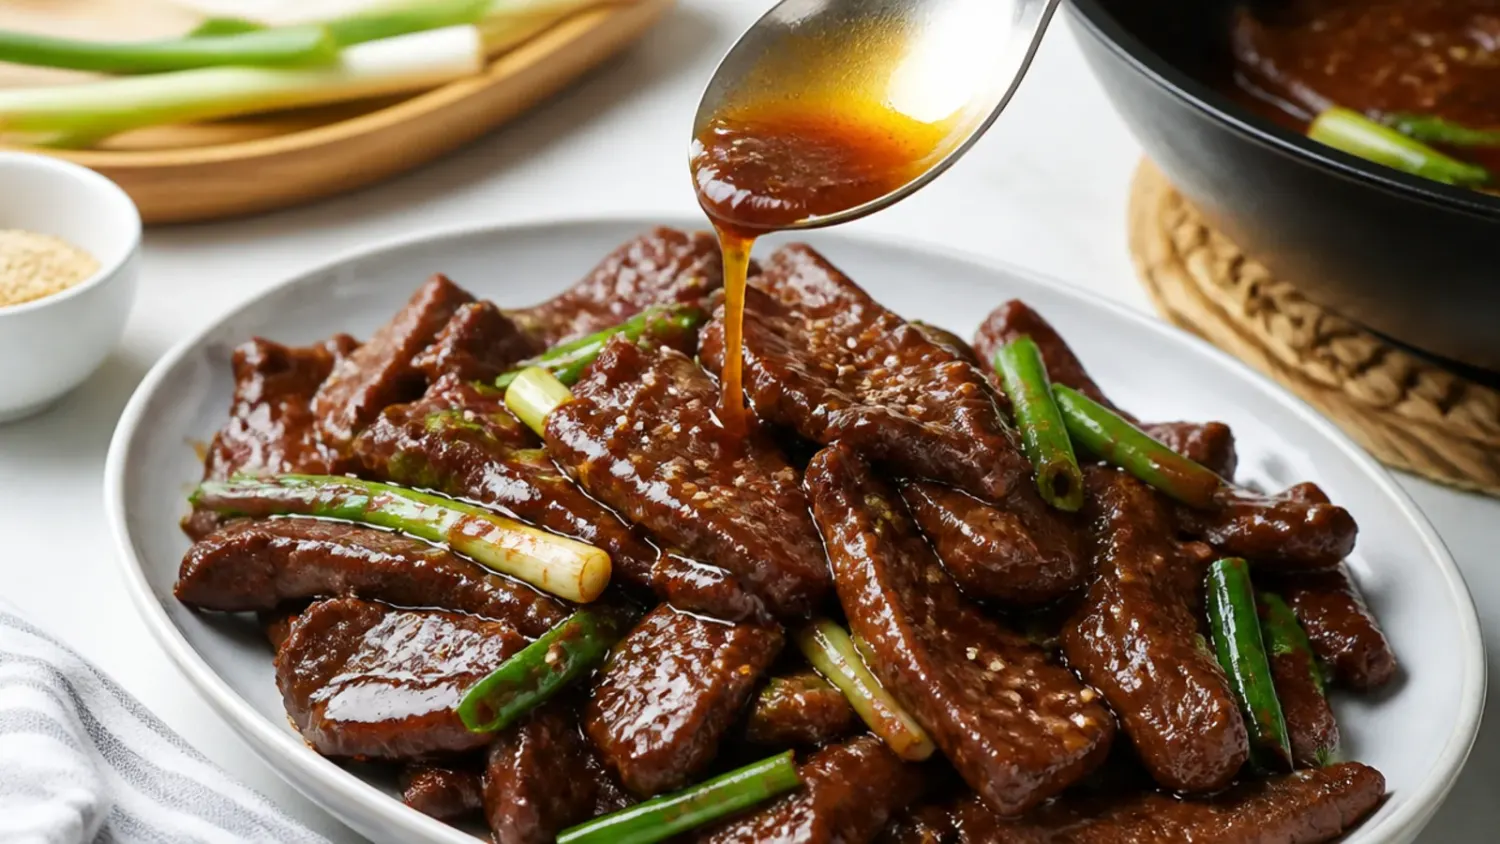
This is the benchmark version and the base recipe printed below. Flank steak (sold as bavette in most UK supermarkets) is sliced 5 mm (1/4 in) thick against the grain, tenderised with bicarbonate of soda, then tossed in cornflour and shallow-fried at about 190°C (375°F) until the edges crackle. The sauce is deliberately simple — 60 ml soy sauce, 70 g dark brown sugar, garlic, ginger and a splash of stock — simmered 2 to 3 minutes until it coats the back of a spoon. Dark brown sugar matters here: its molasses builds the deep mahogany colour restaurants get. Finish with spring onions cut into 5 cm (2 in) lengths so they keep some crunch.
2. 20-Minute One-Pan Mongolian Beef
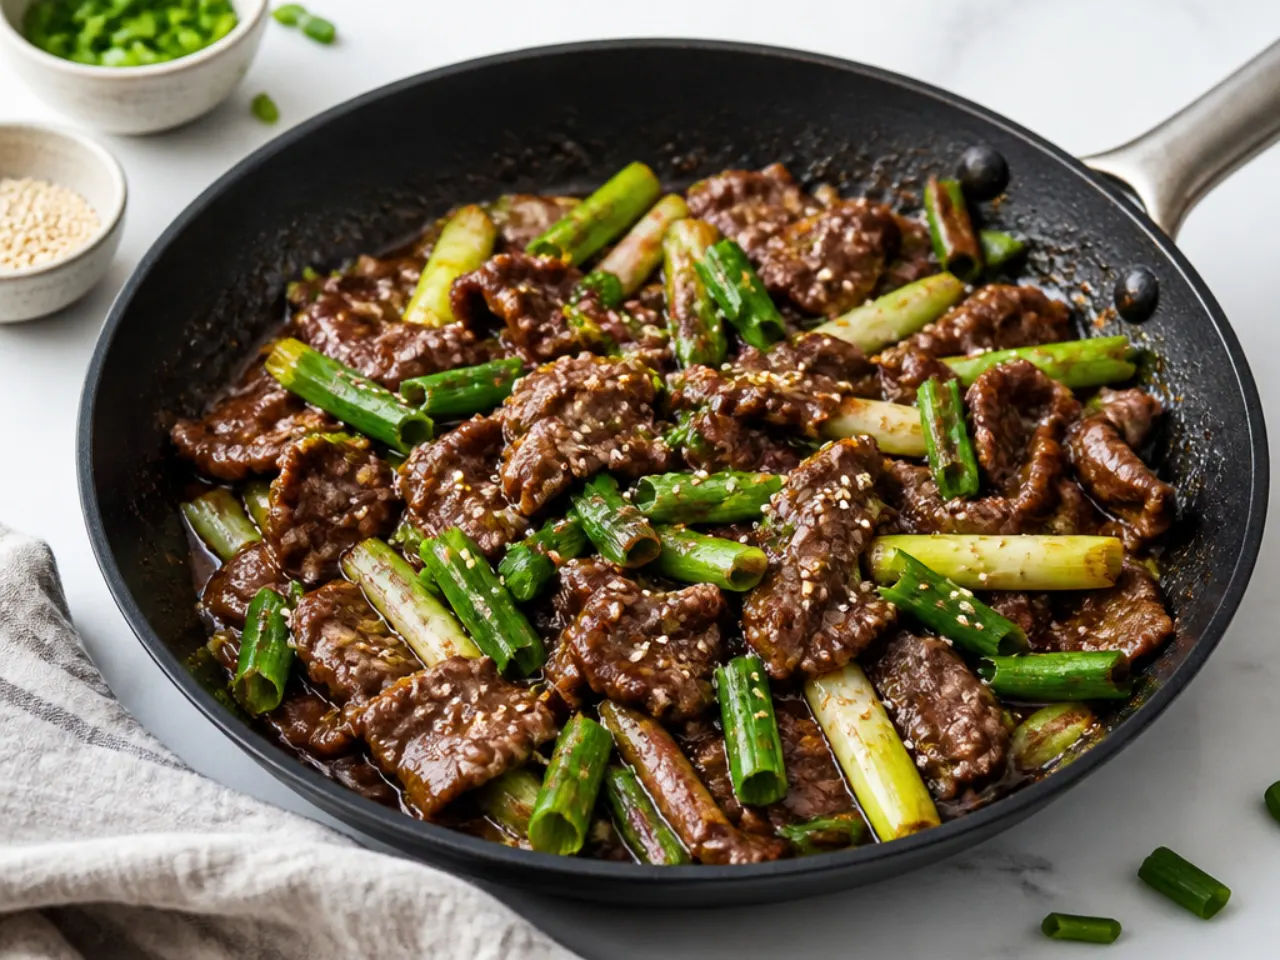
When there is no time to velvet the beef, skip the bicarb rest and go straight to the pan. Shake the sliced steak with 3 tablespoons of cornflour in a zip-top bag, then sear it in a single layer in a 30 cm (12 in) frying pan over high heat, about 1 minute per side. Pour the sauce straight over the beef and let it bubble for 2 to 3 minutes — no separate simmering step. The texture is a little less shatter-crisp than the classic, but the flavour is 90% there for half the effort. This is the version to memorise for weeknights when the rice is already in the cooker.
3. P.F. Chang's Copycat Mongolian Beef
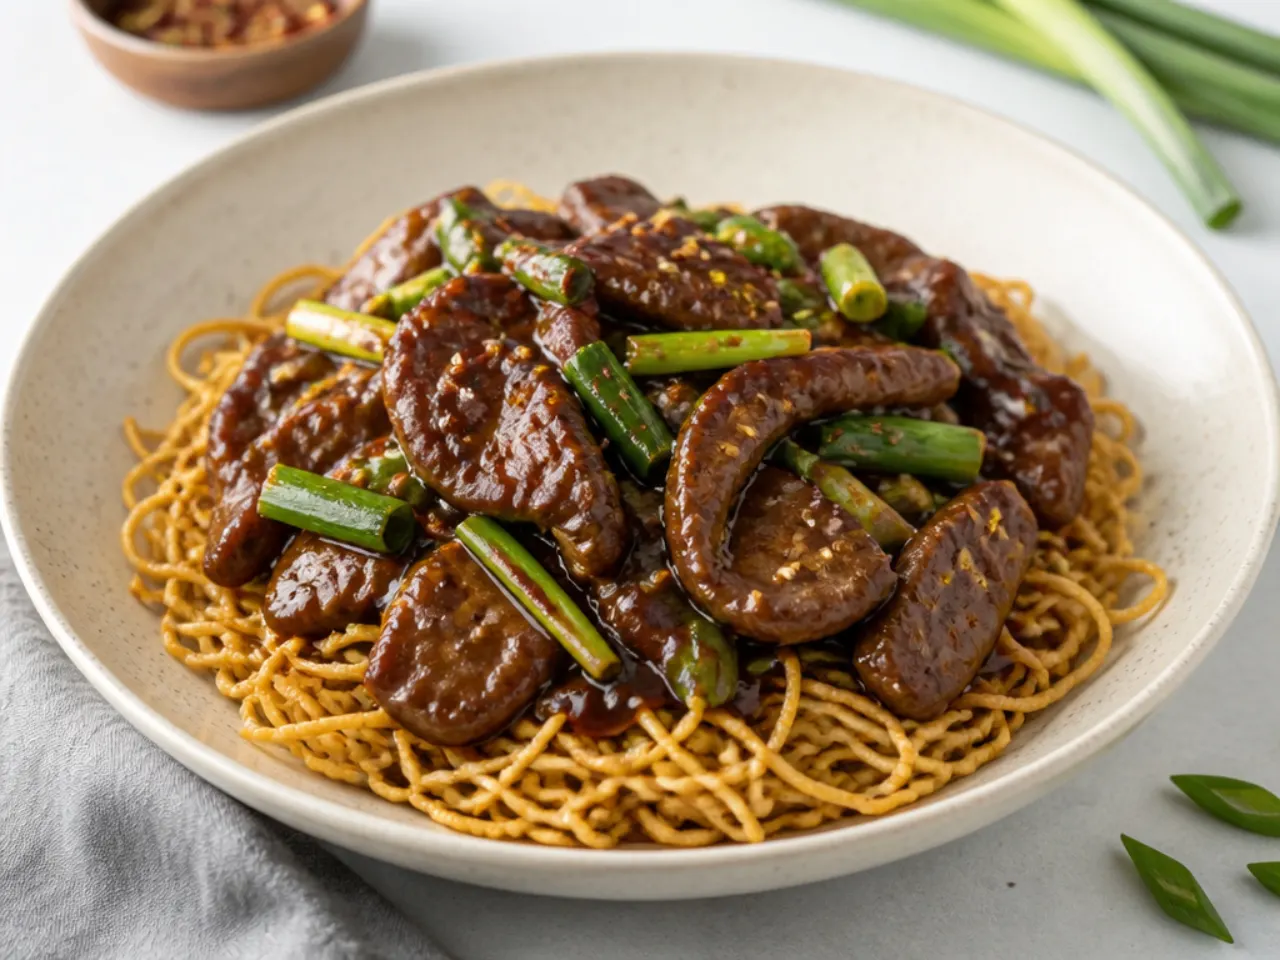
The famous restaurant version is noticeably sweeter and saucier than most homemade recipes. To copy it, raise the sauce to near-equal parts soy and sugar — 120 ml soy sauce to 100 g brown sugar — and double the water so there is extra glaze for the rice. Fry the beef in 1 cm (1/2 in) of oil rather than a thin film so the coating puffs and crisps the way it does in a restaurant wok. Serve it over a nest of crispy fried vermicelli rice noodles, which is how P.F. Chang's plates it. A teaspoon of dark soy sauce deepens the colour to match the original.
4. Ground Beef Mongolian Beef Bowls
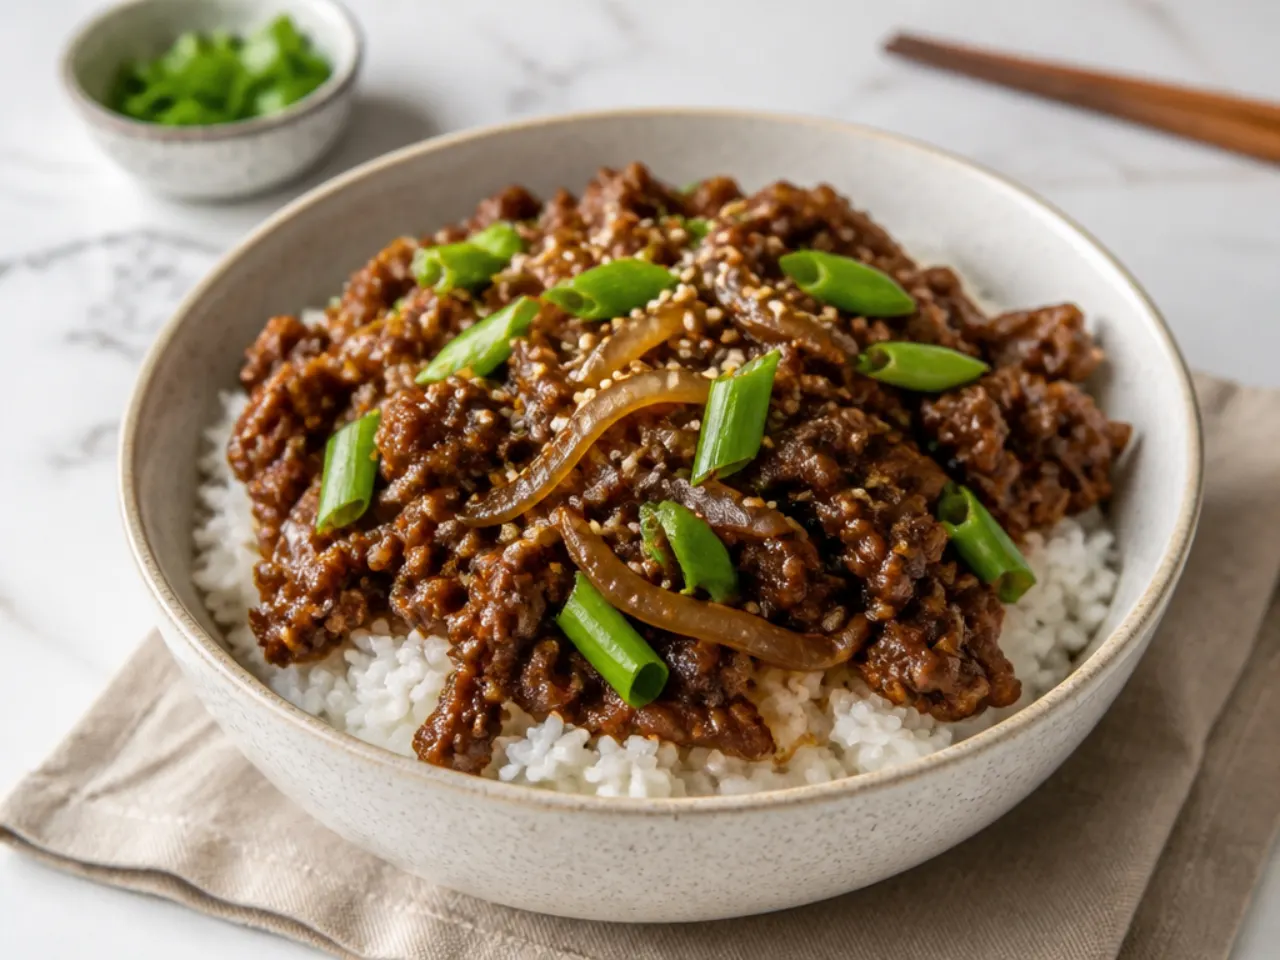
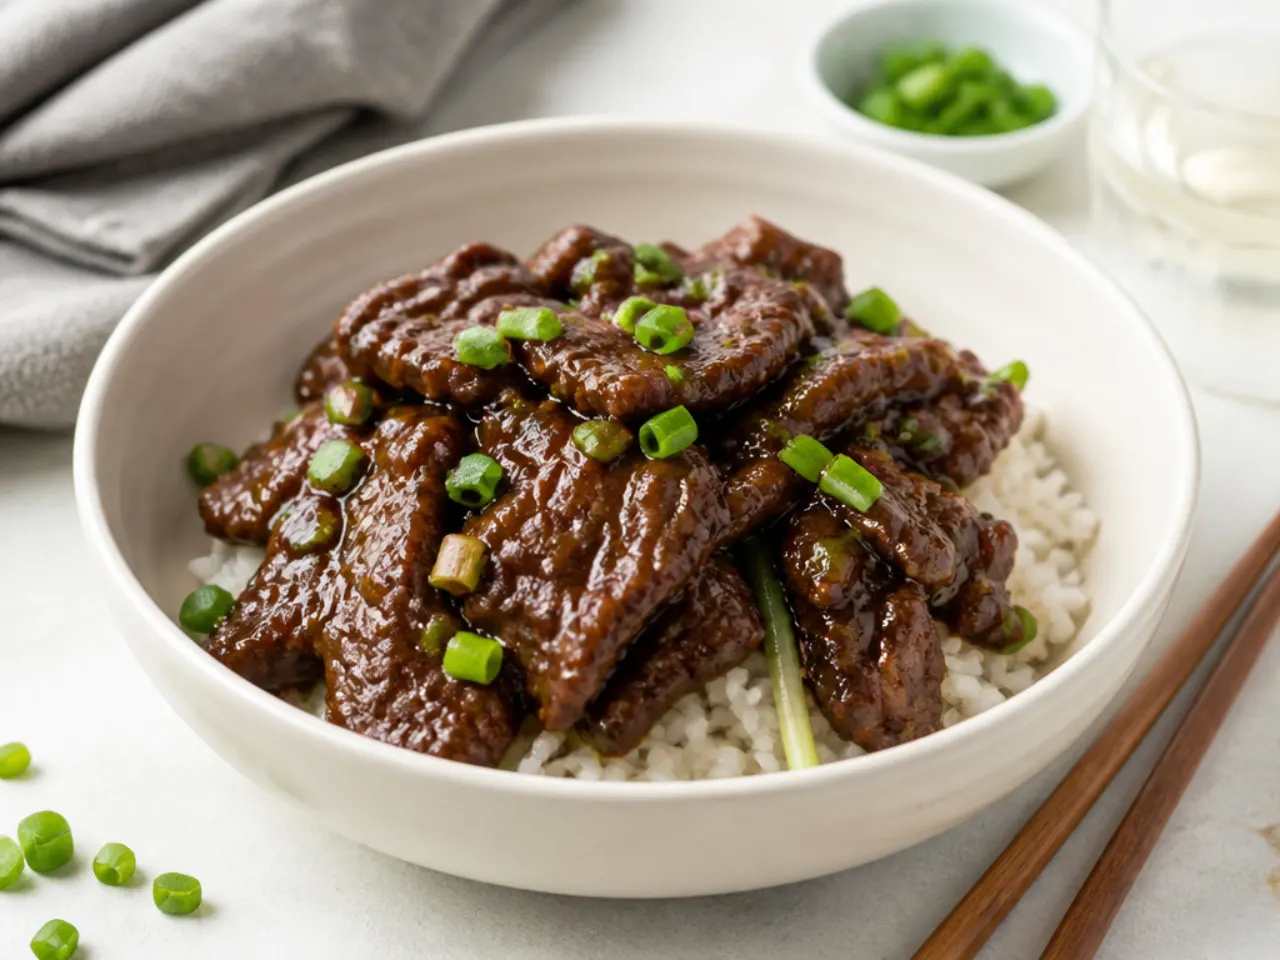
Swap the flank steak for 500 g (1 lb) of beef mince (10% fat) and the cost per serving drops by more than half. Brown the mince hard in a dry pan for 6 to 8 minutes, breaking it up until you get crusty edges, then push it aside and fry the garlic and ginger in the rendered fat. Pour in the sauce with 1 tablespoon of cornflour whisked in and simmer 2 minutes until it clings. Spoon it over jasmine rice, top with spring onions and sesame seeds, and you have a 20-minute dinner children reliably eat. No slicing, no dredging, one pan to wash.
5. Slow Cooker Mongolian Beef
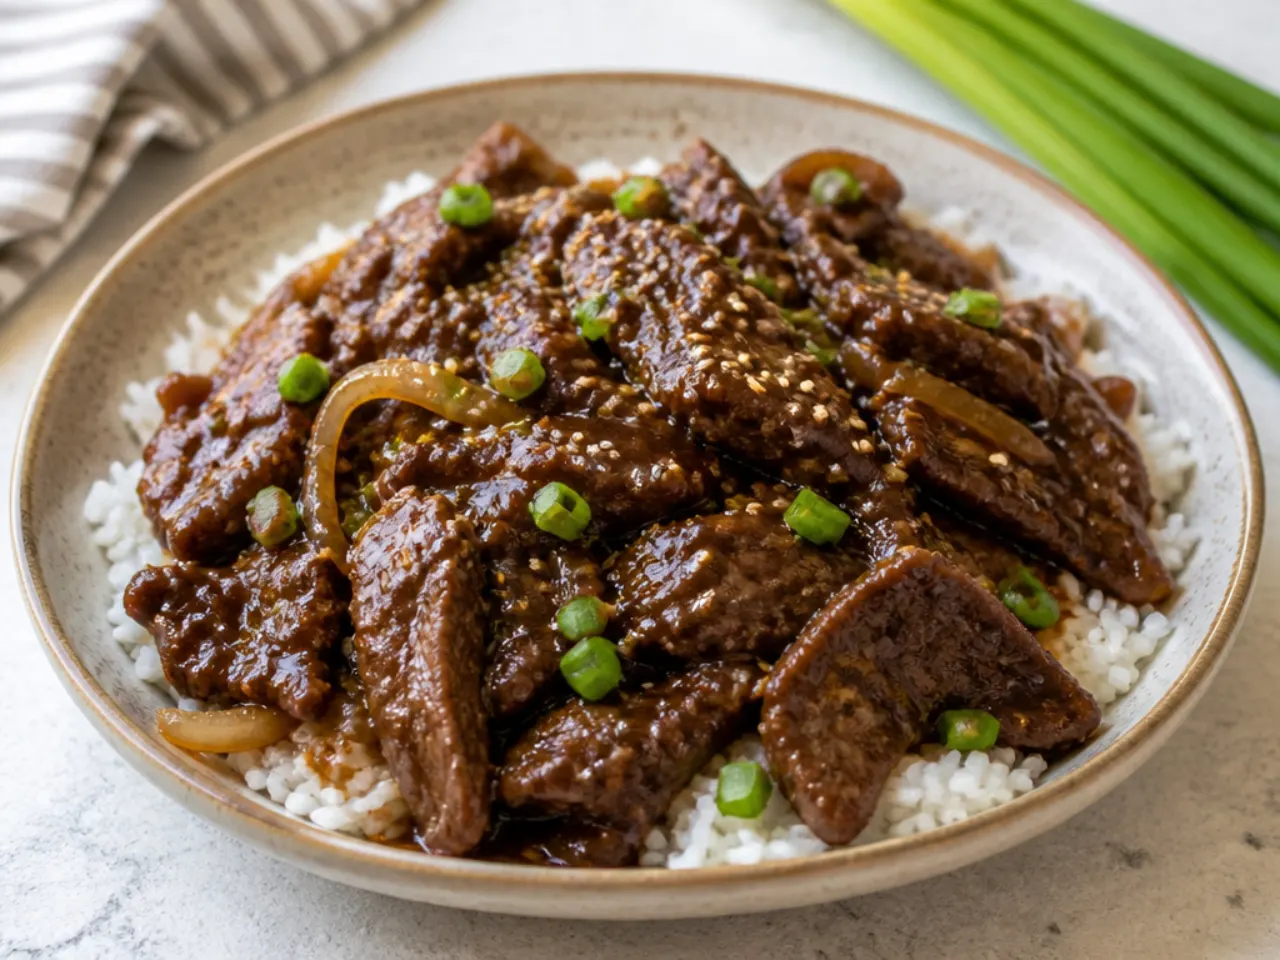
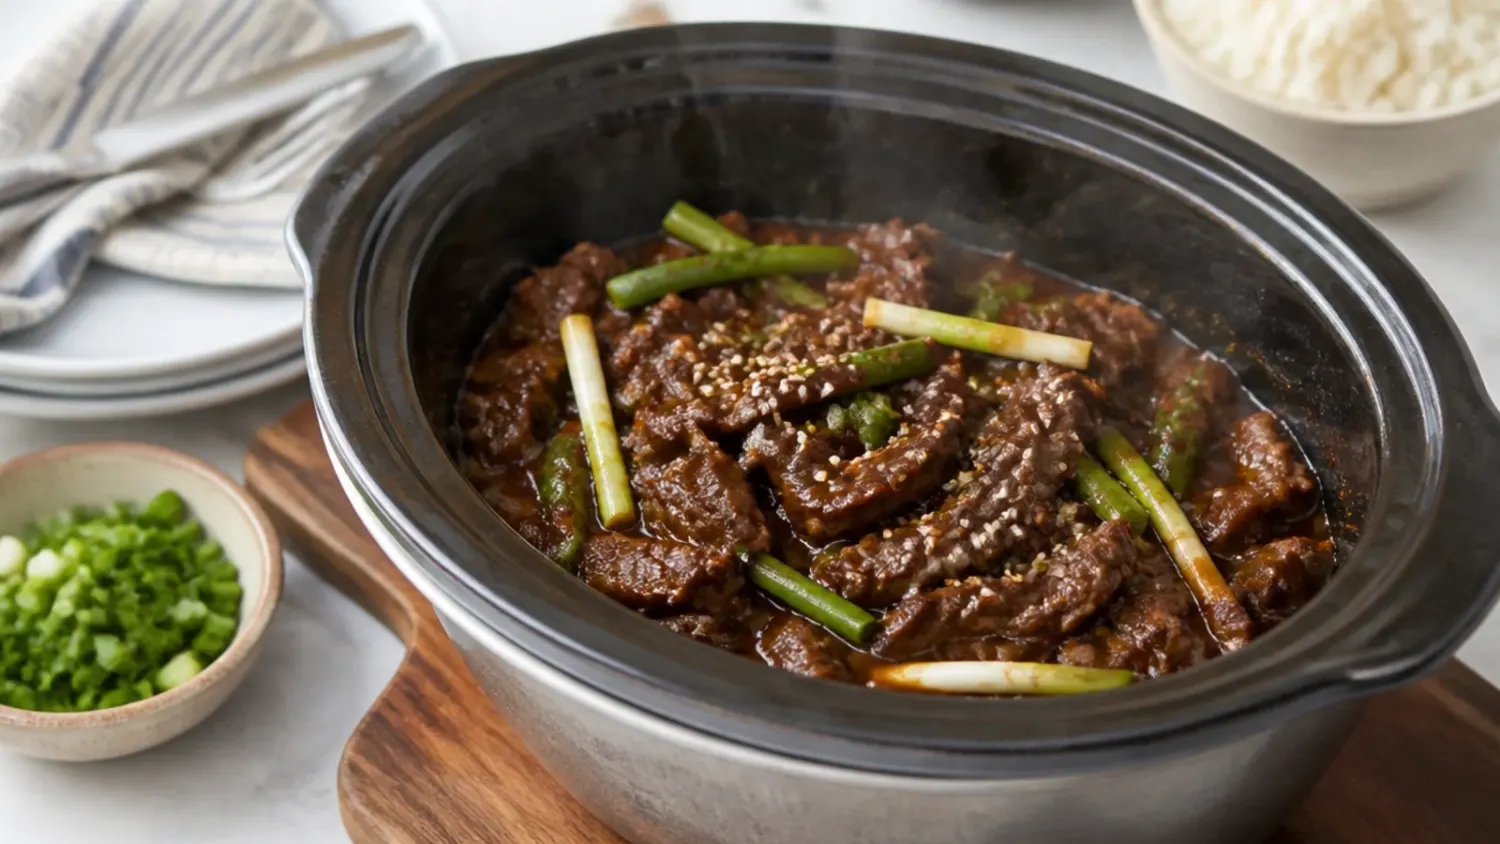
Braising steak or chuck shines here because the long cook melts its connective tissue. Toss 700 g (1 1/2 lb) of sliced chuck with 3 tablespoons of cornflour, layer it in the slow cooker with double the sauce quantities, and cook on Low for 4 to 5 hours (or High for 2 1/2 to 3). The cornflour thickens the sauce as it cooks, so there is no finishing step. Stir in the spring onions for the final 10 minutes so they keep some bite. You lose the crispy coating but gain fall-apart tenderness — ideal for feeding a crowd from one pot.
Save this for later 📌
Pin this article to your Pinterest board so the full list is one tap away when you need it.
Save on Pinterest6. Instant Pot Mongolian Beef
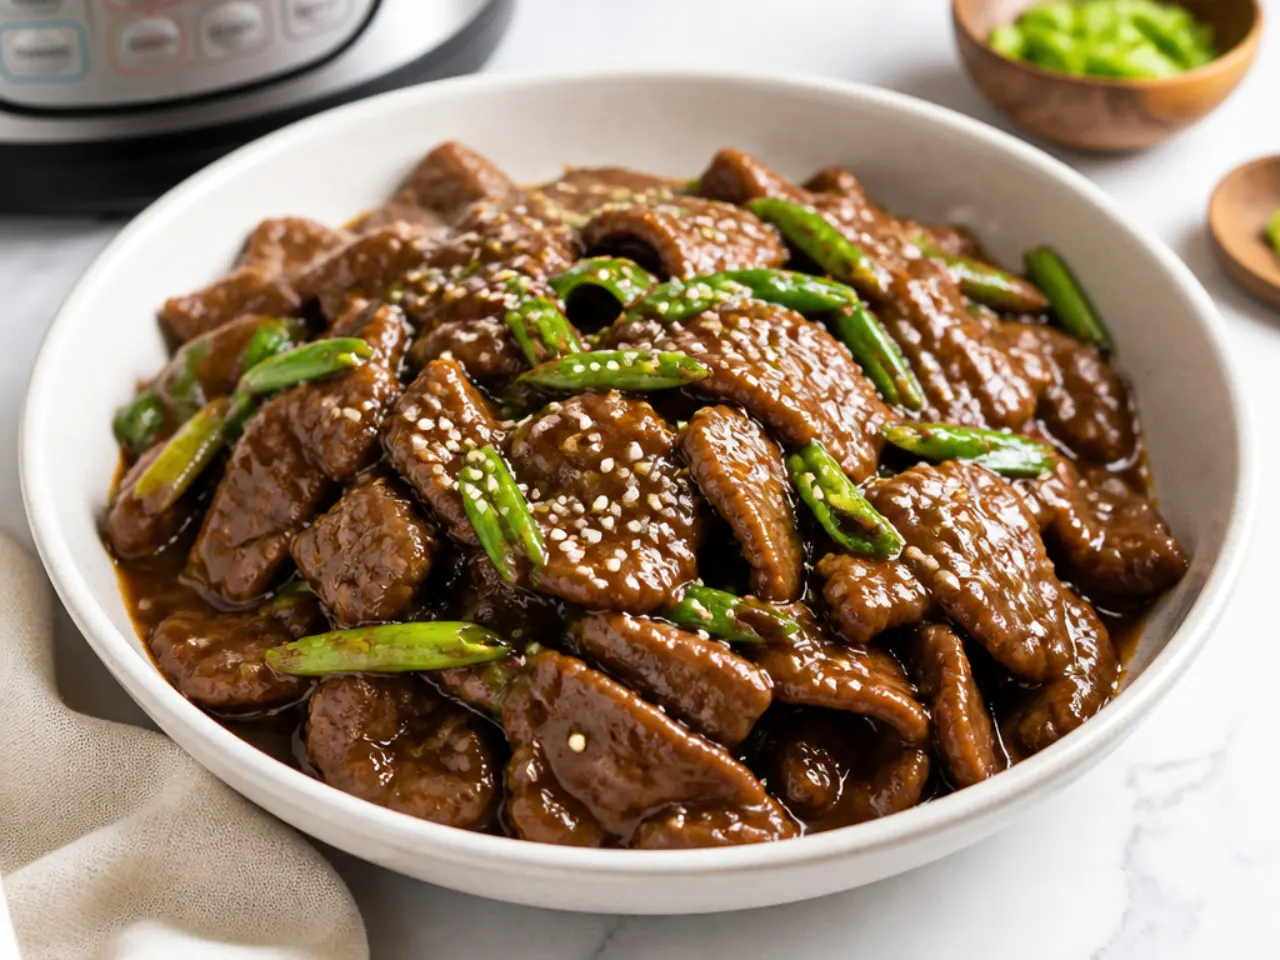
Pressure cooking delivers slow-cooker tenderness in under an hour. Sear the cornflour-dusted beef on the Sauté setting first, add the sauce with an extra 120 ml (1/2 cup) of stock — pressure cookers need the liquid — then cook on High Pressure for 10 minutes with a quick release. Switch back to Sauté and stir in a slurry of 1 tablespoon cornflour and 2 tablespoons cold water; it thickens in 3 to 4 minutes. Flank and chuck both work, though chuck comes out silkier. Cook rice at the same time in a stacked pot-in-pot insert for a true one-appliance dinner.
7. Air Fryer Mongolian Beef
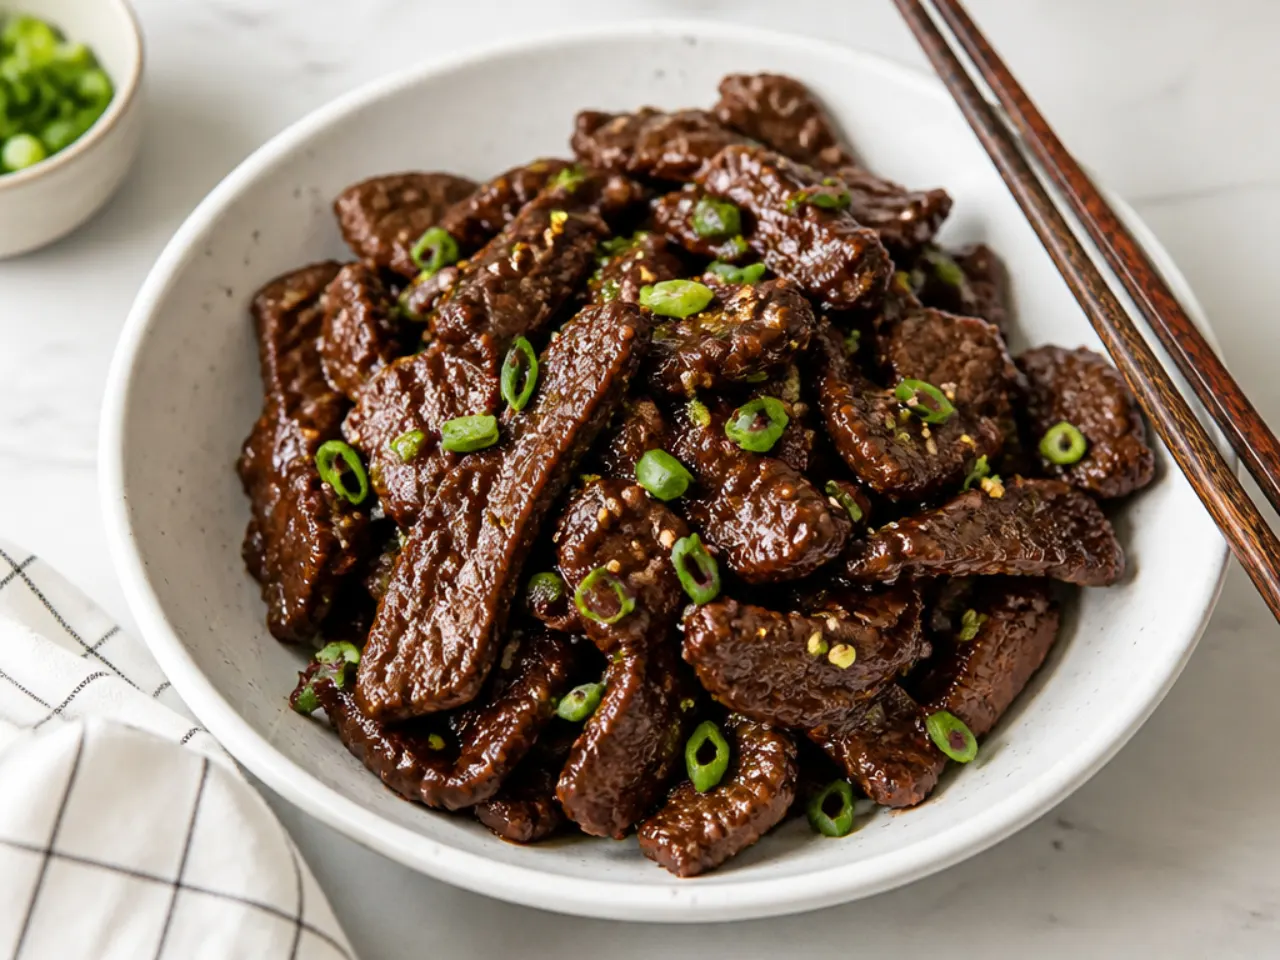
You can get genuinely crispy beef with about a tablespoon of oil. Coat the velveted strips in cornflour, spread them in a single layer in the basket, spray with oil, and air fry at 200°C (400°F) for 8 to 10 minutes, shaking halfway, until the edges are browned and dry to the touch. Meanwhile, simmer the sauce in a small pan on the hob for 3 minutes until syrupy. Toss the two together only at the last second so the coating stays crunchy. Work in two batches — an overloaded basket steams the beef instead of crisping it.
8. Mongolian Beef Udon Noodles
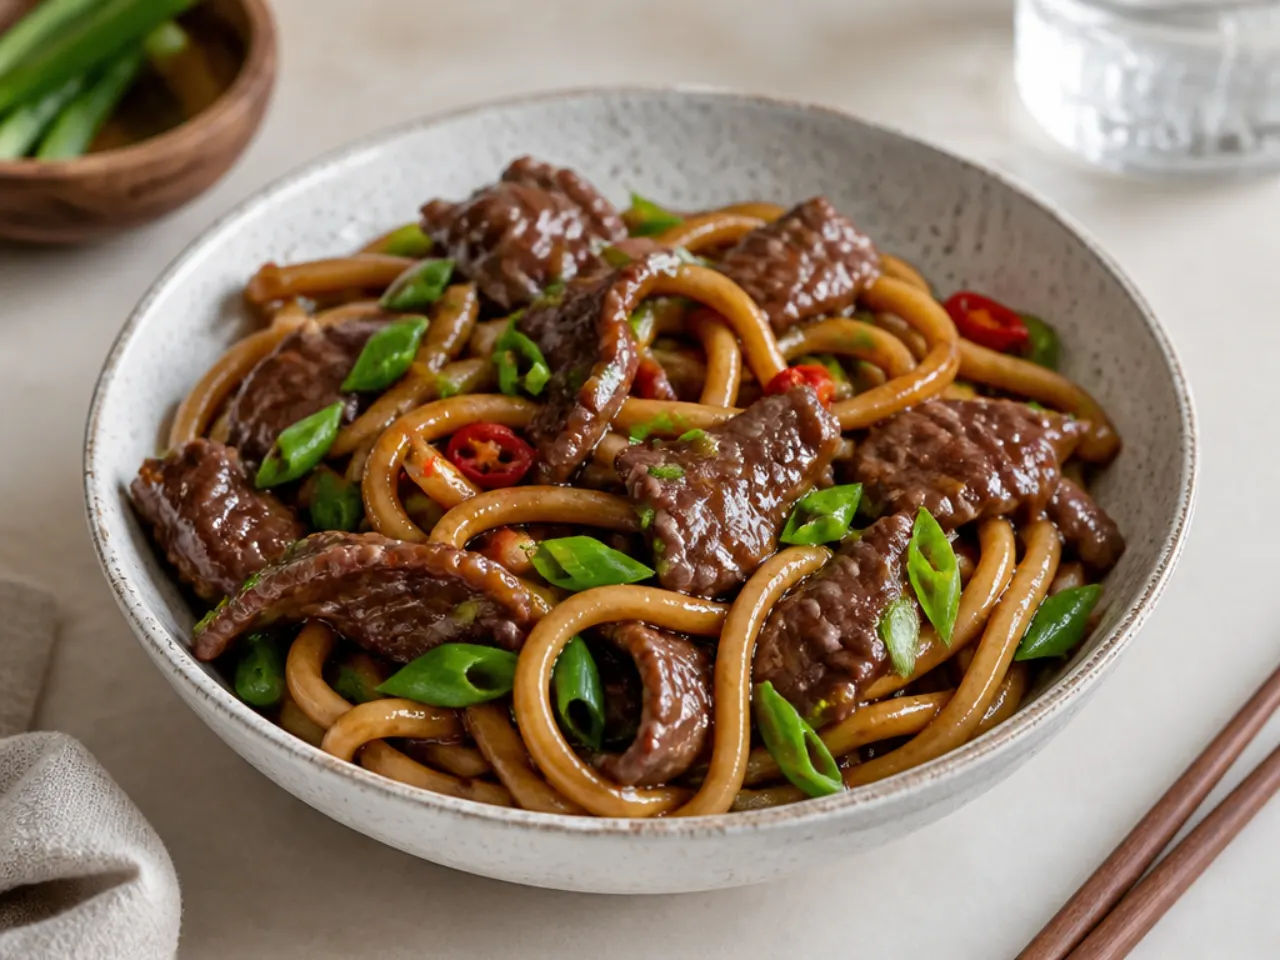
Thick, chewy udon noodles are the best sauce carriers in the Mongolian beef family. Make the base recipe with one and a half times the sauce, then add 400 g of ready-to-wok udon straight to the pan for the final 2 minutes, tossing with tongs until every strand is glossed. Fresh or vacuum-packed udon needs no pre-boiling — the hot sauce loosens it. A handful of thinly sliced onion and red pepper stir-fried before the sauce goes in adds crunch and colour. This turns the dish into a complete one-pan meal with no rice required.
9. Mongolian Beef and Broccoli
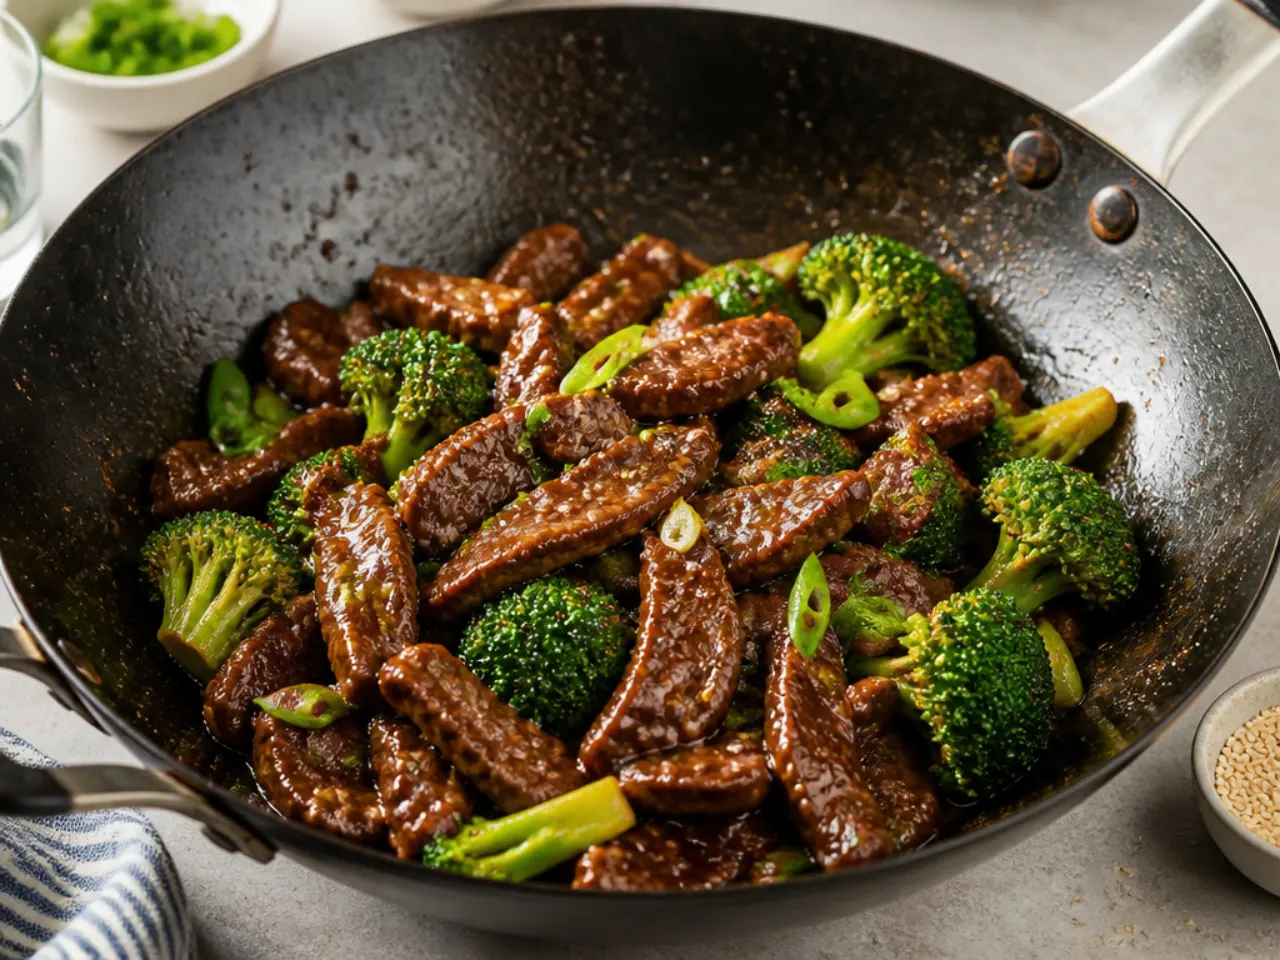
Adding vegetables stretches the dish and cuts through the sweetness. Blanch 300 g of broccoli florets in boiling water for 2 minutes (or stir-fry them for 3), then fold them in with the beef at the end so they stay bright green and snappy. Sliced onion petals and strips of red pepper work the same way if broccoli is unpopular at your table. Increase the sauce by half so the vegetables get coated too. This is the closest thing to a full takeaway plate — protein, veg and glaze — from one wok.
10. Sichuan-Style Spicy Mongolian Beef
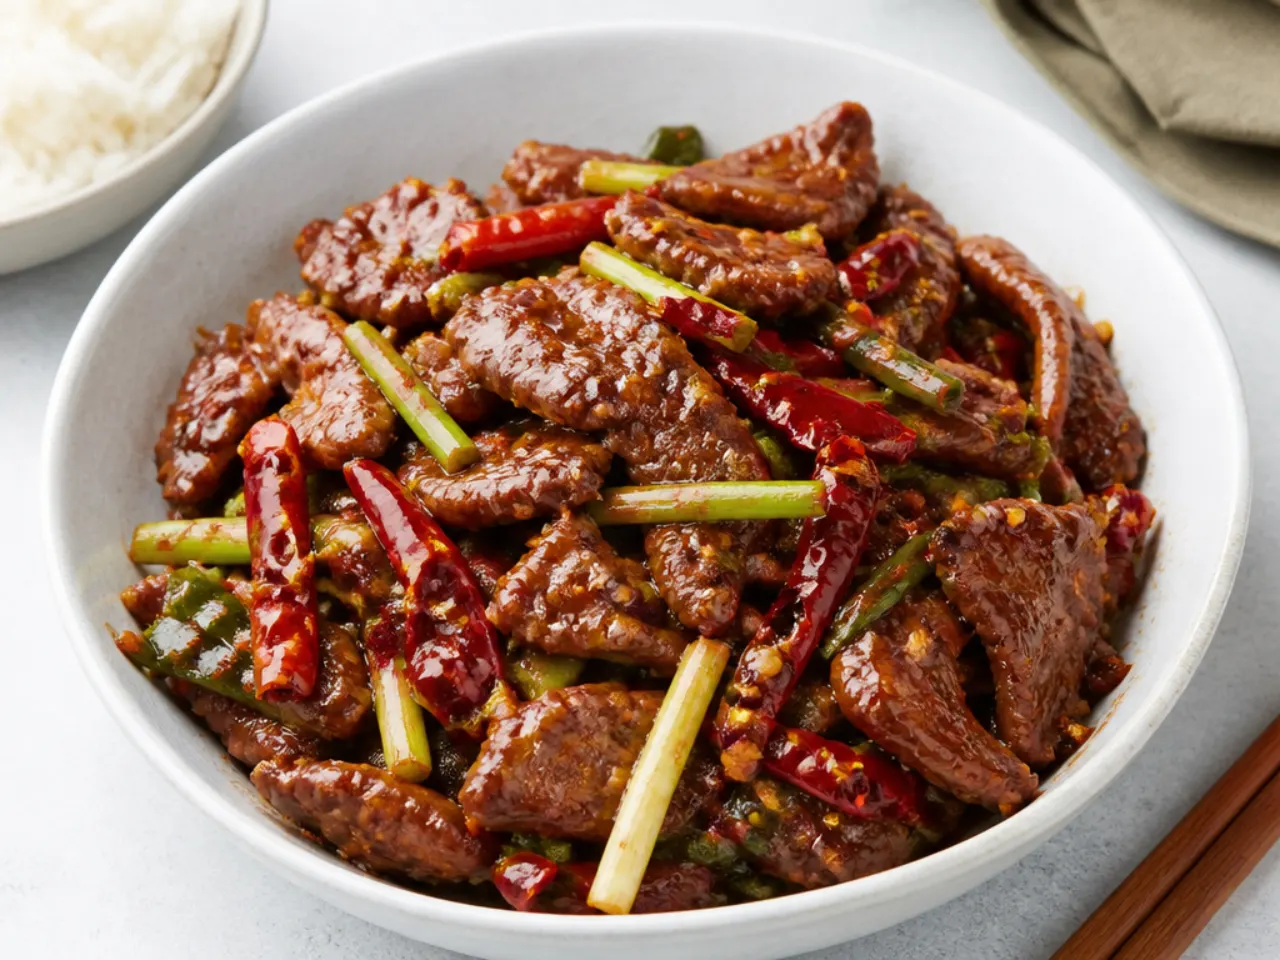
Blooming 8 whole dried red chillies in the oil before the garlic goes in transforms the dish — it is the trick The Woks of Life's family recipe uses. Fry the chillies for about 15 seconds over medium heat until they darken slightly and smell toasty; do not let them blacken or they turn bitter. Add 1/2 teaspoon of crushed, toasted Sichuan peppercorns with the garlic for a gentle numbing tingle that balances the brown sugar. The chillies flavour the oil rather than making the dish aggressively hot, but warn diners not to eat them whole. This is the version for anyone who finds standard Mongolian beef too sweet.
Save this for later 📌
Pin this article to your Pinterest board so the full list is one tap away when you need it.
Save on Pinterest11. Mongolian Beef Lettuce Wraps
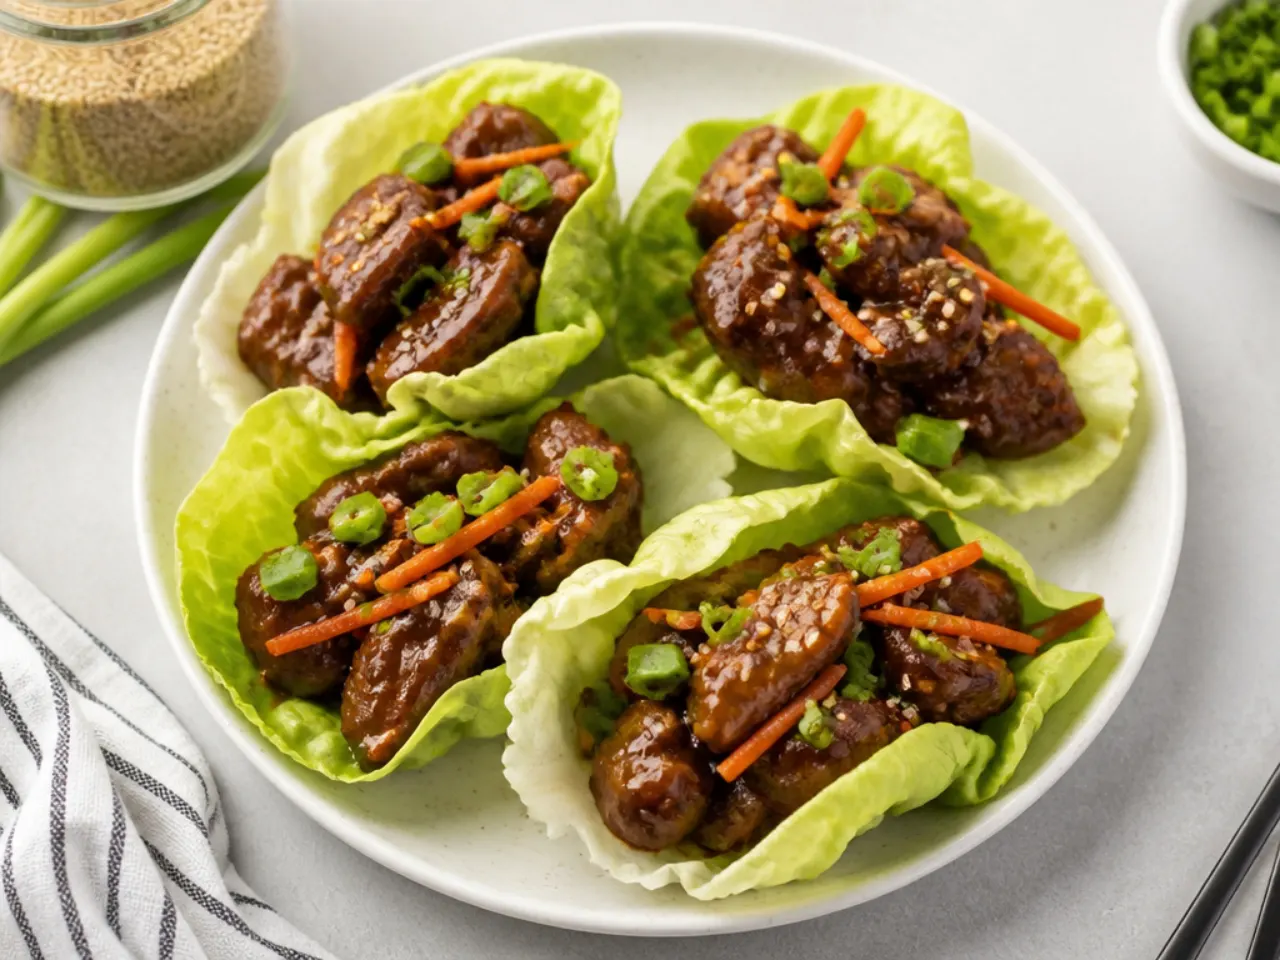
Cut the steak into 1 cm (1/2 in) dice instead of strips and it becomes a build-your-own starter. Cook the base recipe as written, then pile the glazed beef into chilled Little Gem or butter lettuce cups with matchstick carrots, sliced spring onion and a scatter of toasted sesame seeds. The cold, crunchy lettuce against the hot, sticky beef is the whole point, so assemble at the table. One 450 g batch fills 12 to 14 cups, which comfortably serves 6 as a party appetiser. A squeeze of lime over the top sharpens the sweetness.
12. Keto Low-Carb Mongolian Beef
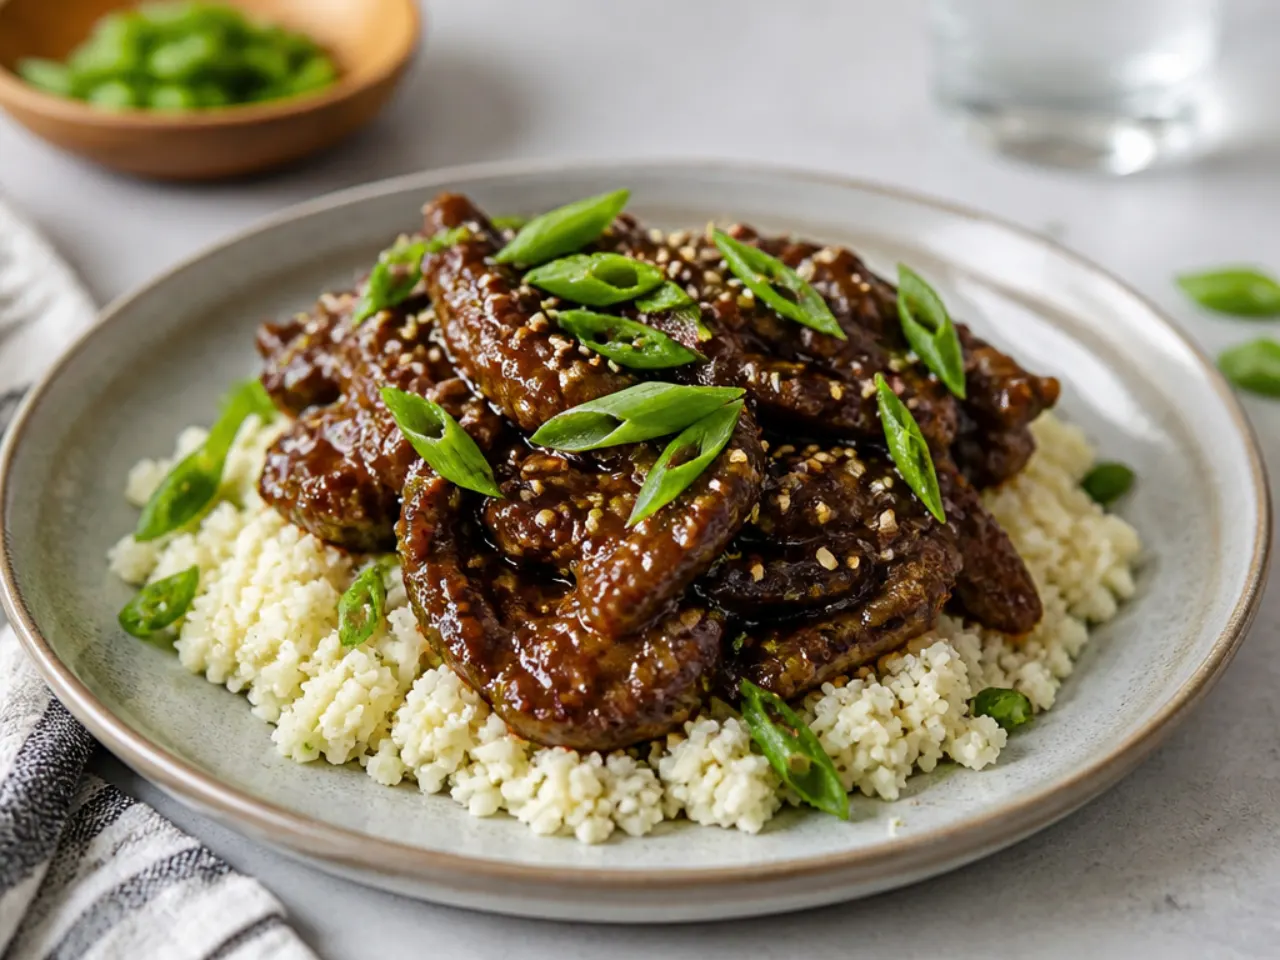
Standard Mongolian beef carries roughly 20 g of sugar per serving, but the swaps are straightforward. Replace the dark brown sugar with 3 tablespoons of a brown erythritol blend (such as Sukrin Gold), skip the cornflour dredge entirely, and sear the naked beef strips hard in a screaming-hot pan. Thicken the sauce by simmering it 4 to 5 minutes to reduce, or whisk in 1/4 teaspoon of xanthan gum. Use tamari instead of soy sauce if you also need it gluten-free. Serve it over cauliflower rice — the sauce is punchy enough that you will not miss the grains.
13. Taiwanese Barbecue-Style Mongolian Beef (The Original)
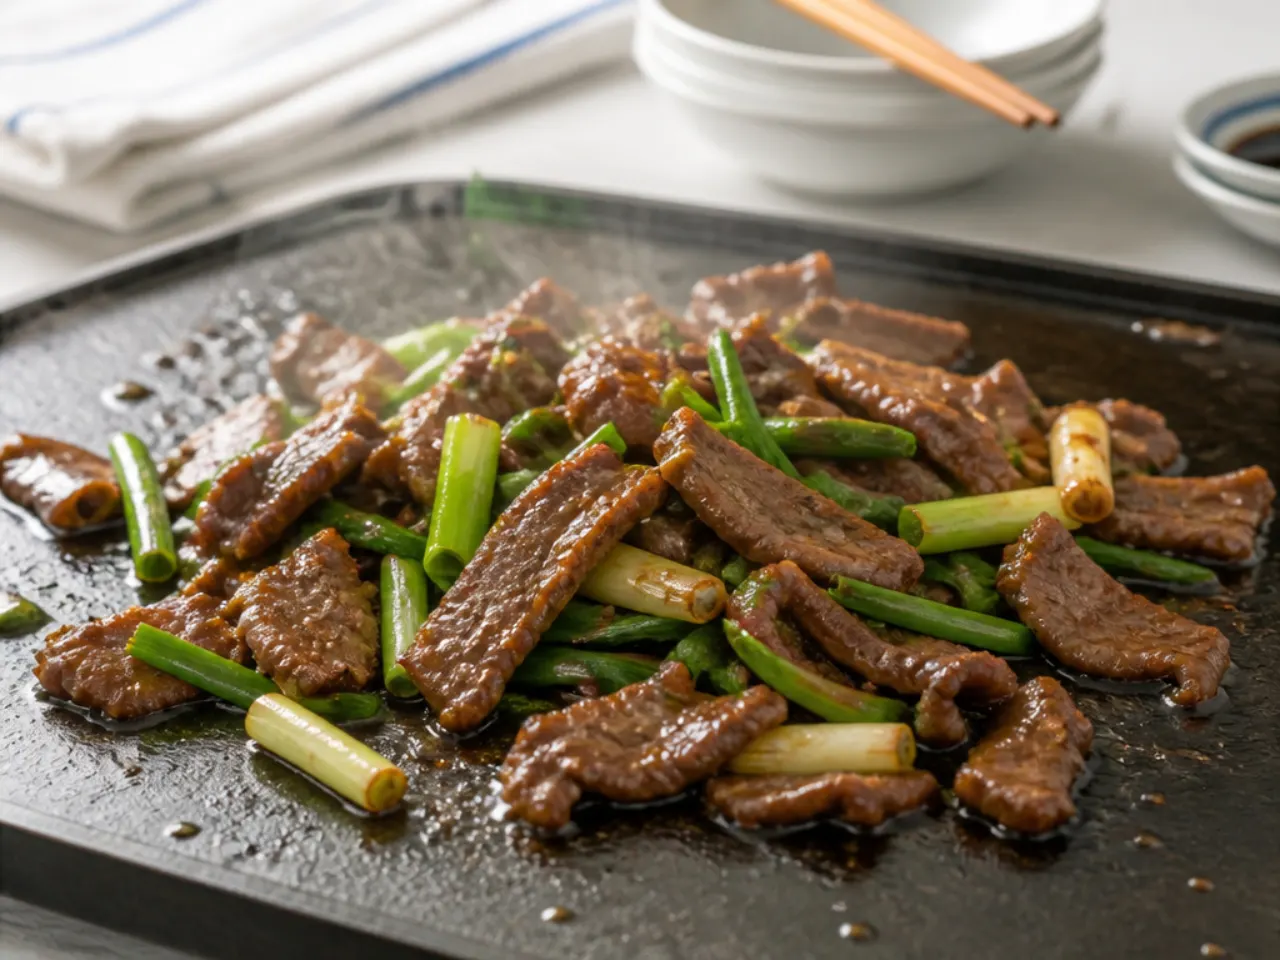
Mongolian beef traces back to the 'Mongolian barbecue' griddle restaurants of 1950s Taipei, where thin-sliced beef was seared on a huge flat plate — no sticky glaze in sight. To cook the origin style, marinate the sliced flank in 2 tablespoons soy sauce, 1 tablespoon Shaoxing wine and 1 teaspoon sesame oil for 20 minutes, then blast it on the hottest surface you own — a cast-iron griddle or dry wok — for 60 to 90 seconds. Toss with sliced onion and spring onion and eat immediately, with plain rice or stuffed into a sesame flatbread. It is lighter, smokier and far less sweet than the takeaway version. Cooking both styles side by side is the best way to taste how the dish evolved.
14. Crispy Shredded Chilli Mongolian Beef
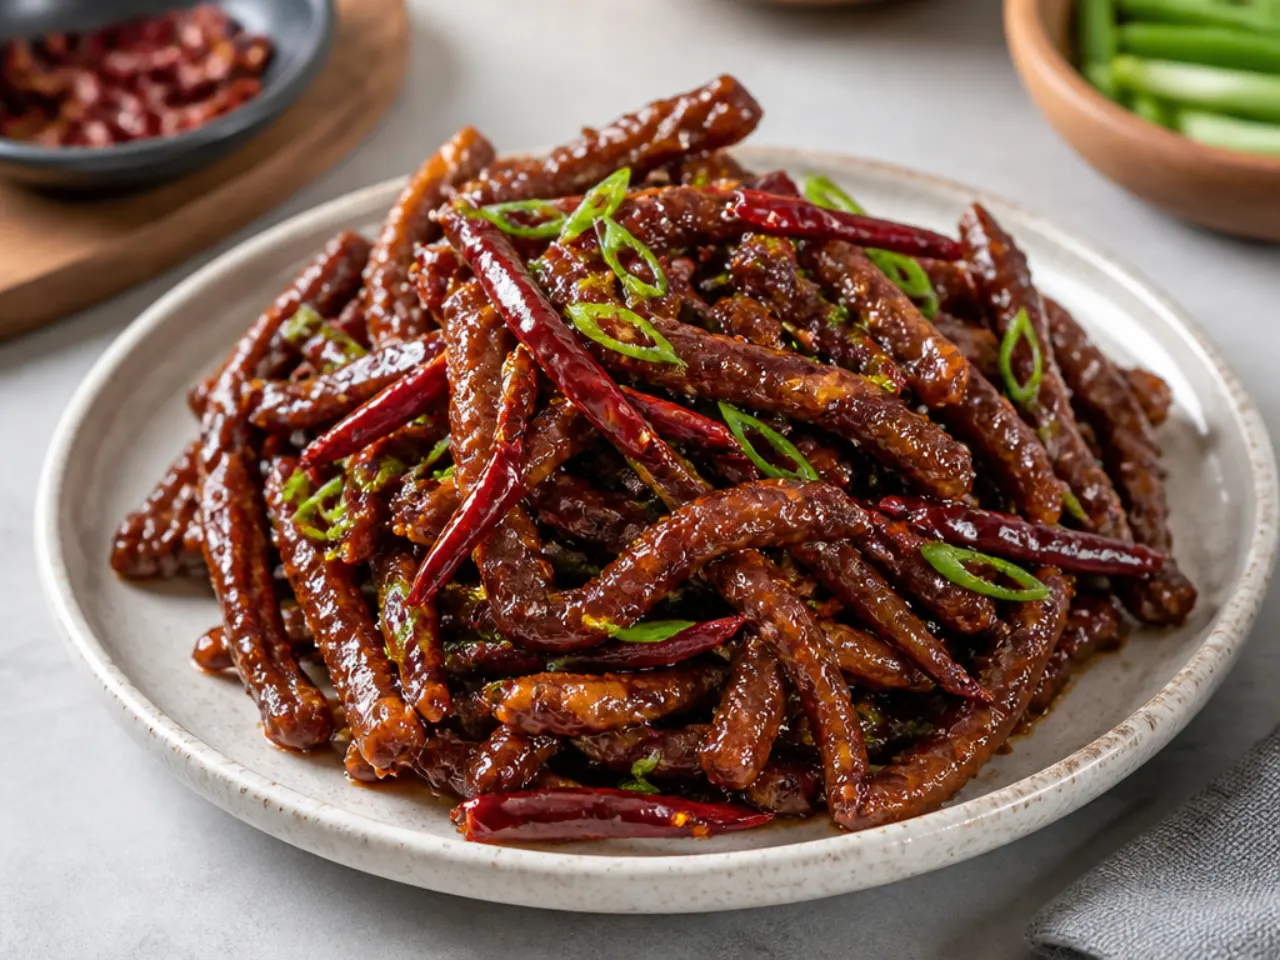
This mash-up borrows the double-fry technique from British-Chinese crispy chilli beef. Cut the steak into matchsticks rather than slices, coat them generously in cornflour, and fry twice: 2 minutes at 190°C (375°F), a 2-minute rest, then 1 more minute until deeply golden and rigid. Toss the shards through the Mongolian sauce with an extra 1/2 teaspoon of chilli flakes, working fast so they stay crunchy. The thin strips give you maximum crispy surface area in every bite. Serve straight away — this one does not sit well.
15. Mongolian Beef Meal-Prep Rice Bowls
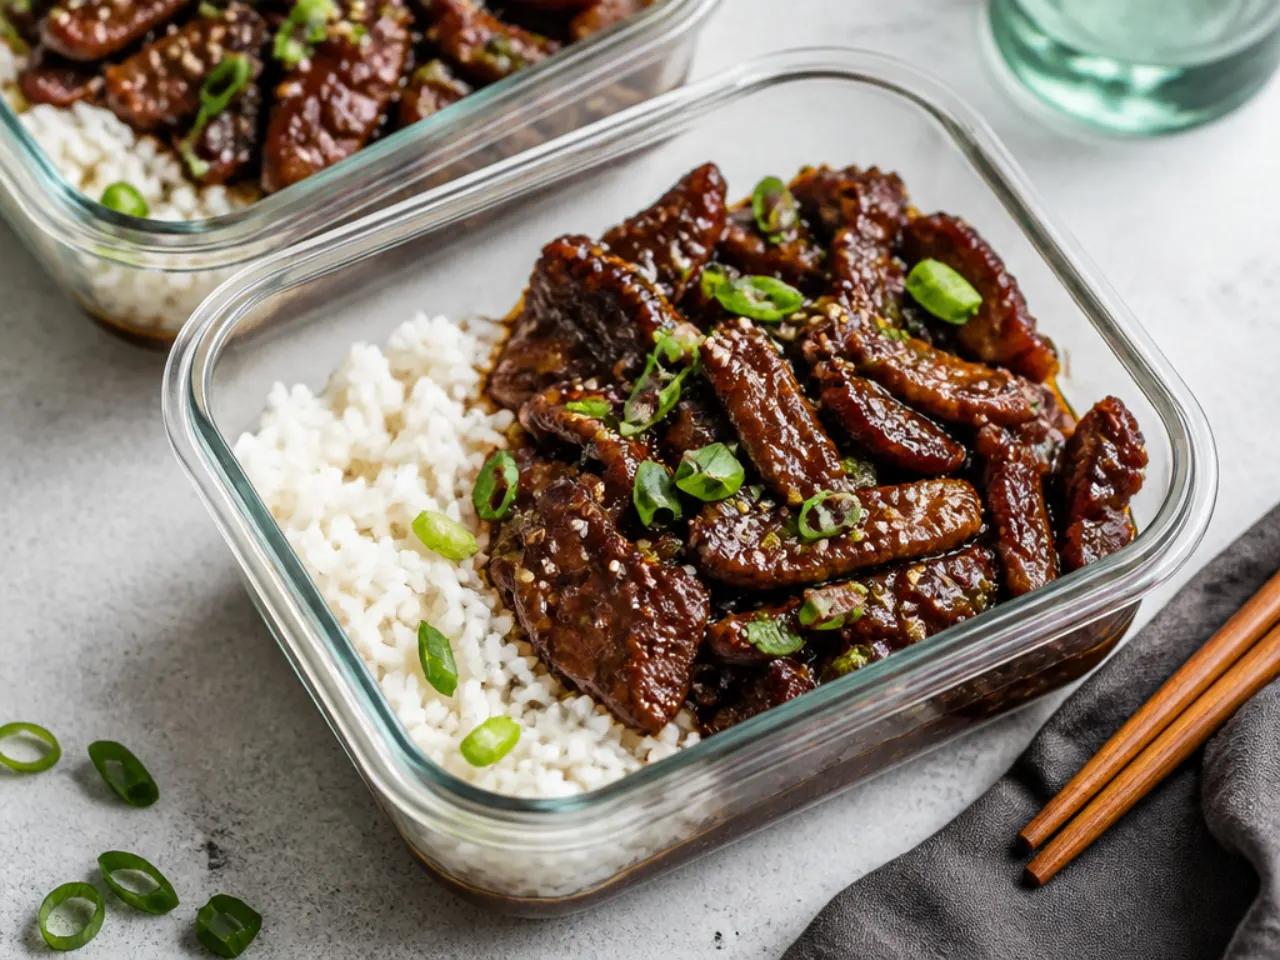
The sauce in Mongolian beef actually improves overnight, which makes it a strong meal-prep candidate. Cook the base recipe, then divide it between 4 containers with 180 g of cooked jasmine rice and a handful of steamed tenderstem broccoli or green beans in each. Keep the spring onion garnish and sesame seeds in a separate small pot so they stay fresh. The boxes hold for 4 days in the fridge and reheat in about 2 minutes in the microwave — the coating softens in storage either way, so nothing is lost. Slightly undercook the rice so it does not turn mushy when reheated.
Pro Tips
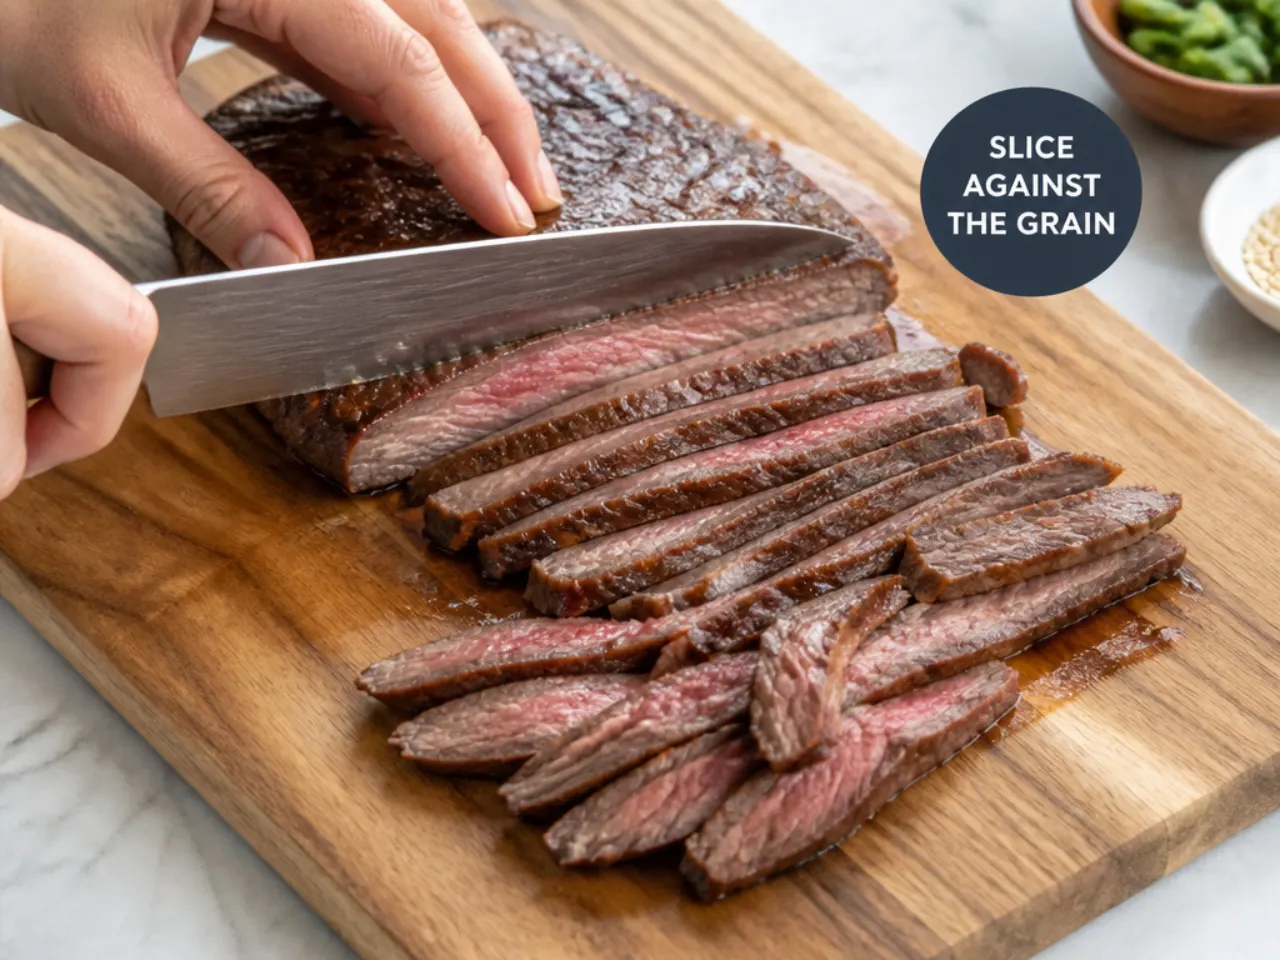
Freeze the steak for 20 to 30 minutes before slicing — firm meat lets you cut clean, even 5 mm slices against the grain, which is the single biggest factor in tenderness. Do not skip the 15-minute bicarbonate of soda rest; it is the same velveting trick Chinese restaurants use. Fry in two batches, because crowding the pan drops the oil below 160°C (320°F) and the beef stews instead of crisping. The oil is ready when a strip sizzles hard on contact, around 190°C (375°F). Use dark brown sugar, not light — the molasses builds the signature mahogany glaze. Finally, prep everything before the heat goes on, because the actual cooking takes barely 10 minutes.
Serving Suggestions
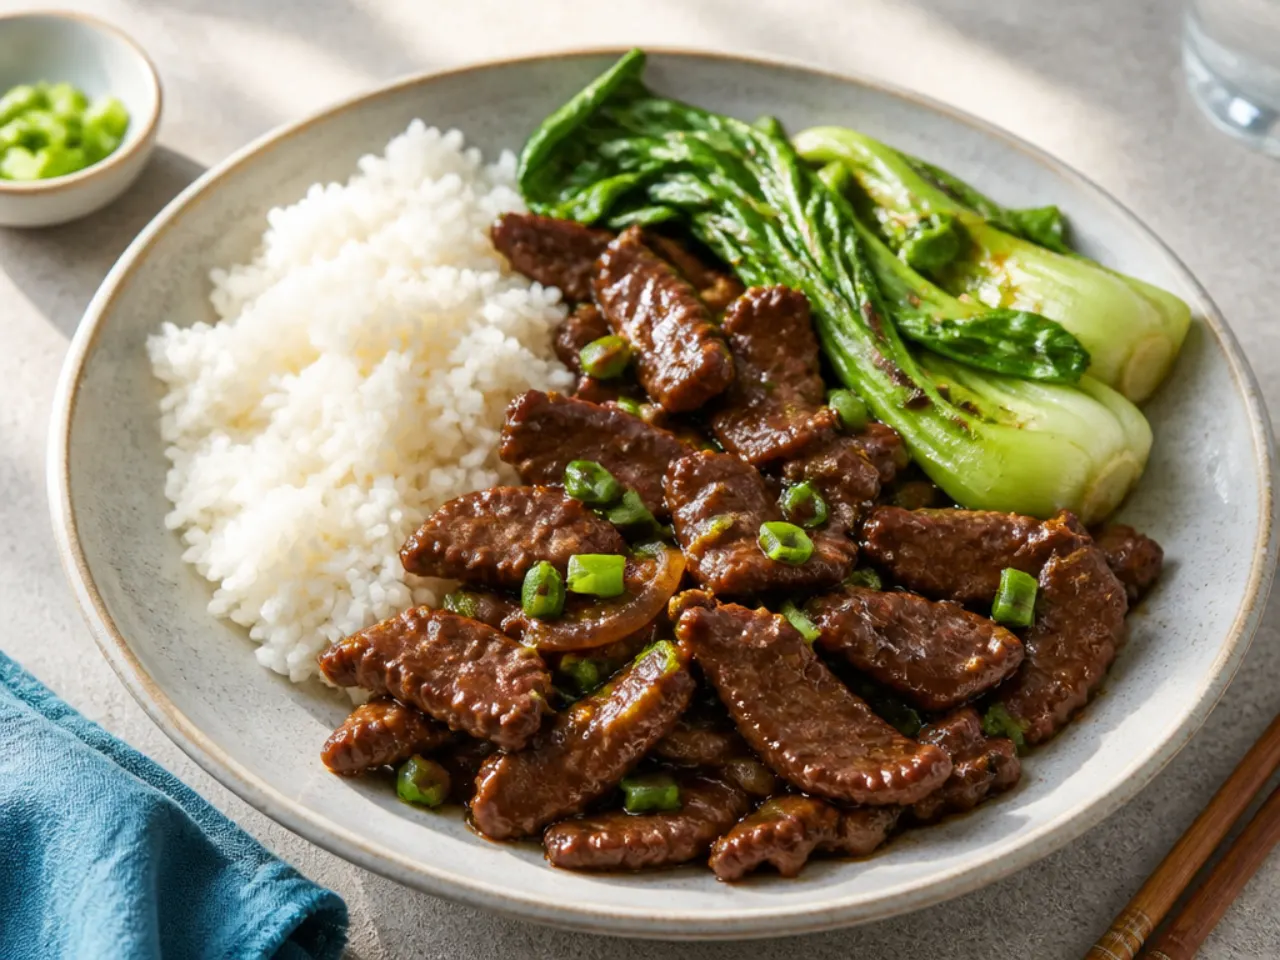
Steamed jasmine rice is the classic partner — allow 75 g of dry rice per person and cook it before you start the beef, since the stir-fry itself takes minutes. For a restaurant-style plate, serve the beef over crispy fried vermicelli or alongside egg fried rice. Balance the rich glaze with something green and clean: garlic pak choi, a sesame cucumber salad or steamed tenderstem broccoli. For a family spread, add vegetable spring rolls and prawn crackers. Jasmine tea or a cold lager cuts the sweetness better than wine does.
Storage and Reheating
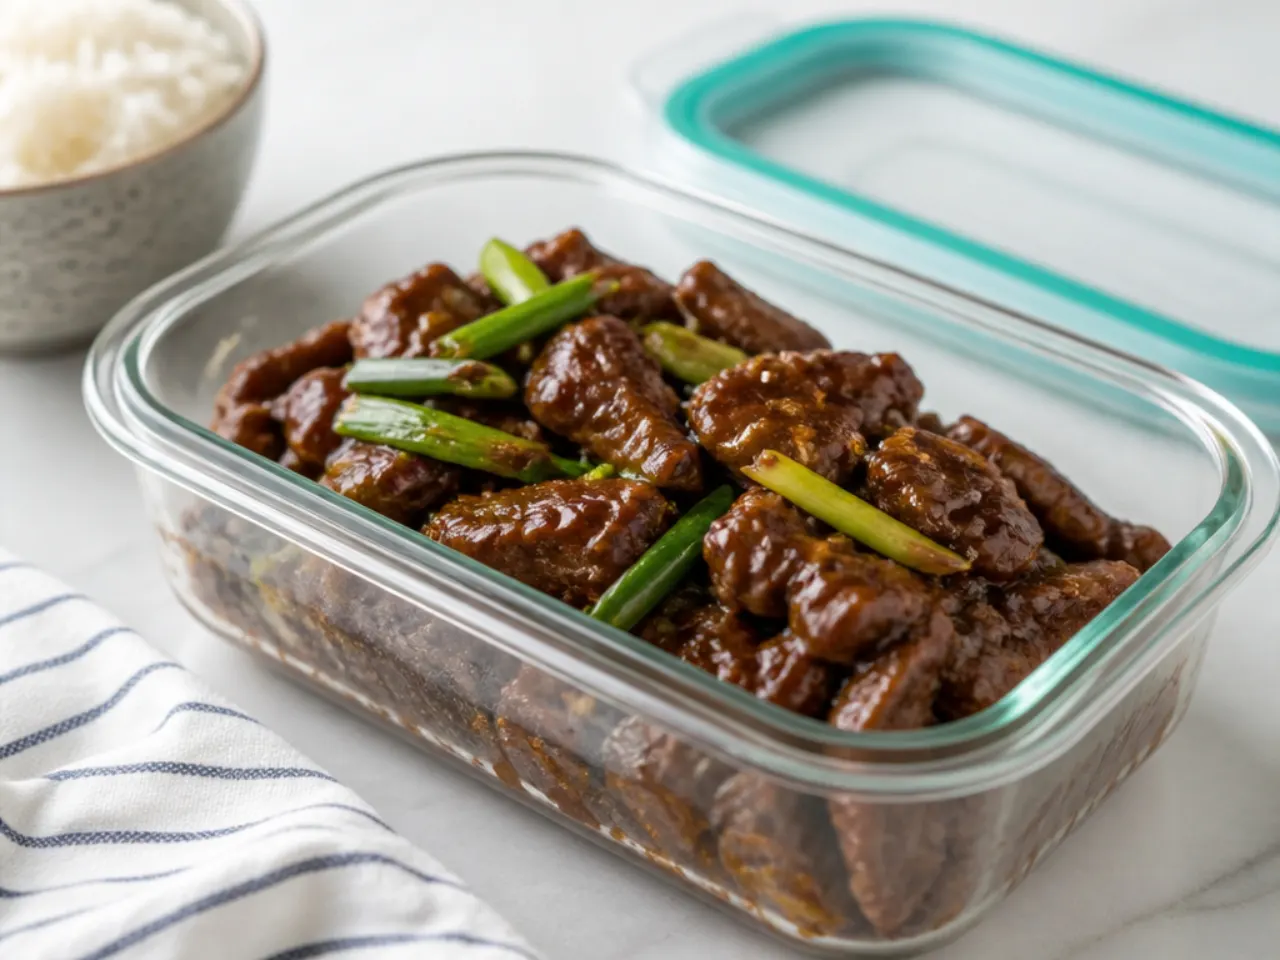
Cool leftovers within an hour and refrigerate them in an airtight container for up to 4 days. Reheat gently in a frying pan over medium-low heat with 1 to 2 tablespoons of water to loosen the glaze, about 5 minutes, or covered in a 150°C (300°F) oven for 10 minutes. In the microwave, use 50% power in 60-second bursts so the beef does not toughen. The dish freezes for up to 3 months — the crispy coating softens but the flavour holds; thaw overnight in the fridge before reheating. Store rice separately and always reheat it until piping hot.
The Recipe
The Master Recipe
25 min
15 min
40 min
4
Beginner
Ingredients 4 Person(s)
Directions
Step 1: Slice and tenderise the beef
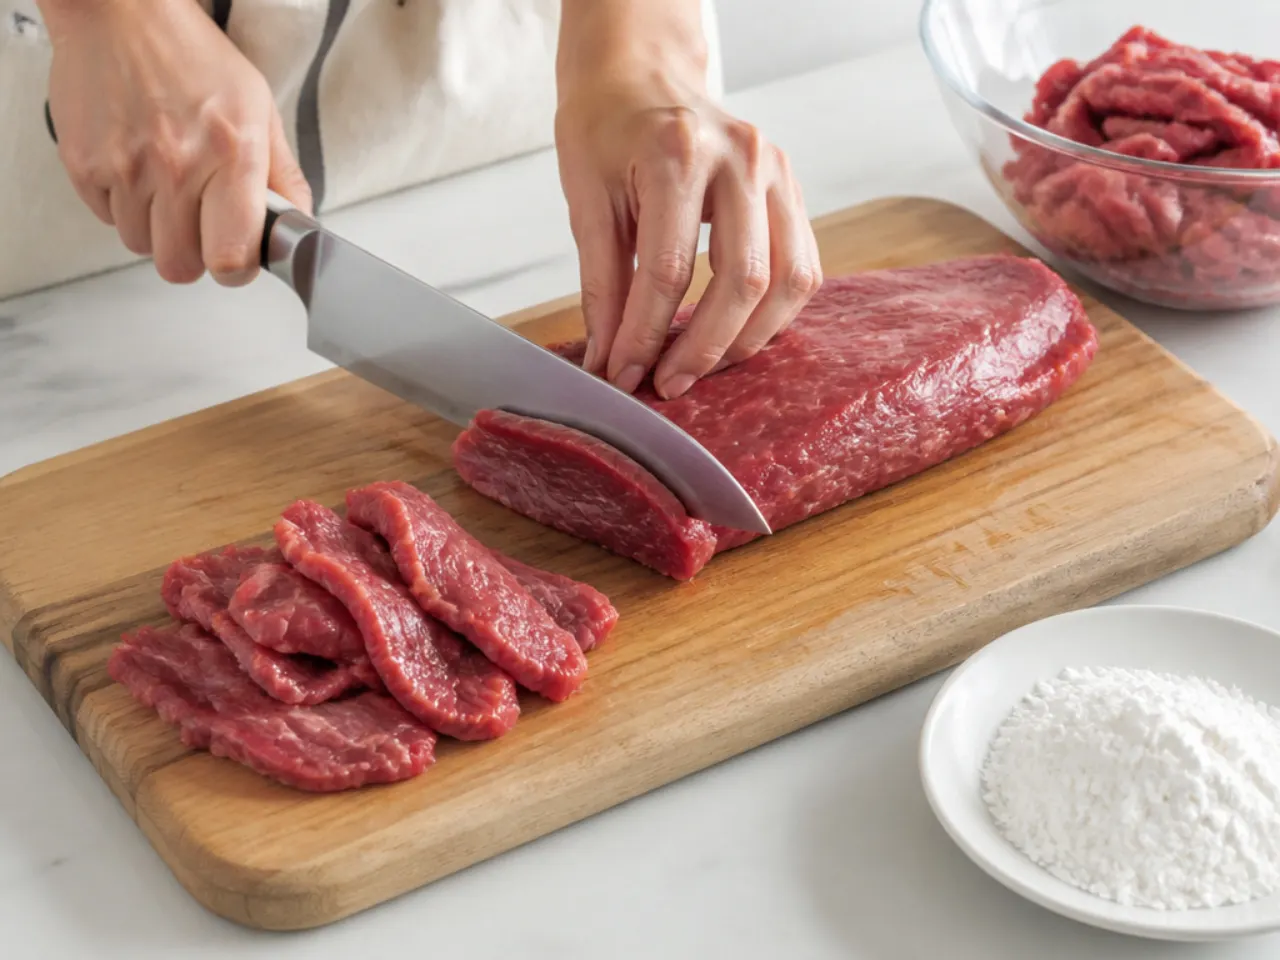
Put the flank steak in the freezer for 20 to 30 minutes until firm — this makes clean slicing far easier. Cut it against the grain into 5 mm (1/4 in) slices, halving any strips longer than 8 cm (3 in). Toss the slices in a bowl with the bicarbonate of soda and 1 tablespoon of water until evenly coated, then rest for 15 minutes at room temperature. The beef should feel slightly tacky and look a shade darker — that is the velveting working.
Step 2: Mix the sauce
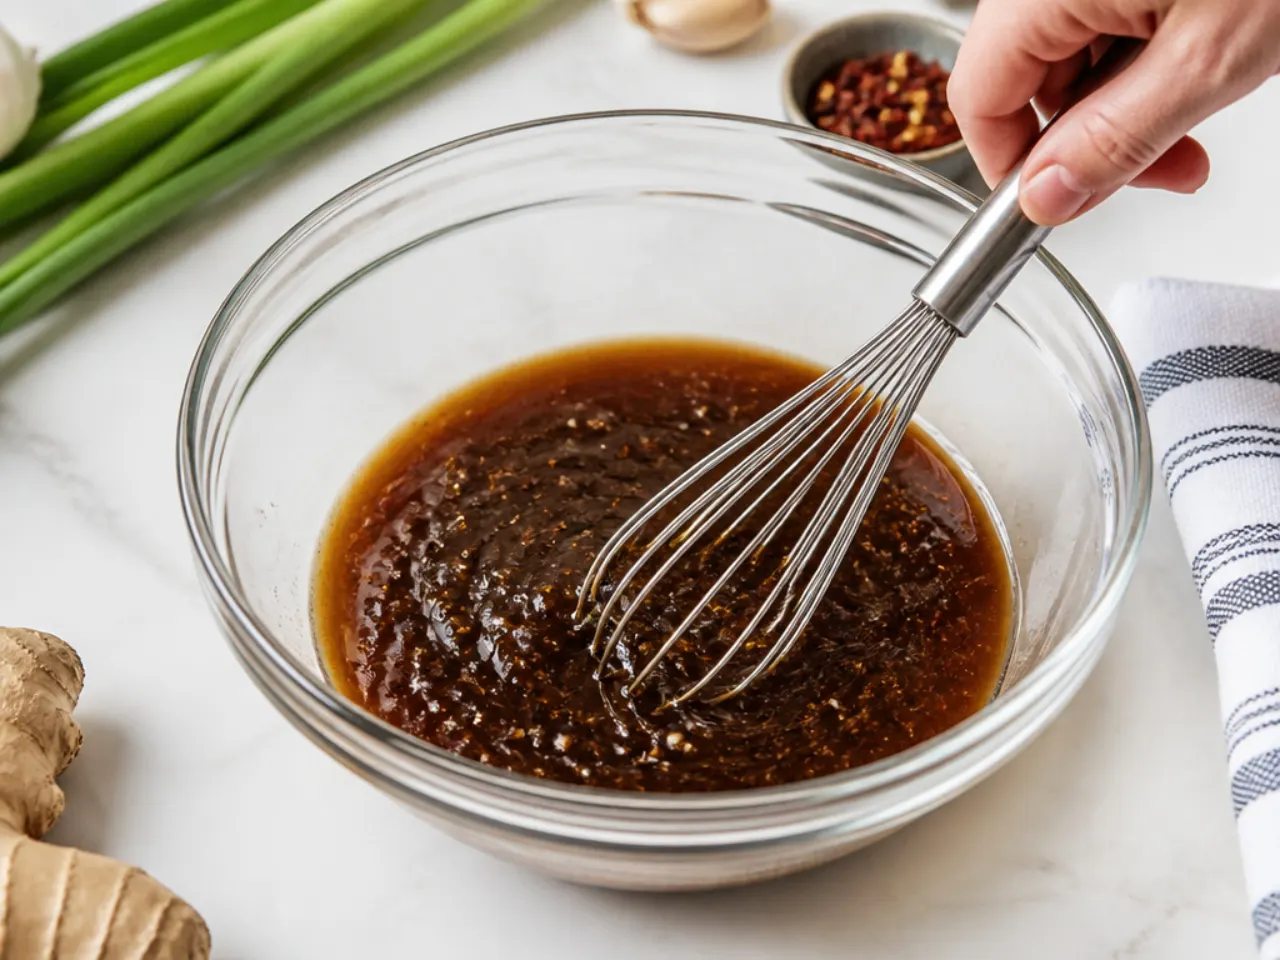
While the beef rests, whisk together the soy sauce, dark brown sugar, water or stock, chilli flakes (if using) and 1 tablespoon of the cornflour in a jug. Whisk for a full 30 seconds until no gritty sugar remains at the bottom. The mixture should be smooth, glossy and the colour of strong coffee. Set it next to the hob — the stir-fry moves fast once it starts.
Step 3: Coat the beef in cornflour
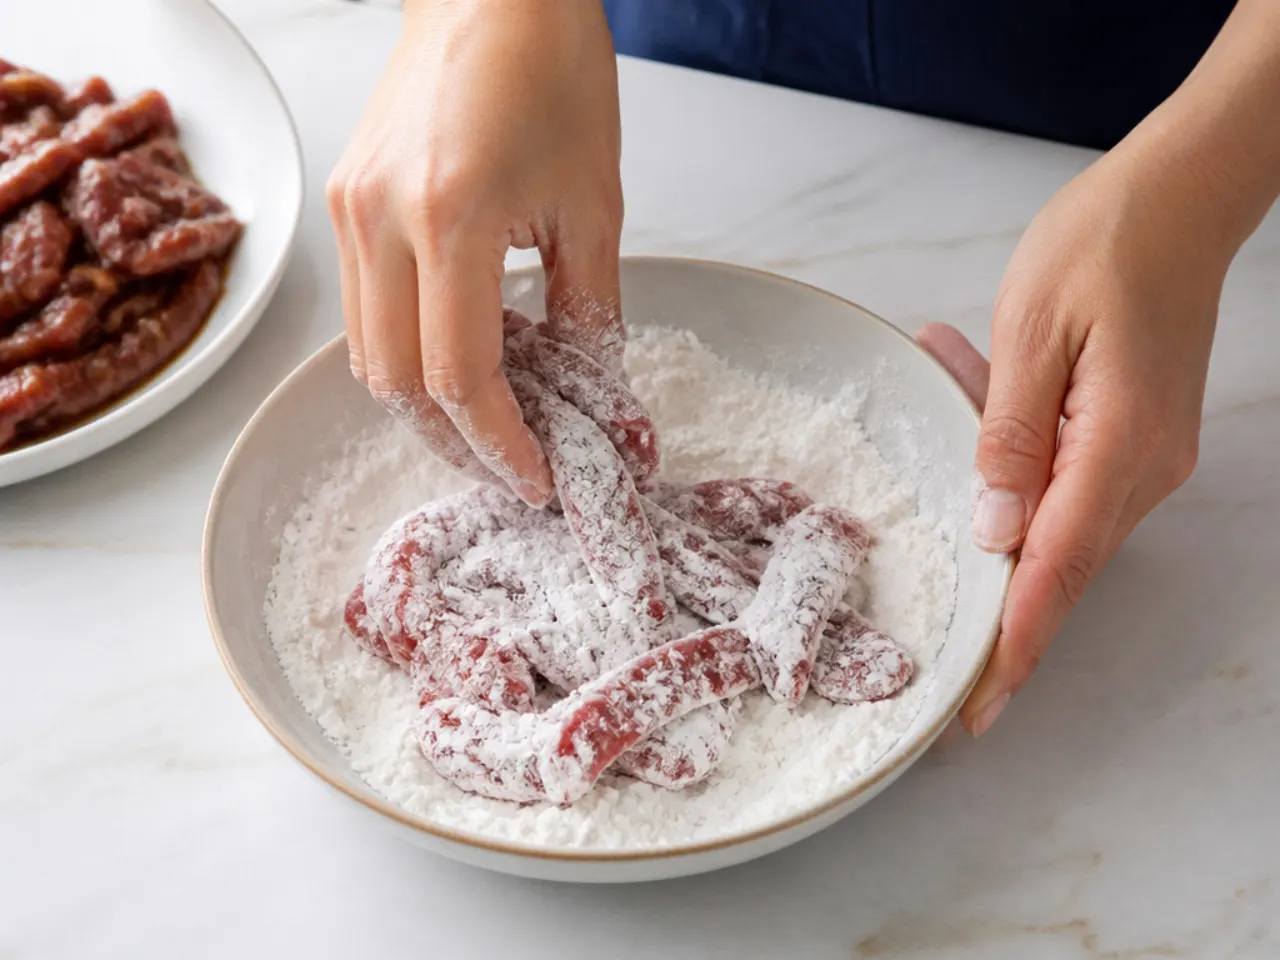
Sprinkle the remaining 3 tablespoons of cornflour over the rested beef and toss with your hands until every slice has a thin, mostly dry coating; shake off any excess. Let the coated beef sit for 5 minutes so the cornflour hydrates slightly and sticks. Done right, the slices look dusty rather than wet or gluey, with no bare patches.
Step 4: Sear the beef in two batches
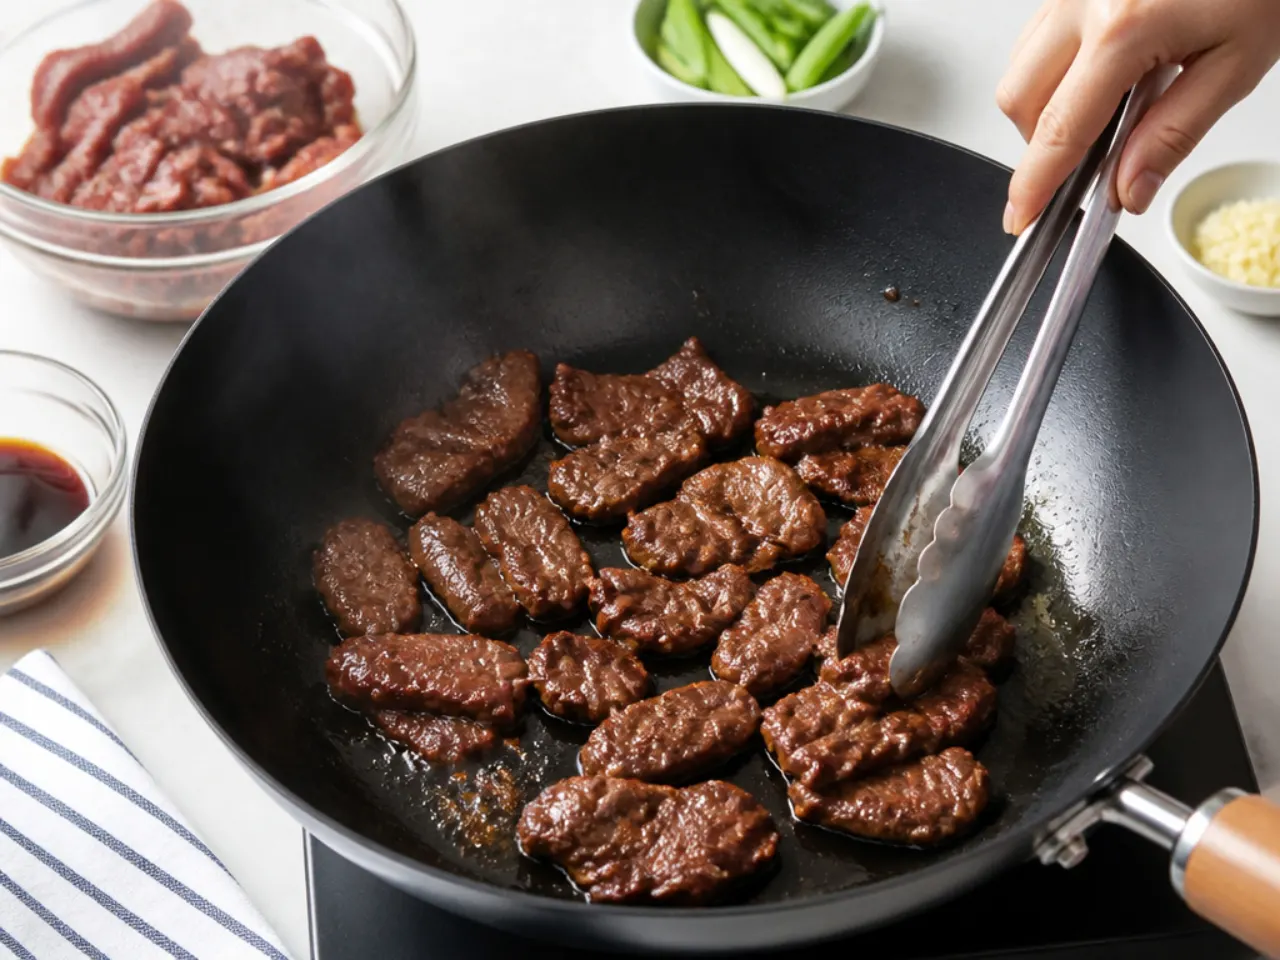
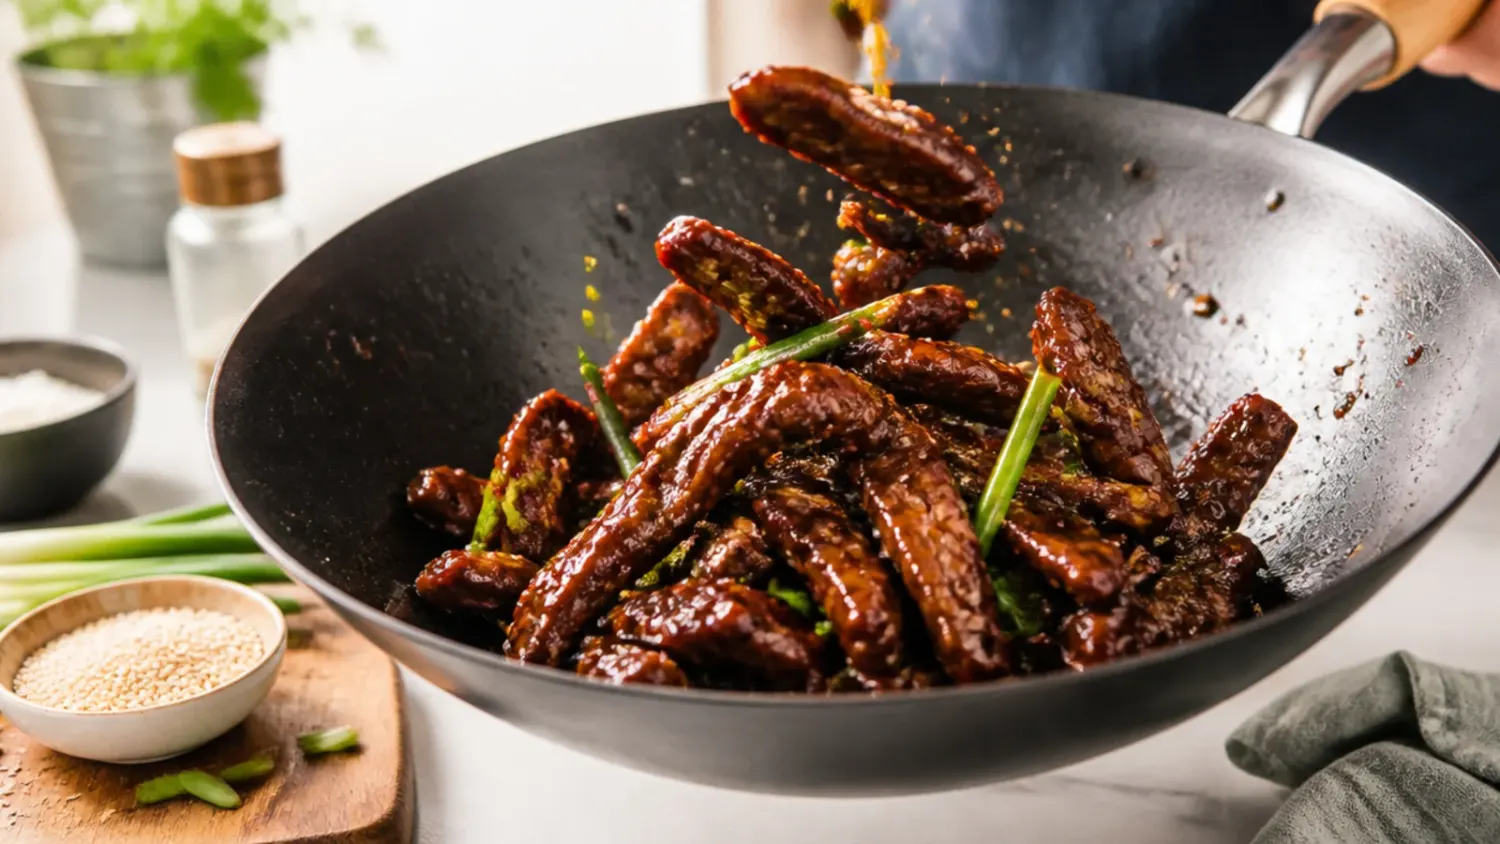
Heat 3 tablespoons of the oil in a wok or 30 cm (12 in) frying pan over high heat until shimmering — about 190°C (375°F); a test strip should sizzle hard the instant it touches the oil. Add half the beef in a single layer and cook undisturbed for 90 seconds, flip, and cook 60 to 90 seconds more until deep golden with crisp edges. Transfer to a plate and repeat with the second batch. Do not crowd the pan or the beef will stew instead of crisp.
Step 5: Fry the aromatics
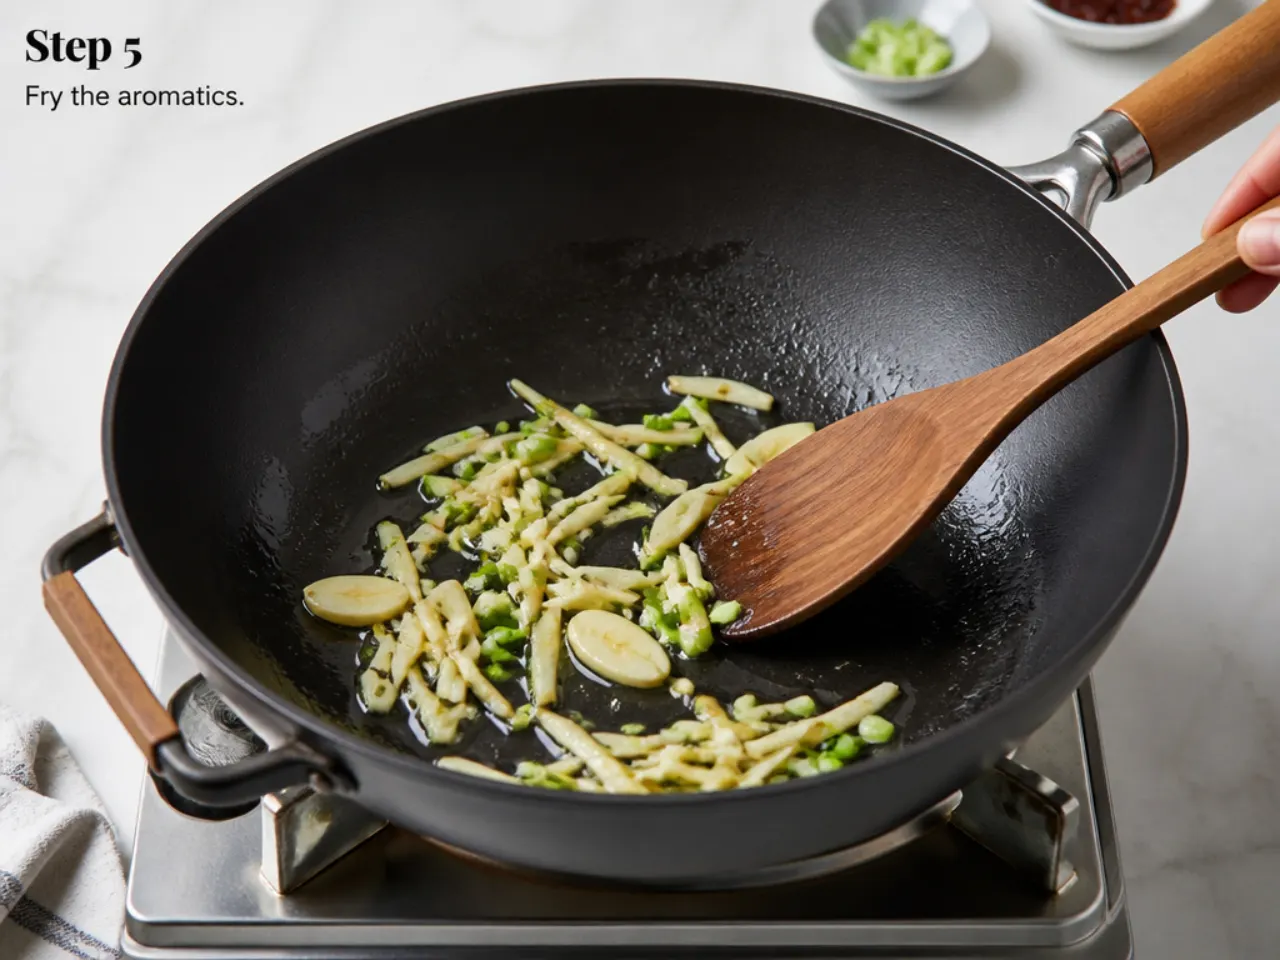
Reduce the heat to medium and add the remaining 1 tablespoon of oil to the empty pan. Add the garlic, ginger and the white parts of the spring onions and stir constantly for 30 to 45 seconds until fragrant. They should soften and turn lightly golden at the edges — if the garlic browns quickly, pull the pan off the heat for a moment, because burnt garlic will make the sauce bitter.
Step 6: Simmer the sauce until glossy
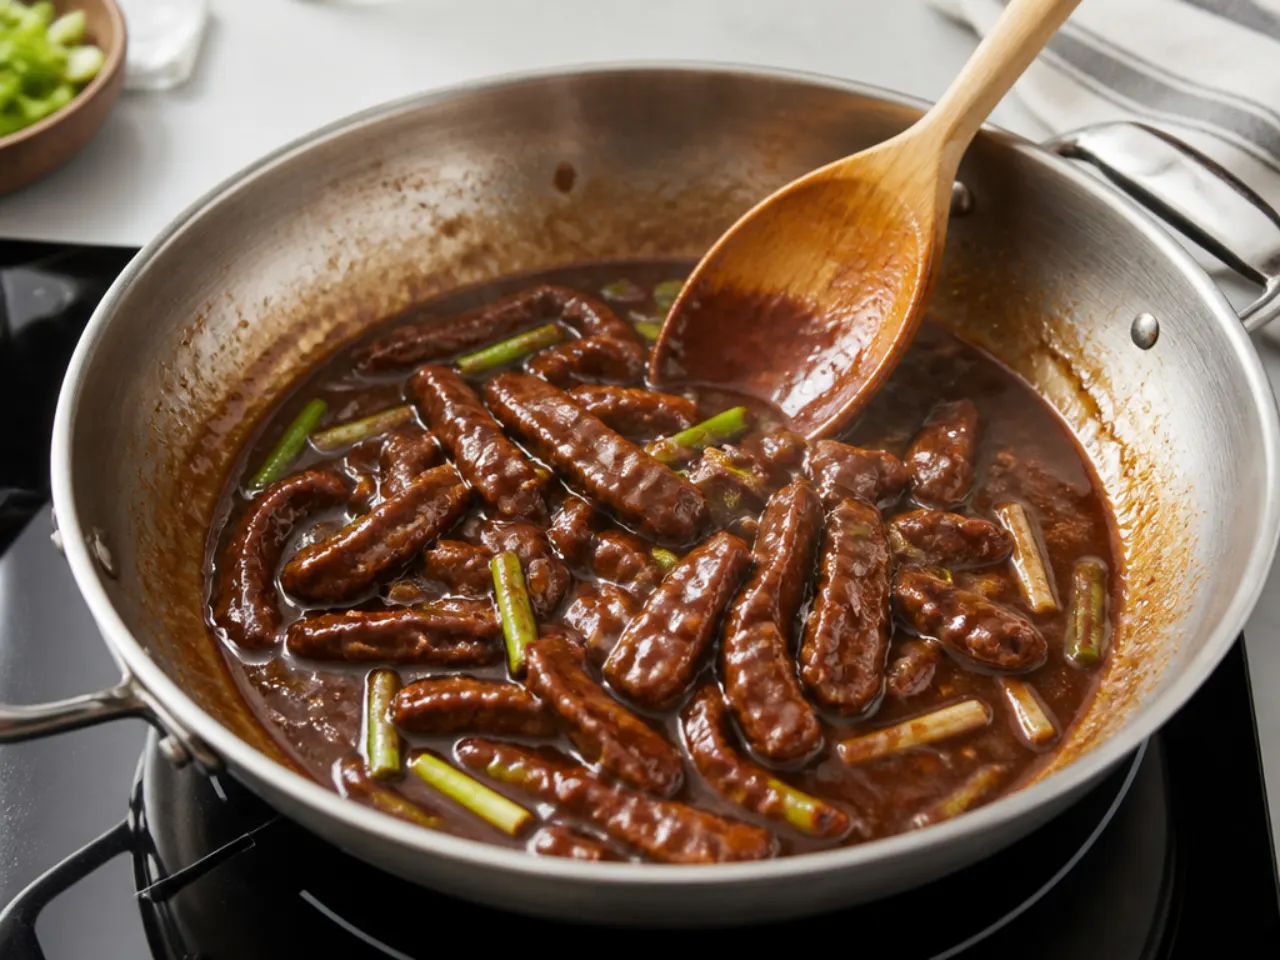
Give the sauce mixture a quick re-whisk (the cornflour settles), pour it into the pan and bring it to a boil. Simmer for 2 to 3 minutes, stirring, until it thickens enough to coat the back of a spoon and turns glossy. If it gets too thick, loosen it with a splash of water; if too thin, give it another minute — it will also tighten once the coated beef goes back in.
Step 7: Toss and serve
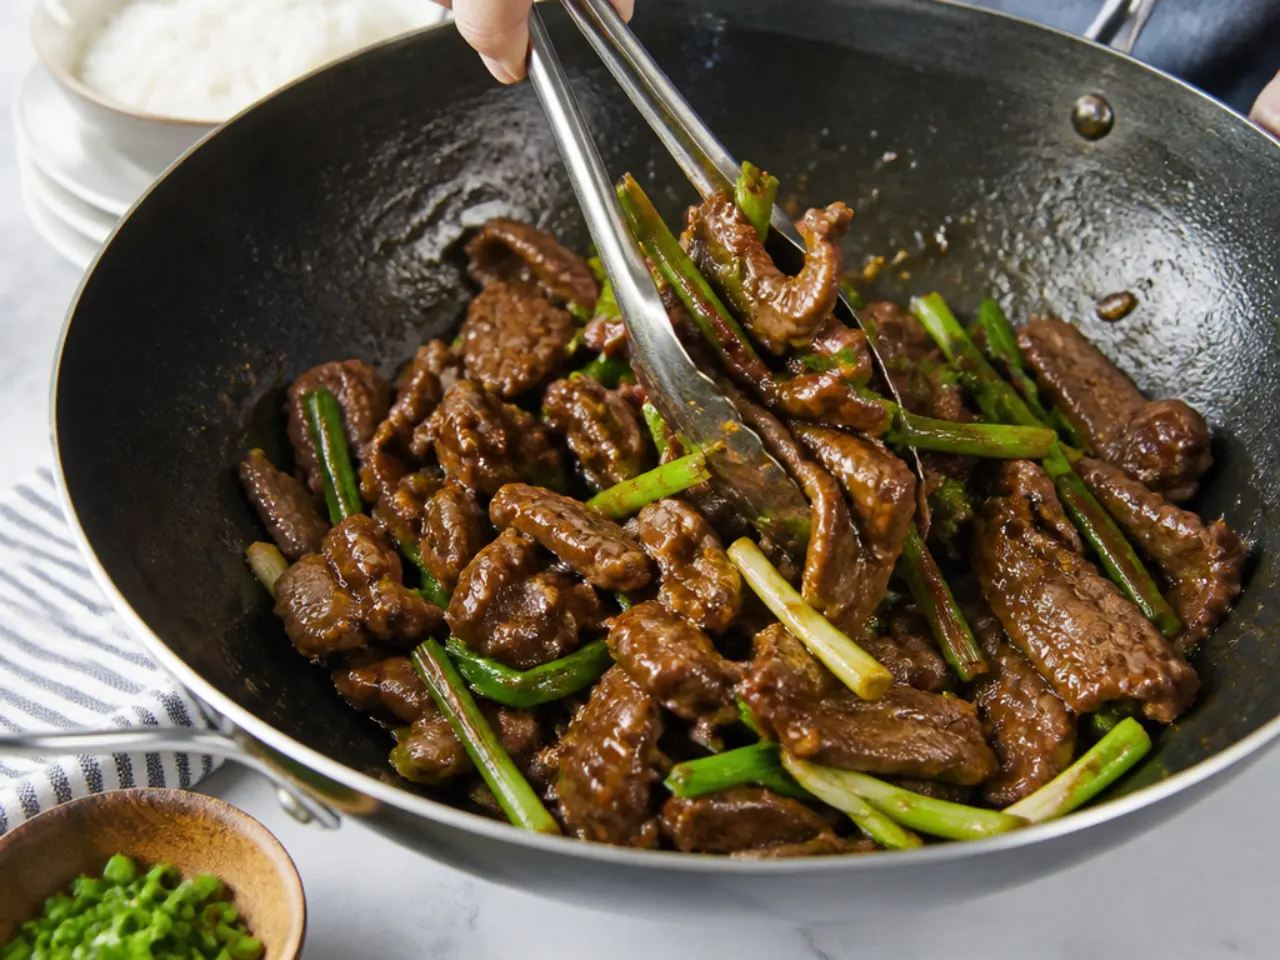
Return the beef and any resting juices to the pan along with the green parts of the spring onions. Toss for 60 to 90 seconds until every piece is glazed and the greens have just wilted. There should be almost no loose liquid left in the pan — just a sticky coating on the beef. Serve immediately over steamed jasmine rice while the coating still has crunch.
Frequently Asked Questions
No. Mongolian beef is a Taiwanese invention that spread through Chinese-American restaurants. It grew out of the 'Mongolian barbecue' griddle restaurants of 1950s Taipei, and the name was chosen for exotic appeal rather than accuracy. Traditional Mongolian cooking centres on boiled and roasted meats, not sweet soy stir-fries.
Save this for later 📌
Pin this article to your Pinterest board so the full list is one tap away when you need it.
Save on Pinterest