15 Genius Biscoff Cheesecake Party Ideas
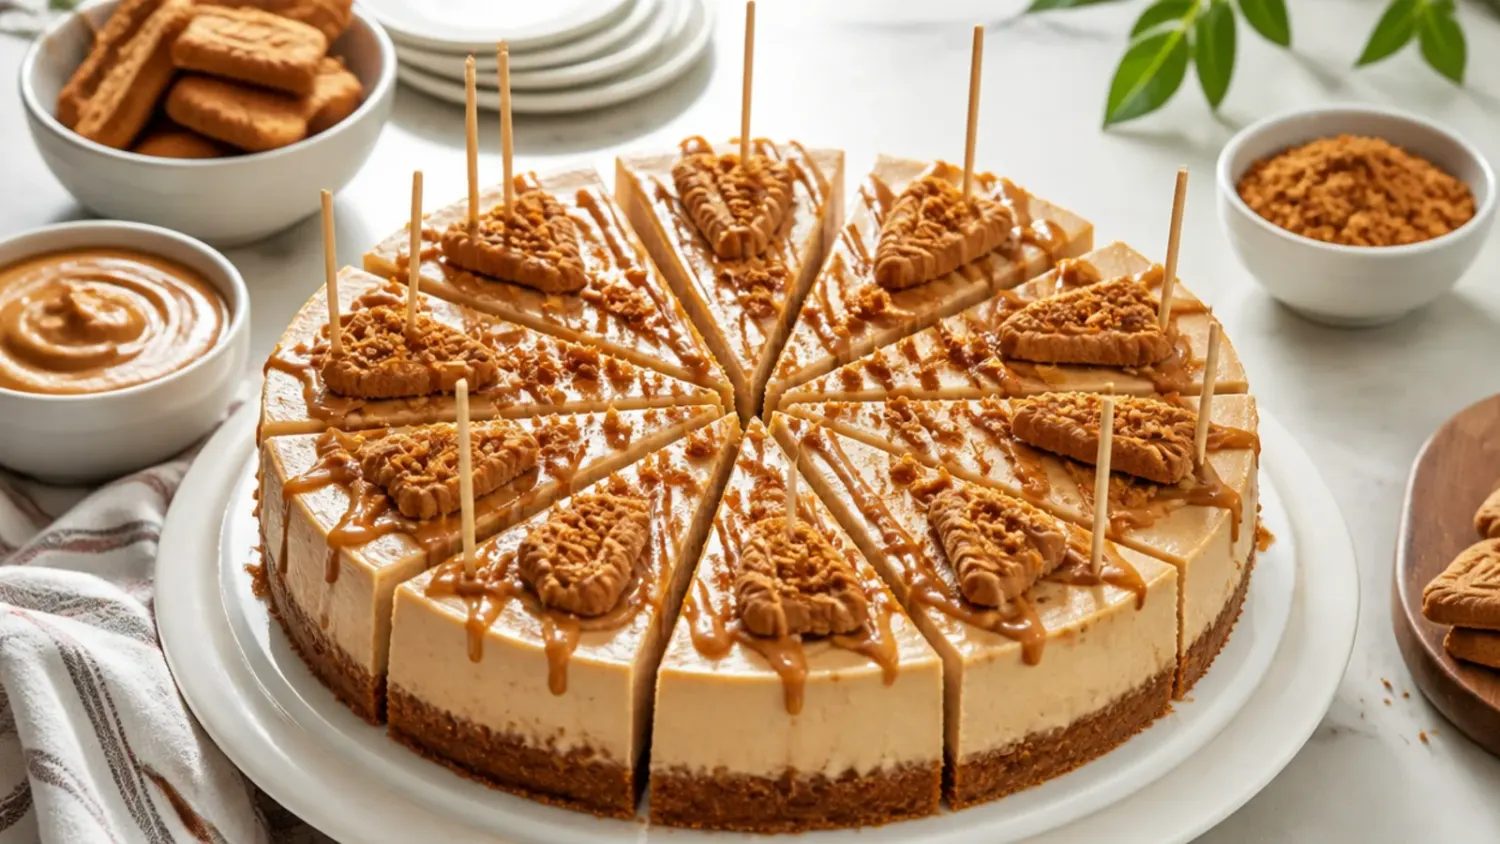
Fifteen easy biscoff cheesecake for parties ideas built on one no-bake recipe — minis, trifles, drip cakes and dip boards your guests will love. If you love biscoff cheesecake inspiration, start with our Biscoff Cheesecake Recipes collection, then browse the full Desserts hub for more.

Save this for later 📌
Pin this article to your Pinterest board so the full list is one tap away when you need it.
Save on PinterestDesserts
Beginner
Recipes
15 ideas
Table of Contents
- Why You'll Love These
- 1. Classic Biscoff Cheesecake with a Melted Spread Pool
- 2. Easy Biscoff Cheesecake Jars Ready in 2 Hours
- 3. Elegant Biscoff Drip Cheesecake with Piped Rosettes
- 4. Playful Mini Biscoff Cheesecake Bites
- 5. Modern Biscoff Cheesecake Bars with Sharp Edges
- 6. Rustic Biscoff Crumble Cheesecake in a Pie Dish
- 7. Colorful Berry-Topped Biscoff Cheesecake
- 8. Minimal Smooth-Top Biscoff Cheesecake
- 9. Festive Holiday Biscoff Cheesecake
- 10. Whimsical Biscoff Cheesecake Trifle Bowl
- 11. Bold Chocolate and Biscoff Layer Cheesecake
- 12. Delicate White Chocolate Lace Cheesecake
- 13. Vintage Piped Biscoff Cheesecake with Shell Borders
- 14. Biscoff Cheesecake Dip Board
- 15. Charming Mini Biscoff Cheesecake Hearts
- Pro Tips
- Serving Suggestions
- Storage and Reheating
- The Master Recipe
Why You'll Love These
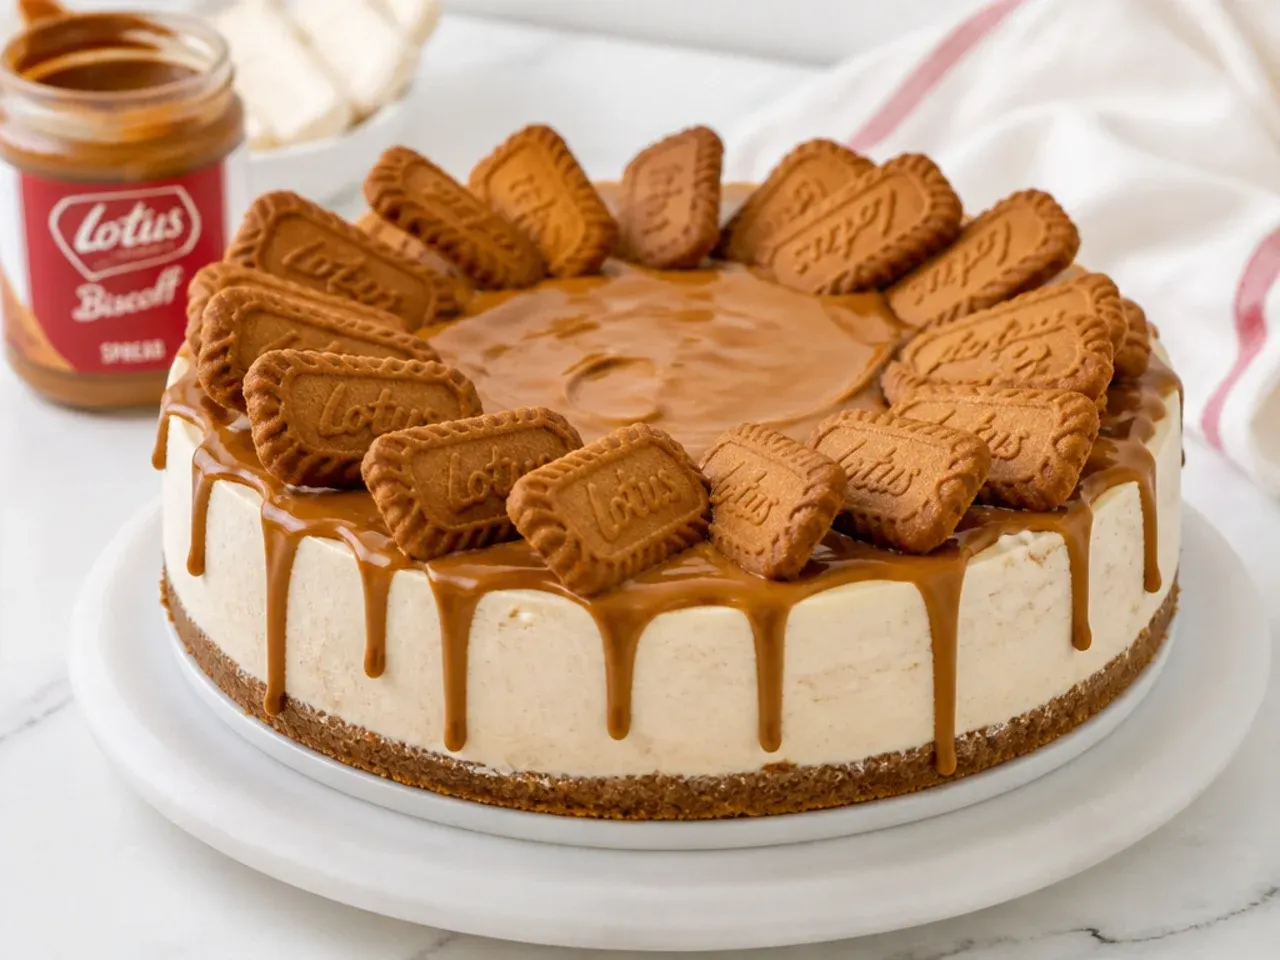
Every idea in this list builds on one no-bake base: a 20cm (8 inch) Biscoff cheesecake that serves 12 and needs zero oven time. You make it 1 to 2 days before the party, so the day itself is just decorating and slicing. The whole cheesecake costs roughly £6 to £8 in ingredients, which beats any bakery centrepiece. Because the filling sets firm in the fridge, it travels well to someone else's house and slices cleanly in front of guests. And since Biscoff spread is basically caramelised biscuit in a jar, even picky eaters go back for seconds.
1. Classic Biscoff Cheesecake with a Melted Spread Pool
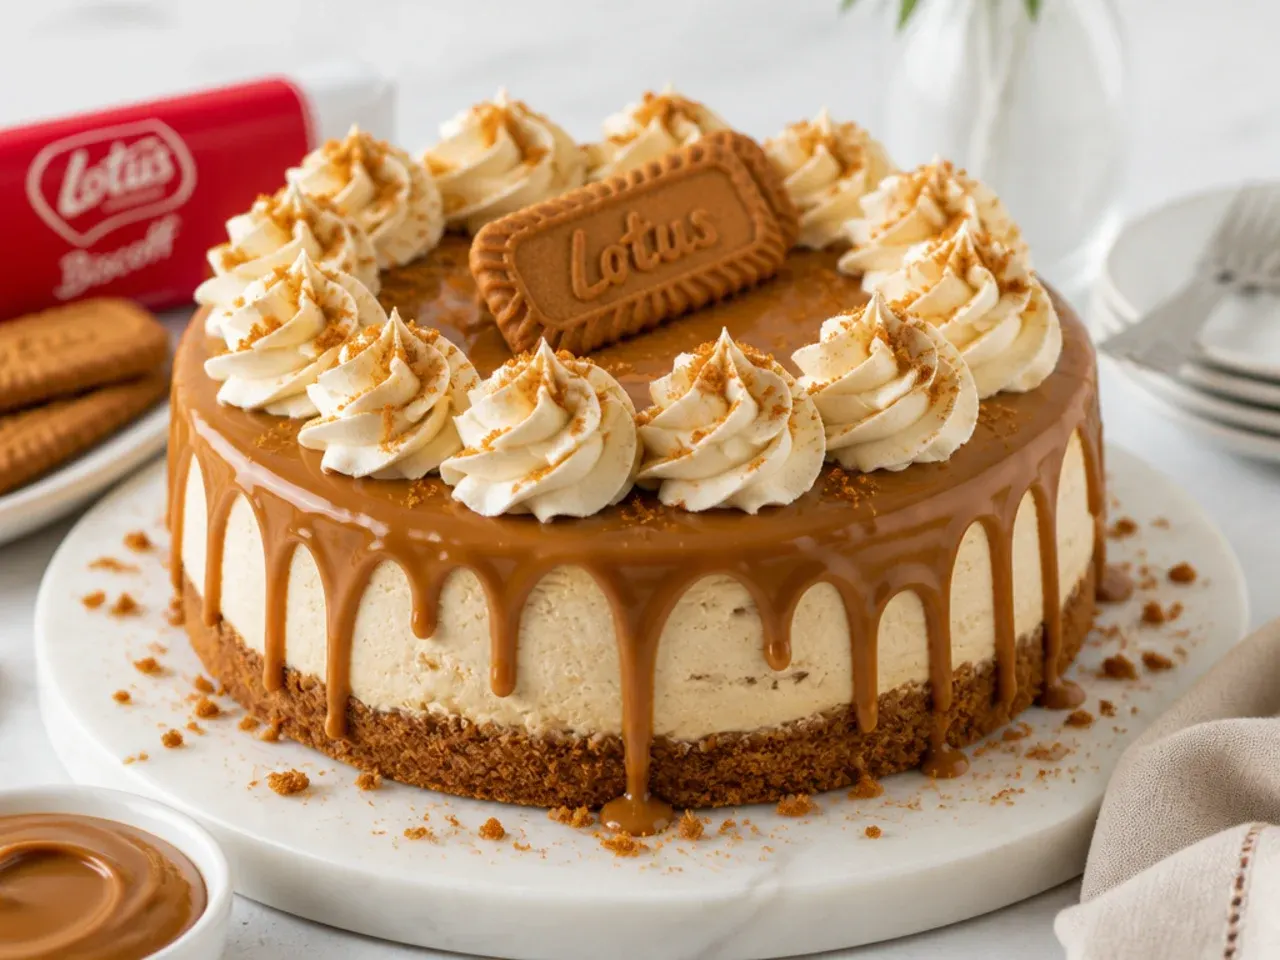
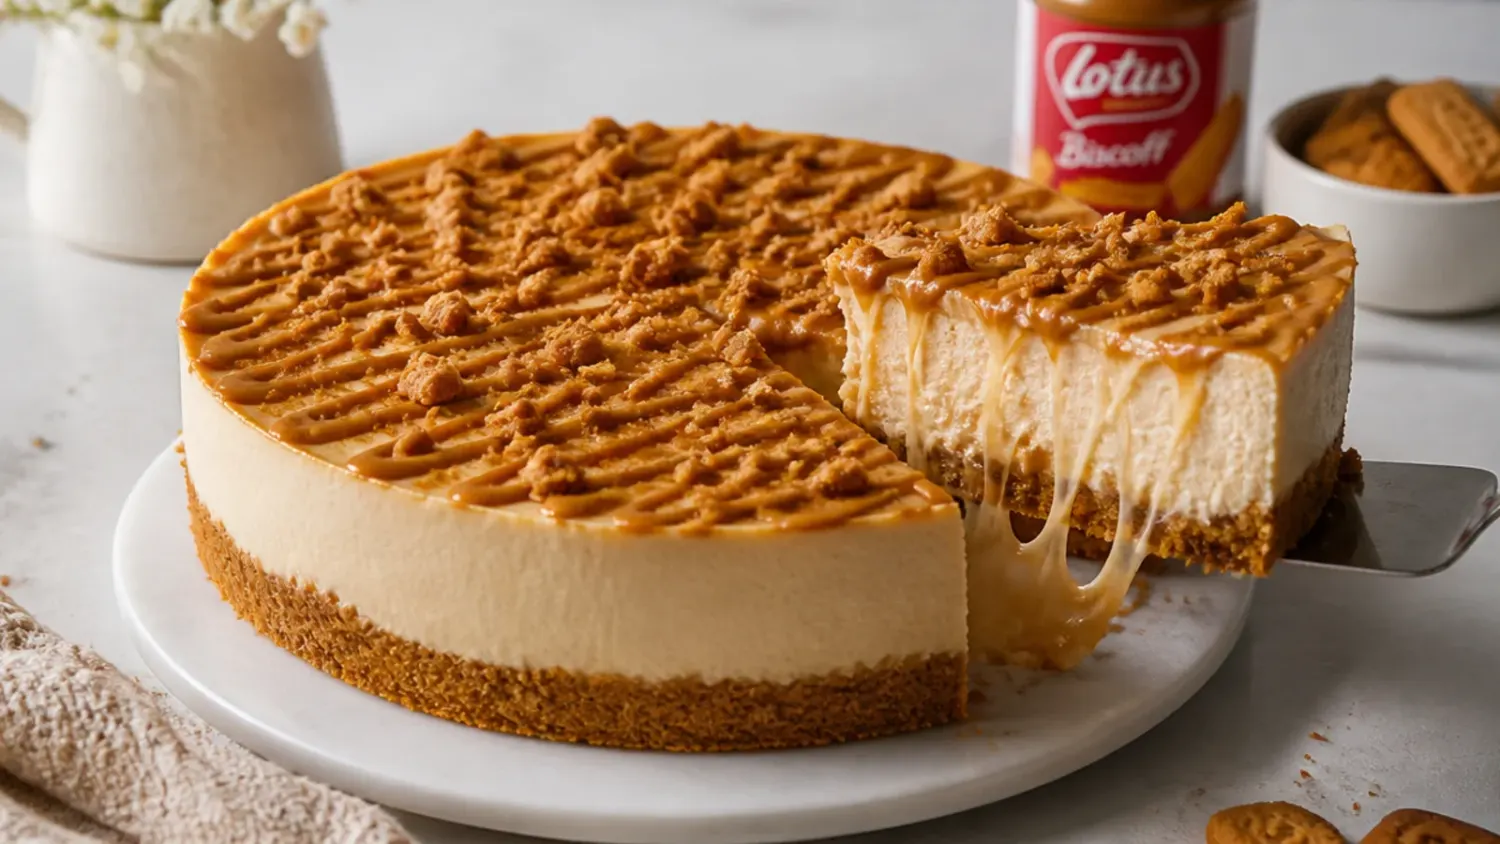
This is the base recipe below served exactly as written: a buttery biscuit base, a thick Biscoff cream cheese filling, and a glossy pool of 150g melted Biscoff spread poured over the chilled top. It works for parties because it looks bakery-made but the topping takes five minutes. Melt the spread in 30-second bursts at 50% microwave power until it is pourable but barely warm — around 30°C (86°F) — because hot spread will melt the filling underneath. Pour it into the centre, nudge it to the edges with an offset spatula, then chill 30 minutes to set. Finish with a ring of piped whipped cream rosettes (Wilton 1M tip) and halved Biscoff biscuits pushed in at an angle.
2. Easy Biscoff Cheesecake Jars Ready in 2 Hours
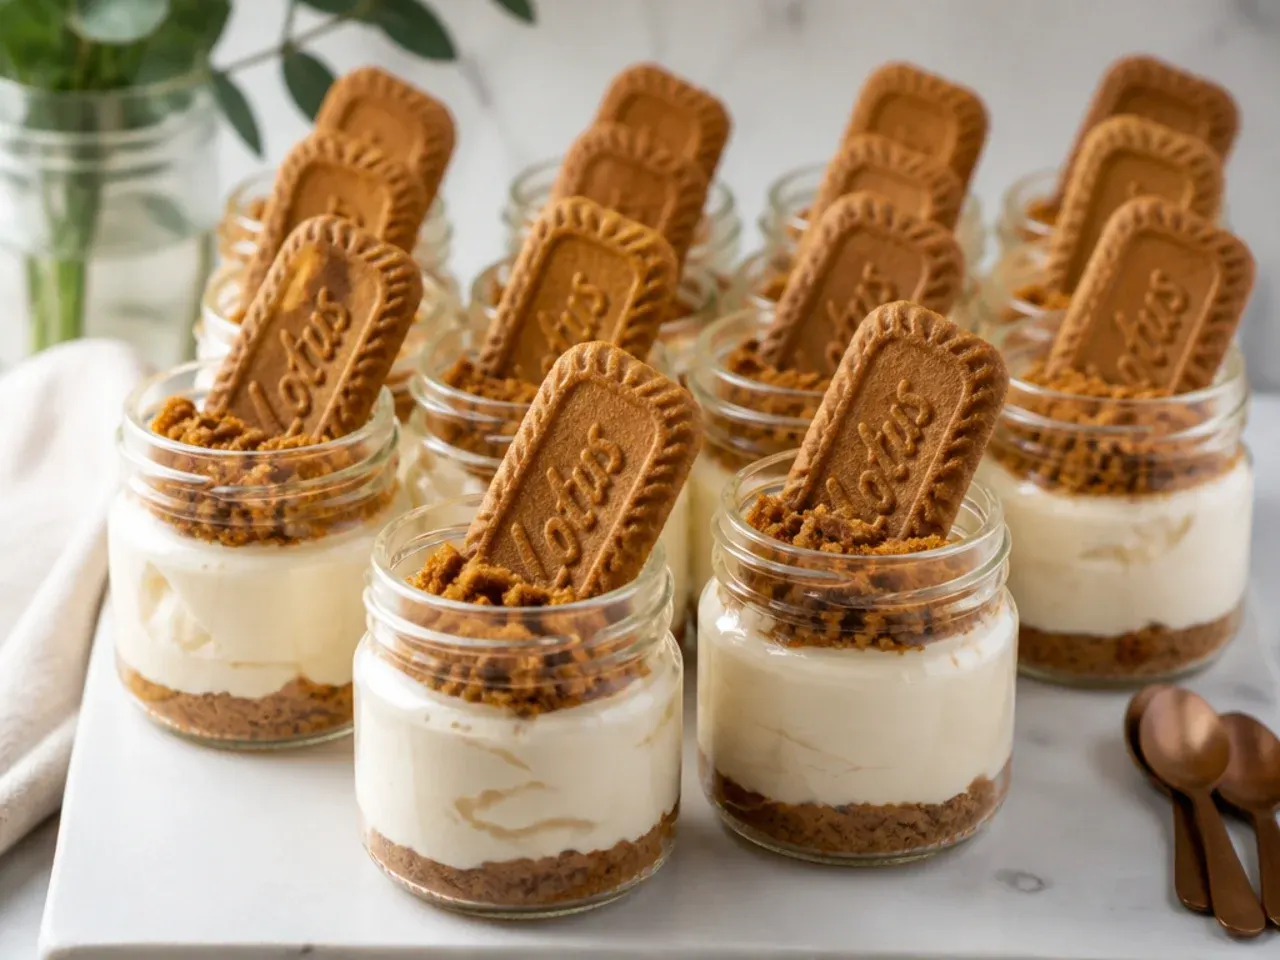
Spoon the base recipe into 150 to 200ml jam jars or 9oz clear cups instead of a tin: 2 tablespoons of buttered crumbs, filling piped on top with a 1A round tip, then a teaspoon of melted spread. Because each portion is small, they set in about 2 hours instead of 6, which makes them the rescue option when a party sneaks up on you. One batch fills 12 to 14 jars, and lids mean they stack in the fridge and survive a car journey. Guests grab their own, so you never touch a cake knife. Add the crushed-biscuit garnish just before serving so it stays crunchy.
3. Elegant Biscoff Drip Cheesecake with Piped Rosettes
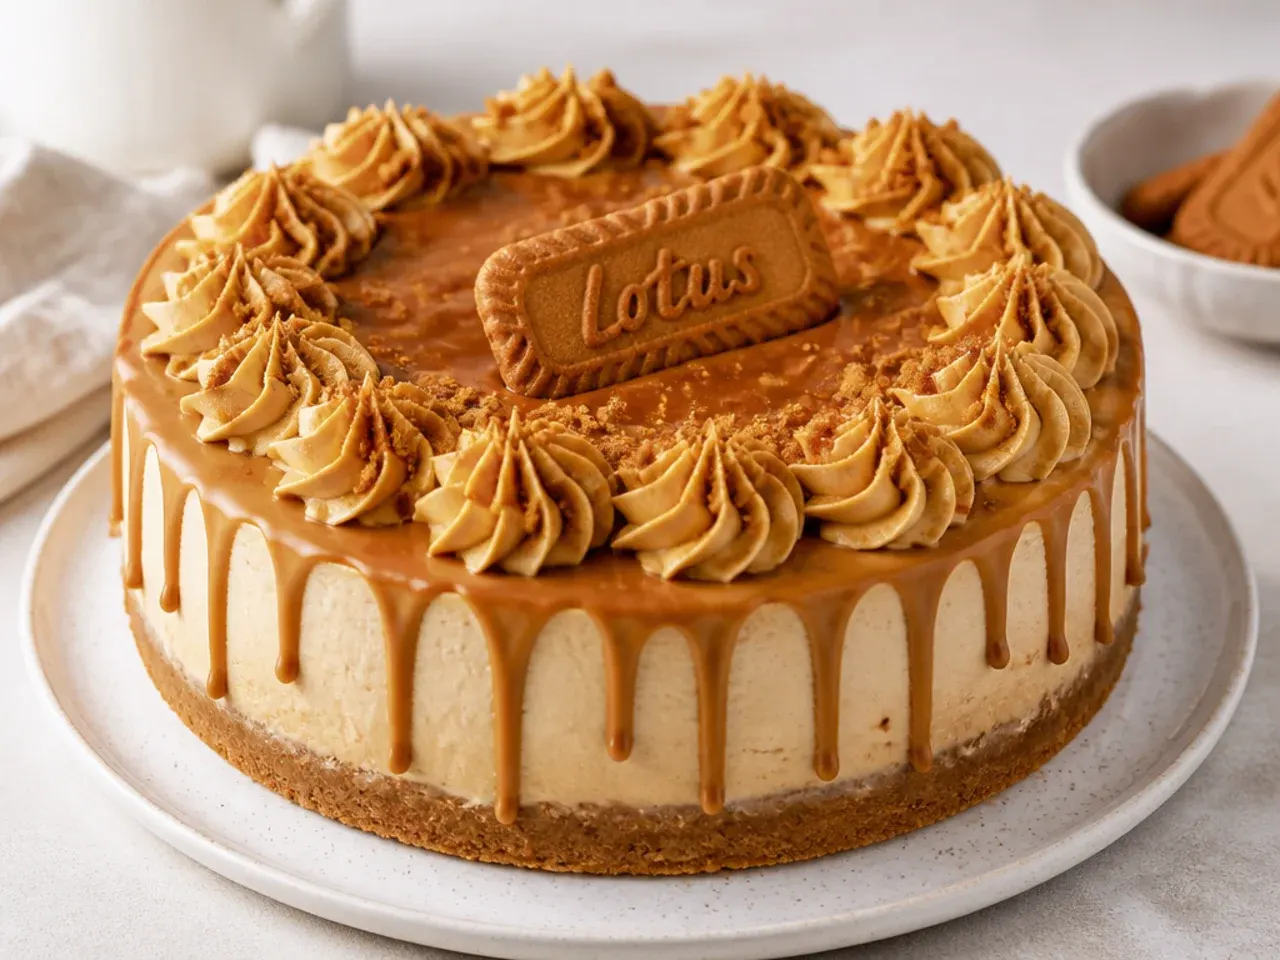
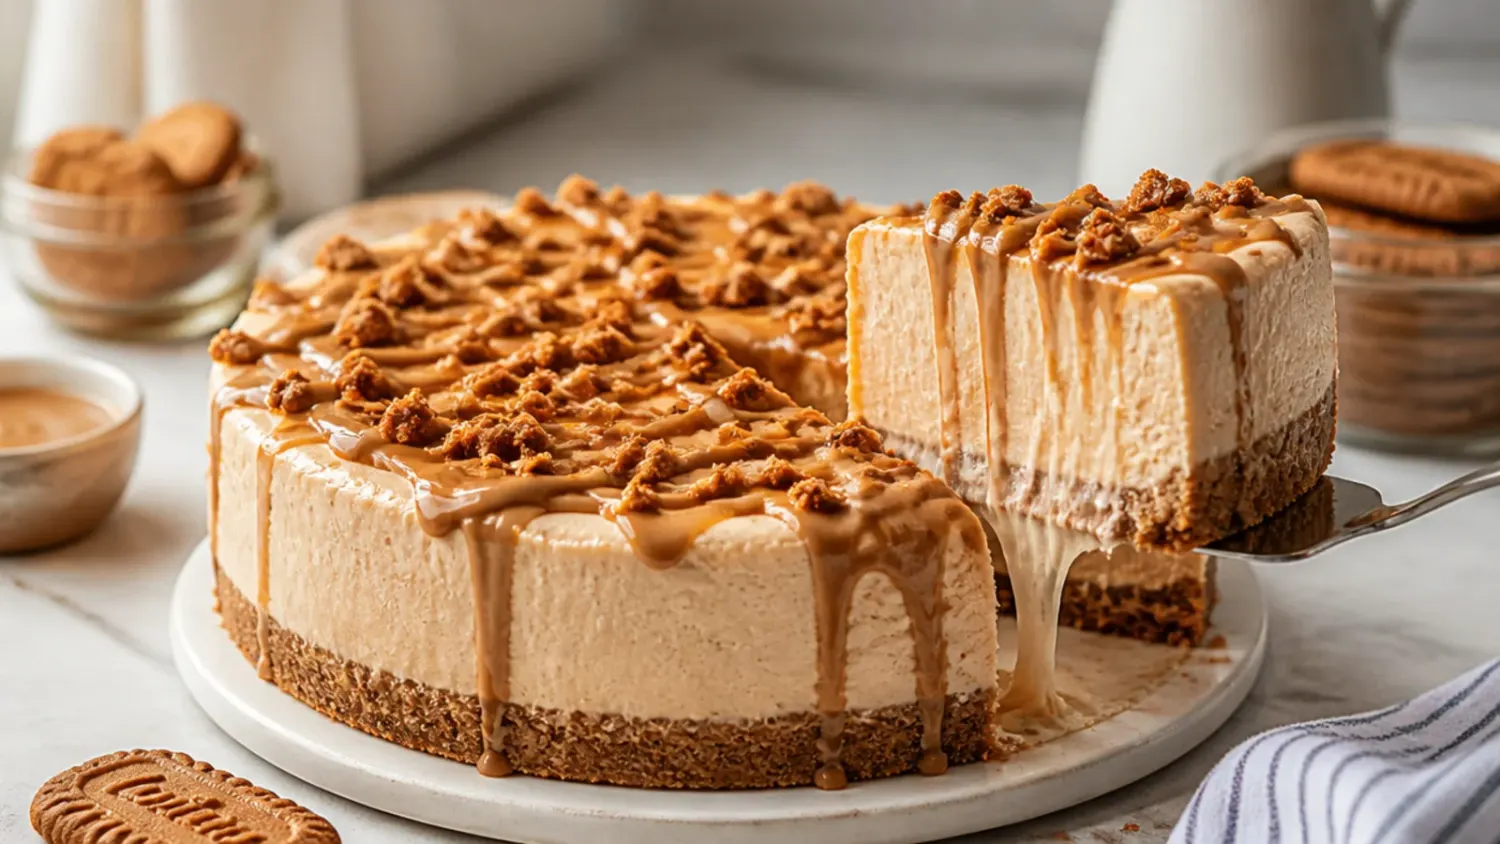
A drip finish turns the same cheesecake into a celebration centrepiece for engagements or milestone birthdays. Warm 100g Biscoff spread with 1 tablespoon of double cream until it falls in a slow ribbon, then test one drip on the side of a cold glass — it should run 2 to 3cm and stop. Chill the cheesecake thoroughly first (or freeze it 20 minutes) so each drip sets on contact instead of sliding to the plate. Spoon drips around the edge, flood the centre, then pipe tall rosettes with a 1M or 2D tip once the drip has set. A little edible gold dust brushed on the rosettes reads as very expensive for about £3.
4. Playful Mini Biscoff Cheesecake Bites
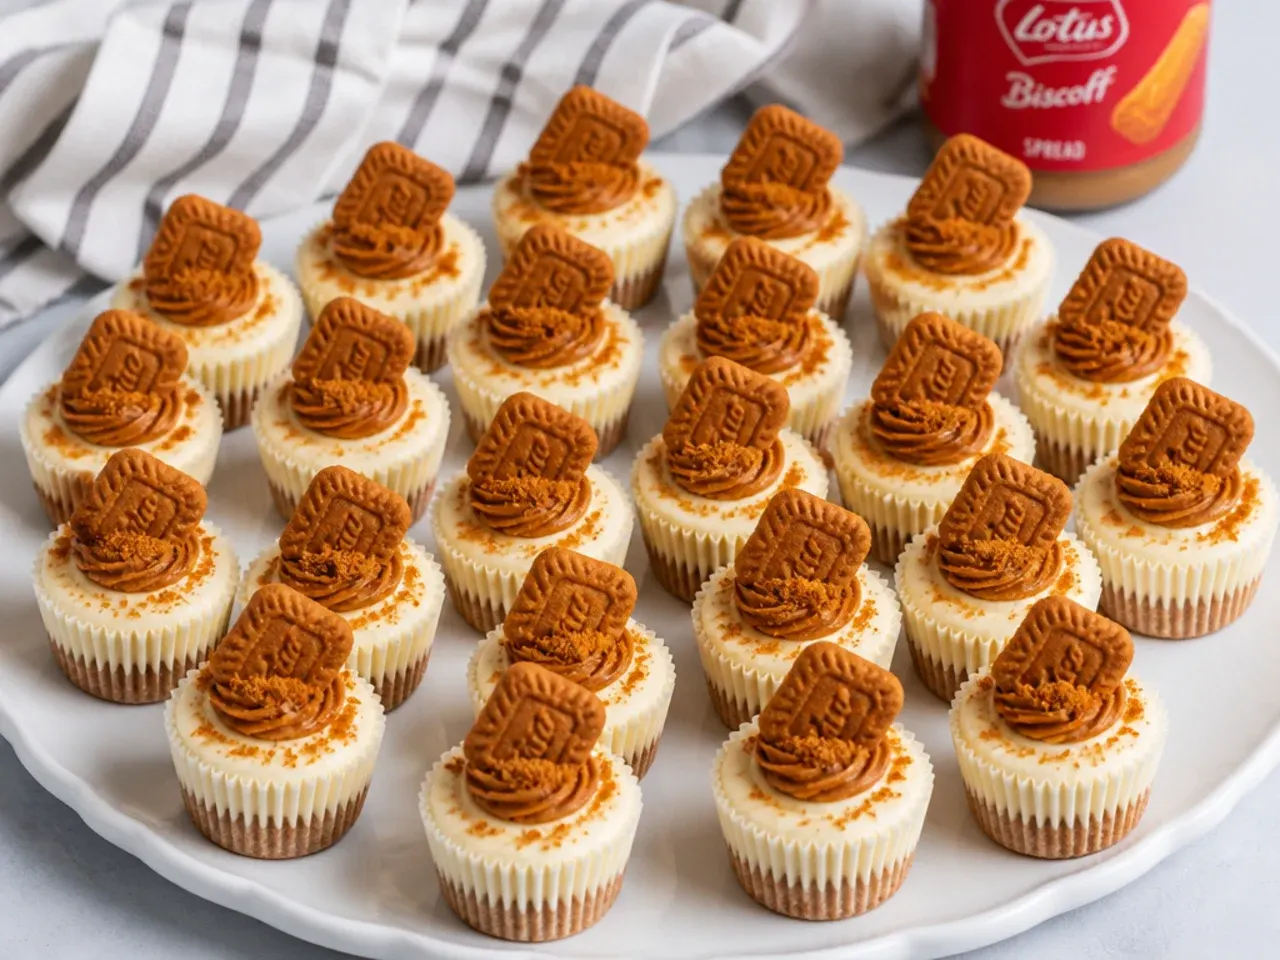
Press 1 tablespoon of the base mixture into paper cases in two 12-hole muffin tins, then pipe the filling on top with a 1A round tip — one batch makes about 24 minis. They set in 3 to 4 hours, guests eat them one-handed, and there is no slicing bottleneck at the dessert table. Top each with a coin of melted spread and half a Biscoff biscuit standing upright. These are the best choice for kids' parties because portions are controlled and nothing needs a plate. Freeze any leftovers individually for up to 3 months and thaw them in the fridge overnight.
5. Modern Biscoff Cheesecake Bars with Sharp Edges
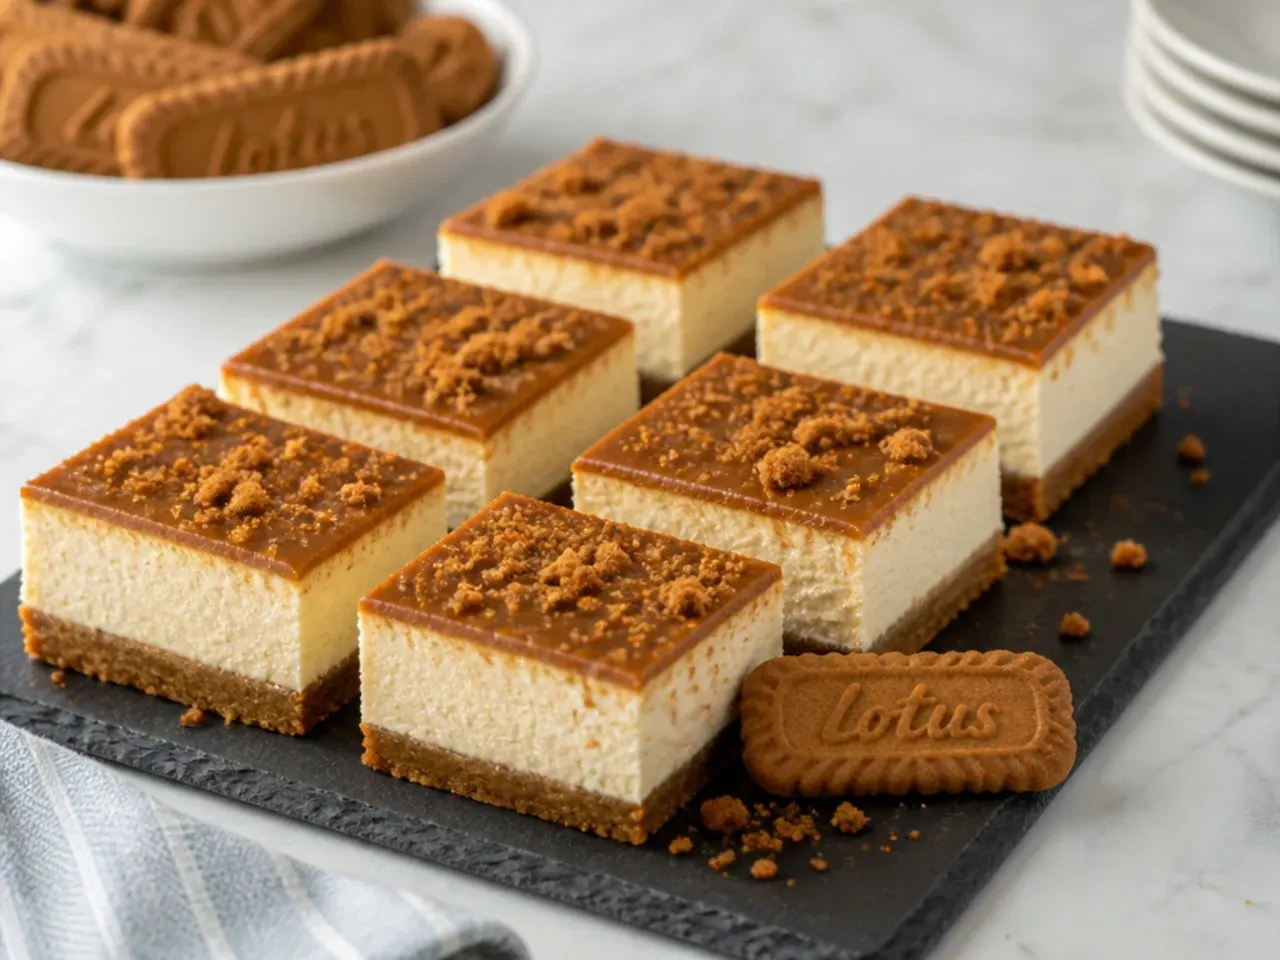
Set the base recipe in a 20cm (8 inch) square tin lined with parchment left overhanging on two sides, then lift the whole slab out and cut it into 16 neat bars. The trick to razor-sharp edges is 30 minutes in the freezer before cutting, plus a long knife dipped in hot water and wiped dry between every cut. Drag a fork of melted Biscoff spread across the tops in straight diagonal lines for a clean, geometric look. Serve the bars in staggered rows on a slate or a white platter. This format suits standing parties because a bar holds its shape on a napkin, no fork required.
Save this for later 📌
Pin this article to your Pinterest board so the full list is one tap away when you need it.
Save on Pinterest6. Rustic Biscoff Crumble Cheesecake in a Pie Dish
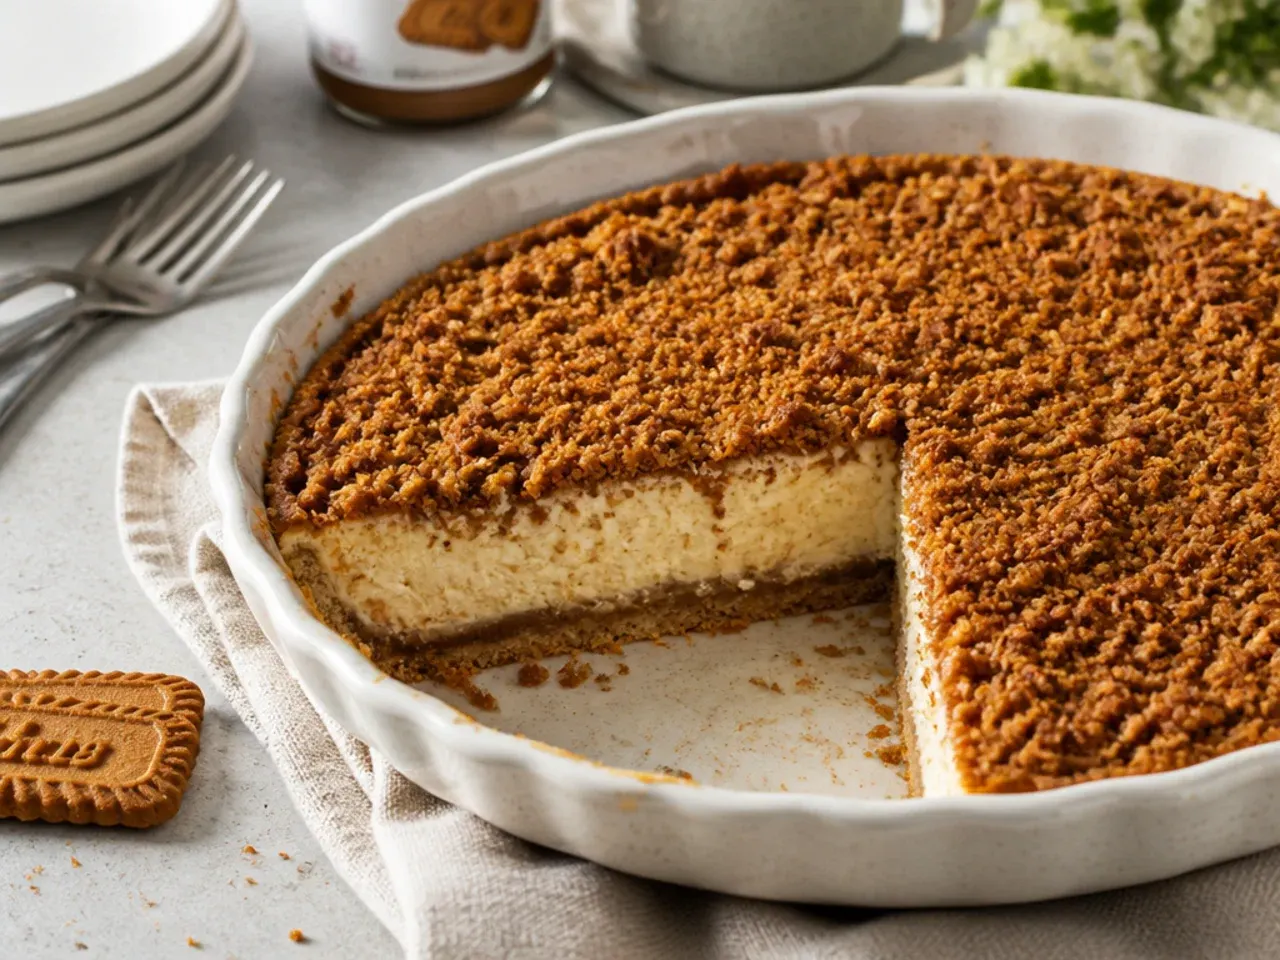
Skip the springform and set the cheesecake in a 23cm (9 inch) ceramic pie dish you can carry straight to the table. Instead of smoothing the top, swirl it with the back of a spoon so it looks generously homemade. For the topping, toast 50g of Biscoff crumbs with a teaspoon of butter in a dry frying pan over medium heat for 2 to 3 minutes until deep golden — the toasting adds a nutty, almost brown-butter note the standard recipe does not have. Scatter the warm crumble over the chilled cheesecake with rough shards of broken biscuit. Serve it family-style with a big spoon at casual gatherings and barbecues.
7. Colorful Berry-Topped Biscoff Cheesecake
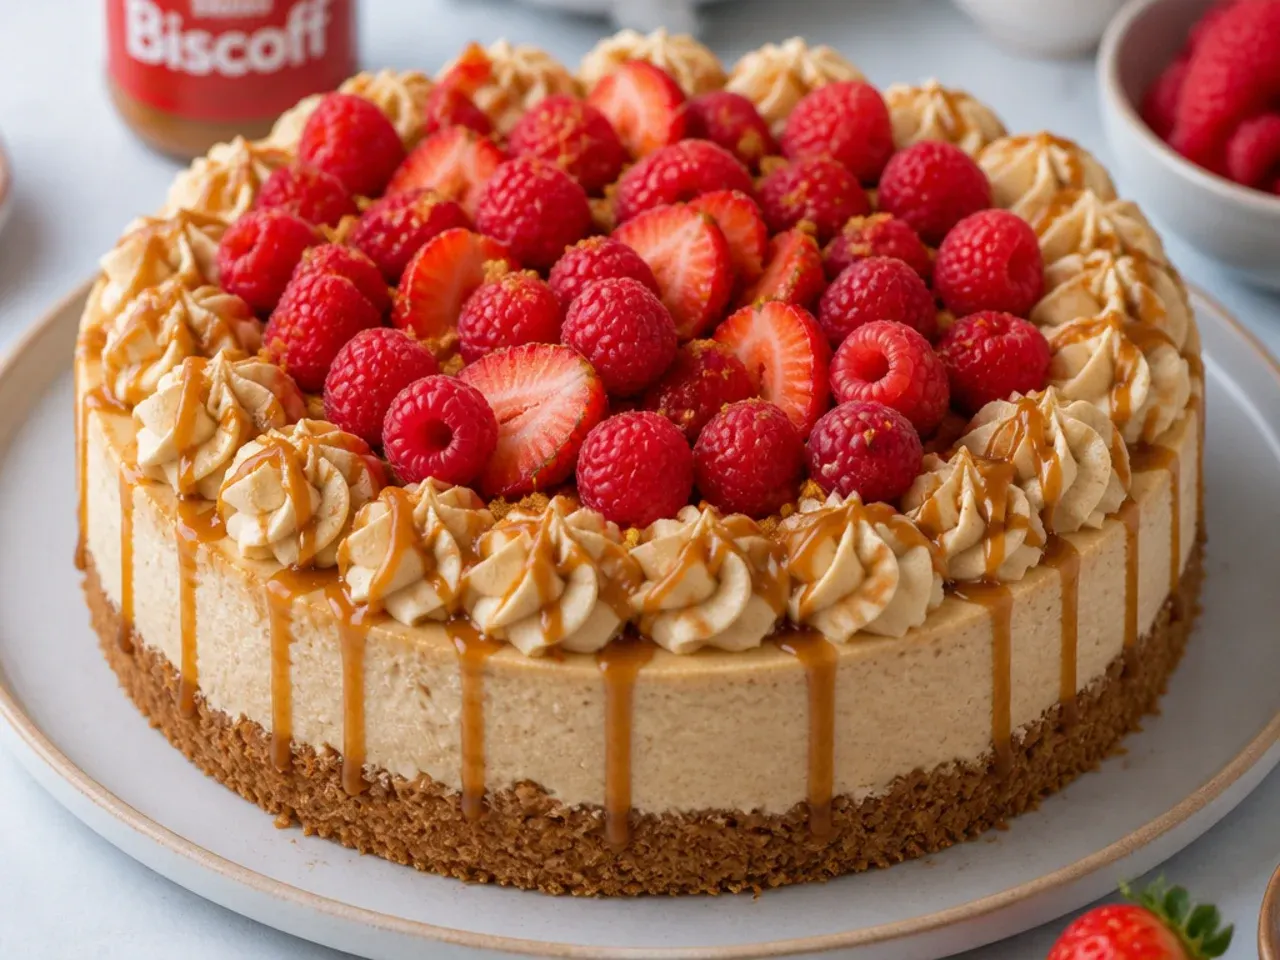
Biscoff is caramel-toned from base to top, so a pile of fresh red fruit changes the whole look and cuts the richness. Arrange 200g of raspberries in a tight ring around the edge and fill the centre with halved strawberries, cut-side down for height. The sharpness of the berries against the sweet, cinnamon-spiced filling is the same logic as serving cheesecake with berry coulis — acid balances fat. Dust freeze-dried raspberry powder over the cream for an intense pink accent that will not bleed the way fresh juice does. Add the fruit no more than 4 hours before serving so nothing weeps onto the surface.
8. Minimal Smooth-Top Biscoff Cheesecake
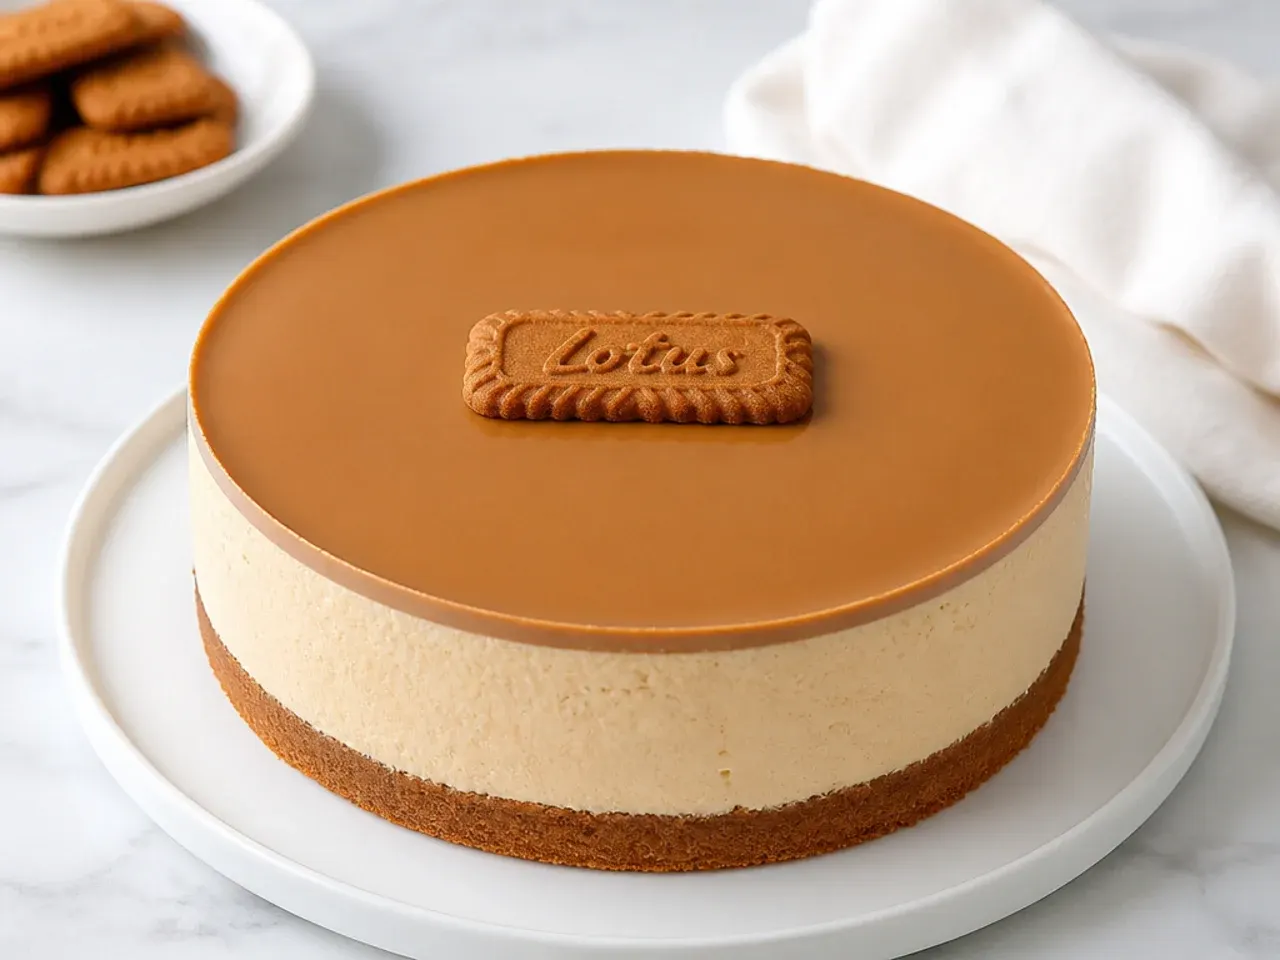
The least-work option is also the most striking on a modern table: a perfectly flat top, bare sides, and a single Biscoff biscuit placed just off-centre. Get the glass-smooth finish by heating an offset spatula in a jug of hot water, drying it, and sweeping it across the filling in one pass before chilling. Skip the melted spread layer entirely and finish with only a fine dusting of cinnamon through a small sieve. This version suits dinner parties where dessert follows a rich main, because it looks and eats lighter. It also photographs beautifully, which matters if the party ends up on someone's feed.
9. Festive Holiday Biscoff Cheesecake
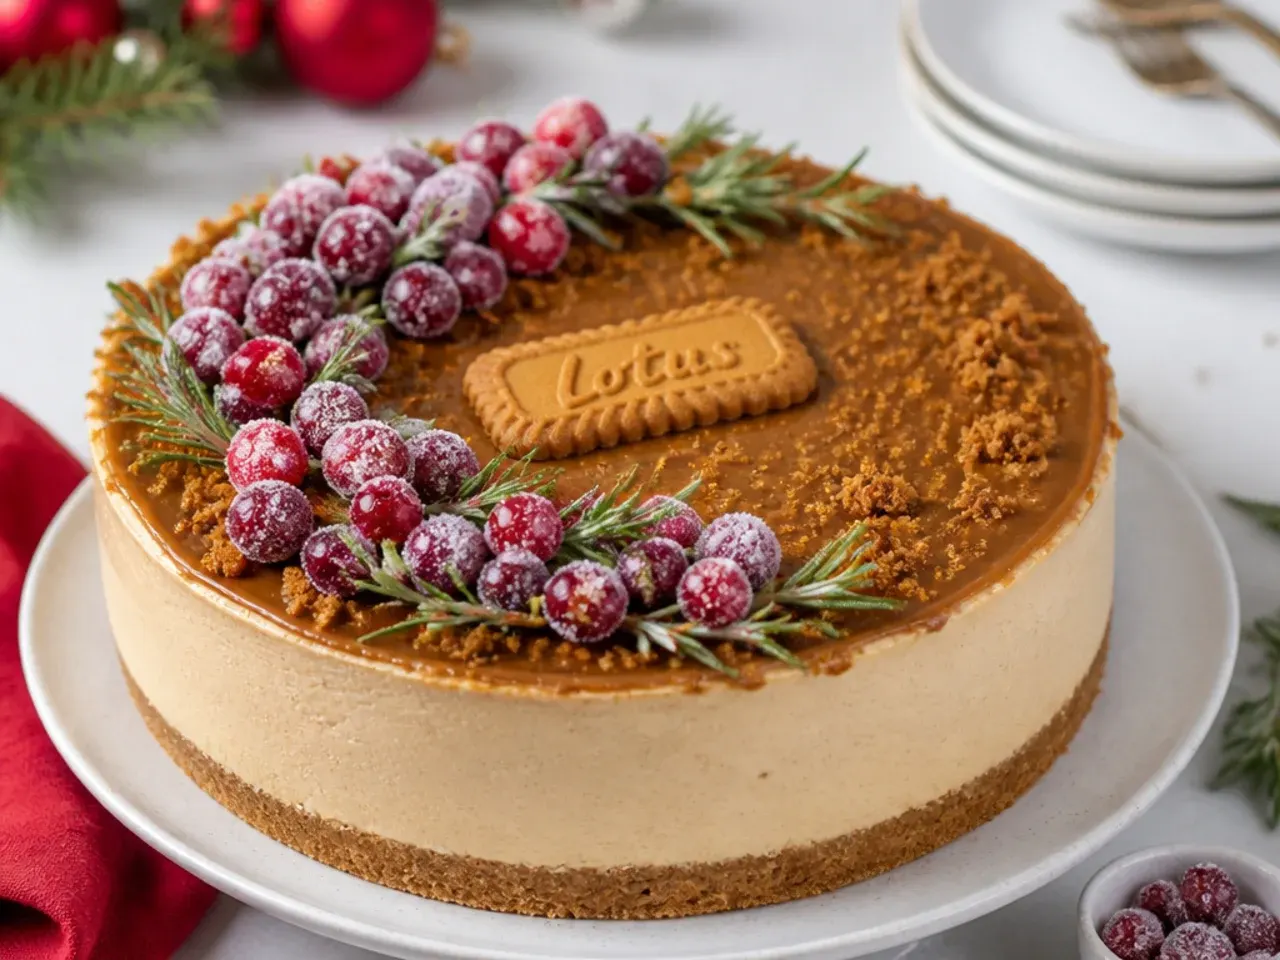
Biscoff biscuits are speculoos, so the filling already tastes of Christmas spice — lean into it by adding ½ teaspoon of ground cinnamon and ¼ teaspoon of ground ginger with the icing sugar. Top the chilled cheesecake with sugared cranberries (toss 100g cranberries in warm simple syrup, then roll in caster sugar and dry for an hour) and a few small rosemary sprigs for a wreath effect. A light brush of edible gold dust on the berries catches candlelight. This is the ultimate make-ahead Christmas dessert: build it on the 23rd, decorate on the 25th. It holds its own next to a pavlova or trifle on a holiday buffet.
10. Whimsical Biscoff Cheesecake Trifle Bowl
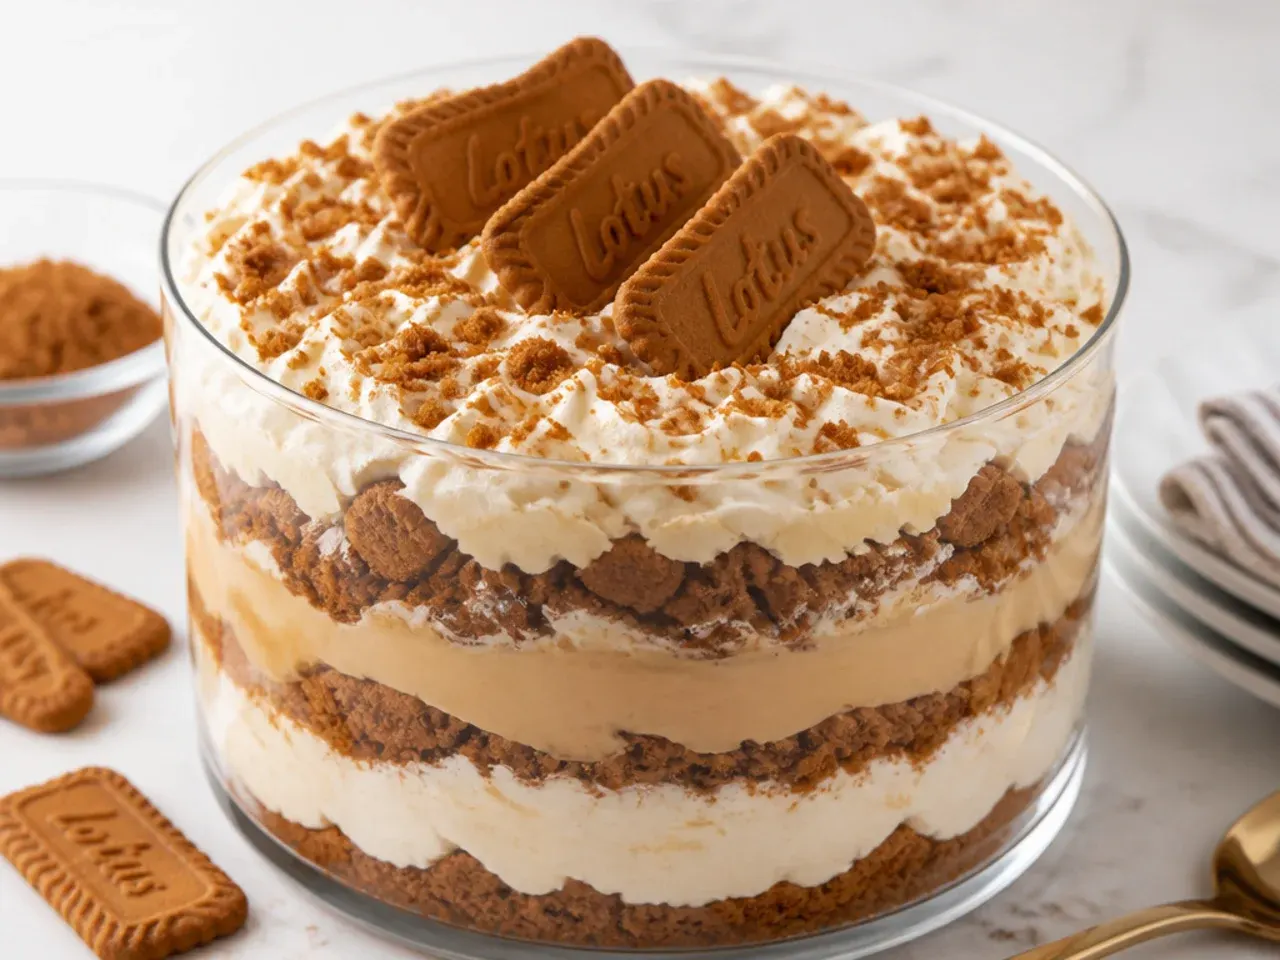
Layer the components in a 2.5 to 3 litre glass trifle bowl instead of setting them in a tin: buttered crumbs, cheesecake filling, softly whipped cream, caramelised banana slices, then repeat and finish with melted spread zigzags. Because nothing needs to hold a slice shape, there is zero risk of a setting failure — the biggest fear with no-bake cheesecake disappears. One bowl serves 16, and the visible layers do the decorating for you. Assemble it about 4 hours ahead so the biscuit layers soften slightly, somewhere between crunchy and cakey. Serve with a long spoon and let guests dig for the banana layer.
Save this for later 📌
Pin this article to your Pinterest board so the full list is one tap away when you need it.
Save on Pinterest11. Bold Chocolate and Biscoff Layer Cheesecake
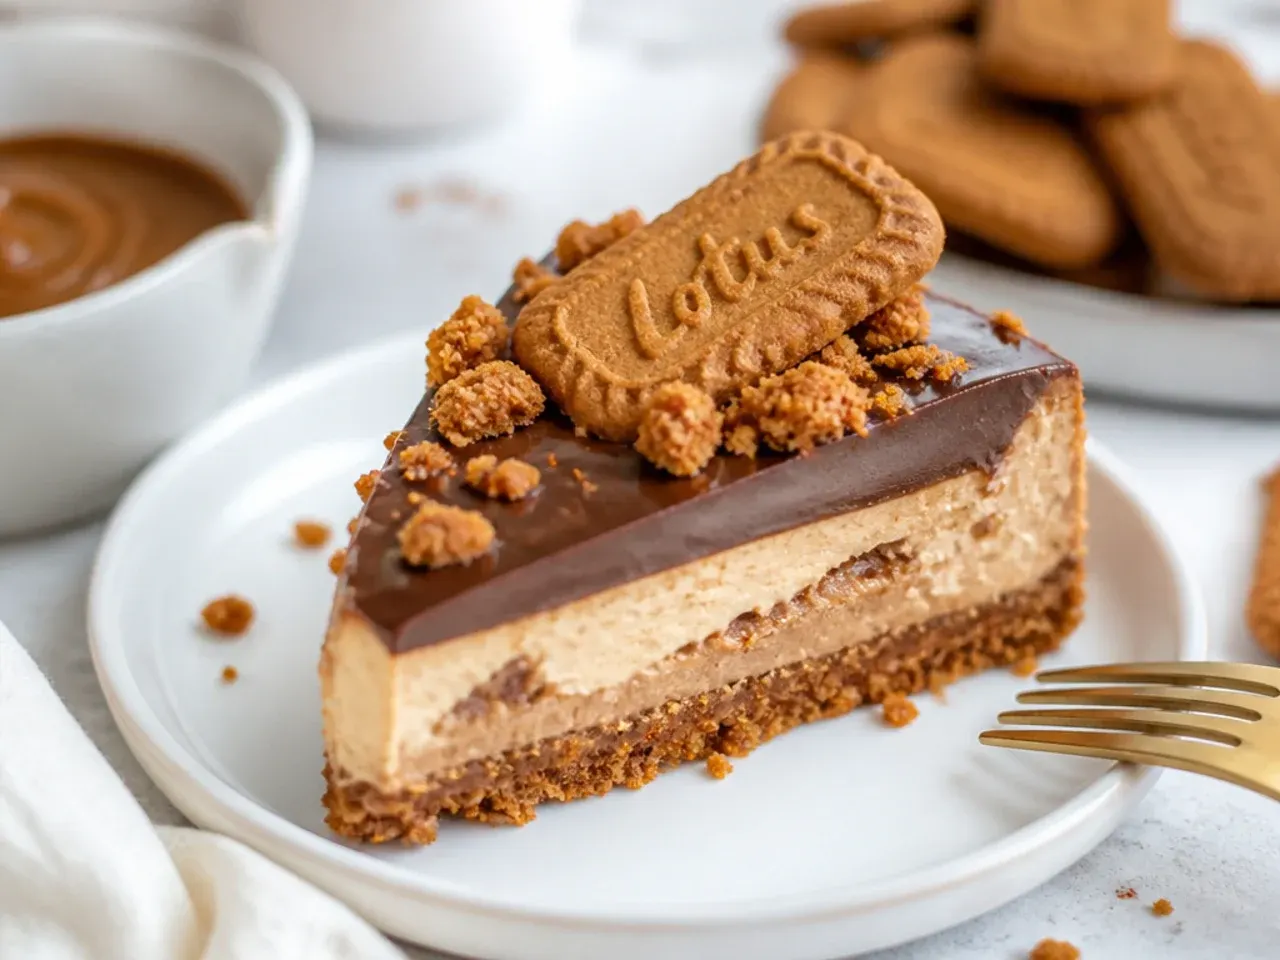
Add a dark chocolate ganache layer for the guests who think Biscoff alone is too sweet. Heat 100ml double cream until steaming, pour it over 100g chopped dark chocolate (70%), rest 2 minutes, stir smooth, then spread it over the chilled biscuit base and refrigerate 20 minutes before adding the filling. Repeat a thin ganache layer on top instead of melted spread. The bitter chocolate against caramelised biscuit tastes like a grown-up Twix and stops the sweetness stacking up. A tiny pinch of instant espresso in the ganache deepens the chocolate without tasting of coffee.
12. Delicate White Chocolate Lace Cheesecake
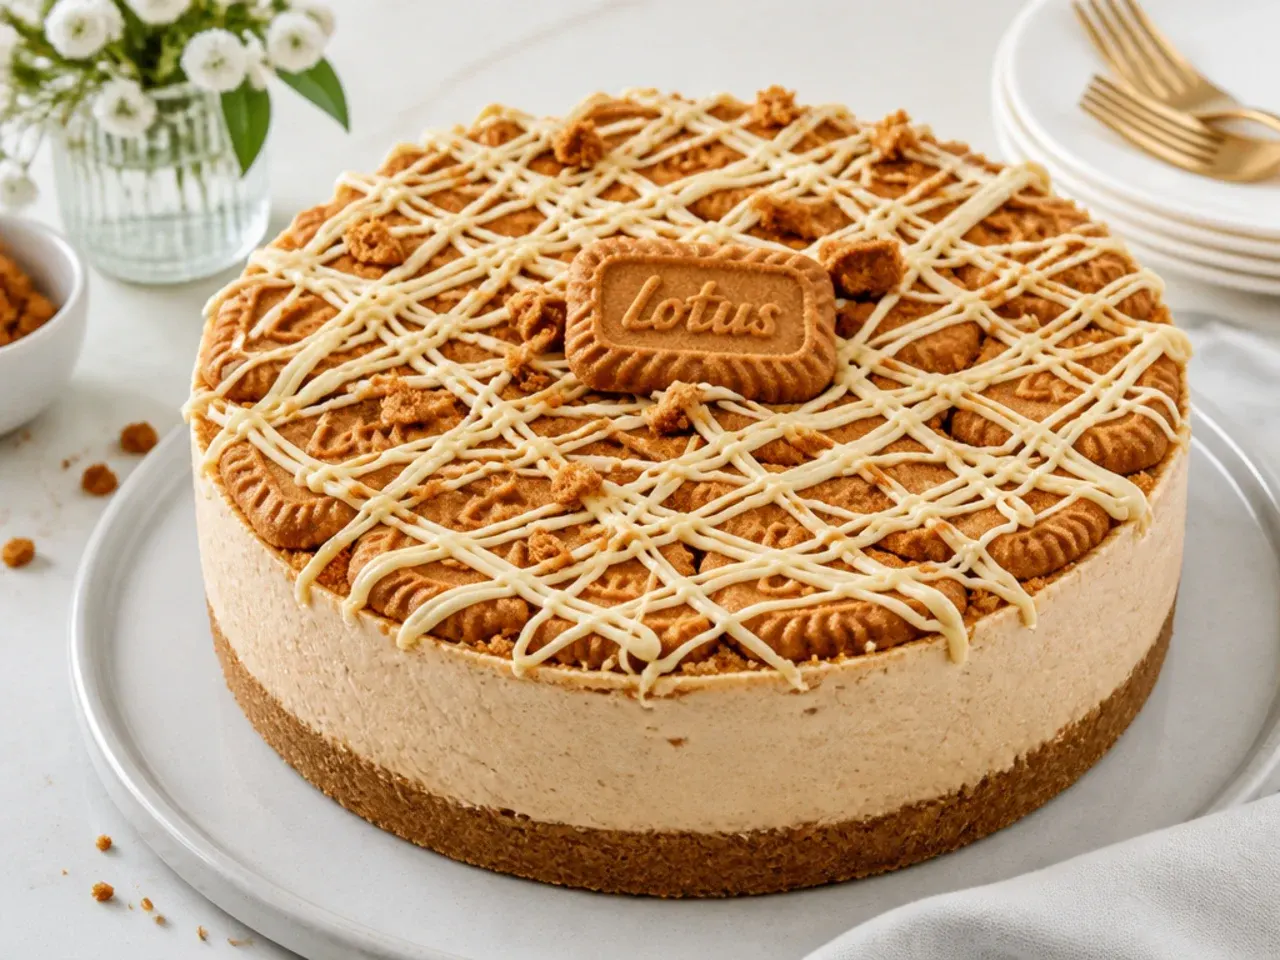
For baby showers and bridal parties, drizzle 75g of melted white chocolate over the chilled cheesecake in fine overlapping lines to create a lace effect. Melt it gently in 20-second bursts, stirring each time, and keep it below 45°C (113°F) or it will seize into a grainy clump. Pipe the lines from a small piping bag with just 2mm snipped off the tip, working quickly in one direction and then crosswise. Add white chocolate curls (pull a vegetable peeler along the flat side of a room-temperature bar) and a few white edible pearls. The pale top against the caramel filling looks soft and intentional rather than sugary.
13. Vintage Piped Biscoff Cheesecake with Shell Borders
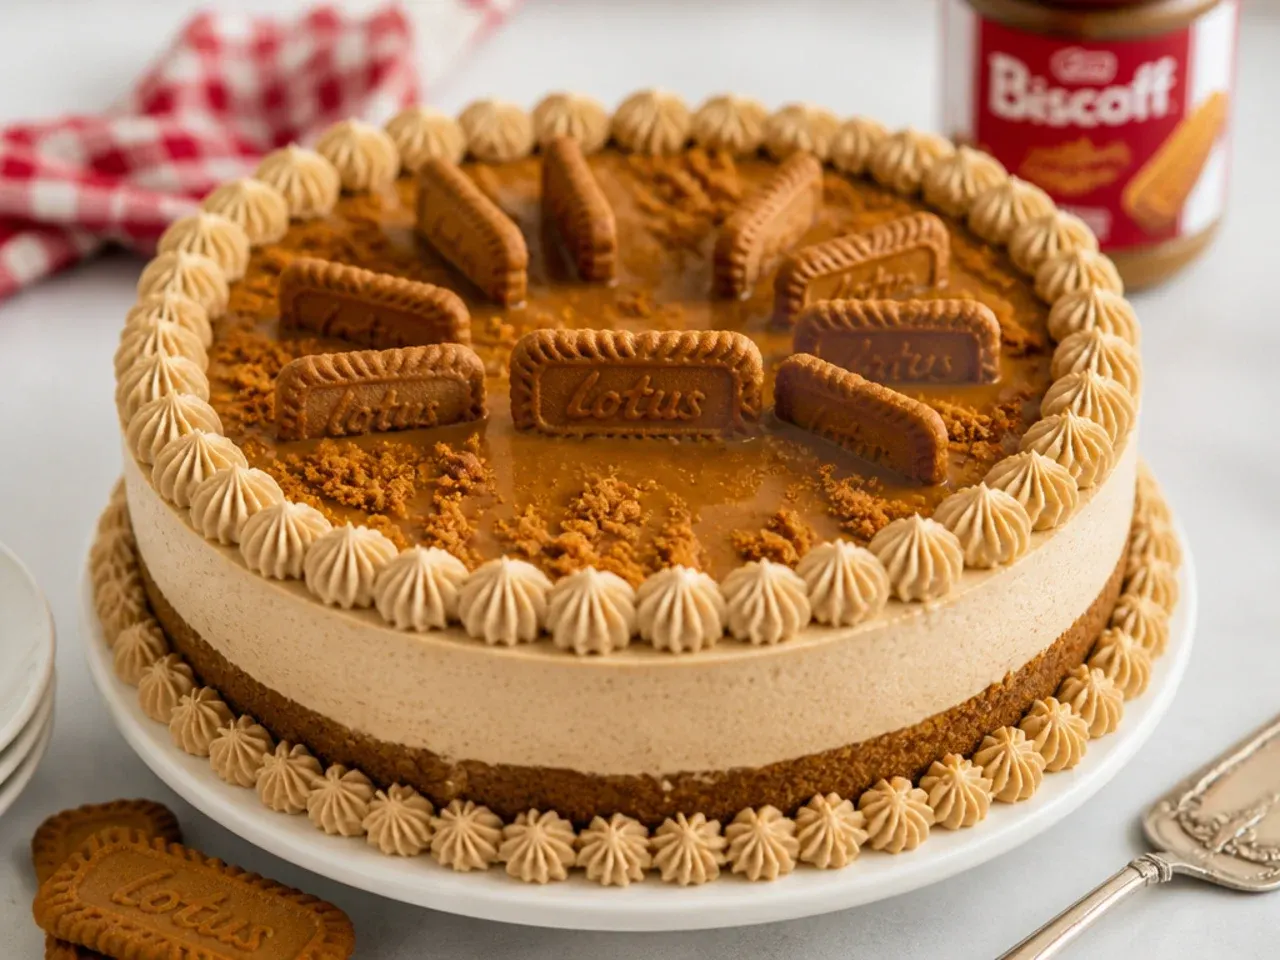
Vintage-style piping is everywhere on celebration cakes right now, and it works brilliantly on a cheesecake because the pale cream pops against the caramel top. Whip 150ml double cream with 2 tablespoons of icing sugar to firm peaks — the sugar stabilises it so borders hold overnight. Pipe a shell border around the top edge with a closed star tip (Wilton 2D or 4B) and a smaller rope border where the cheesecake meets the plate. Set a whole Biscoff biscuit upright in every other shell for a retro bakery-window look. Chill at least 1 hour after piping so the borders firm up before the party.
14. Biscoff Cheesecake Dip Board
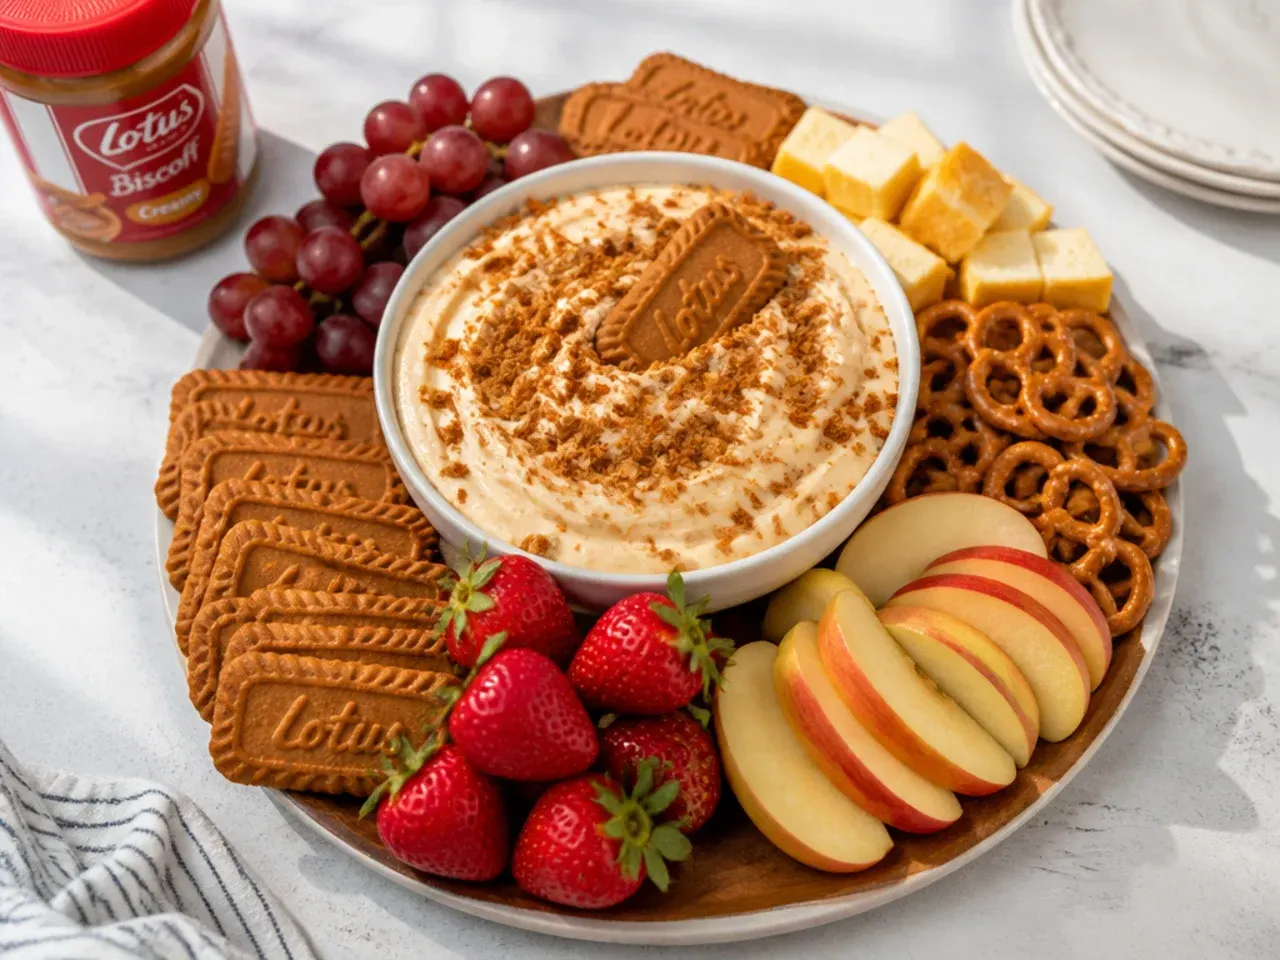
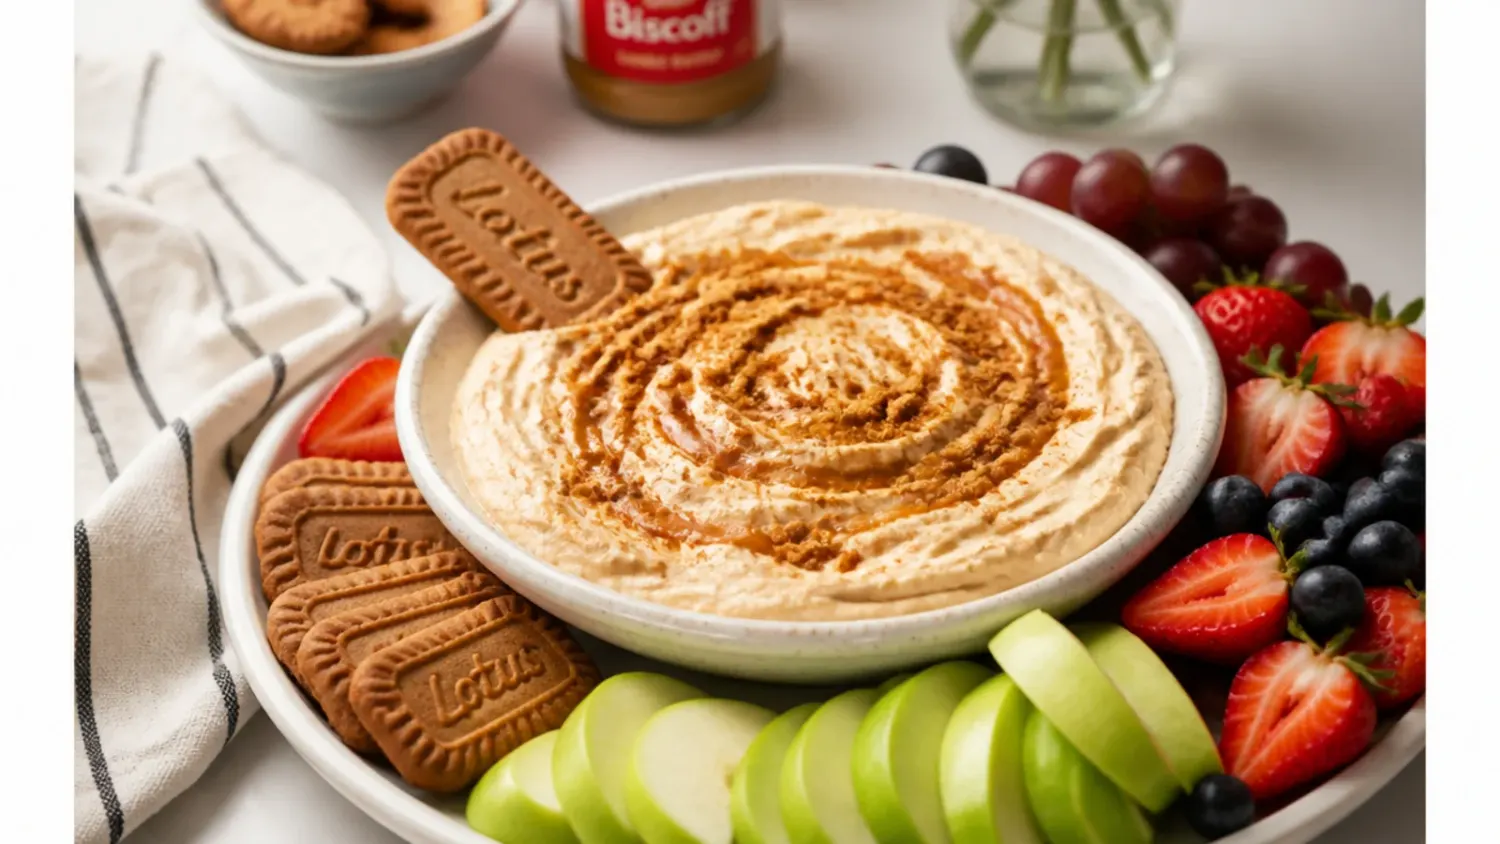
Turn the filling into a party dip: make it without the base, spread it in swoops across a large platter or shallow bowl, and drizzle warm Biscoff spread into the grooves. Surround it with dippers — whole Biscoff biscuits, strawberries, apple slices tossed in lemon juice, pretzels, and waffle pieces. It works because there is no slicing, no plates, and it feeds a crowd standing up; the salty pretzels against the sweet dip are the sleeper hit. Make the dip up to 2 days ahead and swirl the platter 30 minutes before guests arrive. One batch of filling serves about 16 as a dip.
15. Charming Mini Biscoff Cheesecake Hearts
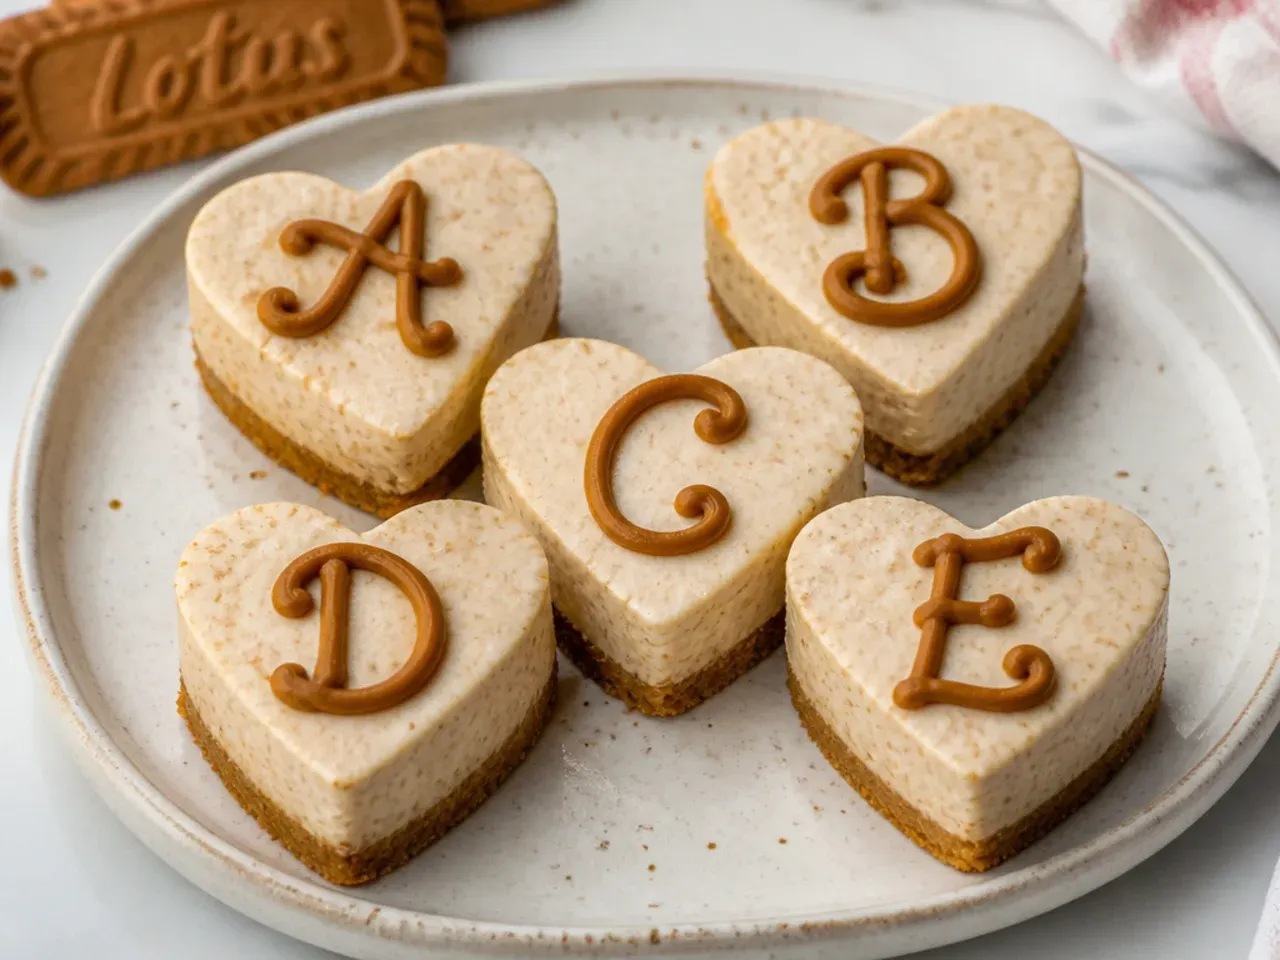
For anniversaries, engagements or Valentine's parties, set the cheesecake in individual 6cm heart-shaped cutters on a parchment-lined tray. Press a teaspoon of base into each cutter, pipe the filling level with the top, and freeze for 1 hour so they release cleanly. Warm each cutter for a few seconds between your hands or with a towel dipped in hot water, then lift straight up. Finish each heart with a drizzle of melted spread and, for a personal touch, pipe a guest's initial on top using a piping bag with the tip snipped fine. Ten to twelve hearts per batch, and every guest gets their own tiny cheesecake.
Pro Tips
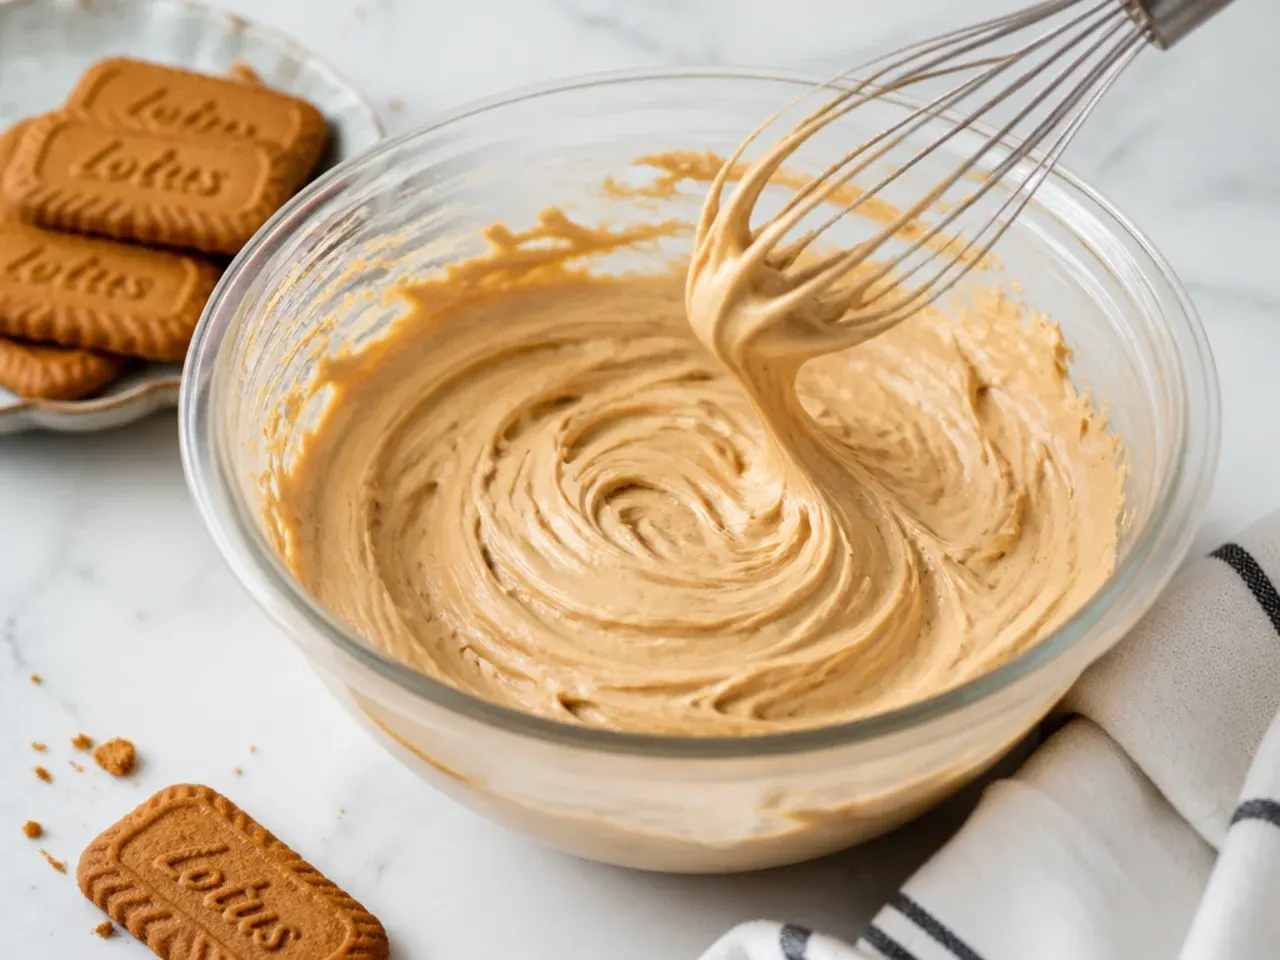
Use full-fat cream cheese and double cream with at least 36% fat — light versions carry extra water and the cheesecake will never set, which is the number one failure. Keep the cream fridge-cold but let the cream cheese sit out 30 minutes so it beats smooth without lumps. Whip the finished filling until it is thick enough to hold its shape on the whisk, like soft-serve ice cream, then stop — overwhipping turns it grainy. Chill the cheesecake a minimum of 6 hours, ideally overnight; no shortcut replaces this. When melting Biscoff spread for topping, it should feel barely warm on your lip, about 30°C (86°F), or it will melt a crater into the filling. If the day is warm, give the cheesecake 20 minutes in the freezer right before slicing.
Serving Suggestions
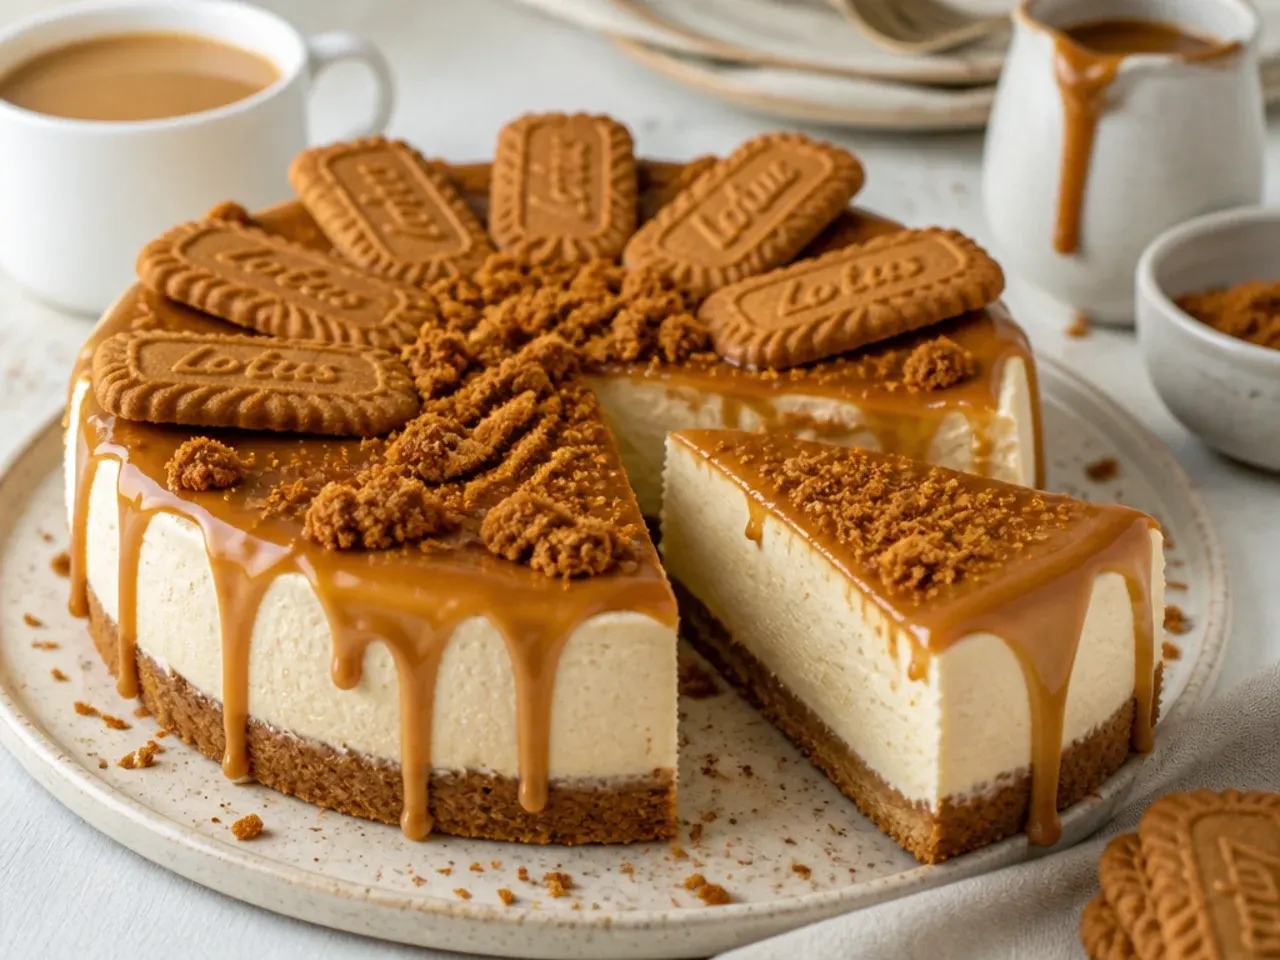
Keep the cheesecake refrigerated until 20 to 30 minutes before serving; slightly softened, the filling tastes creamier and the flavours open up. Slice with a long knife dipped in hot water and wiped dry between every cut for clean, party-worthy wedges — a 20cm cheesecake gives 12 generous slices or 16 slim buffet portions. Pair it with strong coffee or espresso, which cuts the sweetness the same way it does with tiramisu, or offer a jug of warm salted caramel sauce for pouring. For a buffet, pre-slice the whole cake, then reassemble it on a chilled platter so guests can lift slices without wrestling. Do not leave it out longer than 2 hours at normal room temperature (around 20°C / 68°F), or 1 hour in a warm summer room.
Storage and Reheating
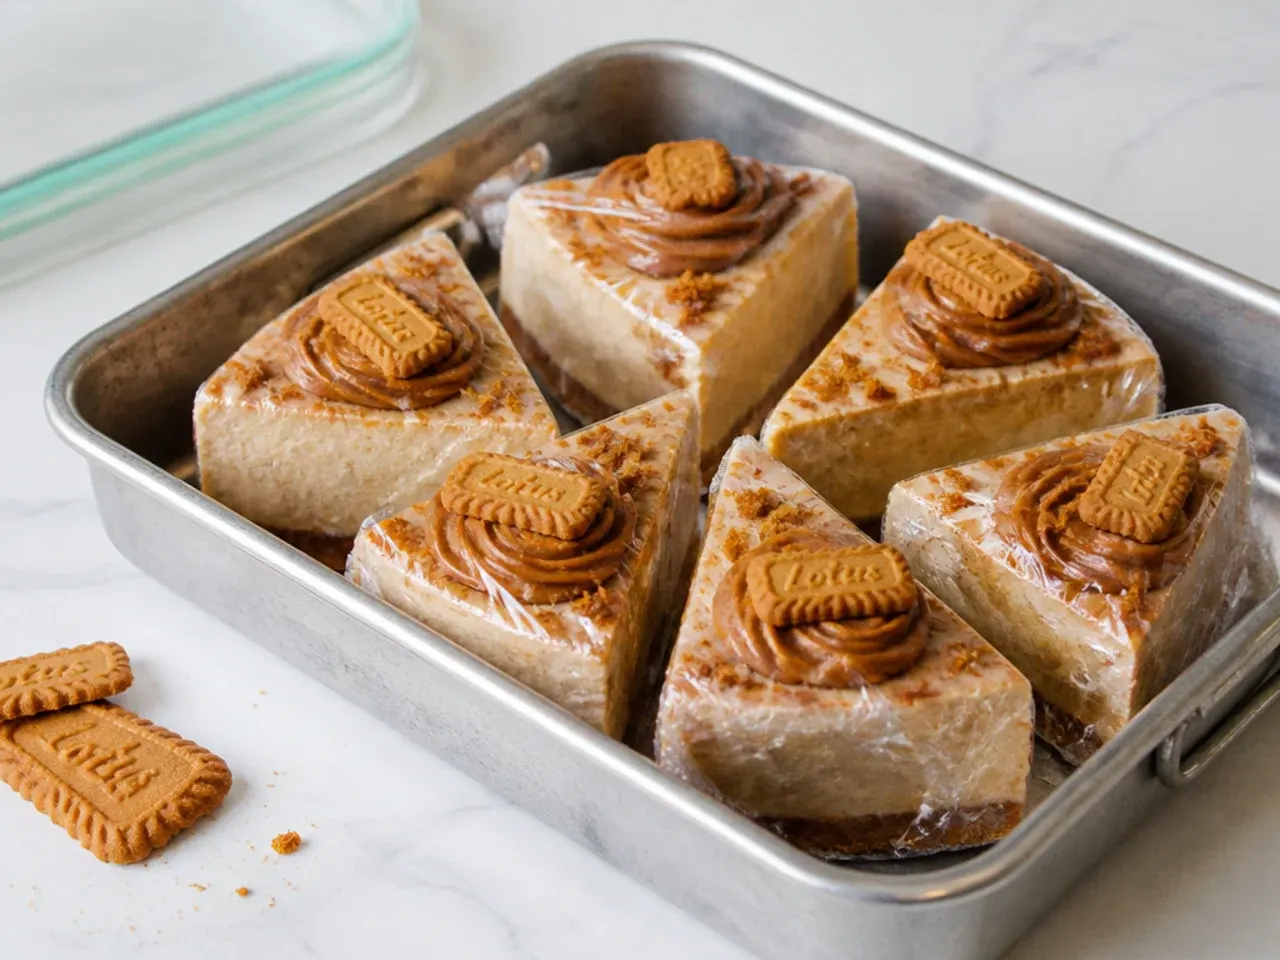
Store the cheesecake in the fridge, covered or in an airtight container, for up to 3 days — the biscuit base is at its best in the first 2. To freeze, leave off the whipped cream and fresh garnishes, freeze the cheesecake solid, then double-wrap it in cling film and foil; it keeps up to 3 months. Thaw it in the fridge for 24 hours, never on the counter, and add cream and biscuits after thawing so they stay fresh. Individual slices freeze well separated by squares of parchment in a lidded box, ready for pulling out one at a time. Never reheat or microwave this cheesecake — it is a no-bake set cream and will collapse; if a fridge-cold slice feels too firm, 15 to 20 minutes at room temperature fixes it.
The Recipe
The Master Recipe
30 min
0 min (no-bake)
7 hr (includes chilling)
12
Beginner
Ingredients 12 Person(s)
Directions
Step 1: Make the Biscuit Base
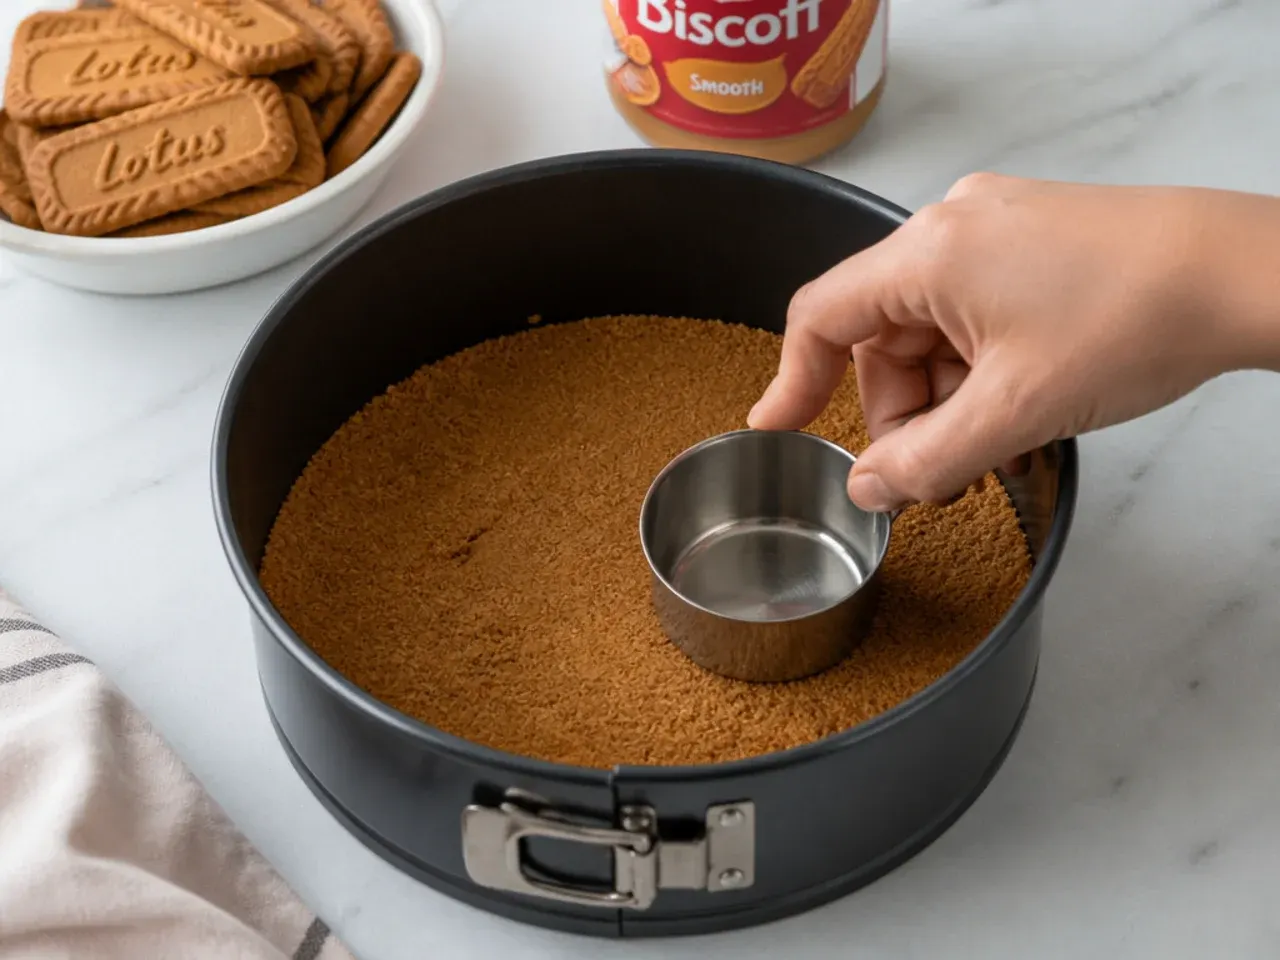
Blitz 300g Biscoff biscuits in a food processor to fine, even crumbs, or seal them in a zip-lock bag and crush with a rolling pin. Stir in 125g melted butter until the mixture looks like wet sand and clumps when squeezed. Tip it into a 20cm (8 inch) springform tin and press it down firmly and evenly with the back of a spoon or the base of a glass. Chill in the fridge for 30 minutes (or the freezer for 15) while you make the filling.
Step 2: Beat the Cream Cheese Mixture
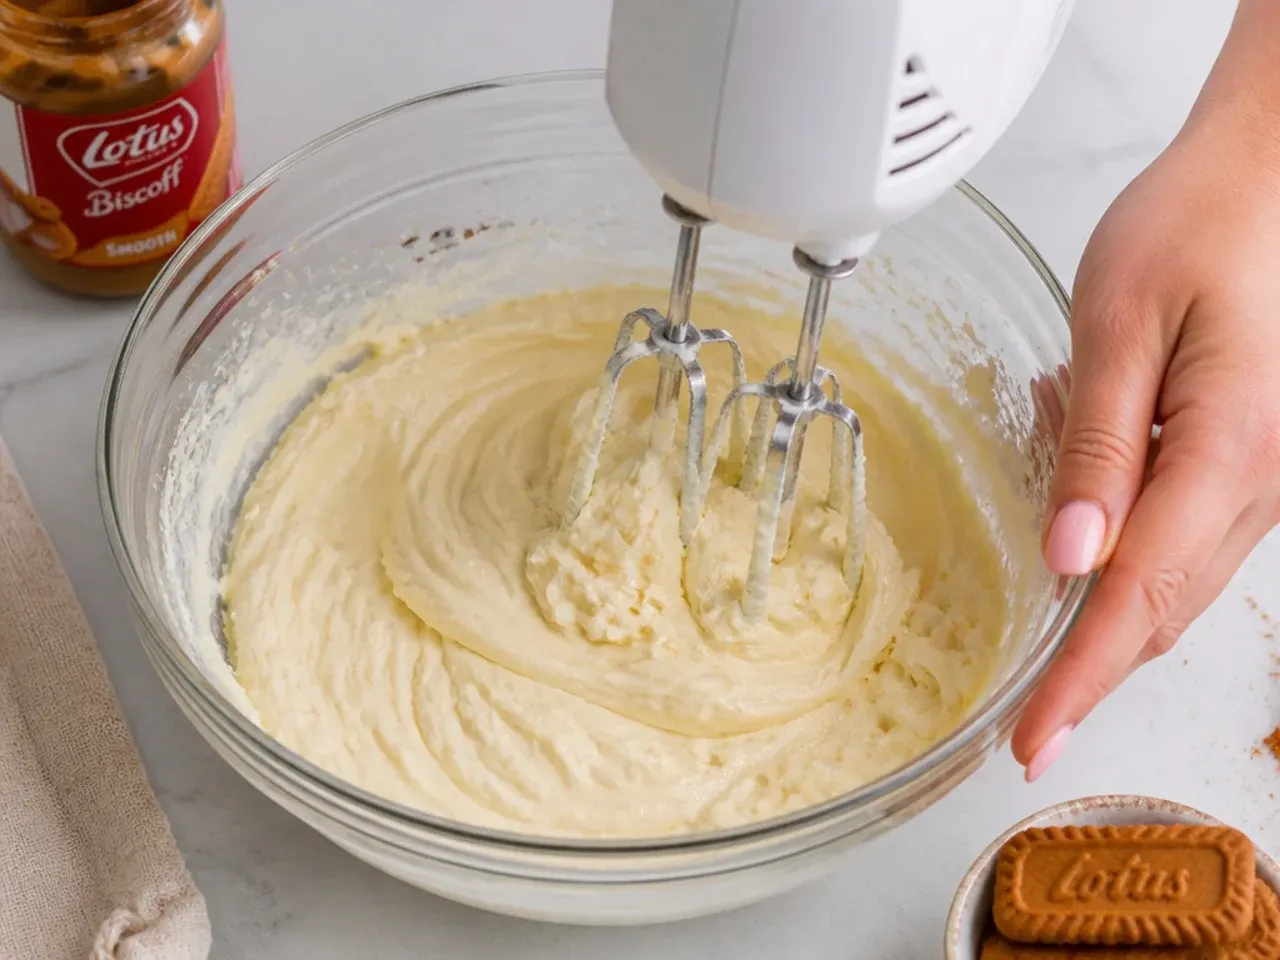
In a large bowl, beat 500g full-fat cream cheese, 100g sifted icing sugar, 250g Biscoff spread and 1 teaspoon vanilla extract with an electric mixer on medium speed for 1 to 2 minutes, until completely smooth with no lumps. Scrape down the sides and bottom of the bowl halfway through — hidden pockets of plain cream cheese show up as pale streaks later.
Step 3: Whip in the Cream
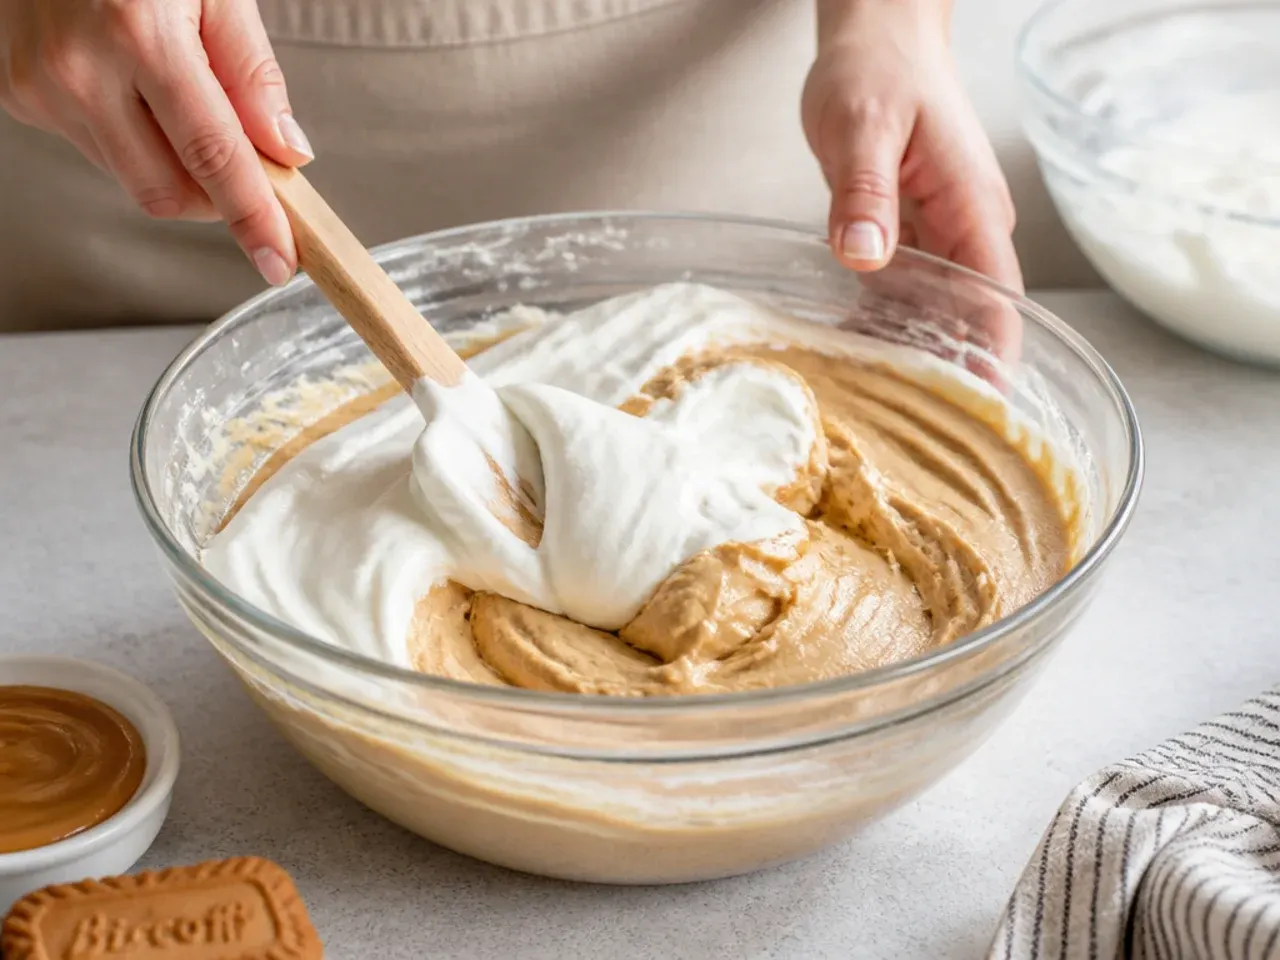
Pour in 300ml cold double cream and whisk on medium speed for 2 to 3 minutes, until the mixture is very thick and holds its shape on the whisk — think soft-serve ice cream that stands up on its own. Stop as soon as it is self-supporting; overwhipping makes the filling grainy and can cause it to split.
Step 4: Fill the Tin
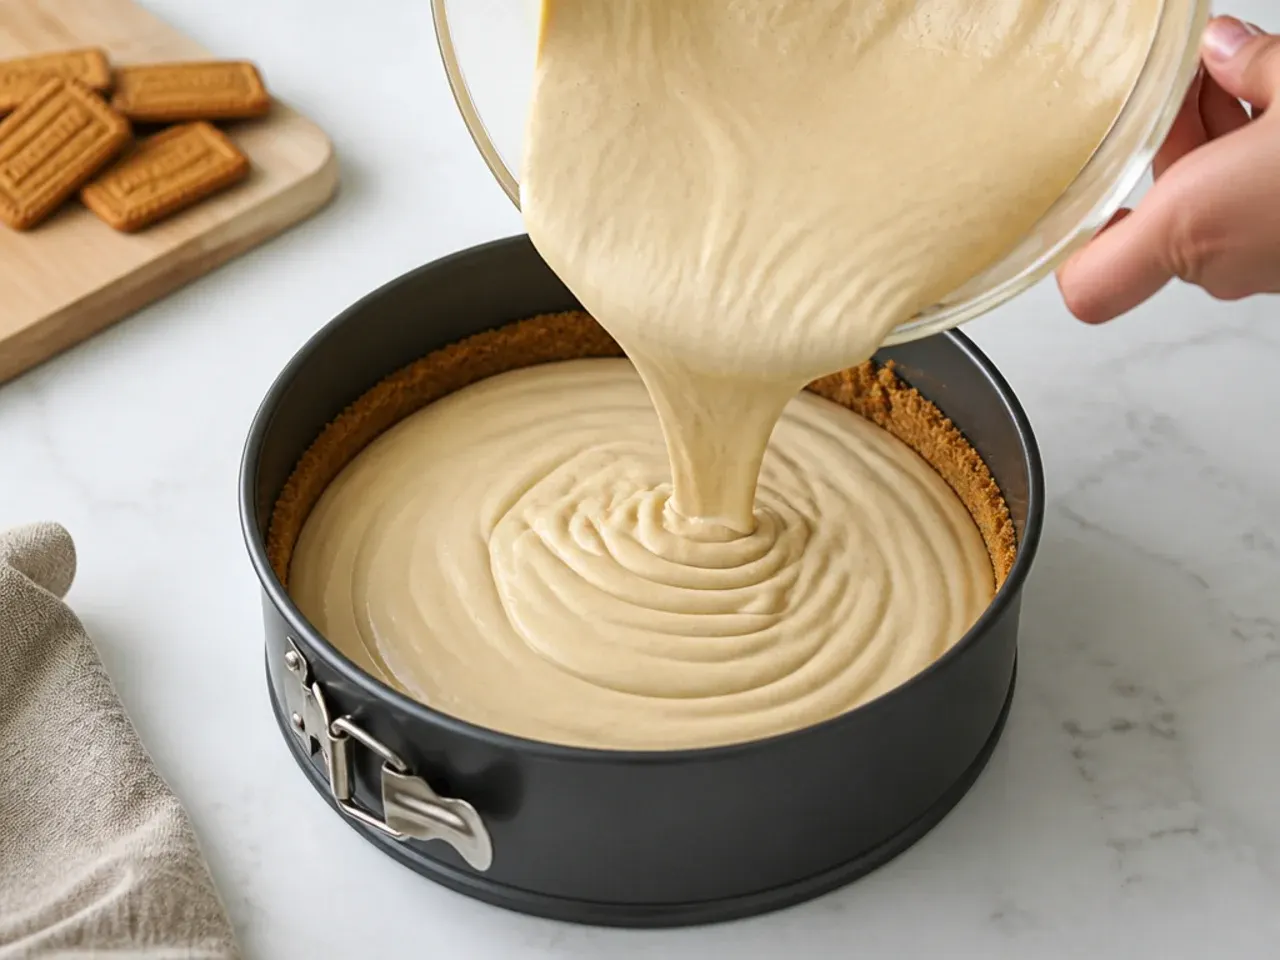
Spoon the filling onto the chilled base in large dollops, then spread it to the edges with an offset spatula or the back of a spoon. Tap the tin firmly on the worktop two or three times to knock out air pockets, then smooth the top level.
Step 5: Chill Until Set
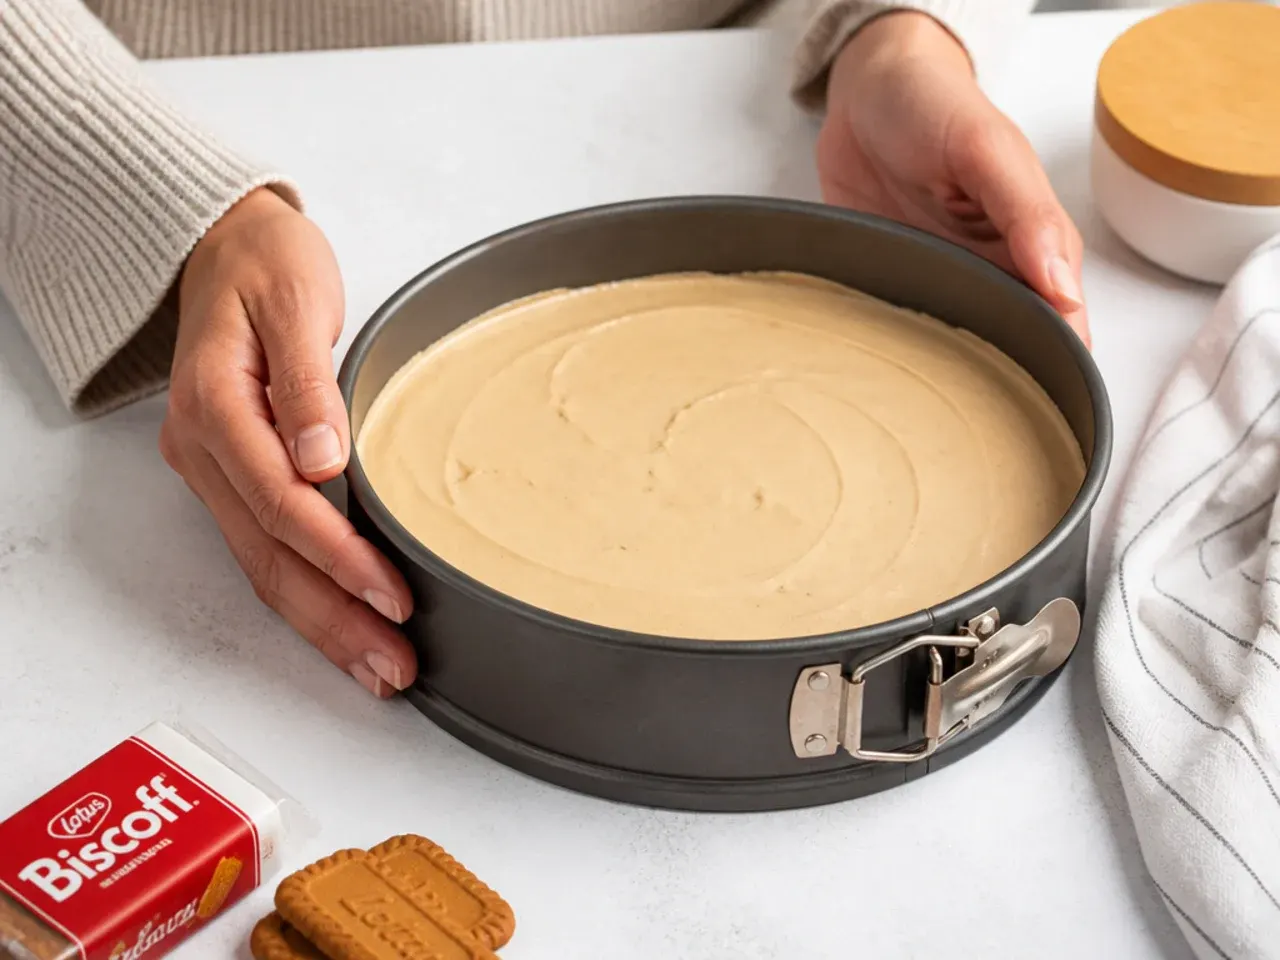
Cover the tin loosely with cling film and refrigerate for at least 6 hours, ideally overnight. Do not shortcut this — the filling needs the full time to set firm enough to slice. This is the built-in make-ahead step: the undecorated cheesecake is happiest made the day before your party.
Step 6: Add the Biscoff Topping
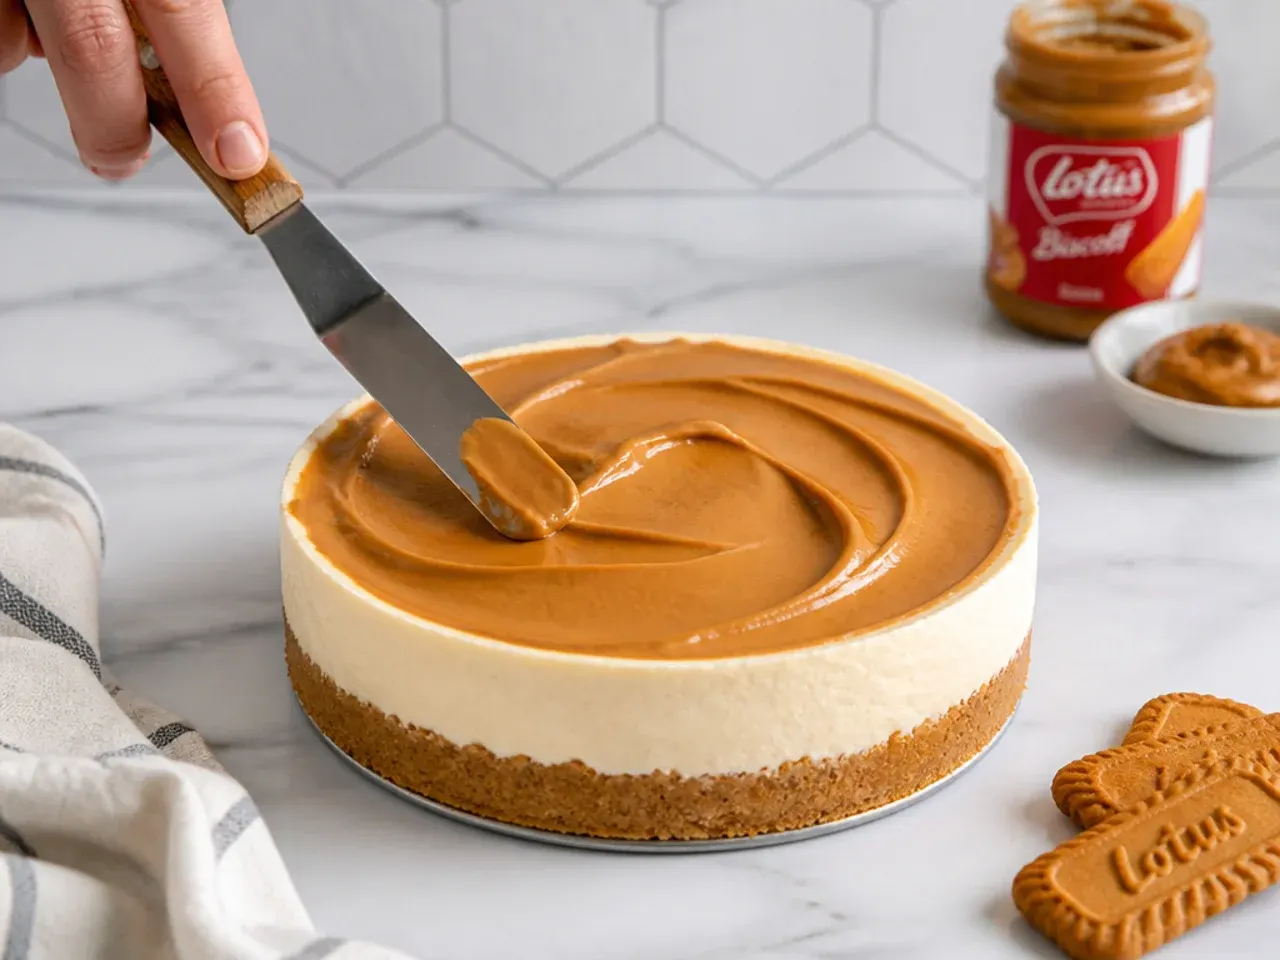
Warm 150g Biscoff spread in the microwave in 30-second bursts at 50% power, stirring between bursts, until pourable but only barely warm — about 30°C (86°F). Pour it into the centre of the chilled cheesecake and ease it to the edges with an offset spatula. Return the cheesecake to the fridge for 30 minutes so the topping sets to a soft, glossy layer.
Step 7: Release, Decorate and Slice
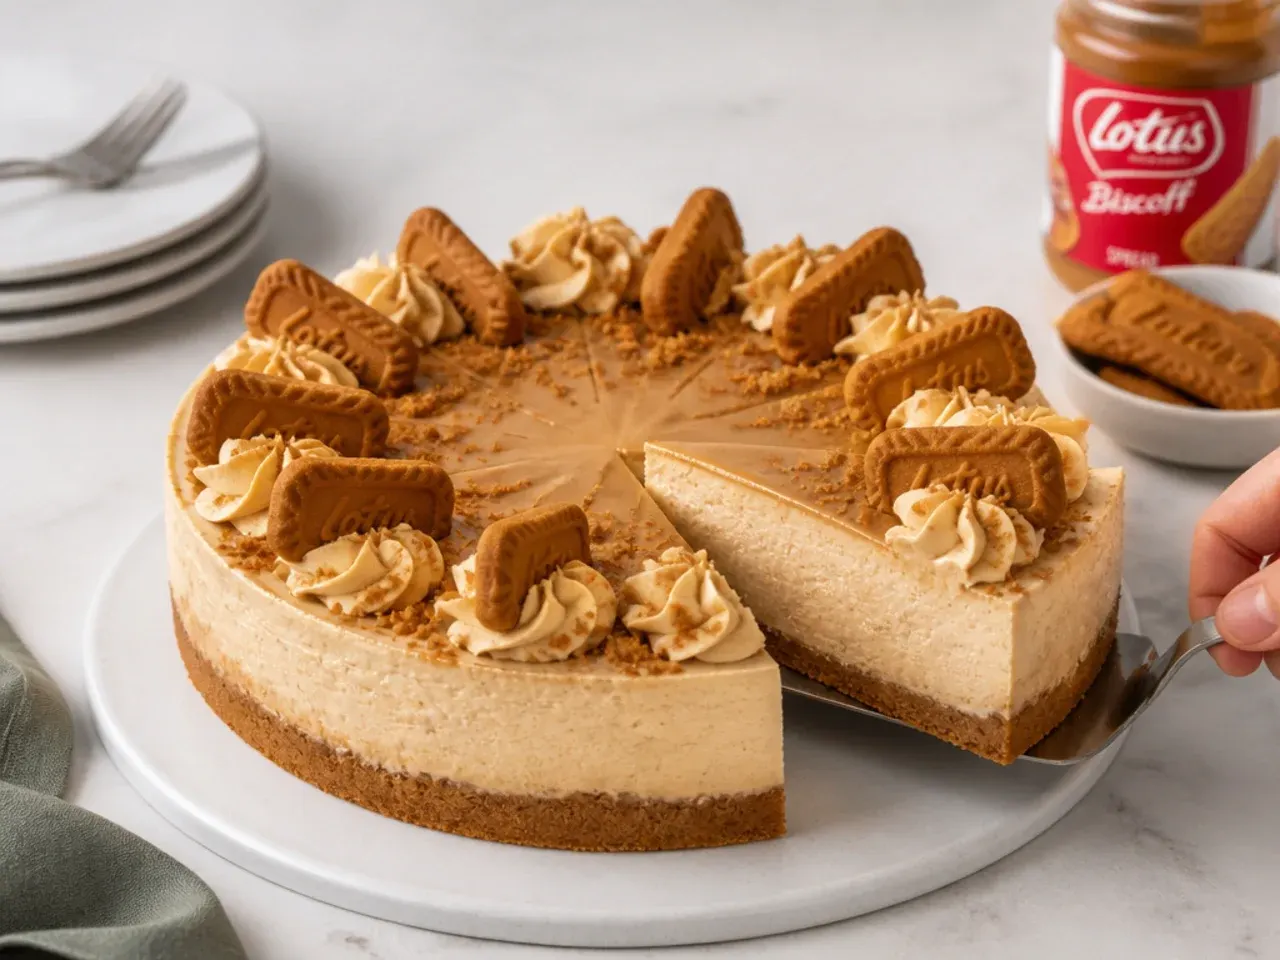
Run a thin knife dipped in hot water around the inside of the tin, then release the springform and slide the cheesecake onto a serving plate. Decorate with whole and crushed Biscoff biscuits, plus piped whipped cream rosettes if you like (150ml double cream whipped with 2 tablespoons icing sugar, Wilton 1M tip). Slice with a long knife dipped in hot water and wiped dry between cuts for clean party portions.
Frequently Asked Questions
Yes — it is actually better made ahead. Make the base and filling 1 to 2 days before and keep the cheesecake covered in the fridge; the overnight chill firms it up for cleaner slices. Add the melted spread topping the night before or the morning of the party, and save whipped cream, fresh fruit and biscuit garnishes for the last few hours so they stay fresh and crisp.
Save this for later 📌
Pin this article to your Pinterest board so the full list is one tap away when you need it.
Save on Pinterest