20 Dreamy Black Velvet Cake Ideas
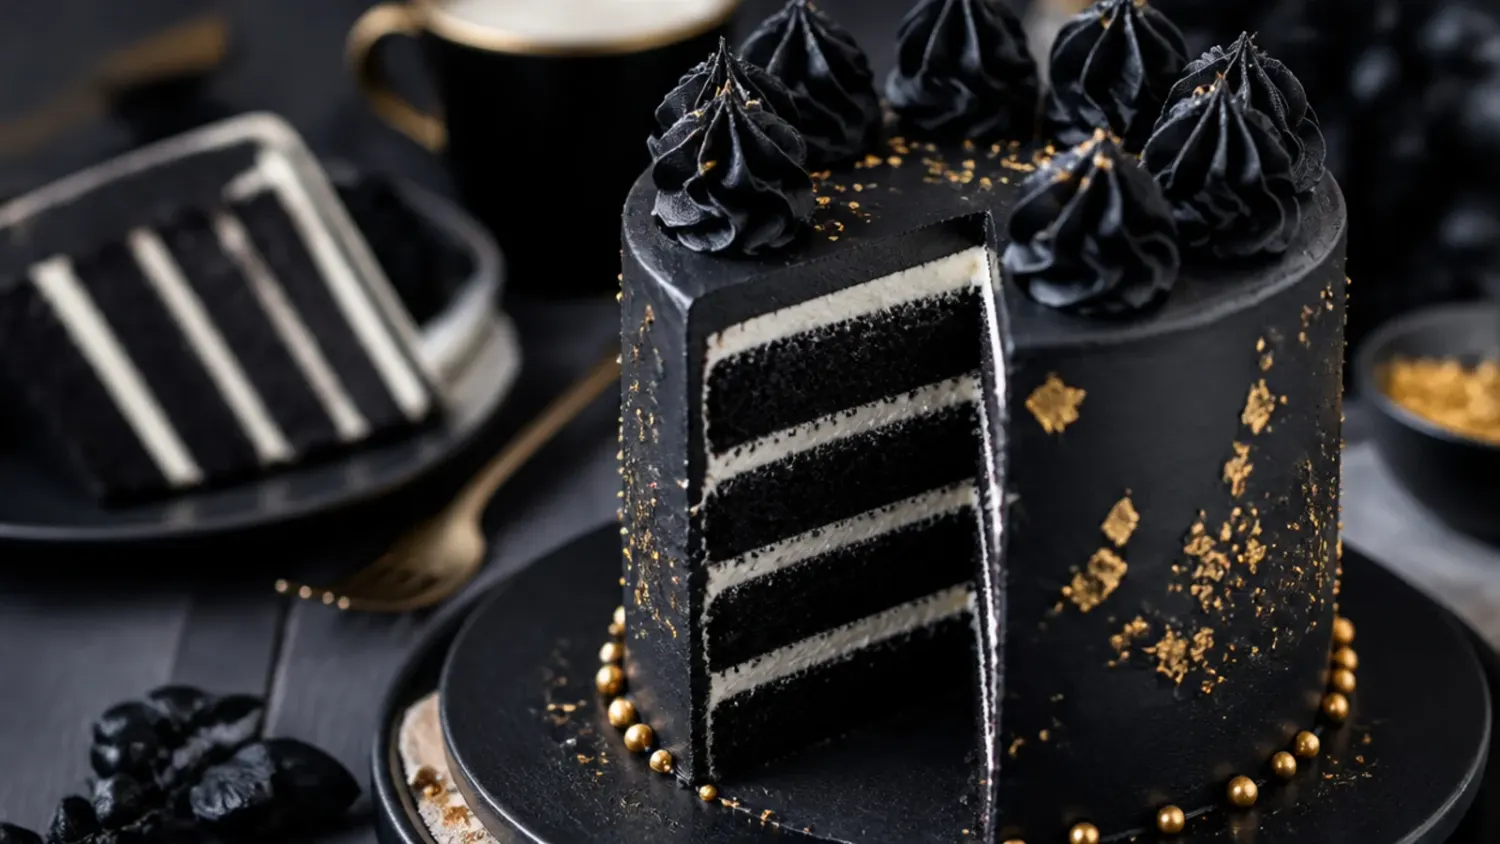
20 dreamy black velvet cake ideas made with black cocoa for a naturally jet-black crumb, plus a foolproof base recipe, tips, and decorating inspiration. If you love black cake inspiration, start with our Black Cake Recipes & Ideas collection, then browse the full Cake Ideas hub for more.
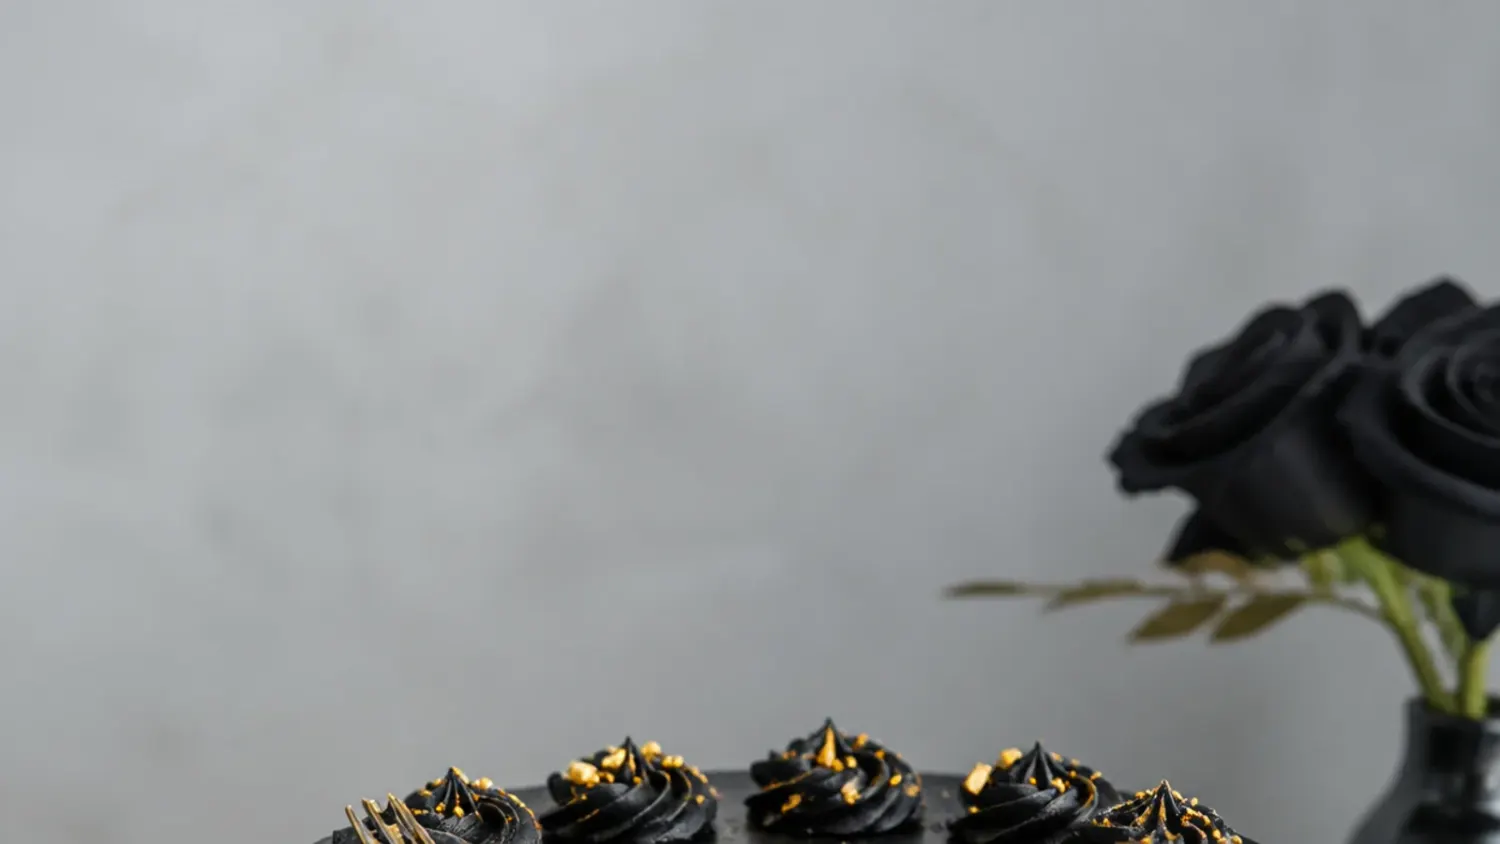
Save this for later 📌
Pin this article to your Pinterest board so the full list is one tap away when you need it.
Save on PinterestCake Ideas
Intermediate
Ideas
20 ideas
Table of Contents
- 1. Classic Two-Layer Black Velvet Cake with Black Cocoa Buttercream
- 2. One-Bowl Easy Black Velvet Sheet Cake
- 3. Elegant Black-and-Gold Leaf Celebration Cake
- 4. Playful Cookies-and-Cream Black Velvet Cake
- 5. Modern Sharp-Edge Black Velvet Drip Cake
- 6. Rustic Naked Black Velvet Cake with Berries
- 7. Colorful Rainbow Sprinkle Black Velvet Cake
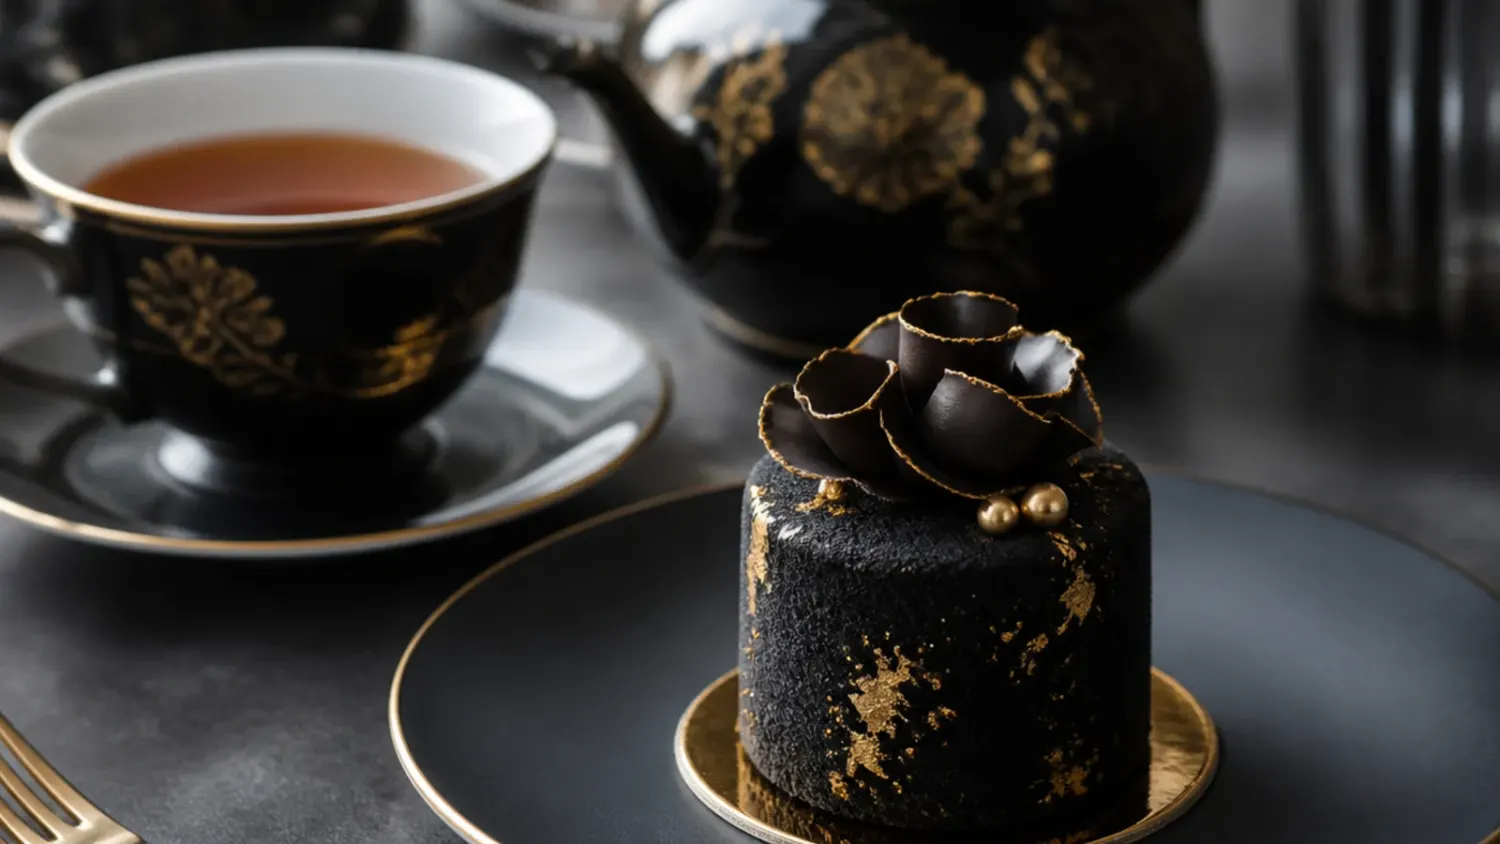
- 8. Minimal Matte Black Monochrome Cake
- 9. Festive Halloween Black Velvet Cake with Cobwebs
- 10. Whimsical Galaxy Black Velvet Cake
- 11. Bold Blackout Chocolate Black Velvet Cake
- 12. Delicate Black Velvet Cake with White Buttercream Flowers
- 13. Vintage Lambeth Piping Black Velvet Cake
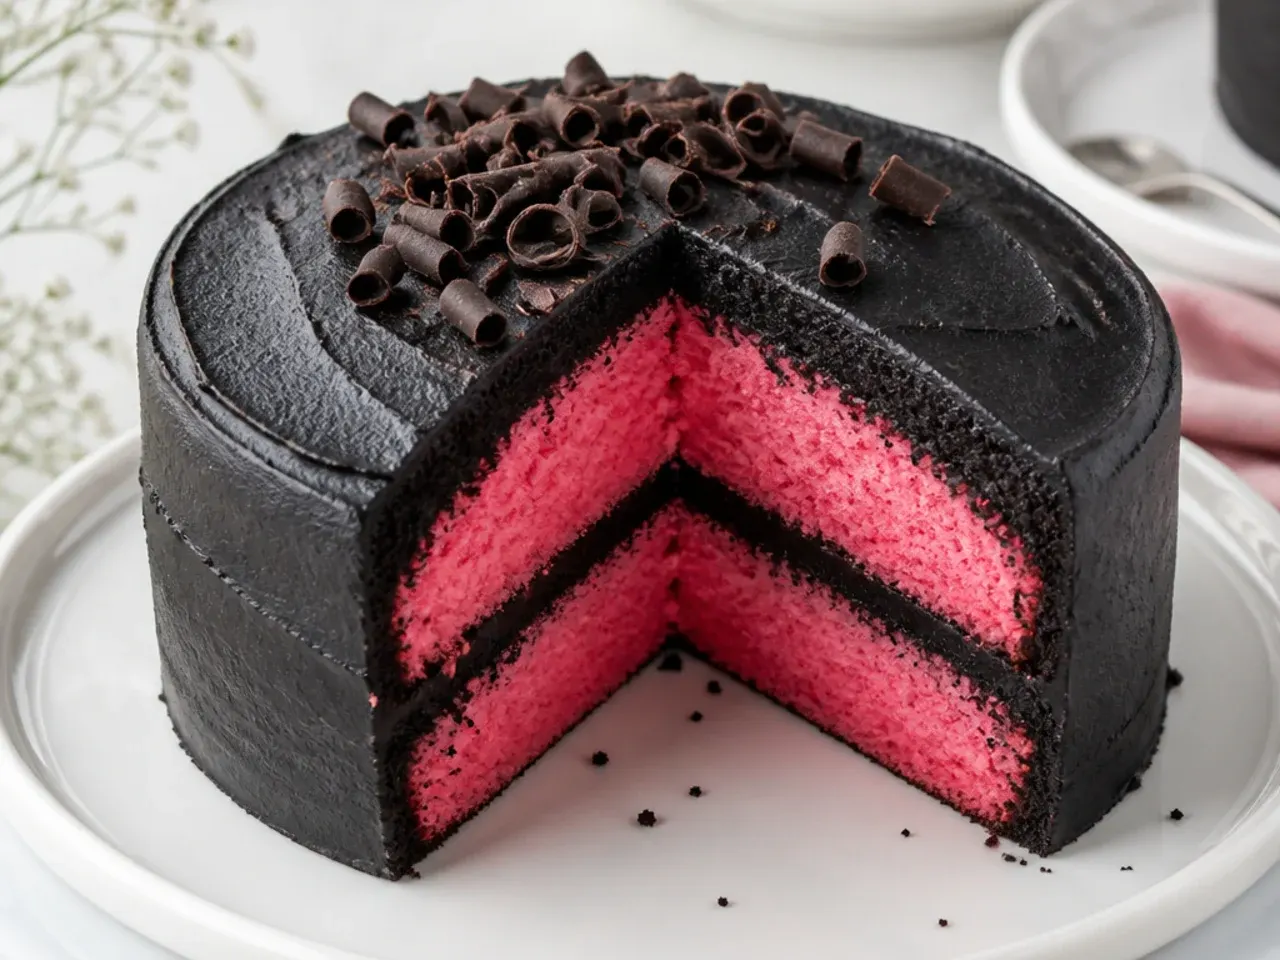
- 14. Creative Black Velvet Cake with a Hidden Colored Center
- 15. Charming Black Velvet Heart Cake
- 16. Timeless Black Velvet Cake with Cream Cheese Frosting
- 17. Effortless Black Velvet Cupcakes
- 18. Sophisticated Black Velvet Cake with Salted Caramel
- 19. Fun Black Velvet Cake Pops and Bites
- 20. Contemporary Geode Black Velvet Cake
- Tips to Make These Ideas Easier
- Common Mistakes to Avoid
- The Base Recipe — Make Any of These Ideas
1. Classic Two-Layer Black Velvet Cake with Black Cocoa Buttercream
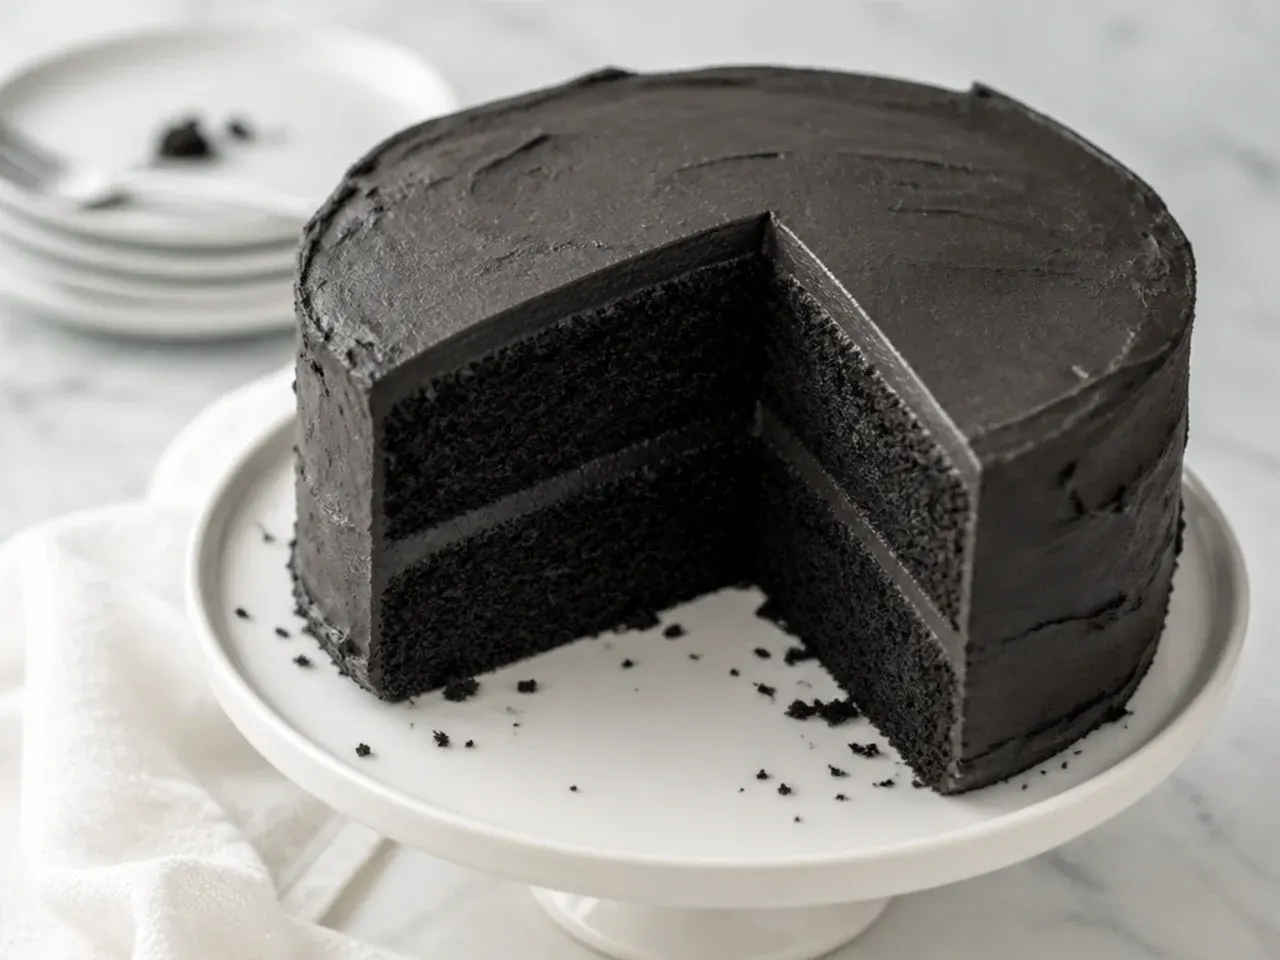
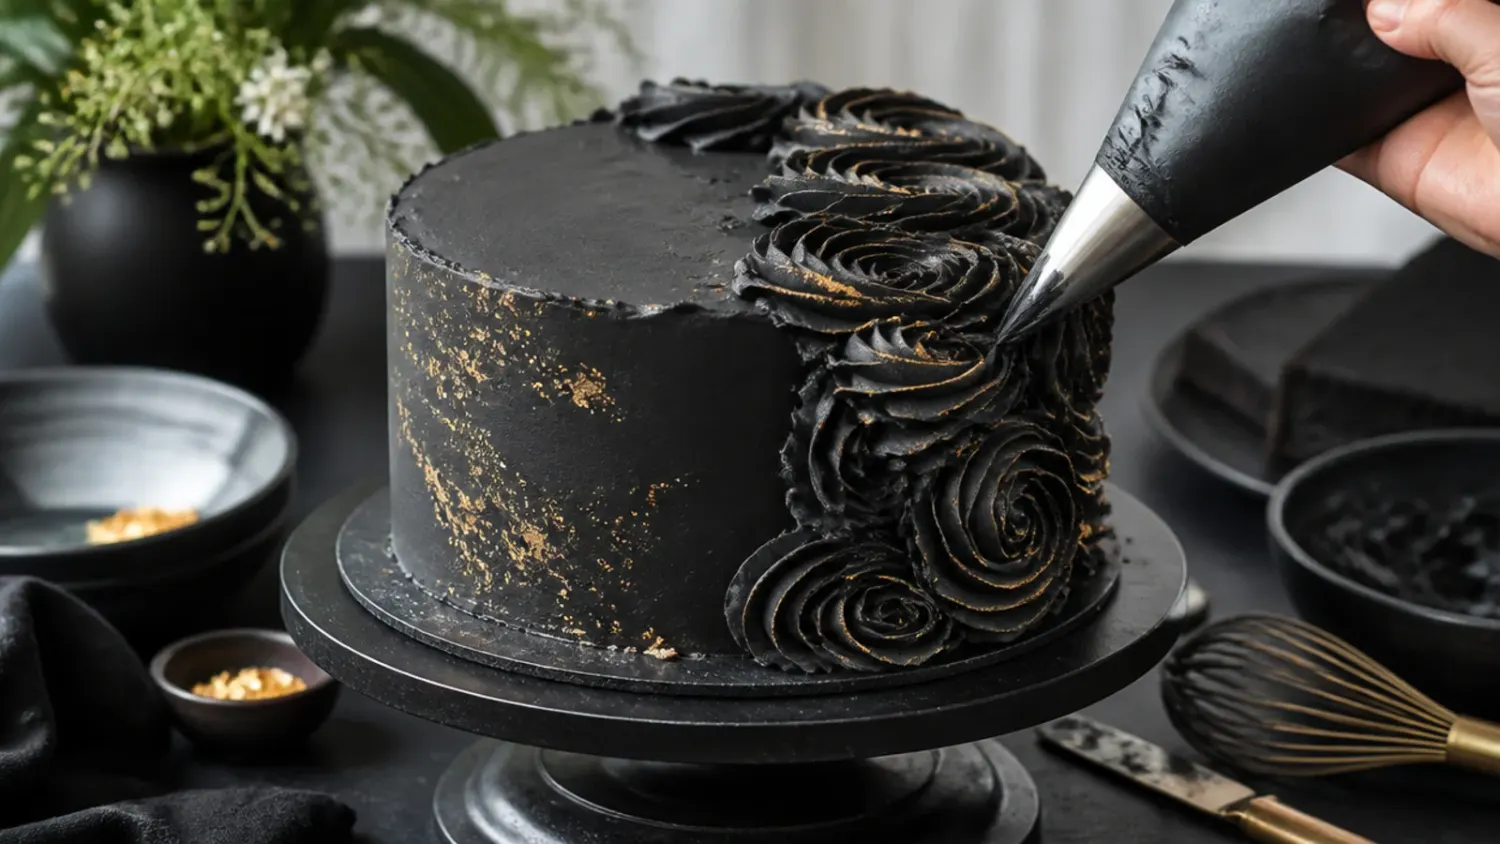
This is the definitive version: two 8-inch layers of jet-black crumb sandwiched and coated in silky black cocoa buttercream. It works because black cocoa (the same ultra-Dutched cocoa used in Oreos) delivers a deep charcoal color and mellow, bittersweet chocolate flavor with zero food dye. Bake the base recipe in two 8-inch pans at 175°C (350°F) for 28-32 minutes, then chill the layers before filling so they stack cleanly. For the buttercream, beat 220g softened unsalted butter until pale, add 250g icing sugar and 60g black cocoa, then loosen with 3 tbsp double cream and a pinch of salt. Finish with a smooth, sharp-edged coat using a bench scraper for that bakery-clean look.
2. One-Bowl Easy Black Velvet Sheet Cake
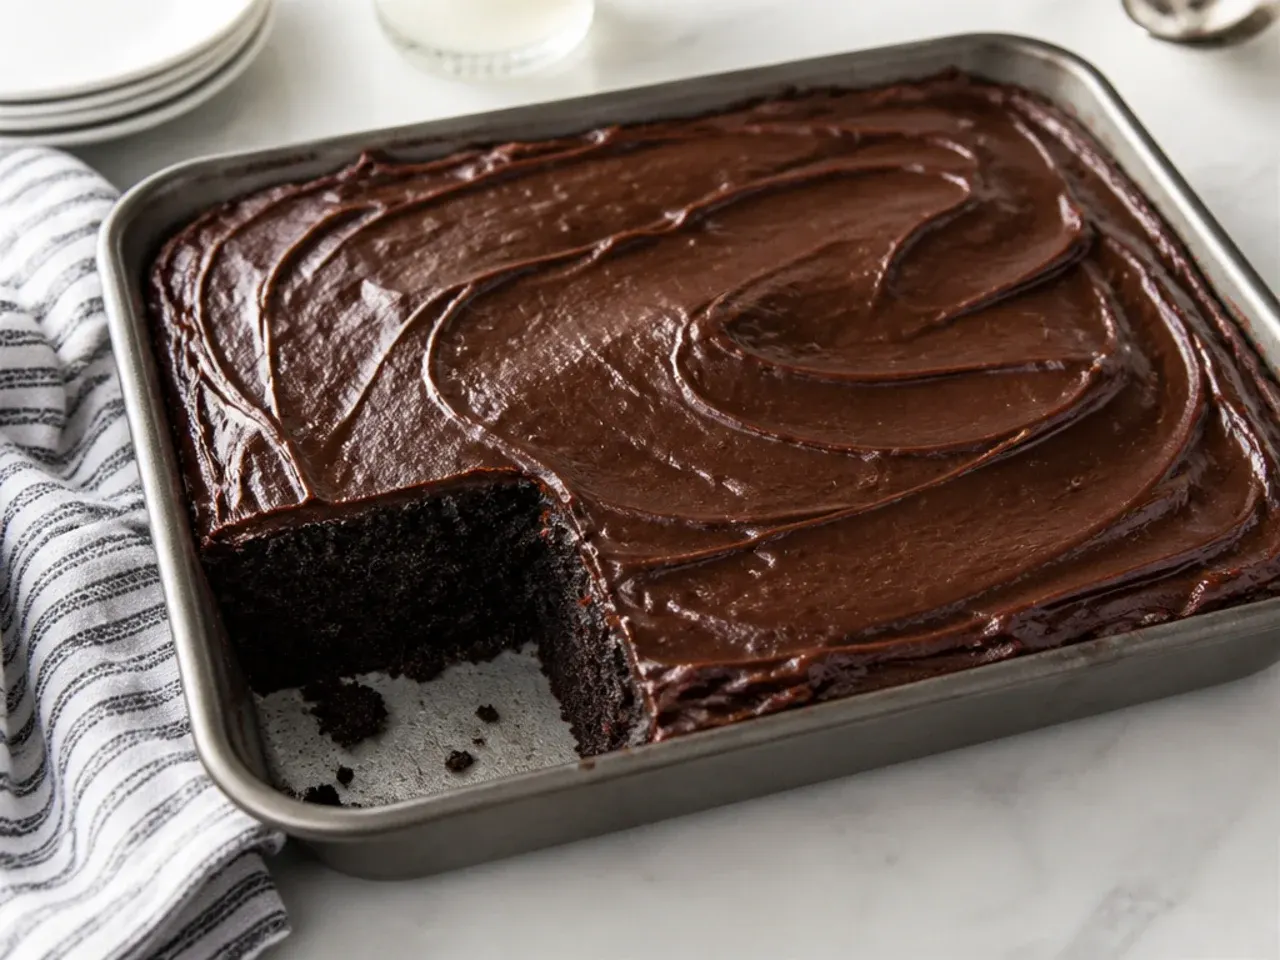
Skip the layering entirely and bake the batter in a single 23x33cm (9x13-inch) pan for a fuss-free traybake. It works because the oil-based batter comes together in one bowl with no creaming, so you just whisk dry, whisk wet, combine, and pour. Bake at 175°C (350°F) for 32-36 minutes until a skewer comes out with a few moist crumbs. Cool completely, then spread the black cocoa buttercream straight across the top with an offset spatula, no crumb coat required. Cut into 15 squares and finish with a light dusting of black cocoa or a scatter of crushed Oreo for texture.
3. Elegant Black-and-Gold Leaf Celebration Cake
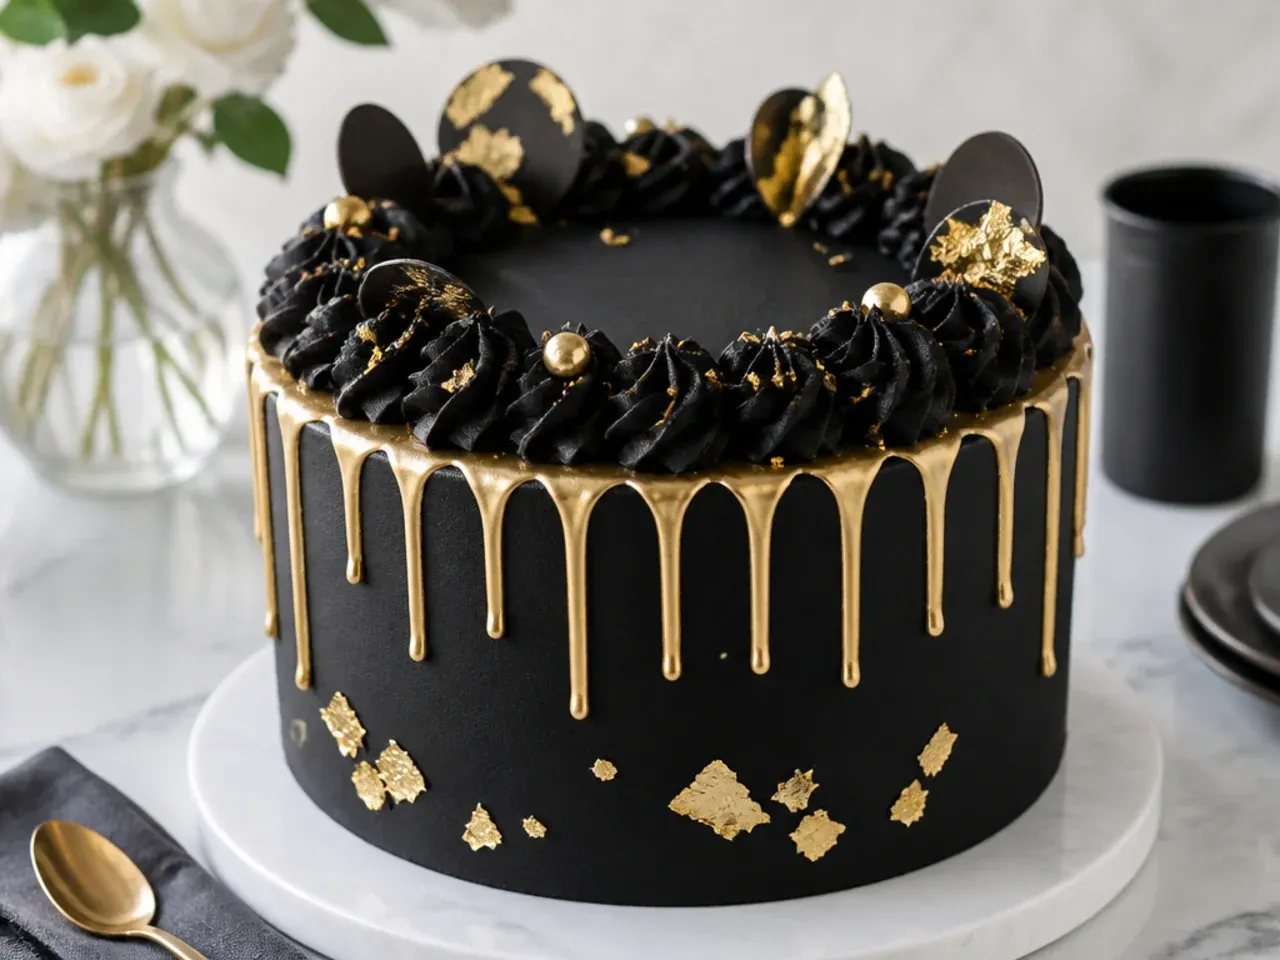
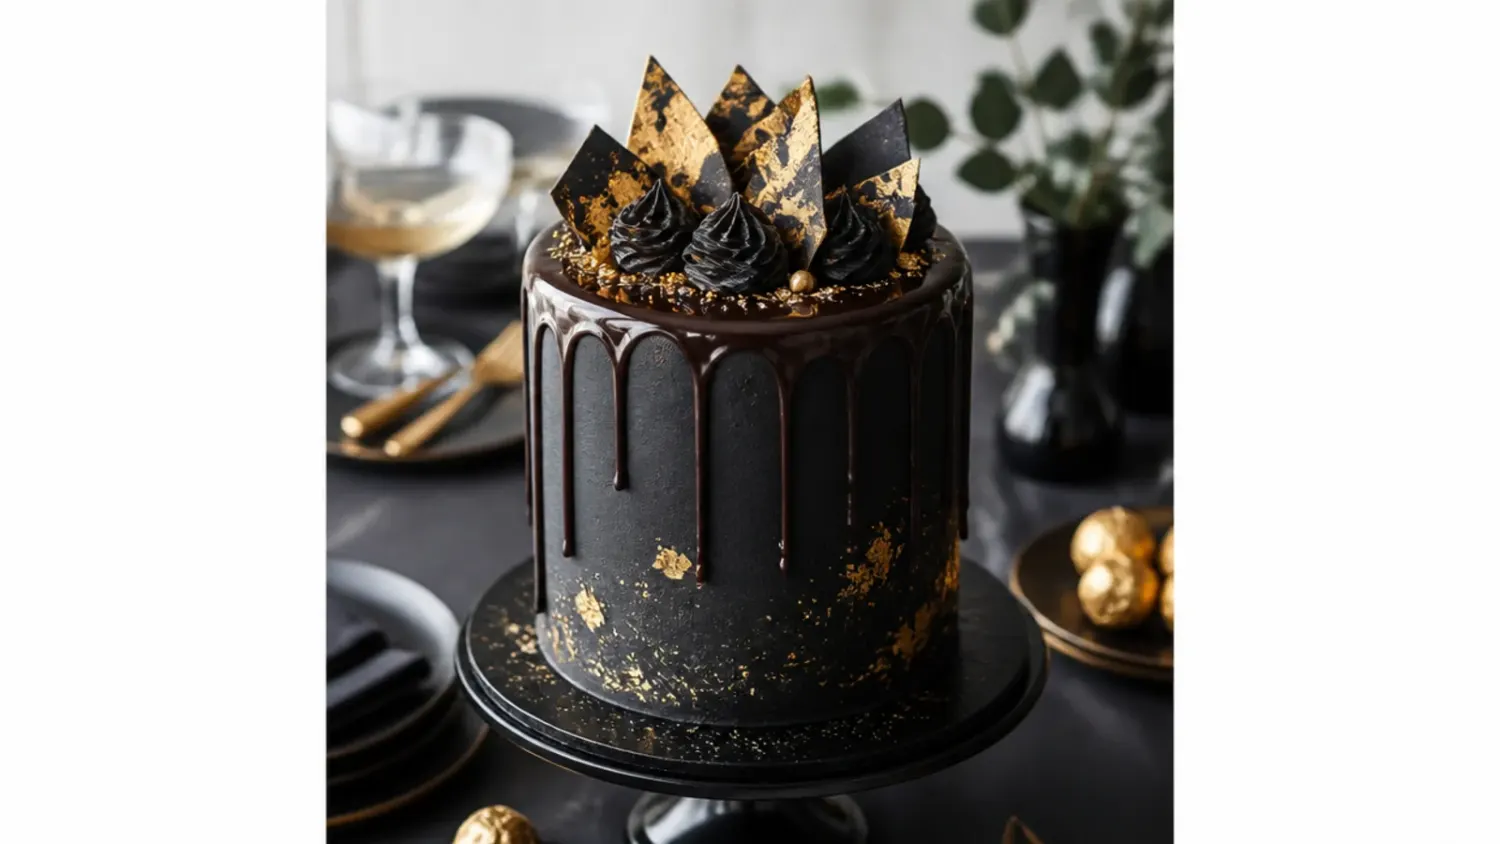
For weddings and milestone birthdays, dress the classic cake in edible 24k gold leaf against the matte black frosting for high-contrast drama. It works because the flat, light-absorbing black surface makes even a few flecks of gold read as luxurious rather than fussy. Apply the gold leaf with a dry, soft brush onto a chilled, set buttercream so it adheres without smudging. Add a single gold drip by warming 50g white chocolate with a drop of oil-based gold luster dust and letting it fall in slow, uneven trails from the top edge. Keep the rest of the cake minimal so the metallic accents stay the focal point.
4. Playful Cookies-and-Cream Black Velvet Cake
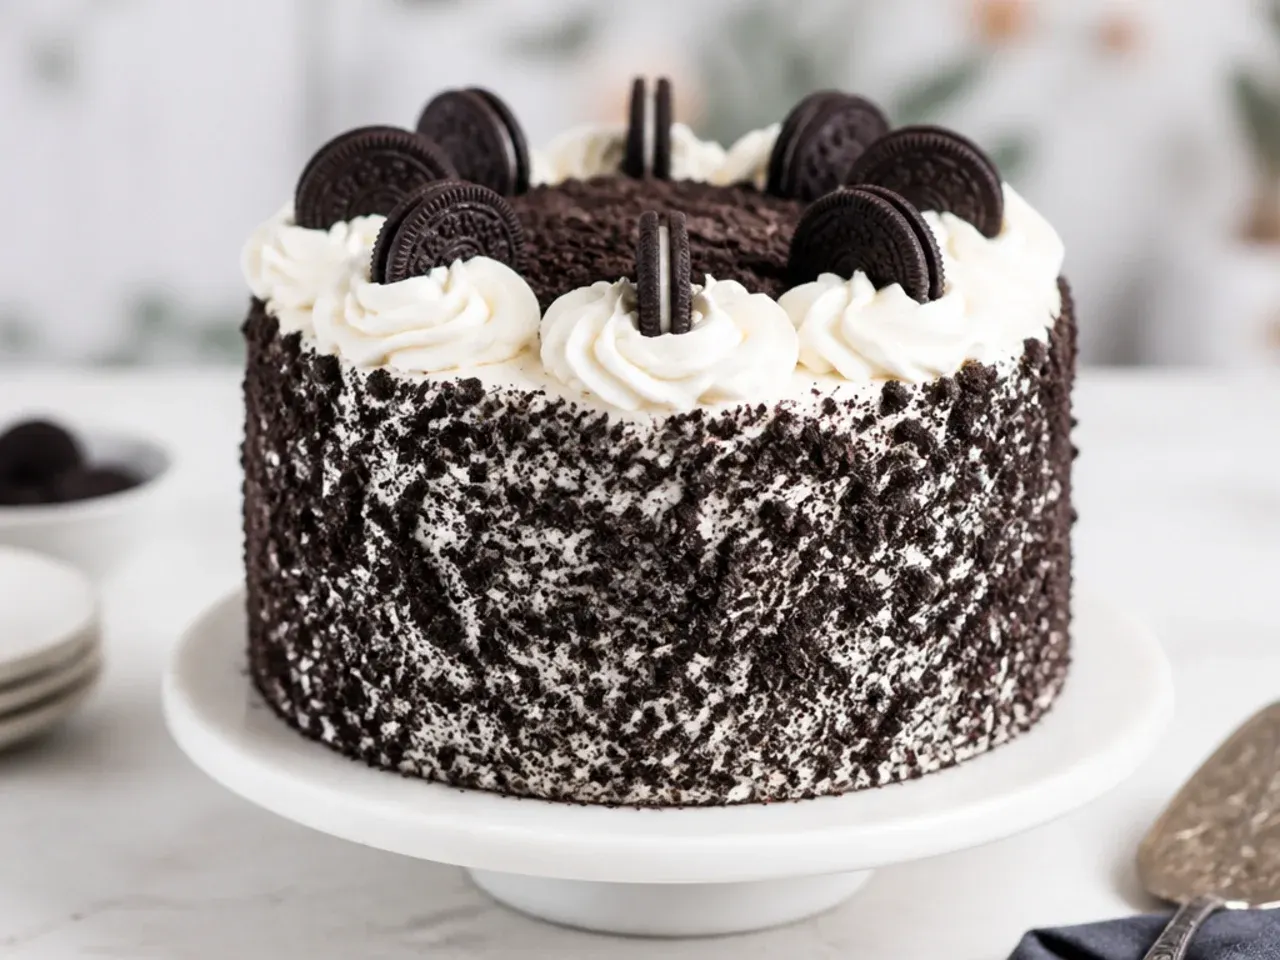
Lean into the Oreo-like flavor by folding crushed sandwich cookies through the filling and pressing more up the sides. It works because black velvet cake already tastes like the chocolate wafer of an Oreo, so cookies and cream is a natural echo rather than a clashing add-on. Make a quick cookies-and-cream buttercream by folding 100g finely crushed Oreos into the base black cocoa buttercream, then use whole cookie halves as a top border. Press extra crumbs onto the lower third of the sides while the frosting is still tacky. Finish with a ring of piped rosettes using a Wilton 1M tip, each topped with a mini Oreo.
5. Modern Sharp-Edge Black Velvet Drip Cake
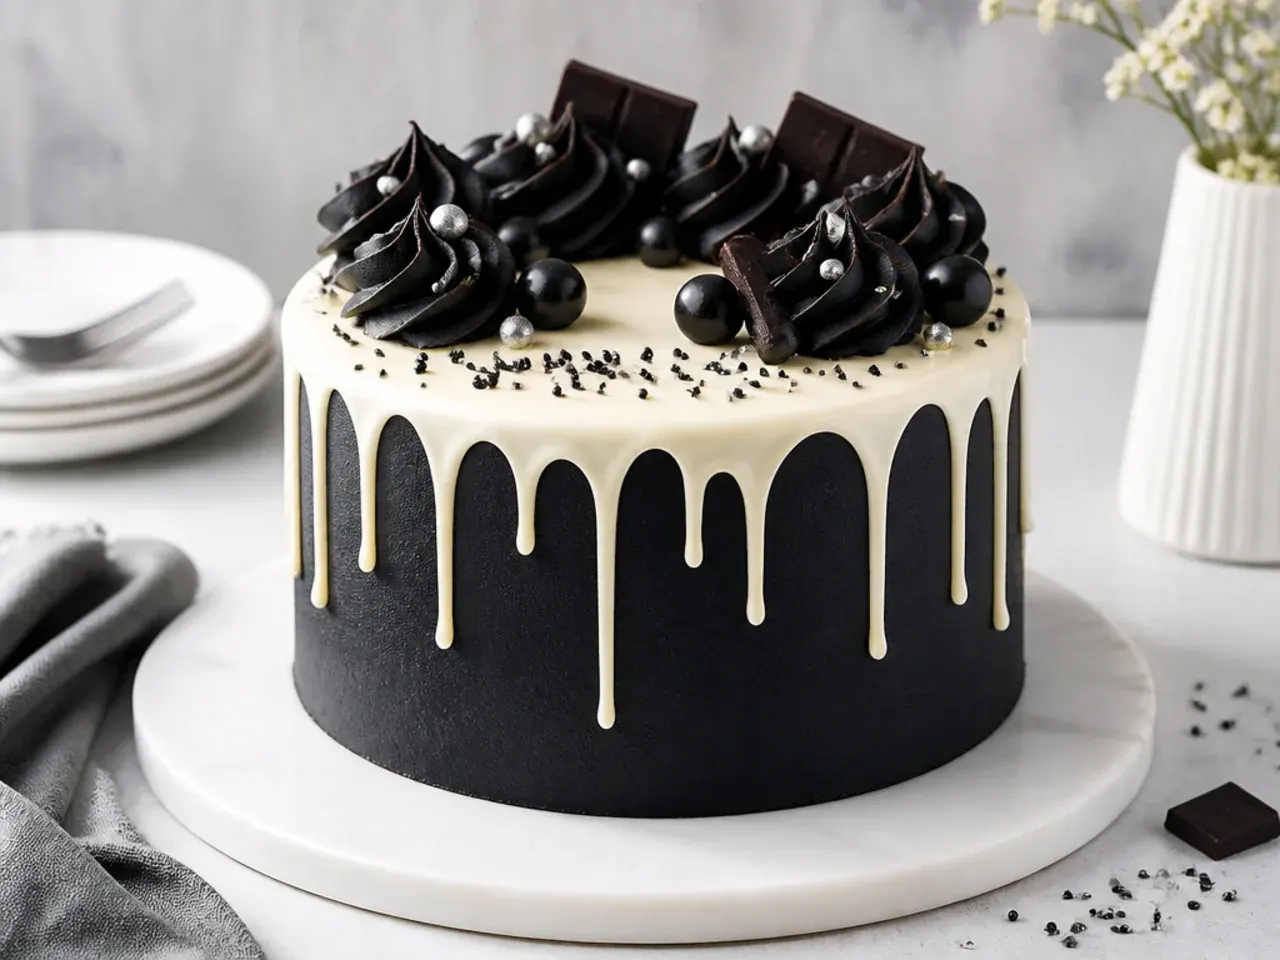
This contemporary style pairs ultra-crisp 90-degree buttercream edges with a controlled white or red ganache drip. It works because the geometric precision reads as modern and the drip adds movement against the flat black. Achieve sharp edges by frosting, chilling until firm, then applying a second thin coat and smoothing with a hot bench scraper before the excess is scraped up and over the top rim. For the drip, use a 2:1 white chocolate to cream ganache cooled to about 32°C (90°F), tested on the side of a cold glass first. Space the drips unevenly for a natural look and finish the top with a cluster of chocolate shards.
Save this for later 📌
Pin this article to your Pinterest board so the full list is one tap away when you need it.
Save on Pinterest6. Rustic Naked Black Velvet Cake with Berries
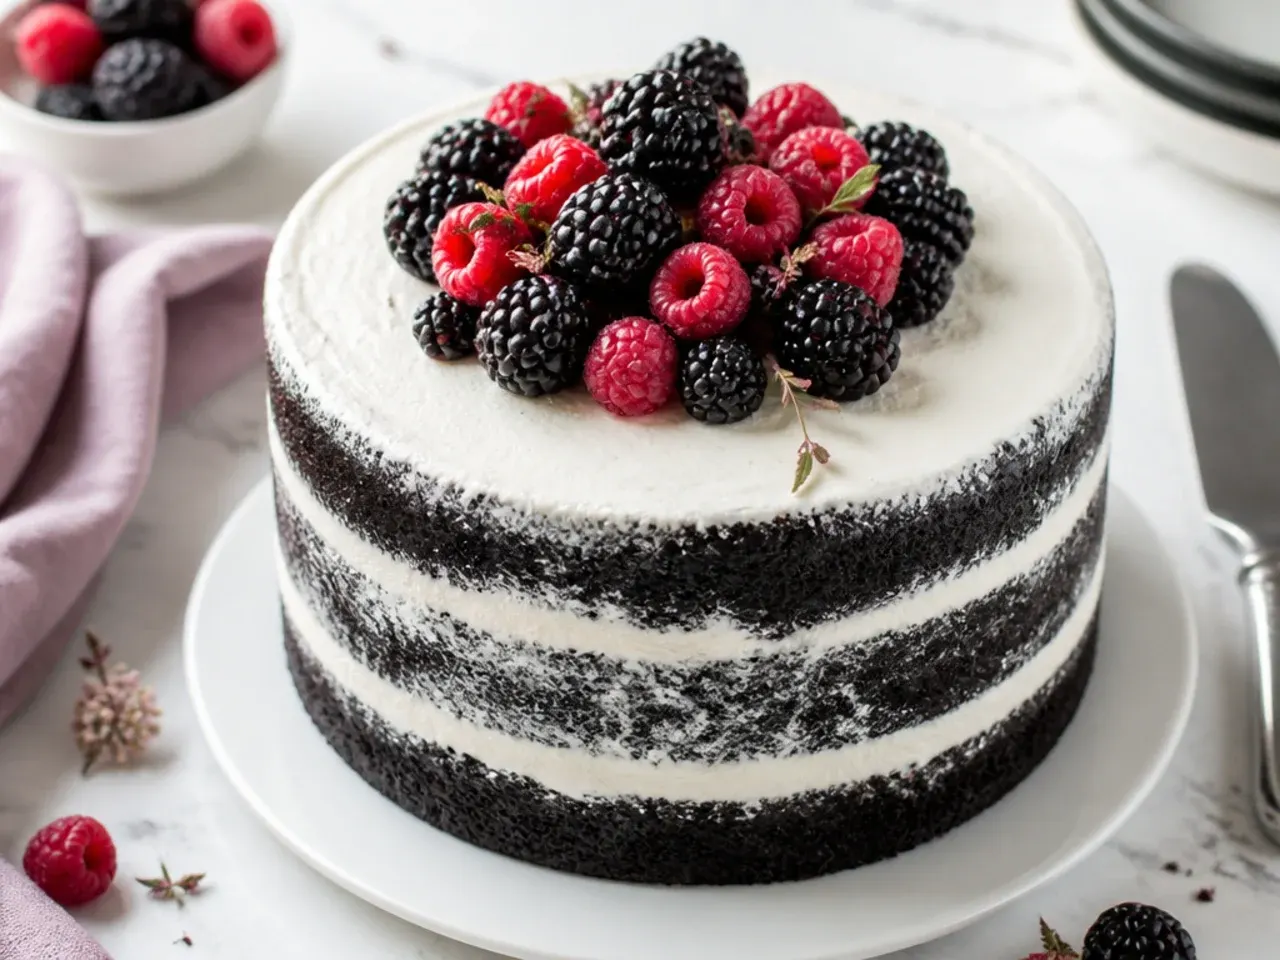
Strip it back with a semi-naked finish where the dark crumb peeks through a thin scrape of frosting, crowned with fresh berries. It works because the near-black layers against bright raspberries and blackberries create striking contrast with almost no decorating skill required. Apply just enough buttercream to fill between layers, then scrape most of it off the sides so the cake shows through. Pile blackberries, raspberries, and a few sugared red currants on top with sprigs of thyme or mint. A light dusting of icing sugar over the fruit gives it a fresh-picked, orchard-table feel.
7. Colorful Rainbow Sprinkle Black Velvet Cake
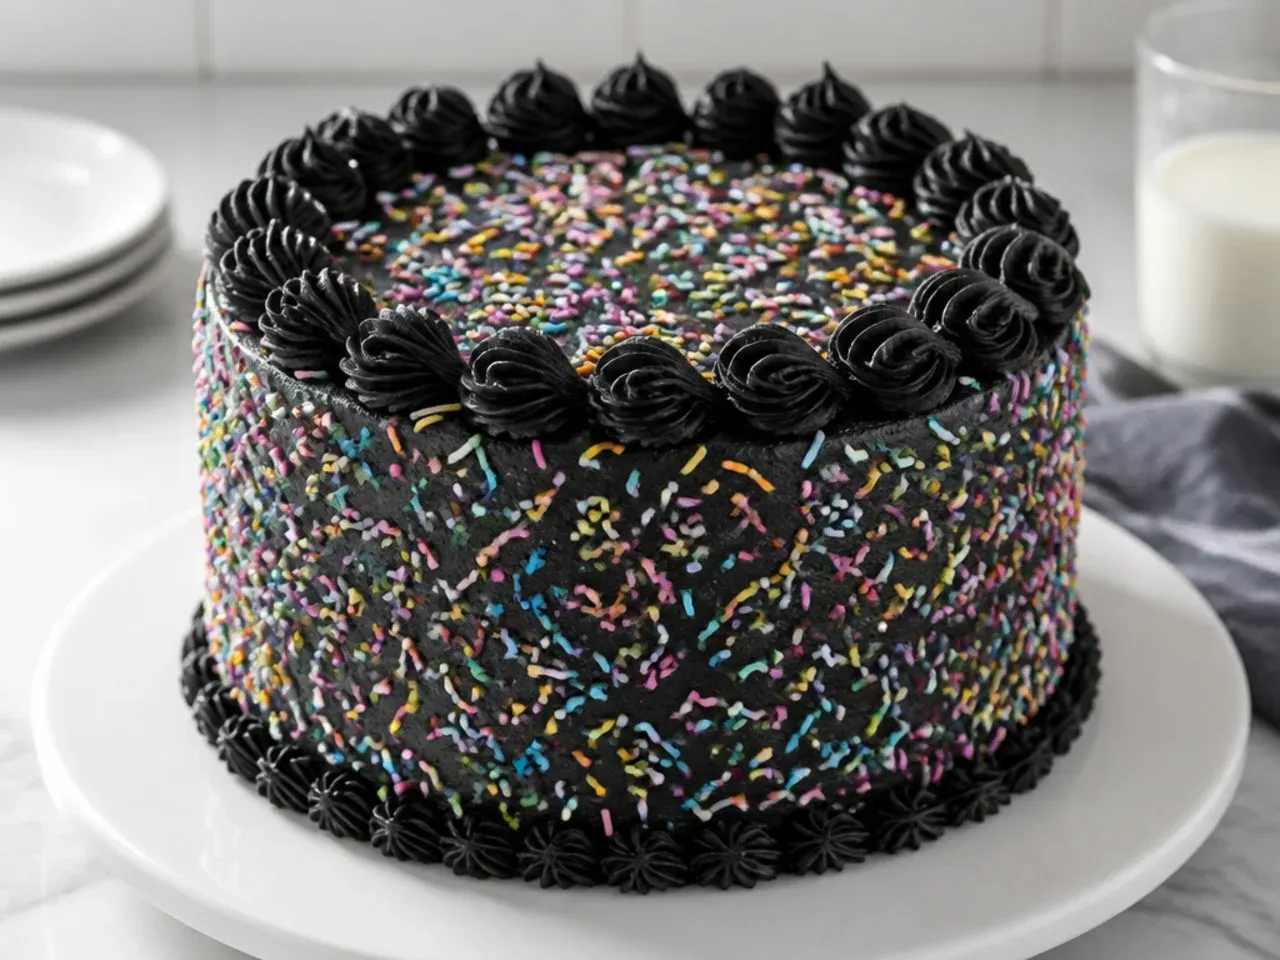
Use the black canvas to make bright rainbow sprinkles pop harder than they ever could on a pale cake. It works because the matte black frosting saturates and intensifies every color pressed against it. Coat the sides in a generous layer of jimmies (long sprinkles hold their shape better than nonpareils) by lifting handfuls against the chilled buttercream over a tray to catch the fallout. Pipe a rainbow shell border on top with a Wilton 21 star tip. For a party-ready reveal, tint the inside filling a single bright color so each slice shows a surprise stripe against the dark crumb.
8. Minimal Matte Black Monochrome Cake
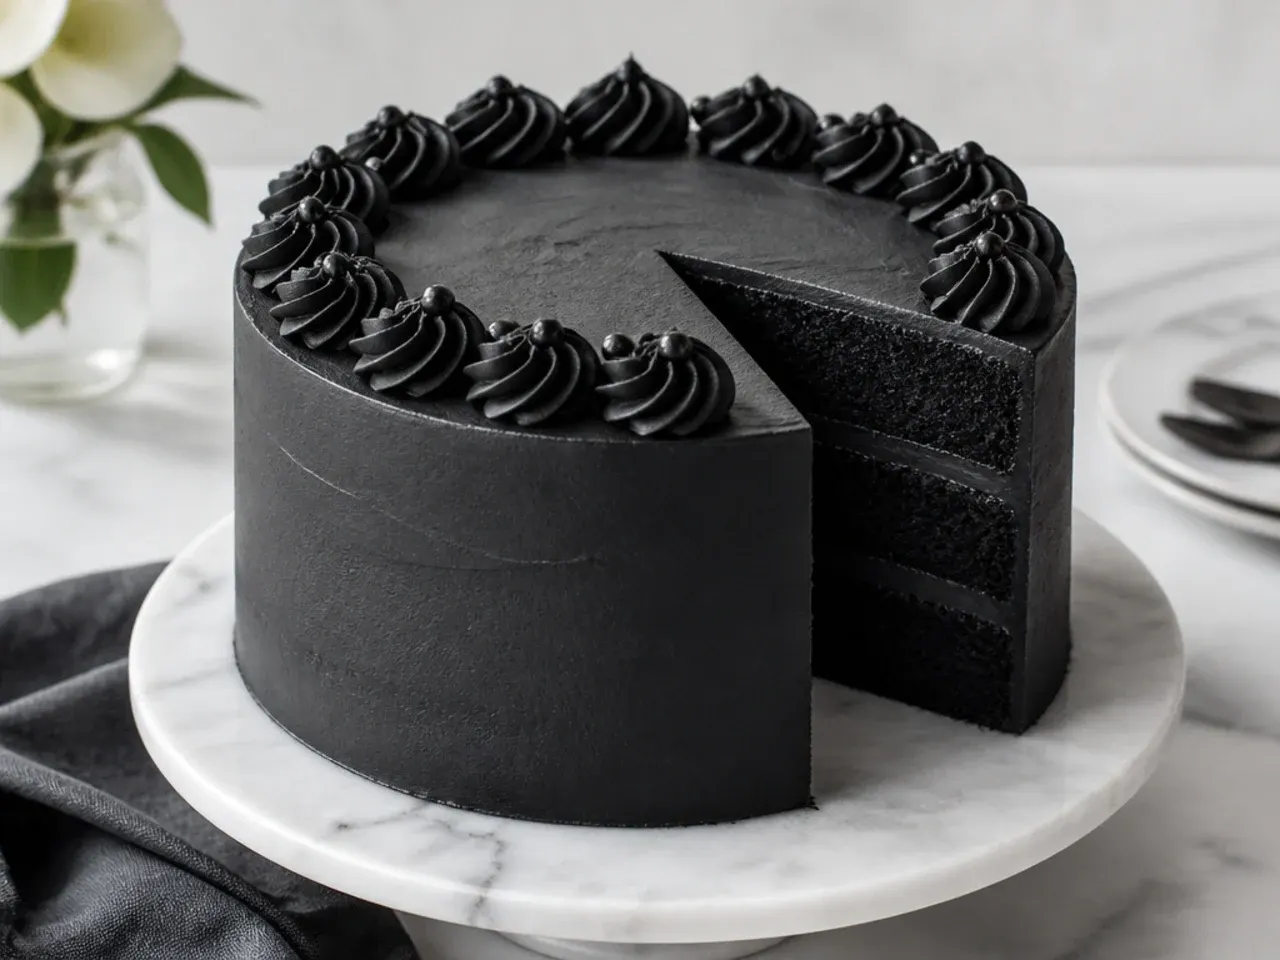
For a design-forward, understated look, keep the cake a single flawless matte black with no toppers at all. It works because the absence of shine and decoration turns the color itself into the statement, which suits modern minimalist events. Get a true matte finish by using black cocoa buttercream (butter-based frostings dry more matte than shiny ganache) and smoothing with a scraper rather than a hot one, which can create sheen. Chill fully, then buff any air bubbles gently with a small palette knife dipped in warm water and dried. A single fresh calla lily or a plain black candle laid across the top is all it needs.
9. Festive Halloween Black Velvet Cake with Cobwebs
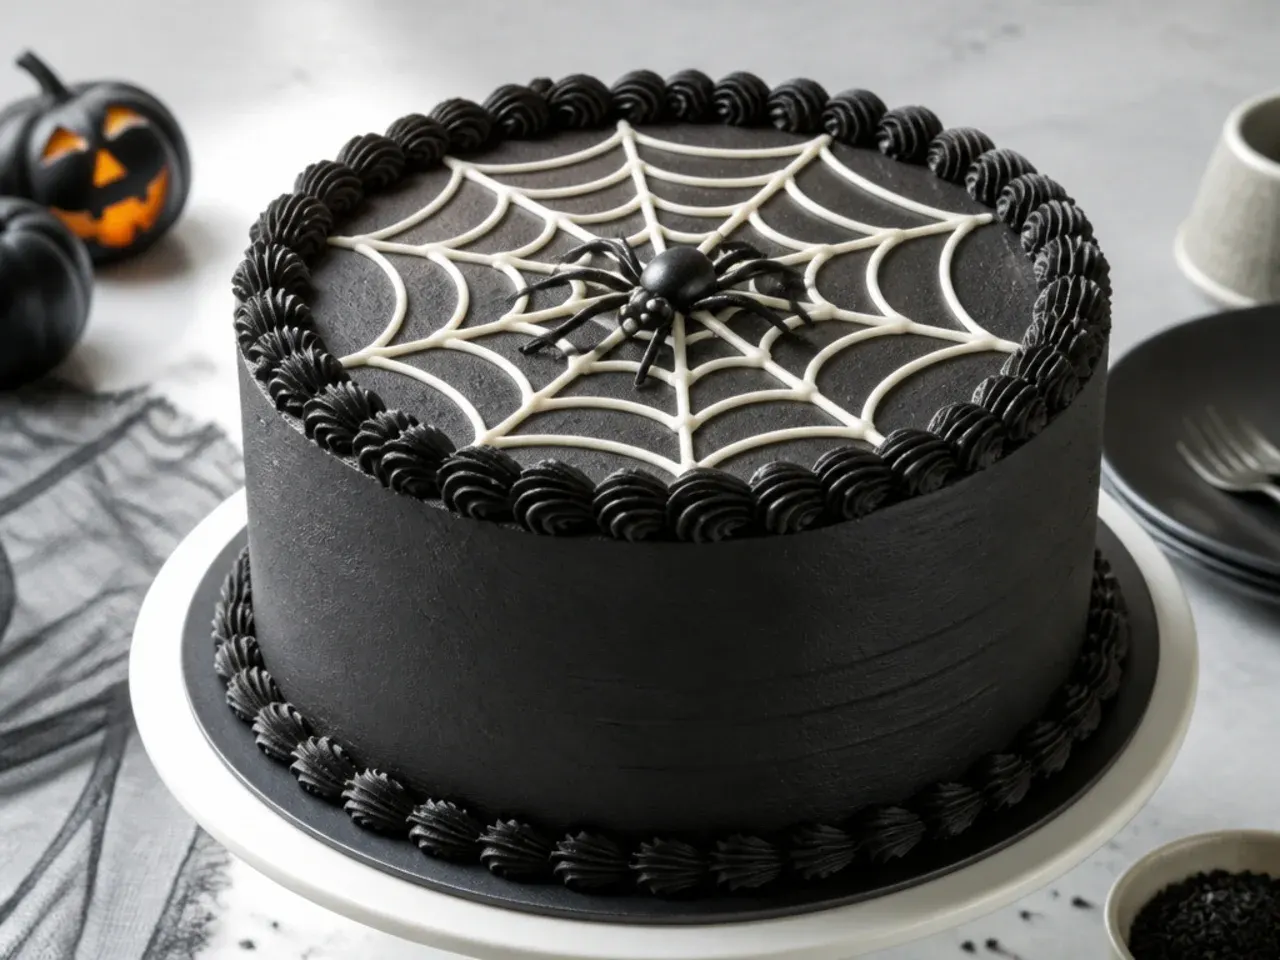
Black velvet is the ultimate Halloween cake, and a spun-sugar or piped cobweb takes it over the top. It works because the naturally spooky black base needs only one eerie accent to feel fully themed, without cheap plastic decorations. Pipe a cobweb by starting with concentric circles of melted white chocolate on the frosted top, then dragging a toothpick from center to edge to create the web spokes. Add a few white chocolate spiders piped from a small round tip, or use royal icing eyeballs for a monster-mash look. A splatter of white food color flicked from a stiff brush gives an instant starry-night or haunted effect.
10. Whimsical Galaxy Black Velvet Cake
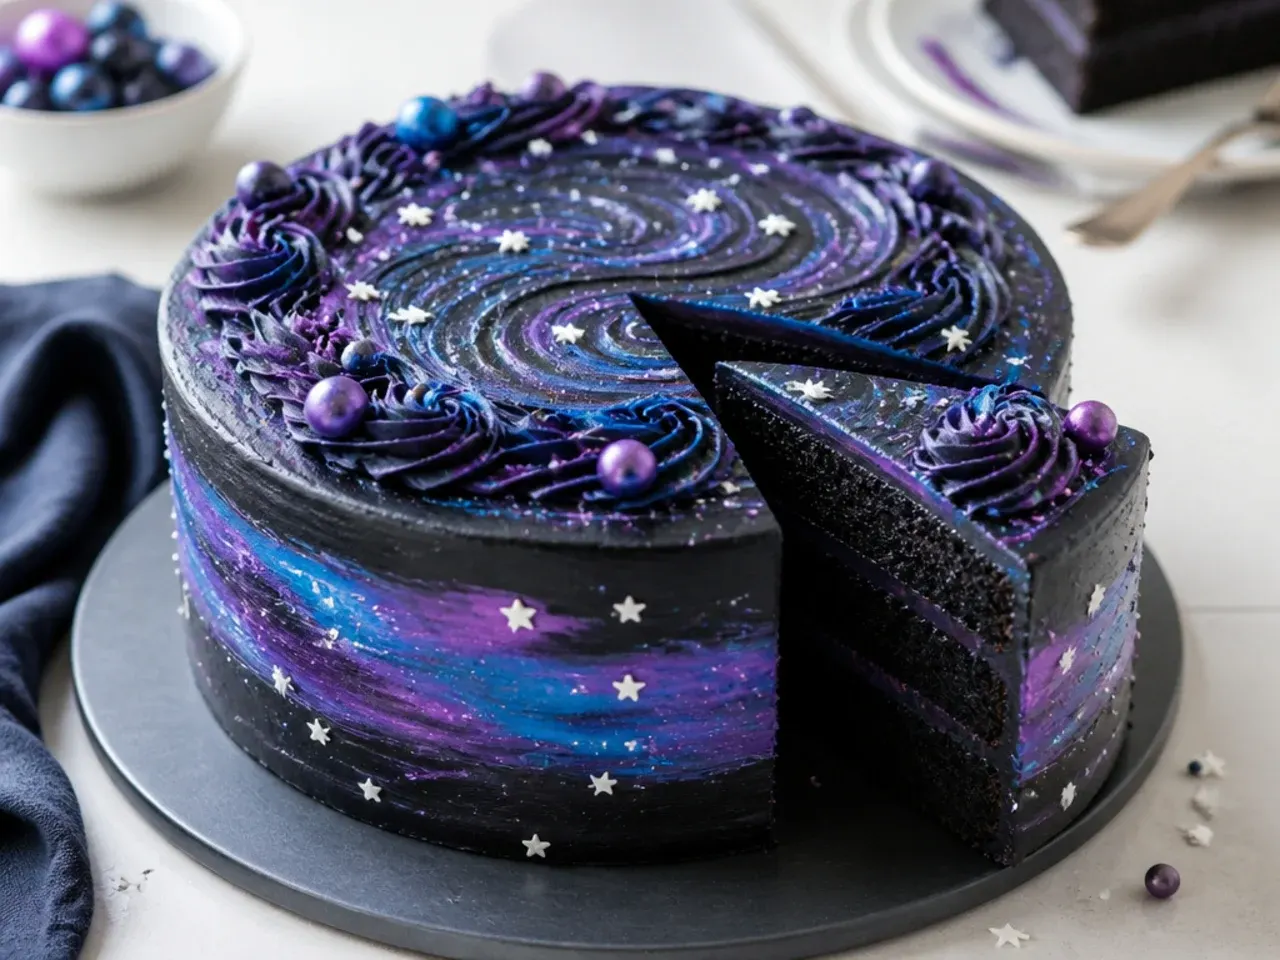
Turn the dark surface into deep space with swirls of purple, blue, and magenta plus edible glitter stars. It works because black is the perfect night-sky backdrop, so airbrushed or sponged color reads instantly as a galaxy. Cover the cake in black buttercream, chill, then sponge on gel colors thinned with a drop of clear alcohol using a piece of kitchen paper, blending purples into blues. Flick tiny dots of white edible paint for stars and press a few gold and silver star sprinkles into the surface. Finish with a scatter of edible glitter so the whole cake shimmers under the light.
Save this for later 📌
Pin this article to your Pinterest board so the full list is one tap away when you need it.
Save on Pinterest11. Bold Blackout Chocolate Black Velvet Cake
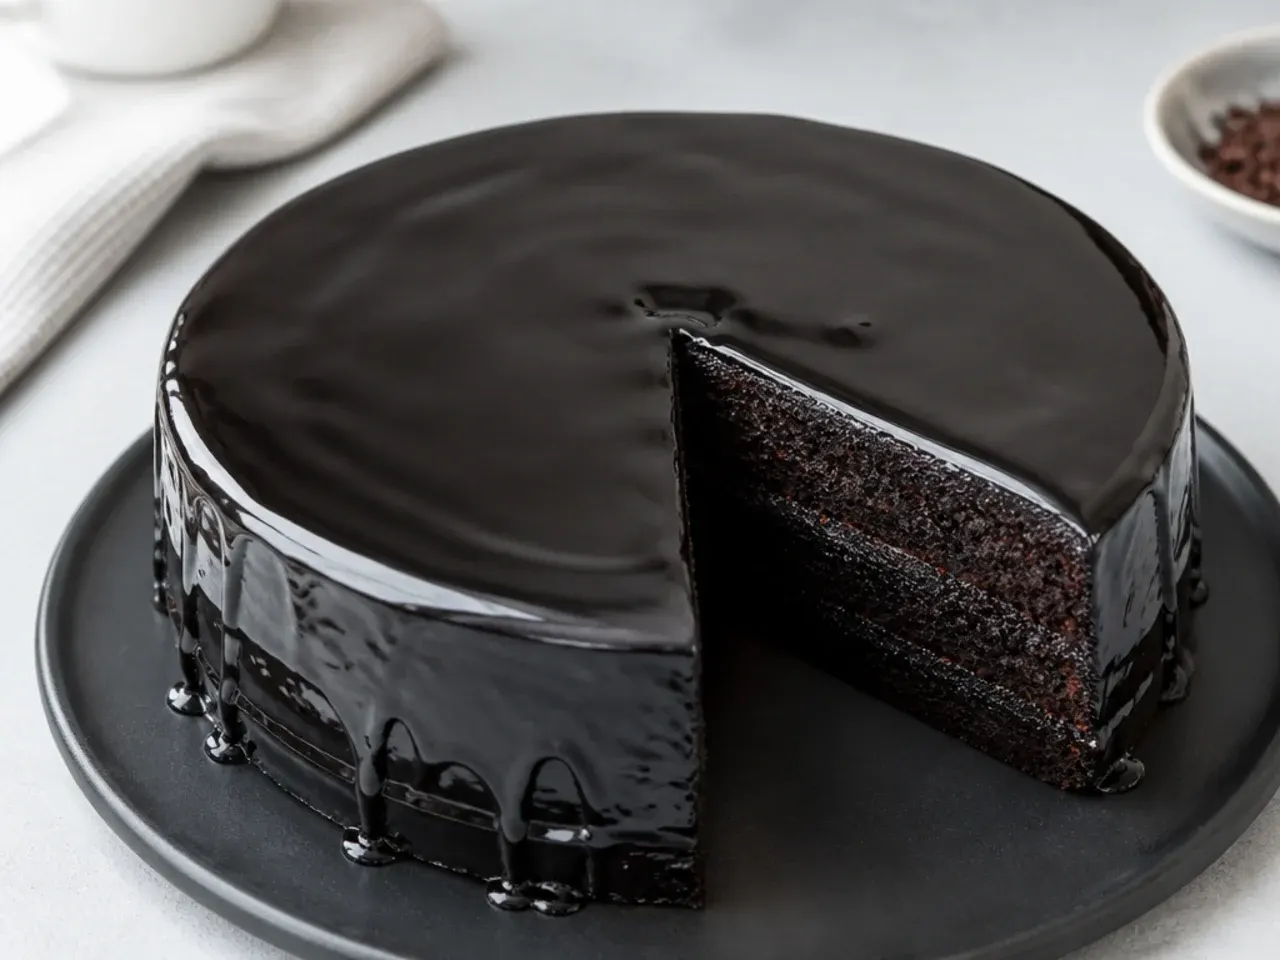
For serious chocolate lovers, amp the base into a full blackout cake with dark ganache filling and a glossy mirror-black glaze. It works because black cocoa's bittersweet edge stands up to rich additions without turning sickly sweet. Fill between the layers with a firm dark chocolate ganache (200g 70% chocolate melted into 200g hot cream, cooled to spreadable), then chill. Pour over a black cocoa mirror glaze made by blooming gelatine into a cocoa, sugar, cream, and glucose syrup base and glazing at 35°C (95°F) over a wire rack. The result is a jaw-dropping shine that looks like polished obsidian.
12. Delicate Black Velvet Cake with White Buttercream Flowers
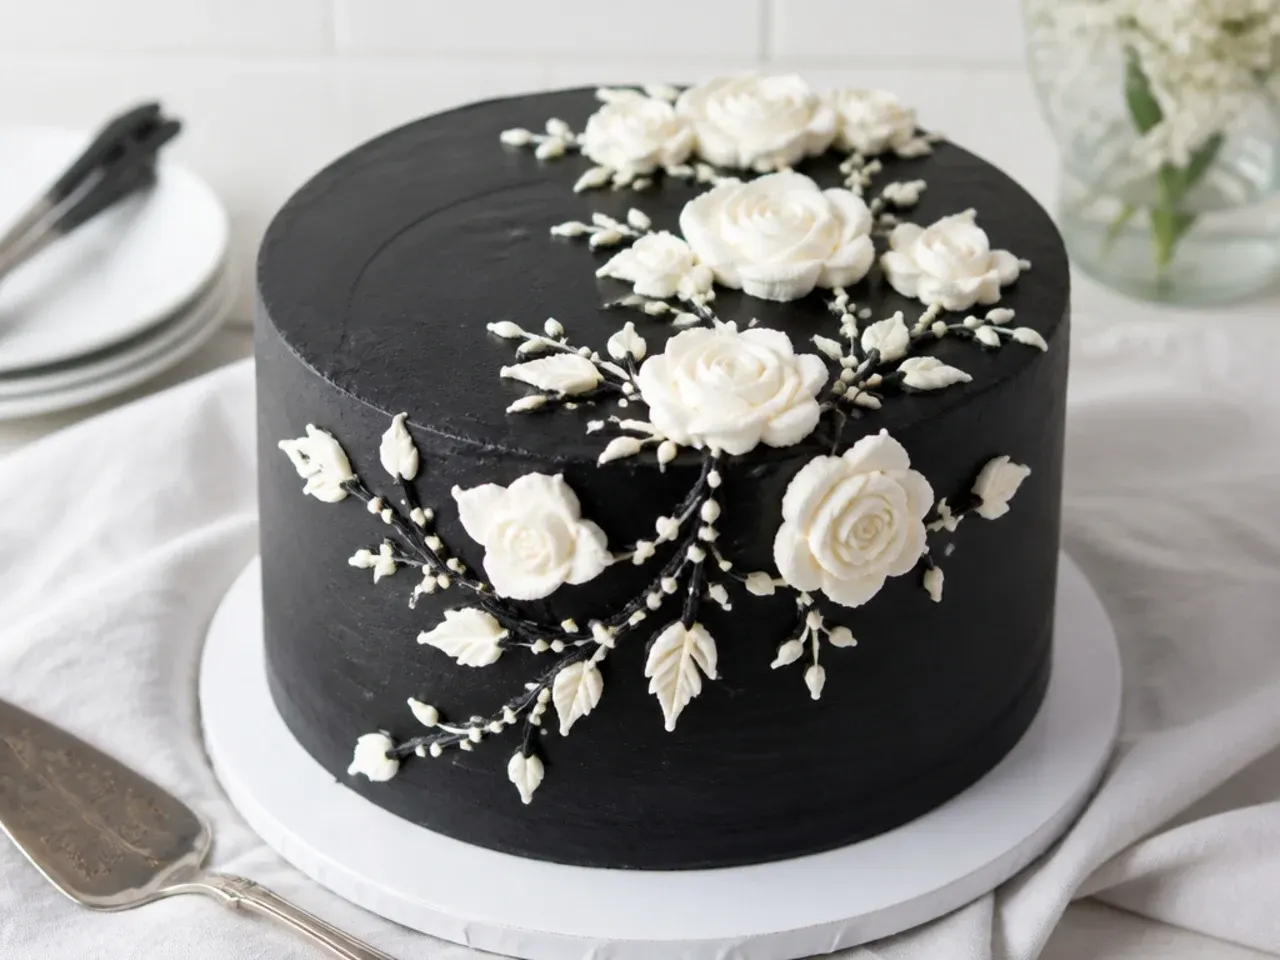
Contrast the dark crumb with soft white piped florals for a romantic, feminine look. It works because pale buttercream flowers stand out crisply against black frosting the way white blossoms glow against a night sky. Pipe five-petal blossoms and rosettes in white vanilla buttercream using a Wilton 2D drop-flower tip and 104 petal tip, adding pale green leaves with a 352 leaf tip. Cluster the flowers asymmetrically from the top edge cascading down one side for a modern, uncrowded arrangement. A few dots of yellow buttercream at each flower center bring the blooms to life against the black.
13. Vintage Lambeth Piping Black Velvet Cake
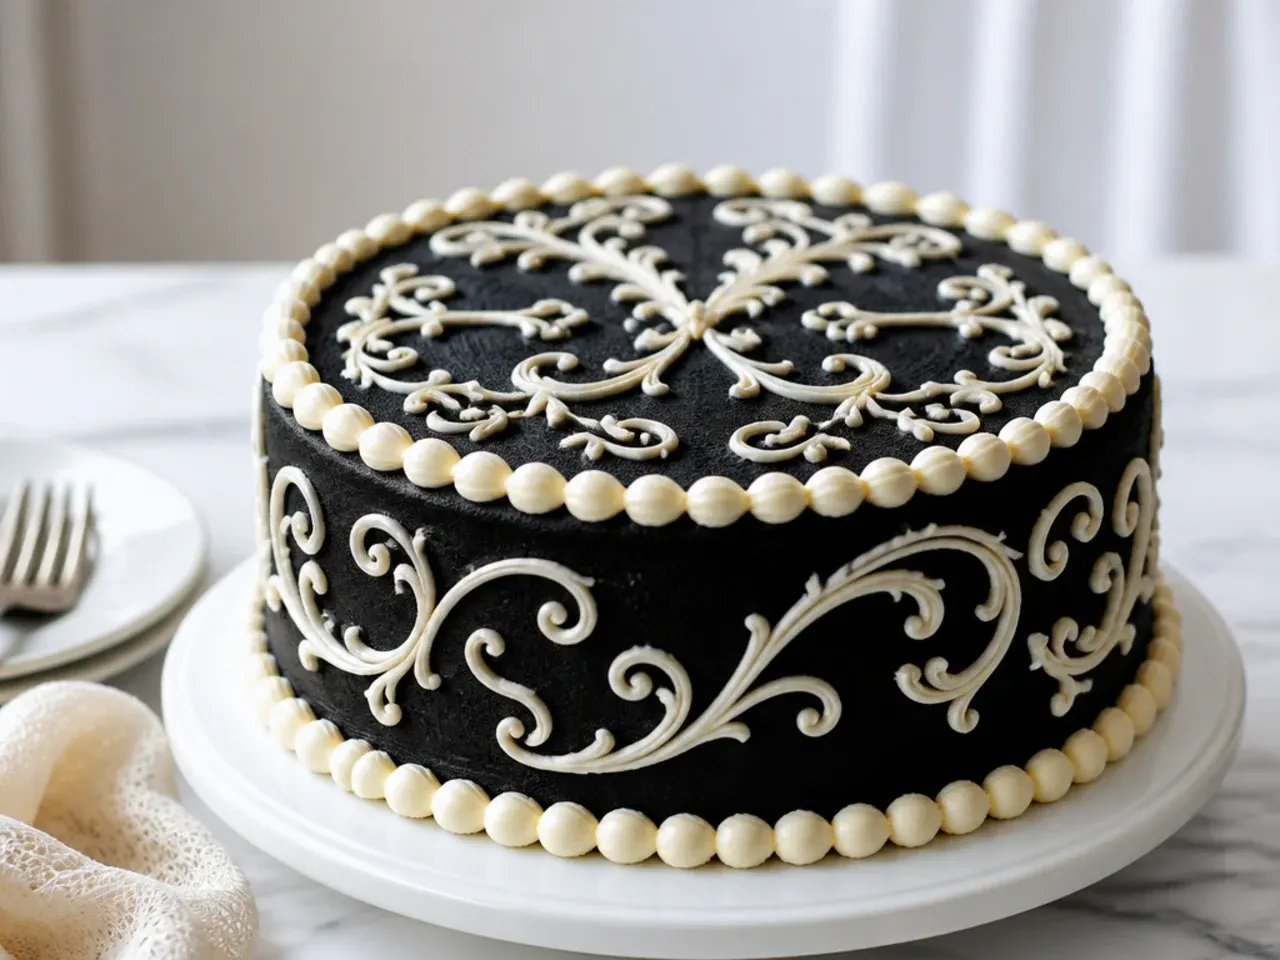
Channel the trending vintage look with layered lambeth-style overpiping in tonal grey or white against black. It works because the intricate scrollwork and pearl borders read as heirloom and elegant, and the dark base makes each raised detail cast its own shadow. Use a stiff buttercream and pipe base borders with a large star tip, then overpipe finer scrolls and dots on top with a small round tip like a Wilton 3. Add piped pearl swags around the sides using a 5 round tip for that classic draped effect. Keep the piping tonal (white on black, or grey on black) so the ornate detail stays refined rather than busy.
15. Charming Black Velvet Heart Cake
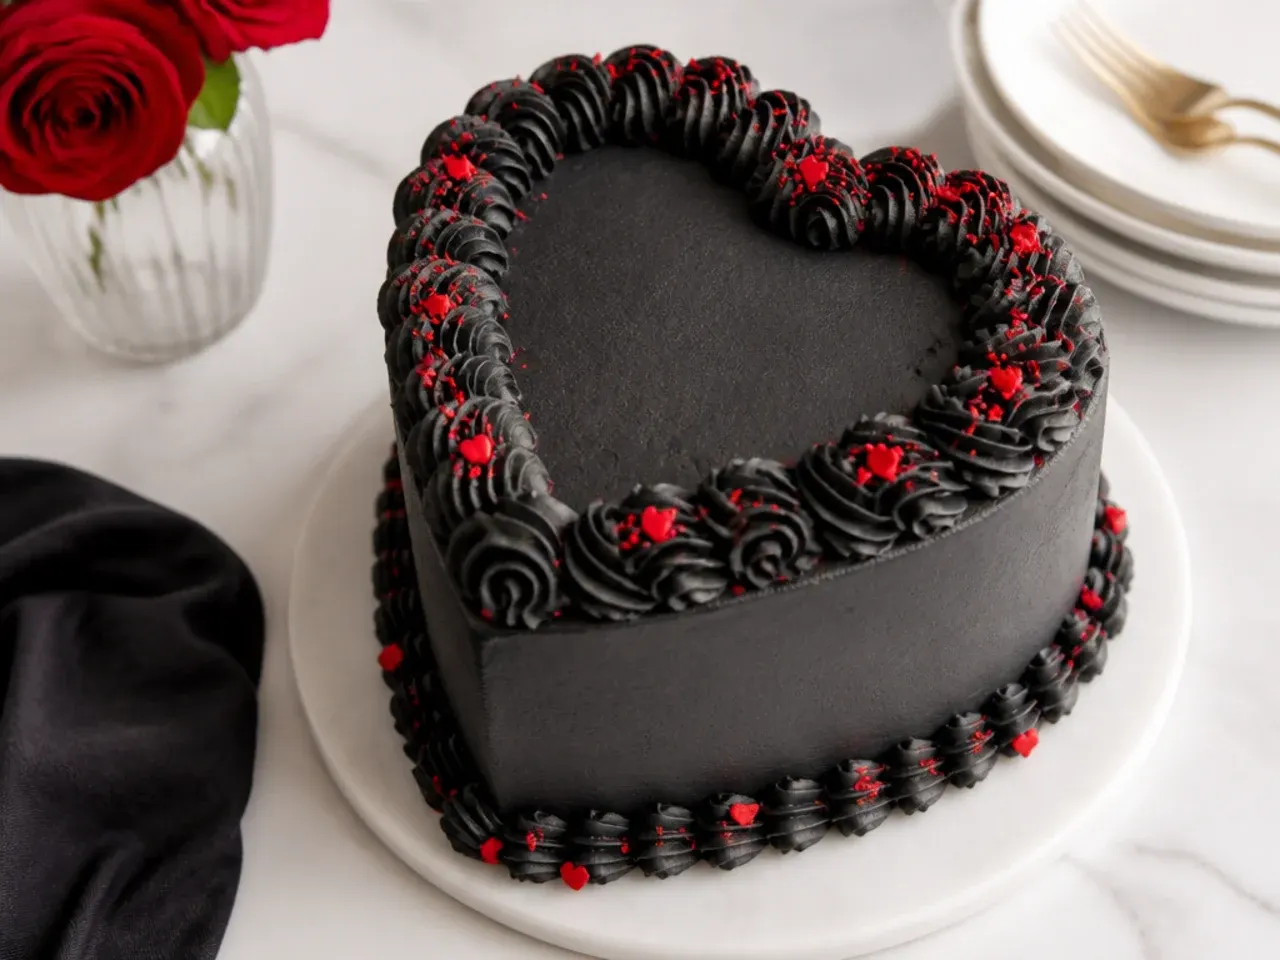
Bake the batter as a heart shape for anniversaries, Valentine's Day, or a moody romantic dessert. It works because the soft heart silhouette against dramatic black frosting balances sweet and edgy in one cake. Use a heart-shaped tin, or bake one 20cm round plus one 20cm square, then cut the round in half and set the two semicircles on adjacent sides of the square turned as a diamond. Frost in black buttercream and pipe a delicate white or blood-red message across the top with a fine round tip. A few red sugar hearts or a single fresh rose keep it charming without tipping into twee.
Save this for later 📌
Pin this article to your Pinterest board so the full list is one tap away when you need it.
Save on Pinterest16. Timeless Black Velvet Cake with Cream Cheese Frosting
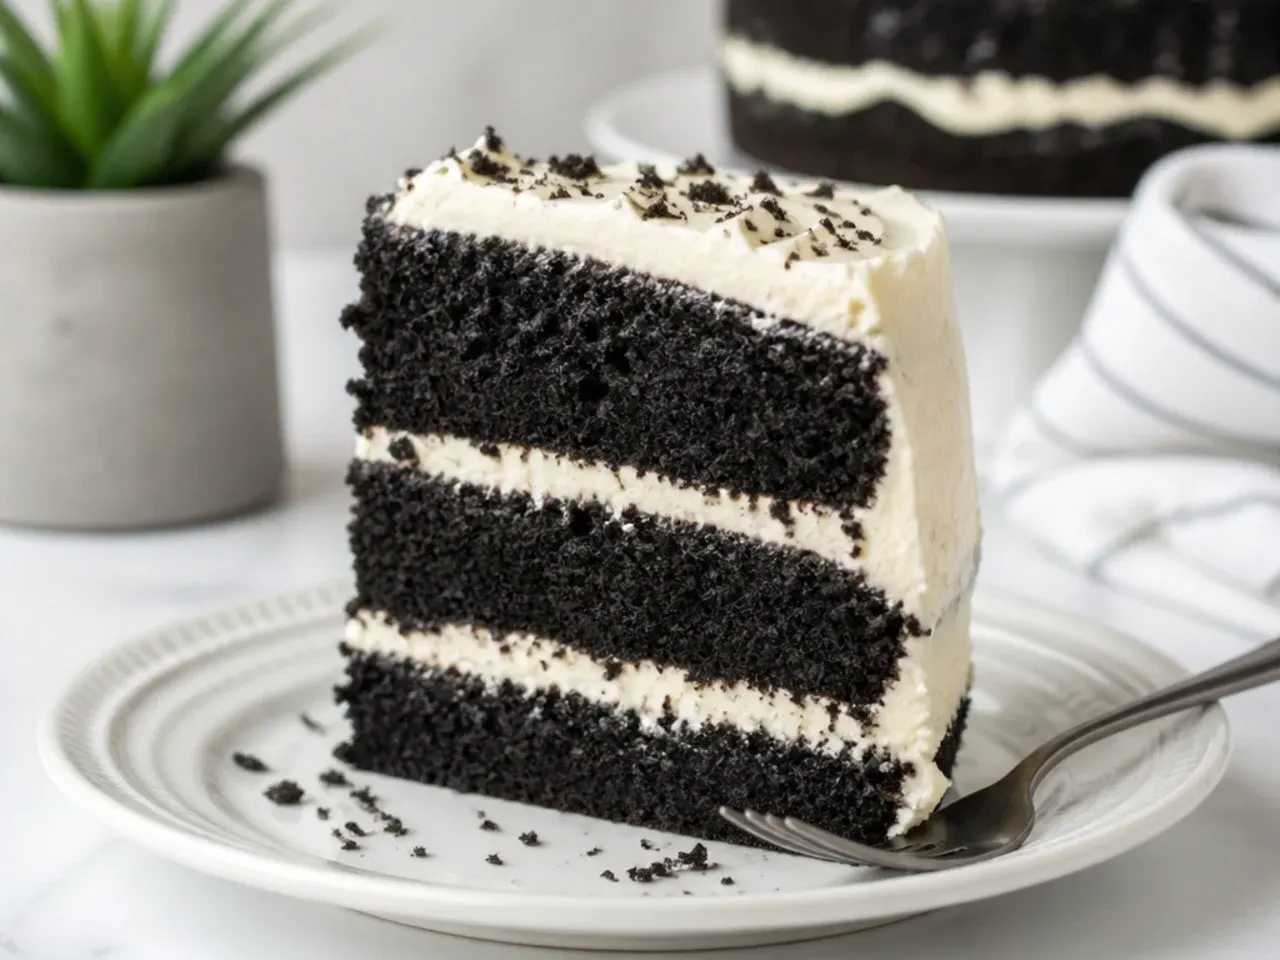
Swap the buttercream for tangy cream cheese frosting to nod to the cake's velvet cousins. It works because the slight sourness cuts the deep cocoa richness, giving a more balanced, grown-up bite that keeps the crumb from feeling heavy. Beat 250g full-fat cream cheese and 115g softened butter until smooth, add 300g icing sugar and 1 tsp vanilla, and chill briefly if it softens too much to pipe. Leave the frosting white for a bold black-and-white contrast, or fold in 2 tbsp black cocoa for a tonal look. Keep this version refrigerated and bring to cool room temperature before serving.
17. Effortless Black Velvet Cupcakes
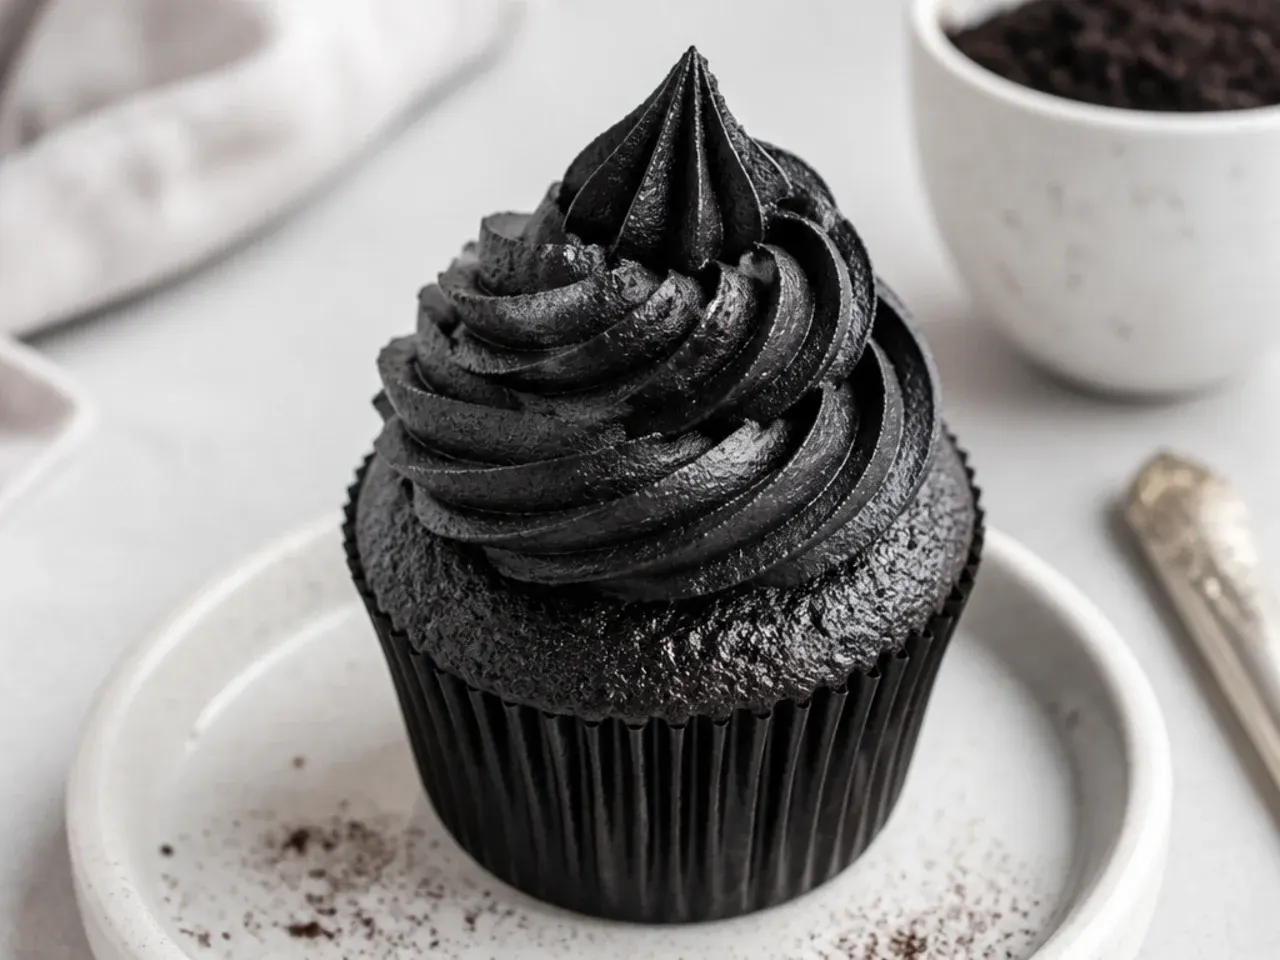
Portion the same batter into cupcakes for parties, bake sales, or easy plating. It works because the oil-based recipe stays moist for days and the individual size makes decorating fast and mistake-proof. Line a 12-hole muffin tin, fill each cavity two-thirds full, and bake at 175°C (350°F) for 18-20 minutes until springy. Once cool, swirl on black cocoa buttercream with a Wilton 1M tip for a tall bakery peak. Top each with a single sprinkle cluster, a chocolate coffee bean, or a mini meringue kiss for contrast against the dark swirl.
18. Sophisticated Black Velvet Cake with Salted Caramel
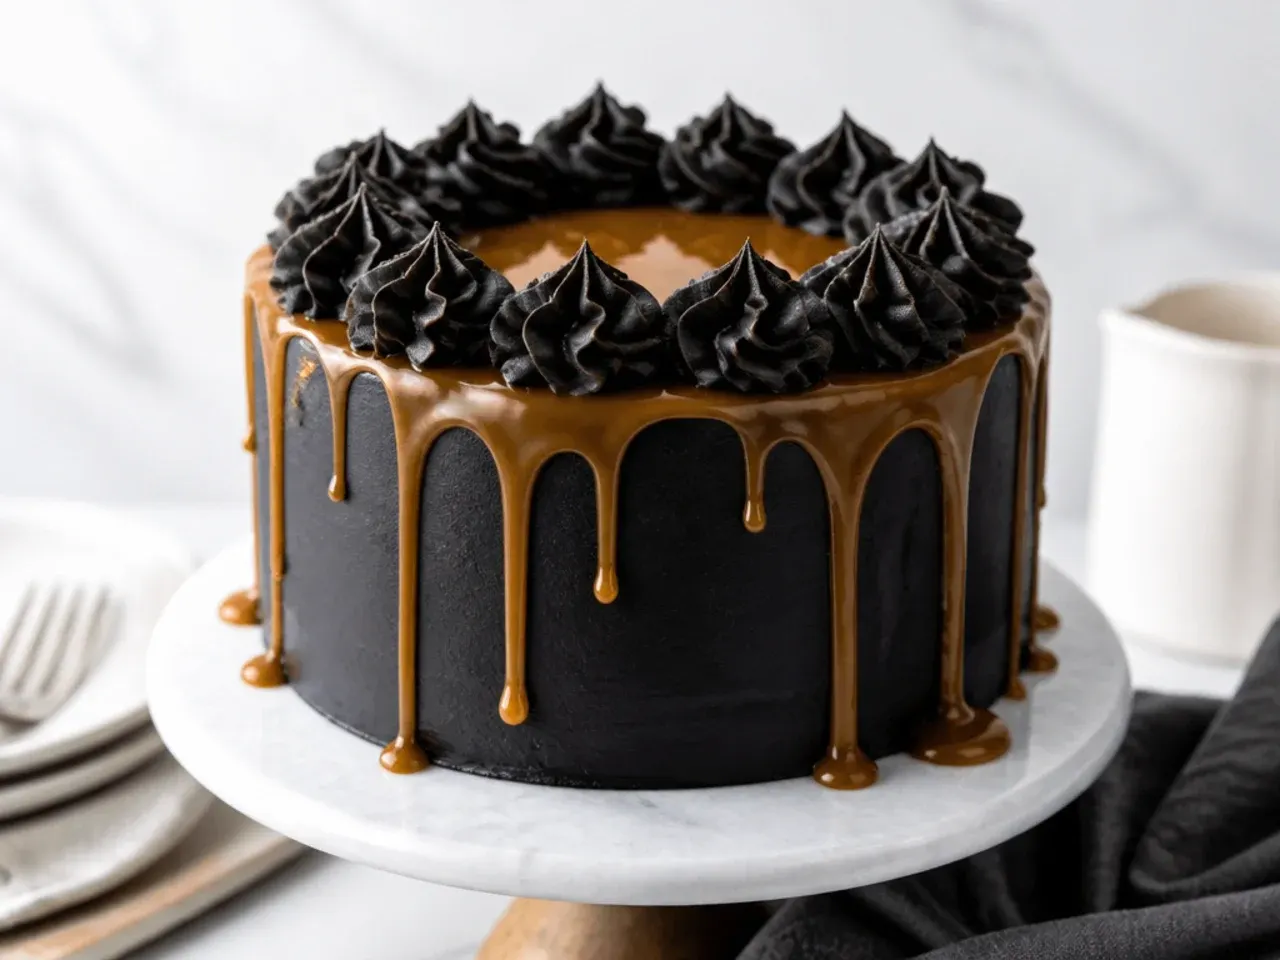
Drizzle glossy salted caramel over the black frosting for a grown-up sweet-and-salty finish. It works because the amber caramel glows against the matte black and the salt tames the caramel while echoing the cocoa's bitter edge. Make a quick salted caramel by melting 200g sugar to a deep amber, whisking in 90g butter then 120ml warm cream off the heat, and finishing with a generous pinch of flaky salt. Cool until thick enough to fall in slow drips, then spoon it around the top edge of the chilled cake to fall down the sides. Finish with a light sprinkle of sea salt flakes and a few caramel-dipped hazelnuts.
19. Fun Black Velvet Cake Pops and Bites
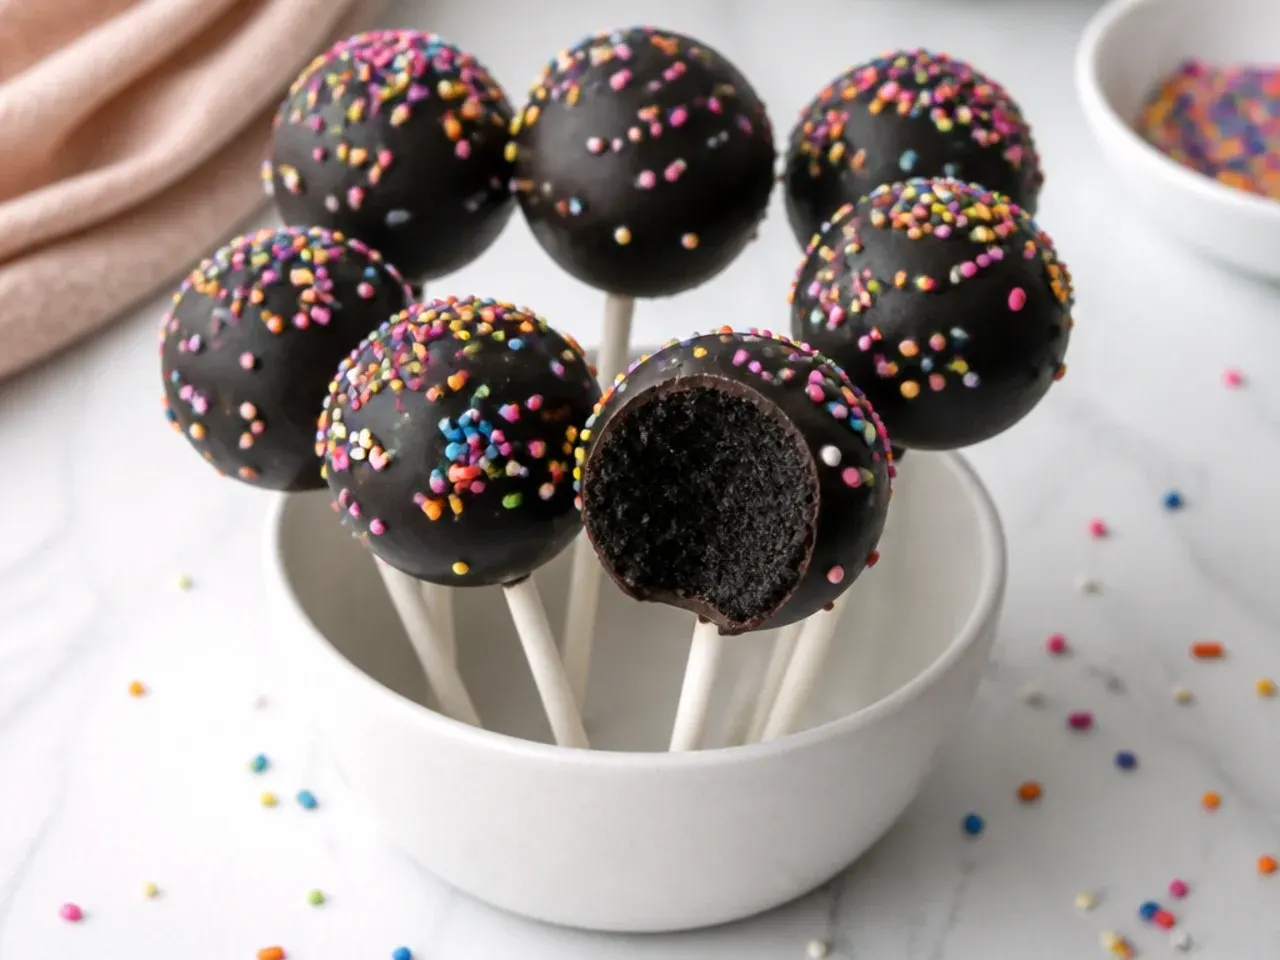
Repurpose cake trimmings or a whole layer into dippable cake pops, ideal for kids' parties and dessert tables. It works because you can use every scrap of the crumb and the small size makes them irresistible and easy to serve. Crumble cooled cake, mix with 2-3 tbsp of the black cocoa buttercream until it holds a ball, then roll into 3cm spheres and chill firm. Dip in melted candy melts (black for stealthy, white or bright colors for pop) and stand upright in a foam block to set. Decorate with drizzles, sprinkles, or edible eyes, matching them to any theme from spooky to celebratory.
20. Contemporary Geode Black Velvet Cake
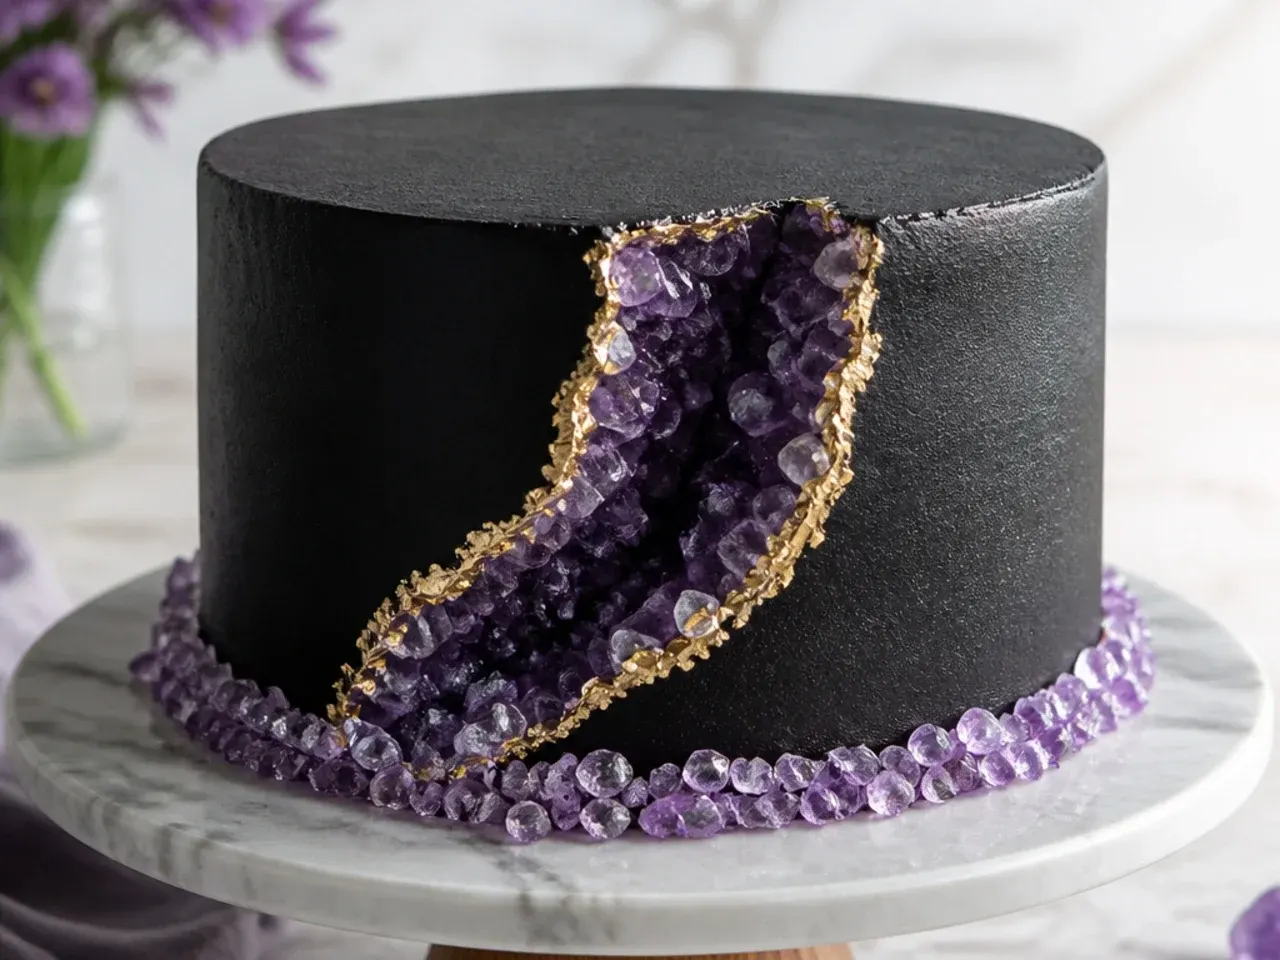
Carve a jagged geode into the side and fill it with amethyst rock candy for a striking modern showpiece. It works because the crystalline sparkle against the flat black frosting mimics a real geode split open, and it hides an imperfect edge rather than exposing one. Frost the cake black, chill, then cut a shallow crescent from one side and press in an inner ring of black buttercream painted with edible silver. Fill the cavity with purple, lilac, and clear rock candy shards packed from large at the edges to small in the center. Brush the crystal edges with silver luster dust so the geode catches the light.
Tips to Make These Ideas Easier
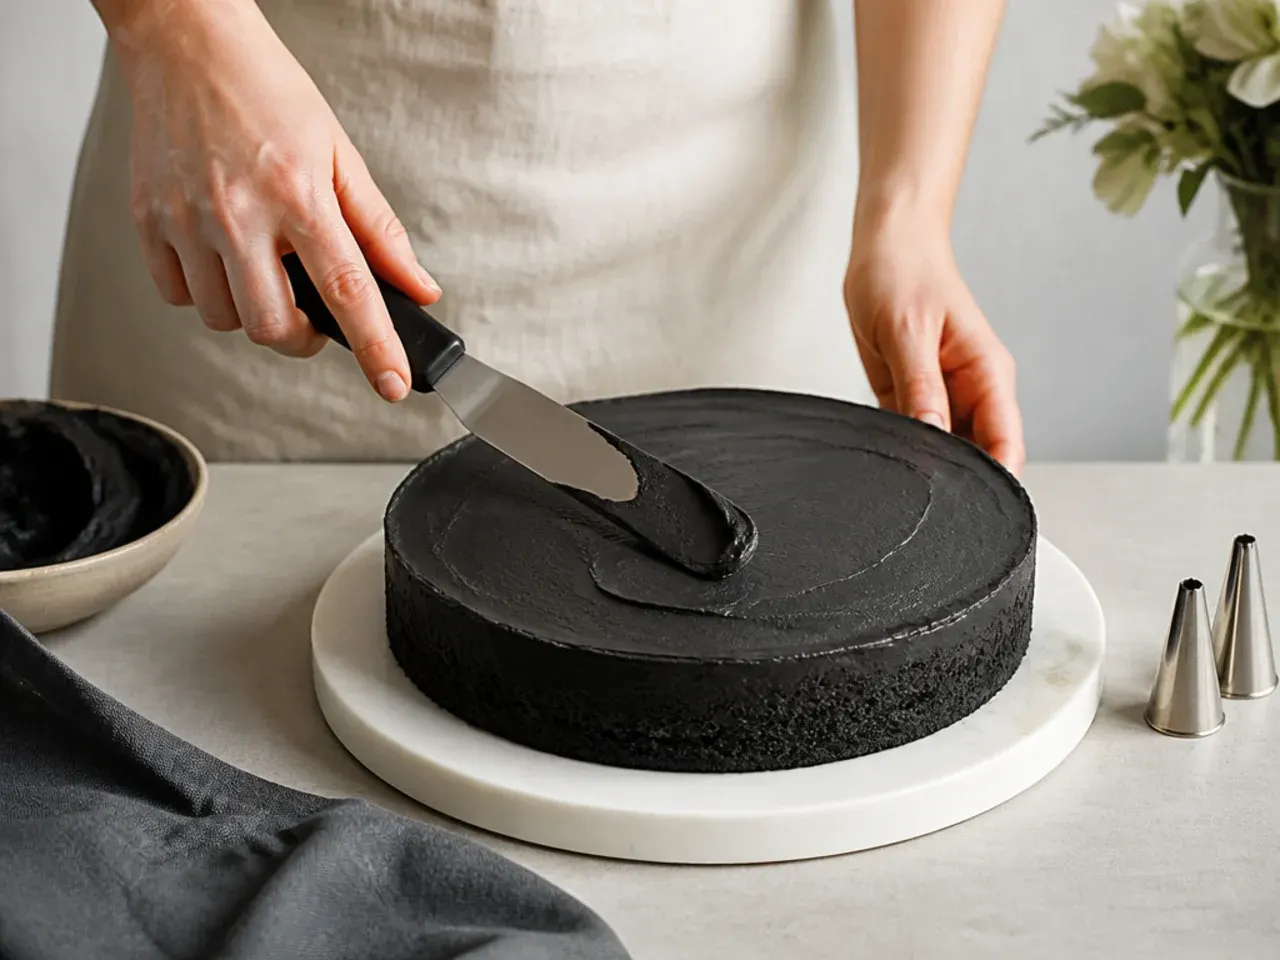
Bake the layers up to two days ahead, wrap them tightly in cling film, and refrigerate or freeze them, because cold cake is far easier to level, stack, and carve cleanly for any of these designs. Always crumb coat first: apply a thin scrape of frosting, chill for 15-20 minutes until firm, then add the final coat so no dark crumbs streak into your buttercream. Warm your bench scraper or palette knife in hot water and dry it before smoothing for glass-like sides. Keep a small bowl of the base black cocoa buttercream in reserve for patching, since its deep color hides repairs invisibly. For drips, glazes, and caramel, always test the temperature on the side of a chilled glass before committing to the whole cake.
Common Mistakes to Avoid
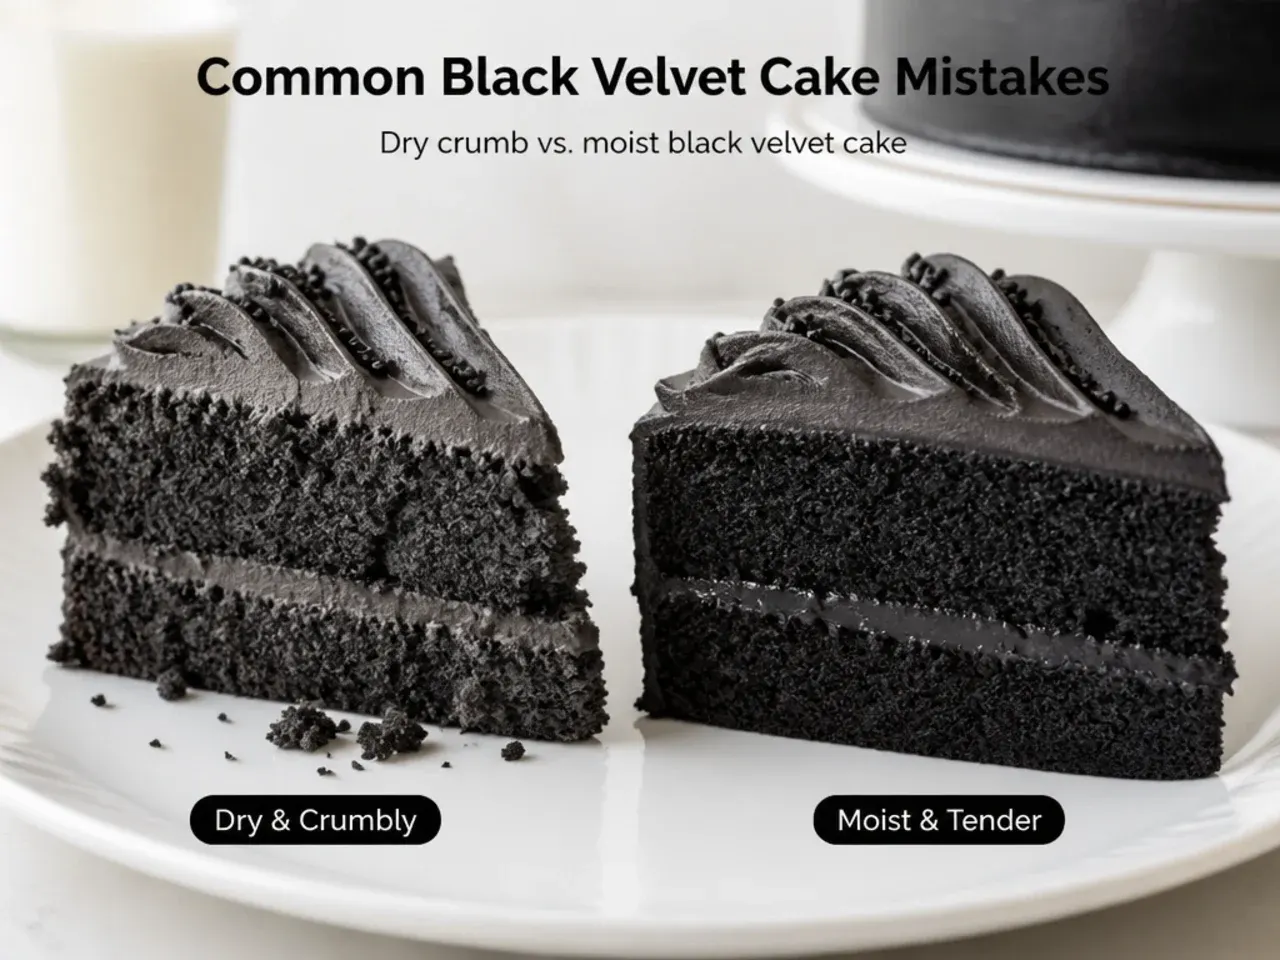
The biggest mistake is scooping flour straight from the bag, which packs in too much and leaves the crumb dry and dense, so spoon it into the cup and level, or better, weigh it at 250g. Using natural or standard cocoa instead of black cocoa gives a brown cake, not a true black one, so if you substitute Dutch-process cocoa expect a dark brown result and add a little black gel color to the frosting. Do not overmix once the flour goes in, as developing the gluten makes the cake tough and chewy rather than velvety. Frosting warm layers is a classic disaster, so cool cakes completely, ideally chilled, before filling. Finally, always add the coffee hot and mix quickly, since it blooms the cocoa for deeper color and flavor, but do not overbake, or the moist Oreo-like crumb turns dry.
The Recipe
The Base Recipe — Make Any of These Ideas
25 min
30 min
1 hr 30 min
12
Intermediate
Ingredients 12 Person(s)
Directions
Step 1: Prep pans and oven
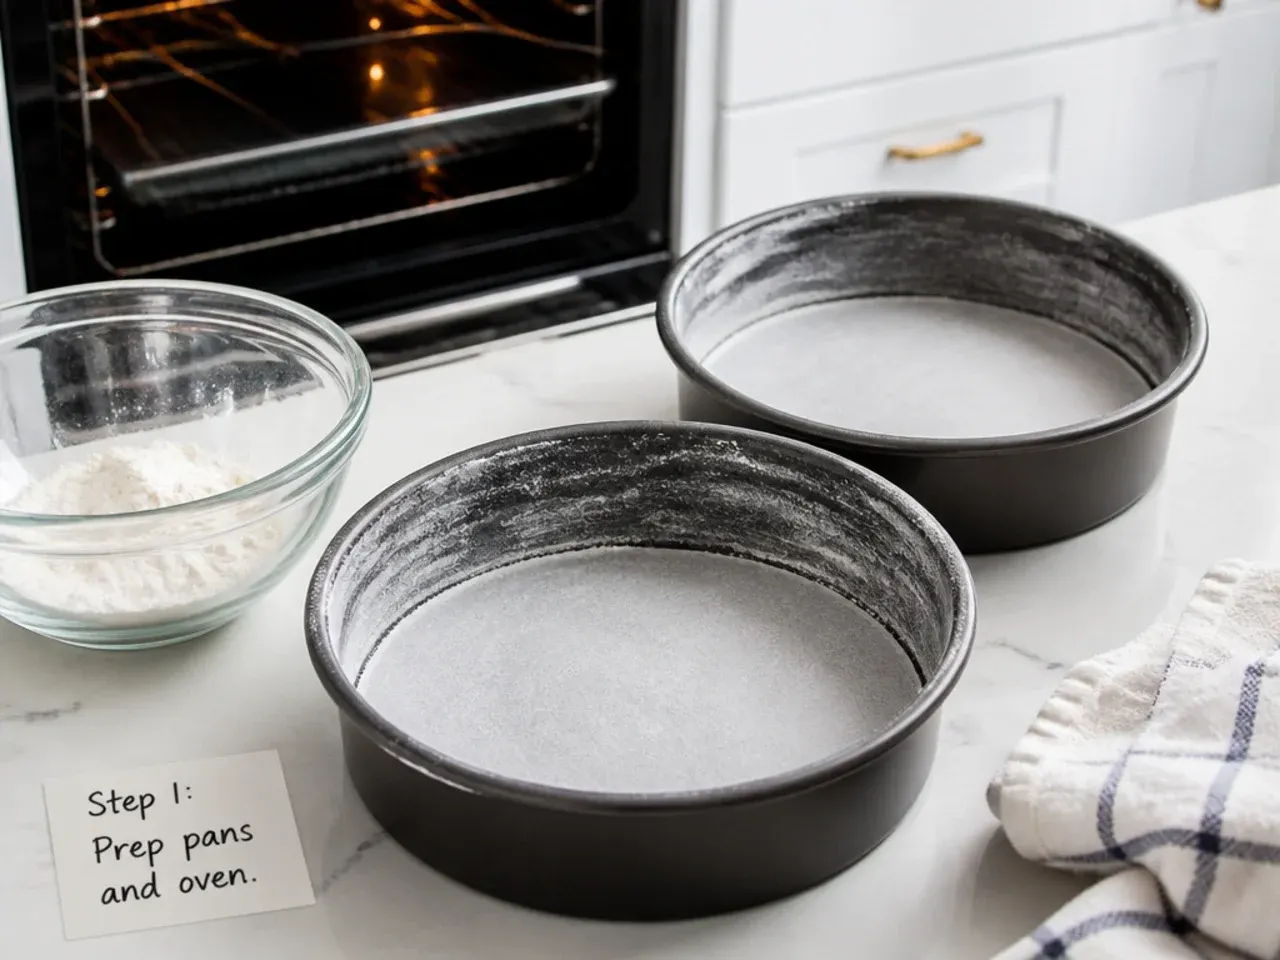
Preheat the oven to 175°C (350°F) and position a rack in the center. Grease two 20cm (8-inch) round cake pans, line the bases with parchment, and lightly flour the sides, tapping out the excess. Room-temperature eggs and buttermilk are essential for an even batter, so pull them out ahead of time.
Step 2: Whisk the dry ingredients
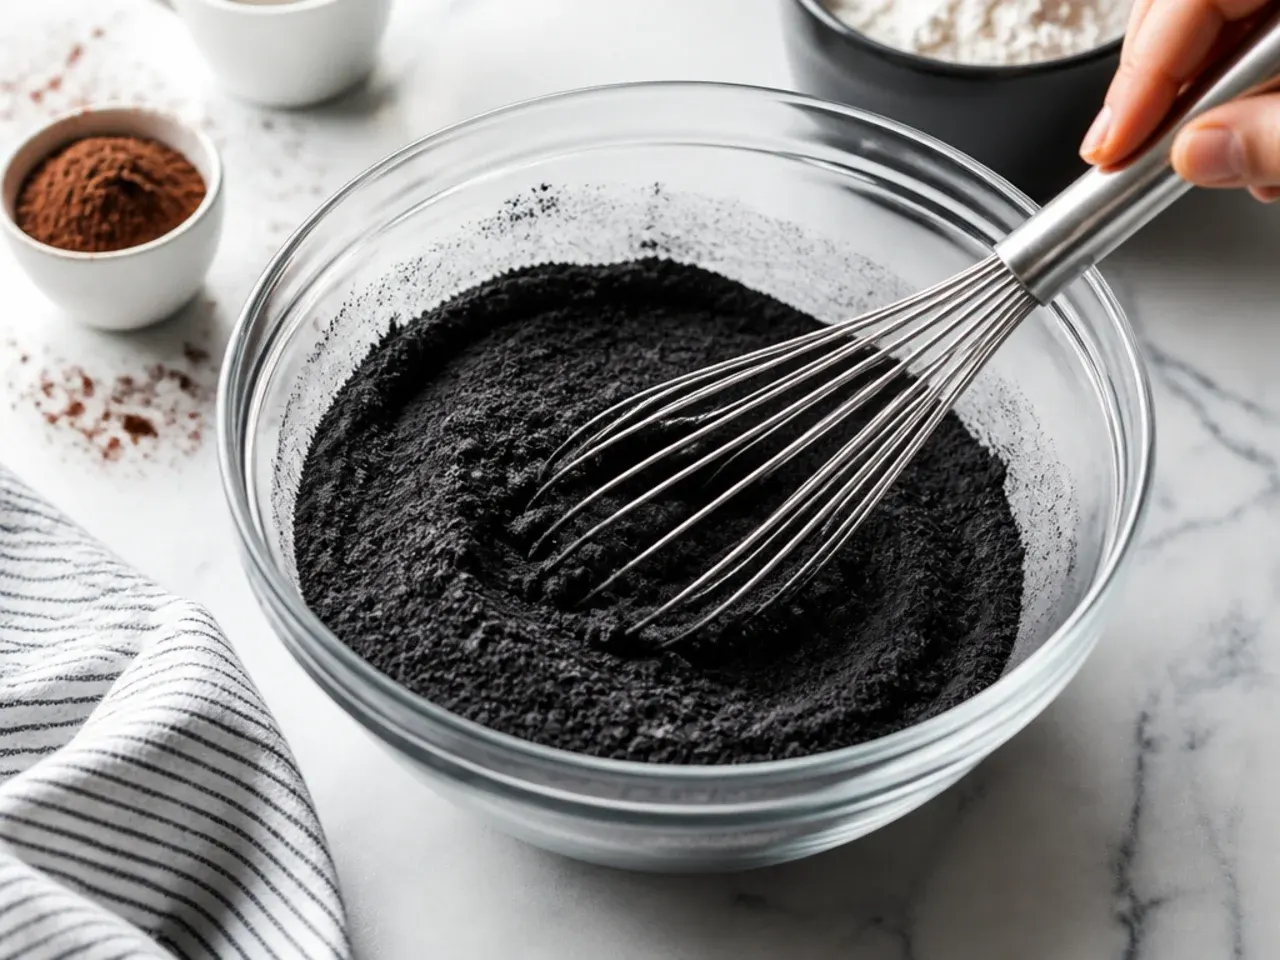
In a large bowl, sift together the 250g flour, 70g black cocoa, 1 tsp baking soda, and 1 tsp salt, then whisk in the 300g sugar until fully combined. Sifting matters here because black cocoa clumps easily and you want no dry pockets. Set the bowl aside.
Step 3: Combine the wet ingredients
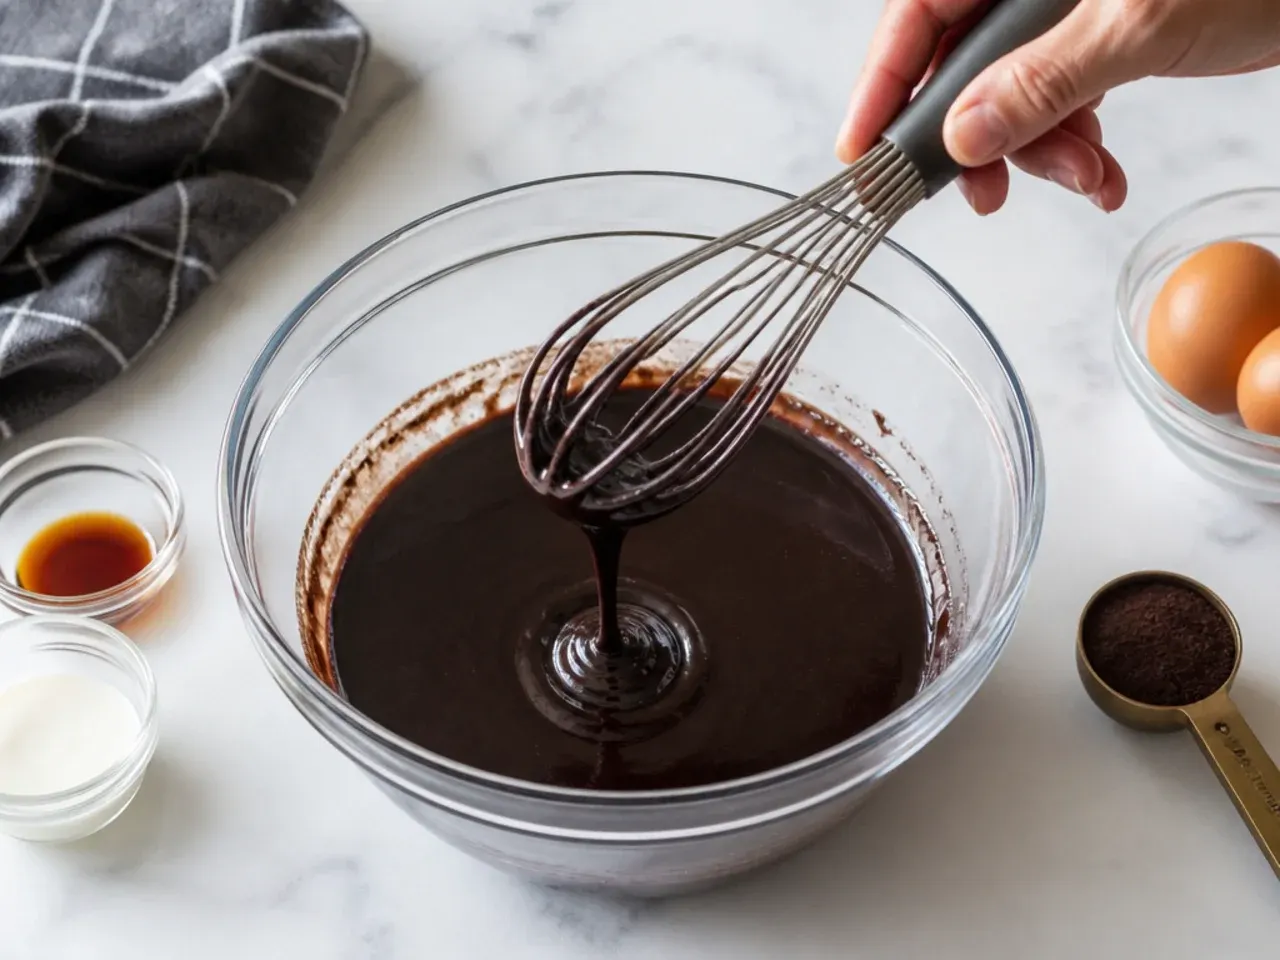
In a separate jug or bowl, whisk together the 120ml oil, 240ml buttermilk, 2 eggs, and 2 tsp vanilla until smooth and uniform. Whisk just until combined, with no streaks of egg remaining. Do not add the coffee yet.
Step 4: Bring the batter together
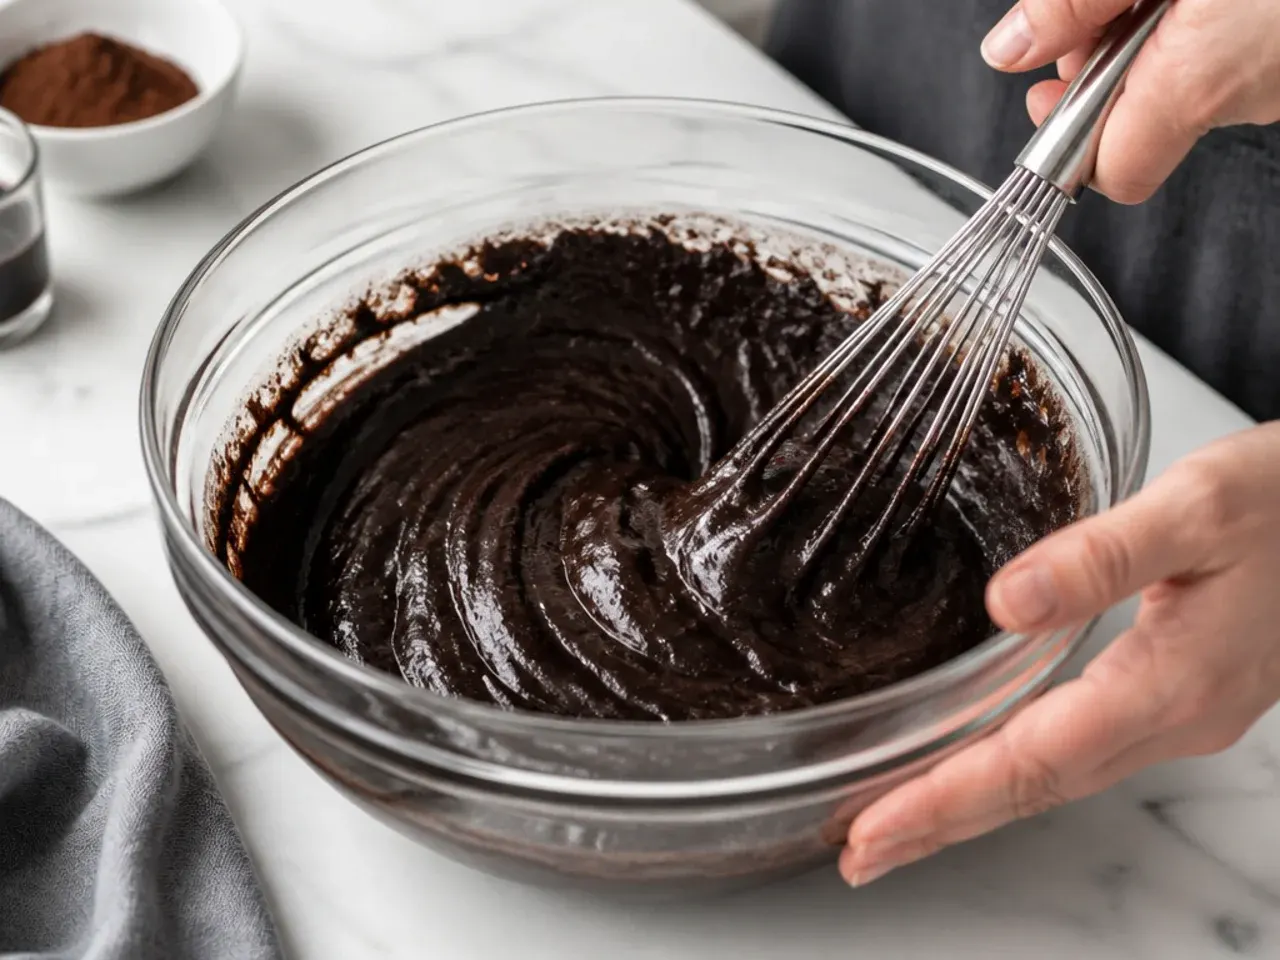
Pour the wet mixture into the dry ingredients and whisk gently just until no dry flour remains, stopping the moment it comes together. Overmixing develops gluten and toughens the crumb, so a few small lumps are fine. The batter will be thick at this stage.
Step 5: Add the hot coffee
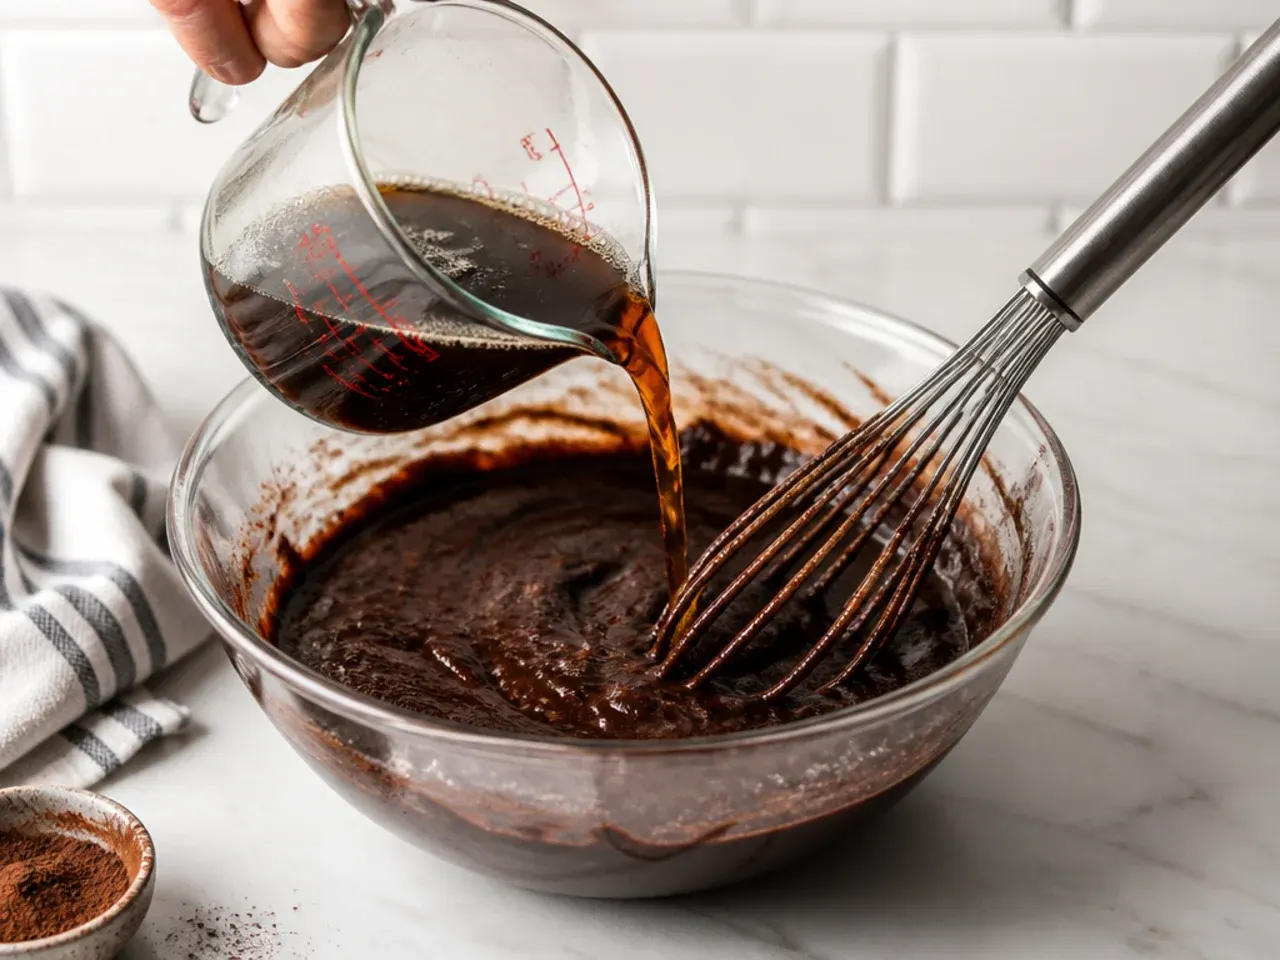
Stream in the 160ml hot coffee and stir gently until the batter is smooth, thin, and glossy black. The heat blooms the black cocoa for a deeper color and rounder flavor, so add it hot rather than cold. The thin batter is correct and bakes into a tender, moist crumb.
Step 6: Bake the layers
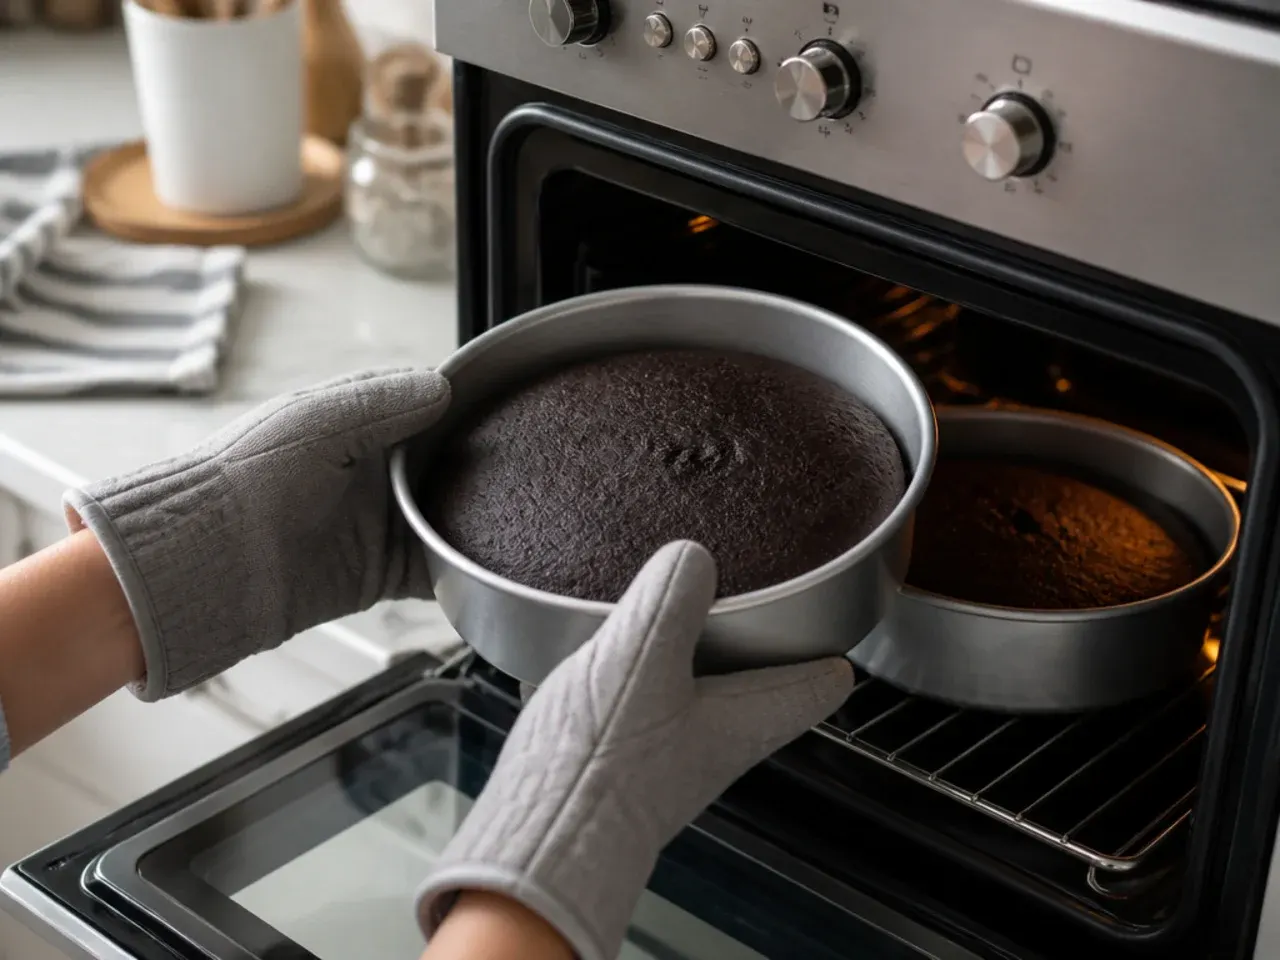
Divide the batter evenly between the two pans and bake at 175°C (350°F) for 28-32 minutes, until a skewer inserted in the center comes out with a few moist crumbs. Avoid opening the oven before 25 minutes so the cakes do not sink. Do not overbake, or the crumb will dry out.
Step 7: Cool, frost, and assemble
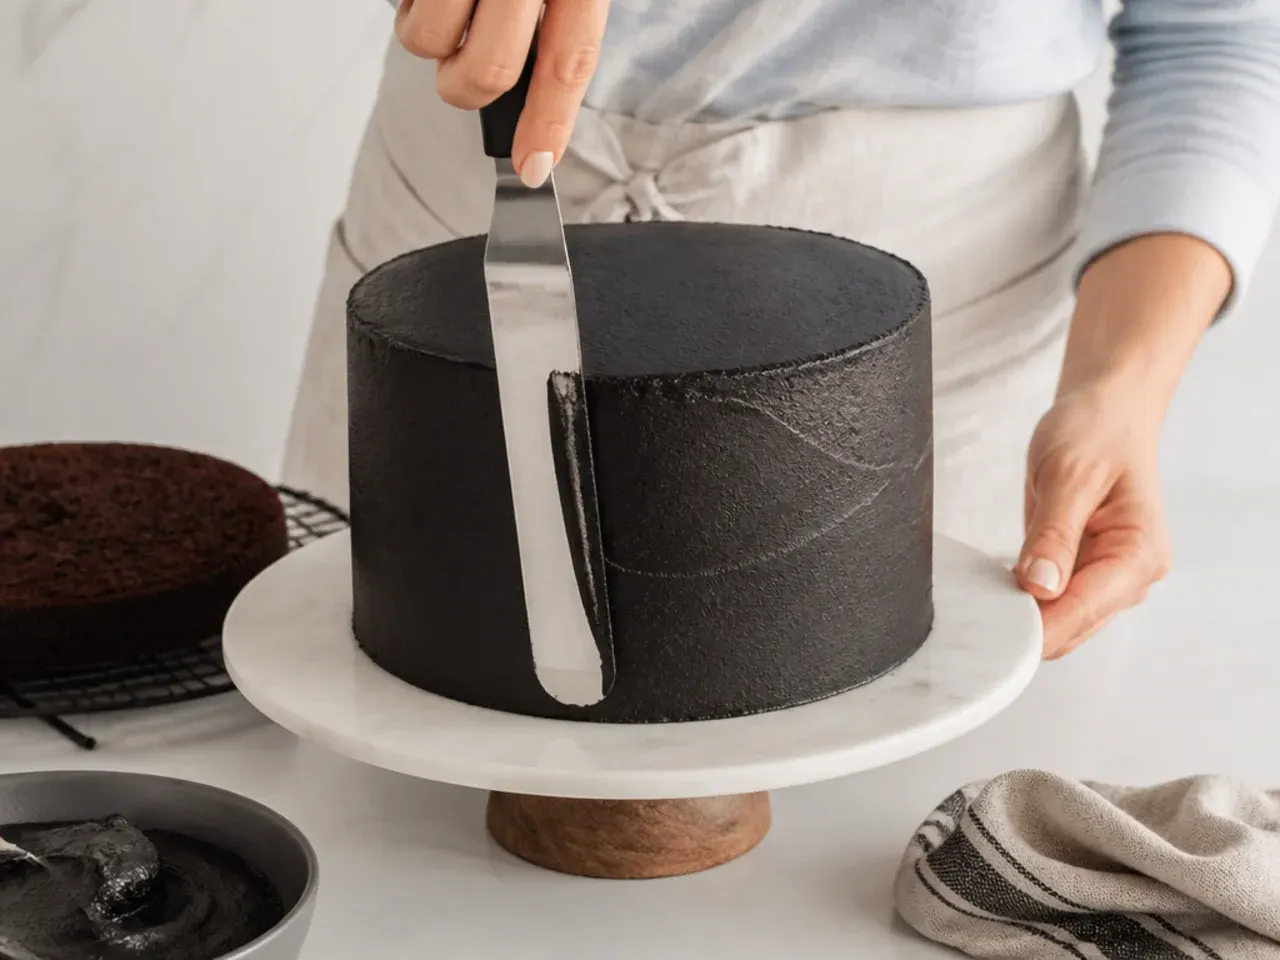
Cool the cakes in their pans for 15 minutes, then turn out onto a wire rack to cool completely, ideally chilling them before frosting. For the frosting, beat the 220g softened butter until pale, then beat in 250g icing sugar and 60g black cocoa, loosening with 3 tbsp double cream and a pinch of salt until silky. Level the layers, fill and crumb coat, chill 20 minutes, then apply a smooth final coat.
Frequently Asked Questions
Black cocoa is an ultra-Dutched (heavily alkalized) cocoa powder, the same type used to make Oreos, which gives baked goods a naturally jet-black color and a mellow, bittersweet flavor. It is rarely stocked in regular supermarkets, so most bakers buy it online (Amazon and specialist baking shops) or find it in gourmet food stores and some Whole Foods locations. A little goes a long way, and one bag will make many cakes.
Save this for later 📌
Pin this article to your Pinterest board so the full list is one tap away when you need it.
Save on Pinterest