5 Mistakes I Made on a Hello Kitty Cake
Five honest lessons from my first homemade Hello Kitty cake — the mistakes I made, how to avoid them, and the vanilla sponge recipe I'd use again. If you love hello kitty cake inspiration, start with our Hello Kitty Cake Ideas collection, then browse the full Cake Ideas hub for more.

Save this for later 📌
Pin this article to your Pinterest board so the full list is one tap away when you need it.
Save on PinterestCake Ideas
Intermediate
Kitchen Journal
5 steps
Table of Contents
- Lesson 1: Chill the Layers Before You Cut the Ears
- Lesson 2: Crumb Coat First, Then Chill for 30 Minutes
- Lesson 3: Make the Fondant Bow Two Days Early
- Lesson 4: Use Gel Colour, Not Liquid from the Baking Aisle
- Lesson 5: Bows, Dots and Ears Beat Copying the Face
- What I'd Tell a Friend Trying This
- The Recipe I Used
Lesson 1: Chill the Layers Before You Cut the Ears
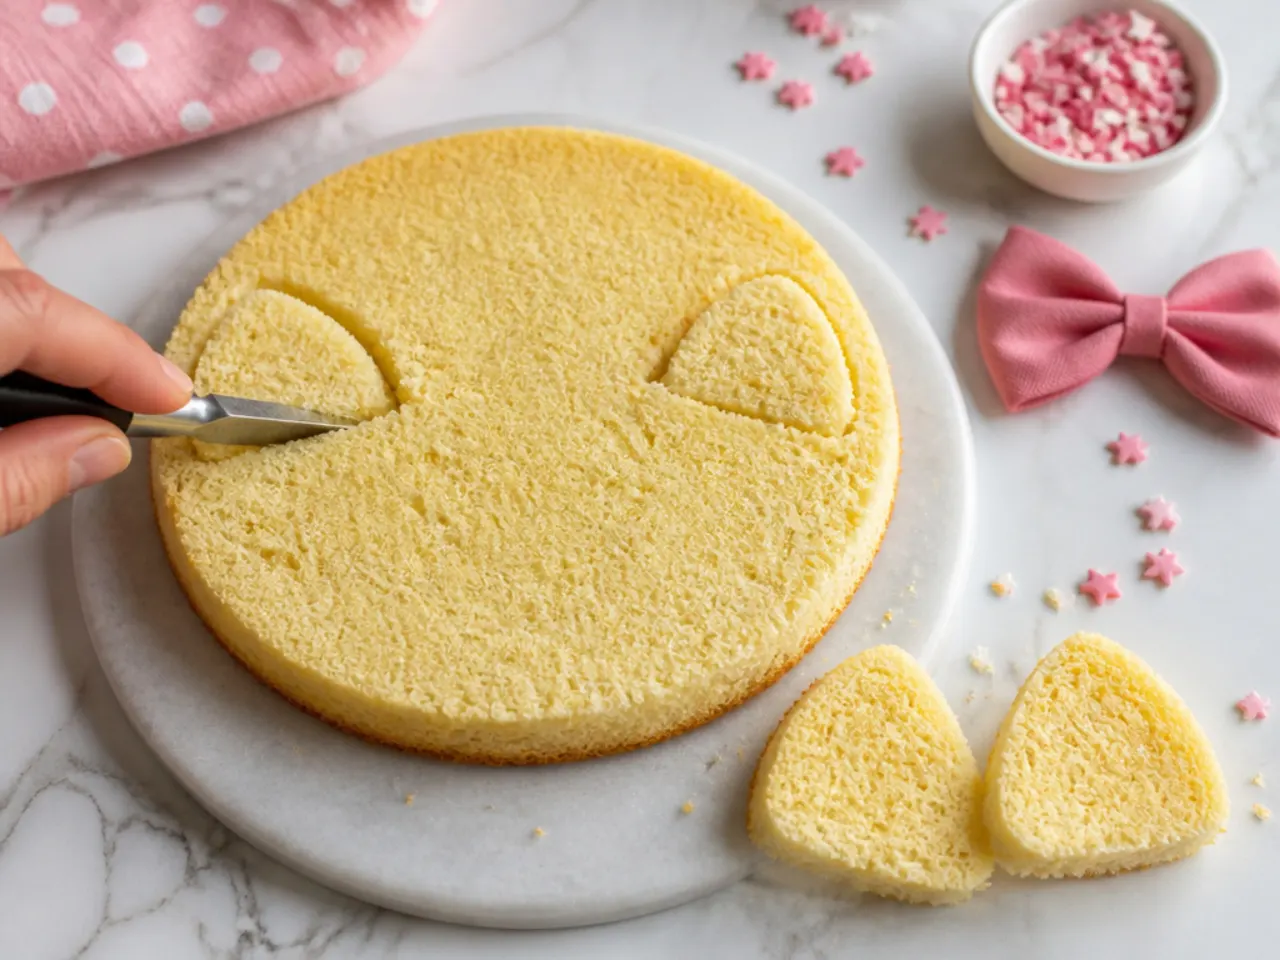
I cut the ear shapes about twenty minutes after the sponges came out of the oven, and the warm crumb tore into ragged chunks that no amount of buttercream could hide. The fix is simple: once the layers are completely cool, wrap them in cling film and freeze them for 30 minutes before you shape anything. A chilled sponge cuts cleanly with a small serrated knife and a gentle sawing motion — never push straight down. I now draw the ear shapes on baking paper first, sit the template on the cake and cut around it, which takes two minutes and saves an ugly repair job. Betty Crocker's version of this cake uses the same freeze-then-cut trick, and it genuinely works.
Lesson 2: Crumb Coat First, Then Chill for 30 Minutes
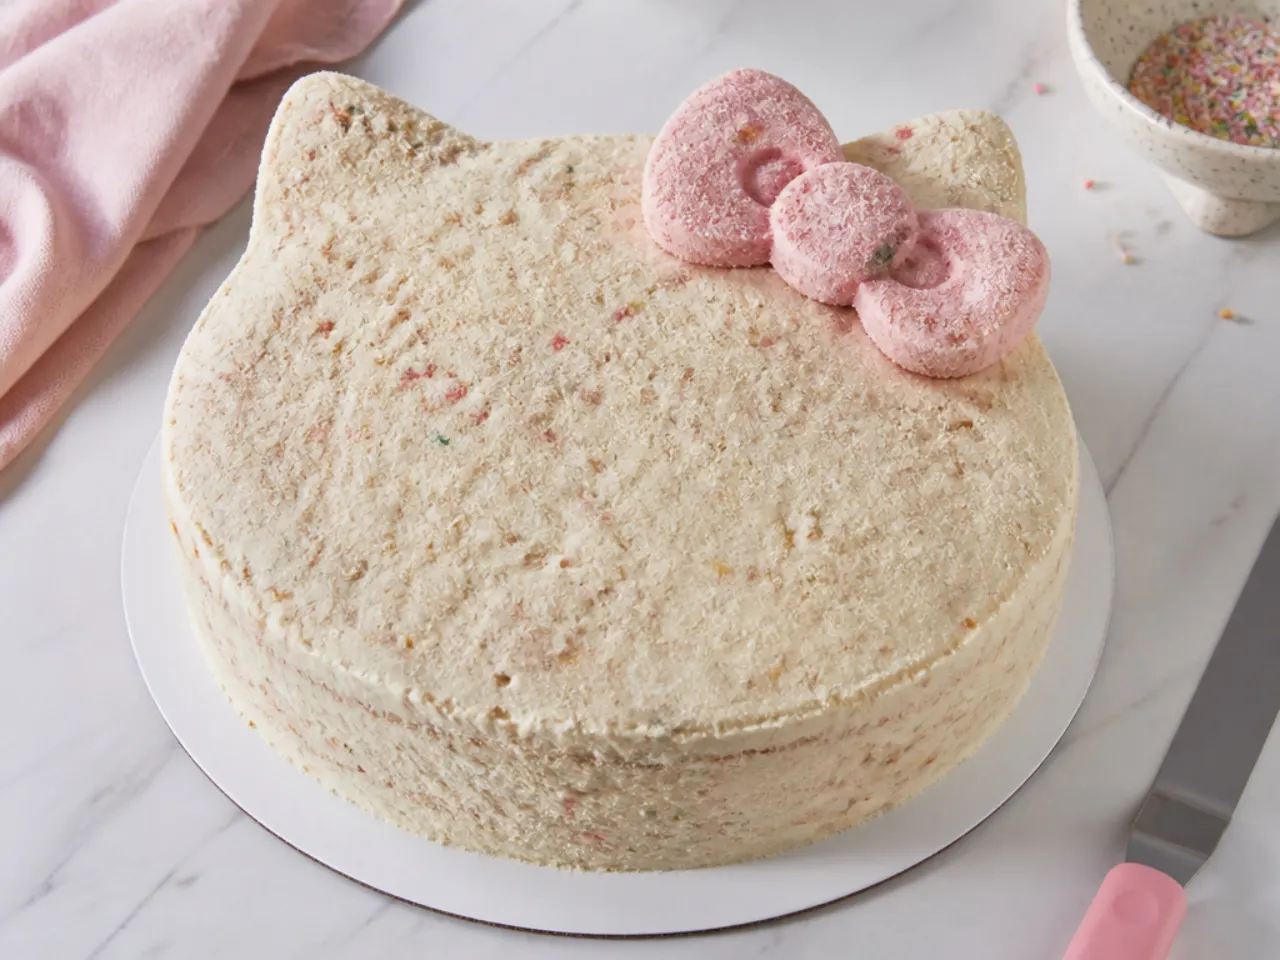
My first pass of white buttercream dragged pink crumbs across the whole cake, and it looked like strawberry ripple instead of the clean white finish I was after. I scraped it back and did it properly the second time: a thin skim coat of buttercream just to glue the crumbs down, then 30 minutes in the fridge until it feels firm to the touch. Once that shell sets, the final coat glides on without lifting a single crumb. Hold a metal bench scraper at a slight angle against the side while you rotate the turntable, then dip a palette knife in hot water, wipe it dry and do one last smoothing pass. Those two chills added an hour to my day and improved the cake more than anything else I did.
Lesson 3: Make the Fondant Bow Two Days Early
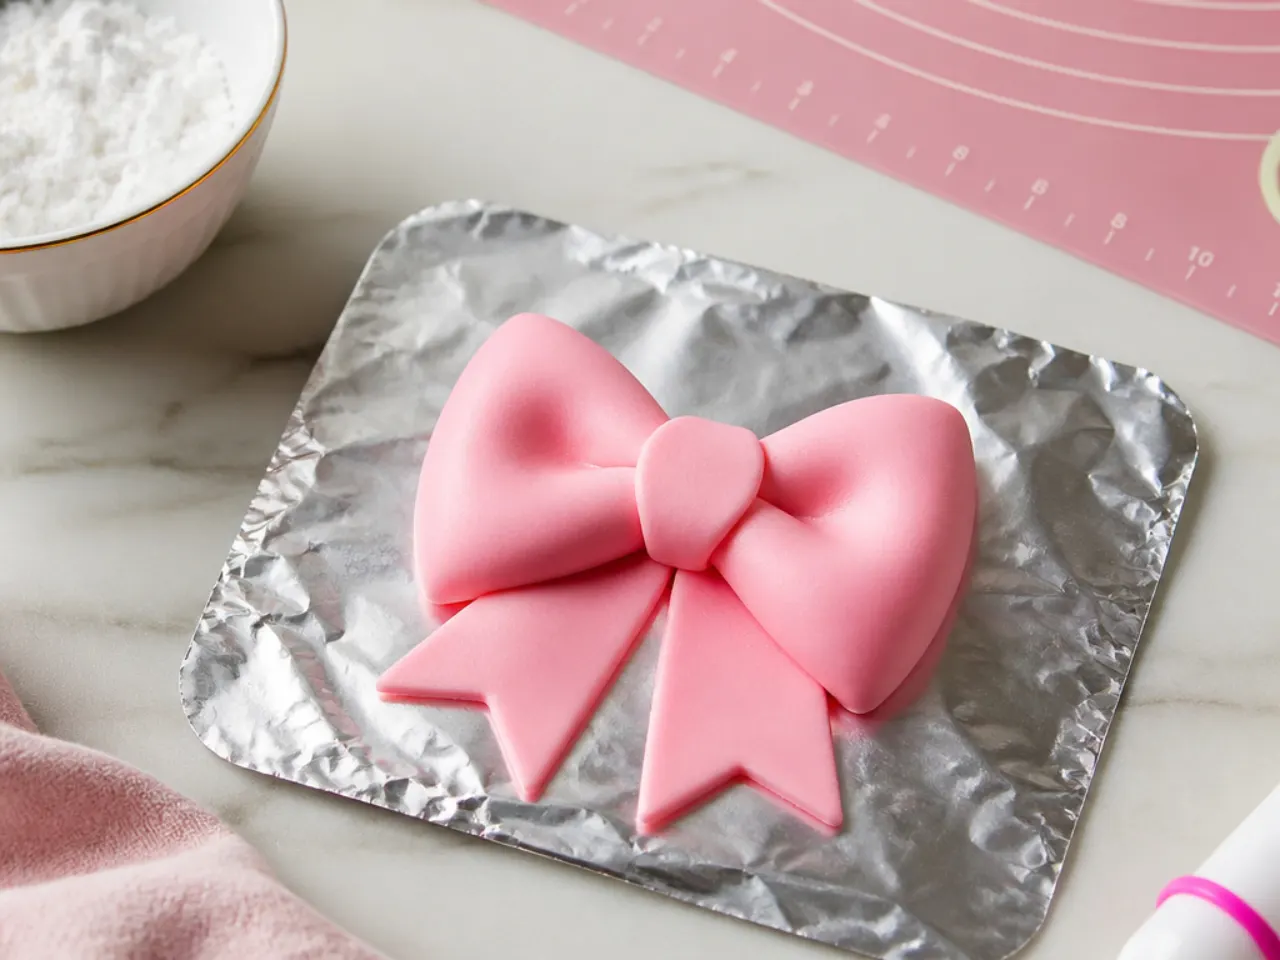
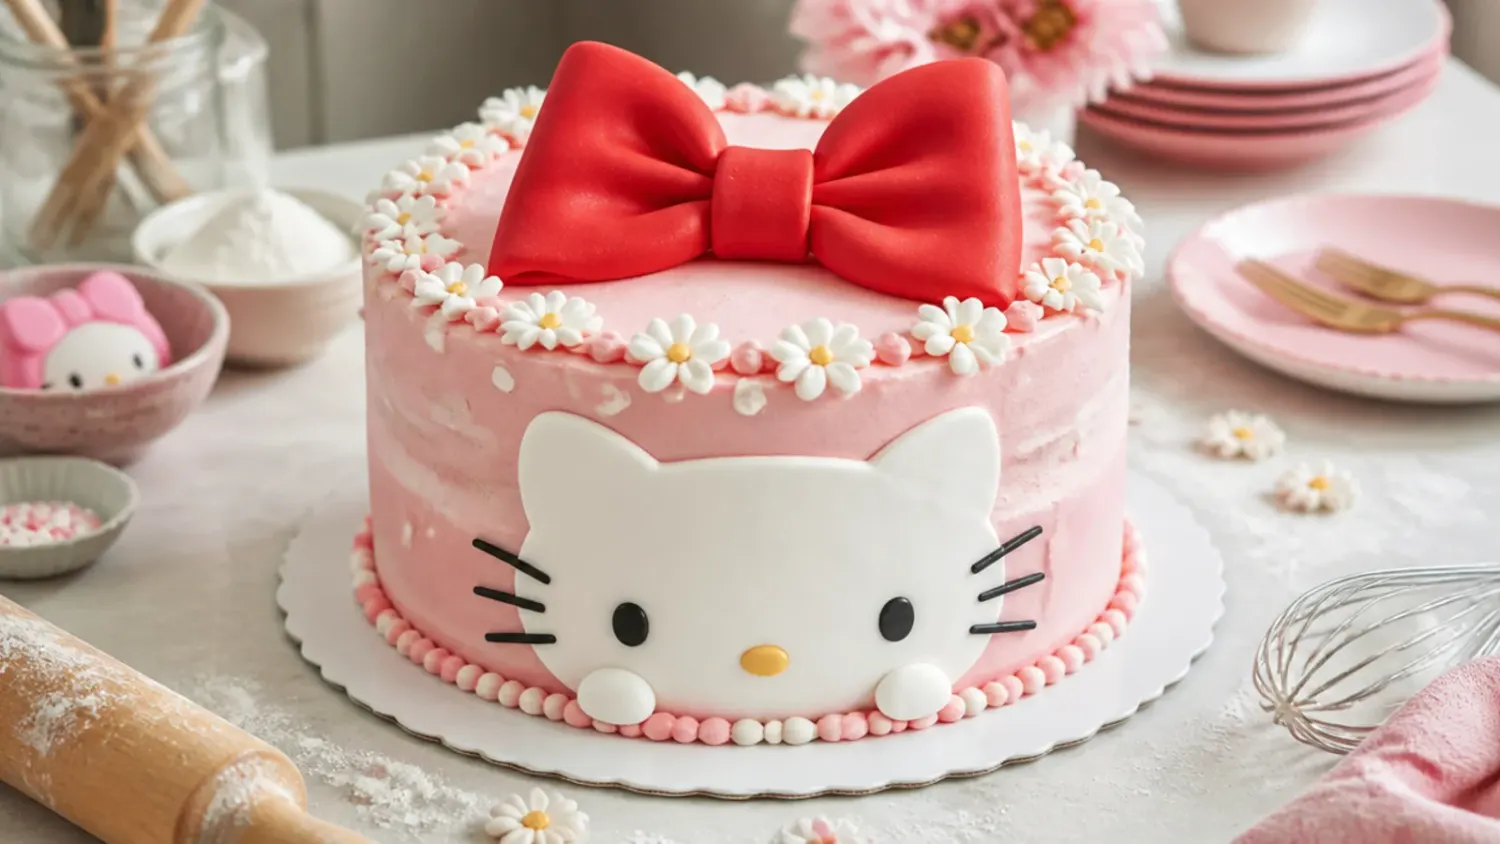
I made the pink bow on the morning of the party, and by teatime both loops had slumped flat over the edge of the cake. Fondant needs drying time: knead a quarter teaspoon of tylose (CMC) powder into about 100 g of pink fondant, or use gum paste, and it will set firm enough to hold its shape. Shape two loops and a centre band over sausages of scrunched foil so they dry with air space inside, and leave them for 48 hours at room temperature — never in the fridge, where moisture keeps fondant soft forever. On the day, the dried bow lifts off in one piece and sticks to the cake with a dab of stiff buttercream. It is a five-minute job if you just do it early.
Lesson 4: Use Gel Colour, Not Liquid from the Baking Aisle
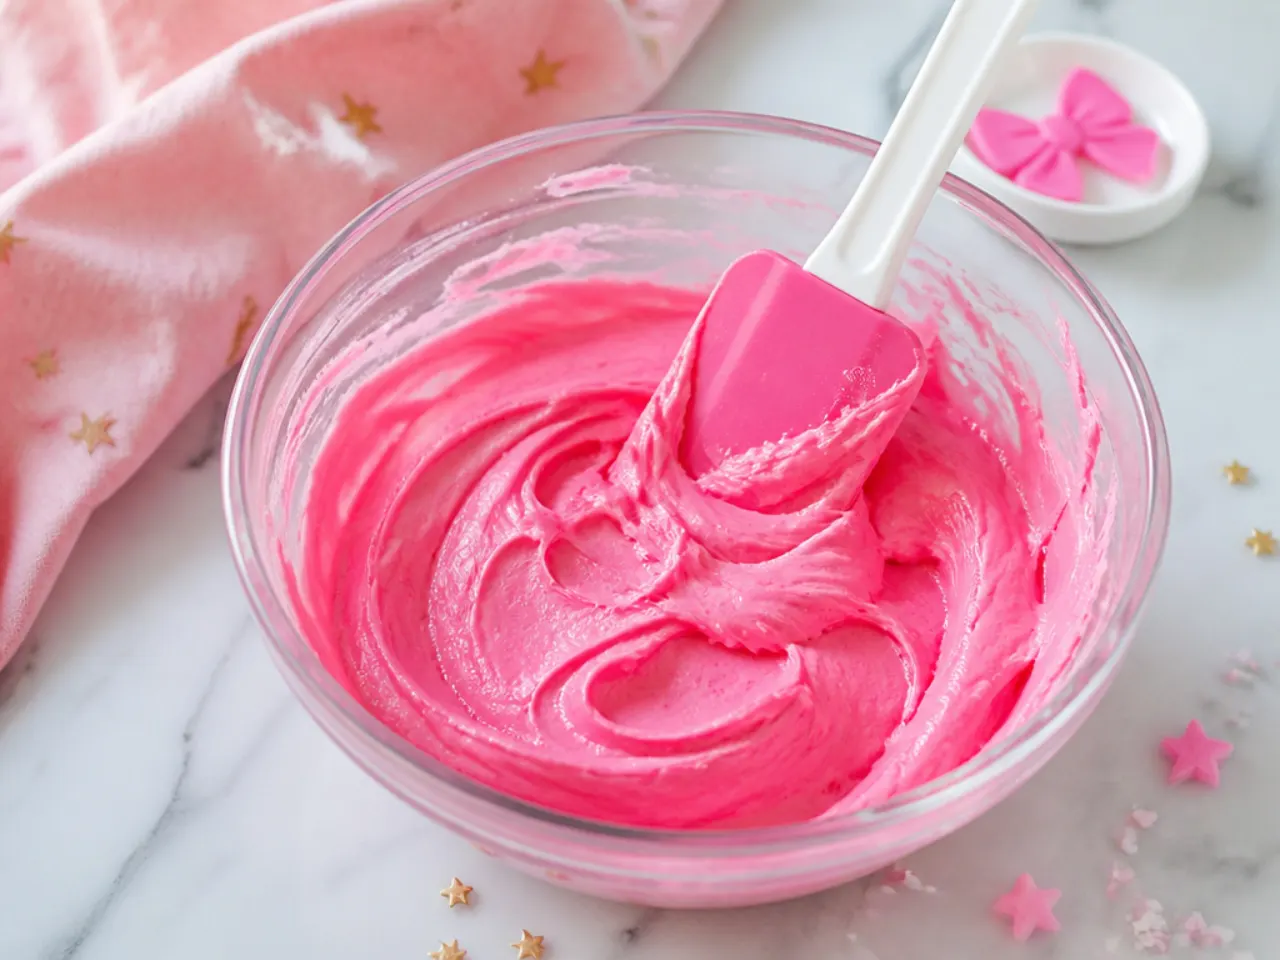
I tipped nearly two teaspoons of supermarket liquid colouring into my buttercream and got a soupy, greyish baby pink that would not hold a piped shape. Gel and paste colours (Wilton Rose and Sugarflair Pink are the two I use now) are far more concentrated, so you add them a toothpick-dip at a time without loosening the buttercream. Mix the colour in 30 to 60 minutes before you pipe, because pink deepens noticeably as it sits — my 'too pale' batch was exactly right an hour later. If your buttercream does go loose, beat in an extra 2 to 3 tablespoons of sifted icing sugar, or chill it for 10 minutes and re-whip. One small pot of gel colour did the border, the filling and the bow with plenty left over.
Lesson 5: Bows, Dots and Ears Beat Copying the Face
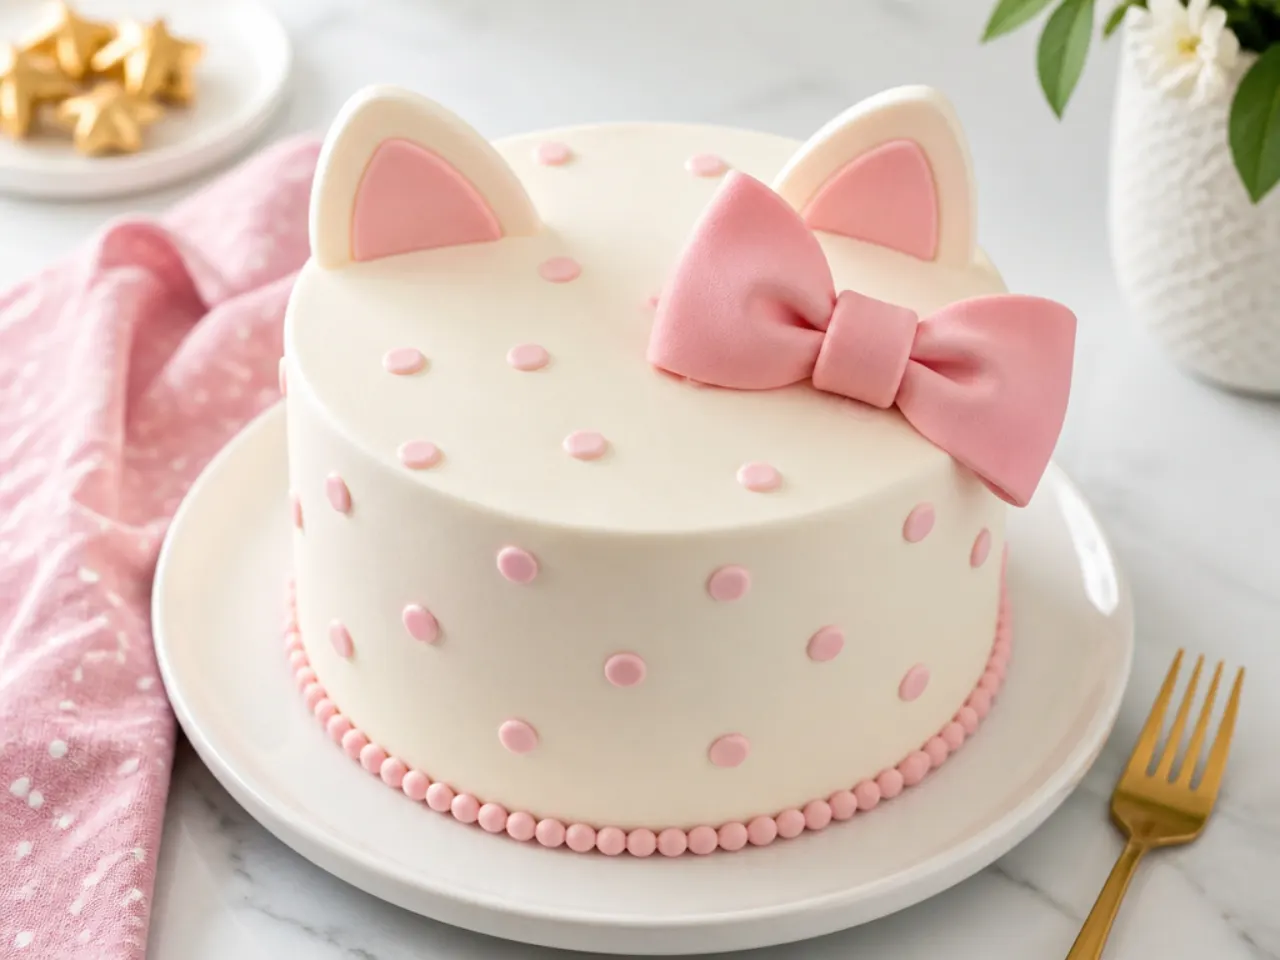
My biggest mistake was trying to pipe the character's actual face on top — the thin black lines wobbled, the eyes came out different sizes, and I scraped it off twice before admitting defeat. Long straight lines are genuinely the hardest thing for a home baker to pipe, and Hello Kitty's face is Sanrio's trademarked design anyway, so I stopped trying to copy it. Instead I leaned on the details that say 'Hello Kitty party' at a glance: a big pink fondant bow set off to one side, white polka dots pressed onto the sides, two little ear shapes on top and a strict white-and-pink palette. The inspired version looked deliberate rather than 'nearly right', and my daughter recognised the theme the second she saw it. If you really want the character herself on the cake, a licensed plastic topper or printed edible sheet does a far cleaner job than shaky piping gel.
What I'd Tell a Friend Trying This
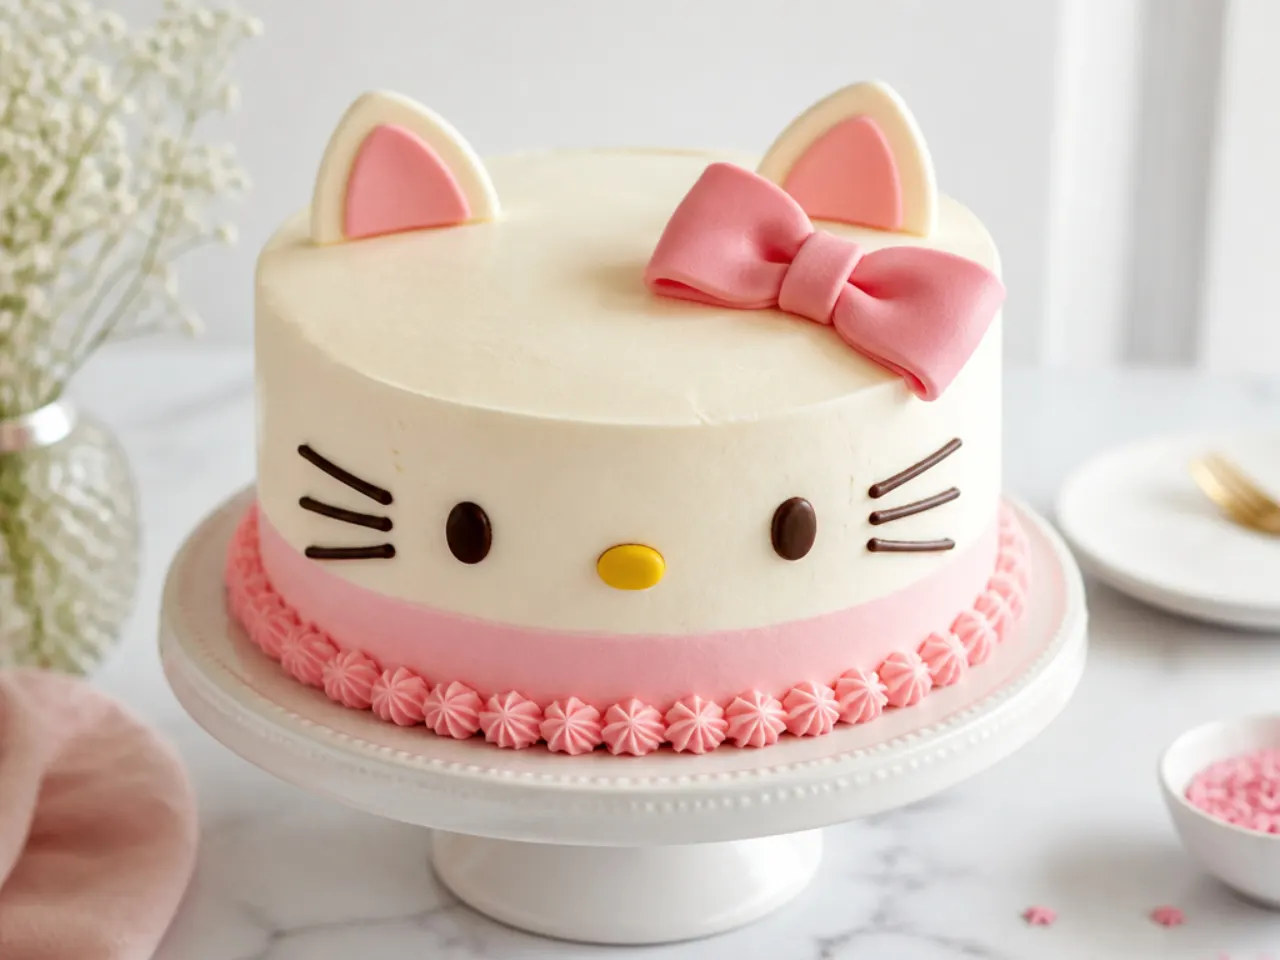
Split the bake over two days and the whole thing stops being stressful: sponges and the fondant bow on day one, then fill, coat and decorate on day two. My homemade Hello Kitty cake cost about £12 in ingredients against the £45 to £60 local bakeries quoted me, so even with the wobbles it was worth doing. Chill the cake at every stage you can — before cutting, after the crumb coat, and for 20 minutes before piping the border — because cold cake forgives clumsy hands. Do not buy a shaped novelty tin for one party; two ordinary 20 cm rounds, a serrated knife and a bit of fondant do the same job. And remember your audience is a table of six-year-olds who mostly care that it is pink and has a bow.
The Recipe
The Recipe I Used
45 min
25 min
2 hr 40 min
12
Intermediate
Ingredients 12 Person(s)
Directions
Step 1: Prep the Tins and Oven
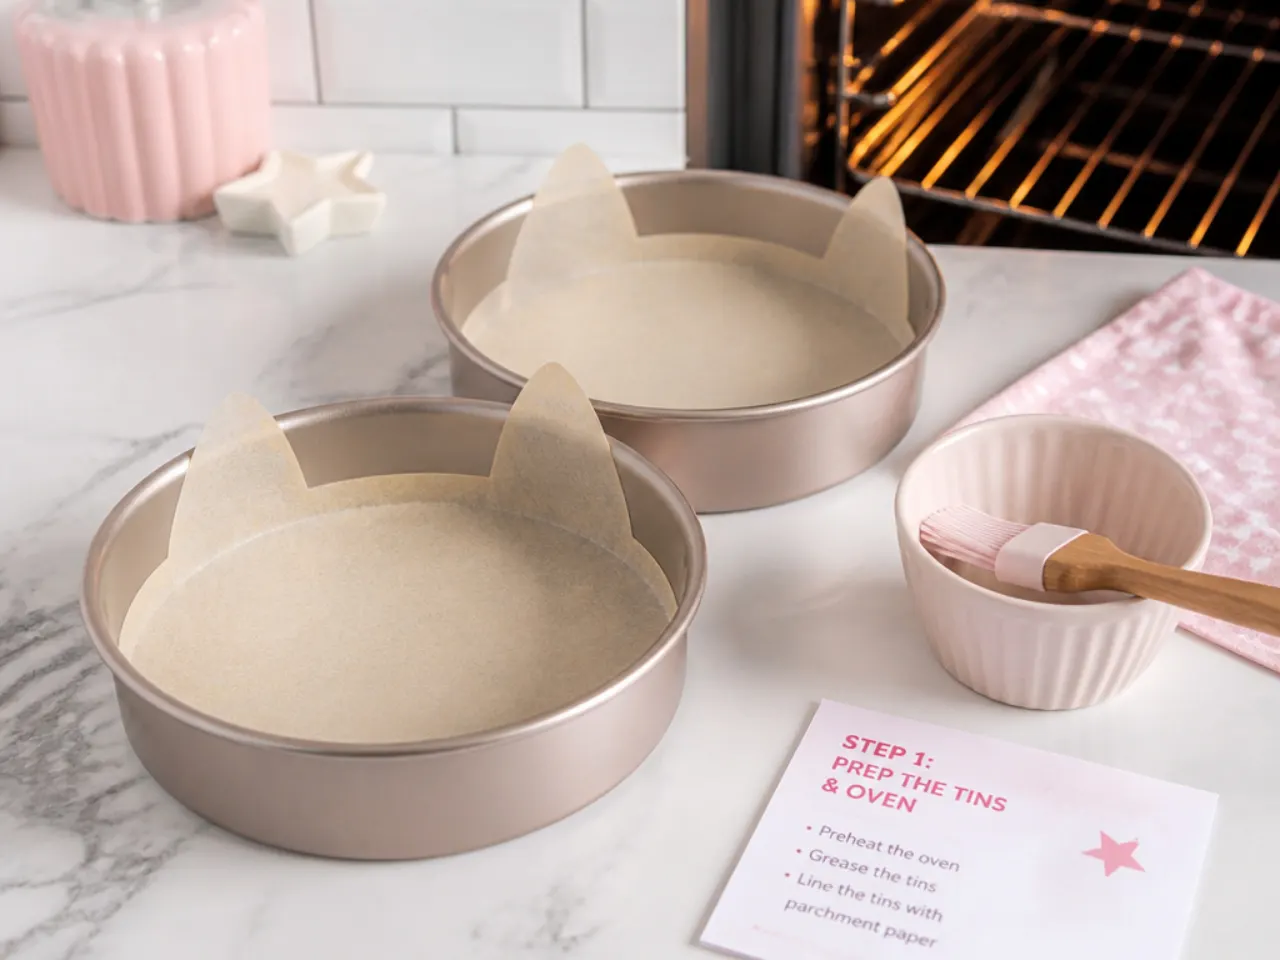
Heat the oven to 180°C/350°F (160°C fan). Grease two 20 cm (8 inch) round sandwich tins and line the bases with baking paper. If you are making the fondant bow, do it now or up to two days ahead: knead the tylose into 100 g of pink fondant, shape two loops and a centre band over scrunched foil, and leave to dry at room temperature.
Step 2: Make the Sponge Batter
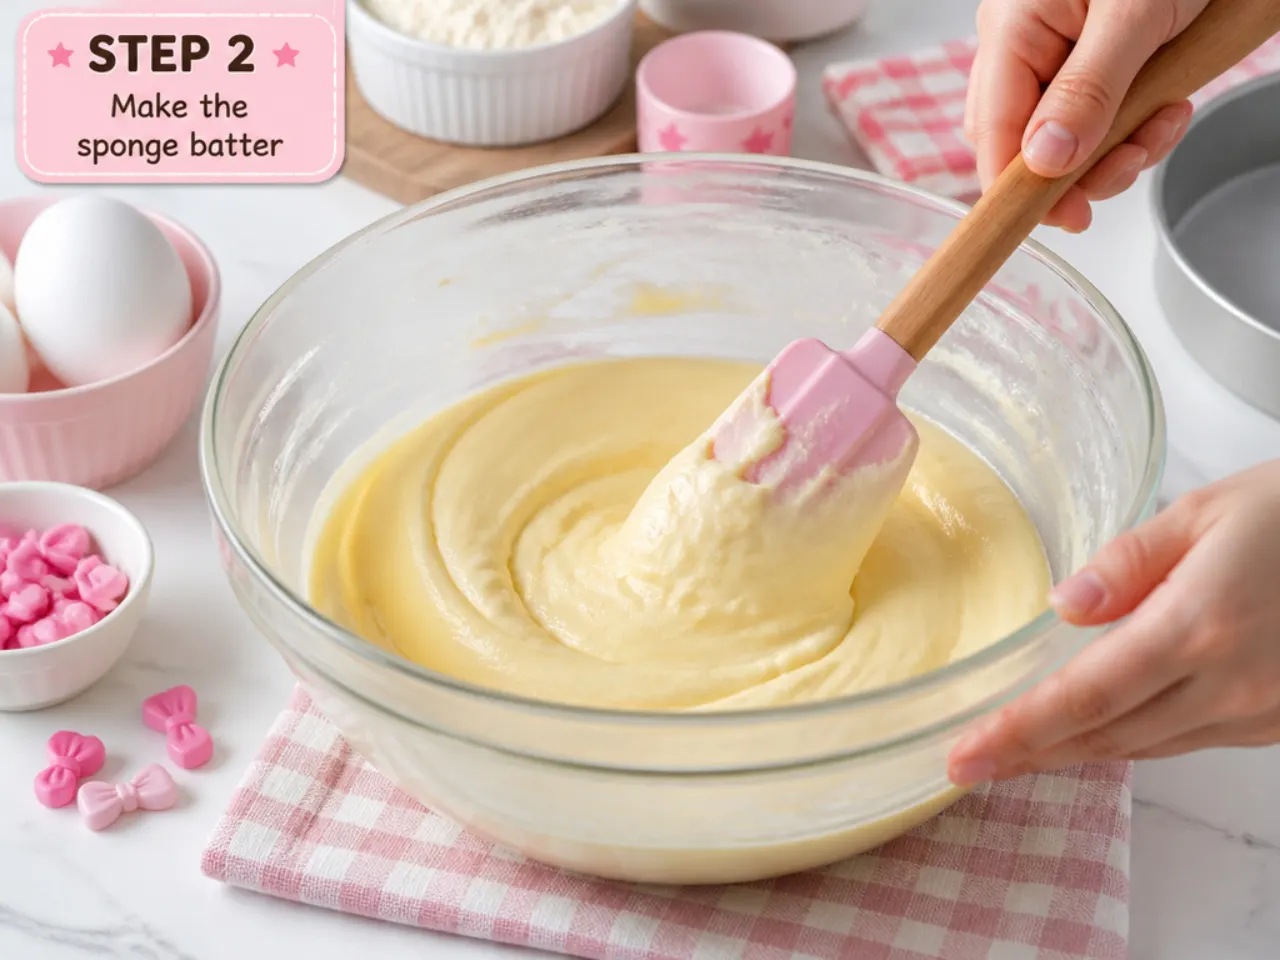
Beat 225 g softened butter and 225 g caster sugar with an electric mixer for 3 to 4 minutes until pale and fluffy. Add the 4 eggs one at a time, beating well after each and adding a tablespoon of the flour with the last egg if the mixture looks curdled. Fold in the sifted self-raising flour and baking powder with a spatula, then stir in 2 tablespoons of milk and 1 teaspoon of vanilla until the batter drops softly off the spoon.
Step 3: Bake and Cool
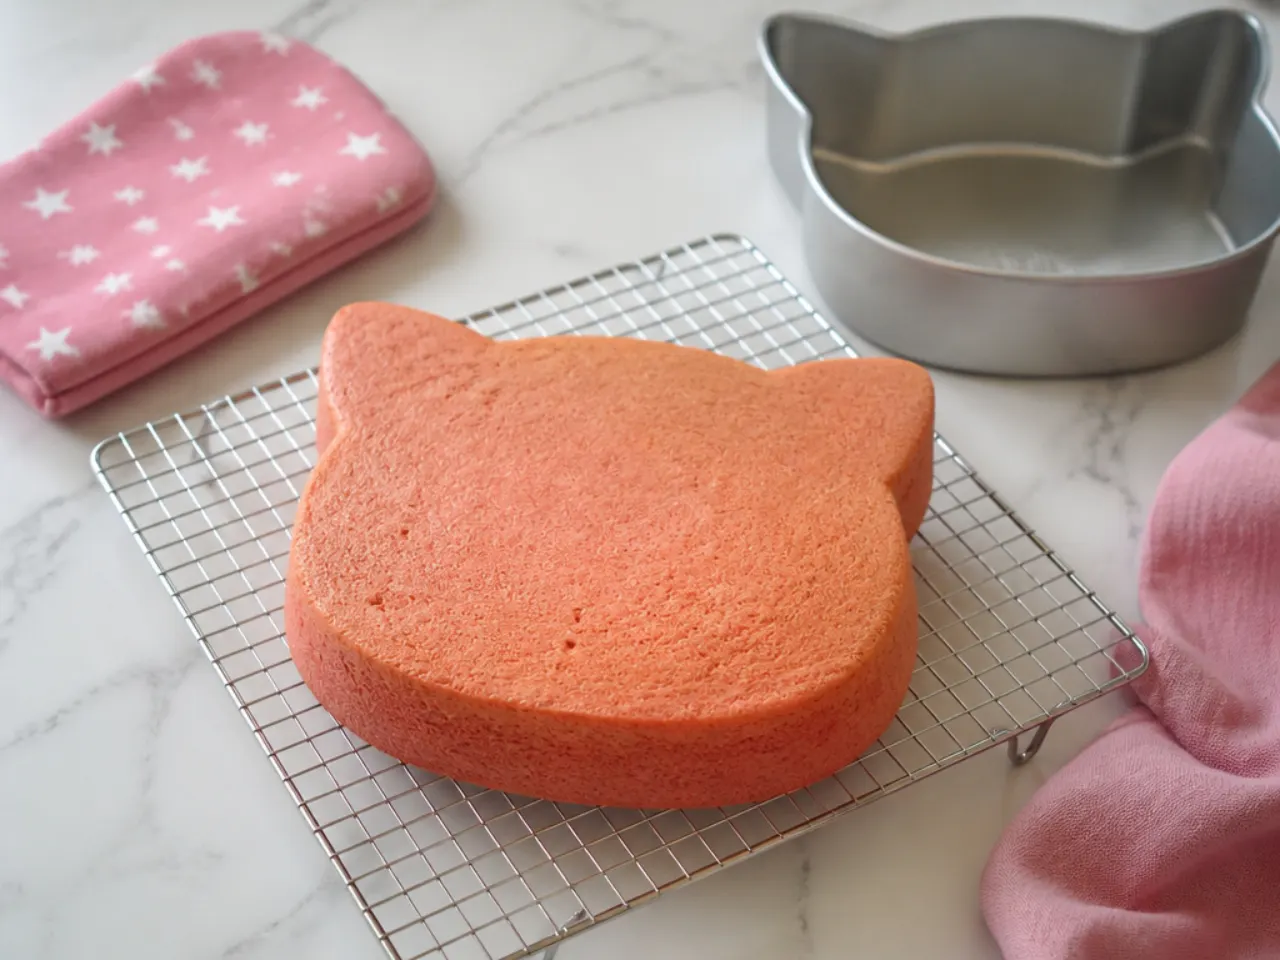
Divide the batter evenly between the two tins (about 550 g each if you have scales) and level the tops. Bake for 25 to 28 minutes until golden and a skewer pushed into the centre comes out clean. Cool in the tins for 10 minutes, turn out onto a wire rack until completely cold, then wrap each layer in cling film and freeze for 30 minutes so they cut cleanly.
Step 4: Make the Buttercream
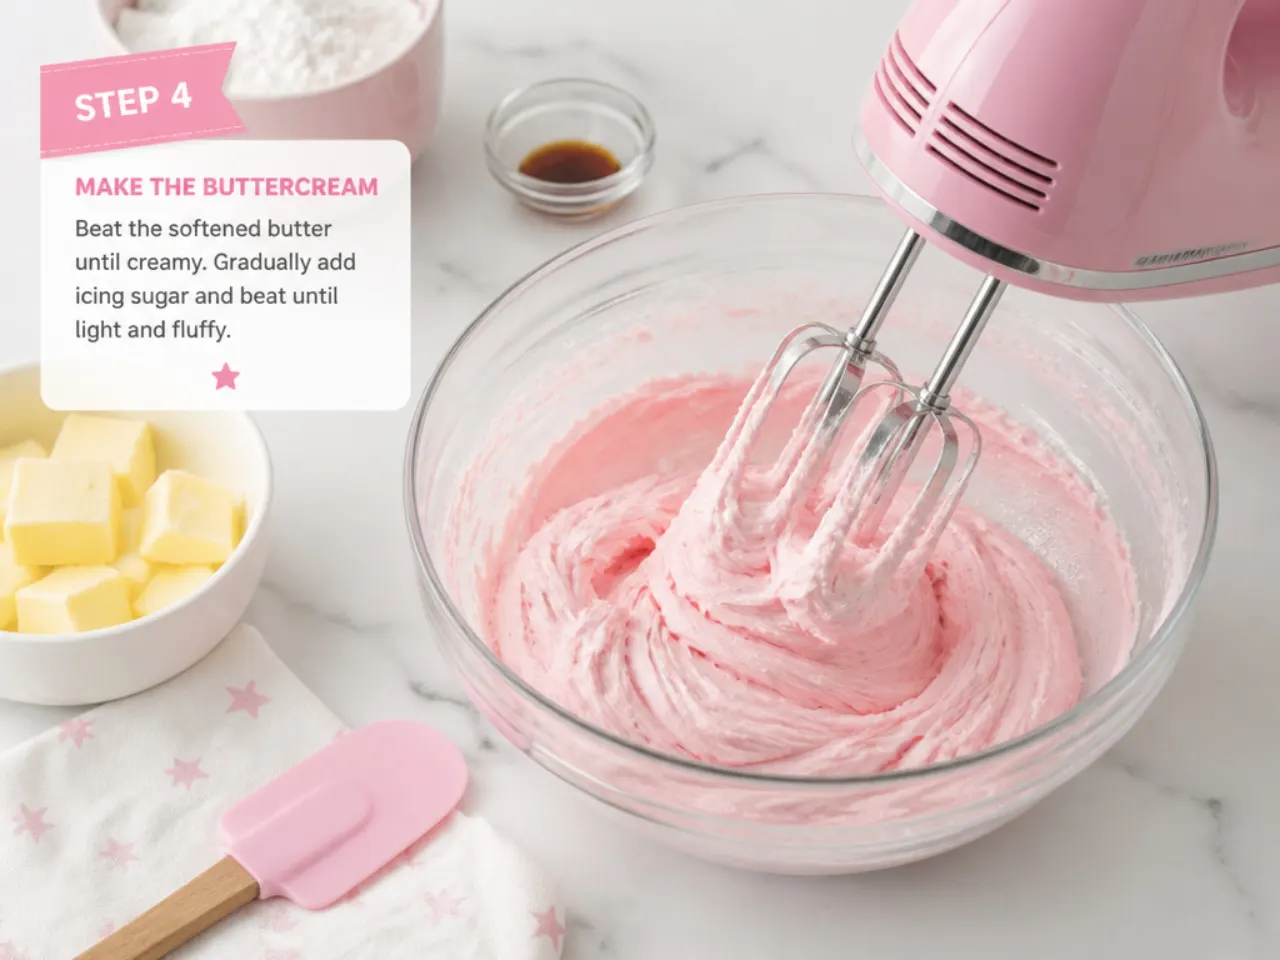
Beat 250 g softened butter on its own for 3 minutes until very pale. Add the 500 g sifted icing sugar in two additions, starting on low so it does not cloud, then beat on medium-high for 3 minutes. Beat in 1 teaspoon of vanilla and 3 tablespoons of milk until light and spreadable. Move a third of it to a separate bowl and tint it pink with gel colour, a toothpick-dip at a time — the shade will deepen as it sits.
Step 5: Shape, Fill and Stack
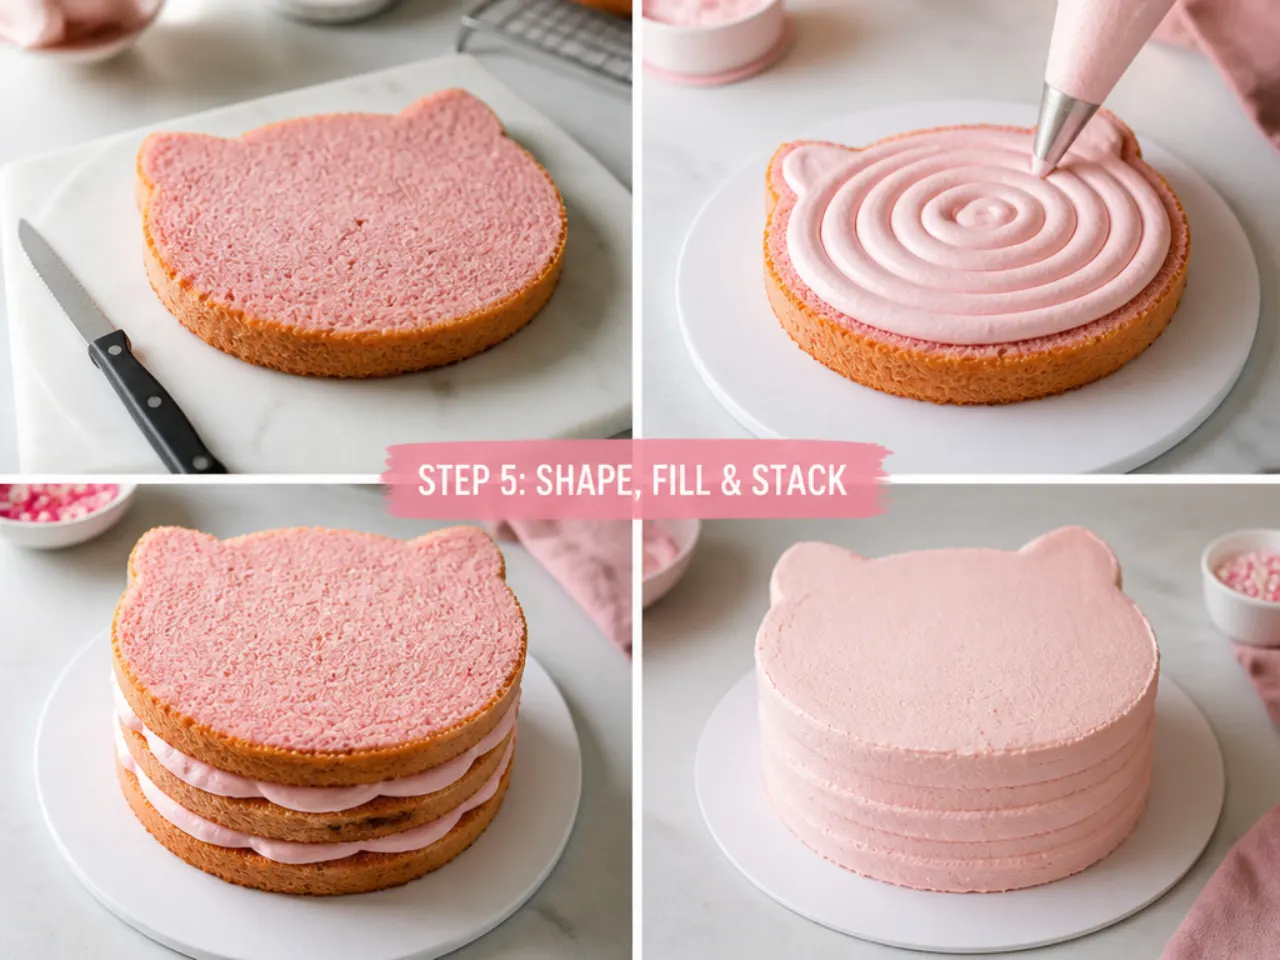
Level the domes off both chilled layers with a serrated knife and keep the trimmings. Cut two rounded-triangle ear shapes, about 6 cm wide at the base, from the thickest trimmings using a baking paper template. Set one layer on your board or turntable, spread it with a thick layer of pink buttercream, top with the second layer upside down for a flat top, then fix the ears to the back top edge with buttercream (push half a cocktail stick through each if they wobble — just remove them before serving).
Step 6: Crumb Coat, Chill and Coat White
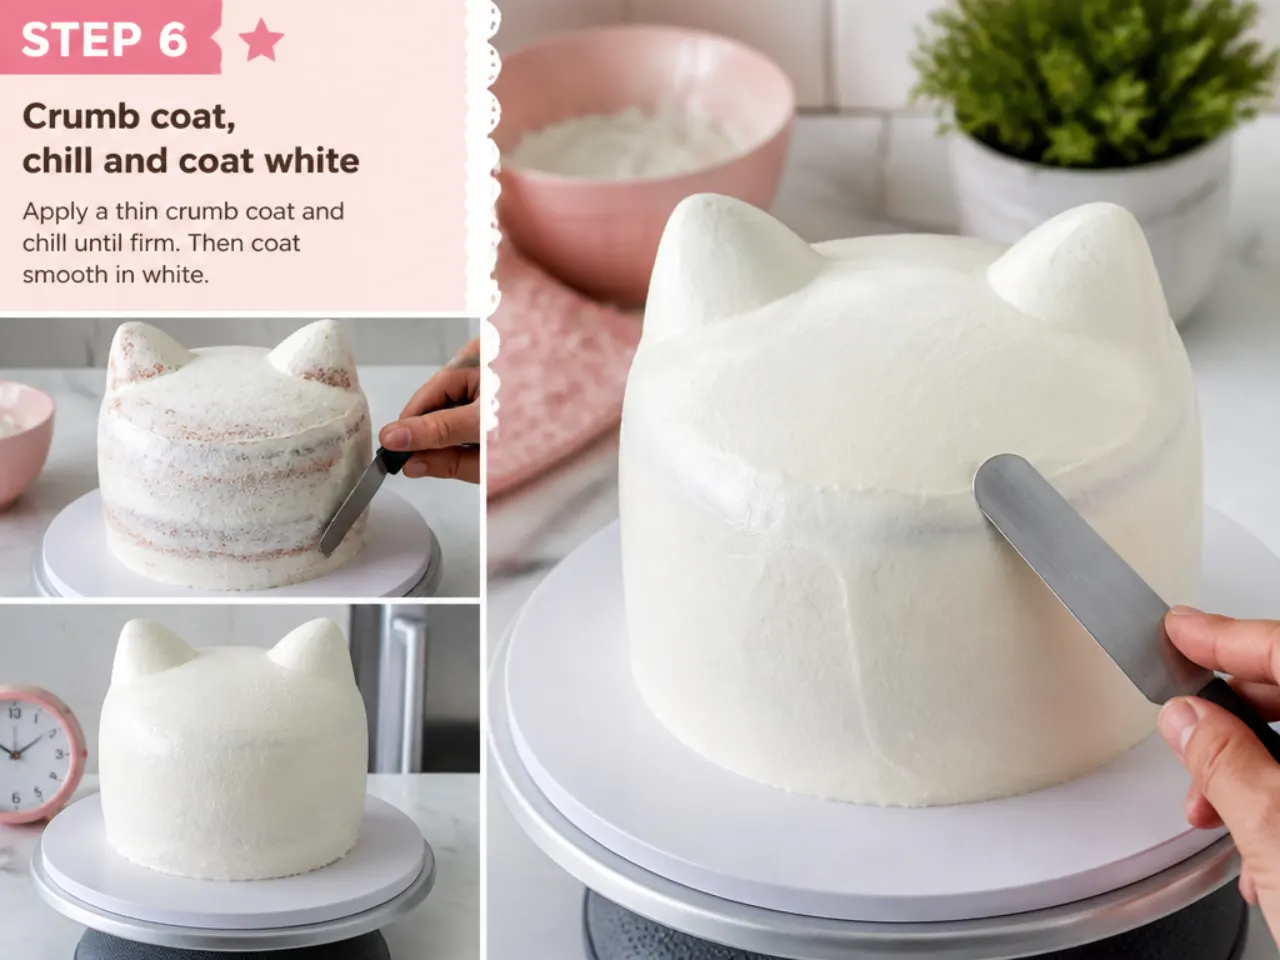
Spread a thin crumb coat of white buttercream over the whole cake, including the ears, and refrigerate for 30 minutes until firm to the touch. Apply the remaining white buttercream in a thicker layer, smoothing the sides with a metal bench scraper while rotating the turntable and finishing the top with a hot, dried palette knife. Chill again for 20 minutes before you pipe anything.
Step 7: Decorate
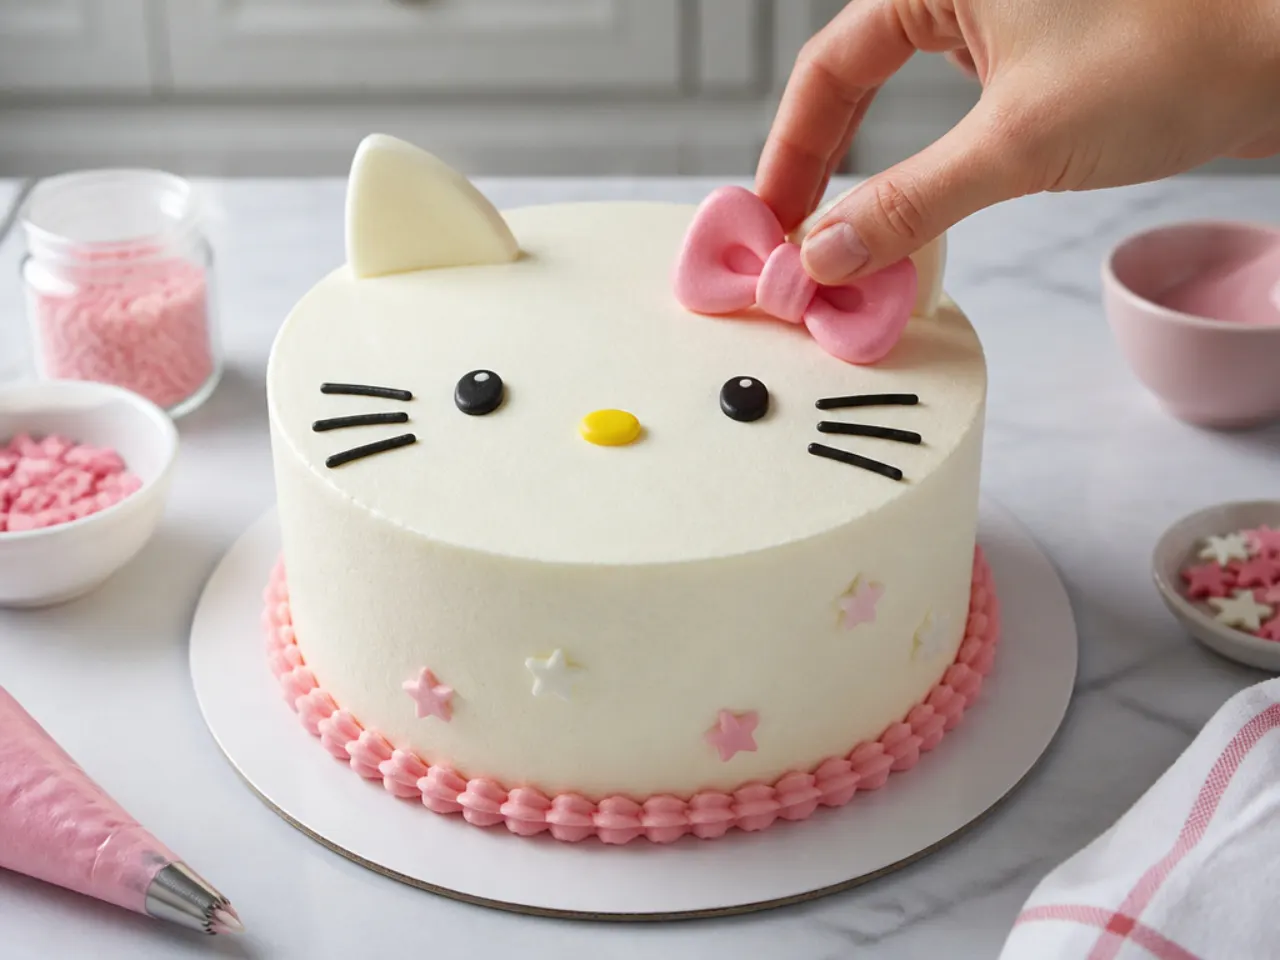
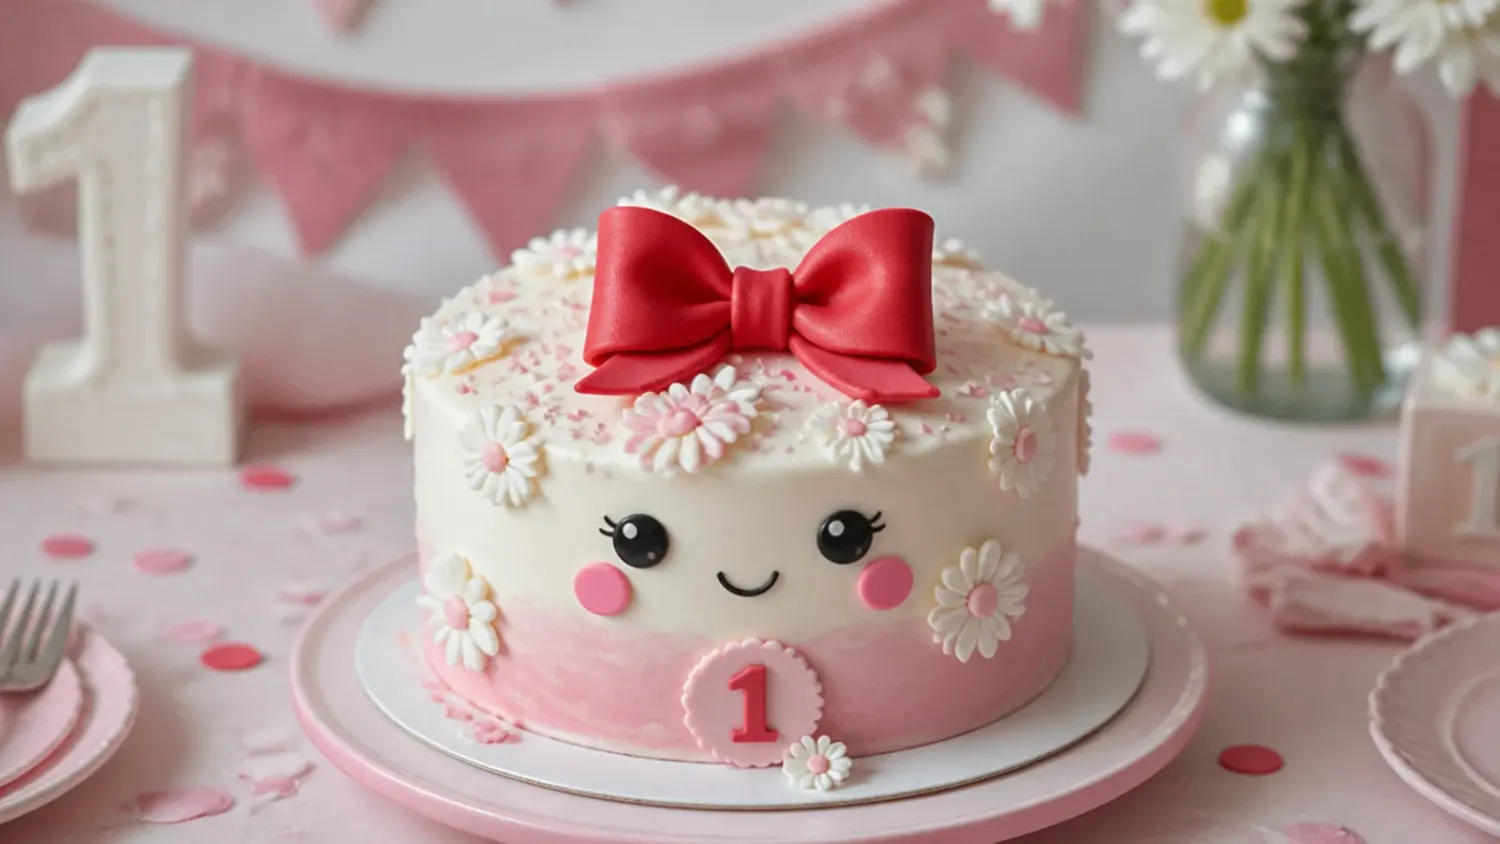
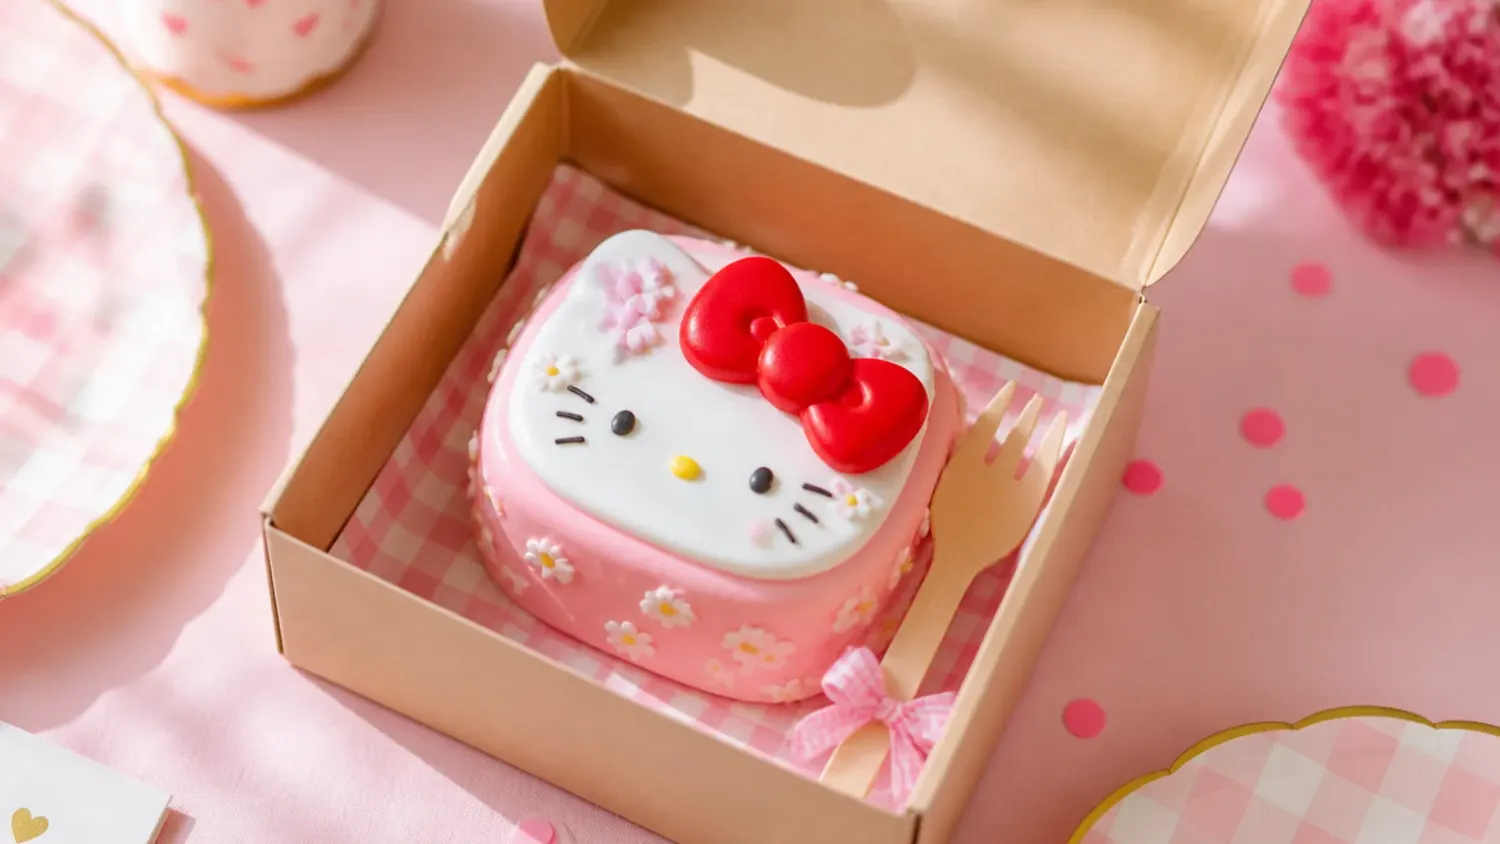
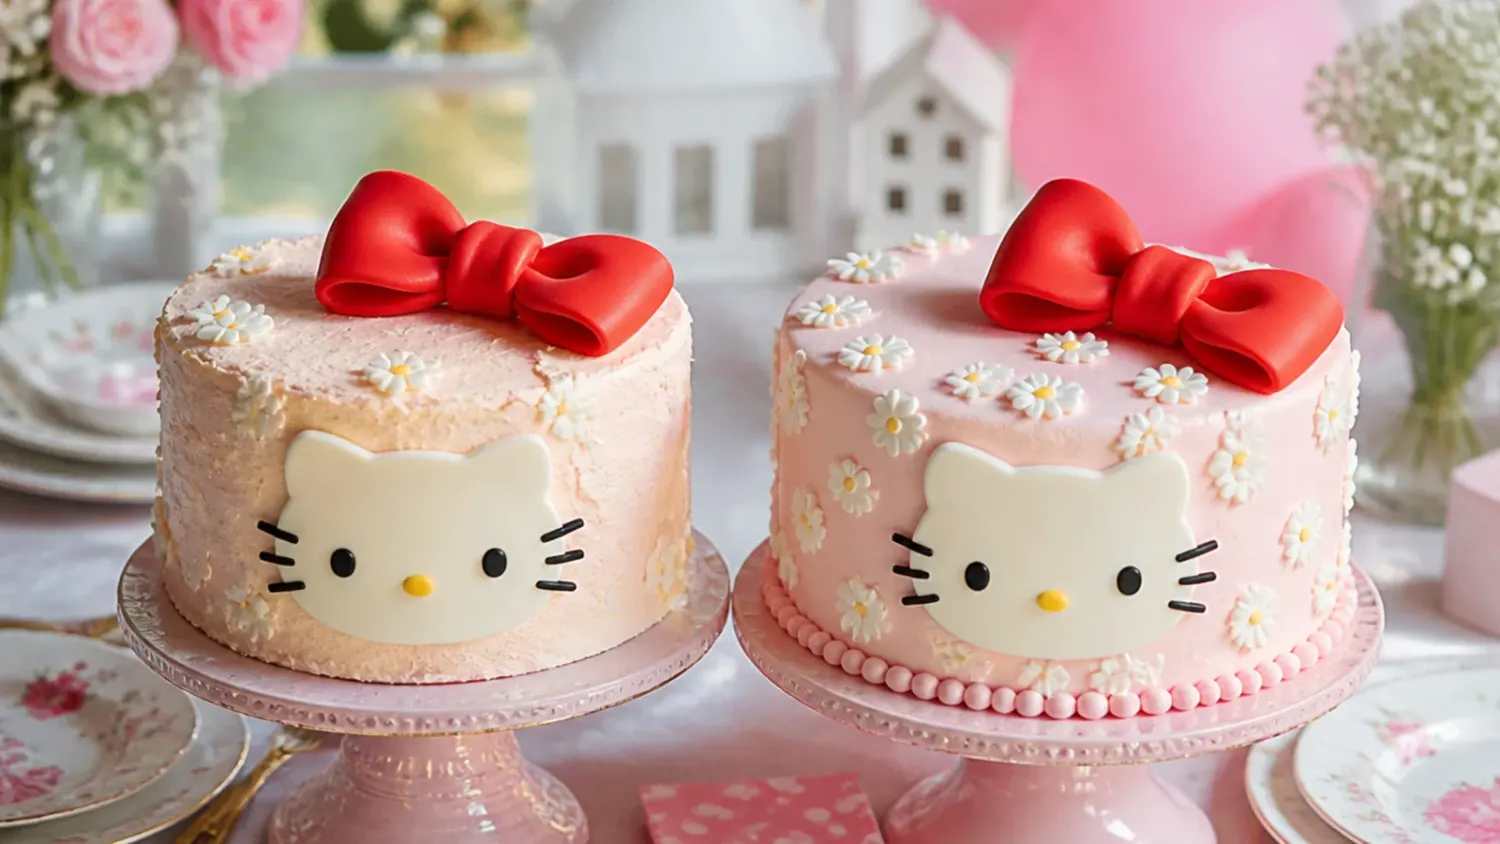
Fit a piping bag with a Wilton 1M (or 21) star tip, fill it with the pink buttercream and pipe a shell border around the base and along the top edge. Press small white fondant polka dots (cut with a 2 cm round cutter or a piping tip) around the sides, then sit the dried pink fondant bow on top, just off-centre beside one ear, fixed with a dab of buttercream. Keep the decoration to the bow, dots, ears and pink-and-white palette for a Hello Kitty inspired look — it reads instantly as the theme without copying the character.
Frequently Asked Questions
No. Two ordinary 20 cm (8 inch) round tins work fine — the ears are cut from the levelled-off trimmings. If you want a head-shaped cake instead, bake a 23x33 cm (9x13 inch) sheet, freeze it for 30 minutes, lay a paper template on top and cut around it with a serrated knife. A novelty tin costs £15 to £25 and usually gets used once.
Save this for later 📌
Pin this article to your Pinterest board so the full list is one tap away when you need it.
Save on Pinterest