20 Cute Kuromi Cake Topper Ideas
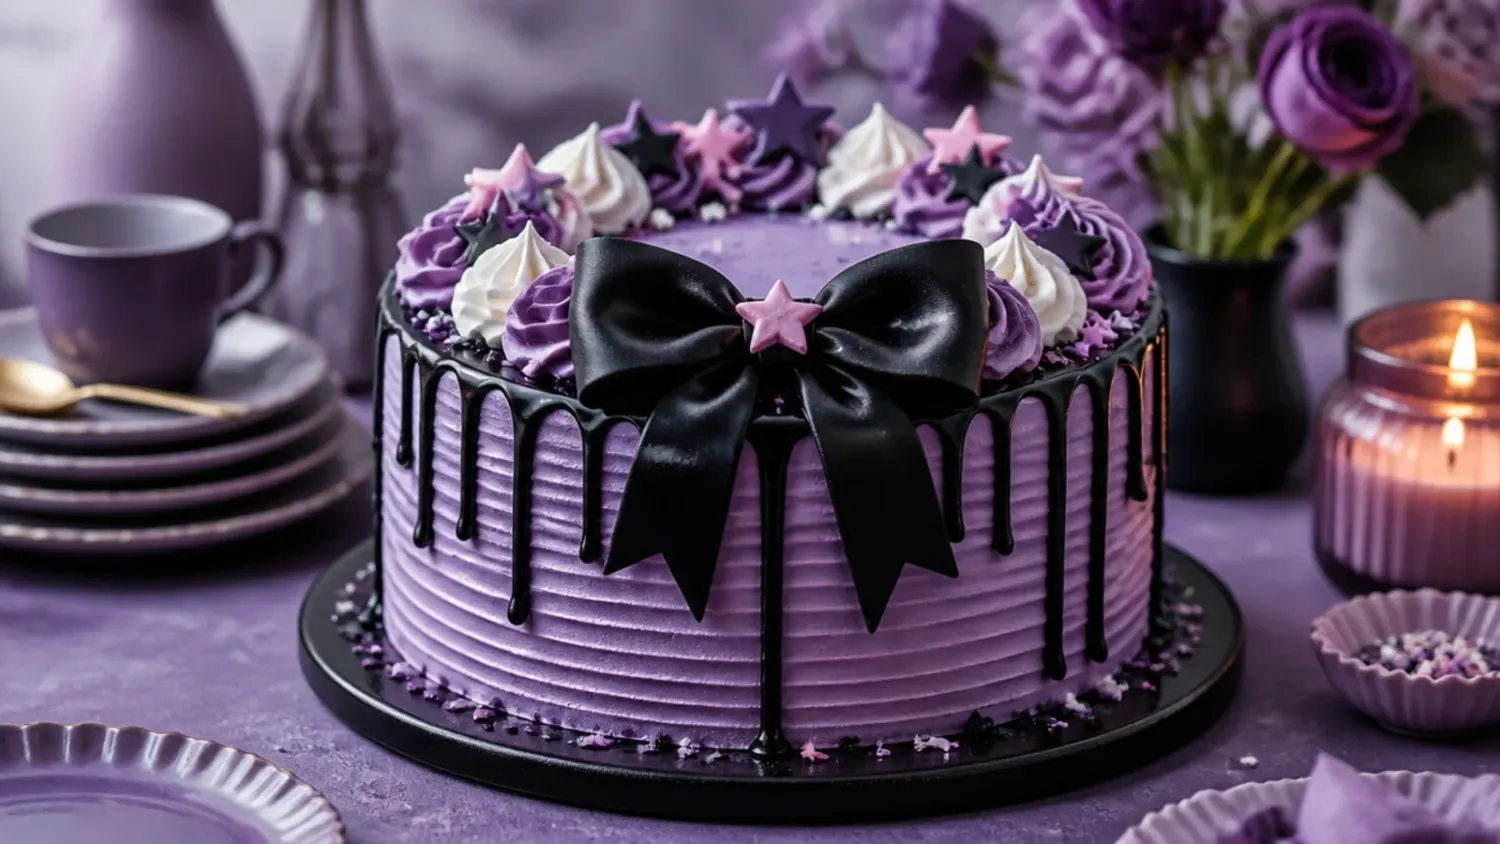
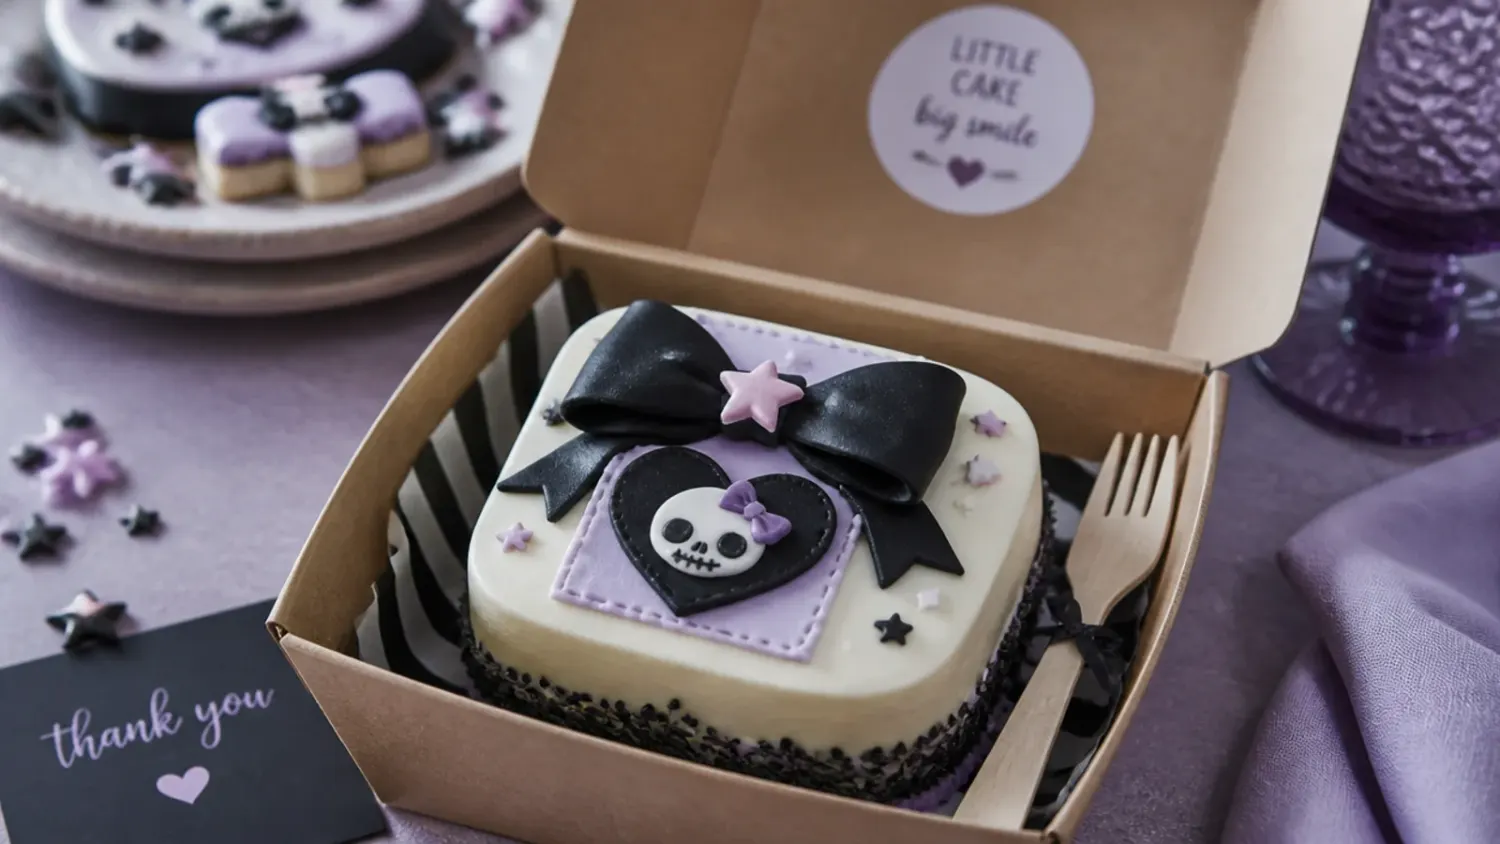
20 cute Kuromi cake topper ideas, from easy printable picks to fondant bows and meringue clouds, plus a tested chocolate base cake and pro tips. If you love kuromi cake inspiration, start with our Kuromi Cake Ideas collection, then browse the full Cake Ideas hub for more.
Save this for later 📌
Pin this article to your Pinterest board so the full list is one tap away when you need it.
Save on PinterestCake Ideas
Beginner
Ideas
20 ideas
Table of Contents
- 1. Classic Black Fondant Bow and Ears Topper
- 2. Easy Printable Topper on Food-Safe Sticks
- 3. Elegant Purple Chocolate Sail Topper
- 4. Playful Heart and Star Pick Cluster
- 5. Modern Glitter Name Topper
- 6. Rustic Chocolate Bark Crown
- 7. Colourful Swirled Meringue Cloud Toppers
- 8. Minimal Oversized Single Bow
- 9. Festive Mini Bunting Banner
- 10. Whimsical Devil-Tail Swirl Topper
- 11. Bold Candy Shard Topper
- 12. Delicate Wafer Paper Stars and Butterflies
- 13. Vintage Royal Icing Transfer Topper
- 14. Creative Cookie Topper on a Stick
- 15. Charming Official Figurine Topper
- 16. Classic Silhouette Number Topper
- 17. Easy Edible Icing Sheet Topper
- 18. Elegant Bow and Pearl Cupcake Toppers
- 19. Playful Mini Balloon Cluster Topper
- 20. Modern Checkerboard Heart Topper
- Tips to Make These Ideas Easier
- Common Mistakes to Avoid
- The Base Recipe — Make Any of These Ideas
1. Classic Black Fondant Bow and Ears Topper
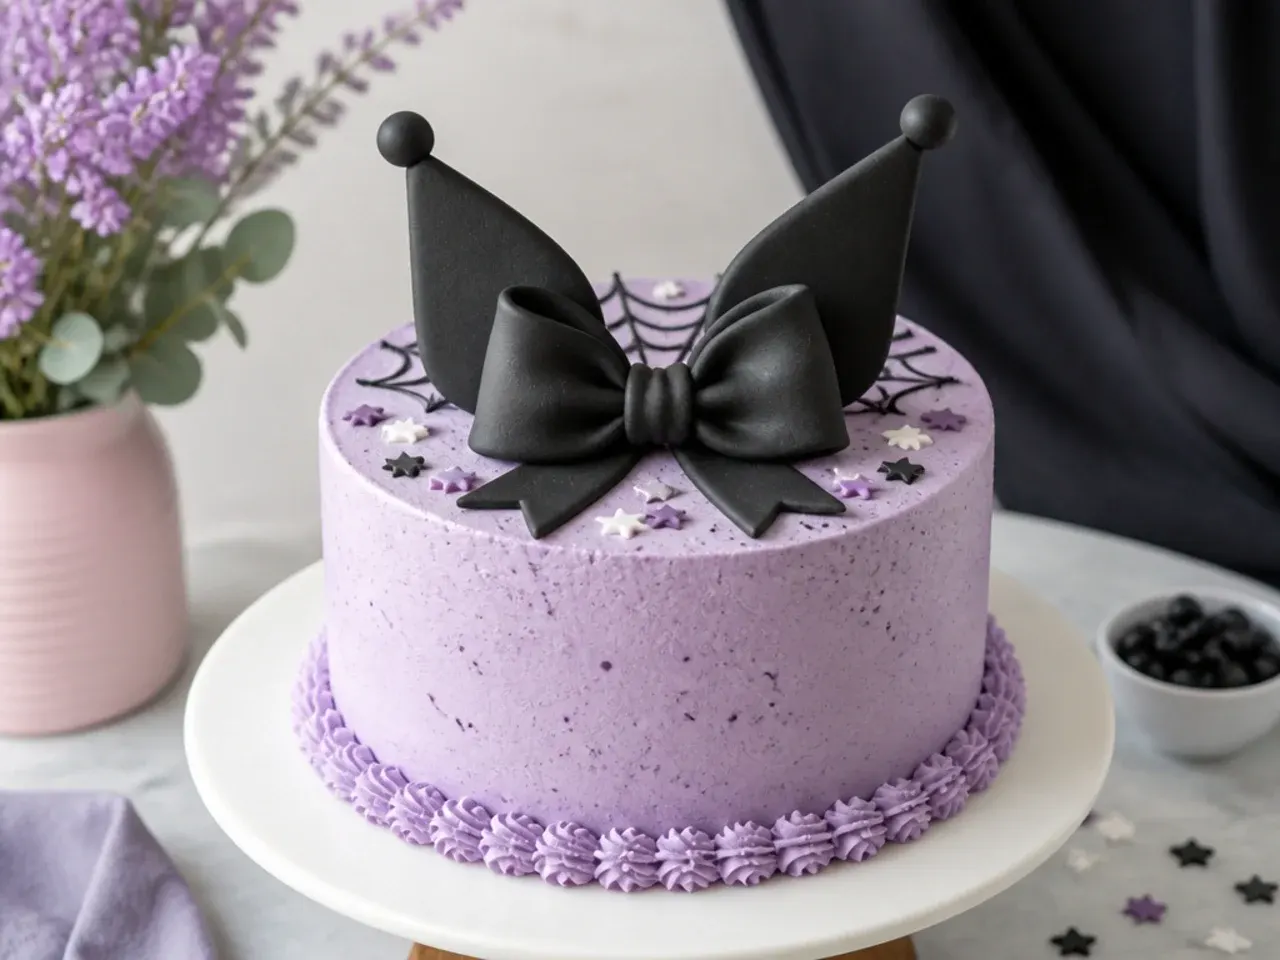
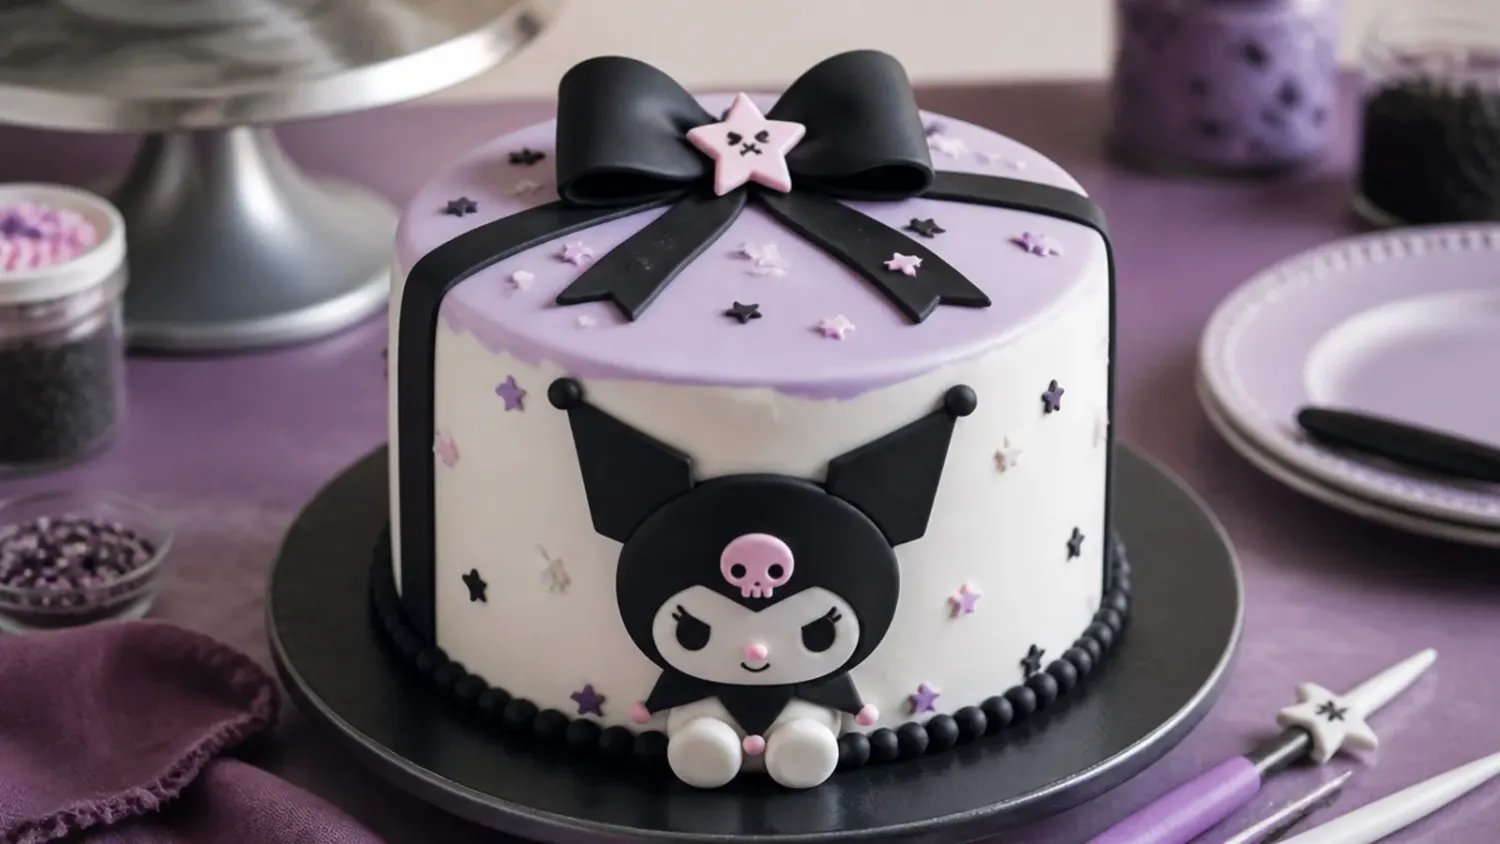
This is the topper most bakers start with: two tall, pointed ear shapes and a chunky bow in black fondant with baby pink accents. Knead 1/4 tsp of tylose powder into every 100 g of black fondant, roll it to 5 mm thick, and cut two 8 cm pointed ear shapes plus three 15 x 4 cm strips for the bow loops and centre wrap. Press a cocktail stick 3 cm into the base of each piece while the fondant is still soft so you have something to anchor into the cake later. Dry everything flat on cornflour-dusted parchment for 48 hours, flipping once at the 24-hour mark so both sides harden. Finish with a few white fondant polka dots or a small pink heart for that Kuromi-inspired black-and-pink look without any drawing skill.
2. Easy Printable Topper on Food-Safe Sticks
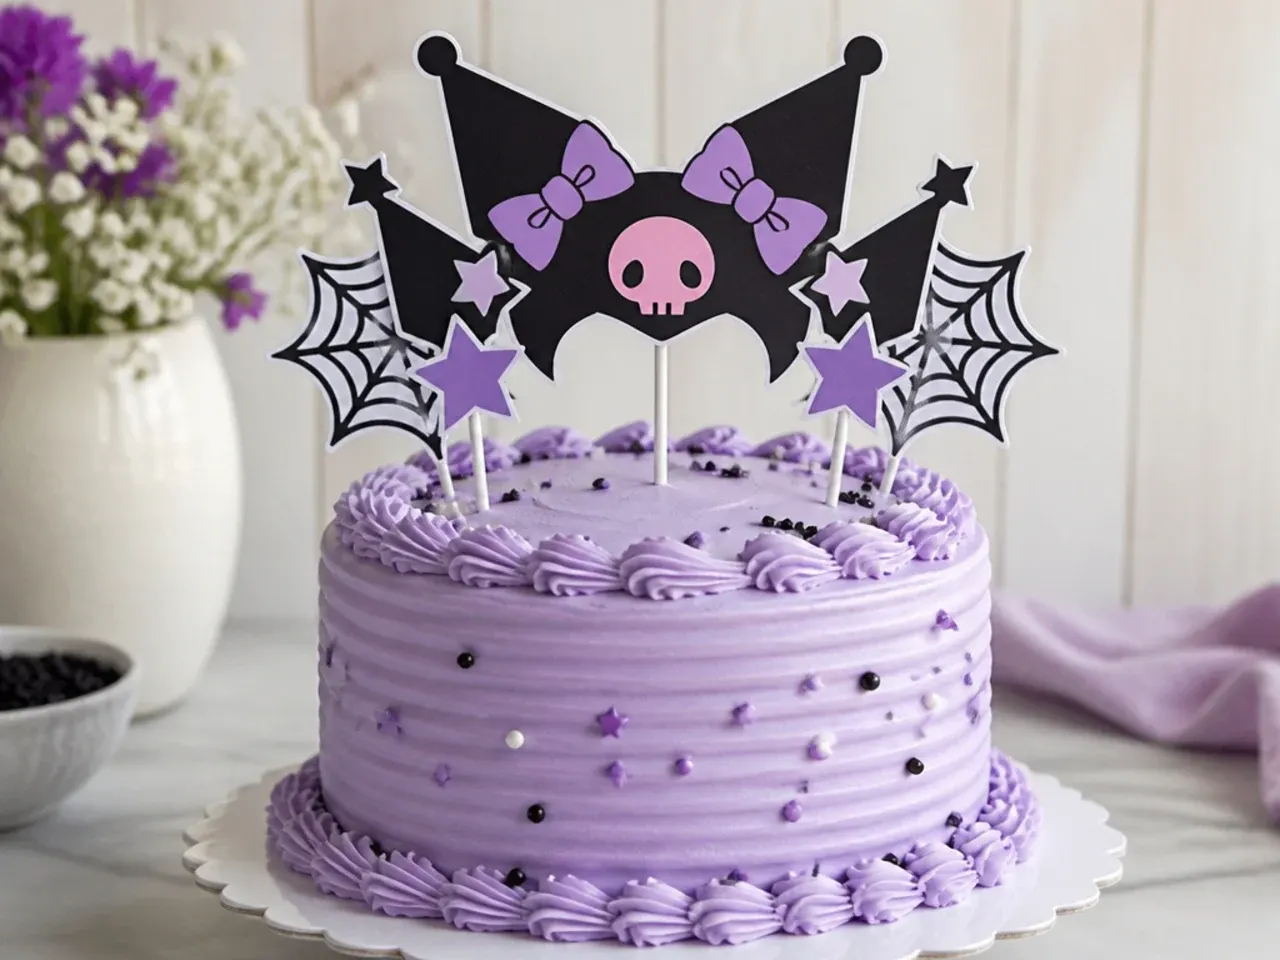
If the party is tomorrow, a printable topper takes 10 minutes and costs a couple of pounds. Buy a licensed Kuromi printable download (Etsy instant downloads run about £2-4), print it onto 250 gsm cardstock, and cut it out with sharp scissors, leaving a 2 mm white border so small details do not get lost. Glue a second layer of plain cardstock behind it for stiffness, then tape the design to FDA food-safe paper lollipop sticks. Printed cardstock is not edible, so wrap the section of stick that enters the cake in cling film and keep the paper itself clear of the buttercream. Insert the sticks just before serving so grease never has time to wick up into the paper.
3. Elegant Purple Chocolate Sail Topper
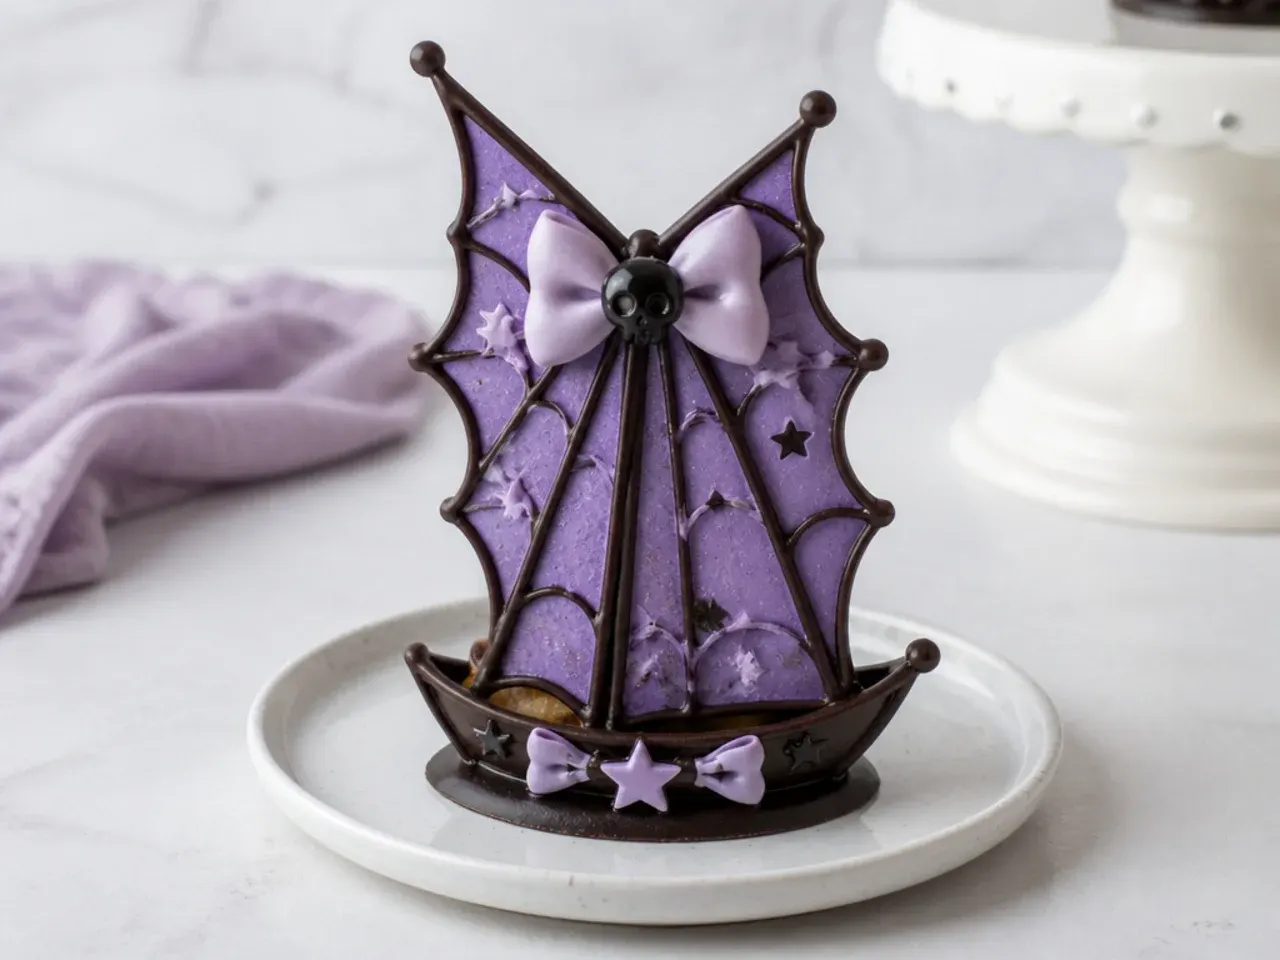
Chocolate sails give a bakery-window finish and need no special cutters. Melt 150 g of white candy melts or white chocolate in 30-second microwave bursts, then tint with an oil-based violet colour — regular water-based gel will seize chocolate on contact. Spread the chocolate 2-3 mm thick over a sheet of acetate or parchment draped across a rolling pin so it sets in a gentle curve, about 20 minutes at room temperature or 10 in the fridge. Snap the sheet into large organic sails 8-12 cm across and brush the edges with lilac or pearl lustre dust. Stand two or three sails upright in the buttercream at the back of the cake, overlapping slightly for height.
4. Playful Heart and Star Pick Cluster
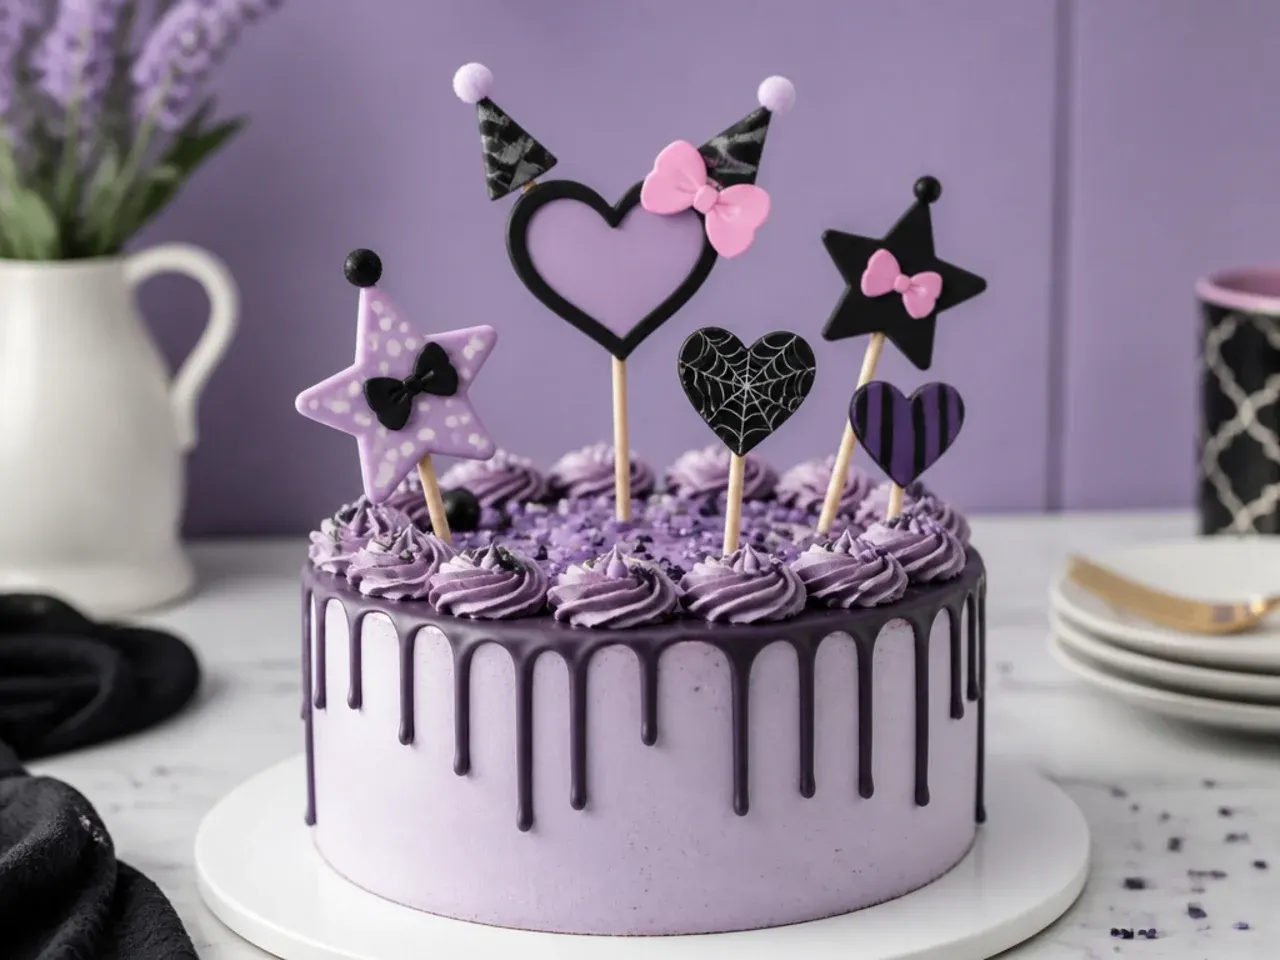
A cluster of mini picks reads playful without any single piece needing to be perfect. Roll black, lilac and baby pink fondant to 4 mm and cut hearts and stars with 2-3 cm plunger cutters, pressing a toothpick into the base of each while soft. Let them dry overnight, then push the picks into piped buttercream swirls at three different heights — roughly 5 cm, 8 cm and 12 cm above the cake surface — so the cluster has depth. Odd numbers always look better, so aim for 5 or 7 picks total. The mixed black-purple-pink palette carries the Kuromi cake topper theme on its own, no character drawing needed.
5. Modern Glitter Name Topper
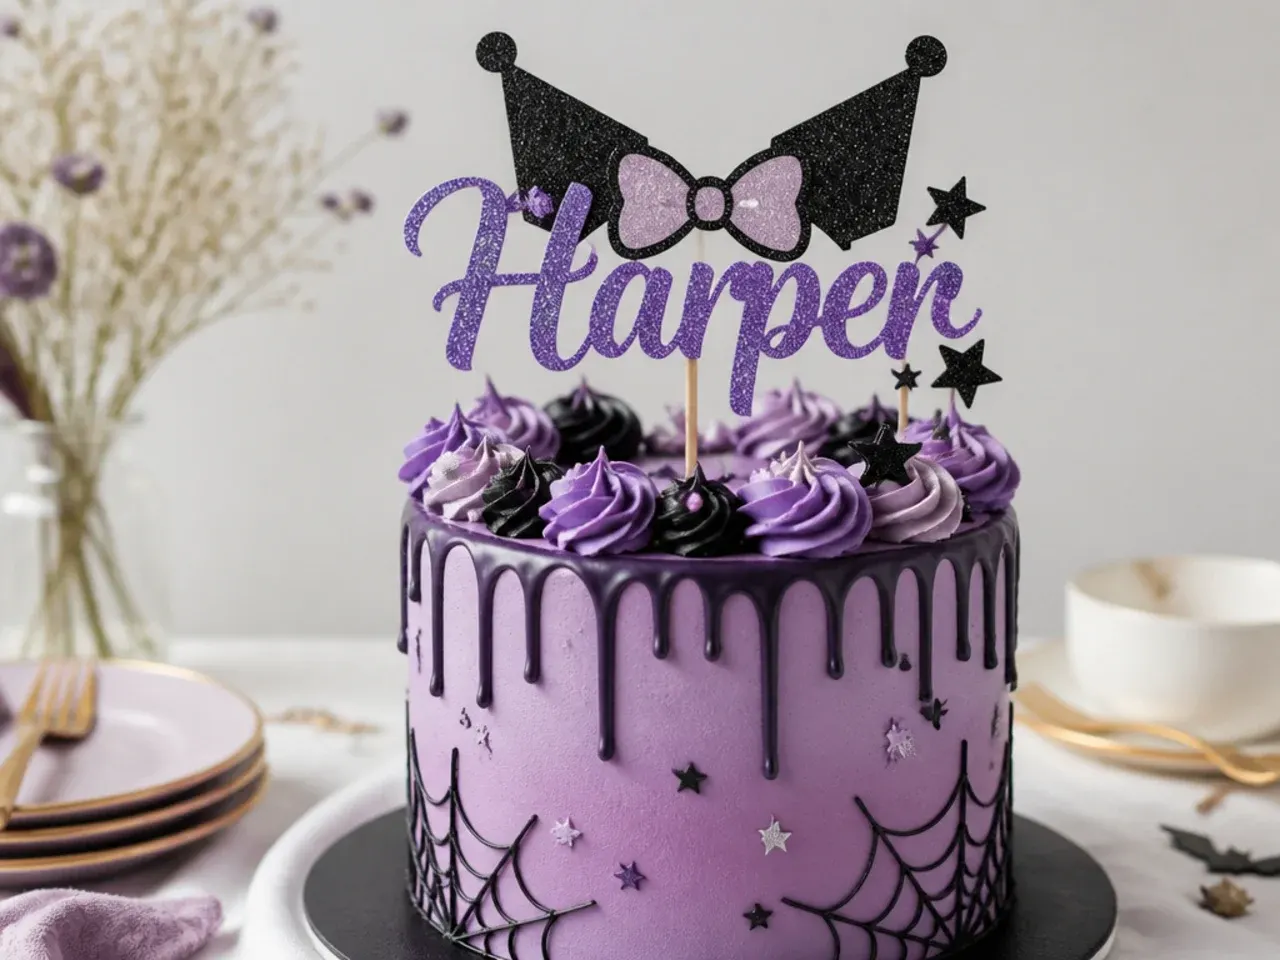
A script name topper in black or purple glitter cardstock instantly makes the cake feel custom. Cut it with a Cricut or Silhouette if you have one; otherwise print the name in a bold connected script font mirrored, trace it onto the back of the glitter cardstock, and cut by hand with small scissors. Size it to about two-thirds of your cake's diameter — roughly 13 cm wide for a 20 cm cake — so it does not overhang the edges. Tape two bamboo skewers to the back, spaced at the first and last letters, and wrap the lower halves in cling film before inserting. Pair it with a simple lilac buttercream finish so the glitter does the talking.
Save this for later 📌
Pin this article to your Pinterest board so the full list is one tap away when you need it.
Save on Pinterest6. Rustic Chocolate Bark Crown
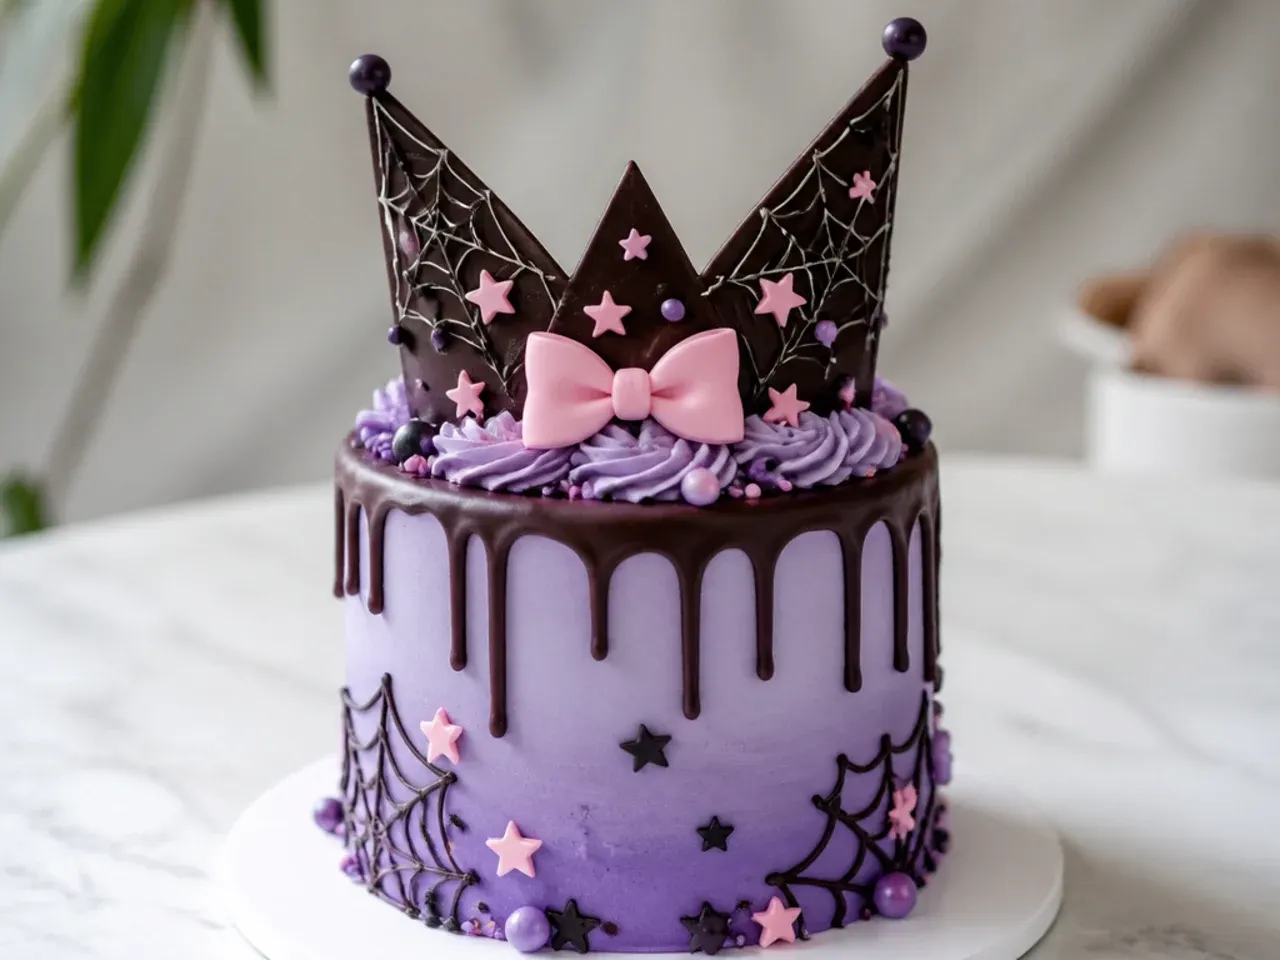
Bark shards standing in a ring around the top edge give a rustic, torn-paper silhouette that hides imperfect frosting. Melt 200 g of dark chocolate, spread it 3 mm thick on parchment, then drizzle with 50 g of white chocolate tinted lilac using an oil-based colour and scatter over purple sprinkles or freeze-dried raspberry pieces. Chill for 30 minutes, then break the sheet into tall irregular shards between 6 and 10 cm. Press each shard 1-2 cm deep into the buttercream around the top rim, leaning them slightly outward like a crown. The dark chocolate against pale purple frosting nails the moody Kuromi palette with zero fondant work.
7. Colourful Swirled Meringue Cloud Toppers
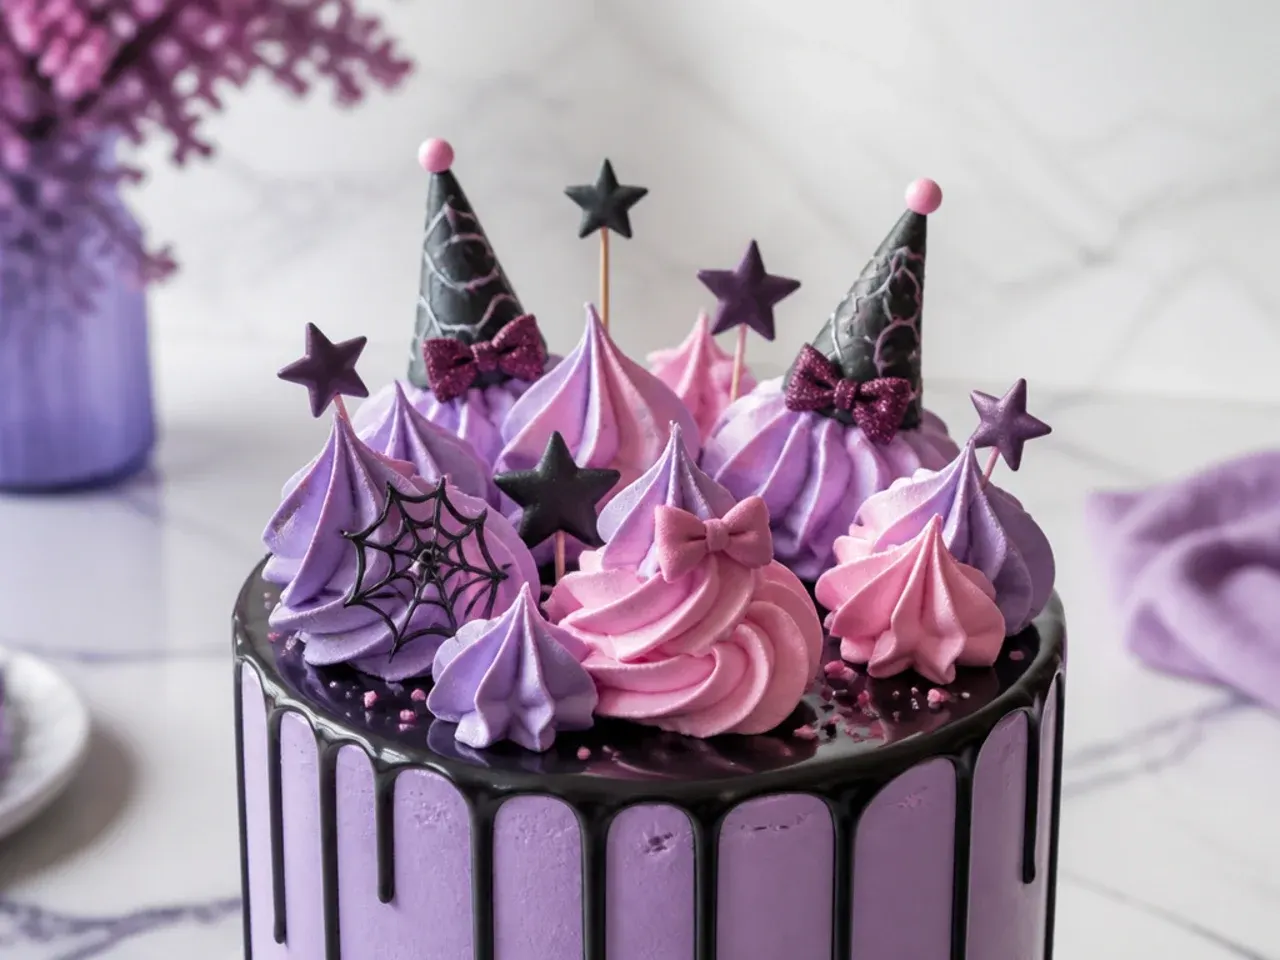
Meringue clouds are light, fully edible and look straight out of a Sanrio stationery set. Whip 2 egg whites (about 80 g) with 140 g caster sugar that you have warmed on a tray at 200°C (390°F) for 5 minutes first — warm sugar dissolves faster and gives a glossier meringue. Paint two stripes of violet and pink gel colour up the inside of your piping bag, fit a large round tip, and pipe puffy cloud stacks about 5 cm wide. Bake at 100°C (212°F) for 45-60 minutes, then leave them in the switched-off oven for 2-3 hours to dry completely; pulling them early makes them collapse and weep. Place them on the cake the same day, as meringue softens after long contact with buttercream.
8. Minimal Oversized Single Bow
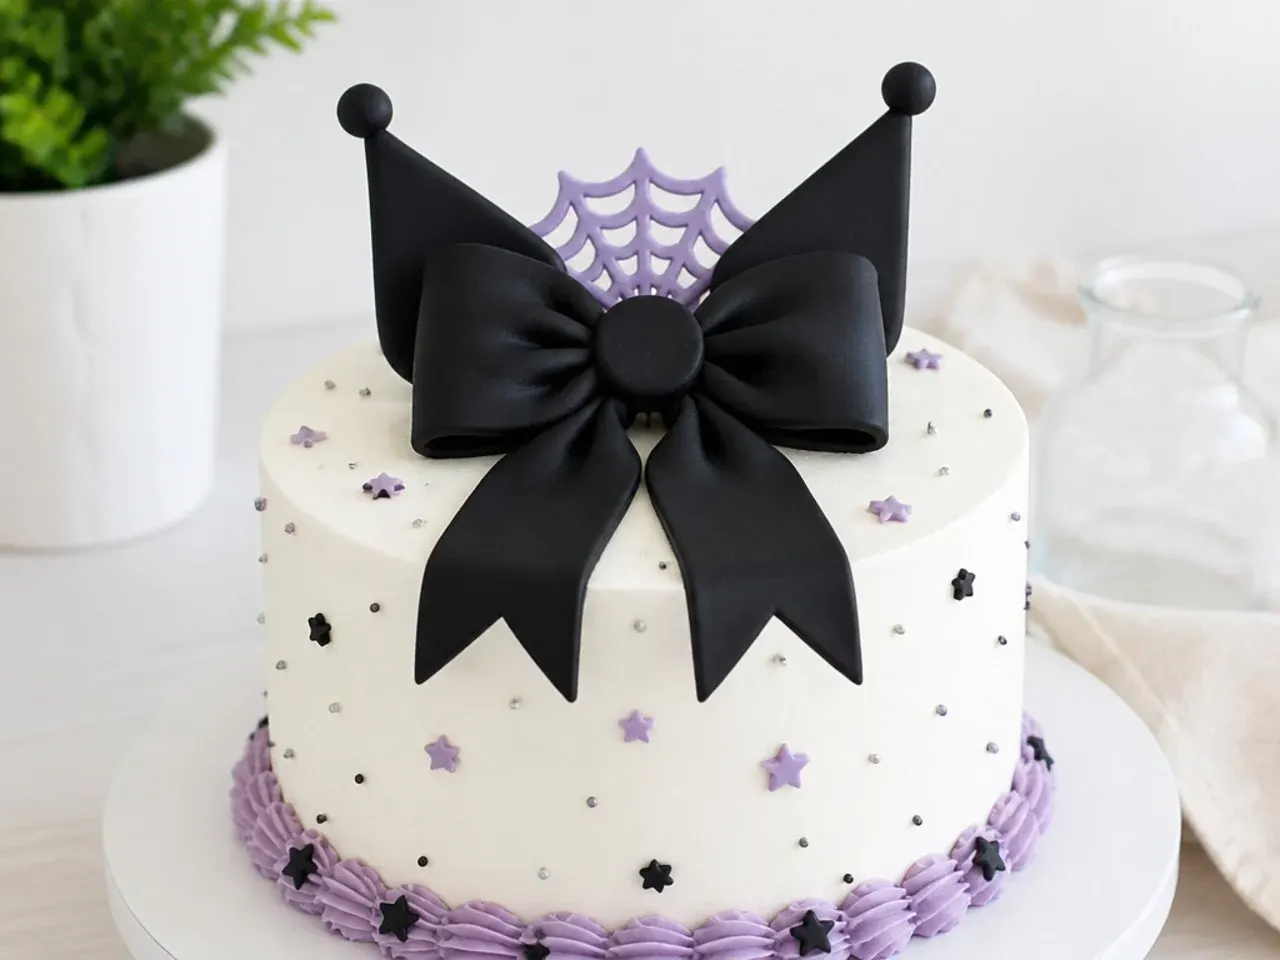
One big bow, nothing else — this is the easiest topper on the list to get looking professional. Roll black fondant to 4 mm and cut three strips about 20 x 5 cm: two for the loops, one for the tails and a small offcut for the centre wrap. Fold each loop over a sausage of scrunched parchment so it holds an open shape, and dry for 24 hours before assembling with a dab of edible glue or water. The finished 10-12 cm bow simply sits flat on top of the cake, so there are no sticks or supports to worry about. Add a single pink fondant dot at the centre knot for a subtle Kuromi-inspired accent.
9. Festive Mini Bunting Banner
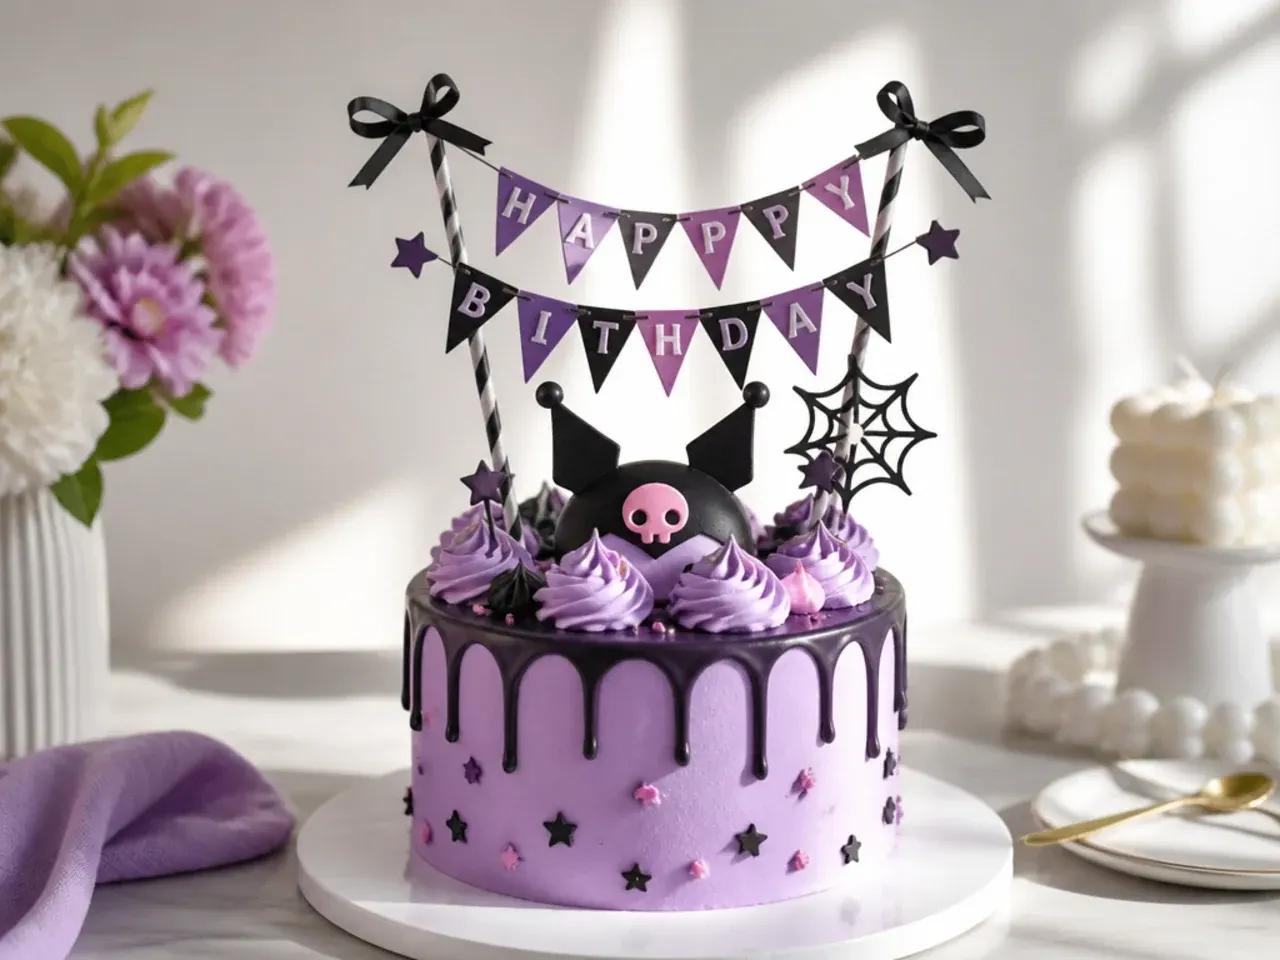
A bunting topper adds instant party energy and doubles as the birthday message. Cut 3-4 cm triangle pennants from black, lilac and pink cardstock — or fold washi tape over the twine and trim into points, which is even faster. String 5-7 pennants along 30 cm of baker's twine, then tie the ends to two paper straws or 20 cm cake dowels, leaving a relaxed swag of slack in the middle. Write one letter per flag with a white gel pen for names up to about seven letters. Push the straws in near the back third of the cake so the banner swags over the centre without blocking the front decoration.
10. Whimsical Devil-Tail Swirl Topper
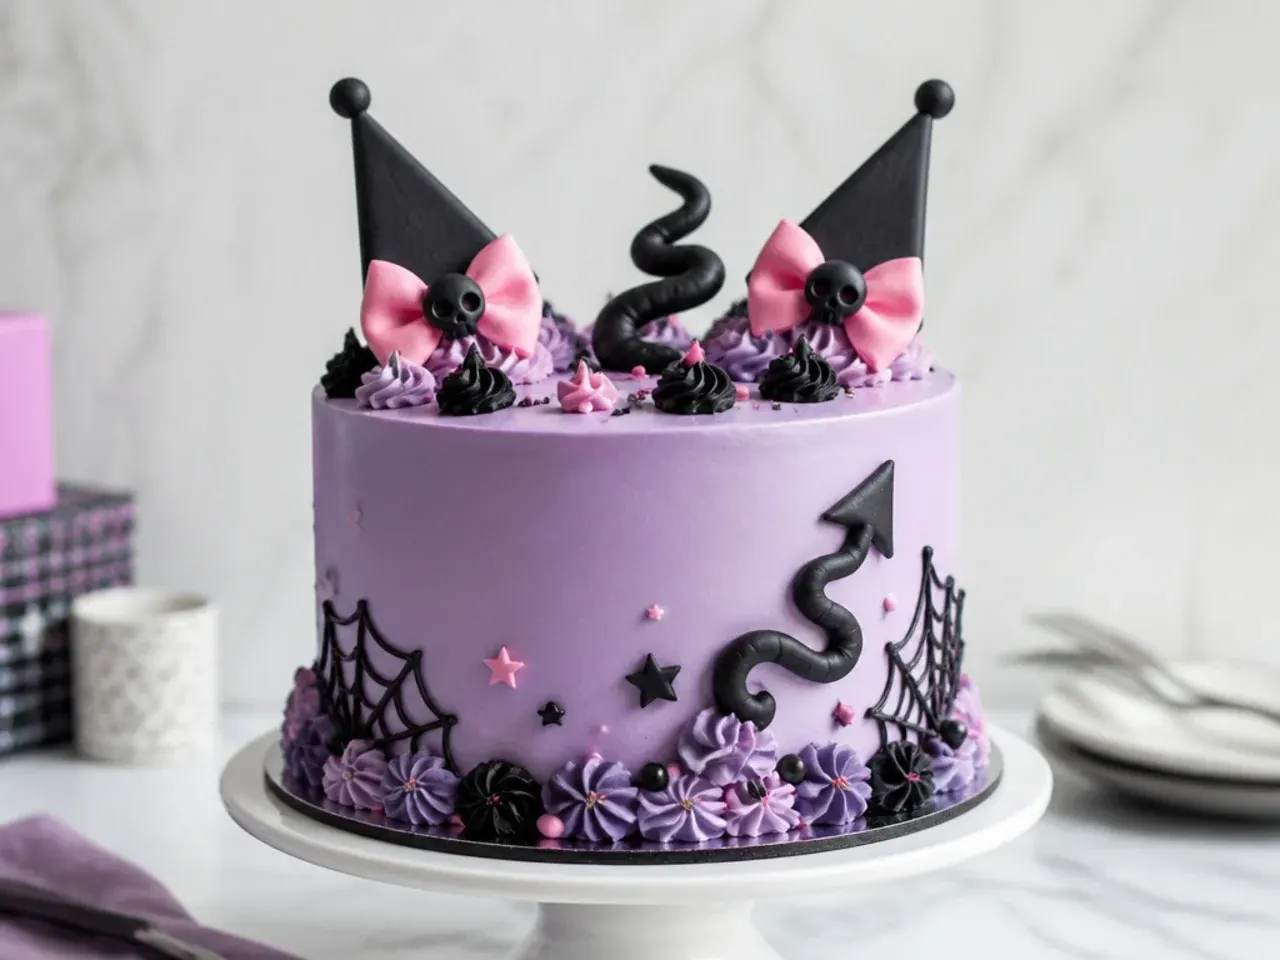
Curly tail swirls ending in a little pointed tip are a cheeky nod to Kuromi's mischievous side without copying the character herself. Melt 100 g of black candy melts, pour into a piping bag, snip a 3 mm hole, and pipe loose spiral swirls 8-10 cm long onto parchment laid over a hand-drawn template, finishing each one with a small triangle at the end. Pipe a second pass directly over the first with a cocktail stick sandwiched at the base so each swirl has a built-in support. Set for 15 minutes at room temperature, then peel off and plant them upright between buttercream swirls. Make a few spares — thin candy-melt pieces snap easily in transit.
Save this for later 📌
Pin this article to your Pinterest board so the full list is one tap away when you need it.
Save on Pinterest11. Bold Candy Shard Topper
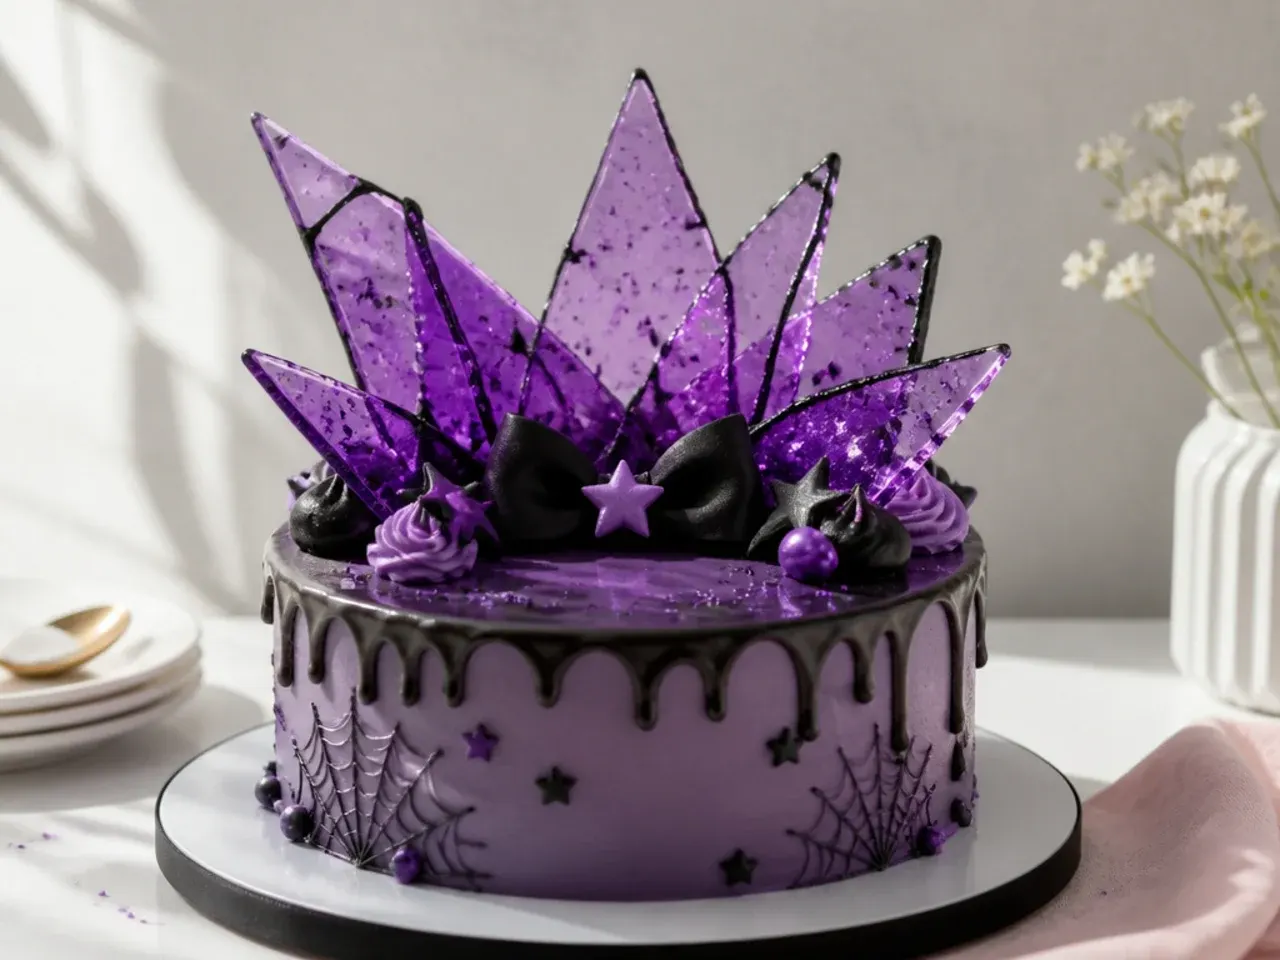
Glassy sugar shards catch the light and give the cake a punky, editorial edge. Boil 200 g granulated sugar, 60 ml water and 80 g glucose or corn syrup to 150°C (300°F) on a sugar thermometer, take it off the heat, and stir in violet gel colour once the bubbles subside. Pour a thin layer onto a silicone mat, cool for 20 minutes, then snap into tall angular shards and stand them upright in the buttercream. If sugar work feels intimidating, microwave ready-made isomalt nibs in 15-second bursts instead — they behave the same with far less risk. Skip this one on humid days, because boiled sugar turns sticky and cloudy within a few hours of high humidity.
12. Delicate Wafer Paper Stars and Butterflies
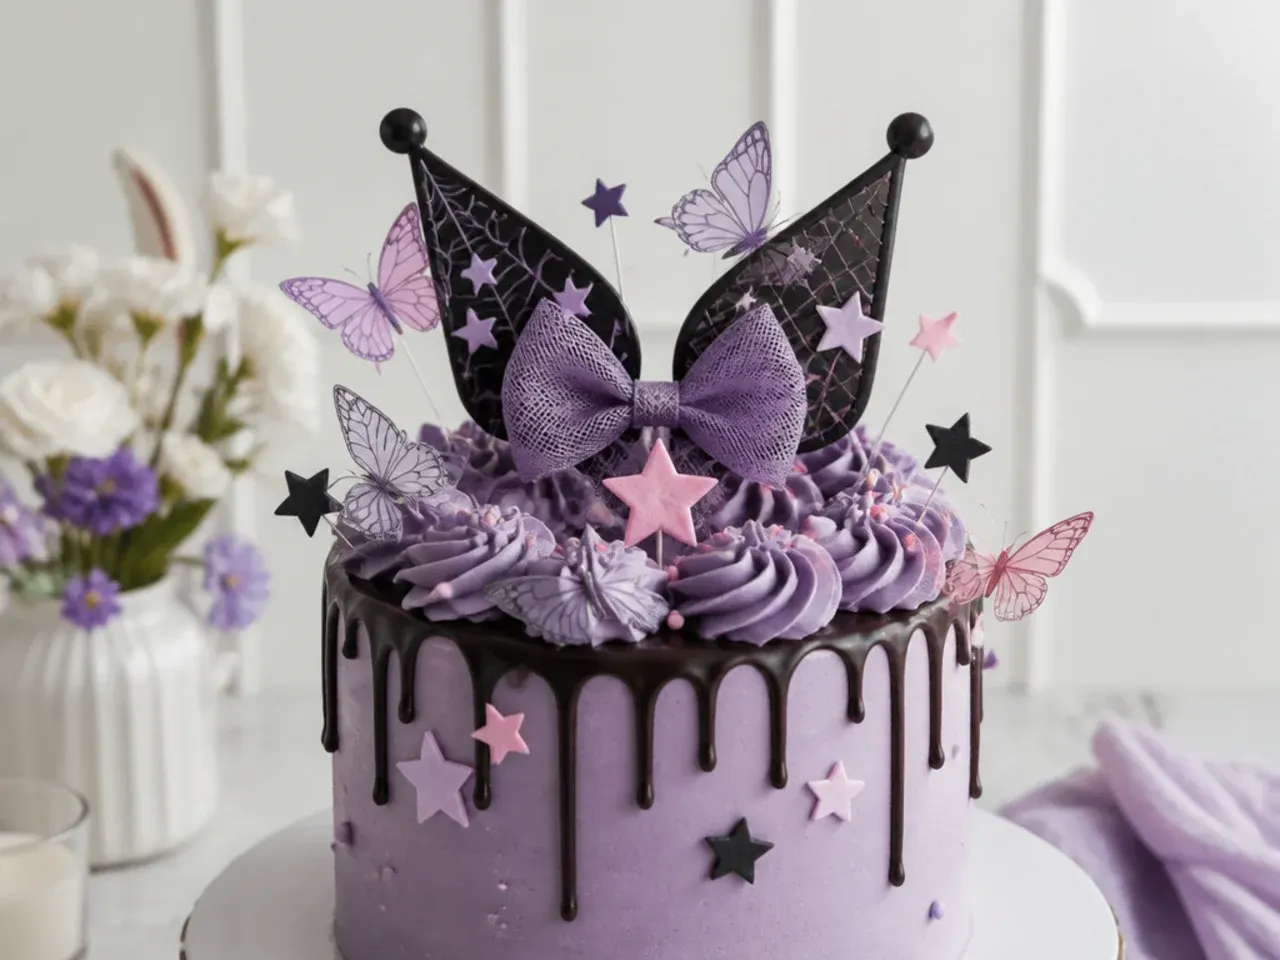
Wafer paper is fully edible, weighs almost nothing and cuts like normal paper, which makes it perfect for delicate floating details. Punch stars and butterflies from wafer paper sheets using clean craft punches, then dust them with lilac or pink petal dust on a dry brush for a watercolour finish. Fold the butterflies gently down the middle so the wings lift, and attach everything with a tiny dab of piping gel or melted white chocolate. The one rule: add wafer paper in the final hour before serving, because moisture from buttercream wilts it flat. Scatter the pieces down one side of the cake in a diagonal drift for the prettiest effect.
13. Vintage Royal Icing Transfer Topper
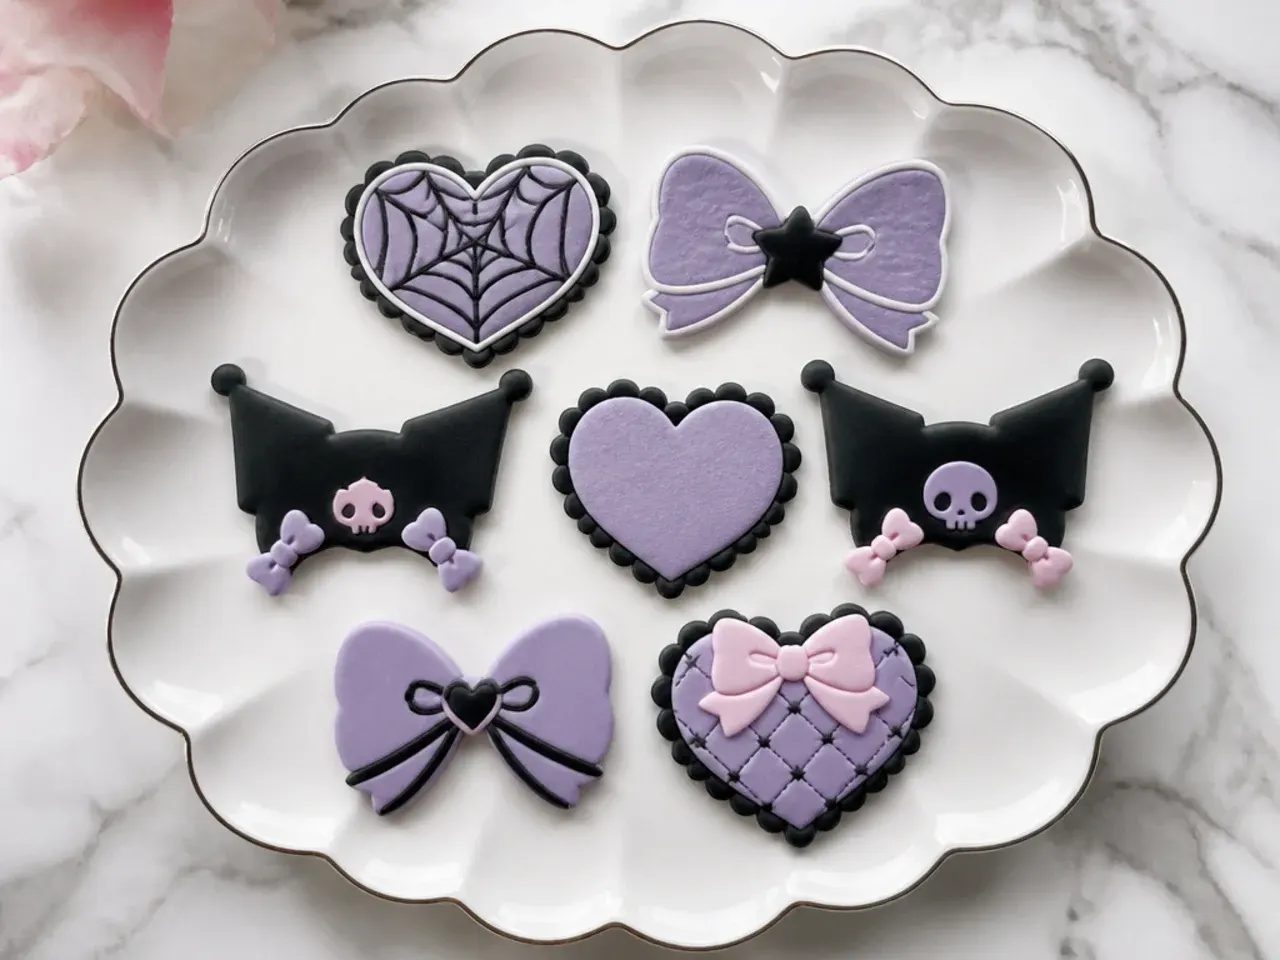
Royal icing transfers let you pipe fiddly shapes flat on parchment days ahead, then lift perfect pieces onto the cake. Mix 15 g meringue powder with 60 ml water and 250 g icing sugar to a 15-second consistency — a ribbon dropped from the spoon should melt back into the surface in about 15 seconds. Slide a template of hearts, bows and scallop shapes under a sheet of acetate and pipe over it with a #2 round tip in black, lilac and white. Dry uncovered for 24 hours, peel the pieces off, and press them onto the buttercream, where they hold on their own. These pair beautifully with a vintage-style cake finished in overpiped shell borders.
14. Creative Cookie Topper on a Stick
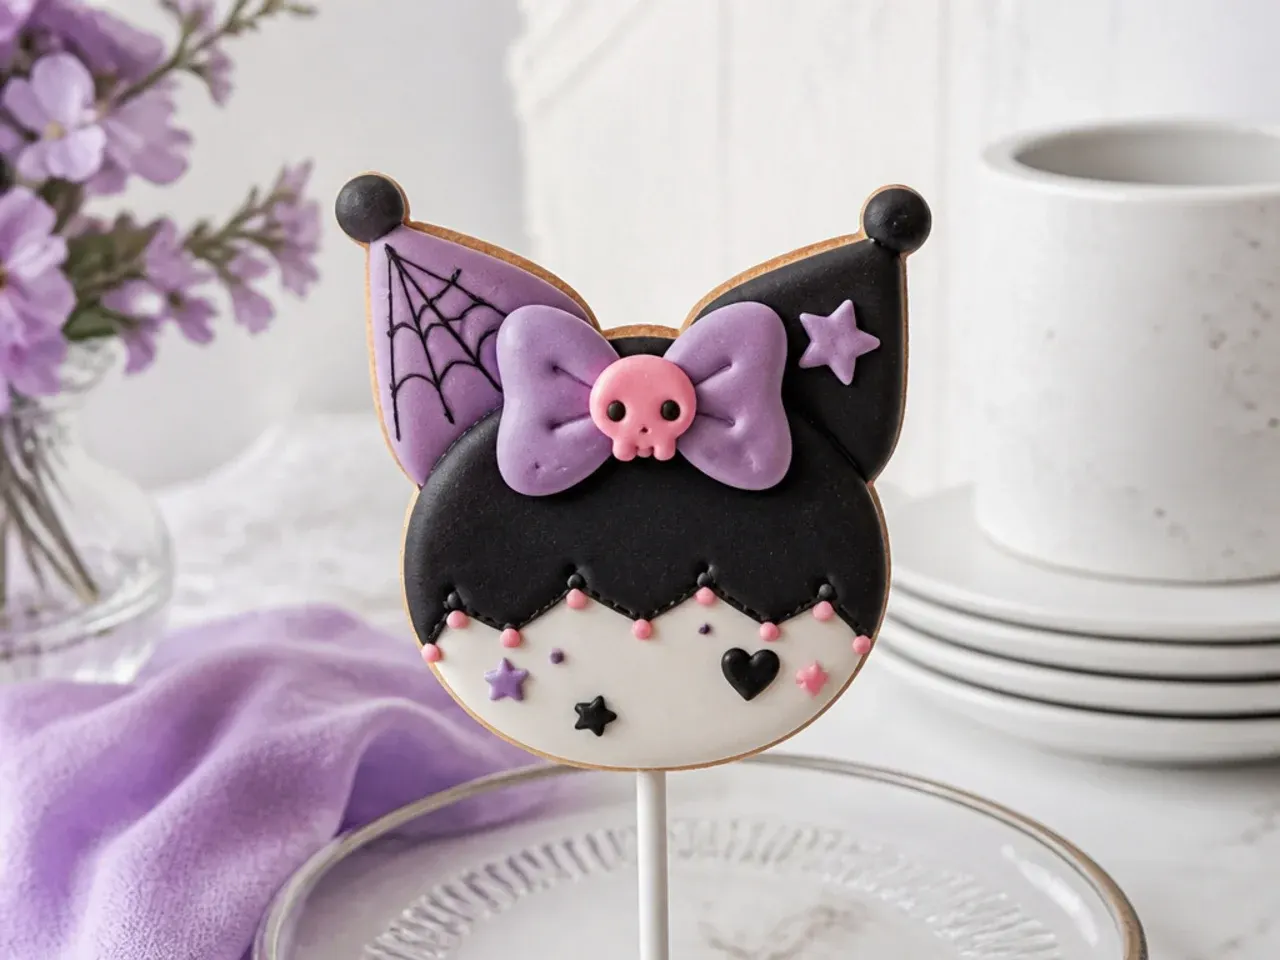
A decorated sugar cookie is the sturdiest edible topper you can make — no snapped fondant an hour before the party. Roll chilled sugar cookie dough to 7 mm, cut 8 cm hearts or circles, and push a paper lollipop stick 4 cm into the base of each before baking at 180°C (350°F) for 10-12 minutes. Once cool, flood the cookies with black and lilac royal icing and add pink dots or white polka dots while the base is still wet so they dry seamlessly flush. Let the icing set overnight before handling. Guests get an extra treat, and the thick cookie stands rock solid even in soft buttercream.
15. Charming Official Figurine Topper
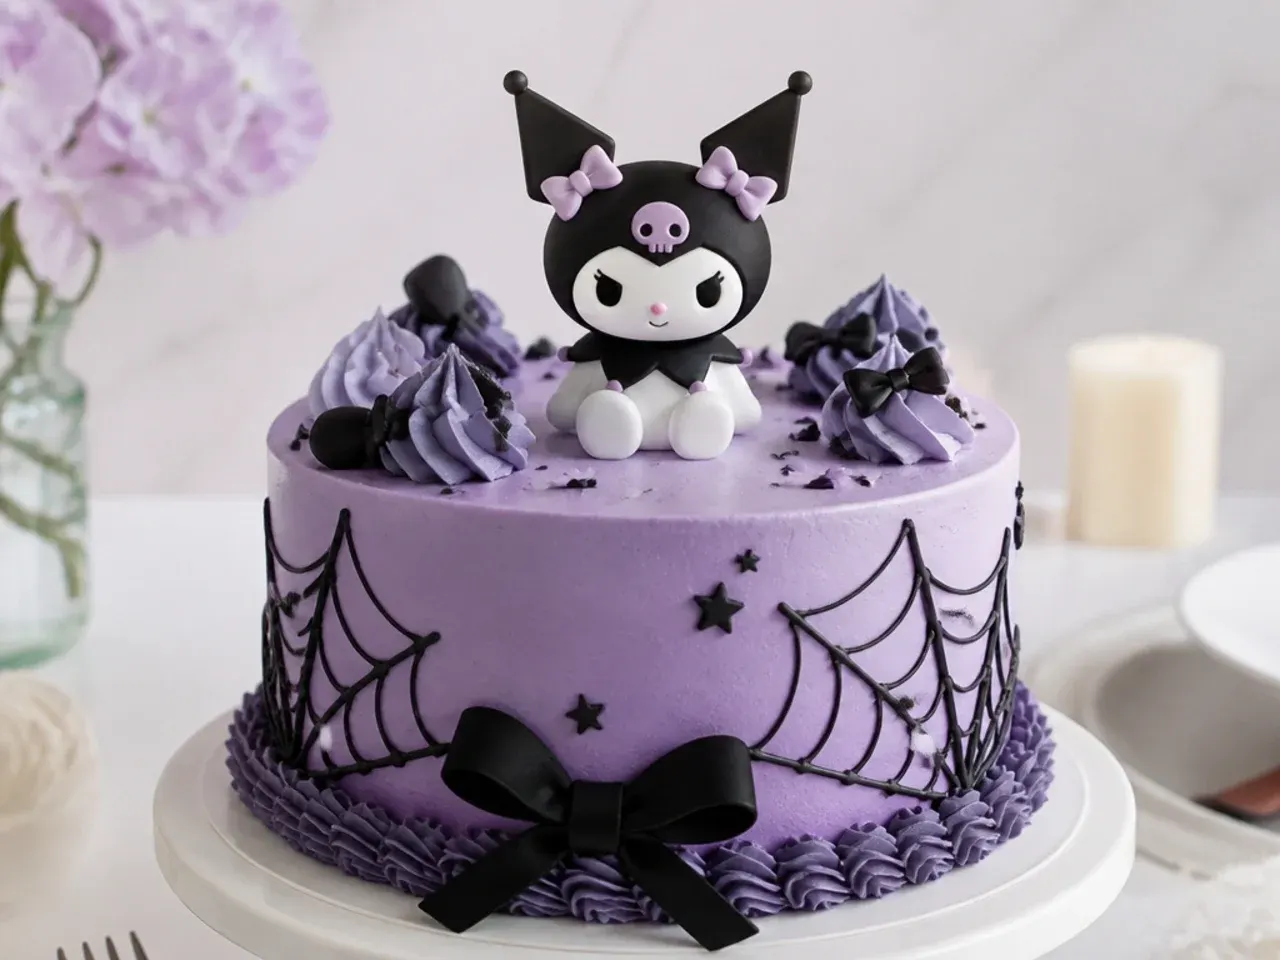
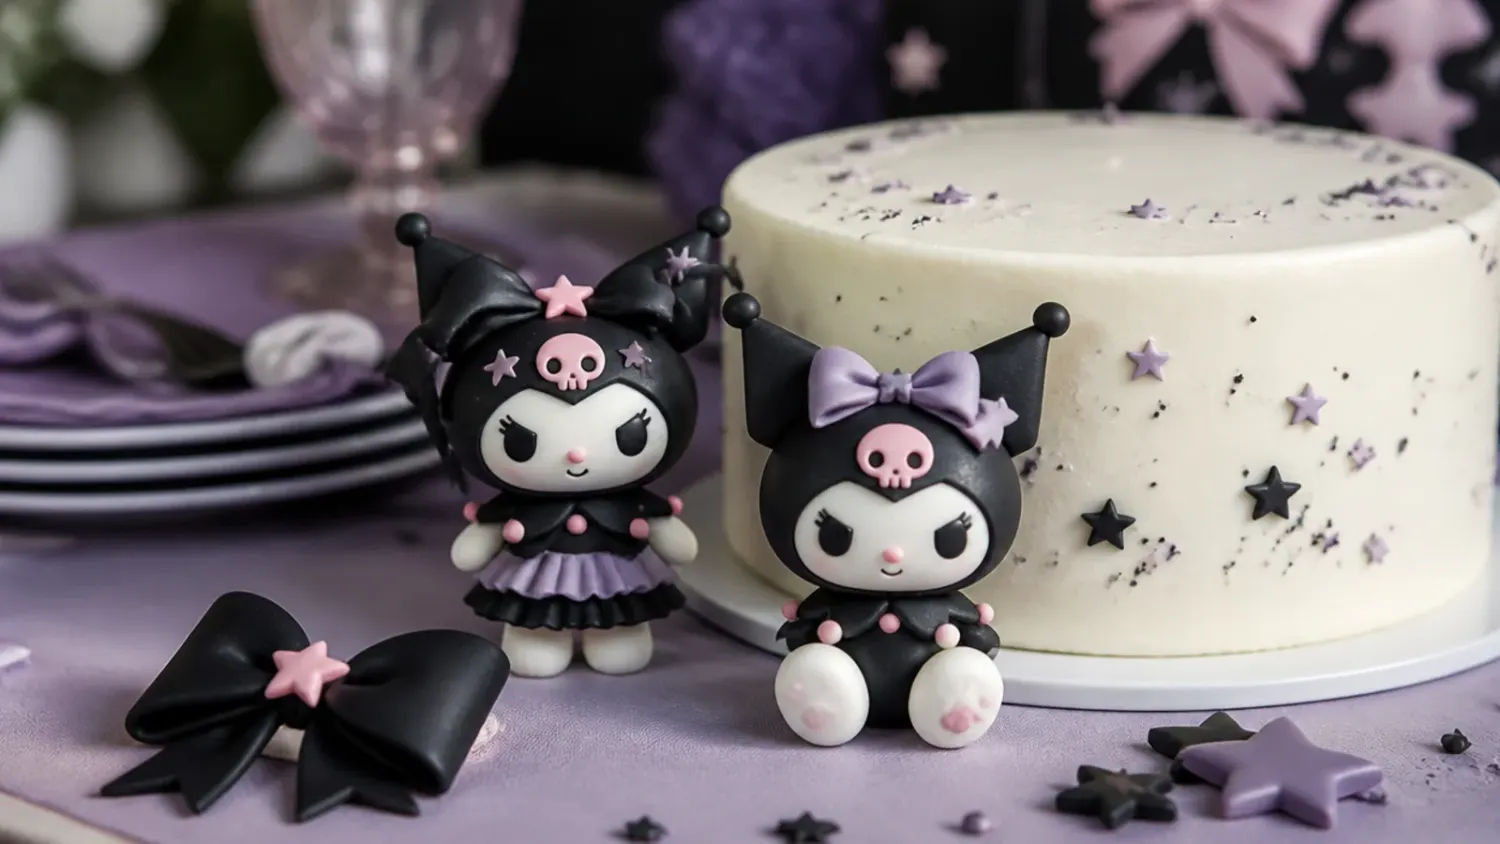
For an accurate character on top of the cake, the honest answer is to buy a genuine licensed Sanrio figurine rather than sculpt one — small official figures cost about £6-12 and become a keepsake toy afterwards. Wash the figurine in warm soapy water, rinse and dry it completely before it goes anywhere near food. Never press plastic directly into buttercream: sit it on a thin fondant disc, a small square of food-safe acetate, or a white chocolate plaque so there is a barrier between toy and cake. Position it slightly off-centre with piped swirls behind it for depth. This route saves hours and sidesteps trying to hand-model a face that never quite looks right.
Save this for later 📌
Pin this article to your Pinterest board so the full list is one tap away when you need it.
Save on Pinterest16. Classic Silhouette Number Topper
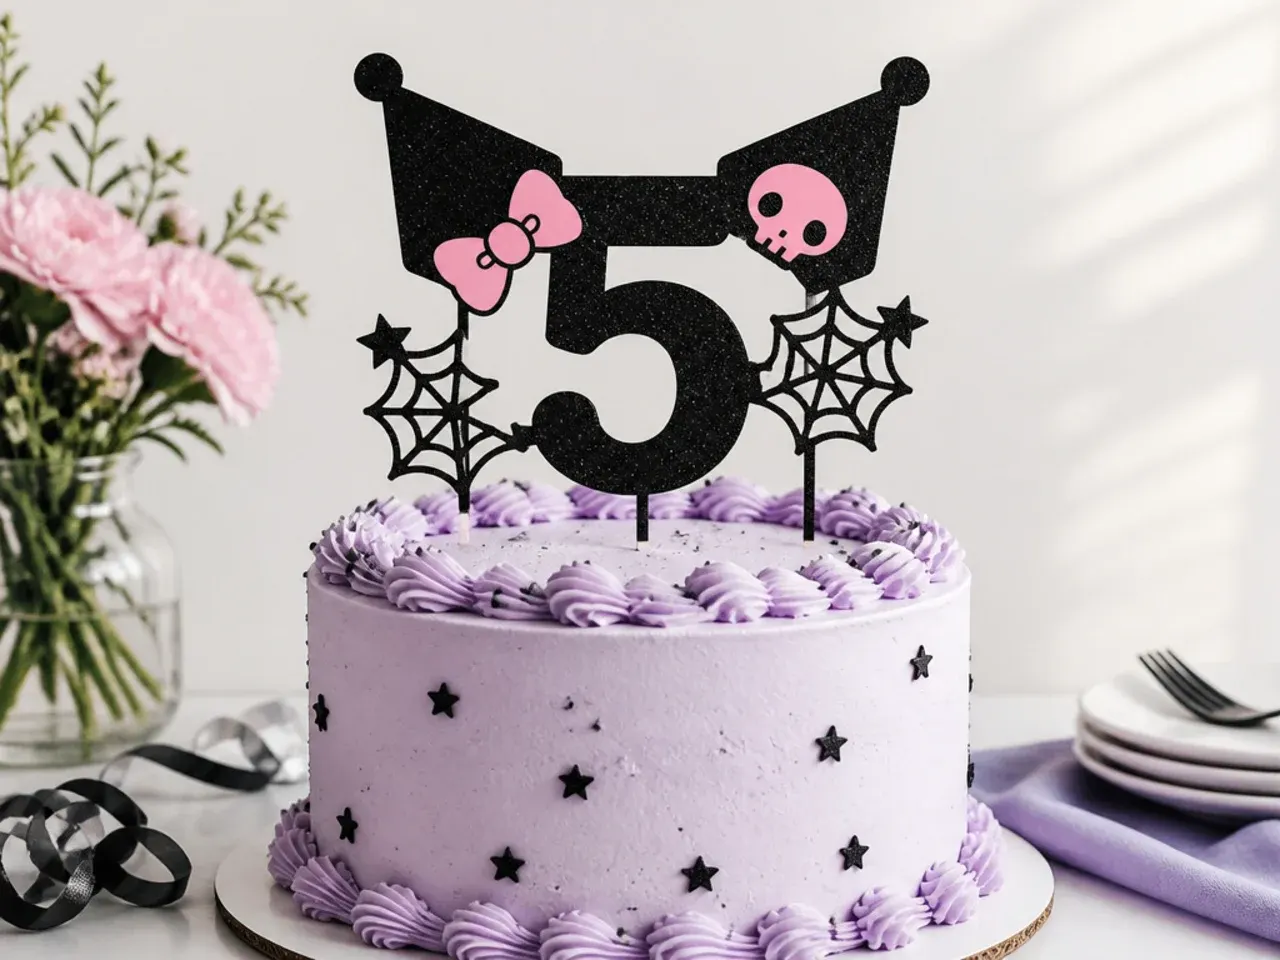
An age number is the classic birthday topper, and a small silhouette twist ties it to the theme. Print the number in a fat rounded font about 10 cm tall, trace it onto black glitter cardstock, and cut it out along with two small pointed ear shapes to glue to the top edge for a Kuromi-inspired outline. Add a tiny pink cardstock bow at the base of one ear for contrast. Back the whole piece with a bamboo skewer wrapped in cling film below the paper line, and insert it dead centre with piped rosettes circling it. This one photographs especially well against pale lilac buttercream.
17. Easy Edible Icing Sheet Topper
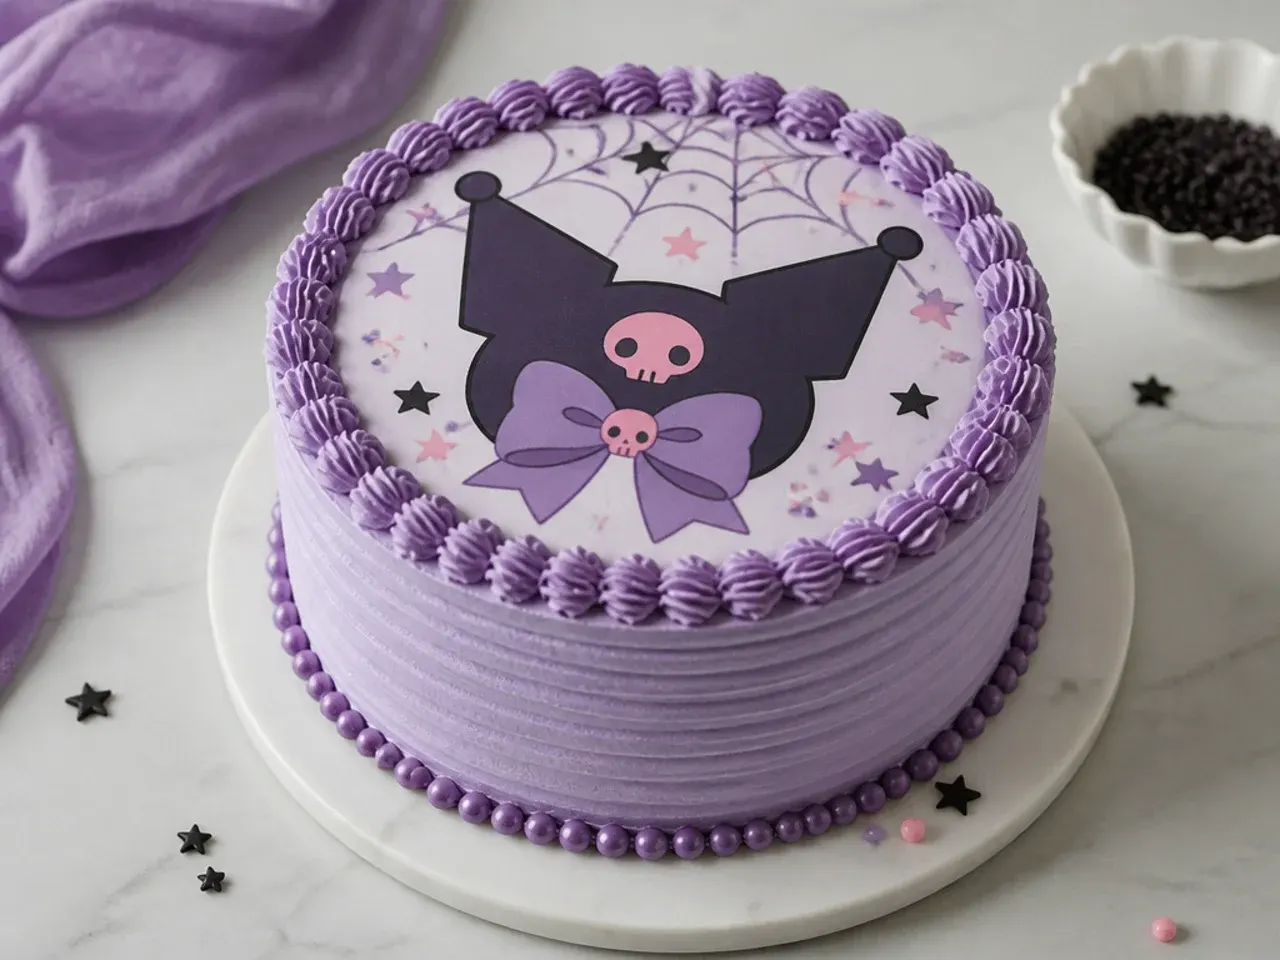
Pre-printed edible icing sheets are the fastest route to an accurate licensed image that you can legally use — supermarkets and online cake shops sell officially licensed character sheets for around £3-7. Apply the sheet to buttercream that is freshly smoothed and slightly tacky, or lightly mist a crusted surface with water first; peel off the plastic backing and smooth from the centre outward with clean, dry hands. If your frosting is very soft, mount the sheet on a thin fondant plaque instead so it sits proud of the surface. Do not refrigerate the finished cake uncovered, because condensation makes the printed colours bleed within an hour. Trim the sheet with scissors before applying if you only want the central motif.
18. Elegant Bow and Pearl Cupcake Toppers
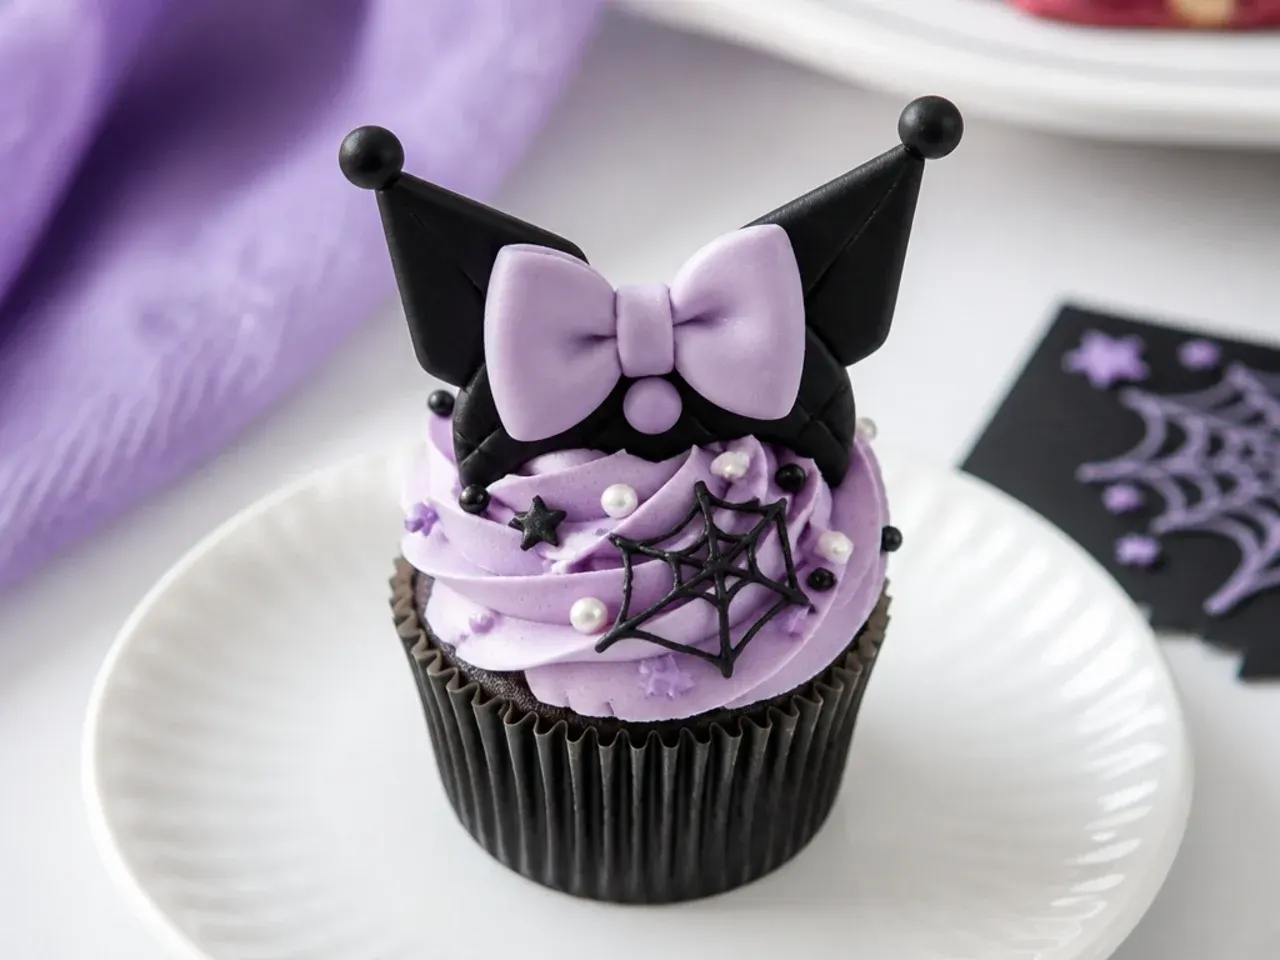
Scaling the theme down to cupcakes makes a stunning matching spread around the main cake. Pipe tall rose swirls in lilac buttercream with a Wilton 2D tip, then top each with a 3 cm black fondant bow and three or four 4-6 mm edible pearls. A silicone bow mould is the shortcut here — press in fondant, freeze for 5 minutes, and pop out clean bows at a rate of 24 in about half an hour. Brush the bows with pearl lustre dust for an elegant satin sheen. Alternate black bows on lilac swirls with pink bows on black-tinted swirls across the batch for a checkerboard serving-table effect.
19. Playful Mini Balloon Cluster Topper
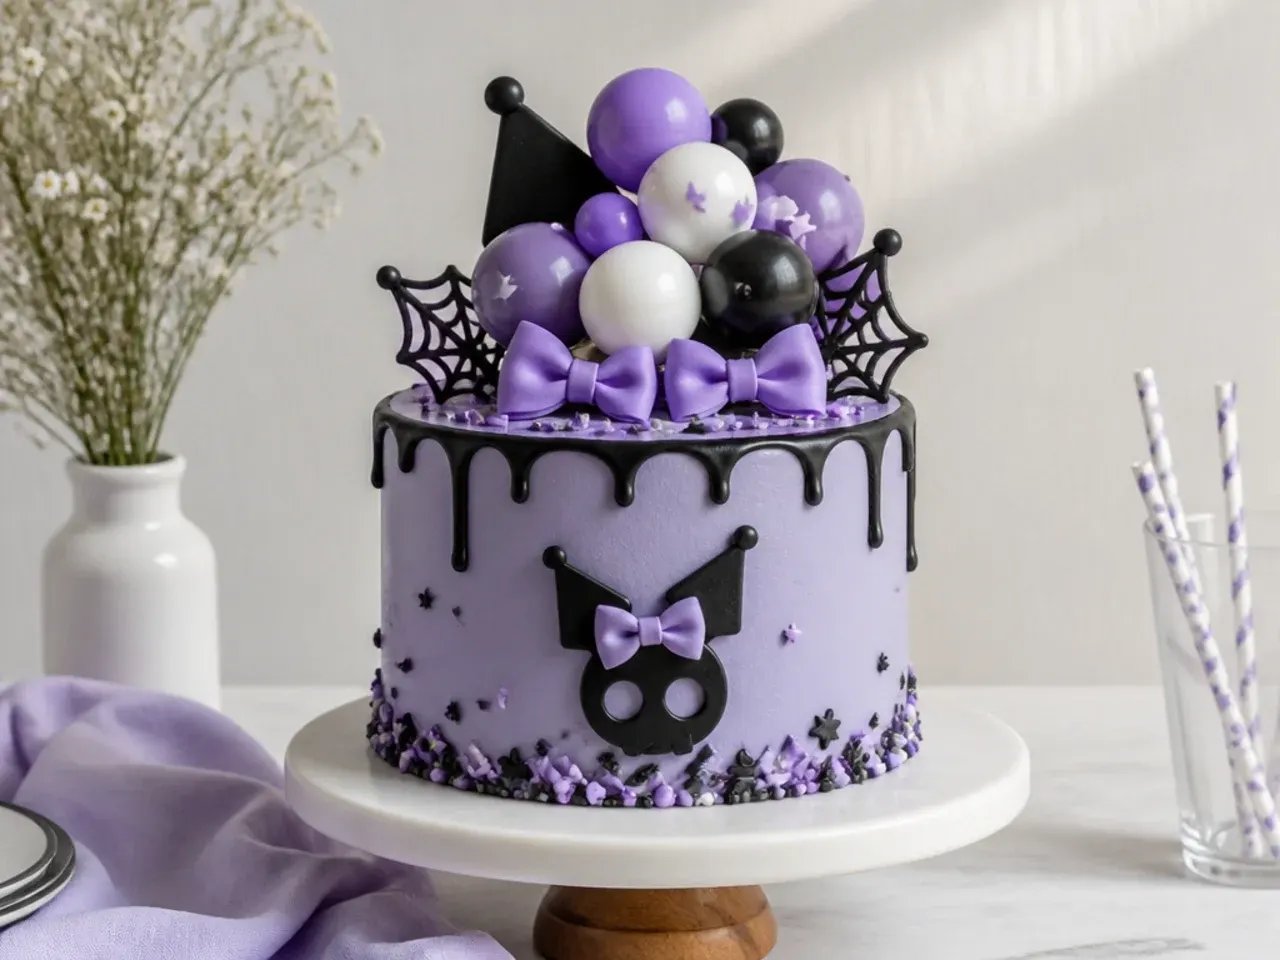
A cluster of real mini balloons gives serious height for under £5. Inflate 5-inch balloons only partway, to about 7-8 cm, in black, lilac and baby pink, and tape each knot to a bamboo skewer with clear tape. Bundle three to five skewers at staggered heights between 15 and 25 cm and push them into the back third of the cake, keeping every balloon well clear of the frosting surface since balloons are not food safe. Wrap the inserted portion of each skewer in cling film first. Remove the whole cluster before cutting, and the cake underneath still looks fully decorated thanks to whatever border you piped.
20. Modern Checkerboard Heart Topper
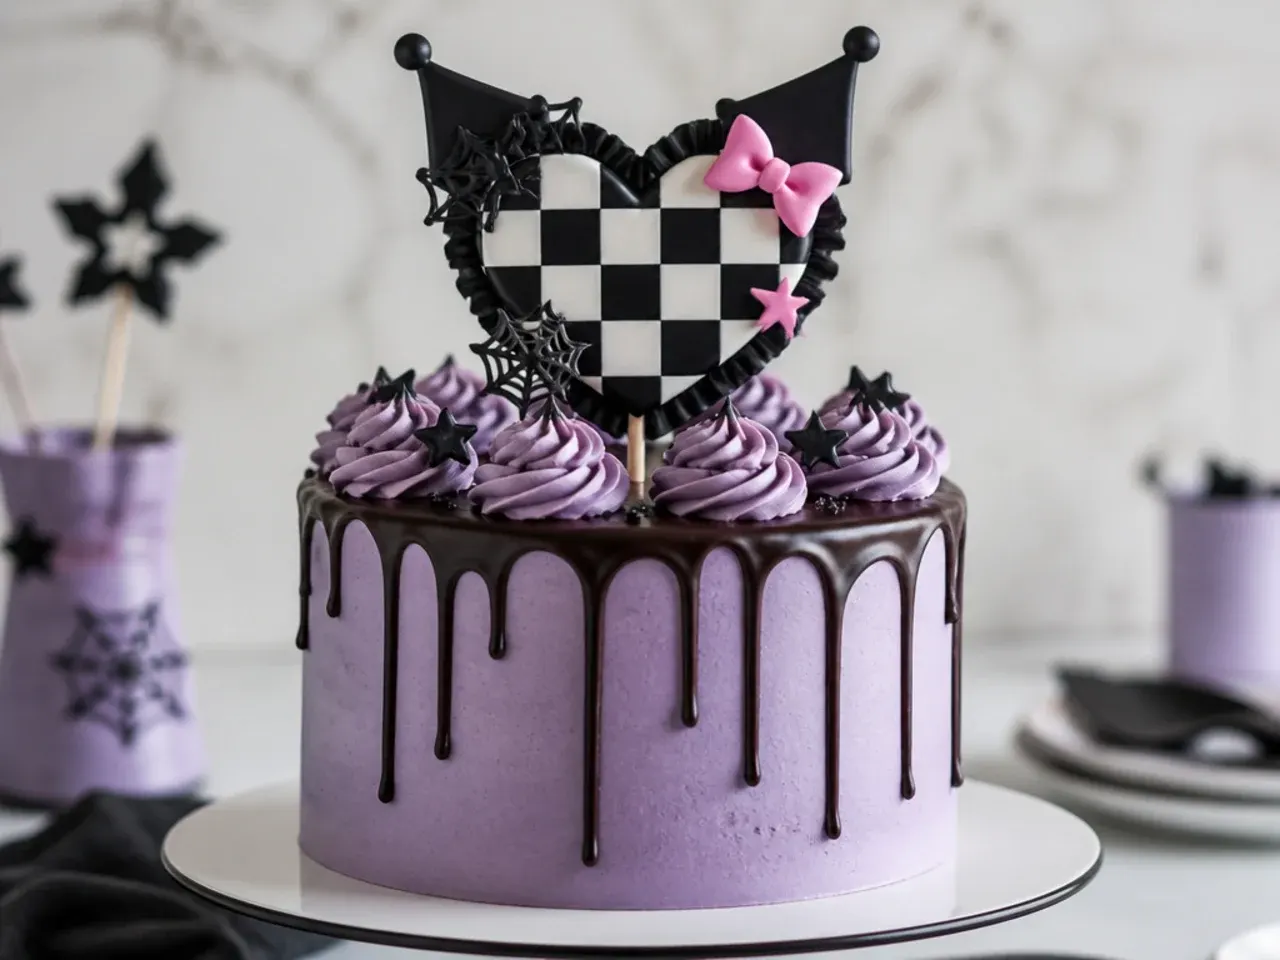
Checkerboard is everywhere in punk-cute baking right now, and it happens to be simple in fondant. Roll black and white fondant into two 5 mm sheets, cut each into 1 cm strips, and stack them in alternating layers, brushing lightly with water between; slice the stacked block crosswise into 5 mm slabs to reveal a perfect checkerboard sheet. Cut a 9 cm heart from the sheet with a cutter, insert a cocktail stick into the base, and dry for 24 hours until firm. Plant it upright at the centre back with a couple of small pink hearts on picks in front. The graphic black-and-white pattern against purple frosting looks straight off a trend board.
Tips to Make These Ideas Easier
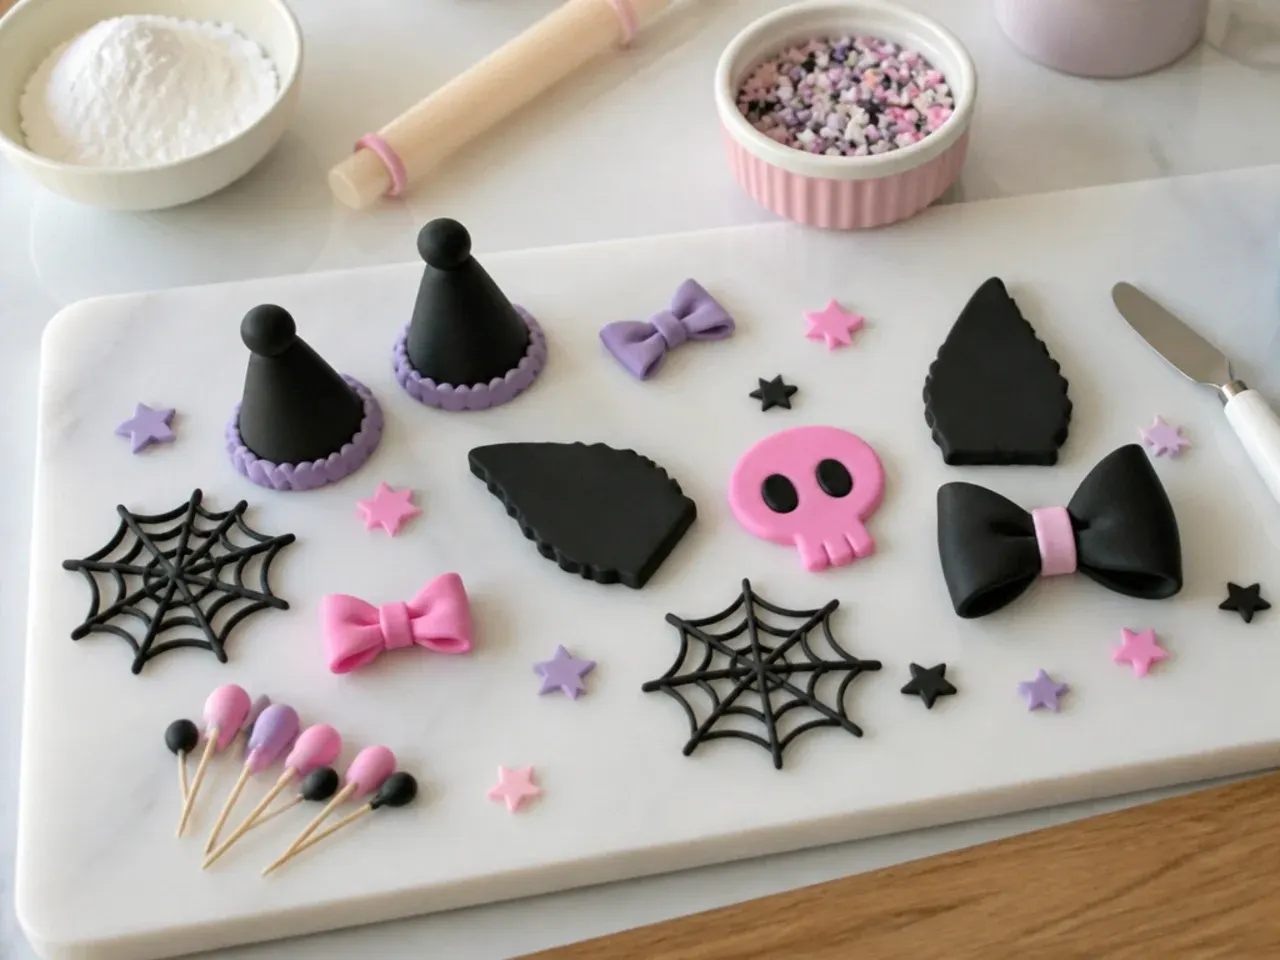
Make every fondant piece two to three days ahead — dried toppers hold their shape on wet buttercream, and they keep for weeks stored in a cardboard cake box (never an airtight plastic tub, which softens them). Forgot to plan ahead? Firm soft fondant toppers in the oven at its lowest setting for 5-8 minutes, then let them cool untouched before using. Keep the palette to four colours — black, violet, baby pink and white — and buy proper gel colours like Sugarflair Grape Violet plus an oil-based black for anything chocolate. Chill the frosted cake for 15-30 minutes before inserting any sticks so the surface does not dent or smear. Finally, always make one spare of any thin or fragile piece; breakages happen at the worst moment.
Common Mistakes to Avoid
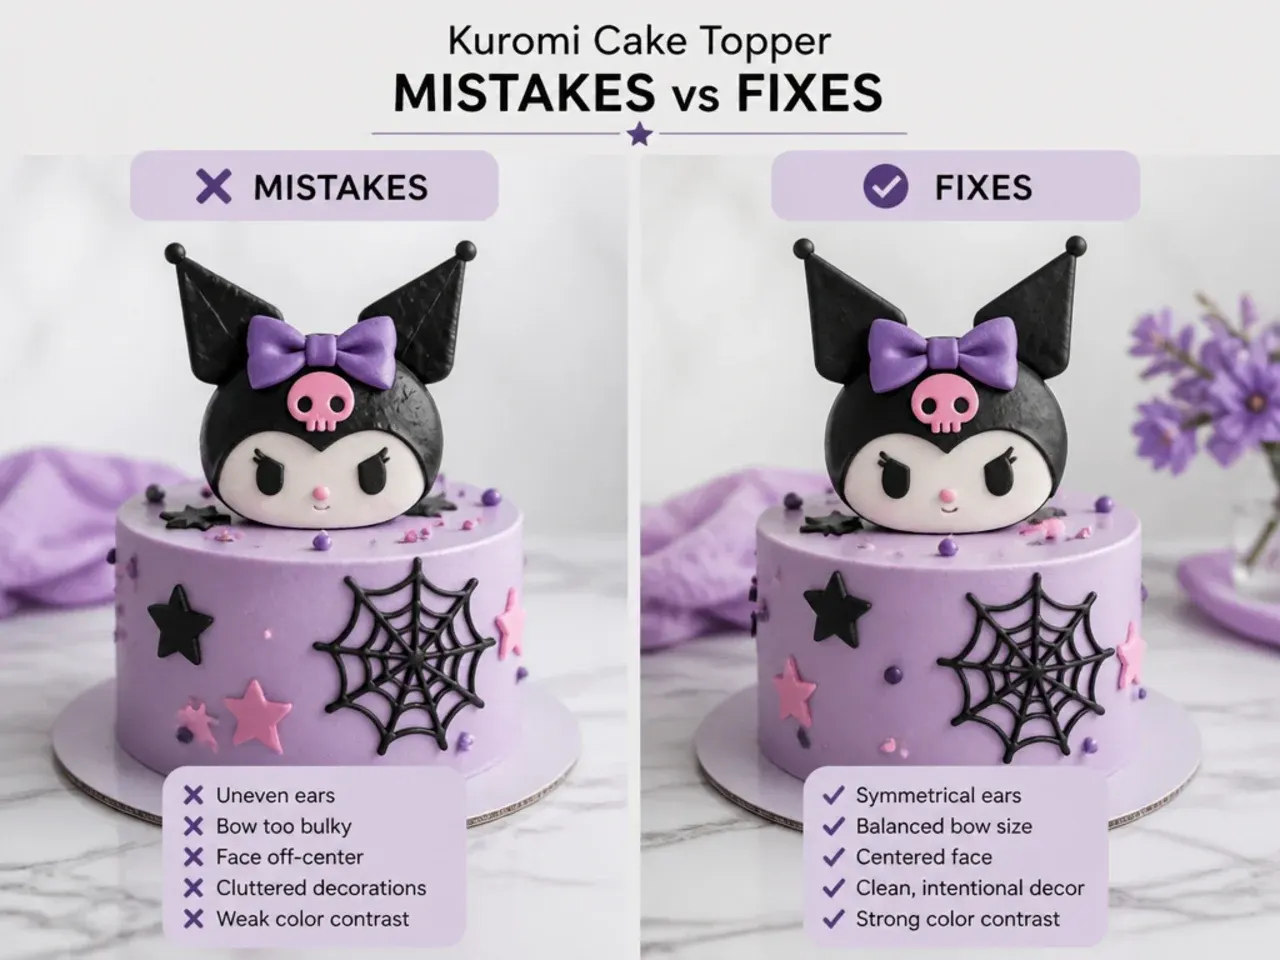
The biggest one is pushing bare skewers, straws or hot-glued sticks straight into the cake — anything not certified food safe needs a cling film wrap first. Storing finished fondant toppers in a sealed plastic container is a close second, because trapped moisture turns crisp pieces floppy overnight. Adding wafer paper or printed cardstock hours before the party lets buttercream grease and humidity wilt or stain them, so those always go on last. If you refrigerate a cake with an edible icing sheet uncovered, condensation will bleed the inks — box the cake or apply the sheet on the day. And do not fight buttercream into true black by adding half a pot of gel; start from a chocolate buttercream base, add black gel gradually, and let it deepen overnight.
The Recipe
The Base Recipe — Make Any of These Ideas
45 min
30 min
1 hr 15 min
12
Beginner
Ingredients 12 Person(s)
Directions
Step 1: Heat the oven and prep the tins
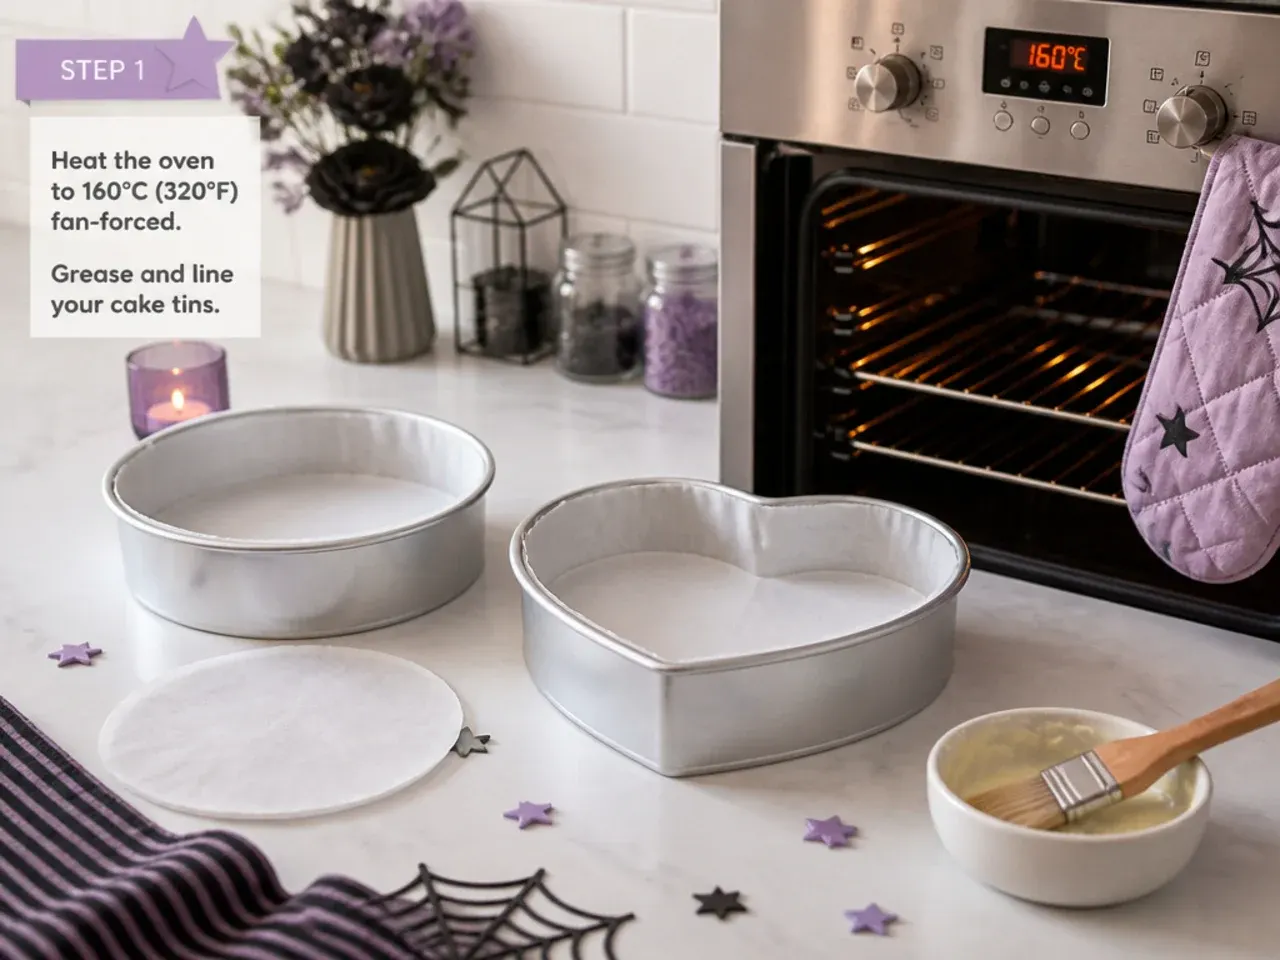
Heat the oven to 180°C/350°F (160°C fan/gas 4). Grease two 20 cm (8 in) round sandwich tins and line the bases with baking parchment so the layers release cleanly.
Step 2: Make the all-in-one batter
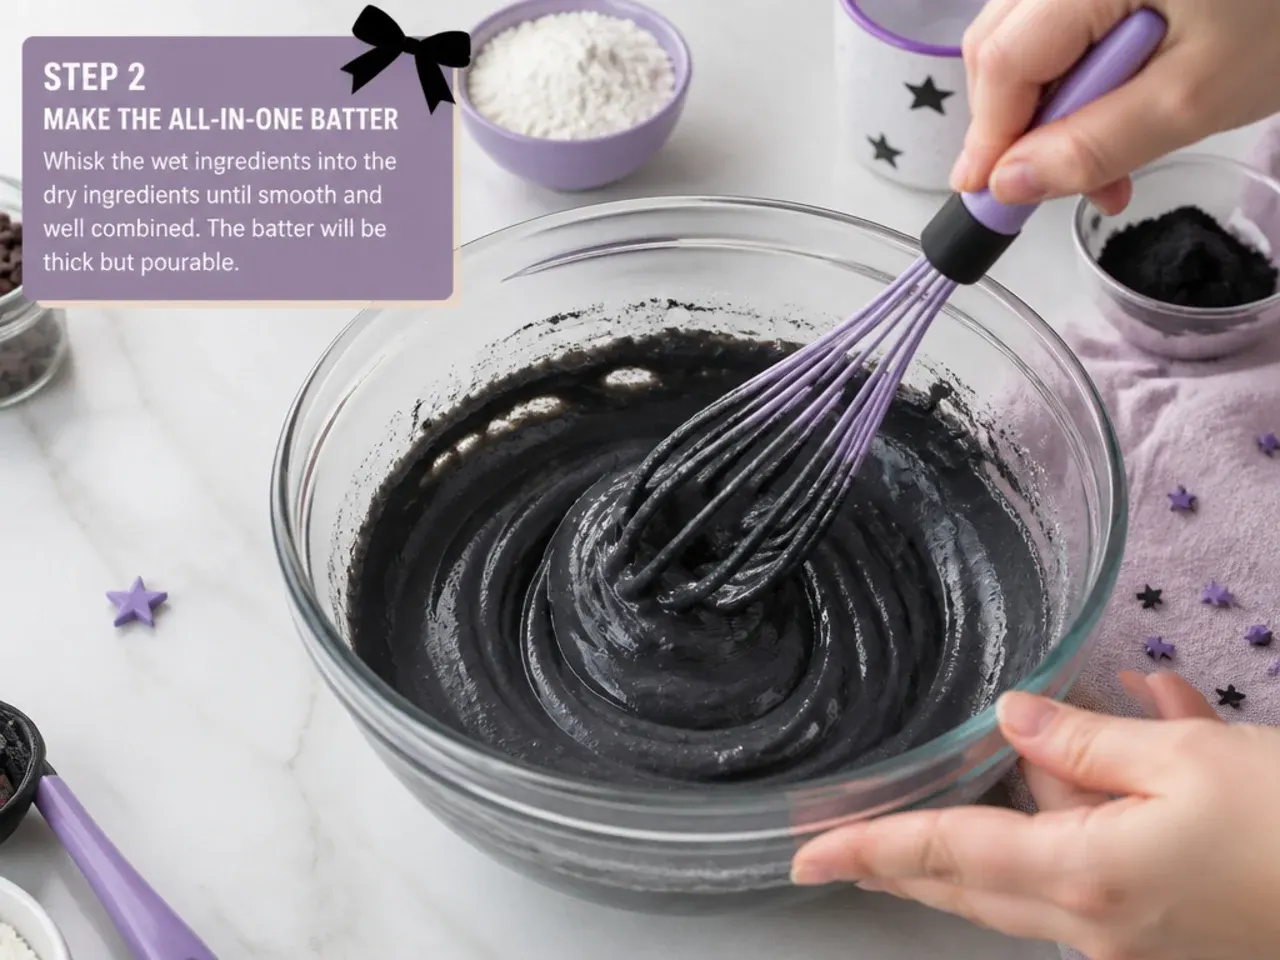
Put the 200 g softened butter, caster sugar, eggs, self-raising flour, cocoa powder, baking powder, vanilla and 2 tbsp milk in a large bowl. Beat with an electric mixer on medium for 1-2 minutes until smooth and evenly combined — stop as soon as no dry streaks remain, because overbeating once the flour is in makes a tough crumb.
Step 3: Bake the layers
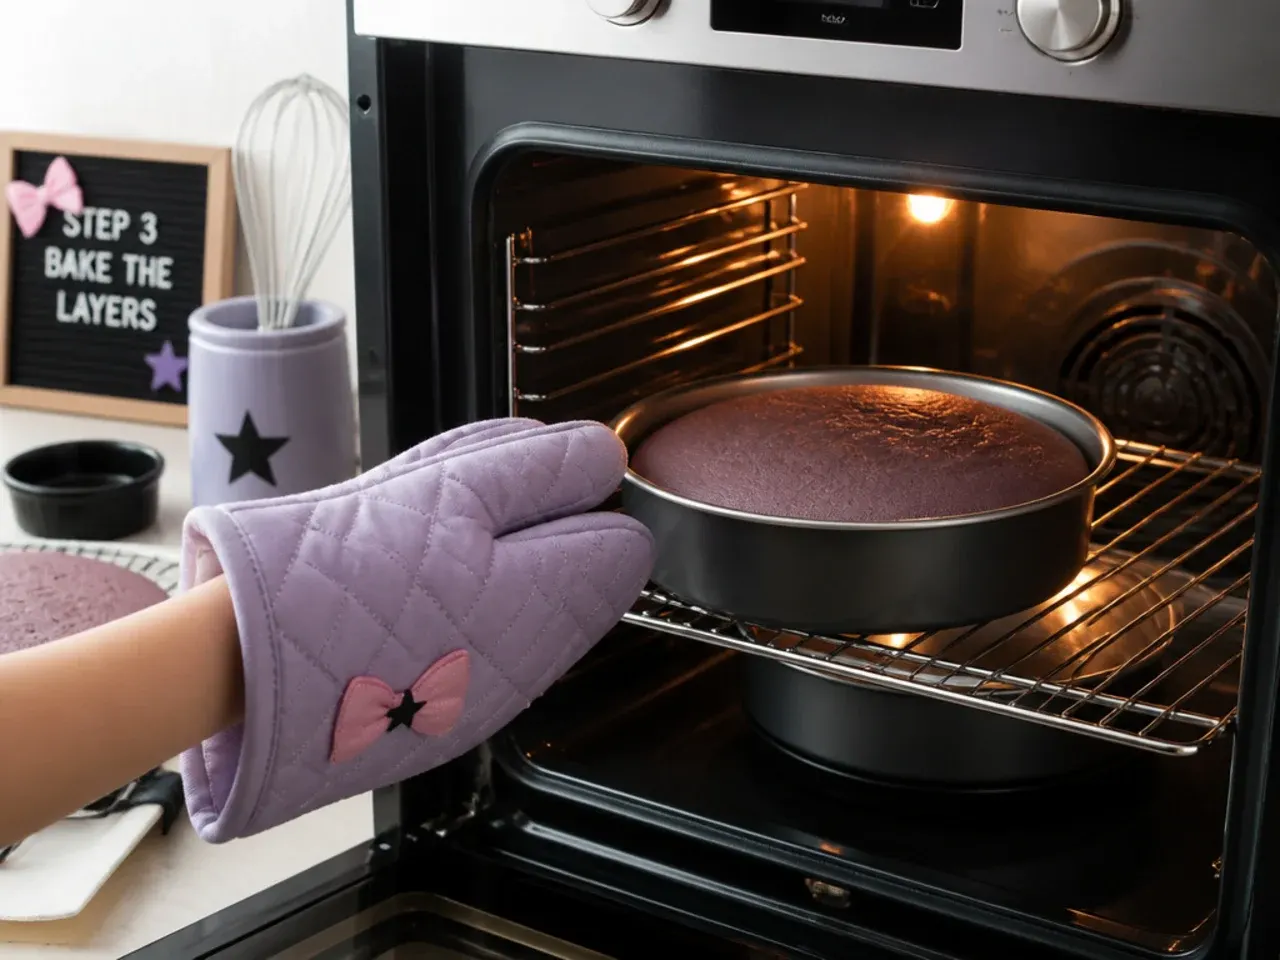
Divide the batter evenly between the tins (about 550 g per tin if you have scales) and level the tops. Bake for 25-30 minutes, until the tops are firm and a skewer inserted into the centre comes out clean. Cool in the tins for 10 minutes, then turn out onto a wire rack and cool completely, about 1 hour — a warm cake will melt the buttercream.
Step 4: Whip the purple buttercream
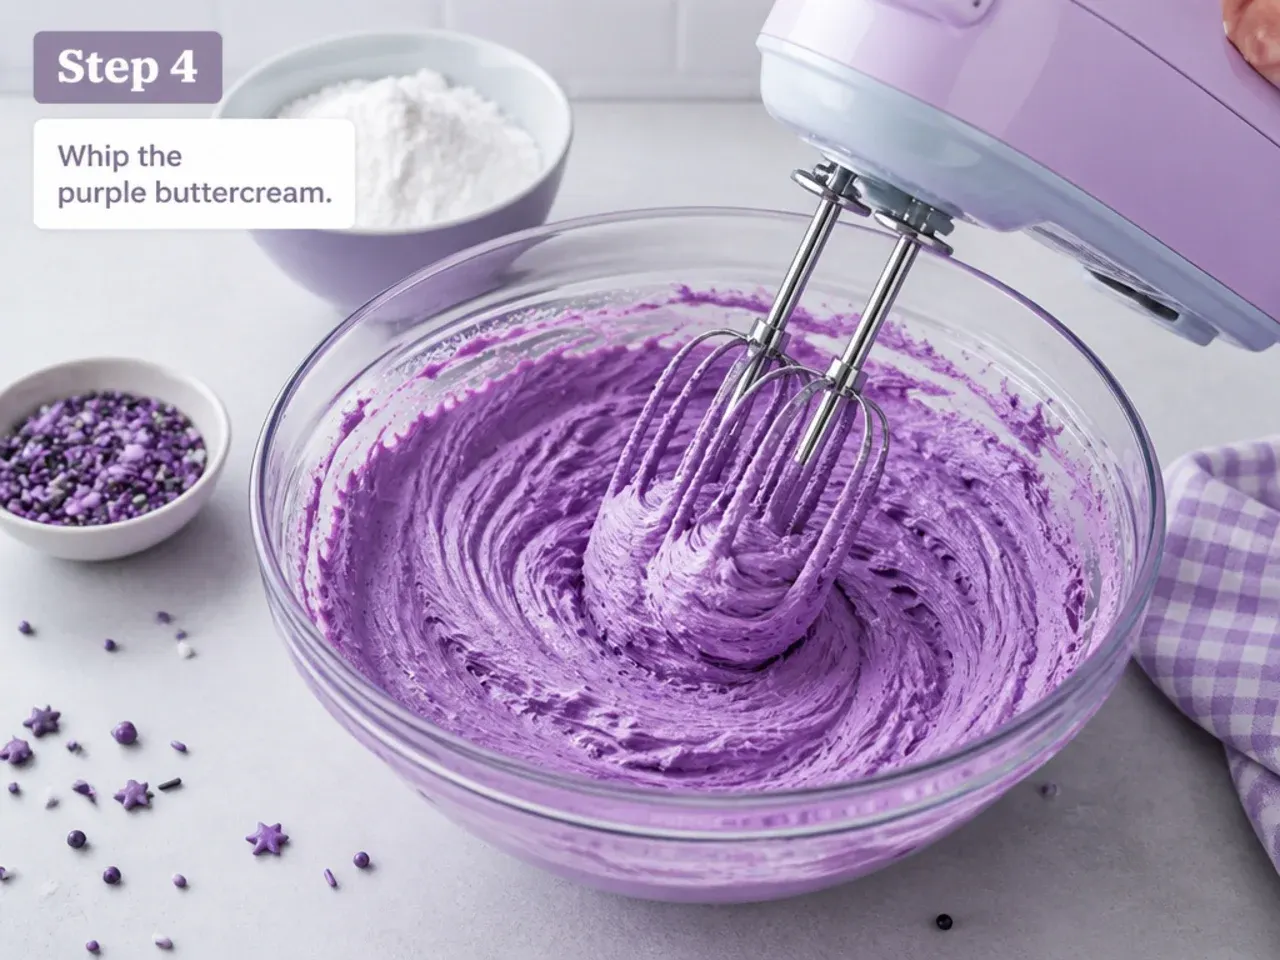
Beat the 250 g softened butter for 3-4 minutes until pale and creamy. Add the sifted icing sugar in two additions, beating on low first so it does not cloud, then on medium for 3 minutes until fluffy. Loosen with 2 tbsp milk, then add violet gel colour a little at a time until you reach a soft lilac — the shade deepens as it sits, so stop one step lighter than you want.
Step 5: Fill and crumb coat
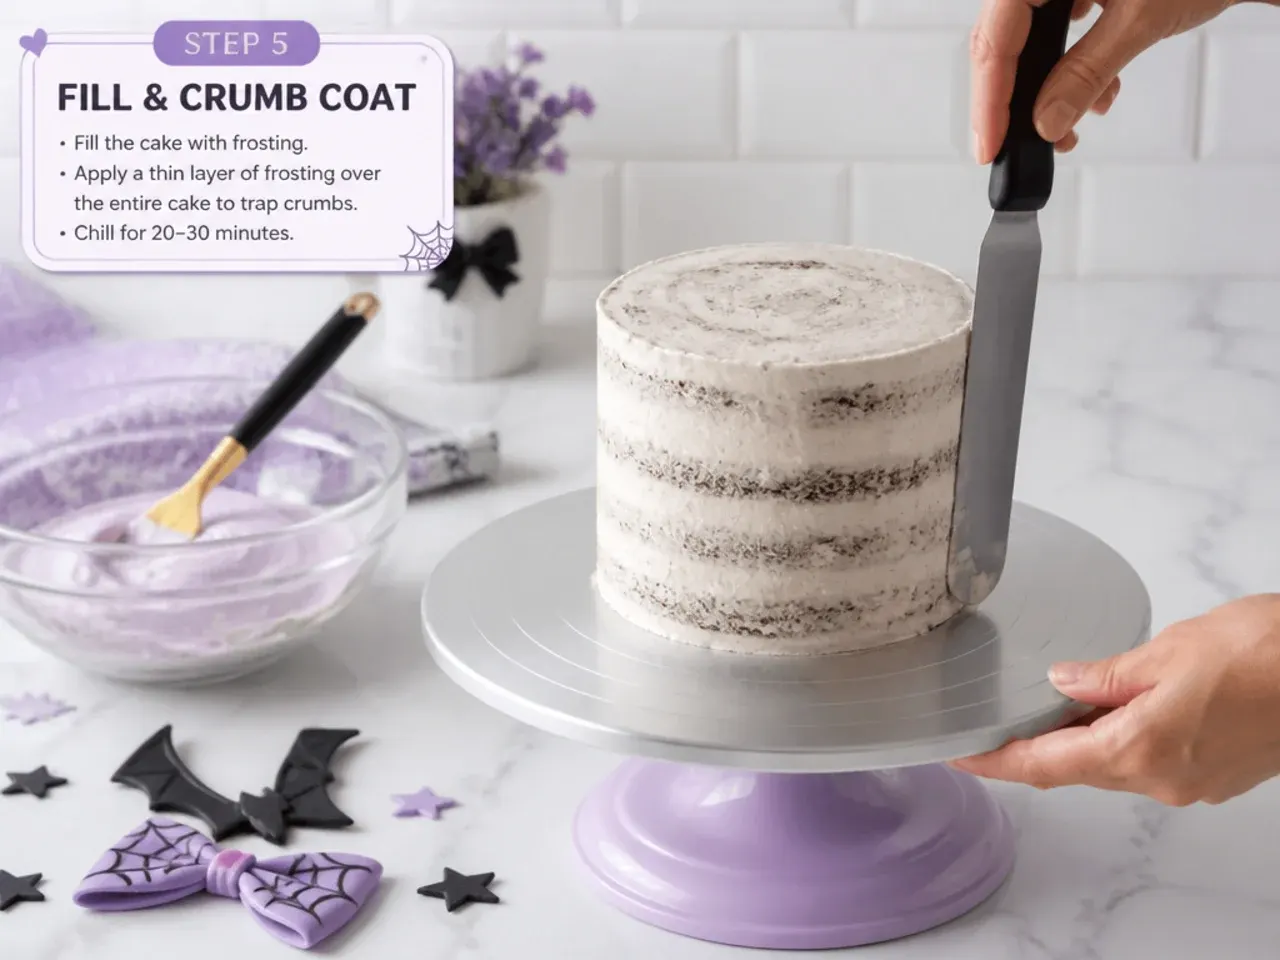
Level any domes off the cooled layers with a serrated knife. Sandwich the layers with about a third of the buttercream, then spread a thin crumb coat over the top and sides with a palette knife. Chill for 30 minutes so the crumb coat sets firm.
Step 6: Final coat and piped border
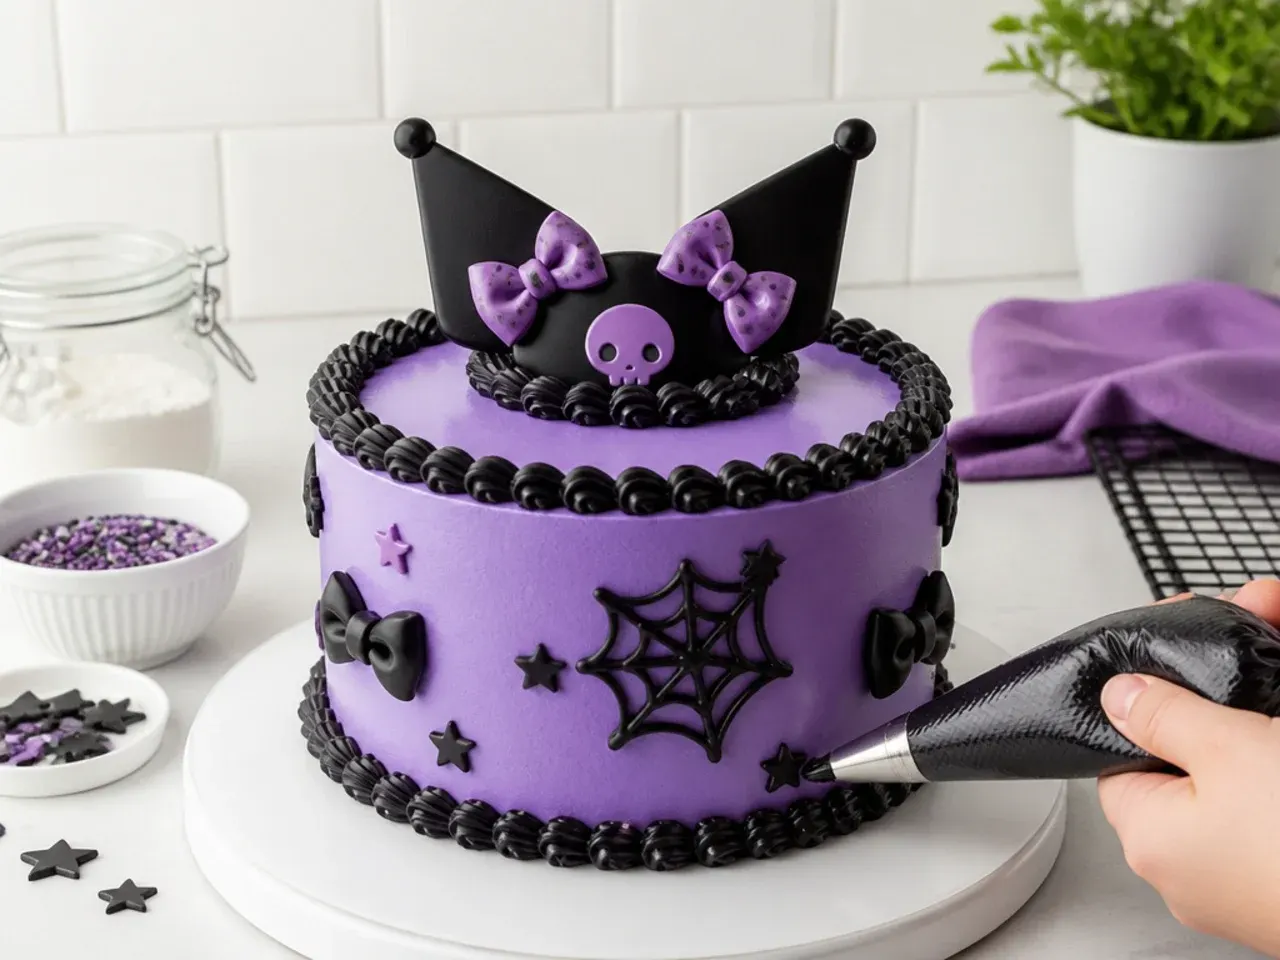
Spread the remaining buttercream over the chilled cake and smooth it with a cake scraper or palette knife. Pipe a border of swirls or shells around the top edge using a Wilton 1M or 8B tip, and finish with sprinkles in black, lilac and pink to frame whichever topper you choose.
Step 7: Add your topper
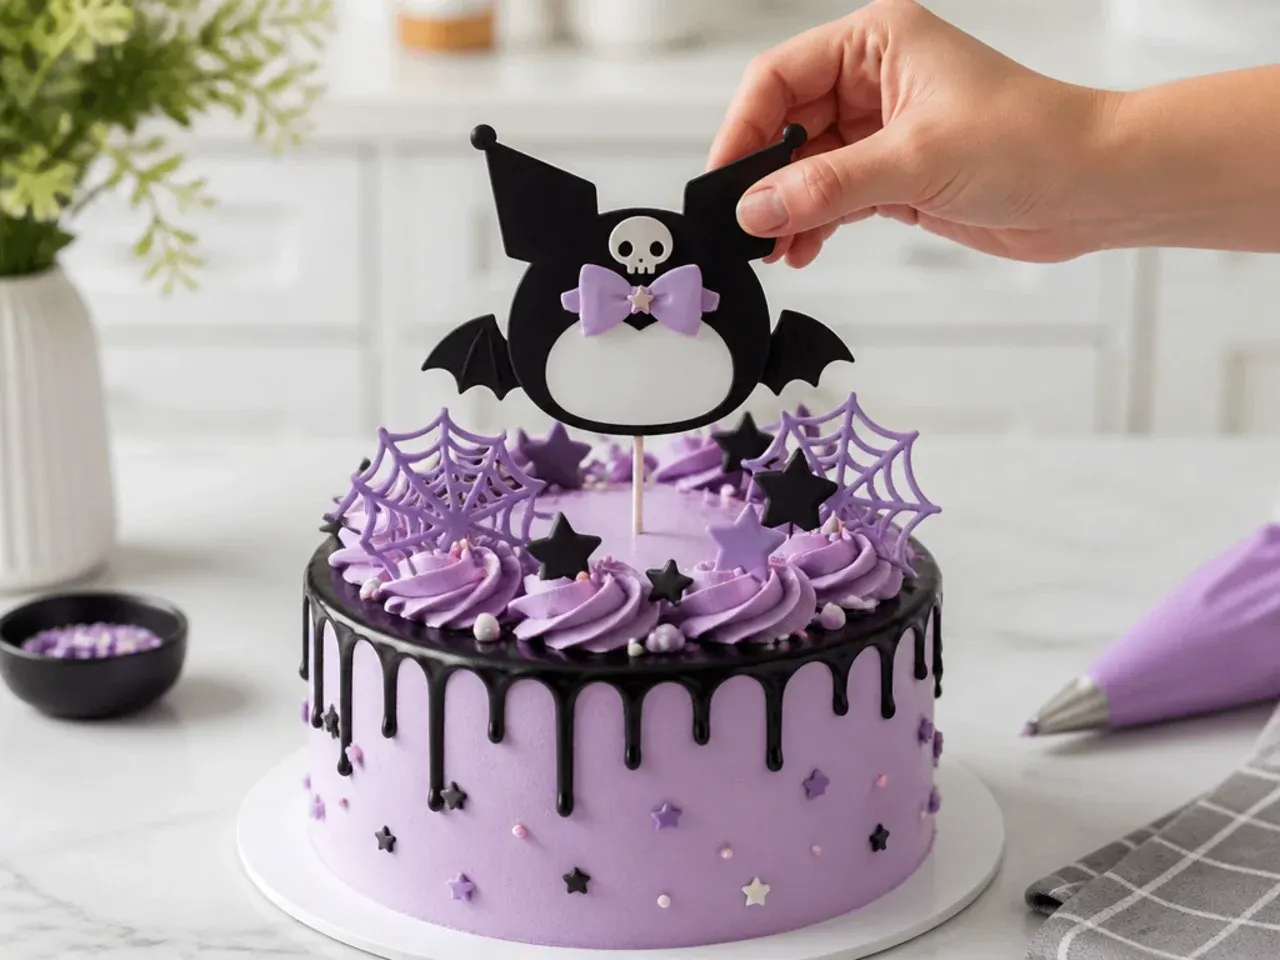
Chill the finished cake for 15 minutes so the surface is firm enough to take a topper without denting. Wrap any non-food-safe sticks or skewers in cling film before inserting them, press dried fondant pieces gently onto the buttercream where they will hold on their own, and add paper or wafer toppers just before serving so grease never wicks into them.
Frequently Asked Questions
Make them at least 2-3 days ahead so they harden enough to sit on buttercream without slumping, and they can be made several weeks in advance if stored well. Keep dried toppers in a cardboard cake box in a cool, dry spot away from sunlight — an airtight plastic container traps moisture and softens them. If you are short on time, firm soft toppers in the oven at its lowest setting for 5-8 minutes and let them cool completely before handling.
Save this for later 📌
Pin this article to your Pinterest board so the full list is one tap away when you need it.
Save on Pinterest