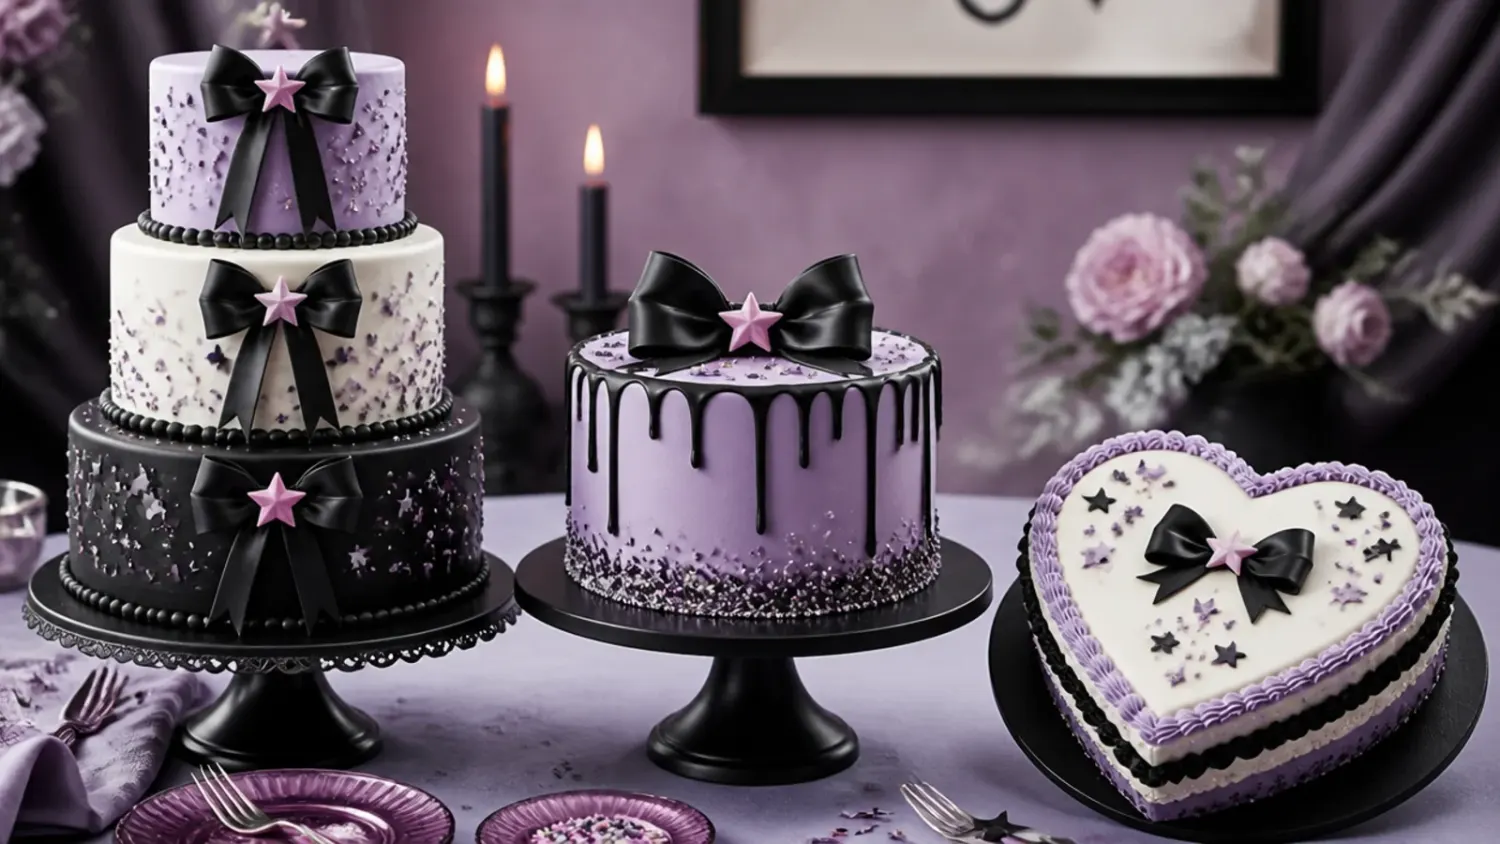
3 Homemade vs Bakery Kuromi Cakes Compared
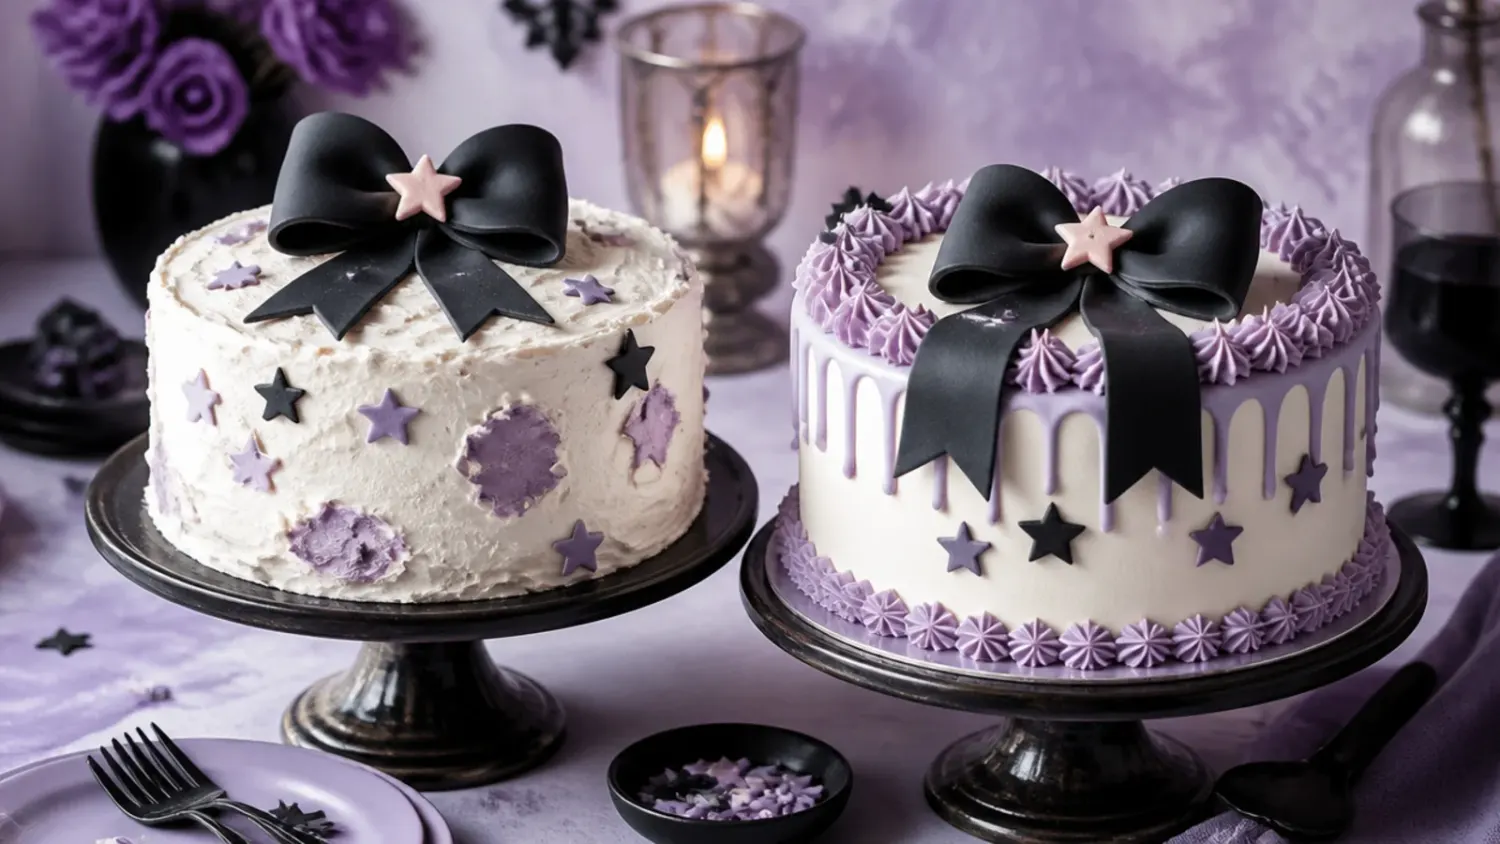
Homemade kuromi cake vs bakery: real costs, taste, time and effort compared, plus a full recipe so you can decide which route fits your party. If you love kuromi cake inspiration, start with our Kuromi Cake Ideas collection, then browse the full Cake Ideas hub for more.
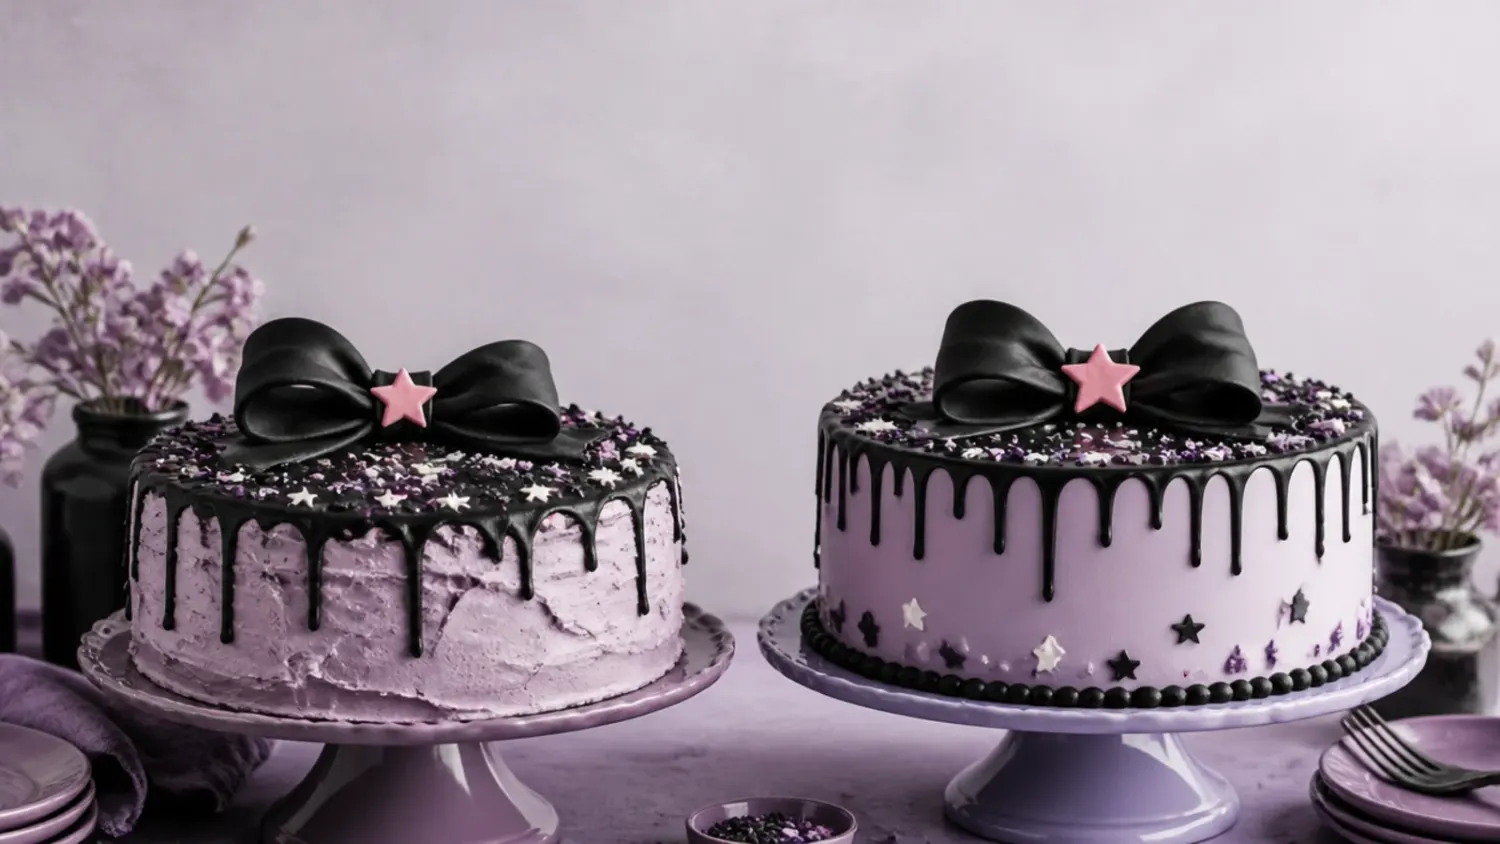
Save this for later 📌
Pin this article to your Pinterest board so the full list is one tap away when you need it.
Save on PinterestCake Ideas
Intermediate
Comparison
3 compared
Table of Contents
Option 1: The Homemade Kuromi Cake
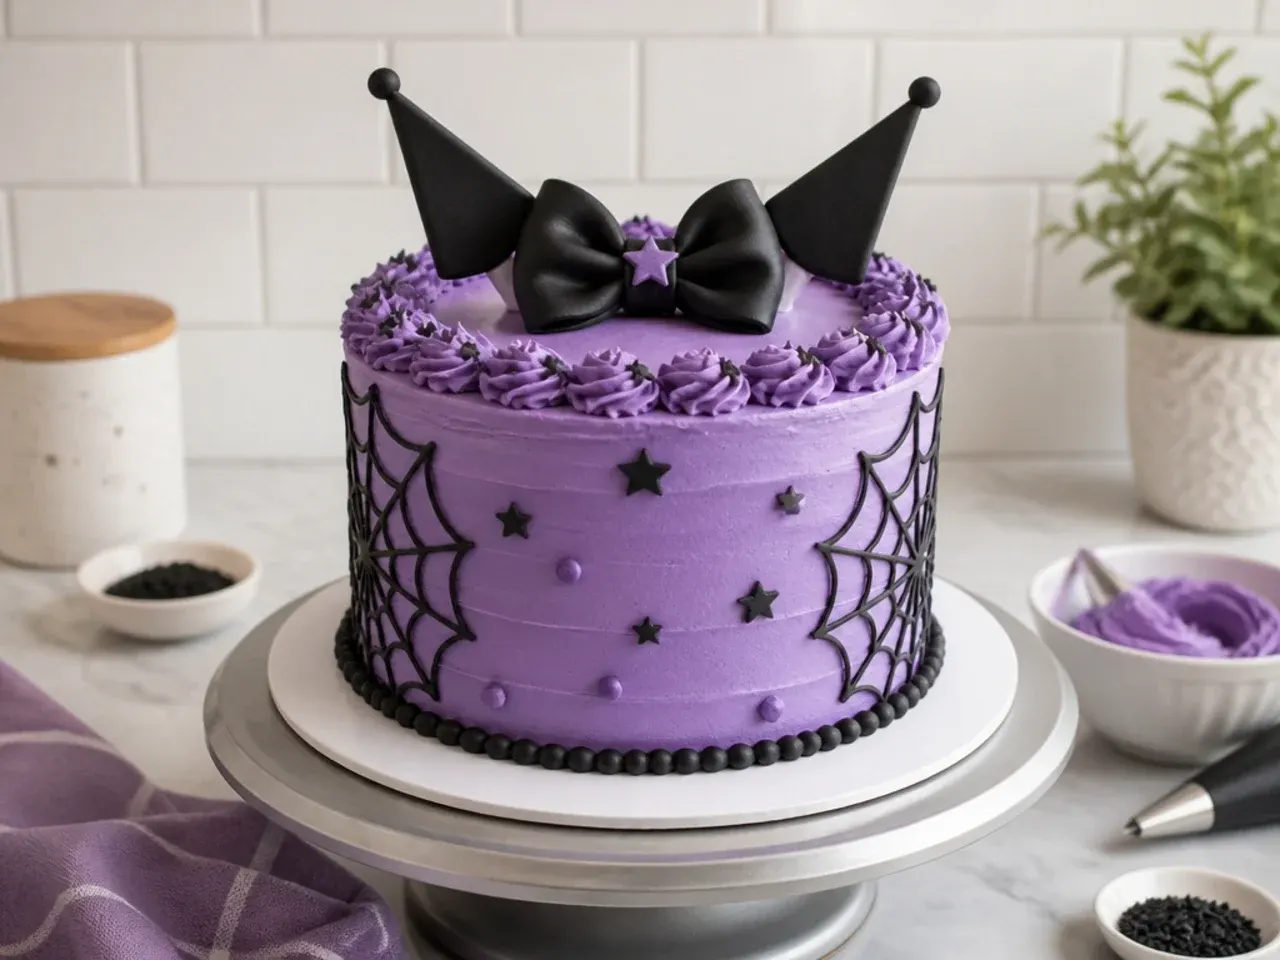
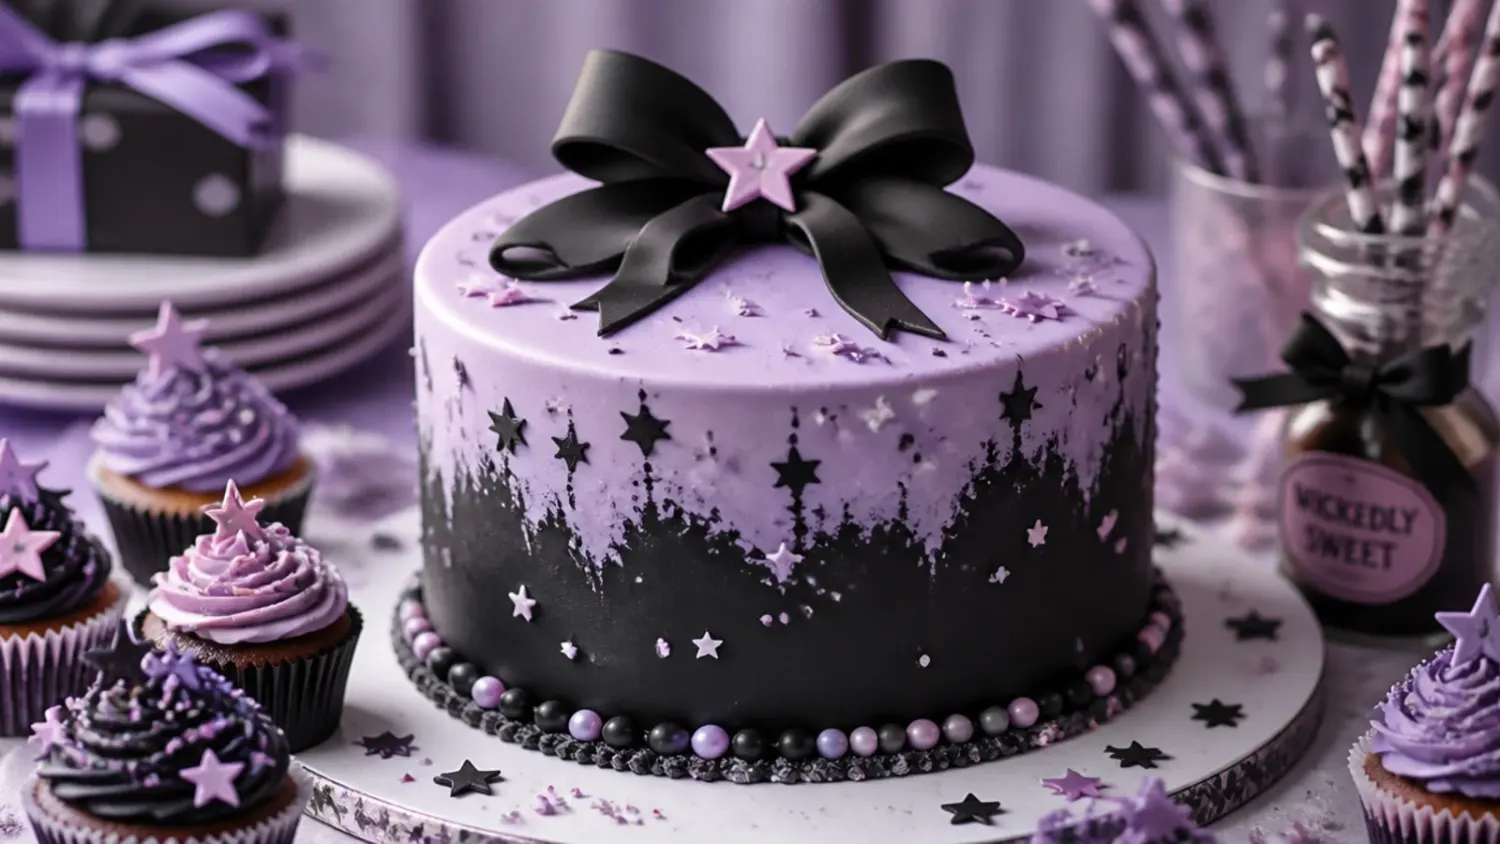
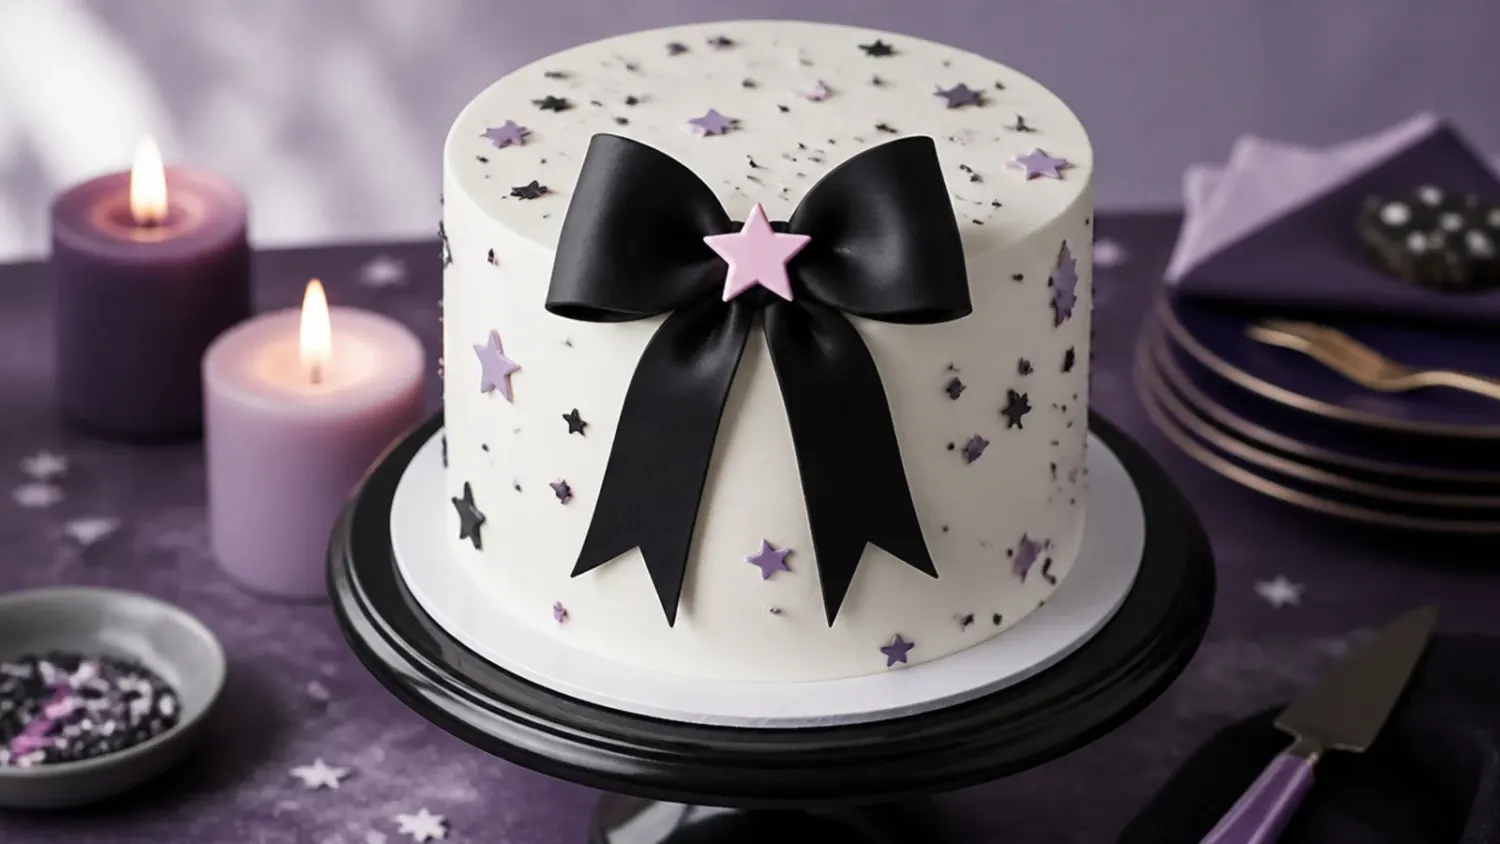
The homemade route means baking a two-layer vanilla or chocolate sponge and decorating it in the character's signature black, purple, pink and white palette yourself. You control everything: a moist crumb, real vanilla buttercream, and a design built from polka dots, a jester-style bow shape, pointy ear accents and star sprinkles rather than a printed sheet. It works because the look is mostly about color blocking and a few shaped fondant pieces, not fine art. To achieve it at home you tint buttercream with gel colour (black needs a lot, so start from chocolate buttercream to get there faster), pipe a shell border with a Wilton 1M tip, and cut ears and a bow from black and pink fondant. Expect a rustic-but-charming result on your first try, and a genuinely impressive one by your second.
Option 2: The Bakery Kuromi Cake
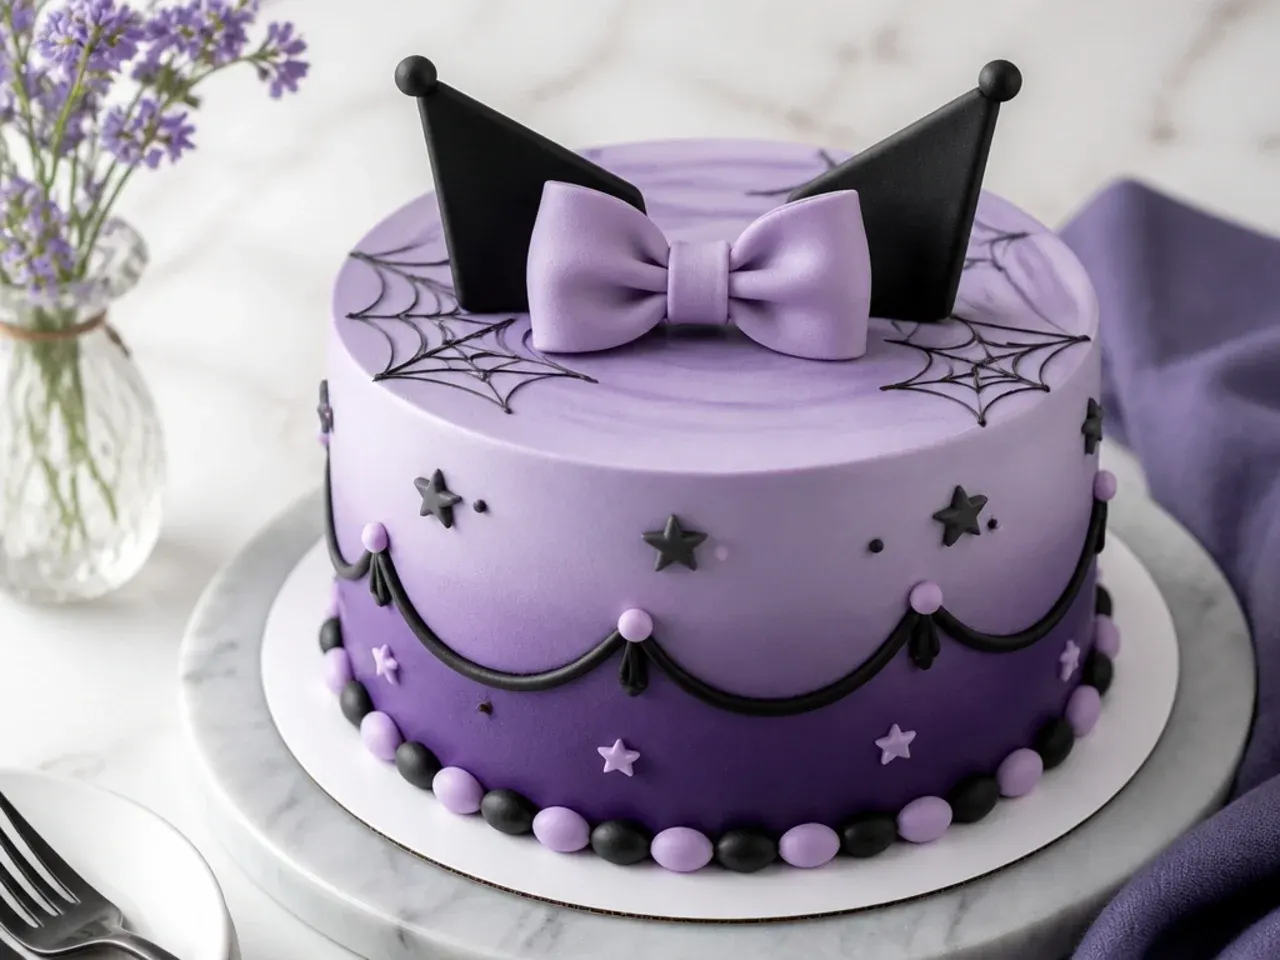
A bakery order hands the whole job to a decorator who does themed cakes weekly, so the finish is sharp: smooth fondant panels, an airbrushed purple gradient, a clean piped smile, and neatly sculpted ears and bow. You choose flavour (dark chocolate with raspberry, vanilla with pink buttercream and black sesame are common pairings), size, and pickup date, then collect a display-ready cake. It works because you are paying for equipment and skill you may not own: airbrush guns, tempered fondant, and turntable technique. To get the best result, order 1 to 2 weeks ahead, send 2 or 3 reference photos, confirm whether the character topper is edible or plastic, and ask about allergen handling. The trade-off is cost and less control over the exact shade of purple or the sweetness of the frosting.
Cost Comparison
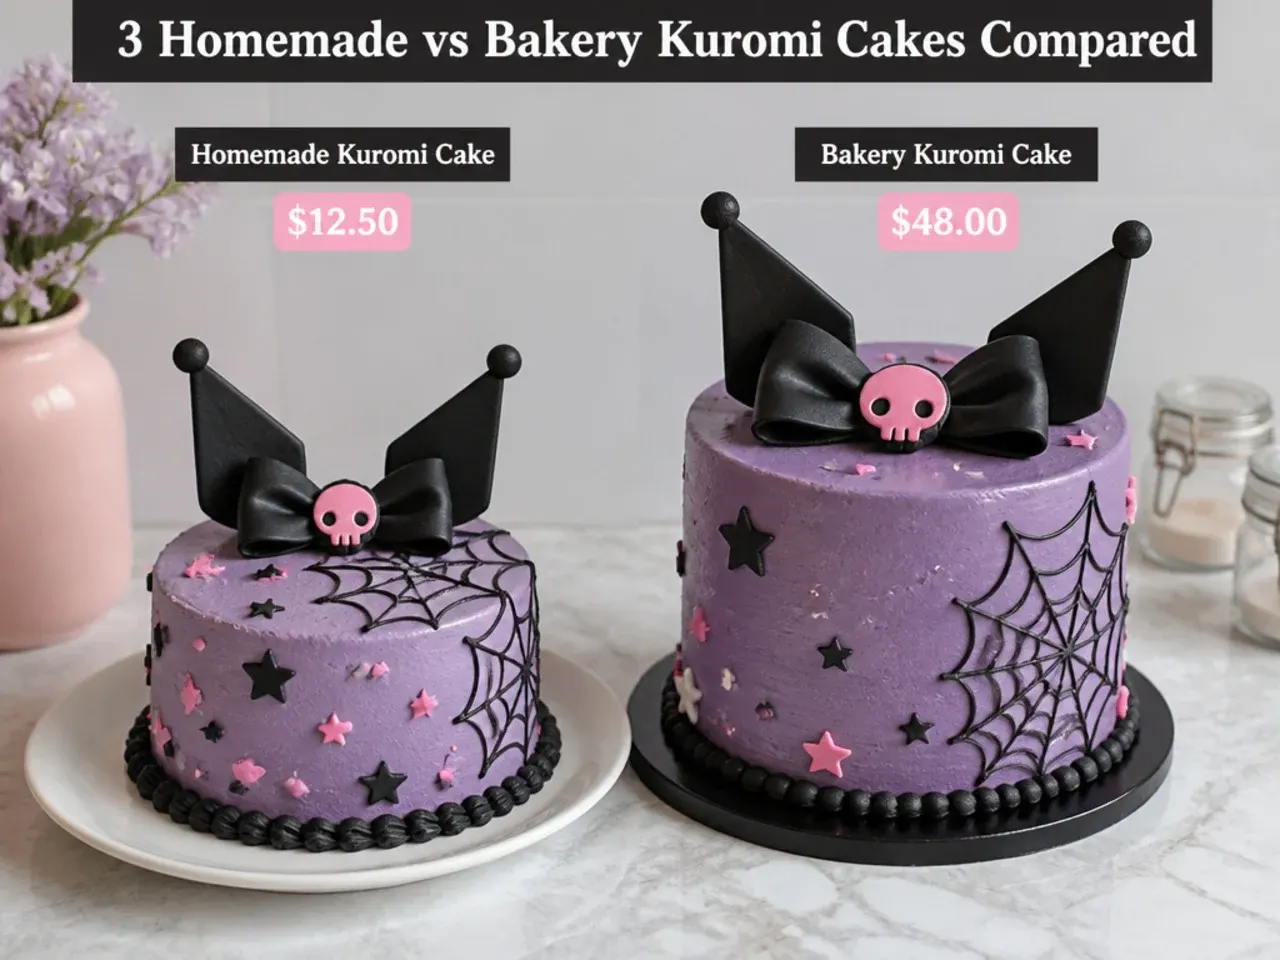
Homemade is dramatically cheaper. A two-layer 8-inch/20cm cake from scratch runs roughly 12 to 18 pounds in ingredients (butter, flour, eggs, sugar, gel colours and a small block of fondant), and most of that stocks your cupboard for the next bake. A custom bakery kuromi cake of the same size typically lands between 45 and 90 pounds, and full sculpted or two-tier versions climb past 120. The hidden home cost is one-time equipment: a 1M piping tip, gel colour set and a turntable total around 20 to 30 pounds but last for years. If you already own basic tools, homemade wins on price by a wide margin; if you are buying everything for a single cake, the gap narrows but home still comes out ahead.
Taste and Texture
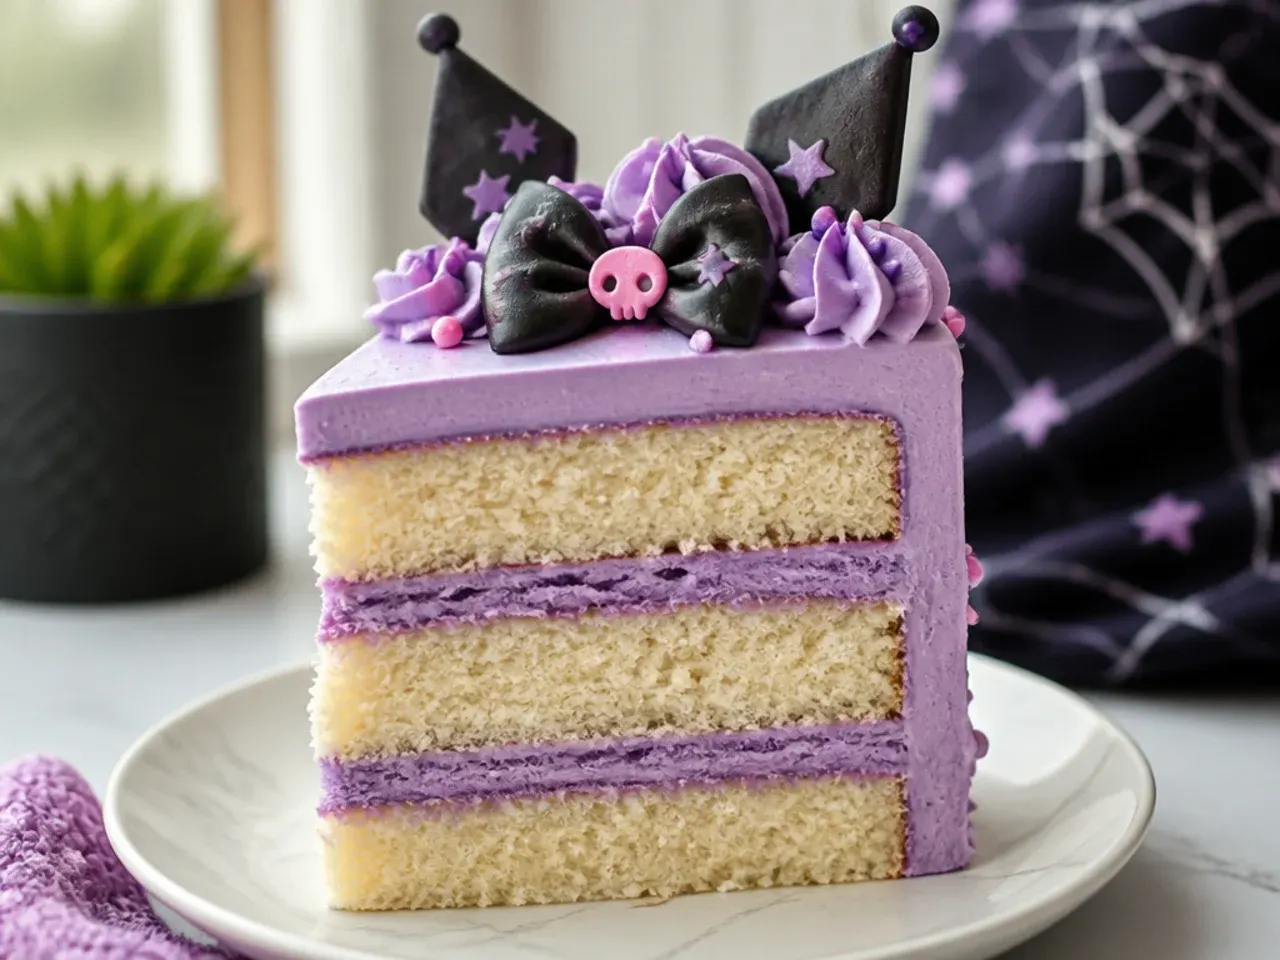
Fresh homemade cake usually tastes better because it is eaten within a day of baking, so the crumb is still tender and the buttercream is soft, not chilled firm from a display fridge. Bakery cakes prioritise a flawless exterior, which often means a thick fondant shell that many people peel off, and a sturdier sponge that travels and holds sculpted shapes without collapsing. If your priority is a moist, buttery bite, bake at home and frost with real buttercream rather than shortening-based icing. If your priority is a picture-perfect surface that survives a car ride and a warm party room, the bakery's firmer construction has the edge. A good compromise at home is a light crumb coat plus buttercream finish and only small fondant accents, keeping most of what people actually eat soft.
Time and Effort
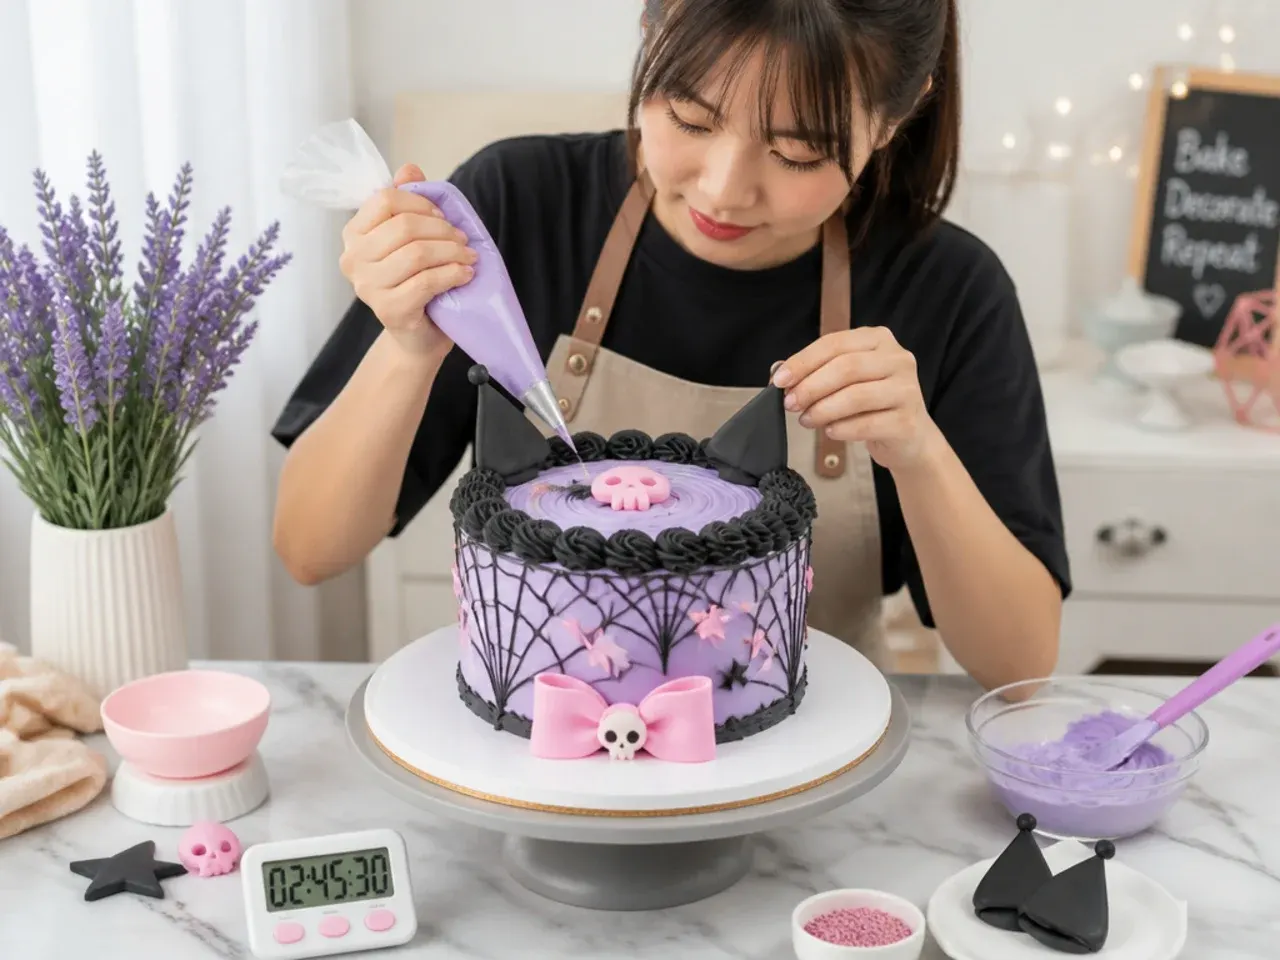
A bakery cake costs you about 20 minutes: a phone call or form, then a pickup. Homemade is a genuine project: plan on 30 minutes prep, 30 minutes baking at 180C/350F, at least 2 hours cooling, then 1 to 2 hours to fill, crumb coat, chill, frost and decorate. Realistically, budget an evening plus a morning, or split it across two days by baking the layers the day before. The effort pays back in cost savings and the fun of making it, but it is not a last-minute option, so a rushed decorator with no baking experience will feel the pressure. If you have less than a day and no practice, the bakery is the calmer choice; if you have a free weekend and want the satisfaction, bake it.
Best Choice by Situation
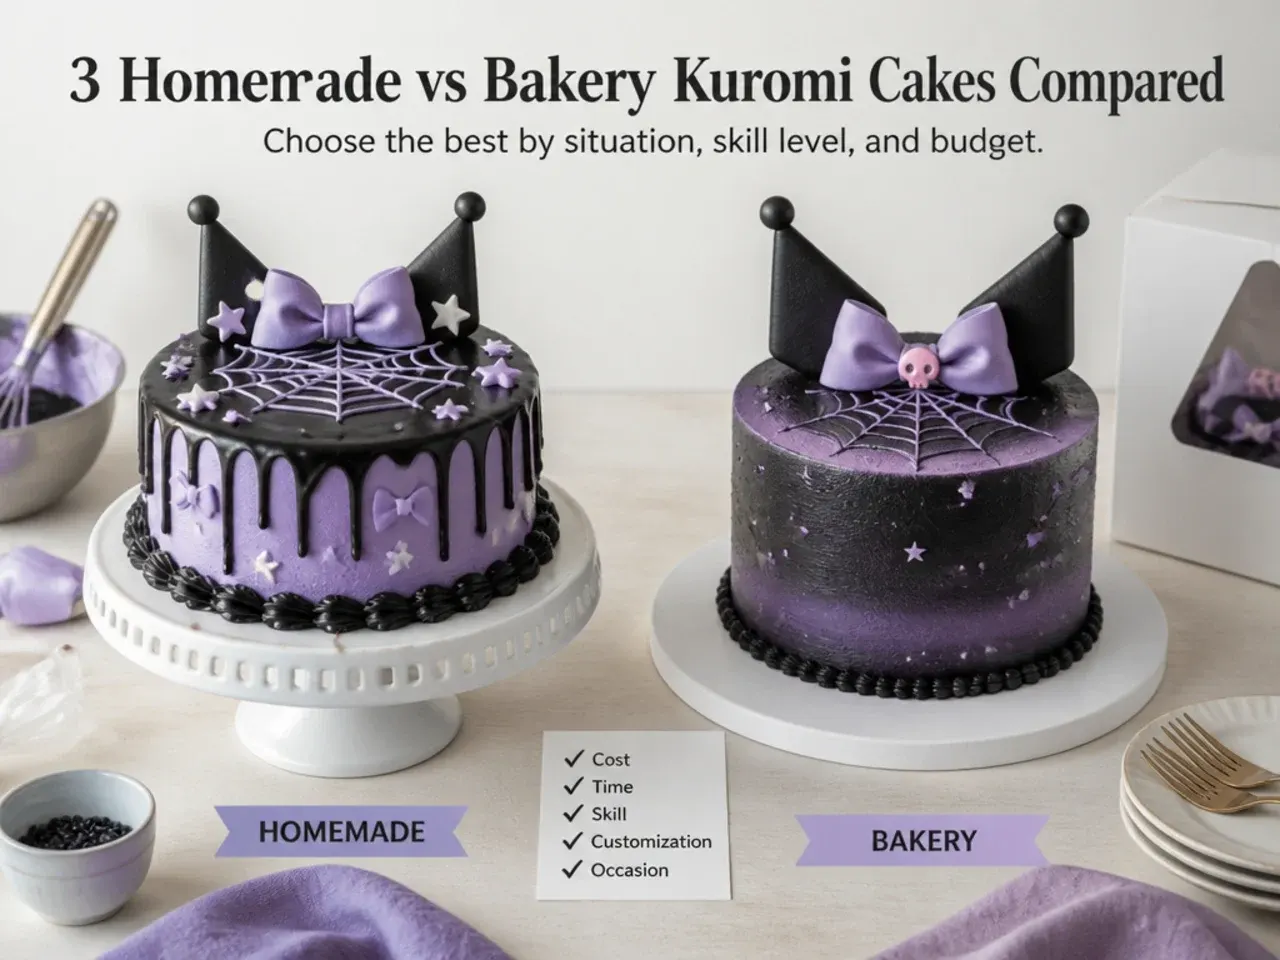
Choose homemade if you enjoy baking, have a weekend, want to save money, or need to control allergens and sweetness for a young child. Choose the bakery if the party is in two days, you need a large or sculpted cake for 30-plus guests, or a flawless finish matters more than a soft crumb. For a first birthday or a small at-home party of 8 to 12, the homemade two-layer cake below is the sweet spot: affordable, tasty and impressive enough. For a big venue event or a showpiece dessert table, order from a decorator and spend your energy on the rest of the party. Whichever you pick, the black, purple and pink palette with bow, ears and star accents delivers the mischievous kuromi cake look.
The Recipe
The Recipe We Recommend
40 min
32 min
4 hr 30 min (includes cooling)
12
Intermediate
Ingredients 12 Person(s)
Directions
Step 1: Prep pans and oven
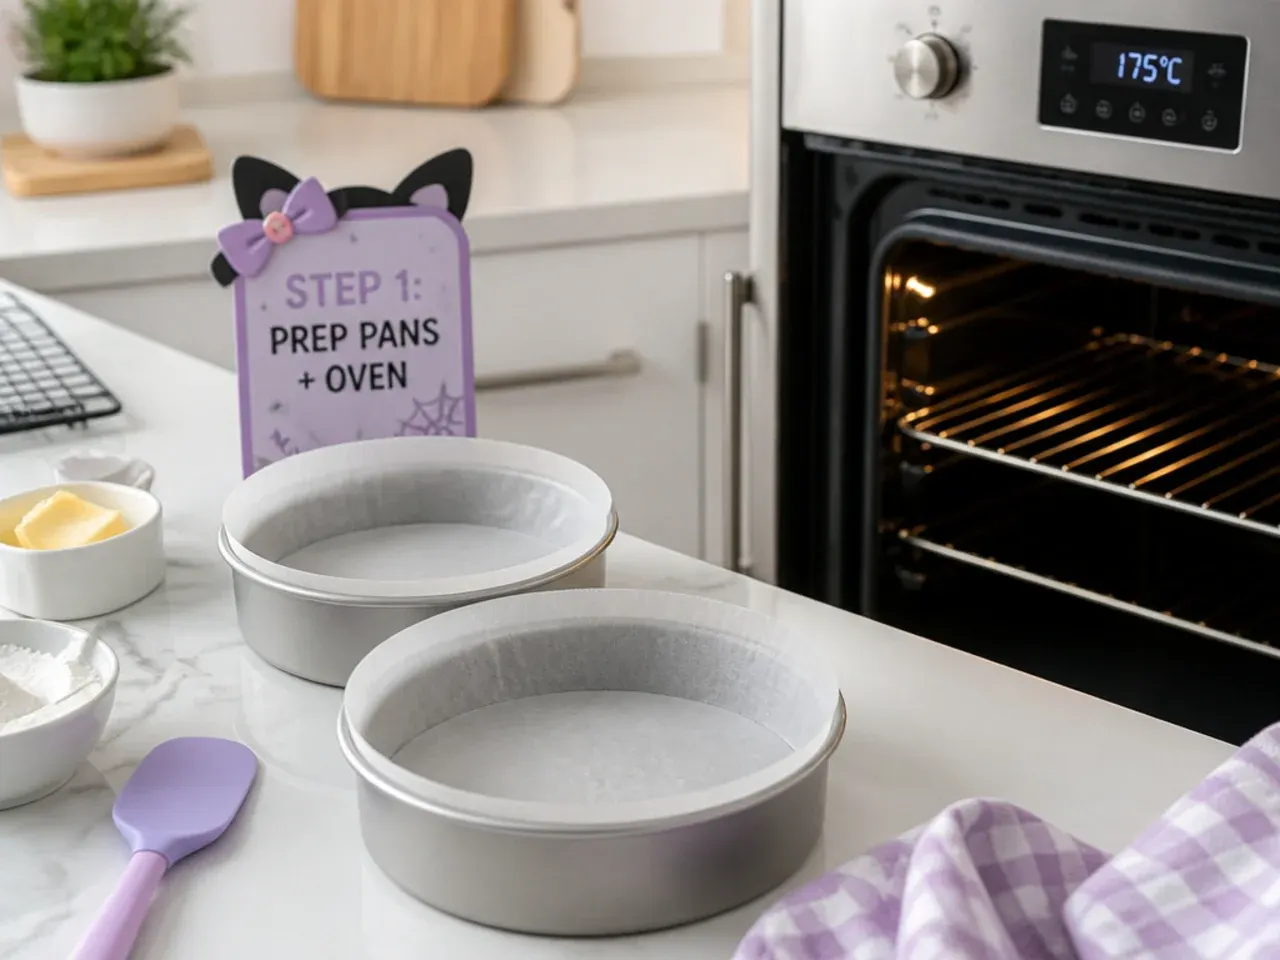
Heat the oven to 180C/350F (160C fan). Grease two 8-inch/20cm round cake pans and line the bases with baking parchment. Bring the butter, eggs and milk to room temperature first; cold ingredients curdle the batter and give a denser crumb.
Step 2: Cream butter and sugar
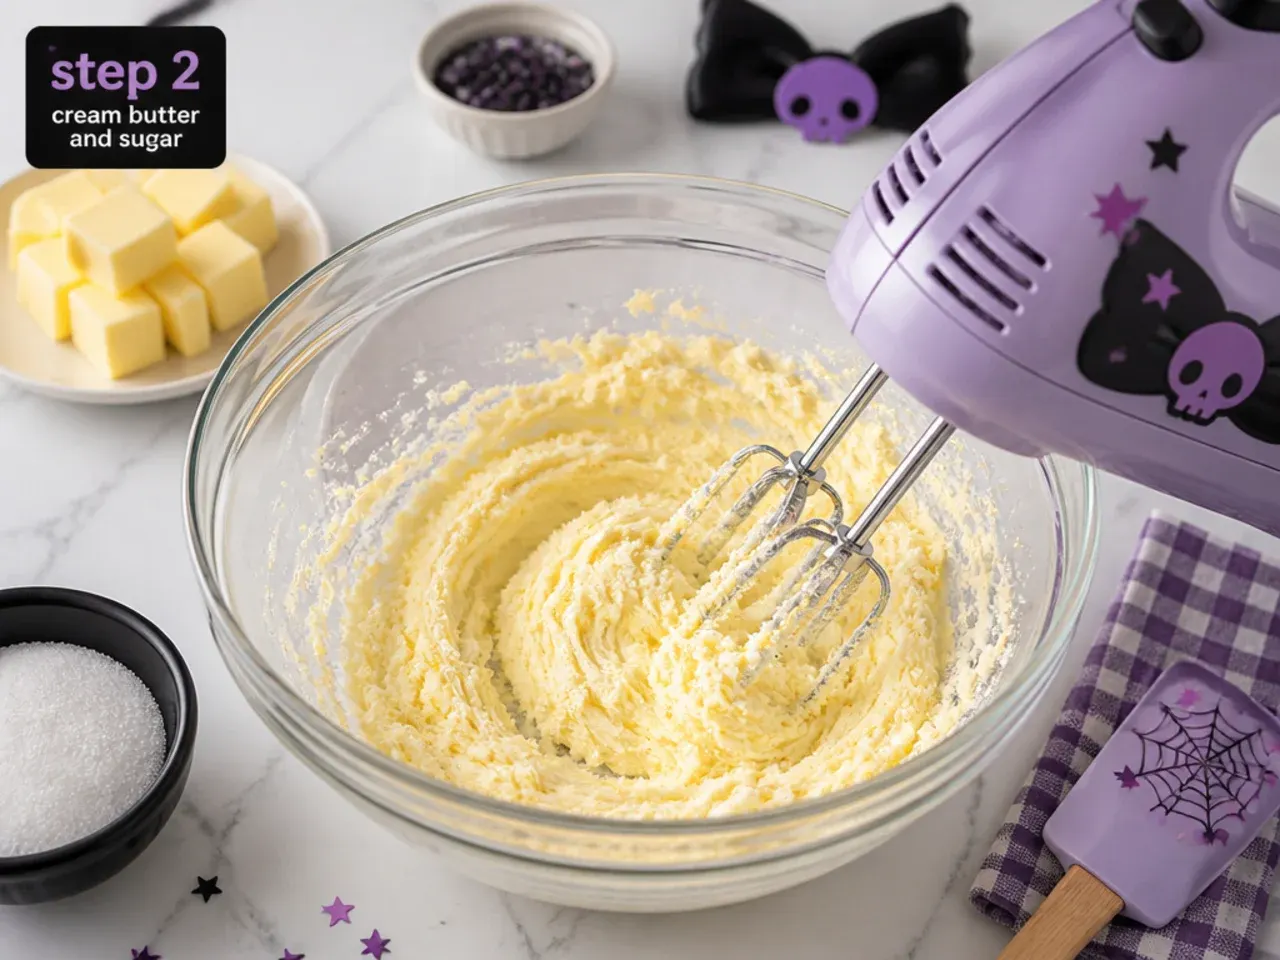
Beat the 225g softened butter with the caster sugar on medium-high for 4 to 5 minutes until pale and fluffy. Scrape the bowl at least twice. This step whips in air, so do not rush it, this is what makes the sponge light.
Step 3: Add eggs and vanilla
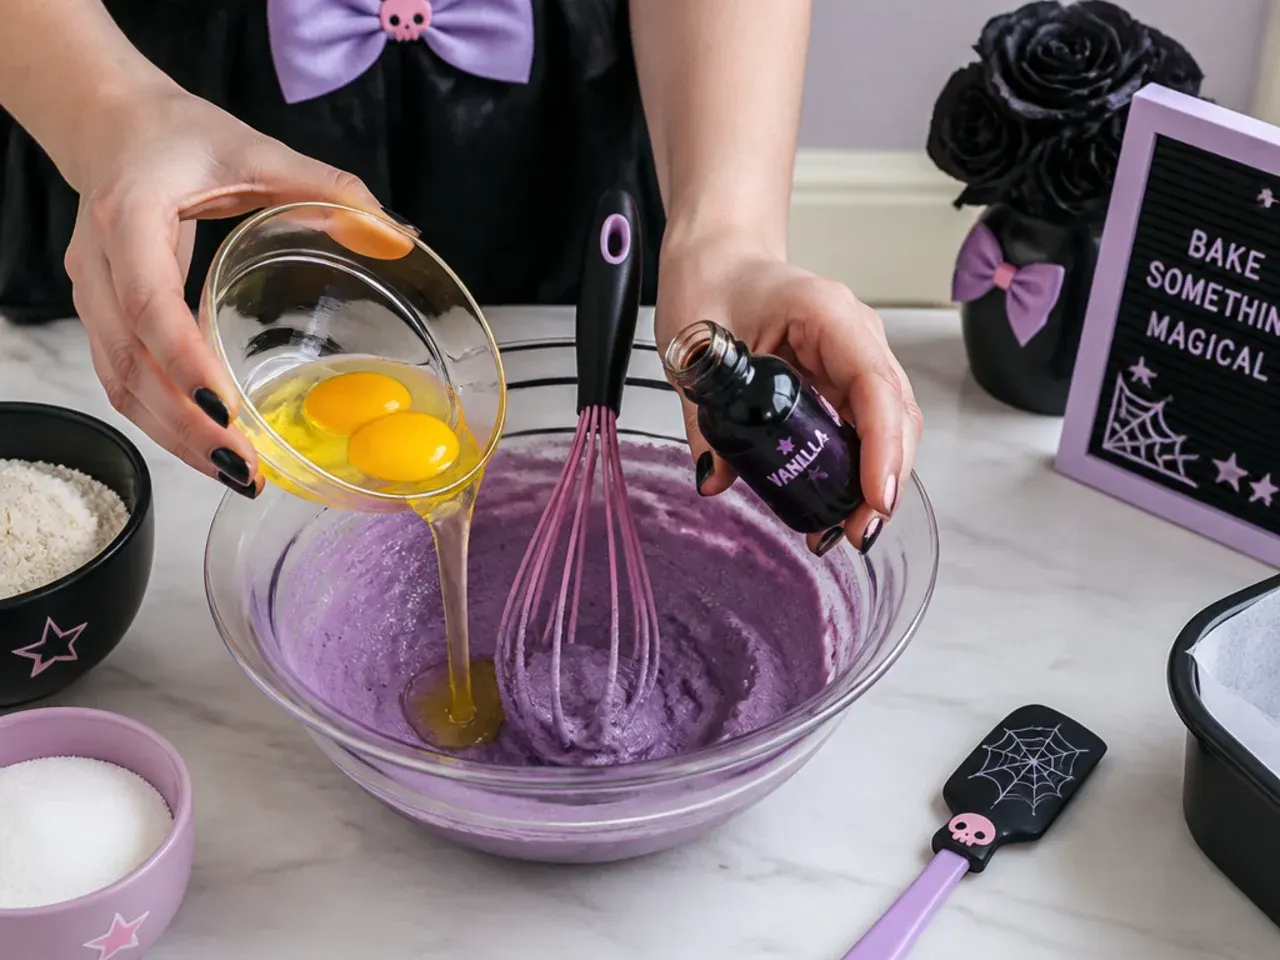
Add the eggs one at a time, beating well after each, then mix in the vanilla. If the mixture looks slightly split, add a spoonful of the measured flour to bring it back together. Room-temperature eggs blend in smoothly without deflating the batter.
Step 4: Fold in dry and wet
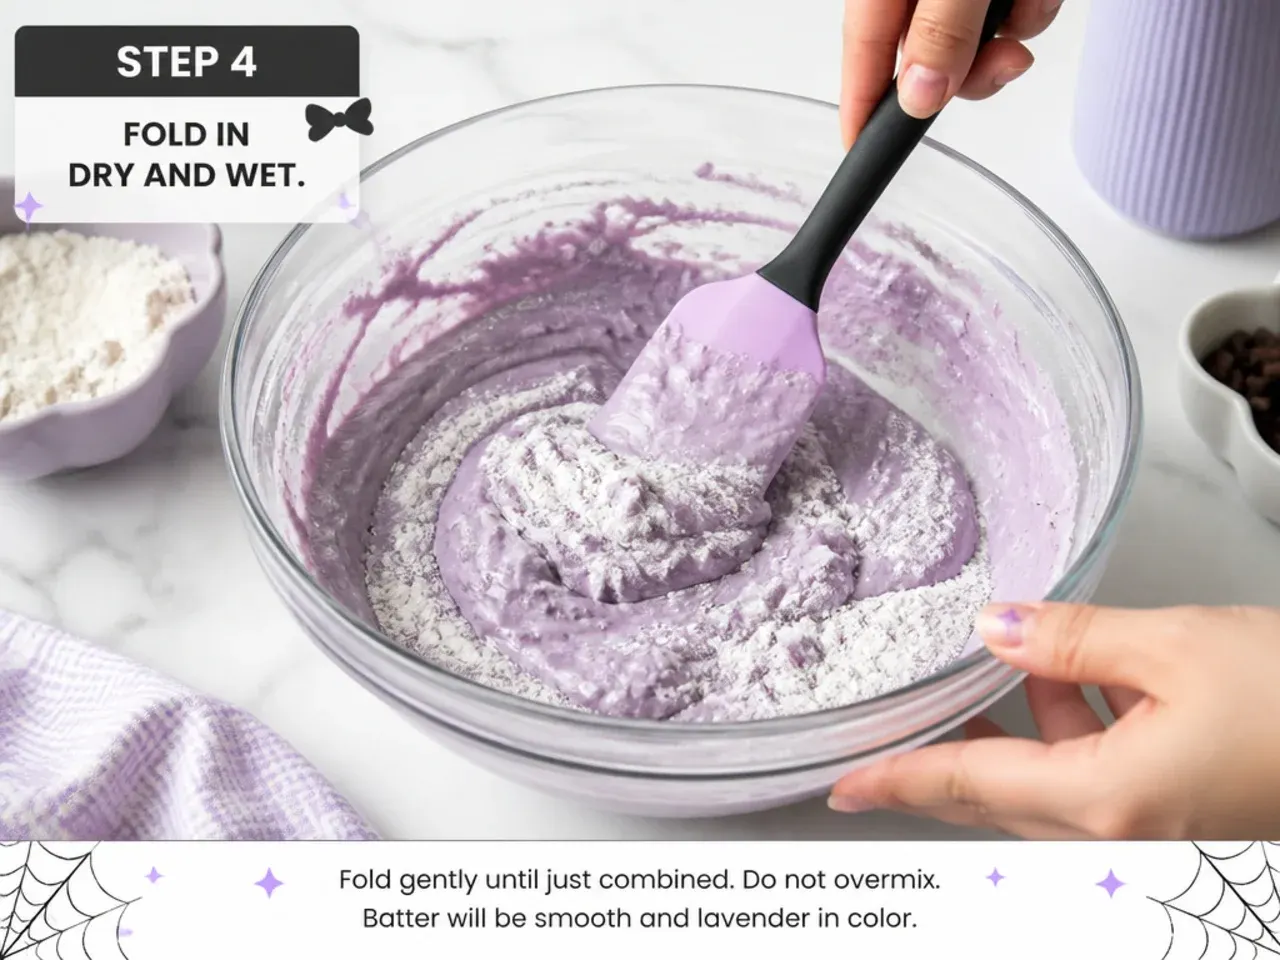
Whisk the flour, baking powder and salt together in a separate bowl. Fold a third of the dry mix into the batter, then half the milk, and repeat, ending with the flour, mixing only until just combined. Overmixing at this stage builds gluten and makes the cake tough.
Step 5: Bake and cool
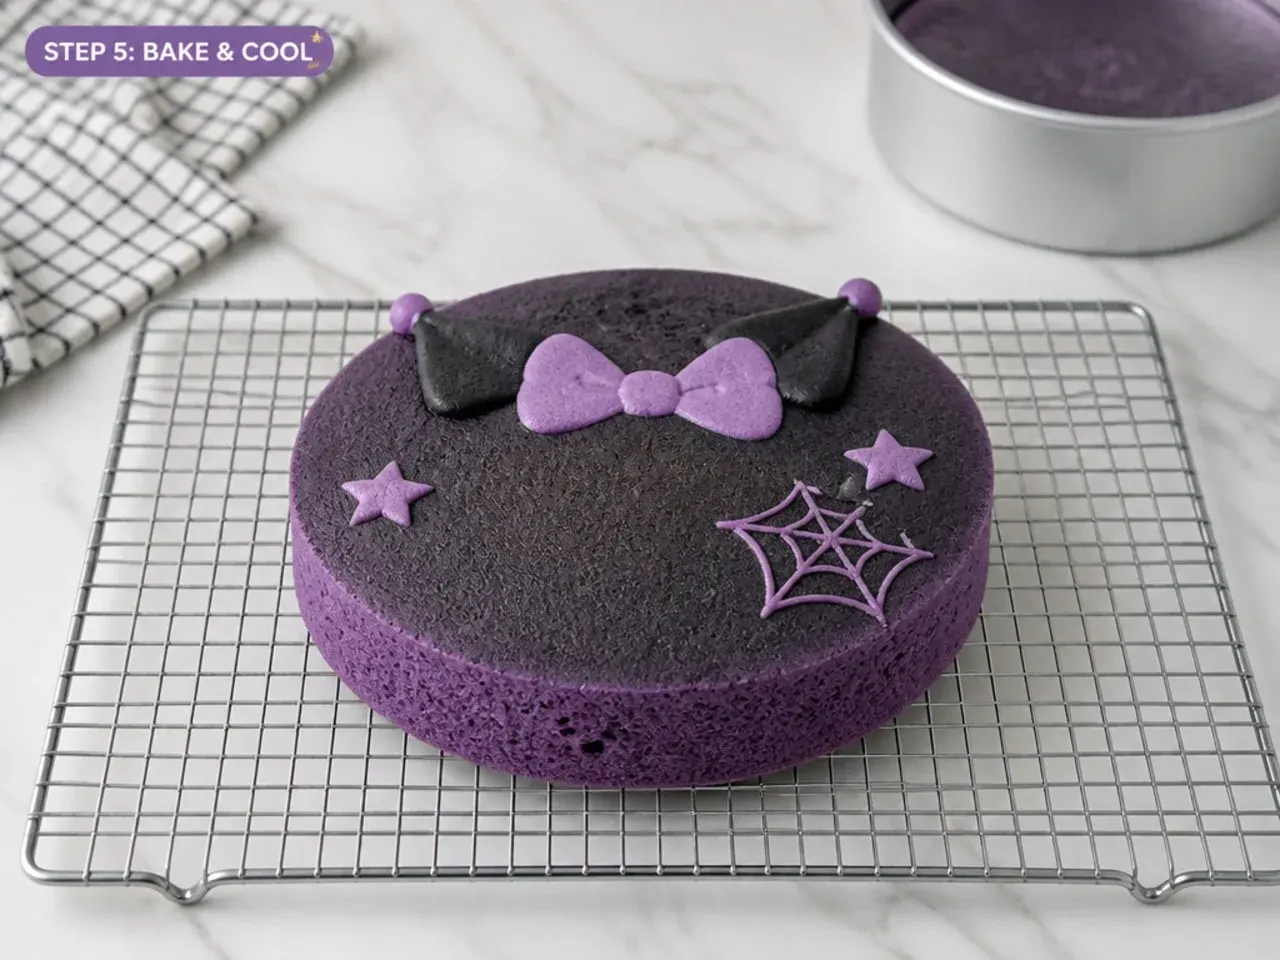
Divide the batter evenly between the pans and level the tops. Bake for 28 to 32 minutes, until golden and a skewer comes out clean and the centre springs back. Cool in the pans for 10 minutes, then turn out onto a rack and cool completely before frosting, at least 1 to 2 hours.
Step 6: Make and colour the buttercream
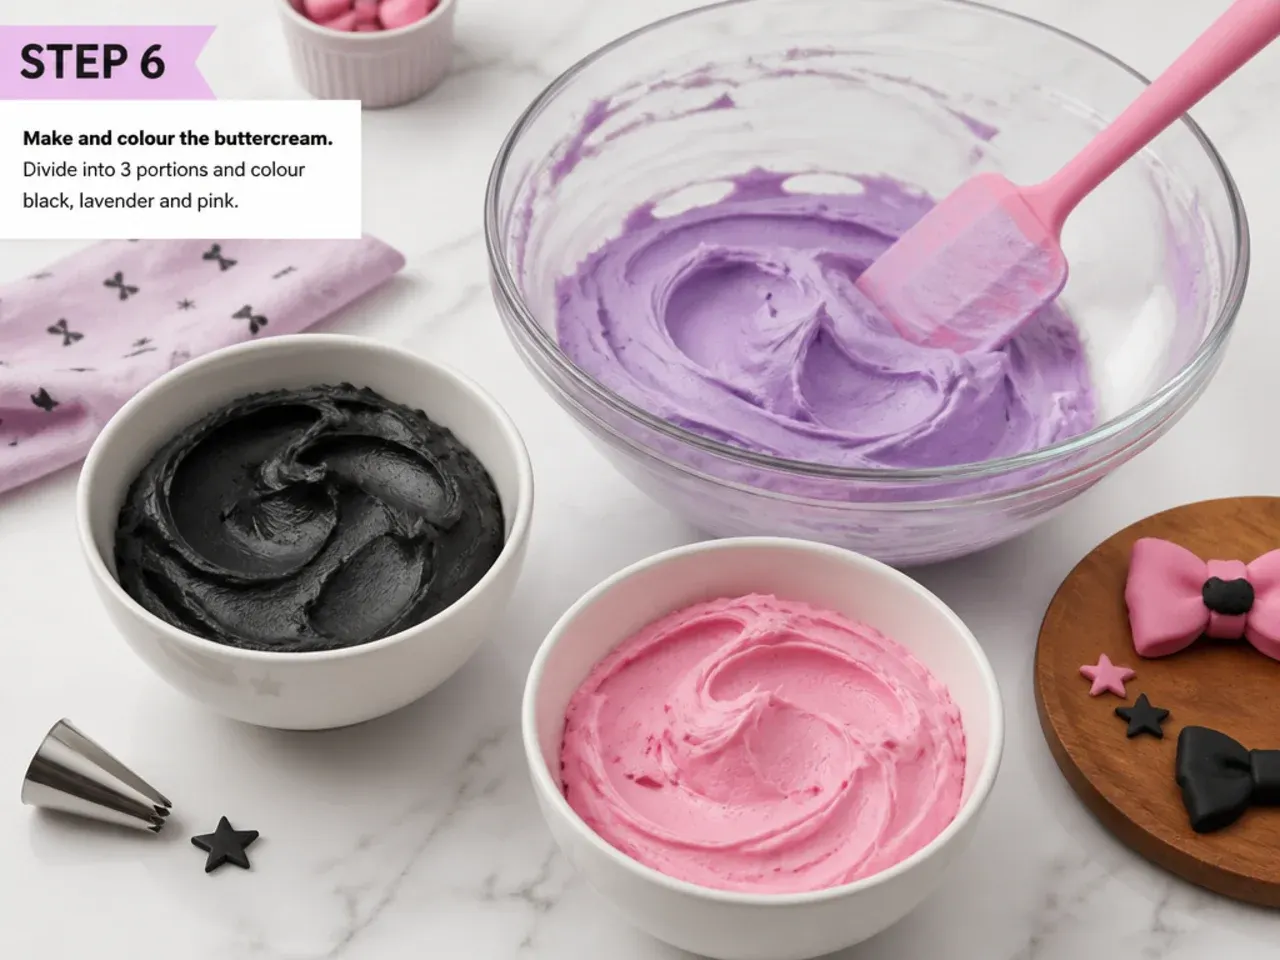
Beat the 340g butter until creamy, then add the sifted icing sugar in batches with a splash of milk until smooth and spreadable. Keep about a third white, tint a third purple and a small amount pink; for deep black, start from a scoop tinted with cocoa or chocolate then build with black gel so you use less colour. Chill any buttercream that gets too soft for 10 minutes.
Step 7: Fill, crumb coat and decorate
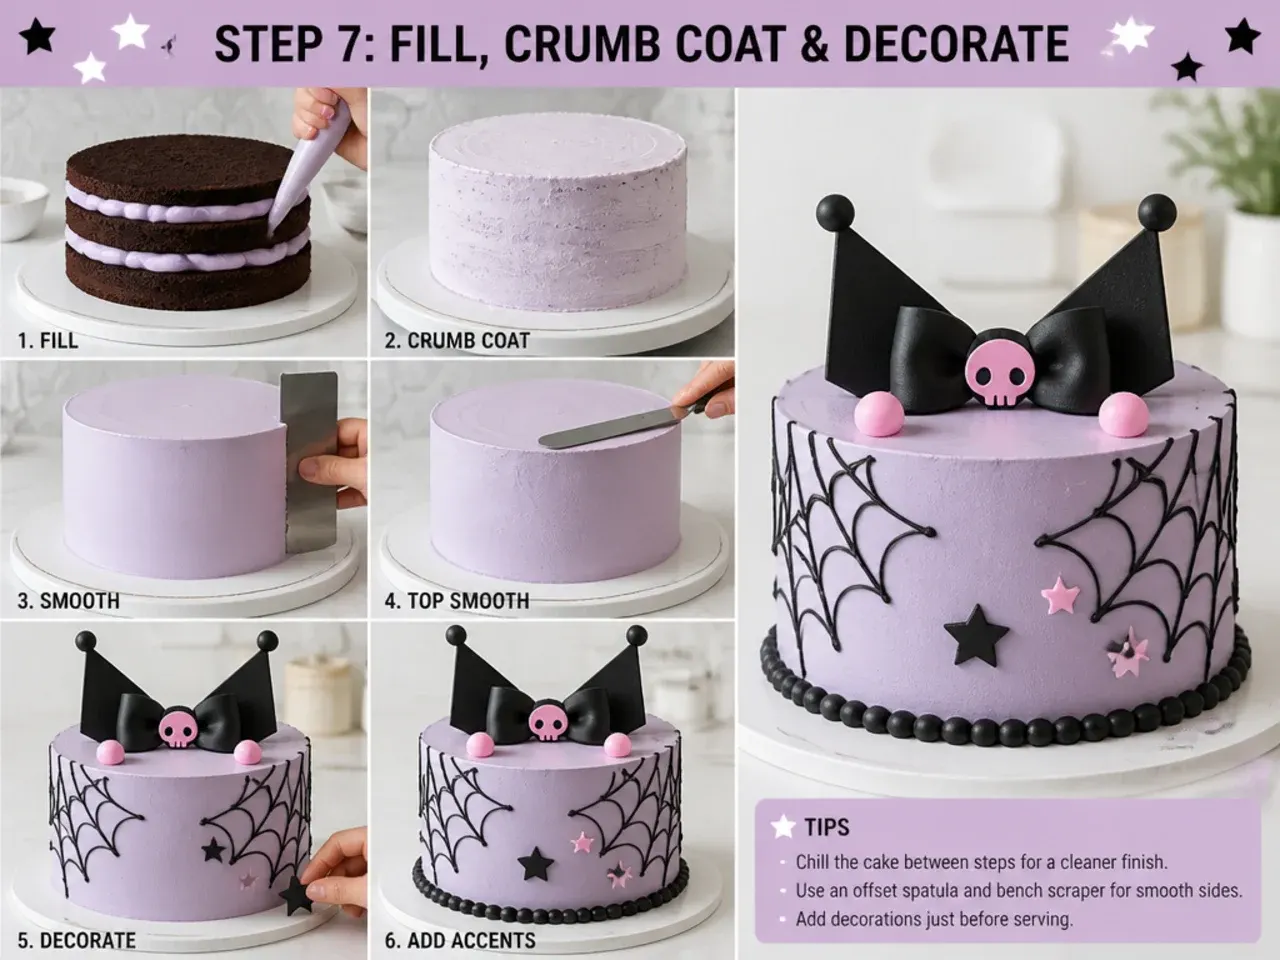
Level the layers, stack with a purple buttercream filling, then apply a thin crumb coat and chill 20 to 30 minutes so the surface sets firm. Finish with a smooth white or purple coat, then pipe a shell border with a Wilton 1M tip. Roll and cut fondant into pointed ear shapes, a jester-style bow and polka dots, add star sprinkles, and arrange them for a mischievous, kuromi-inspired look without copying the exact character face.
Frequently Asked Questions
Home is much cheaper. Ingredients for a two-layer 8-inch cake run about 12 to 18 pounds, while a custom bakery kuromi cake usually costs 45 to 90 pounds, and sculpted or tiered versions more. The only extra home cost is one-time tools like a piping tip and gel colours, which last for years.
Save this for later 📌
Pin this article to your Pinterest board so the full list is one tap away when you need it.
Save on Pinterest