15 Cute Kuromi Smash Cake Ideas
15 cute Kuromi smash cake ideas for a first birthday, from classic pink and black to floral, plus one easy base recipe you can decorate any way. If you love kuromi cake inspiration, start with our Kuromi Cake Ideas collection, then browse the full Cake Ideas hub for more.
Save this for later 📌
Pin this article to your Pinterest board so the full list is one tap away when you need it.
Save on PinterestCake Ideas
Beginner
Ideas
15 ideas
Table of Contents
- 1. Classic Pink and Black Kuromi Smash Cake
- 2. Easy 30-Minute Kuromi Smash Cake for Beginners
- 3. Elegant Lavender Ruffle Kuromi Smash Cake
- 4. Playful Polka-Dot and Bow Kuromi Smash Cake
- 5. Modern Two-Tone Buttercream Kuromi Smash Cake
- 6. Rustic Naked Kuromi Smash Cake
- 7. Colorful Rainbow-Layer Kuromi Smash Cake
- 8. Minimal White-and-One-Bow Kuromi Smash Cake
- 9. Festive Balloon-and-Star Kuromi Smash Cake
- 10. Whimsical Cloud-and-Star Kuromi Smash Cake
- 11. Bold Black-Base Drip Kuromi Smash Cake
- 12. Delicate Floral Buttercream Kuromi Smash Cake
- 13. Vintage Lambeth Piped Kuromi Smash Cake
- 14. Creative Ombre Ruffle Kuromi Smash Cake
- 15. Charming Heart-Shaped Kuromi Smash Cake
- Tips to Make These Ideas Easier
- Common Mistakes to Avoid
- The Base Recipe — Make Any of These Ideas
1. Classic Pink and Black Kuromi Smash Cake
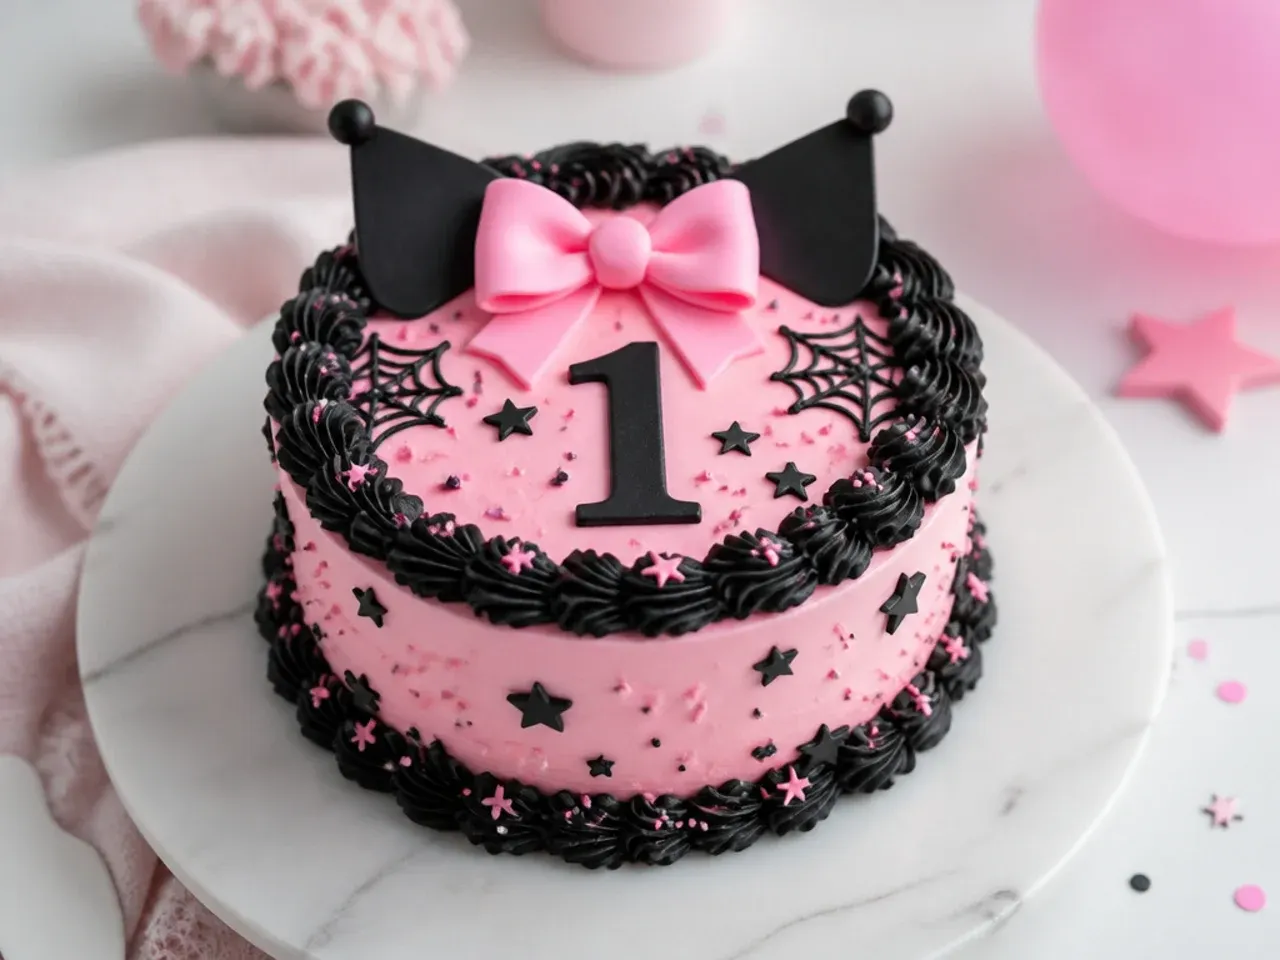
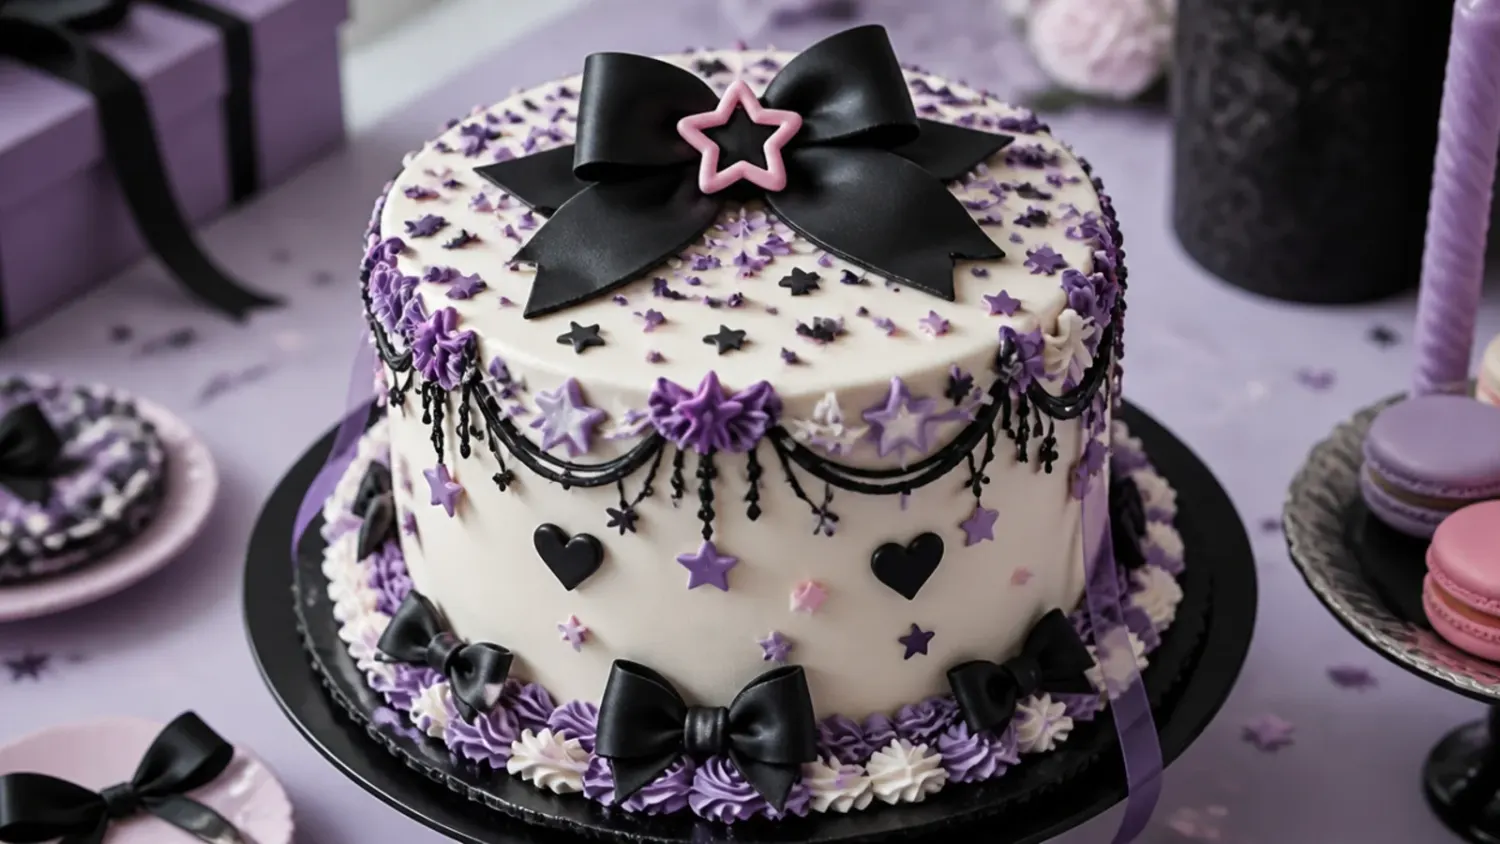
This is the look most people picture: a white or soft-pink buttercream base with bold black accents inspired by Kuromi's signature colors. Crumb-coat a 6-inch two-layer cake, chill 20 minutes, then apply a smooth final coat of pale-pink buttercream using a bench scraper held straight against the side. Pipe black buttercream (tint white buttercream with black gel, not liquid) around the base border with a Wilton 21 star tip, and add a single black bow shape on top from rolled fondant. Keep the black to accents only so a one-year-old isn't eating mouthfuls of dark gel color.
2. Easy 30-Minute Kuromi Smash Cake for Beginners
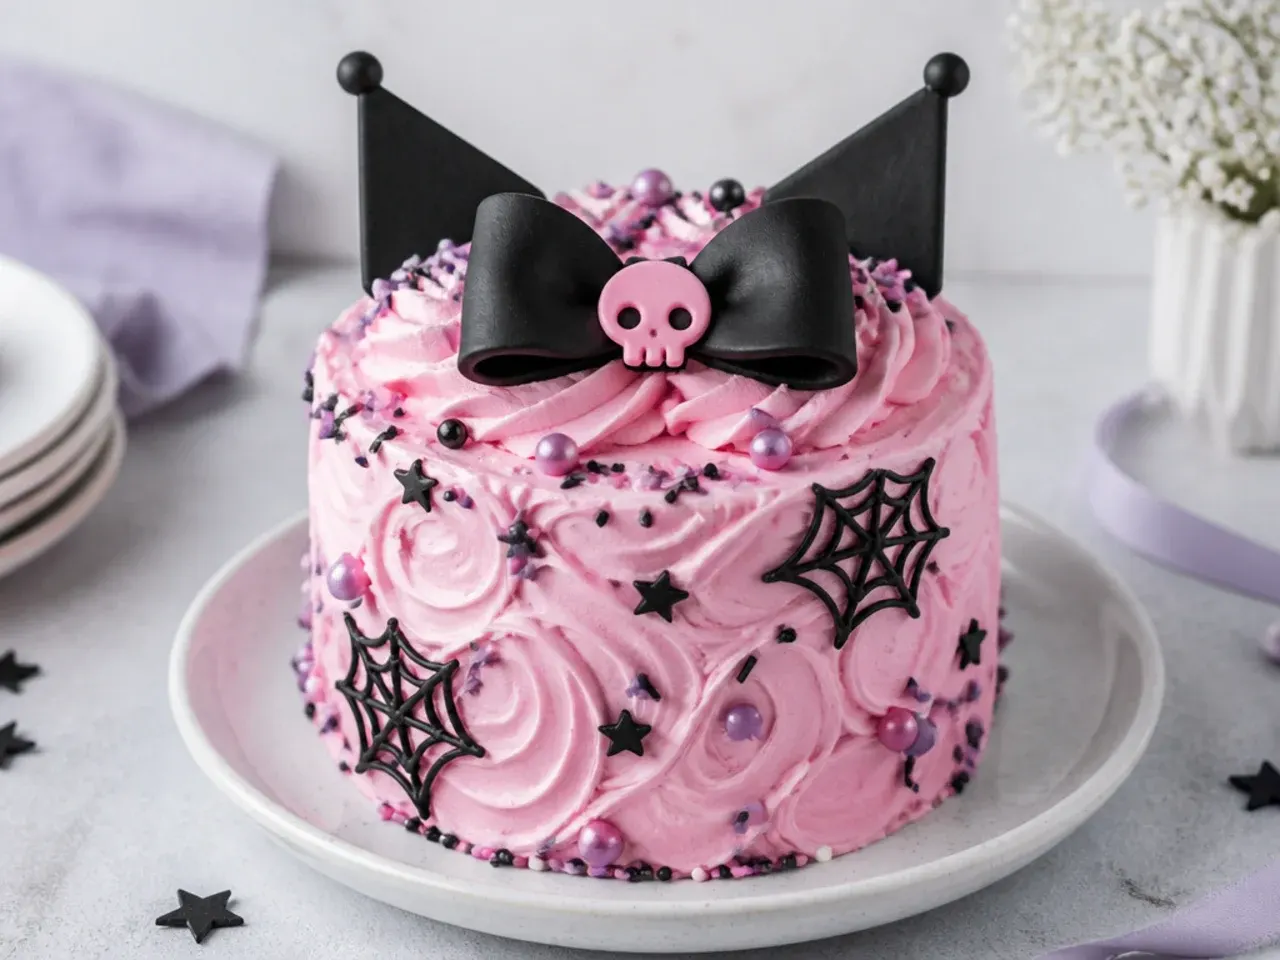
If this is your first cake, keep it to one 6-inch layer, a single flavor, and no fondant at all. Bake the base, level the dome with a serrated knife, and cover it in one thick coat of pink buttercream swirled with the back of a spoon so texture hides any imperfections. Add Kuromi-inspired touches with three colors of sprinkles (black, pink, lilac) and a purchased paper cake topper on a stick rather than hand-modeled figures. This version takes about 30 minutes of decorating and still reads clearly as a cute Kuromi smash cake in photos.
3. Elegant Lavender Ruffle Kuromi Smash Cake
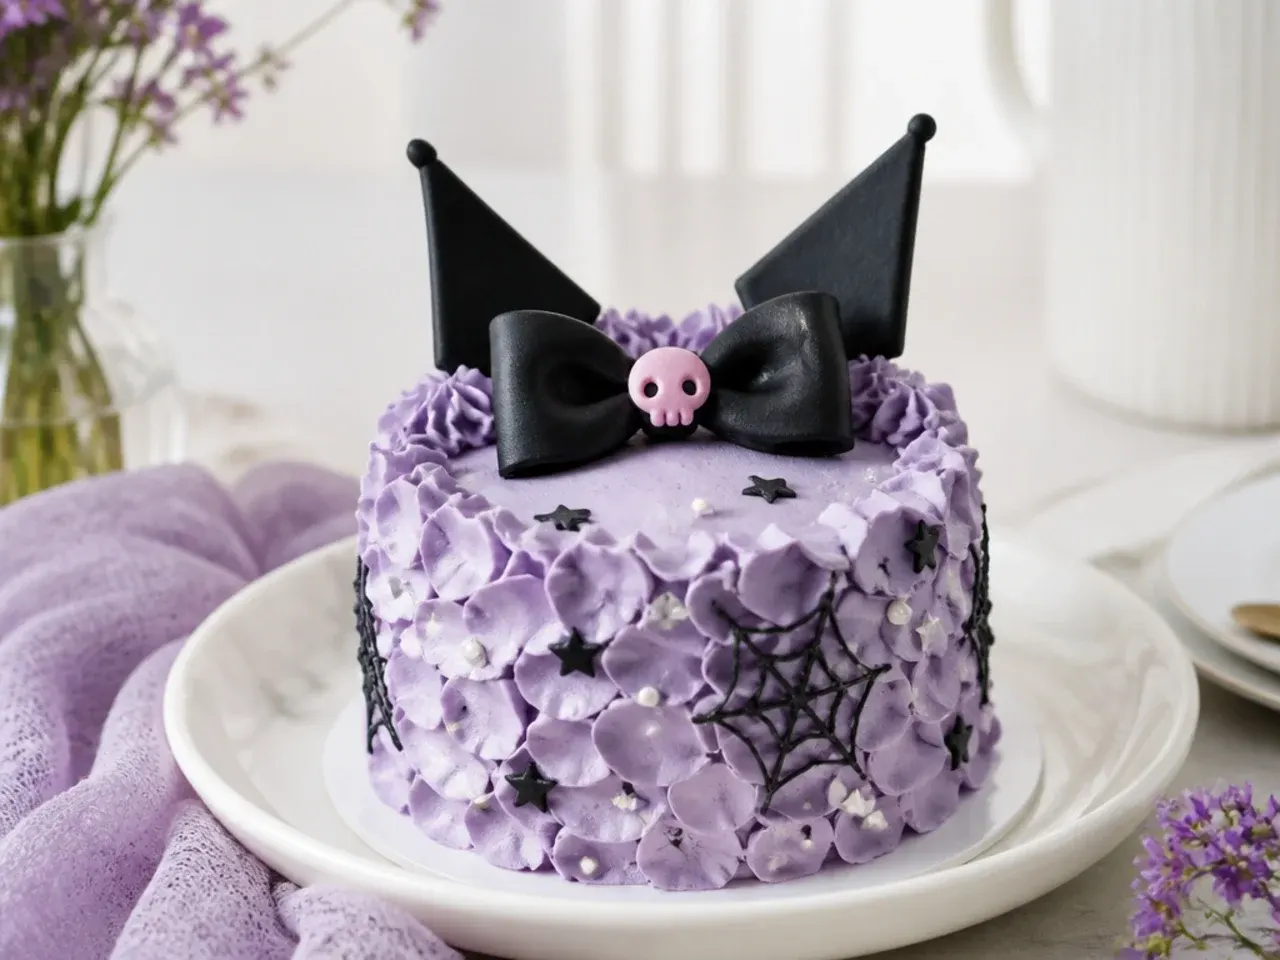
For a softer, dressier party table, cover the cake in pale lavender buttercream and pipe vertical ruffles up the sides with a Wilton 104 petal tip, wide edge against the cake. Ruffles add a grown-up, pastel-goth elegance while still being toddler-safe since they are just buttercream. Finish with a few edible pearl dragees pressed near the top edge and a small fondant bow in deep plum. Chill the cake 15 minutes before piping ruffles so the surface is firm and the petals hold their shape cleanly.
4. Playful Polka-Dot and Bow Kuromi Smash Cake
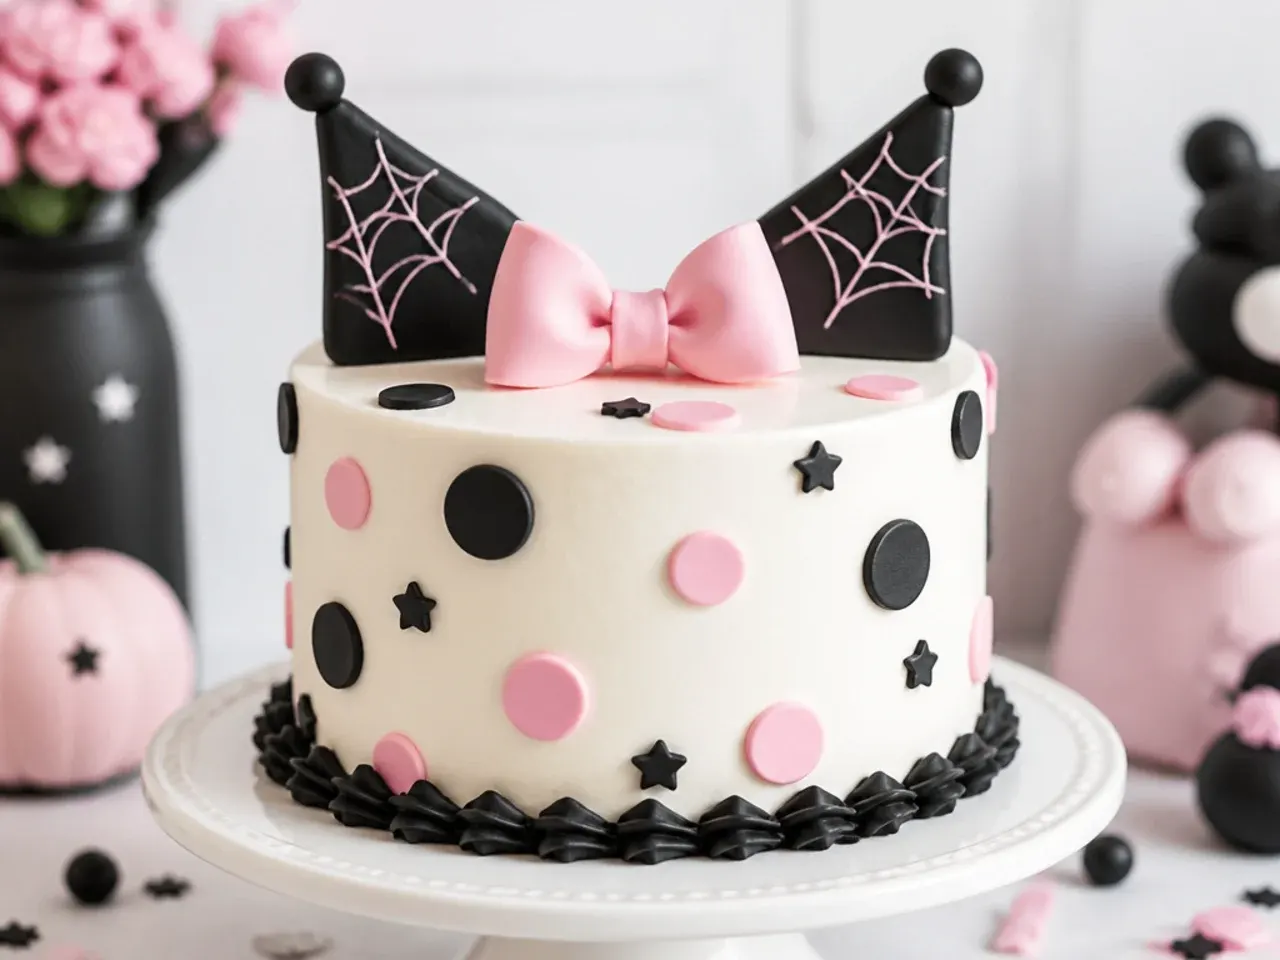
Polka dots and a bow nod to Kuromi's outfit without copying the character's face, which keeps it a fun inspired design. Coat the cake in white buttercream, then press evenly spaced dots of pink and black fondant (cut with the wide end of a piping tip) around the sides. Top with an oversized fondant bow: cut two teardrop loops, pinch the centers, and join with a small wrapped strip. The bright dots photograph beautifully and give little hands soft edible pieces to grab.
5. Modern Two-Tone Buttercream Kuromi Smash Cake
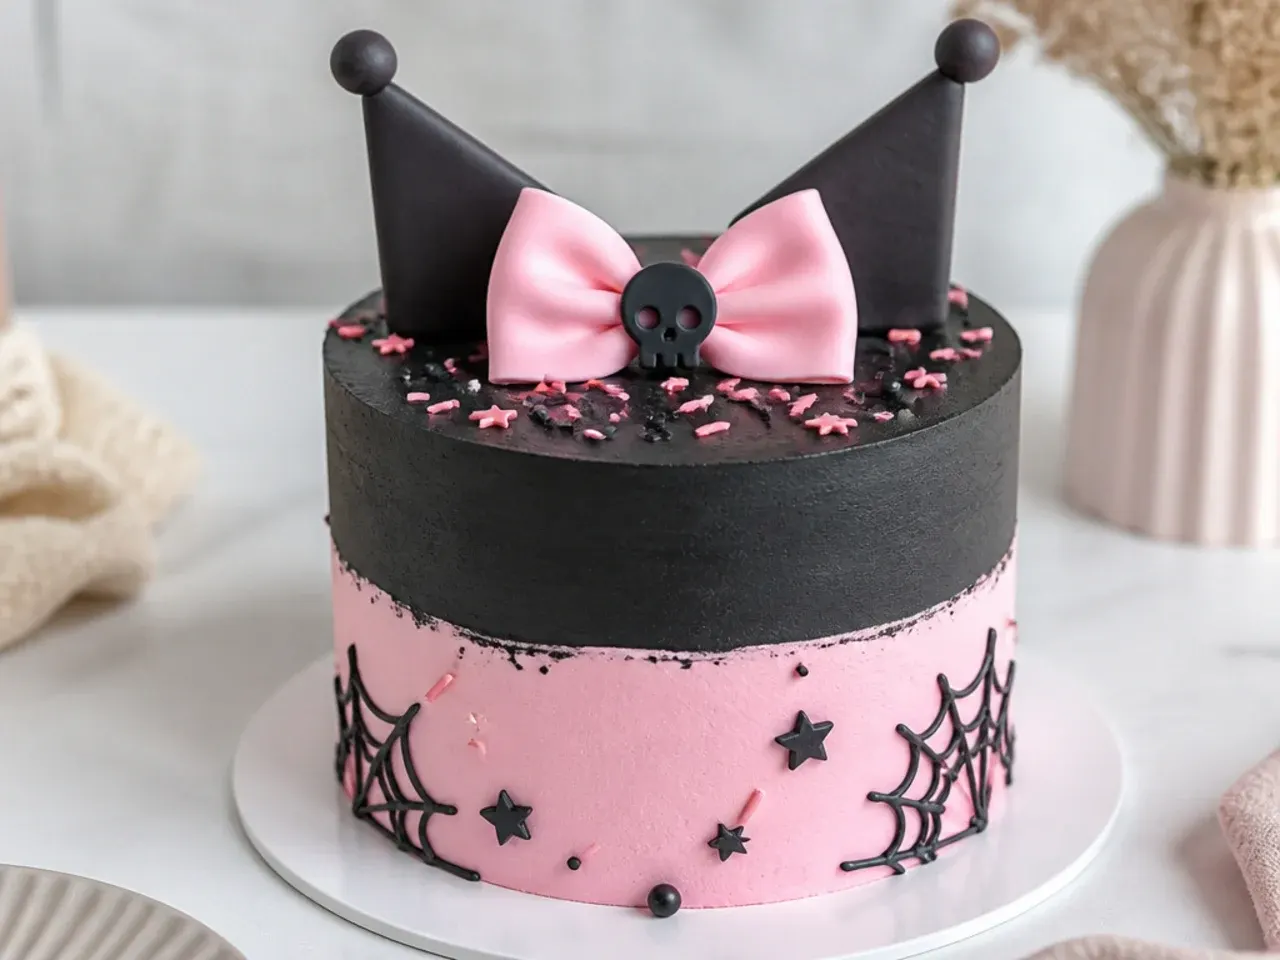
A clean, modern smash cake skips busy decoration for a sharp two-tone color block. Frost the bottom half black and the top half pink, then run a hot, dry bench scraper around the seam for a crisp horizontal line. The graphic contrast feels current and looks striking in photos against a simple backdrop. Add one thin gold or silver number candle for the birthday and nothing else, letting the color do the work.
Save this for later 📌
Pin this article to your Pinterest board so the full list is one tap away when you need it.
Save on Pinterest6. Rustic Naked Kuromi Smash Cake
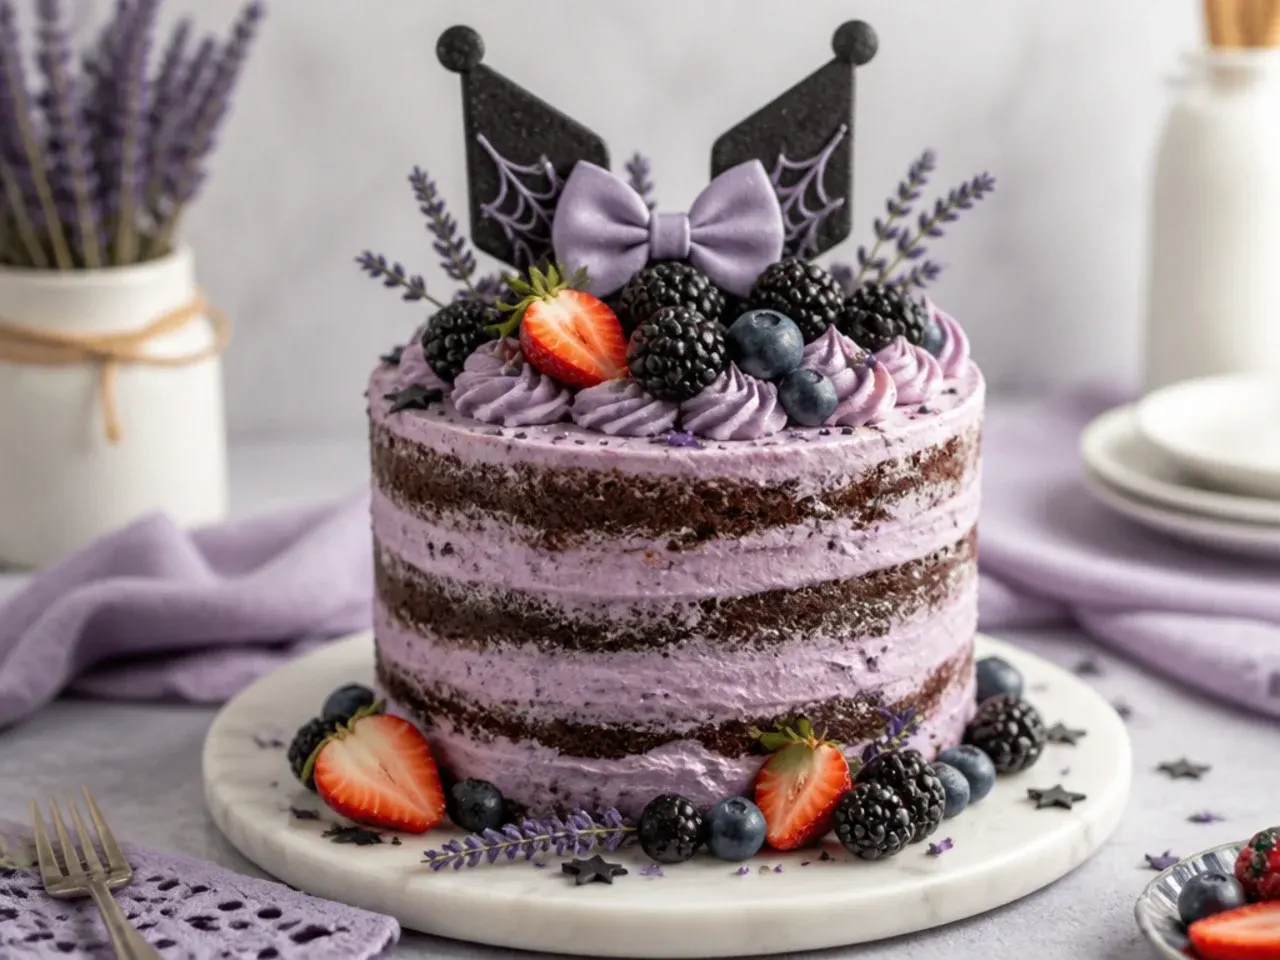
A naked or semi-naked cake shows the cake layers through a thin scrape of buttercream, which is forgiving for beginners because there is no smooth coat to perfect. Stack two 6-inch layers with pink buttercream between them, then scrape most of the frosting off the sides so the sponge peeks through. Tuck a few fresh raspberries and a sprig of lavender on top for a soft, rustic finish that suits a garden or cottage party. This style is also lower in sugar for a first birthday since it uses far less frosting.
7. Colorful Rainbow-Layer Kuromi Smash Cake
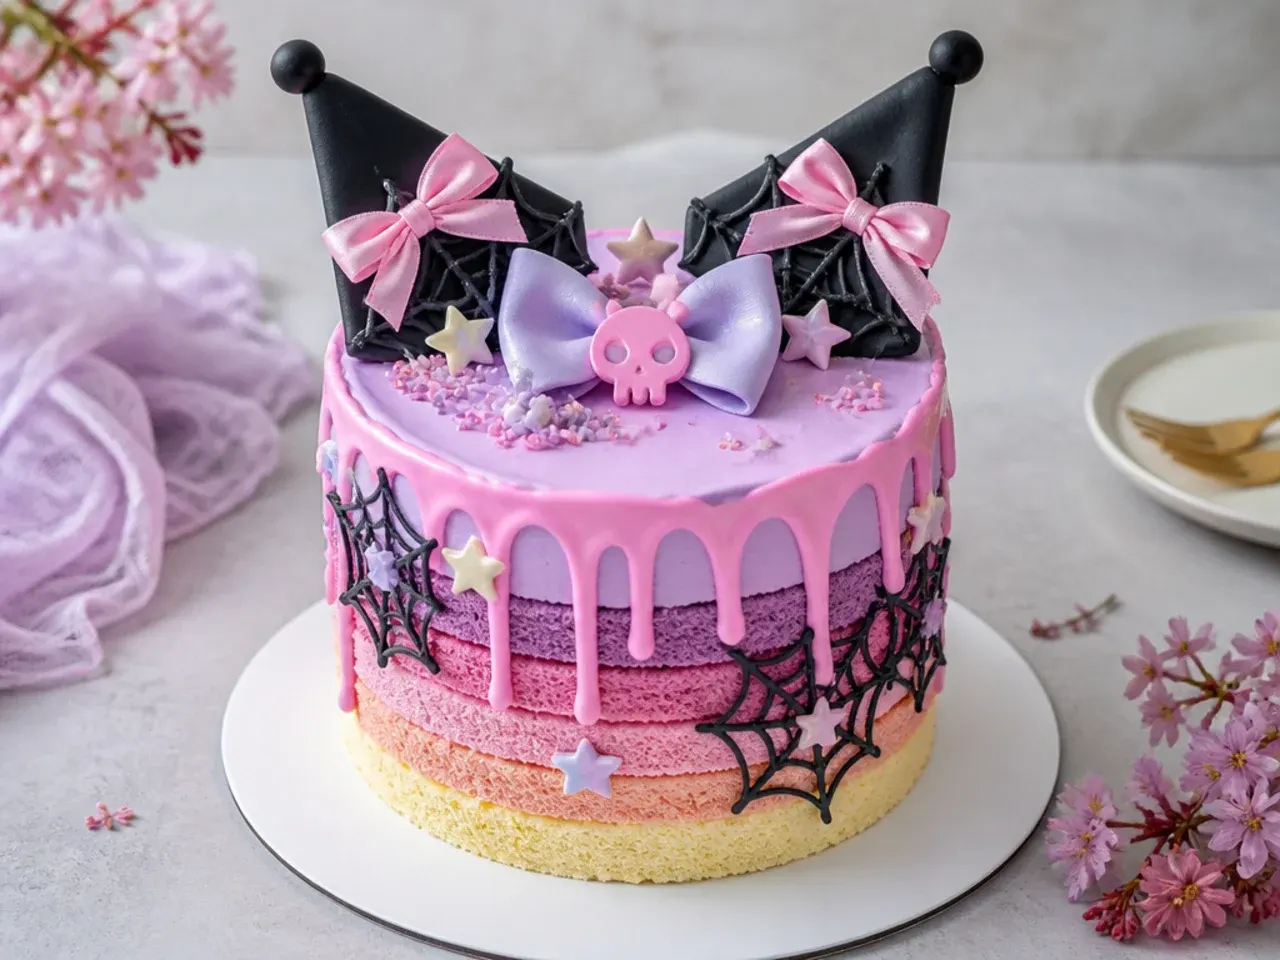
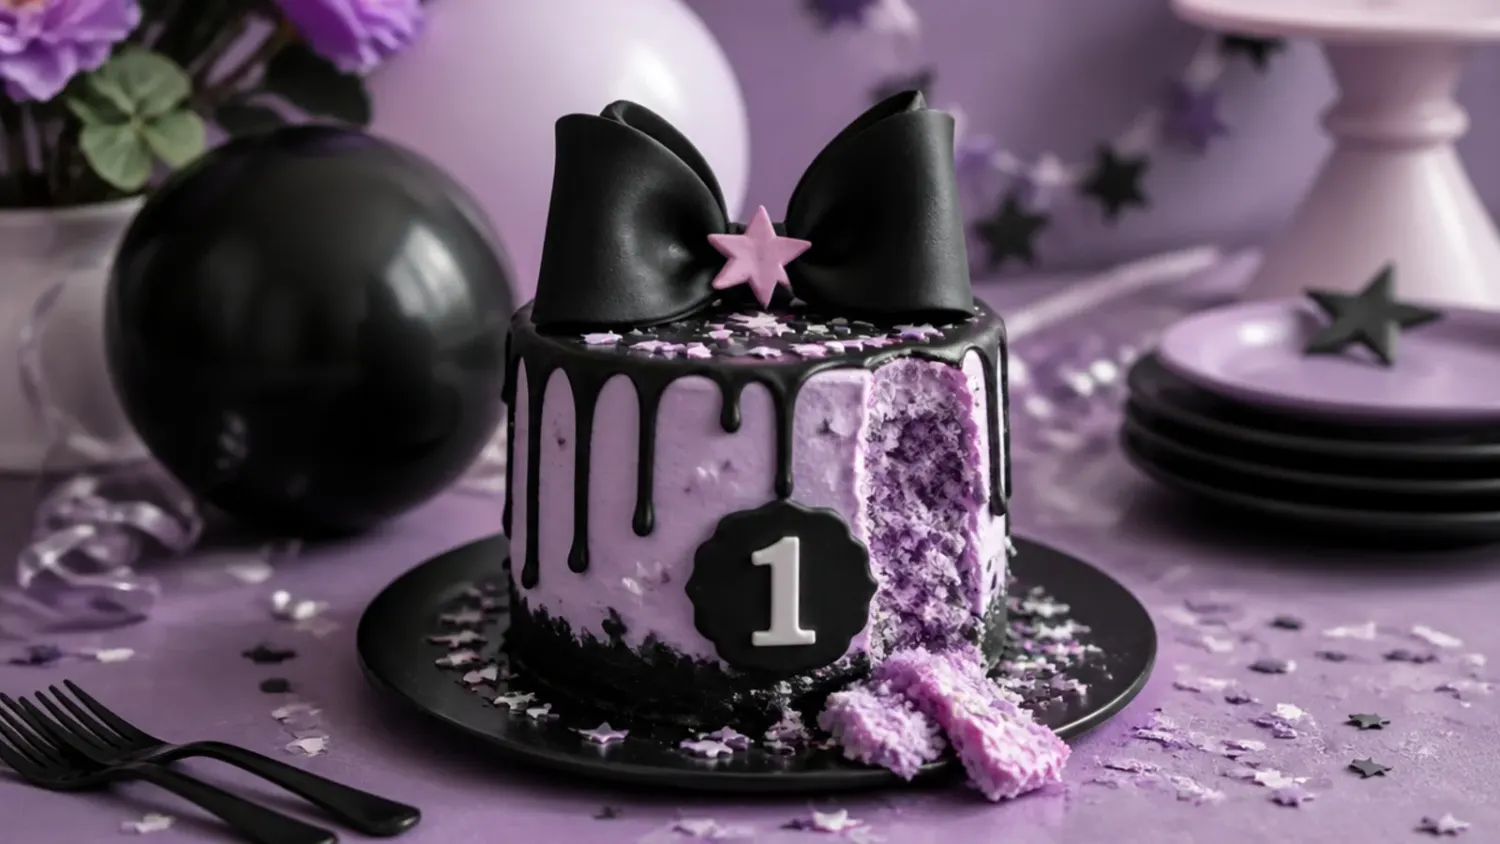
Hide a surprise inside by dividing the batter and tinting portions pink, purple, and pale blue before baking so each slice reveals bright layers. Use gel colors and only a few drops per bowl so the crumb stays vivid without tasting bitter. Frost the outside in white buttercream and finish with a purple drip made from white candy melts thinned with a little cream, spooned over the top edge. The rainbow interior is a fun reveal when the birthday child breaks into it, and the exterior stays clean and Kuromi-inspired.
8. Minimal White-and-One-Bow Kuromi Smash Cake
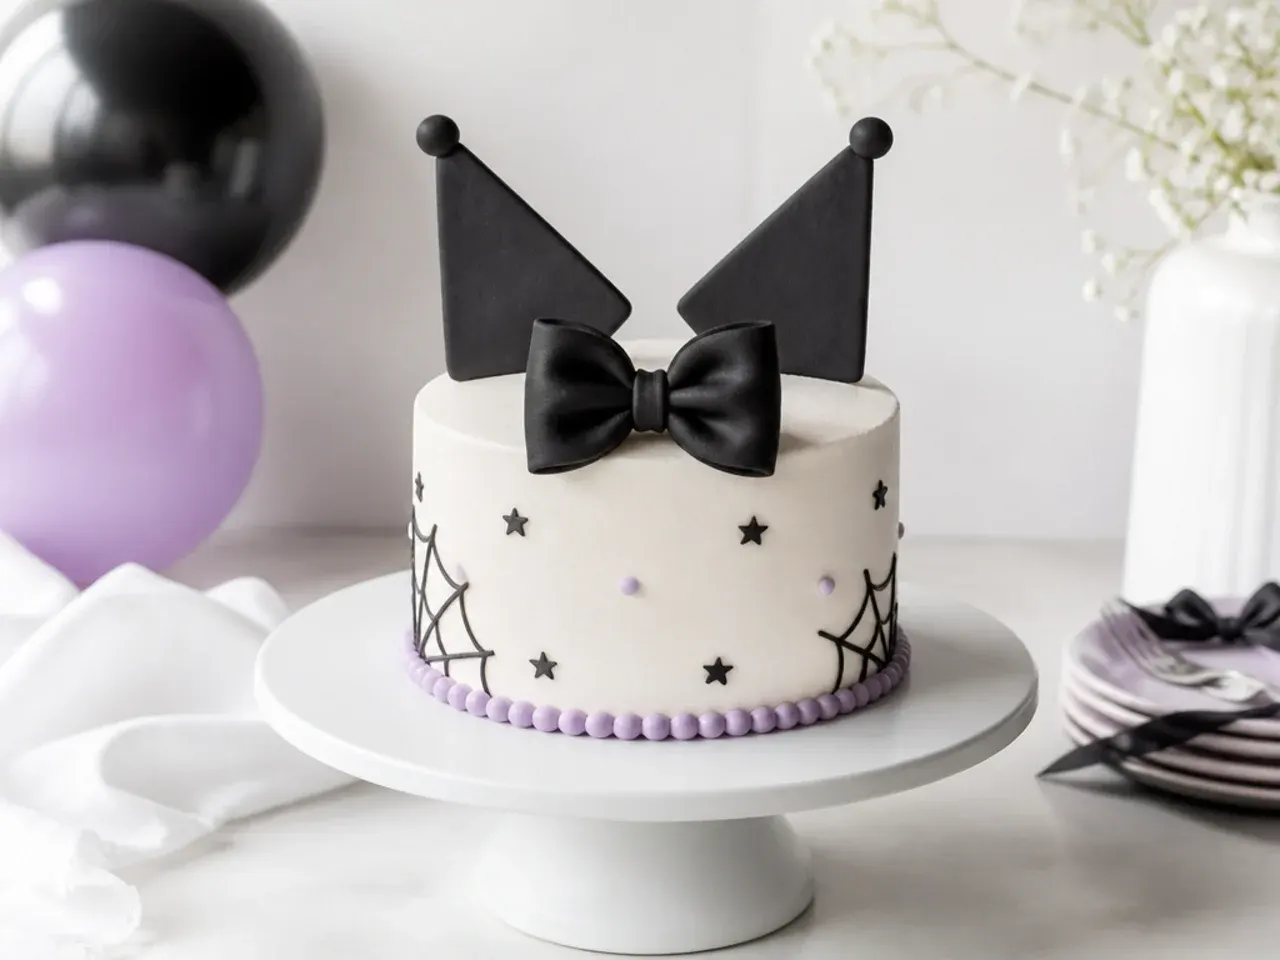
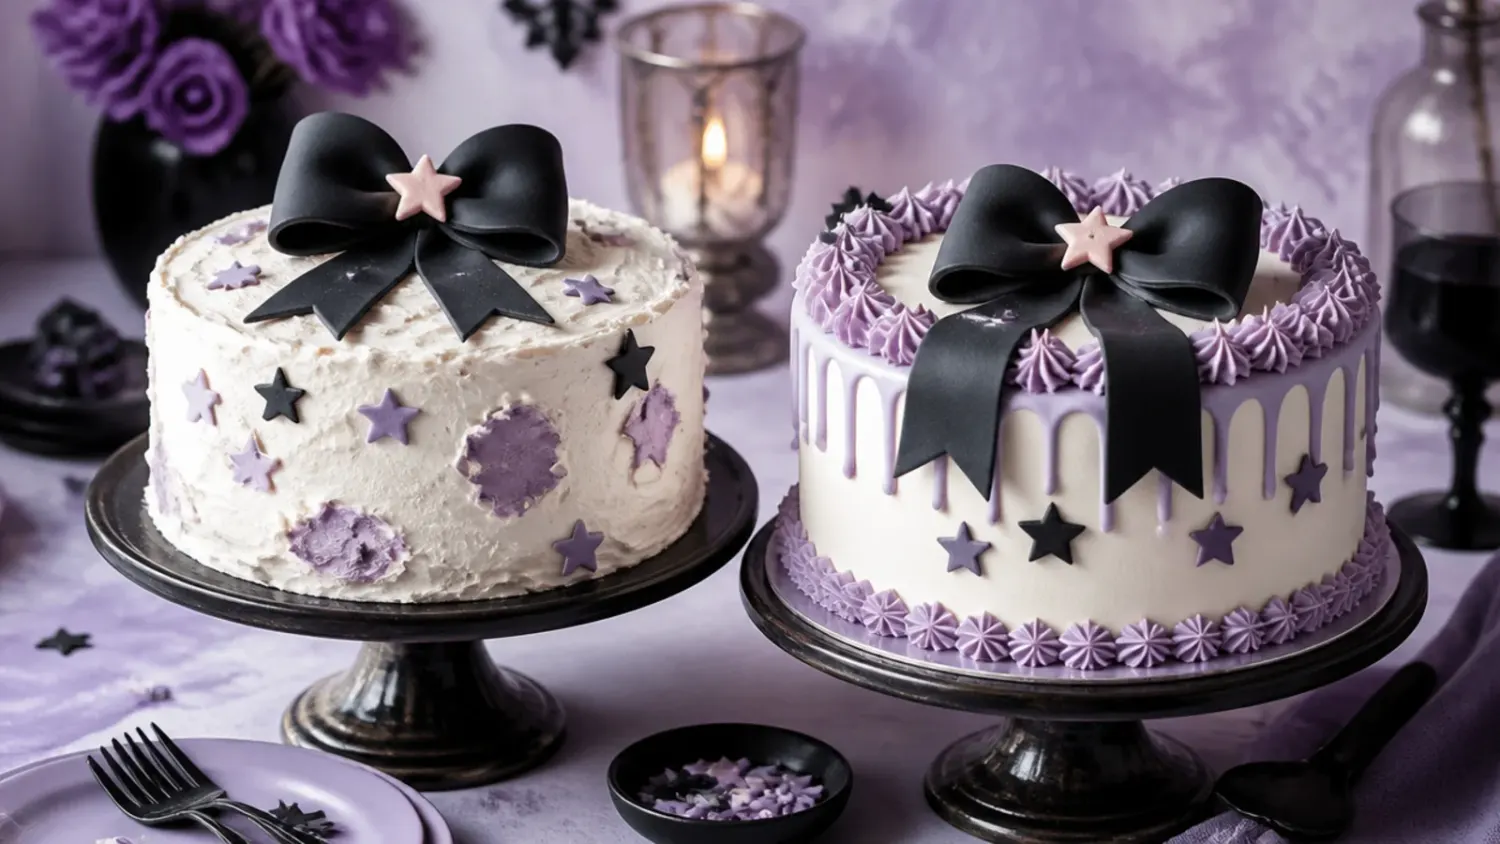
Minimalism reads as expensive and photographs cleanly against any color scheme. Cover the cake in a perfectly smooth white buttercream coat, using a chilled crumb coat first, then a second coat scraped flat with a bench scraper and warmed with a hot spatula for a sharp finish. Add a single black fondant bow slightly off-center on top as the only decoration. The restraint lets the bow shape carry the Kuromi theme, and there is very little colored frosting for the baby to eat.
9. Festive Balloon-and-Star Kuromi Smash Cake
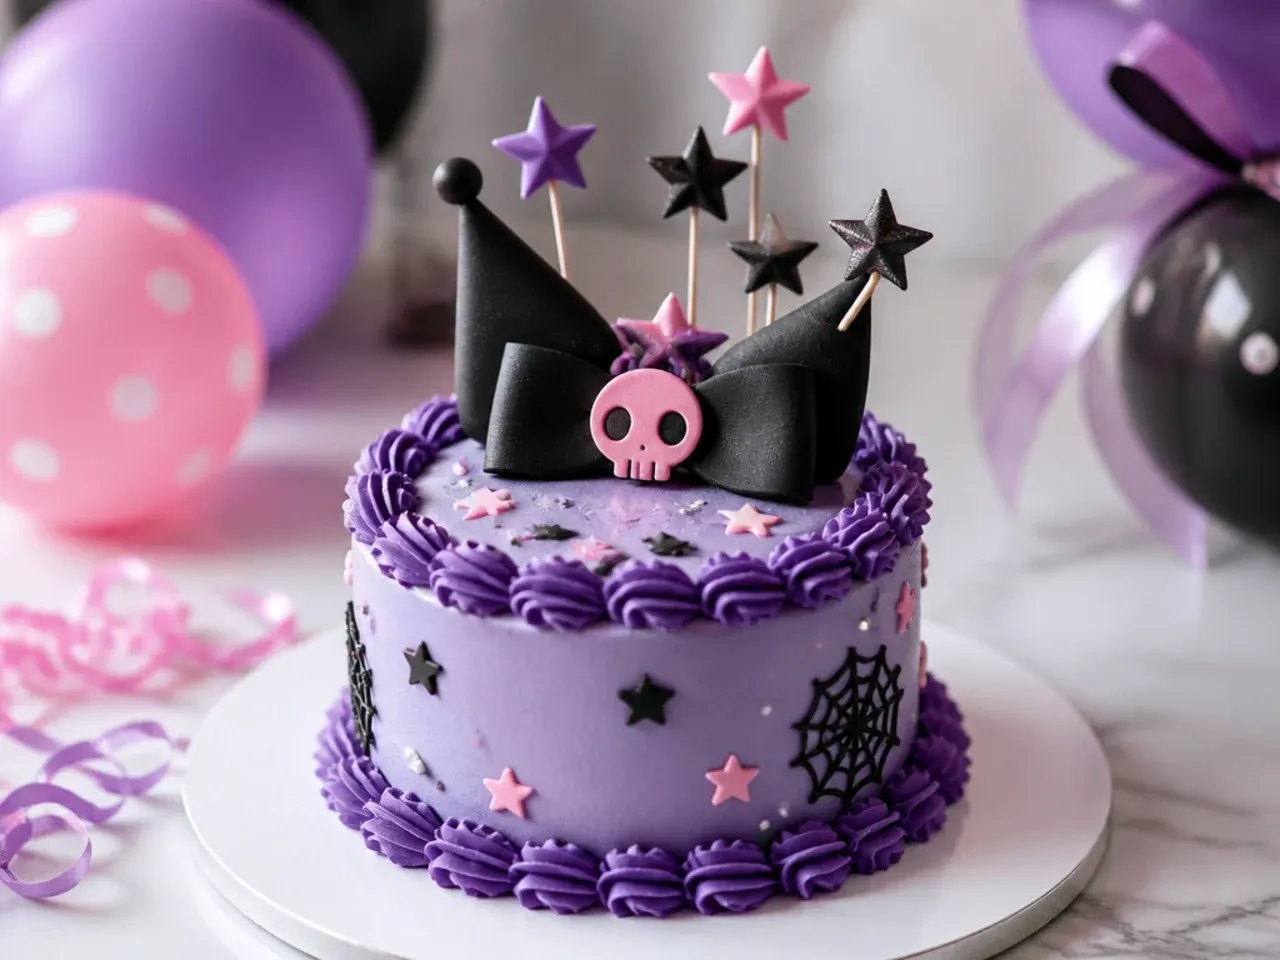
For a party feel, add height with toppers instead of covering the cake in fondant. Frost in pink buttercream, then stand three small fondant or paper stars on toothpicks at staggered heights and add a pair of tiny balloon cutouts on wire. Pipe a shell border around the base with a Wilton 18 tip for a finished frame. Remove all toothpicks and wires before the child smashes the cake, since these are choking and injury risks for a one-year-old.
10. Whimsical Cloud-and-Star Kuromi Smash Cake
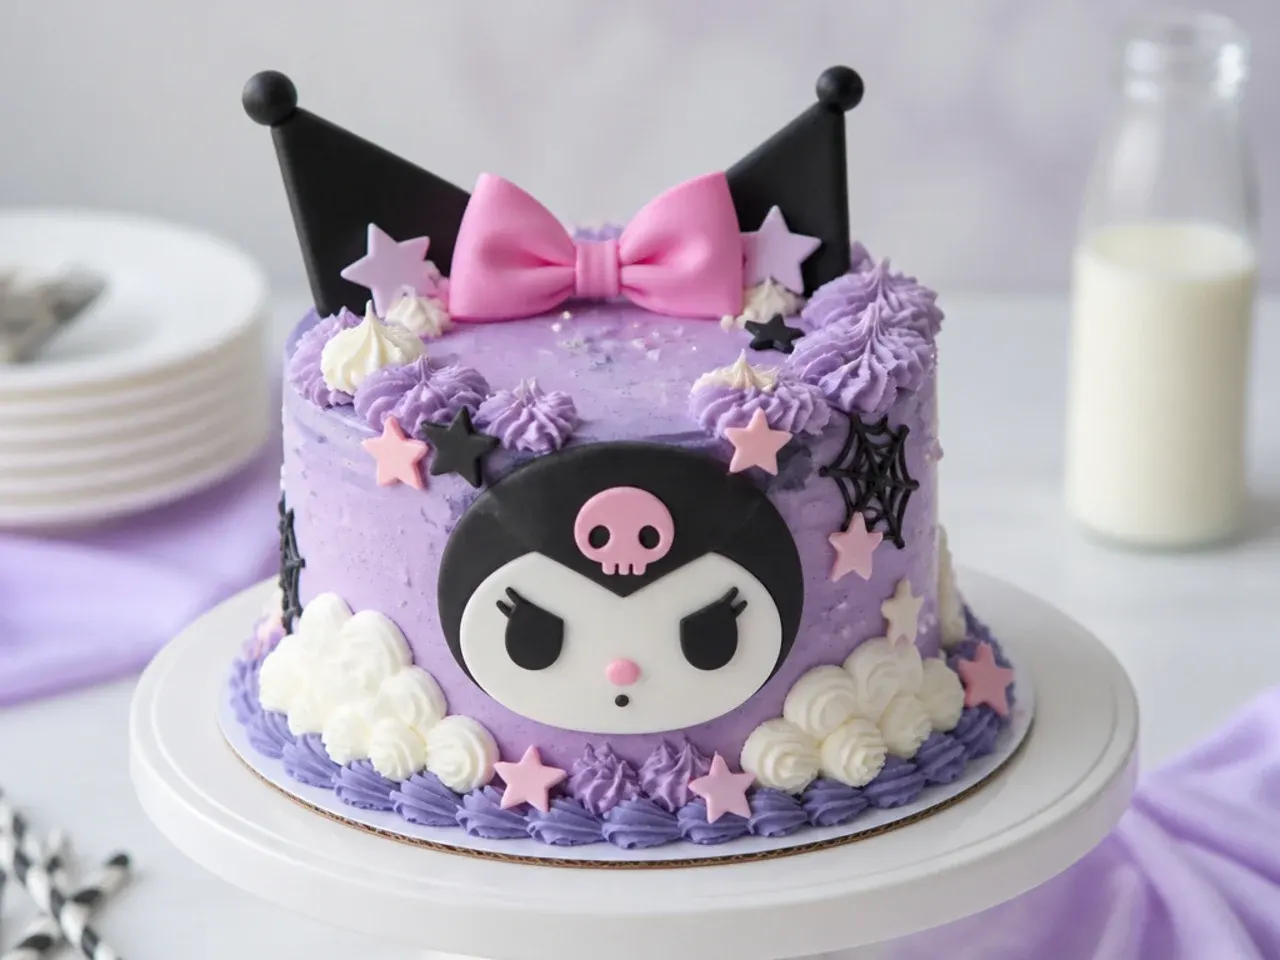
A dreamy sky theme suits Kuromi's soft-goth pastel side. Pipe fluffy buttercream clouds around the top edge with a Wilton 1M tip in a loose back-and-forth motion, then dot small fondant stars in lilac and white across the sides. Keep the base color a pale periwinkle for a twilight feel. The piped clouds are quick and forgiving, so even uneven blobs look intentionally whimsical rather than messy.
Save this for later 📌
Pin this article to your Pinterest board so the full list is one tap away when you need it.
Save on Pinterest11. Bold Black-Base Drip Kuromi Smash Cake
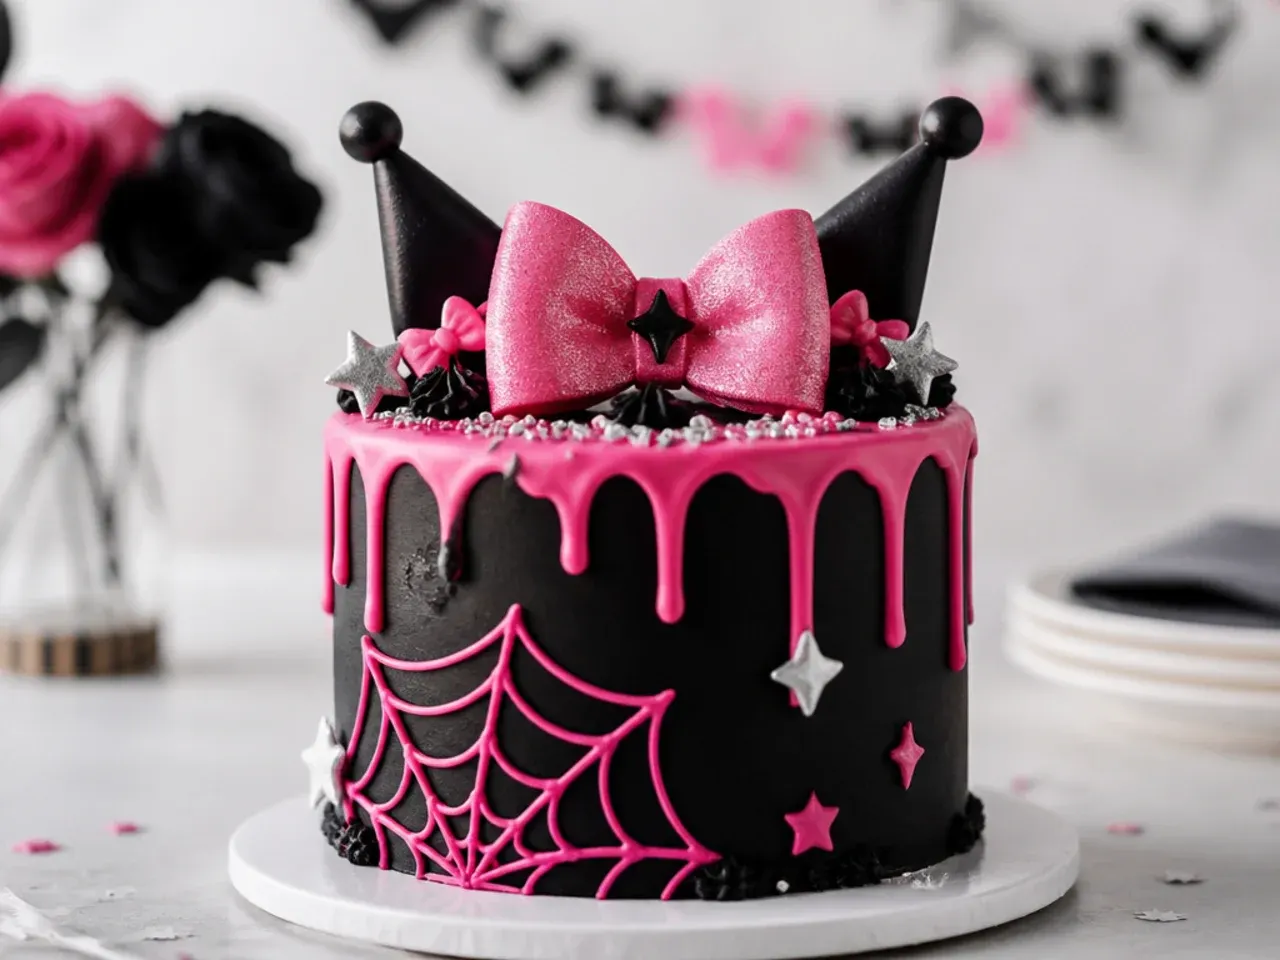
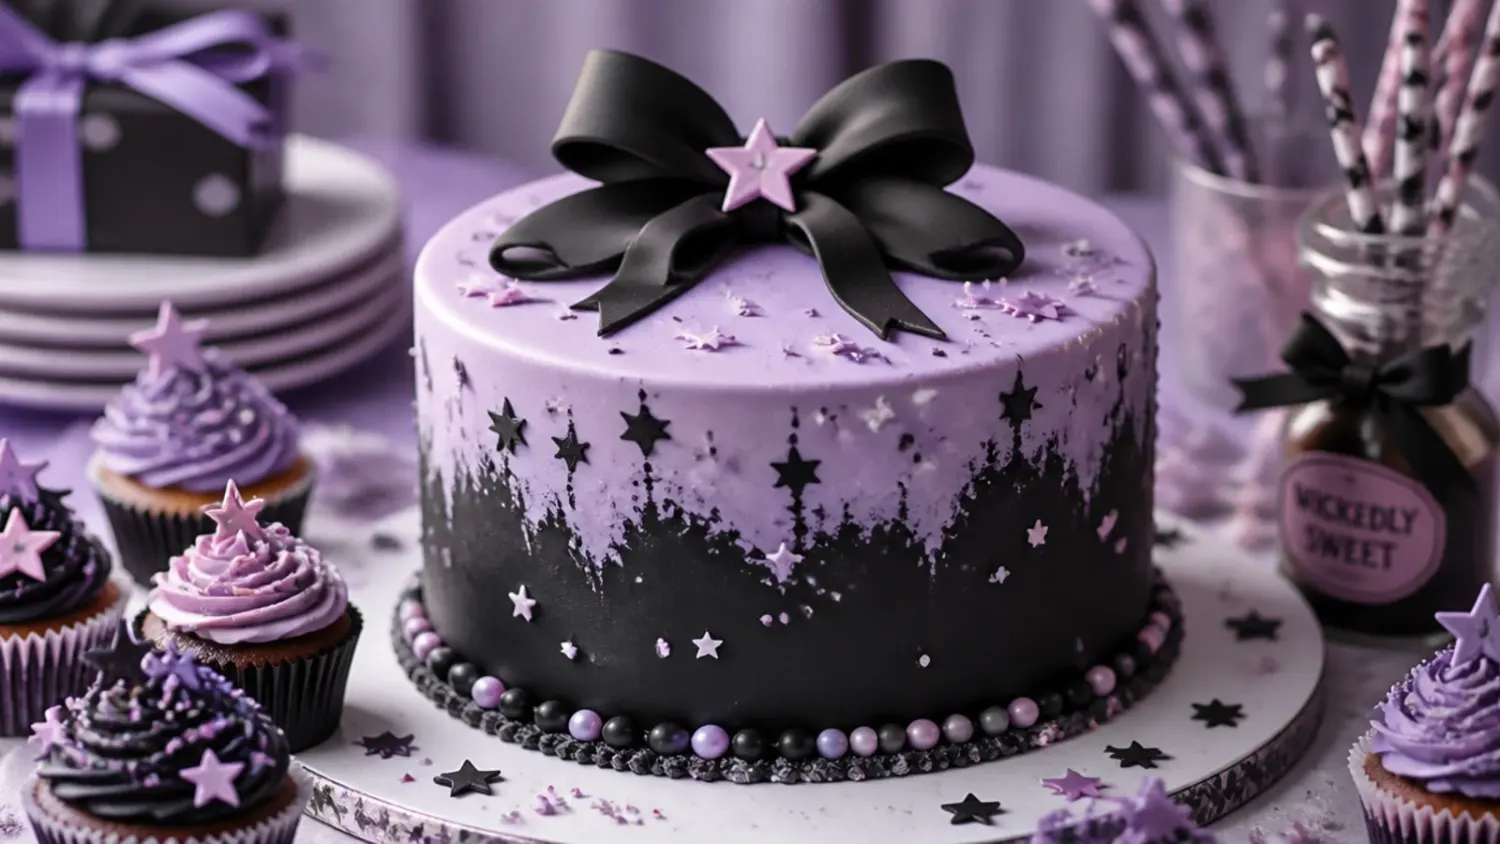
A dramatic black cake with a hot-pink drip captures Kuromi's edgy attitude for an older sibling or a bold party palette. Tint buttercream deep charcoal with black gel a day ahead so the color deepens and needs less pigment, which keeps it food-safe. Make the drip from pink candy melts and a splash of cream, testing viscosity on the side of a chilled cake so it stops halfway rather than pooling at the base. Finish with a scatter of silver dragees and a fondant bow at the top for contrast.
12. Delicate Floral Buttercream Kuromi Smash Cake
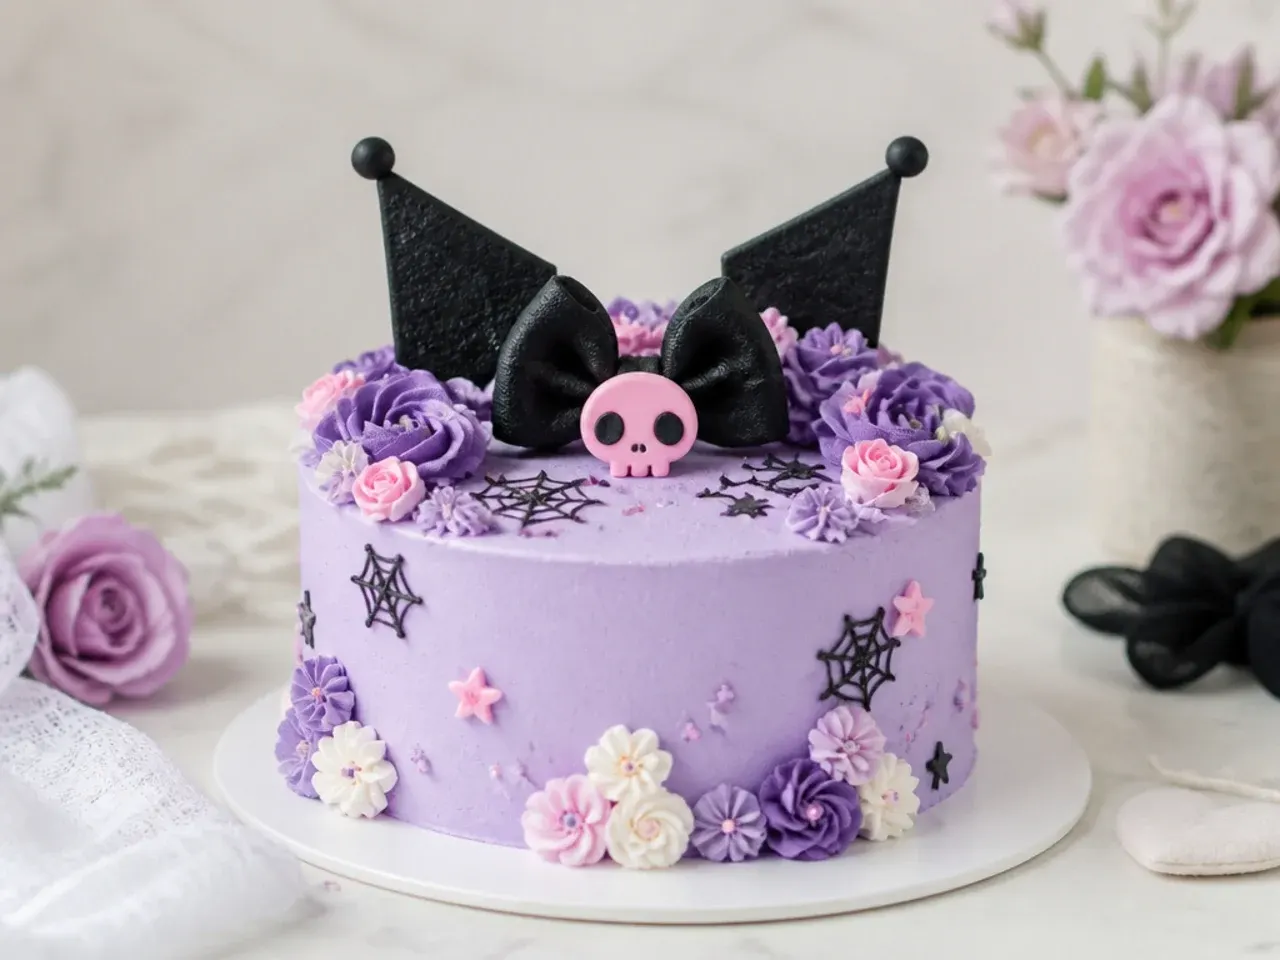
Piped buttercream flowers turn a plain cake into a soft, elegant centerpiece. Cover the cake in lilac buttercream, then pipe small five-petal blossoms with a Wilton 104 tip and add green leaves with a Wilton 352 tip clustered on one side. Keep the flowers to a corner-to-corner sweep rather than covering the whole cake so it stays tidy. Real buttercream flowers are fully edible and safe for the birthday child, unlike wired sugar flowers or floral picks.
13. Vintage Lambeth Piped Kuromi Smash Cake
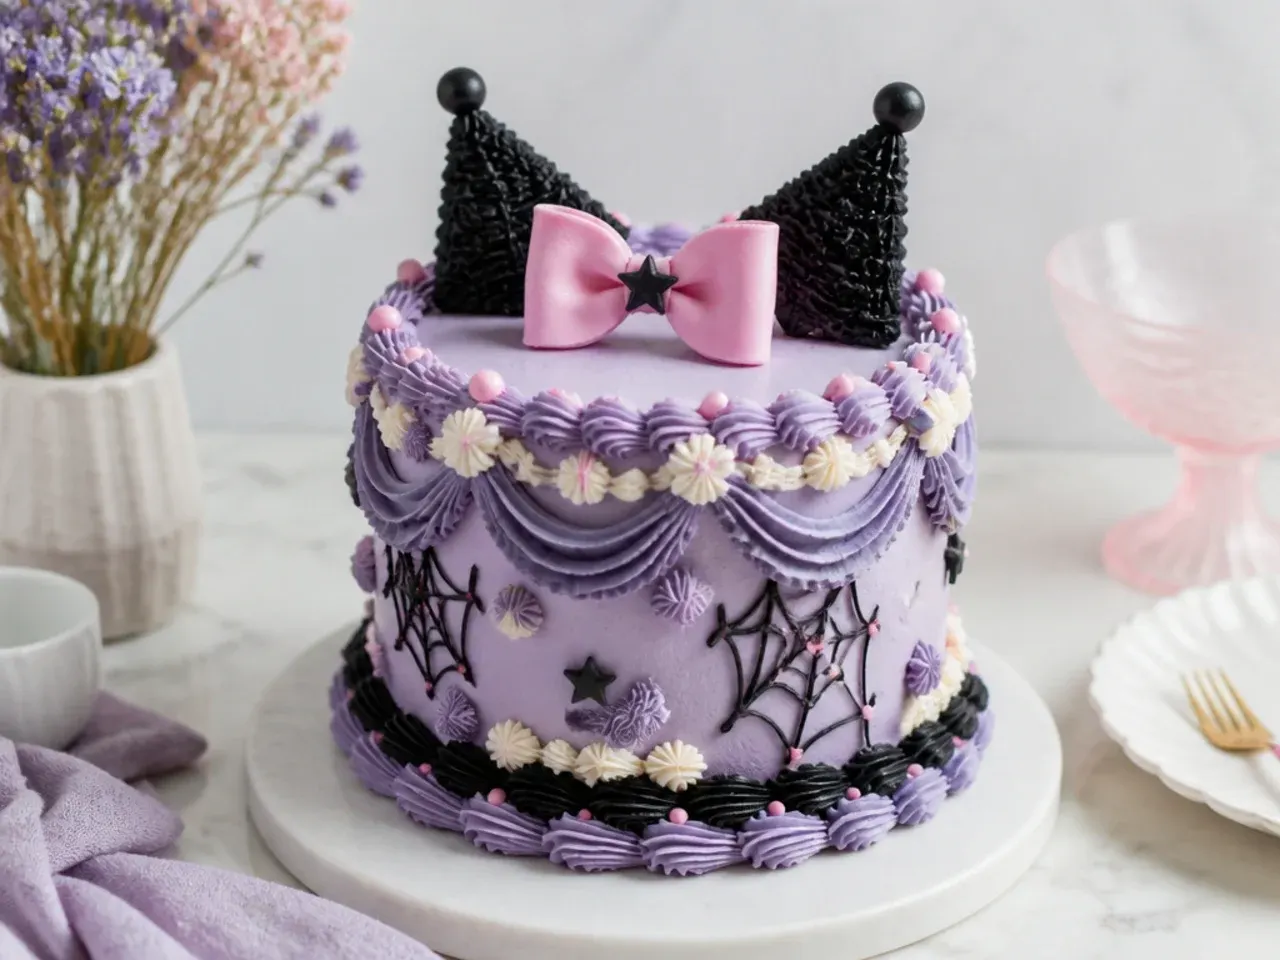
The vintage Lambeth style, all overlapping piped scrolls and pearls, is trending again and gives a retro, heirloom look. Use a stiff buttercream (add extra powdered sugar so it holds crisp lines) and pipe layered swags with a Wilton 21 tip, then overpipe dots and beads on top. Work in a monochrome pink or lilac for a cohesive vintage feel and keep black to a single small bow accent. Chill between piping rounds so lower layers stay firm and don't smudge.
14. Creative Ombre Ruffle Kuromi Smash Cake
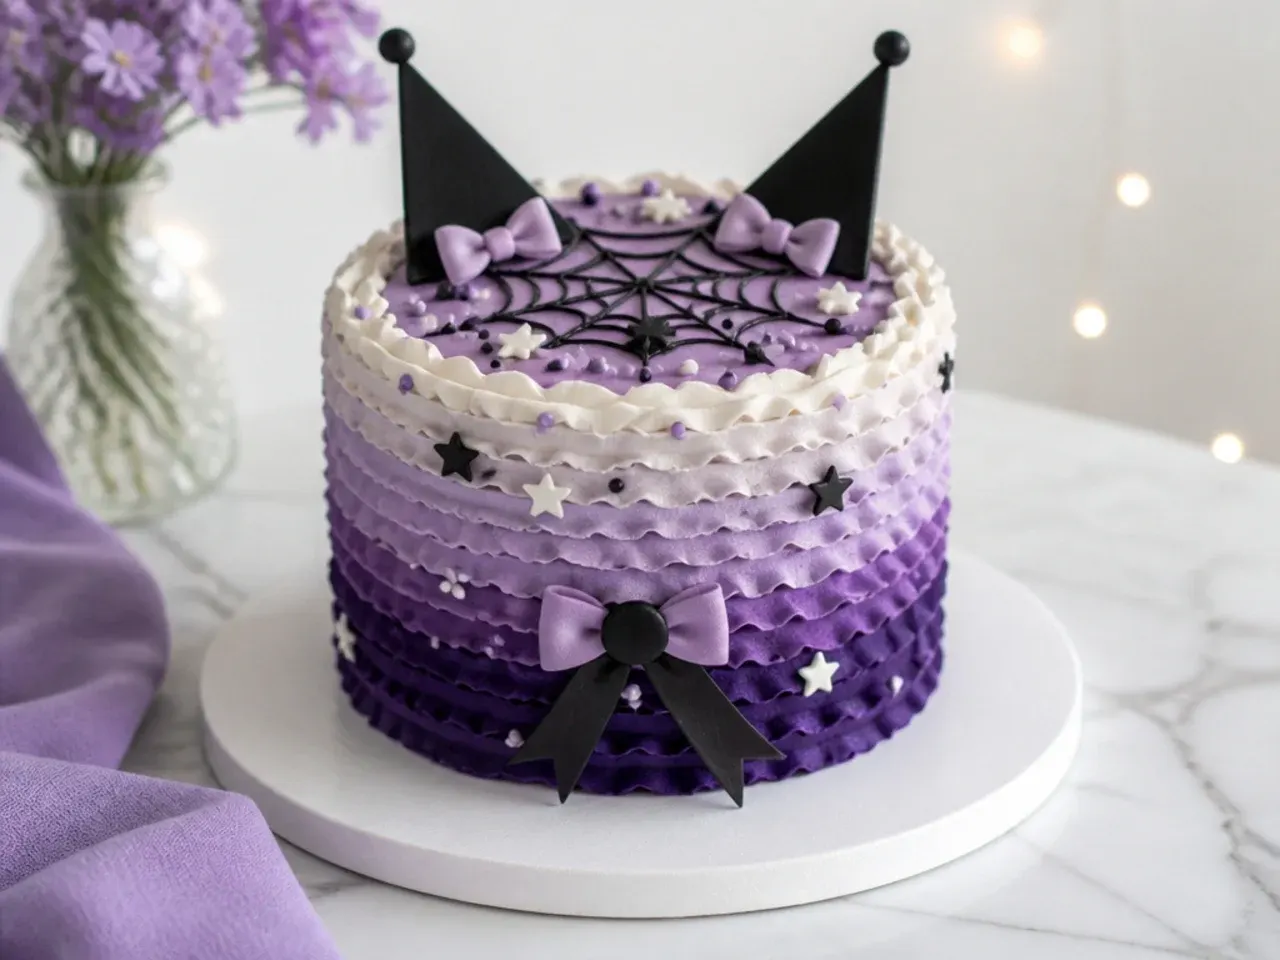
An ombre effect blends three shades of the same color from dark at the base to pale at the top for a striking gradient. Divide buttercream into three bowls, tint them deep purple, medium lilac, and near-white, then pipe horizontal ruffles in bands with a Wilton 104 tip, blending where the colors meet. Smooth lightly with a warm spatula only if you want a softer transition. The gradient looks advanced but is genuinely beginner-friendly because ruffles hide any wobble.
15. Charming Heart-Shaped Kuromi Smash Cake
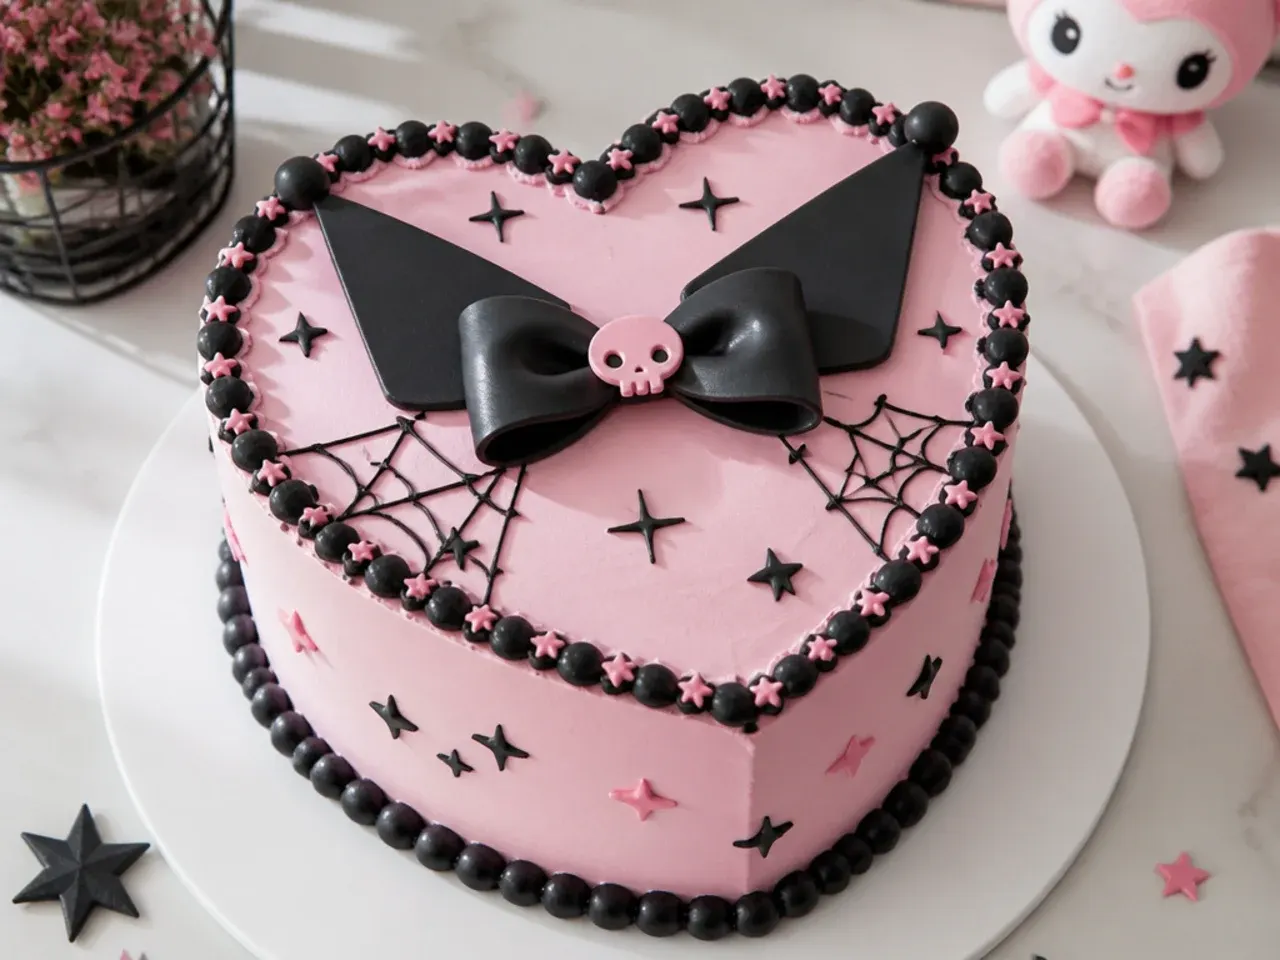
A heart shape is instantly charming and easy to make without a special pan. Bake one 6-inch round and one 6-inch square layer, cut the round in half, and set the two halves against two sides of the square turned as a diamond to form a heart. Crumb-coat and cover in pink buttercream, then pipe a black bead border with a Wilton 3 round tip and add a small bow at the top point. The distinctive silhouette makes a memorable smash cake with almost no extra tools.
Tips to Make These Ideas Easier
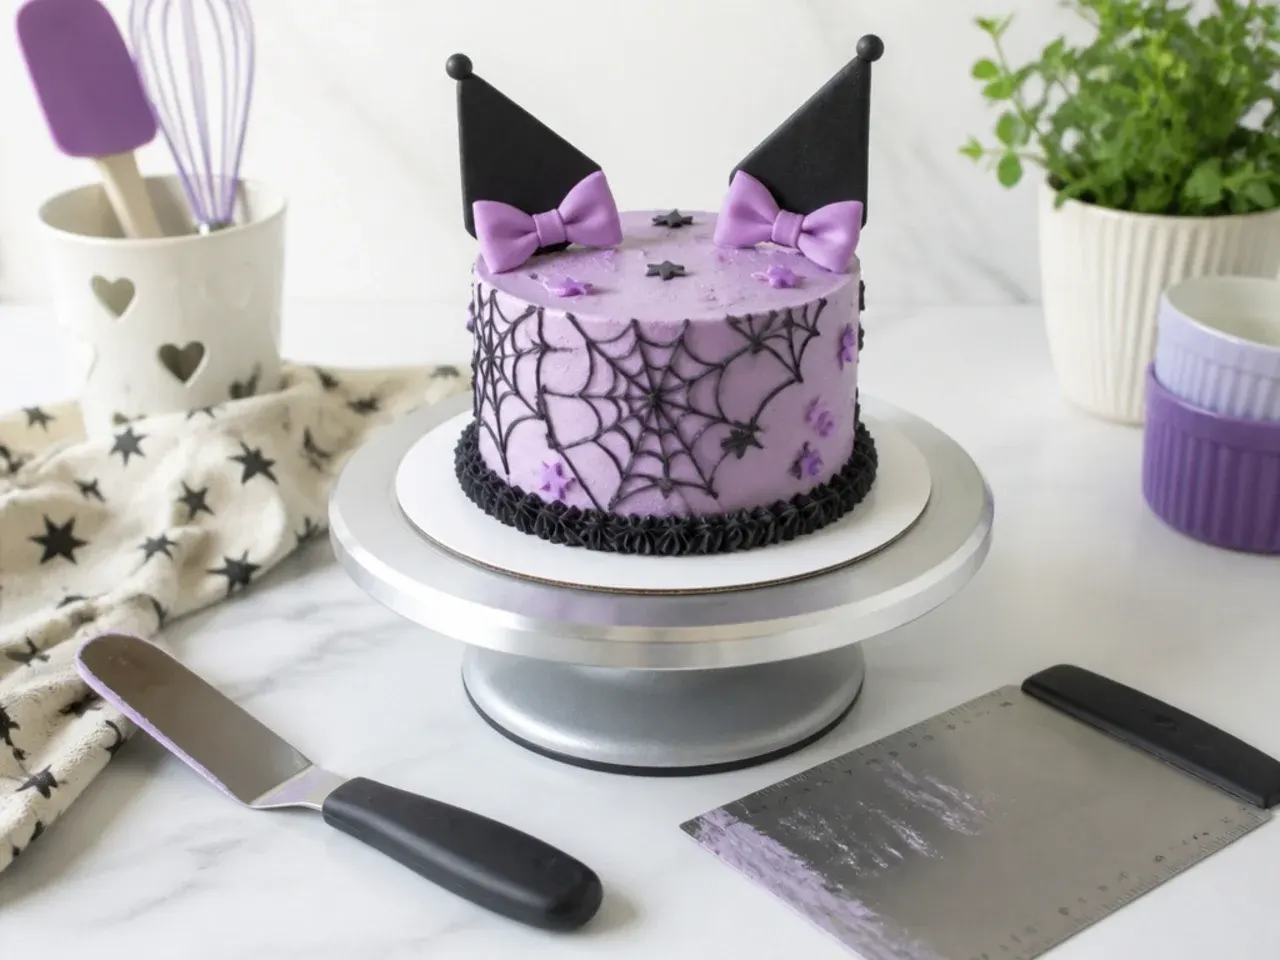
Bake the sponge up to two days ahead and wrap the cooled layers tightly in plastic; chilled layers are firmer and far easier to crumb-coat than fresh ones. Always crumb-coat first (a thin scrape of buttercream), chill 20 minutes, then apply your final coat so no crumbs pull into the surface. Tint black and deep-purple buttercream a full day in advance so the colors darken naturally and you use less gel, which also avoids a bitter taste. For clean piped borders, hold the bag at a consistent angle and let the buttercream do the work rather than dragging the tip. Keep a small offset spatula, a bench scraper, and a turntable within reach; those three tools account for most of the smooth-finish difference for beginners.
Common Mistakes to Avoid
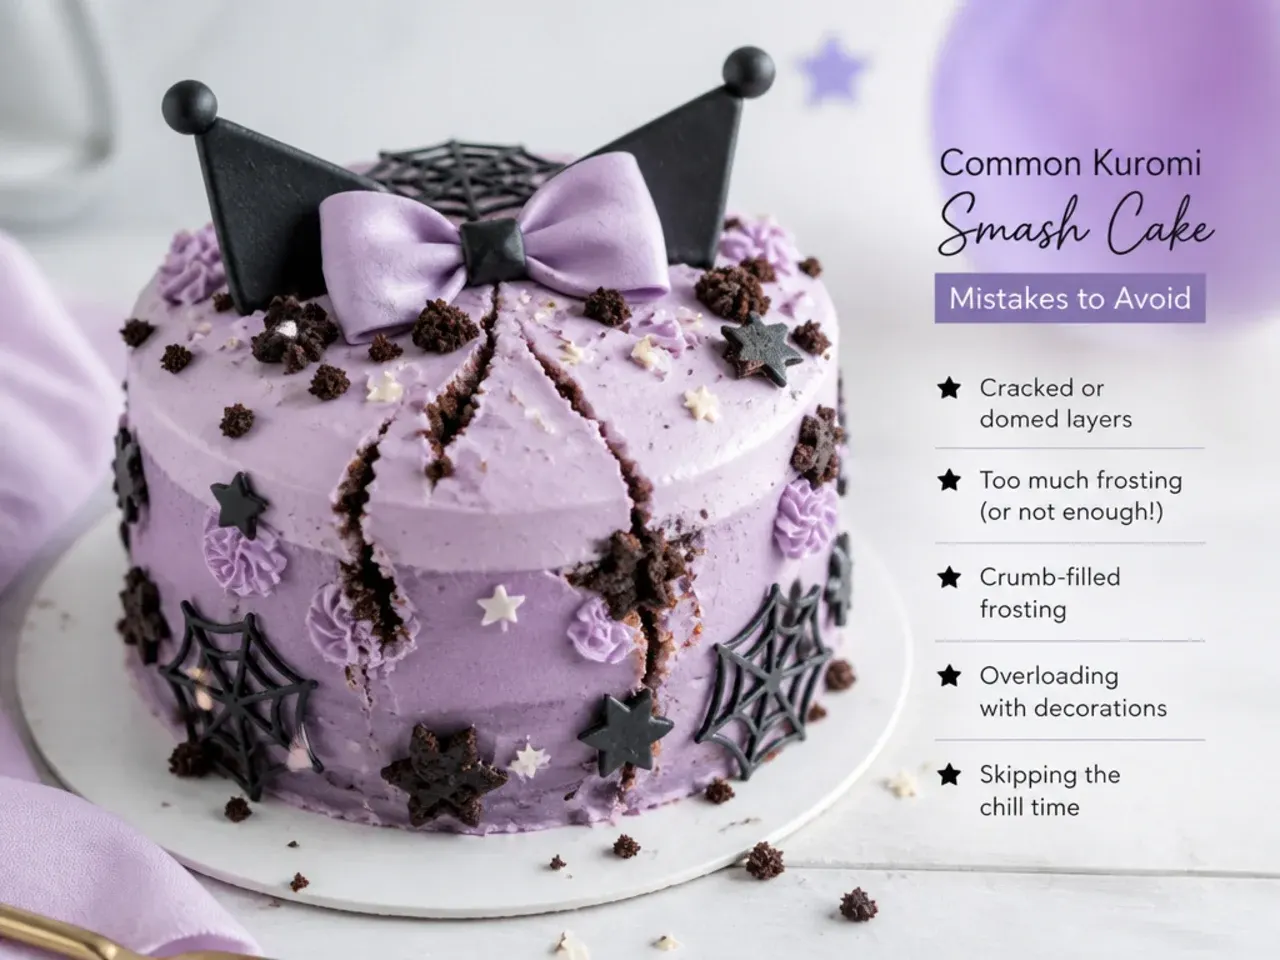
The biggest mistake is skipping the crumb coat, which leaves crumbs dragged through the final layer and a rough finish; always do a thin base coat and chill it first. Do not frost a warm cake, since buttercream melts and slides straight off, so cool layers completely and chill them before decorating. Avoid heavy liquid food coloring, which thins the buttercream and can taste bitter in strong colors; use gel and let dark shades develop overnight. For a first birthday, leave out wires, toothpicks, floral picks, and hard non-edible toppers, and remove candles before the smash to keep small hands safe. Finally, don't overfill the pans; fill them about two-thirds so the cake bakes level instead of doming and cracking.
The Recipe
The Base Recipe — Make Any of These Ideas
30 min
30 min
1 hr 30 min
8
Beginner
Ingredients 8 Person(s)
Directions
Step 1: Prep the pans and oven
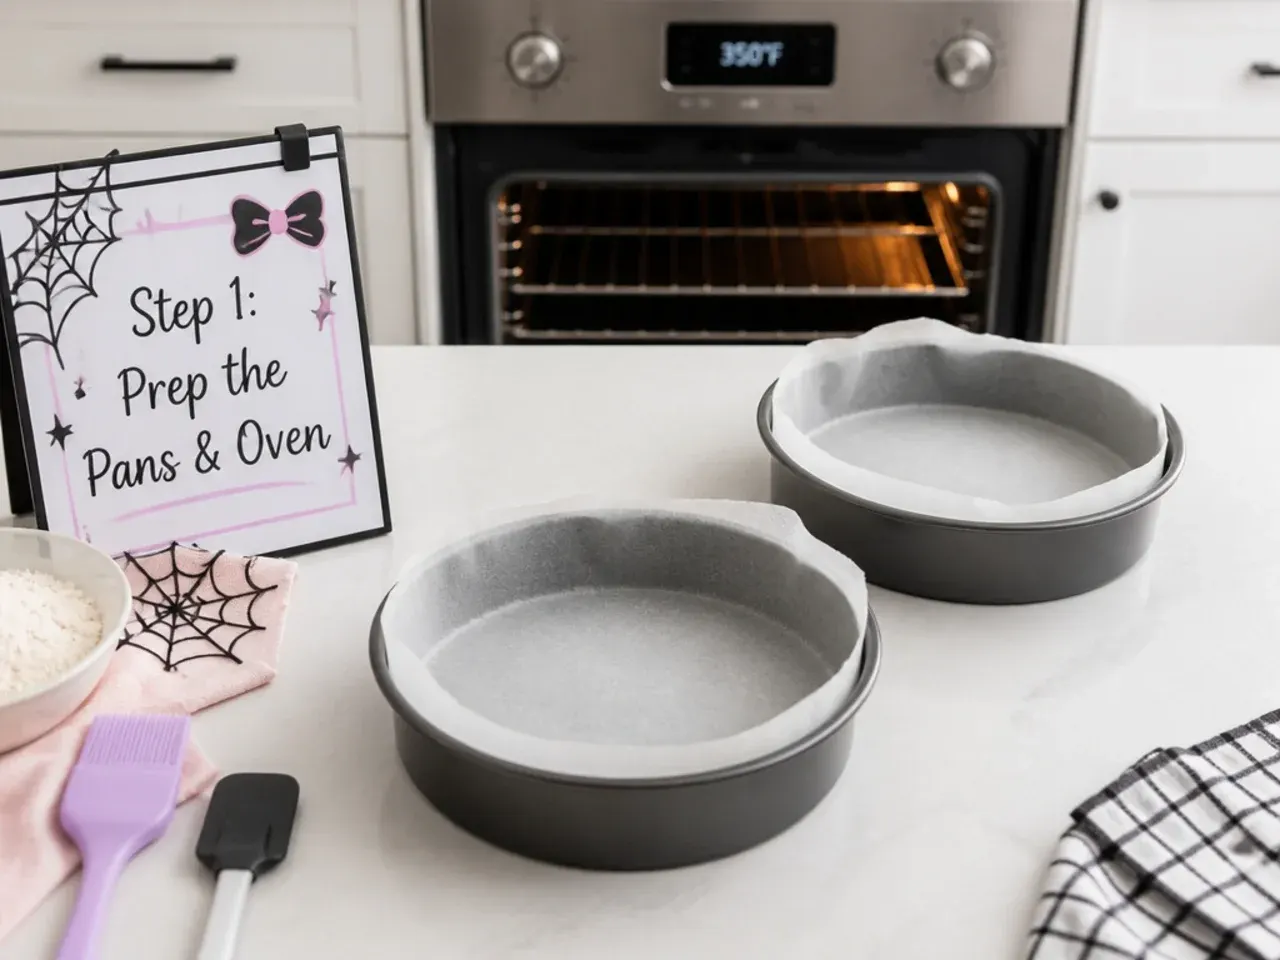
Preheat the oven to 175°C (350°F). Grease two 6-inch round cake pans, line the bottoms with parchment, and lightly flour the sides. Room-temperature butter, eggs, and milk mix far more smoothly, so pull them out ahead of time.
Step 2: Combine the dry ingredients
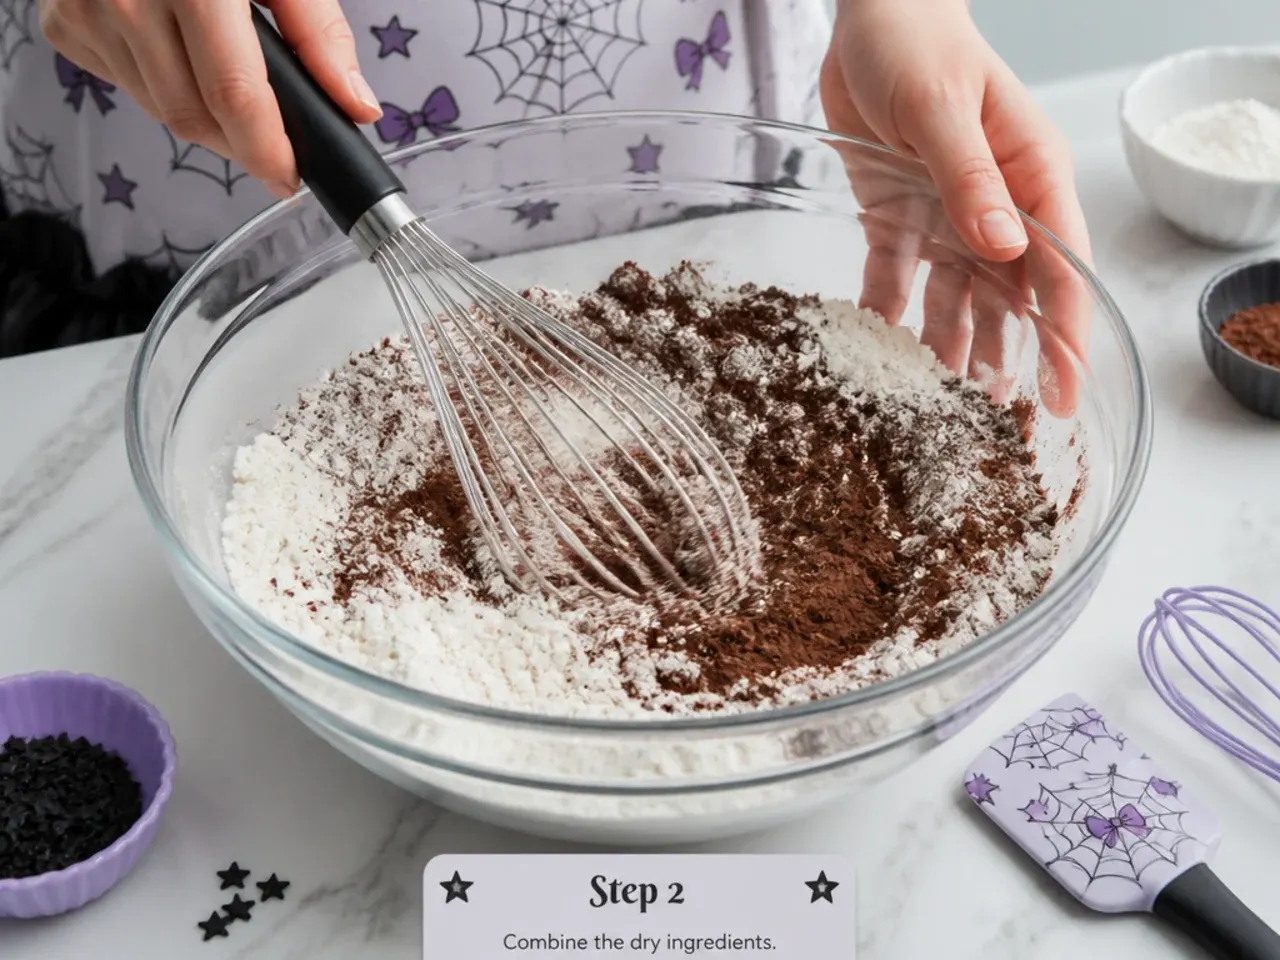
Whisk together the flour, baking powder, and salt in a bowl and set aside. Whisking the dry mix first distributes the leavening evenly so the cake rises level without pockets or streaks.
Step 3: Cream the butter and sugar
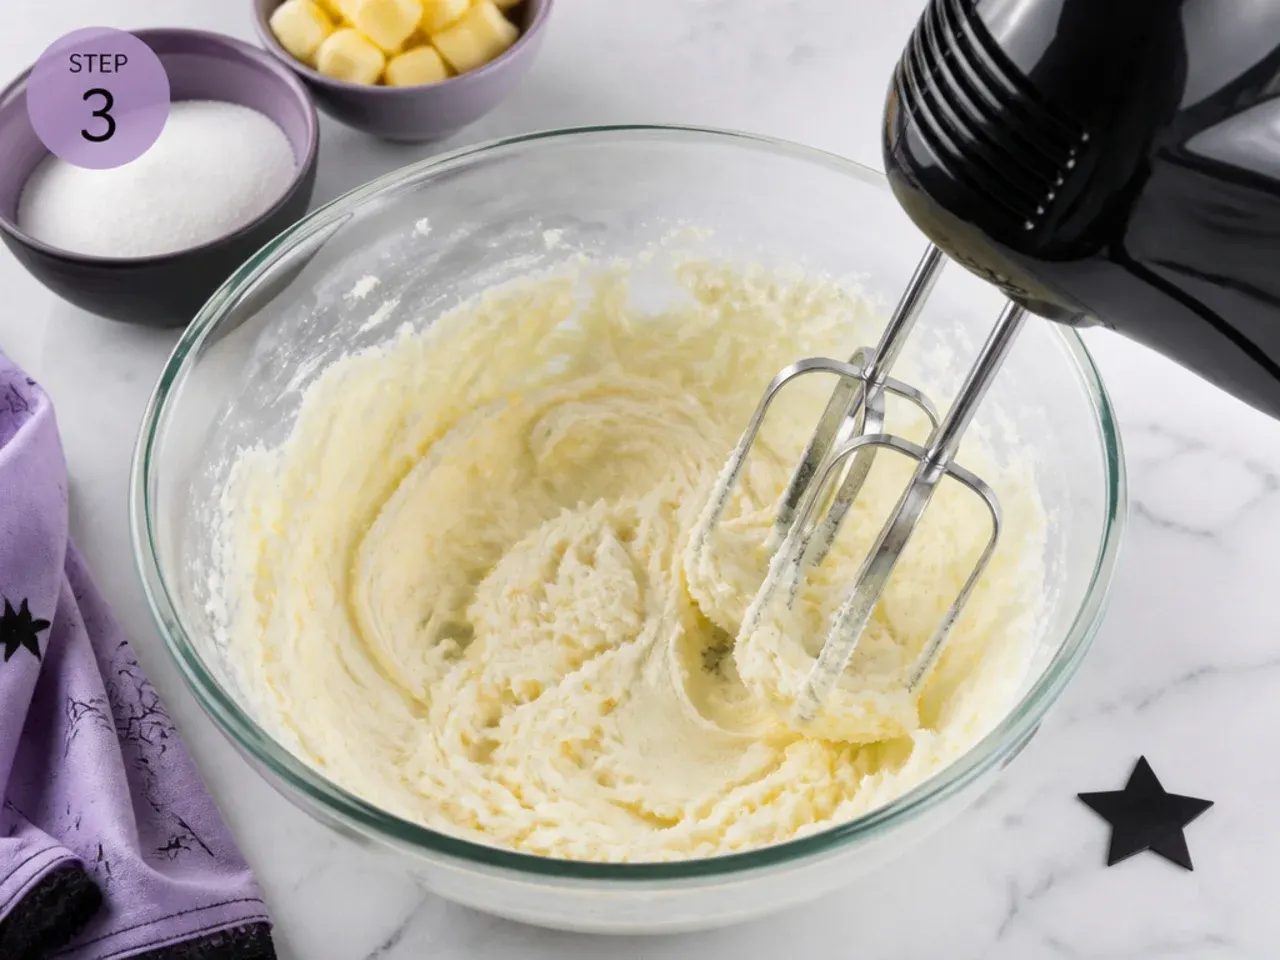
Beat the 113 g softened butter with the granulated sugar on medium-high for 3 to 4 minutes until pale and fluffy. This step builds air into the batter, giving the smash cake a soft, tender crumb that little hands can break apart easily.
Step 4: Add eggs and vanilla
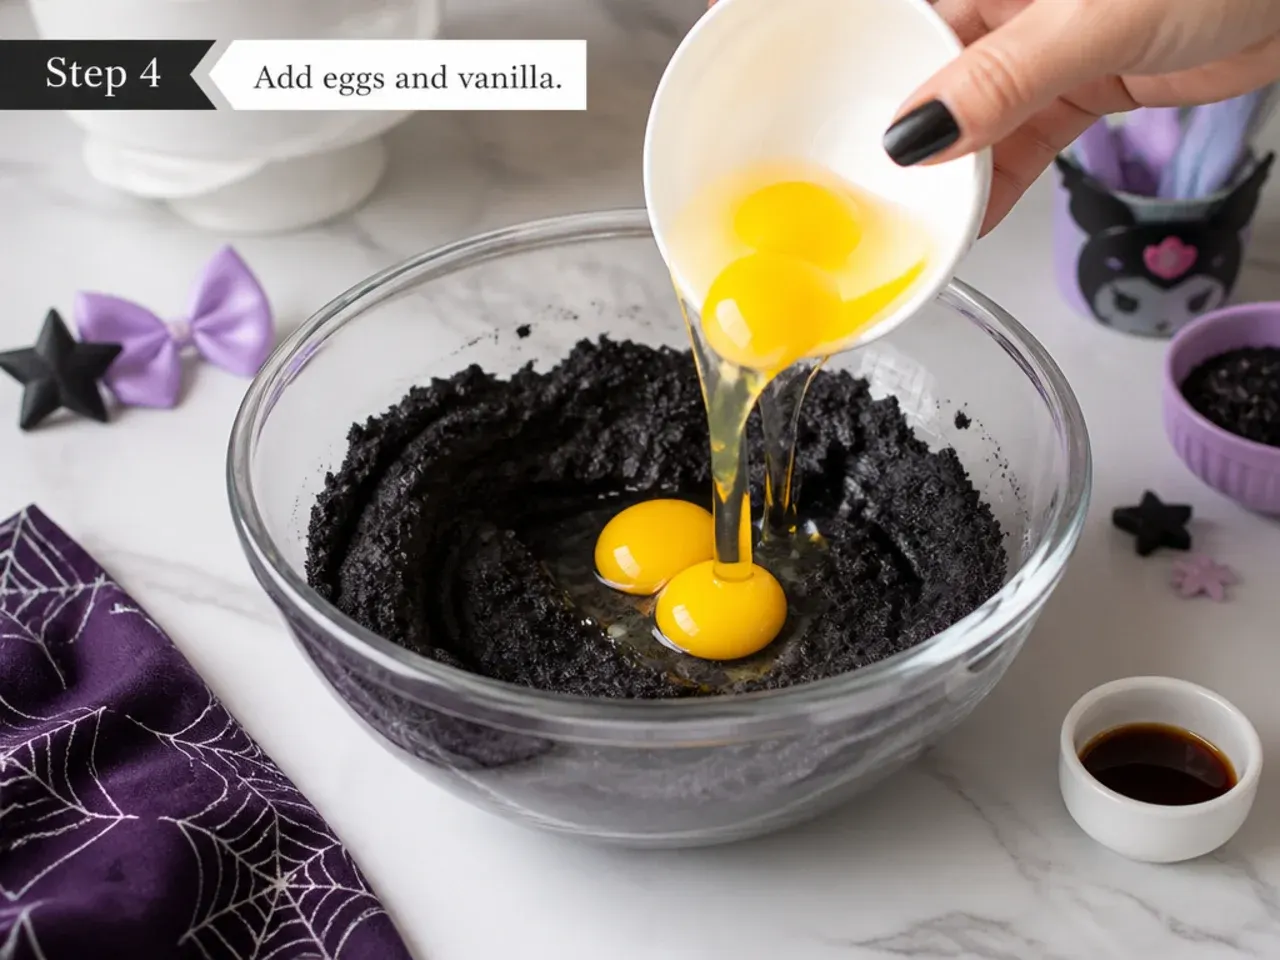
Add the eggs one at a time, beating well after each, then mix in the vanilla. Scrape down the bowl so everything is fully combined; the batter may look slightly split, which corrects once the flour goes in.
Step 5: Alternate flour and milk
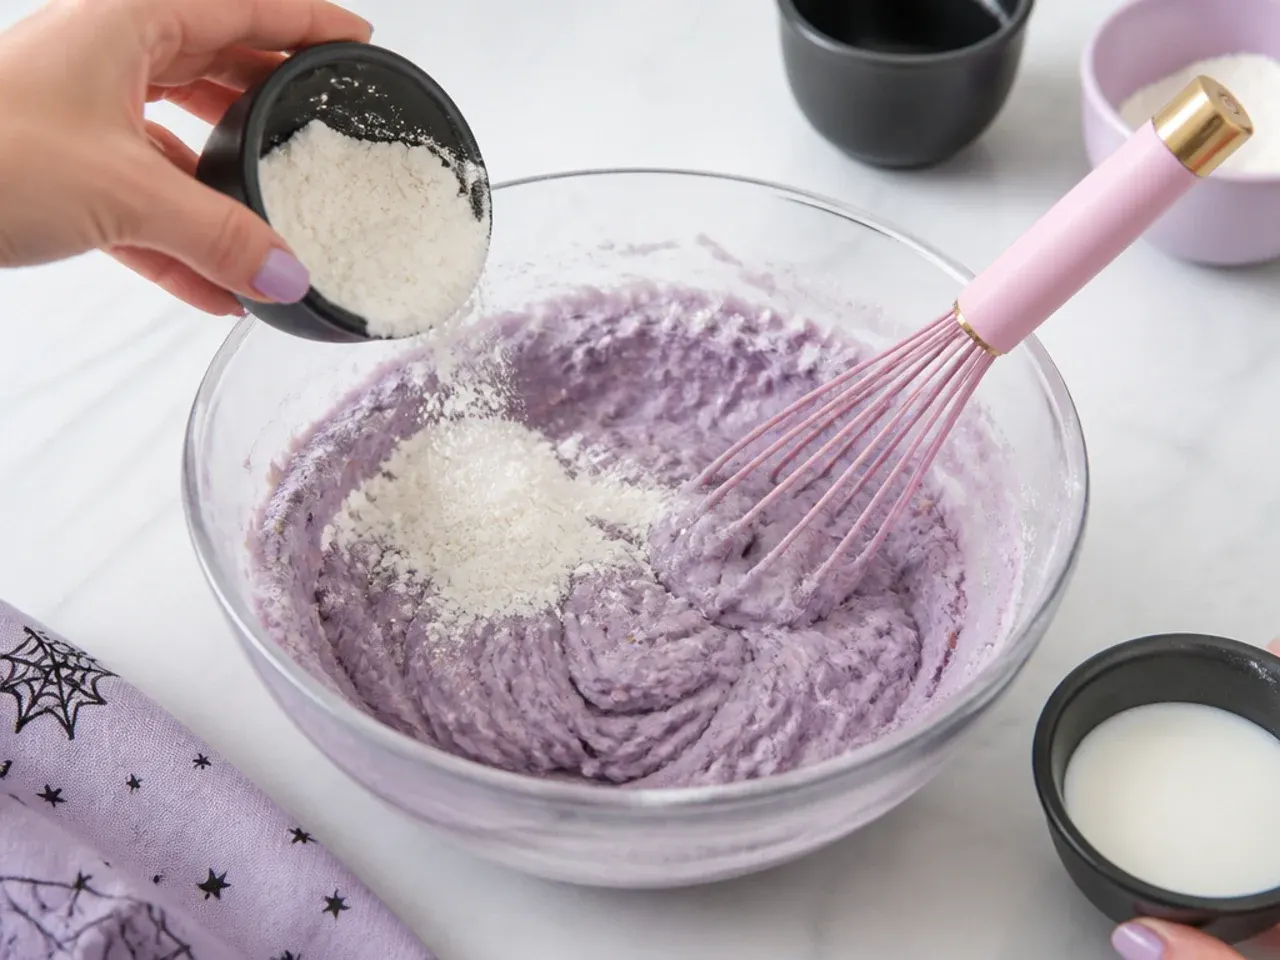
With the mixer on low, add the flour mixture in three parts alternating with the milk in two parts, beginning and ending with flour. Mix only until just combined; overmixing develops gluten and makes the cake tough and dense.
Step 6: Bake the layers
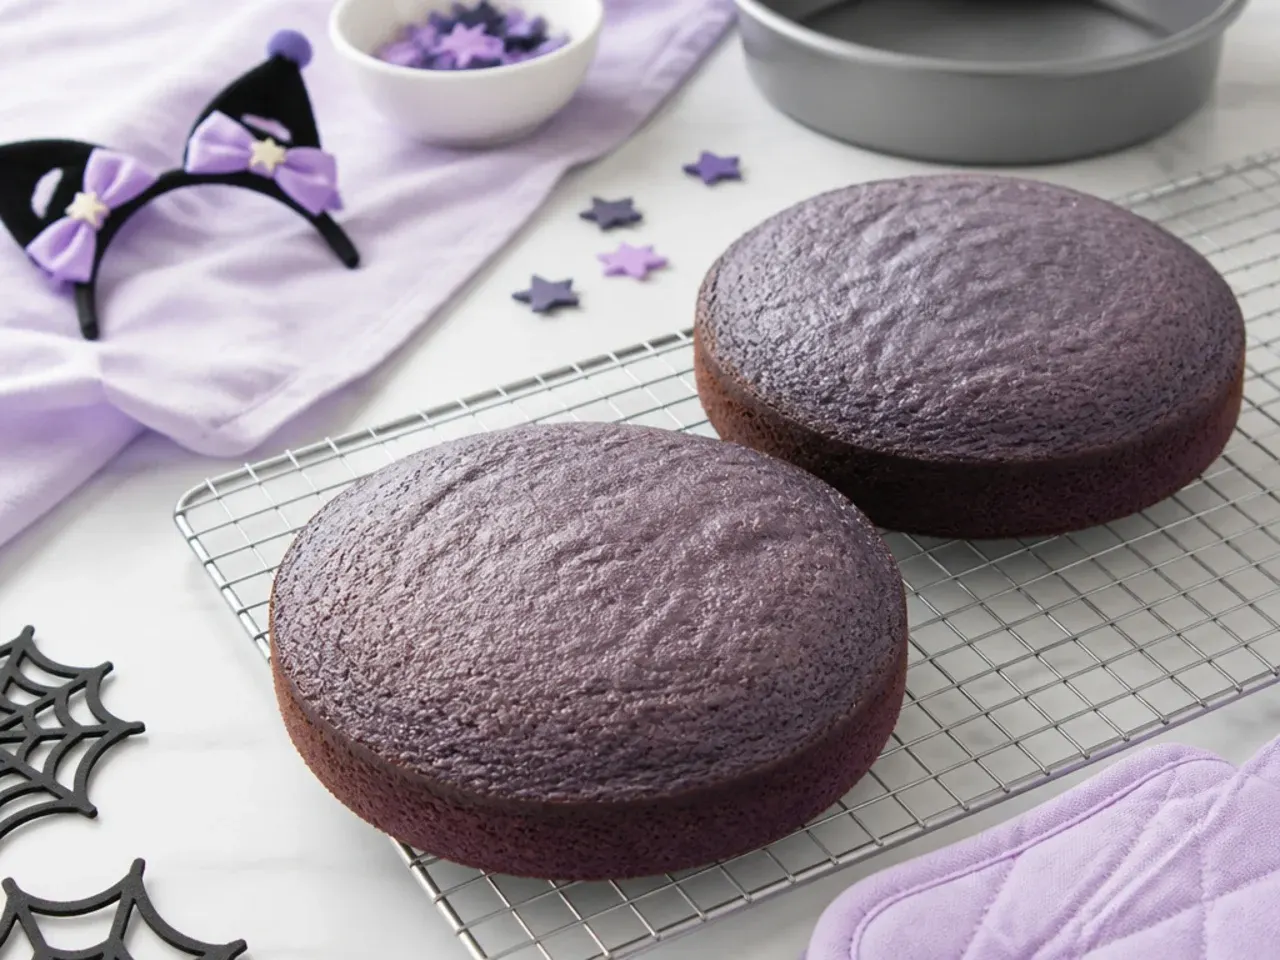
Divide the batter evenly between the two pans, filling each about two-thirds full so they bake level. Bake at 175°C (350°F) for 25 to 30 minutes, until a toothpick in the center comes out clean and the tops spring back. Cool in the pans 10 minutes, then turn out onto a rack to cool completely.
Step 7: Make the buttercream and frost
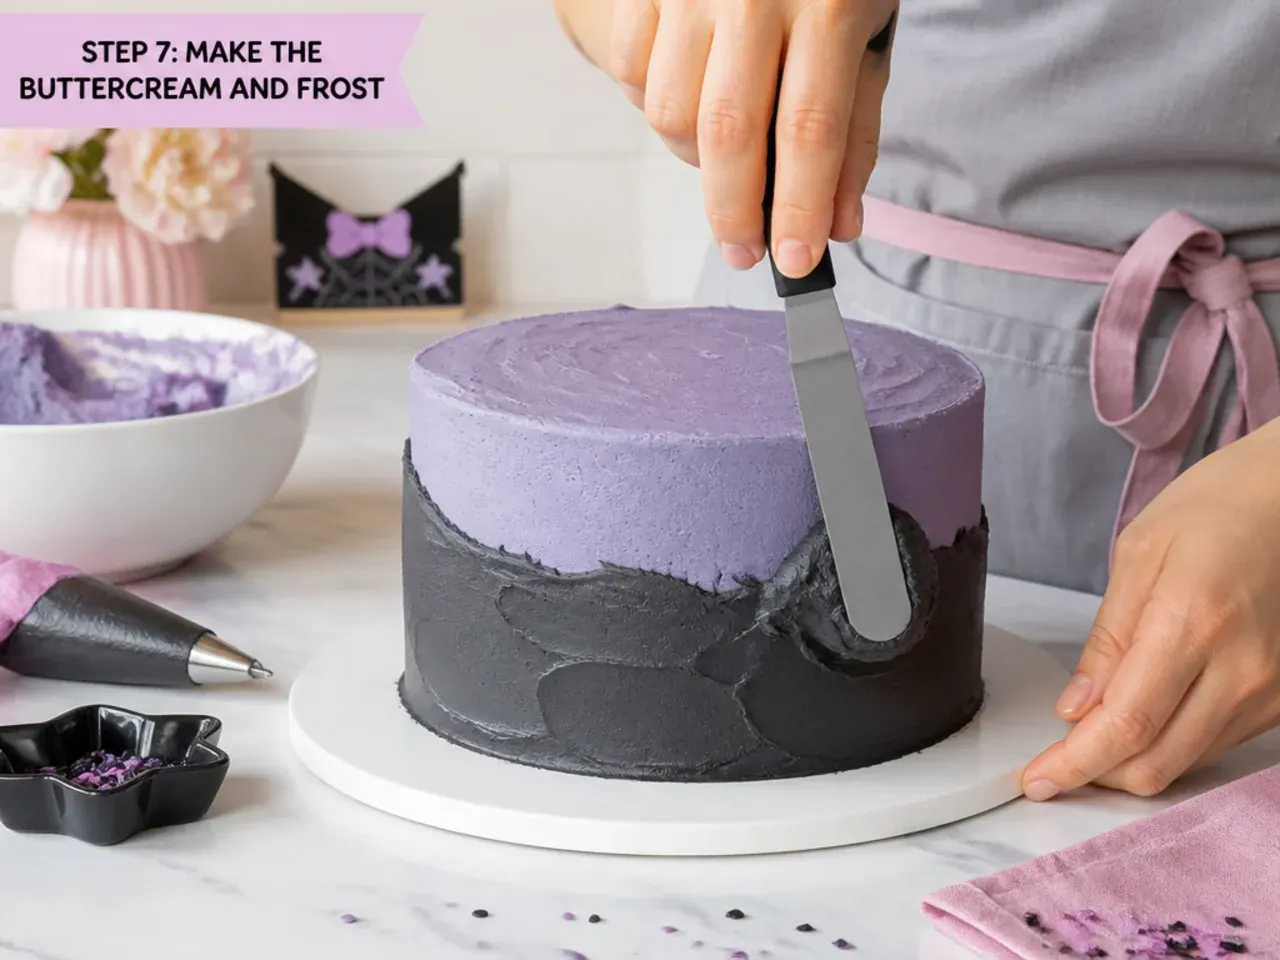
Beat the 225 g softened butter 2 minutes, then add the sifted powdered sugar in batches with the milk and a pinch of salt, beating 3 to 4 minutes until fluffy. Tint portions pink and black with gel color. Level the cooled layers, stack with buttercream between, apply a thin crumb coat, chill 20 minutes, then add your final coat and decorate in your chosen Kuromi-inspired style.
Frequently Asked Questions
A two-layer 6-inch cake is the most popular smash cake size and what this recipe makes; it gives a baby plenty to dig into while still looking full and photogenic. For a smaller, single-serving smash cake, bake the same batter in 4-inch pans and reduce the bake time to about 18 to 22 minutes. A 5-inch pan is a good middle option. Any of these work for the Kuromi designs above.
Save this for later 📌
Pin this article to your Pinterest board so the full list is one tap away when you need it.
Save on Pinterest