20 Adorable Mini Spiderman Cake Ideas
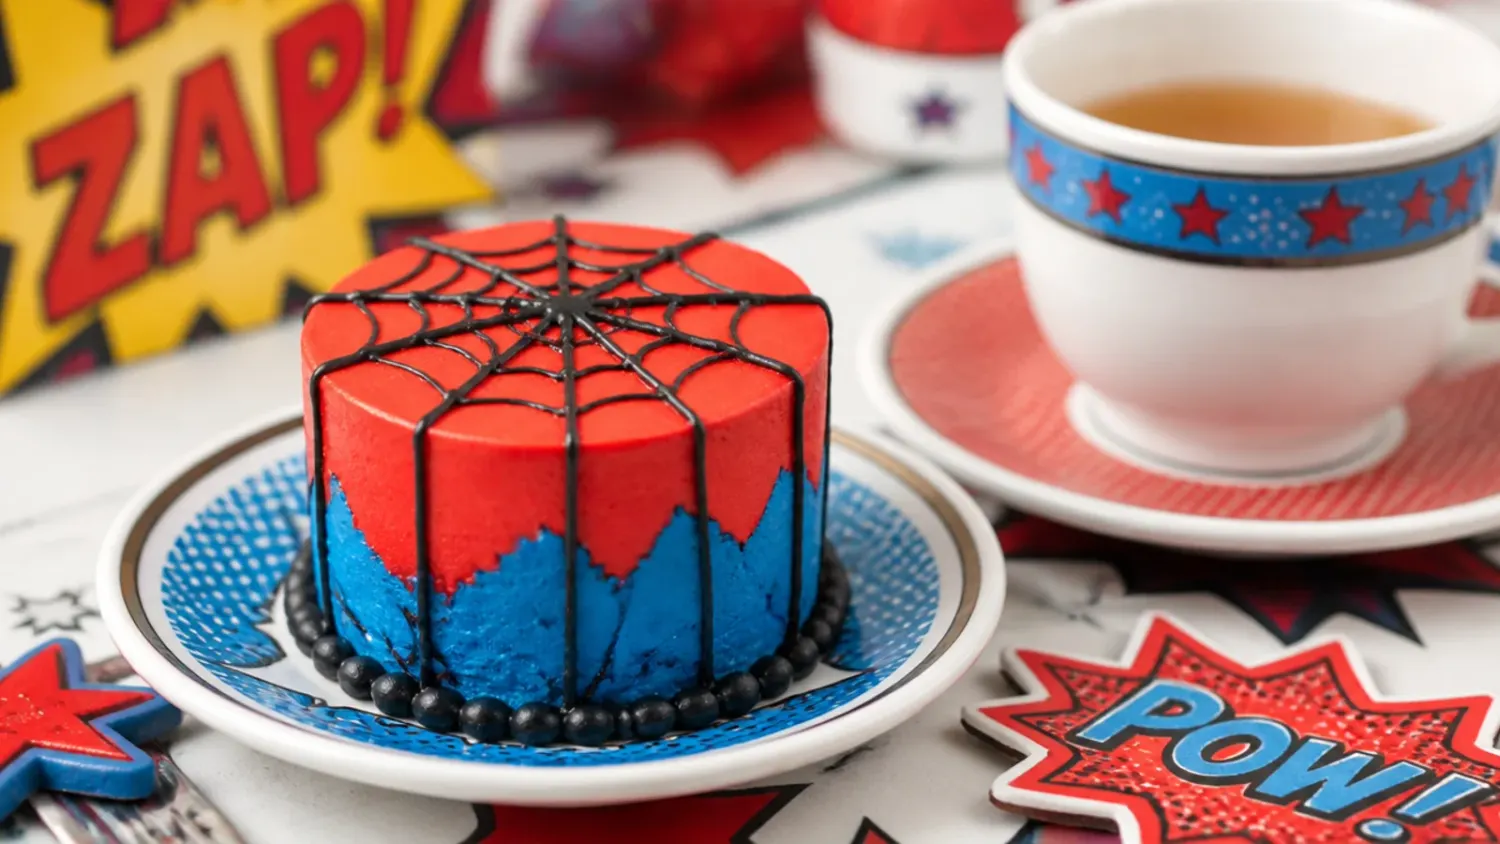
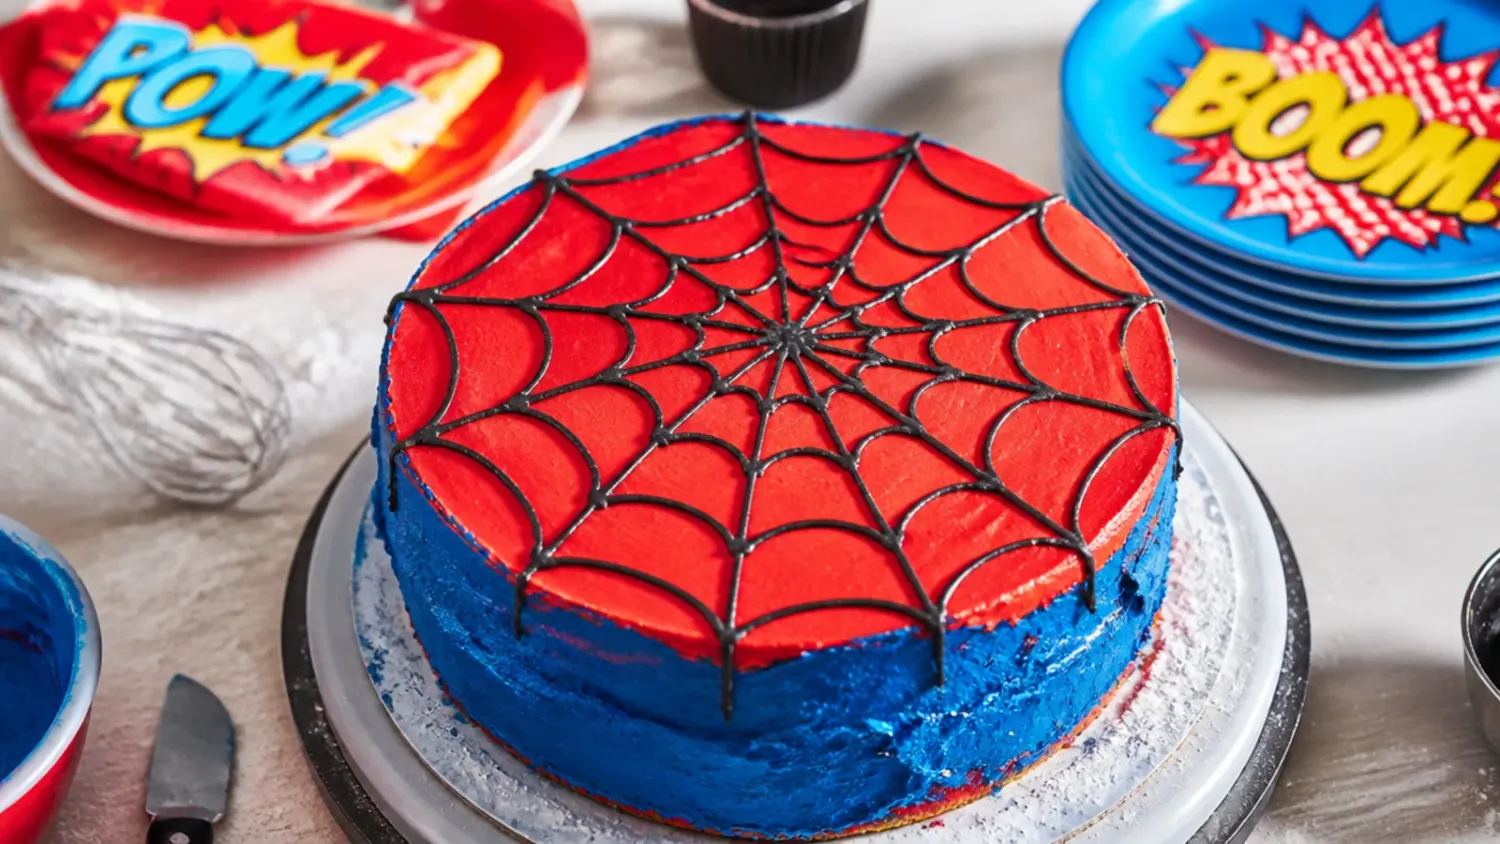
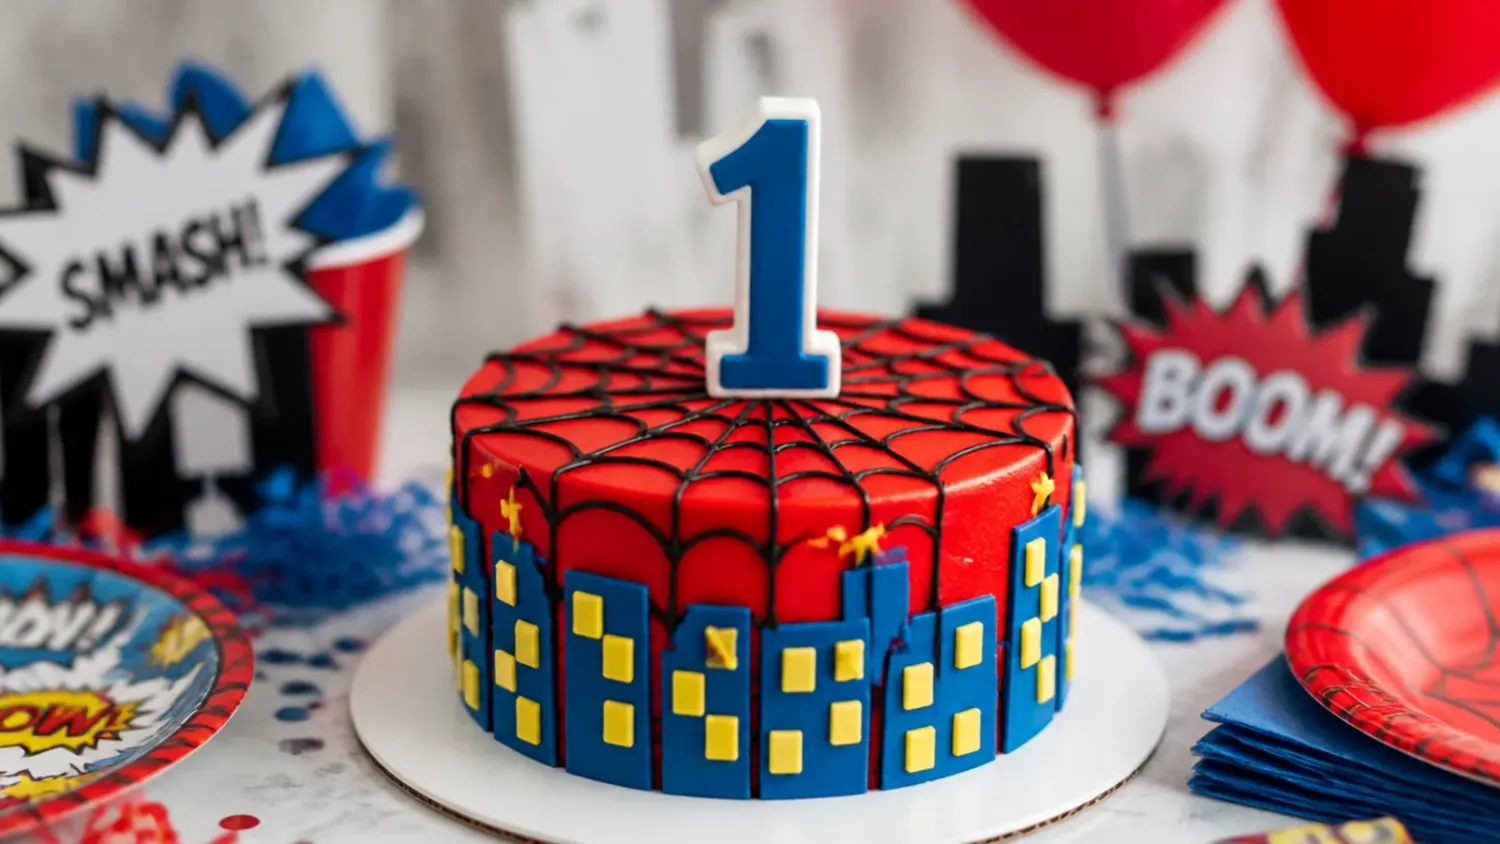
20 adorable mini spiderman cake ideas with red-and-blue buttercream, edible web lines and star accents, plus a foolproof base recipe anyone can bake. If you love spiderman cake inspiration, start with our Spiderman Cake Ideas collection, then browse the full Cake Ideas hub for more.

Save this for later 📌
Pin this article to your Pinterest board so the full list is one tap away when you need it.
Save on PinterestCake Ideas
Beginner
Ideas
20 ideas
Table of Contents
- 1. Classic Red-and-Blue Buttercream Mini Cake
- 2. Easy Web-Line Mini Cake for Beginners
- 3. Elegant White-and-Red Drip Mini Cake
- 4. Playful Star-Confetti Mini Cake
- 5. Modern Color-Block Mini Cake
- 6. Rustic Semi-Naked Mini Cake
- 7. Colorful Rainbow-Layer Mini Cake
- 8. Minimal Single-Web Mini Cake
- 9. Festive Party Mini Cakes for a Crowd
- 10. Whimsical Web-and-Bug Mini Cake
- 11. Bold High-Contrast Mini Cake
- 12. Delicate Piped-Rosette Mini Cake
- 13. Vintage Comic-Panel Mini Cake
- 14. Creative Cake-Pop Web Toppers
- 15. Charming Mini Bundt Web Cakes
- 16. Ombre Red-to-Blue Mini Cake
- 17. Easy No-Pipe Fondant-Topper Mini Cake
- 18. Elegant Metallic-Accent Mini Cake
- 19. Playful Pull-Apart Mini Cupcake Web
- 20. Modern Geometric Web Mini Cake
- Tips to Make These Ideas Easier
- Common Mistakes to Avoid
- The Base Recipe — Make Any of These Ideas
1. Classic Red-and-Blue Buttercream Mini Cake
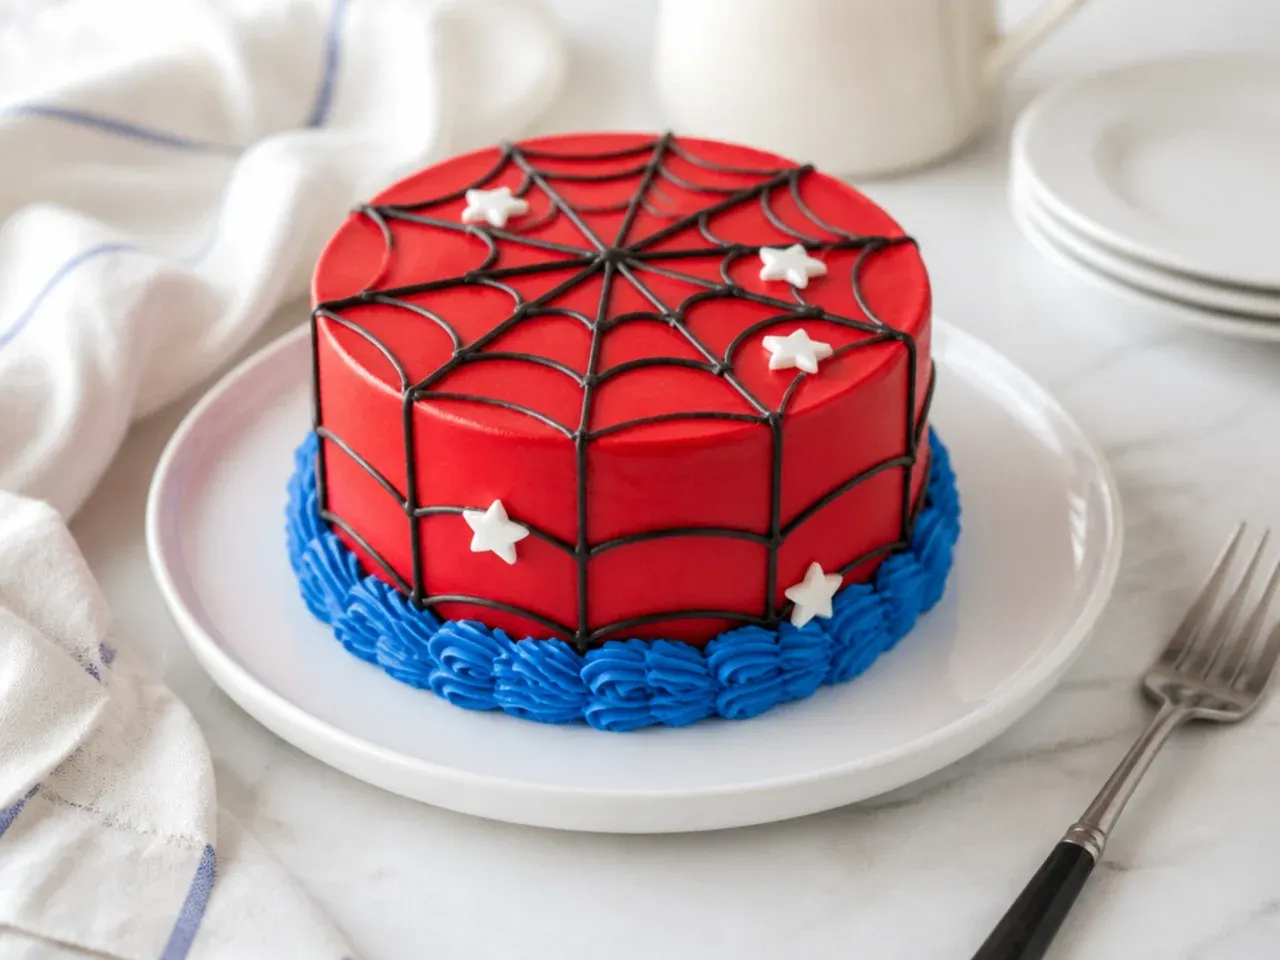
This is the timeless superhero-inspired look: a smooth red buttercream base with a deep blue lower band, echoing the classic two-color suit without copying any character face. Bake the base recipe in a 10cm (4-inch) mini pan, crumb coat, chill, then apply your final red coat and pipe a blue border around the bottom with a Wilton 1M star tip. The red and blue read instantly as Spidey while staying totally your own design. Tint the red with a no-taste red gel so it goes deep without a bitter aftertaste, and let the crumb coat set in the fridge for 20 minutes so your colors stay crisp and separate.
2. Easy Web-Line Mini Cake for Beginners
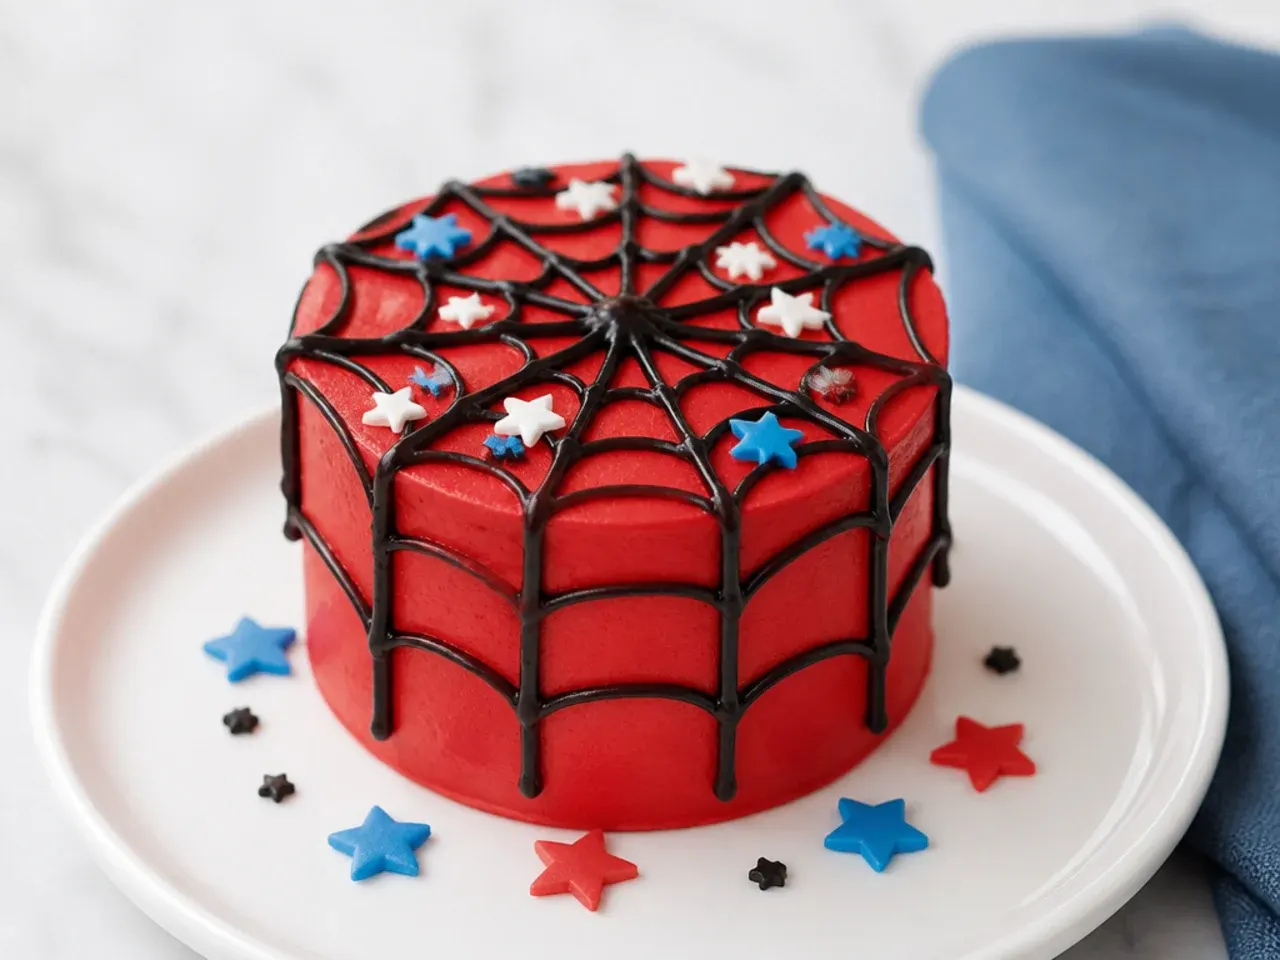
The web pattern is the fastest way to make a mini cake read as spiderman-inspired, and it needs zero sculpting skill. Frost a smooth red or white buttercream base, then pipe thin black lines from the center outward like spokes using a piping bag snipped to a tiny hole or a Wilton no. 2 round tip. Connect the spokes with small curved arcs to form the web, working from the center out so the lines stay even. If your hand shakes, chill the frosted cake for 10 minutes first so the buttercream is firm and the black lines sit on top instead of sinking in.
3. Elegant White-and-Red Drip Mini Cake
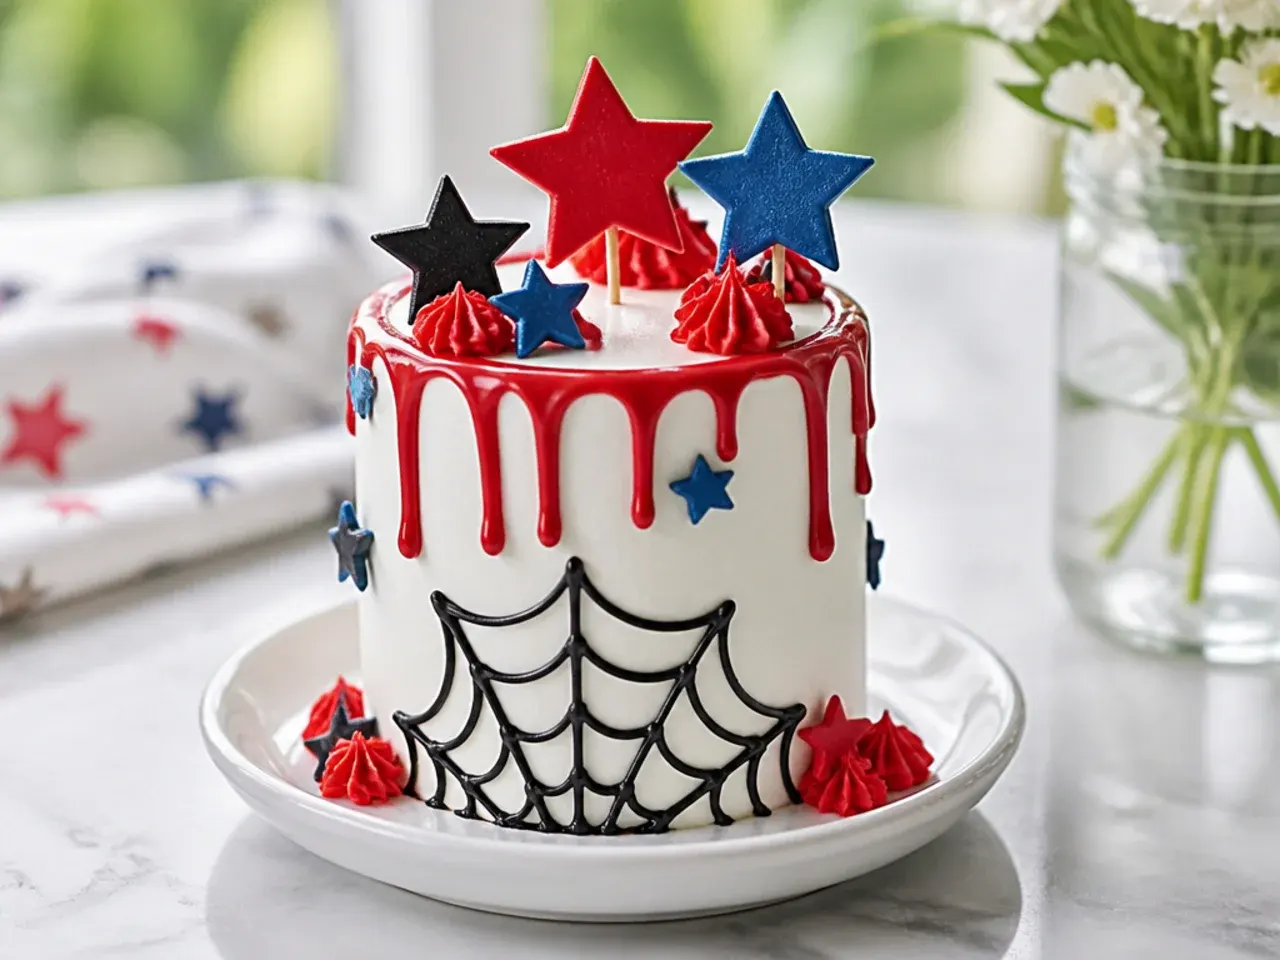
For a grown-up take, keep the base clean white and add a single red chocolate drip so it feels modern rather than cartoonish. Melt 60g red candy melts with 1 teaspoon coconut oil, cool until barely warm, then spoon it around the chilled cake's top edge so it falls in uneven drips. Top with a few white chocolate stars cut with a mini cutter for a subtle superhero nod. Chill the cake hard before dripping (at least 30 minutes at 4°C) so the warm drip sets fast and the drops stay short and elegant instead of running to the plate.
4. Playful Star-Confetti Mini Cake
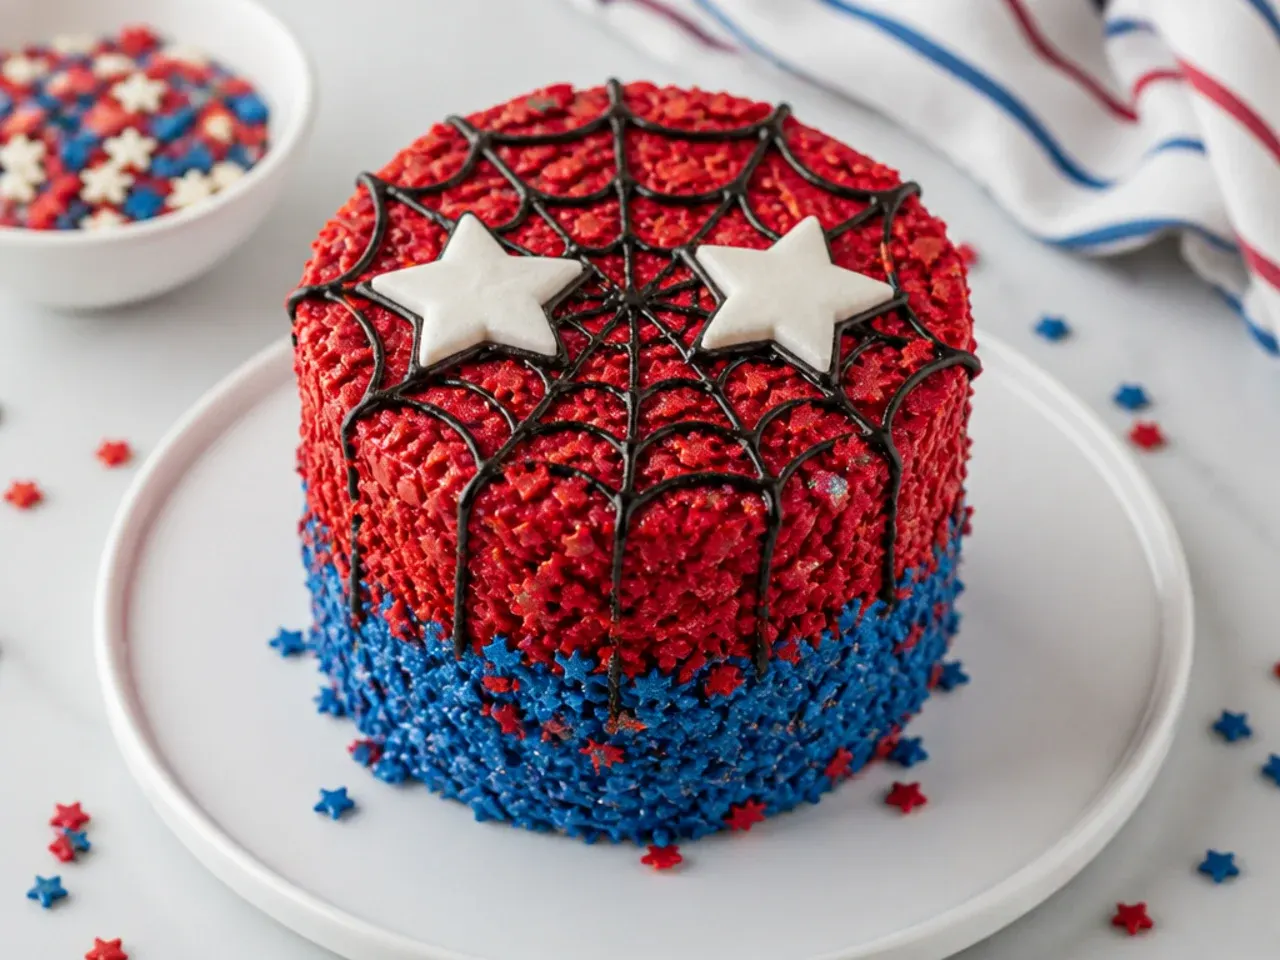
Star accents give a spiderman-inspired cake a fun, birthday-ready feel and hide any imperfect frosting. Press red, blue and silver edible star sprinkles into the bottom third of a white or red buttercream cake while the frosting is still soft. Add a cluster of larger fondant stars on top, cut with a 2cm plunger cutter and left to firm up for an hour so they hold their points. This one is ideal for kids to help with, since pressing on stars is forgiving and no piping skill is needed.
5. Modern Color-Block Mini Cake
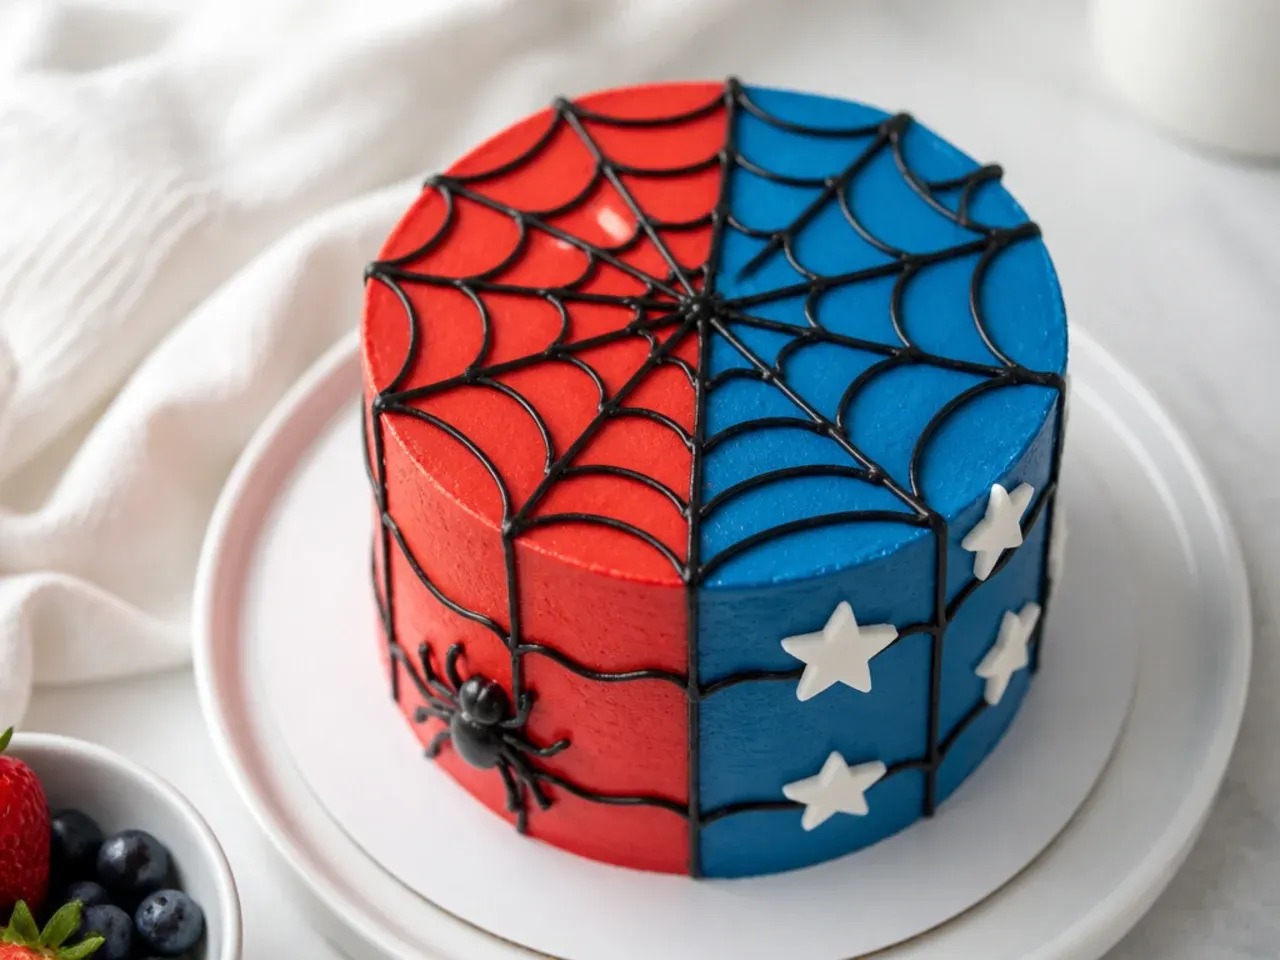
A clean color-block design splits the cake vertically into a red half and a blue half for a sharp, contemporary look. Frost each side in its color, then run a bench scraper down the seam to get a razor-straight line where they meet. Chill between the two colors so the first side firms up and does not smear when you add the second. Finish with a thin black web line piped only on the red half, so the design feels balanced and deliberate rather than crowded.
Save this for later 📌
Pin this article to your Pinterest board so the full list is one tap away when you need it.
Save on Pinterest6. Rustic Semi-Naked Mini Cake
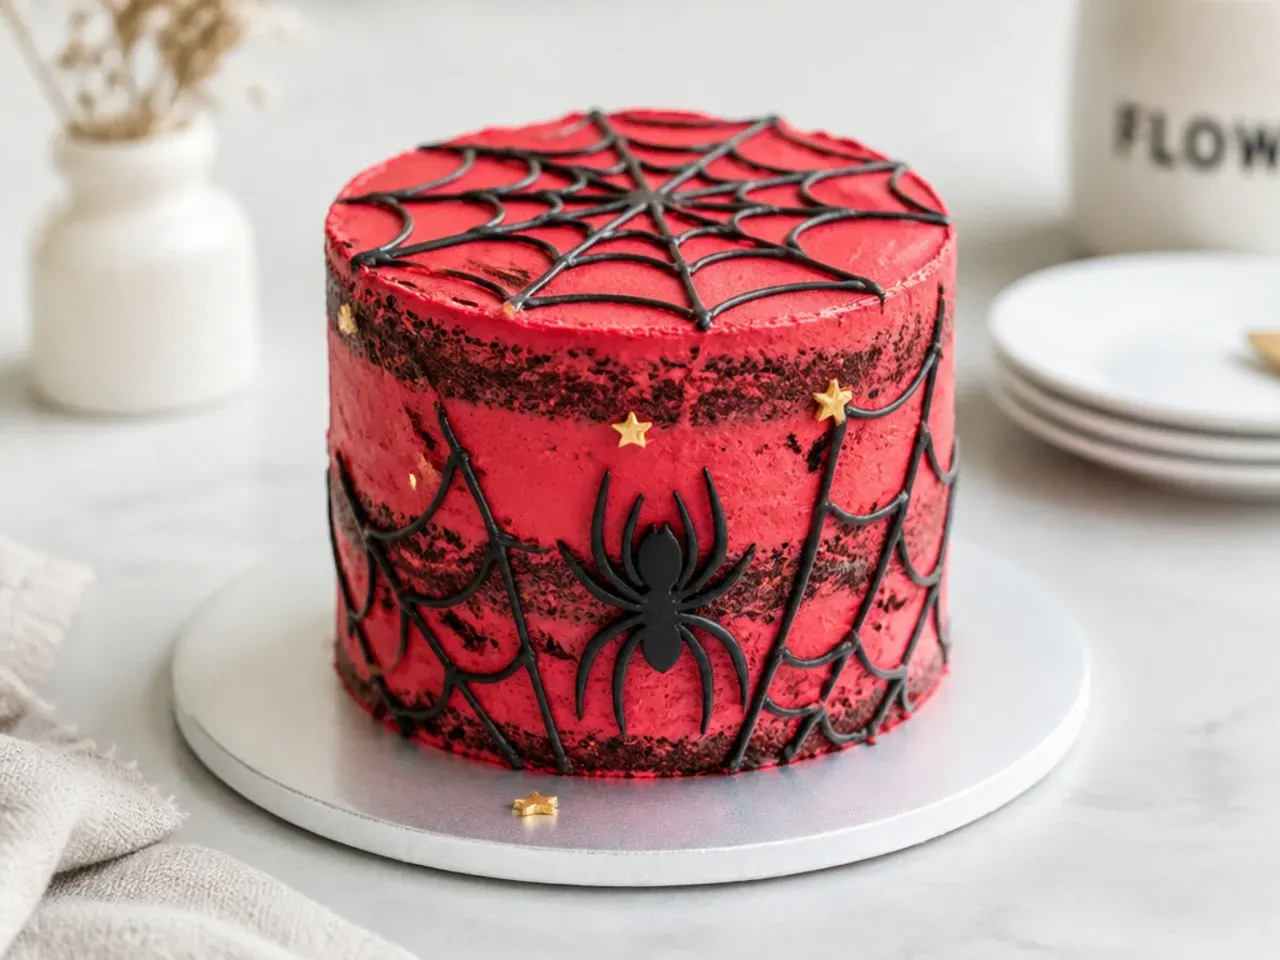
For a cozy, homemade look, go semi-naked: scrape most of the buttercream off so the sponge peeks through, then add just a few superhero-inspired touches. Tint your thin buttercream layer a soft red and let the vanilla crumb show at the edges for that rustic bakery vibe. Add a small hand-piped web in the top corner and two red fondant berries or stars as accents. This style is very beginner-friendly because the scraped-back finish is meant to look imperfect, so uneven frosting actually helps.
7. Colorful Rainbow-Layer Mini Cake
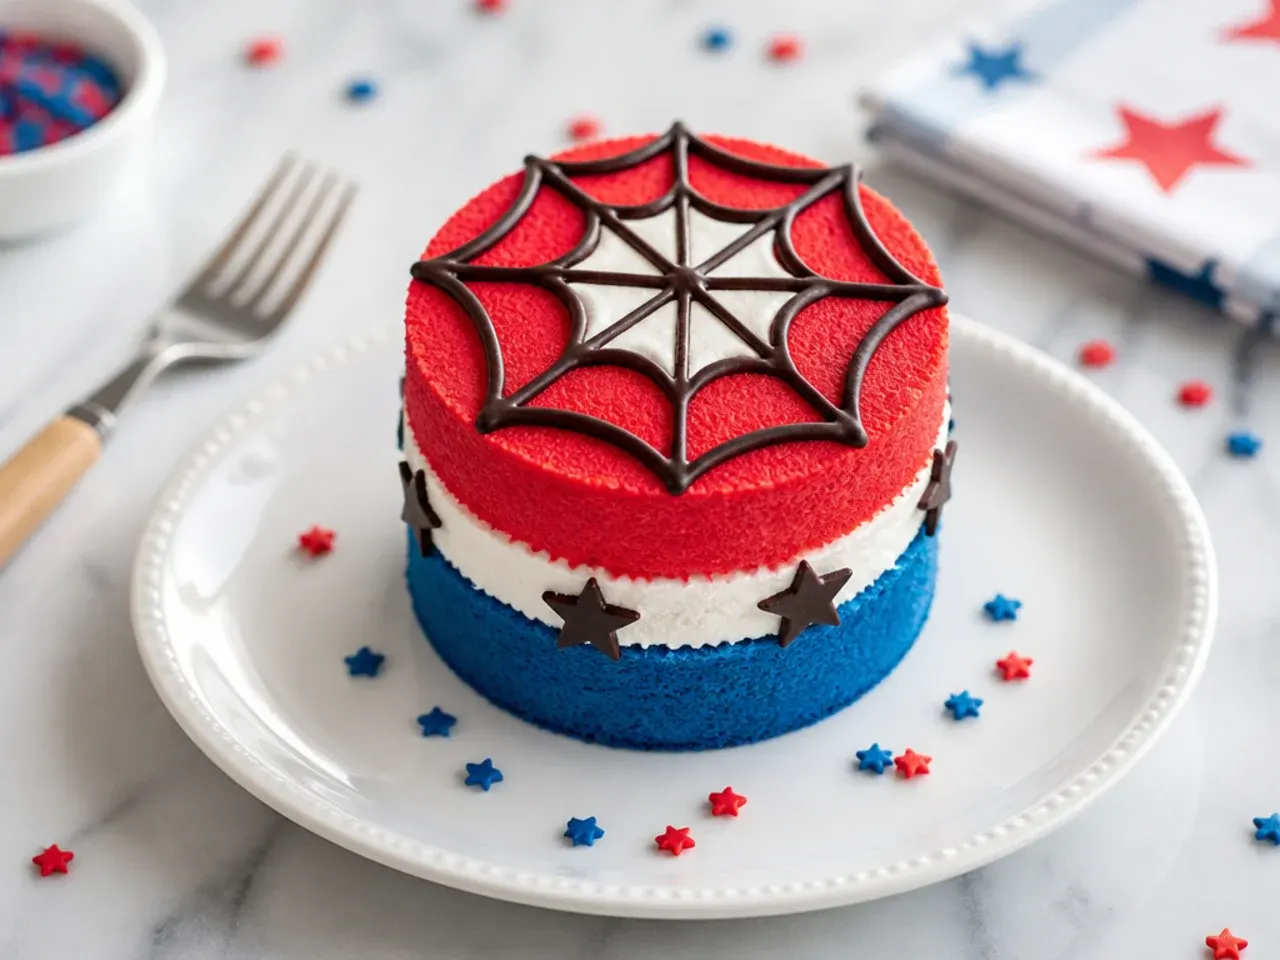
Hide a surprise inside by baking red and blue sponge layers so the superhero colors appear when you cut in. Split your base batter in two, tint one bowl red and one blue with gel color, and bake in separate mini pans. Stack them with a thin buttercream layer between, then coat the outside in white so the reveal is a secret until the first slice. Use gel, not liquid, color so the batter stays thick and the baked colors stay vivid instead of muddy grey.
8. Minimal Single-Web Mini Cake
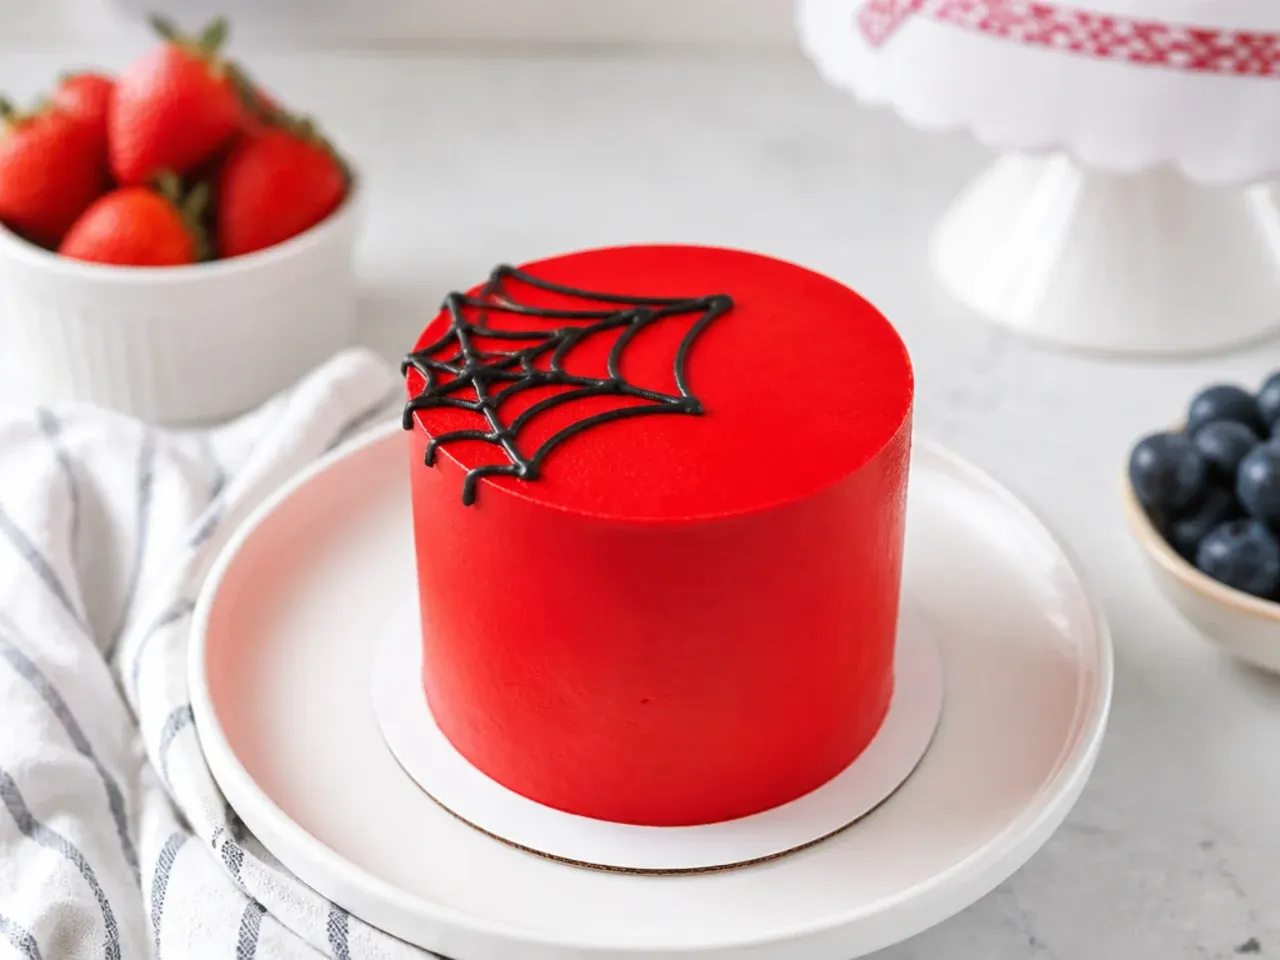
Sometimes one clean detail says more than a busy design. Frost a perfectly smooth red buttercream cake, then pipe a single delicate black web across just one top corner with a fine no. 1 or no. 2 round tip. Leave the rest of the surface bare so the eye goes straight to the web. The trick to the smooth base is a hot bench scraper, dipped in boiling water and wiped dry, run around the chilled cake for a glass-like finish.
9. Festive Party Mini Cakes for a Crowd
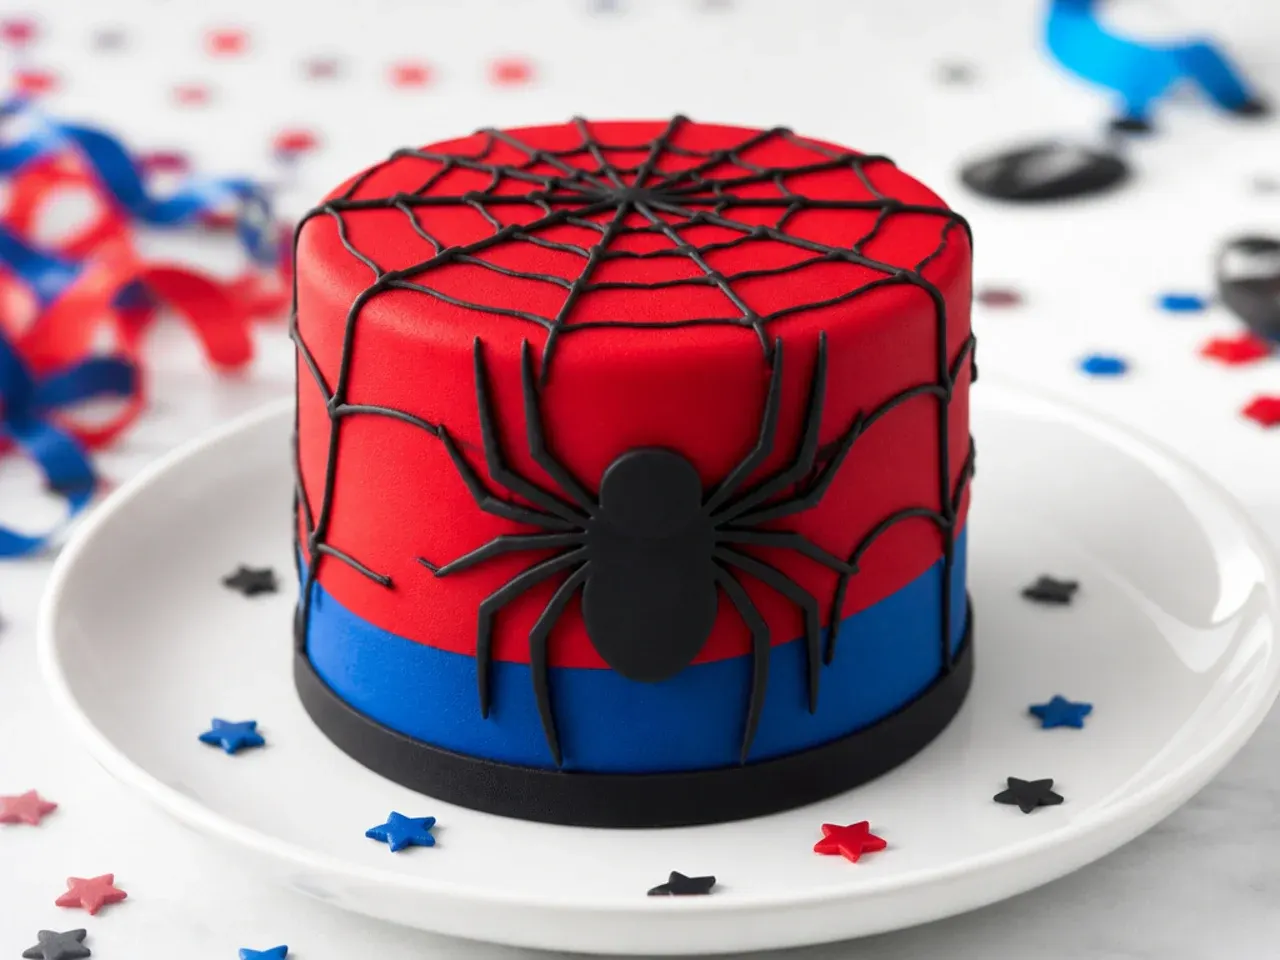
Turn the base recipe into individual mini cakes so every guest gets their own, perfect for a birthday party. Bake in a mini cake pan or use a wide cupcake tin, then split and fill each little cake with a swipe of buttercream. Give each one a different simple accent, a web on one, stars on another, a blue swirl on a third, so a tray of them looks varied and abundant. Make them a day ahead and store airtight, since mini cakes hold their moisture well for 2 to 3 days.
10. Whimsical Web-and-Bug Mini Cake
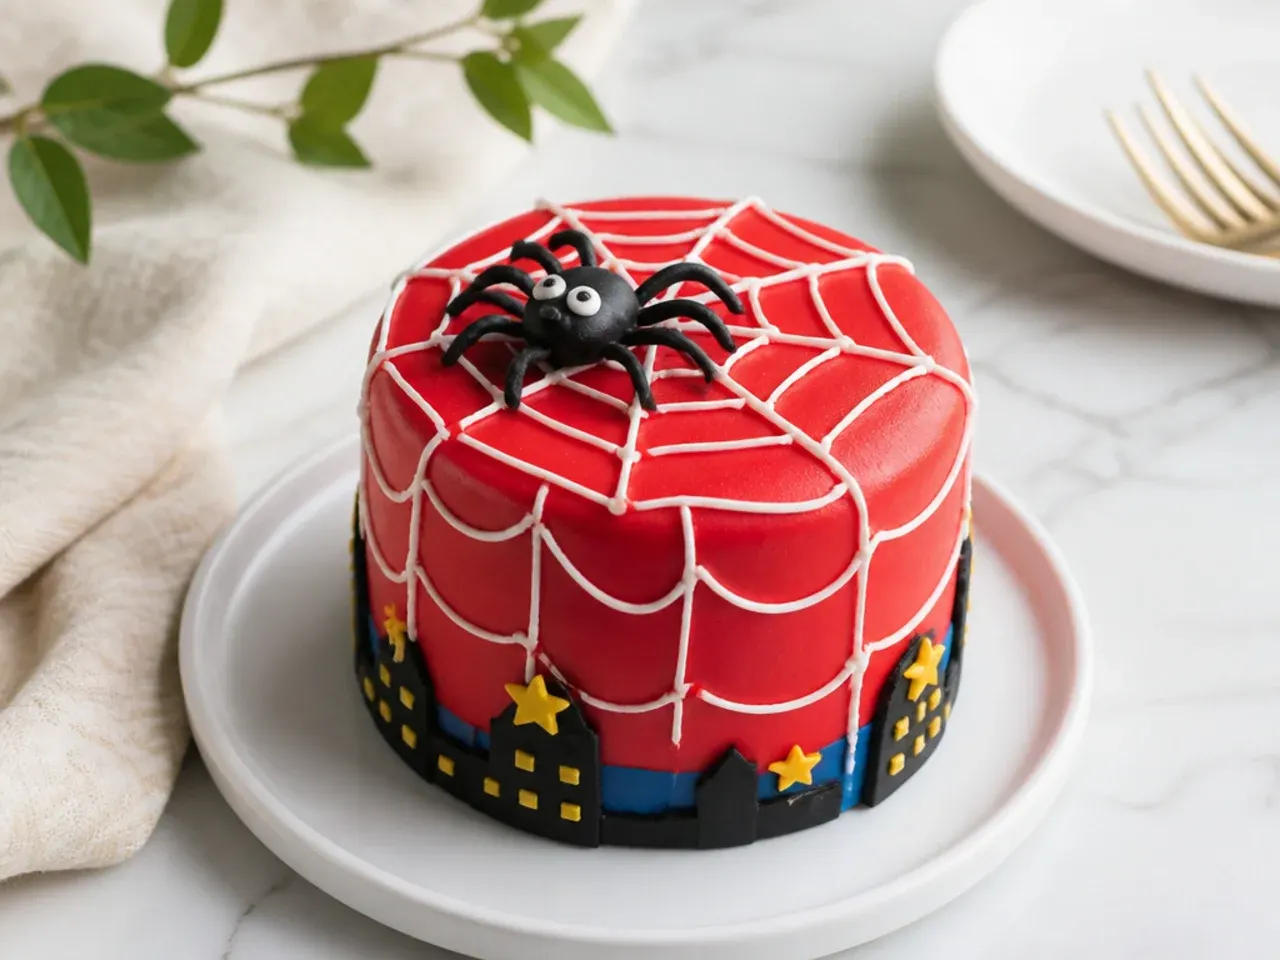
Add a friendly little sugar spider to lean into the playful, whimsical side without any character likeness. Pipe a red buttercream web, then place a small fondant spider made from a rolled body and eight thin licorice or fondant legs in one corner. Give it two tiny white sugar-pearl eyes so it reads as cute, not creepy. This detail delights younger kids and is a great way to use up fondant scraps from other ideas.
Save this for later 📌
Pin this article to your Pinterest board so the full list is one tap away when you need it.
Save on Pinterest11. Bold High-Contrast Mini Cake
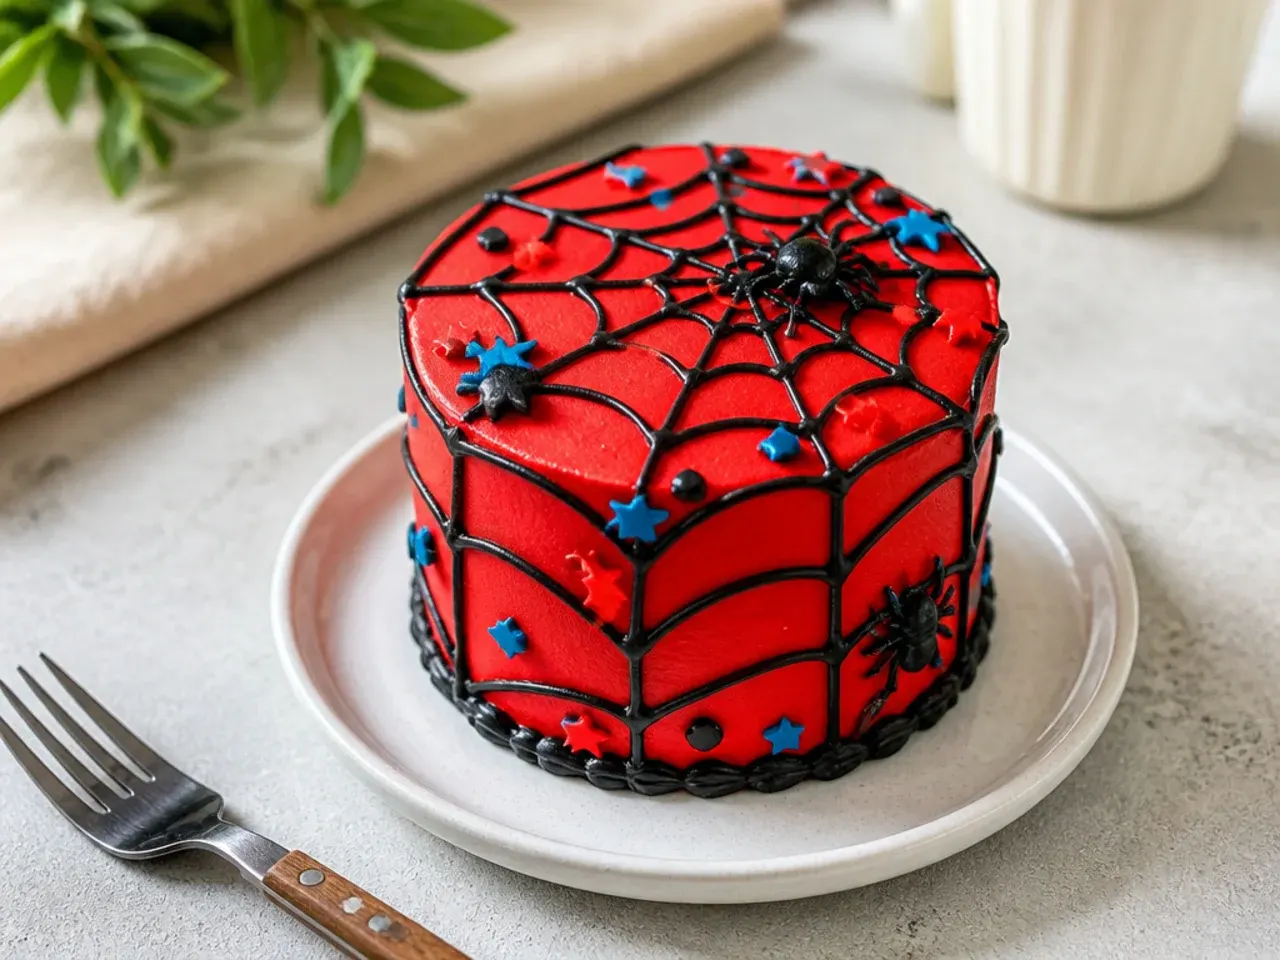
Maximum impact comes from a deep red base with stark black webbing covering the whole surface. Frost the cake in a rich no-taste red, chill until firm, then pipe an all-over web with black buttercream or black royal icing for crisp lines that will not spread. Keep the web lines thin and evenly spaced so the red still shows through and the cake does not turn muddy. Black frosting stains, so let it fully crust before boxing, and warn guests it may tint lips, which kids find hilarious.
12. Delicate Piped-Rosette Mini Cake
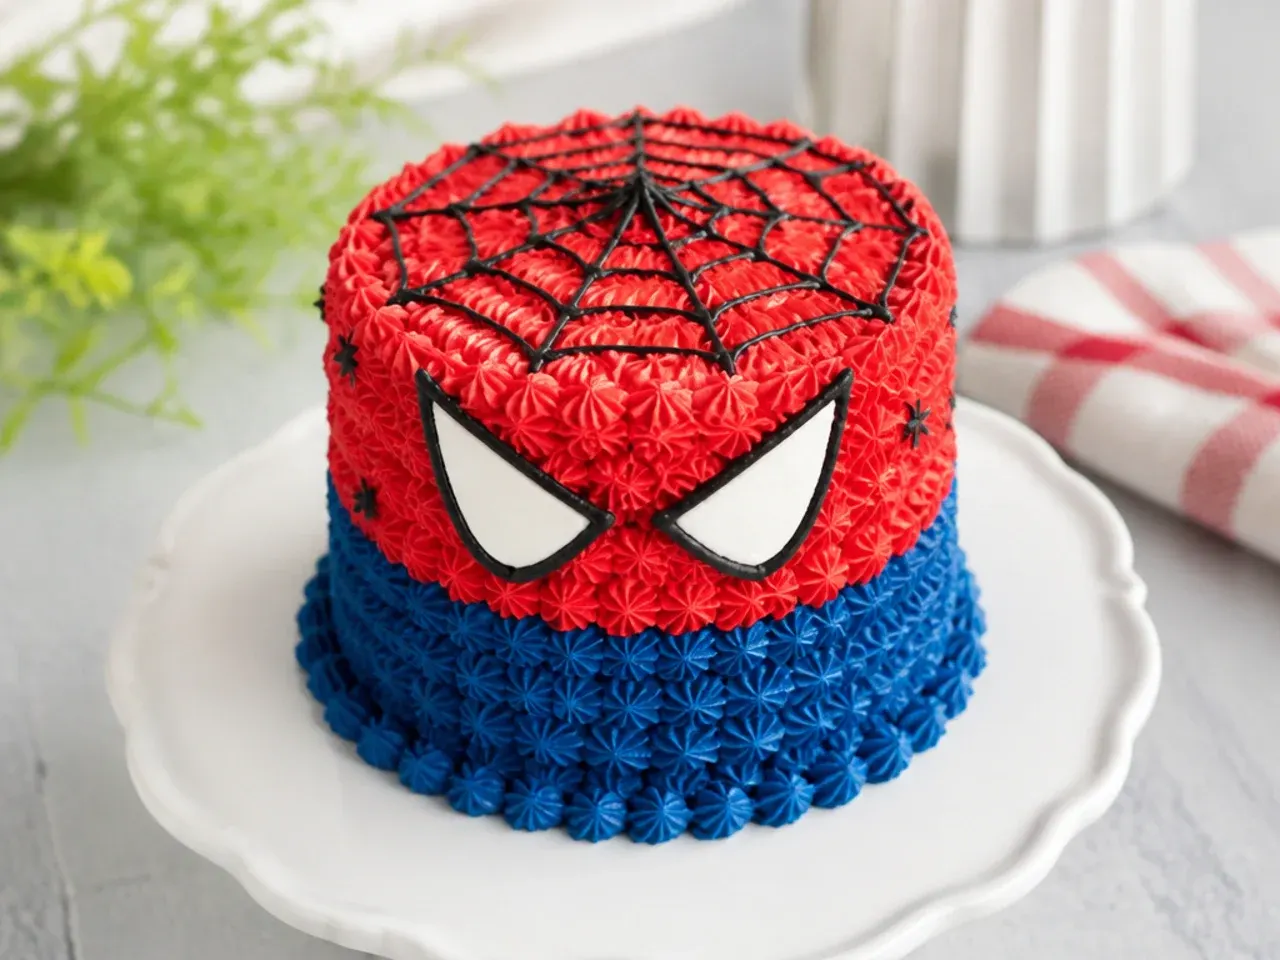
Cover the whole mini cake in small red and blue rosettes for a soft, textured finish that hides any uneven crumb coat. Use a Wilton 1M or 2D tip and pipe tight swirls in rows, alternating red and blue, starting from the bottom and working up. Each rosette is a simple swirl, so the effect looks impressive but is genuinely easy once you have piped a few. Add a scatter of tiny silver dragees between rows for a delicate, sparkly finish.
13. Vintage Comic-Panel Mini Cake
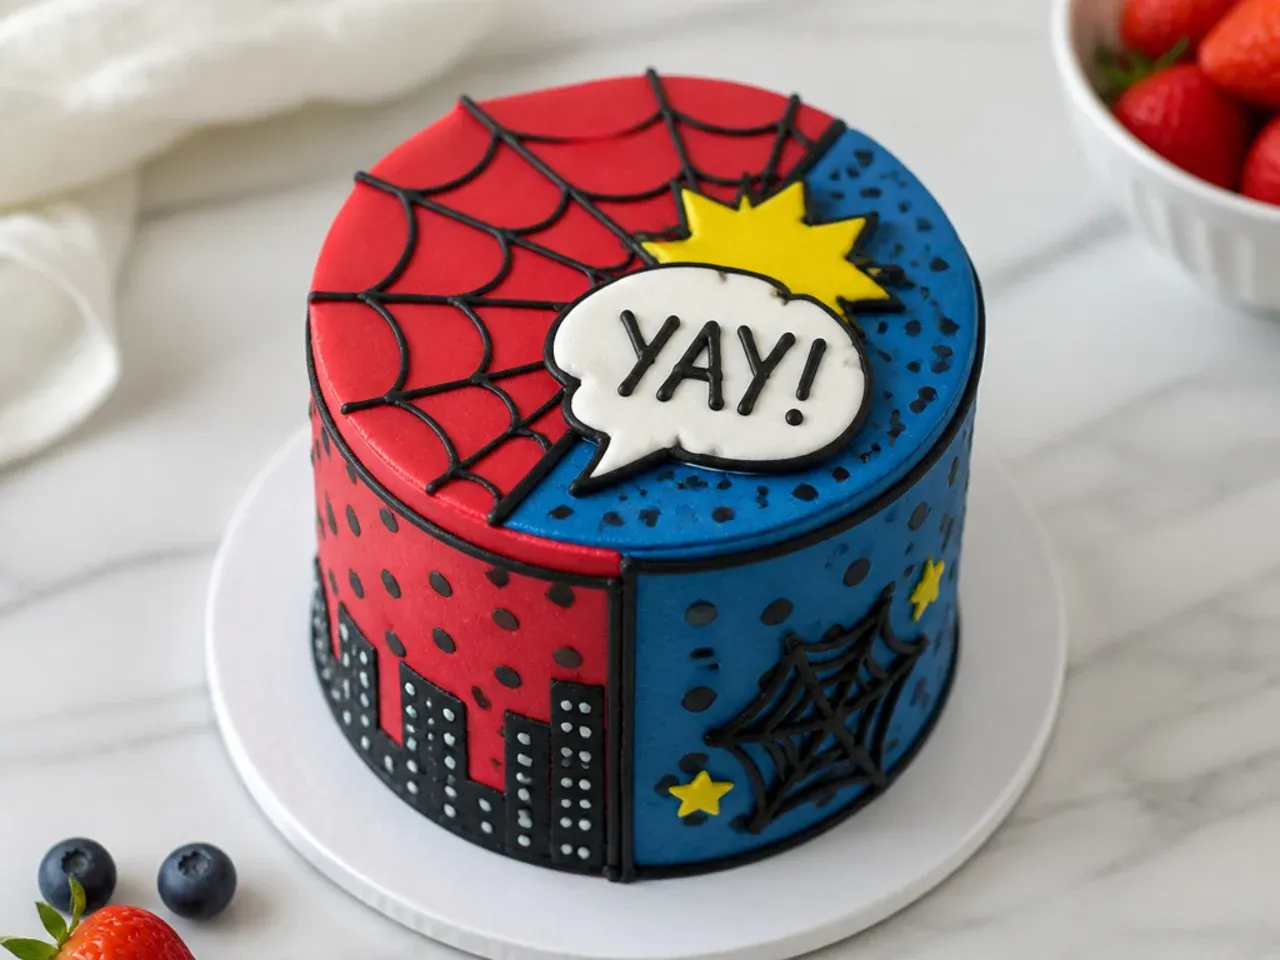
Nod to old comic books with a retro, hand-lettered look using bright primary colors and dotted shading. Frost a white base, then pipe bold red and blue accents plus small evenly spaced black dots to mimic the halftone print of vintage comics. Add a fondant speech-bubble plaque cut freehand and piped with a fun word like POW or ZAP in black. Chill the plaque flat for an hour before placing so it stays rigid and does not slump into the frosting.
14. Creative Cake-Pop Web Toppers
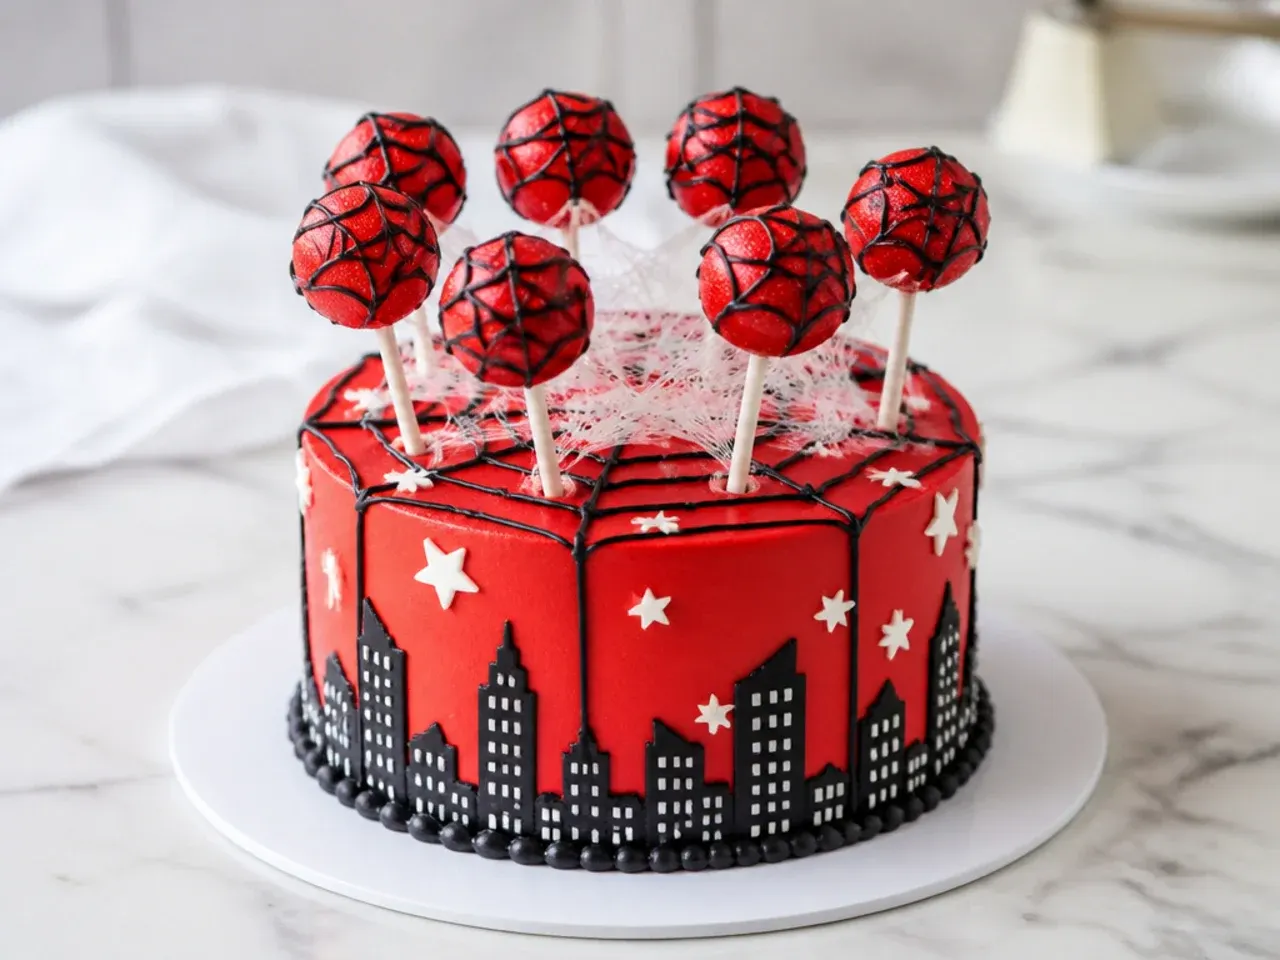
Turn a mini cake into a centerpiece by crowning it with red cake pops trailing edible web strands. Roll leftover cake scraps with a spoon of buttercream into balls, dip in red candy melts, and set on lollipop sticks. Once the cake is frosted, pull thin strands of melted white candy between the pops and the cake surface to look like shooting web. Work fast while the candy is warm and stretchy, and chill everything first so the pops are firm enough to pull strands without drooping.
15. Charming Mini Bundt Web Cakes
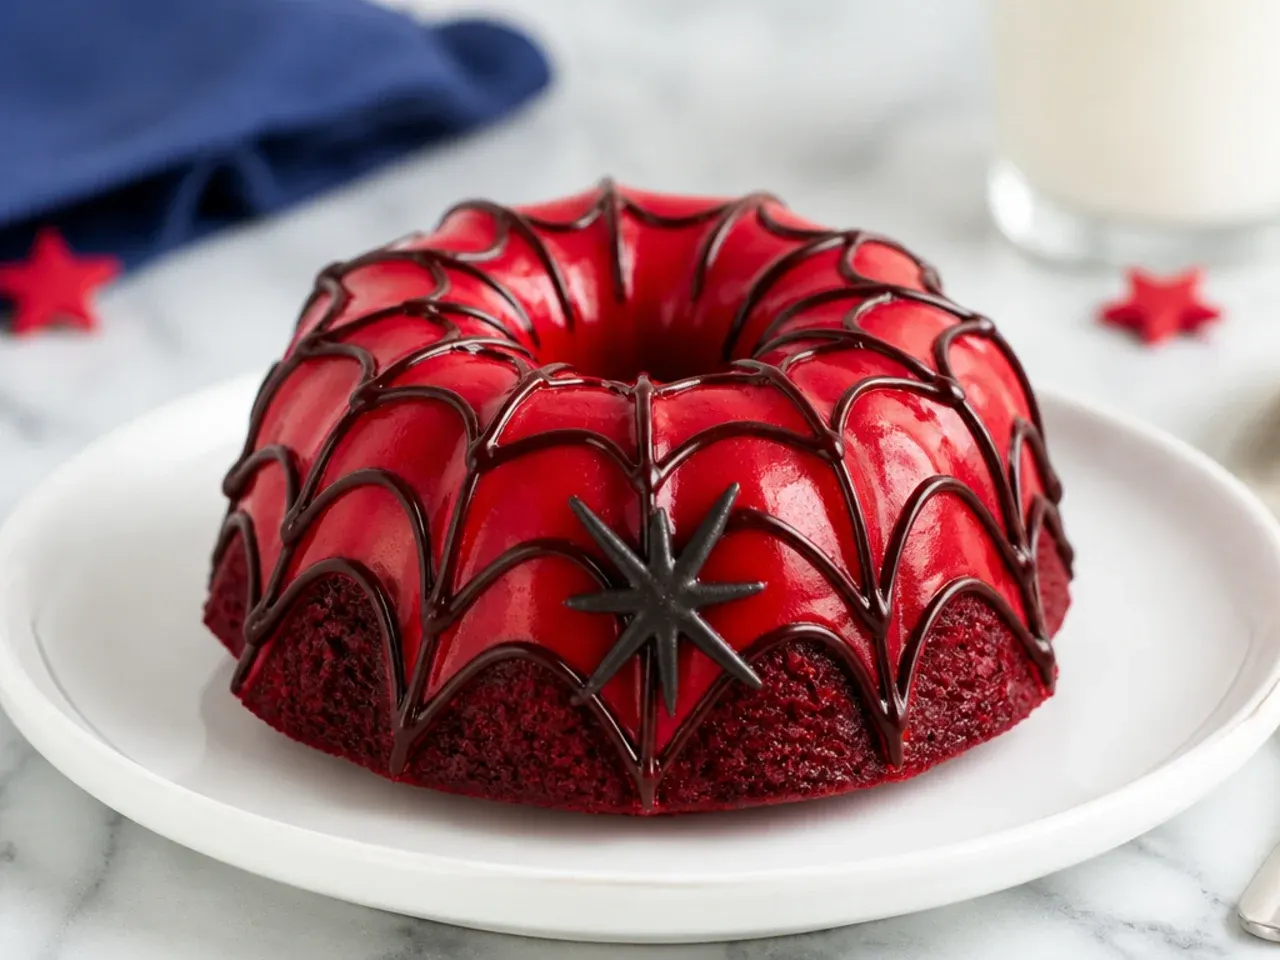
Bake the base batter in a mini bundt pan for a charming shape whose ridges are perfect for web lines. Once cooled, glaze with a thin red water icing that settles into the grooves, then pipe fine black web lines following the natural ridges of the bundt. The pan does the design work for you, so this is a lovely low-effort option for a bake sale. Grease the mini bundt pan very well with baking spray and flour, since detailed pans are the ones most likely to stick.
Save this for later 📌
Pin this article to your Pinterest board so the full list is one tap away when you need it.
Save on Pinterest16. Ombre Red-to-Blue Mini Cake
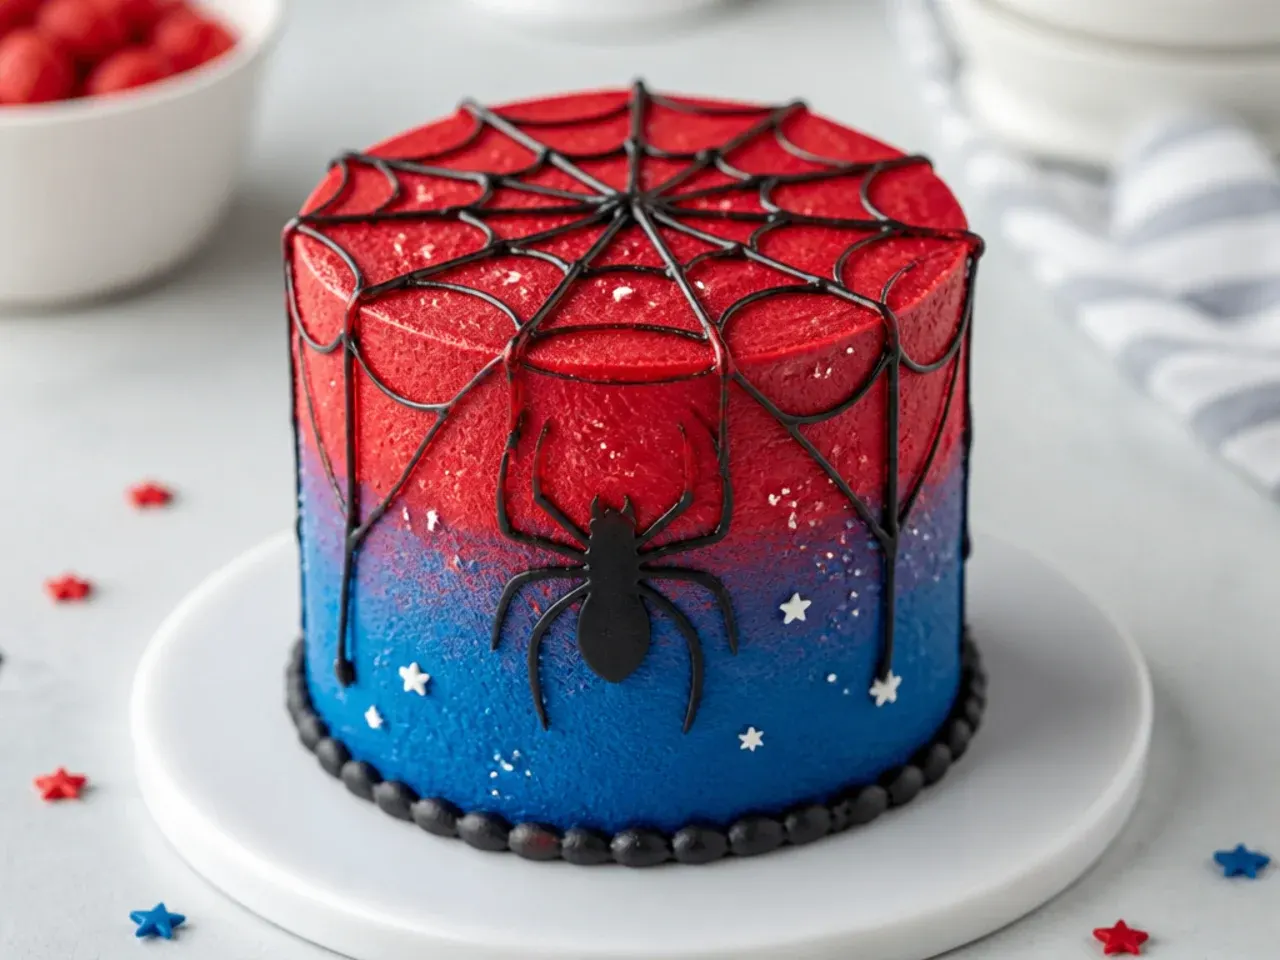
Blend red into blue around the sides for a smooth ombre that feels polished and modern. Frost the bottom in blue and the top in red, then run a warm bench scraper around the cake to gently smear the seam into a gradient. For a cleaner blend, add a thin band of purple-toned buttercream where they meet before scraping. Keep the buttercream slightly soft for blending, then chill and do one final scrape for a smooth finish.
17. Easy No-Pipe Fondant-Topper Mini Cake
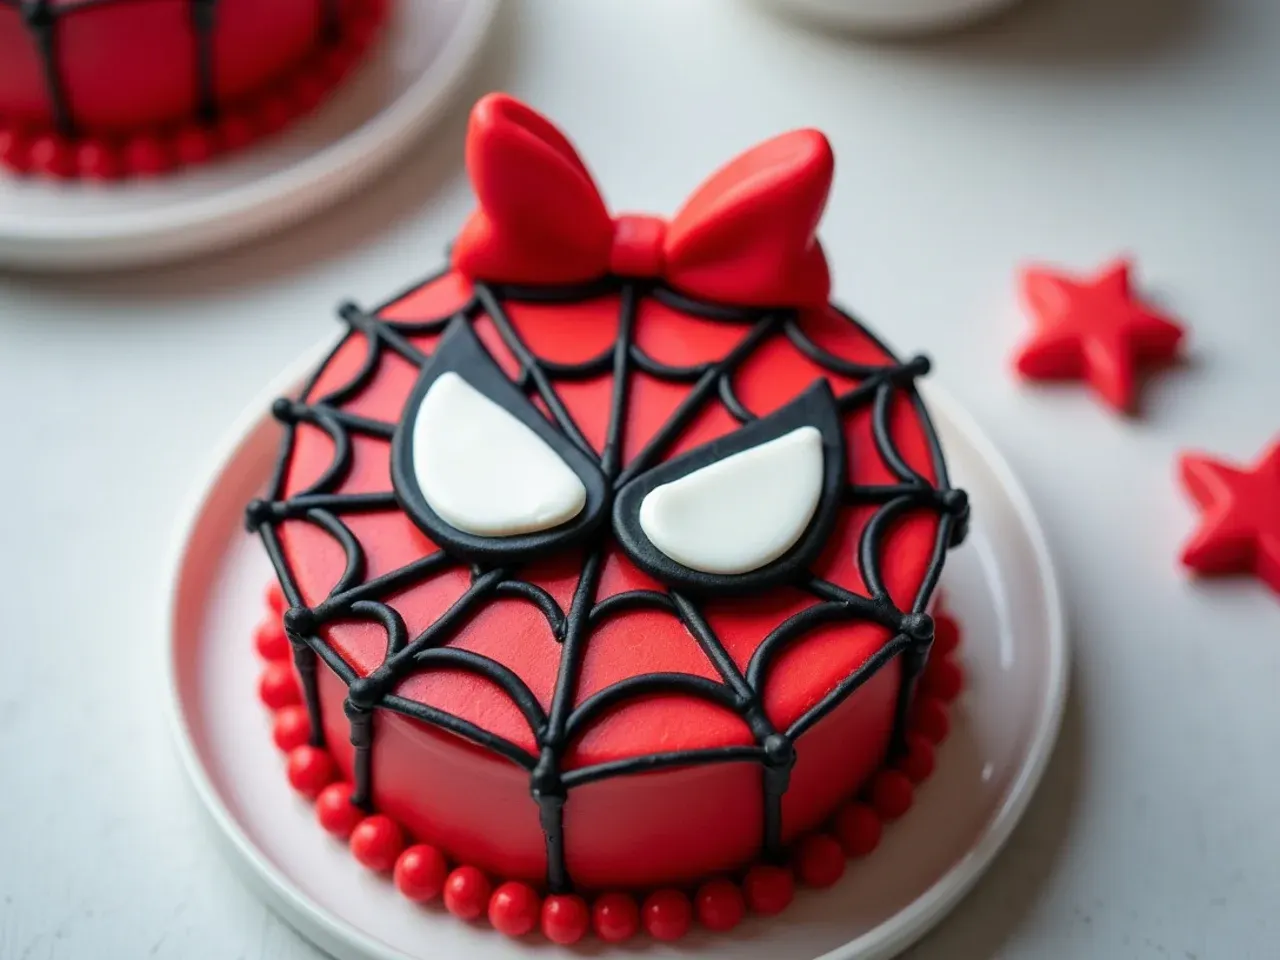
If piping is not your thing, cut all your details from fondant instead. Roll red fondant and cut a large circle to cap the top, then add thin black fondant strips for the web and two big white teardrop eye shapes outlined in black, an instantly recognizable superhero-inspired look with no piping bag. Attach each piece with a dot of water as edible glue. Let cut fondant pieces firm up for 30 minutes before placing so they keep their shape and edges stay sharp.
18. Elegant Metallic-Accent Mini Cake
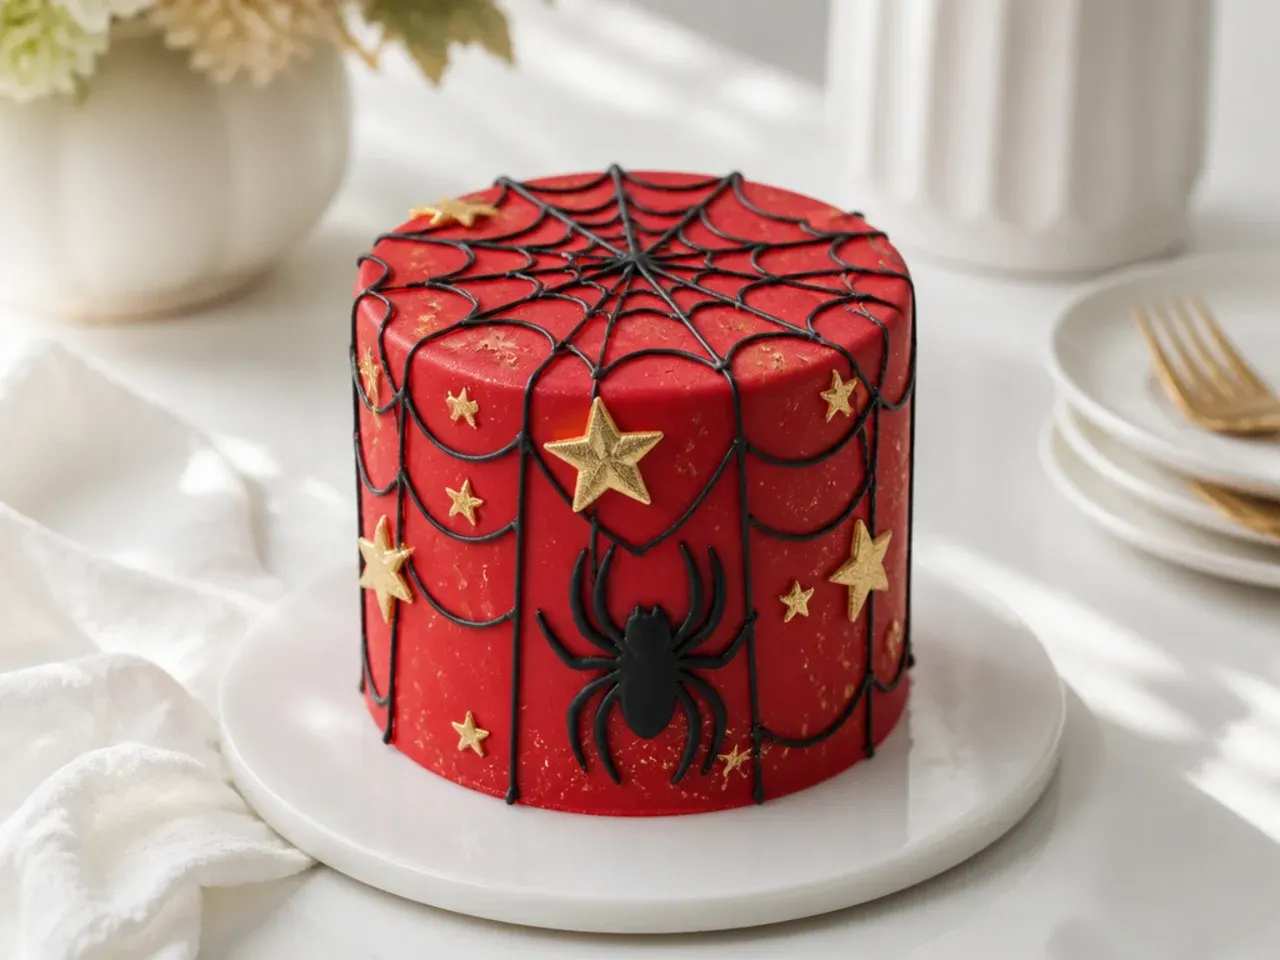
Dress up a red superhero cake with brushed gold or silver for an upscale, dessert-table-worthy finish. Frost smooth red buttercream, chill, then brush the top edge with edible gold luster dust mixed with a drop of clear alcohol for a metallic shimmer. Add a few gold fondant stars for a refined nod to the theme. The luster-dust-and-alcohol paint dries almost instantly and gives a real metal shine that dry dusting alone cannot match.
19. Playful Pull-Apart Mini Cupcake Web
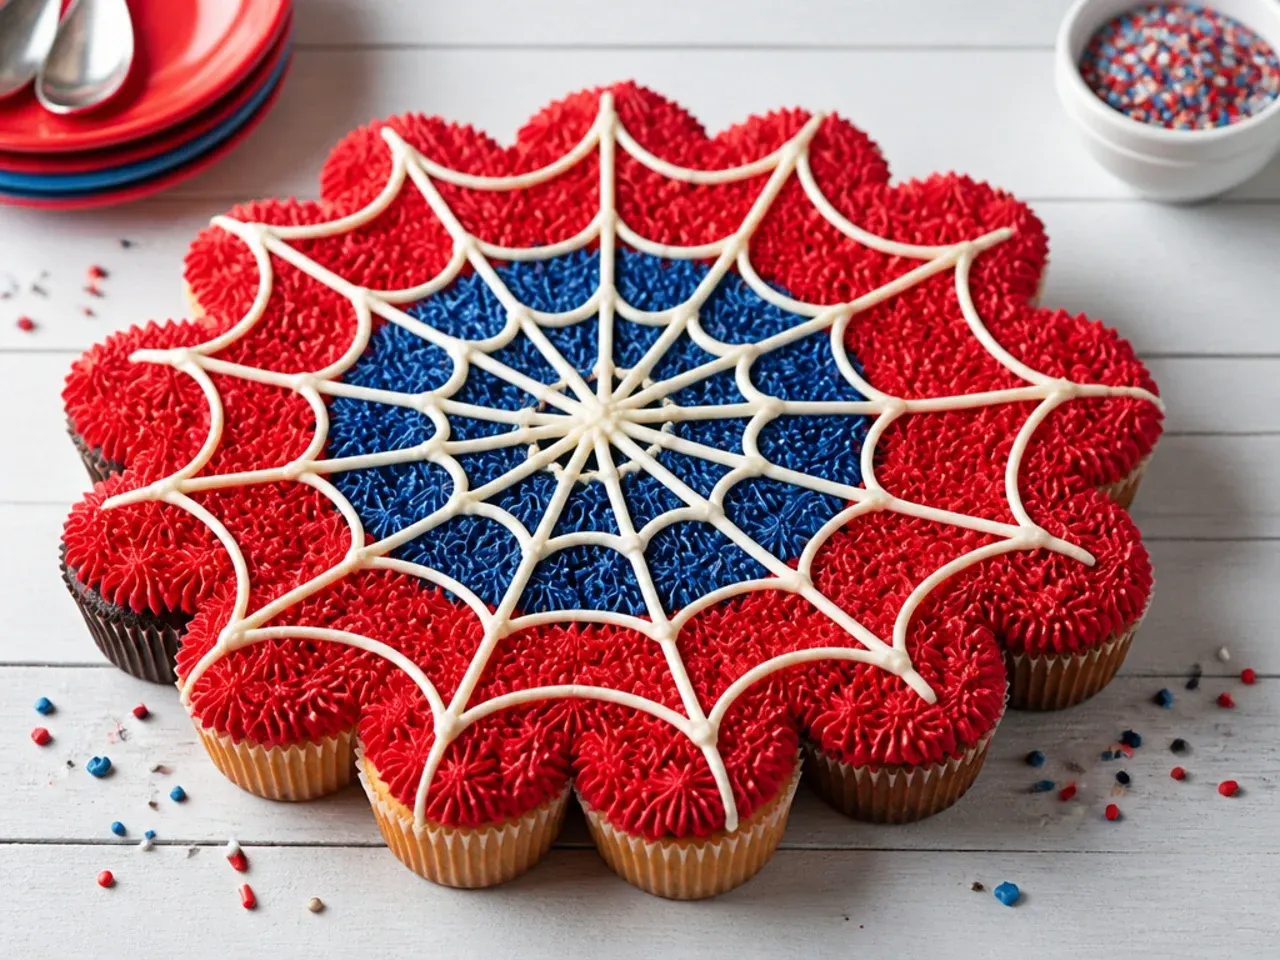
Arrange mini cupcakes in a circle and frost them as one connected web so kids can each grab a piece. Bake the base batter as mini cupcakes, cluster them tightly on a board, and frost across the tops in red as if they were a single cake. Pipe one continuous black web over the whole cluster so it reads as one design, then let guests pull apart individual cupcakes. This is the easiest party option since there is no cutting, no plates and no leftover mess.
20. Modern Geometric Web Mini Cake
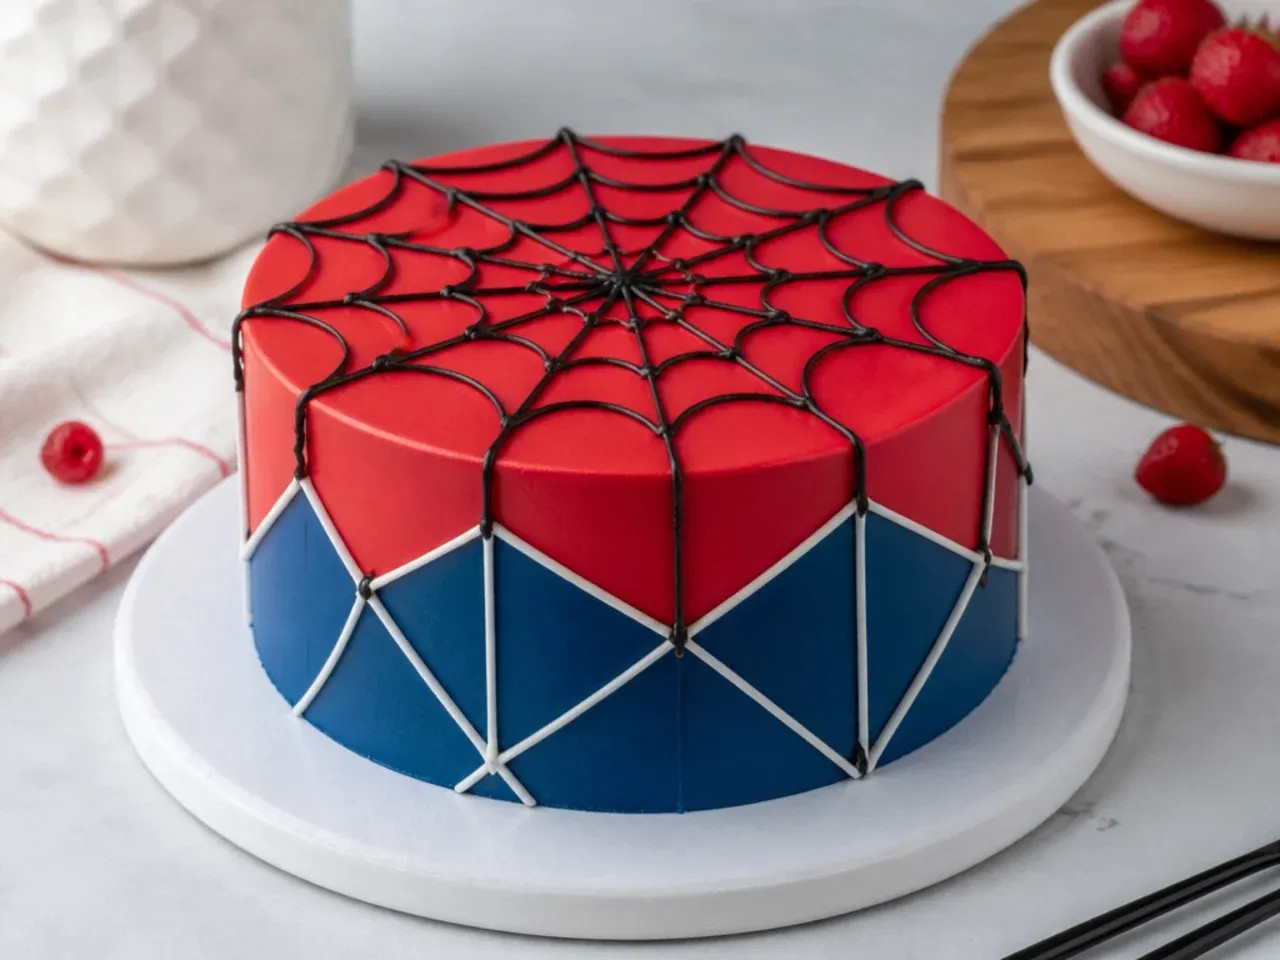
For a stylish, grown-up party, reinterpret the web as a clean geometric pattern of straight lines and sharp angles. Frost a matte white or deep red base, then pipe straight black lines meeting at precise points to suggest a web without the classic curves. Use a small ruler or the edge of a bench scraper pressed lightly into chilled frosting to mark guide lines first. The result feels like modern art and photographs beautifully, making it a great choice for an older kid or an adult superhero fan.
Tips to Make These Ideas Easier
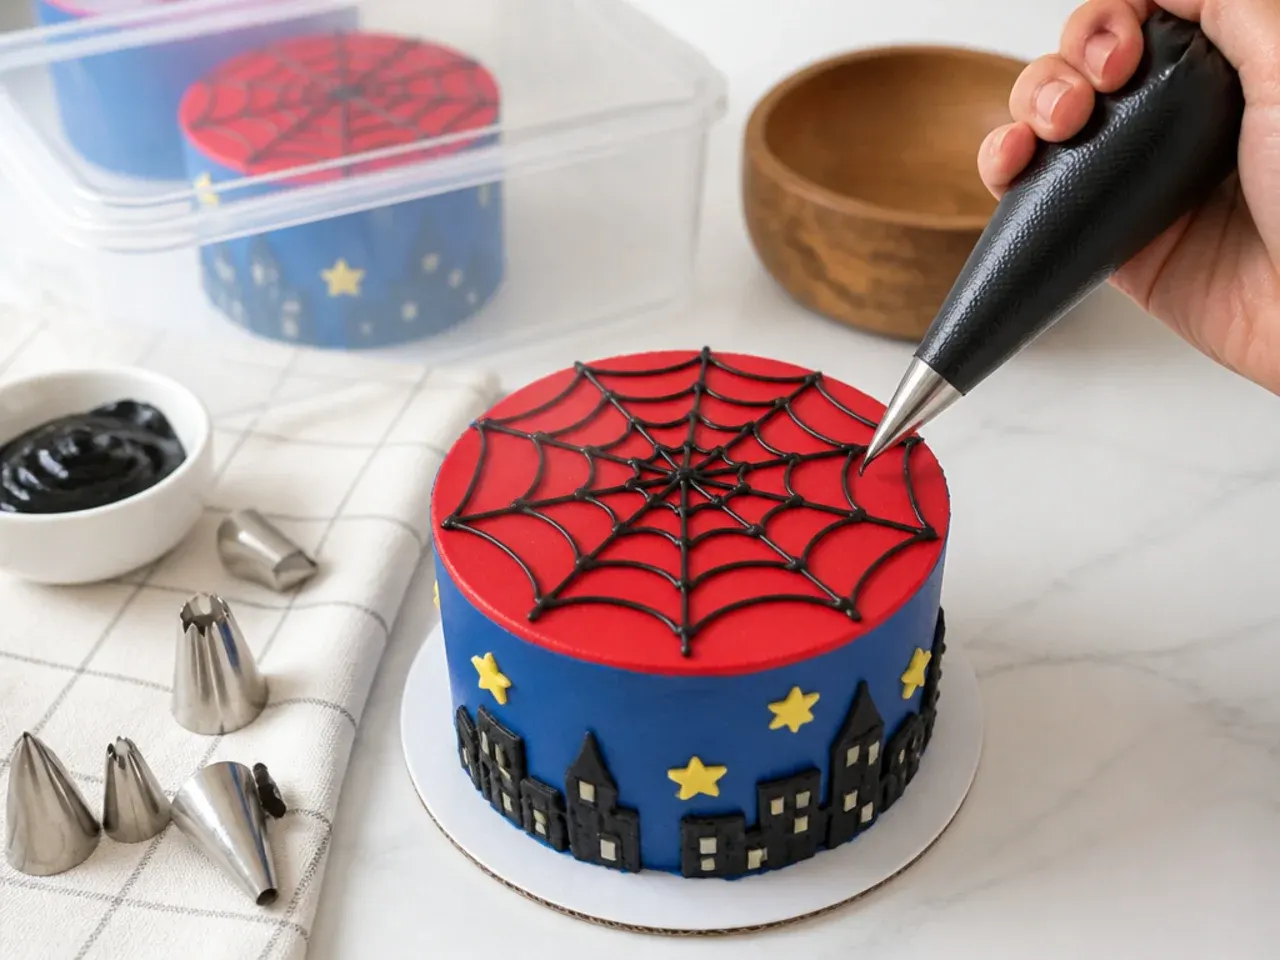
Chill is your best friend: a firm, cold crumb coat keeps your colors separate and your web lines crisp, so refrigerate for 20 to 30 minutes between steps. Always use no-taste red gel color, not liquid, so you can reach a deep suit-red without a bitter aftertaste or a runny frosting. Buy pre-colored fondant instead of kneading in color yourself, since red and black are the two hardest shades to mix by hand and pre-colored packs save both time and sticky fingers. Bake the mini cakes a day ahead and freeze them, then frost cold, because a firm cake carves and coats far more neatly than a fresh, crumbly one. Keep a Wilton 1M, a no. 2 round and a bench scraper on hand and you can make almost every idea on this list.
Common Mistakes to Avoid
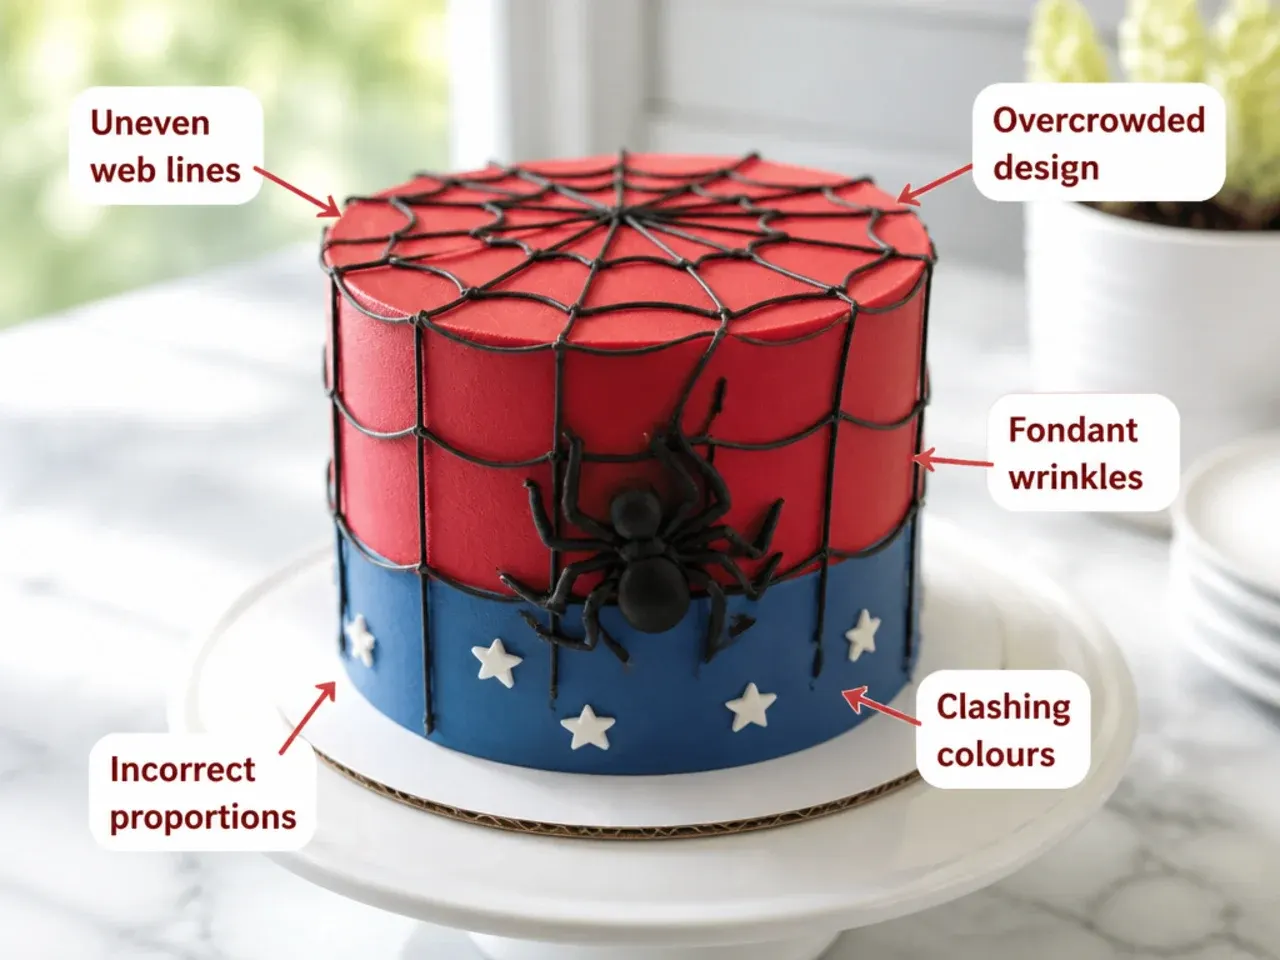
The biggest mistake is over-baking the mini cakes, which dry out faster than full-size ones, so start checking at 18 minutes and pull them the moment a skewer comes out with a few moist crumbs. Skipping the crumb coat is the next trap: without that thin first layer and a chill, crumbs streak through your red and the color looks patchy. Do not use liquid food coloring for deep red or black, as it thins the buttercream and you end up with pink, not scarlet, no matter how much you add. Piping web lines onto warm, soft frosting makes them sink and blur, so always chill the base first. Finally, avoid frosting warm cakes; if the sponge is even slightly warm, the buttercream melts and slides, so cool completely and ideally refrigerate before you decorate.
The Recipe
The Base Recipe — Make Any of These Ideas
30 min
20 min
1 hr 50 min
8
Beginner
Ingredients 8 Person(s)
Directions
Step 1: Prep pans and oven
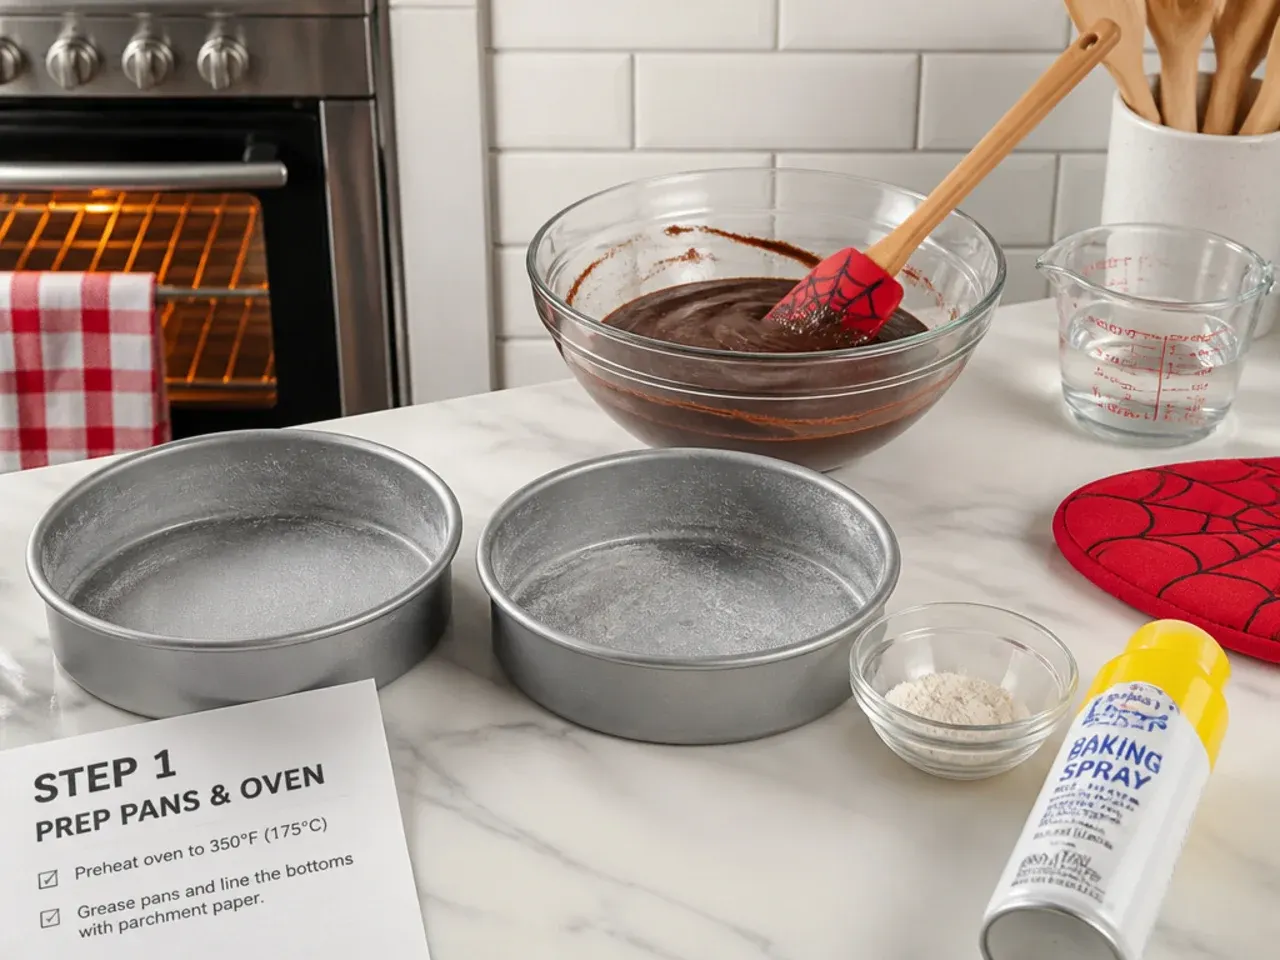
Preheat the oven to 180°C (350°F), or 160°C fan. Grease and line the bases of two 10cm (4-inch) mini cake pans, or a 12-hole cupcake tin, with baking paper. Whisk the flour, baking powder and salt together in a bowl and set aside.
Step 2: Cream butter and sugar
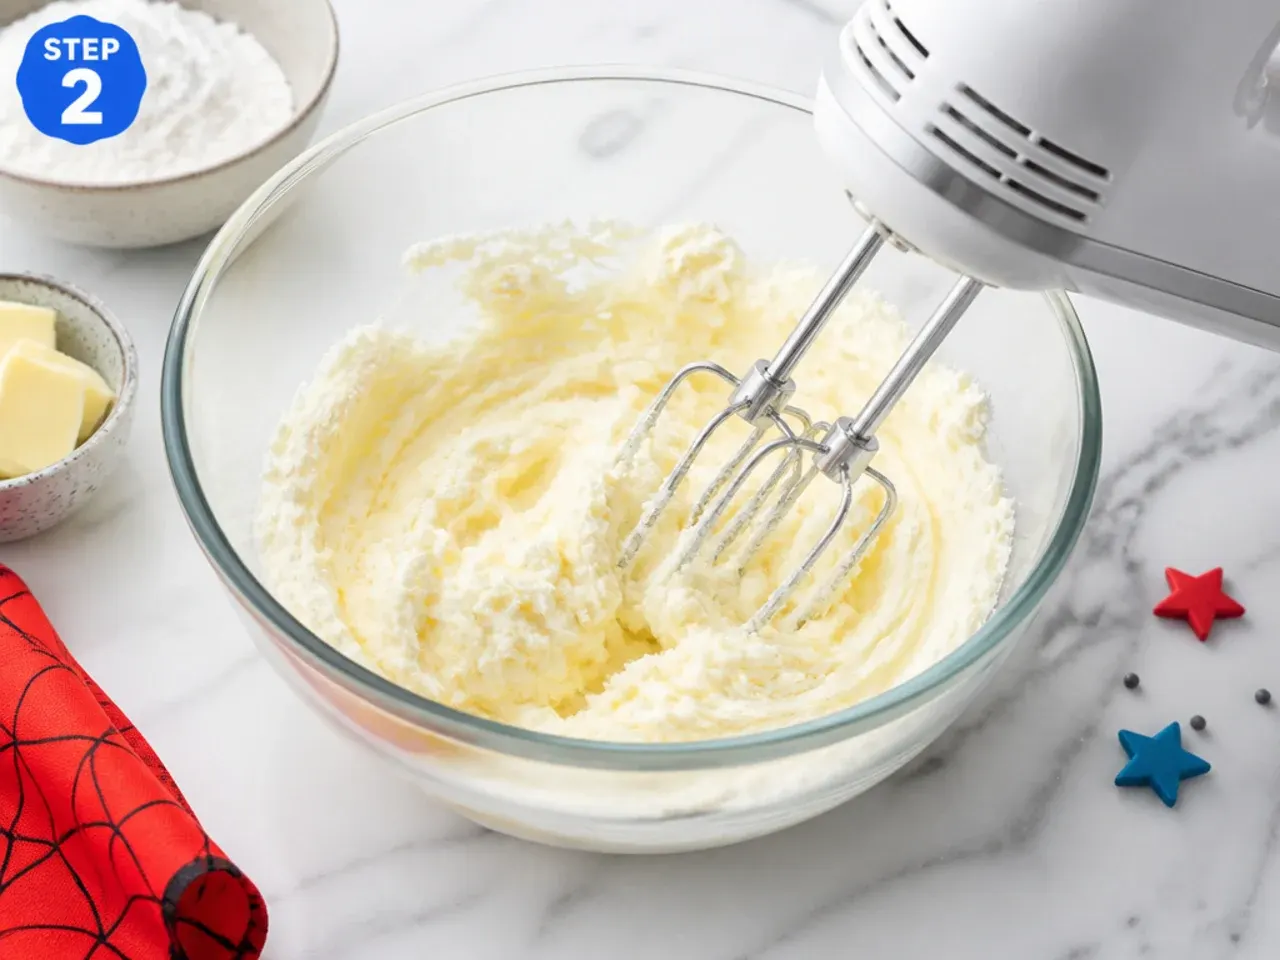
Beat the 115g softened butter with the caster sugar on medium-high for 3 to 4 minutes until pale and fluffy. This builds the air that keeps mini cakes light, so do not rush it. Scrape down the bowl at least once.
Step 3: Add eggs and vanilla
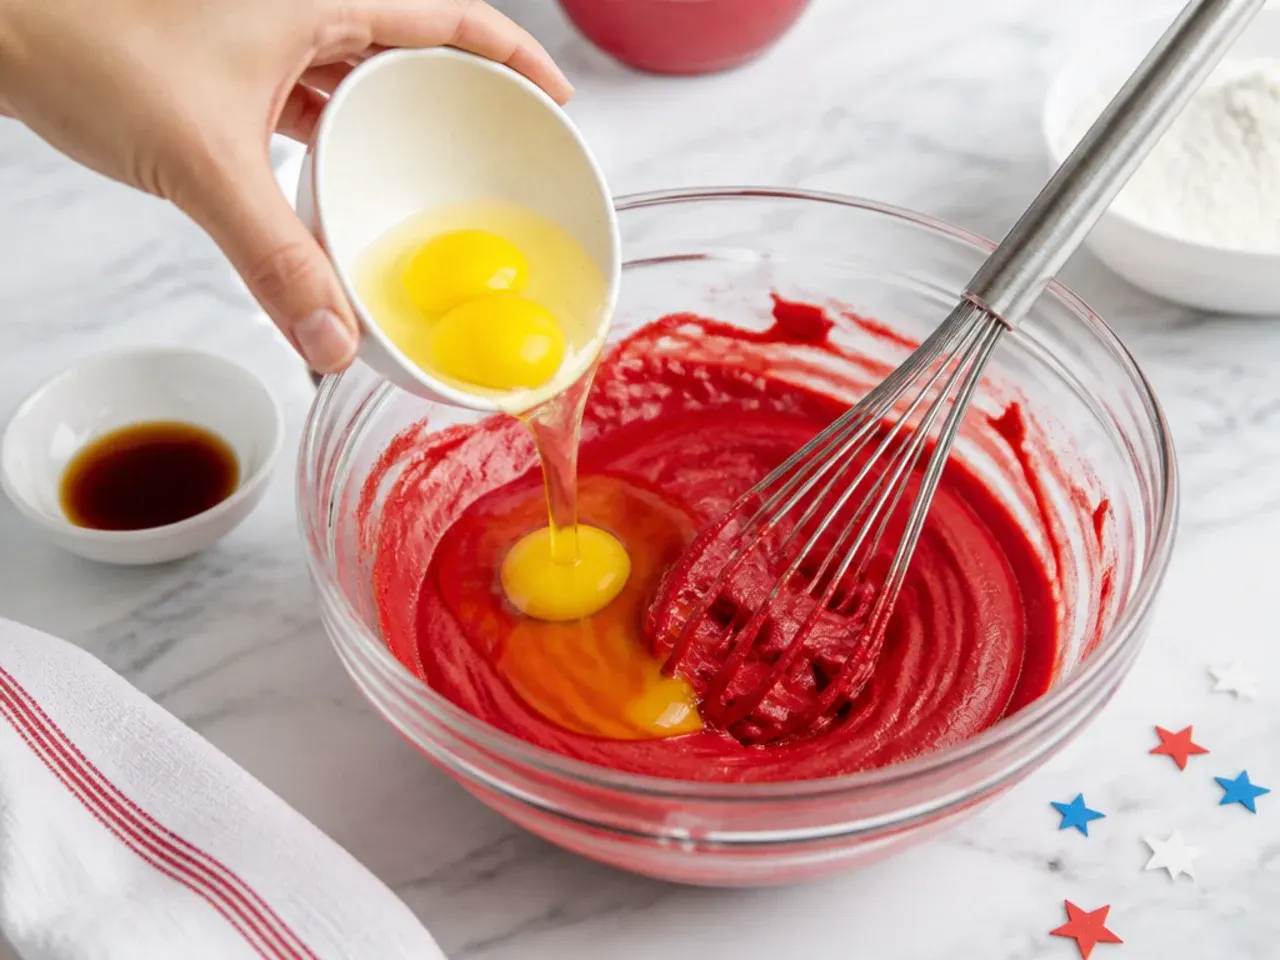
Add the eggs one at a time, beating well after each so the batter stays smooth and does not split. Beat in the vanilla extract. If the mix looks curdled, add a spoonful of the measured flour to bring it back together.
Step 4: Fold in flour and milk
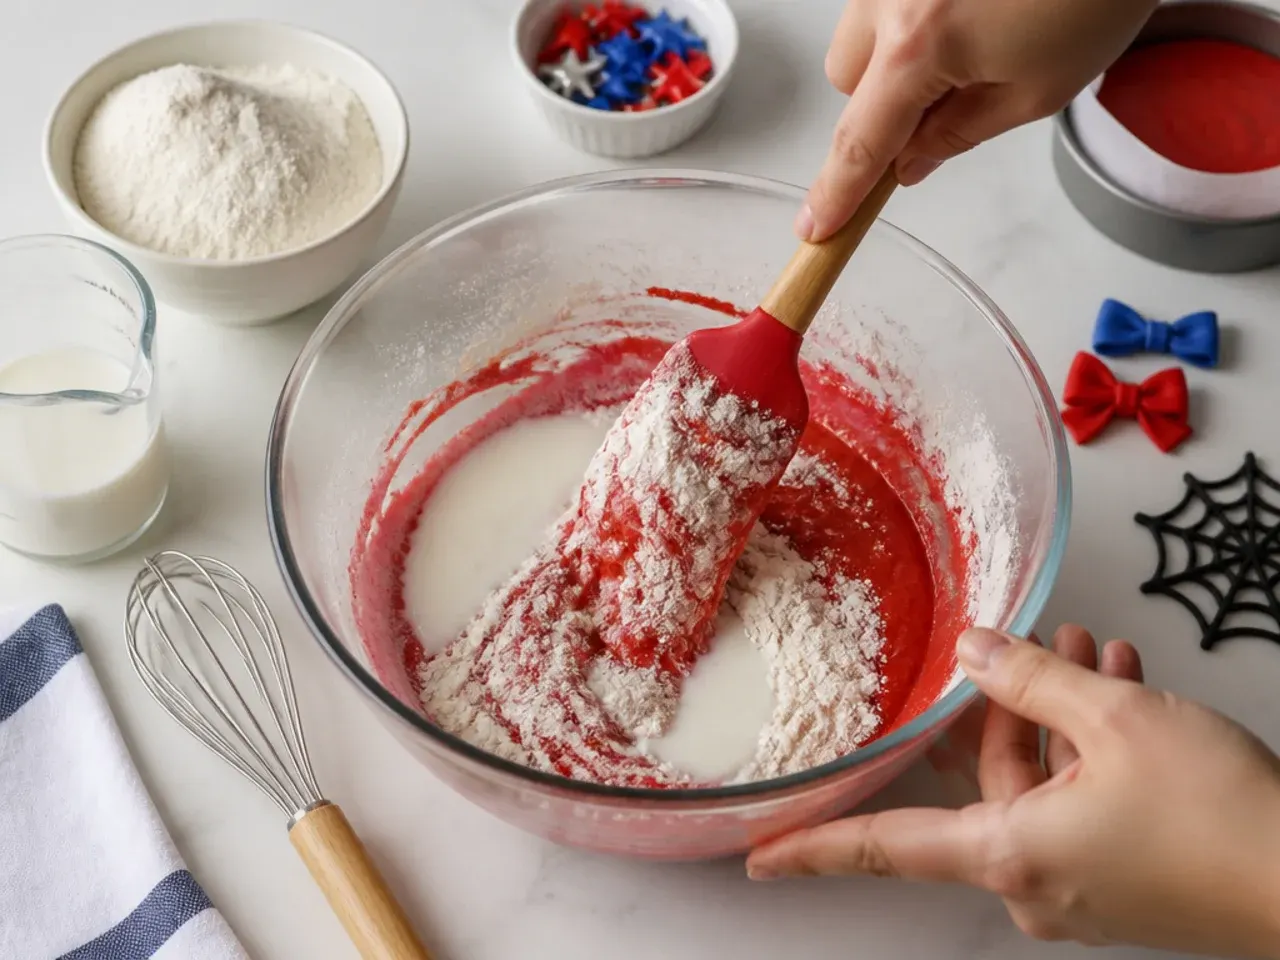
With the mixer on low, add the flour mixture in three additions, alternating with the milk, starting and ending with flour. Mix only until just combined and no dry streaks remain, then stop, as overmixing makes the crumb tough.
Step 5: Bake the mini cakes
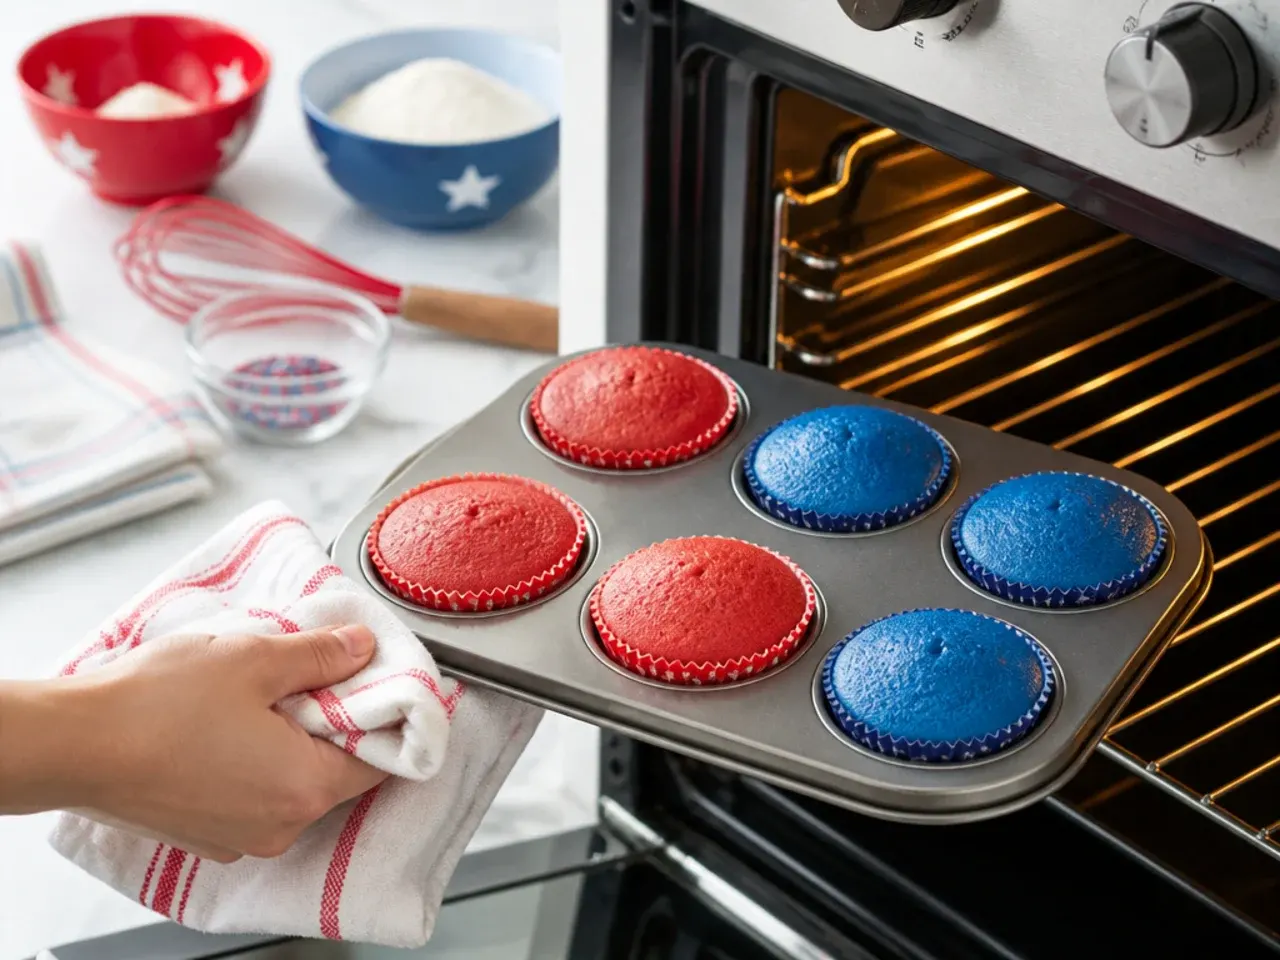
Divide the batter between the pans, filling each about two-thirds full. Bake mini cakes for 18 to 22 minutes, or cupcakes for 16 to 18 minutes, until golden and a skewer comes out with a few moist crumbs. Start checking at 18 minutes to avoid over-baking.
Step 6: Cool completely
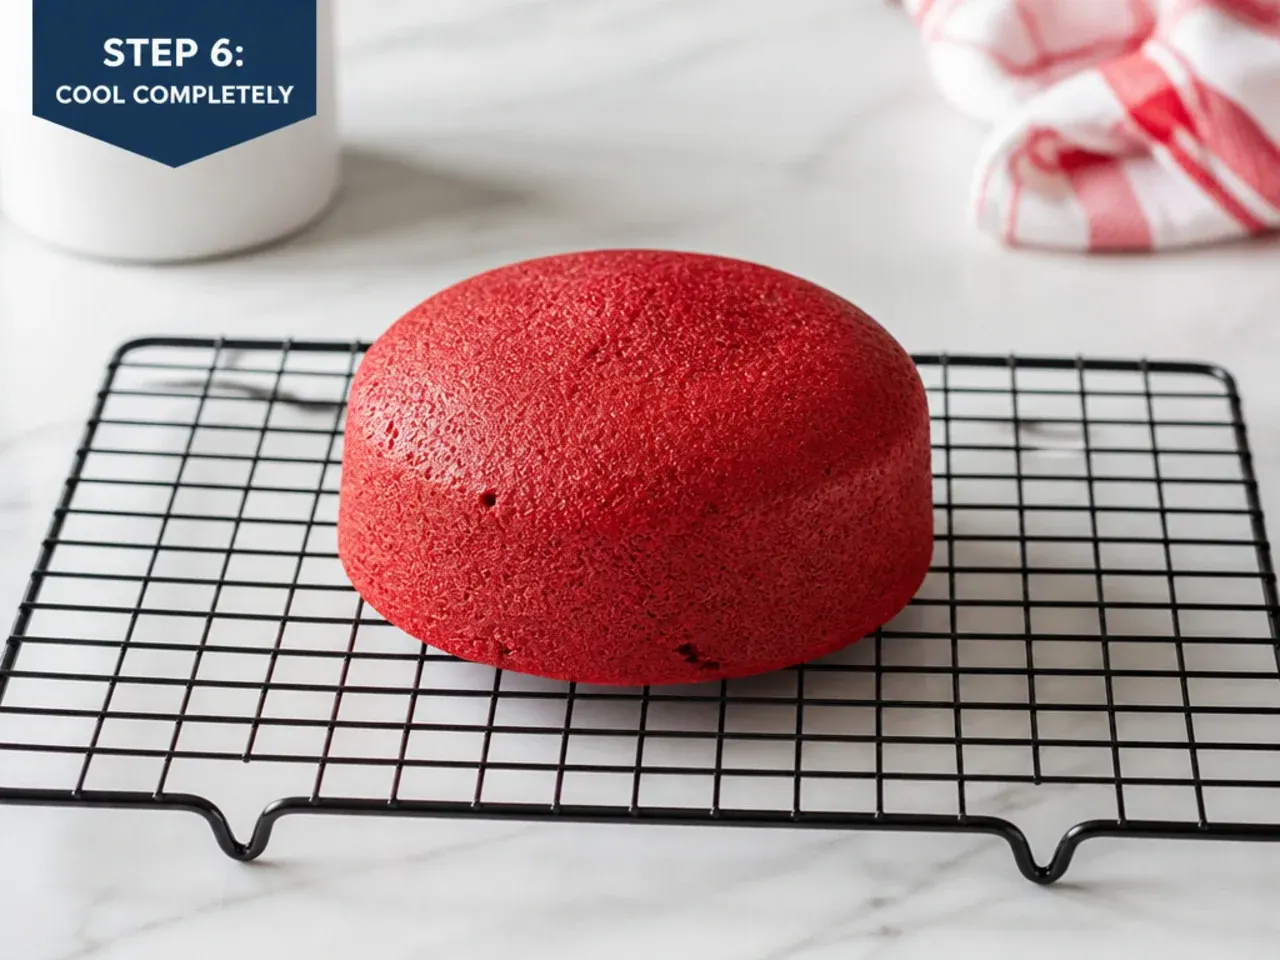
Cool in the pans for 10 minutes, then turn out onto a wire rack to cool completely, at least 1 hour. Frosting a warm cake makes the buttercream slide, so for best results chill the cooled cakes for 30 minutes before decorating.
Step 7: Make and color the buttercream
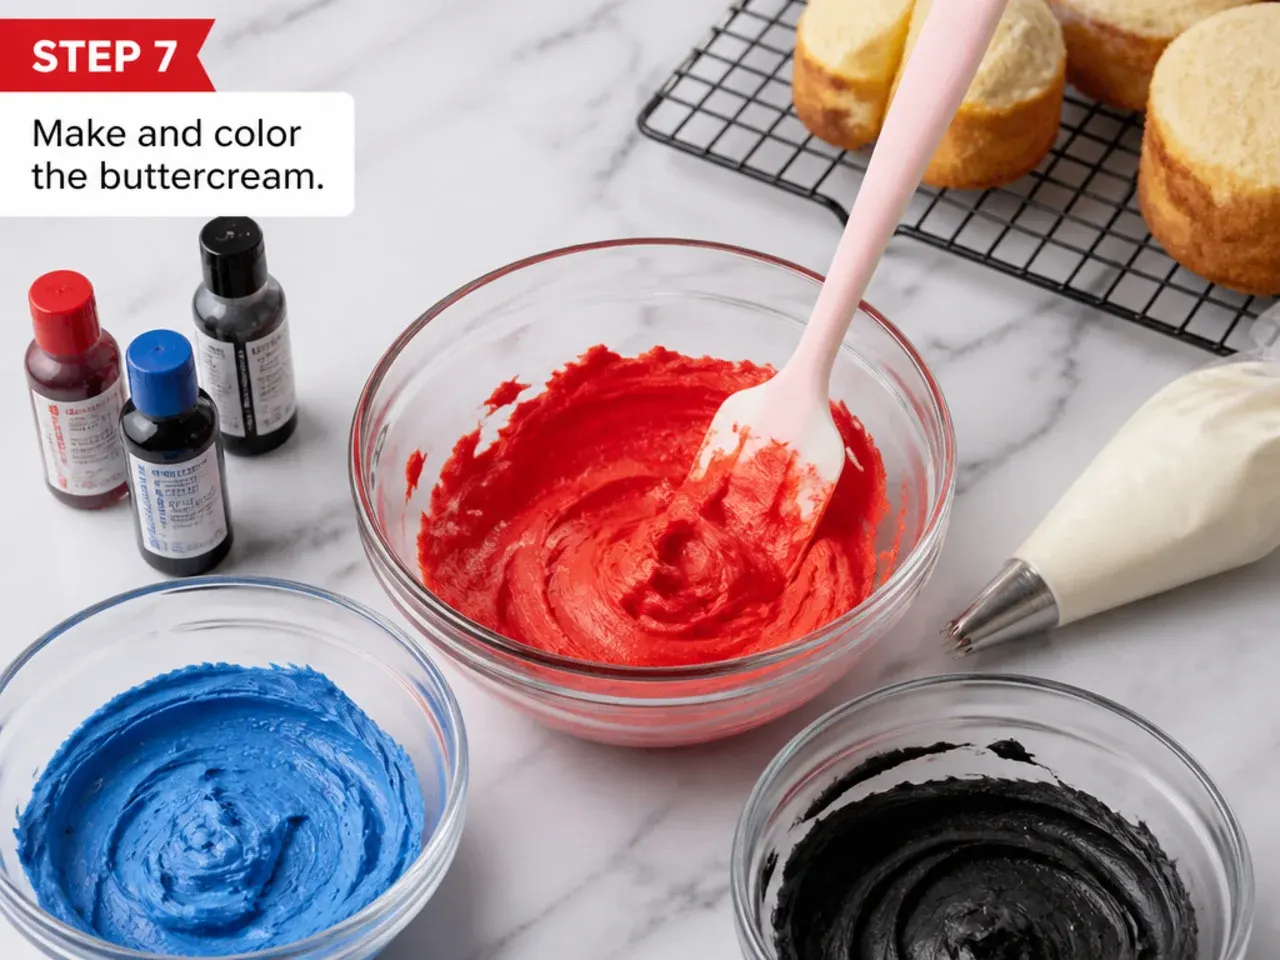
Beat the 225g softened butter for 2 minutes until creamy, then add the sifted icing sugar in two batches, beating until light and fluffy; add 1 to 2 tablespoons milk if stiff. Split off what you need and tint with no-taste red gel for the base, reserving smaller amounts for blue and black accents. Crumb coat the cakes, chill 20 minutes, then apply your final coat and chosen spiderman-inspired design.
Frequently Asked Questions
Use a no-taste red gel color, not liquid drops, and add it a little at a time until you reach a true suit-red. Liquid color thins the buttercream and turns it pink no matter how much you use, while ordinary red gel can taste bitter in large amounts. For the deepest red, color the buttercream a few hours ahead, as the shade darkens as it sits.
Save this for later 📌
Pin this article to your Pinterest board so the full list is one tap away when you need it.
Save on Pinterest