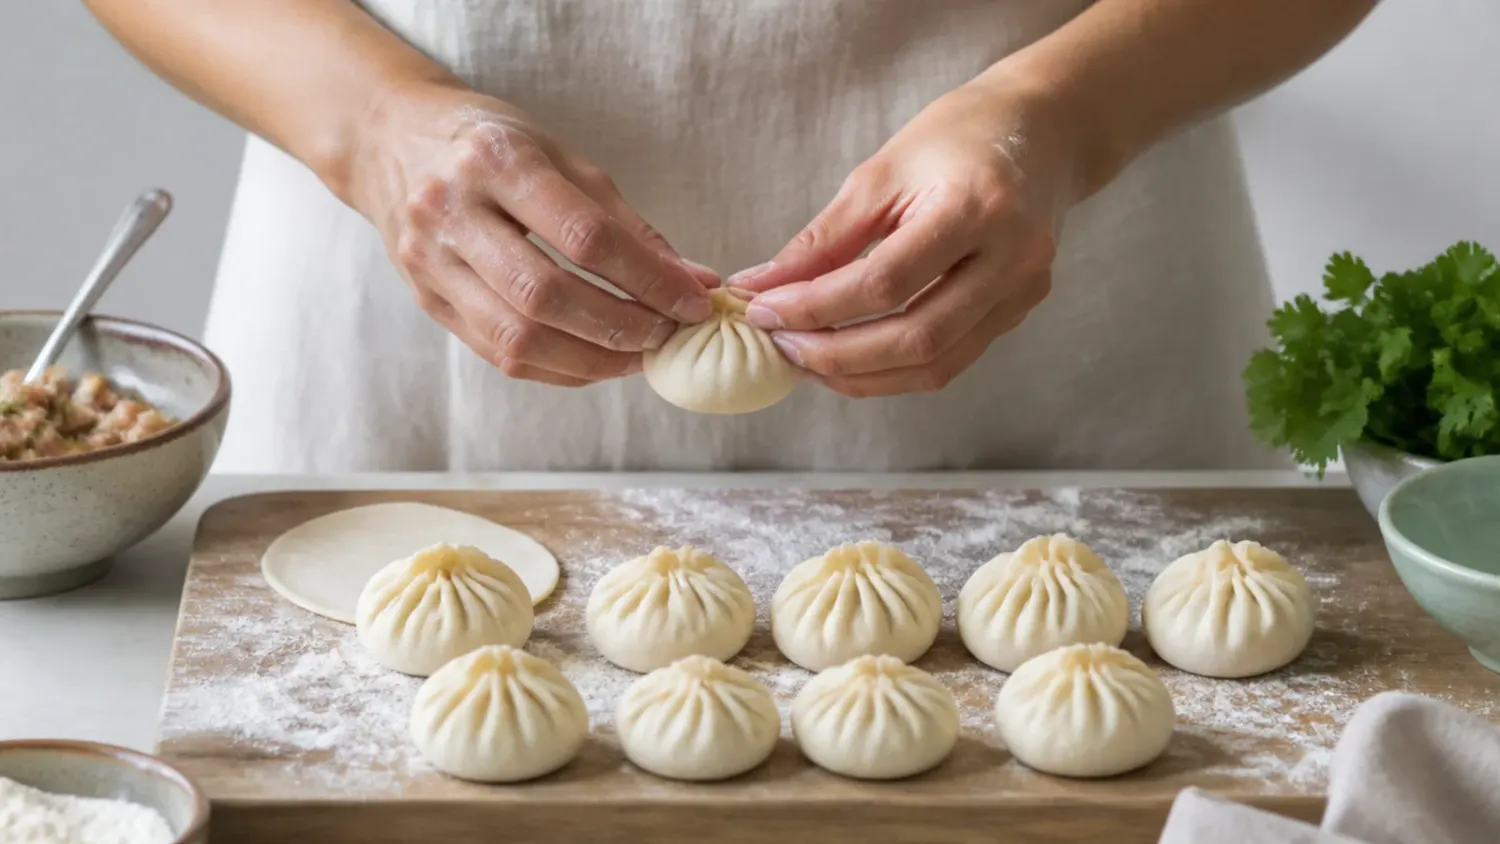
Ingredients 4 Person(s)

Save this for later 📌
Pin this article to your Pinterest board so the full list is one tap away when you need it.
Save on PinterestDirections
Step 1: Make the Dough
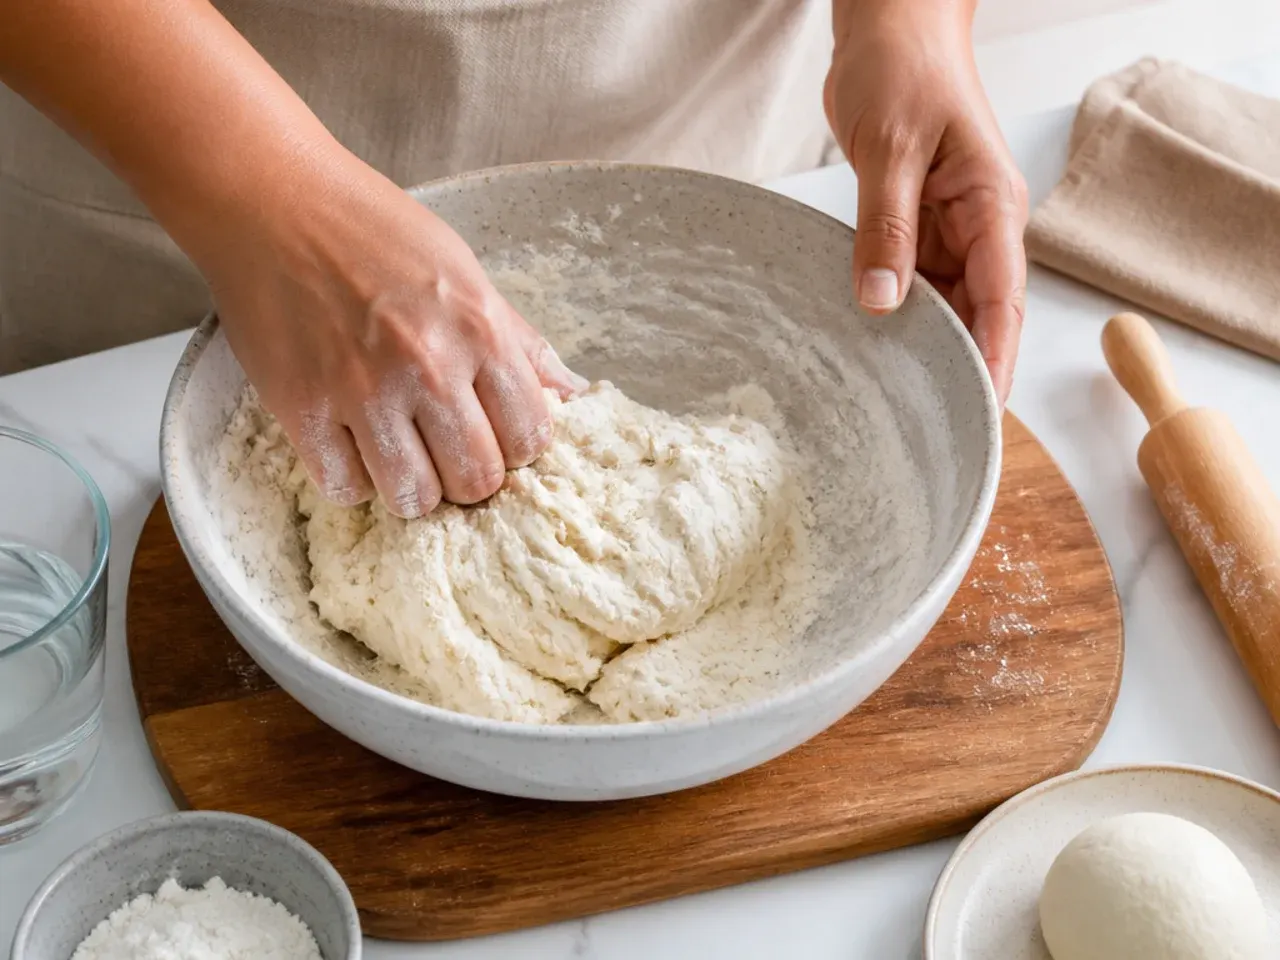
Whisk 250 g plain flour with 1/2 teaspoon salt in a large bowl, rub in 2 teaspoons oil, then add 130 ml lukewarm water (about 40°C/105°F) a splash at a time, mixing until a shaggy dough forms. Knead on the counter for 5 minutes until smooth and firm but pliable — it should feel like an earlobe, not sticky and not stiff. Lukewarm water is important: cold water makes the wrappers dense and chewy. Cover with a damp tea towel and rest for 30 minutes; this relaxes the gluten so the wrappers roll thin without springing back.
Step 2: Cook and Cool the Filling
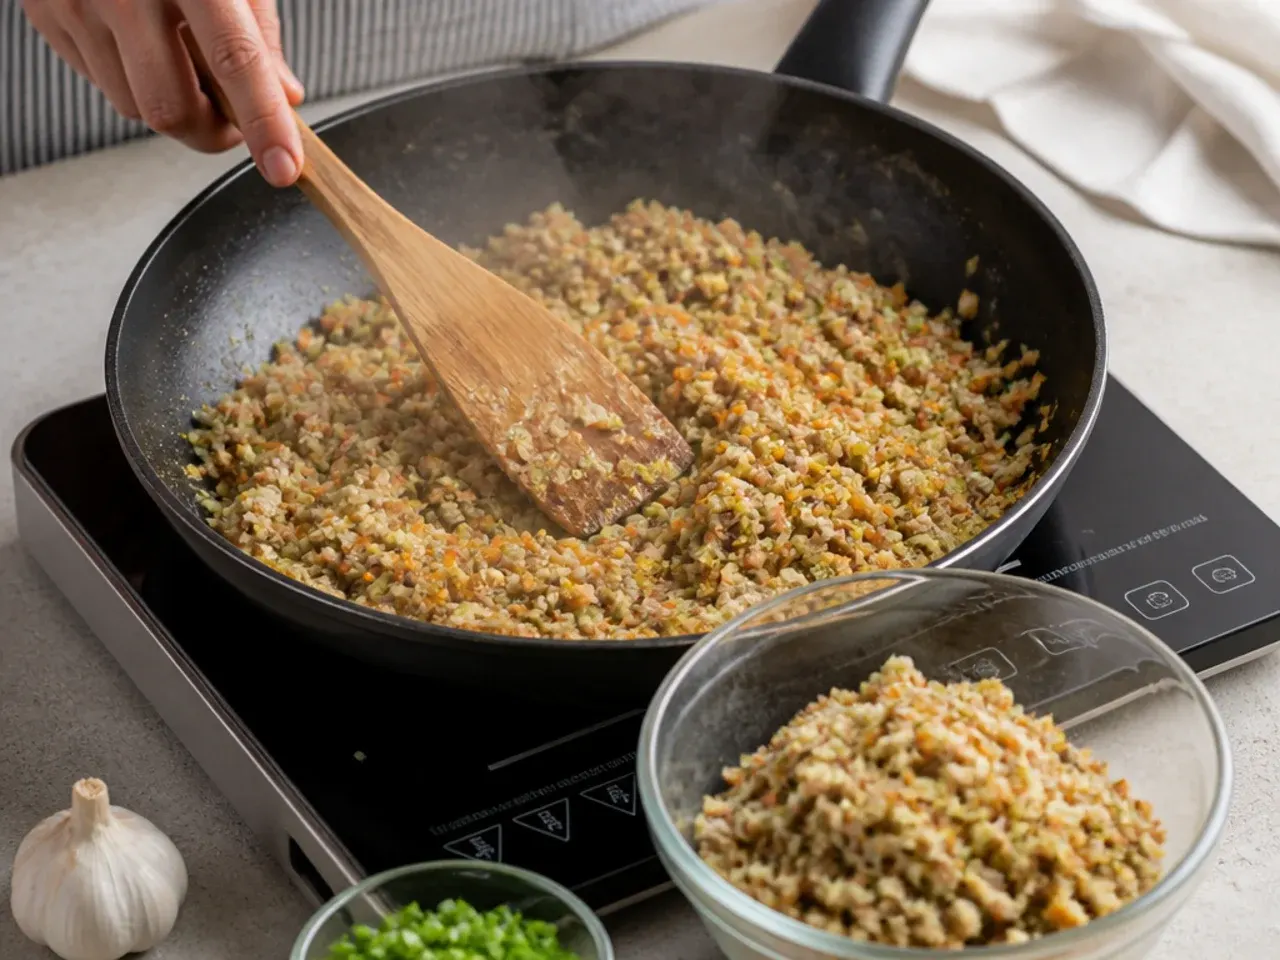
While the dough rests, heat 1 tablespoon oil in a wide pan over high heat, add the minced ginger and garlic and stir for 30 seconds until fragrant. Add the cabbage, carrot and spring onions and stir-fry for 2-3 minutes — the vegetables should wilt slightly but keep some bite. Season with 1 teaspoon soy sauce, 1/2 teaspoon black pepper and salt to taste, then spread the filling on a plate to cool completely, about 15 minutes. Squeeze out and discard any pooled liquid before filling: a wet filling is what makes momos burst in the steamer.
Step 3: Roll the Wrappers
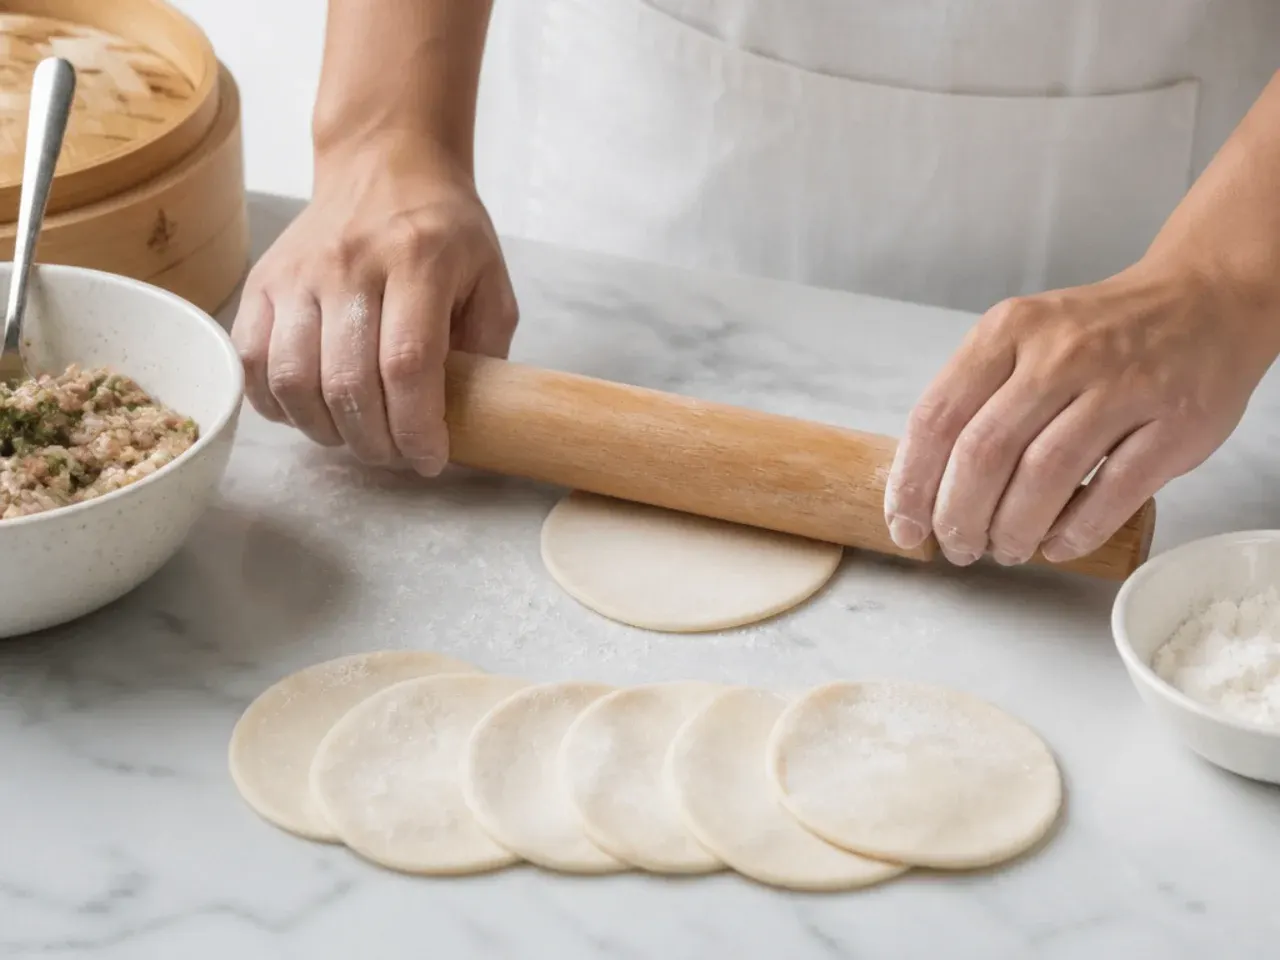
Divide the dough into 24 equal pieces (about 15 g each) and roll each into a ball, keeping them covered with the damp towel. On a lightly floured surface, roll each ball into a 9-10 cm (3.5-4 inch) circle, making the edges about 1 mm thin while leaving the centre slightly thicker — rotate the wrapper a quarter turn between strokes and press harder at the rim than the middle. Thin edges fold into delicate pleats; a thicker centre holds the filling without tearing. Dust finished wrappers with cornflour and keep them covered so they stay soft for folding.
Step 4: Fold 1 & 2 — Half-Moon and Pleated Crescent
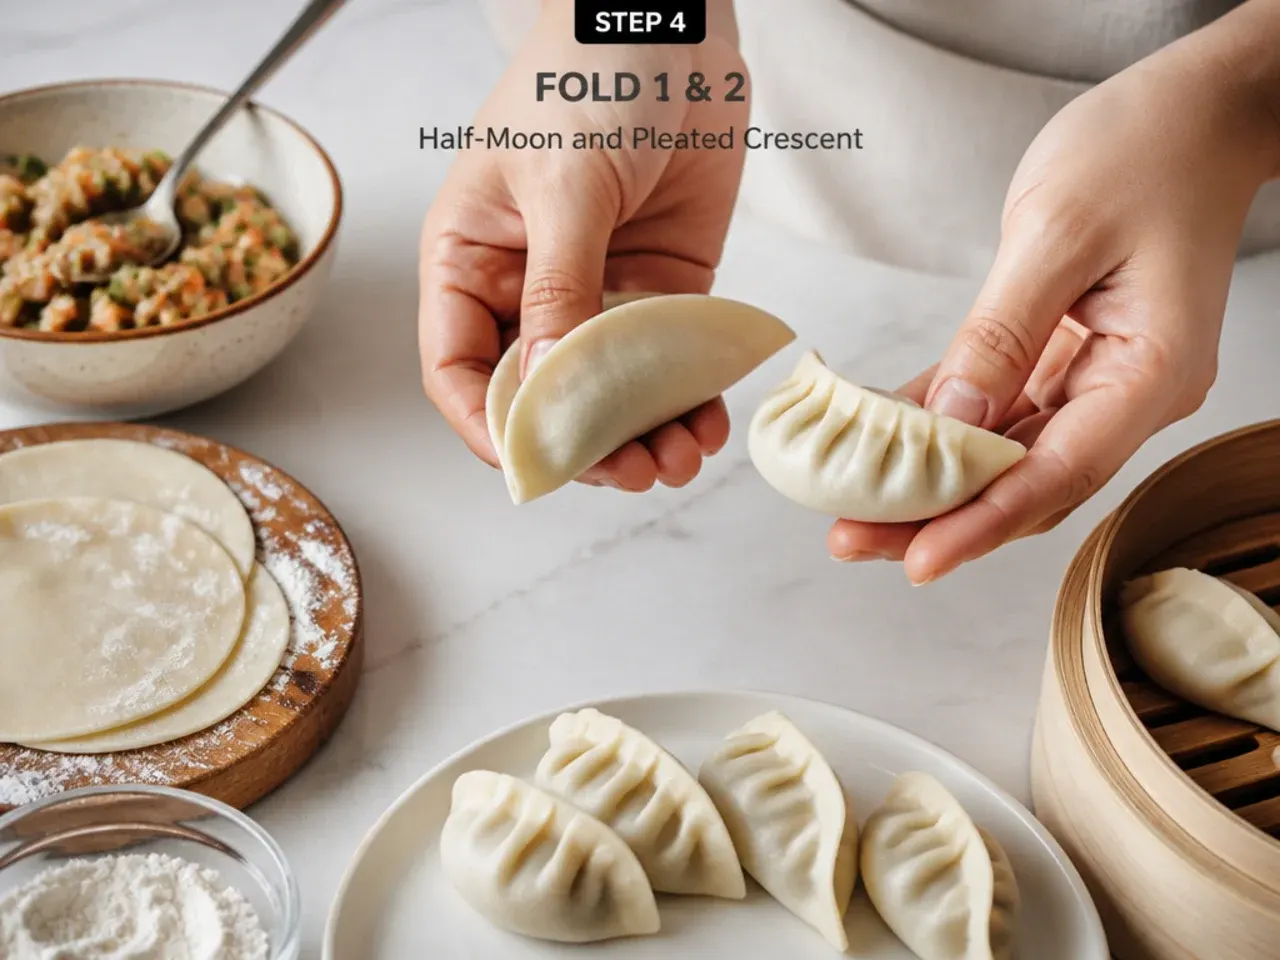
Half-moon (the beginner fold): place 1 level tablespoon of filling in the centre, wet the rim with a damp fingertip, fold the wrapper in half over the filling and pinch firmly from one corner to the other, pressing out air as you go. Pleated crescent (the classic street-style fold): hold the filled, folded-but-unsealed half-moon in your non-dominant hand, then with your thumb and index finger take a small tuck of the front edge, fold it over onto the flat back edge and pinch. Repeat, working corner to corner, making 7-9 overlapping pleats along the front edge only — the back stays smooth. Curve the finished momo gently into a crescent so the pleats fan open.
Step 5: Fold 3 & 4 — Classic Round and Money Bag
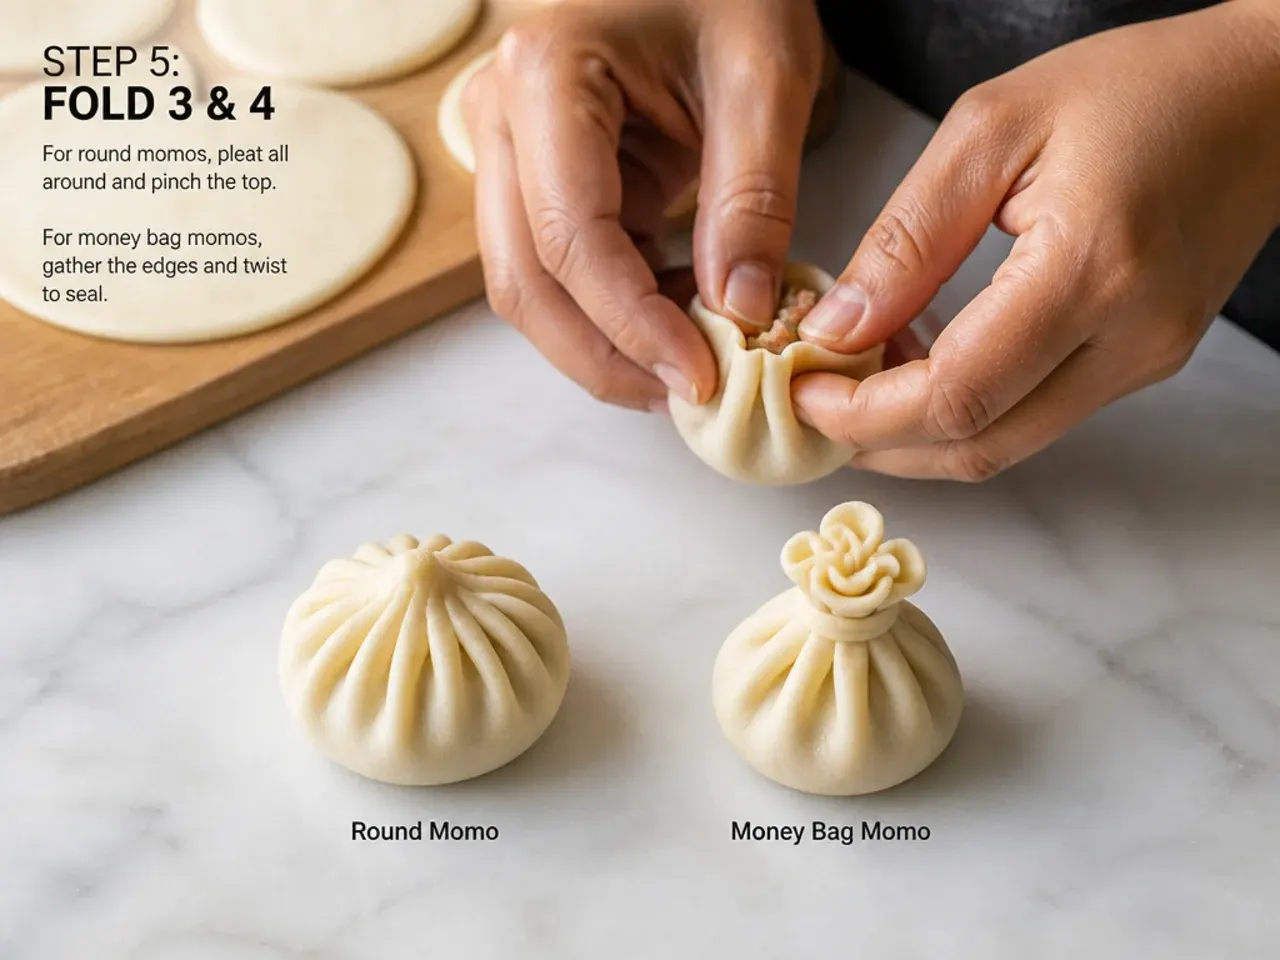
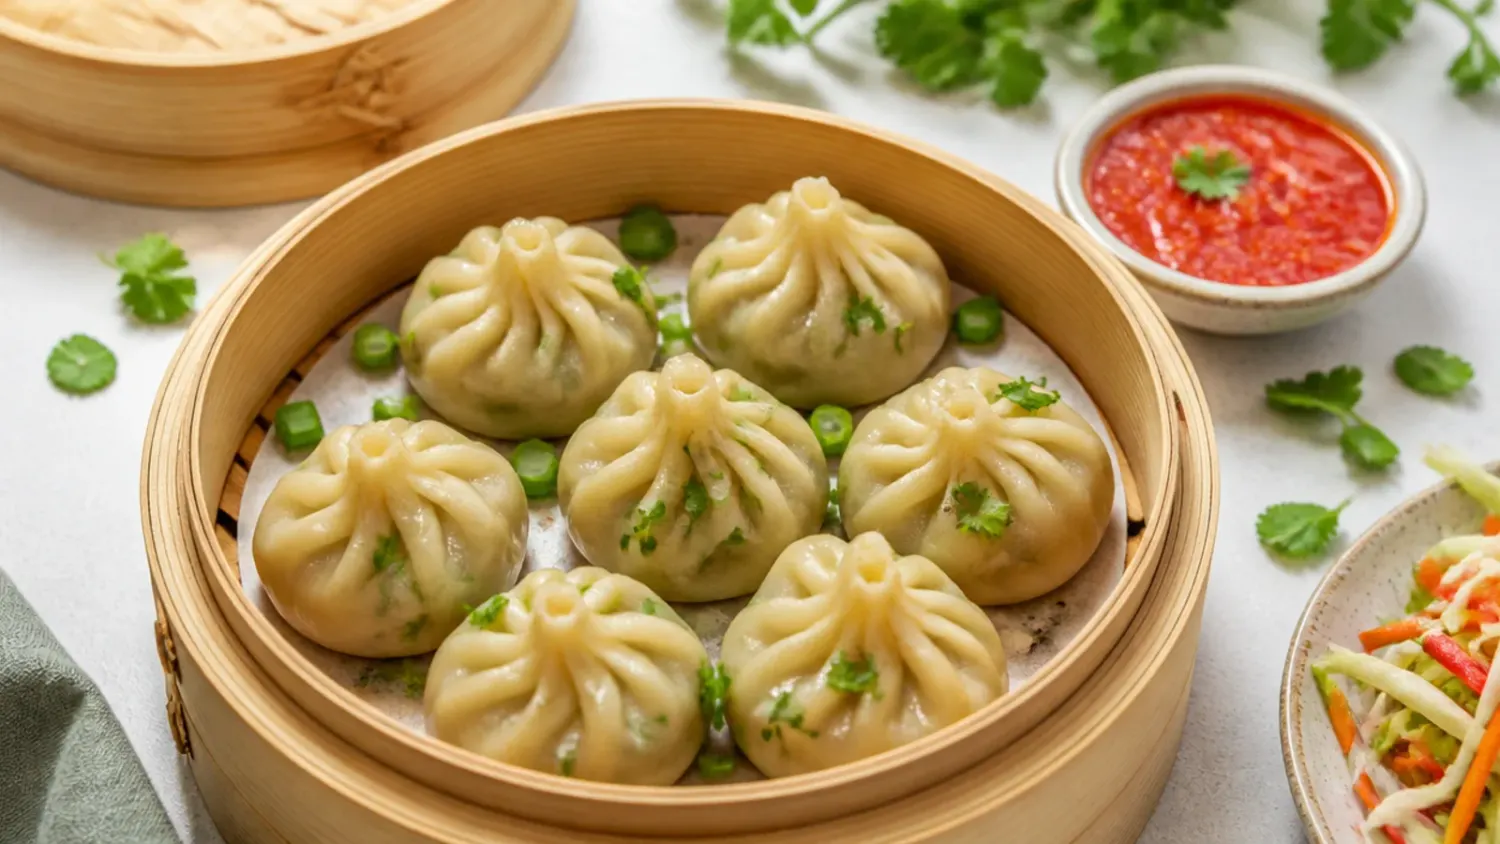
Classic round (the domed restaurant momo): lay the wrapper flat on your palm with 1 tablespoon of filling in the centre, then pinch the rim between thumb and forefinger and keep pleating in one direction around the full circumference — about 10-12 small pleats — letting each pleat spiral toward the centre. When you come full circle, gather the pleats at the top and give them a small twist to seal, leaving a neat swirl. Money bag (the fastest showstopper): lift the rim at 5-6 evenly spaced points, bring all the folds up to meet above the filling like a drawstring pouch, then pinch and twist the neck once to lock it. Both shapes sit flat-bottomed, so press each one lightly onto the counter before steaming.
Step 6: Fold 5, 6 & 7 — Rope Twist, Open-Top and Triangle
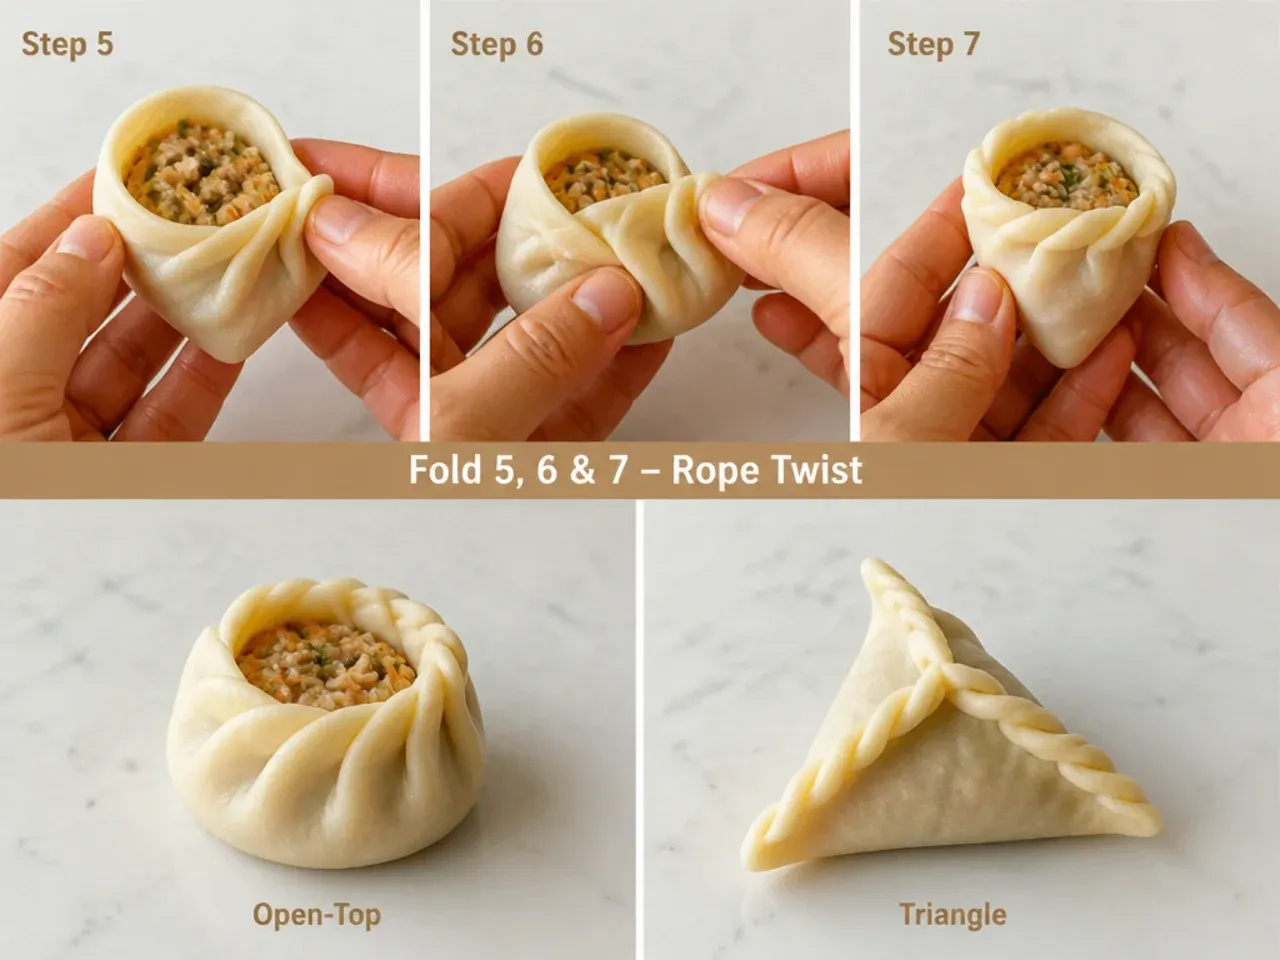
Rope-twist crescent: make a plain half-moon, then starting at one corner, fold a small piece of the sealed edge diagonally back over itself and press; repeat along the whole seam so it looks like a twisted rope or Cornish pasty crimp — this double seal is the most burst-proof of all seven folds, ideal for juicy fillings. Open-top (siu mai style): cup the filled wrapper loosely in your fist and squeeze gently so the sides pleat up around the filling while the centre stays exposed, then flatten the base and tap the filling down with a spoon; great when you want the filling visible for serving. Triangle: wet the rim, then lift it at three equally spaced points and pinch the three seams together toward the centre to form a tidy three-sided pyramid, sealing each seam from the corner inward. Keep finished momos on the cornflour-dusted tray, covered, until every wrapper is folded.
Step 7: Steam and Serve
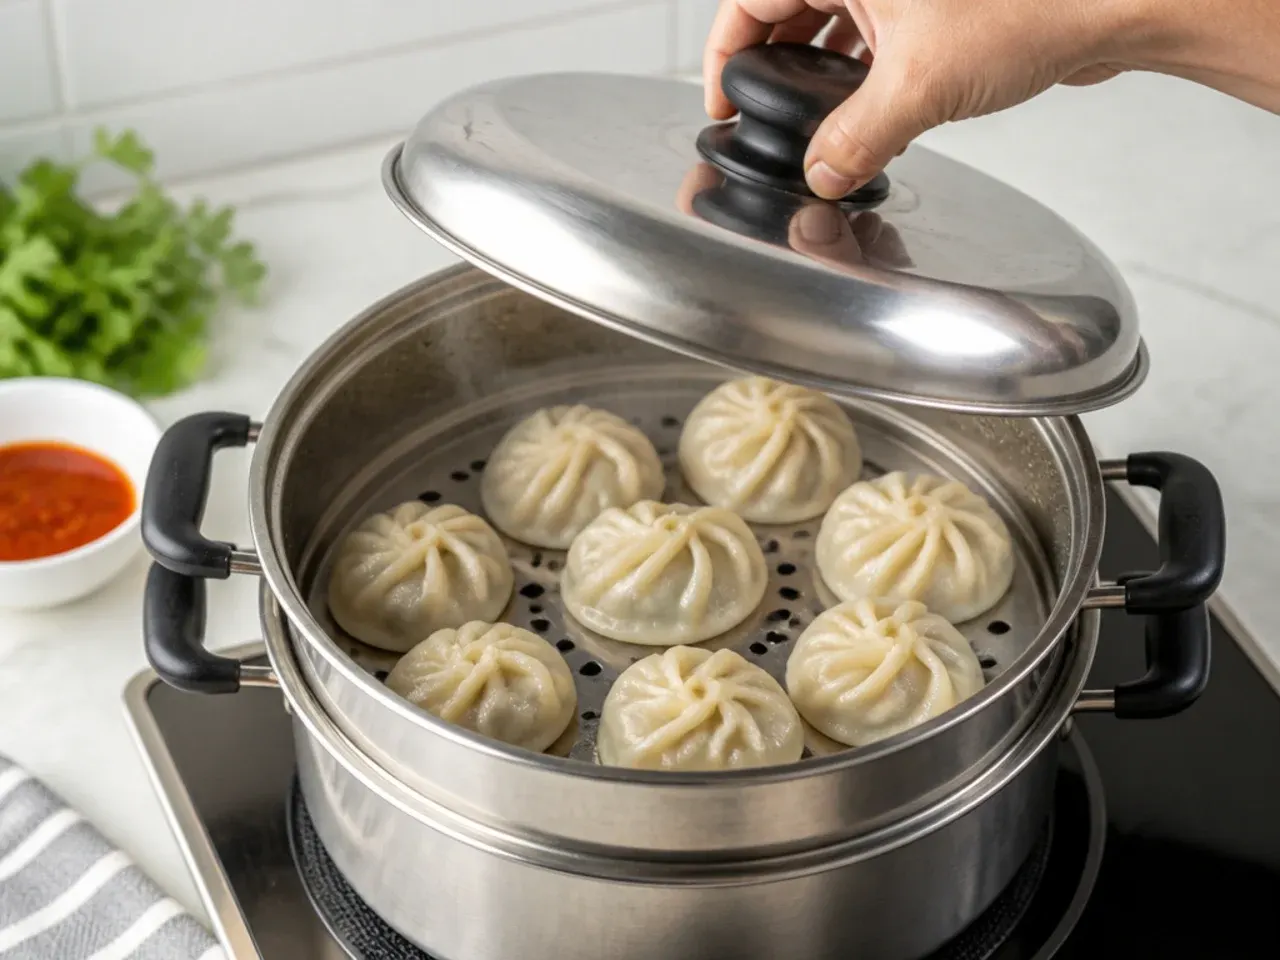
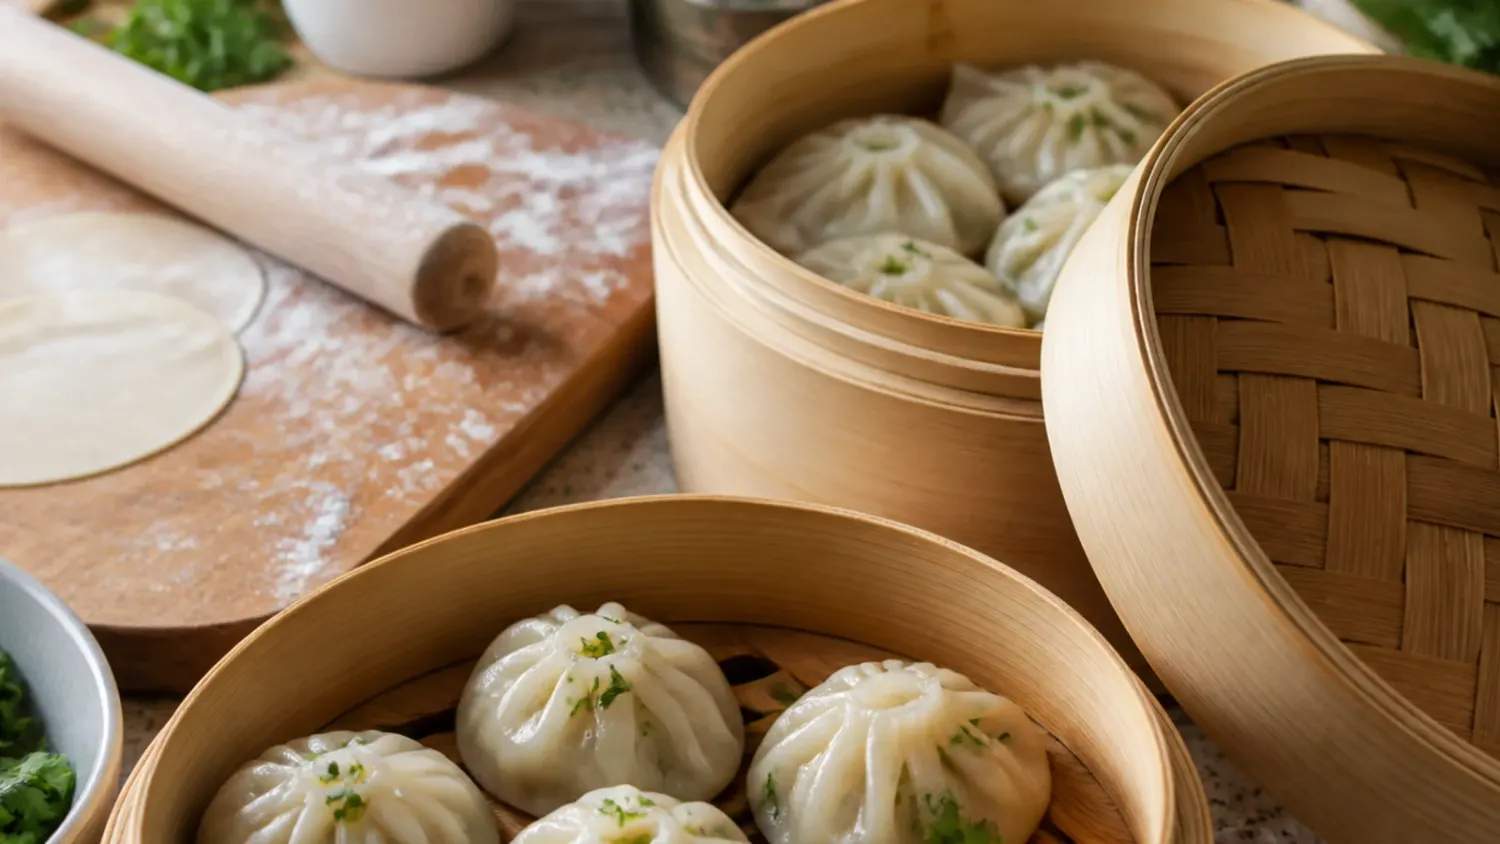
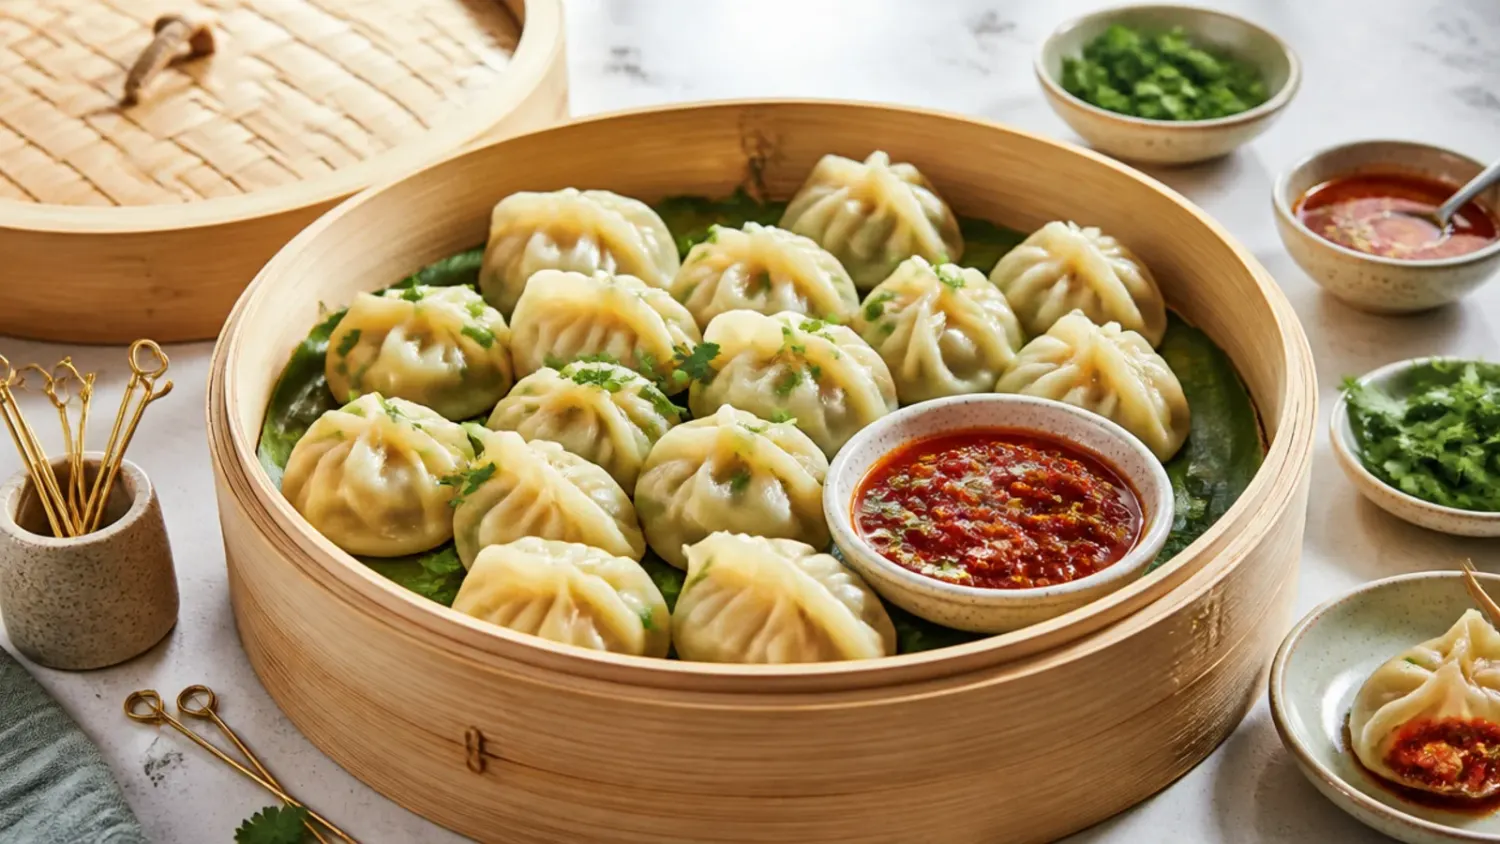
Grease the steamer plate with oil or line it with perforated baking paper or cabbage leaves, then arrange the momos at least 2 cm apart — they swell and will tear each other if touching. Set the steamer over water at a rolling boil (100°C/212°F) and steam, covered, for 10-12 minutes, until the wrappers look slightly translucent and no longer feel sticky when touched. Do not overcook, or the dough turns dense and chewy. Turn off the heat and wait 2 minutes before lifting the momos out with a silicone spatula — they release much more cleanly once the surface sets. Serve hot with a spicy tomato-sesame chutney or chilli-garlic sauce.
Pro Tips
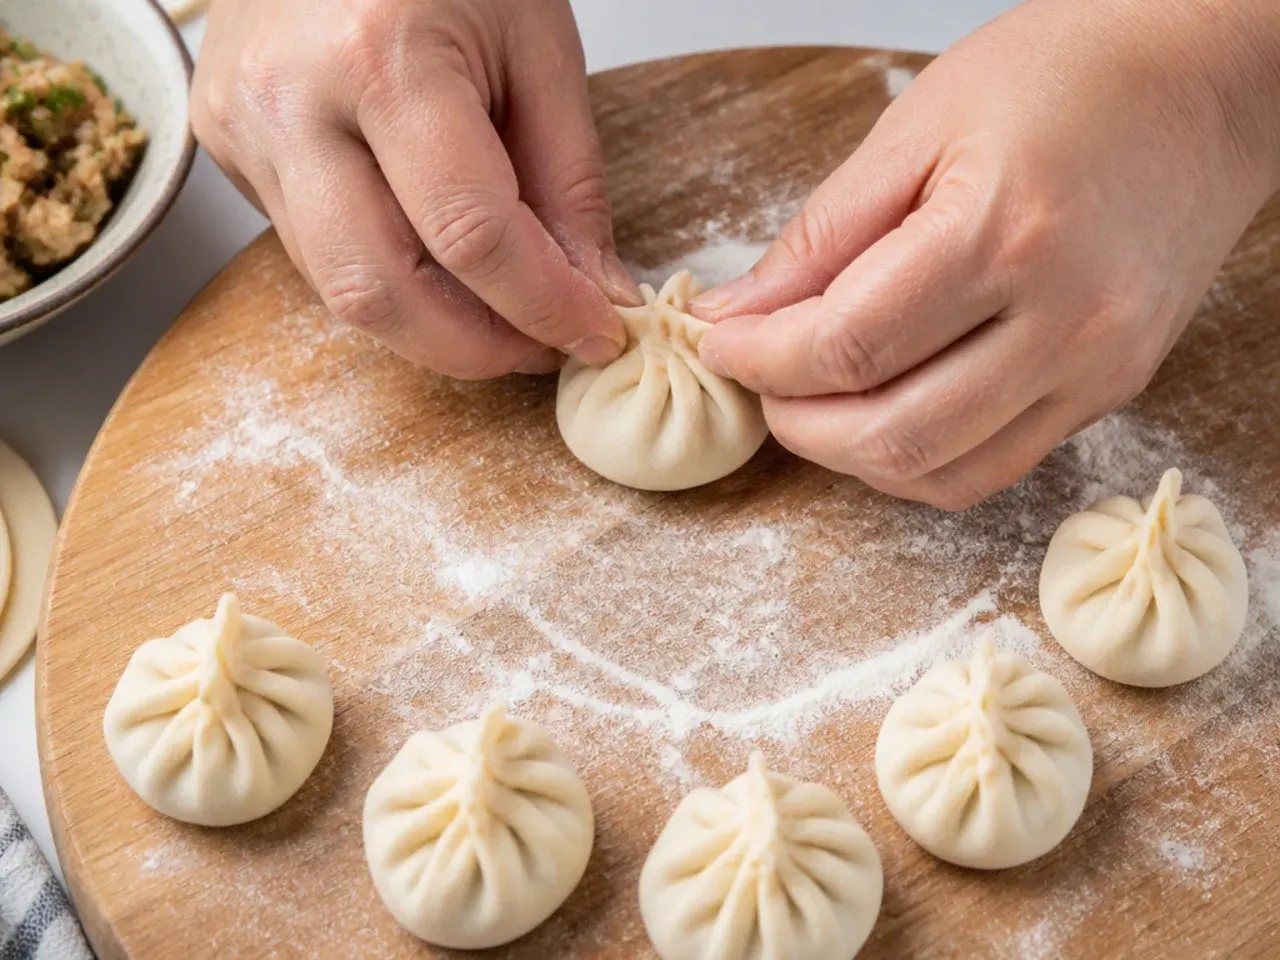
Keep everything you are not actively working on under a damp tea towel — wrappers dry out in under 5 minutes and dry edges are the number one reason momos folding fails. Roll wrappers so the edges are about 1 mm thick and the centre closer to 2 mm; thin edges pleat cleanly while the thicker centre stops the filling from punching through. Stick to 1 level tablespoon of filling per 9-10 cm wrapper — overfilling stretches the pleats apart during steaming. Dip a fingertip in water and run it around the rim before every fold, and wipe off any stray filling, because even a shred of cabbage on the seam will break the seal. Learn the folds in order of difficulty: half-moon first, then pleated crescent, then the round momo, since the same pinch-and-pleat motion carries through all seven. Dust the tray with cornflour rather than plain flour, which turns gluey once the wrappers sit on it.
Storage or Make-Ahead Tips
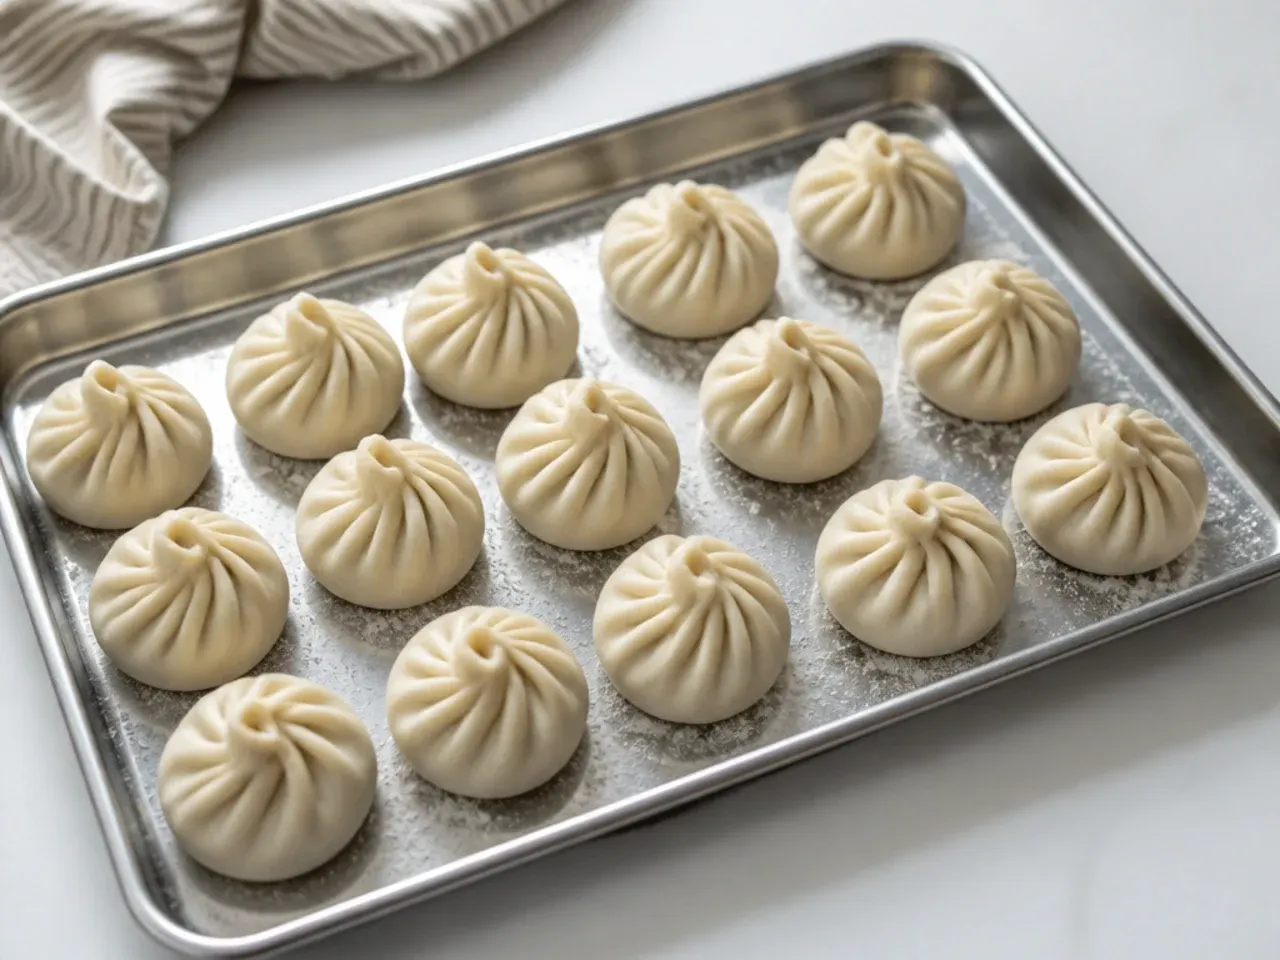
Folded, uncooked momos freeze brilliantly: arrange them 2 cm apart on a cornflour-dusted tray, freeze solid for 2 hours, then transfer to a freezer bag for up to 2 months. Steam them straight from frozen — no thawing — and simply add 4-5 minutes to the usual steaming time. Avoid holding raw folded momos in the fridge for more than 2-3 hours, because the filling weeps moisture that soaks and splits the wrappers. The dough itself can be made a day ahead, wrapped tightly in cling film and refrigerated; let it sit at room temperature for 30 minutes before rolling or it will resist and spring back. Cooked momos keep for 2 days in an airtight container in the fridge — re-steam for 5 minutes or pan-fry in 1 tablespoon of oil until crisp underneath, rather than microwaving, which turns the wrappers rubbery.
Master momos folding with 7 easy techniques — from classic pleated crescents to money bags — plus a tested dough, filling and steaming method. For more momos recipe inspiration, browse the full Momos Recipes board — every idea there is written for real home kitchens, not professional bakers.
Frequently Asked Questions
The usual culprits are dry or dirty seams, a wet filling, or overcrowding. Always brush the rim with water before folding, wipe off any stray filling so the seal is dough-on-dough, and squeeze excess liquid out of the cooked filling before you assemble. Leave at least 2 cm between momos in the steamer — swelling dumplings that touch will stick together and tear when separated.

Related Recipes
Save this for later 📌
Pin this article to your Pinterest board so the full list is one tap away when you need it.
Save on Pinterest