15 Simple Kuromi Cakes for Beginners
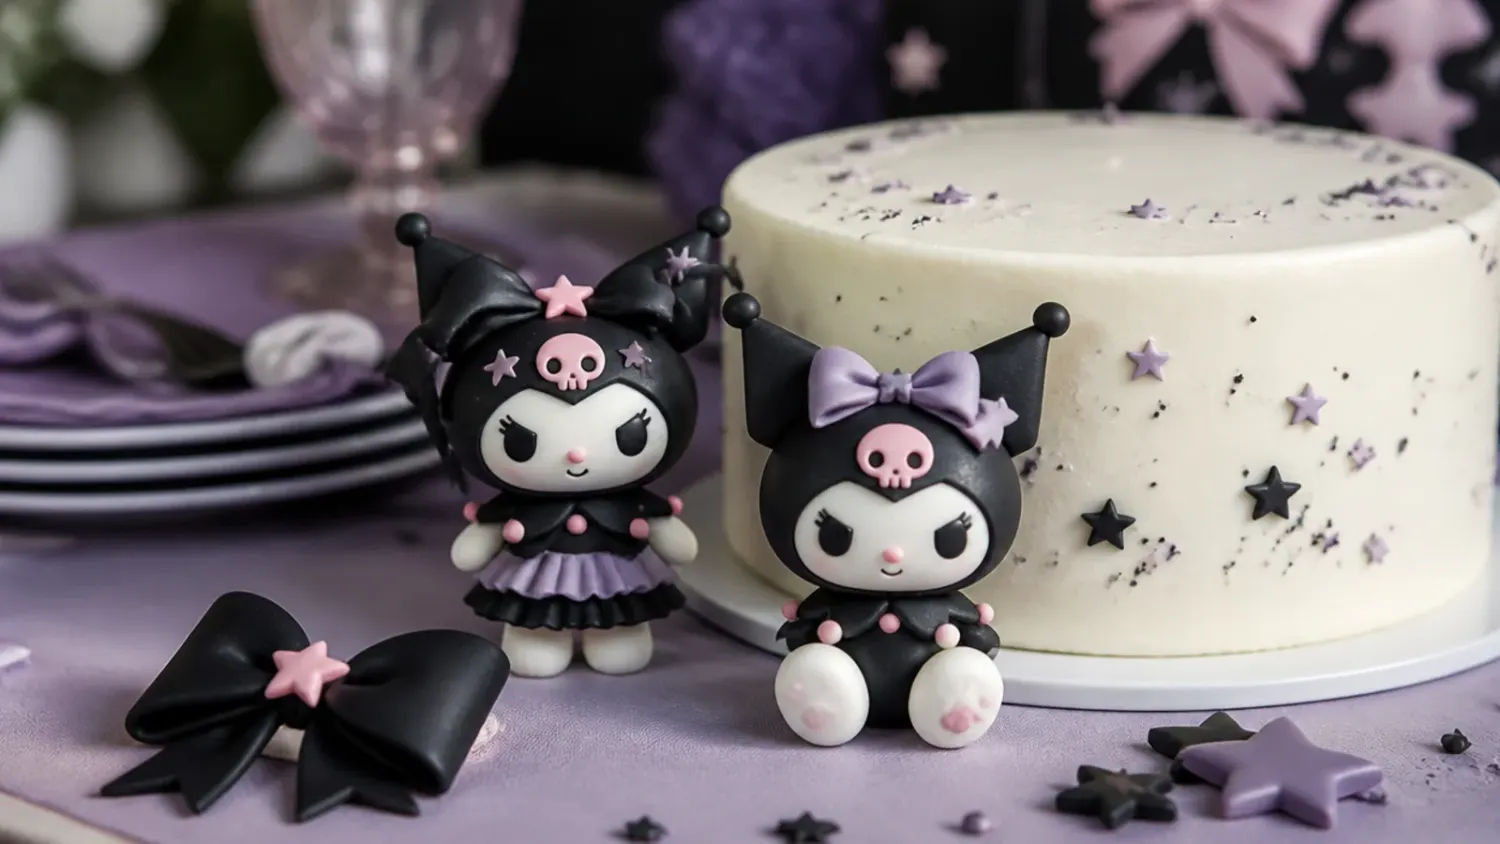
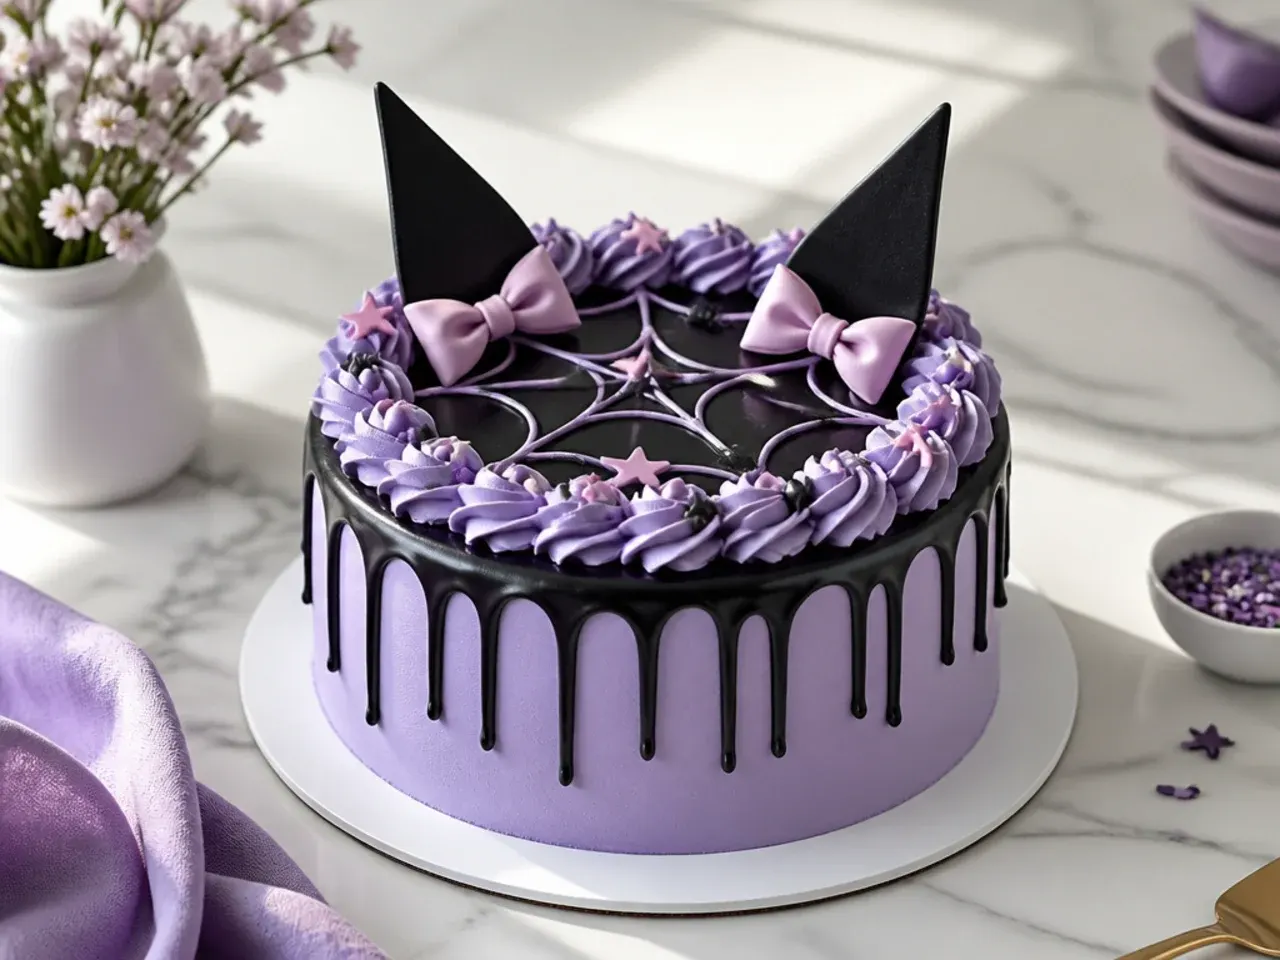
A simple Kuromi cake is easier than it looks. Here are 15 beginner-friendly designs using purple, black and pink buttercream, plus tips and a base recipe. If you love kuromi cake inspiration, start with our Kuromi Cake Ideas collection, then browse the full Cake Ideas hub for more.

Save this for later 📌
Pin this article to your Pinterest board so the full list is one tap away when you need it.
Save on PinterestCake Ideas
Beginner
Ideas
15 ideas
Table of Contents
- 1. Classic Two-Tone Purple and Black Buttercream Cake
- 2. Easy One-Colour Lavender Cake with a Piped Bow
- 3. Elegant White Cake with Purple Drip and Pearls
- 4. Playful Polka-Dot Cake in Pink and Black
- 5. Modern Colour-Block Cake with Sharp Edges
- 6. Rustic Textured Buttercream Cake in Muted Purple
- 7. Colourful Rainbow-Pastel Cake with a Purple Focus
- 8. Minimal Naked Cake with a Single Black Star Accent
- 9. Festive Sprinkle Cake with a Purple-and-Black Confetti Border
- 10. Whimsical Cloud-Swirl Cake in Pink and Purple
- 11. Bold High-Contrast Black Cake with Neon-Purple Accents
- 12. Delicate Lace-Piped Cake in Soft Lilac
- 13. Vintage Ruffle Cake in Dusty Rose and Plum
- 14. Creative Half-and-Half Split Cake
- 15. Charming Mini Cake for One with a Bow Topper
- Tips to Make These Ideas Easier
- Common Mistakes to Avoid
- The Base Recipe — Make Any of These Ideas
1. Classic Two-Tone Purple and Black Buttercream Cake
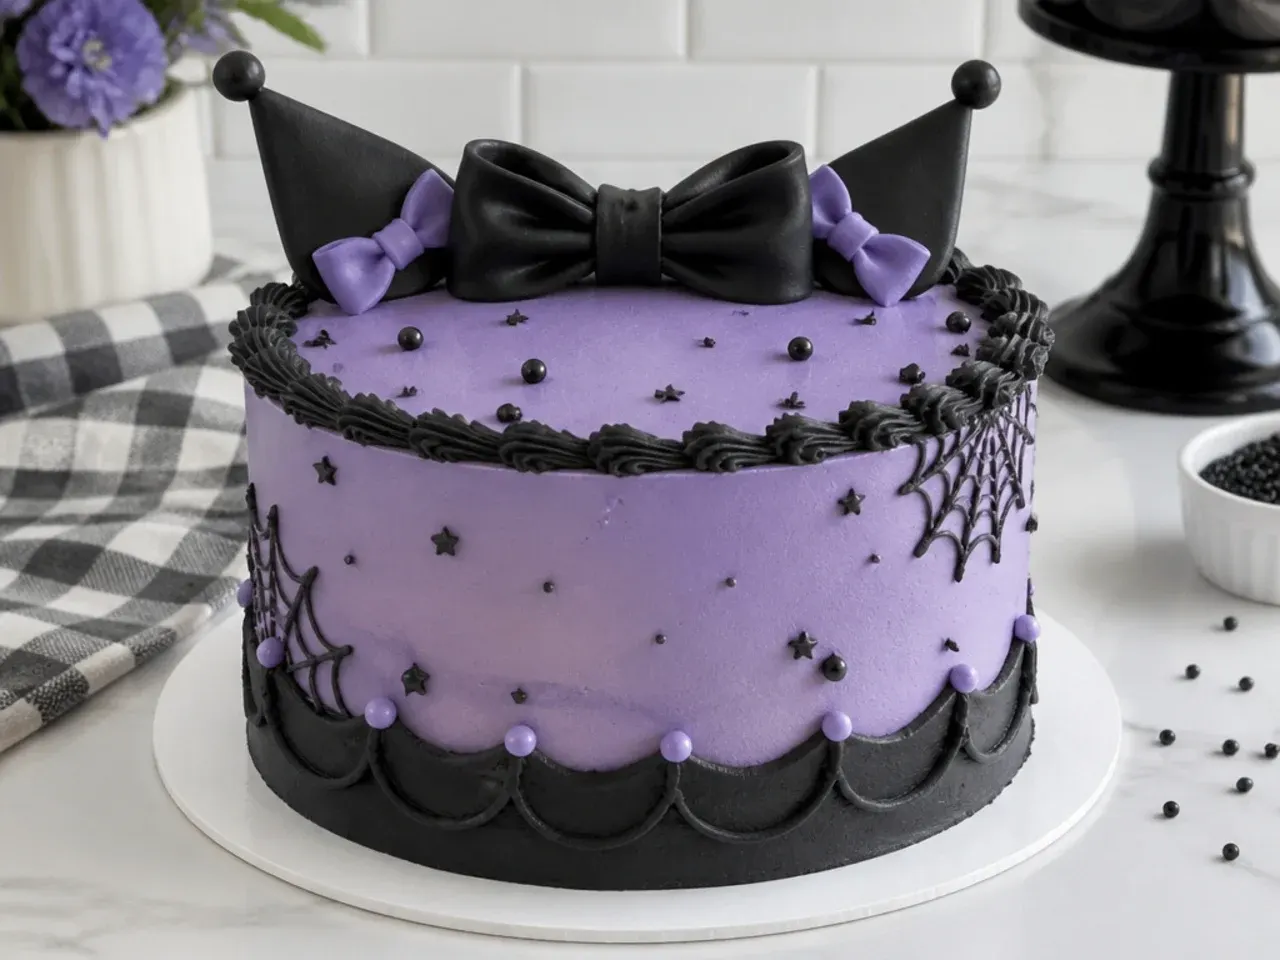
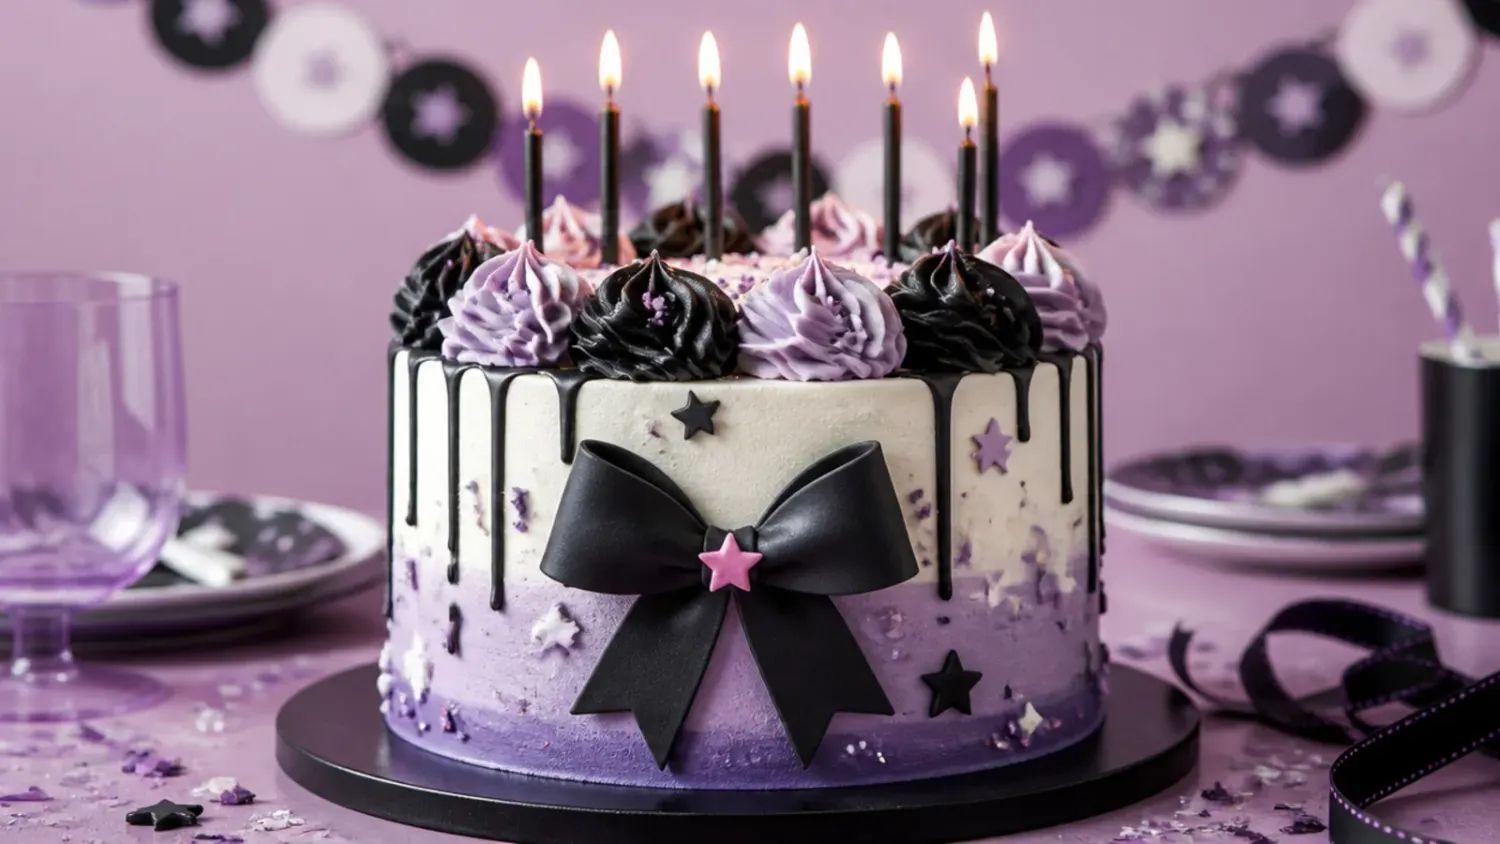
This is the design every simple Kuromi cake starts from: a smooth lavender buttercream base with a single black band around the bottom third. It works because the purple-and-black colour pairing instantly reads as Kuromi-inspired without any character sculpting. Crumb-coat the chilled cake, then apply a lavender final coat and smooth it with a hot bench scraper held at a 45-degree angle while the turntable spins. Pipe the black band with a flat petal tip (Wilton 104) or simply spread coloured buttercream and scrape it flat. Finish the top edge with a small shell border using a star tip (Wilton 21) for a clean, polished look.
2. Easy One-Colour Lavender Cake with a Piped Bow
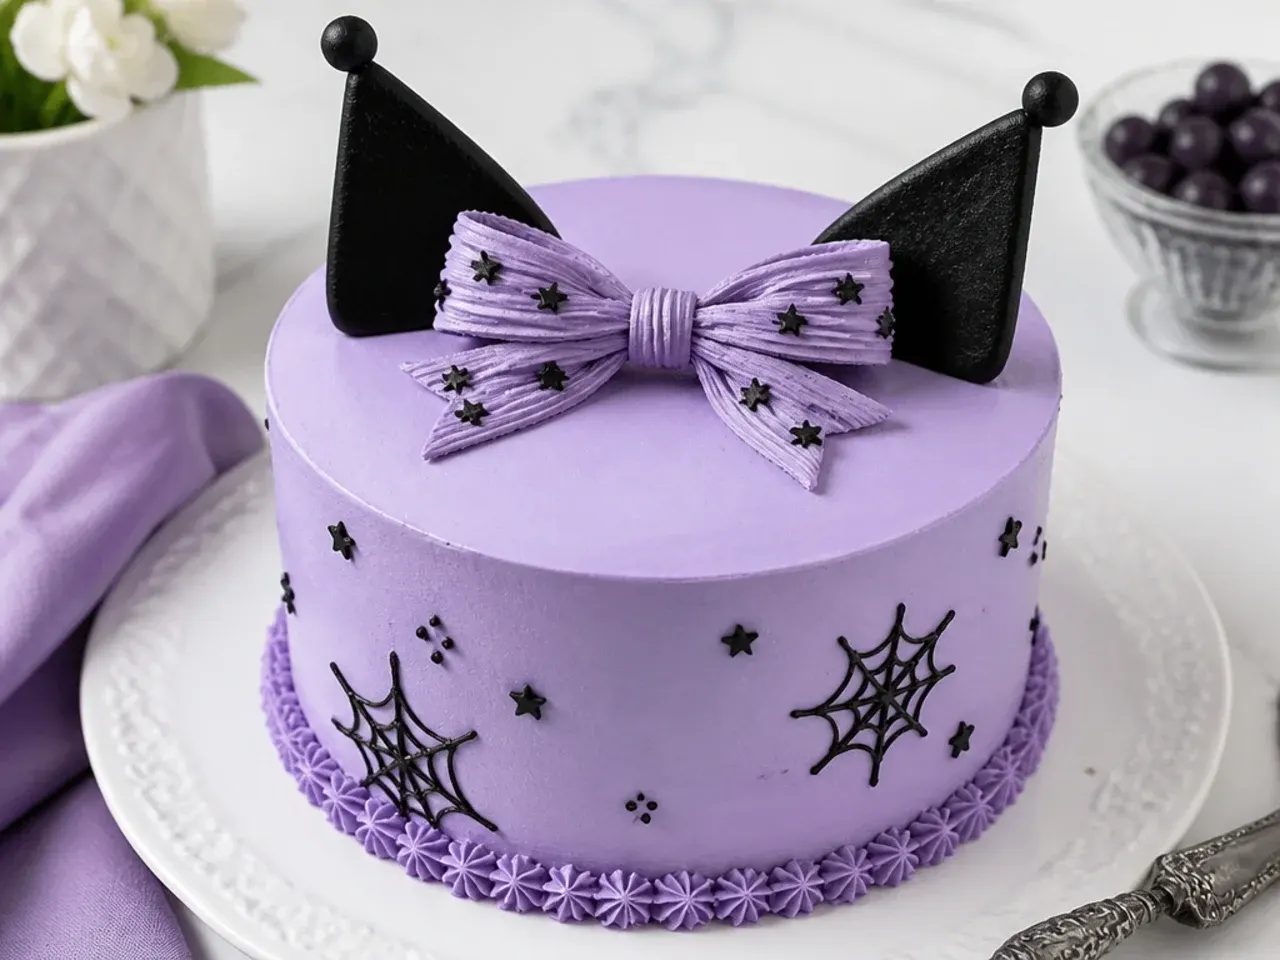
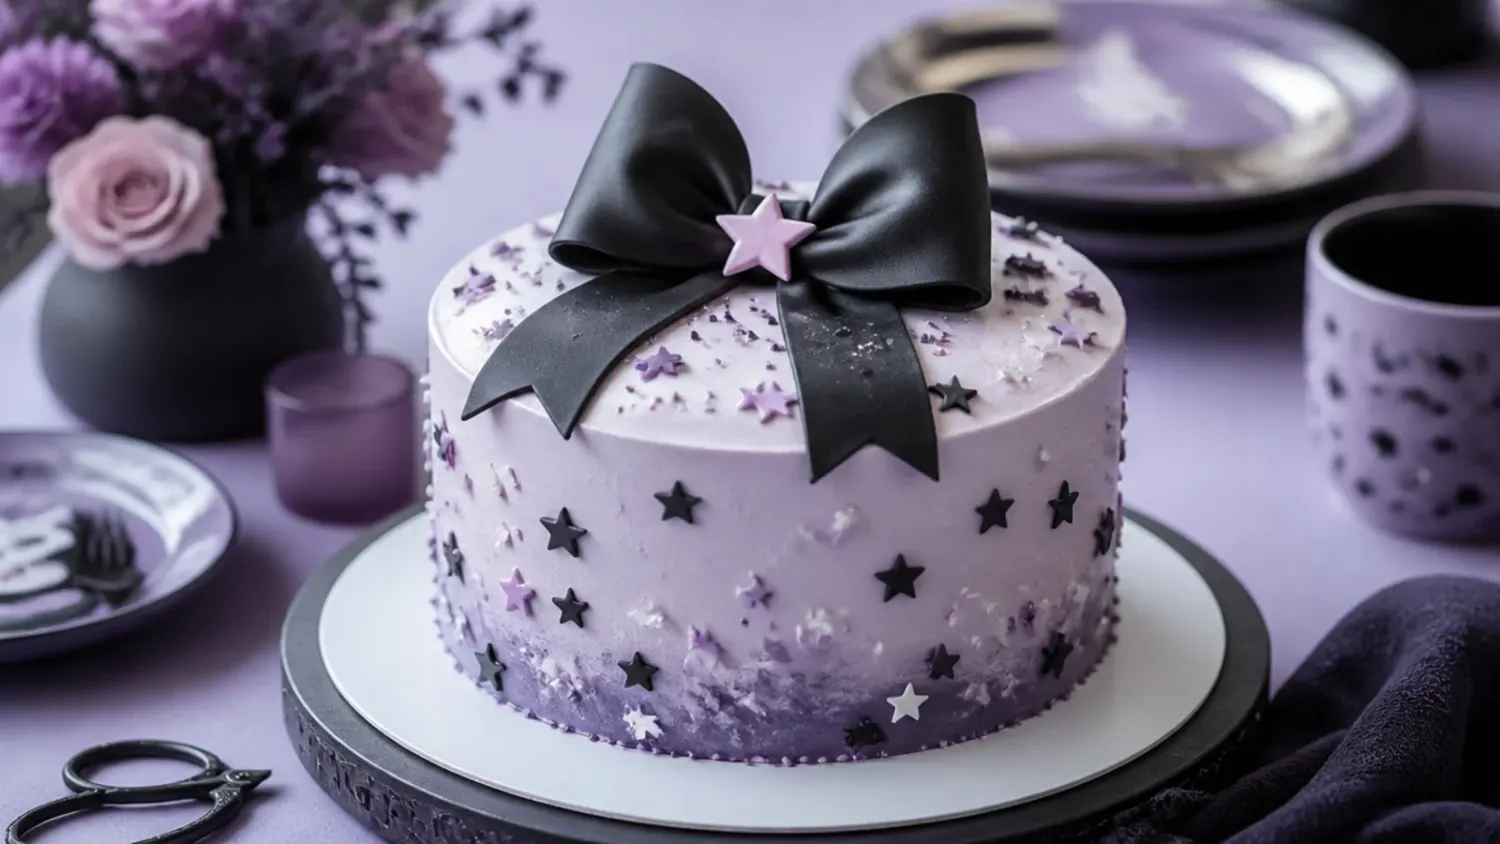
If you only master one thing, make it this: an all-over lavender cake topped with a single piped buttercream bow in black or hot pink. The single-colour base means no blending or sharp lines to worry about, so beginners get a clean finish fast. Colour your buttercream with a violet gel (add it drop by drop; gel is far stronger than liquid) and coat the cake smooth. Pipe the bow freehand with a flat ribbon tip (Wilton 44 or 104), making two loops and two tails. A bow is a classic Kuromi-inspired accent and hides any wobble in your top surface.
3. Elegant White Cake with Purple Drip and Pearls
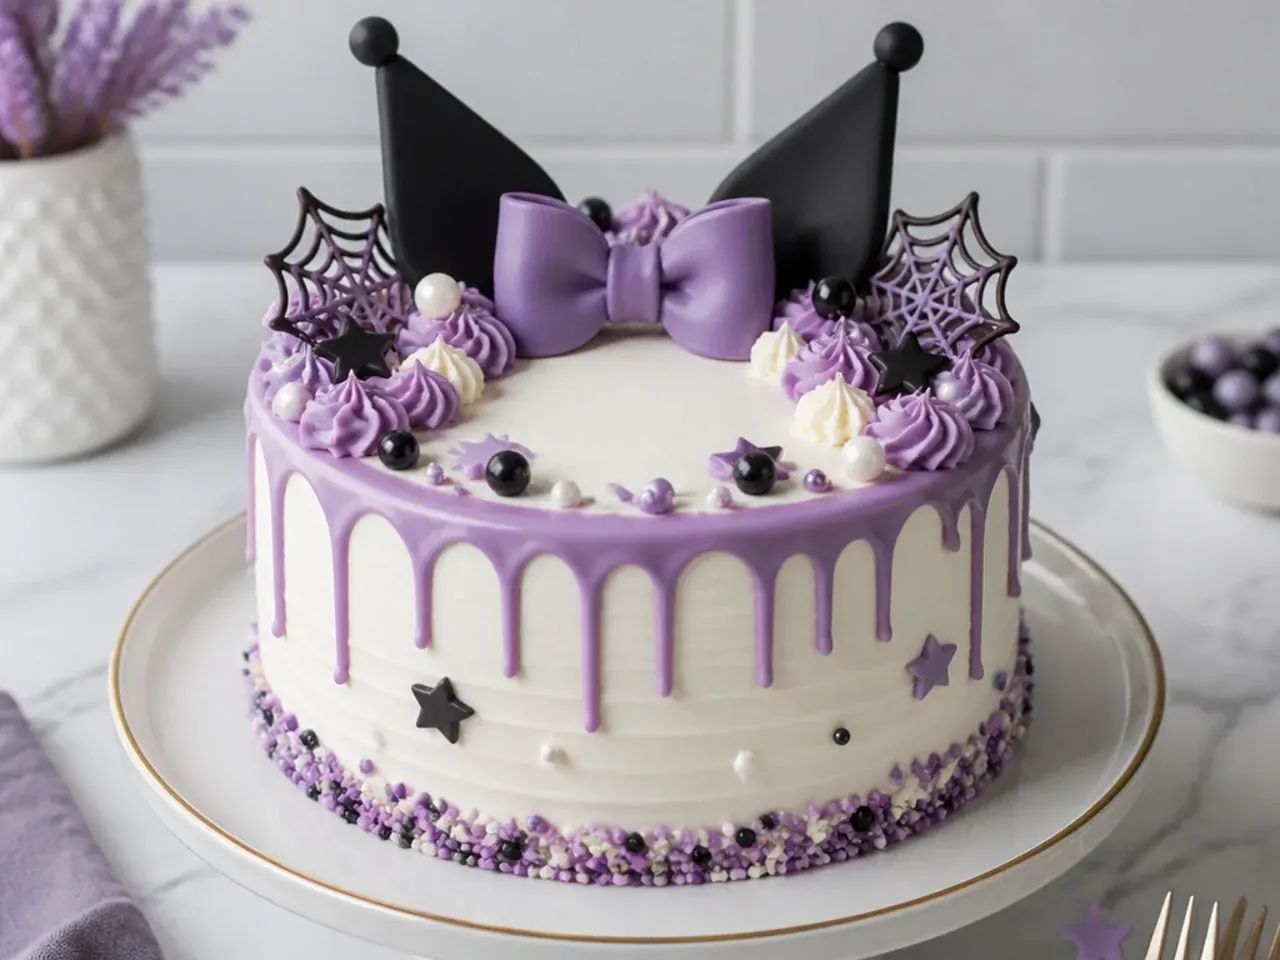
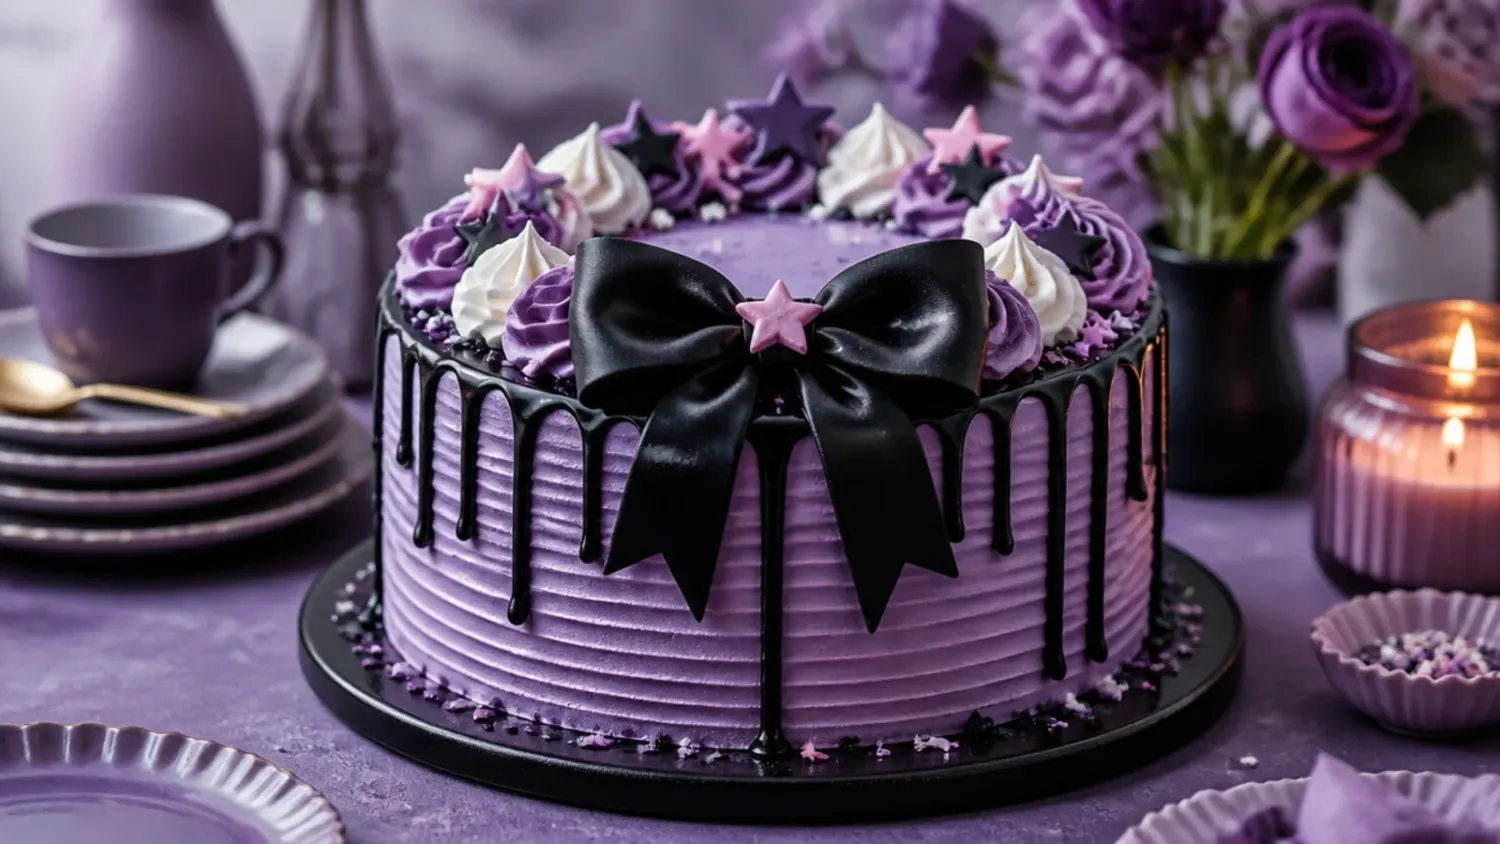
For a grown-up take, keep the base crisp white and let a purple ganache drip and edible pearls do the work. The restraint is what makes it elegant, and the contrast of white against deep purple is very Kuromi-inspired. Make the drip by melting 60g white chocolate with 40ml cream and a touch of violet gel, cool it to lukewarm, then spoon it around a well-chilled cake so each drip stops halfway down. Add silver or black sugar pearls in small clusters near the top edge. A few edible pearls placed asymmetrically look more intentional than a full ring.
4. Playful Polka-Dot Cake in Pink and Black
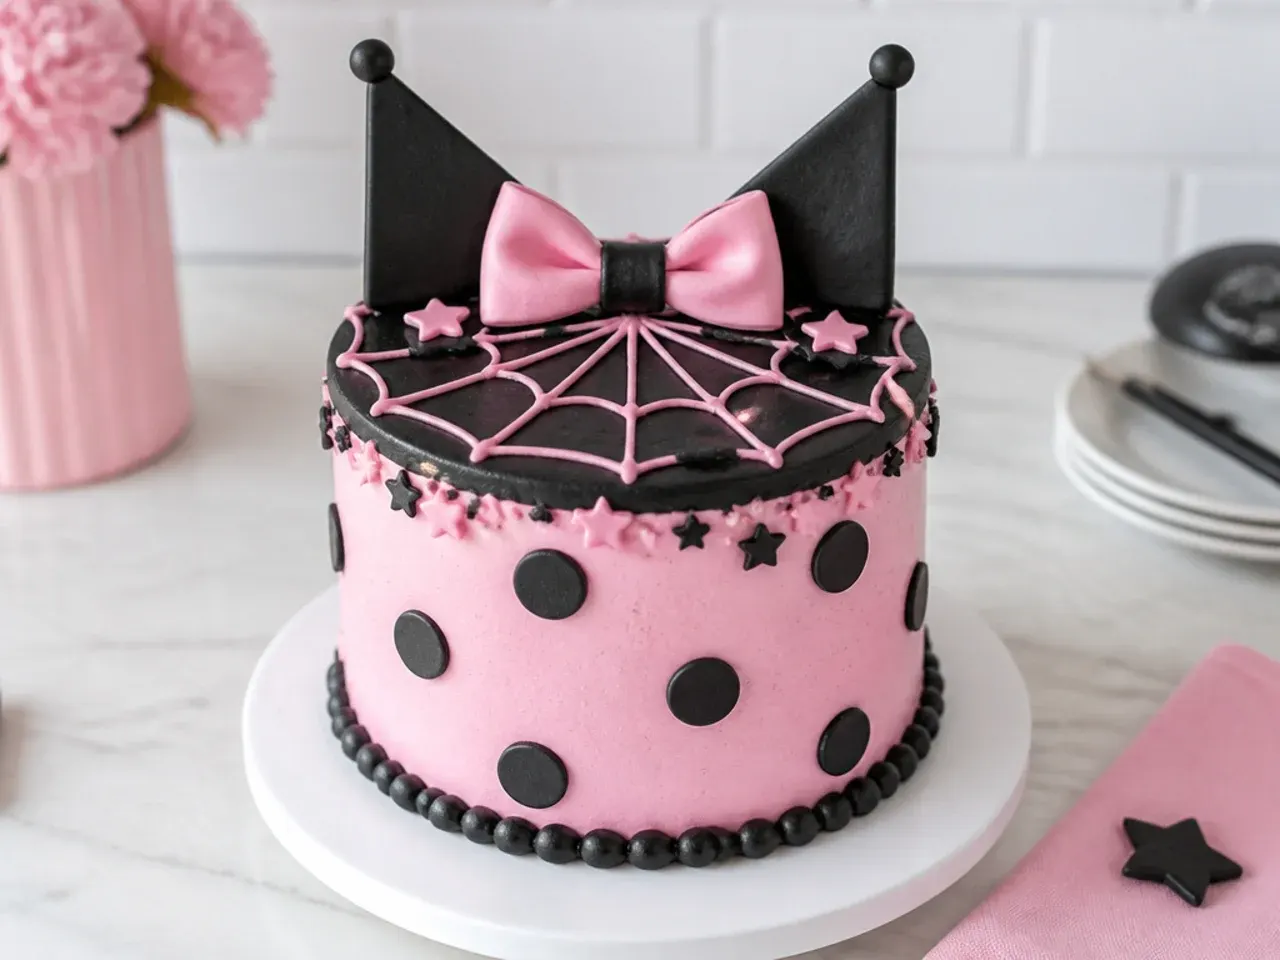
Polka dots are the fastest way to make a cake look playful and on-theme, and they are the classic Kuromi-inspired pattern. Coat the cake in soft pink buttercream, then pipe evenly spaced black dots using a round tip (Wilton 5 or 10) held straight down, releasing pressure before you lift so each dot stays domed. Stagger the rows like a brick pattern so the eye reads it as deliberate. If a dot peaks, dab it flat with a damp fingertip. This design forgives an uneven base coat because the dots draw all the attention.
5. Modern Colour-Block Cake with Sharp Edges
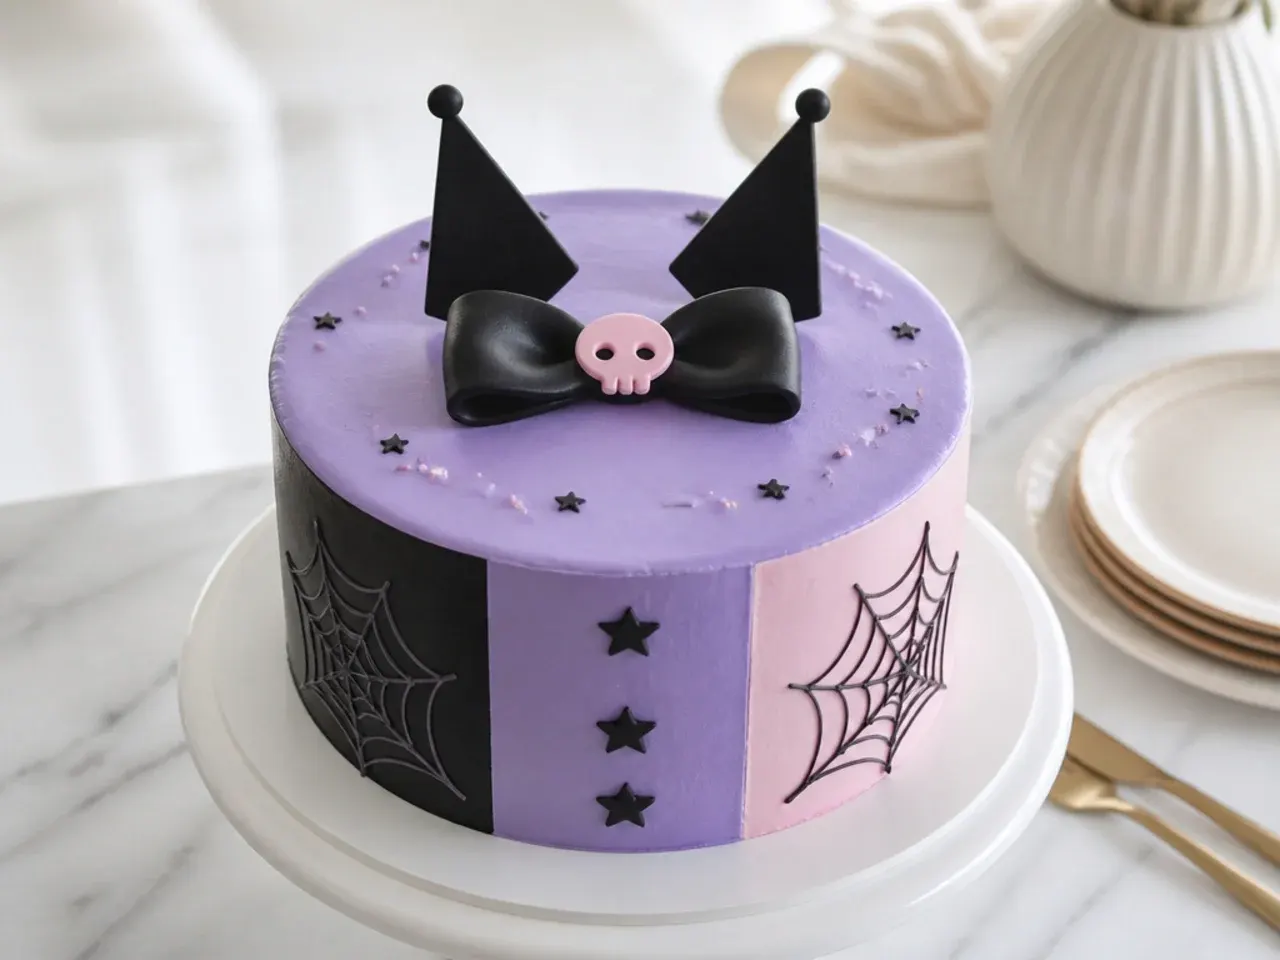
A modern simple Kuromi cake splits the sides into clean vertical blocks of lavender, black and pink. The graphic colour-blocking feels current and needs no piped detail at all. Pipe each colour as a thick vertical stripe, then run a warm bench scraper around the cake in one continuous turn to blend the surface flat while keeping the blocks distinct. Chill for 15 minutes, then use a small offset spatula to create crisp sharp top edges by pulling excess buttercream inward. The trick to sharp edges is a slightly over-filled top that you scrape toward the centre.
Save this for later 📌
Pin this article to your Pinterest board so the full list is one tap away when you need it.
Save on Pinterest6. Rustic Textured Buttercream Cake in Muted Purple
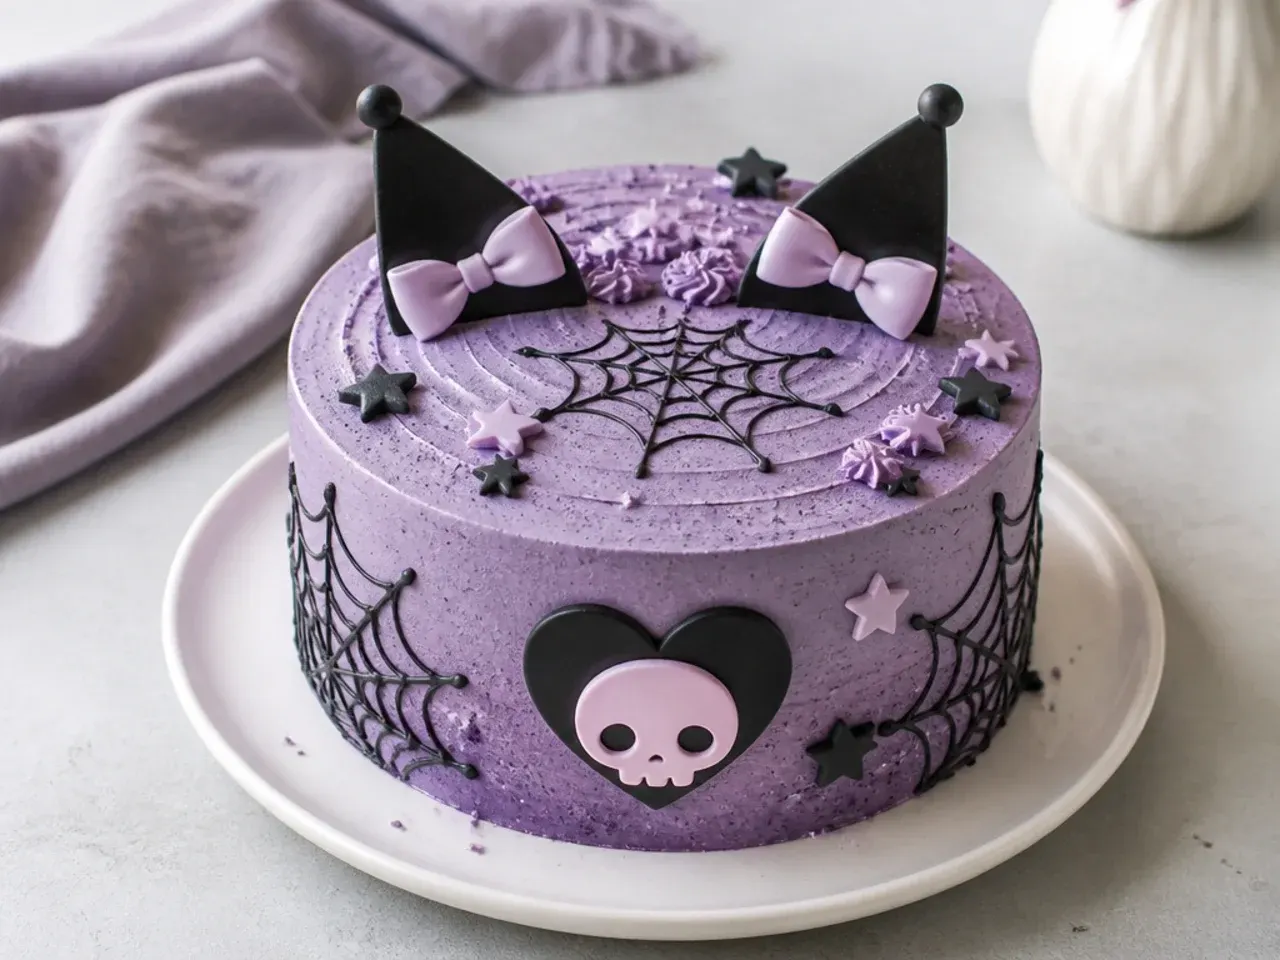
Rustic means you skip smoothing entirely and lean into texture, which is ideal for nervous beginners. Use a muted dusty-purple buttercream so the cake looks soft and homemade rather than messy. Apply the frosting thickly, then press the back of a spoon into it and twist to create swirls all around the sides. Add a scatter of black and pink star sprinkles while the buttercream is still tacky so they stick. The uneven surface is the whole point, so there is nothing to get wrong here.
7. Colourful Rainbow-Pastel Cake with a Purple Focus
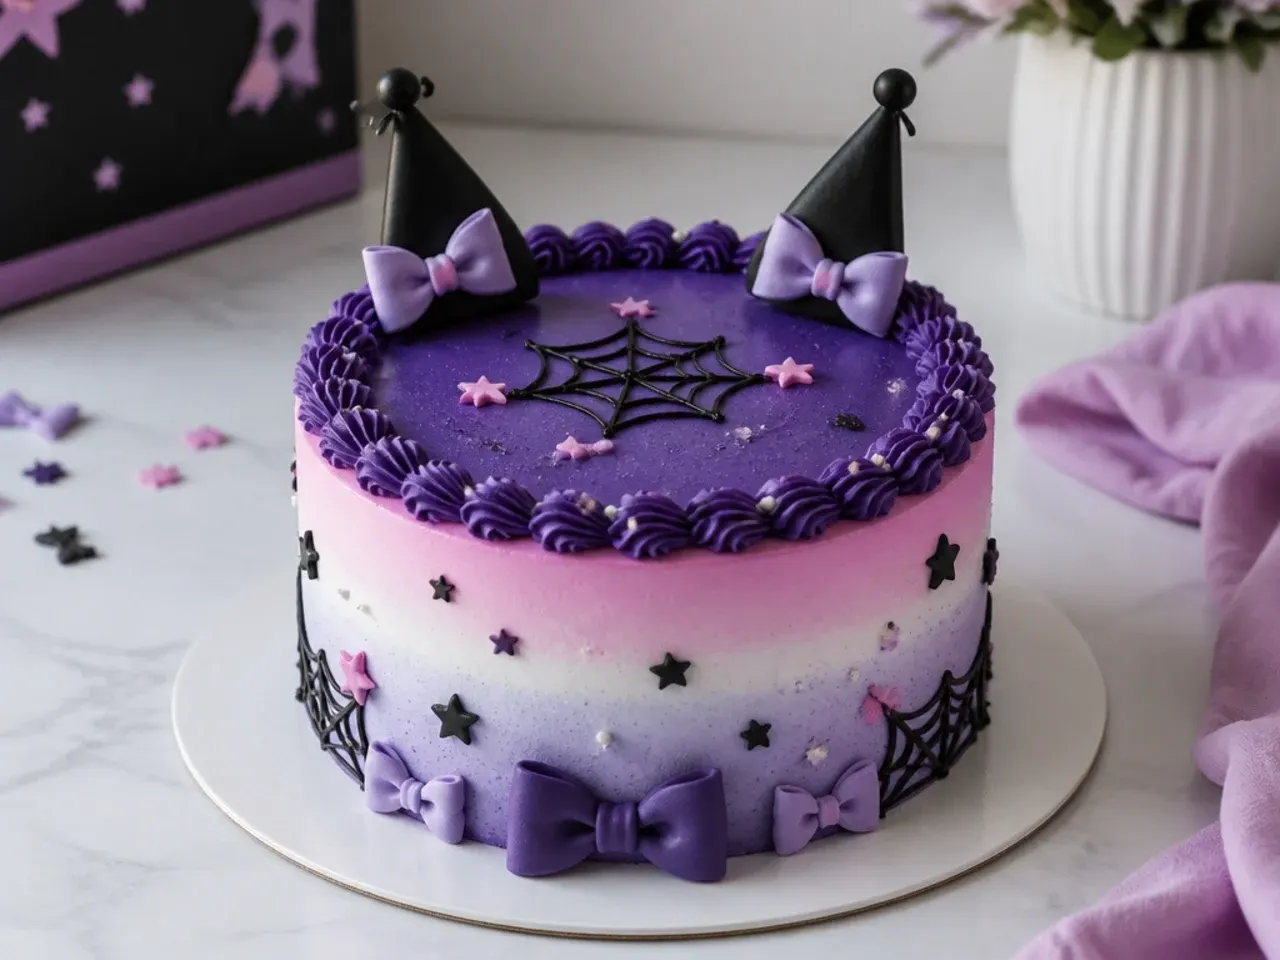
This design keeps the Kuromi-inspired purple as the star but surrounds it with pastel pink, lilac and soft grey for a fuller, more colourful look. Multiple soft colours read as festive without clashing because they all sit in the same pale tone family. Pipe alternating vertical stripes of each pastel with a large round tip, then smooth lightly so the colours bleed slightly into one another for an ombre effect. Keep the top a solid deep purple so there is a clear focal point. Mix your gel colours into small separate bowls of buttercream before you start so you are not scrambling mid-decorate.
8. Minimal Naked Cake with a Single Black Star Accent
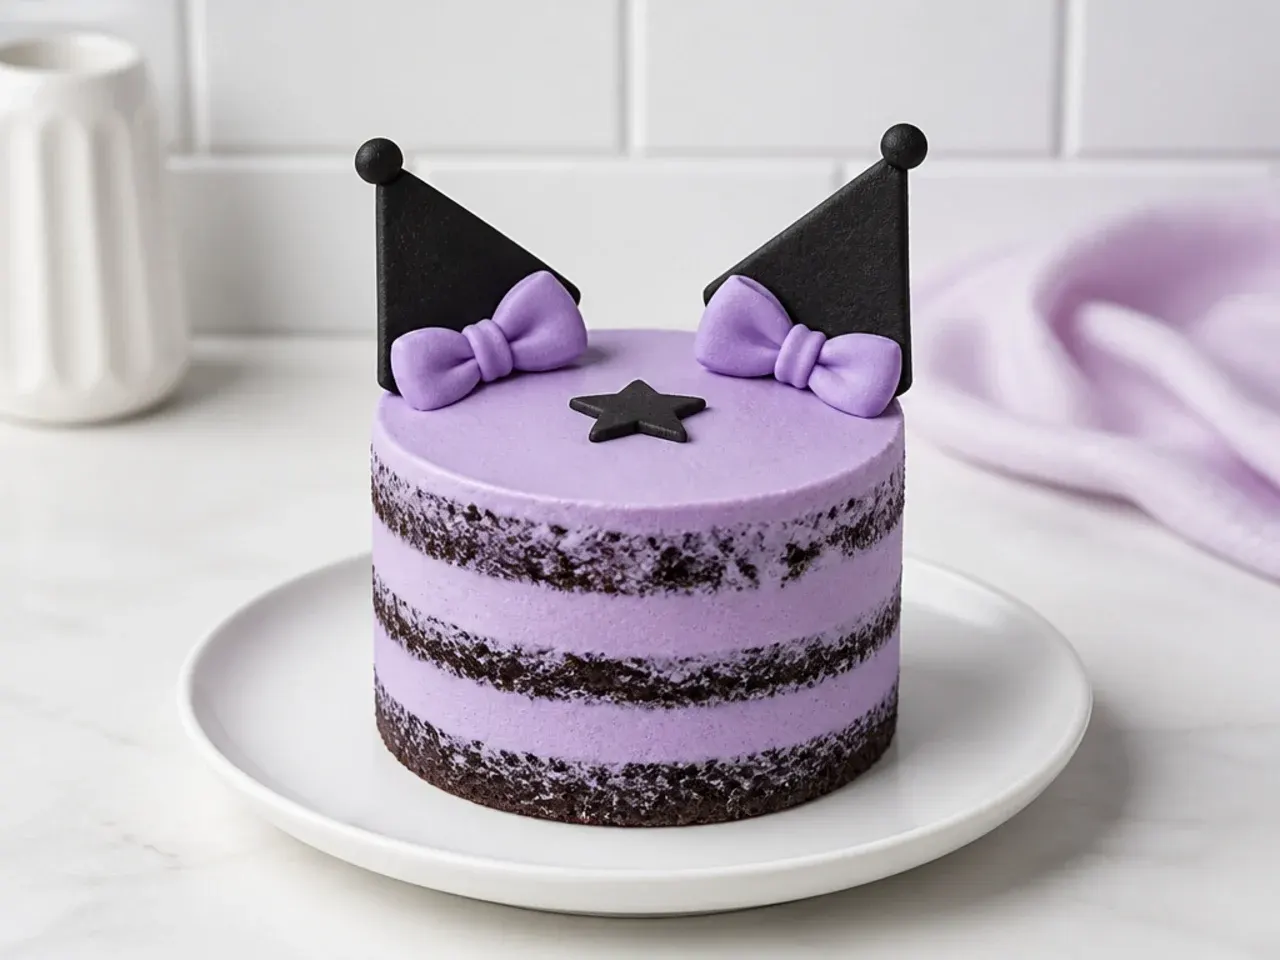
A minimal Kuromi cake barely uses frosting at all: a thin scraped coat of lavender buttercream that lets the sponge show through, finished with one black buttercream star on top. Less frosting means less to smooth, so this is genuinely the easiest design on the list. Apply buttercream, then scrape almost all of it off with a bench scraper so only a translucent layer remains in the crumb. Pipe a single five-point black star on top using a star tip or pull it freehand with a small round tip. A star accent is a subtle Kuromi-inspired nod that keeps the whole thing understated.
9. Festive Sprinkle Cake with a Purple-and-Black Confetti Border
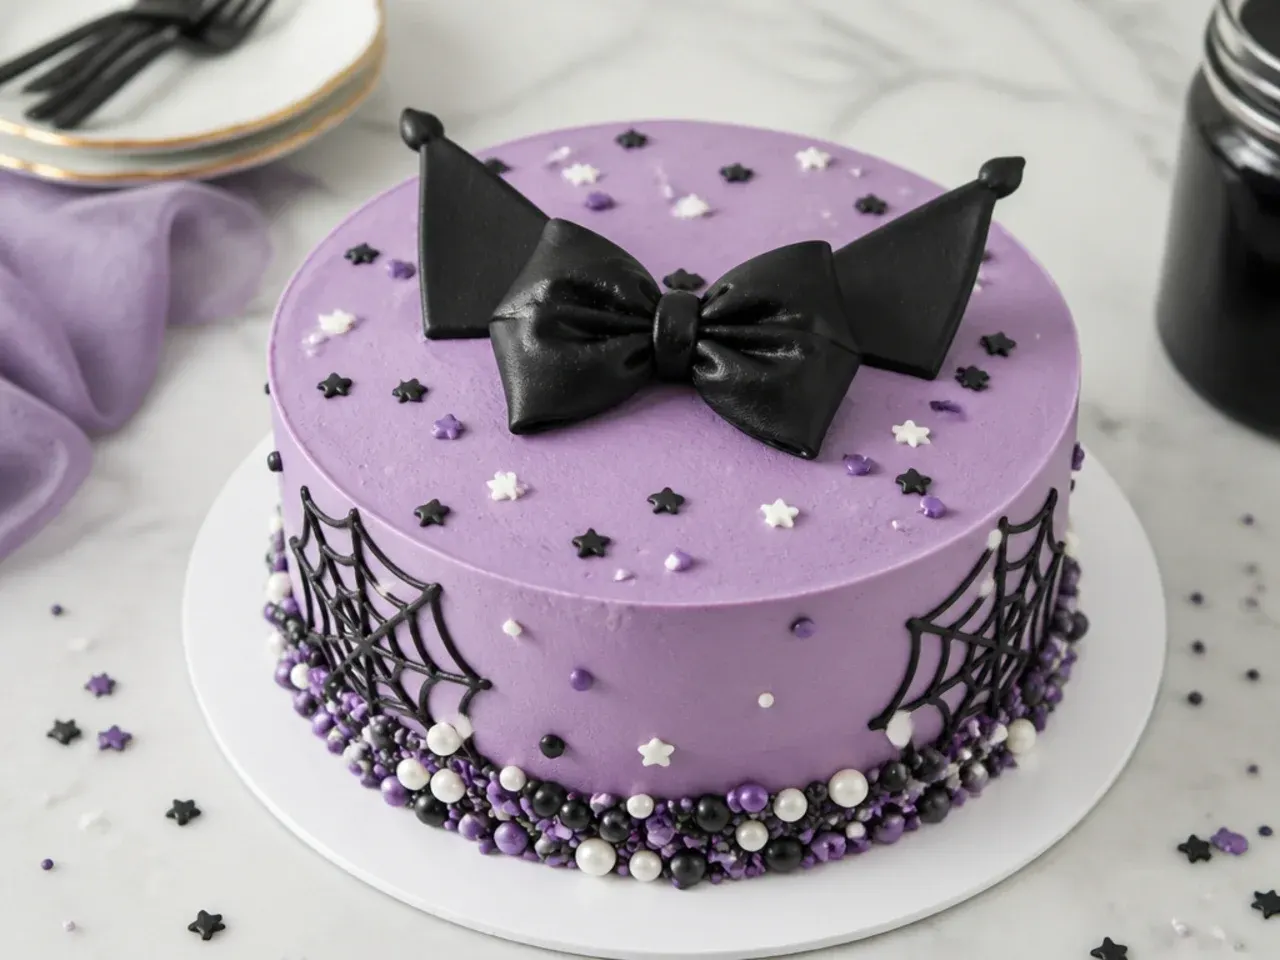
For a party, press a thick confetti border of purple, black and white sprinkles around the bottom third of a pink cake. The sprinkle border instantly signals celebration and hides the messiest part of any cake, the base join. Hold the cake over a tray, scoop sprinkles into your palm and press them onto the chilled buttercream, letting the excess fall back to be reused. Keep the top clean with just a piped shell border in black. This is a great design to let kids help with because pressing sprinkles is nearly foolproof.
10. Whimsical Cloud-Swirl Cake in Pink and Purple
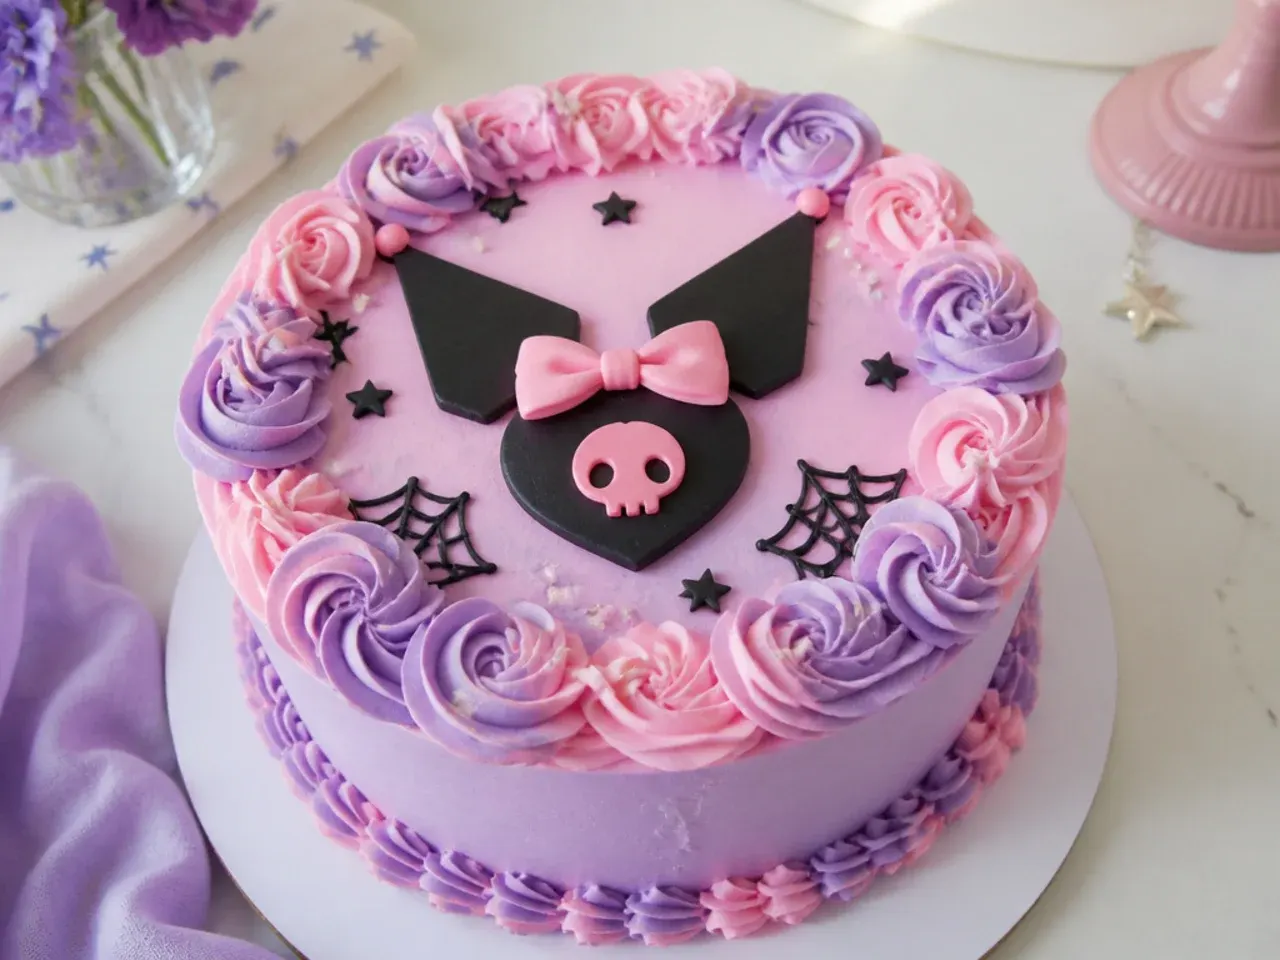
Whimsical clouds are piped puffs around the top edge that give a dreamy, Sanrio-inspired softness. The soft rounded shapes feel cute and cover the top edge, which is the hardest part to get sharp. Pipe overlapping swirls with a large closed-star tip (Wilton 1M or 2D) around the crown of the cake, alternating pink and lilac buttercream. Pull each swirl in a small circular motion and lift straight up to leave a peak. Dust the finished swirls very lightly with edible pearl lustre for a soft shimmer.
Save this for later 📌
Pin this article to your Pinterest board so the full list is one tap away when you need it.
Save on Pinterest11. Bold High-Contrast Black Cake with Neon-Purple Accents
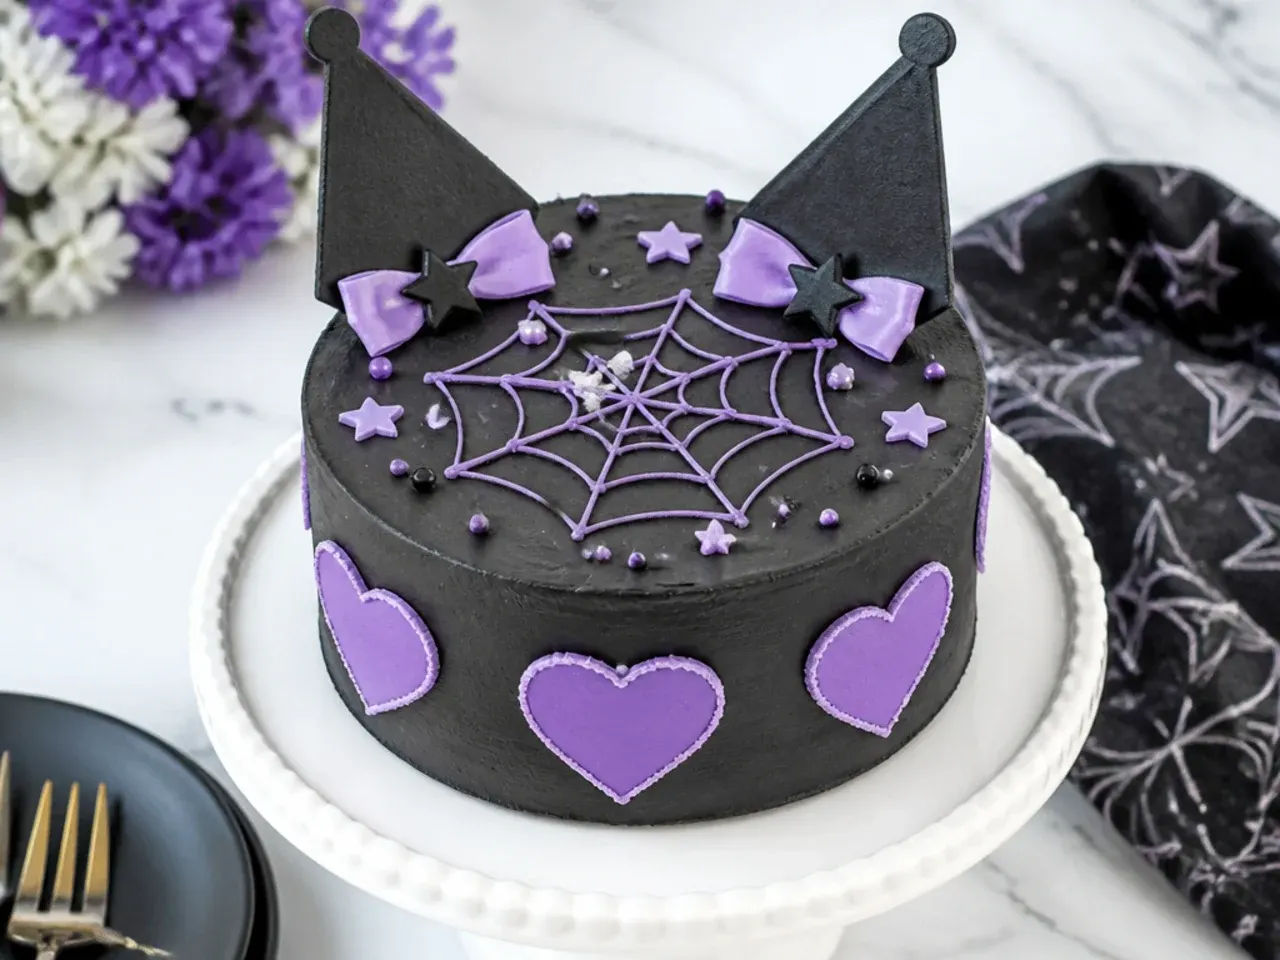
Go the opposite way from pastel and make the whole cake black with bright neon-purple accents for maximum edge. High contrast is dramatic and very much matches Kuromi's mischievous, punk-leaning vibe. Colour buttercream deep black using a dedicated black gel and make it a day ahead so the colour deepens and you avoid a grey, streaky finish. Pipe bold neon-purple hearts or lightning-bolt shapes around the sides with a small round tip. Chill hard between coats because dark buttercream softens and smears more easily than pale shades.
12. Delicate Lace-Piped Cake in Soft Lilac
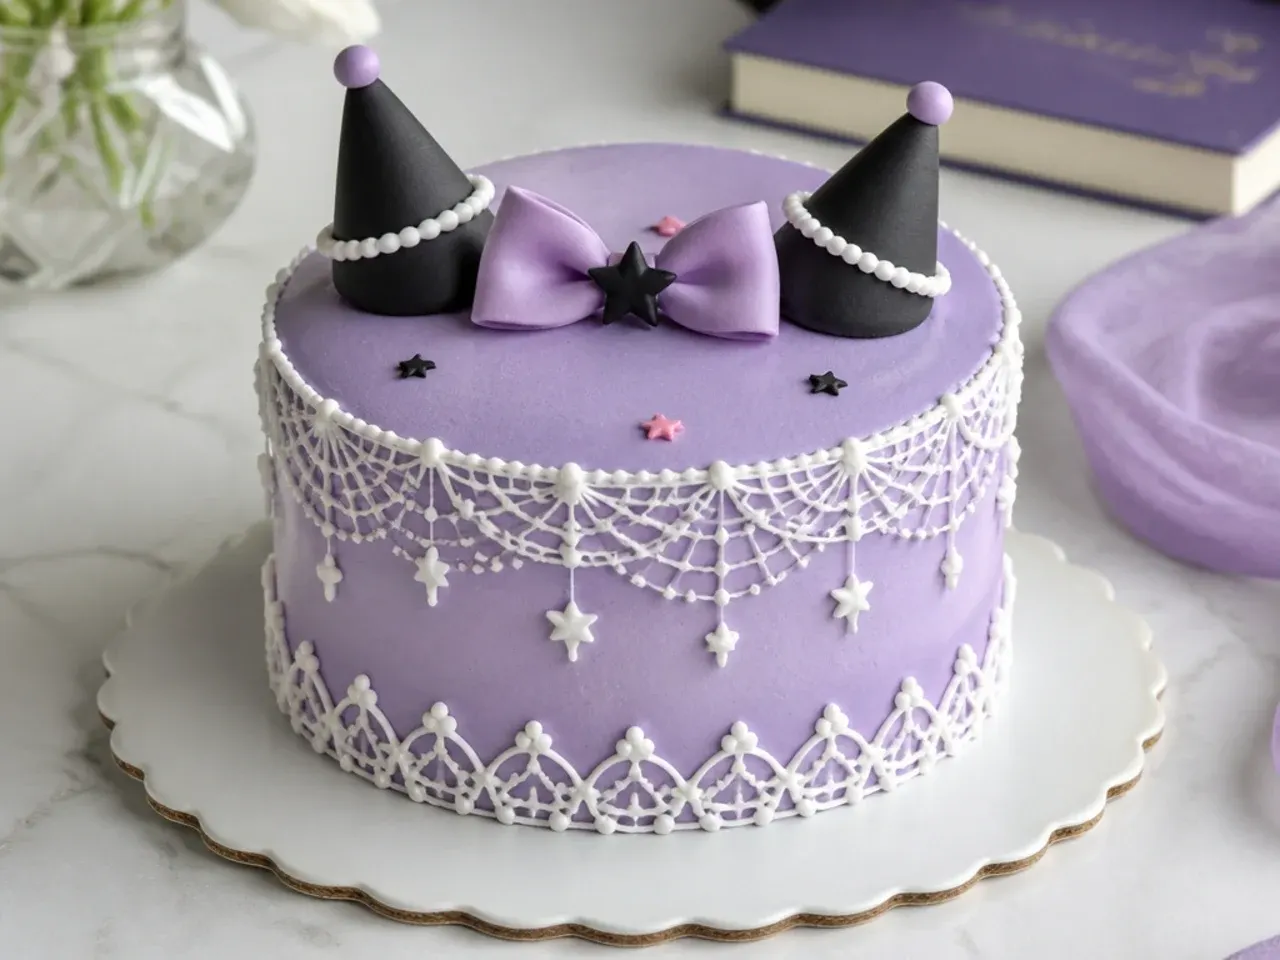
A delicate design uses fine piped 'lace' scrollwork over a soft lilac base for a vintage-doll feel. The thin white piping adds detail without needing any sculpting skill. Fit a piping bag with a tiny round tip (Wilton 1 or 2) and pipe loose loops, dots and small swags around the sides, keeping a steady light pressure. Rest your piping hand on the turntable edge to stop shaking. If a line breaks, just pick it back up; the eye reads the overall lacy texture, not individual strokes.
13. Vintage Ruffle Cake in Dusty Rose and Plum
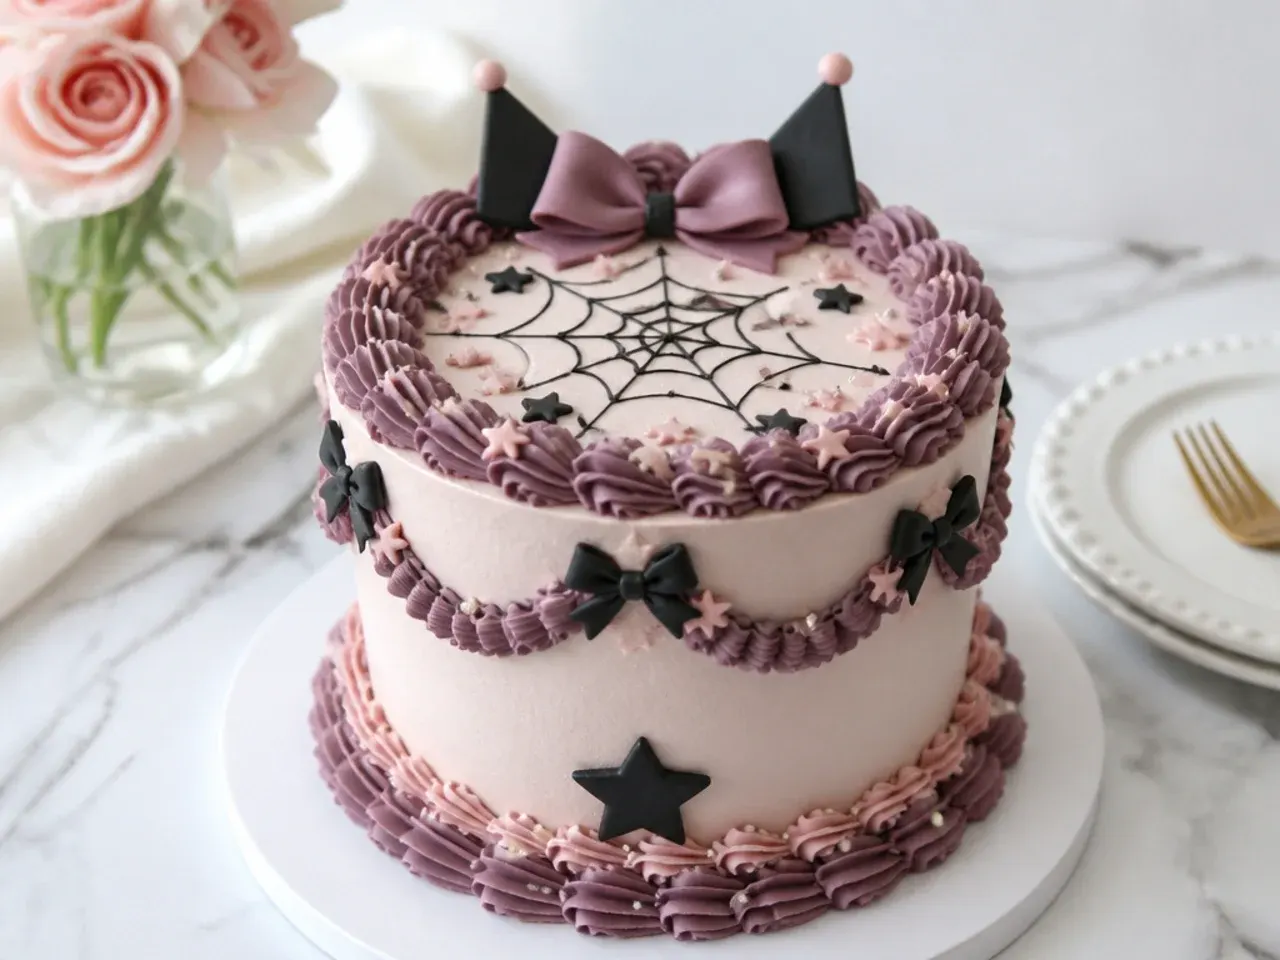
Vintage ruffles are wide, overlapping frills of buttercream that give an old-fashioned, romantic look in dusty rose and plum. The ruffles cover the entire side, so no smoothing is needed and imperfections vanish into the texture. Use a petal tip (Wilton 104) with the wide end touching the cake, and pipe wavy vertical columns from bottom to top, wiggling your hand as you go. Work in rows, overlapping each new ruffle slightly over the last. Alternate dusty rose and plum bands for depth, keeping the darkest plum near the base.
14. Creative Half-and-Half Split Cake
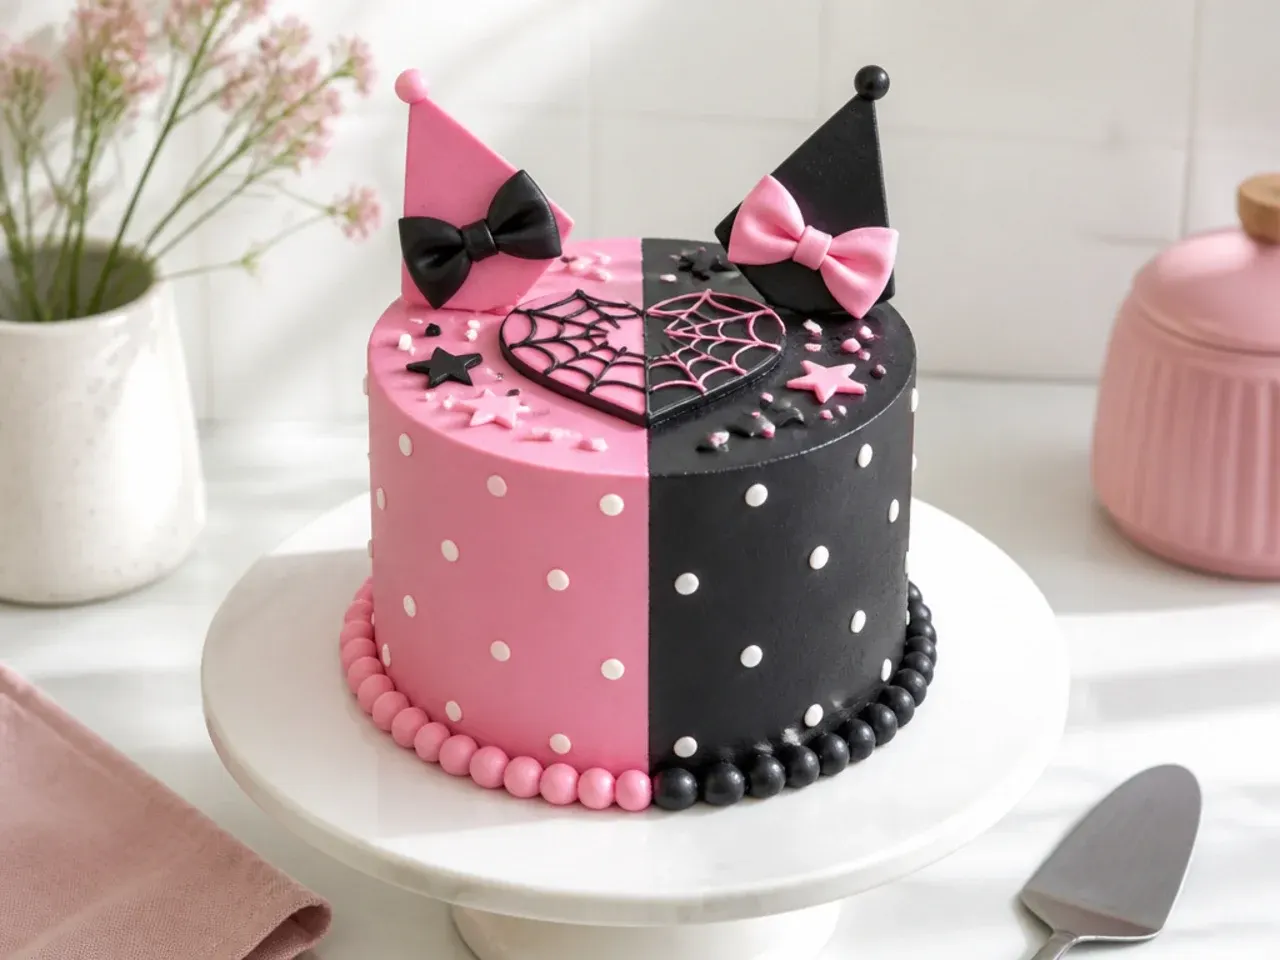
This creative design splits the cake straight down the middle: one half smooth pastel pink, the other half black with white dots. The bold split is eye-catching and lets you show off two techniques on one cake. Coat each half in its colour, then use a ruler or clean scraper held vertically against the cake to create one sharp seam where the two colours meet. Once the black side is set, pipe small white dots on it with a round tip. Chill the pink side while you work the black side so your hands do not smudge the finished half.
15. Charming Mini Cake for One with a Bow Topper
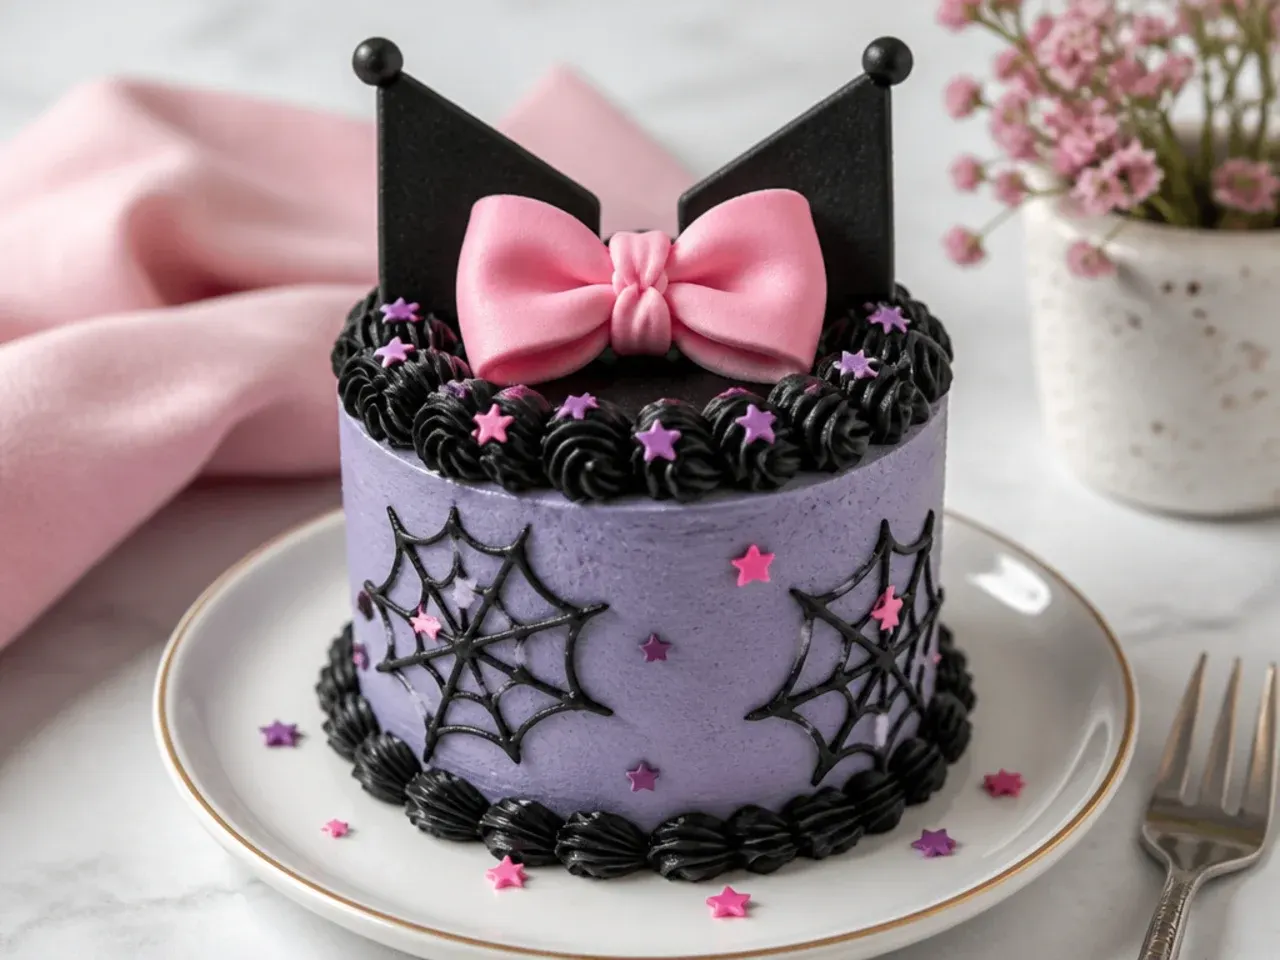
A charming single-serve mini cake is the sweetest way to try a simple Kuromi cake without committing to a full bake. Its small size means one batch of buttercream covers it easily and any wobble reads as handmade charm. Bake the batter in a 4-inch (10cm) tin or trim a cupcake stack into a tiny two-layer cake, then coat in lavender buttercream. Top with a single piped pink bow and a scatter of black sugar pearls. This is the perfect low-stakes practice run before you attempt a birthday-sized cake.
Tips to Make These Ideas Easier
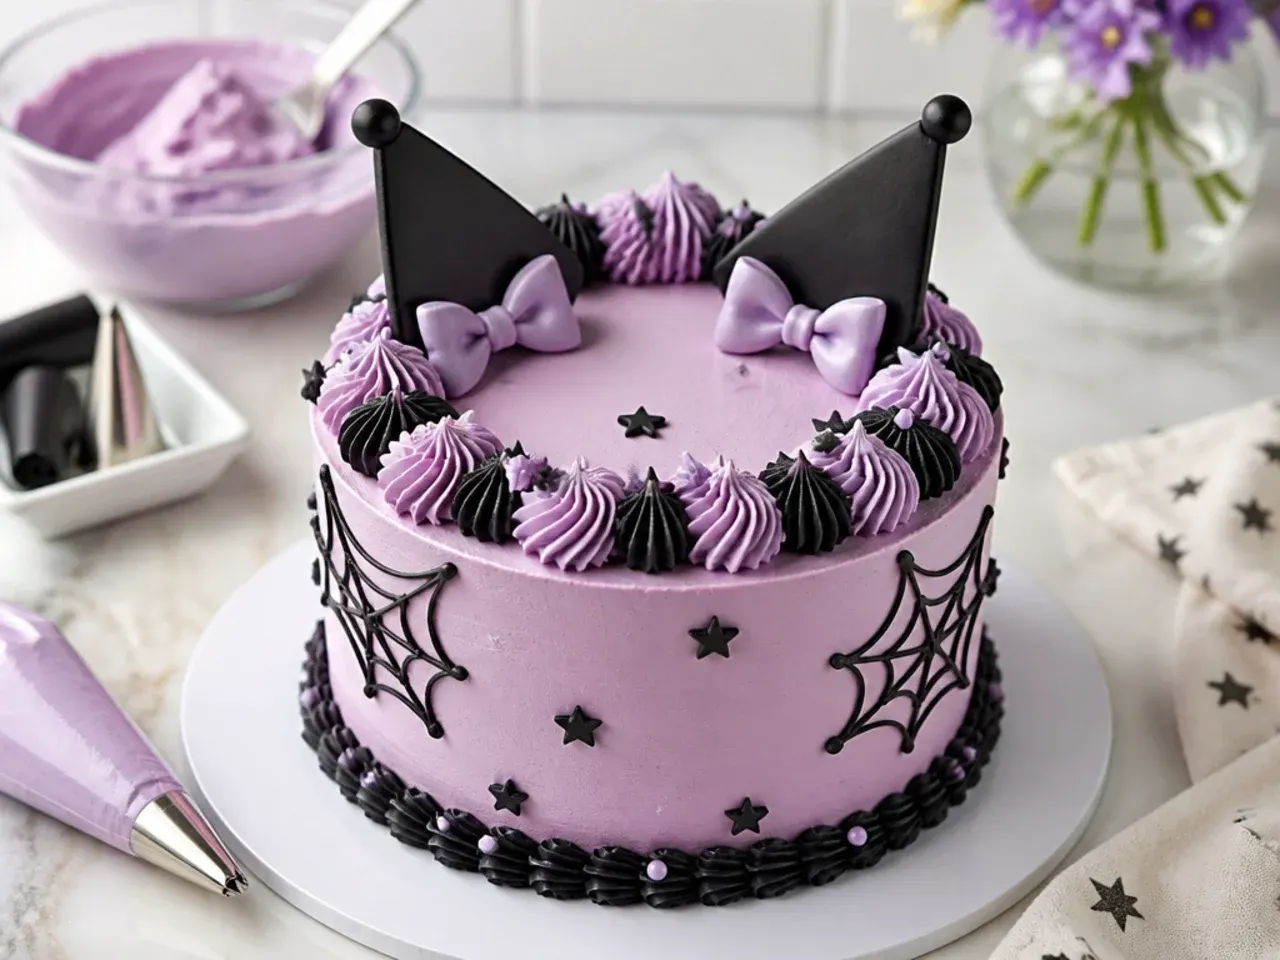
Chill the crumb-coated cake for at least 30 minutes before the final coat; cold buttercream smooths far more cleanly and stops crumbs dragging into your top layer. Colour all your buttercream shades before you start decorating, storing each in its own bag so you never stop mid-flow to mix. Use gel or paste colours, not liquid, because liquid thins the buttercream and ruins piping consistency; deep black and purple especially need gel and time to develop. Keep a tall glass of hot water beside you to warm your bench scraper and spatula between passes for glassy-smooth sides. Finally, a cheap turntable transforms your results, letting you spin the cake instead of walking around it and getting an uneven finish.
Common Mistakes to Avoid
The biggest mistake is frosting a warm cake; buttercream melts and slides, so the cake must be fully cooled and ideally chilled first. Another is over-colouring black or purple buttercream in one go, which leaves a bitter taste and a grey streaky look; colour it a day ahead and let it deepen instead. Do not skip the crumb coat, or loose crumbs will show through your final layer and make it look messy. Beginners also tend to over-beat buttercream at high speed, whipping in air bubbles that pop into holes on the surface; finish by beating slowly with a spatula to knock the air out. Lastly, avoid piping straight from the fridge, when buttercream is rock hard, or straight from a warm room, when it slumps; aim for a soft, spreadable-but-holds-its-shape texture.
The Recipe
The Base Recipe — Make Any of These Ideas
30 min
30 min
2 hr (including cooling)
12
Beginner
Ingredients 12 Person(s)
Directions
Step 1: Prep the pans and oven
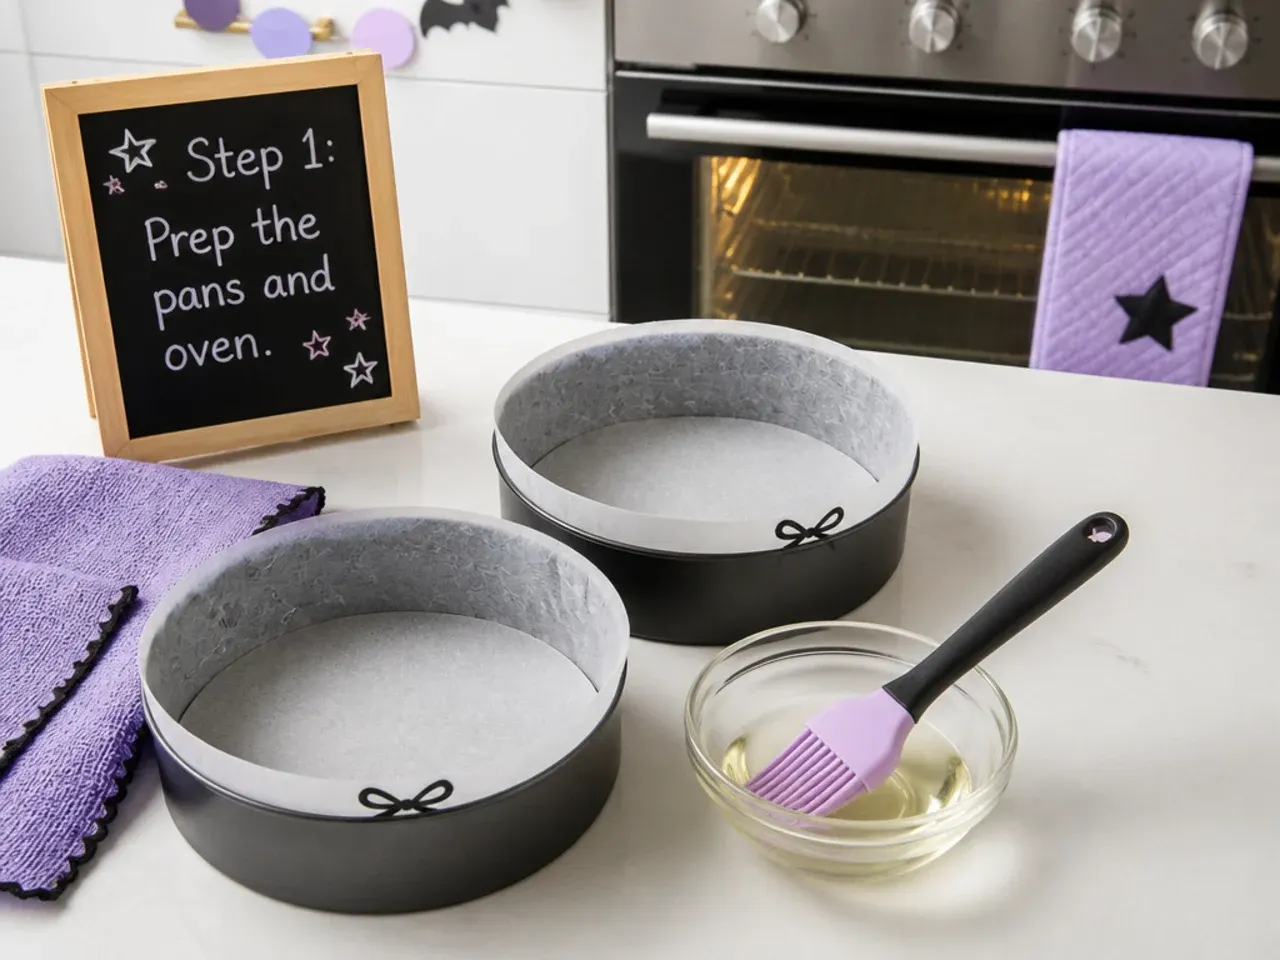
Preheat the oven to 175°C (350°F). Grease two 8-inch (20cm) round cake tins and line the bases with parchment paper. Bring all cold ingredients to room temperature so the batter mixes evenly and does not curdle.
Step 2: Cream the butter and sugar
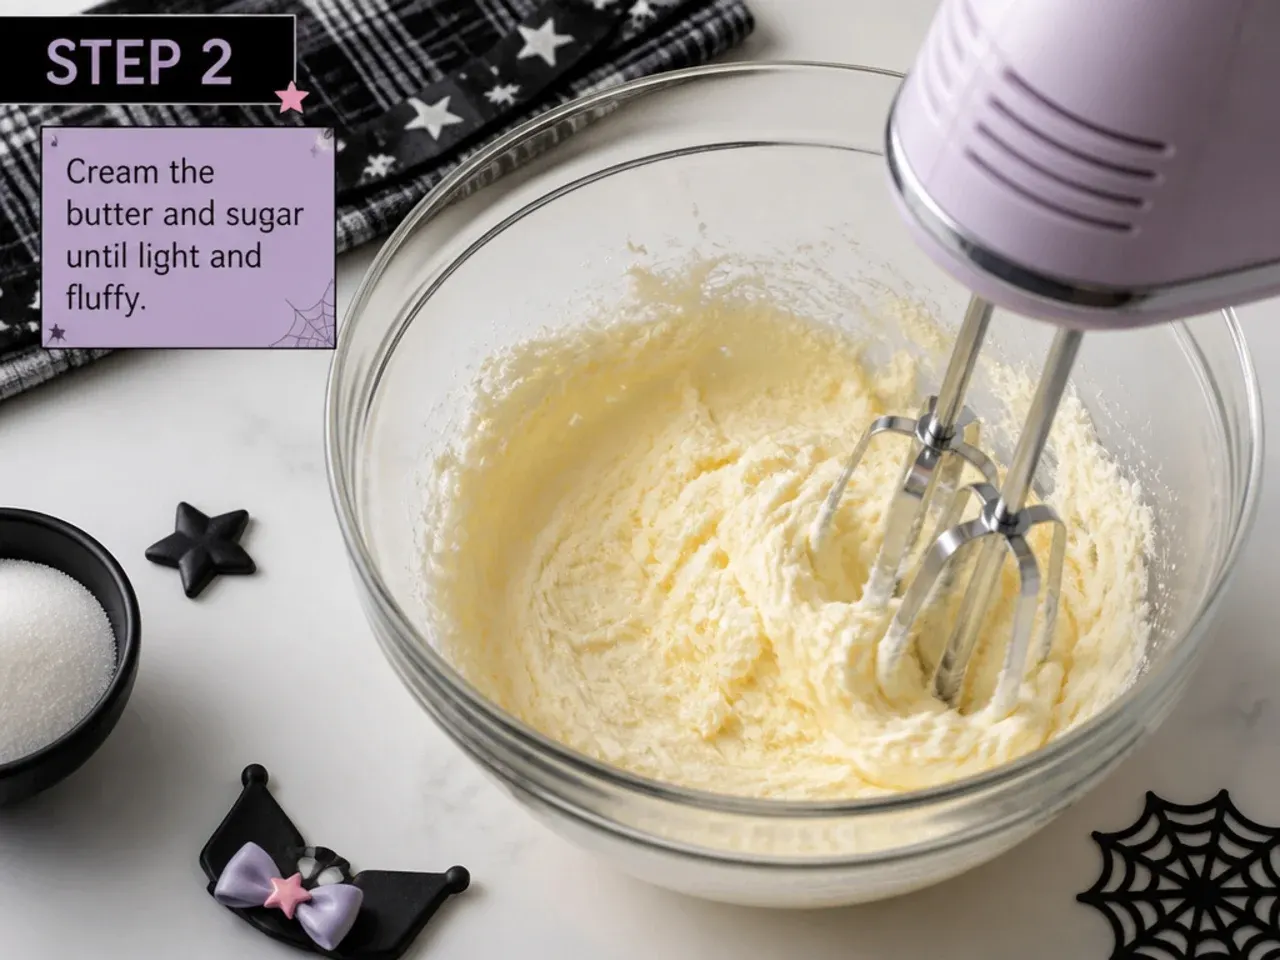
In a large bowl, beat the 225g softened butter with the granulated sugar on high speed for a full 3 minutes until pale and fluffy. This step builds the cake's light texture, so do not rush it. Scrape down the bowl once halfway through.
Step 3: Add eggs and vanilla
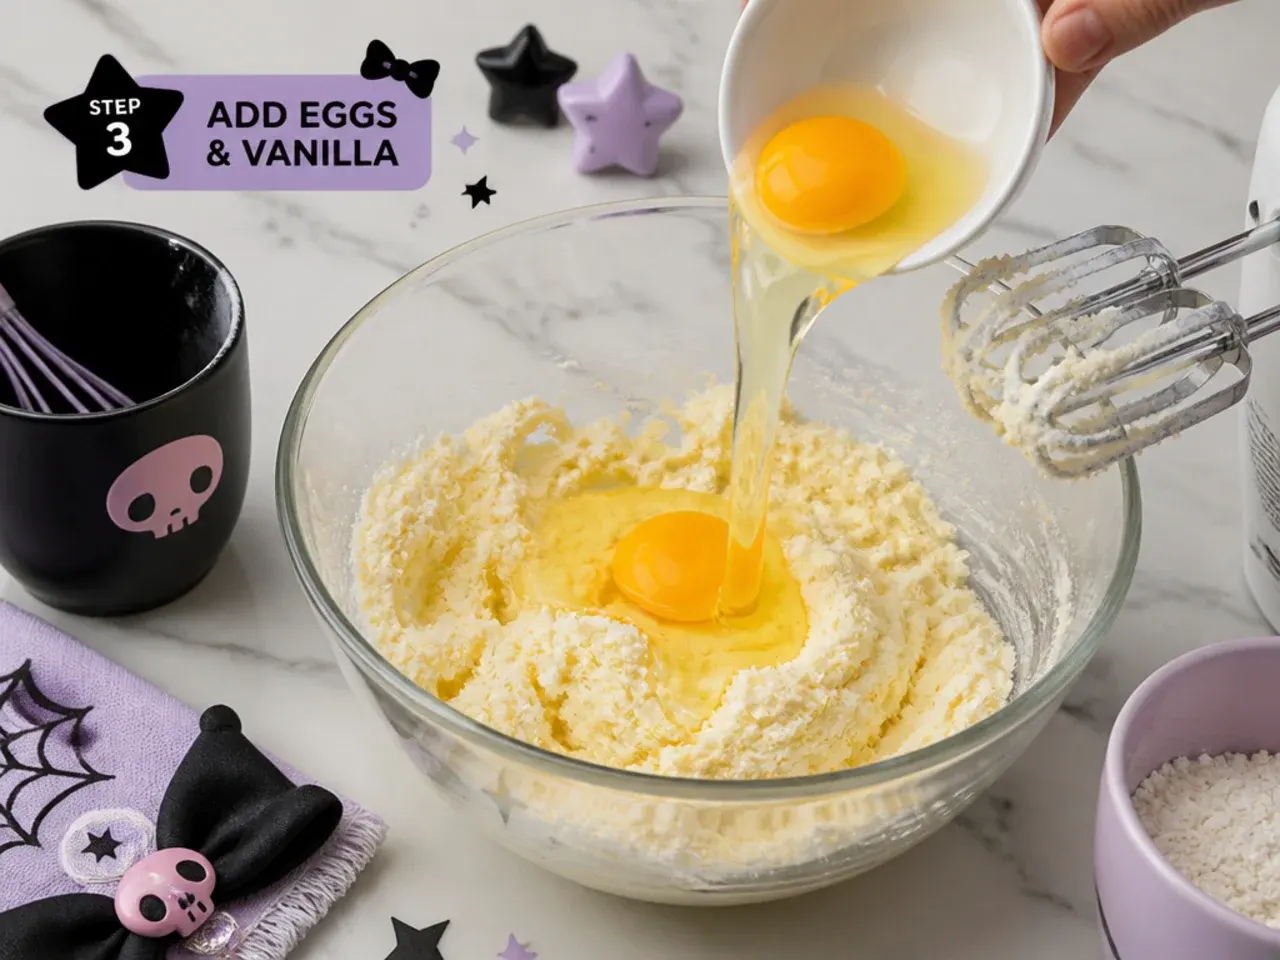
Beat in the eggs one at a time, mixing well after each, then add the vanilla extract. If the mixture looks slightly split, add a spoonful of the measured flour to bring it back together. Scrape the bowl again so everything is incorporated.
Step 4: Combine dry and wet
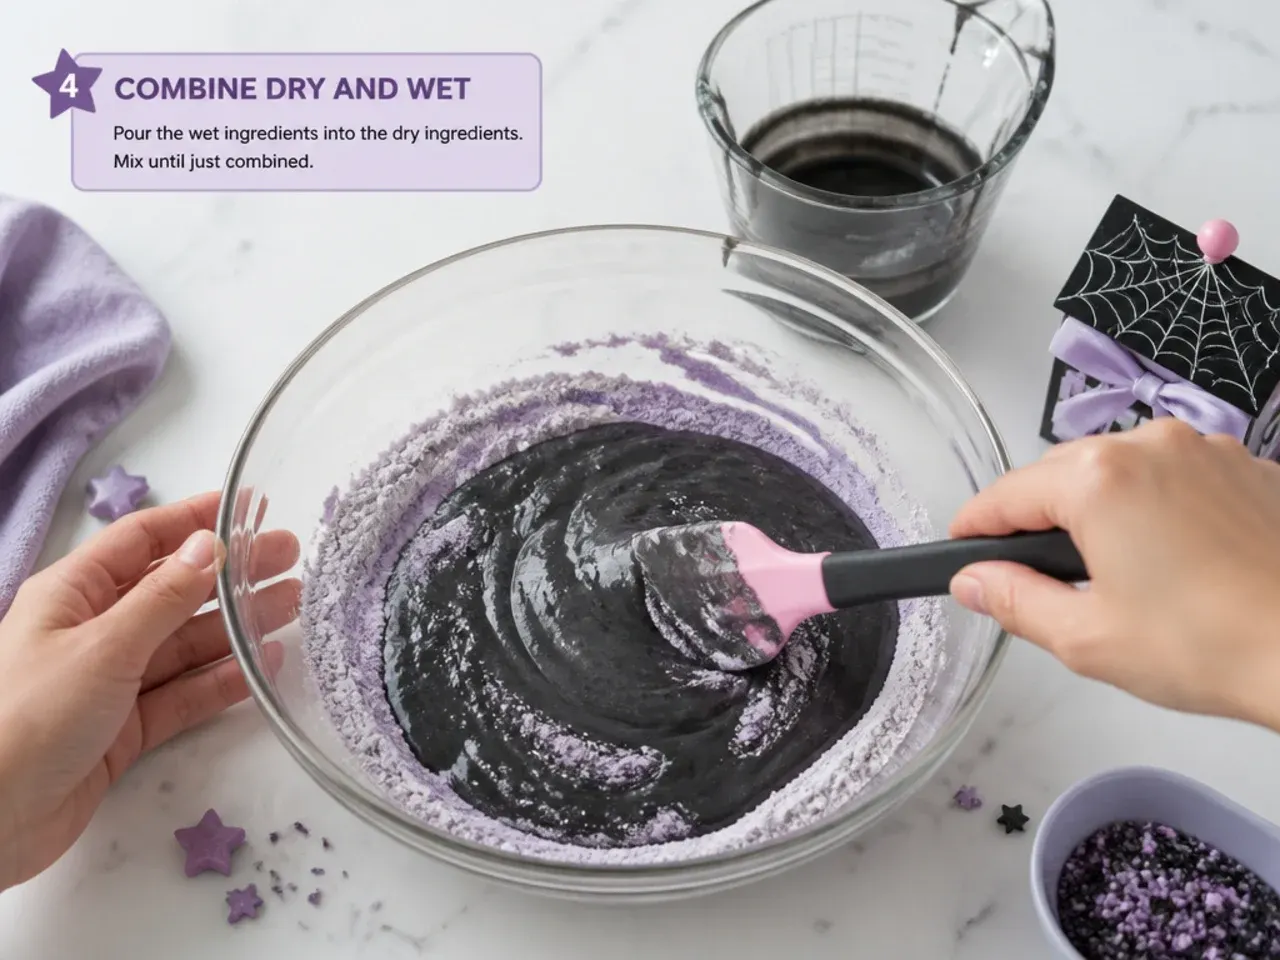
Whisk the flour, baking powder and salt together in a separate bowl. Add this to the batter in three additions, alternating with the milk, starting and ending with flour, and mix on low just until no streaks remain. Overmixing here makes the cake tough, so stop as soon as it comes together.
Step 5: Bake
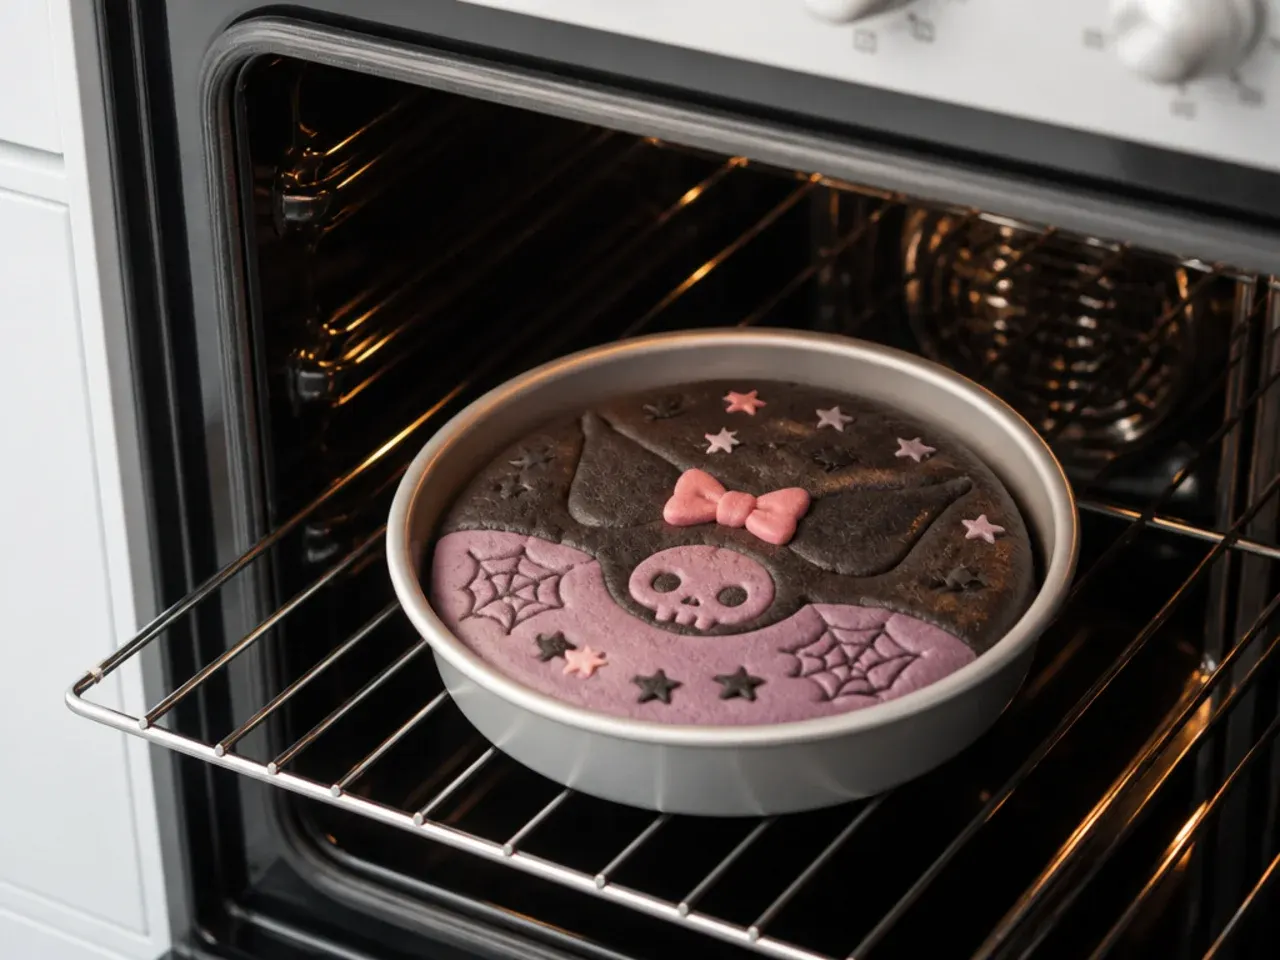
Divide the batter evenly between the two tins and smooth the tops. Bake at 175°C (350°F) for 25 to 30 minutes, until a skewer inserted in the centre comes out clean and the tops spring back. Do not open the oven before 25 minutes or the cakes may sink.
Step 6: Cool completely
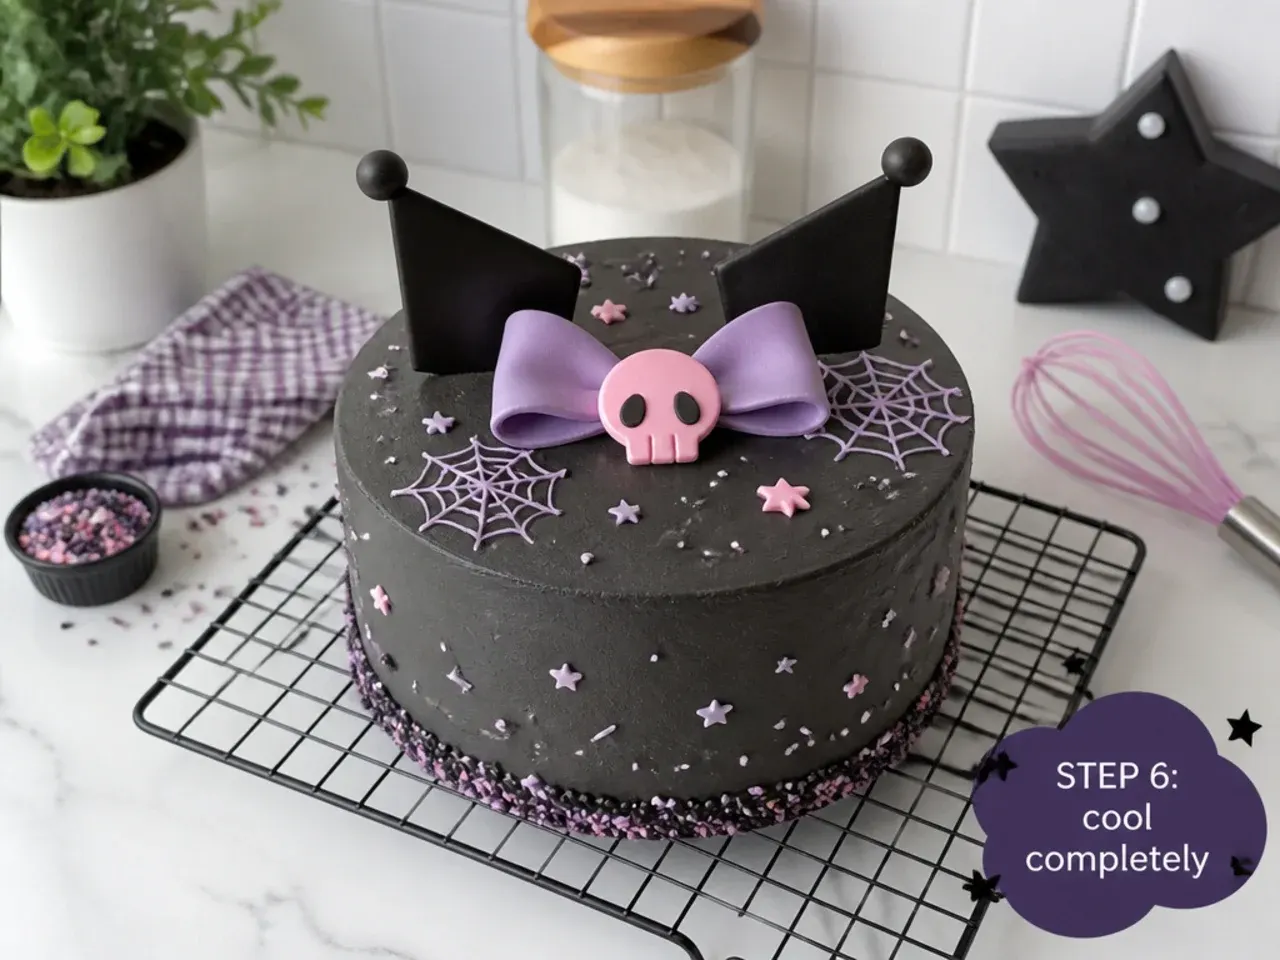
Cool the cakes in their tins on a wire rack for 10 minutes, then turn them out and cool completely, at least 1 hour. Frosting a warm cake is the number one cause of a melted, sliding mess, so be patient. For the cleanest results, chill the cooled layers for 20 minutes before assembling.
Step 7: Make the buttercream and colour it
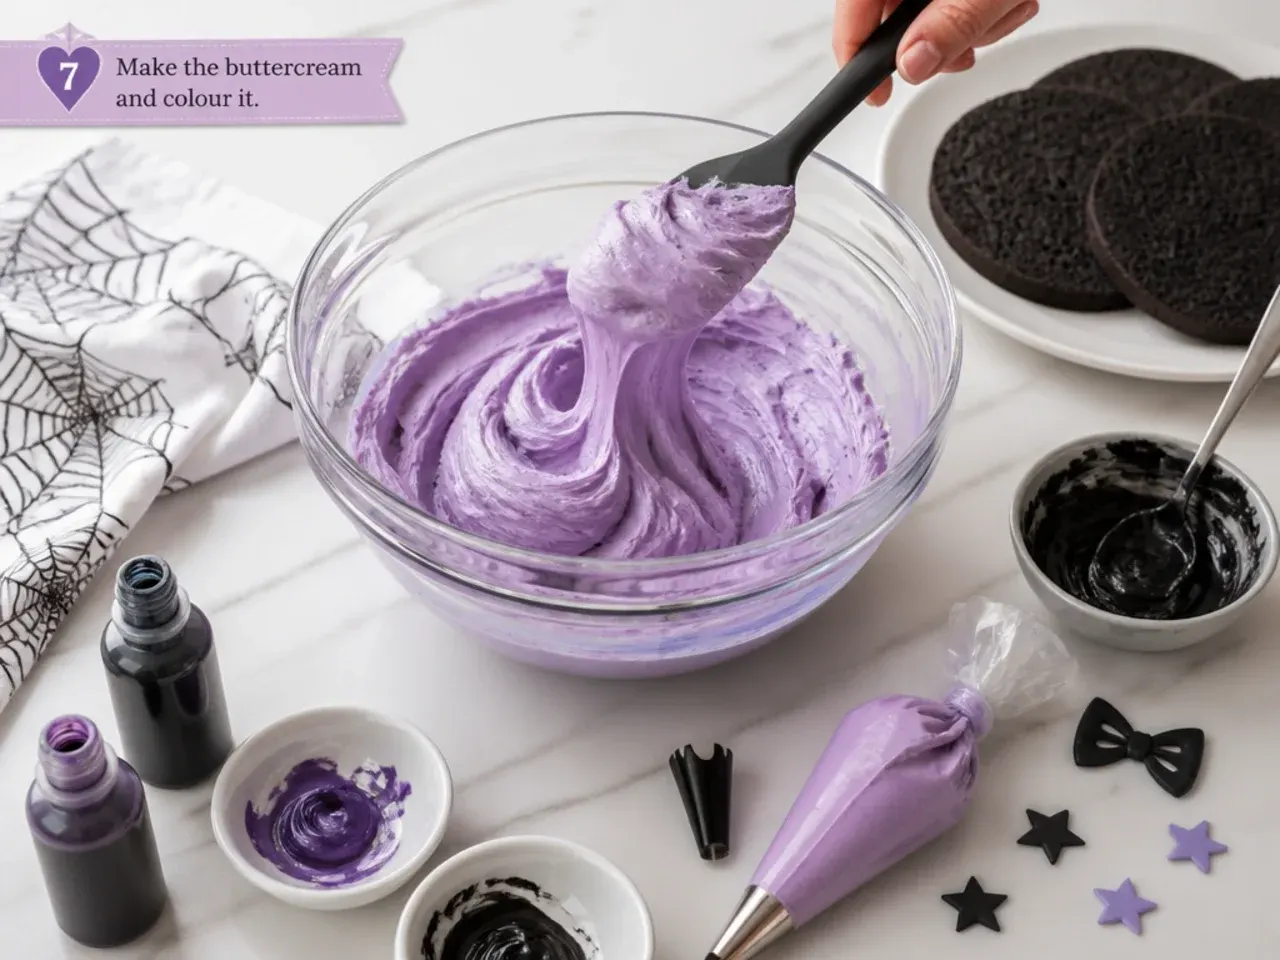
Beat the 340g butter for 2 minutes until creamy, then add the icing sugar in two batches, beating slowly at first. Add the milk and beat until smooth and spreadable, then divide into bowls and tint with purple, black and pink gel a little at a time. Crumb-coat the stacked cake, chill 30 minutes, then apply your final coat and decorate using any design above.
Frequently Asked Questions
Yes. A boxed vanilla or chocolate mix works fine as the base, since the Kuromi look comes entirely from the frosting colours and decorations, not the sponge. Bake it in two 8-inch tins as directed, cool fully, then colour and decorate exactly as you would a scratch cake. Homemade buttercream on top of boxed cake gives you the best balance of ease and flavour.
Save this for later 📌
Pin this article to your Pinterest board so the full list is one tap away when you need it.
Save on Pinterest