Ingredients 14 Person(s)

Save this for later 📌
Pin this article to your Pinterest board so the full list is one tap away when you need it.
Save on PinterestDirections
Step 1: Bake the vanilla sponge layers
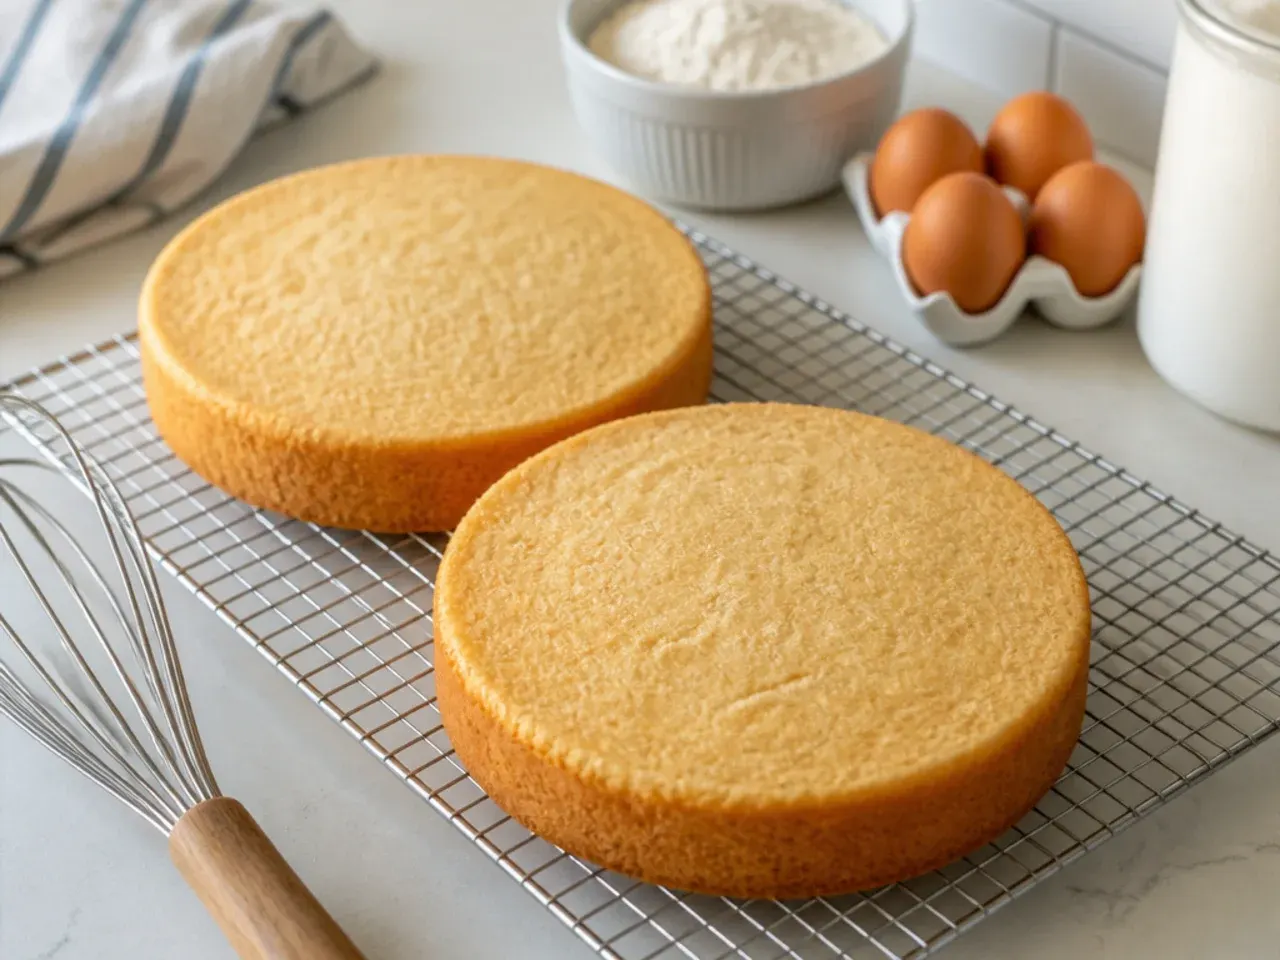
Heat the oven to 180C/160C fan/350F/Gas 4 and grease and line two 20cm (8 inch) round tins. Cream the 250g butter and caster sugar for 4-5 minutes until pale and fluffy, then beat in the eggs one at a time with 1 tsp of the vanilla. Fold in the self-raising flour, loosen with the milk to a soft dropping consistency, and divide between the tins. Bake for 30-35 minutes until golden and a skewer comes out clean, then cool for 10 minutes in the tin before turning out onto a rack to cool completely.
Step 2: Make the vanilla buttercream and fill the cake
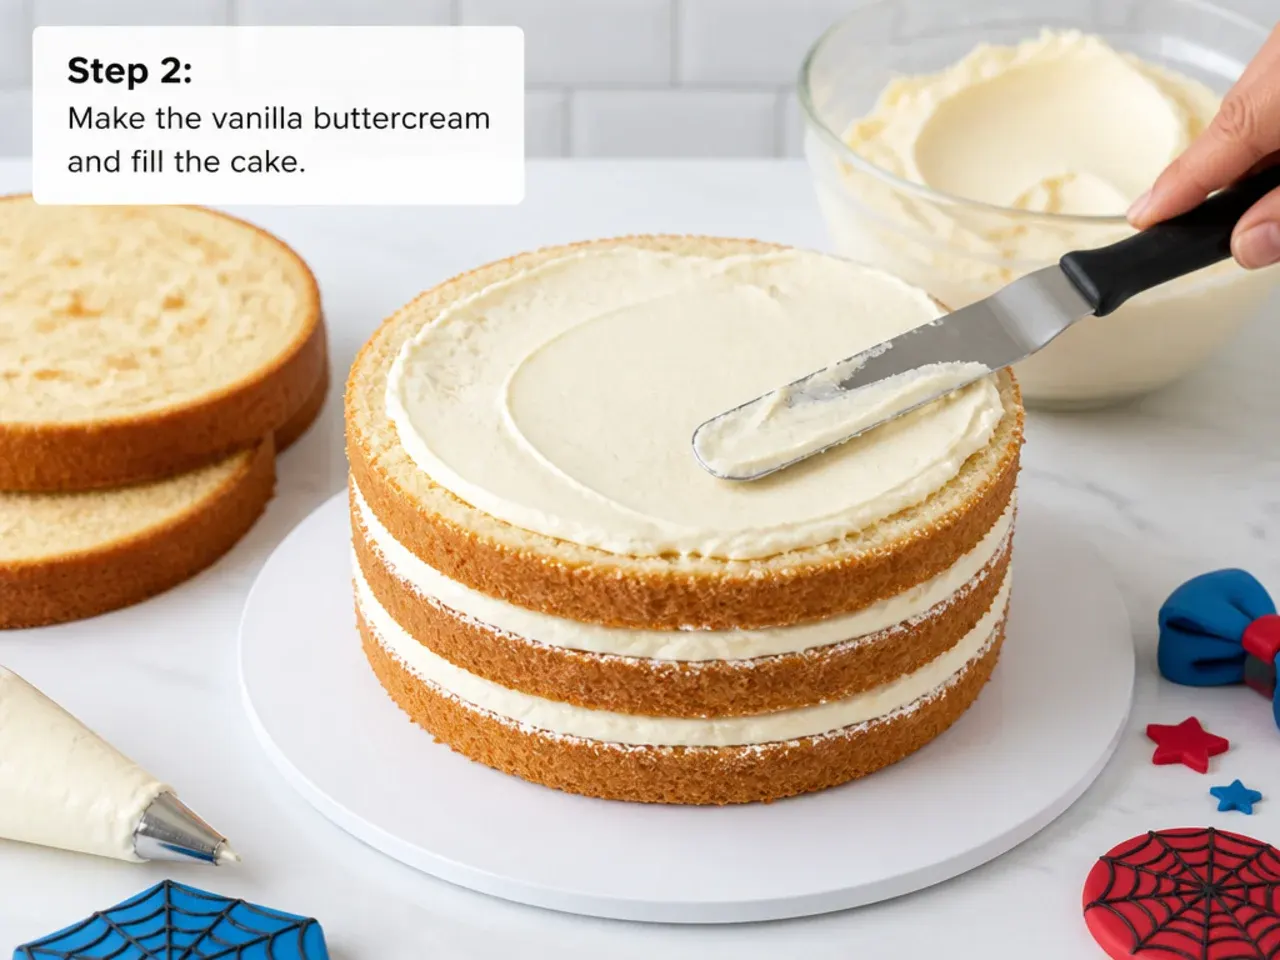
Beat the 300g softened butter for 3-4 minutes until very pale, then add the sifted icing sugar in two batches with the remaining 1 tsp vanilla, beating until smooth and spreadable. Level the domed tops of both cooled sponges with a serrated knife so they stack flat. Set the first layer on a cake board, spread with a generous 1cm of buttercream, and sit the second layer on top. This vanilla filling keeps the colours clean and works beautifully under the fondant.
Step 3: Crumb coat and chill
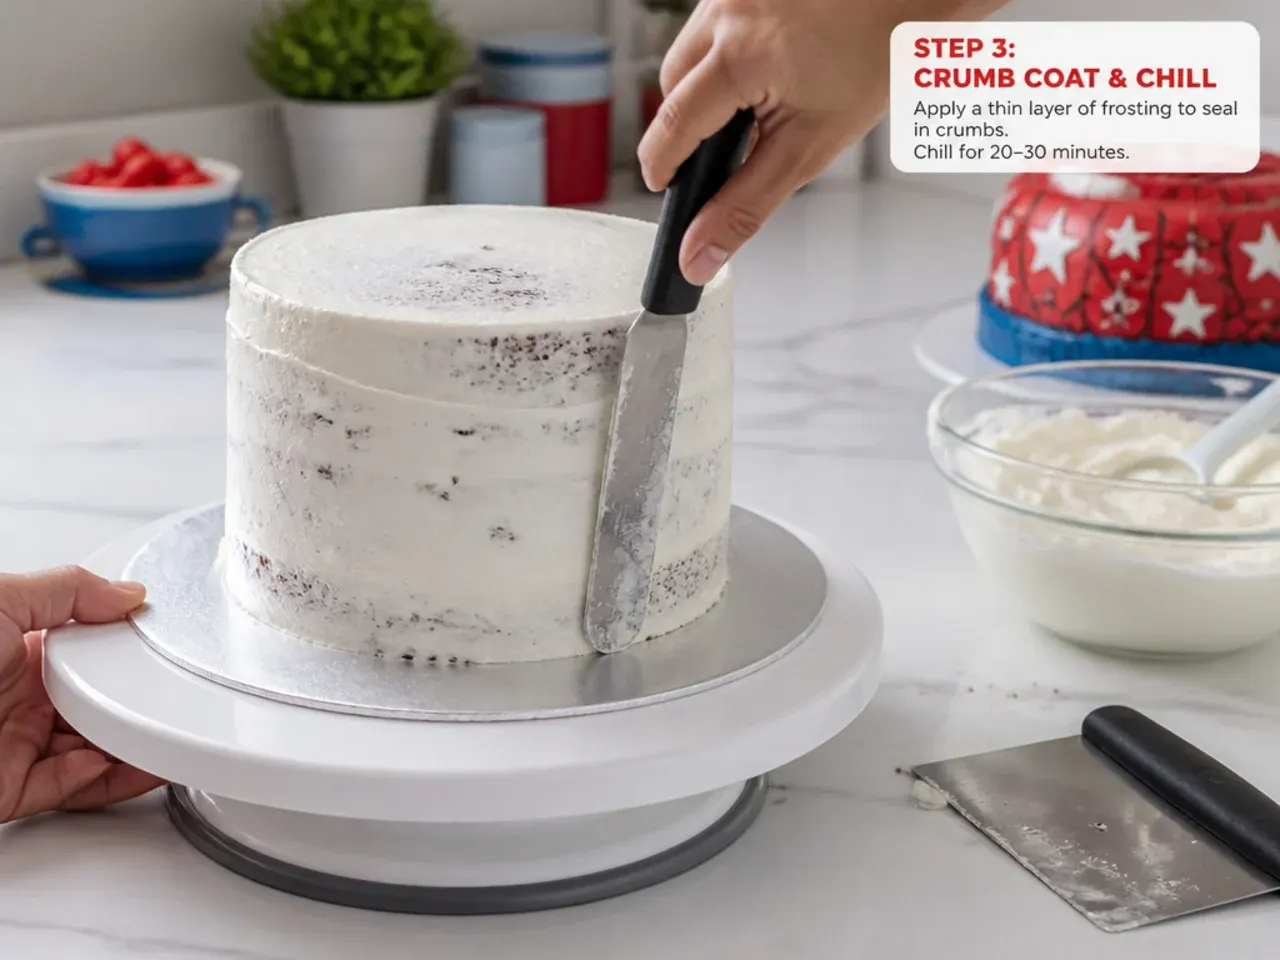
Spread a thin layer of buttercream all over the top and sides to trap the crumbs, filling any gaps at the seam so the shape is smooth and slightly domed. Scrape it neat with a palette knife, then chill the cake in the fridge for at least 1 hour, or the freezer for 20 minutes, until firm to the touch. A firm, straight, smooth base is the single biggest factor in a flawless fondant finish. Just before covering, add a very thin skim of buttercream so the fondant has something to stick to.
Step 4: Colour and roll the red fondant
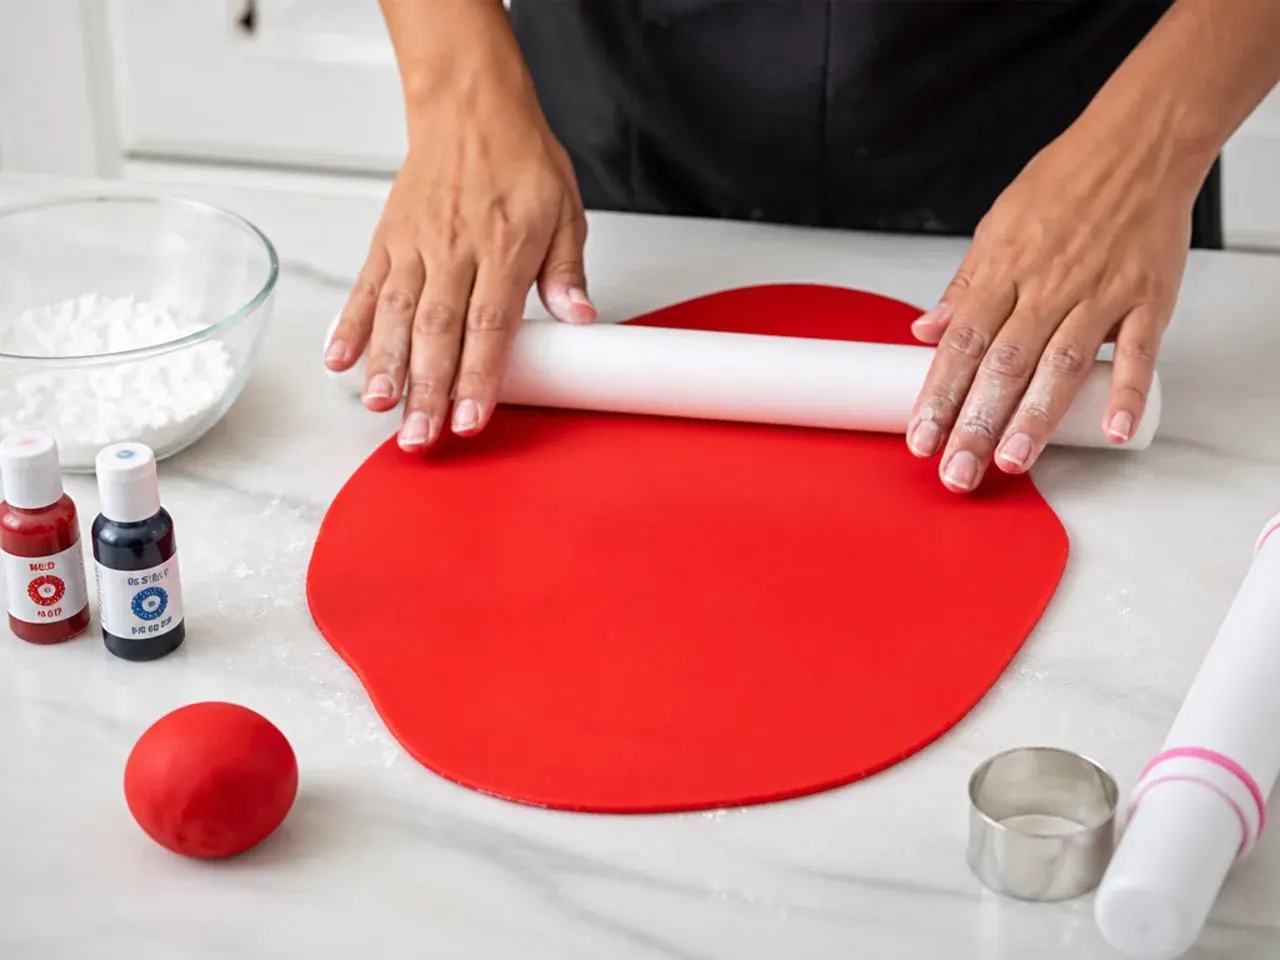
If your fondant is not already red, knead a super-red gel colour into the white fondant with shortening-greased hands until evenly bright, ideally a day ahead so it develops. Dust your work surface lightly with cornflour or icing sugar and roll the red fondant to an even 3-4mm thickness, large enough to drape the top and sides in one piece. Turn and lift the fondant as you roll to stop it sticking, but keep the powder off the top surface so it does not dry into cracks. Aim for a circle roughly 35-38cm across for a two-layer 8 inch cake.
Step 5: Cover the cake and smooth
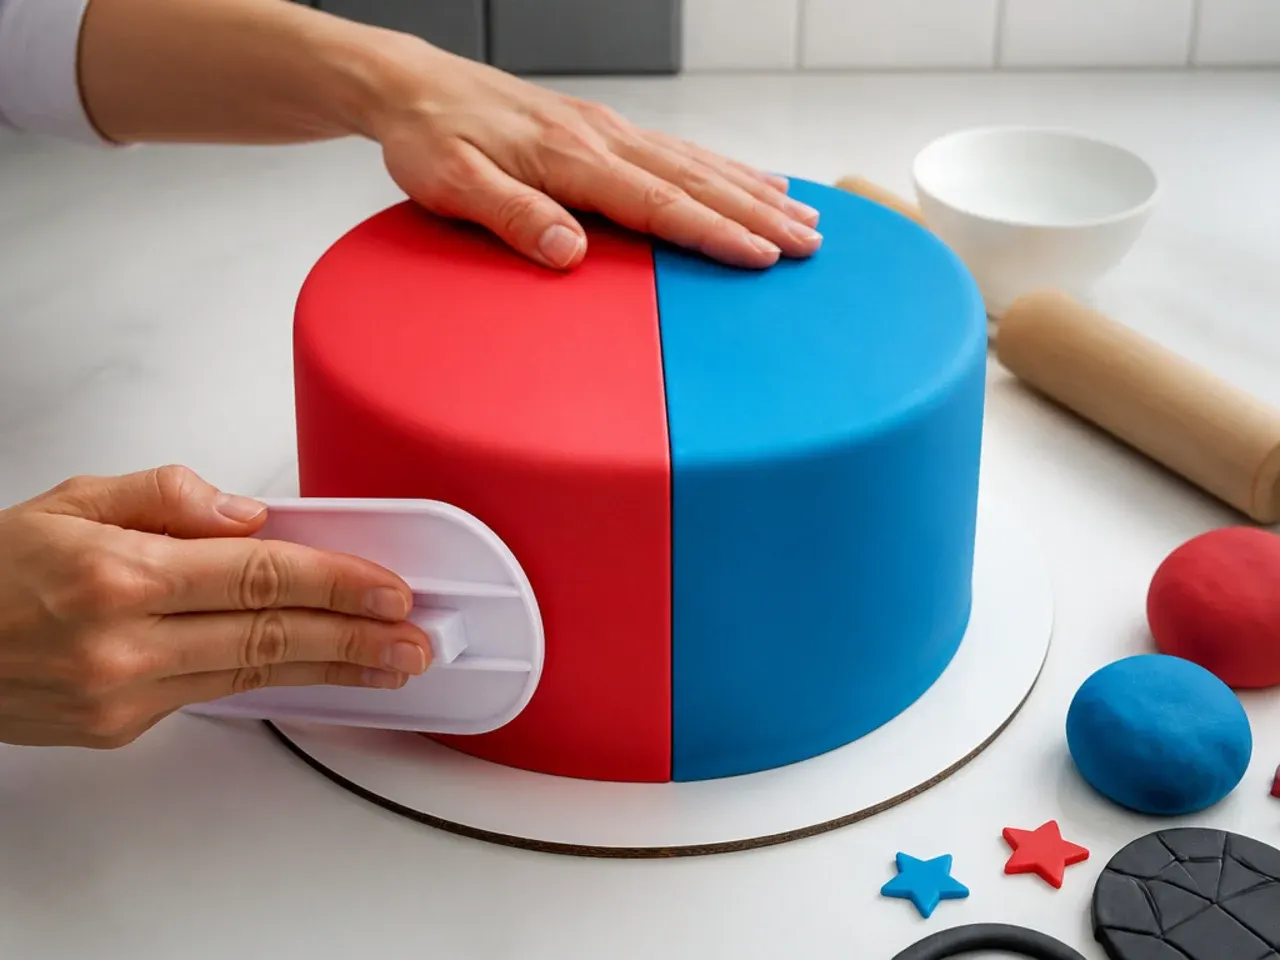
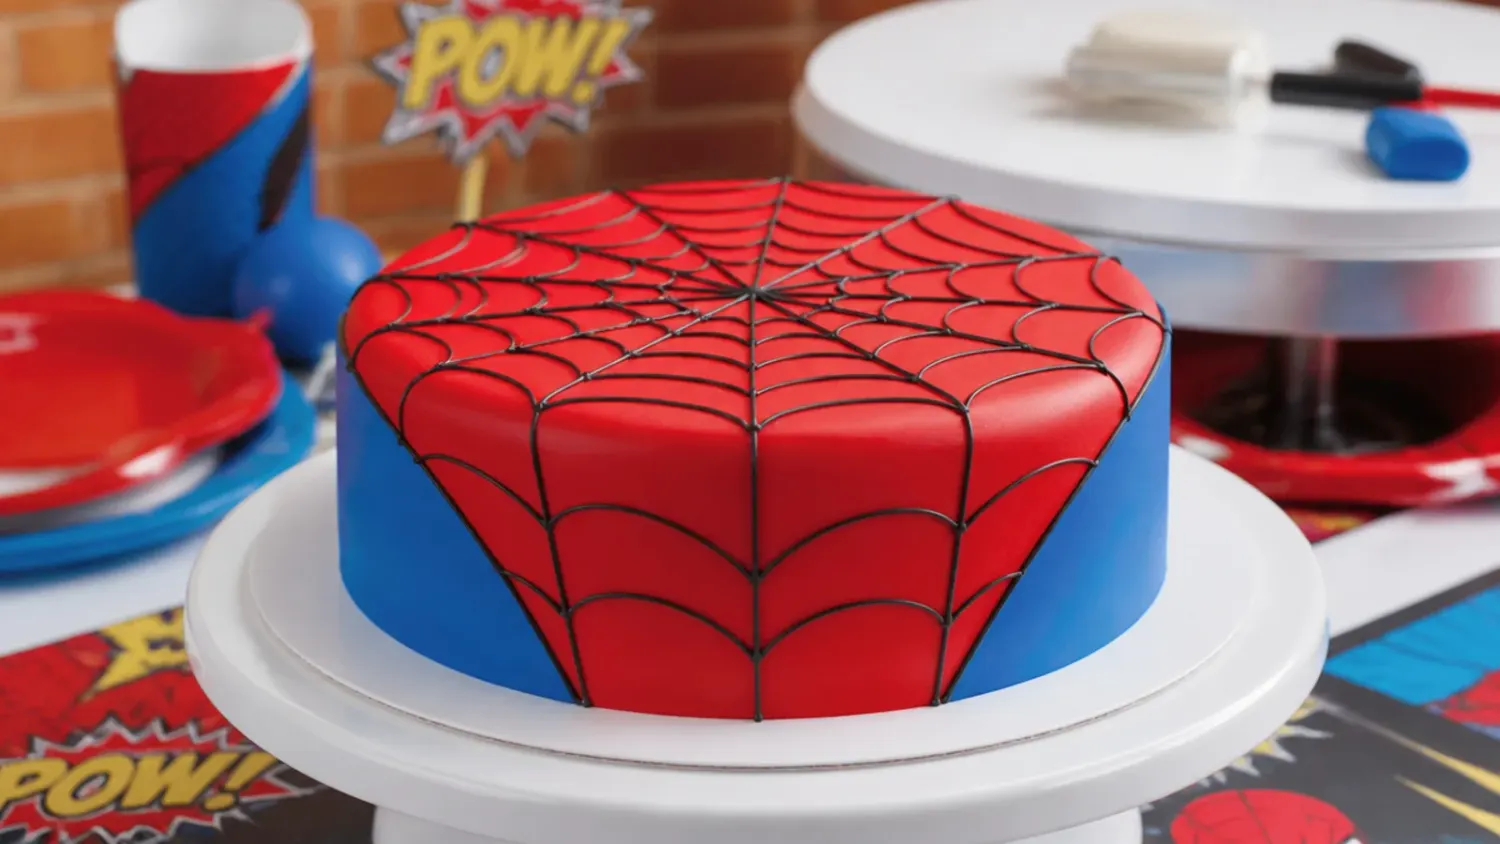
Roll the fondant loosely back over your rolling pin, lift it onto the chilled cake and unroll so it drapes evenly. Smooth the top first with a fondant smoother, then work down the sides, gently lifting and easing out the folds rather than stretching the fondant. Press any pleats flat from the top edge downward and trim the excess at the base with a sharp knife. Prick any air bubbles with a clean pin and buff the whole surface with the smoother and a little shortening for a glossy red mask-inspired finish.
Step 6: Add the eye shapes
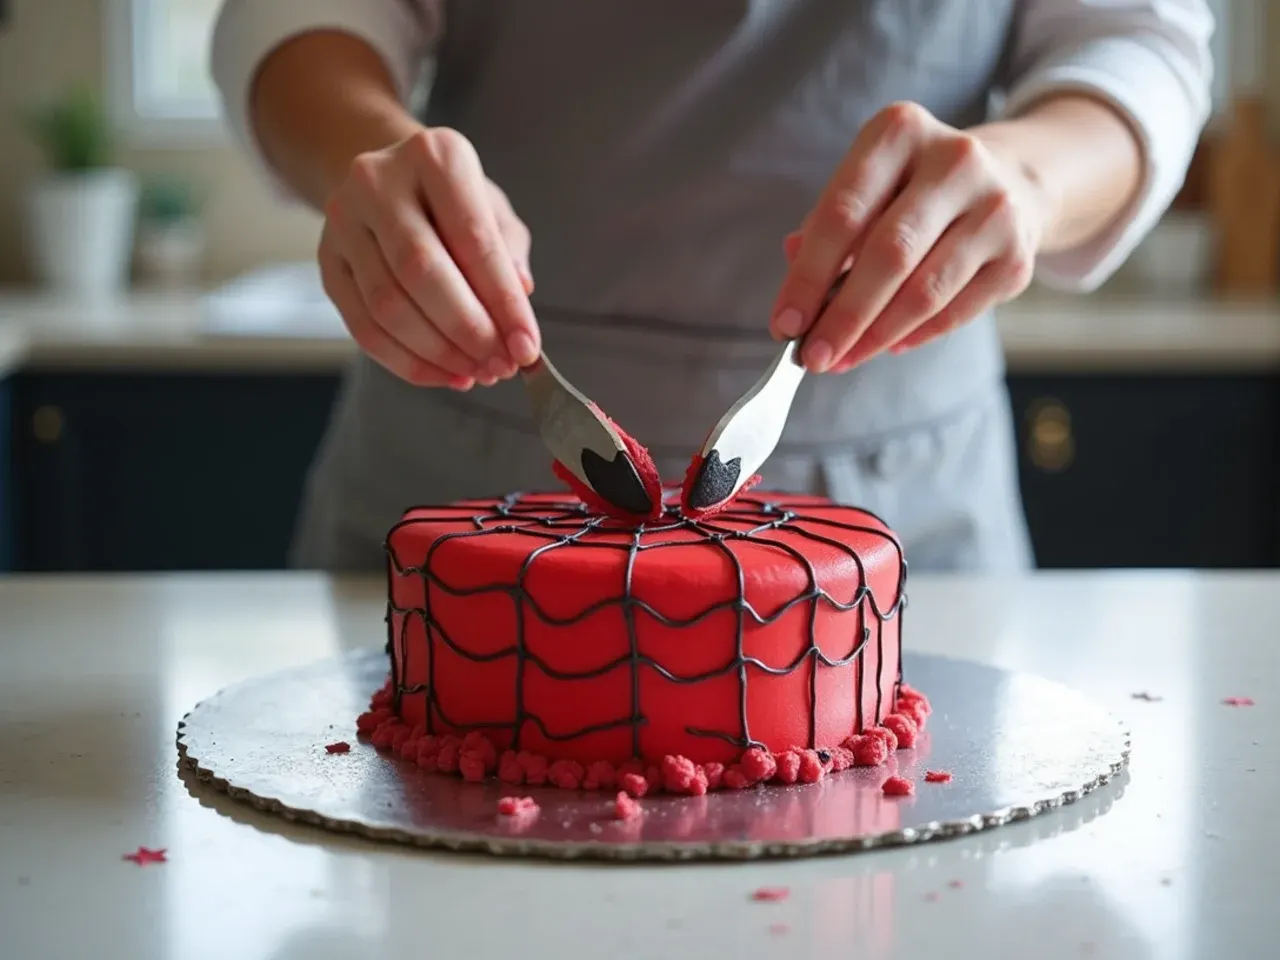
For a spiderman-inspired look, cut two large pointed teardrop shapes from rolled-out black fondant, mirror-imaged so they angle up toward the centre. Cut slightly smaller matching teardrops from white fondant and brush a little water on the black pieces to stick the white on top, leaving a thin black border showing. Position them on the upper half of the cake, tilted inward, and press gently so they bond. Keep them bold and symmetrical, as even spacing is what sells the effect.
Step 7: Pipe or lay the web lines
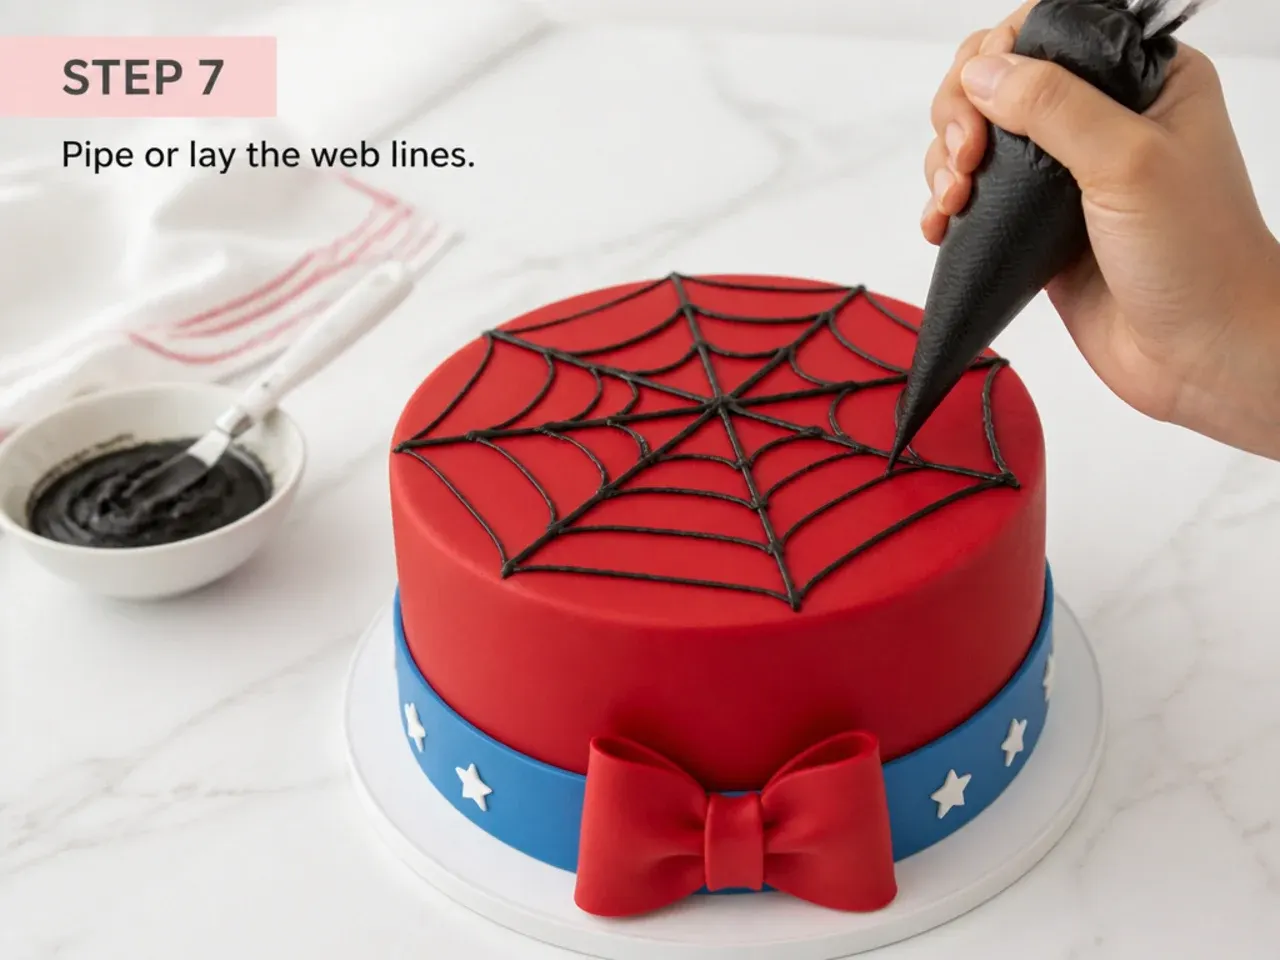
Roll pea-sized pieces of black fondant into long thin strings, or knead black fondant soft and pipe fine lines, to create the web pattern. Start with a few straight lines radiating out from a central point near the top, then join them with gently curved connecting lines to form the classic web, using a dab of water as glue. Work outward across the red surface and around the eye shapes, keeping the strands thin and even. Finish by adding a couple of extra radiating lines low on the sides so the web wraps around the whole cake.
Pro Tips for a Flawless Finish
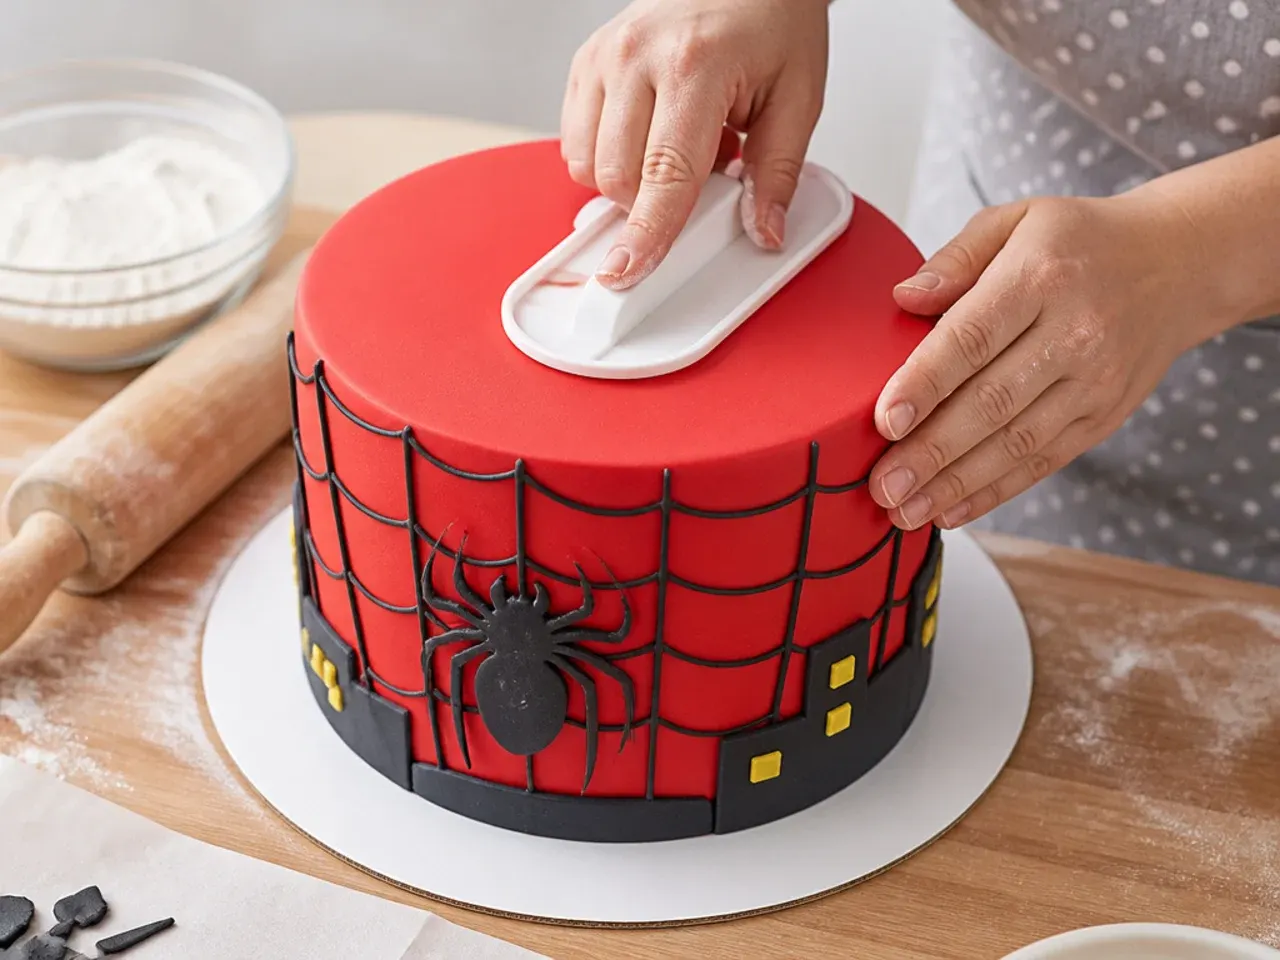
For a truly vibrant red rather than a dull pink, colour your fondant a full day ahead and knead in a super-red gel like Sugarflair Ruby or Americolor Super Red, then let it rest so the colour deepens as it develops. Always cover a well-chilled, sharply crumb-coated cake, because a soft or bulging surface shows every lump through the fondant. Roll your fondant to an even 3-4mm (about 1/8 inch) and lift it on the rolling pin so it does not stretch and tear. Smooth the top edge onto the cake first before the sides, so the weight of the fondant does not drag down and crack into elephant skin. Keep a fondant smoother and a little vegetable shortening on your hands to buff out any scuffs and give a glossy, professional finish.
Storage and Make-Ahead Tips
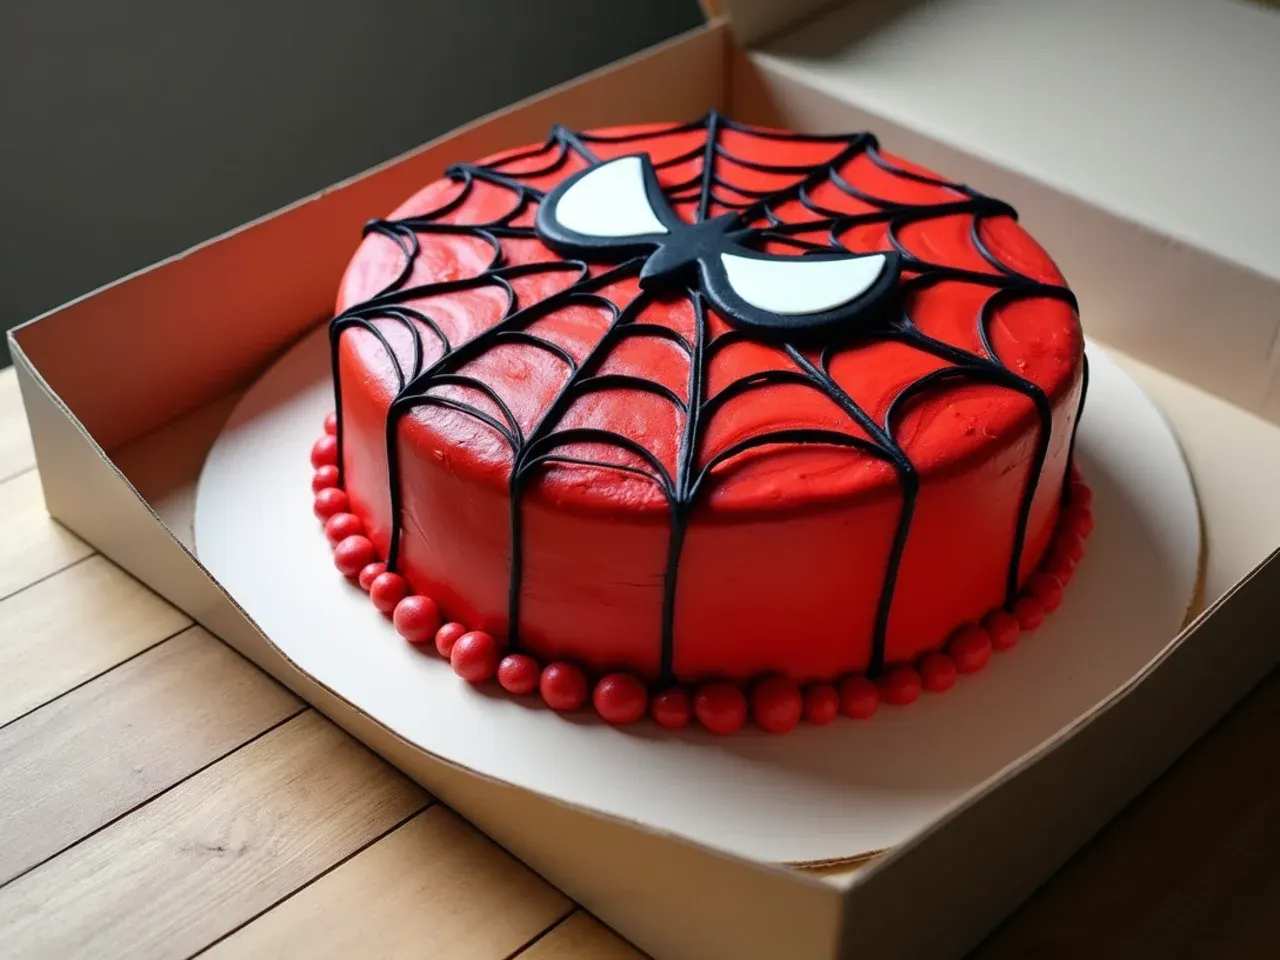
You can bake the sponges up to 2 days ahead: wrap each cooled layer tightly in cling film and keep at room temperature, or freeze for up to 1 month and thaw wrapped. Colour and cover the cake up to 1 day before the party, as a fondant cake actually holds its shape best after a night to settle. Store the finished cake at cool room temperature in a large box, not the fridge, because cold air makes fondant sweat and the colours can bleed. If you must refrigerate it, box it well, then let it come back to room temperature still boxed so condensation evaporates without you touching the surface. A finished fondant cake stays fresh for 2 to 3 days; keep it out of direct sunlight and away from any heat source so the red does not fade.
Learn how to make a stunning spiderman fondant cake at home in 7 simple steps, from a moist vanilla sponge to smooth red fondant and crisp black web lines. For more spiderman cake inspiration, browse the full Spiderman Cake Ideas board — every idea there is written for real home kitchens, not professional bakers.
Frequently Asked Questions
Use a concentrated super-red gel or paste colour such as Sugarflair Ruby or Americolor Super Red, never liquid colour, and knead it into white fondant with shortening on your hands. The colour deepens as it rests, so colour it a full day ahead and keep it wrapped. Buying ready-coloured red fondant is the most reliable shortcut and skips the mess entirely.

Related Recipes

Save this for later 📌
Pin this article to your Pinterest board so the full list is one tap away when you need it.
Save on Pinterest