15 Cozy Baked Biscoff Cheesecake Recipes
Fifteen cozy baked Biscoff cheesecake ideas built on one foolproof recipe, from a classic caramelised base to festive, boozy, and mini-tart twists. If you love biscoff cheesecake inspiration, start with our Biscoff Cheesecake Recipes collection, then browse the full Desserts hub for more.

Save this for later 📌
Pin this article to your Pinterest board so the full list is one tap away when you need it.
Save on PinterestDesserts
Intermediate
Recipes
15 ideas
Table of Contents
- Why You'll Love These Baked Biscoff Cheesecakes
- 1. Classic Caramelised Baked Biscoff Cheesecake
- 2. Easy No-Water-Bath Baked Biscoff Cheesecake
- 3. Elegant Salted Caramel Biscoff Cheesecake
- 4. Playful Cookie-Dough-Studded Biscoff Cheesecake
- 5. Modern Marbled Biscoff Swirl Cheesecake
- 6. Rustic Brown-Butter Biscoff Cheesecake
- 7. Colorful Berry-Topped Biscoff Cheesecake
- 8. Minimal Naked Biscoff Cheesecake
- 9. Festive Gingerbread Biscoff Cheesecake
- 10. Whimsical Mini Biscoff Cheesecake Jars
- 11. Bold Chocolate-Biscoff Cheesecake
- 12. Delicate White Chocolate Biscoff Cheesecake
- 13. Vintage Biscoff Cheesecake with Sour Cream Topping
- 14. Creative Biscoff Basque Burnt Cheesecake
- 15. Charming Boozy Biscoff Baileys Cheesecake
- Pro Tips for Perfect Baked Biscoff Cheesecake
- Serving Suggestions
- Storage and Reheating
- The Master Recipe
Why You'll Love These Baked Biscoff Cheesecakes
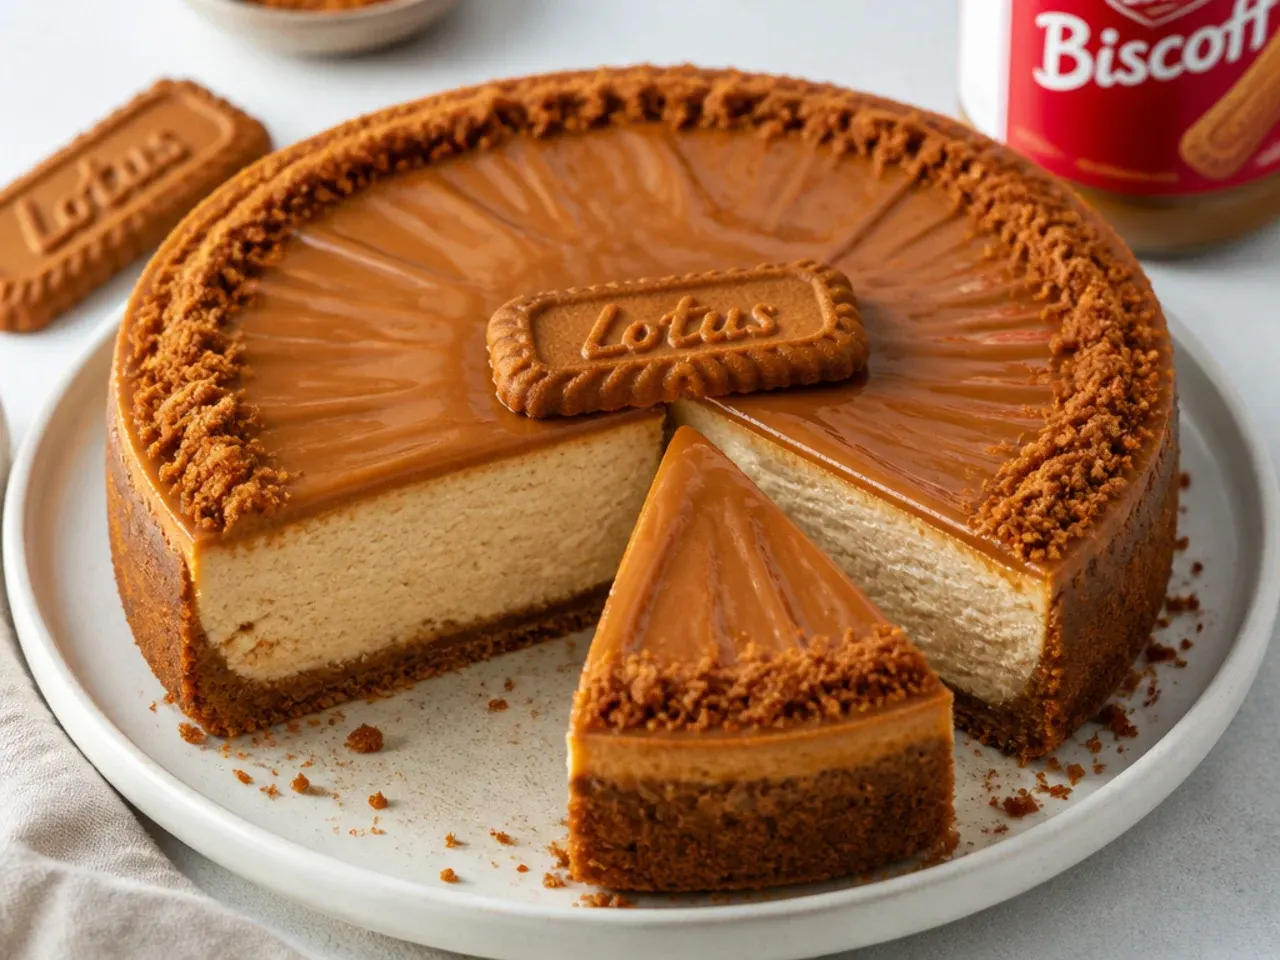
Baked Biscoff cheesecake gives you a denser, richer, more grown-up dessert than the no-bake version, with a caramelised spiced flavour that tastes like toasted cookie butter in every forkful. The base recipe below uses roughly 900g of full-fat cream cheese, a buttery Lotus biscuit crust, and a glossy melted Biscoff topping, so it slices cleanly and holds its shape for photos and parties. Because everything is built on one reliable method, you can switch flavours, toppings, and pan shapes without relearning the whole thing. Every idea here tells you exactly what to change, why it works, and how to pull it off at home. Whether you want a showstopper for a birthday or a rustic tray-baked slab for a crowd, there is a version for you.
1. Classic Caramelised Baked Biscoff Cheesecake
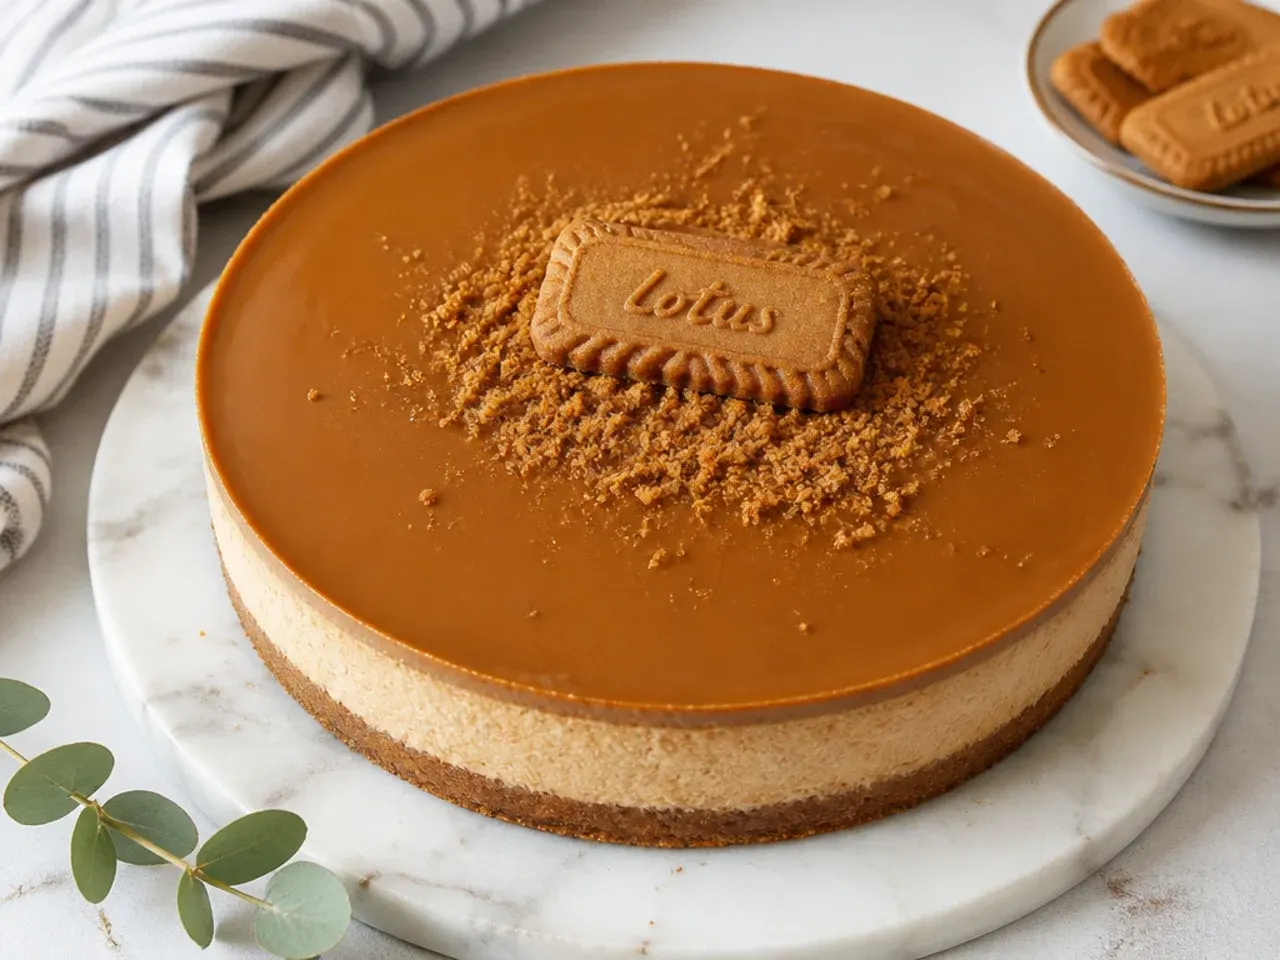
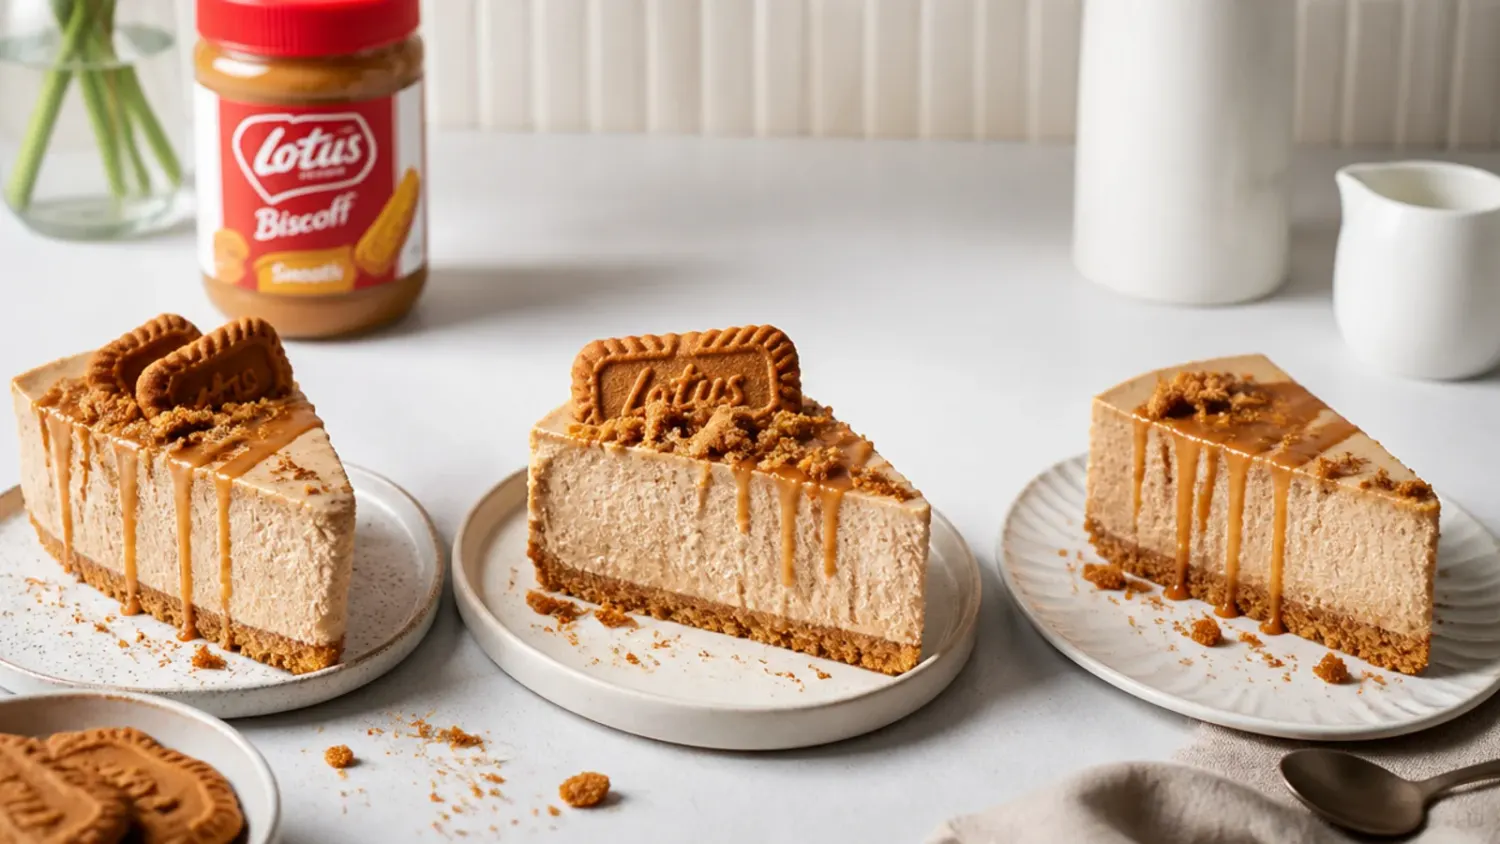
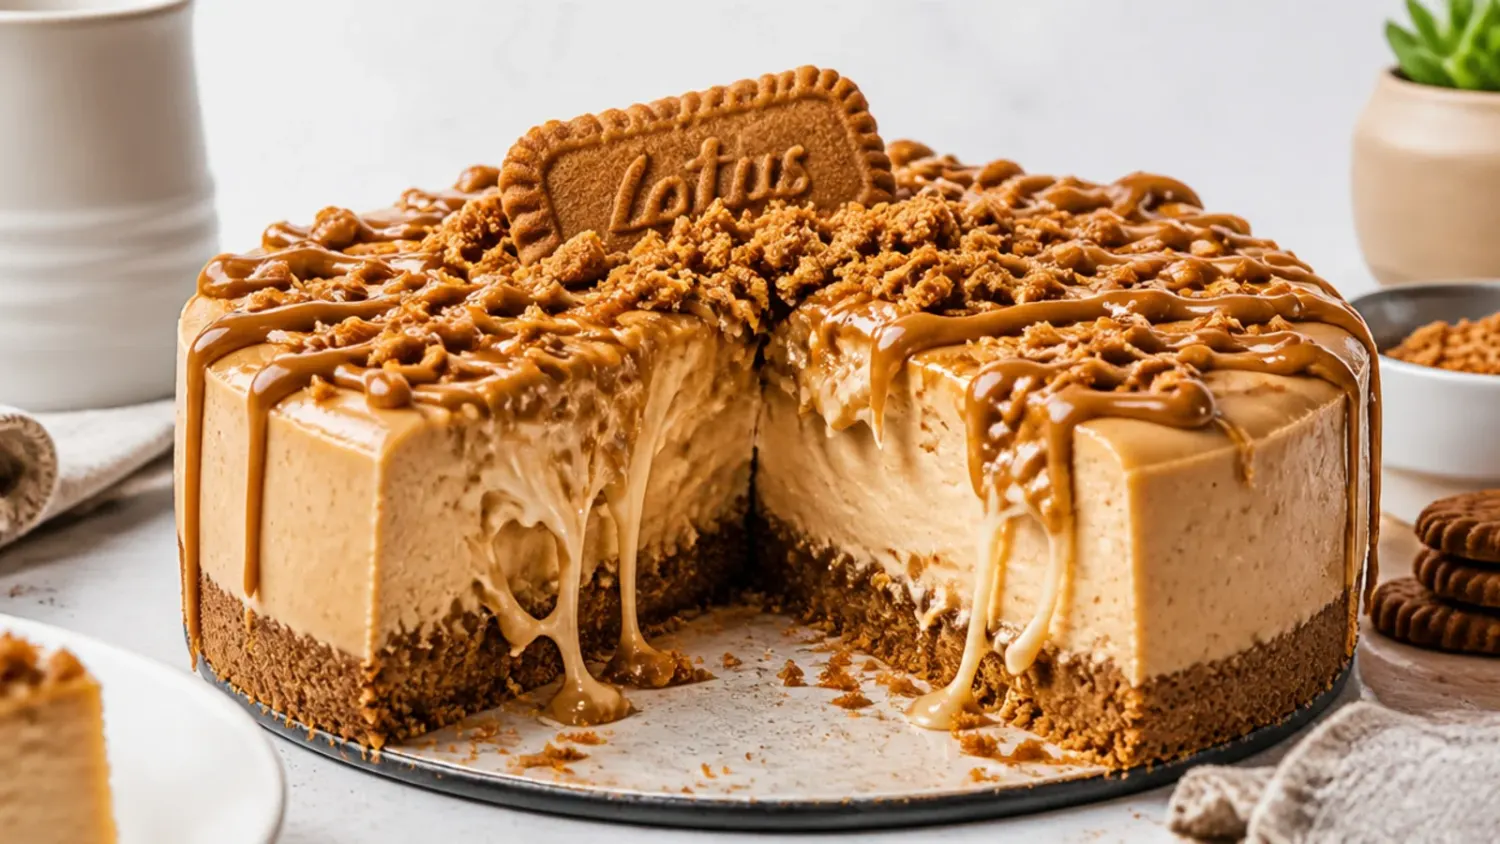
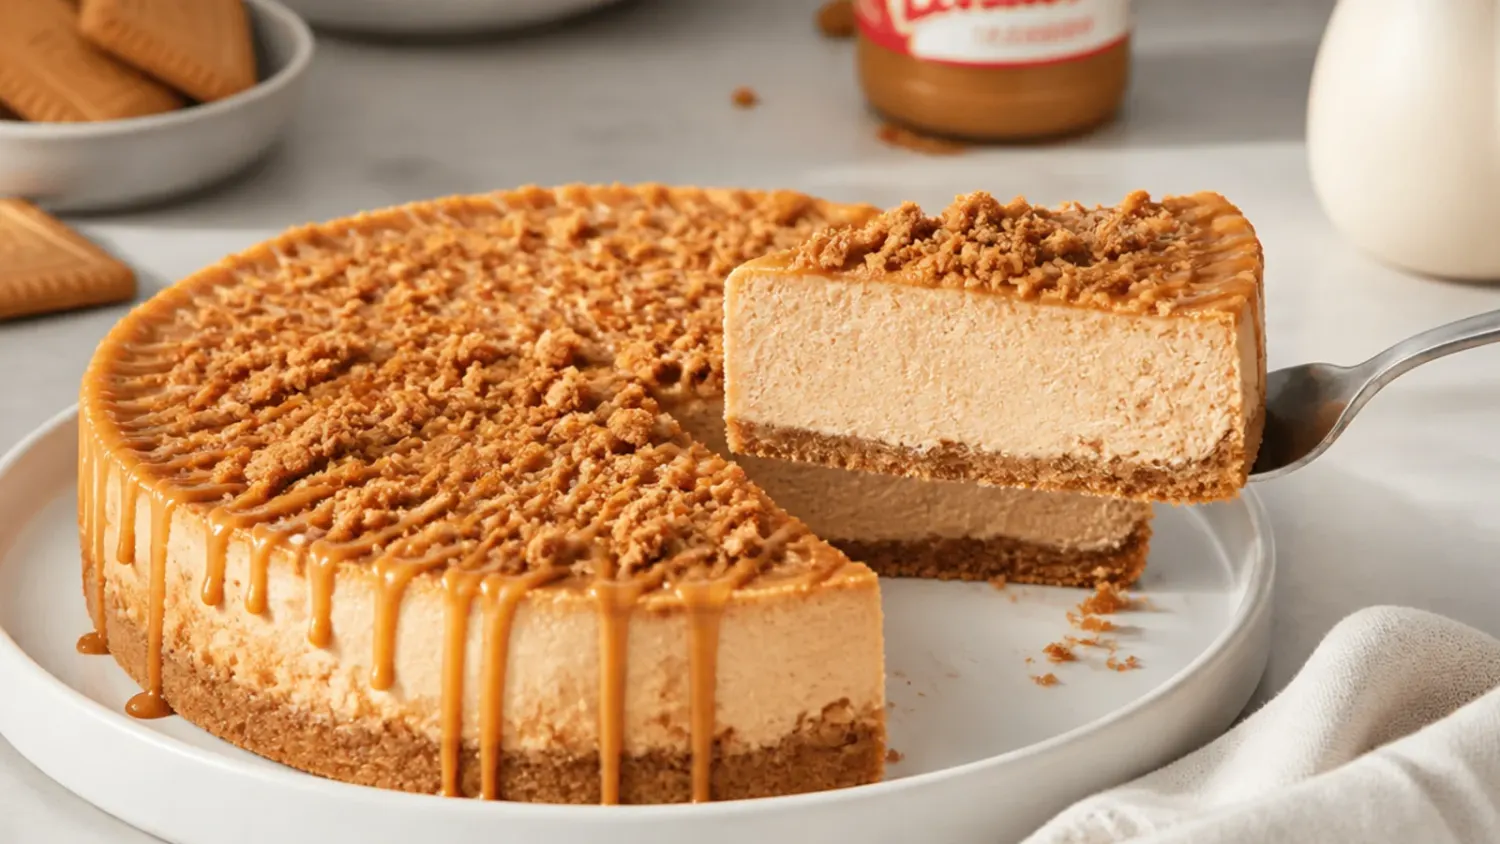
This is the base recipe every other idea builds on: a 9-inch (23cm) springform pan, a Lotus biscuit and butter crust baked for 10 minutes, and a dense filling of cream cheese, sugar, sour cream, eggs, and Biscoff spread. Bake at 160°C (320°F) for 55 to 65 minutes until the outer 5cm is set but the centre still wobbles like set jelly. The magic is finishing it with a warmed, poured layer of Biscoff spread that sets into a smooth caramel mirror as it chills. Beat the cream cheese and sugar just until smooth, then add eggs one at a time on low speed to avoid whipping in air that causes cracks. Chill overnight before slicing for clean, bakery-neat wedges.
2. Easy No-Water-Bath Baked Biscoff Cheesecake
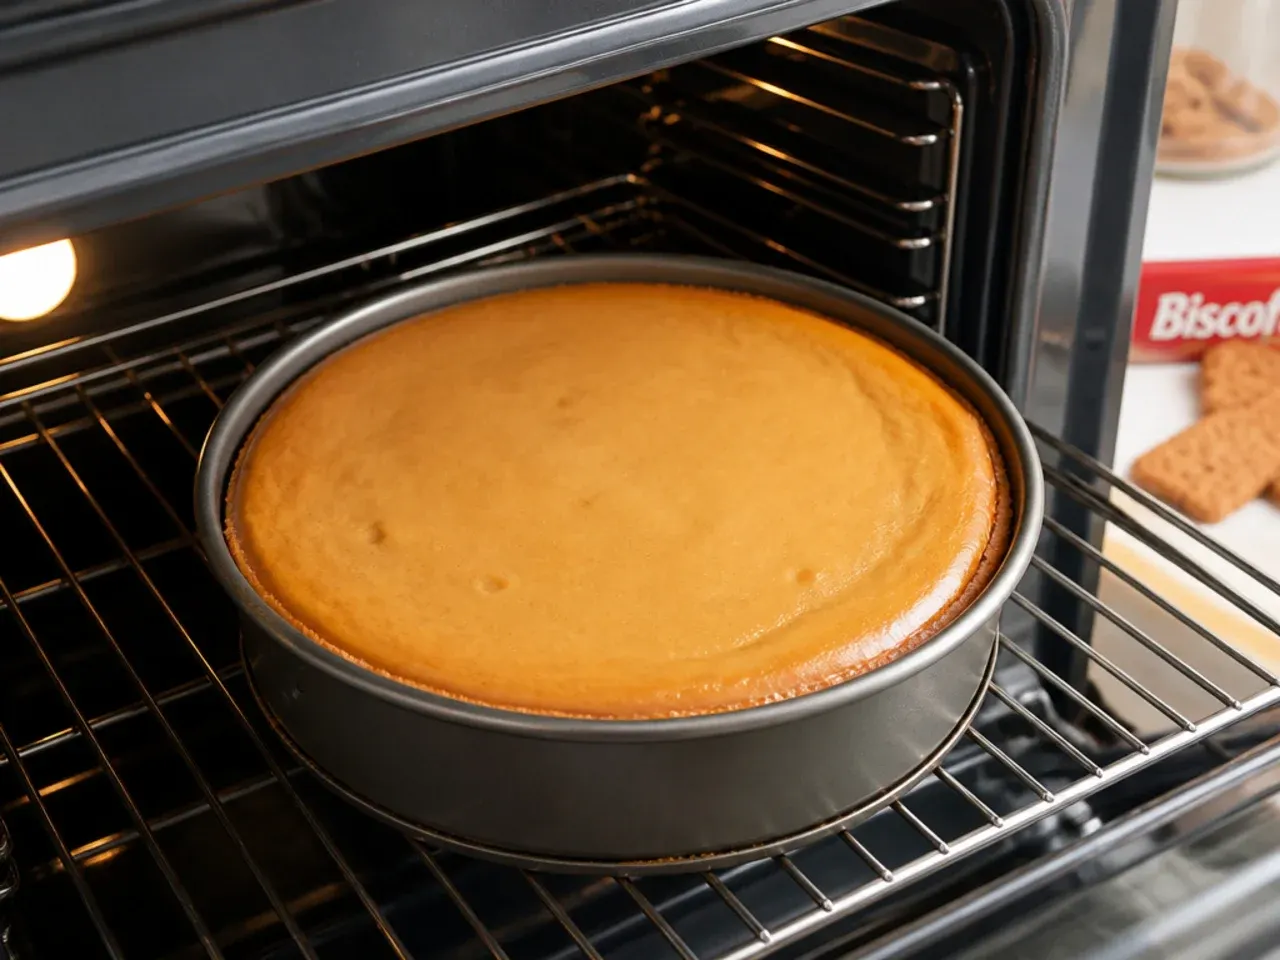
Skip the fiddly foil-wrapped roasting tin and use the low-and-slow method instead: bake the base recipe at 150°C (300°F) for about 70 minutes, then turn the oven off and leave the door shut for one full hour. The gentle, even heat and gradual cool-down do the same crack-preventing job as a water bath with none of the leaks. Place a shallow tray of boiling water on the rack below the cheesecake for extra humidity if you like belt-and-braces insurance. This version is the best entry point for a first-time cheesecake baker because there is nothing to spill or burn. Expect a slightly firmer top than a water-bath bake, which you will completely hide under the Biscoff topping anyway.
3. Elegant Salted Caramel Biscoff Cheesecake
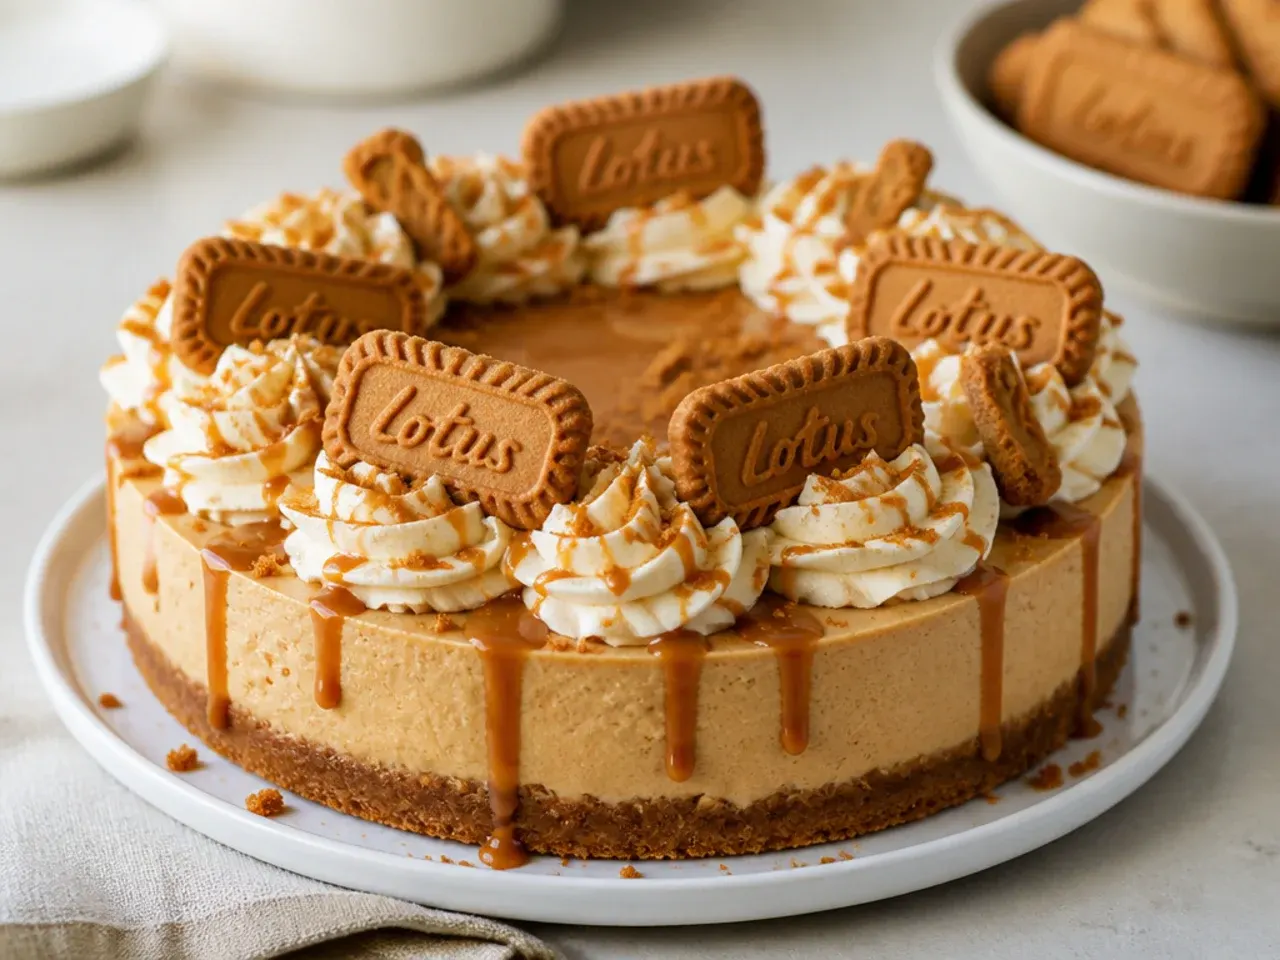
Turn the base recipe into a dinner-party centrepiece by layering salted caramel between the filling and the Biscoff topping. Once the baked cheesecake is fully chilled, spread a thin 3mm layer of thick salted caramel over the surface, sprinkle a pinch of flaky sea salt, then pour the warmed Biscoff spread on top so it pools into the caramel. The salt cuts the sweetness and makes the spiced cookie flavour taste deeper and more caramelised. Pipe eight rosettes of lightly whipped double cream around the edge using a Wilton 1M star tip, and stand a Lotus biscuit upright in each. Serve on a footed cake stand for maximum elegance.
4. Playful Cookie-Dough-Studded Biscoff Cheesecake
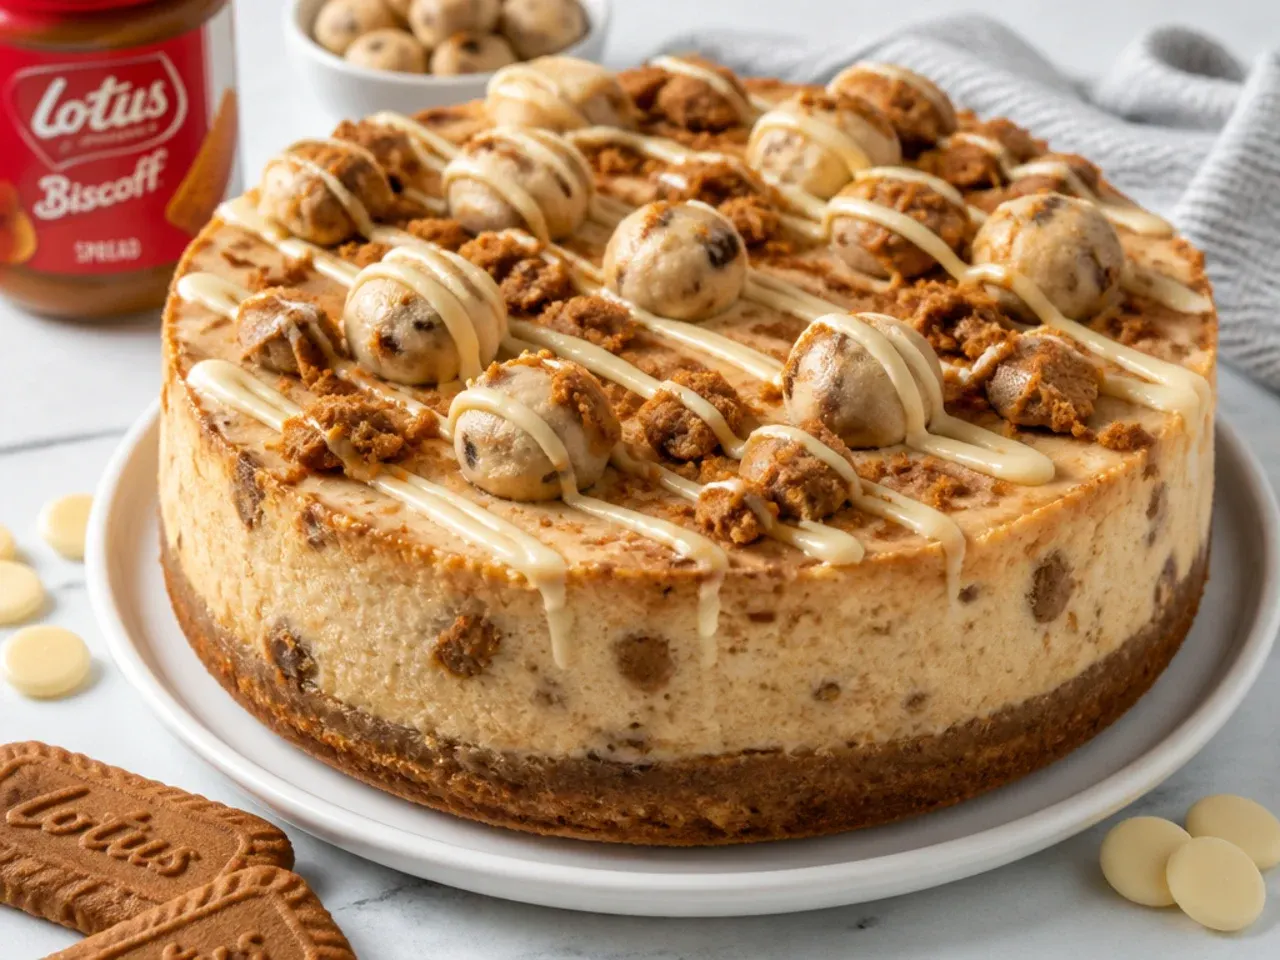
Fold edible, egg-free Biscoff cookie dough chunks through the filling for a fun, texture-packed slice that kids and adults both love. Make a quick no-bake dough from 100g butter, 100g soft brown sugar, 150g heat-treated flour, and 3 tablespoons of Biscoff spread, roll into 1cm pieces, and freeze them solid before folding into the batter so they do not melt away. Once the cheesecake is baked and fully chilled, dot extra dough chunks and mini Biscoff biscuit pieces over the top for a playful, cobbled look that stays soft and unscorched. Frozen dough is the trick here, as room-temperature dough dissolves into the batter. Drizzle with both Biscoff spread and a little white chocolate for a party-ready finish.
5. Modern Marbled Biscoff Swirl Cheesecake
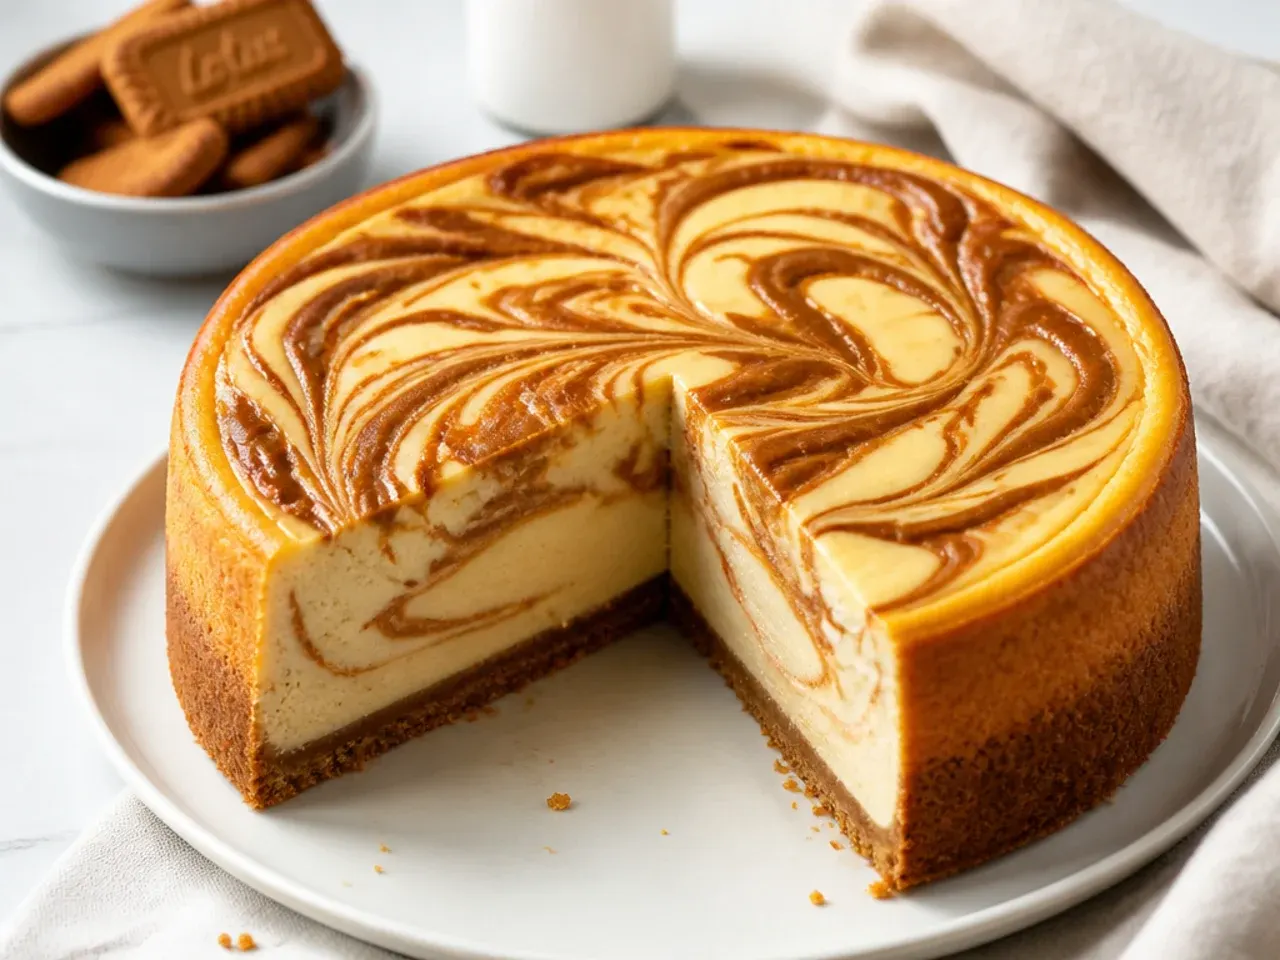
For a sleek, contemporary look, marble melted Biscoff spread directly through the raw filling before baking instead of only topping it. Pour half the plain filling into the crust, dot with warmed Biscoff spread, add the rest, then drag a skewer through in a figure-eight to create clean ribbons. Do not over-swirl or the pattern turns muddy; four or five confident drags is plenty. The baked marble keeps that caramel flavour running all the way through each bite, not just on top. Finish with a bare, unglazed top dusted only with a few fine Biscoff crumbs for a minimalist, modern plate.
Save this for later 📌
Pin this article to your Pinterest board so the full list is one tap away when you need it.
Save on Pinterest6. Rustic Brown-Butter Biscoff Cheesecake
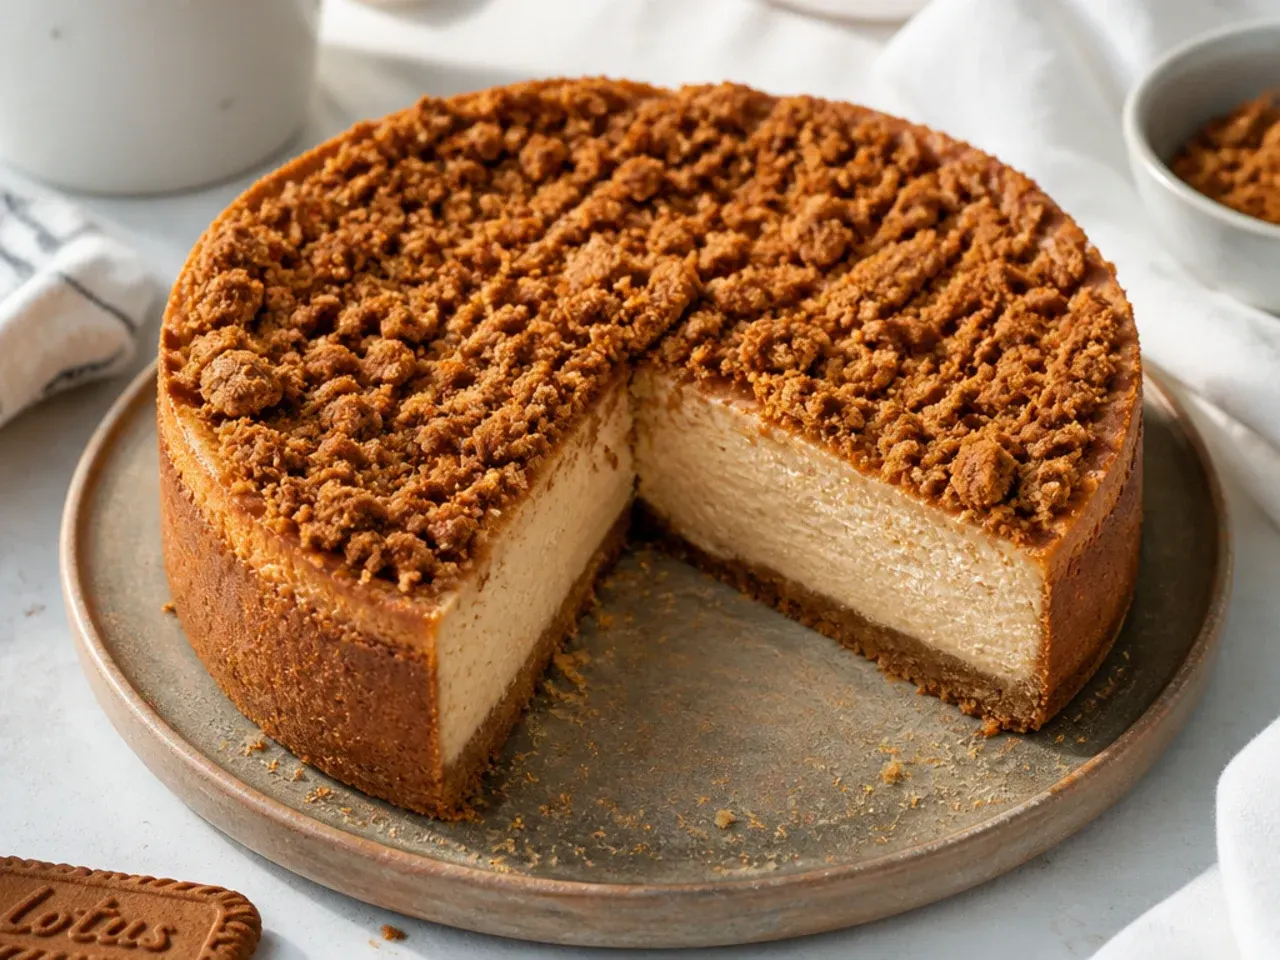
Deepen the whole cheesecake with nutty brown butter for a homey, rustic flavour that suits autumn and winter. Brown the 90g of crust butter in a pan until it smells like toffee and specks turn golden, cool slightly, then mix into the Lotus crumbs as usual. Add a further 2 tablespoons of brown butter to the filling for a warm, toasted-caramel undertone that pairs beautifully with the spiced biscuits. Bake in the same 9-inch pan but leave the top deliberately craggy and unglazed, finishing with roughly crushed biscuits and a dusting of cinnamon. This one looks best served straight from a rustic ceramic dish with a jug of pouring cream.
7. Colorful Berry-Topped Biscoff Cheesecake
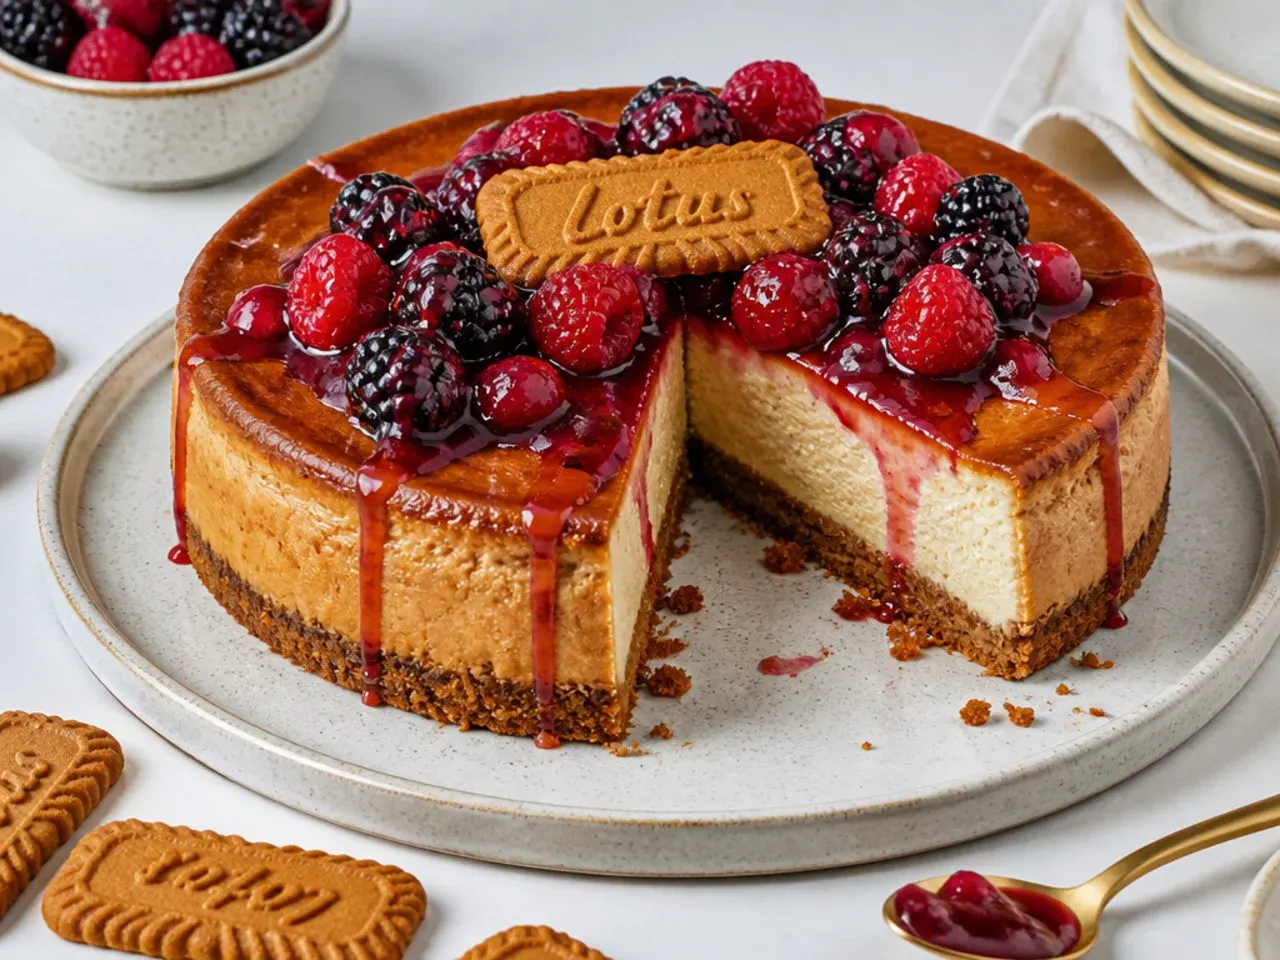
Balance the sweet caramel of Biscoff with a vivid, tart berry layer for colour and freshness. Make a quick compote by simmering 200g mixed raspberries and blackberries with 2 tablespoons of sugar and a squeeze of lemon for 6 to 8 minutes until glossy, then cool completely. Spoon it over the chilled cheesecake in bright pools alongside a partial Biscoff drizzle so both colours show. The sharp berries cut through the richness and make the plate pop with red and purple against the tan cheesecake. Add a scatter of fresh raspberries and a mint sprig just before serving so nothing weeps into the compote.
8. Minimal Naked Biscoff Cheesecake
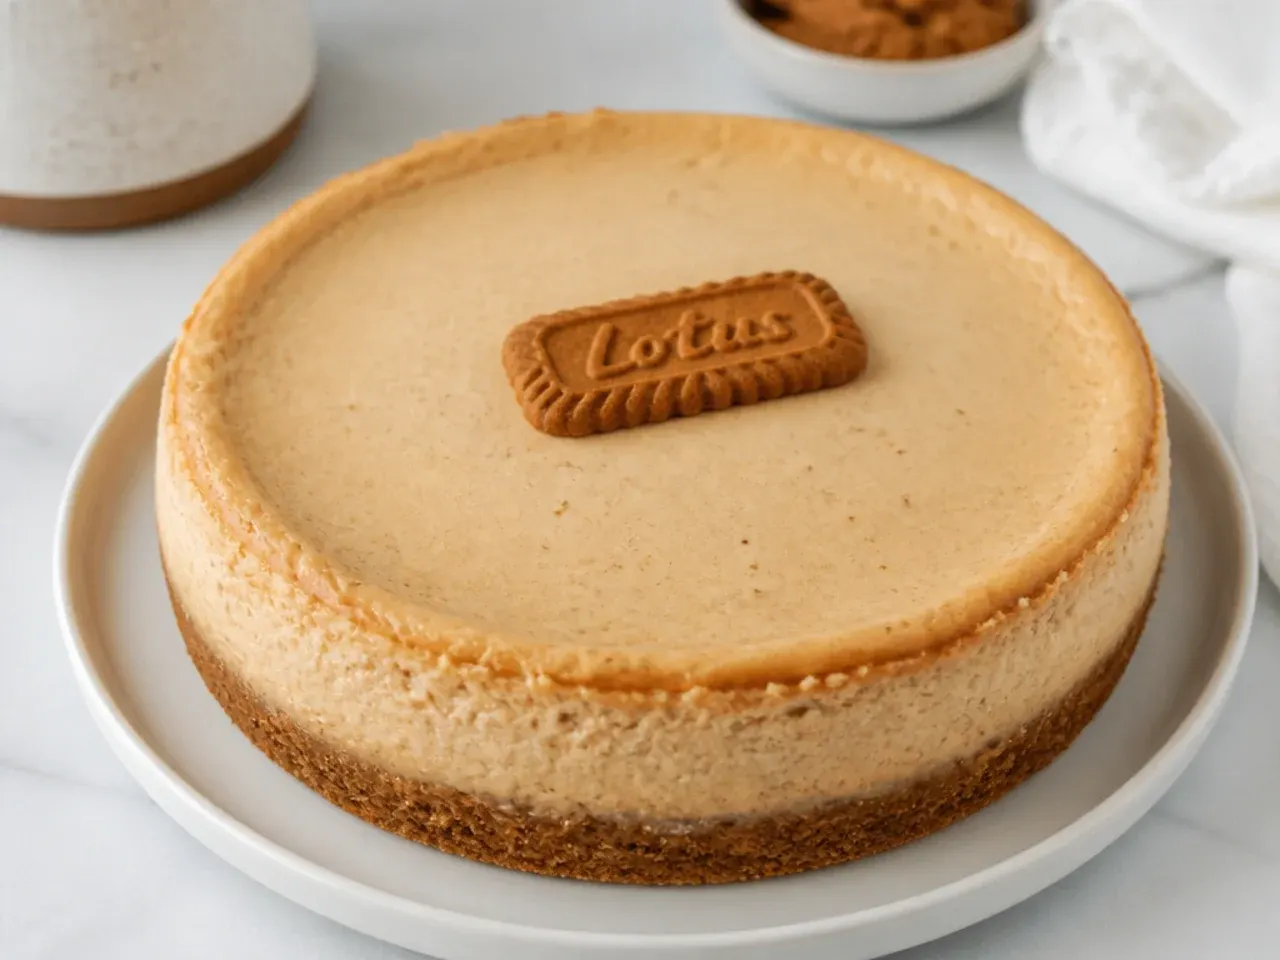
Strip the recipe back to its purest form for a clean, minimalist dessert that lets the Biscoff flavour speak for itself. Use the base filling and crust with no topping at all, baking it in a plain 9-inch springform for a smooth, bare surface. The only decoration is a single Lotus biscuit set dead-centre and a light dusting of biscuit crumbs around the very edge. This pared-down version is perfect when you want an understated bake for a modern table setting. Chill it thoroughly and slice with a hot, dry knife so each slice has crisp, defined edges that need no covering up.
9. Festive Gingerbread Biscoff Cheesecake
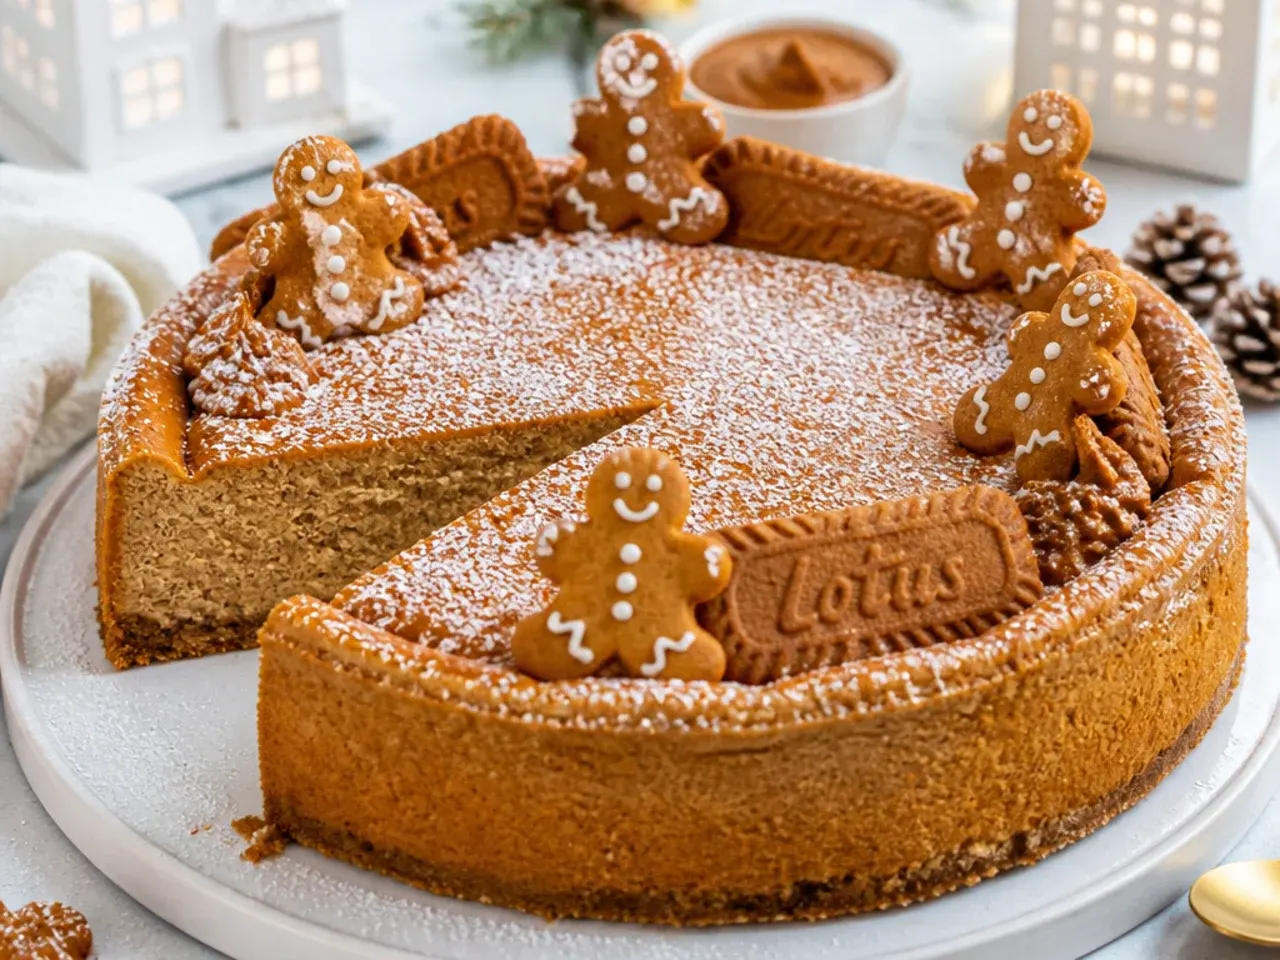
Turn the base into a Christmas centrepiece by warming the spice profile with festive gingerbread notes. Add 1 teaspoon ground ginger, half a teaspoon cinnamon, and a quarter teaspoon nutmeg to the crust crumbs, and stir 1 tablespoon of black treacle into the filling for a deep, molasses warmth. Top the chilled cheesecake with the usual Biscoff glaze, then decorate with mini gingerbread figures and a dusting of icing sugar snow around the base. The extra spice makes the whole dessert taste like Christmas without overpowering the signature Biscoff caramel. Serve alongside mulled wine or spiced hot chocolate for a proper festive finish.
10. Whimsical Mini Biscoff Cheesecake Jars
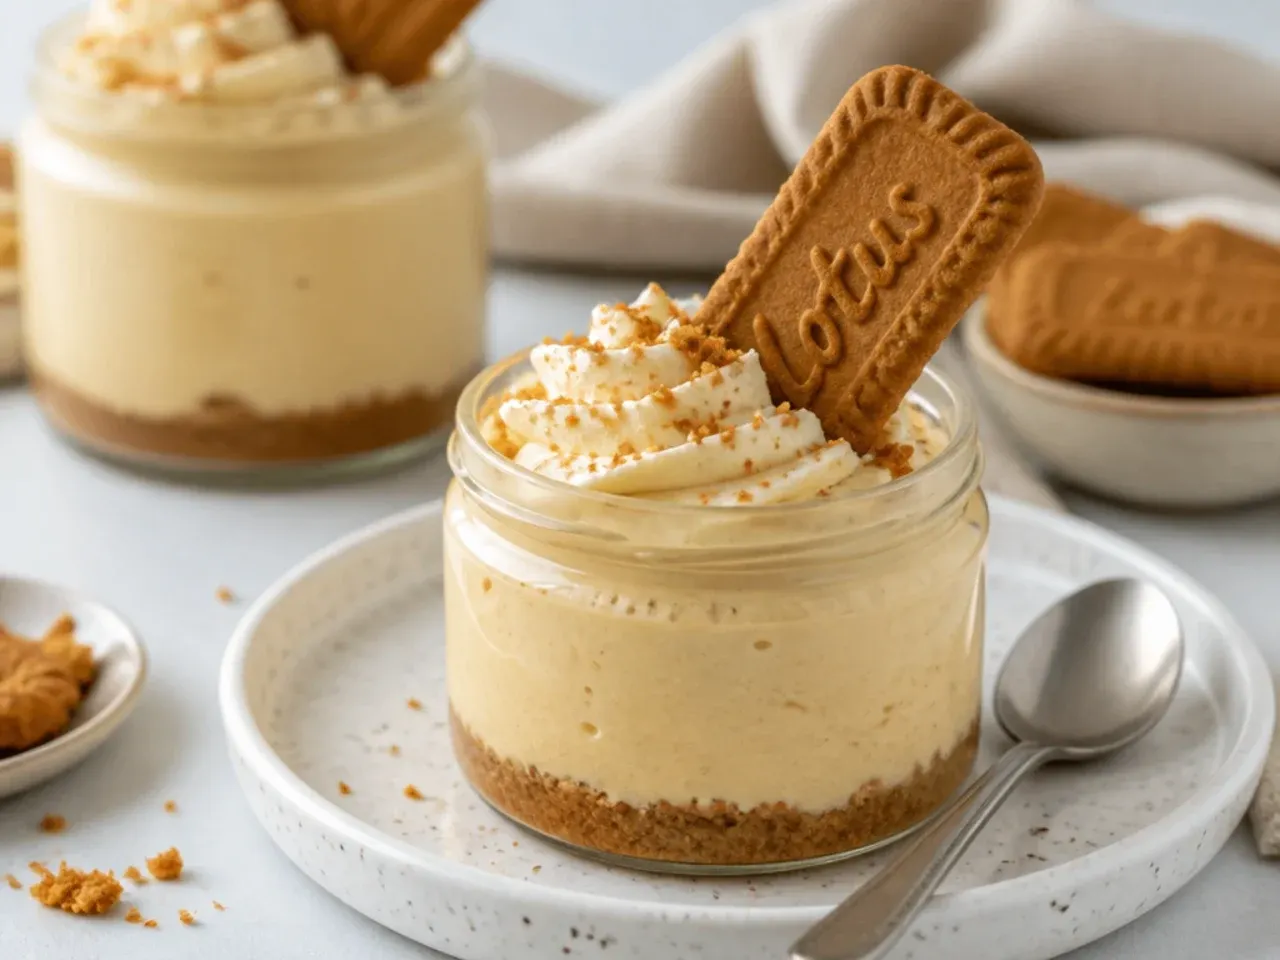
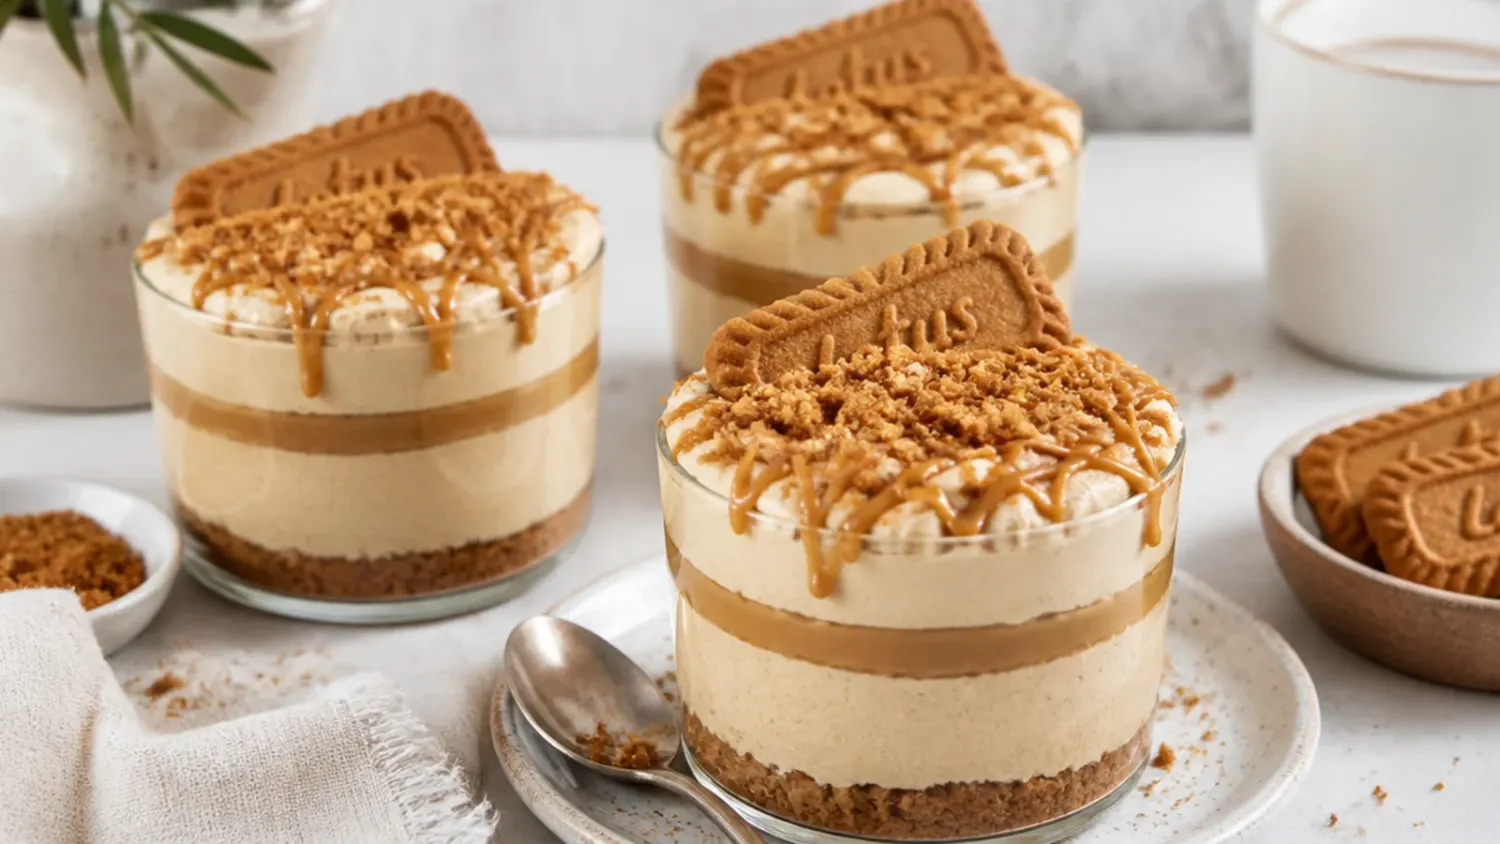
Bake the filling in individual heatproof jars or ramekins for charming, party-perfect single servings. Divide a Lotus crust and the base filling between six 200ml wide-mouth jars, sit them in a deep roasting tin with 2cm of hot water, and bake at 150°C (300°F) for 25 to 30 minutes until just set. The small size means they bake fast and cool quickly, so you can serve them the same afternoon. Top each with a swirl of Biscoff, a piped rosette of cream, and half a Lotus biscuit tucked in at a jaunty angle. These travel well for picnics and make adorable edible gifts with a ribbon tied round the lid.
Save this for later 📌
Pin this article to your Pinterest board so the full list is one tap away when you need it.
Save on Pinterest11. Bold Chocolate-Biscoff Cheesecake
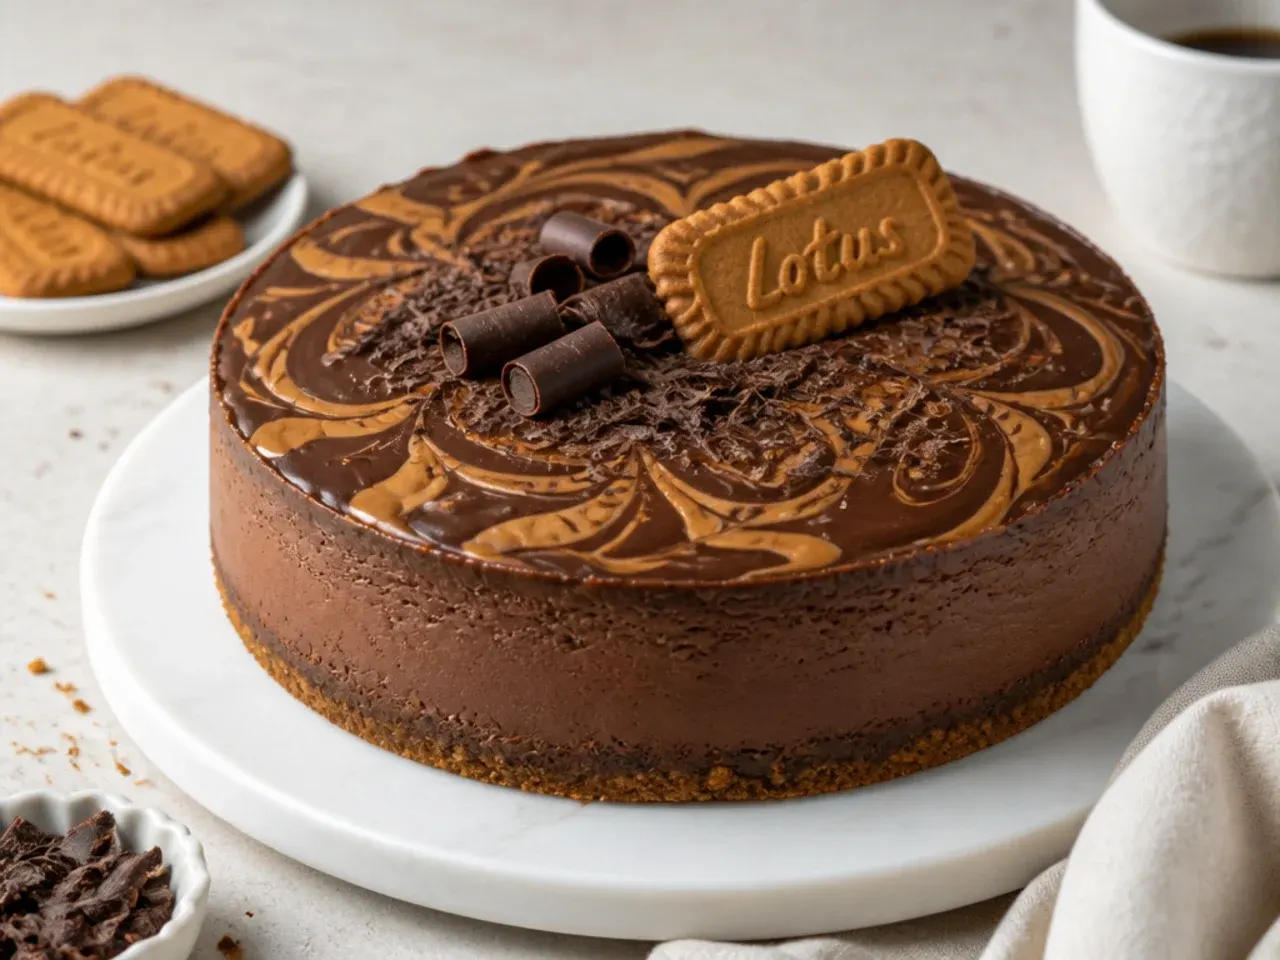
Go rich and dramatic by marrying dark chocolate with the caramelised Biscoff base. Melt 150g of 70% dark chocolate and beat it into the filling for a deep, fudgy slice, keeping everything else the same. Use a crust made half from Lotus biscuits and half from crushed chocolate digestives for extra cocoa depth and a darker colour. Once chilled, cover the top with a glossy Biscoff and dark chocolate ganache marbled together, then finish with chocolate curls and a broken Biscoff biscuit. This bold, almost truffle-like cheesecake is the one to make when you want maximum impact and intensity.
12. Delicate White Chocolate Biscoff Cheesecake
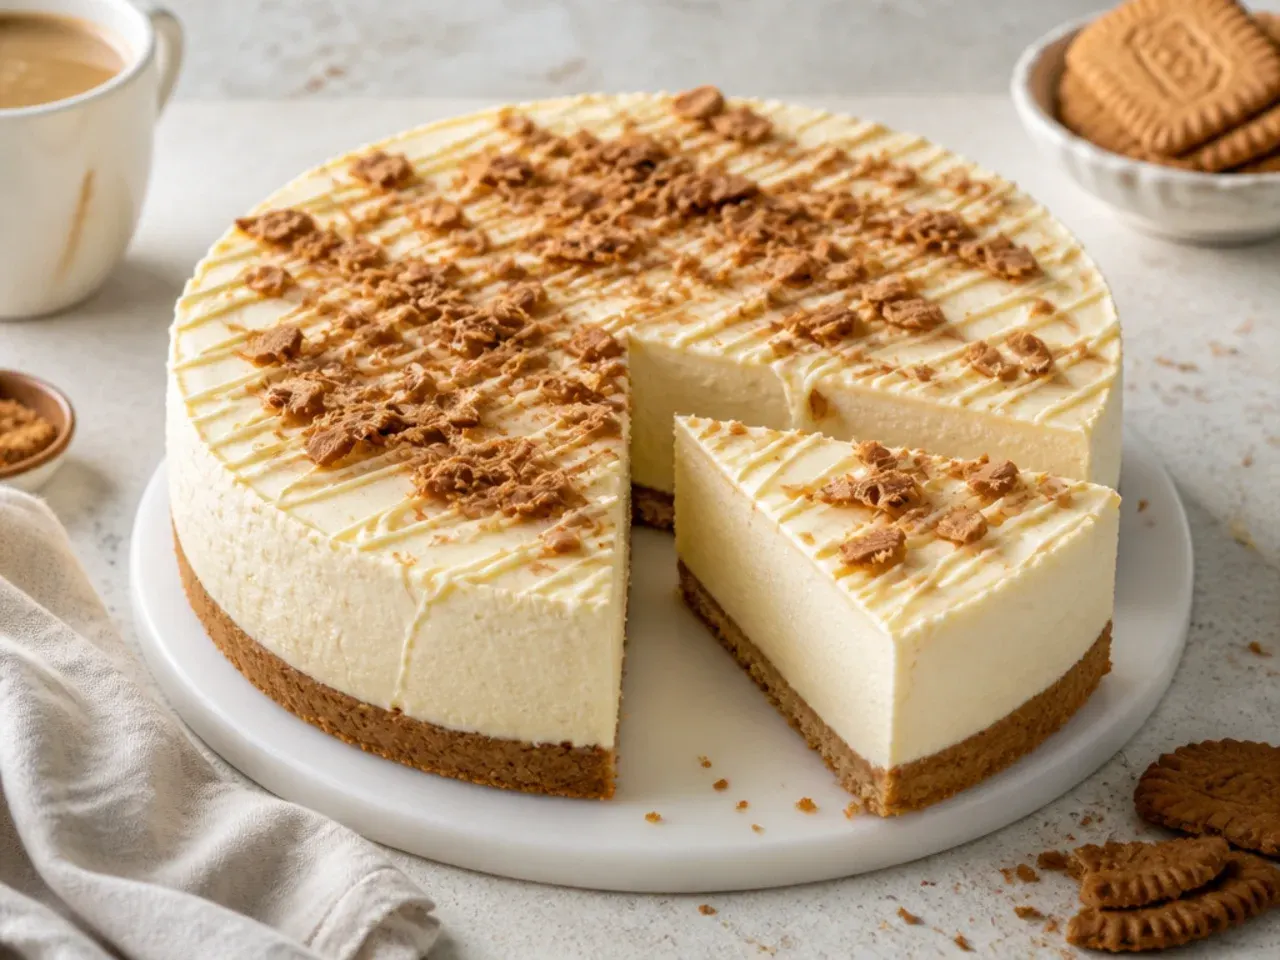
Lighten and soften the base with white chocolate for a delicate, mellow slice that melts on the tongue. Melt 150g of good white chocolate, cool it slightly, and beat it into the filling, reducing the sugar by 2 tablespoons since the chocolate adds sweetness. The result is a paler, silkier cheesecake with a gentle vanilla-caramel flavour that lets the Biscoff shine without heaviness. Finish with a thin Biscoff drizzle and delicate white chocolate shards standing upright for an airy, refined look. This version pairs especially well with fresh raspberries or a light berry coulis on the side.
13. Vintage Biscoff Cheesecake with Sour Cream Topping
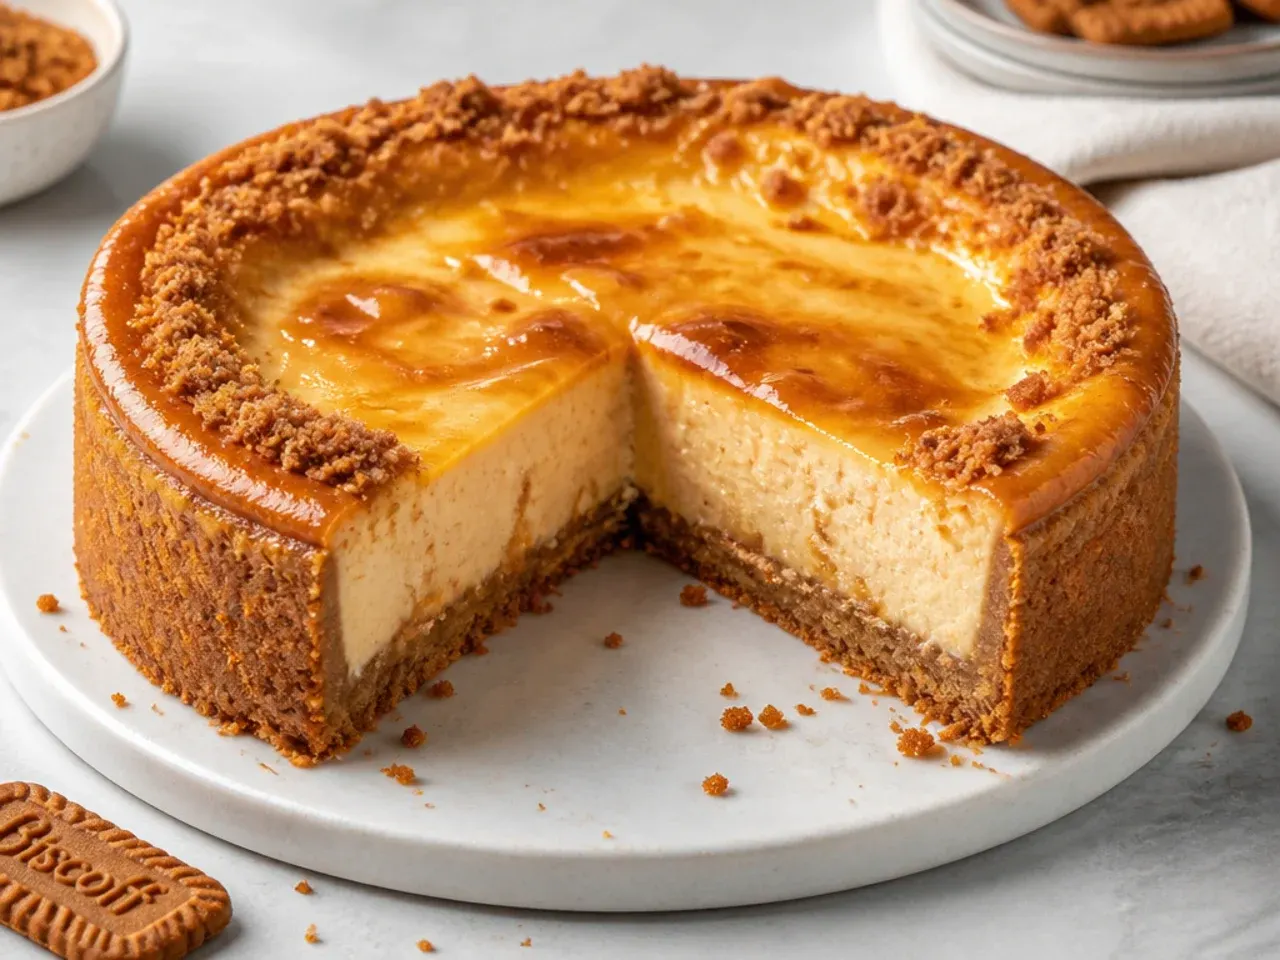
Bring back the retro diner-style finish by crowning the cheesecake with a classic baked sour cream layer. When the base cheesecake has 10 minutes of baking left, whisk 200g sour cream with 2 tablespoons sugar and a splash of vanilla, spread it over the top, and return it to the oven to set the tangy layer. The cool, slightly sour blanket balances the sweet Biscoff and gives that old-fashioned, glossy white top. Once chilled, add a modest Biscoff drizzle and a ring of biscuit crumbs for a nostalgic bakery look. This two-textured finish is a proven crowd-pleaser that never goes out of style.
14. Creative Biscoff Basque Burnt Cheesecake
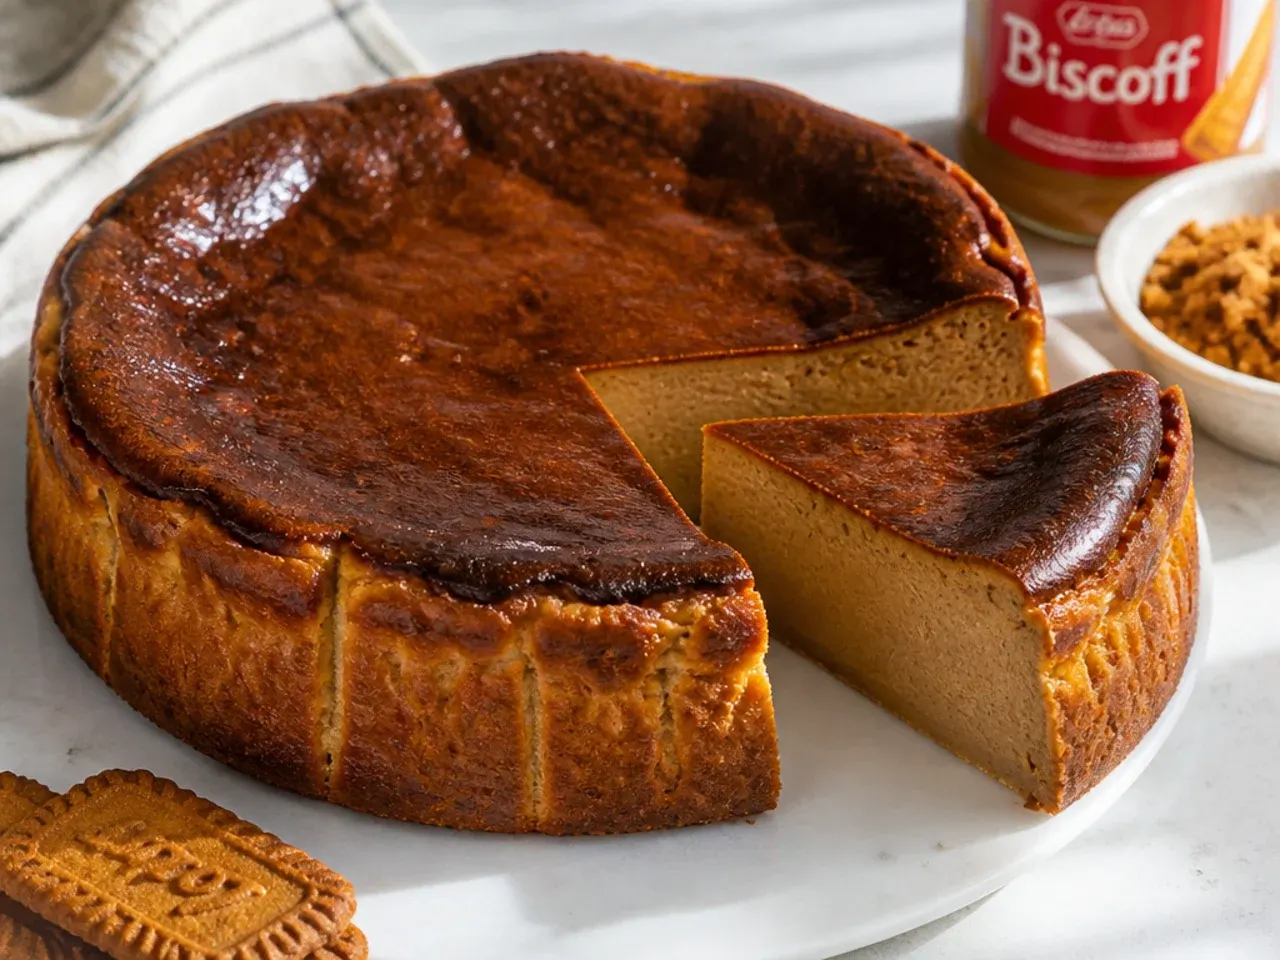
Reinvent the recipe as a crustless Basque-style burnt cheesecake for a modern, restaurant-worthy twist. Skip the crust, line a 9-inch tin with crumpled parchment, add 2 extra tablespoons of Biscoff spread to the filling, and bake hot at 220°C (425°F) for 35 to 40 minutes until the top is deeply bronzed and the centre is still very wobbly. The scorched, caramelised top mirrors the toasted-cookie flavour of Biscoff, so the two ideas amplify each other. It sets soft and custardy in the fridge, with a gooey middle that spoons like molten caramel. Serve at room temperature in thick, rustic wedges with an extra drizzle of warm Biscoff.
15. Charming Boozy Biscoff Baileys Cheesecake
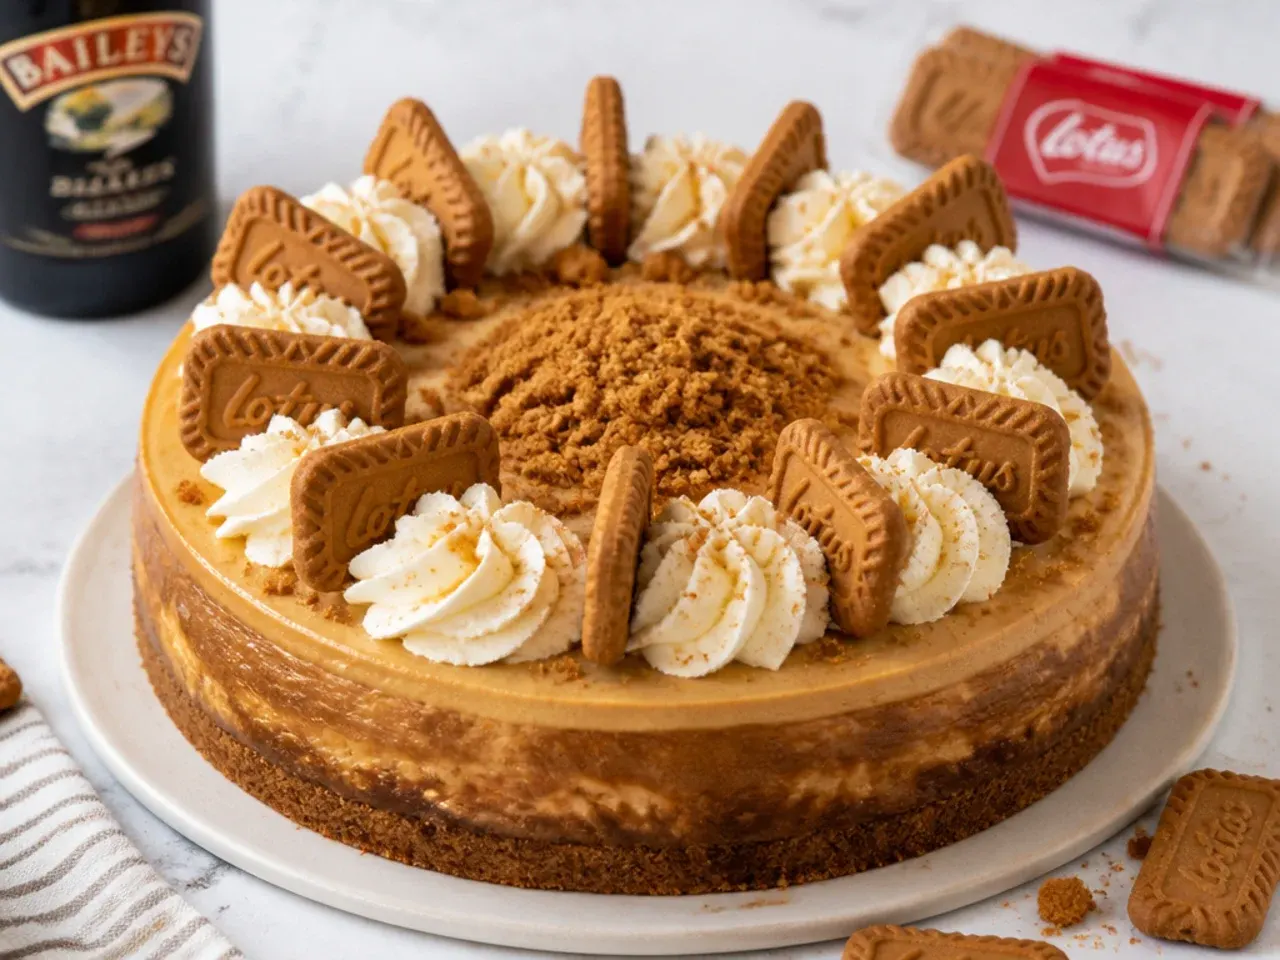
Add a splash of Irish cream for a charming, grown-up cheesecake that is perfect for celebrations. Stir 3 tablespoons of Baileys into the base filling before baking for a subtle, boozy caramel warmth that complements the spiced biscuits. Keep the bake and crust identical, then fold another tablespoon into the warmed Biscoff topping for a glossy, spiked mirror finish. The alcohol mellows in the oven, leaving a rounded, cosy flavour rather than a harsh kick. Pipe cream rosettes, tuck in Lotus biscuits, and serve small slices with an espresso or a nip of Baileys on the side for the full effect.
Pro Tips for Perfect Baked Biscoff Cheesecake
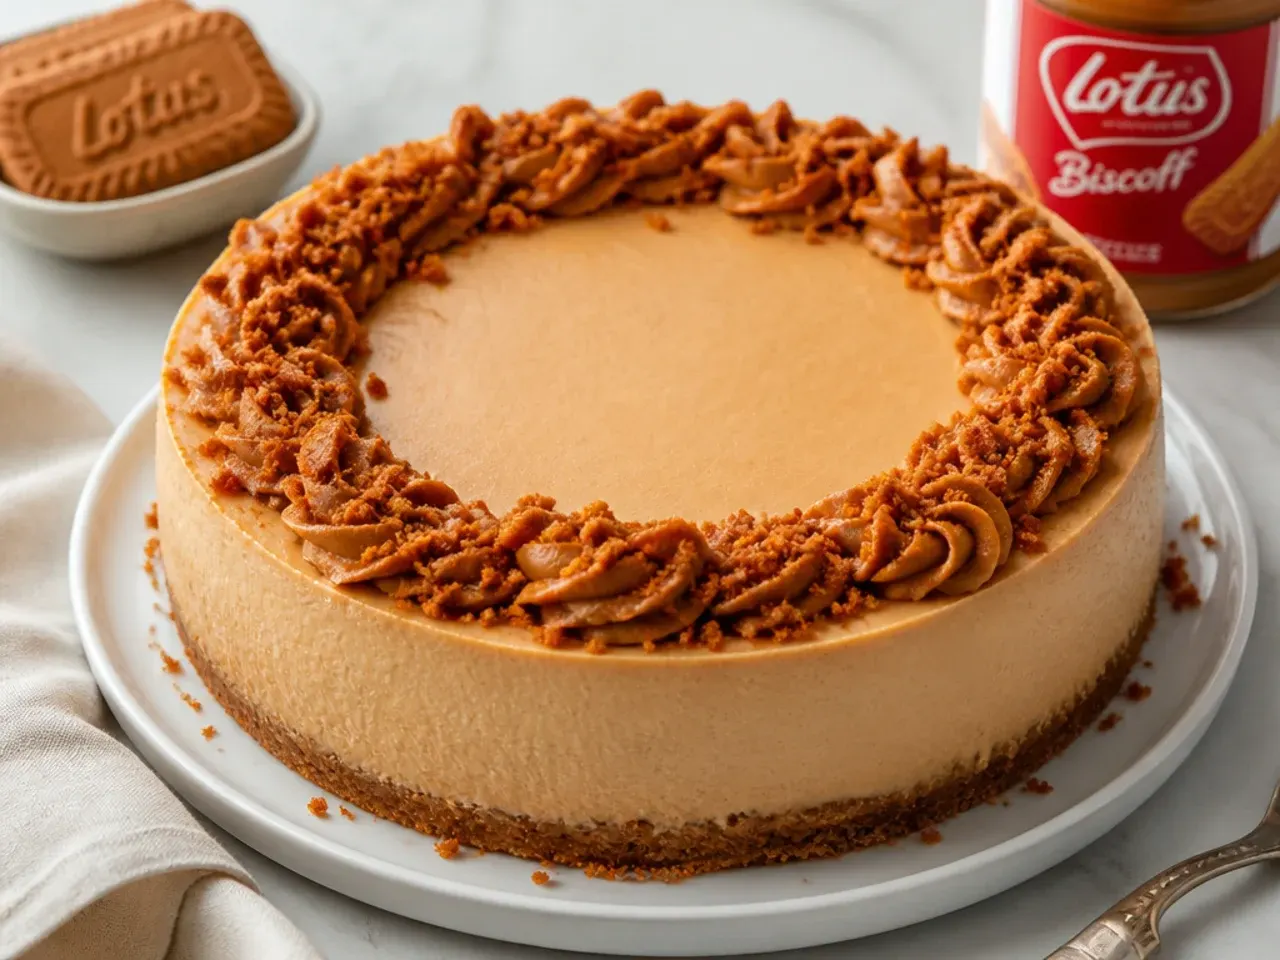
Bring the cream cheese, eggs, and sour cream to full room temperature before mixing, as cold ingredients cause lumps and force you to overbeat. Mix on low speed and stop the moment the batter is smooth, because extra air is the number one cause of cracks and a domed, sunken top. The centre should still wobble like set jelly when you pull it from the oven; it will firm up as it cools, and an over-baked cheesecake turns grainy. Always chill it for at least 6 hours and ideally overnight so it slices cleanly, and warm the Biscoff spread for the topping only until it is just pourable, around 30 seconds in the microwave. For flawless slices, dip your knife in hot water and wipe it dry between every cut.
Serving Suggestions
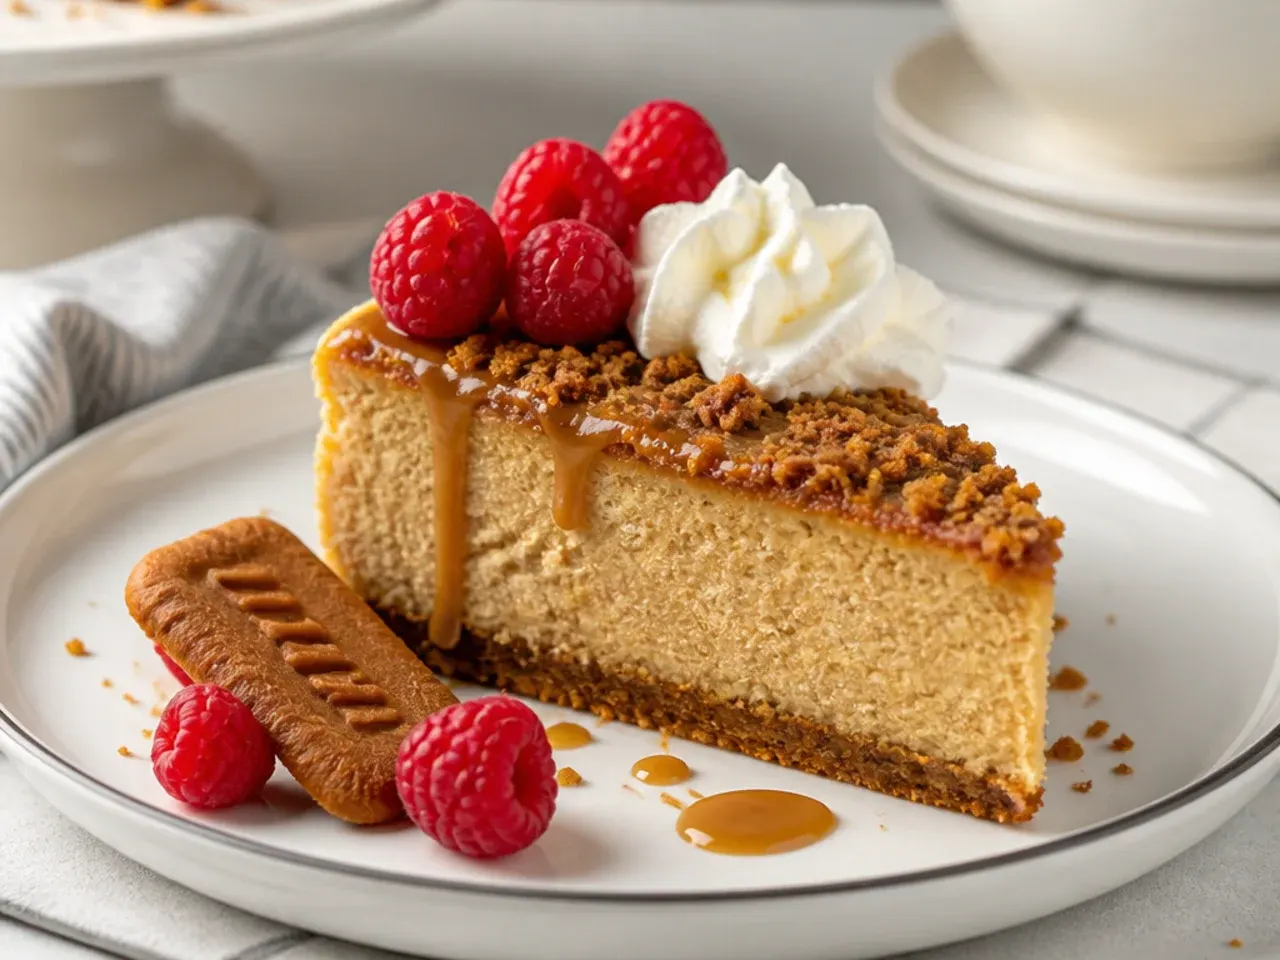
Serve baked Biscoff cheesecake fridge-cold in slim wedges, since it is dense and rich; a 9-inch cake comfortably feeds twelve. A soft cloud of lightly whipped, barely sweetened double cream on the side cuts the richness beautifully, as does a scoop of vanilla or coffee ice cream. For contrast, add a sharp fruit element such as fresh raspberries, a berry compote, or thin slices of caramelised banana. A hot drink is the perfect partner: strong espresso, a flat white, or spiced chai all echo the caramelised biscuit notes. For parties, cut smaller 2cm fingers and serve them on a platter with extra Lotus biscuits so guests can help themselves.
Storage and Reheating
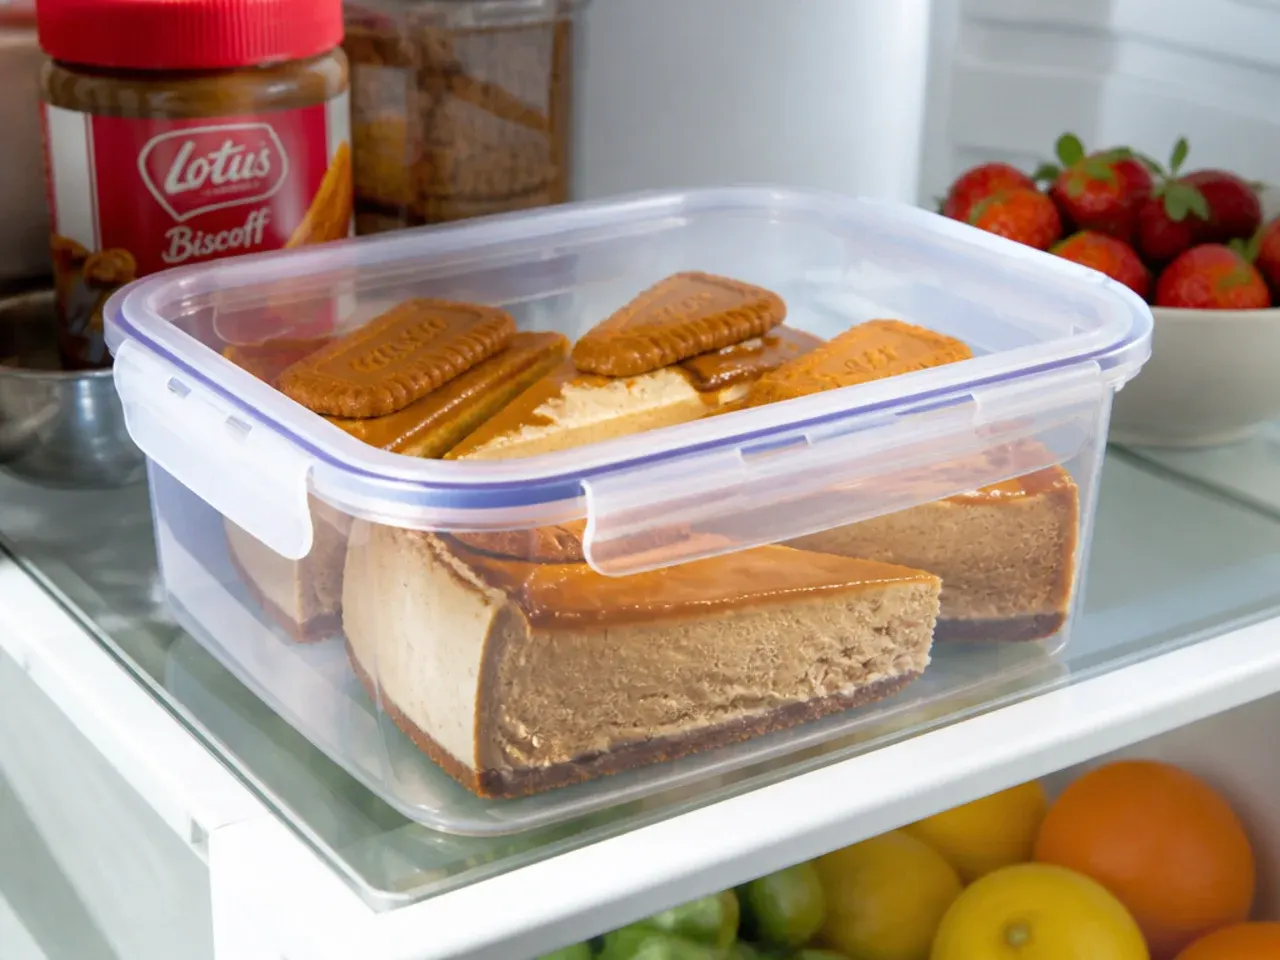
Store the cheesecake covered in an airtight container in the fridge for up to 5 days; the flavour actually deepens by day two as the spices mingle. Baked cheesecake is best served cold rather than reheated, so simply take it out 15 to 20 minutes before serving to take the fridge chill off and soften the texture slightly. To freeze, chill it fully, then freeze whole or in slices on a tray until solid before wrapping tightly in cling film and foil; it keeps for up to 2 months. Defrost overnight in the fridge rather than at room temperature to protect the texture, and add the Biscoff topping fresh after thawing for the glossiest finish. Never leave a baked cheesecake at room temperature for more than 2 hours, as the dairy filling is perishable.
The Recipe
The Master Recipe
30 min
1 hr 15 min
8 hr (including chilling)
12
Intermediate
Ingredients 12 Person(s)
Directions
Step 1: Make and bake the crust
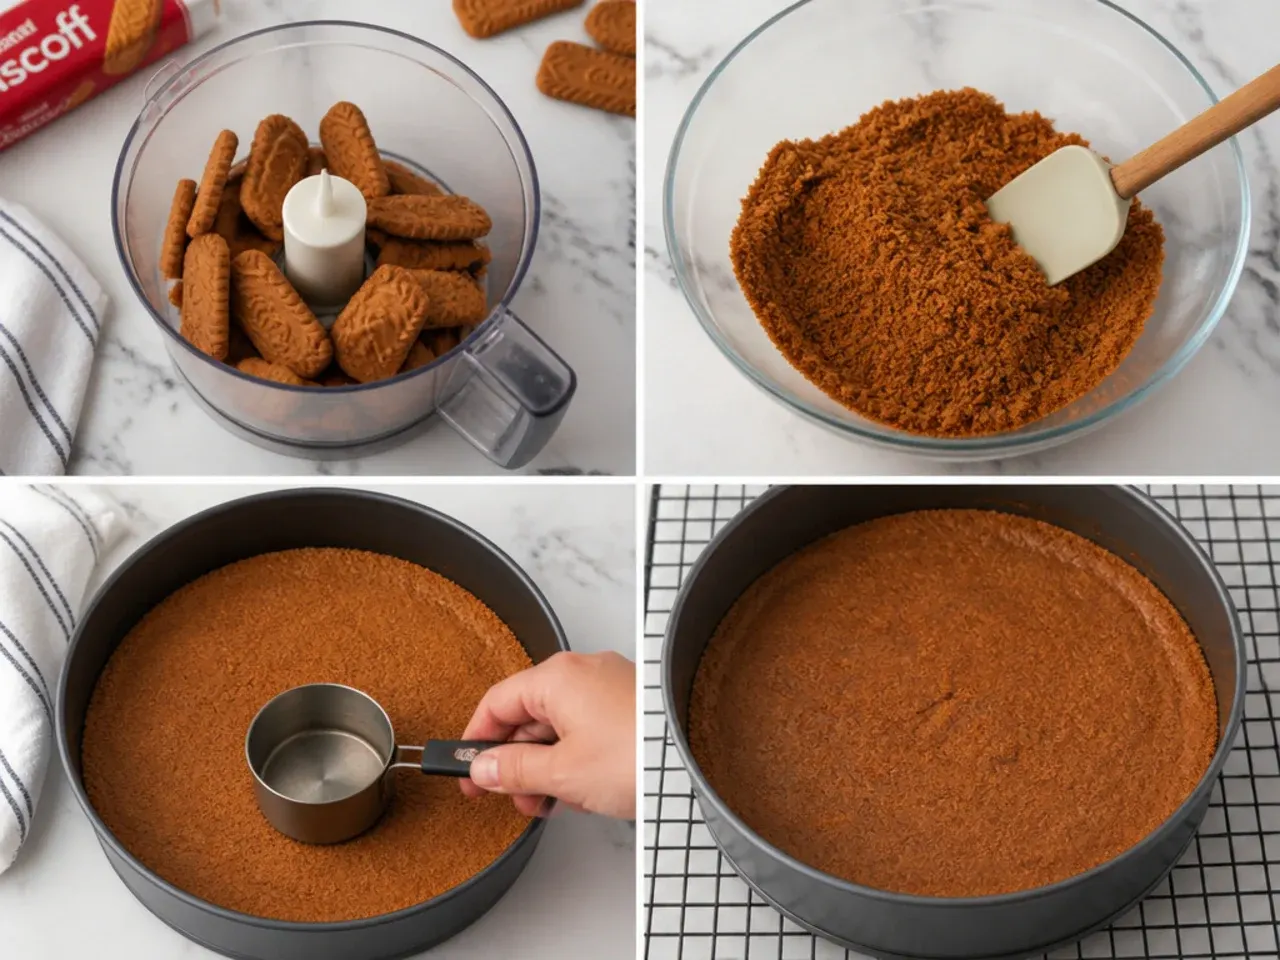
Preheat the oven to 160°C (320°F). Blitz the Biscoff biscuits to fine crumbs and stir in the melted butter until it resembles wet sand. Press firmly into the base and 2cm up the sides of a greased 9-inch (23cm) springform pan using the back of a spoon. Bake for 10 minutes, then set aside to cool while you make the filling.
Step 2: Beat the cream cheese base
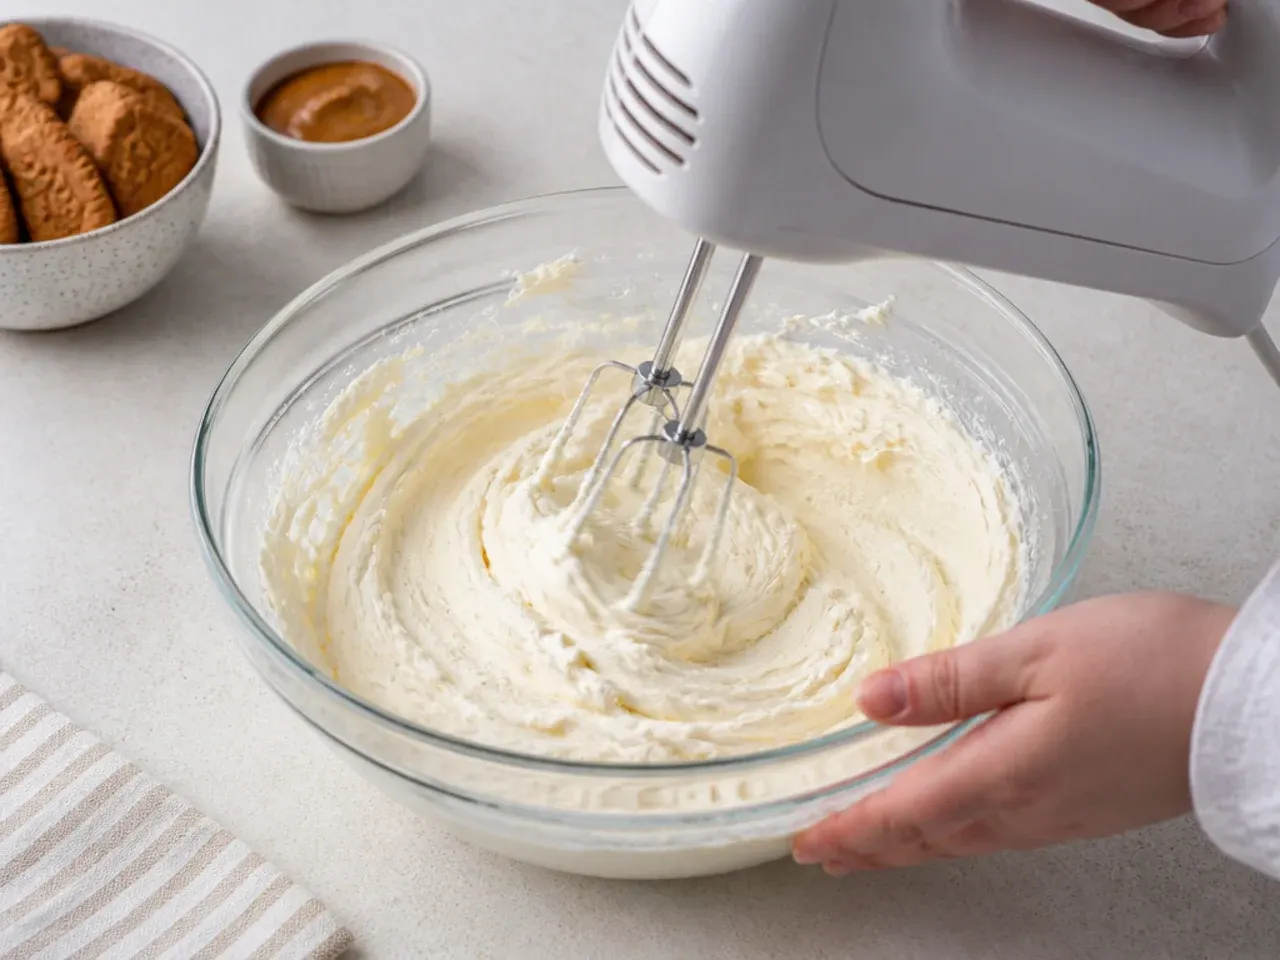
In a large bowl, beat the room-temperature cream cheese and caster sugar on low to medium speed until completely smooth and lump-free, about 2 minutes. Scrape down the bowl often. Keep the speed low throughout to avoid beating in air, which causes cracks. The mixture should look glossy and creamy with no grainy bits.
Step 3: Add the Biscoff and wet ingredients
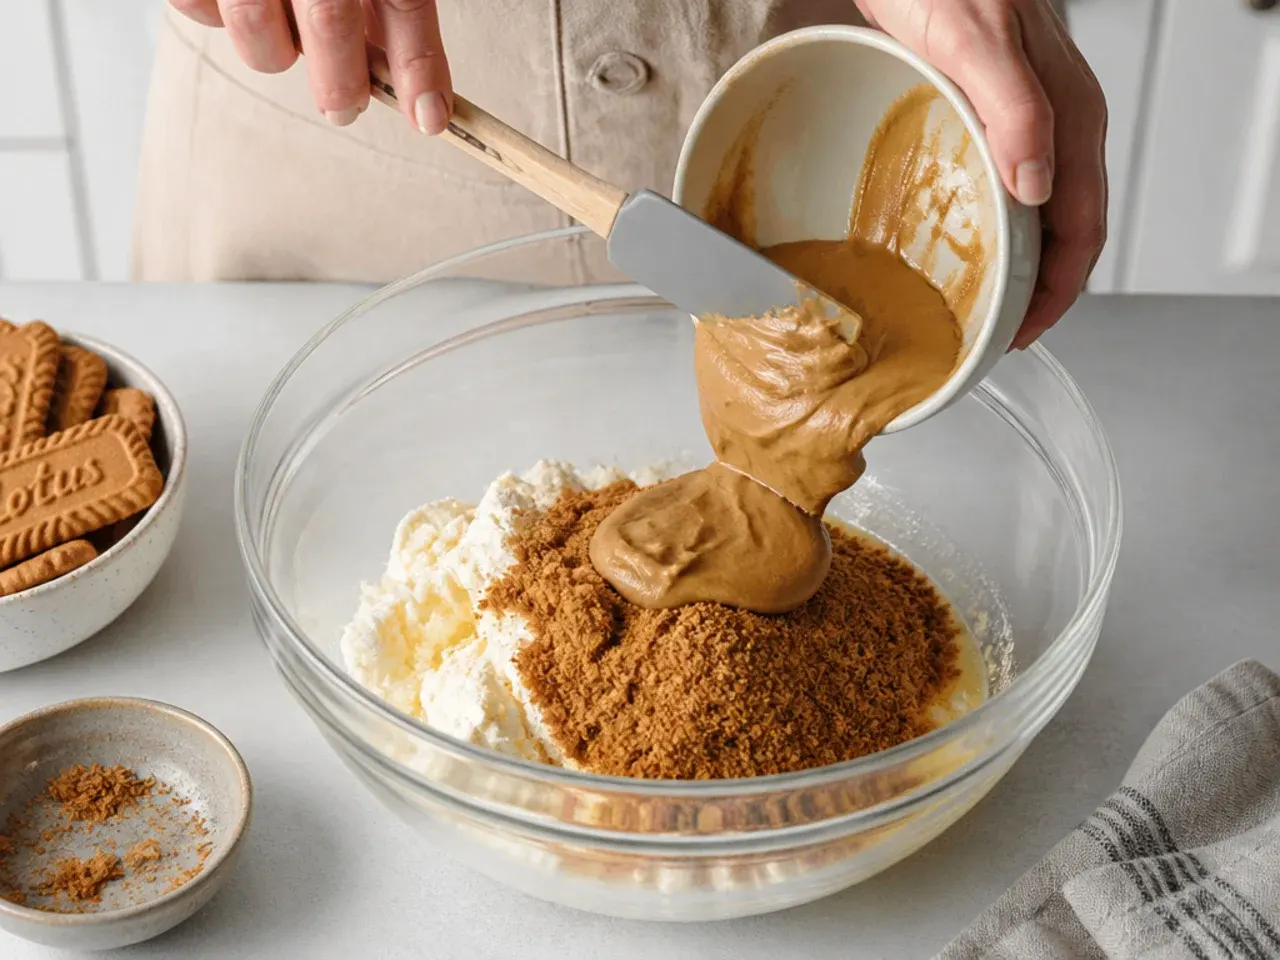
Beat in the 250g of Biscoff spread, sour cream, vanilla, salt, and flour until just combined and even in colour. The flour helps stabilise the filling and guard against cracks. Scrape the bowl one more time to catch any hidden pockets of cream cheese.
Step 4: Add the eggs gently
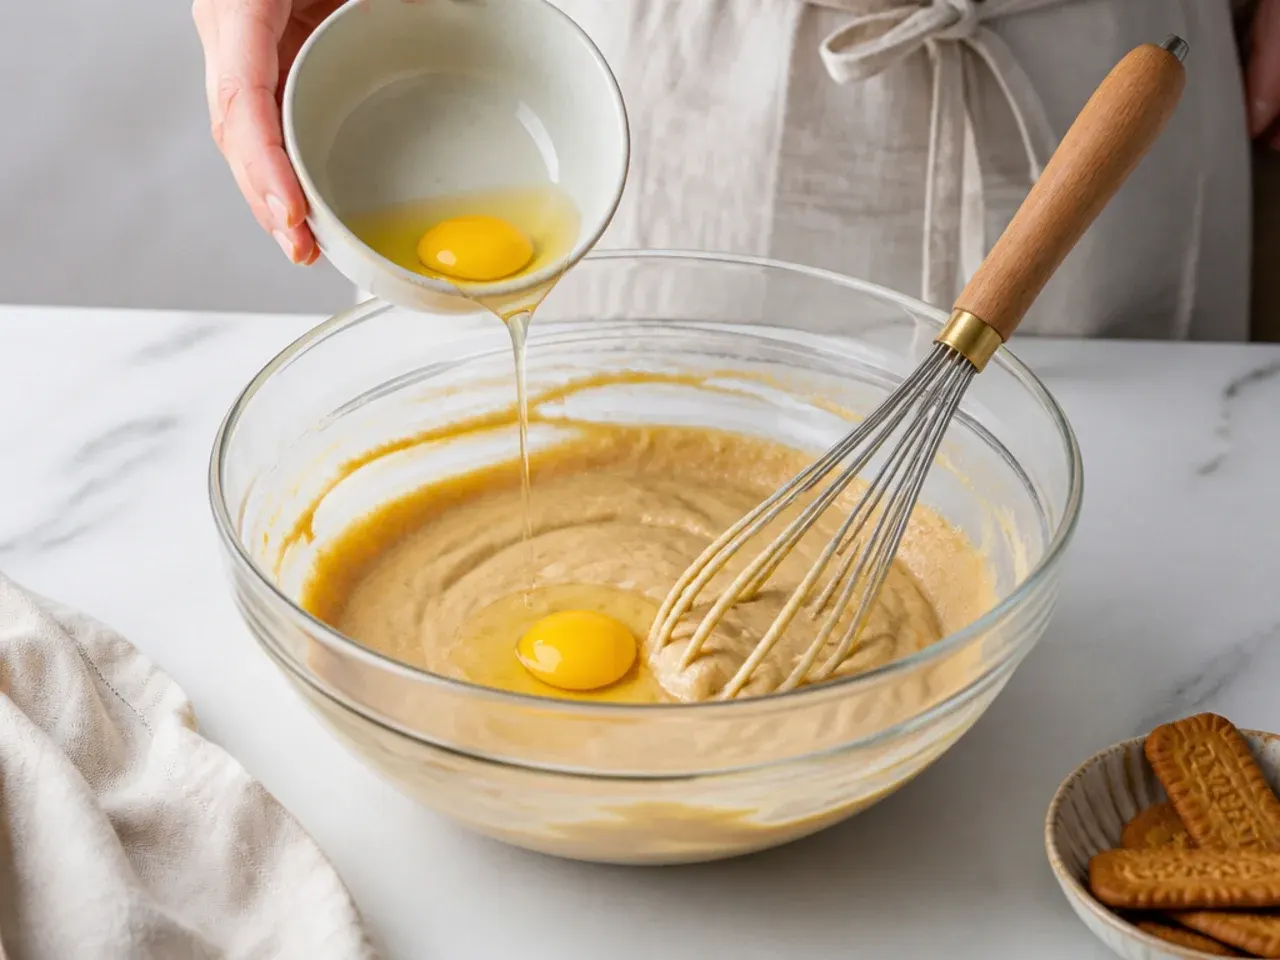
Add the eggs one at a time on the lowest speed, mixing just until each disappears before adding the next. Stop mixing the second the last egg is incorporated. Overmixing now whips in air and is the main reason cheesecakes crack and sink.
Step 5: Fill and bake low and slow
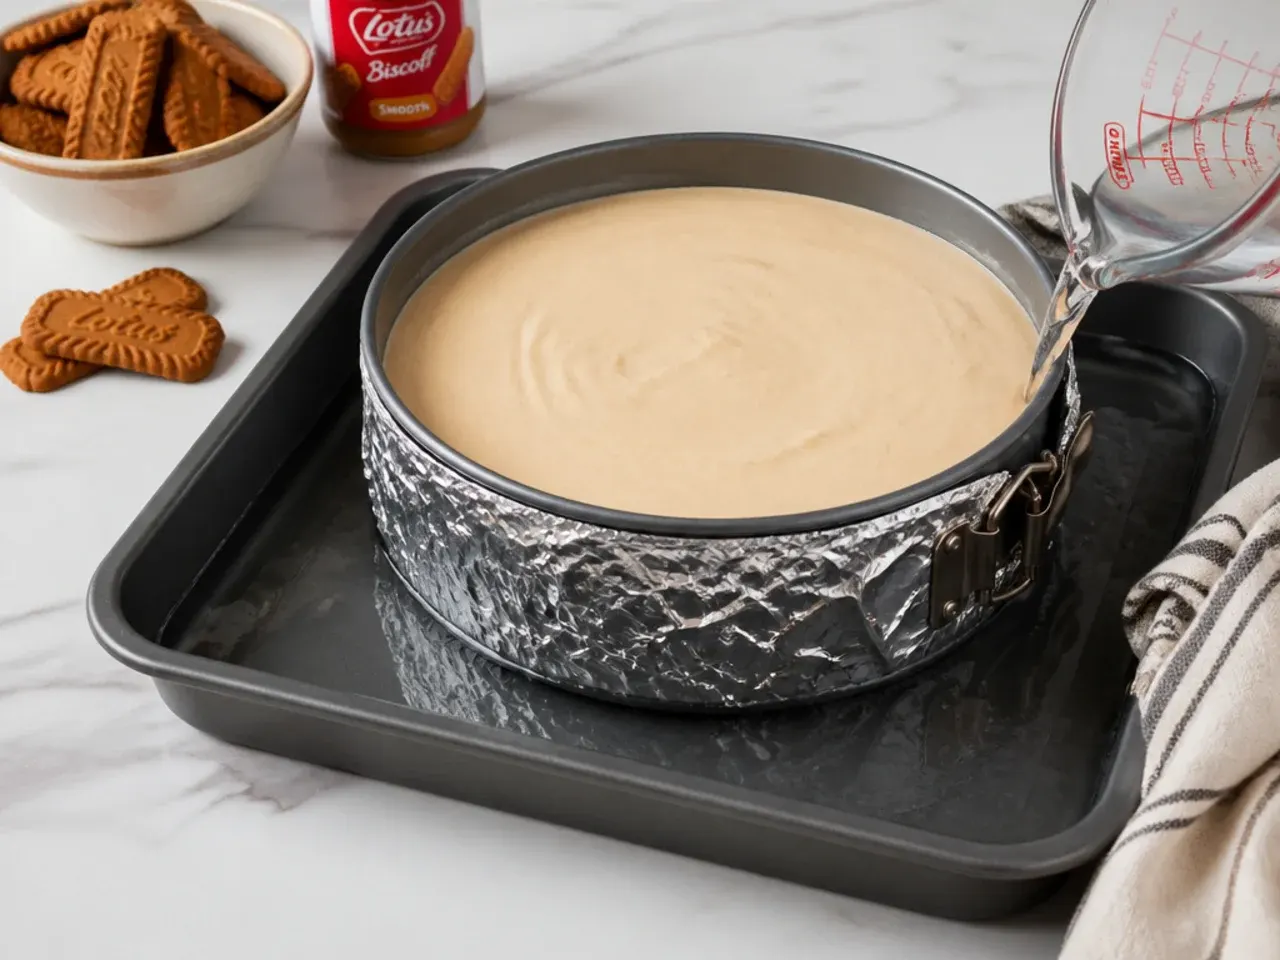
Pour the filling over the cooled crust and smooth the top. Tap the pan gently on the counter to release air bubbles. Bake at 160°C (320°F) for 55 to 65 minutes, until the outer edge is set but the middle 8cm still wobbles like set jelly when nudged. Do not let the top brown or crack.
Step 6: Cool gradually in the oven
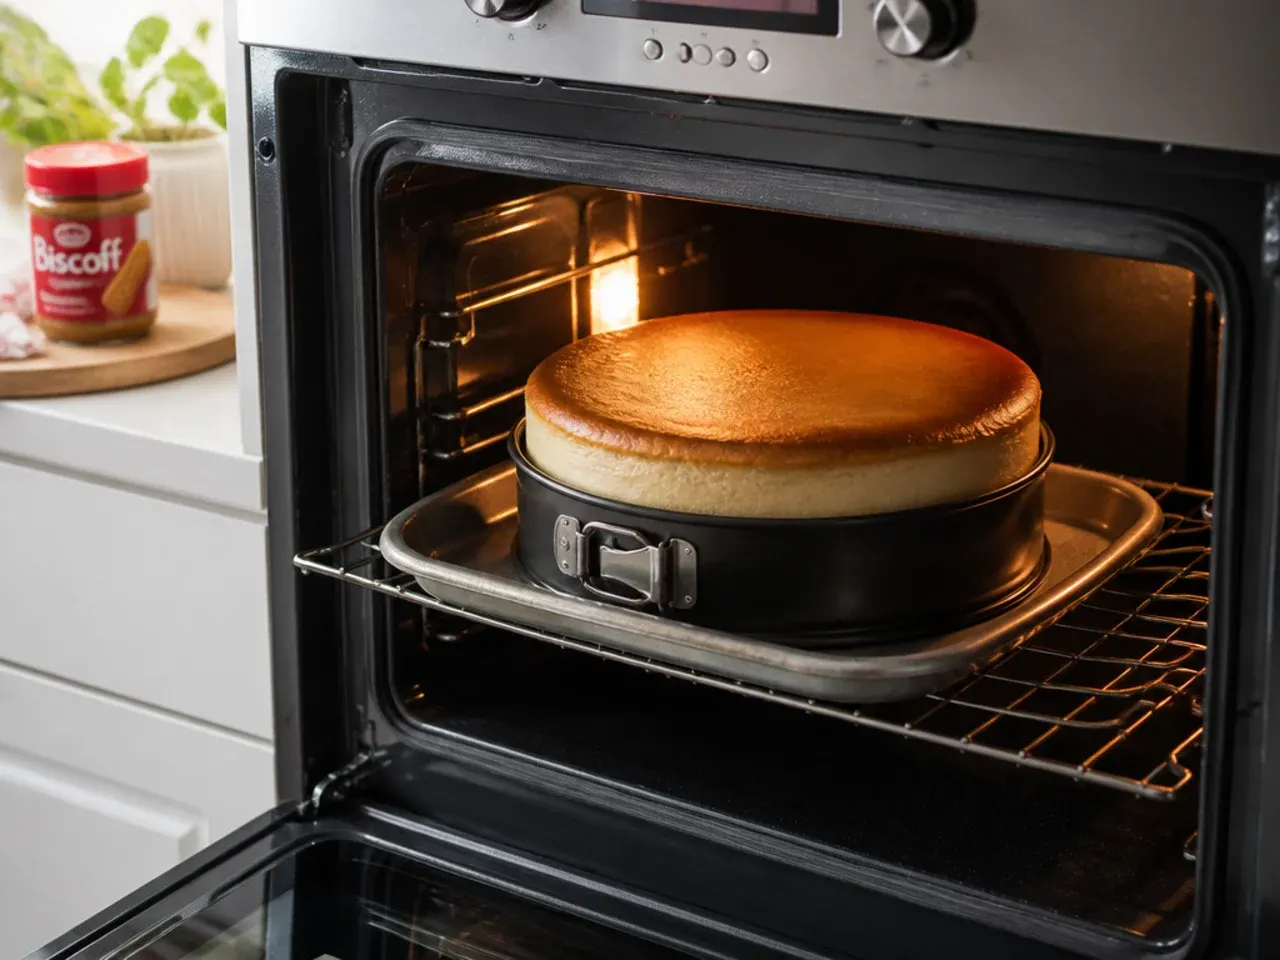
Turn the oven off, prop the door open with a wooden spoon, and leave the cheesecake inside for 1 hour to cool slowly. This gradual cool-down prevents the sudden temperature drop that causes cracks. Then remove it, let it reach room temperature, and refrigerate for at least 6 hours or ideally overnight.
Step 7: Add the Biscoff topping and serve
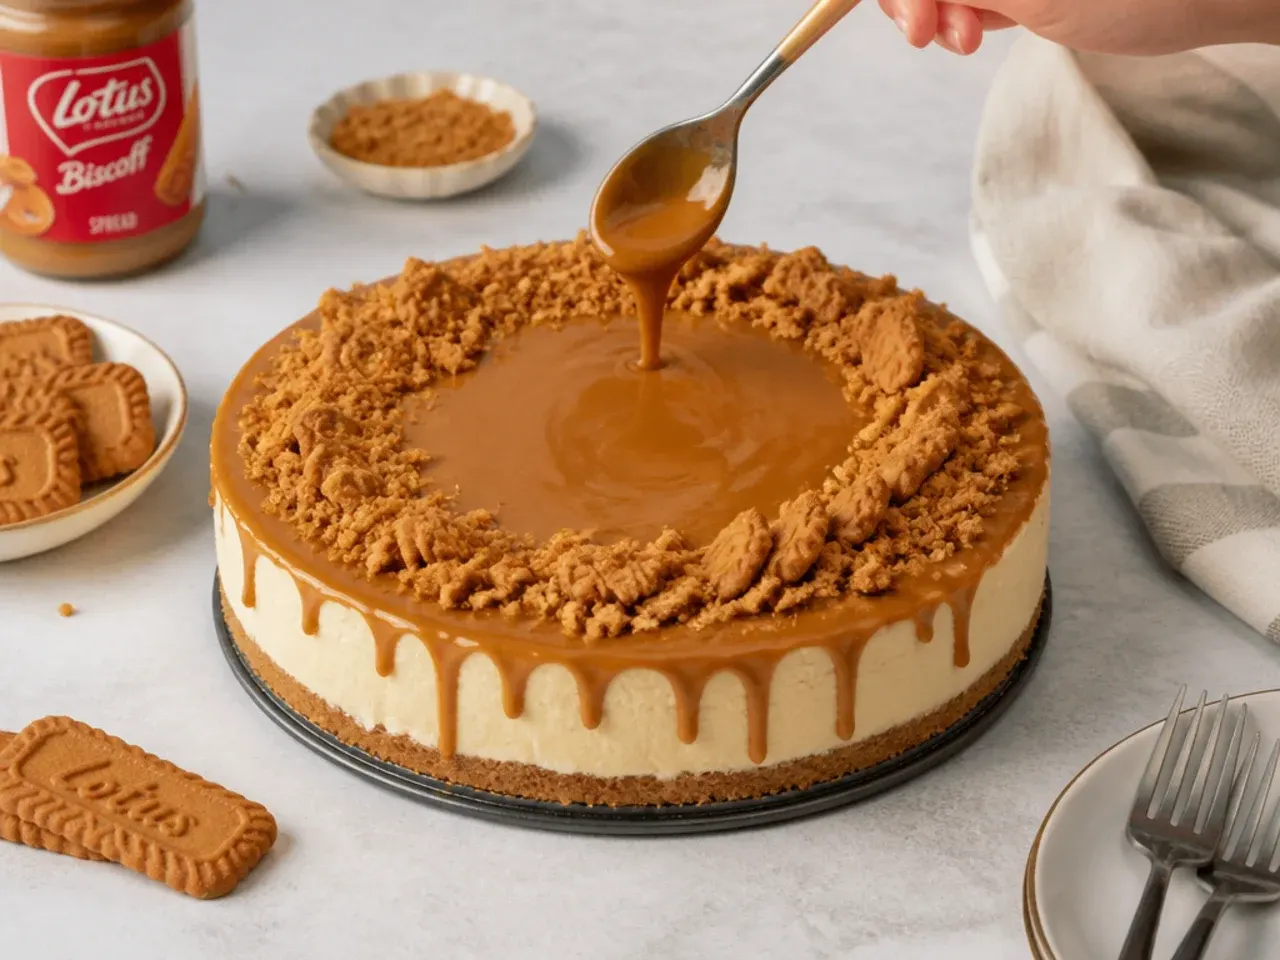
Once fully chilled, warm the extra 150g of Biscoff spread in the microwave for about 30 seconds until just pourable, then pour over the top and tilt the cake to spread it into a smooth, glossy mirror. Let it set in the fridge for 20 minutes. Run a hot knife around the edge, release the springform, and slice with a hot, dry knife for clean wedges.
Frequently Asked Questions
No, this recipe is designed to work without one. Baking low and slow at 160°C (320°F) and then cooling the cheesecake gradually in the switched-off oven does the same job of preventing cracks. If you want extra insurance, place a shallow tray of boiling water on the oven rack below the cheesecake for added humidity.
Save this for later 📌
Pin this article to your Pinterest board so the full list is one tap away when you need it.
Save on Pinterest