20 Easy Biscoff Cheesecake Cup Ideas
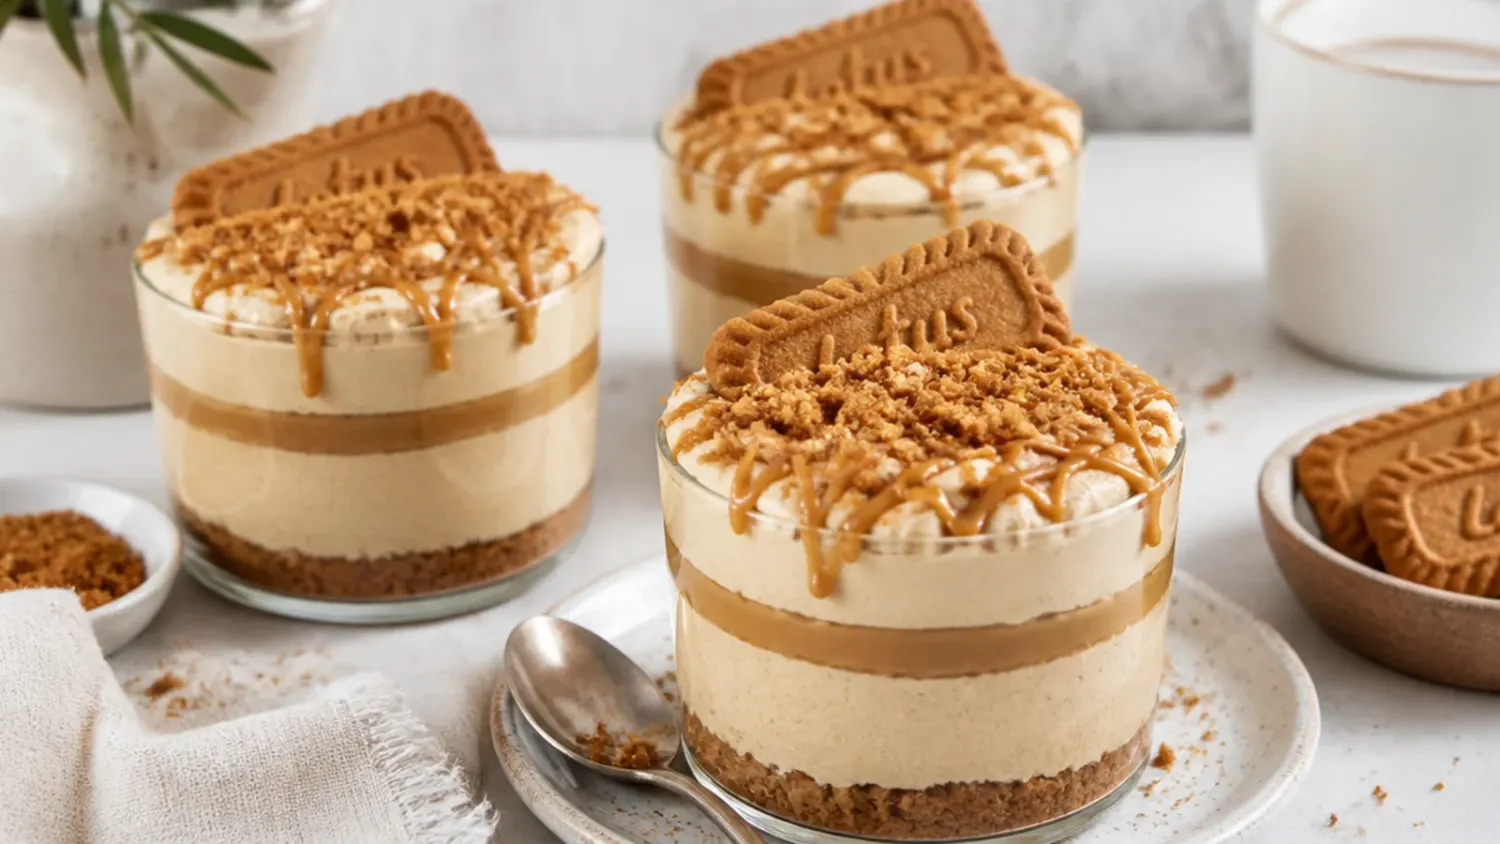
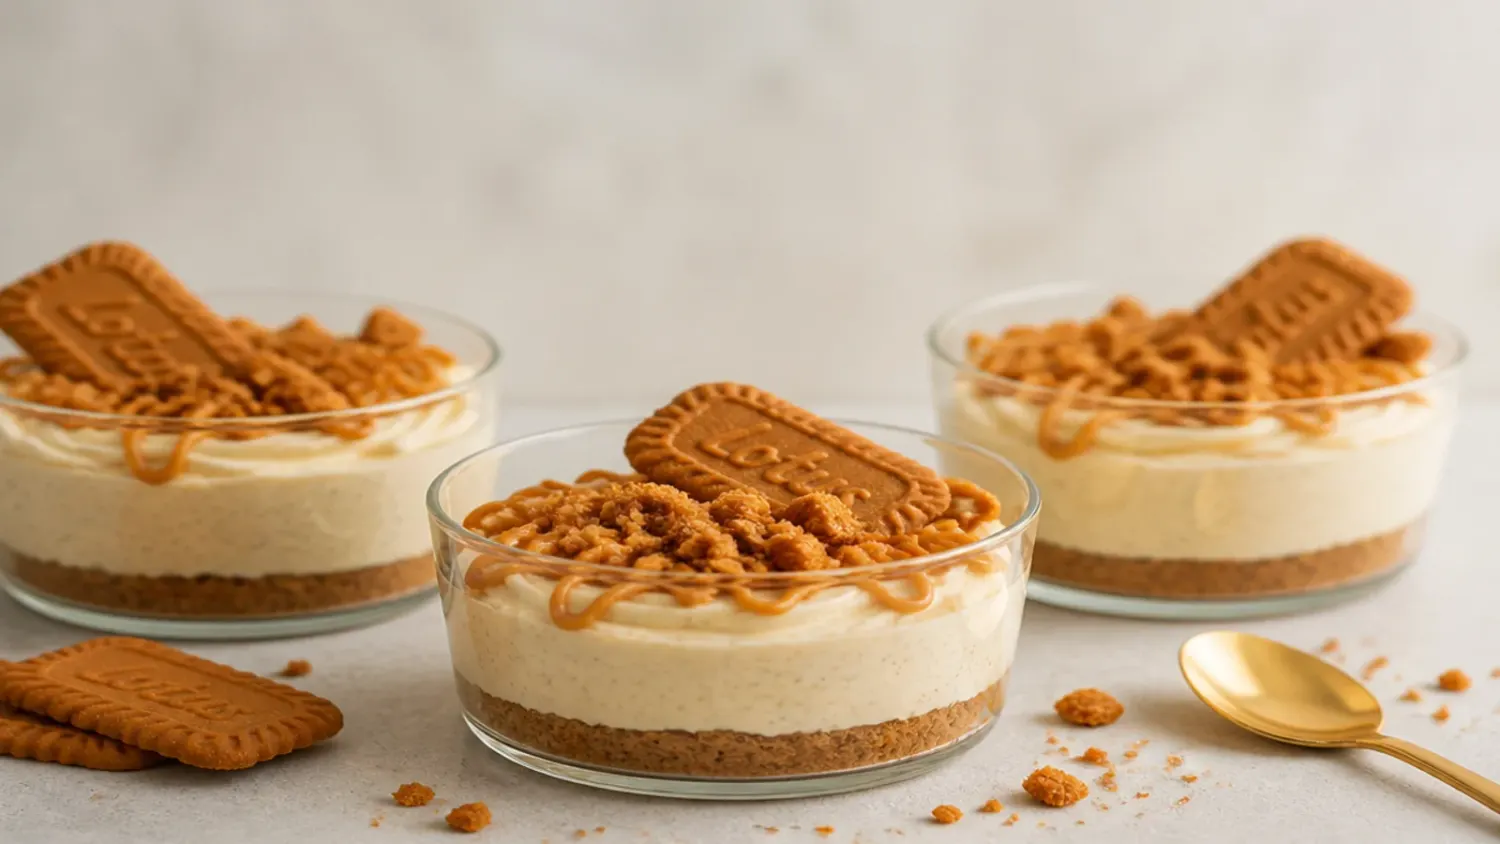
No-bake Biscoff cheesecake cups ready in 25 minutes, plus 20 easy variations — salted caramel, banoffee, baked ramekins, and freezer-friendly bites. If you love biscoff cheesecake inspiration, start with our Biscoff Cheesecake Recipes collection, then browse the full Desserts hub for more.
Save this for later 📌
Pin this article to your Pinterest board so the full list is one tap away when you need it.
Save on PinterestDesserts
Beginner
Recipes
20 ideas
Table of Contents
- Why You'll Love These
- 1. Classic Layered Biscoff Cheesecake Cups
- 2. 3-Ingredient Biscoff Cheesecake Shots
- 3. Salted Caramel Biscoff Cheesecake Cups
- 4. Biscoff Banoffee Cheesecake Cups
- 5. Chocolate Ganache Biscoff Cheesecake Cups
- 6. Biscoff Apple Crumble Cheesecake Jars
- 7. Raspberry Swirl Biscoff Cheesecake Cups
- 8. Minimal Two-Layer Biscoff Pots
- 9. Festive Gingerbread Biscoff Cheesecake Cups
- 10. Frozen Biscoff Cheesecake Sundae Cups
- 11. Espresso Biscoff Tiramisu Cups
- 12. White Chocolate Biscoff Mousse Cups
- 13. Vintage Biscoff Trifle Cups
- 14. Brownie Bottom Biscoff Cheesecake Cups
- 15. Mini Biscoff Cheesecake Bites in Liners
- 16. Baked Biscoff Cheesecake Cups
- 17. 4-Ingredient Condensed Milk Biscoff Cups
- 18. Biscoff Mascarpone Parfait Cups
- 19. Biscoff S'mores Cheesecake Cups
- 20. High-Protein Greek Yogurt Biscoff Cups
- Pro Tips
- Serving Suggestions
- Storage and Reheating
Why You'll Love These
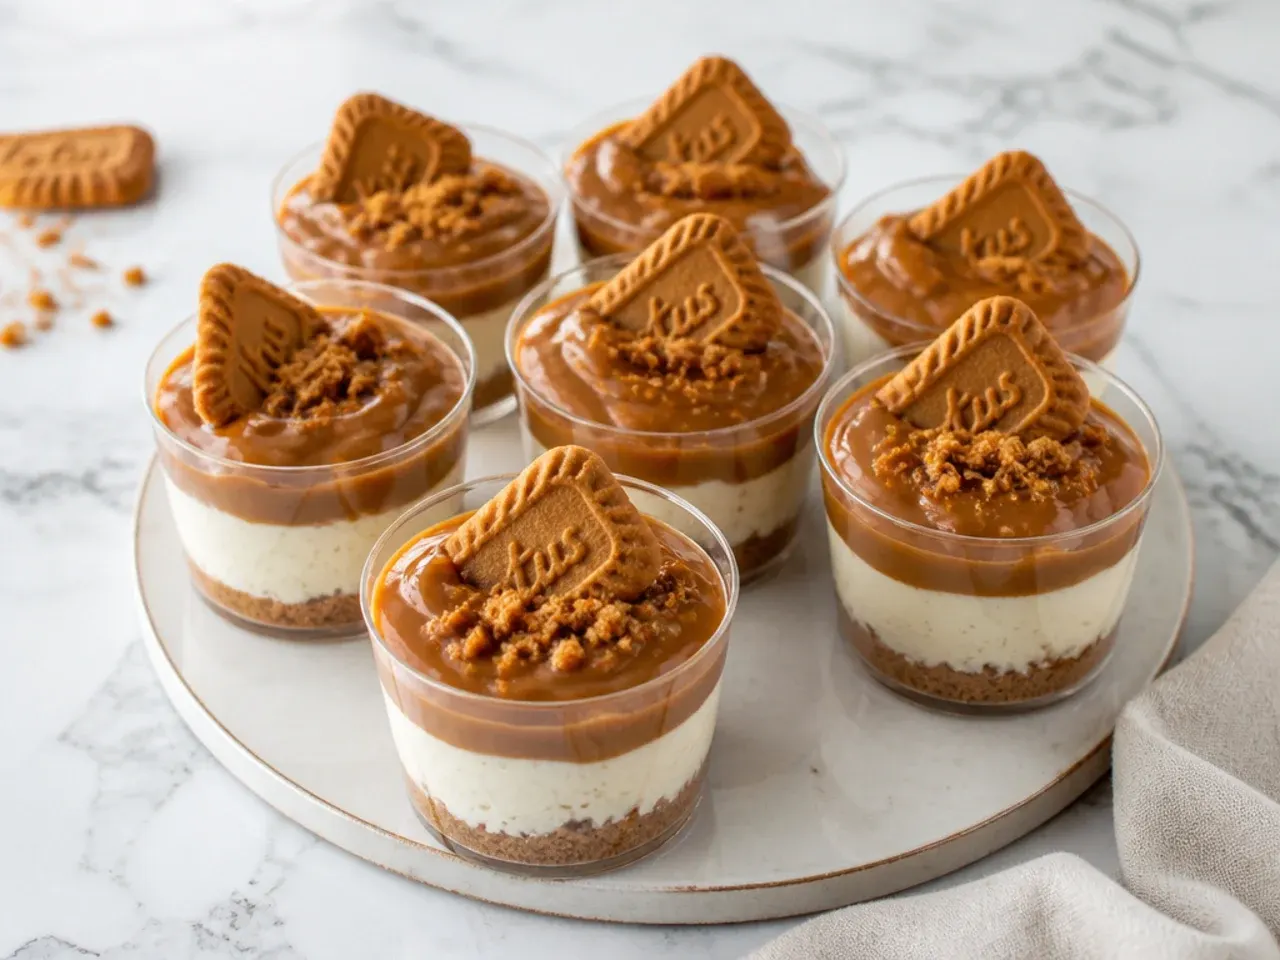
There is no oven, no water bath and no springform pan involved — the whole base recipe comes together in about 25 minutes with one mixing bowl and an electric hand mixer. Each cup is pre-portioned, so there is no messy slicing, and they travel well to parties and potlucks. The base recipe scales easily too: the same filling fills six 200ml tumblers, twelve shot glasses or twenty-four mini liners. You can make them up to 2 days ahead, which makes them one of the most stress-free dinner-party desserts around. And because Biscoff biscuits and spread carry all the flavour, you only need 8 ingredients from a regular supermarket.
1. Classic Layered Biscoff Cheesecake Cups
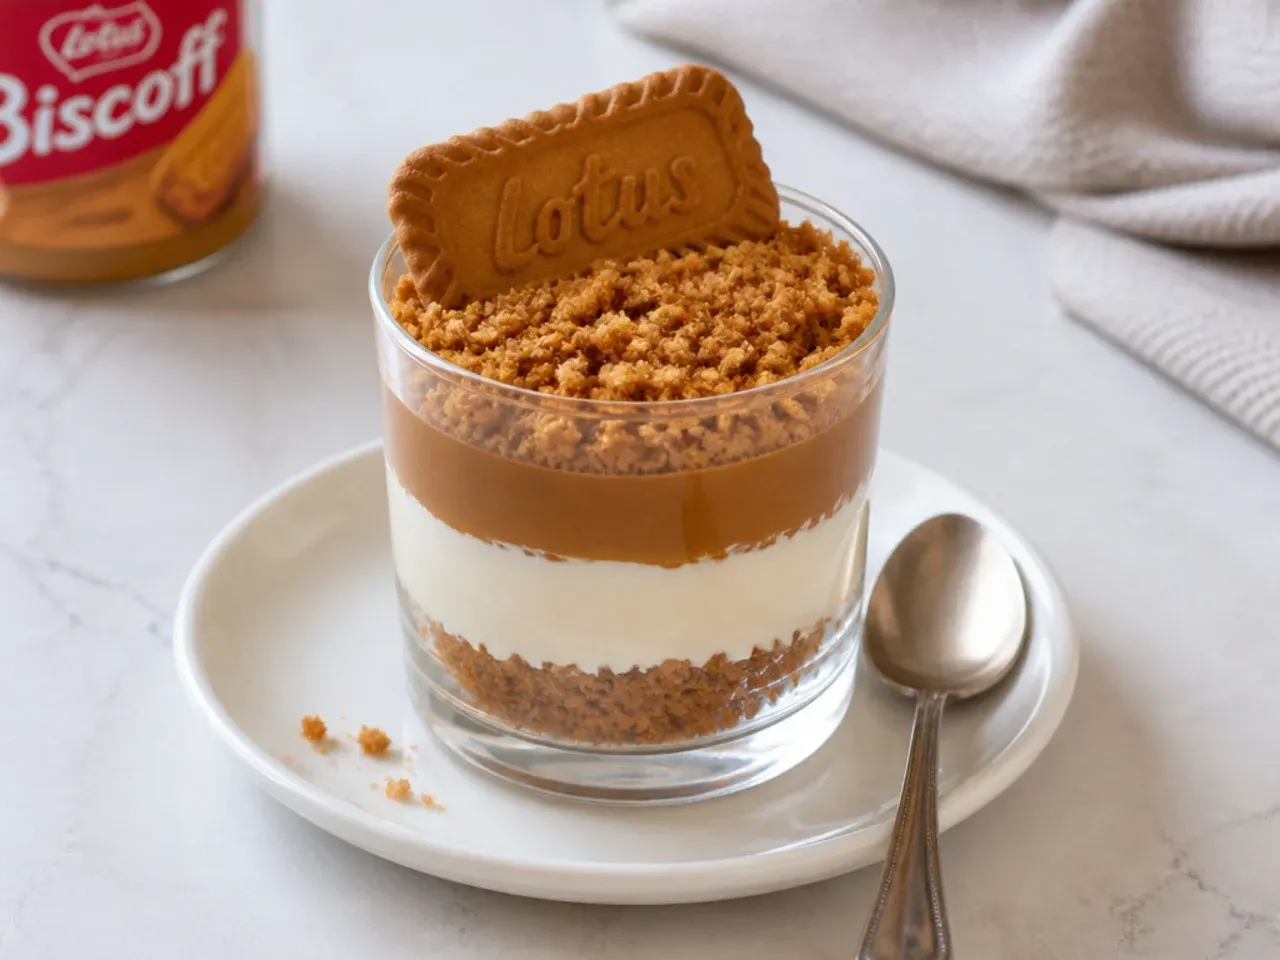
This is the base recipe served exactly as written: a buttery Biscoff crumb layer, a whipped cookie butter cheesecake filling and a thin cap of melted Biscoff spread. Press 2 tablespoons of the crumb mixture into each 200ml glass tumbler, pipe the filling in with a Wilton 1A round tip and finish with the melted spread. Chill for at least 4 hours so the filling firms up and the topping sets to a soft fudge texture. Garnish each cup with half a Biscoff biscuit pushed upright into the filling just before serving so it stays crisp.
2. 3-Ingredient Biscoff Cheesecake Shots
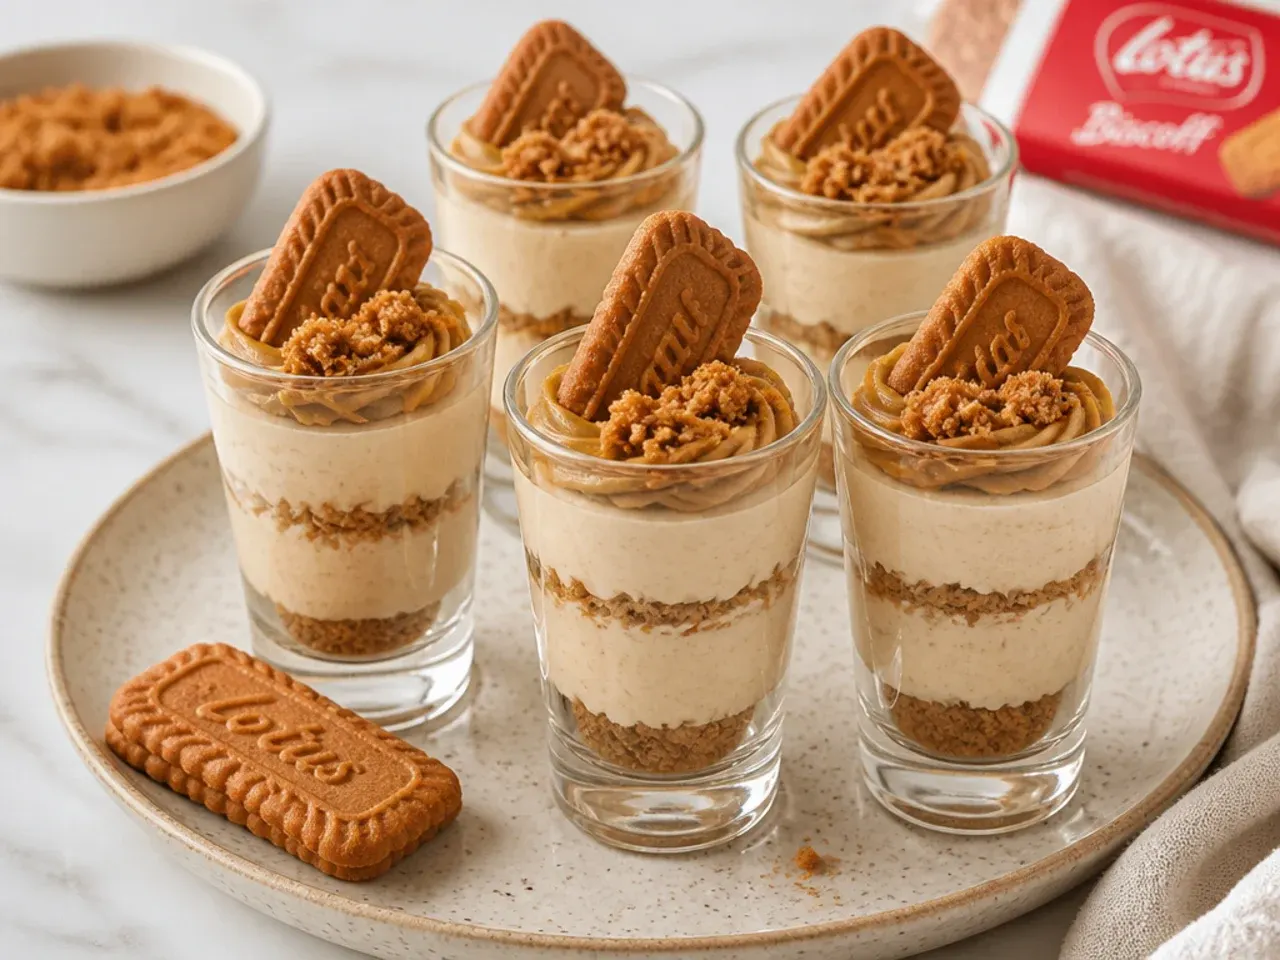
When you need dessert in an hour, whip 180ml of cold double cream to stiff peaks and fold it into 200g of cream cheese beaten with 125g of Biscoff spread — no sugar or vanilla needed because the spread is sweet enough on its own. Spoon the mixture over crushed biscuits in 60ml shot glasses. The tiny portions set in the fridge in about 1 hour instead of 4, which is why small glasses are the ultimate shortcut. One batch fills 10 to 12 shot glasses, ideal for a party dessert table.
3. Salted Caramel Biscoff Cheesecake Cups
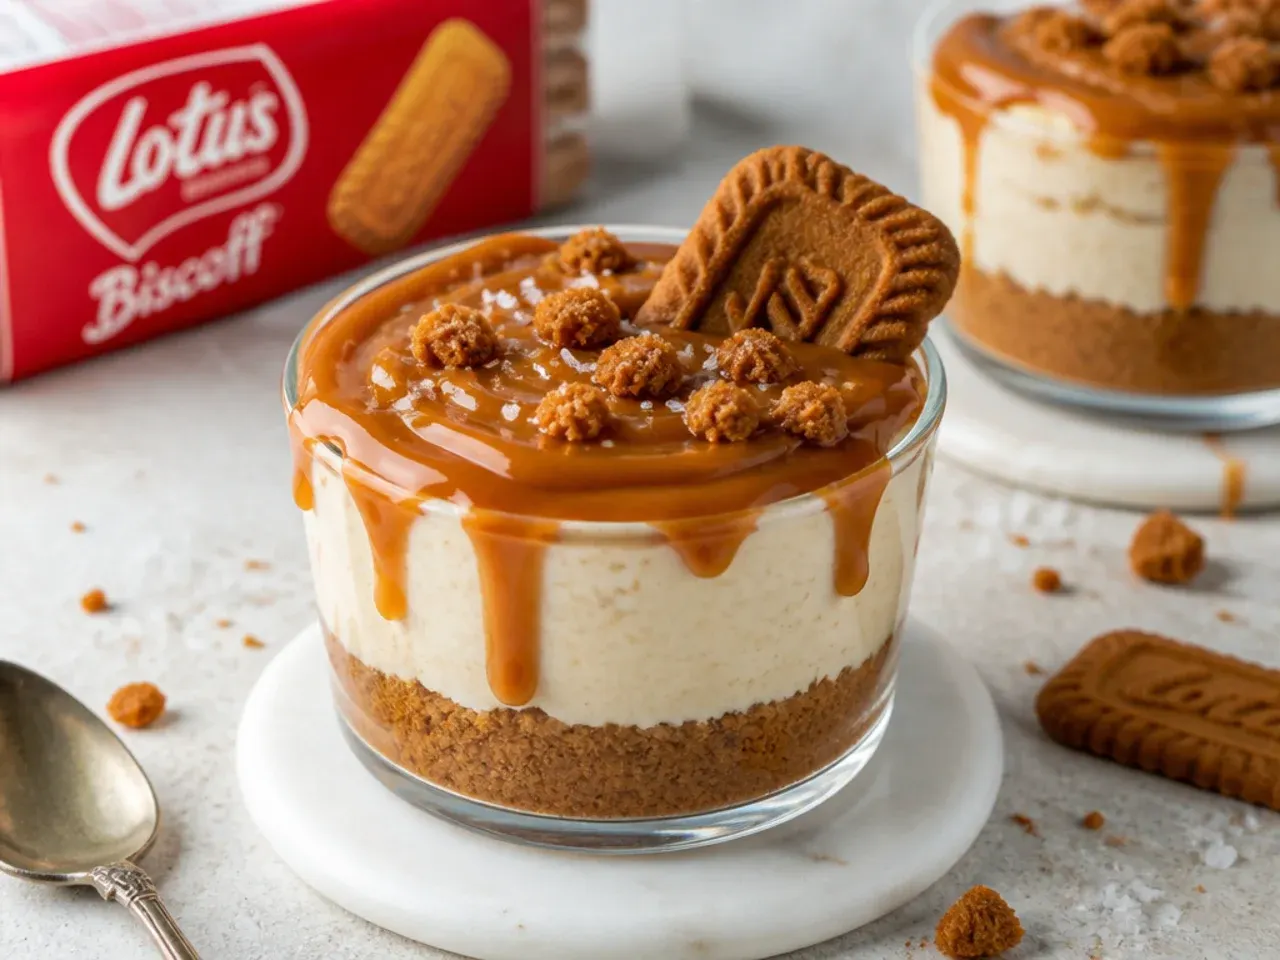
Spoon 1 tablespoon of thick salted caramel sauce over the biscuit base before piping in the filling, then finish the set cups with a caramel drizzle and a small pinch of flaky sea salt. The salt sharpens Biscoff's caramelised, cinnamon-spiced flavour and stops the cups from tasting one-note sweet. Chill the caramel layer for 10 minutes before adding the filling so the two layers stay clean and distinct. Shop-bought caramel works well, but choose a thick dulce de leche style rather than a runny ice cream sauce, which will bleed into the cheesecake.
4. Biscoff Banoffee Cheesecake Cups
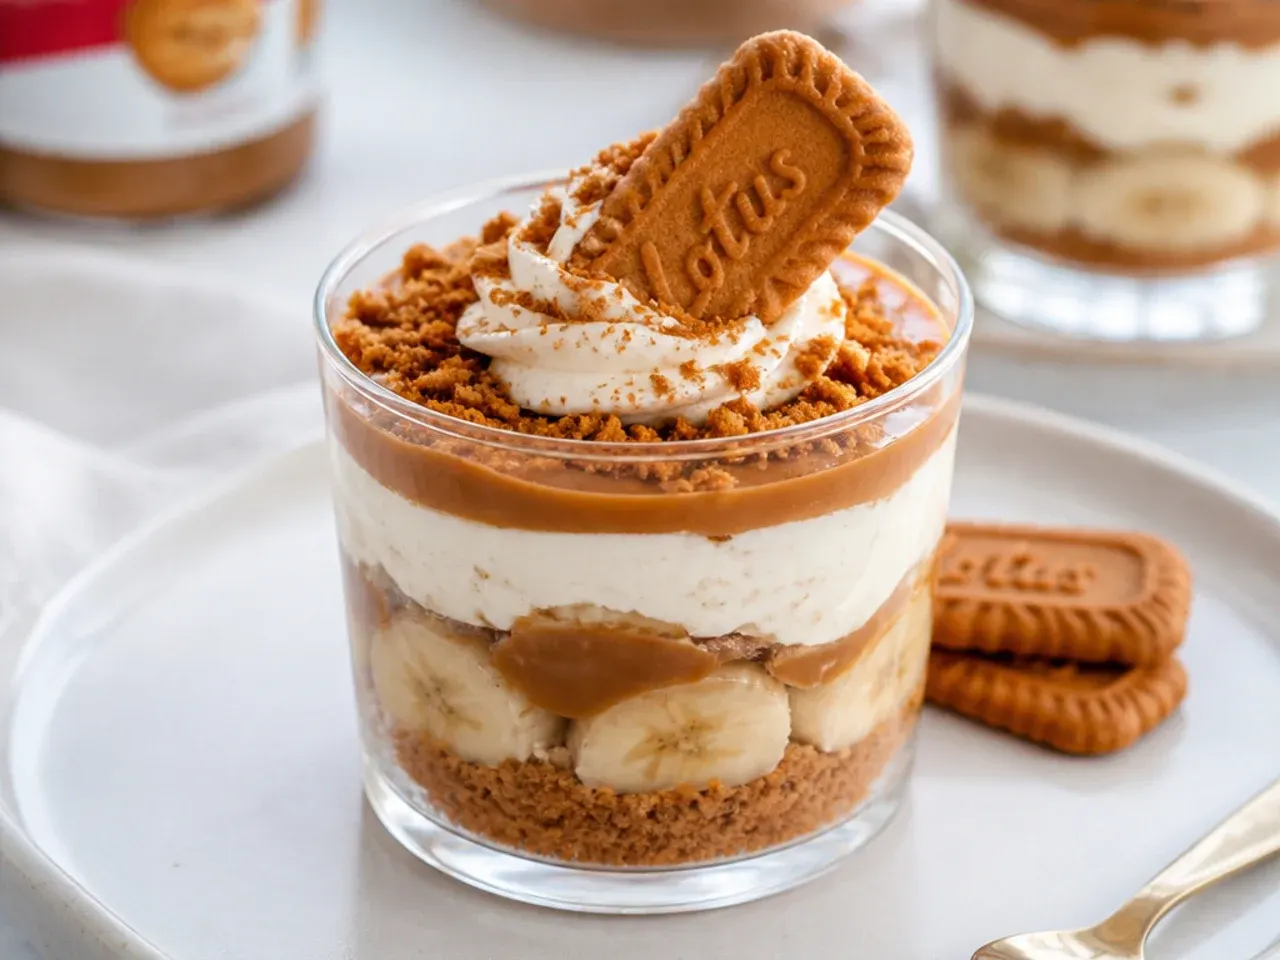
Layer thin banana slices and a tablespoon of dulce de leche over the crumb base, then pipe the cheesecake filling on top and finish with whipped cream and a dried banana chip. Banana, toffee and speculoos spice is a classic banoffee pie combination, and the cheesecake layer makes it sturdier than the usual cream-only version. Toss the banana slices in a teaspoon of lemon juice first to slow the browning. These are best eaten within 24 hours of assembly, so save this idea for a same-day dessert.
5. Chocolate Ganache Biscoff Cheesecake Cups
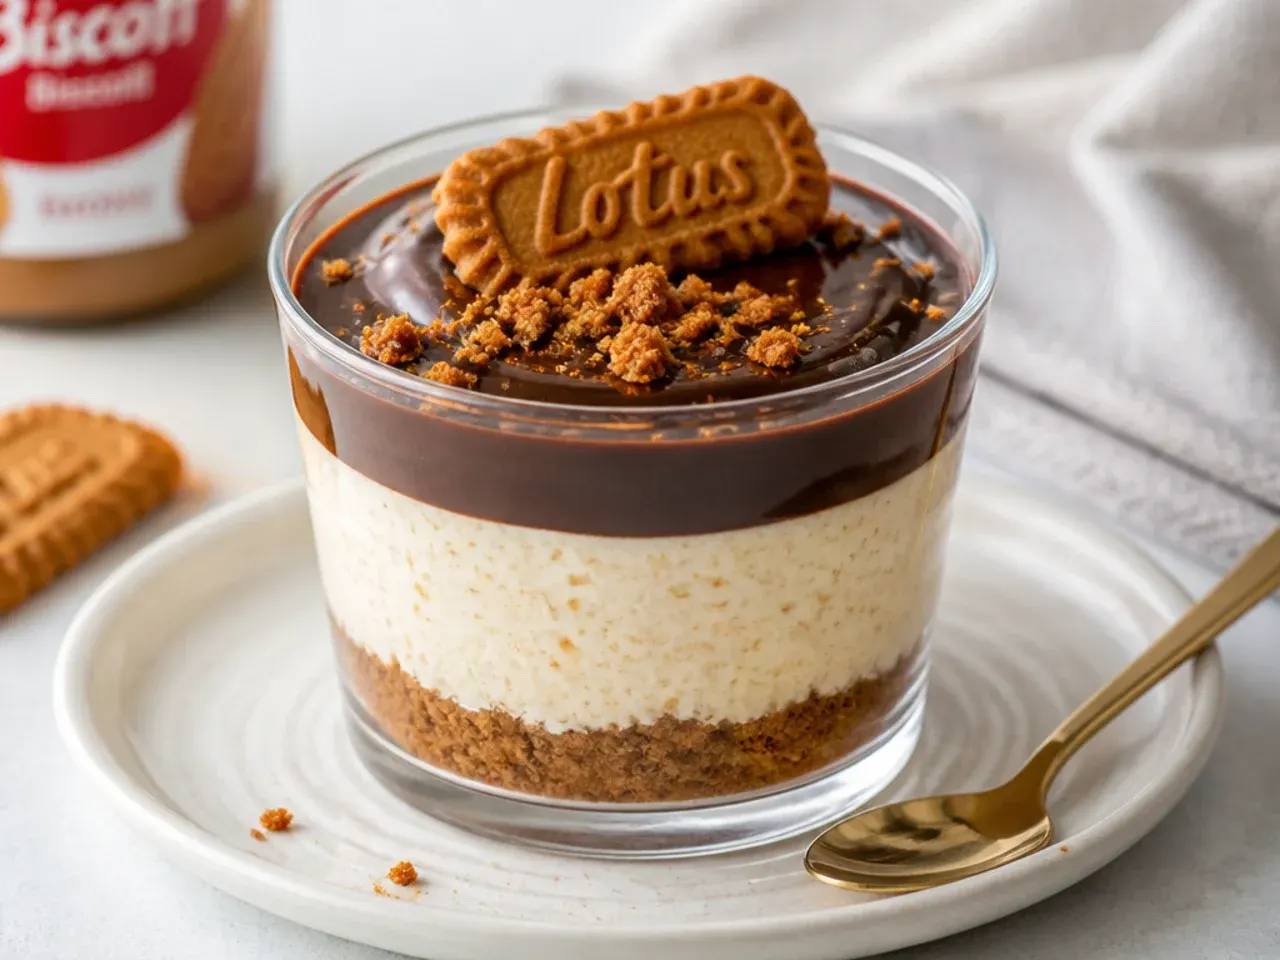
Once the filling has chilled for 2 hours, pour a thin layer of dark chocolate ganache over each cup instead of melted spread. Make the ganache by pouring 100ml of hot double cream over 100g of chopped 50-60% dark chocolate, resting it for 2 minutes, then stirring smooth — that cocoa percentage is bitter enough to balance the sweet filling without overpowering it. Cool the ganache for 5 minutes before pouring so it does not melt the cheesecake, then chill 20 more minutes to set. The sharp, glossy chocolate line against the pale filling looks bakery-level through glass cups.
Save this for later 📌
Pin this article to your Pinterest board so the full list is one tap away when you need it.
Save on Pinterest6. Biscoff Apple Crumble Cheesecake Jars
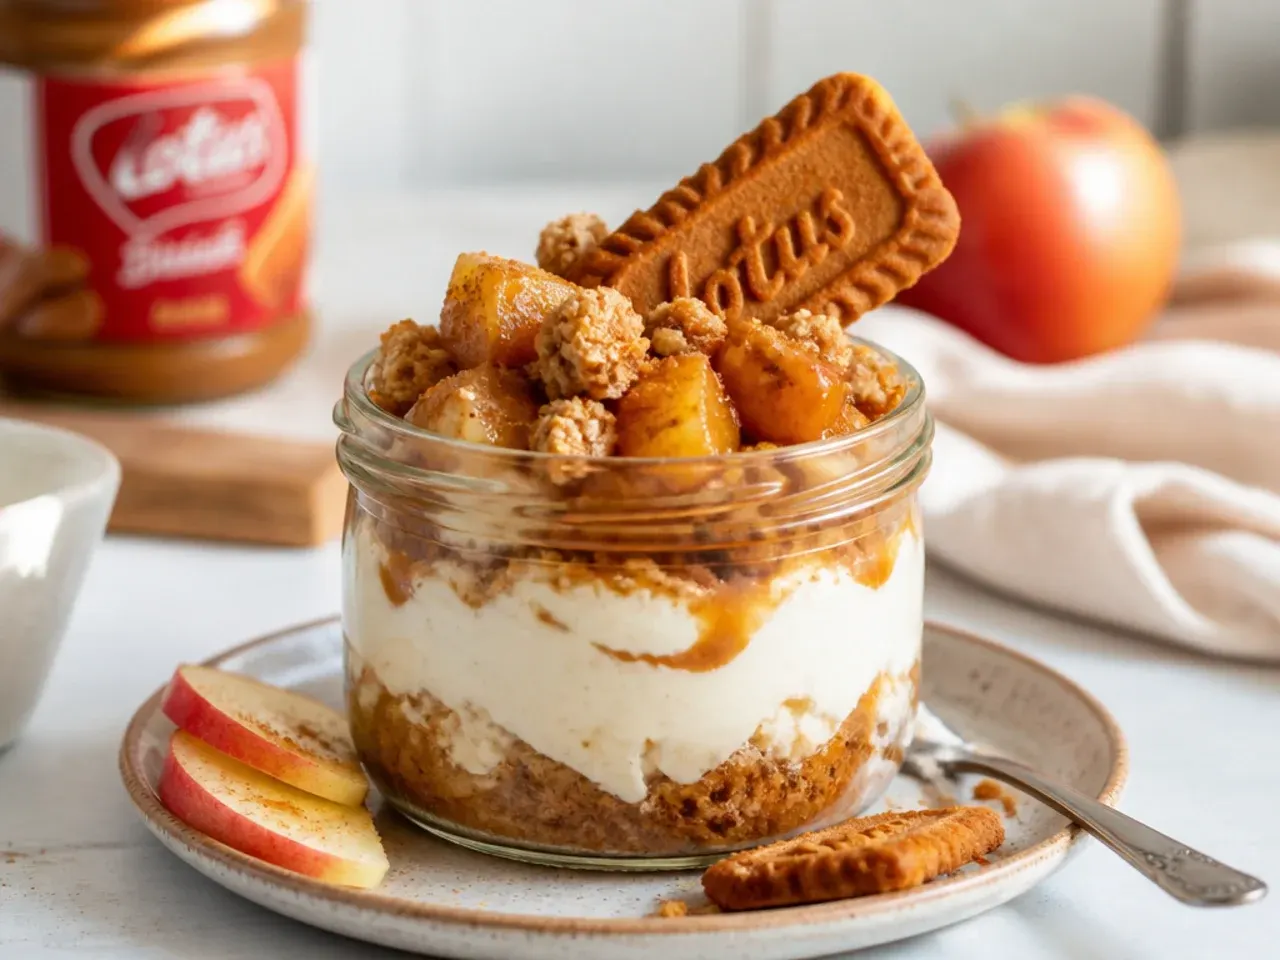
Sauté one diced apple in 15g of butter with 1 tablespoon of brown sugar and half a teaspoon of cinnamon for 5 minutes until soft, cool it completely, then layer it between the crumb base and the filling in 250ml mason jars. Warm spiced apple against cold, creamy cheesecake is pure autumn comfort, and the jar lids make these genuinely portable. Top with a quick crumble: toast 30g of oats with 15g of butter and 1 tablespoon of brown sugar in a dry frying pan for 3-4 minutes until golden. Add the crumble just before serving so it stays crunchy.
7. Raspberry Swirl Biscoff Cheesecake Cups
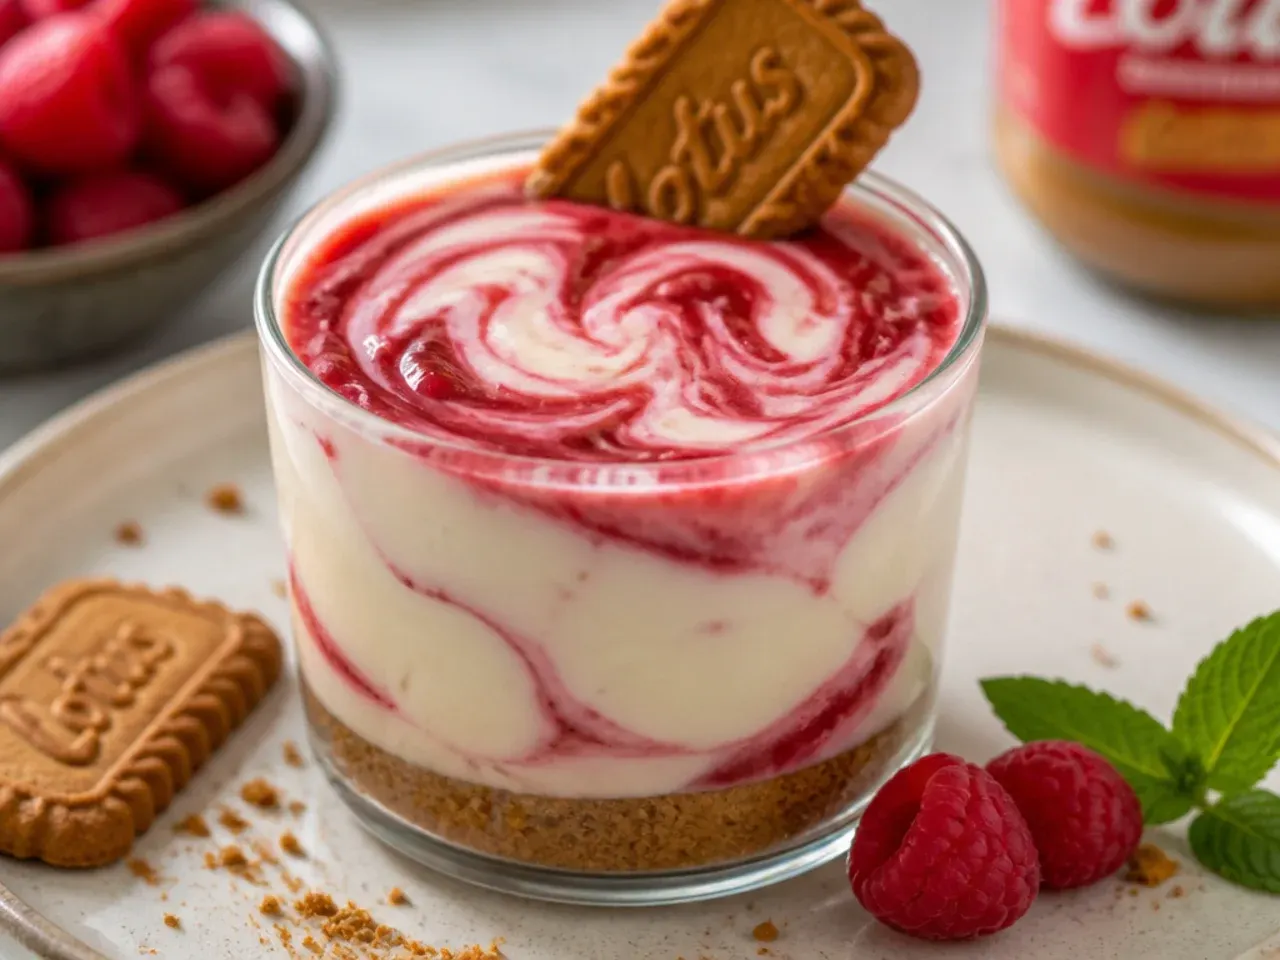
Simmer 150g of raspberries with 2 tablespoons of sugar for 5 minutes, sieve out the seeds and cool the coulis, then drop a teaspoon onto each filled cup and drag a skewer through it in a figure-eight. The sharp red swirl looks striking against the caramel-coloured filling, and the fruit's acidity cuts through the rich cookie butter. Keep the coulis thick — if it pours like water, simmer it 2 minutes longer — or it will sink instead of swirling. Finish each cup with one fresh raspberry and a small mint leaf.
8. Minimal Two-Layer Biscoff Pots
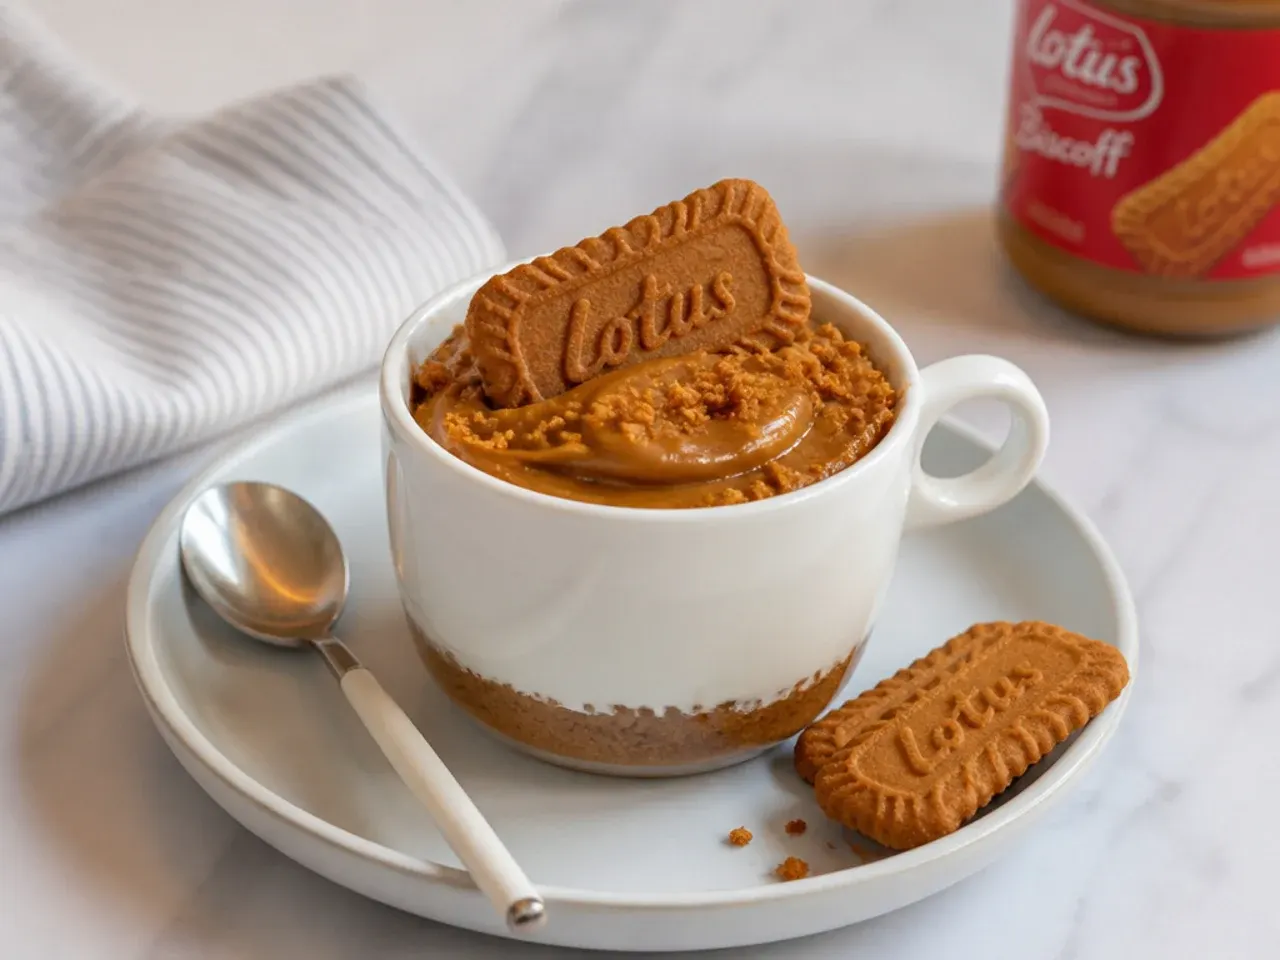
Skip the biscuit base entirely and pipe the filling straight into small espresso cups or ramekins, then top with a thin, mirror-smooth layer of melted Biscoff spread. Fewer layers means a faster dessert and a clean, restaurant-style look that suits a dinner party. Let the melted spread cool for 2 minutes, pour about 1 tablespoon into the centre of each cup and tilt the cup in a slow circle so the spread flows to the edges without streaks. Serve with nothing but a single Biscoff biscuit balanced on the saucer.
9. Festive Gingerbread Biscoff Cheesecake Cups
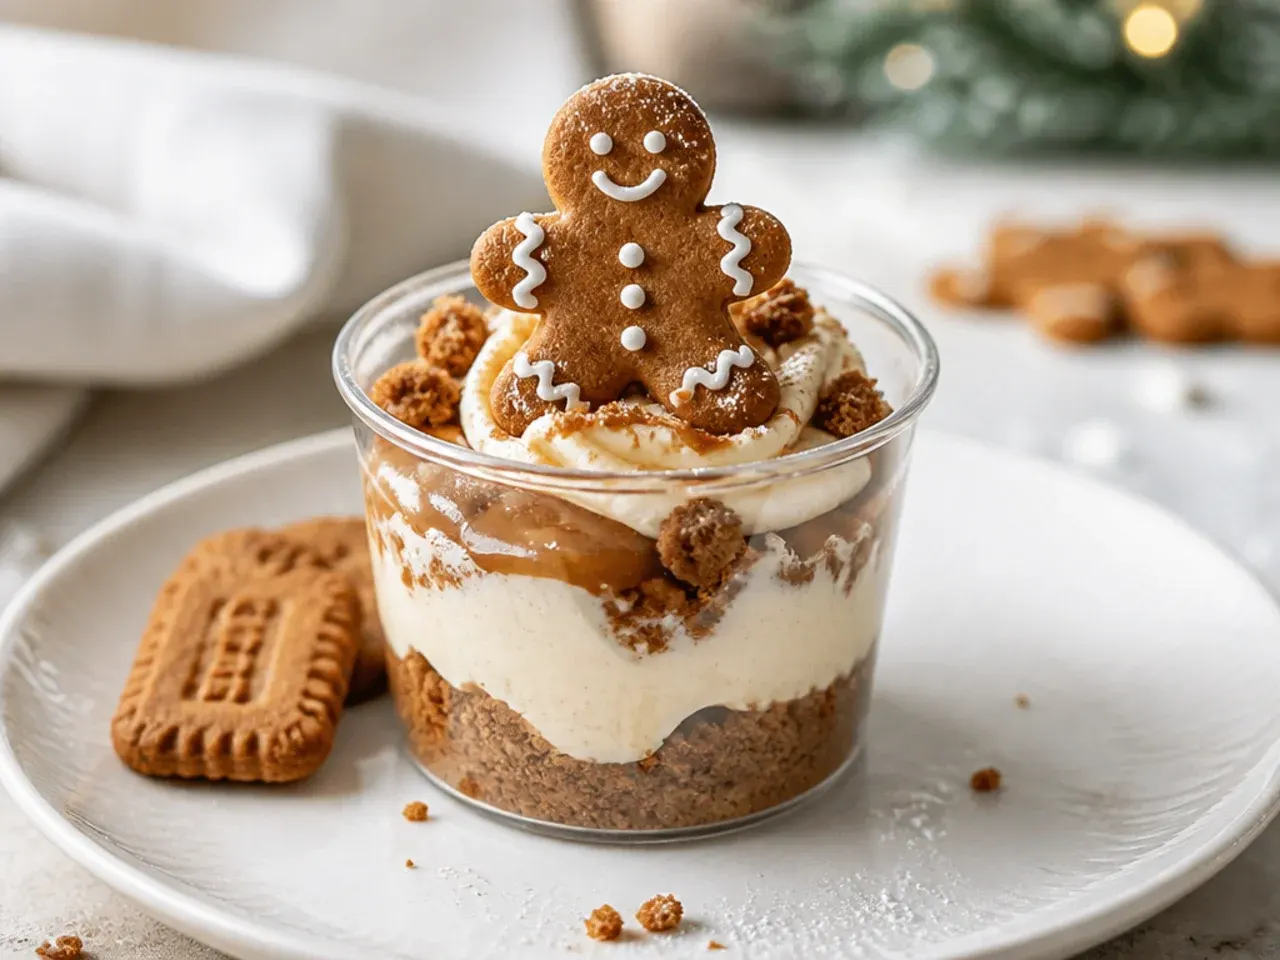
Beat half a teaspoon of ground ginger and a quarter teaspoon of mixed spice into the filling, and swap half the Biscoff biscuits in the base for crushed gingernuts. The extra ginger heat deepens the speculoos spices already in the biscuits, so the cups taste unmistakably like Christmas. Pipe a swirl of whipped cream onto each set cup and stand a mini gingerbread man upright in it. A dusting of icing sugar snow through a fine sieve finishes the festive look in seconds.
10. Frozen Biscoff Cheesecake Sundae Cups
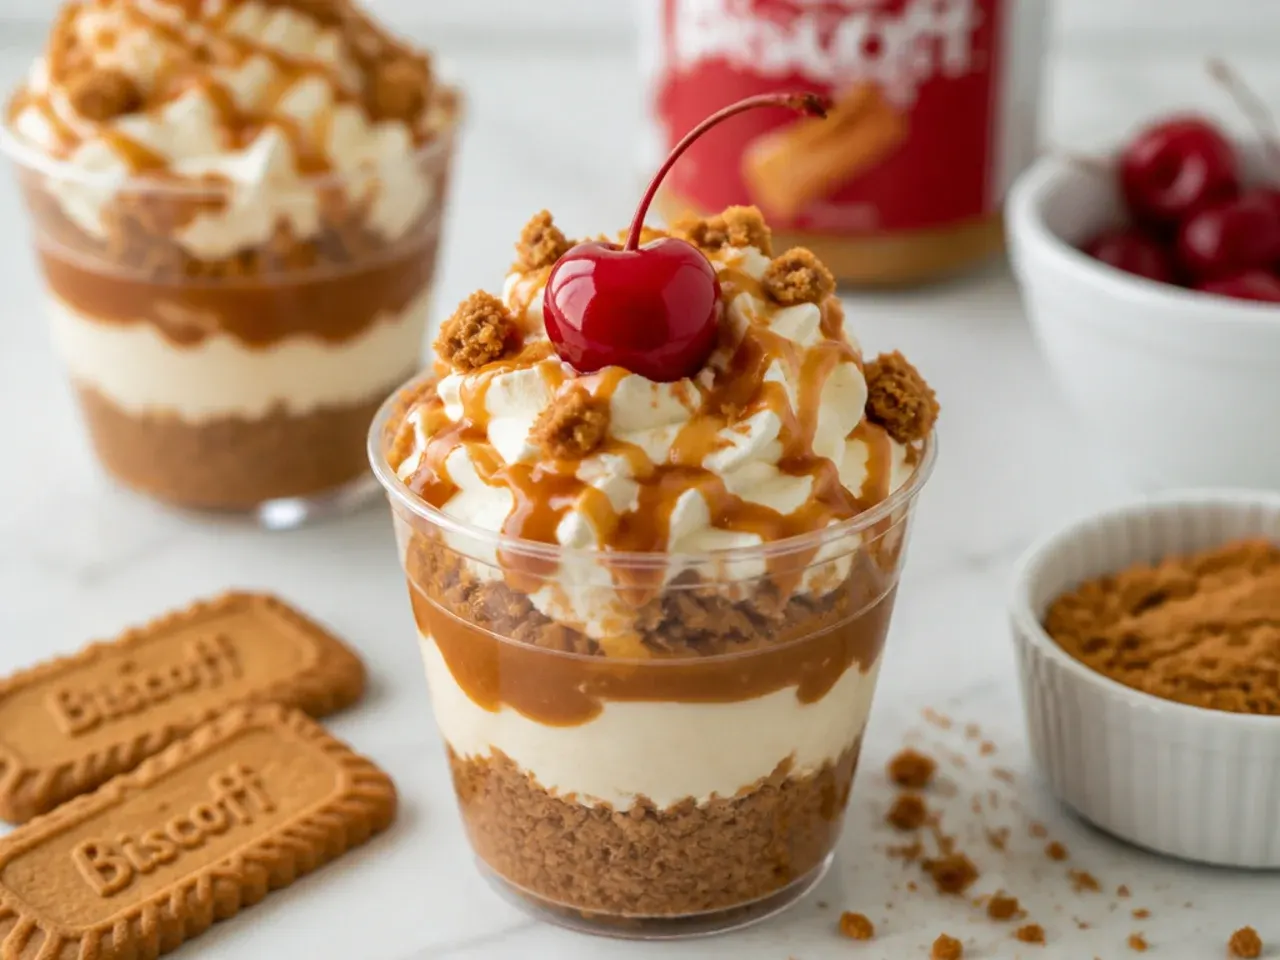
Assemble the cups as normal, then freeze them for 3-4 hours to turn the filling into a texture halfway between cheesecake and ice cream. Individual cups freeze far better than a whole cheesecake because the small portions freeze quickly and evenly, avoiding the grainy thawed texture bakers warn about. Pull them out 10 minutes before serving so a spoon glides through, then top with whipped cream, a warm Biscoff spread drizzle and a cherry. This is the make-ahead summer dessert that will not slump in the heat within minutes.
Save this for later 📌
Pin this article to your Pinterest board so the full list is one tap away when you need it.
Save on Pinterest11. Espresso Biscoff Tiramisu Cups
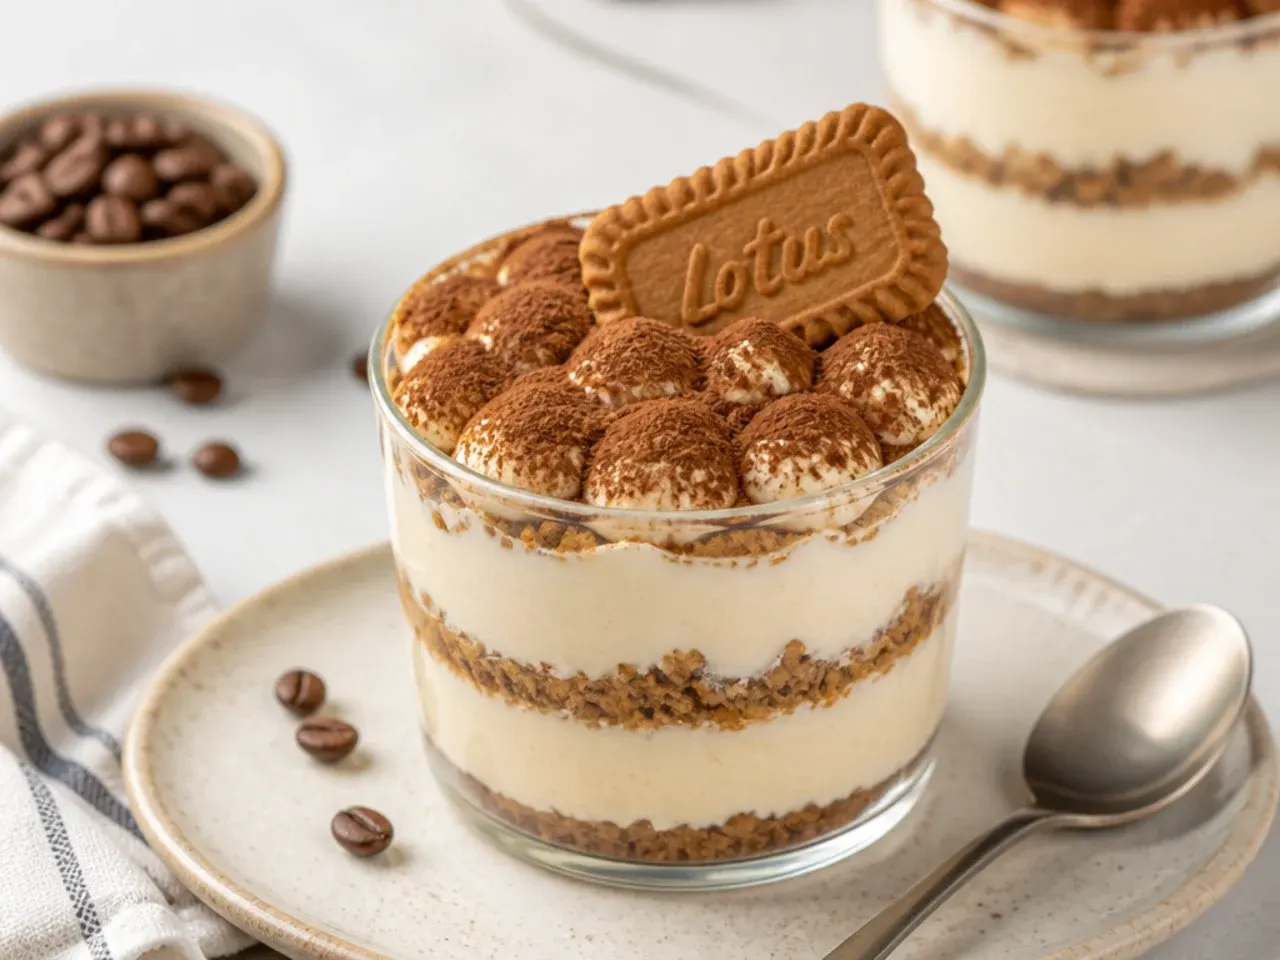
Dip whole Biscoff biscuits into 60ml of cooled espresso for 1-2 seconds per side and layer them like ladyfingers between two layers of filling, then dust the tops with cocoa powder through a fine sieve. Coffee's bitterness is the best counter to Biscoff's sweetness, which is exactly why this pairing keeps showing up on café menus. Do not soak the biscuits longer than a couple of seconds — they are thinner than ladyfingers and turn to mush fast. Chill for at least 4 hours so the biscuits soften into a cake-like layer.
12. White Chocolate Biscoff Mousse Cups
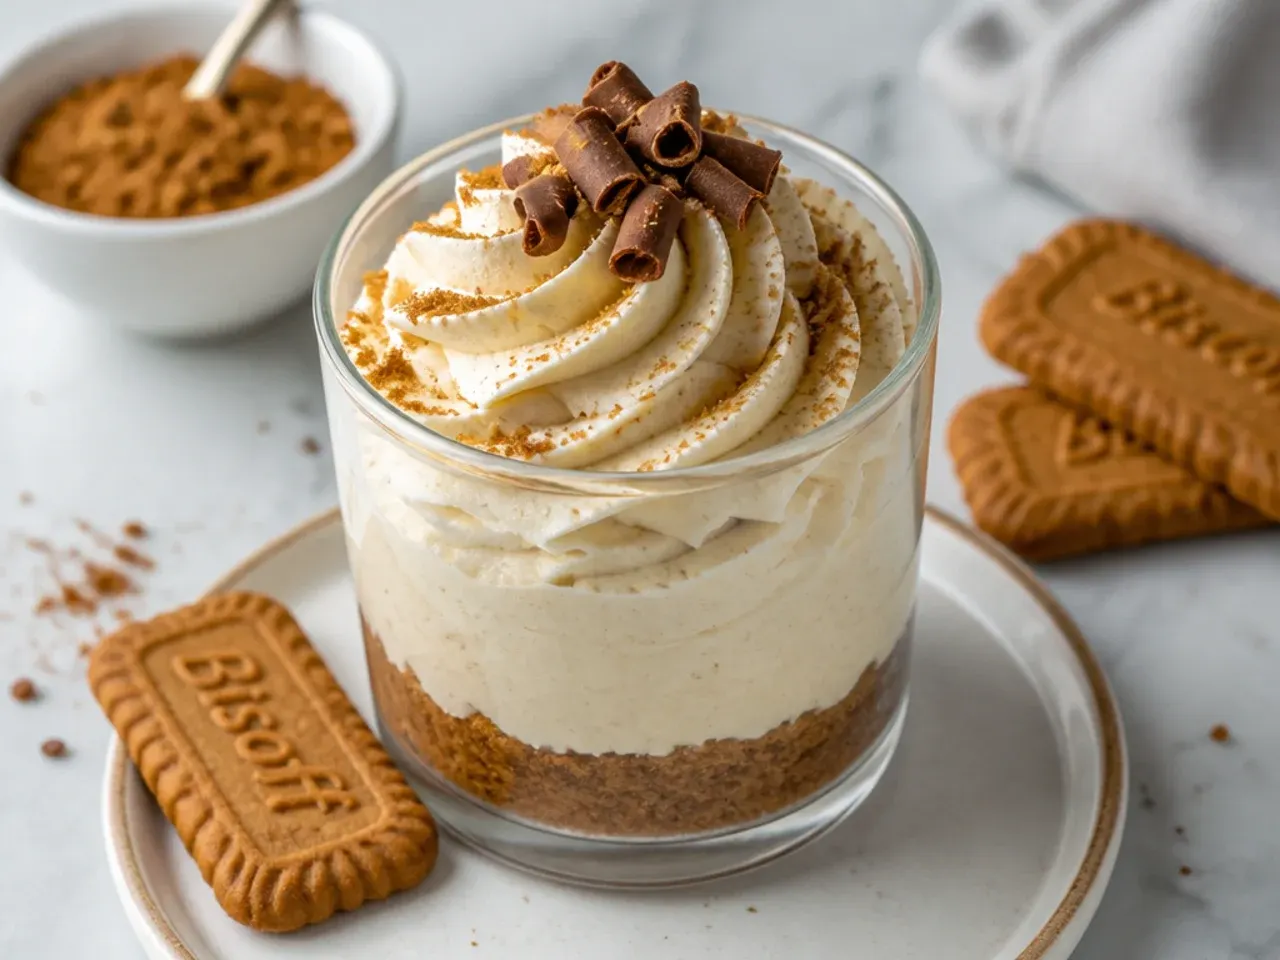
Melt 100g of white chocolate, cool it for 5 minutes, then beat it into the cream cheese mixture before folding in the cream, cutting the icing sugar down to 2 tablespoons since white chocolate is already very sweet. The cocoa butter firms the filling slightly as it chills, giving a silkier, mousse-like set that holds sharp piping lines. Pipe tall rosettes with a Wilton 1M star tip for a delicate patisserie look. Decorate with white chocolate curls shaved straight off the block with a vegetable peeler.
13. Vintage Biscoff Trifle Cups
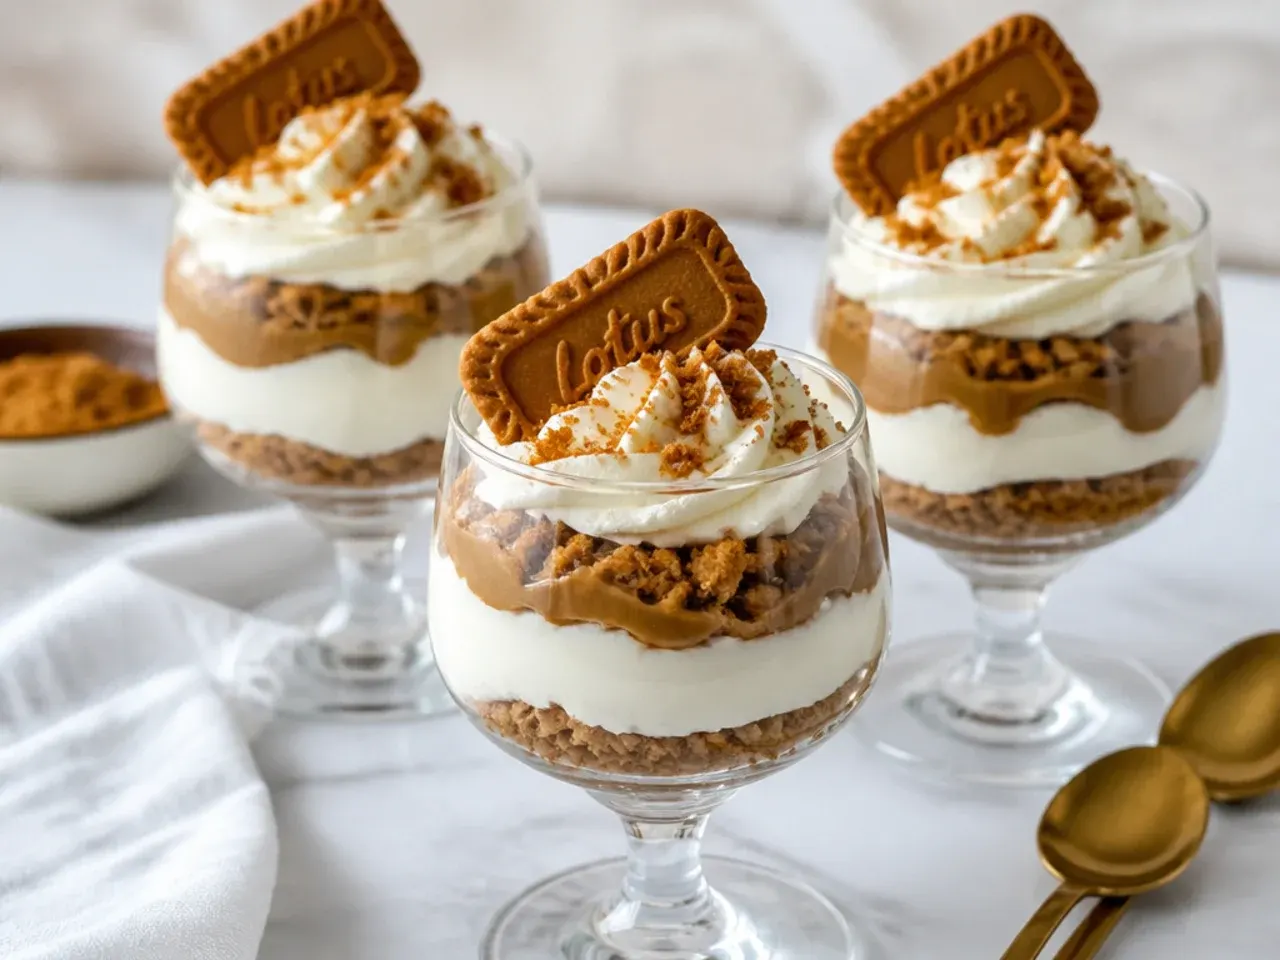
Build three repeating layers — crumbs, filling, softly whipped cream — in stemmed sherry or coupe glasses for a proper retro trifle look. Doubling the layers means every spoonful hits crunchy, creamy and airy at once instead of only at the bottom of the glass. Use about 1 tablespoon of crumbs and 2 tablespoons of filling per layer so everything fits below the rim. A halved glacé cherry or a fanned strawberry on top completes the nostalgic presentation.
14. Brownie Bottom Biscoff Cheesecake Cups
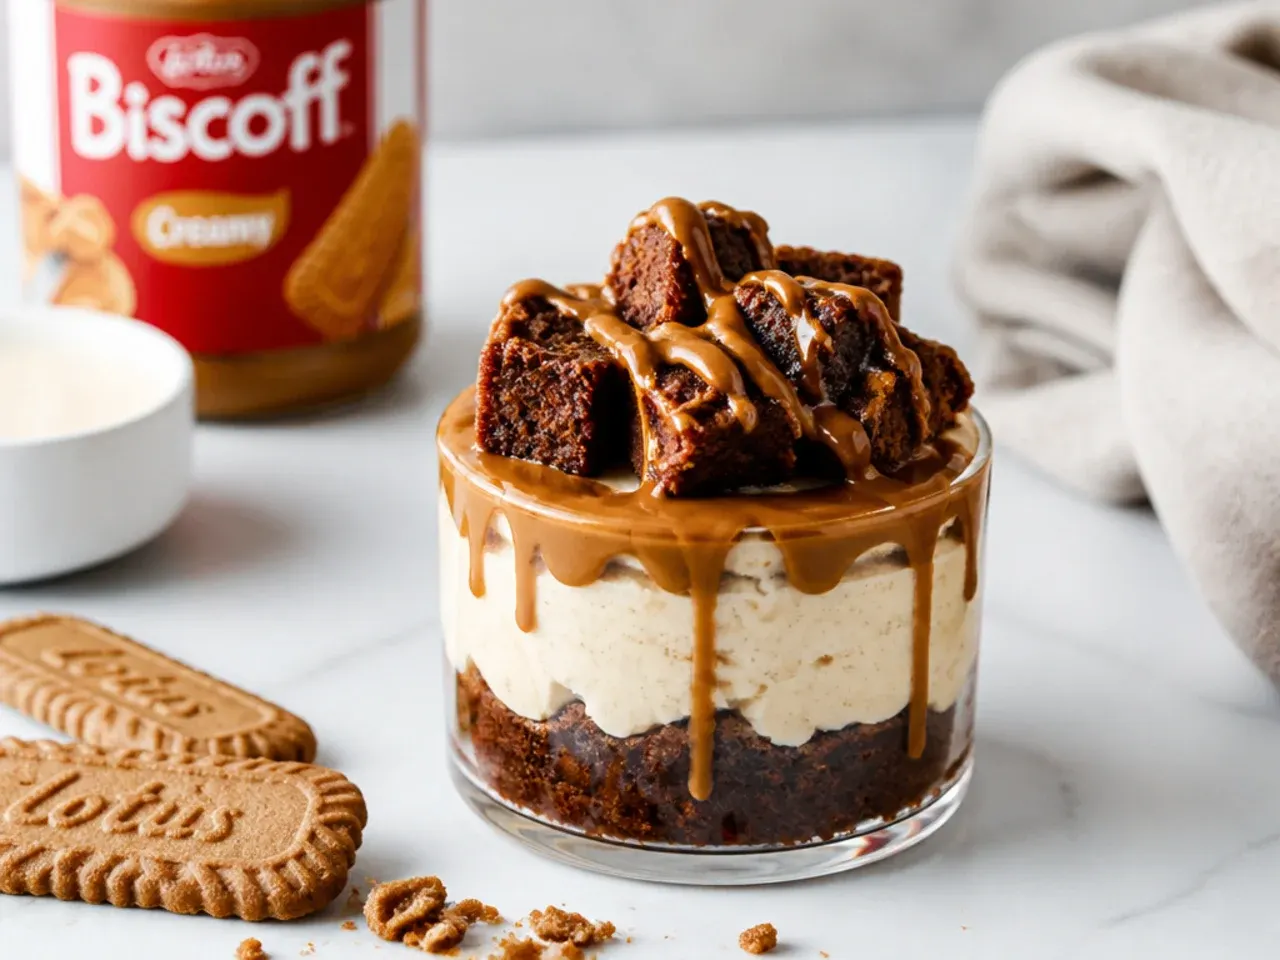
Replace the biscuit base with 2cm cubes of fudgy chocolate brownie — about one brownie square per cup — then pipe the filling on top and drizzle with melted spread. Chocolate and cookie butter is a proven pairing, and the chewy brownie gives a far more substantial bite than crumbs. Slightly underbaked brownies work best: a boxed mix baked at 180°C (350°F) and pulled out 3-4 minutes early stays fudgy under the cold filling. Cool the brownies completely before assembling, or they will melt the cheesecake layer.
15. Mini Biscoff Cheesecake Bites in Liners
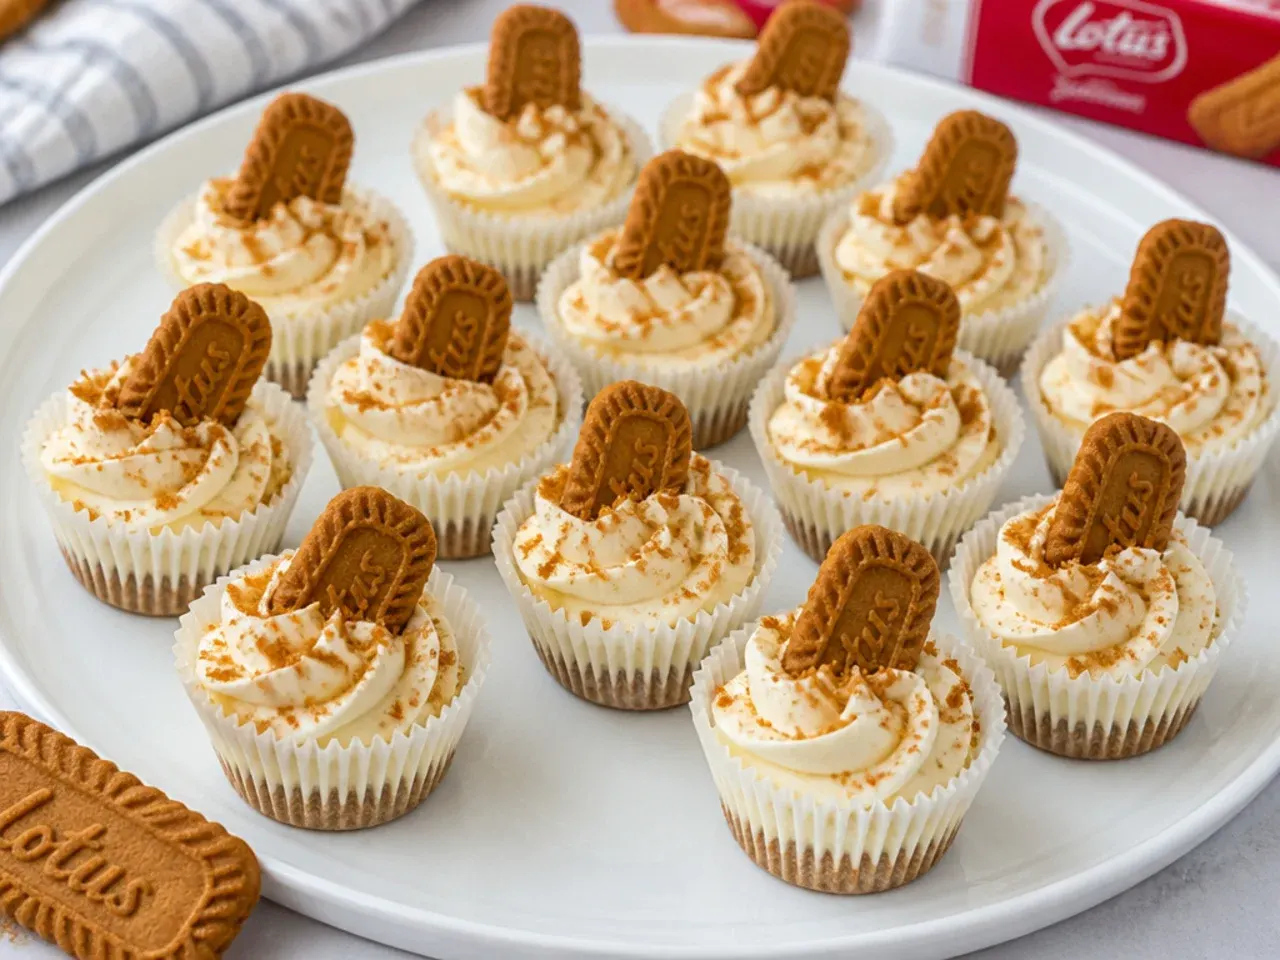
Press 1 tablespoon of the crumb mixture into paper-lined muffin tins, pipe the filling on top and chill — one batch makes about 24 handheld bites. Because they are freestanding, freeze the filled tins for 30 minutes before peeling off the liners and the bites will hold their shape on a platter. This is the best format for bake sales, buffets and kids' parties where glassware is a liability. Top each one with a dot of melted spread and a quarter of a Biscoff biscuit.
Save this for later 📌
Pin this article to your Pinterest board so the full list is one tap away when you need it.
Save on Pinterest16. Baked Biscoff Cheesecake Cups
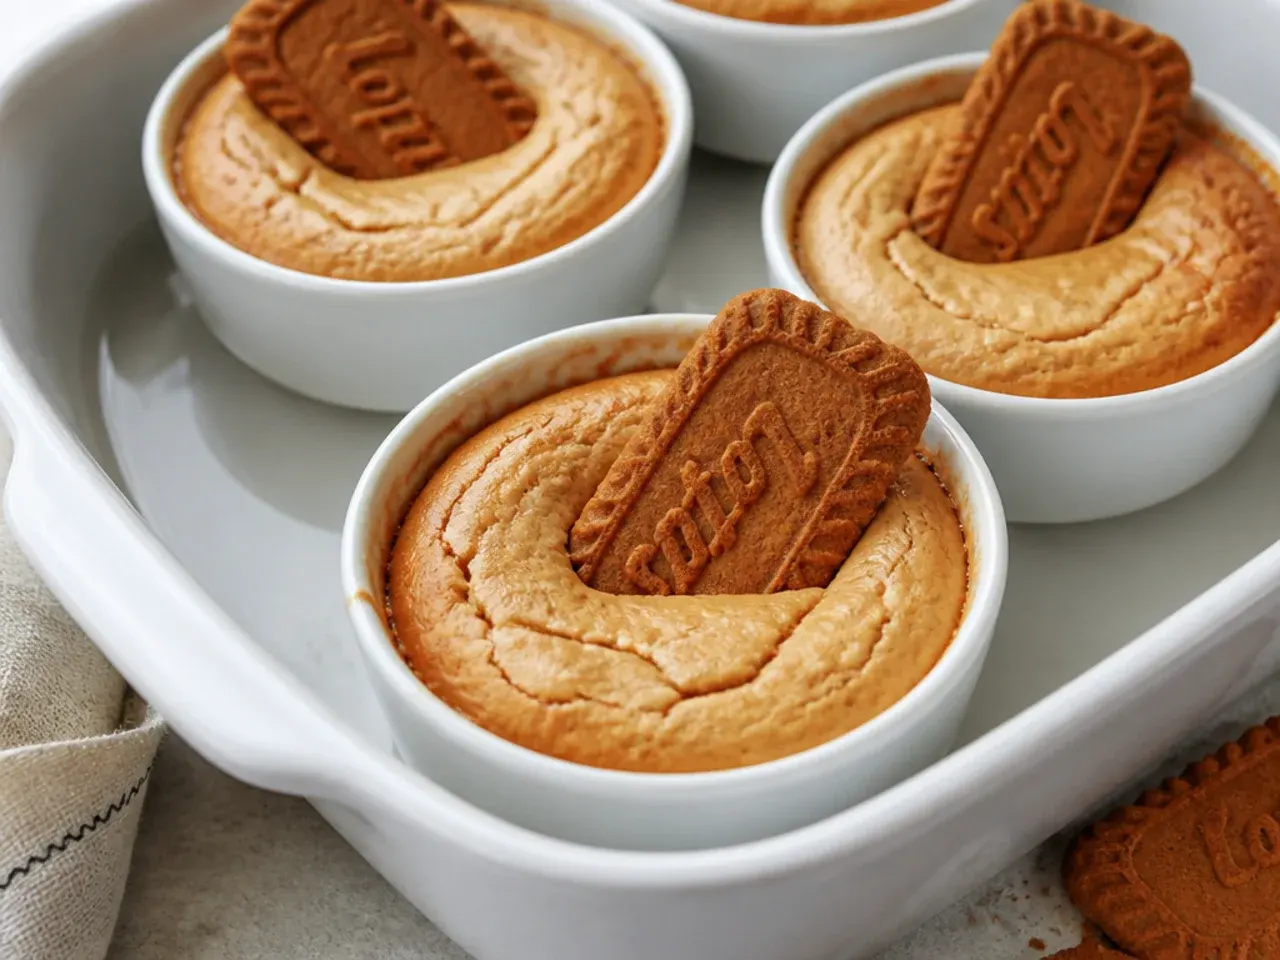
For a dense, New York-style version, beat 400g of cream cheese with 100g of caster sugar, 2 eggs and 100g of Biscoff spread, pour it over the biscuit bases in six ramekins and bake in a water bath at 160°C (320°F) for 25-30 minutes. They are done when the edges are set but the centres still wobble slightly, like just-set jelly. The bain-marie keeps the ramekins at a gentle, even temperature so the tops do not crack. Cool to room temperature, then chill for 4 hours — the texture is richer and denser than any no-bake cup.
17. 4-Ingredient Condensed Milk Biscoff Cups
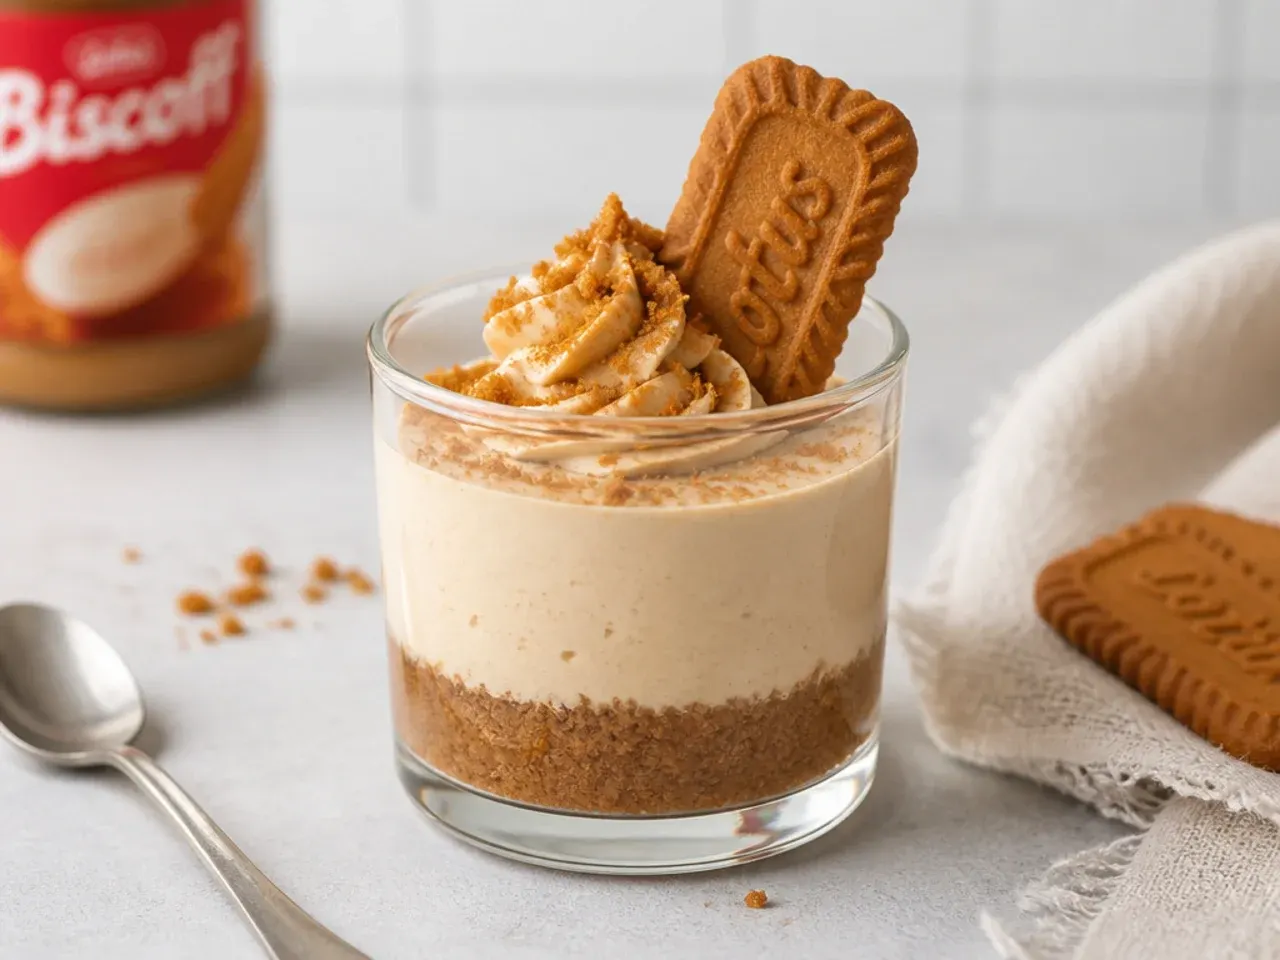
Beat 280g of cream cheese with 200g of sweetened condensed milk and 3 tablespoons of lemon juice, fold in 100g of Biscoff spread and spoon it over crushed biscuits. There is no cream to whip because the lemon juice reacts with the condensed milk and thickens the mixture as it chills — the same chemistry that sets a classic key lime pie. Chill for at least 4 hours to set fully. The result is a little softer and tangier than the base recipe, closer to a cheesecake mousse.
18. Biscoff Mascarpone Parfait Cups
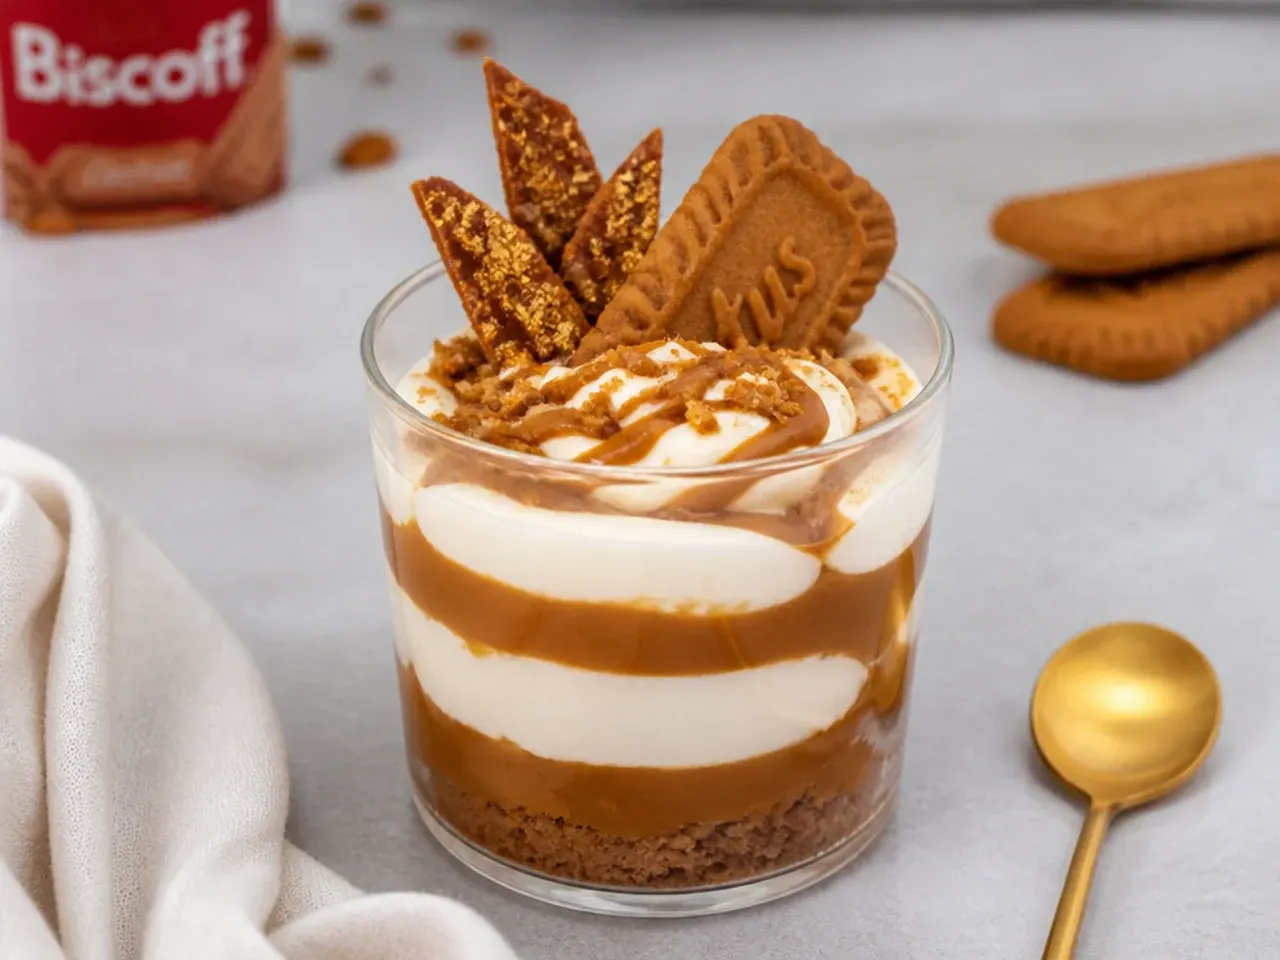
Swap half the cream cheese for mascarpone and layer the filling in tall parfait glasses with ribbons of melted spread run down the inside of the glass. Mascarpone has more fat and less tang than cream cheese, so the filling turns silkier and lets the caramelised biscuit flavour lead. Drag the melted spread stripes up the glass walls with the back of a teaspoon before filling for a striped patisserie effect. Finish with a biscuit shard stood at an angle — brush it with edible gold dust for weddings and special occasions.
19. Biscoff S'mores Cheesecake Cups
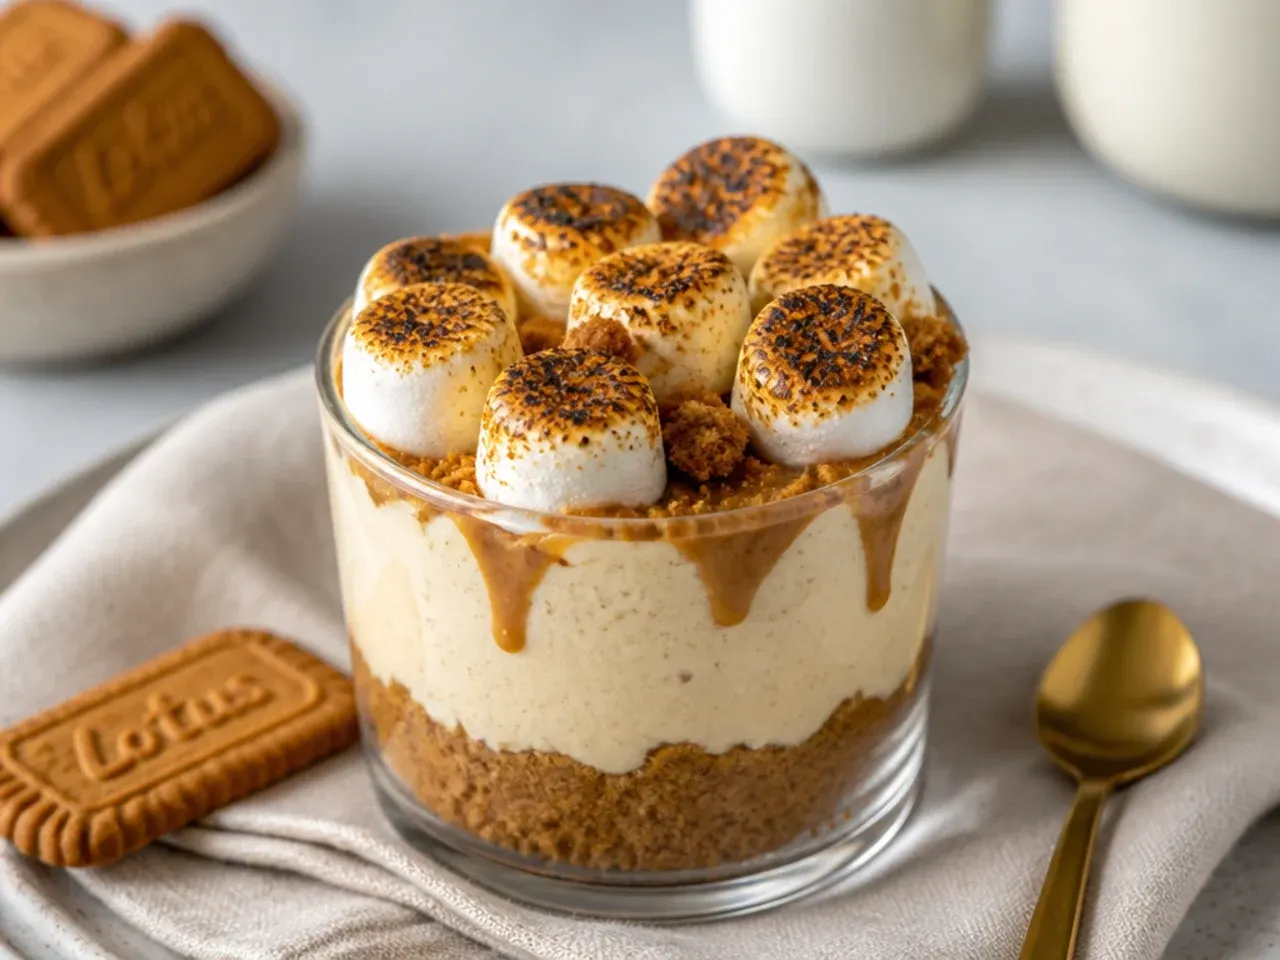
Scatter milk chocolate chunks over the biscuit base, pipe in the filling, then top the chilled cups with a handful of mini marshmallows and toast them with a kitchen blowtorch until golden. Torched marshmallow adds a smoky, campfire edge that plays off the spiced biscuits — Biscoff crumbs already taste halfway to a graham cracker crust. No blowtorch? Grill (broil) the marshmallows on a baking tray for 30-60 seconds at 240°C (460°F) and spoon them on while warm. Only torch directly over heatproof ramekins or thick glass, never thin tumblers.
20. High-Protein Greek Yogurt Biscoff Cups
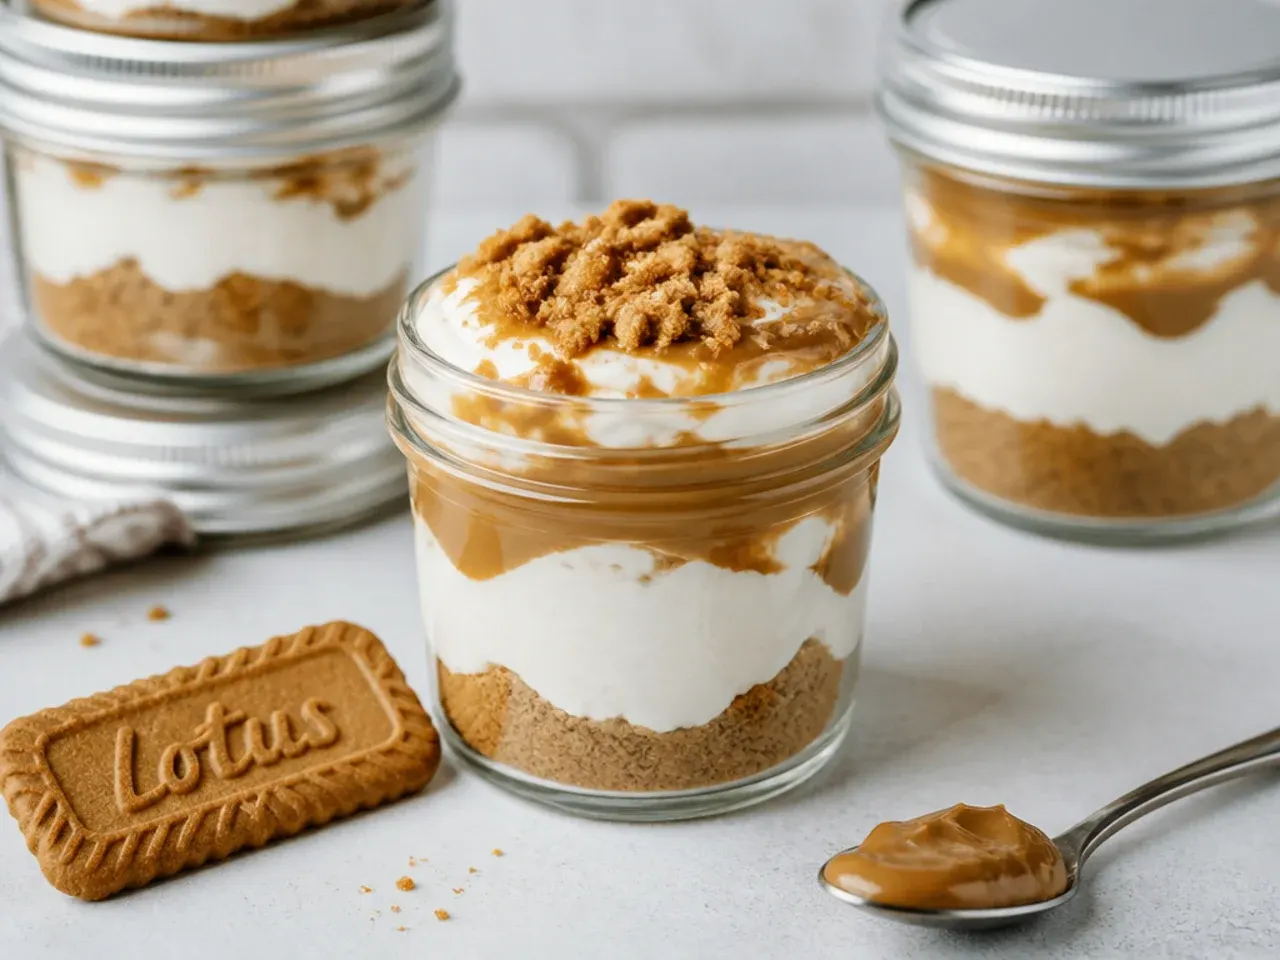
Replace the double cream with 250g of thick 10% fat Greek yogurt and cut the icing sugar in half for a lighter cup with roughly 15g of protein per serving. The set is softer than the whipped-cream version, so build these in lidded jars — they double as a meal-prep breakfast or post-gym treat for the week. Beat the yogurt into the cream cheese and Biscoff spread until smooth, then layer it over the crumbs as usual. Blended cottage cheese (250g, whizzed until completely smooth) works too and pushes the protein even higher.
Pro Tips
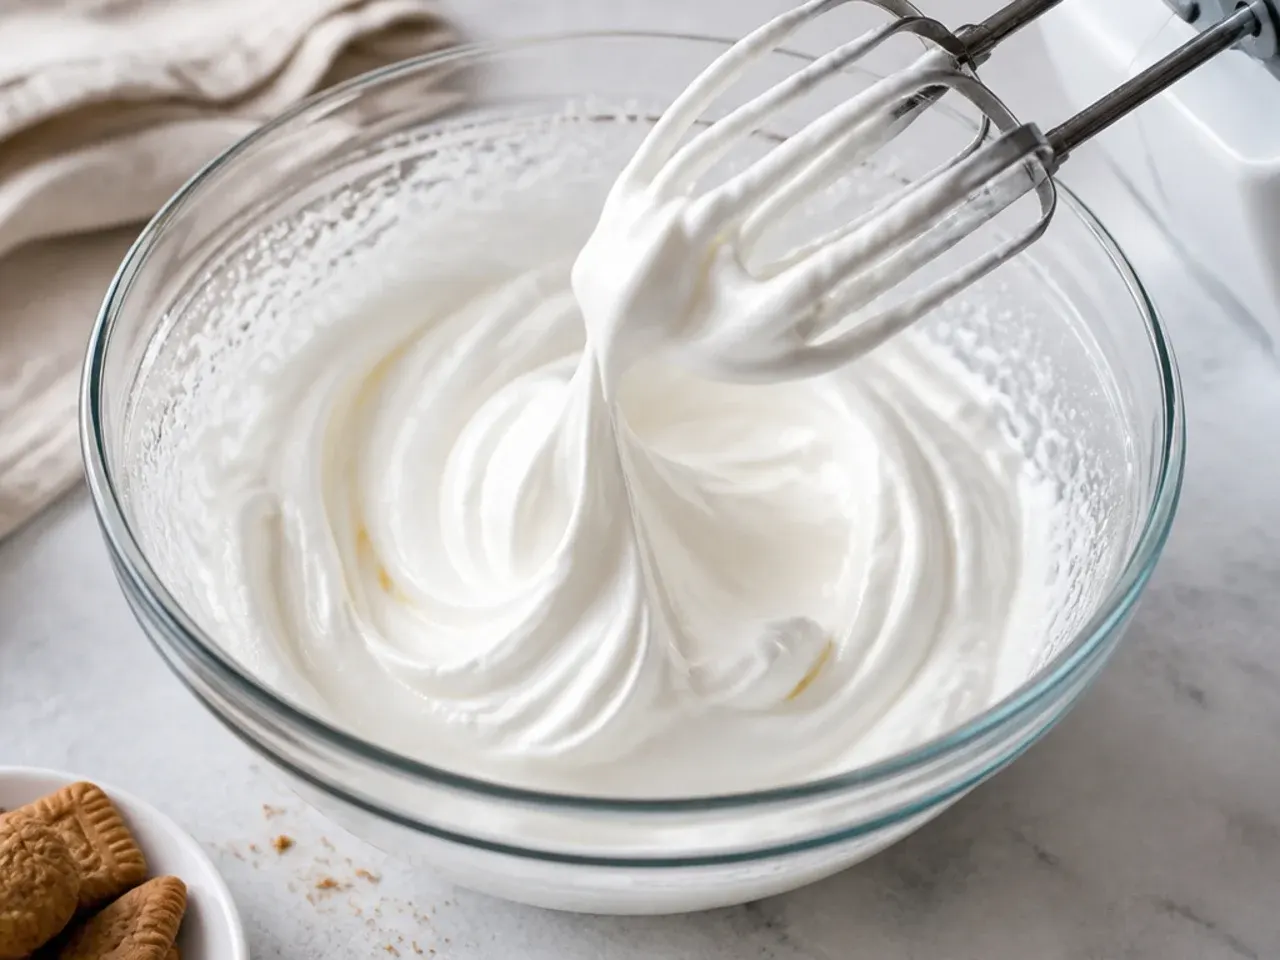
Take the cream cheese out of the fridge 45-60 minutes before mixing; cold cream cheese is the number one cause of lumpy filling. Whip the cream to stiff peaks — it should stand straight up when you lift the beaters — then fold it in with a spatula in two additions and stop as soon as no white streaks remain. Melt Biscoff spread in 15-20 second bursts at 50% microwave power and let it cool for 2 minutes before pouring, or it will melt a dip into the filling. No piping bag? Spoon the filling into a zip-top bag and snip 2cm off one corner. Full-size cups need a minimum 4-hour chill and shot glasses set in 1-2 hours, but overnight is best for both.
Serving Suggestions
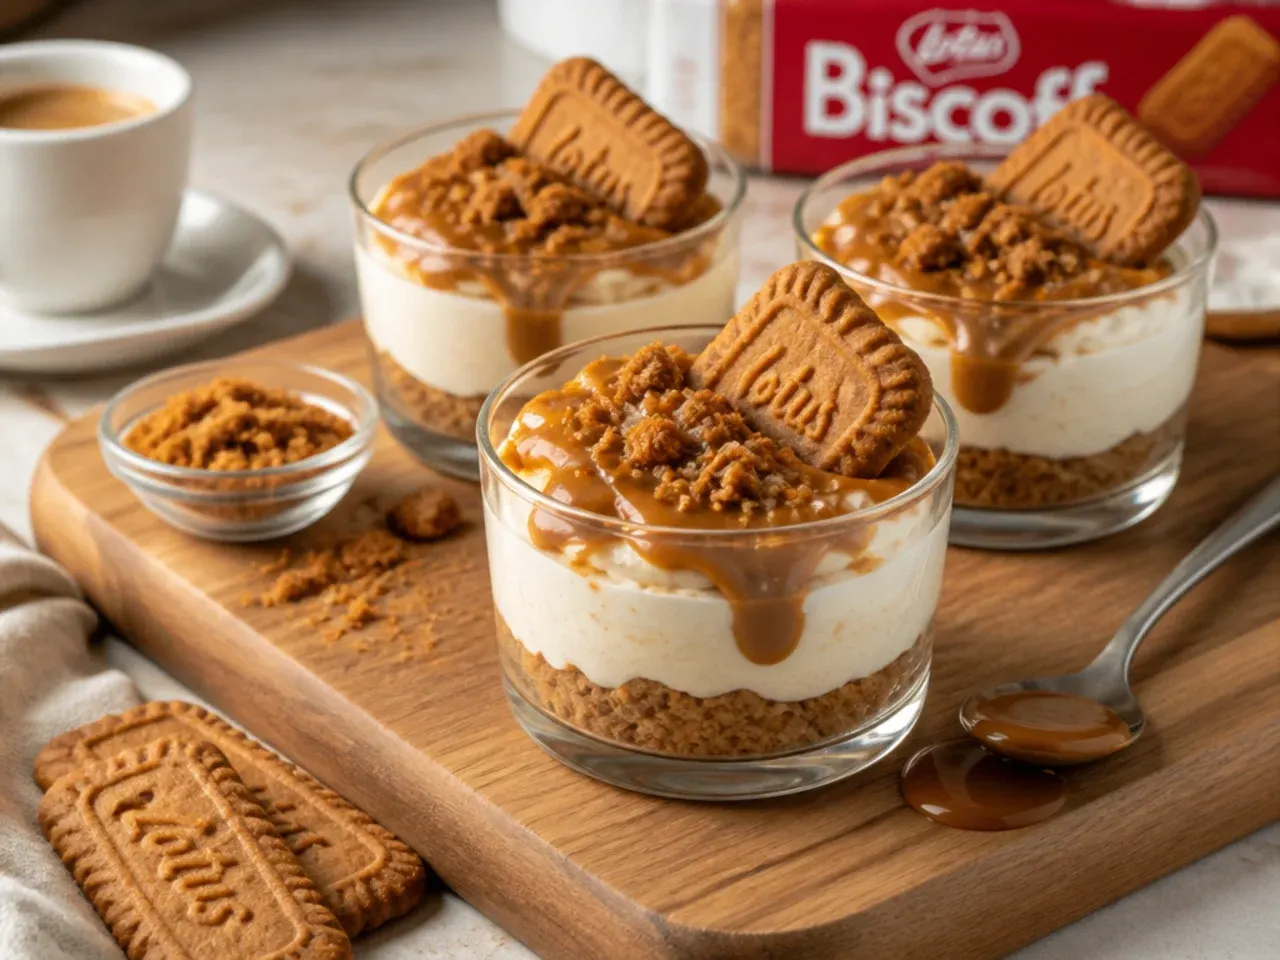
Serve the cups straight from the fridge for a firm, sliceable texture, or let them stand at room temperature for 5-10 minutes if you prefer a softer, mousse-like spoonful. A shot of espresso or a strong black coffee is the classic pairing — the bitterness resets your palate between sweet spoonfuls. For parties, line the cups up on a board with bowls of extra crushed biscuits, warm melted spread and whipped cream so guests can top their own. Add any biscuit garnishes at the last minute, because they soften within an hour of touching the filling. Long-handled sundae spoons make it easy to reach the crumb layer at the bottom of tall glasses.
Storage and Reheating
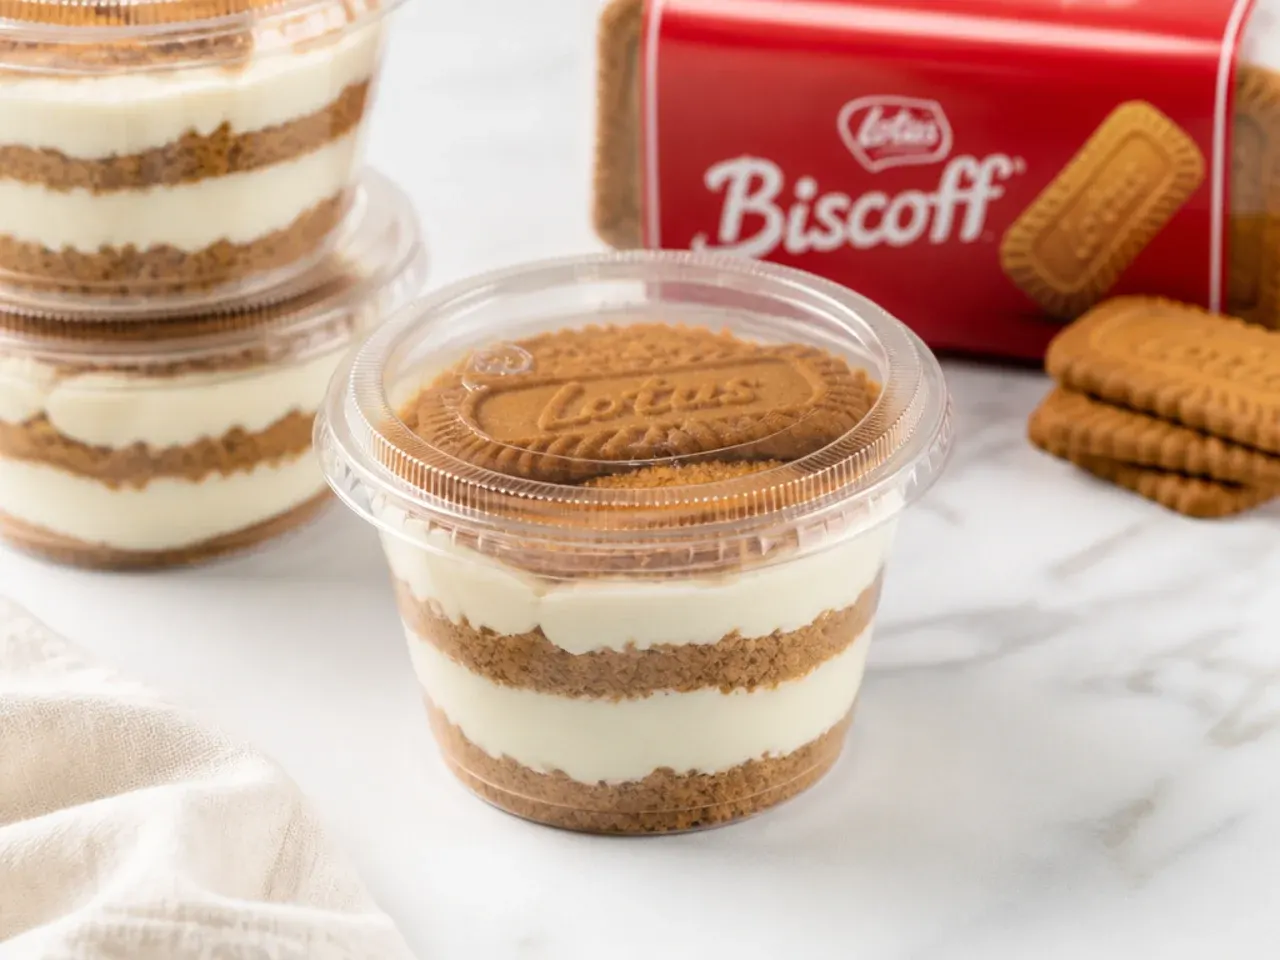
Cover the cups with cling film or jar lids and refrigerate for up to 3-4 days; the biscuit base softens gradually but stays pleasant. These are no-bake, so there is no reheating — the only warmth they ever need is 10 minutes on the counter to soften the melted spread topping before eating. To freeze, wrap each cup tightly in cling film plus a layer of foil and freeze for up to 2 months, then thaw overnight in the fridge. Add whipped cream and biscuit garnishes only after thawing, as both deteriorate in the freezer. Never leave the cups at room temperature for more than 2 hours, since the filling is dairy-heavy.
The Recipe
The Master Recipe
25 min
0 min
4 hr 25 min
6
Beginner
Ingredients 6 Person(s)
Directions
Step 1: Crush the Biscuits
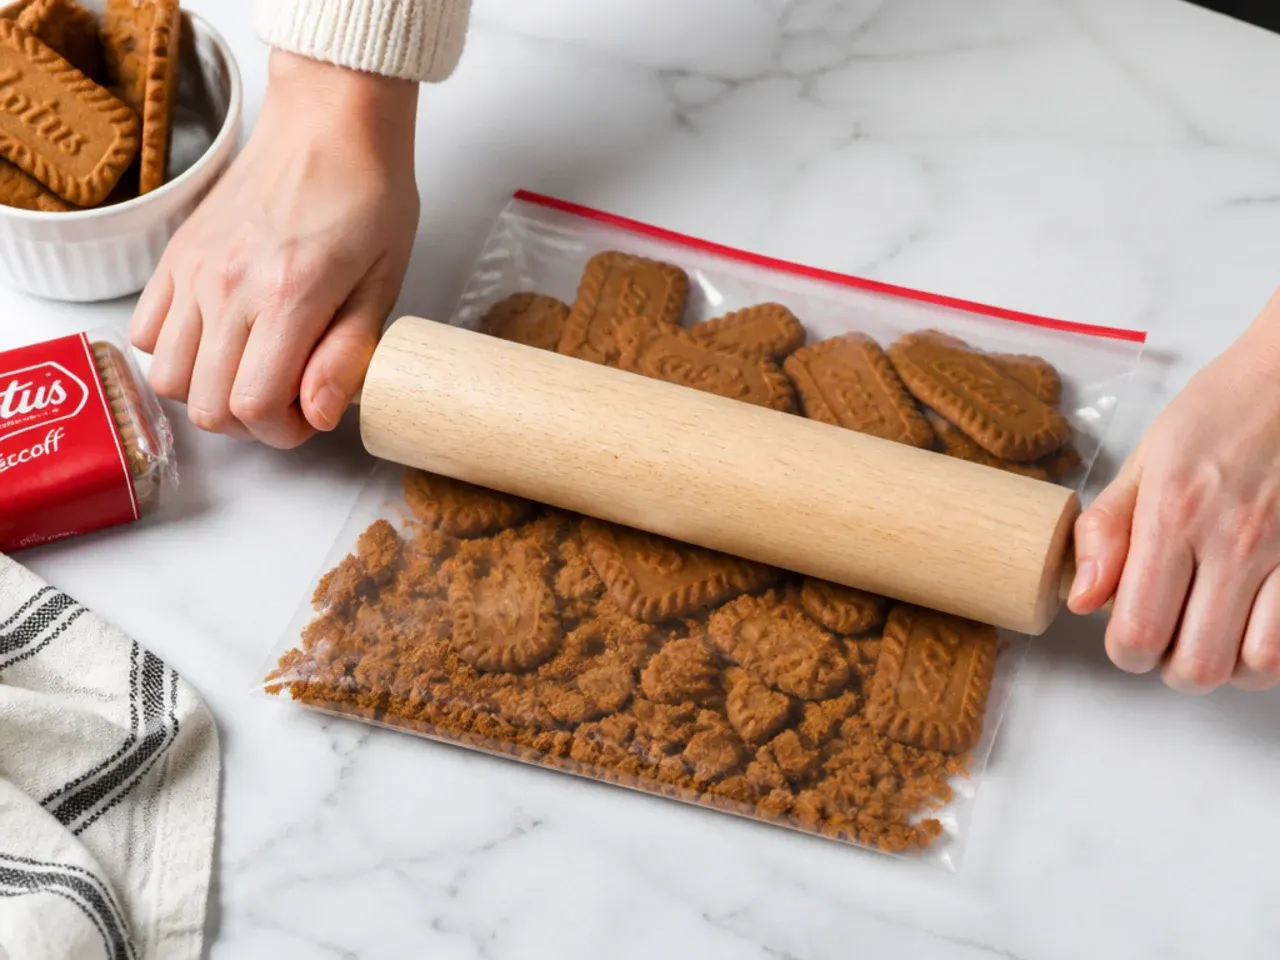
Blitz 150g of Biscoff biscuits (about 19) in a food processor to fine, sandy crumbs, or seal them in a zip-top bag and bash with a rolling pin. Set aside 2 tablespoons of the crumbs for garnishing at the end.
Step 2: Press in the Bases
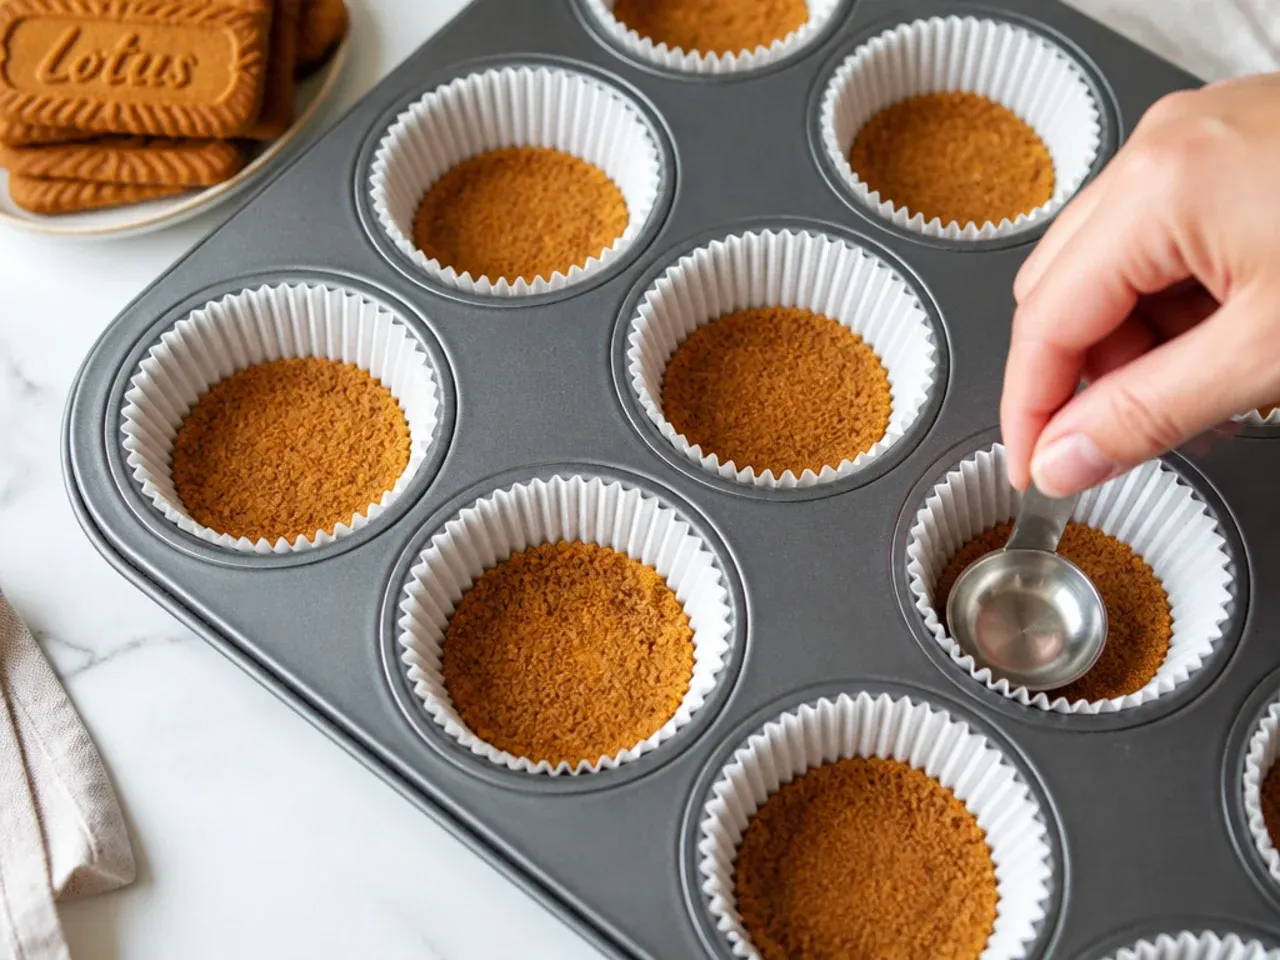
Stir the remaining crumbs into 60g of melted unsalted butter until the mixture looks like wet sand. Divide it between six 200ml glasses or jars — about 2 tablespoons each — and press it down firmly with the back of a spoon. Chill the glasses in the fridge while you make the filling.
Step 3: Whip the Cream
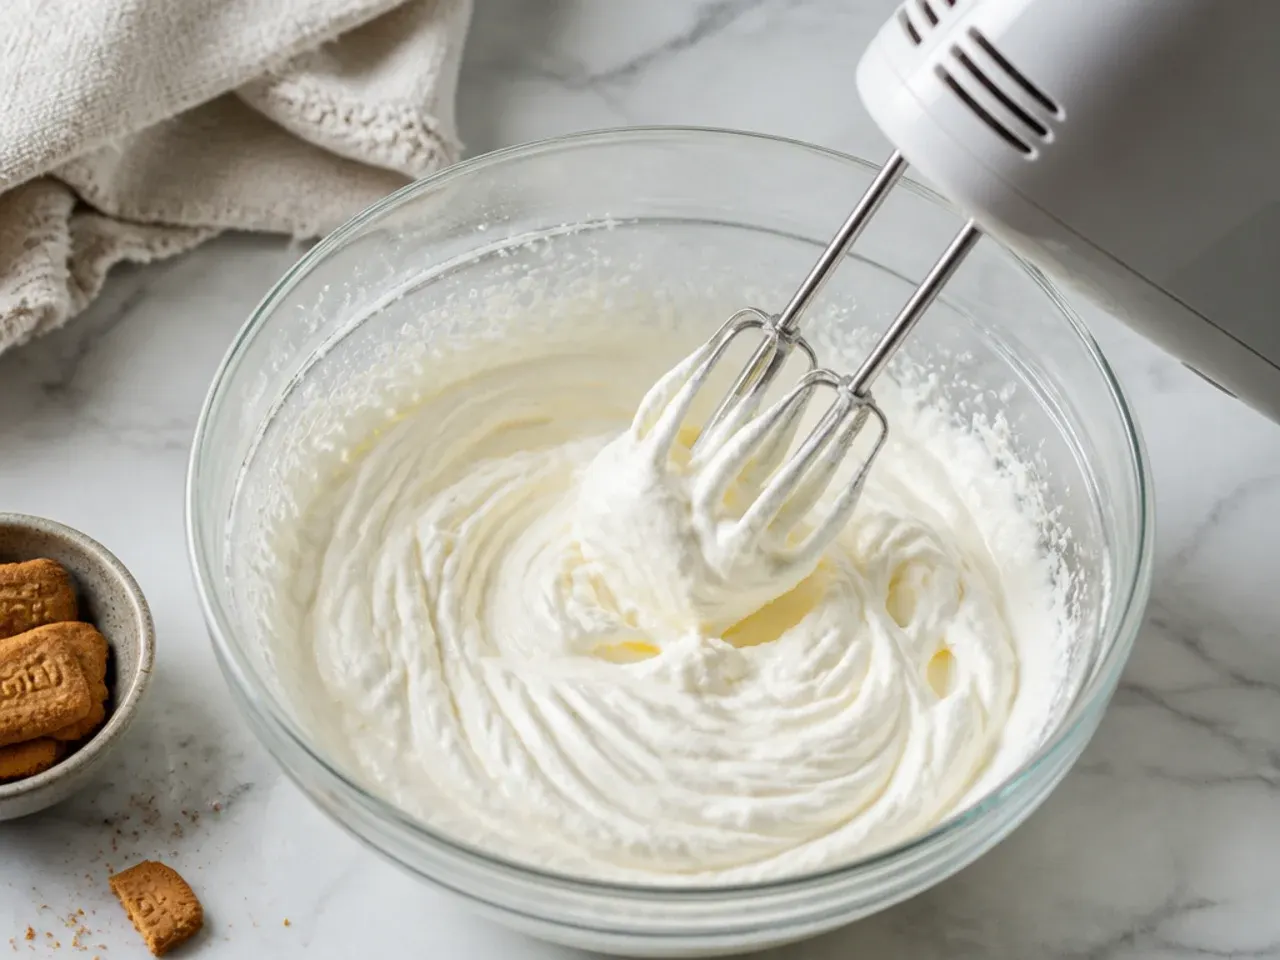
Pour 240ml of cold double cream into a large bowl and whip with an electric mixer on medium-high for 2-3 minutes, until stiff peaks form — the cream should stand straight up when you lift the beaters. Return it to the fridge while you mix the next step.
Step 4: Beat the Filling
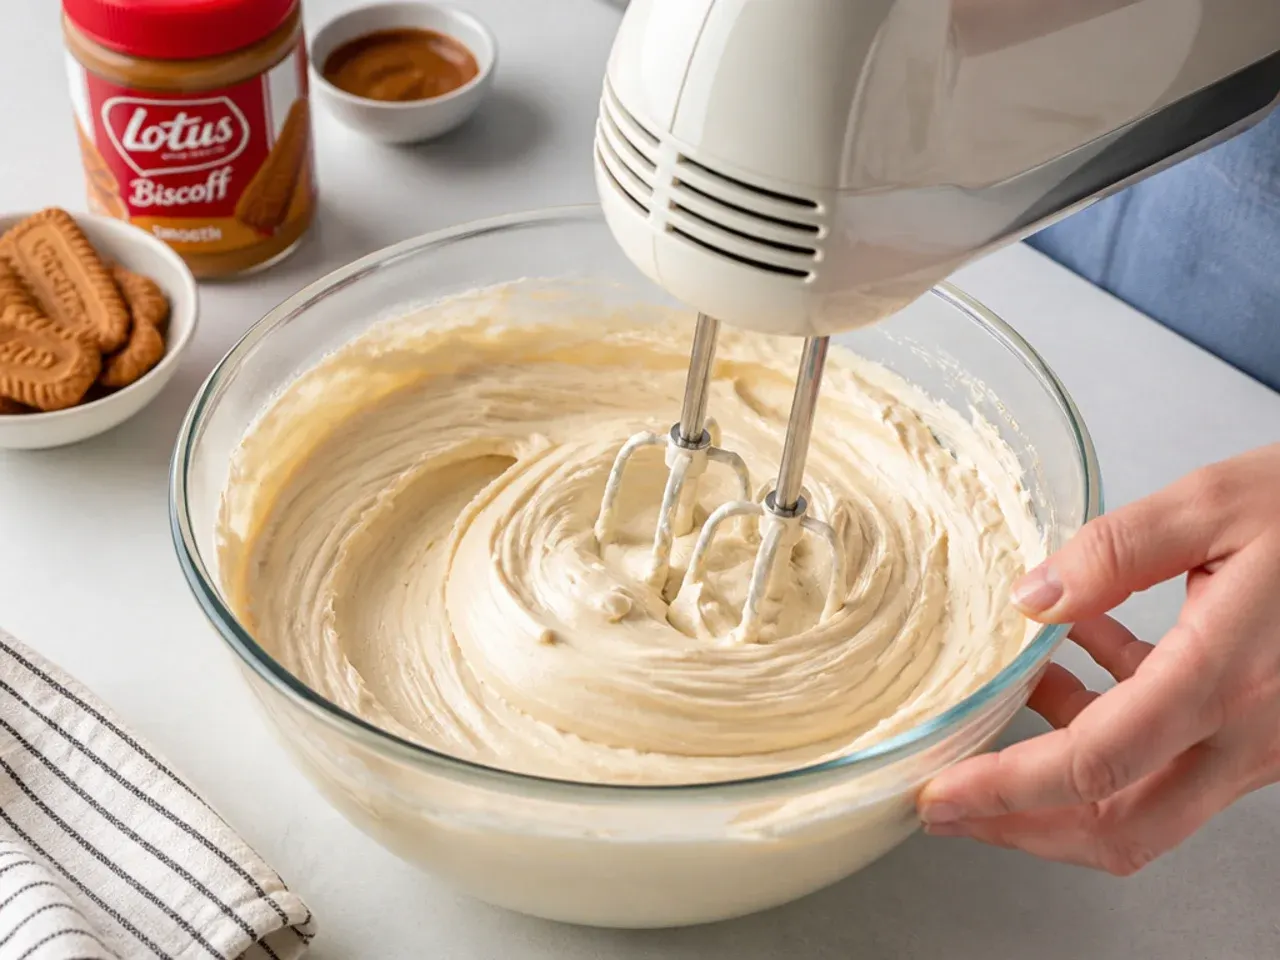
In a separate large bowl, beat 350g of room-temperature full-fat cream cheese, 80g of icing sugar, 150g of Biscoff spread and 1 teaspoon of vanilla extract on medium speed for 1-2 minutes until completely smooth. Scrape down the sides of the bowl once to catch any hidden lumps.
Step 5: Fold Together
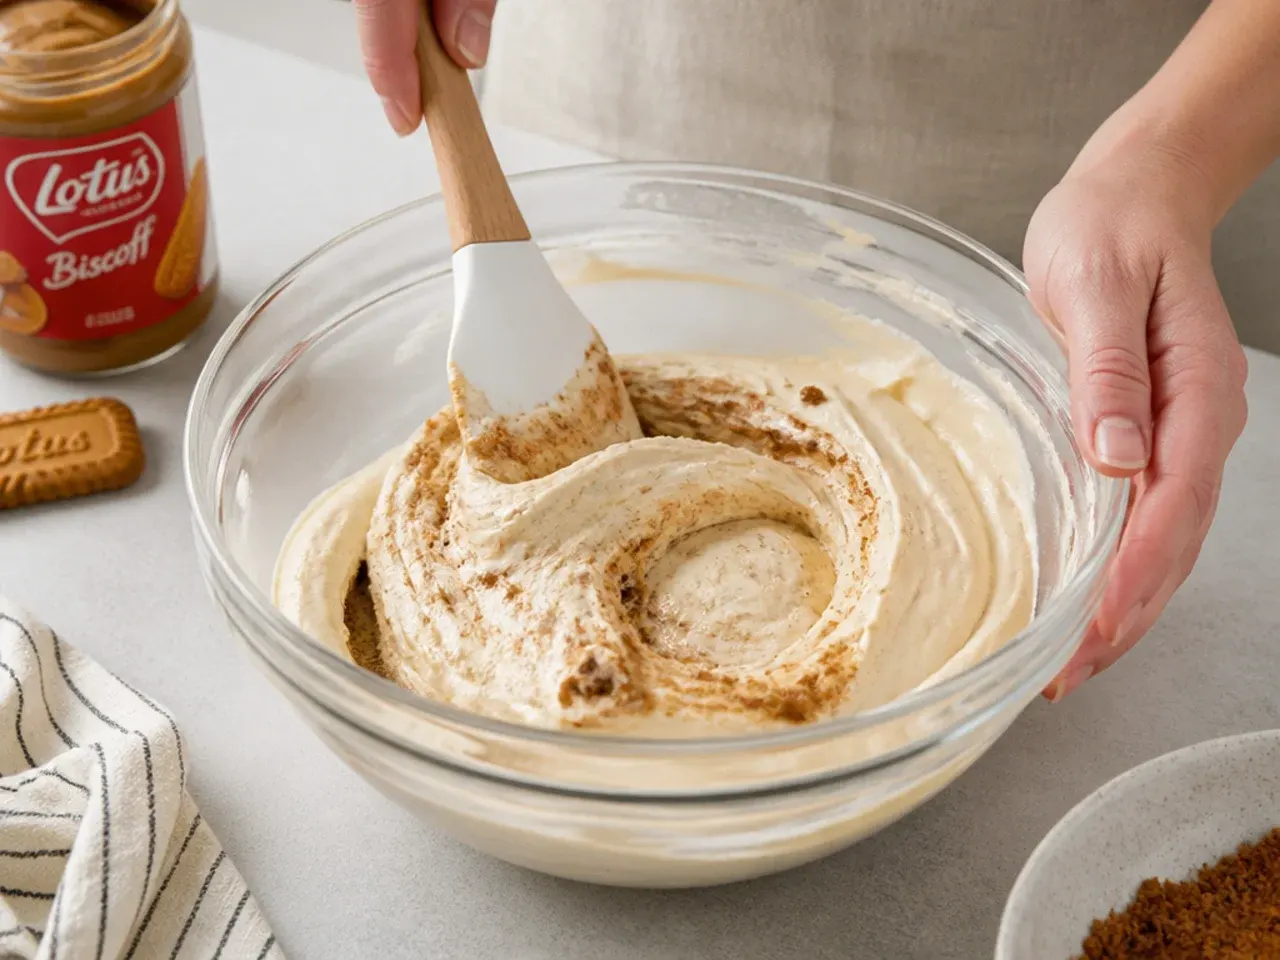
Add the whipped cream to the cream cheese mixture in two additions, folding gently with a rubber spatula. Stop as soon as no white streaks remain — overmixing knocks the air out and makes the filling dense instead of light.
Step 6: Pipe into the Cups
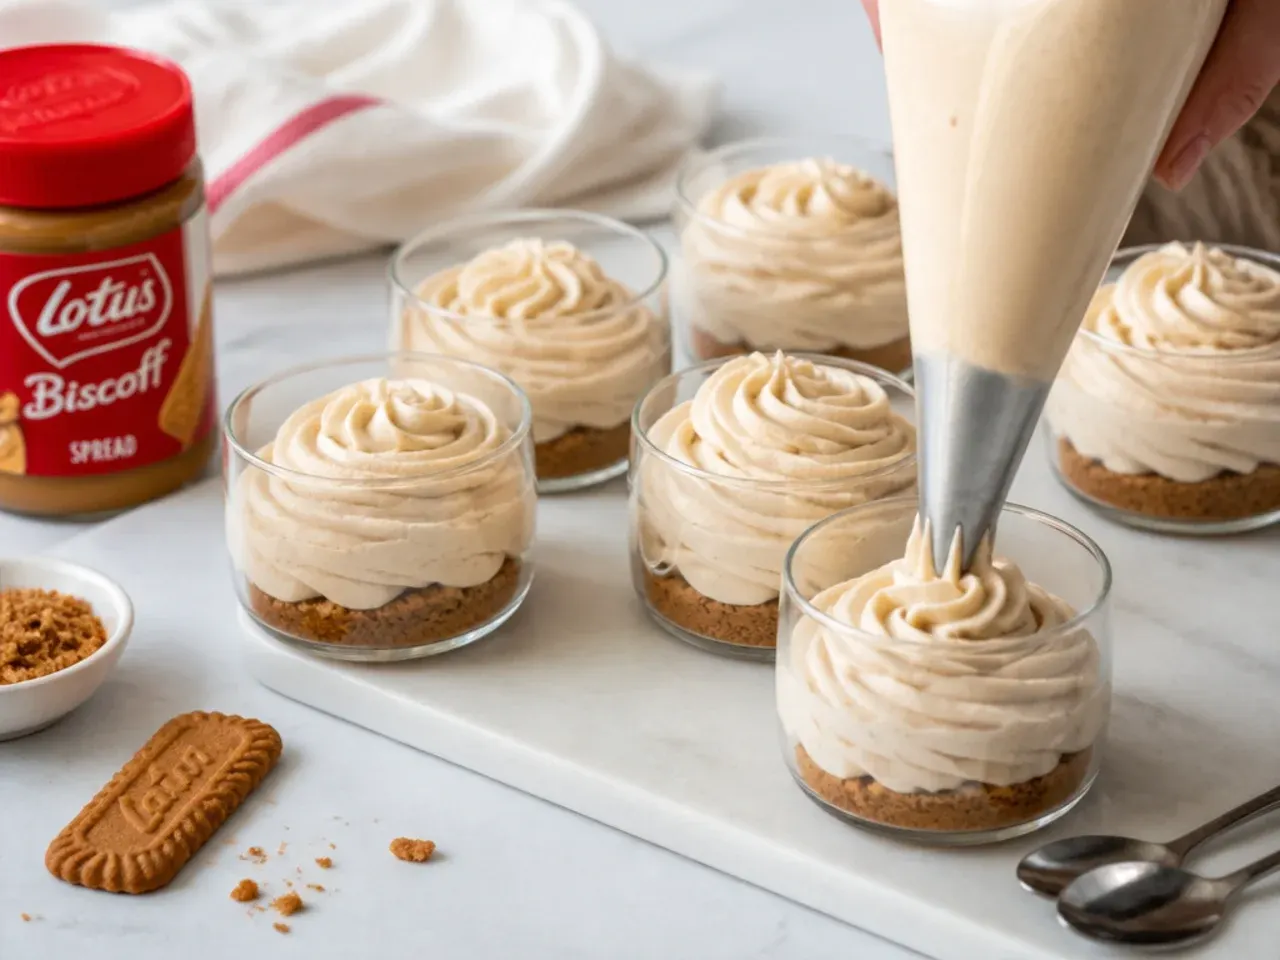
Spoon the filling into a piping bag fitted with a large round tip (Wilton 1A) or a zip-top bag with 2cm snipped off one corner, and pipe it over the chilled bases, filling each glass to about 1cm below the rim. Tap each glass gently on the worktop to knock out air pockets, then smooth the tops with the back of a spoon.
Step 7: Top and Chill
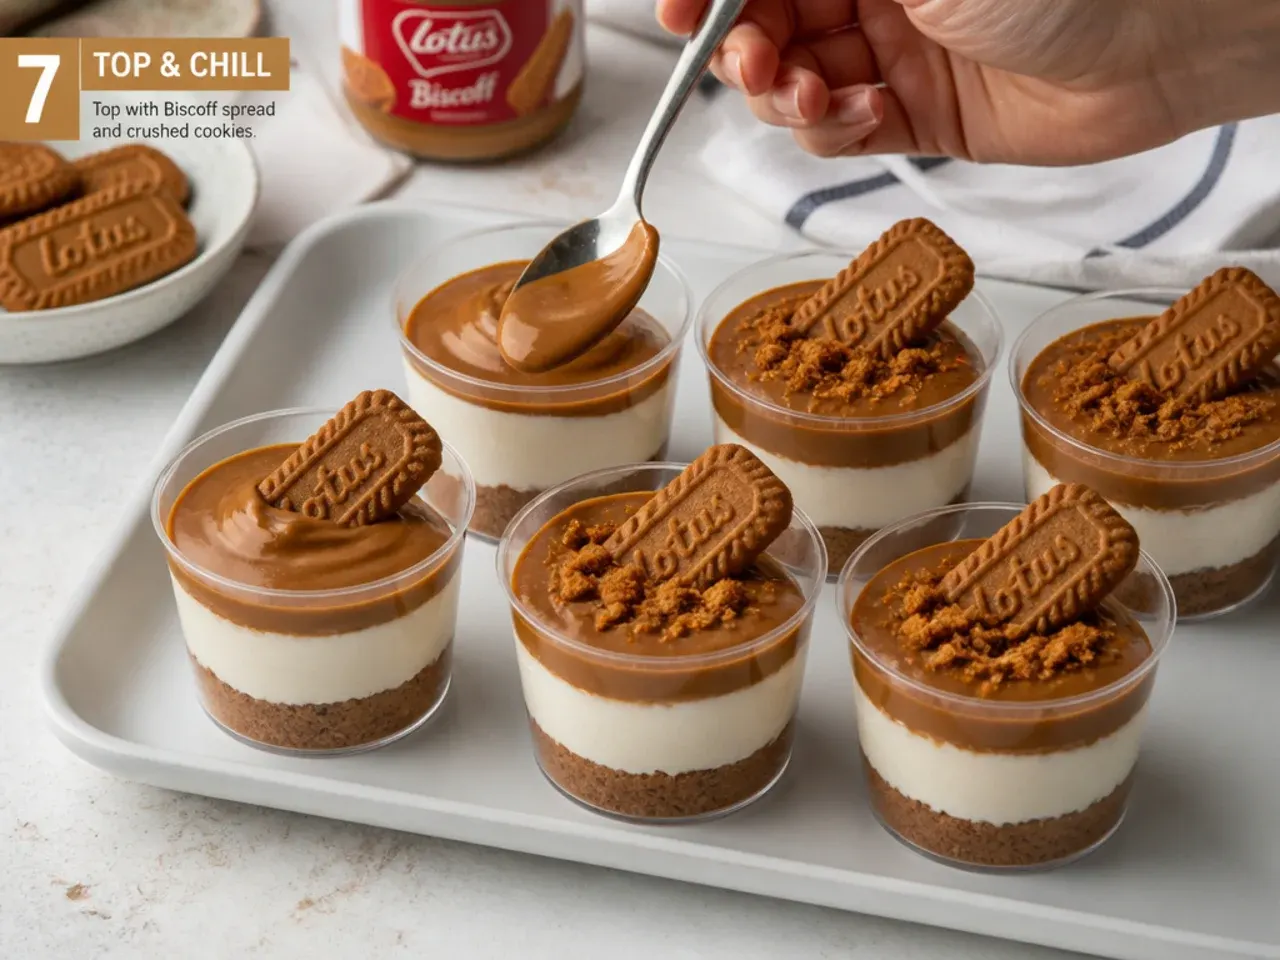
Microwave 100g of Biscoff spread in 15-20 second bursts at 50% power until pourable, cool it for 2 minutes, then spoon a thin layer over each cup and tilt to coat the surface. Refrigerate for at least 4 hours, or overnight for the best set. Just before serving, garnish with the reserved crumbs and half a Biscoff biscuit pushed upright into each cup.
Frequently Asked Questions
The usual culprits are cream that was not whipped to stiff peaks, low-fat cream cheese or cream, or simply not enough fridge time. Always use full-fat cream cheese and double or heavy cream with at least 33% fat, whip the cream until it stands straight up off the beaters, and chill for a minimum of 4 hours. If the cups are still soft, an extra 1-2 hours in the fridge — or a short stint in the freezer — will firm them up.
Save this for later 📌
Pin this article to your Pinterest board so the full list is one tap away when you need it.
Save on Pinterest