5 Mistakes I Made on Biscoff Cheesecake
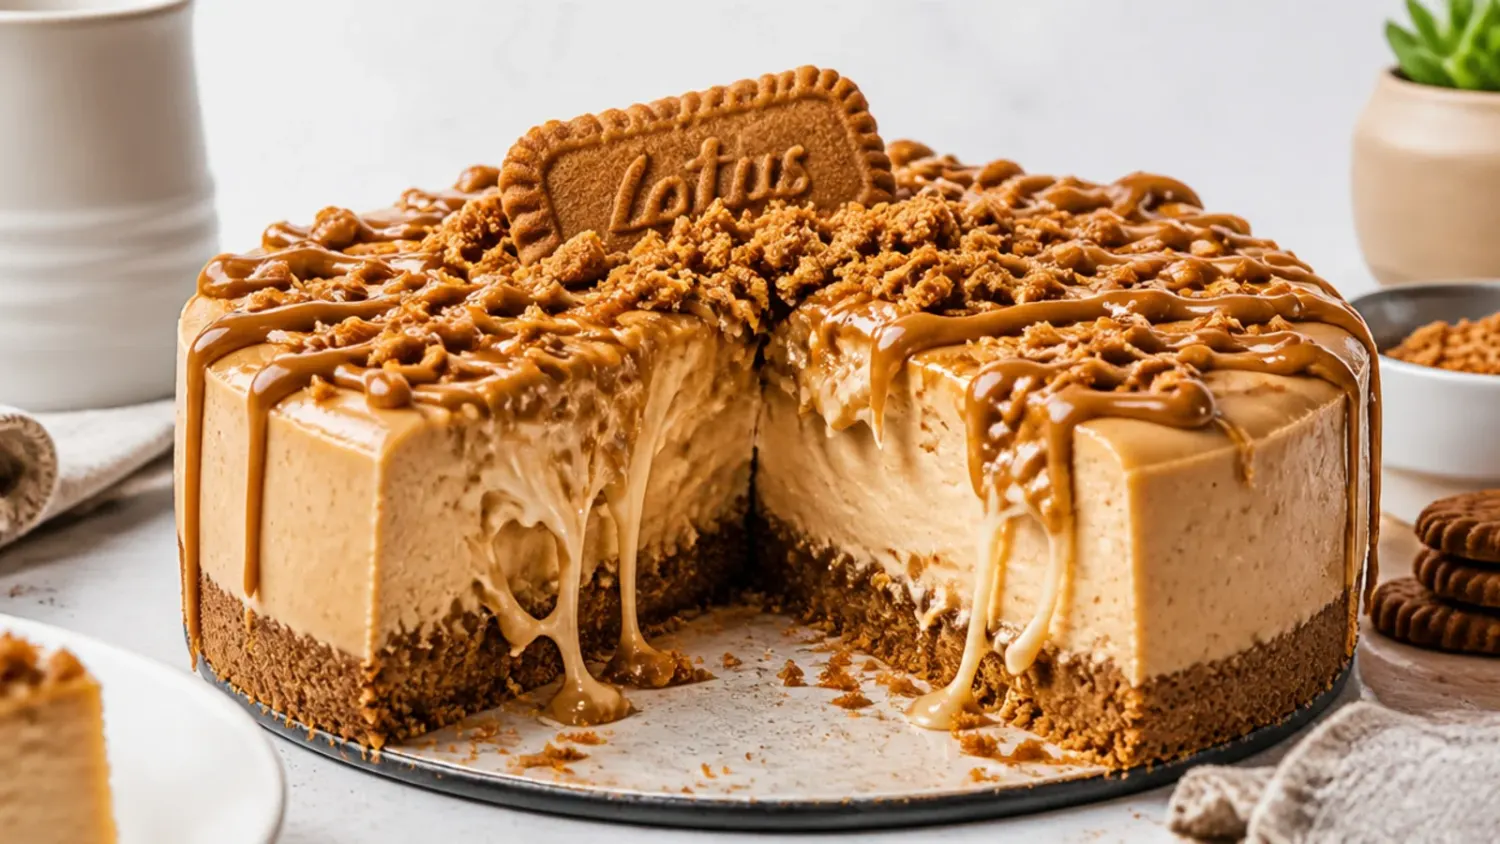
I made every rookie error on my first homemade Biscoff cheesecake. Here are the 5 mistakes I made so yours sets firm, slices clean and tastes bakery-good. If you love biscoff cheesecake inspiration, start with our Biscoff Cheesecake Recipes collection, then browse the full Desserts hub for more.

Save this for later 📌
Pin this article to your Pinterest board so the full list is one tap away when you need it.
Save on PinterestDesserts
Beginner
Kitchen Journal
5 steps
Table of Contents
- Lesson 1: Cold Cream Cheese Left Me With Lumps
- Lesson 2: I Used Low-Fat Cream Cheese and It Never Set
- Lesson 3: Over-Whipping Turned My Filling Grainy and Split
- Lesson 4: I Cut It After Three Hours and It Slid Everywhere
- Lesson 5: My Biscoff Topping Slid Off in One Sad Sheet
- What I'd Tell a Friend Trying This
- The Recipe I Used
Lesson 1: Cold Cream Cheese Left Me With Lumps
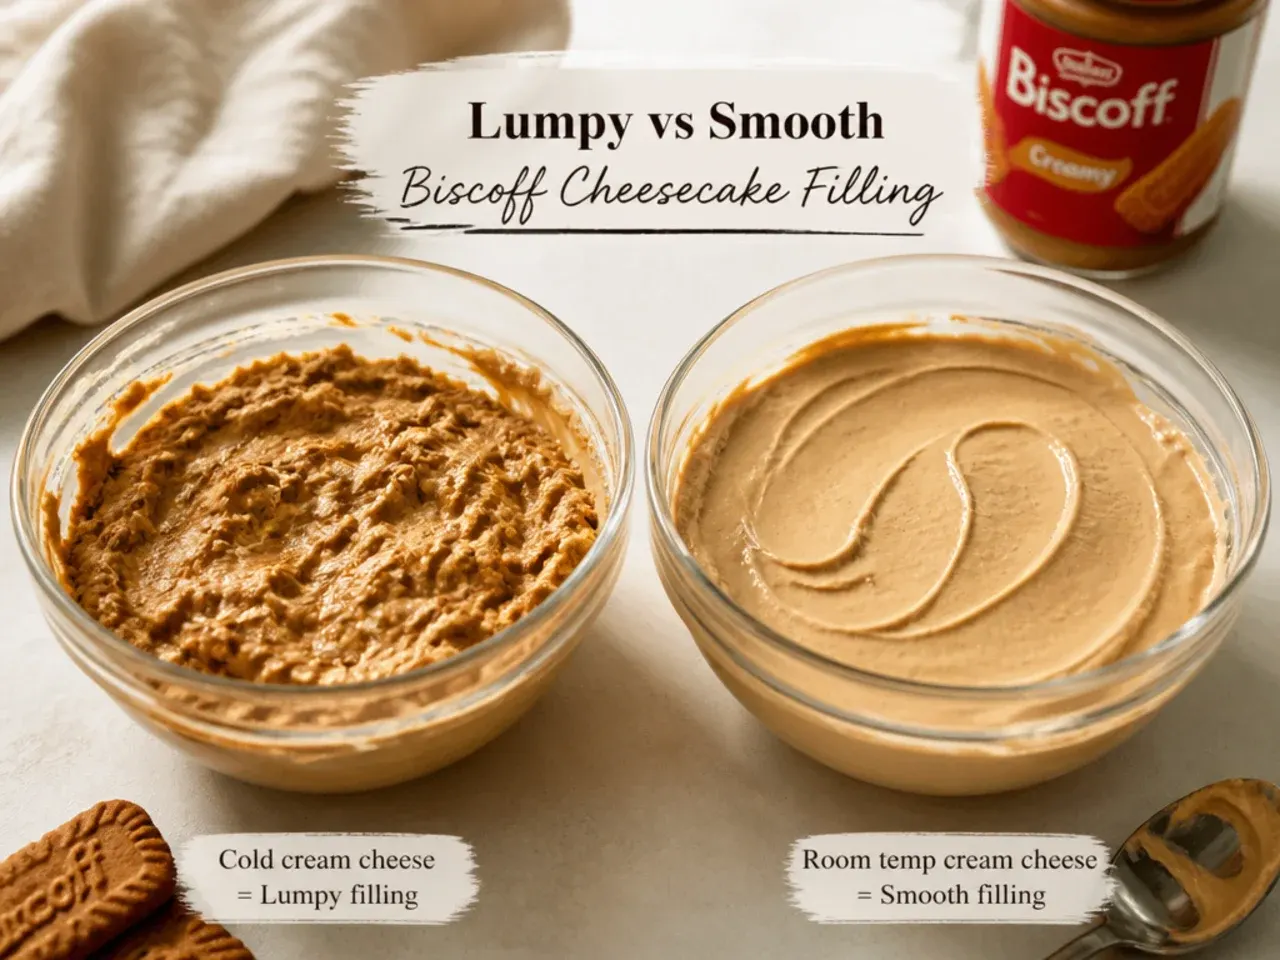
My very first Biscoff cheesecake had little white lumps running through it, and I couldn't work out why until I realised I'd used cream cheese straight from the fridge. Cold cream cheese won't blend smoothly, so it stays in stubborn little pebbles no matter how long you beat it. Now I take the full-fat cream cheese (I use 400g of Philadelphia) out at least an hour before I start, until it's properly room temperature and soft when I press it. Beat it on its own for 30 seconds until creamy before you add anything else, and scrape the bowl down at least twice. That one change took me from grainy to silky-smooth in a single batch.
Lesson 2: I Used Low-Fat Cream Cheese and It Never Set
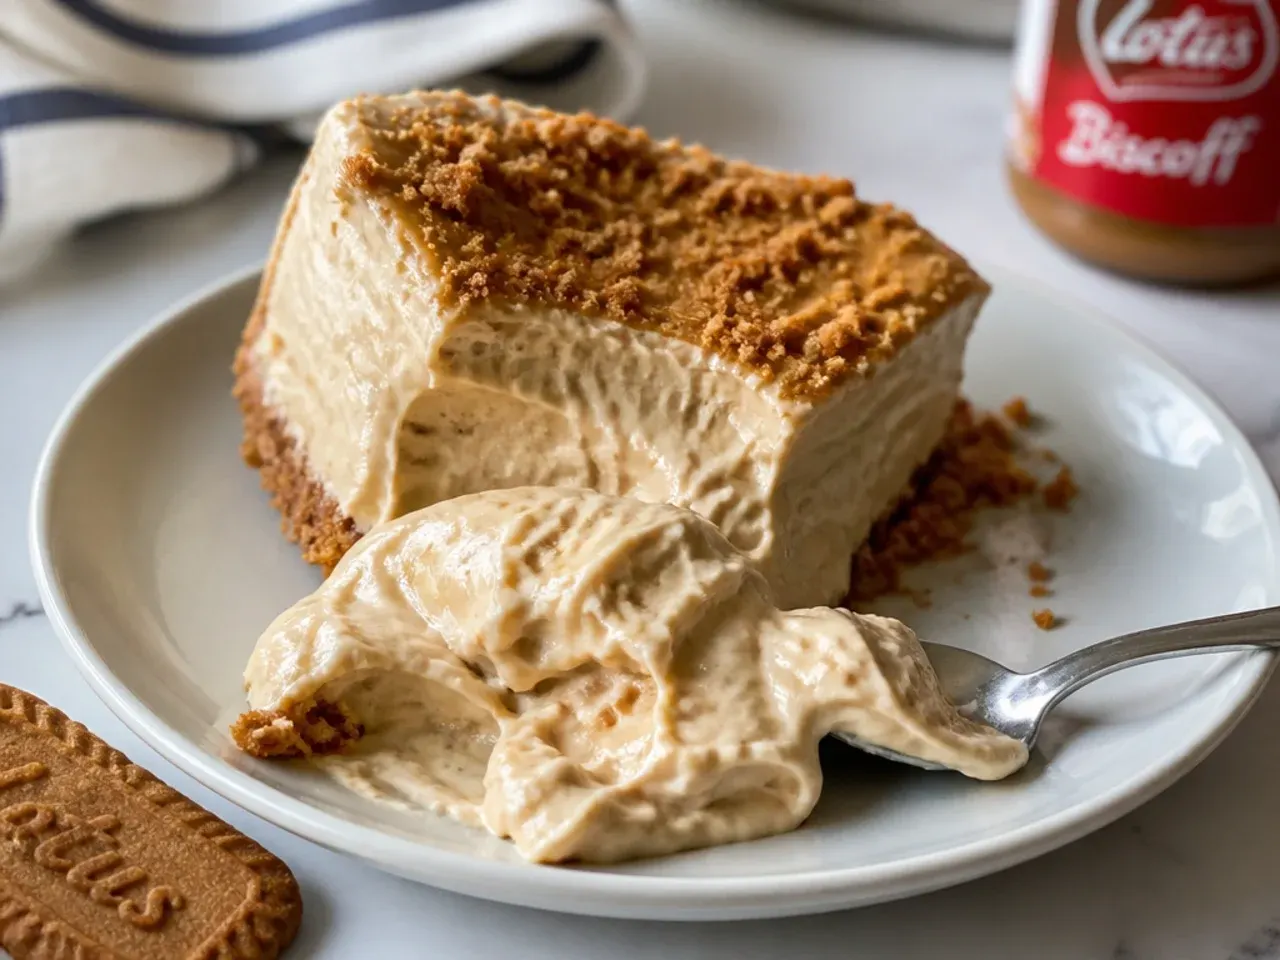
For my second go I grabbed a light cream cheese to feel virtuous, and I paid for it with a filling that never firmed up past the texture of thick custard. A no-bake cheesecake has no eggs or oven heat to set it, so it leans entirely on the fat in the cream cheese and double cream to hold its shape. Light or spreadable tubs carry extra water and stabilisers that keep it loose forever. Use full-fat block-style cream cheese (33% fat or more) and proper double cream at 48% fat, or heavy whipping cream at 35%+ if you're in the US or Canada. Skip single cream, half-and-half and anything labelled 'light' entirely, because they simply won't hold a slice.
Lesson 3: Over-Whipping Turned My Filling Grainy and Split
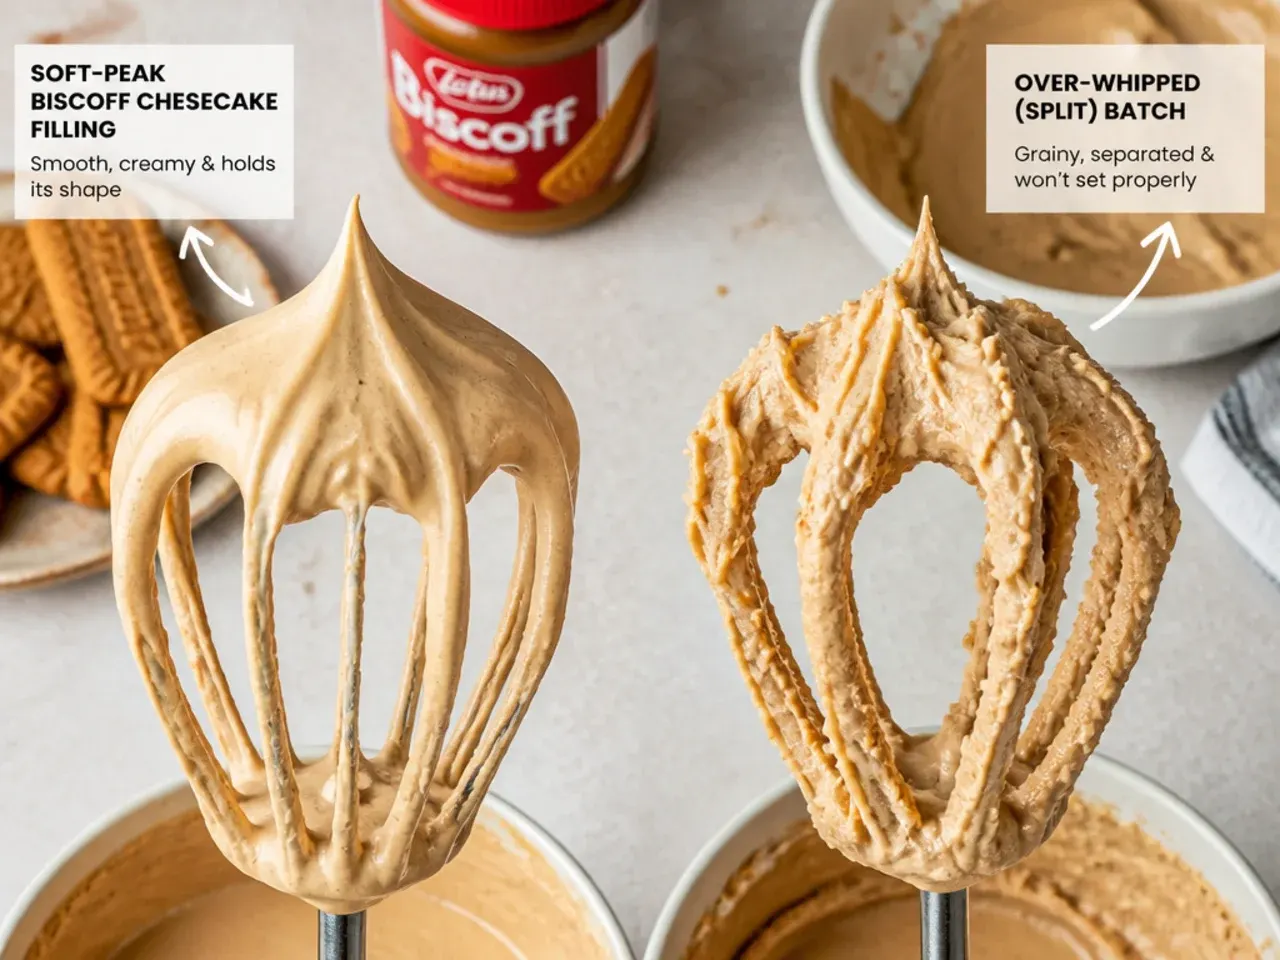
I assumed more whisking meant a firmer cheesecake, so I ran the mixer until my arm ached, and the filling turned grainy and started to split into a buttery, curdled mess. Double cream and cookie butter both seize up when you push them too far, and once split there's no rescuing that batch. I now add my cold double cream to the beaten cream cheese, icing sugar and Biscoff spread all in one bowl and whip on medium just until it holds soft, thick peaks like ice cream, usually two to three minutes. The second it looks thick enough to hold a swirl, I stop and finish folding by hand. Stop early rather than late, because you can always give it another few seconds but you can't un-split it.
Lesson 4: I Cut It After Three Hours and It Slid Everywhere
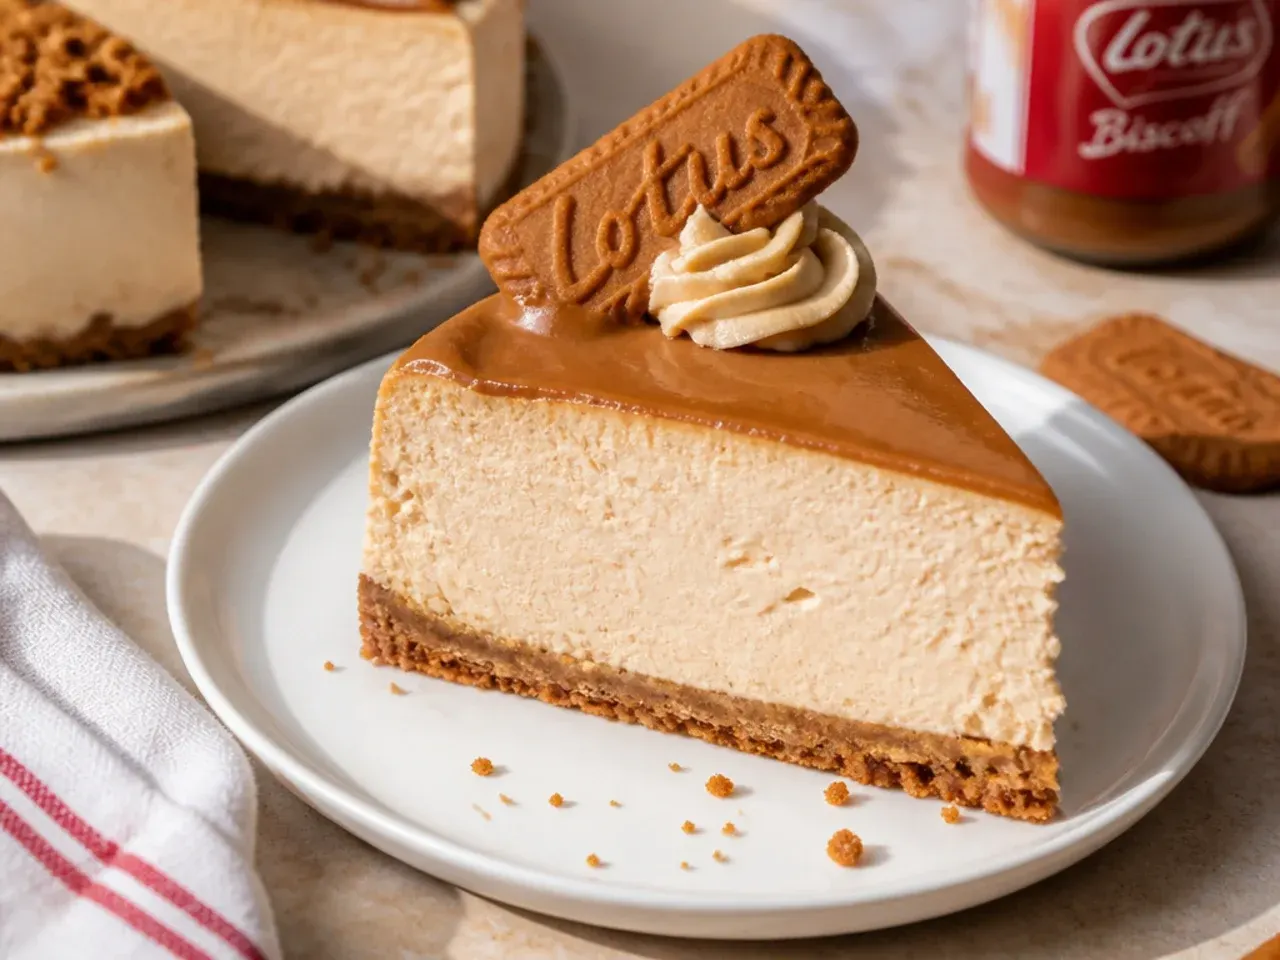
Impatience ruined my third attempt, when I sliced into the cheesecake after three hours and watched the filling ooze out sideways onto the plate. No-bake fillings need a long, cold chill to firm up properly, and three hours simply isn't enough for a full-depth cake. I now chill mine for a minimum of six hours, but honestly overnight is where the magic happens and the texture goes from soft to sliceable. If you're rushing, pop it in the freezer for the last 20 to 30 minutes before serving to tighten the edges. Cover it loosely so the surface doesn't pick up fridge smells, and never skip this step to save time.
Lesson 5: My Biscoff Topping Slid Off in One Sad Sheet
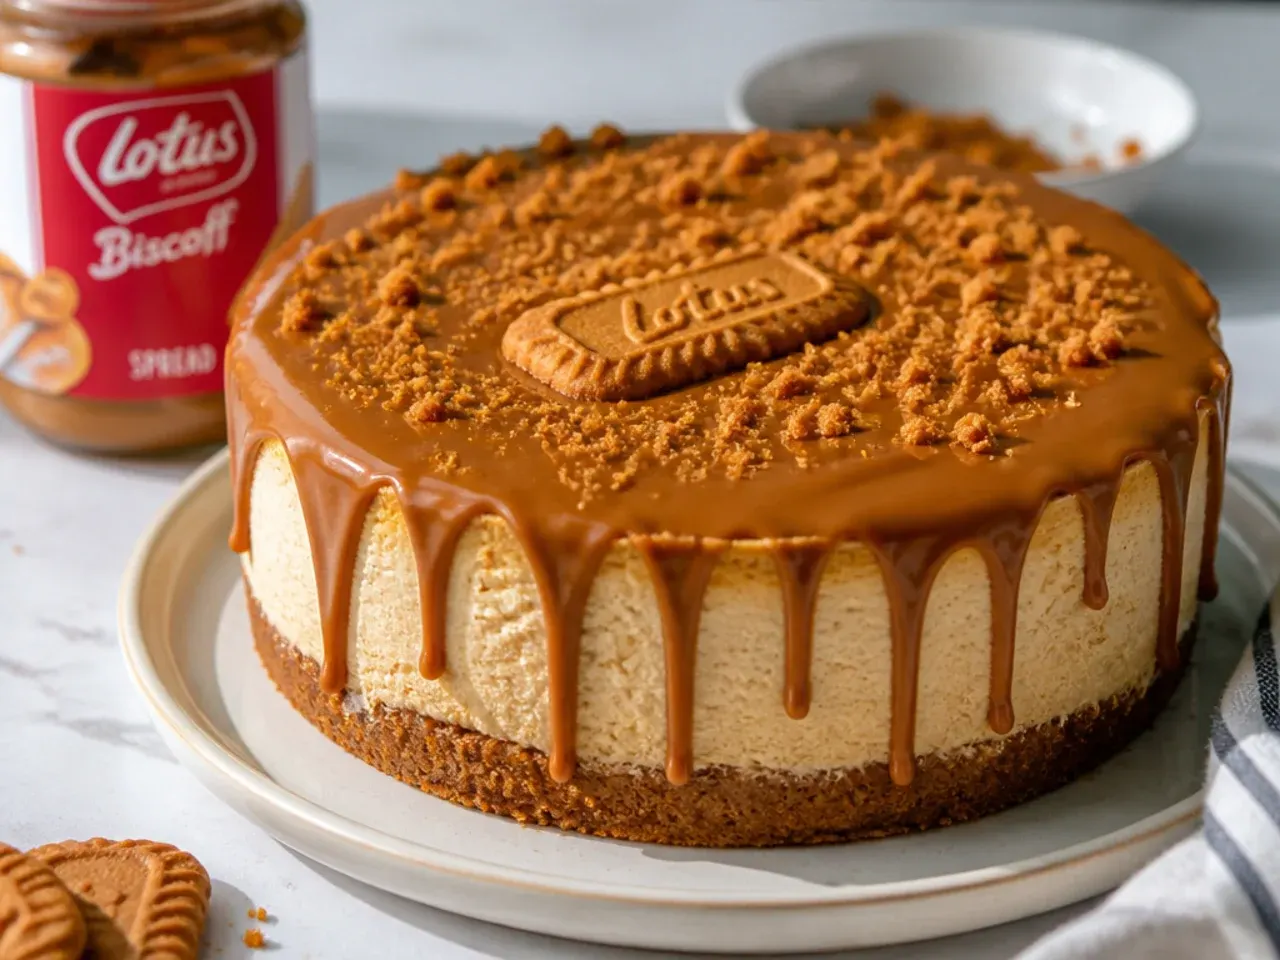
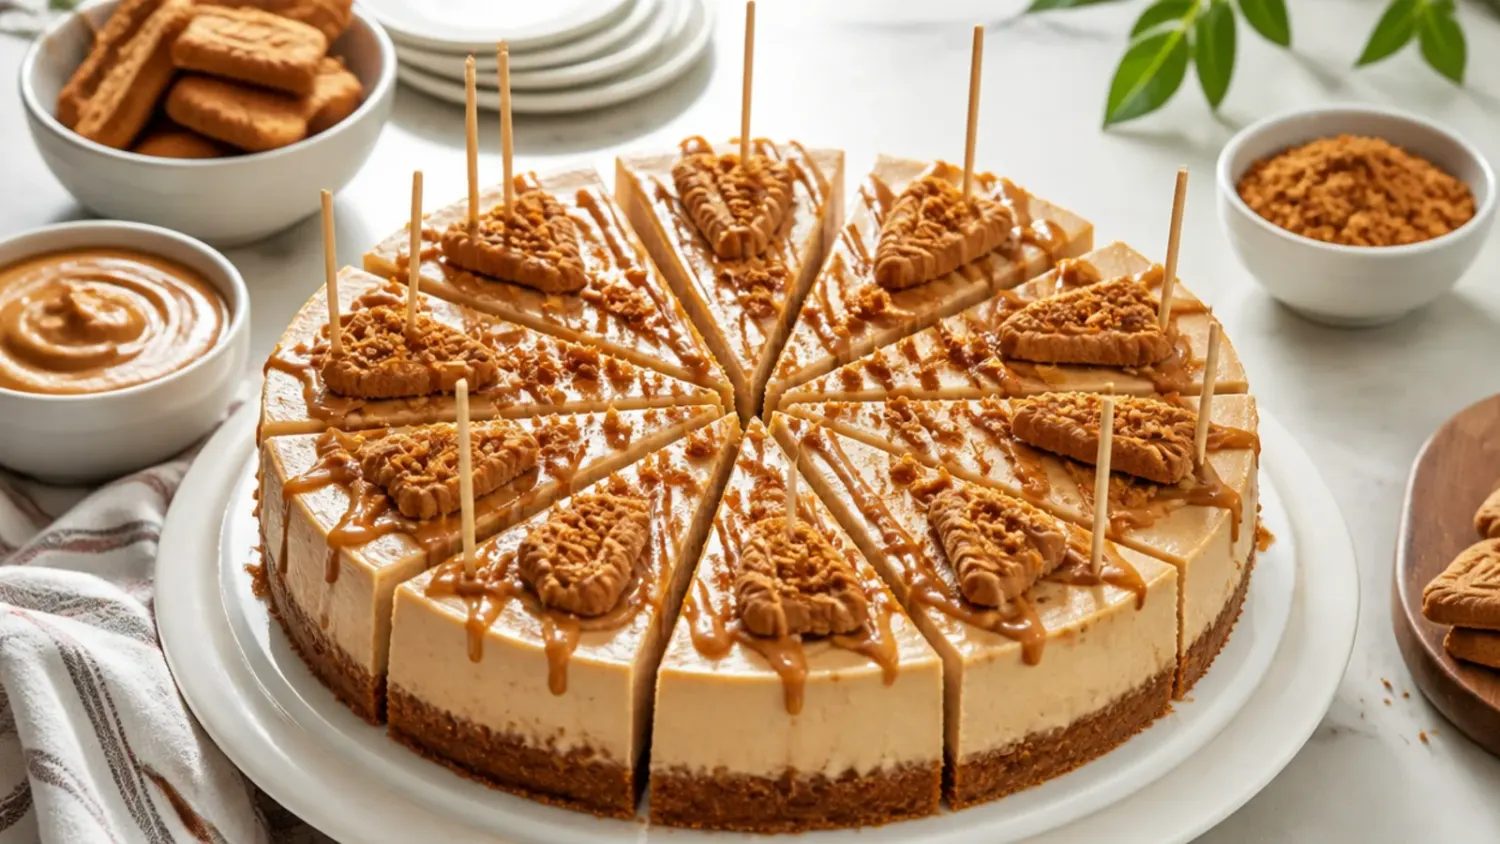
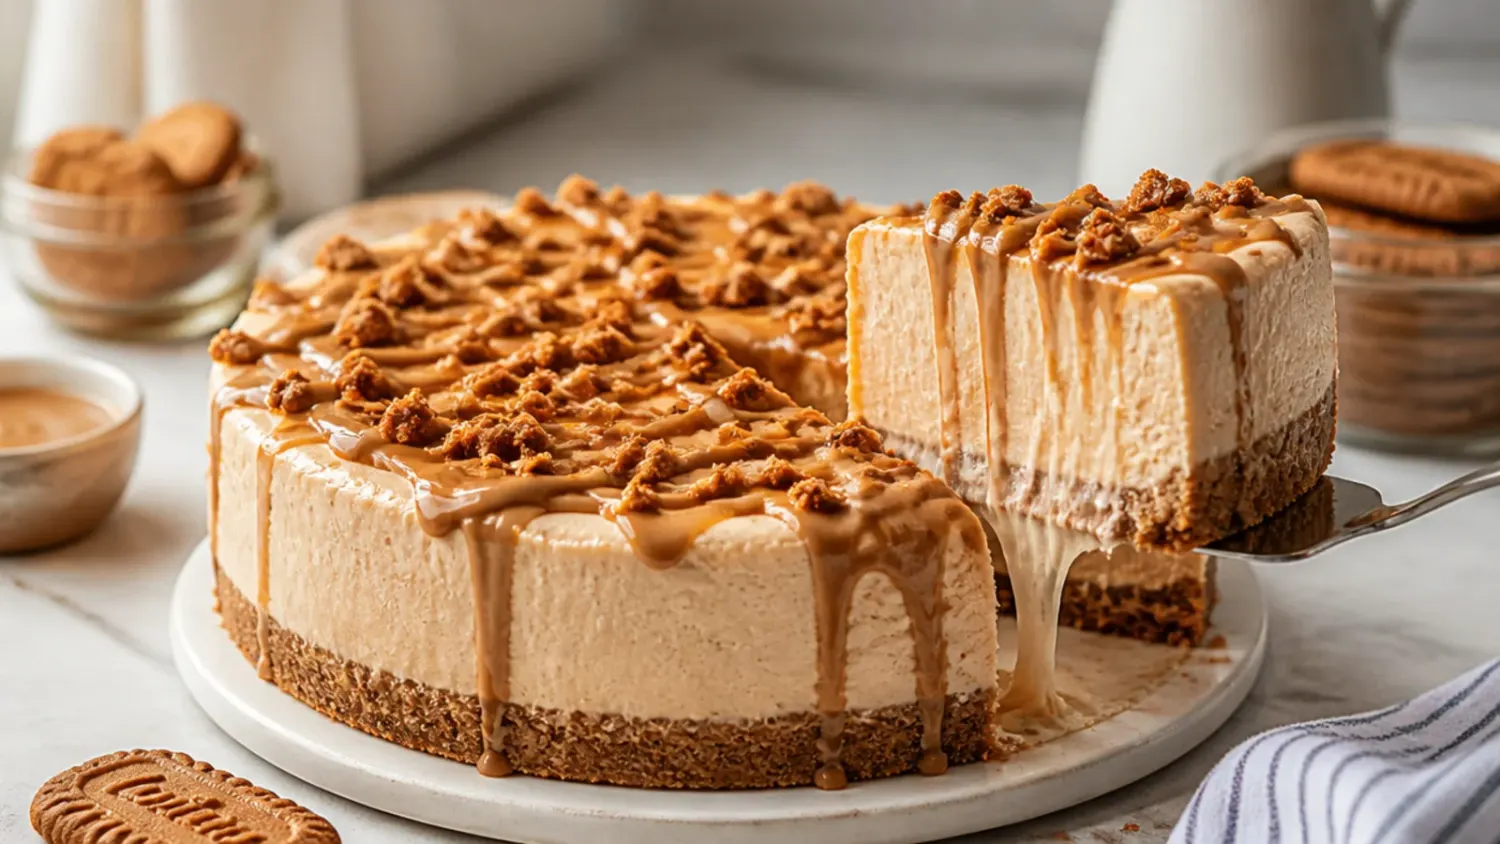
I poured melted Biscoff spread over a fridge-cold cheesecake and it set into a slippery layer that slid clean off the first slice. The problem was temperature: piping-hot spread over an ice-cold surface seizes on contact instead of bonding to the filling. Now I warm 150g of Biscoff spread gently in 20-second bursts in the microwave until it's just pourable and barely warm to the touch, not hot. I pour it over the chilled cheesecake, tilt the tin to spread it thin and even, then chill for one more hour so it sets into the surface. A scatter of crushed Biscoff biscuits and a few whole ones around the edge hides any imperfections and adds crunch.
What I'd Tell a Friend Trying This
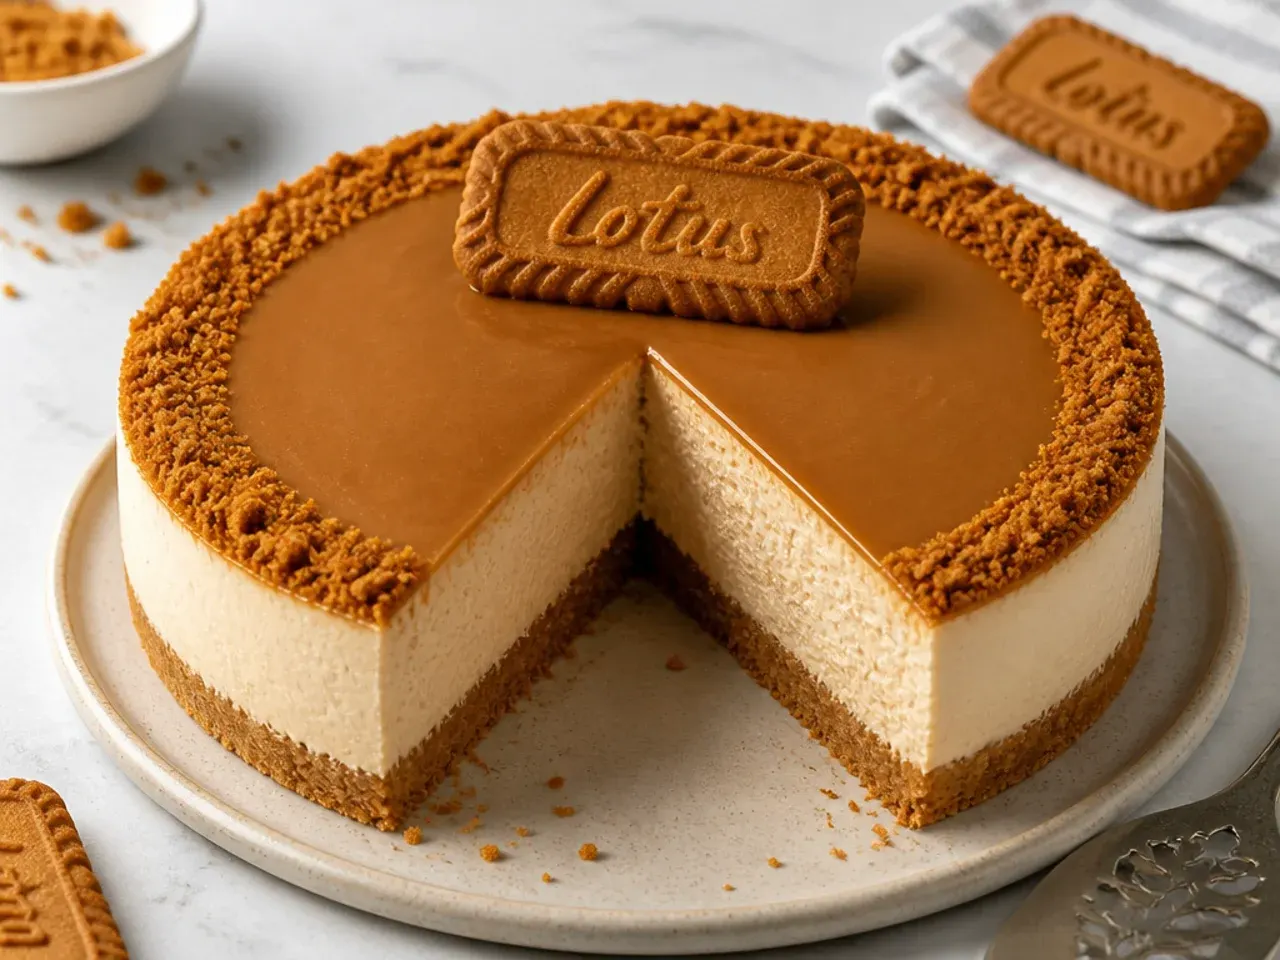
If you take one thing from my mistakes, let it be this: temperature is everything, and patience wins. Have your cream cheese warm and your double cream cold, whip only until thick, then walk away and let it chill overnight before you even think about slicing. Don't be tempted by low-fat anything, and warm your topping spread only until it just flows. Line the base of your springform tin with a disc of baking paper so the whole cake lifts off cleanly, and dip your knife in hot water and wipe it between cuts for tidy slices. Get those basics right and this homemade Biscoff cheesecake genuinely looks and tastes like it came from a bakery counter.
The Recipe
The Recipe I Used
25 min
0 min
6 hr 25 min (plus chilling)
12
Beginner
Ingredients 12 Person(s)
Directions
Step 1: Make the biscuit base
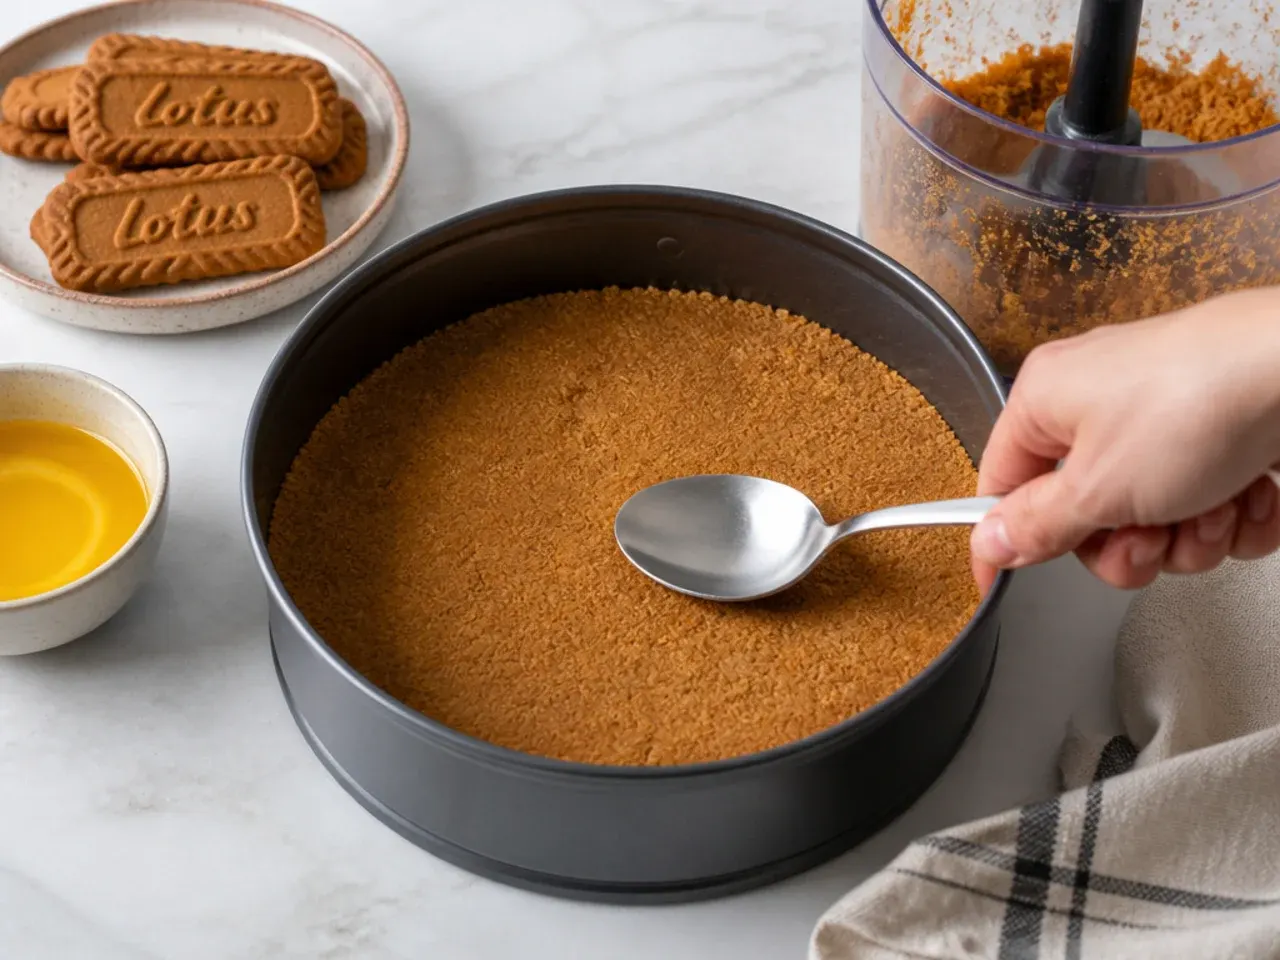
Blitz 250g Biscoff biscuits in a food processor to a fine crumb, or seal them in a bag and crush with a rolling pin. Stir in 100g melted unsalted butter until the crumbs look like wet sand. Tip into a 20cm (8-inch) springform tin lined with a disc of baking paper on the base.
Step 2: Press and chill the base
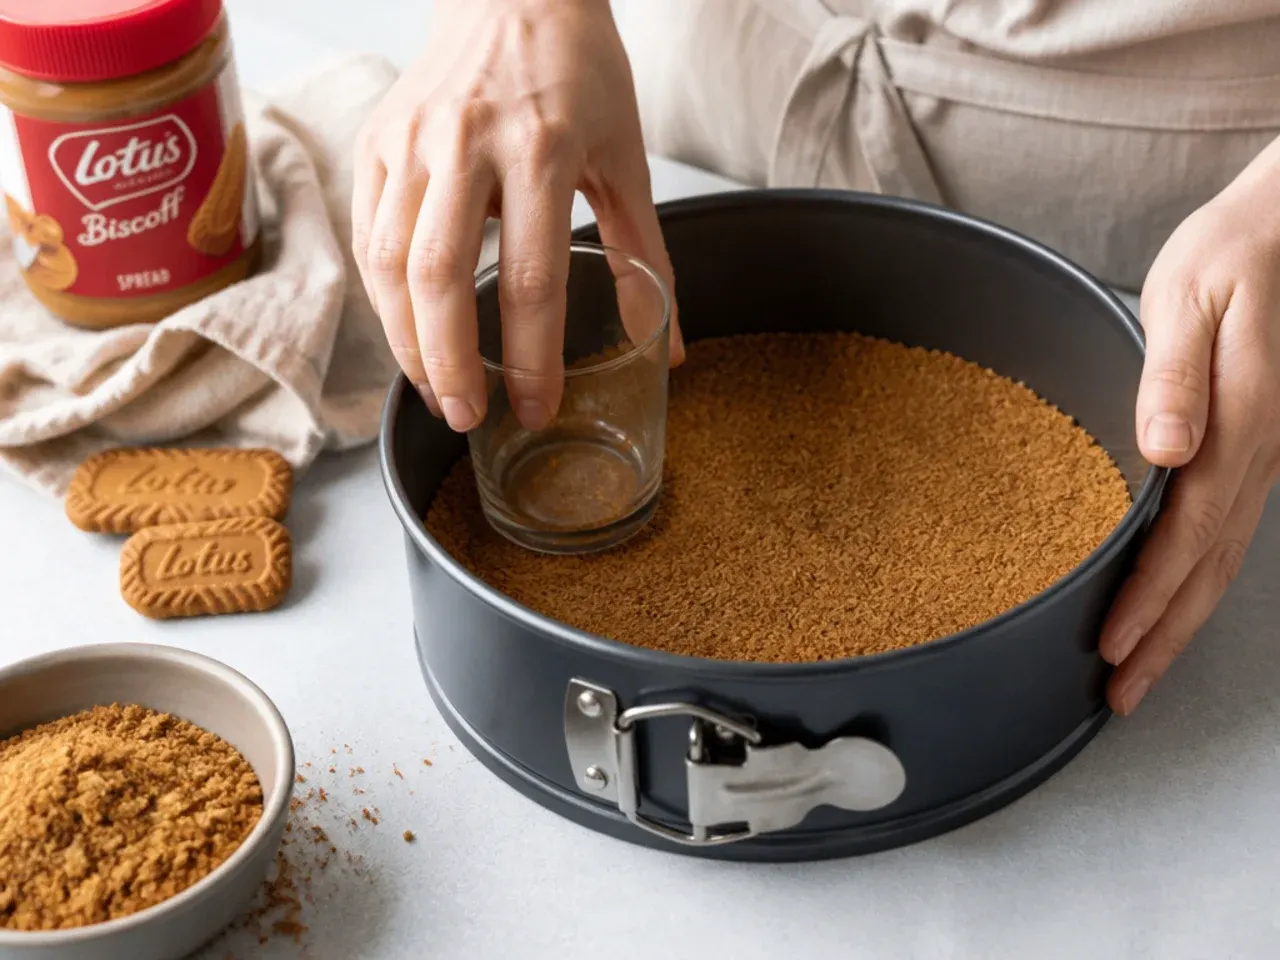
Press the crumb mixture firmly and evenly into the base using the flat bottom of a glass or measuring cup, pushing it slightly up the sides if you like. A well-compacted base won't crumble when you slice. Chill in the fridge for at least 20 minutes while you make the filling.
Step 3: Beat the cream cheese base
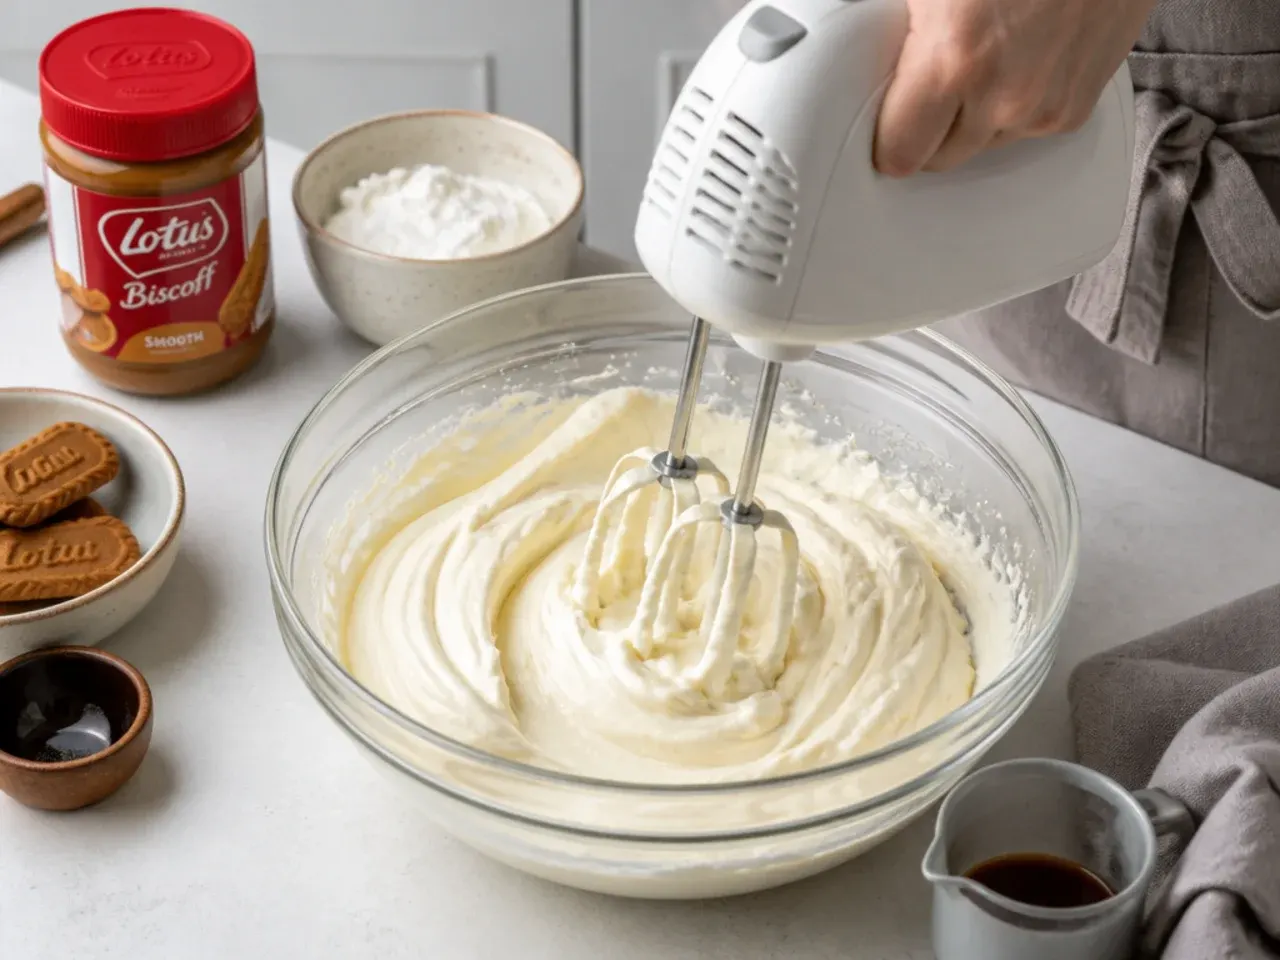
In a large bowl, beat 500g room-temperature full-fat cream cheese on its own for about 30 seconds until smooth and creamy, scraping the bowl. Add 100g sifted icing sugar, 250g Biscoff spread and 1 tsp vanilla extract, then beat on medium just until combined and lump-free. Do not overbeat at this stage.
Step 4: Add the cold double cream
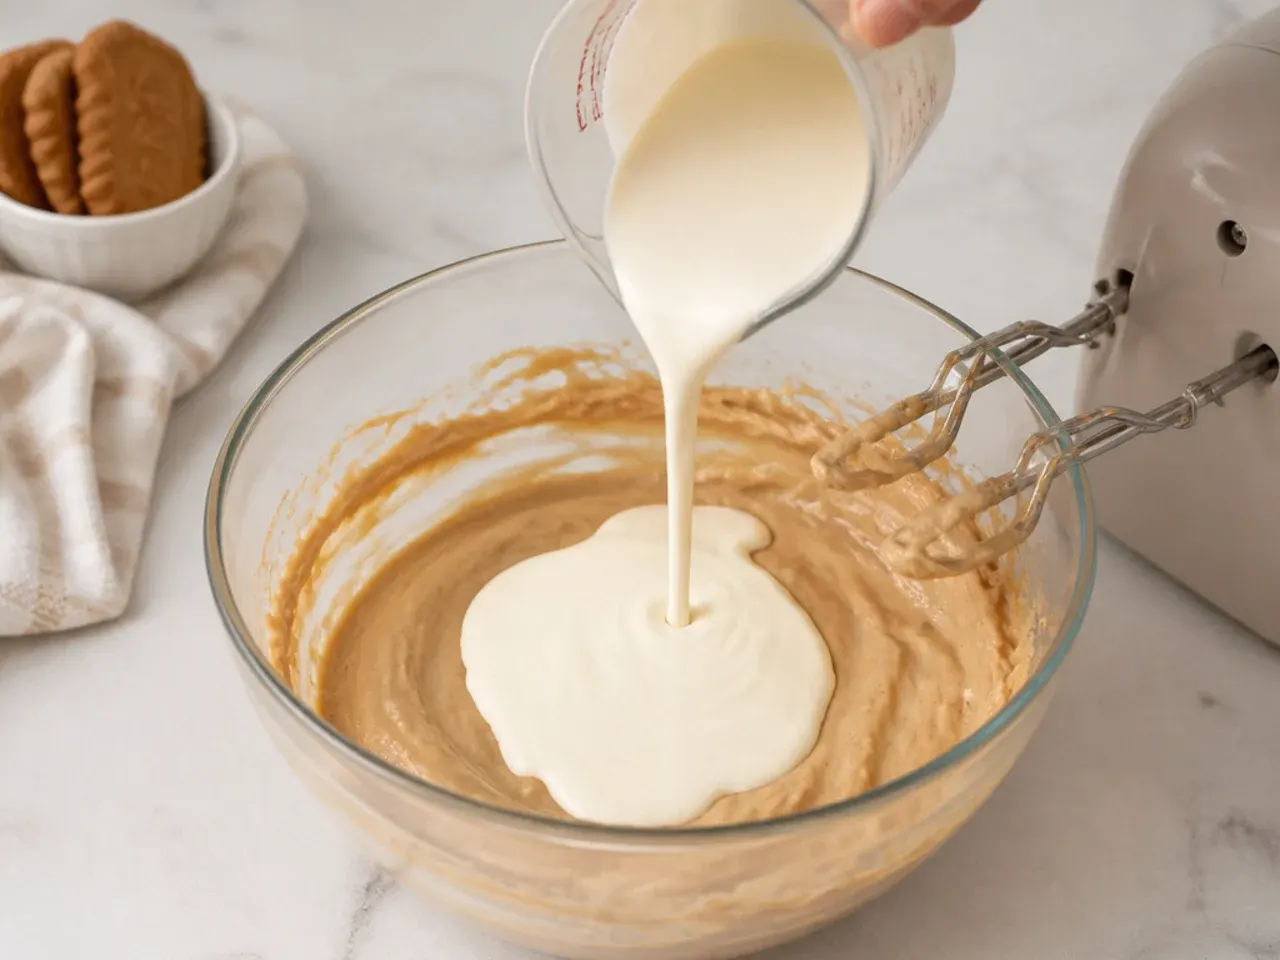
Pour in 300ml cold double cream and whip on medium speed until the mixture thickens to soft, holdable peaks, about 2 to 3 minutes. Stop the moment it's thick enough to hold a swirl, like softly whipped ice cream. Over-whipping will make it grainy and cause it to split, so err on the side of stopping early.
Step 5: Fill the tin and smooth
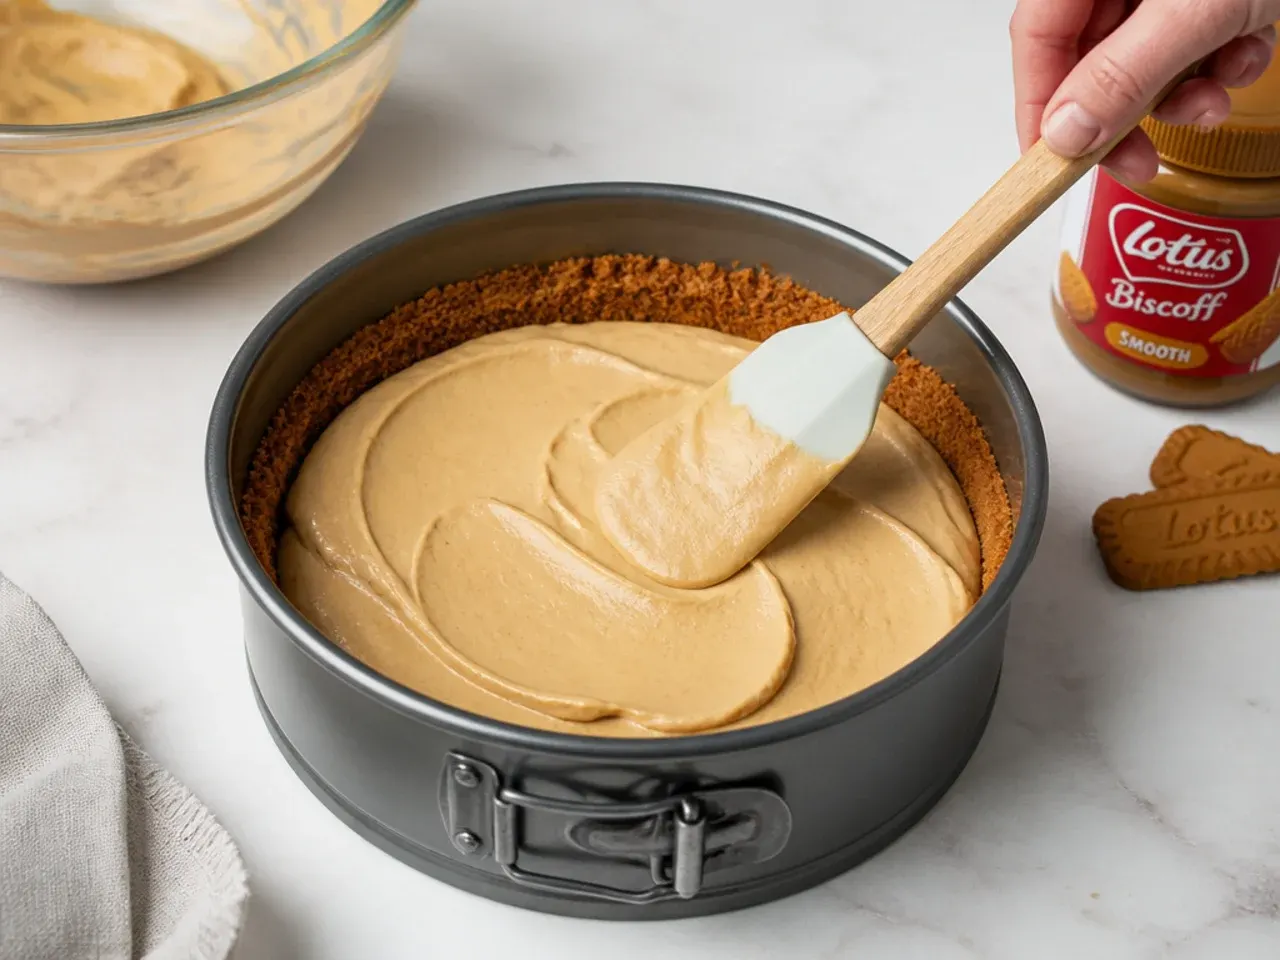
Spoon the filling over the chilled base and spread it level with a palette knife or the back of a spoon. Tap the tin gently on the counter a few times to release any air pockets. Smooth the top as flat as you can for a clean finish.
Step 6: Chill until set
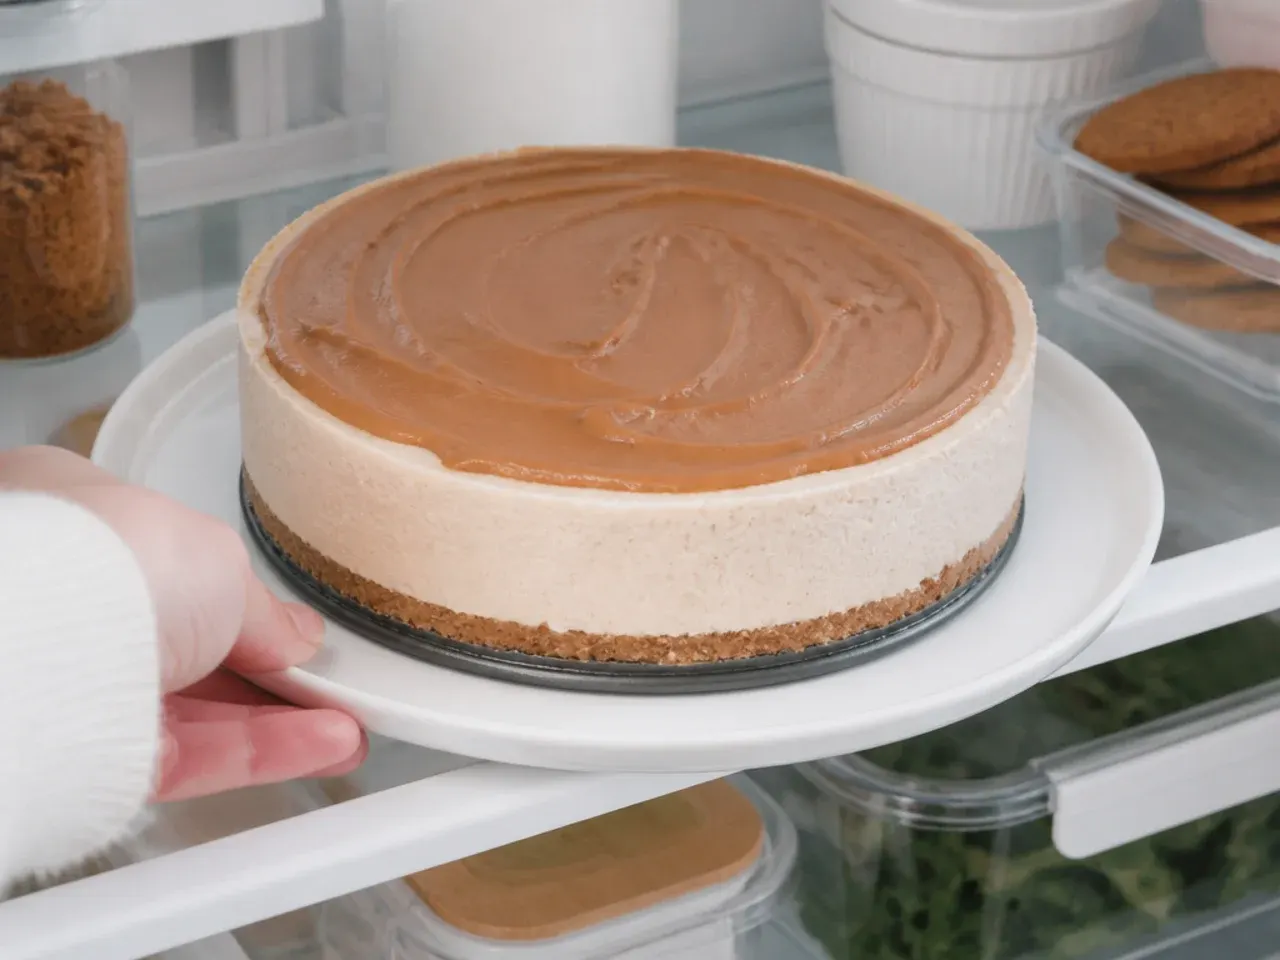
Cover loosely and refrigerate for a minimum of 6 hours, but preferably overnight, so the filling sets firm enough to slice. Do not rush this step. If you're short on time, give it the last 20 to 30 minutes in the freezer to firm up the edges.
Step 7: Add the topping and decorate
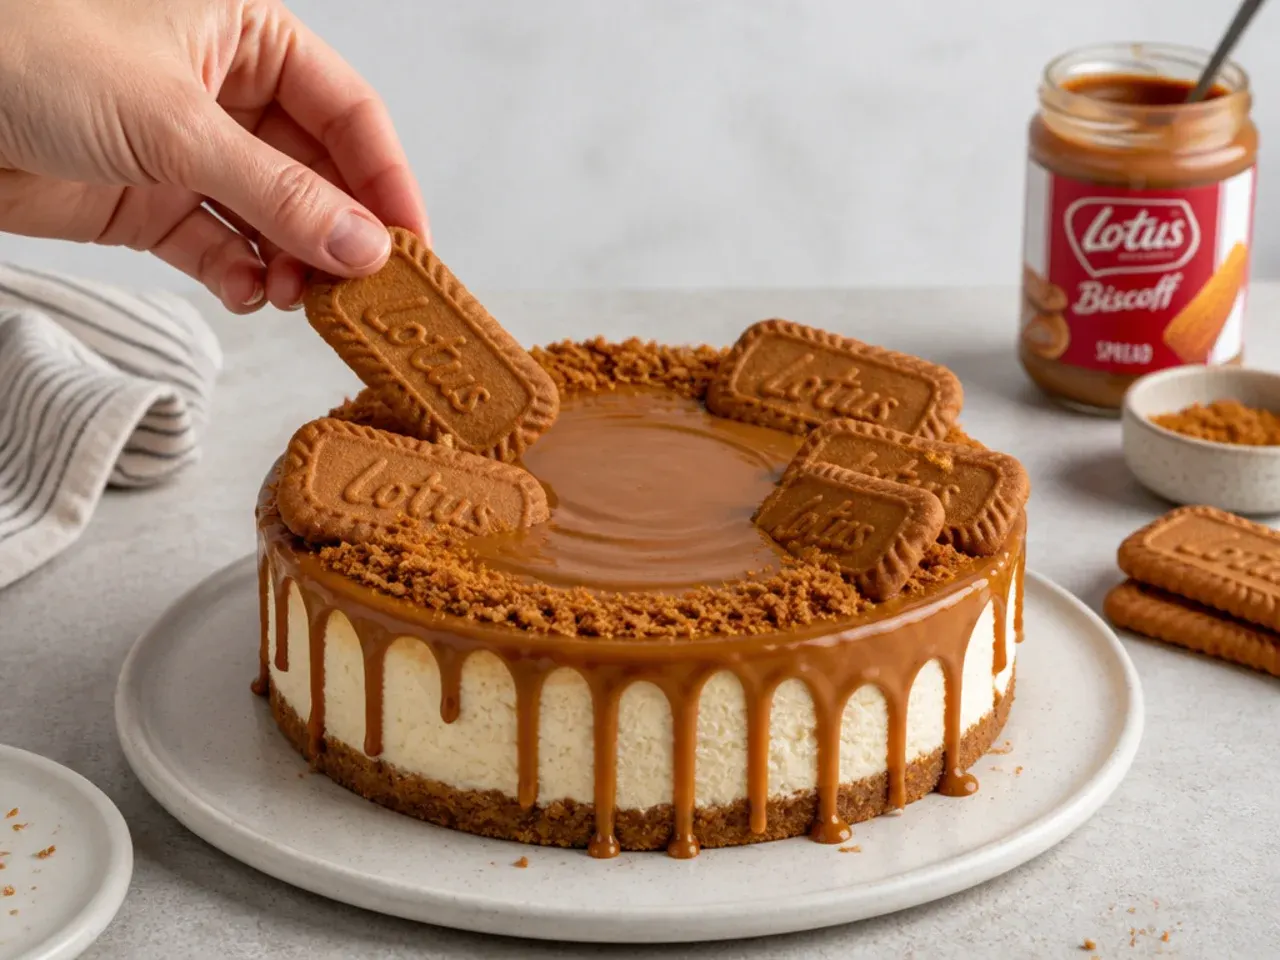
Warm 150g Biscoff spread in 20-second microwave bursts until just pourable and barely warm, not hot. Pour over the chilled cheesecake and tilt the tin to spread it thin and even, then chill for one more hour to set. Release from the tin, scatter with crushed and whole Biscoff biscuits, dip your knife in hot water, and slice.
Frequently Asked Questions
The most common causes are using low-fat cream cheese or cream, over-whipping so the filling splits, or not chilling long enough. Use full-fat block cream cheese and double cream (or heavy whipping cream at 35%+), whip only to soft peaks, and chill for at least 6 hours or overnight. If it's still soft, return it to the fridge or give it 20 minutes in the freezer.
Save this for later 📌
Pin this article to your Pinterest board so the full list is one tap away when you need it.
Save on Pinterest