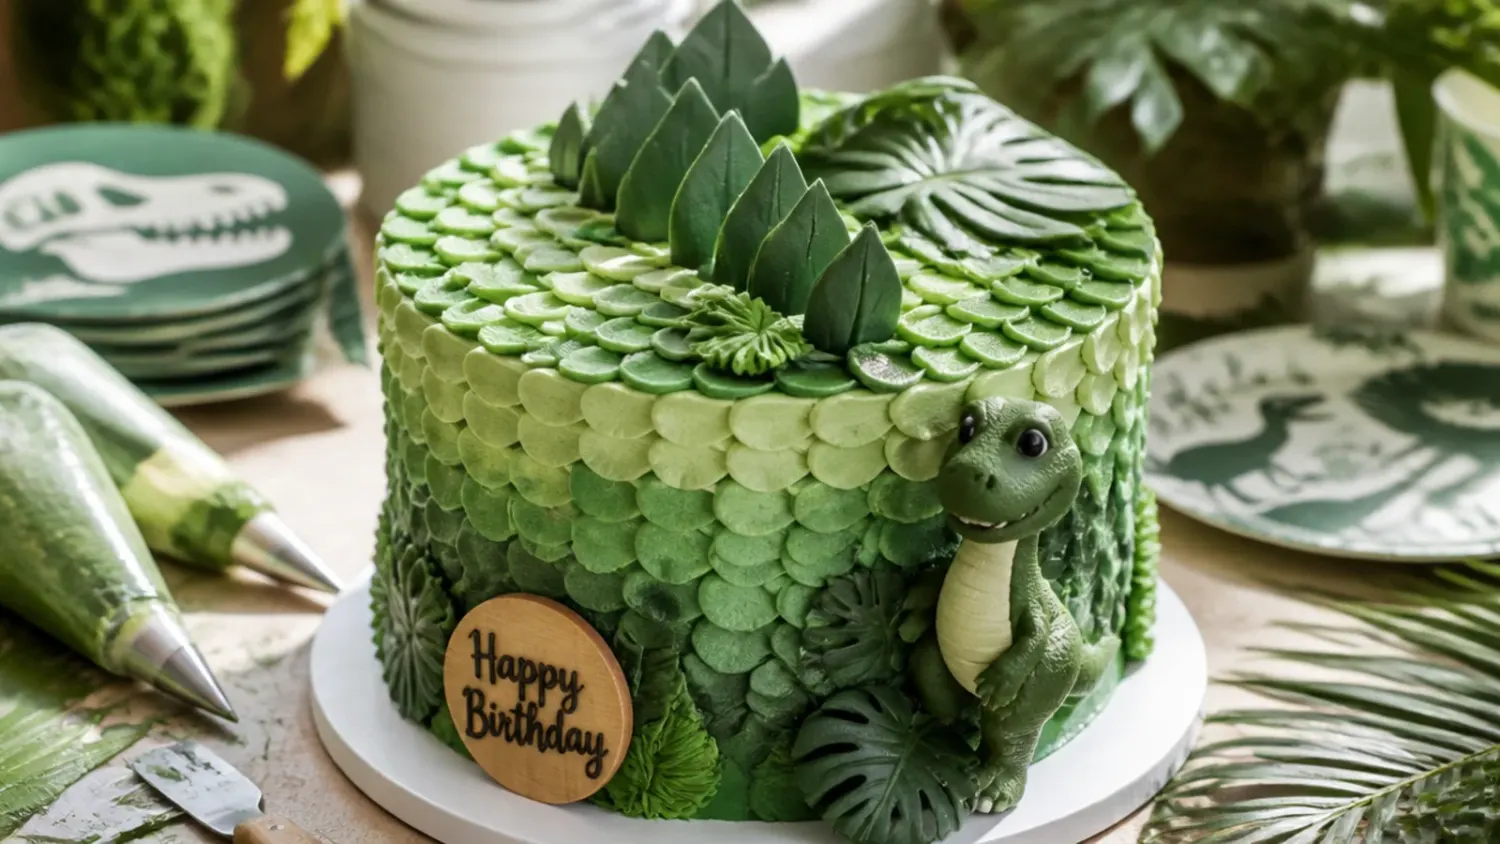
Ingredients 14 Person(s)
Save this for later 📌
Pin this article to your Pinterest board so the full list is one tap away when you need it.
Save on PinterestDirections
Step 1: Bake the vanilla sponge layers
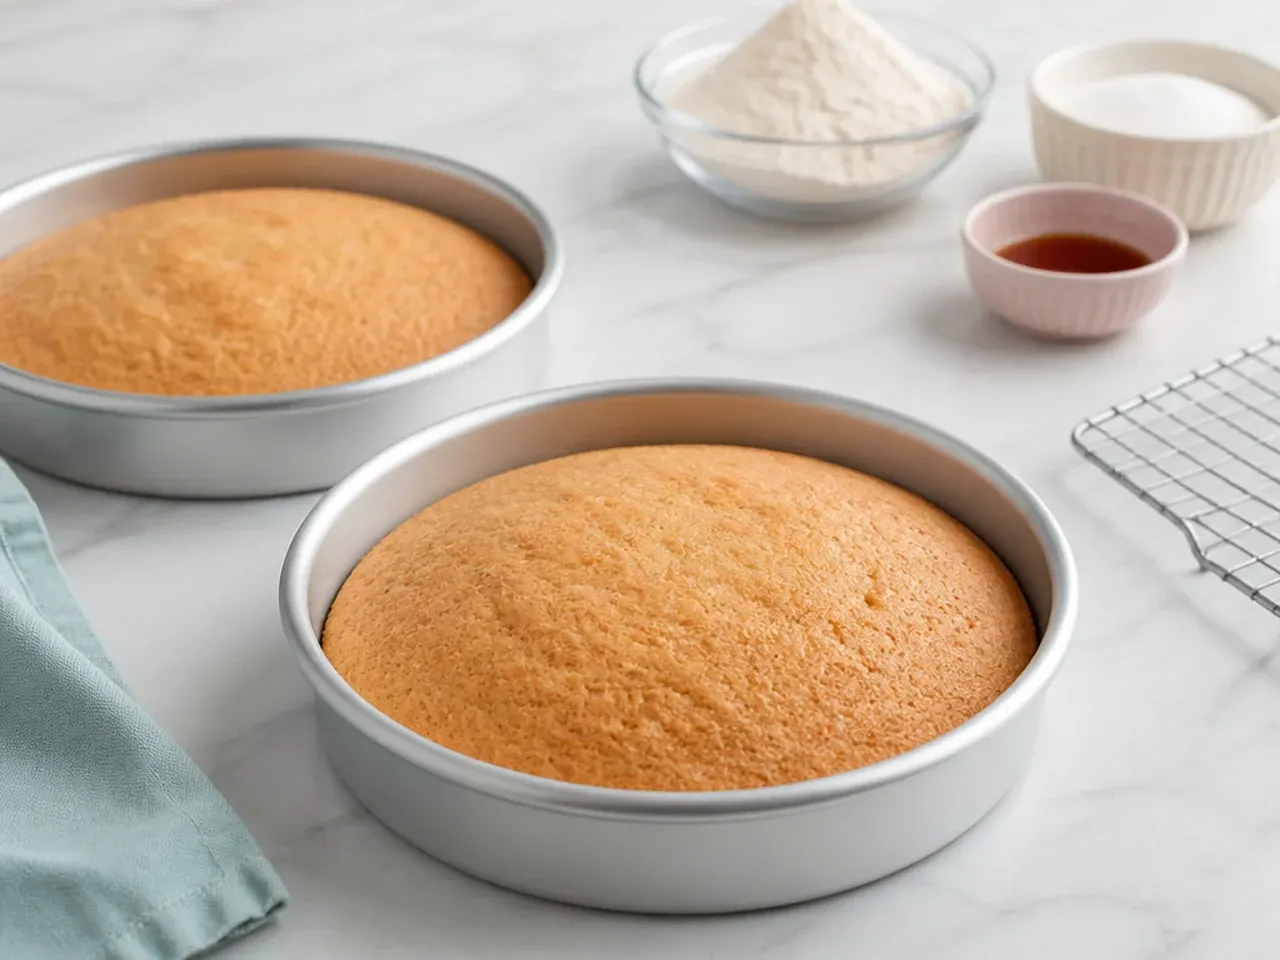
Heat the oven to 350°F (177°C) and grease and line three 8-inch round tins. Cream the 340g softened butter and sugar for 3 minutes until pale, then beat in the eggs and extra whites one at a time, add the vanilla, and mix in the sifted cake flour, baking powder, baking soda and salt alternately with the buttermilk. Divide the batter between the tins and bake for 23 to 26 minutes, until a skewer comes out clean and the tops spring back. Cool in the tins for 10 minutes, then turn out onto a rack and cool completely; warm cake melts buttercream, so don't rush this.
Step 2: Whip the sturdy green buttercream
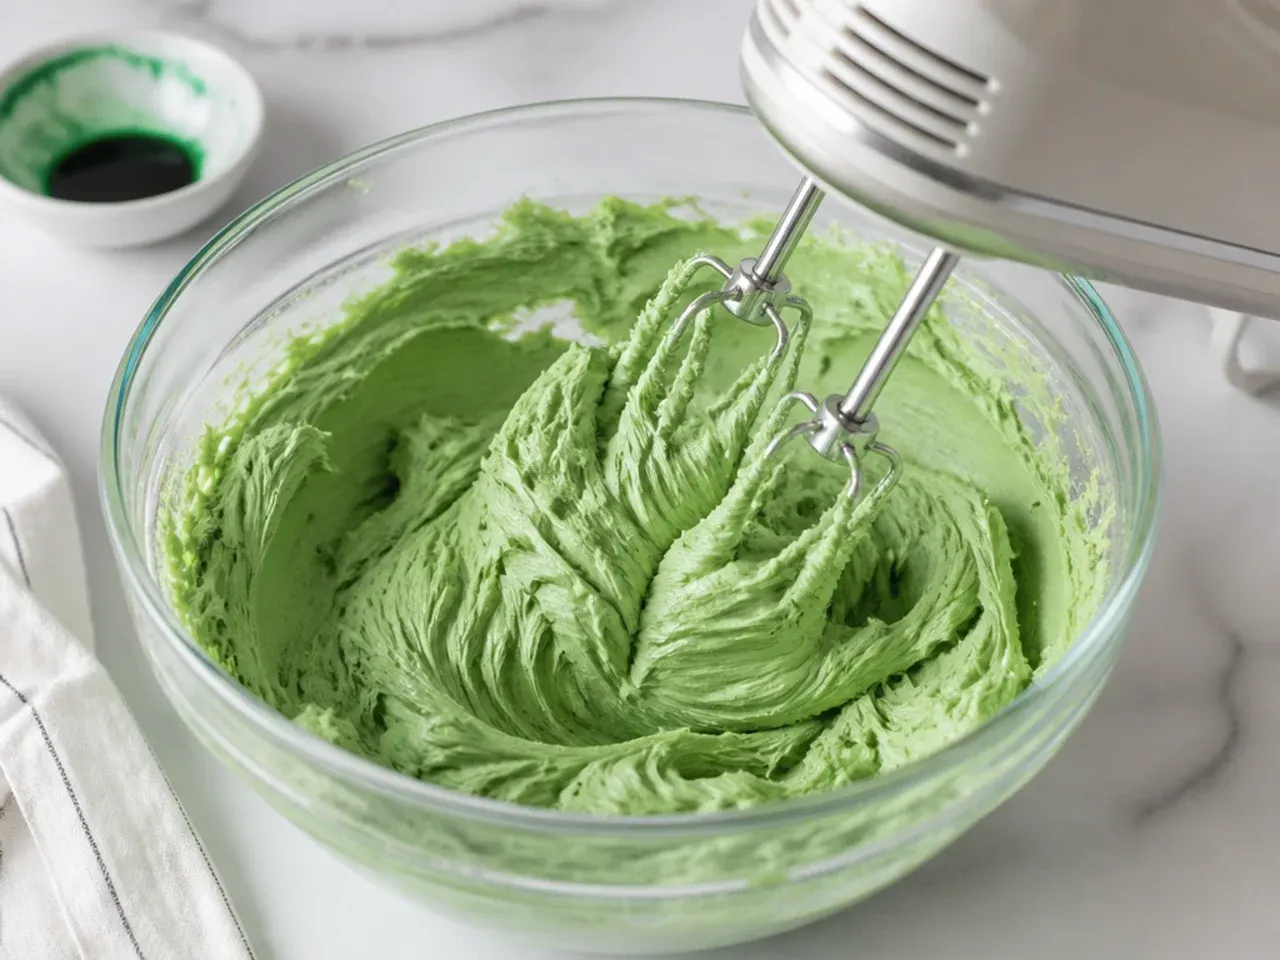
Beat the 450g cold unsalted butter on medium for 2 minutes, then add the sifted icing sugar one cup at a time, beating well between additions, plus a pinch of salt and a splash of milk if it's too stiff. Once smooth and fluffy, set aside about one-third of it white for footprints and detail. Tint the larger portion with avocado-green gel plus a touch of moss green, one drop at a time, until you reach a rich dinosaur green; remember it darkens as it rests. Keep the buttercream on the firm side so the piped grass texture holds its shape at room temperature.
Step 3: Stack and crumb-coat the cake
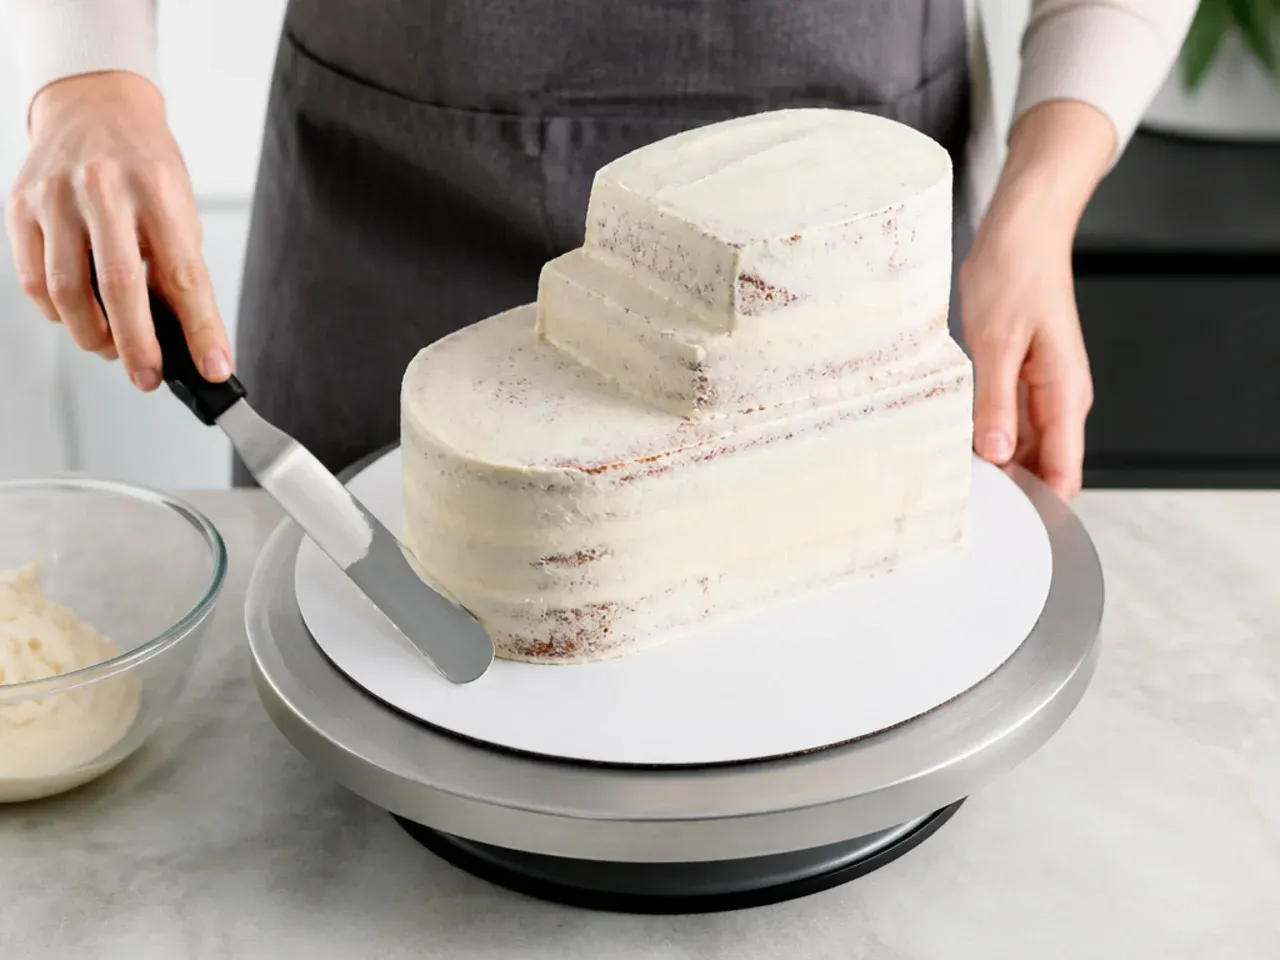
Level the domed tops off each cooled sponge with a serrated knife so the layers sit flat and stable. Place the first layer on a board, spread about half a cup of green buttercream, then repeat with the second and third layers to build a tall round cake. Cover the whole cake in a thin, scrappy crumb coat of green buttercream to trap loose crumbs, then chill for 15 minutes until firm to the touch. This chilled base is what keeps your final coat clean and your decorations from sliding down the sides.
Step 4: Apply and chill the final green coat
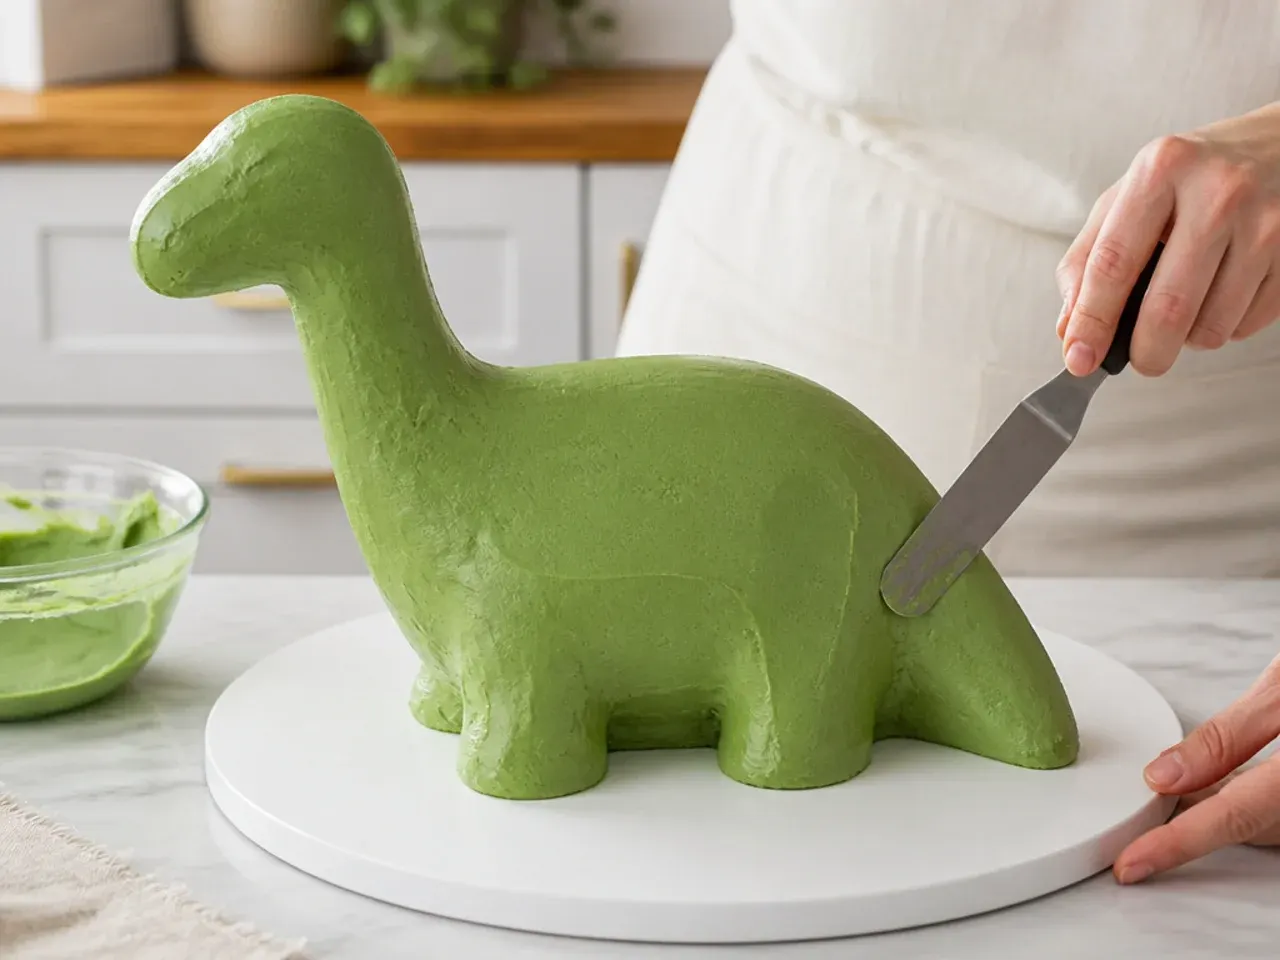
Pipe or spread a thick, even layer of green buttercream over the chilled cake, then smooth the sides and top with an offset spatula or bench scraper. Don't aim for perfectly sharp edges here; a slightly textured, rounded finish reads more like a lush dino landscape. Chill the coated cake for 30 minutes so the surface sets before you add texture. A firm surface means the grass tufts you pipe next will stand up instead of melting into the base coat.
Step 5: Pipe the grass and jungle texture
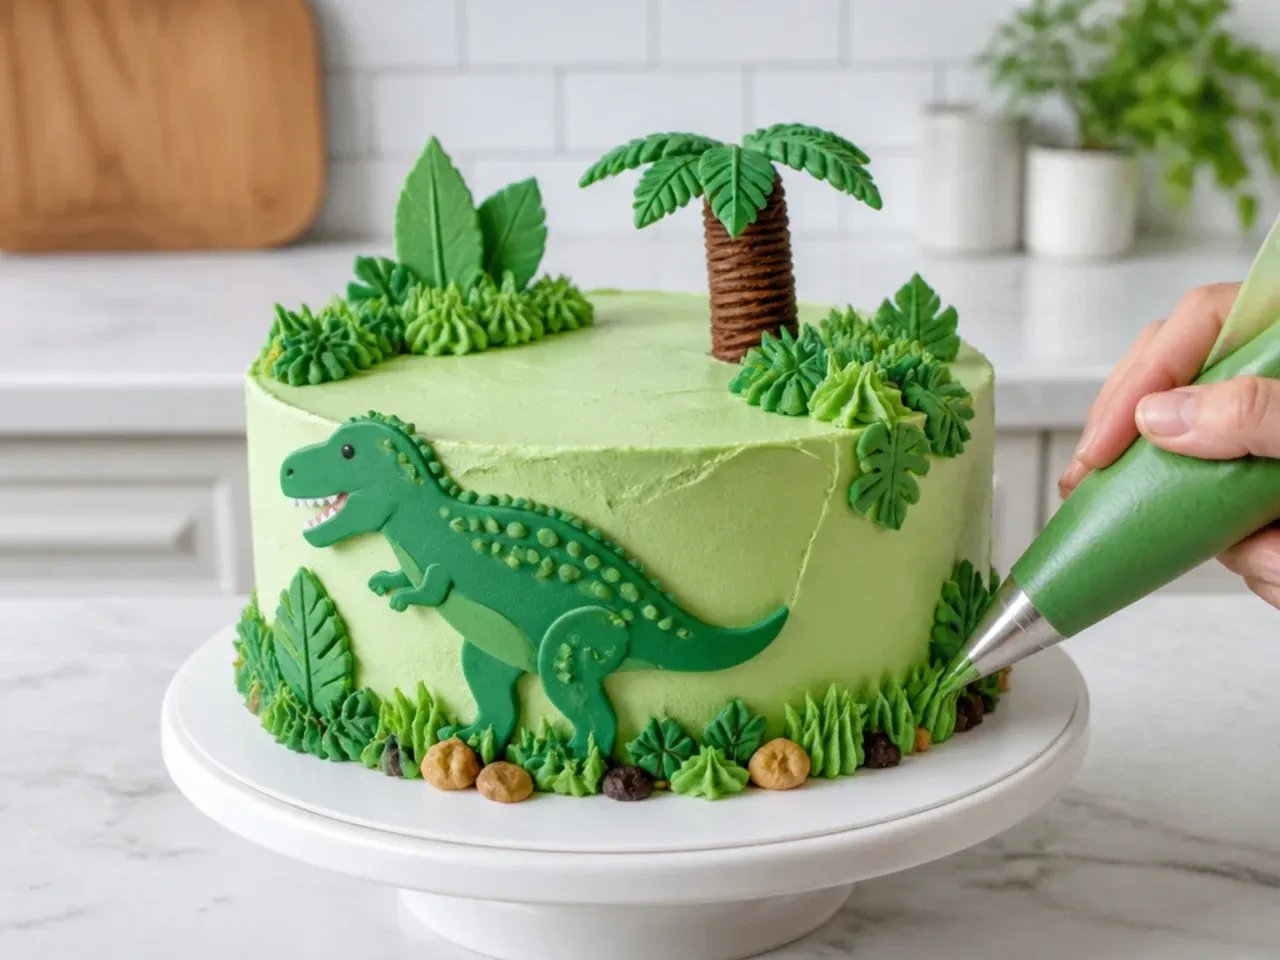
Fit a piping bag with a Wilton #233 multi-opening grass tip and fill with the remaining green buttercream. Hold the bag straight down at 90 degrees against the cake, squeeze to form a tuft, then pull sharply away to snap off clean strands of grass. Work in patches around the base and up onto the top for a lush, overgrown jungle look, leaving some smooth green space for the dinosaurs to stand. For extra depth, mix a little moss green into a second bag and pipe darker tufts in shaded areas.
Step 6: Add footprints and toy dinosaurs
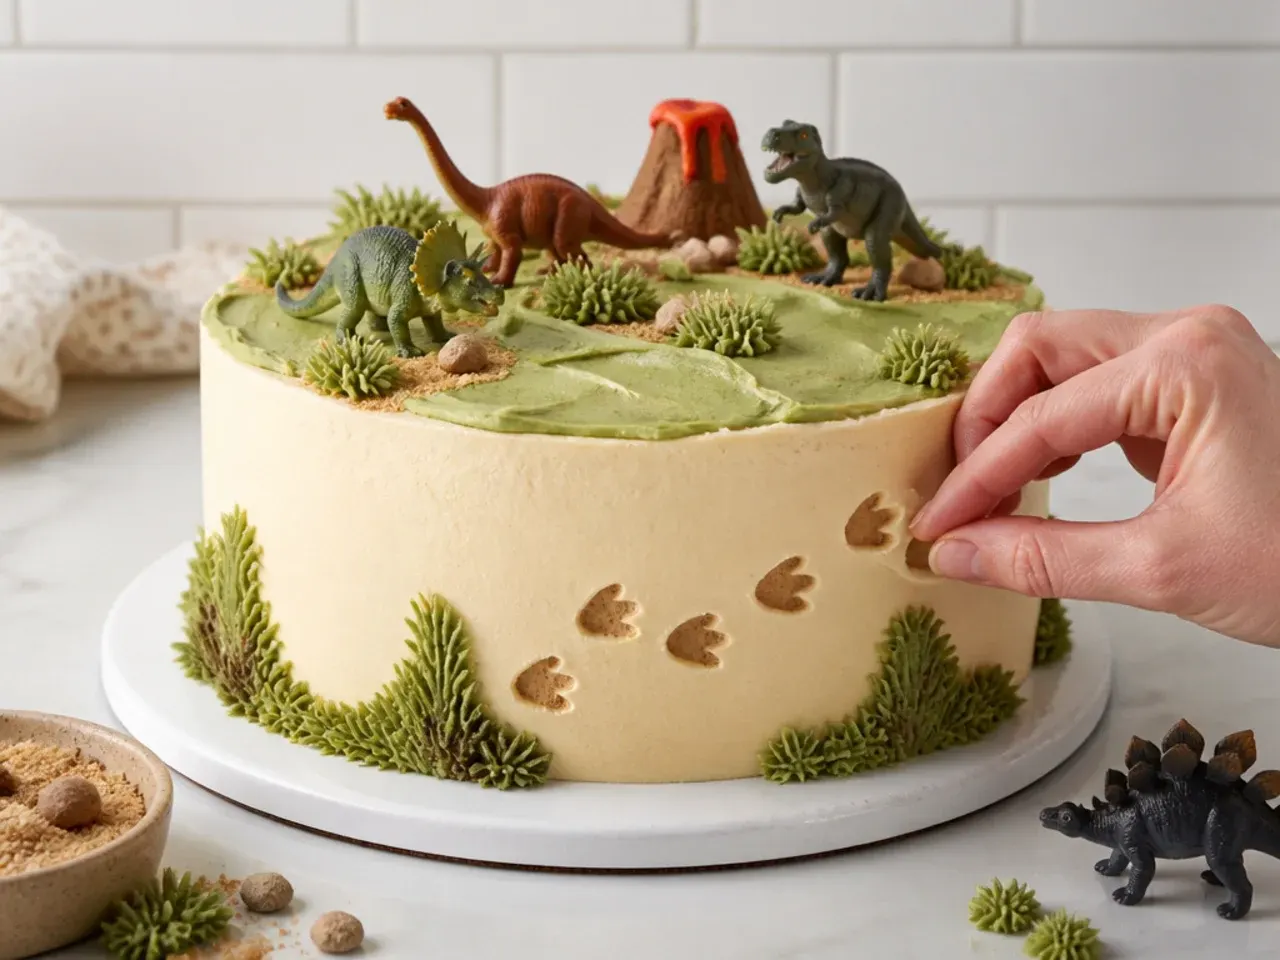
Fit a small round Wilton #10 tip with the reserved white buttercream and pipe little three-toed footprints tracking across the smooth green top and down one side. Press a clean plastic toy dinosaur's foot gently into a bare patch of frosting to leave a realistic print, then wipe and set the toy on top so it looks like it's stomping through. Scatter a few chocolate-rock candies or crushed biscuit 'dirt' around the base for a prehistoric scene. Add all plastic toys right before serving so no dye bleeds into the buttercream.
Pro Tips for a Foolproof Buttercream Dinosaur Cake
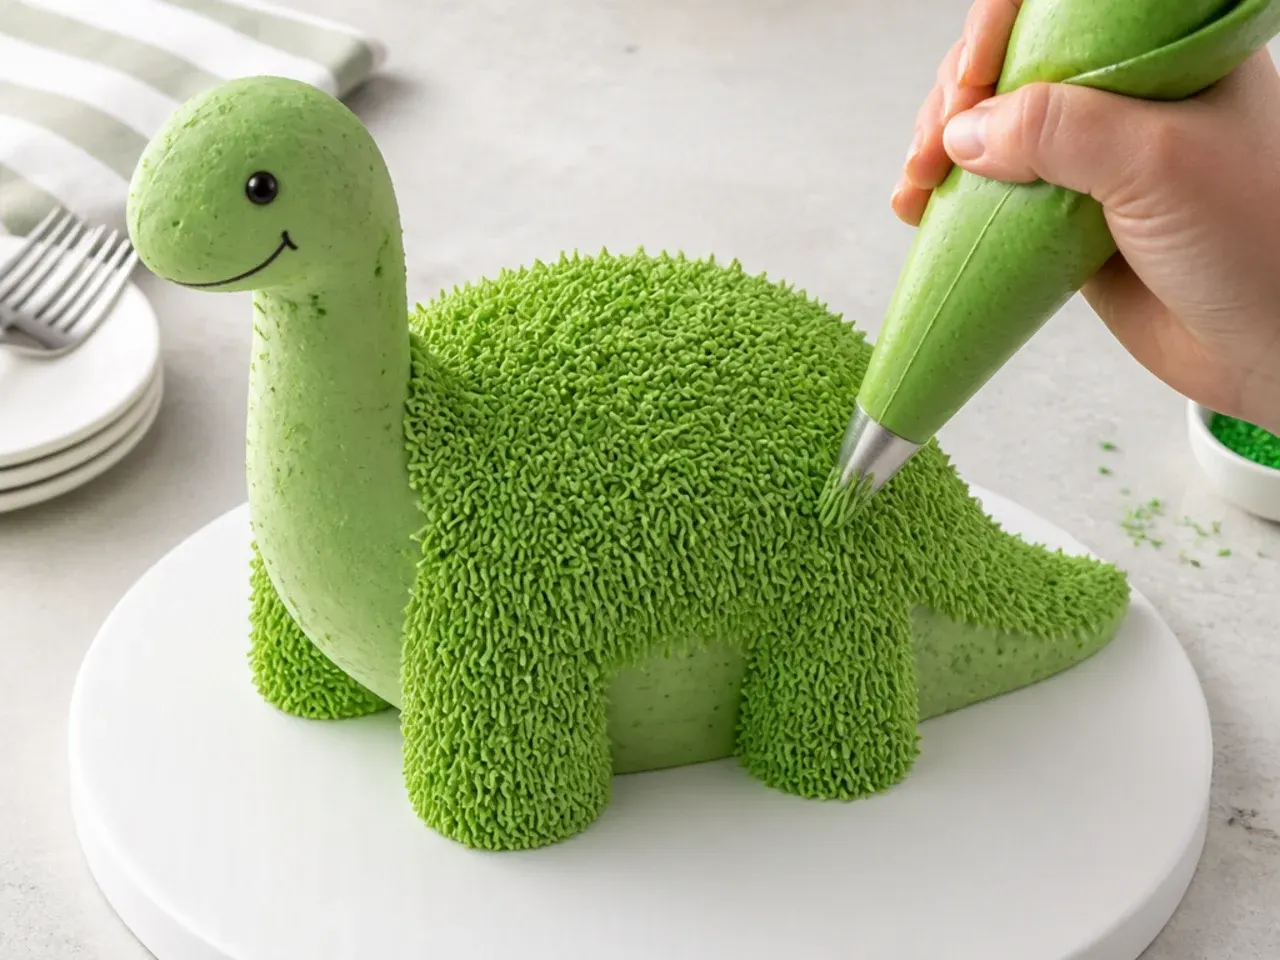
Use cold butter, not room-temperature, when you whip the buttercream: cold butter holds pipeable green grass tufts far better on a warm party day and stops the frosting going soupy. Tint your buttercream one shade darker than you want, because gel color deepens as it sits for 30 to 60 minutes. When you pipe the grass texture with a Wilton #233 tip, hold the bag at 90 degrees, squeeze, then pull straight away to snap off each tuft rather than dragging it. Chill the crumb-coated cake for 15 minutes and again after the final coat for 30 minutes so the surface firms up and your decorations don't slide. If your buttercream splits or looks curdled, keep beating for two to three more minutes at medium speed and it will come back smooth.
Storage and Make-Ahead Tips
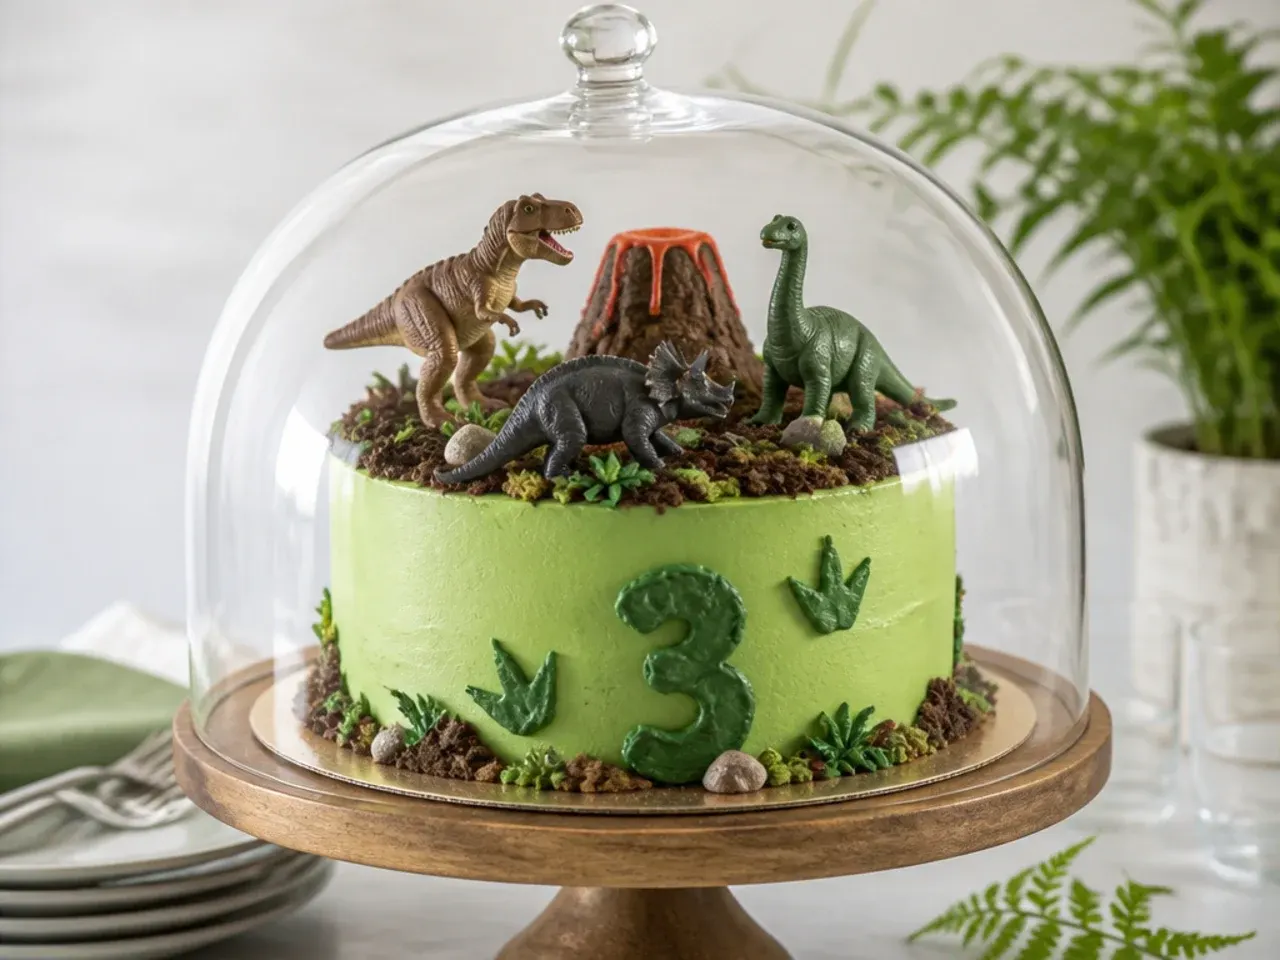
Bake the sponge layers up to two days ahead, cool completely, then double-wrap each in plastic wrap and keep at room temperature, or freeze wrapped layers for up to one month. Buttercream can be made up to a week ahead and refrigerated airtight; bring it back to room temperature and re-whip for two minutes before using so it pipes smoothly. A fully frosted and decorated dinosaur cake keeps at cool room temperature under a cake dome for two to three days, which protects the piped grass from drying and smudging. Only refrigerate if your kitchen is warm or humid, and let the cake sit out for one to two hours before serving so the sponge is soft and the buttercream isn't hard. Add plastic toy dinosaurs and any candy rocks just before the party so they stay put and don't bleed color into the frosting.
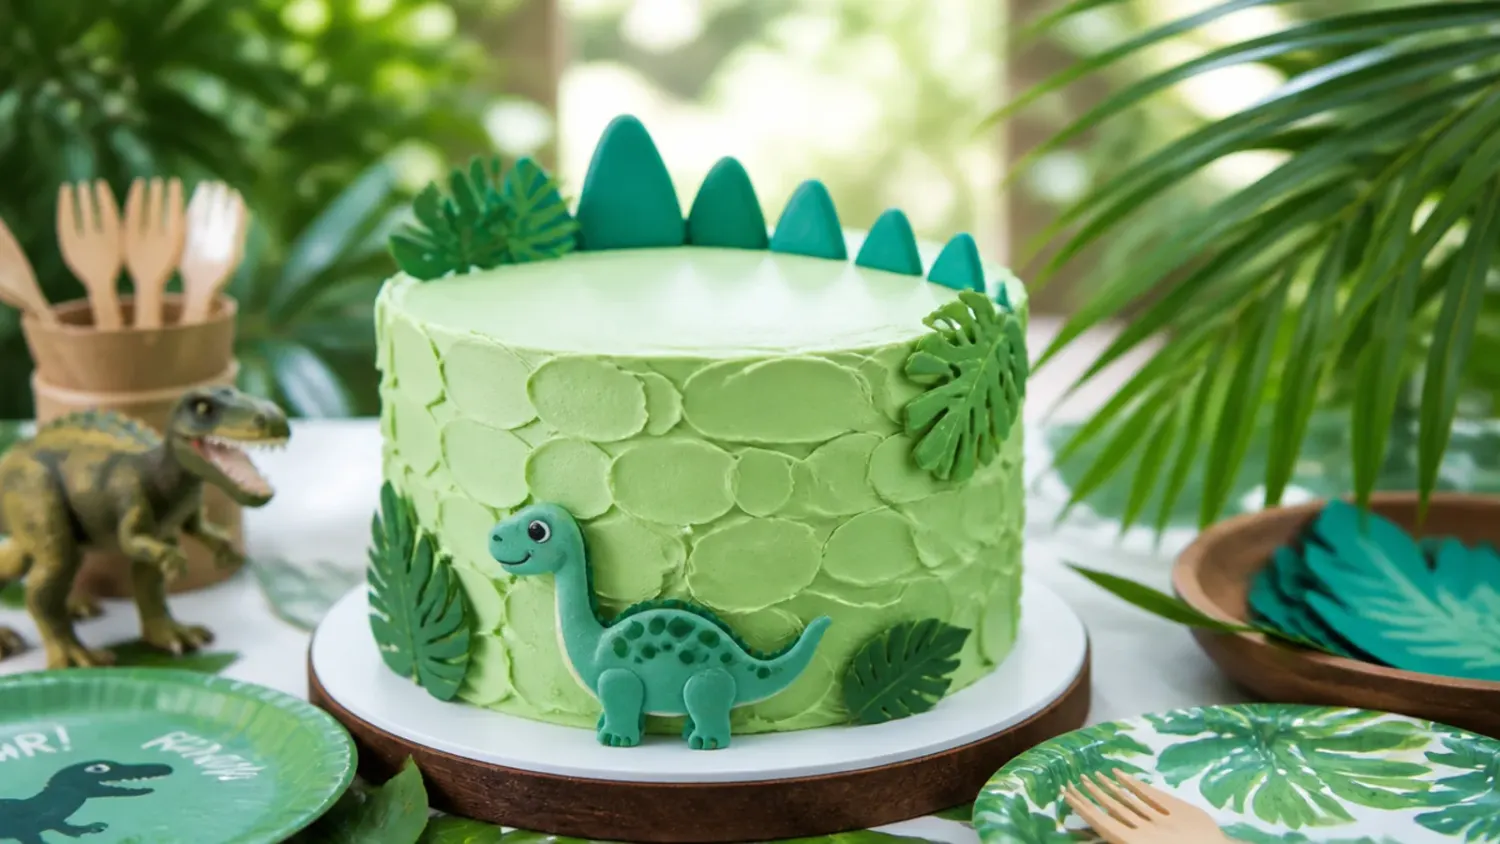
Make an easy buttercream dinosaur cake in 6 steps: a moist vanilla sponge, sturdy green buttercream, grass-tip texture and stomping toy dinos. For more dinosaur cake inspiration, browse the full Dinosaur Cake Ideas board — every idea there is written for real home kitchens, not professional bakers.
Frequently Asked Questions
Bake the sponge layers up to two days ahead and keep them double-wrapped at room temperature, or freeze them for up to a month. You can make the buttercream a week ahead and refrigerate it airtight, then re-whip before using. A fully decorated cake keeps two to three days under a dome, but add the plastic toy dinosaurs only just before serving.

Related Recipes
Save this for later 📌
Pin this article to your Pinterest board so the full list is one tap away when you need it.
Save on Pinterest