20 Easy Dinosaur Cakes Anyone Can Make
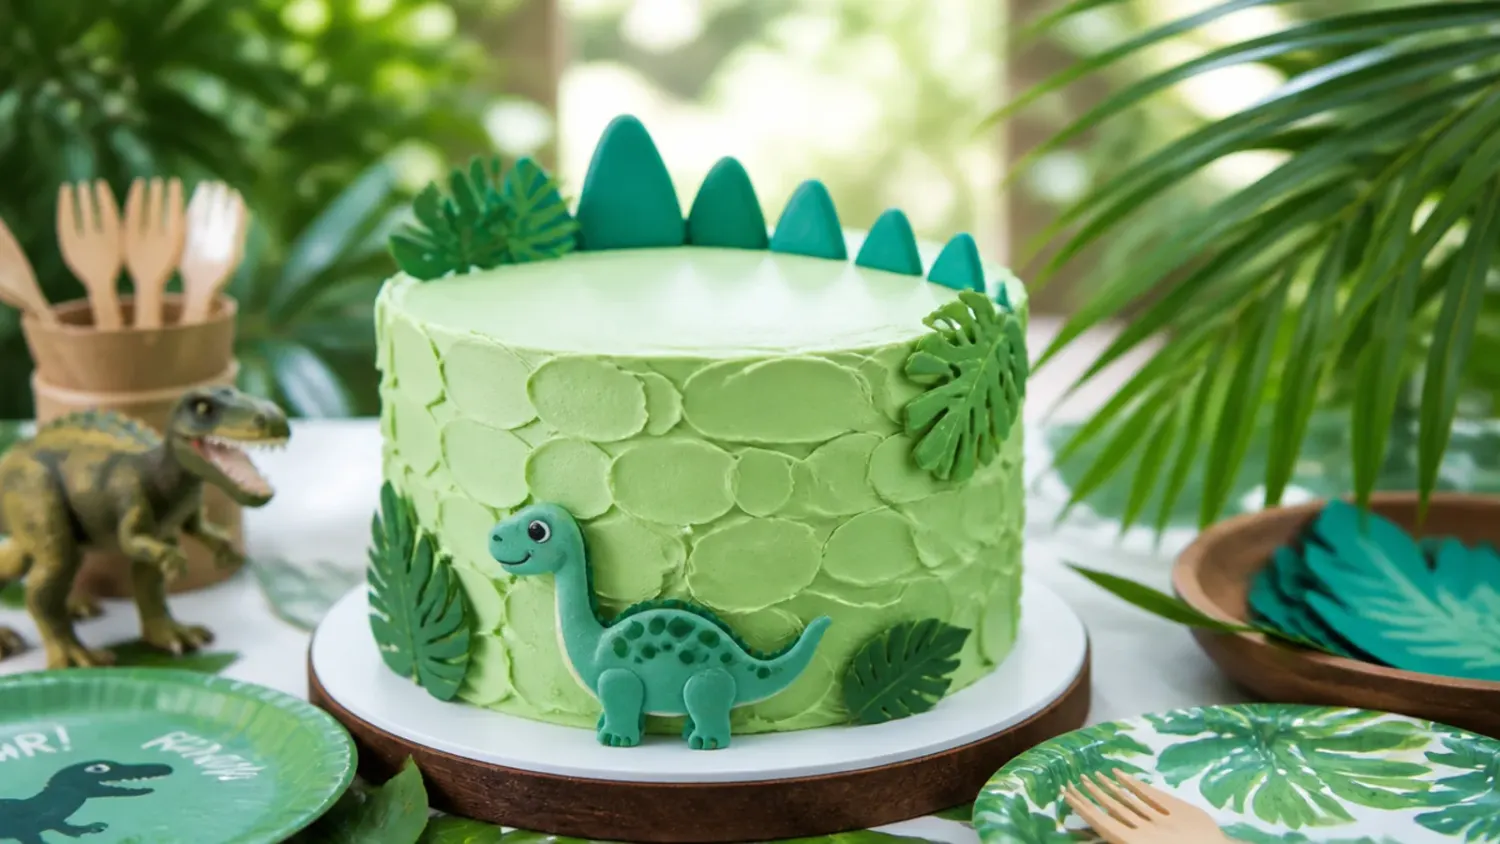
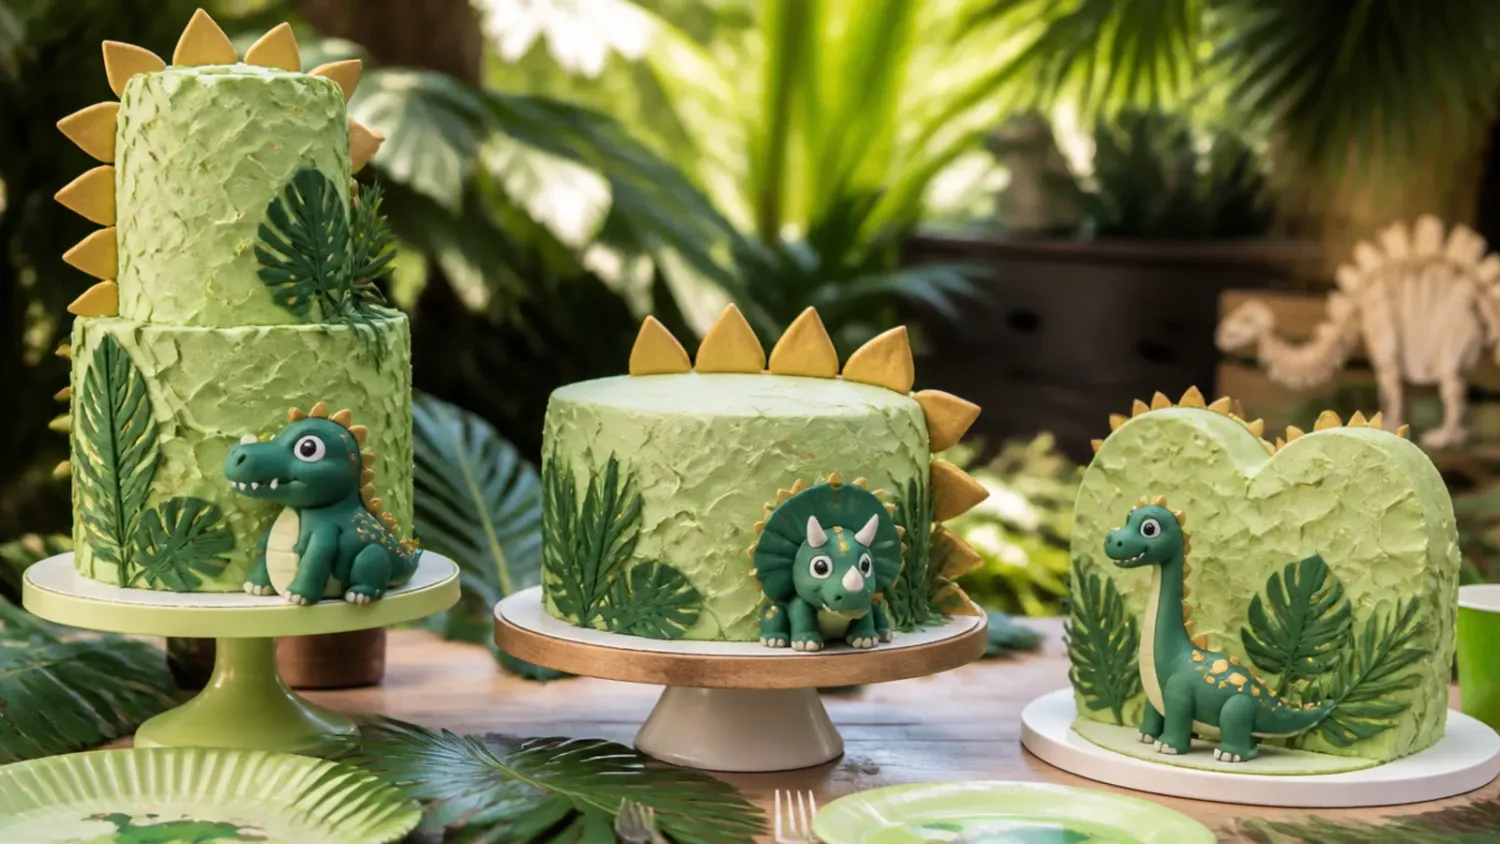
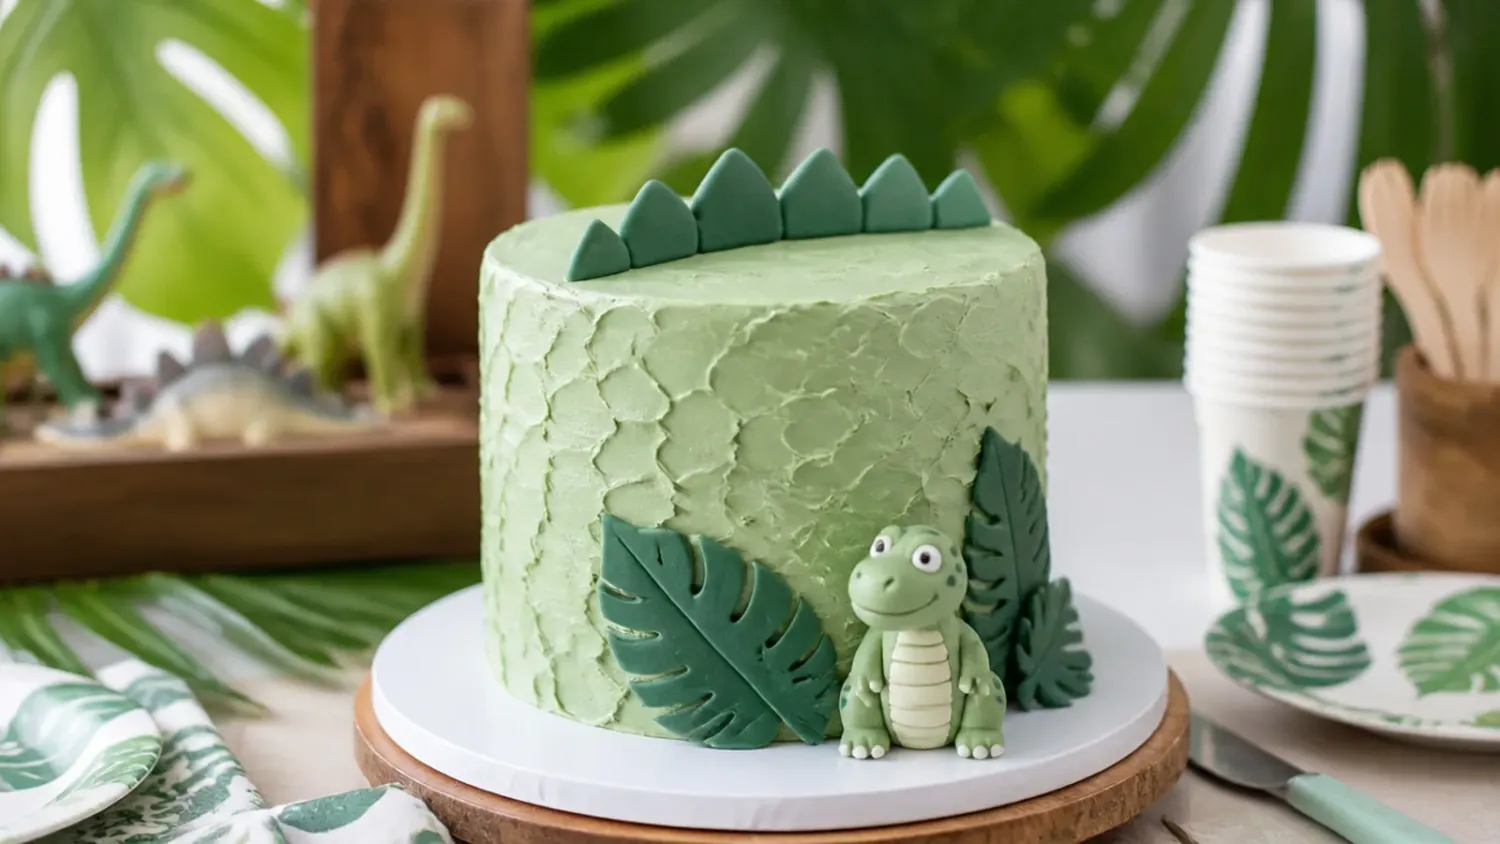
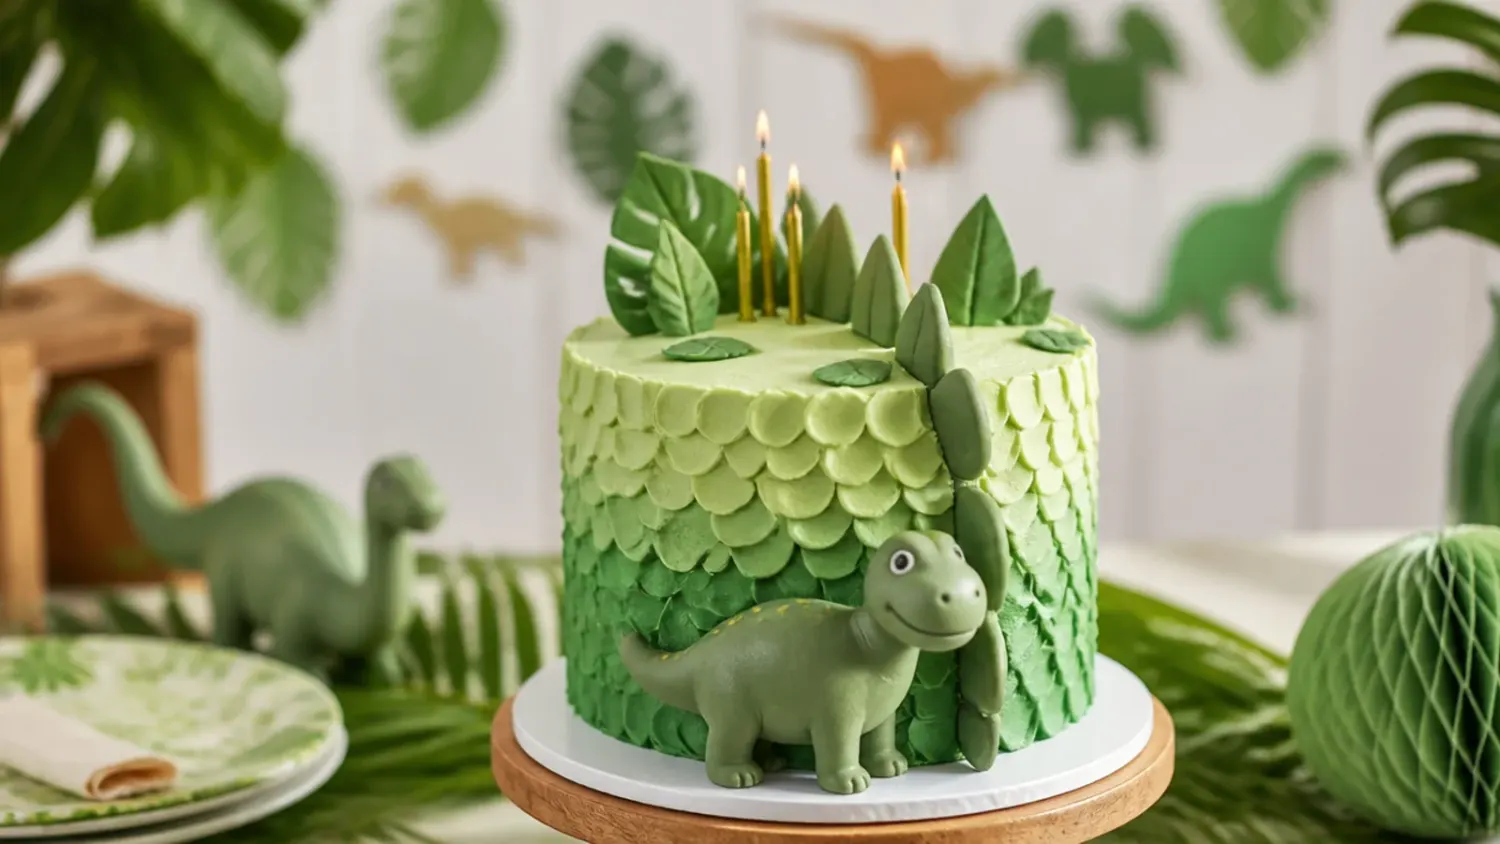
These 20 easy dinosaur cake ideas use one reliable vanilla sponge, simple buttercream tricks and toy toppers — perfect for a stress-free kids' party. If you love dinosaur cake inspiration, start with our Dinosaur Cake Ideas collection, then browse the full Cake Ideas hub for more.

Save this for later 📌
Pin this article to your Pinterest board so the full list is one tap away when you need it.
Save on PinterestCake Ideas
Beginner
Ideas
20 ideas
Table of Contents
- 1. Toy Dinosaur Jungle Cake
- 2. Dino Dig Excavation Cake
- 3. Dinosaur Footprint Trail Cake
- 4. Fossil Imprint Cake
- 5. Volcano Lava Drip Cake
- 6. Cut-Out T-Rex Silhouette Cake
- 7. Pull-Apart Dinosaur Cupcake Cake
- 8. Hatching Dinosaur Egg Cake
- 9. Meringue-Spike Stegosaurus Cake
- 10. KitKat Paddock Jurassic Cake
- 11. Two-Tier Prehistoric Scene Cake
- 12. Green Ombre Rosette Cake
- 13. Dino Number Cake
- 14. Stencilled Sprinkle Sheet Cake
- 15. Rustic Forest Floor Cake
- 16. Mini Dinosaur Smash Cake
- 17. Jungle Waterfall Cake
- 18. Candy-Melt Spike Drip Cake
- 19. Fault Line Fossil Cake
- 20. Textured Dino-Skin Scales Cake
- Tips to Make These Ideas Easier
- Common Mistakes to Avoid
- The Base Recipe — Make Any of These Ideas
1. Toy Dinosaur Jungle Cake
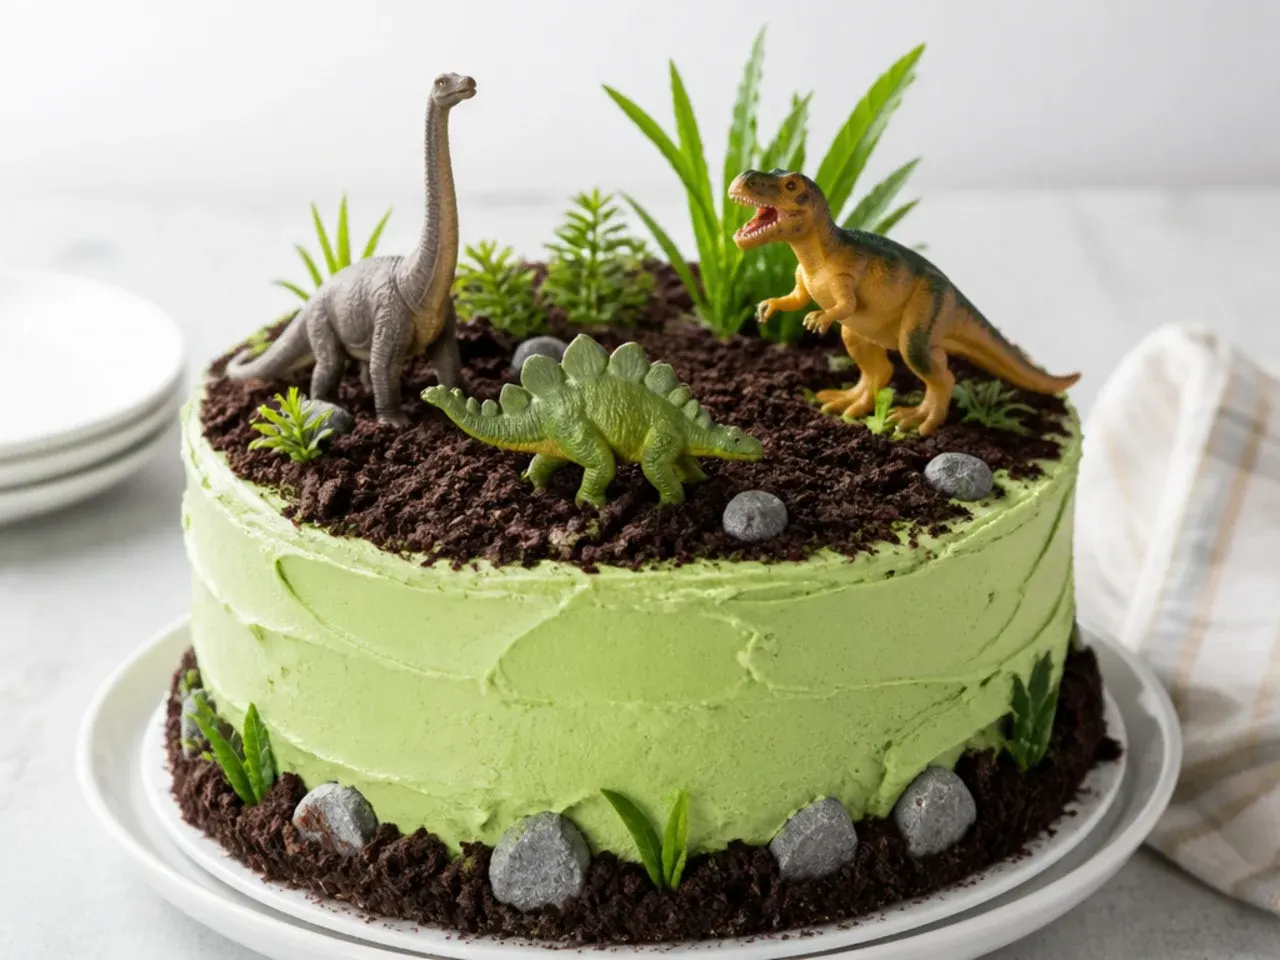
This is the fastest route to an easy dinosaur cake: frost two 20 cm (8 inch) vanilla sponge layers with leaf-green buttercream, then rough up the surface with the back of a spoon so it looks like jungle undergrowth. Press three or four washed plastic dinosaurs into the top and pipe grass tufts around their feet with a Wilton 233 grass tip. Scatter crushed Oreo crumbs as a dirt path and add a few chocolate rocks or Whoppers as boulders. The decorating takes about 15 minutes and needs zero carving skill. Bonus: the toy dinosaurs become party favours after the cake is cut.
2. Dino Dig Excavation Cake
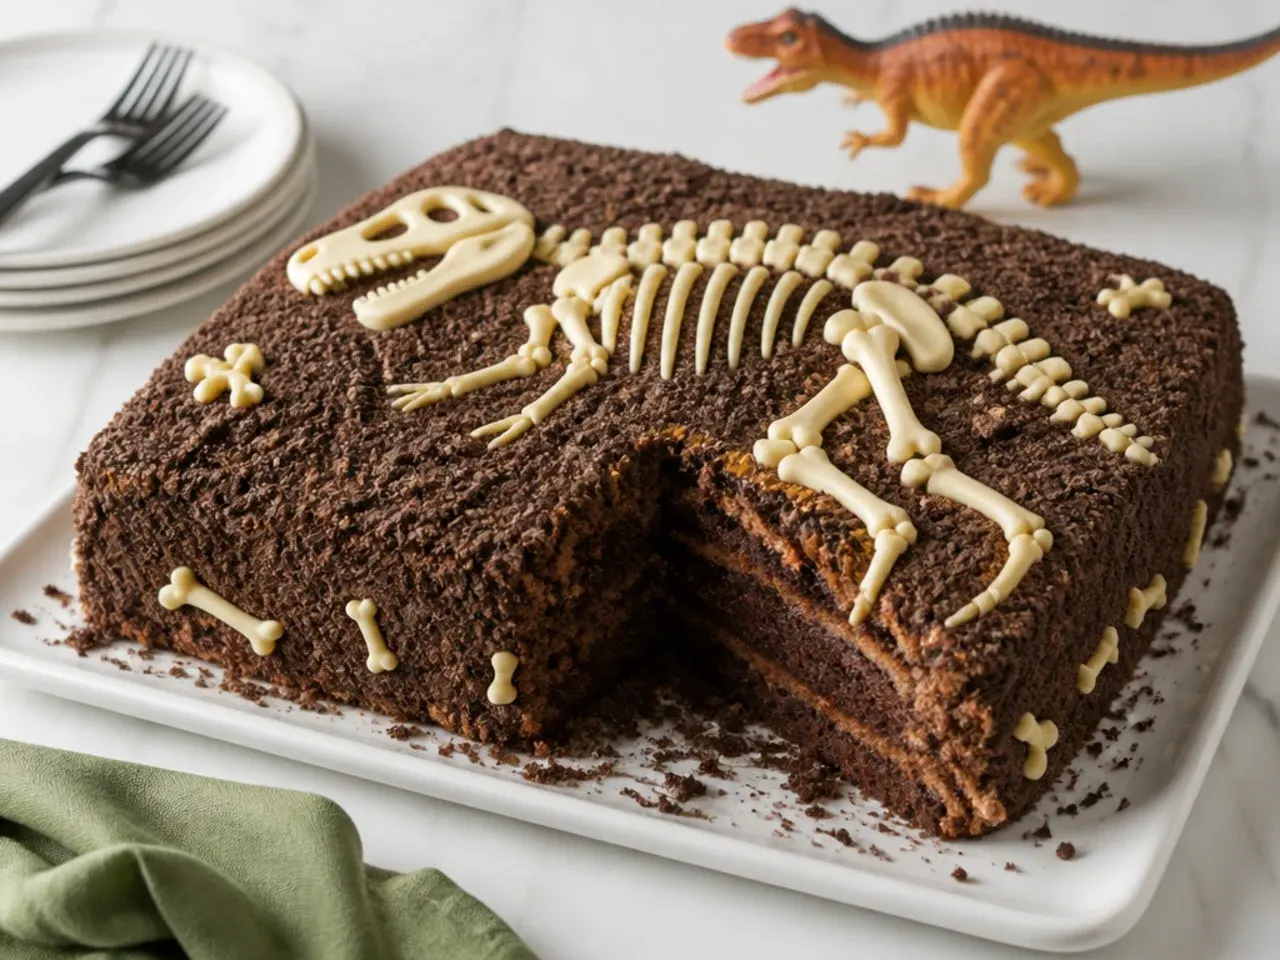
Bake the base recipe in a 23 x 33 cm (9 x 13 inch) pan for 30-35 minutes at 180°C/350°F, then cover it in chocolate buttercream and a thick layer of crushed Oreos or digestive biscuits so it reads as a dig site. Half-bury white chocolate 'bones' made by piping melted white chocolate into bone shapes on baking parchment, or by setting it in a cheap skeleton candy mould. Press a couple of toy dinosaurs in at an angle so they look mid-excavation. Hand out brand-new clean paintbrushes at the party so kids can brush away the crumbs and 'discover' the fossils. It serves 20 and needs no piping at all.
3. Dinosaur Footprint Trail Cake
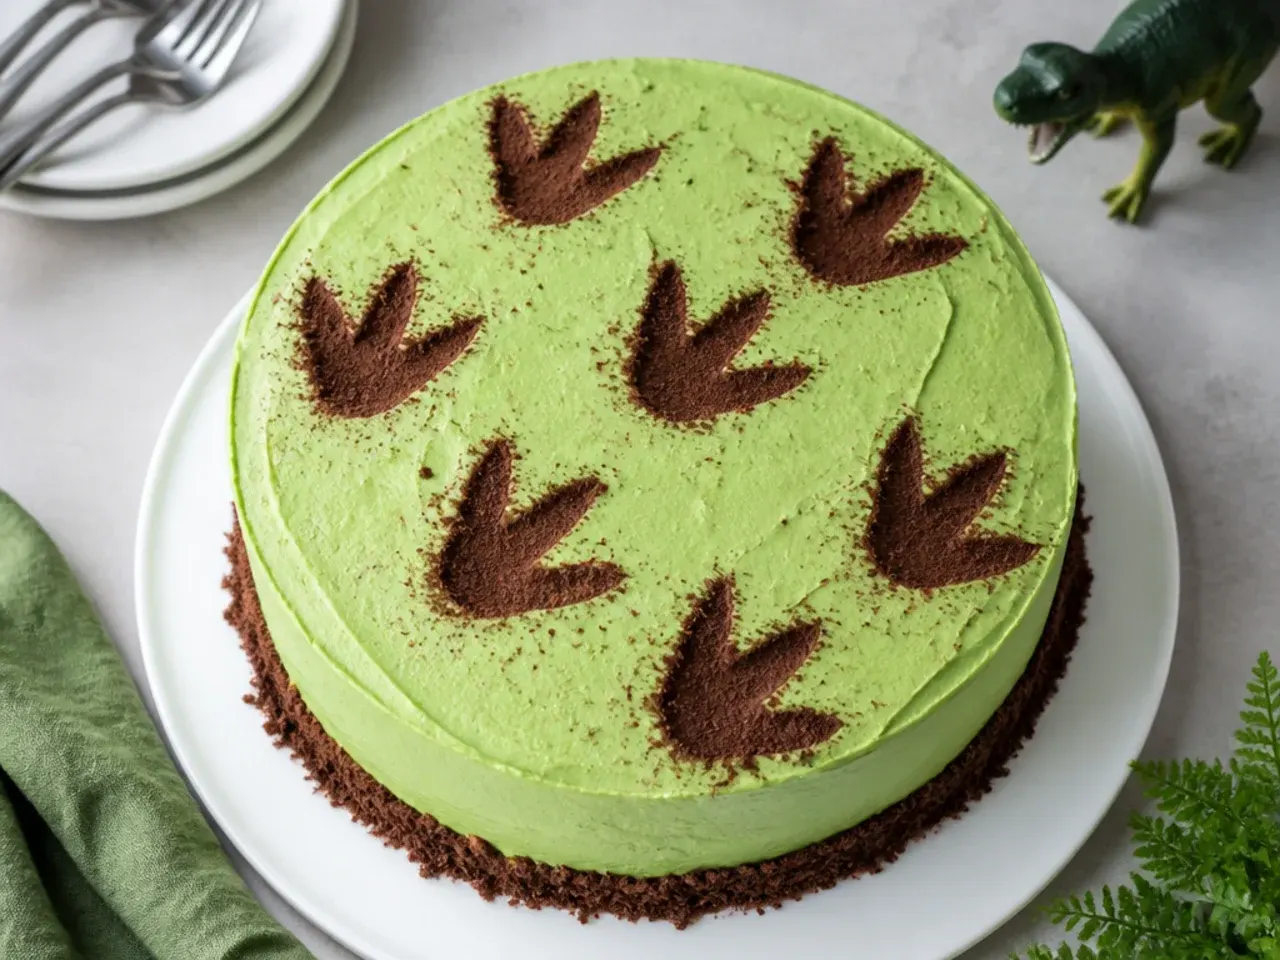
Give a plain cake instant personality with a trail of tracks stomping across it. Frost the cake in pale green buttercream, smooth it with a palette knife, then chill it in the fridge for 20 minutes so the surface firms up slightly. Press the feet of a clean toy dinosaur into the buttercream to stamp a trail that walks up the side and across the top. Dust the inside of each print with cocoa powder using a small dry brush so the tracks stand out. Finish with a small green piping-gel 'swamp' at the trail's end — no advanced piping required.
4. Fossil Imprint Cake
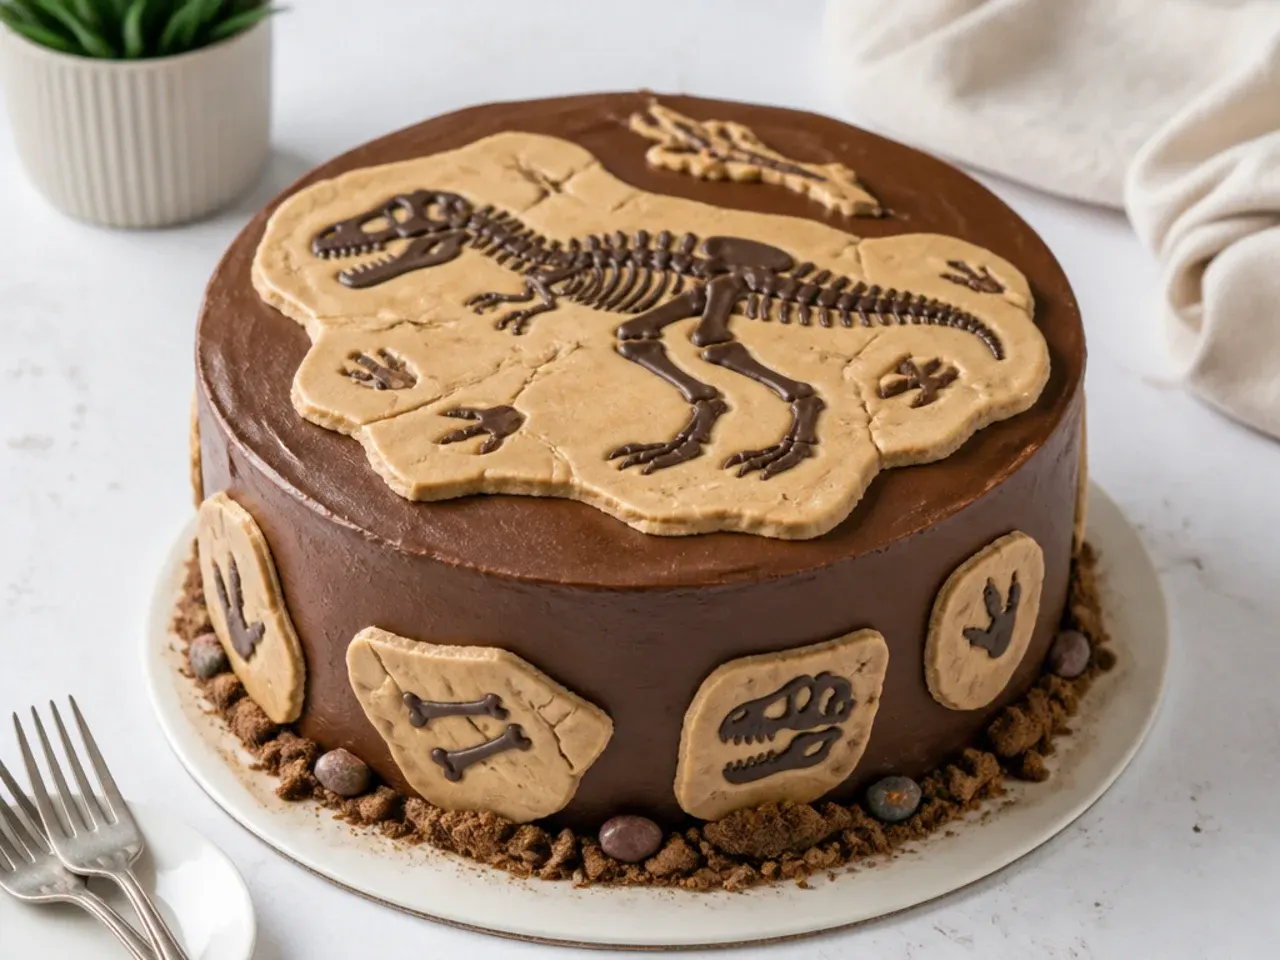
This idea most tutorials miss looks like it came from a museum gift shop. Roll white or ivory fondant to about 3 mm thick and press a dinosaur skeleton cookie stamp into it — or build a skeleton from dried pasta (spaghetti for the spine, halved penne for ribs), press it in, and lift it out to leave the impression. Dust the imprints with cocoa powder or edible bronze lustre so the recesses look aged, then trim the fondant into rough slabs. Lay the slabs onto the buttercream like unearthed dig plates and pipe a border of crushed biscuit 'soil' around them. The fondant panels can be made two days ahead and stored flat in an airtight container.
5. Volcano Lava Drip Cake
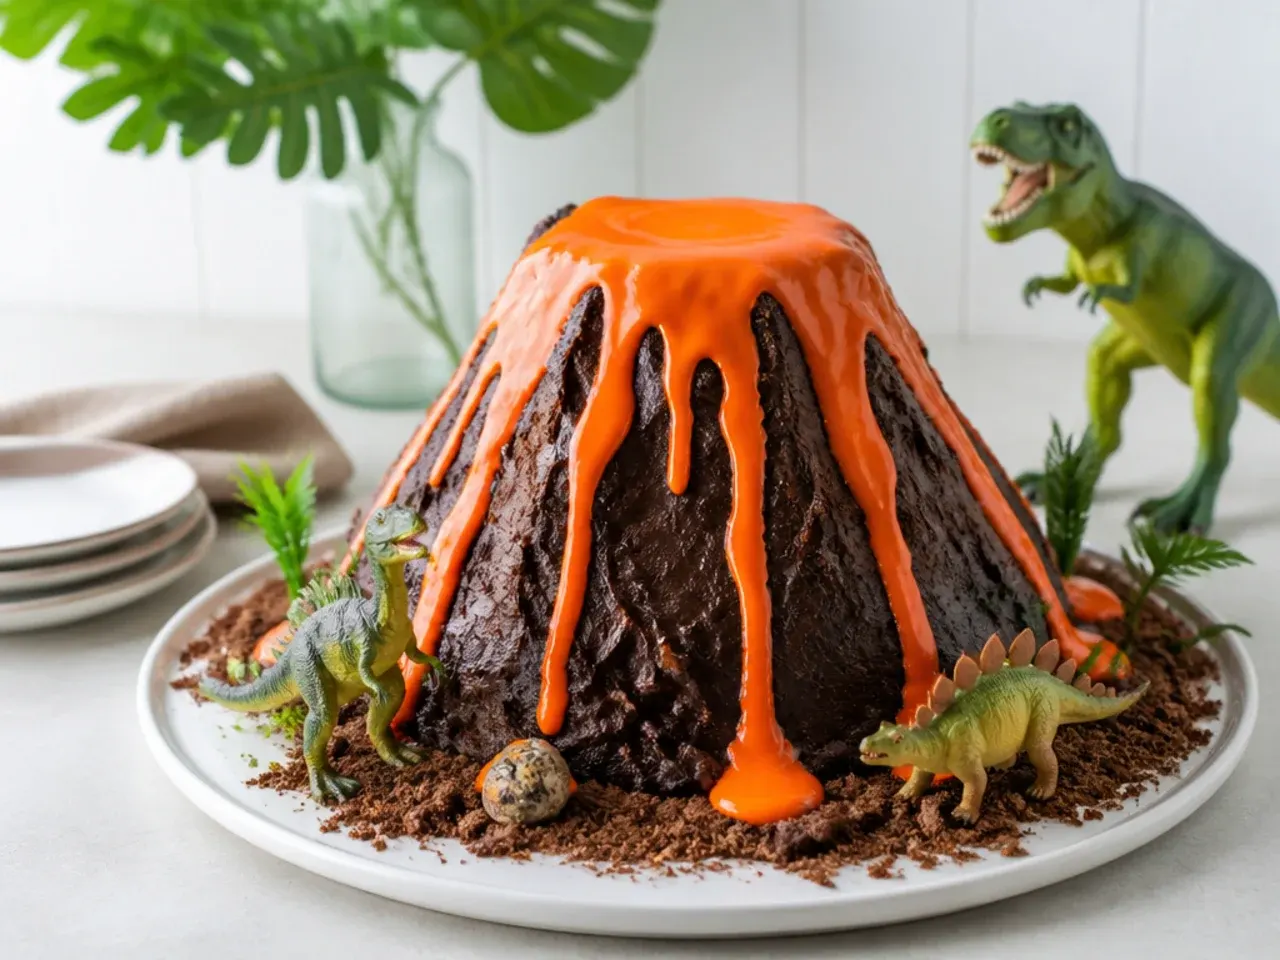
Stack three 15 cm (6 inch) layers, then trim the top two with a serrated knife so the cake tapers into a cone. Cover it in chocolate fudge buttercream dragged upward with a palette knife to mimic rock. For lava, melt 100 g orange candy melts with 1 teaspoon vegetable oil, cool for 5 minutes, then spoon it over the top so it runs down in drips; add a few red streaks with strawberry laces. Press an upside-down sugar cone into the summit as the crater and fill it with red sanding sugar. An adult can add an indoor-safe sparkler candle at singing time for a genuine eruption moment.
Save this for later 📌
Pin this article to your Pinterest board so the full list is one tap away when you need it.
Save on Pinterest6. Cut-Out T-Rex Silhouette Cake
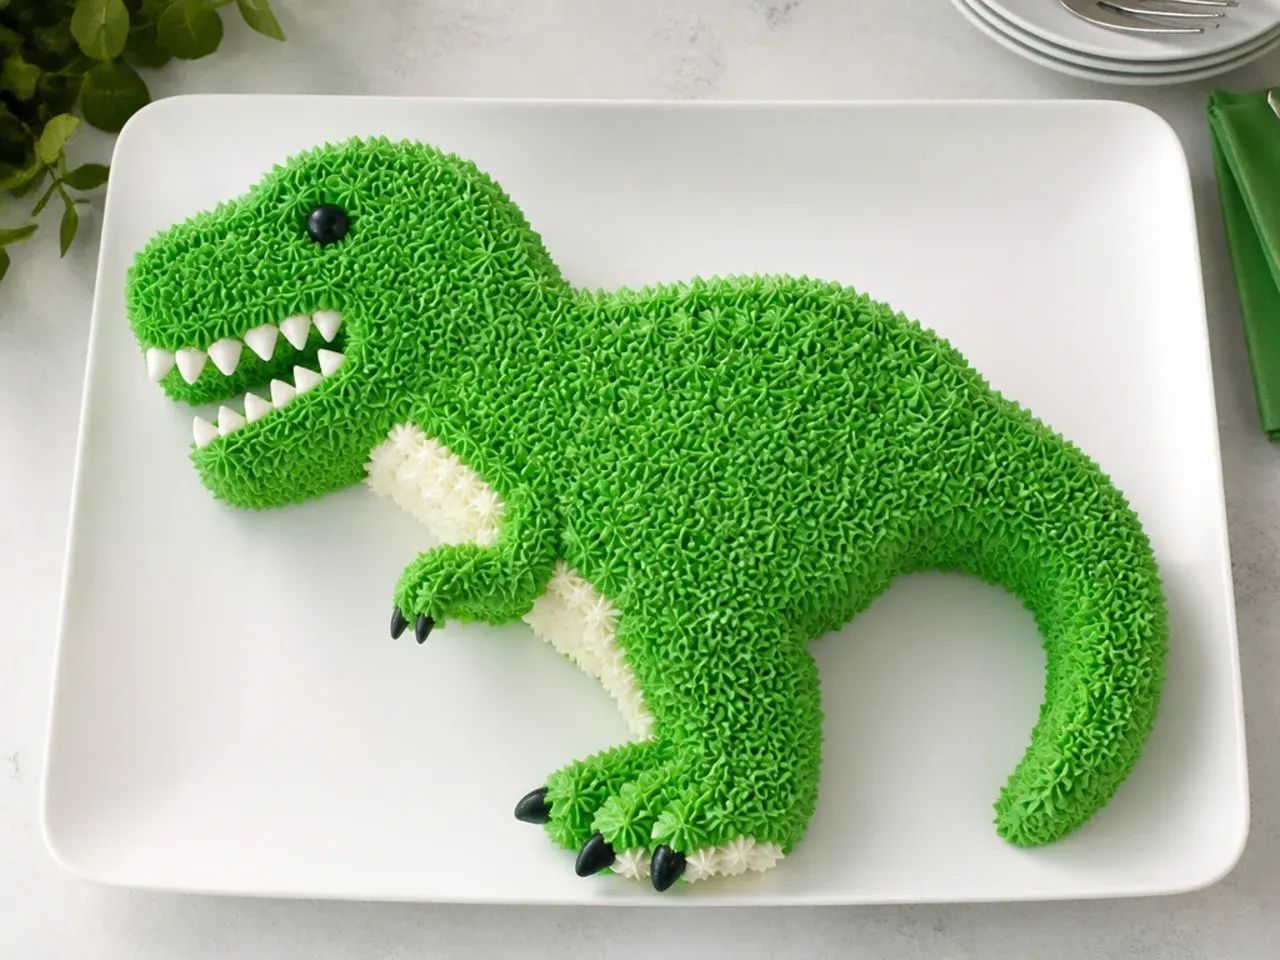
No shaped pan needed — this is the classic template method used by Betty Crocker and Eat Little Bird. Print a free T-Rex or Rex-style template scaled to a 20 cm (8 inch) circle, freeze your two sponges for 30 minutes so they cut cleanly, then cut the body from one layer and the head, tail and legs from the other. 'Glue' the pieces together on the serving board with buttercream, crumb coat, and chill for 30 minutes. Cover it either with a smooth green coat or the fill-in technique: rows of stars piped with a Wilton 16 or 18 tip, which hides every joint. Add M&M spots and a white chocolate button eye with a dark chocolate chip pupil.
7. Pull-Apart Dinosaur Cupcake Cake
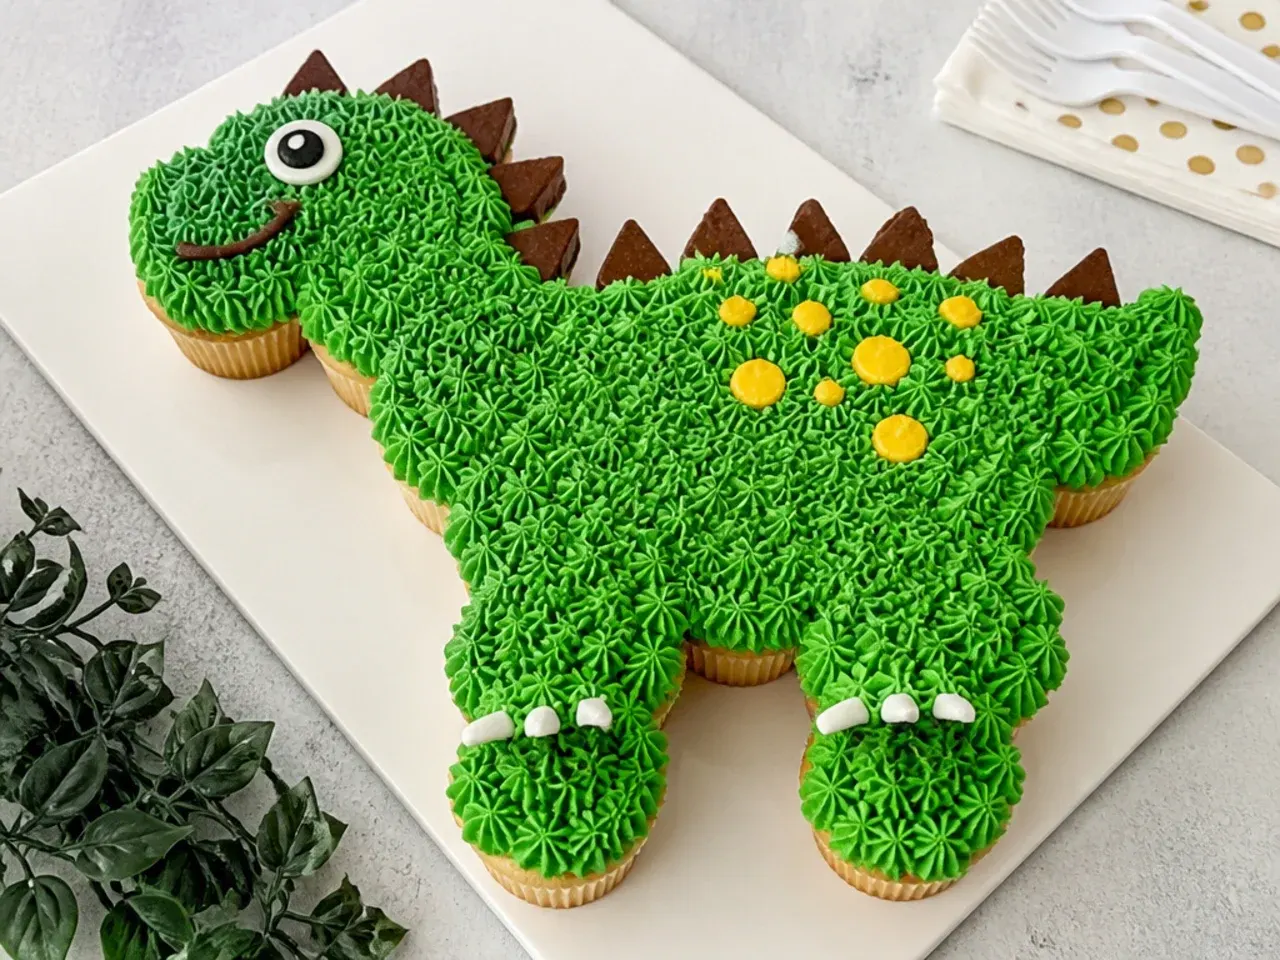
The base batter makes about 24 cupcakes — bake them for 18-20 minutes at 180°C/350°F instead of making layers. Arrange the cooled cupcakes tightly in a dinosaur silhouette on a foil-covered board: a curve of cupcakes for the neck and back, a cluster for the body, a taper for the tail. Pipe green buttercream across the whole shape with a large star tip (Wilton 21 or 1M) so the gaps between cupcakes disappear. Add halved mini marshmallows along the spine as plates and press on a candy eye. Serving is genius for a party: each child just pulls off a cupcake, so you never touch a knife.
8. Hatching Dinosaur Egg Cake
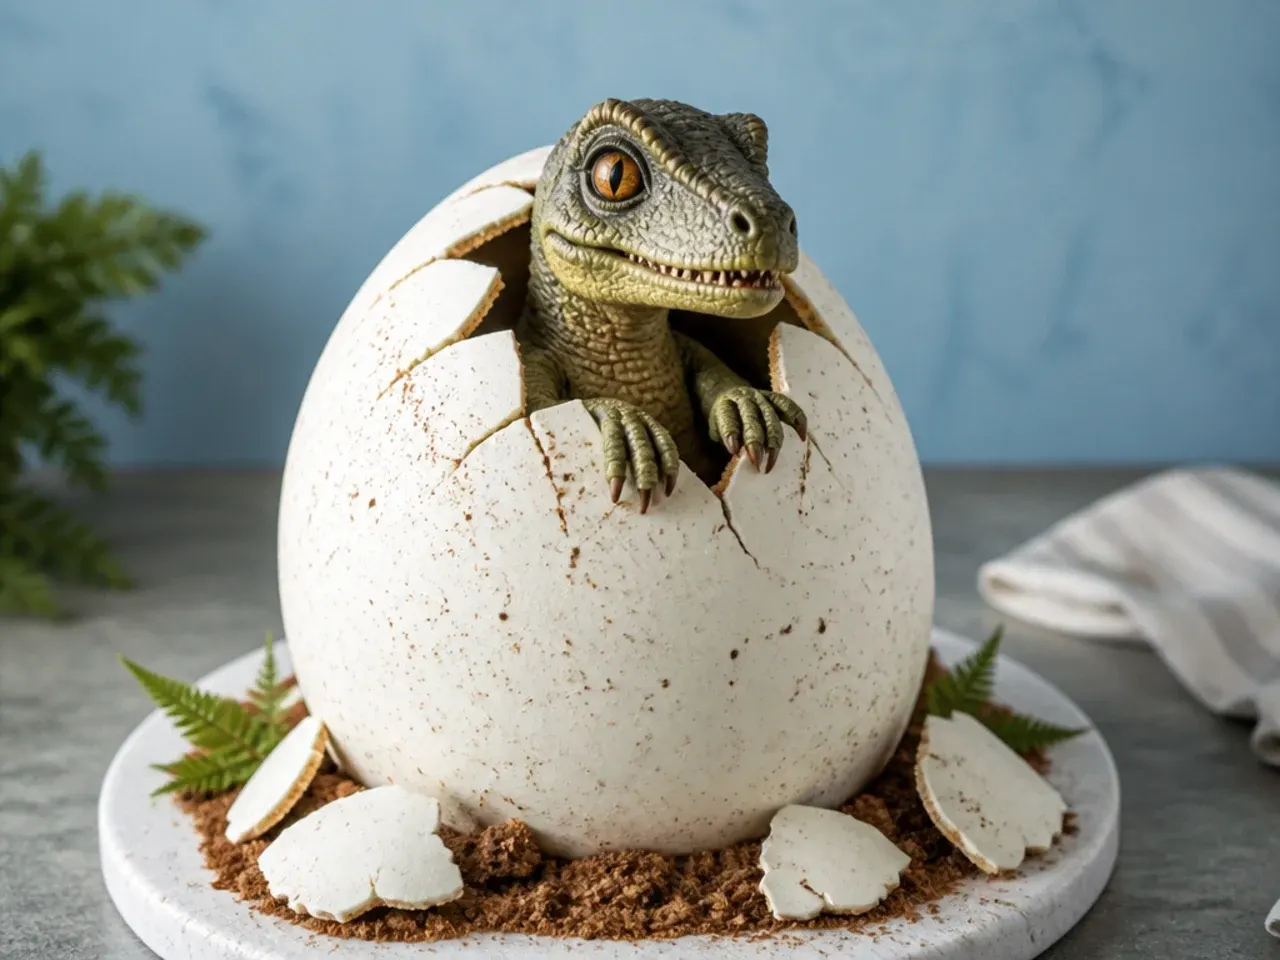
Bake half the batter in a greased 1-litre ovenproof glass bowl for 45-50 minutes at 160°C/325°F (test with a skewer), then sit the dome on one round layer and carve gently into an egg shape. Cover it with white buttercream or rolled white fondant, then flick speckles over the shell using a toothbrush dipped in cocoa powder loosened with a few drops of vanilla extract. Score a jagged crack around the top third with the tip of a knife, scoop out a small hollow, and sit a baby dinosaur toy inside peeking out. It works beautifully as a reveal cake — hide a spoonful of green sprinkles in the hollow under the dino for a mini surprise.
9. Meringue-Spike Stegosaurus Cake
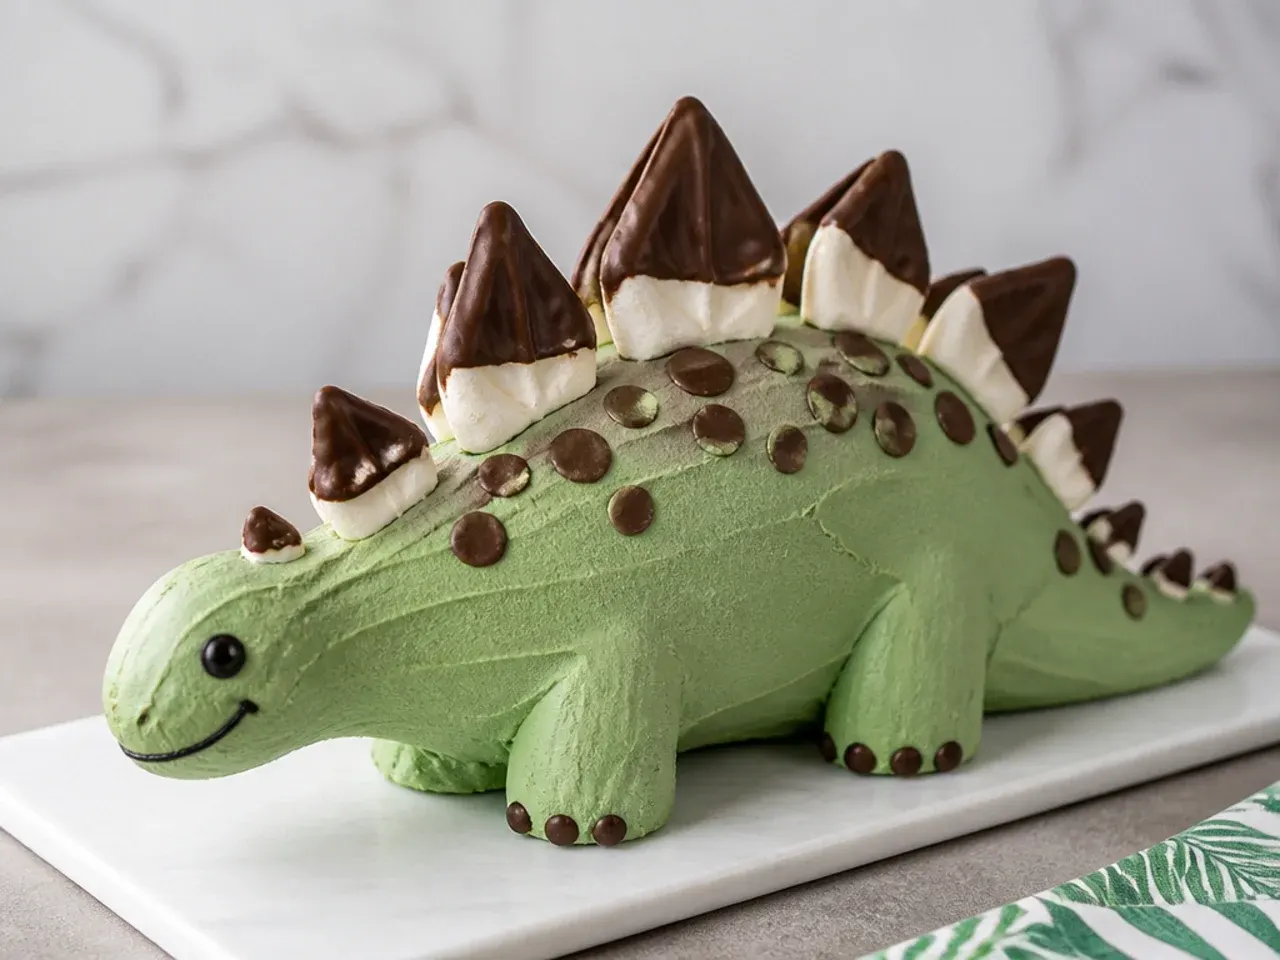
Crisp meringue spikes look far harder than they are. Whisk 1 egg white with a pinch of salt to soft peaks, gradually add 25 g caster sugar, then pipe tall pointed cones onto parchment and bake at 100°C/212°F for about 90 minutes until they lift off cleanly. Once cool, dip the bases in melted milk chocolate and press a row of them along the spine of a green-frosted round or cut-out dinosaur cake. The spikes keep for two days in an airtight tin, so make them the night before. They shatter pleasingly when kids bite them, which is half the fun.
10. KitKat Paddock Jurassic Cake
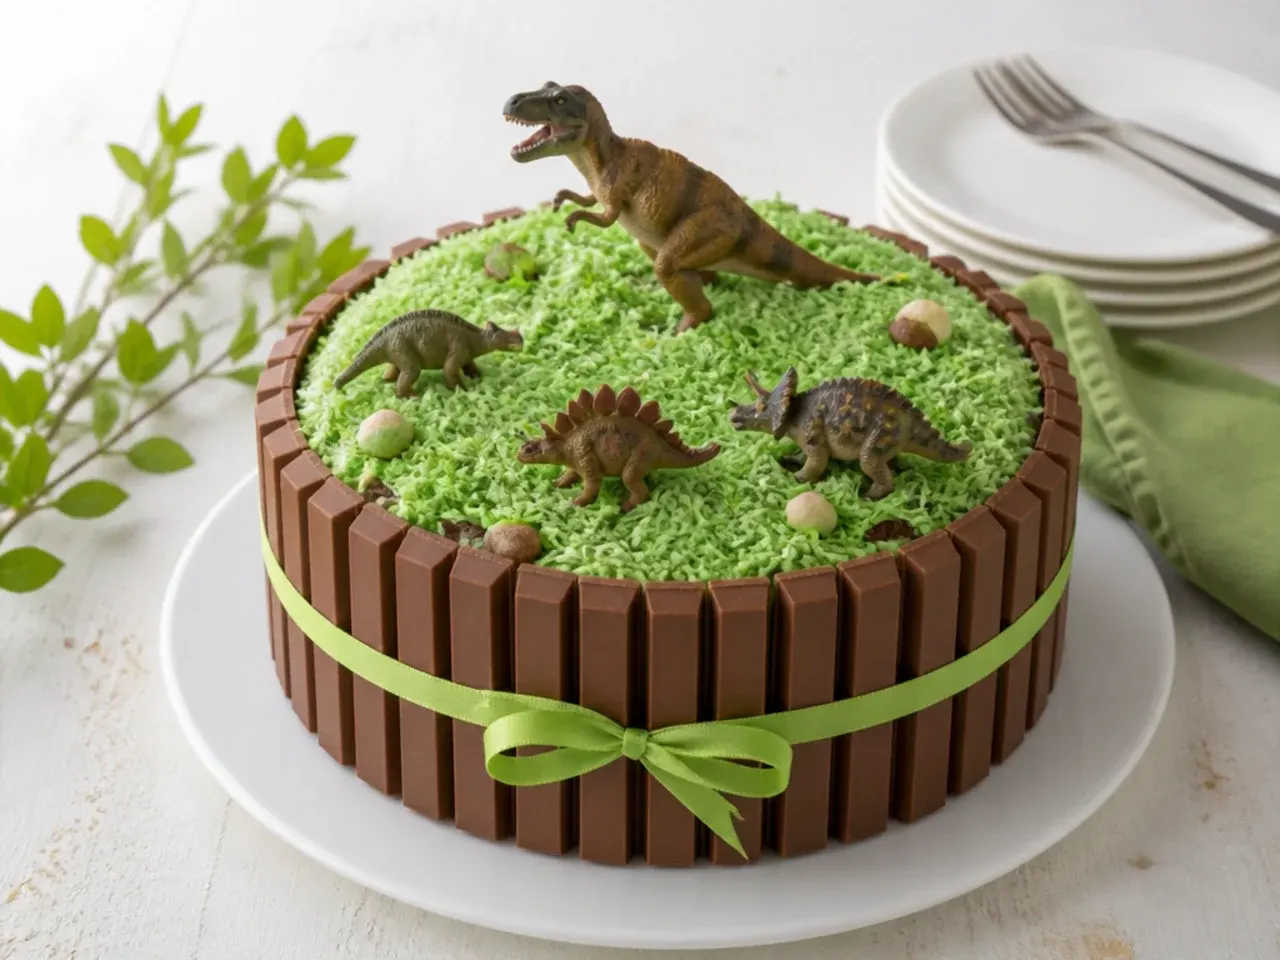
If your frosting sides never come out smooth, hide them completely. Frost the cake, then press KitKat fingers vertically around the outside while the buttercream is still soft, butting them edge to edge like a wooden fence; tie a ribbon or twine around the middle to hold everything snug. Make instant grass by shaking desiccated coconut in a zip-top bag with a drop of green gel colour, and spread it across the top. Corral two or three toy dinosaurs inside the 'paddock' — a nod to Jurassic Park that adults will appreciate. A standard 20 cm cake needs about 14-16 two-finger KitKats.
Save this for later 📌
Pin this article to your Pinterest board so the full list is one tap away when you need it.
Save on Pinterest11. Two-Tier Prehistoric Scene Cake
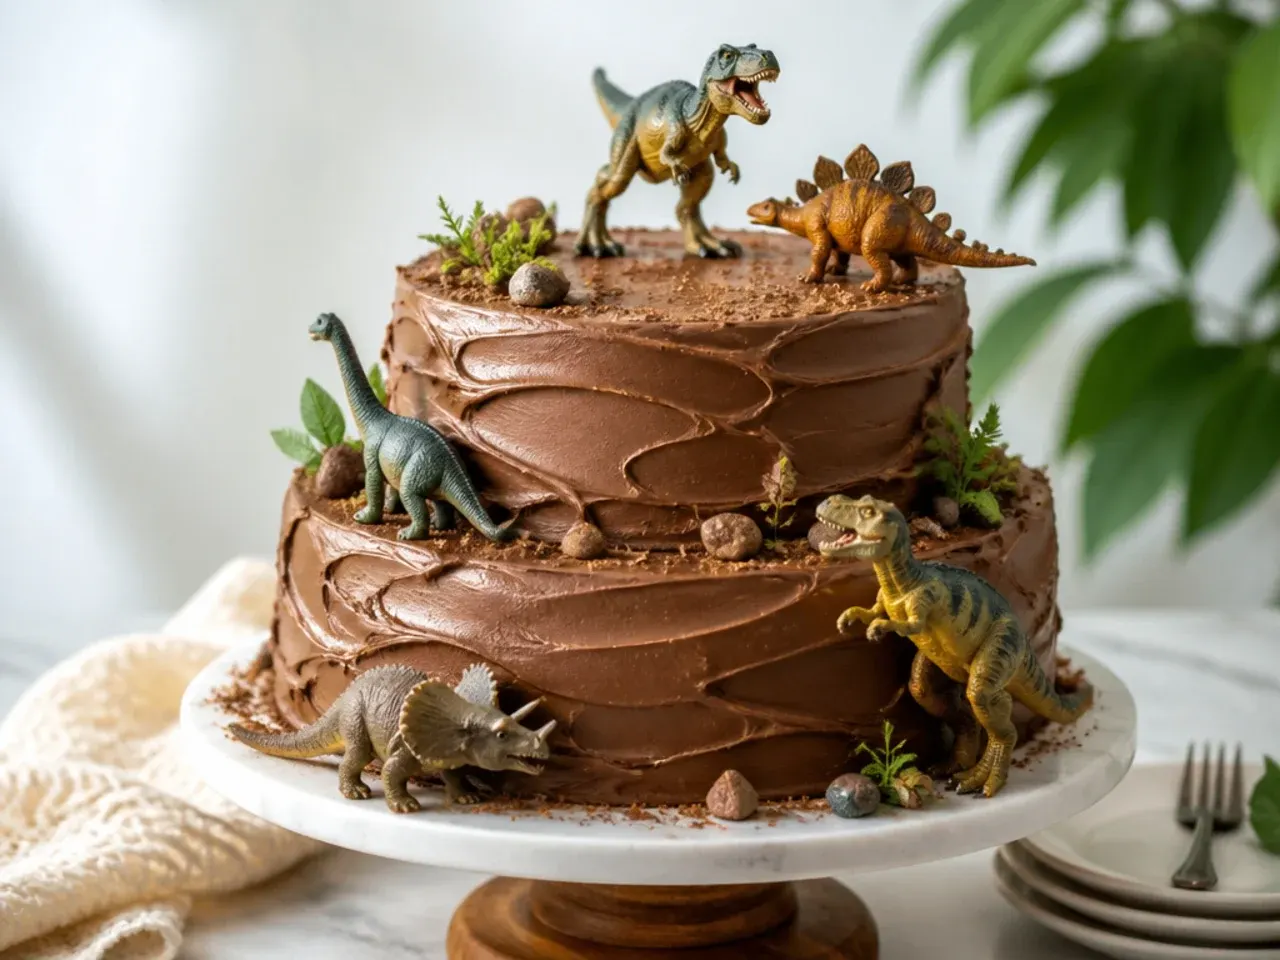
For a showstopper that is still beginner-safe, stack a 20 cm (8 inch) tier with a 10 cm (4 inch) tier on top, the way CakeWhiz builds hers. Push four bubble tea straws into the bottom tier, trim them level with the frosting, and rest the small tier (on a thin cake card) on top so it cannot sink. Cover both tiers in chocolate buttercream or ganache swirled roughly with the back of a spoon — the rustic texture is the point, so no smoothing skill is needed. Sprinkle crushed Oreo 'dirt' on each ledge, add chocolate rocks, and position toy dinosaurs so one appears to be climbing between tiers.
12. Green Ombre Rosette Cake
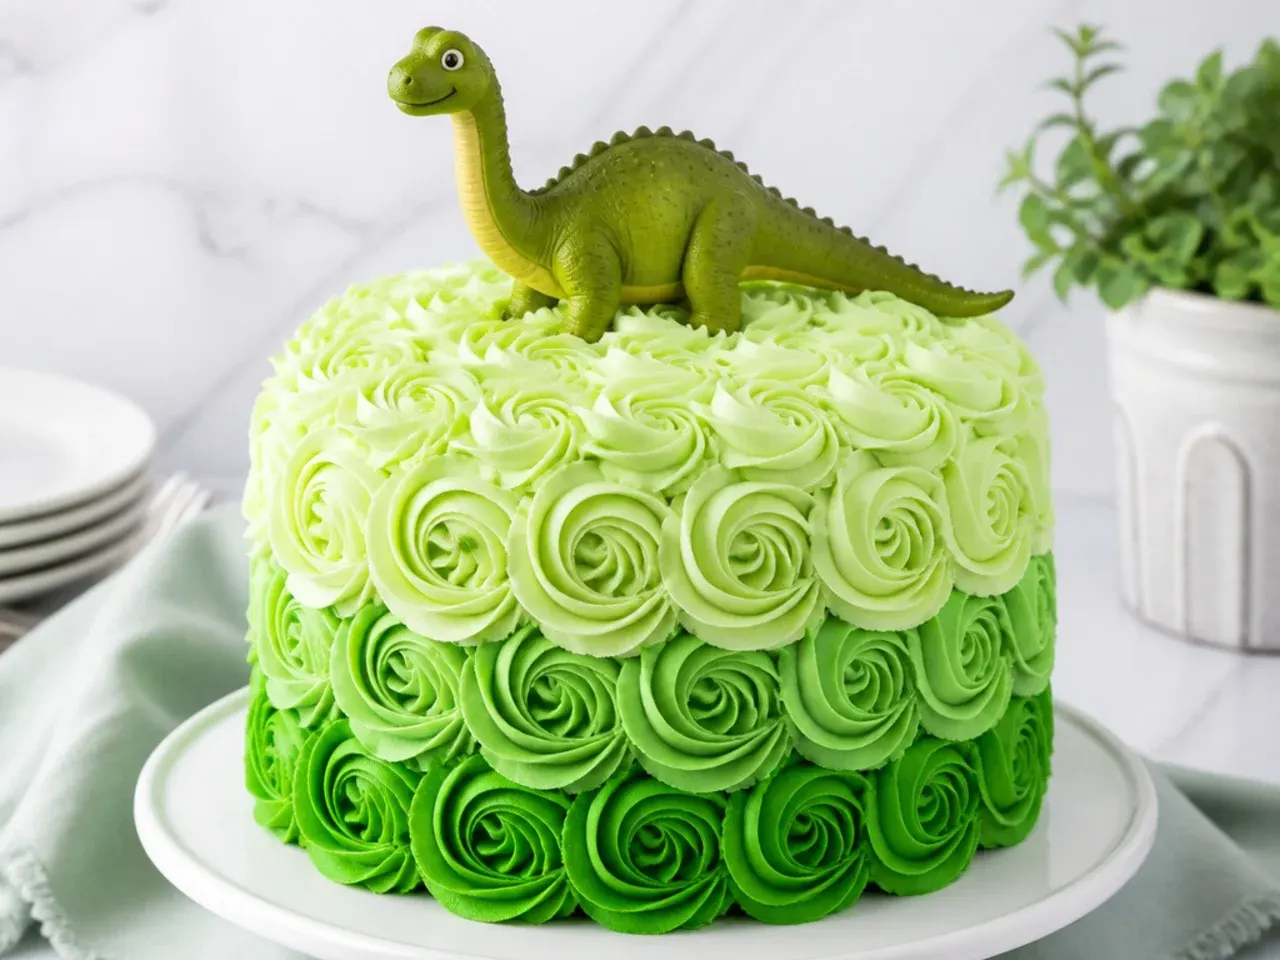
Rosettes cover a multitude of sins, which makes this one of the most forgiving easy dinosaur cake designs. Divide your buttercream into three bowls and tint them pale, medium and dark leaf green with gel colour. Fit a Wilton 1M tip and pipe rosettes — start at the centre of each swirl and spiral outward one full turn — working from the darkest shade at the base of the cake to the lightest at the top edge. Any wobbly rosette just gets piped over. Finish with a single dinosaur topper and a 'ROAR!' cake pick, and you have a bakery-window look in about 25 minutes of piping.
13. Dino Number Cake
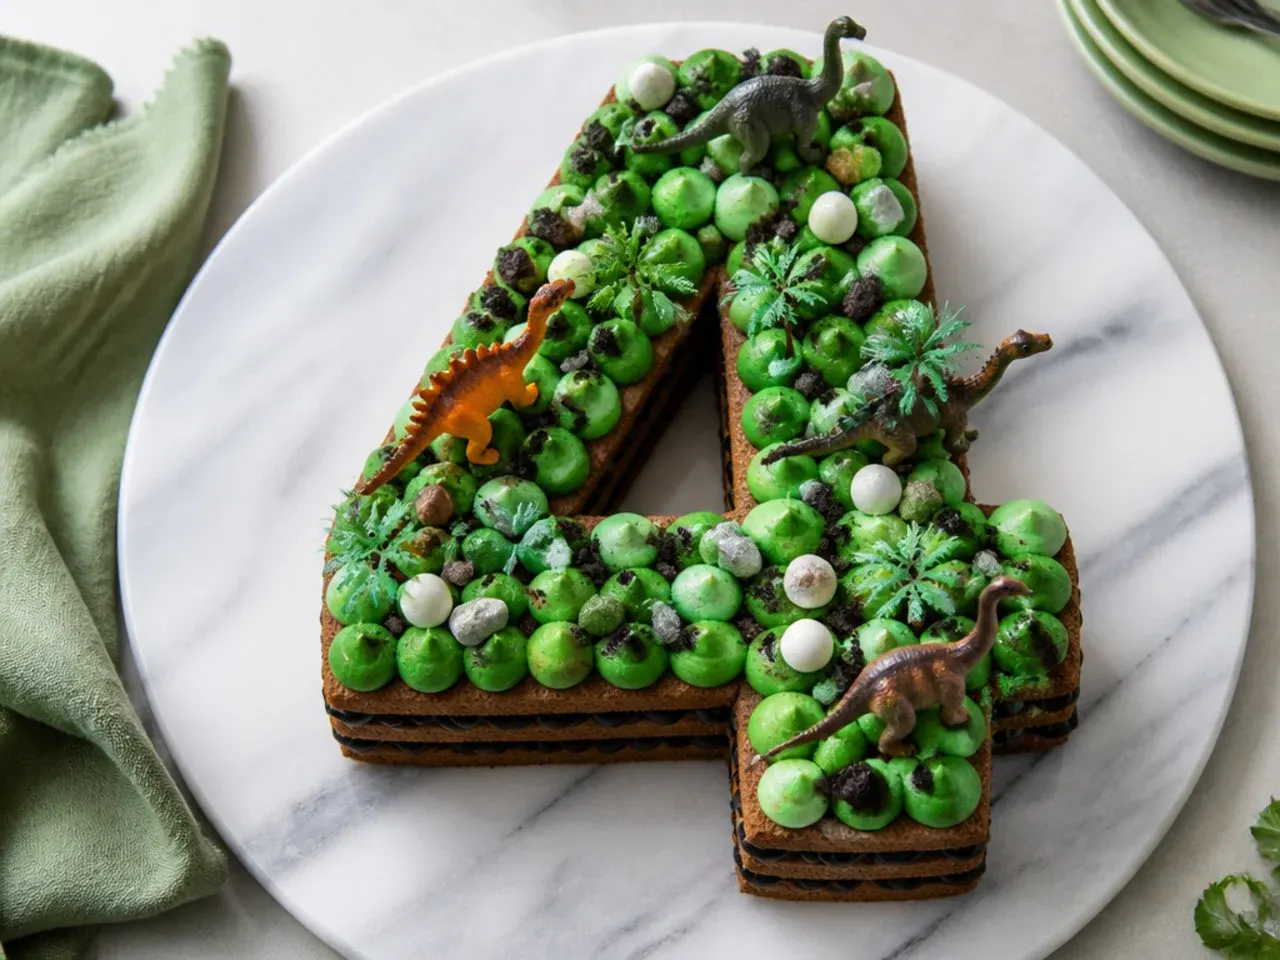
Perfect when you want the birthday age front and centre. Bake the batter as a 23 x 33 cm (9 x 13 inch) sheet, freeze it for 30 minutes, then cut out the child's age using a printed number template as your guide. Pipe alternating blobs of two shades of green buttercream over the whole number with a large round tip (Wilton 12 or 2A). Decorate the top like a mini landscape: mini toy dinosaurs, fondant or piped leaves, chocolate rocks and a few white chocolate 'bones'. The offcuts become cake pops or a baker's snack, so nothing is wasted.
14. Stencilled Sprinkle Sheet Cake
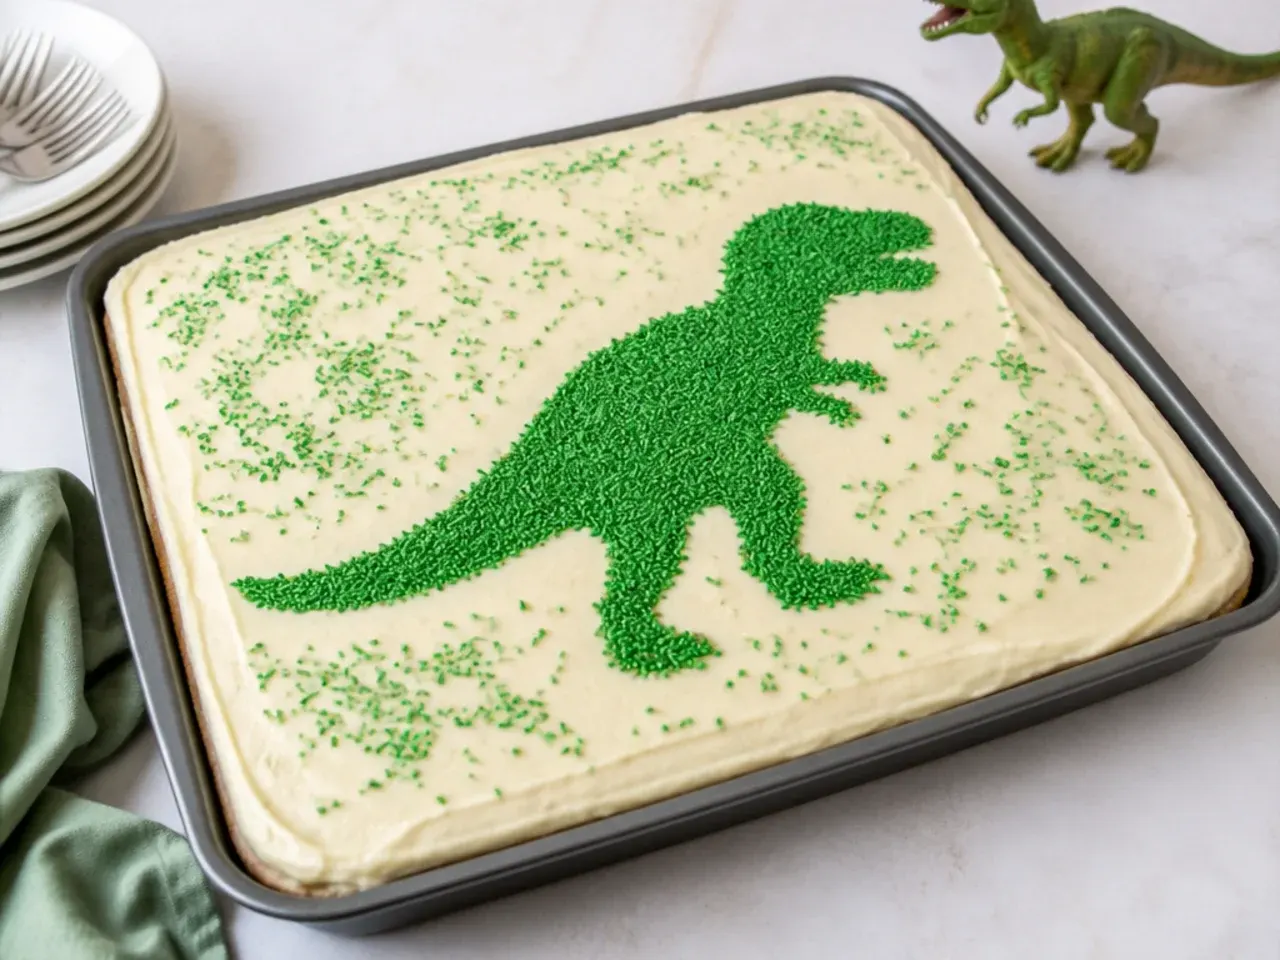
The easiest crowd-feeder on this list: a single-layer sheet cake decorated in five minutes flat. Cut a dinosaur silhouette out of card stock, frost the sheet cake smoothly, and chill it for 20 minutes so the surface sets. Lay the stencil gently on top, fill inside the cut-out with green sprinkles or sanding sugar, then lift the card straight up to reveal a sharp dino silhouette. Pipe a simple star-tip border around the edge to frame it. A 23 x 33 cm (9 x 13 inch) sheet serves about 20, travels flat, and needs no stacking, carving or crumb coating.
15. Rustic Forest Floor Cake
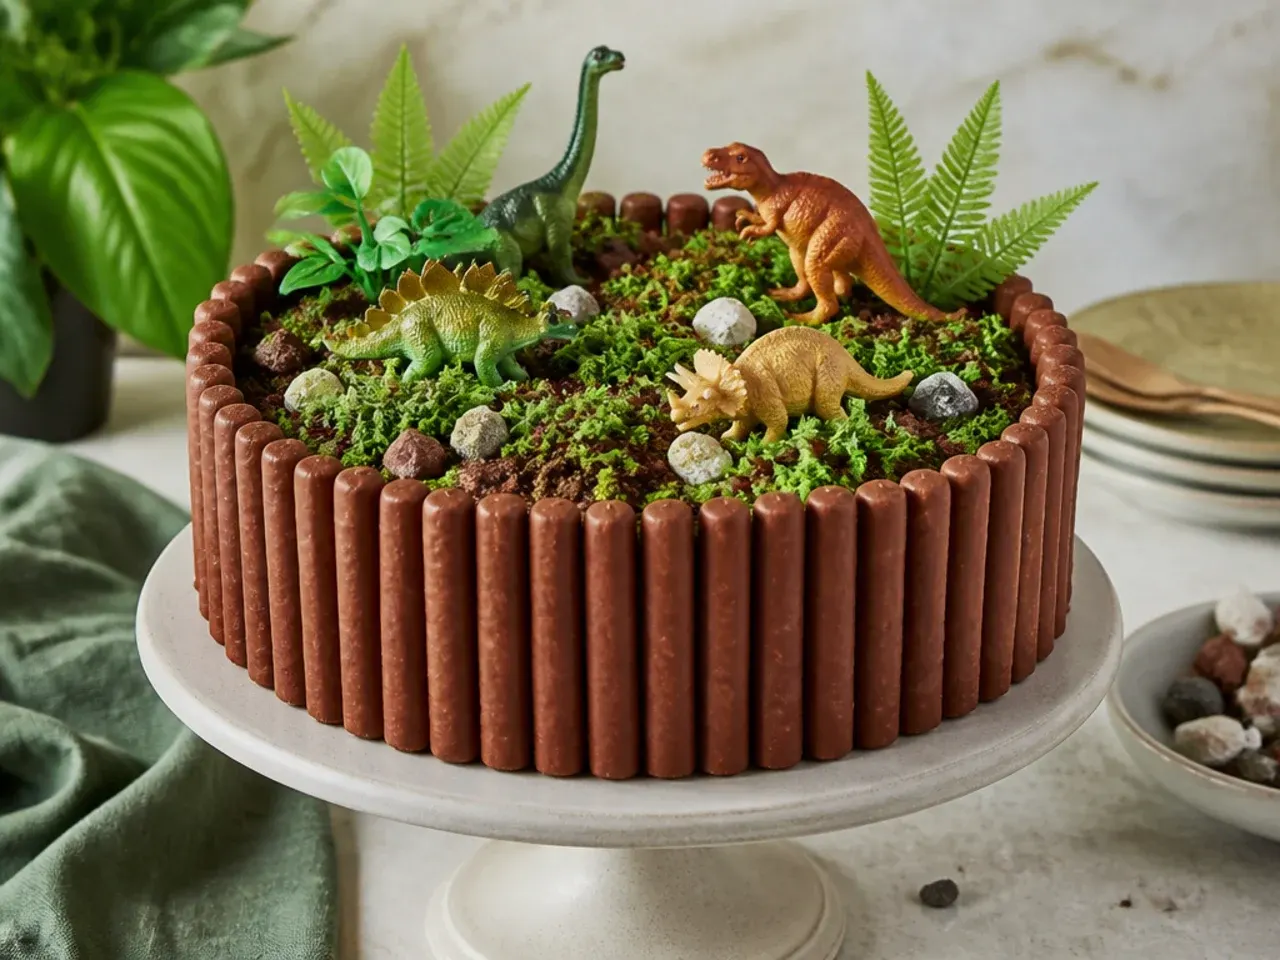
This woodland take suits parents who want something less neon. Cover the cake in chocolate buttercream and drag a fork vertically around the sides to create bark texture. Lay chocolate finger biscuits (Cadbury Fingers or Pepperidge Farm Pirouettes) on top as fallen logs, then patch green-tinted desiccated coconut around them as moss. Pipe a few ferns with a Wilton 352 leaf tip and run a crushed-digestive path between the logs. Tuck two small dinosaurs behind the logs so they peek out — the muted palette photographs beautifully next to a jungle-themed table.
Save this for later 📌
Pin this article to your Pinterest board so the full list is one tap away when you need it.
Save on Pinterest16. Mini Dinosaur Smash Cake
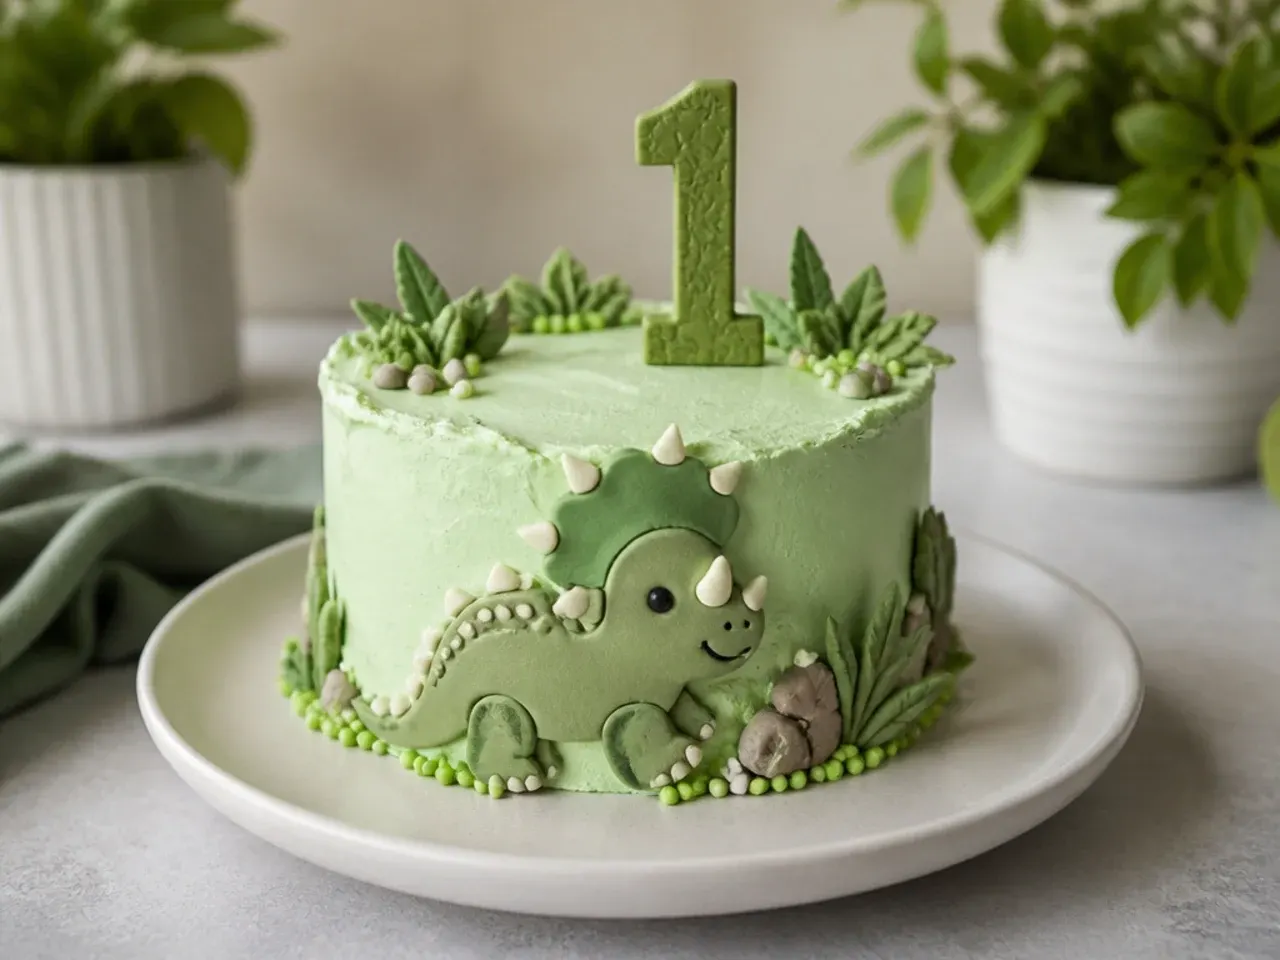
For a first birthday, scale everything down like Beyond Frosting's dino smash cake. Cut three 10 cm (4 inch) circles from a single 20 cm sponge layer with a metal cutter, or bake two 4-inch pans for 20-22 minutes at 180°C/350°F. Stack the mini layers with thin coats of pale green buttercream and finish with a soft swirled top — rustic is better here since it will be demolished on camera. Keep every decoration soft and safe: a small fondant dinosaur or a piped 'ONE', never hard candies, toys with small parts or cocktail sticks. Make the big-kid version of any other idea on this list for the guests.
17. Jungle Waterfall Cake
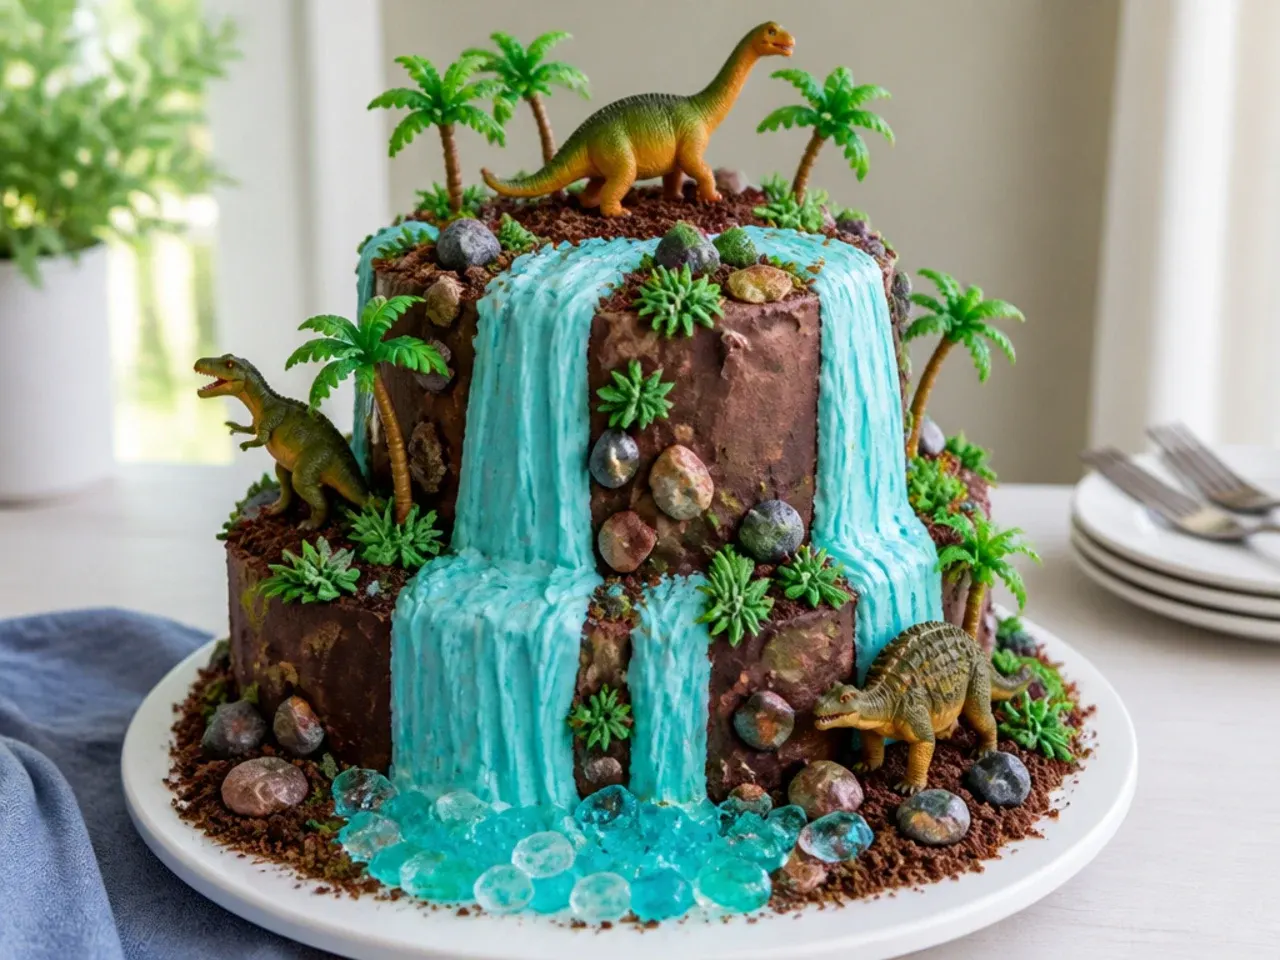
A waterfall turns a plain green cake into a scene. Frost the cake green, then pipe sky-blue buttercream in a band over one section of the top edge and pull it down the side in vertical strokes with a small palette knife, pooling it at the base. Brush blue piping gel over the falls for a wet, glassy shine — this one-ingredient trick is what makes the water look real. Edge the pool with rock candy or chocolate rocks, and build palm trees from pretzel rods topped with fondant fronds or leaves piped with a Wilton 352 tip. Stand a long-necked Brachiosaurus toy drinking at the pool to sell the story.
18. Candy-Melt Spike Drip Cake
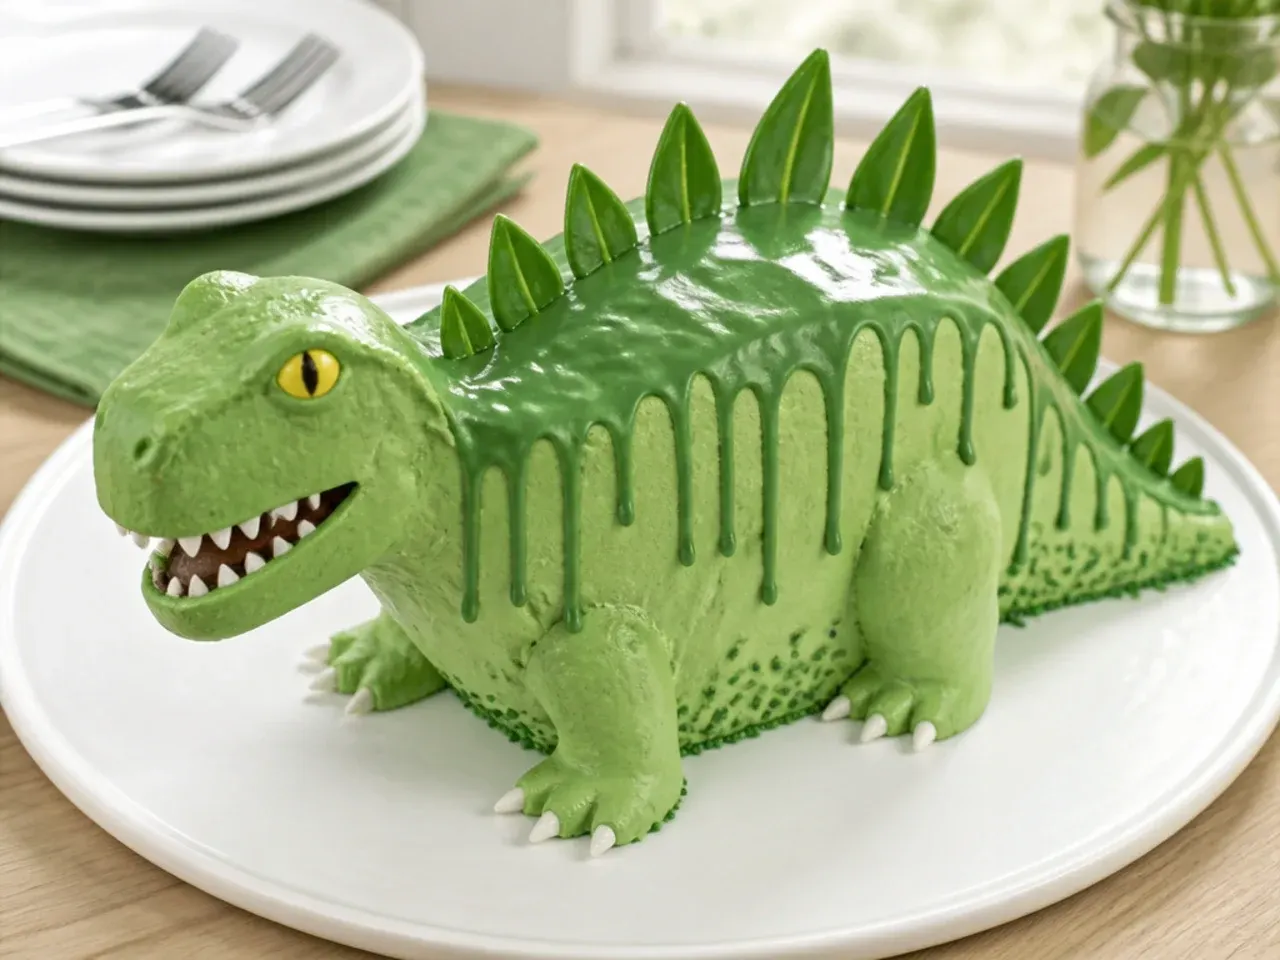
This one borrows the trendy drip-cake look and gives it teeth. Make a green drip by melting 100 g white chocolate with 35 ml warm cream and a little green gel colour, cool it for 10 minutes, then test one drip on the back of your chilled cake before committing — it should run halfway down and stop. For the spikes, spread melted candy melts 4-5 mm thick on parchment, score triangles about 4 cm tall once semi-set, chill 10 minutes, and snap along the score lines. Pipe a line of stiff buttercream along the top of the cake and stand the triangles in it like a dino spine. The spikes can be made three days ahead and stored flat between parchment sheets.
19. Fault Line Fossil Cake
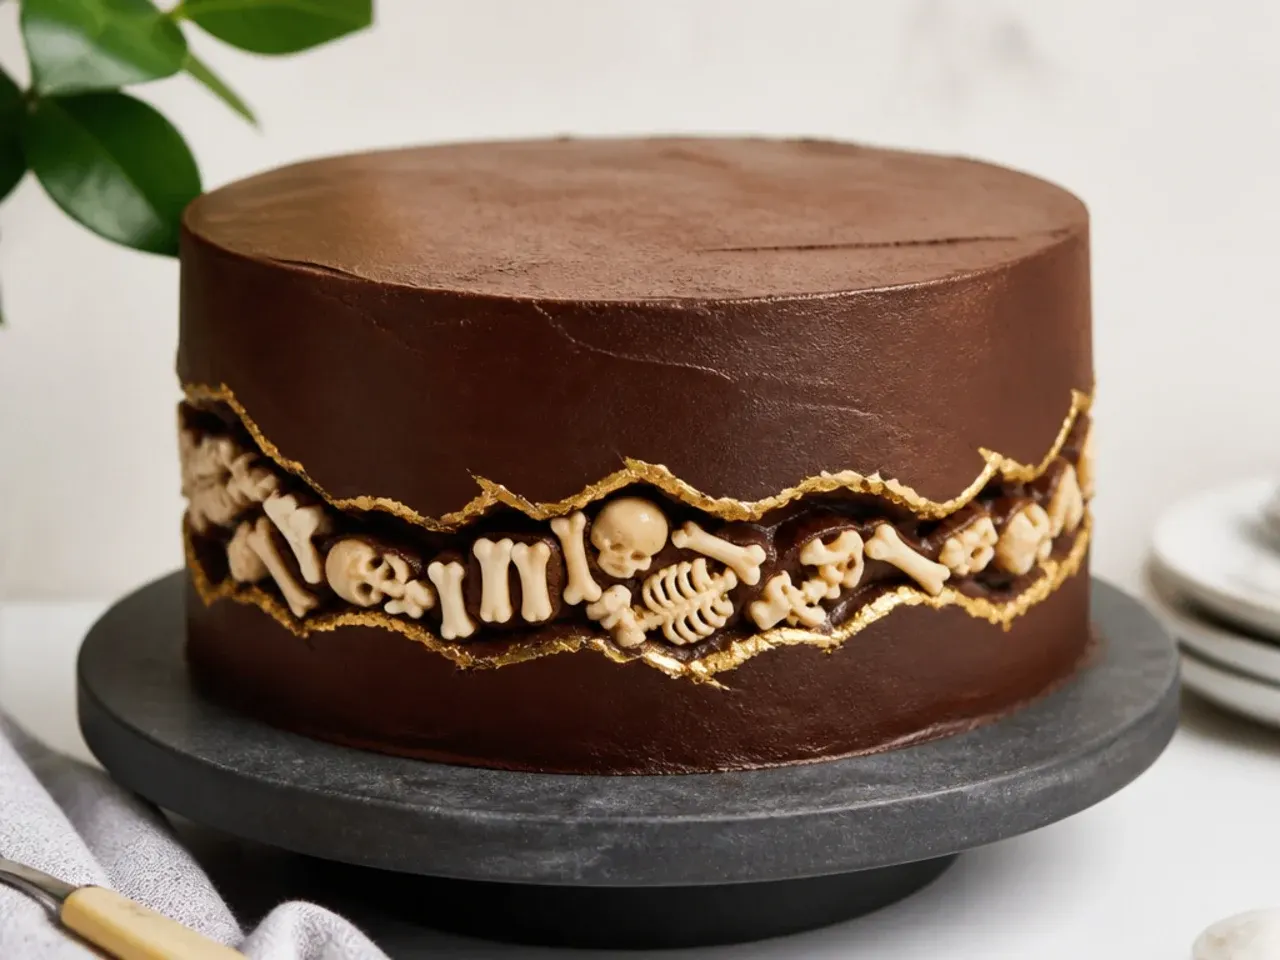
The fault line trend is a natural fit for fossils, and none of the big dinosaur cake roundups use it. Frost the middle band of the cake thinly and press bone-shaped sprinkles, skeleton sprinkles or crushed biscuit mixed with small white chocolate bones into it all the way around. Then pipe a thick ledge of green buttercream around the top third and bottom third, smooth those ledges with a scraper, and leave the fossil band exposed like a cracked-open rock stratum. Brush the broken edges of the green ledges with gold lustre dust on a dry brush to highlight the 'fault'. It looks professionally modern but is genuinely easier than getting one perfectly smooth full coat.
20. Textured Dino-Skin Scales Cake
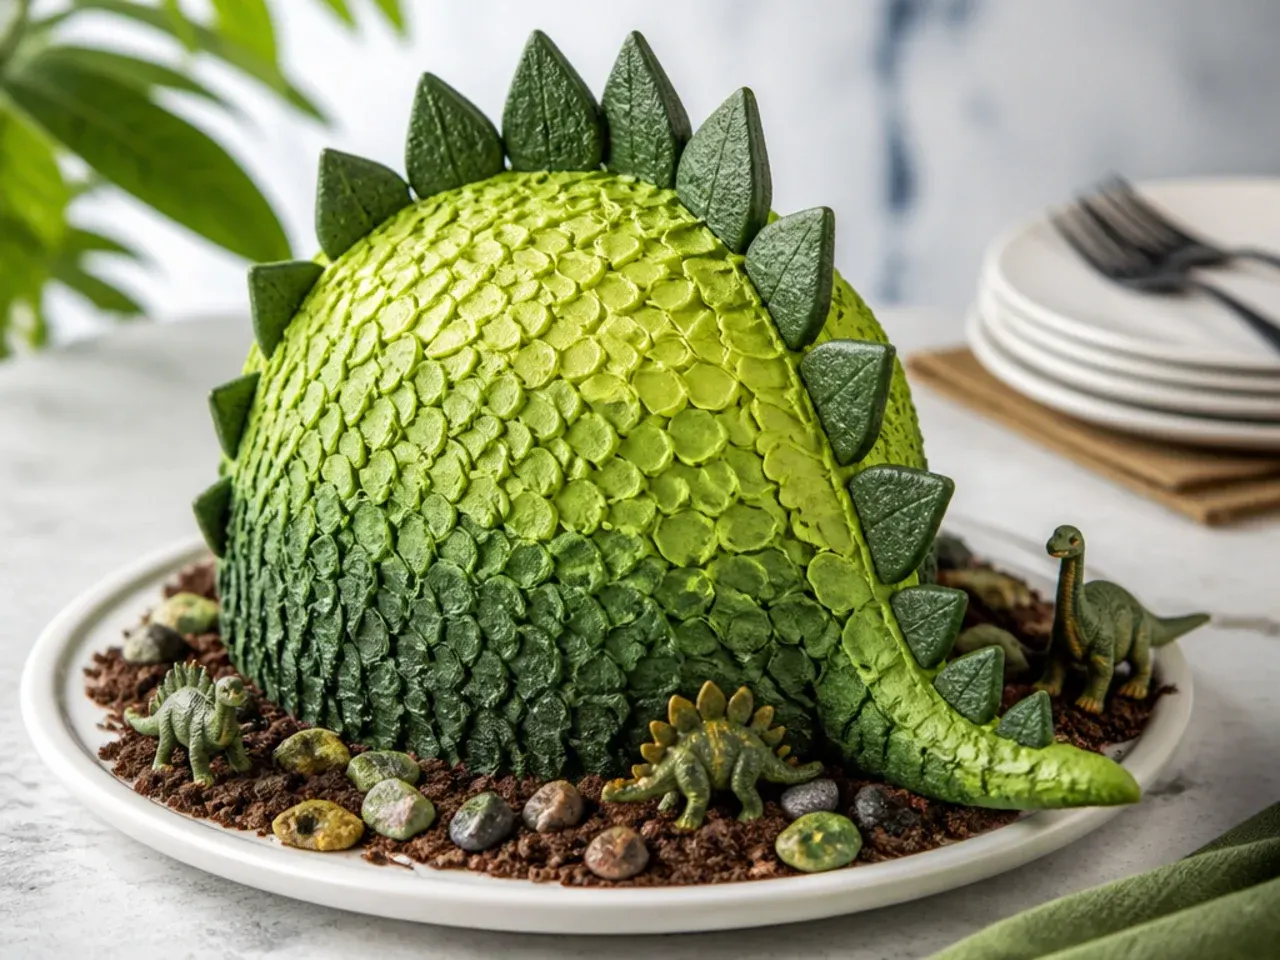
Turn the frosting itself into the decoration with a scale texture that reads instantly as dinosaur skin. Pipe a vertical row of buttercream dots up the side of the cake using a round tip (Wilton 12) or just a snipped zip-top bag, then swipe each dot sideways with the back of a teaspoon or a small offset spatula. Pipe the next row slightly overlapping the swiped tails and repeat around the whole cake, alternating two shades of green for a reptilian sheen. If the buttercream softens and smears, chill the cake for 15 minutes and carry on. The technique needs zero artistic skill — just the same dot-and-swipe motion repeated — and hides every imperfection underneath.
Tips to Make These Ideas Easier
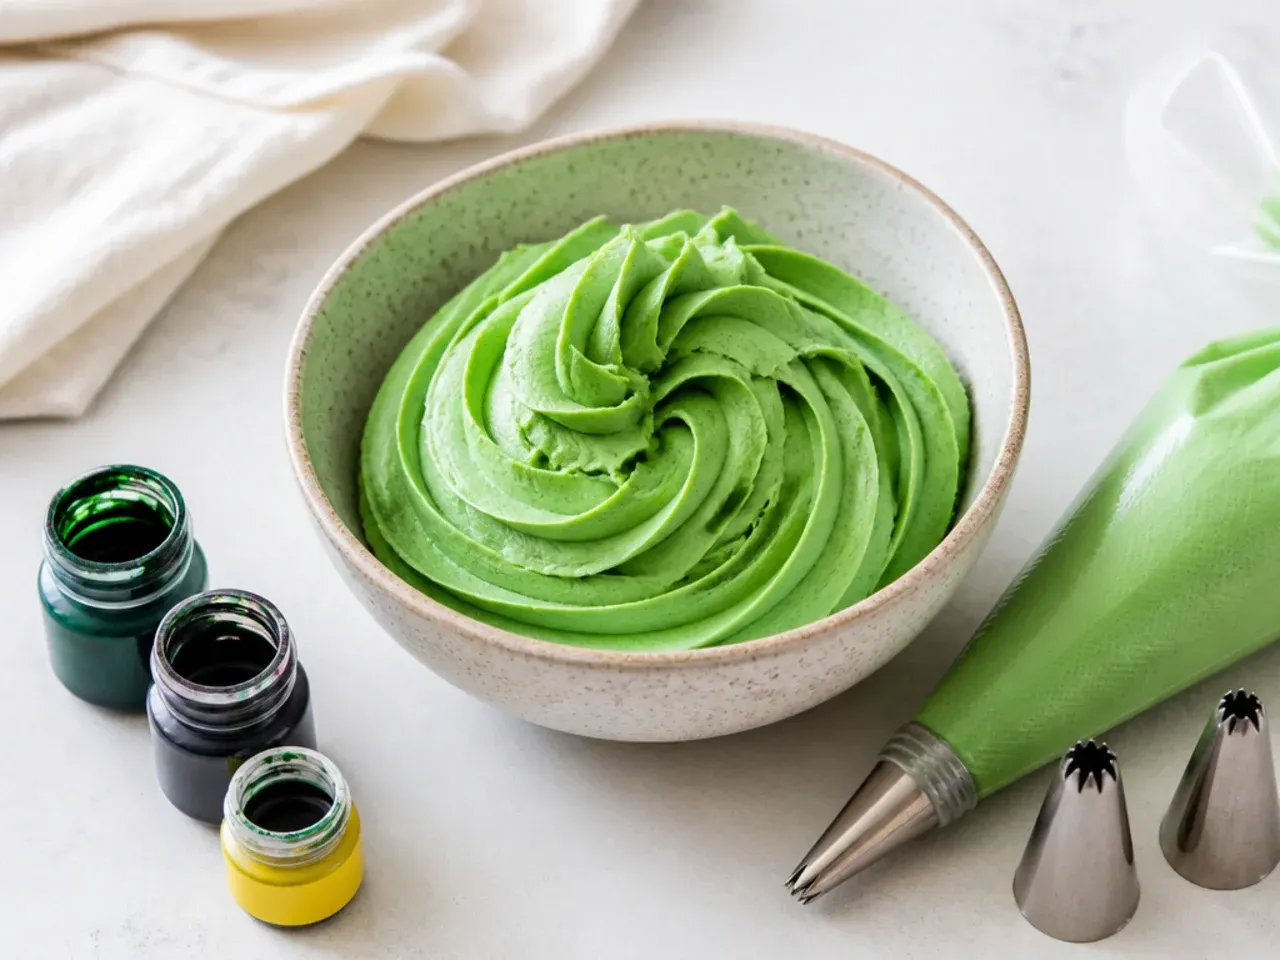
Always colour buttercream with gel colours (Wilton Leaf Green or AmeriColor Electric Green), never liquid — gels give deep colour without thinning the frosting, and the shade deepens as it rests for 30 minutes, so stop one step lighter than you want. Bake the sponges up to a month ahead, wrap them well and freeze; a part-frozen cake carves and crumb-coats far more cleanly than a fresh one. Chill the cake for 20-30 minutes in the fridge between the crumb coat and the final coat so the top layer glides on. Short on time? Re-whip two tubs of shop-bought frosting with 1 tablespoon of icing sugar for 2 minutes and it becomes stiff enough to pipe. Wash every toy dinosaur in warm soapy water and dry it before it touches the cake, and always decorate on the board you will serve from — moving a finished dinosaur cake is how tails get broken.
Common Mistakes to Avoid
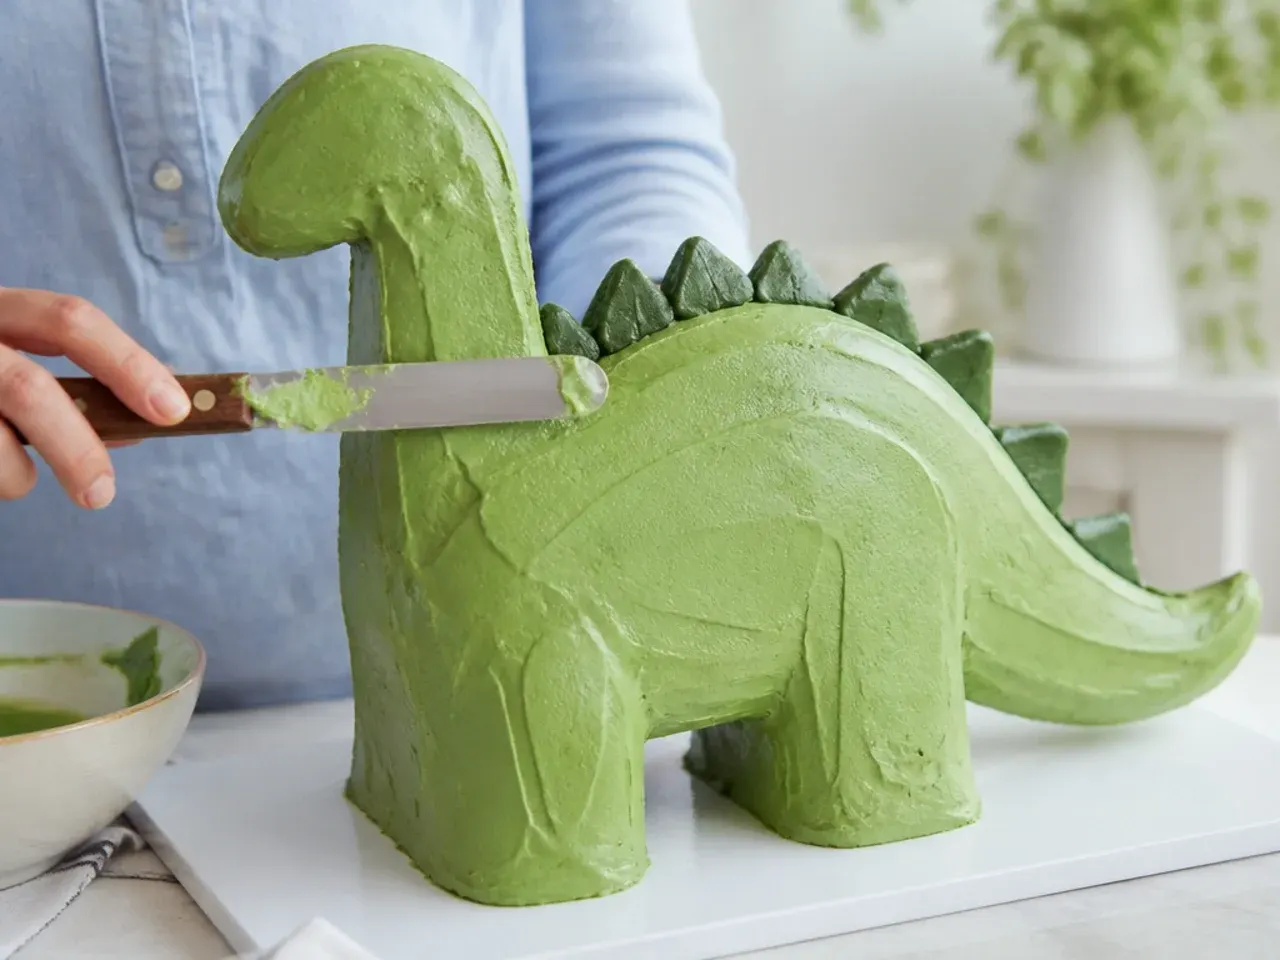
Never frost a warm cake — even slightly warm sponge melts buttercream into a sliding mess, so cool layers for at least an hour on a wire rack. Don't skip the crumb coat: green frosting shows every stray crumb, and the thin first layer is what locks them away. Check the sponges at 25 minutes rather than trusting the timer, because an overbaked cake turns dry and crumbly and breaks when you carve shapes from it. Avoid liquid food colouring, which splits and thins American buttercream before you ever reach a true green. Finally, never stack a second tier without supports — four bubble tea straws or dowels take two minutes to insert and are the difference between a two-tier cake and a landslide.
The Recipe
The Base Recipe — Make Any of These Ideas
40 min
30 min
1 hr 10 min
12
Beginner
Ingredients 12 Person(s)
Directions
Step 1: Prep the tins and oven
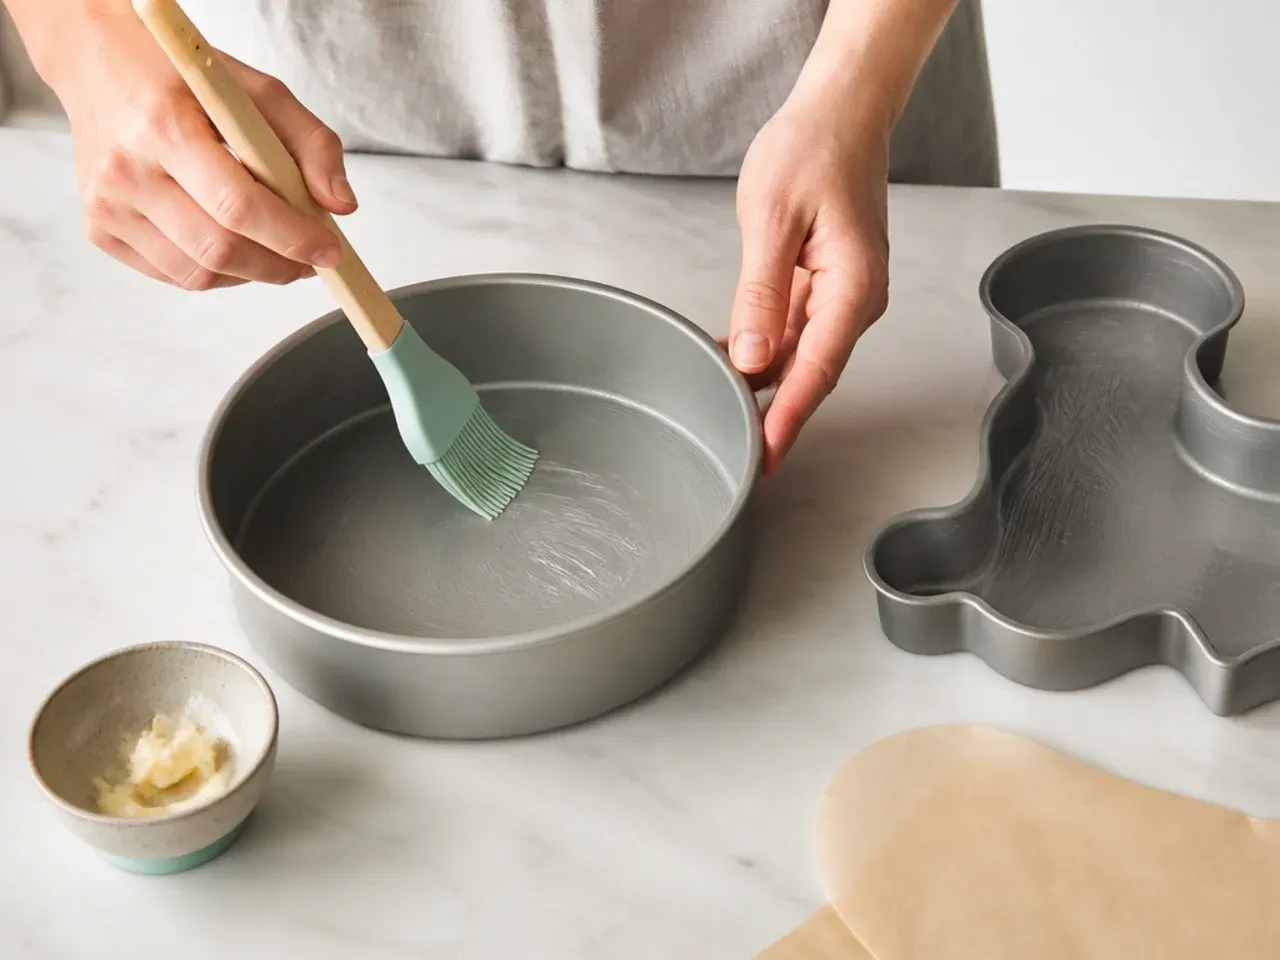
Preheat the oven to 180°C/350°F (160°C fan). Grease two 20 cm (8 inch) round cake tins and line the bases with baking parchment. Check your butter is properly softened — a finger should leave a dent easily but the butter should not look greasy or melted. Sit the eggs in a bowl of warm tap water for 5 minutes if they are fridge-cold, because cold eggs curdle the batter.
Step 2: Cream the butter and sugar
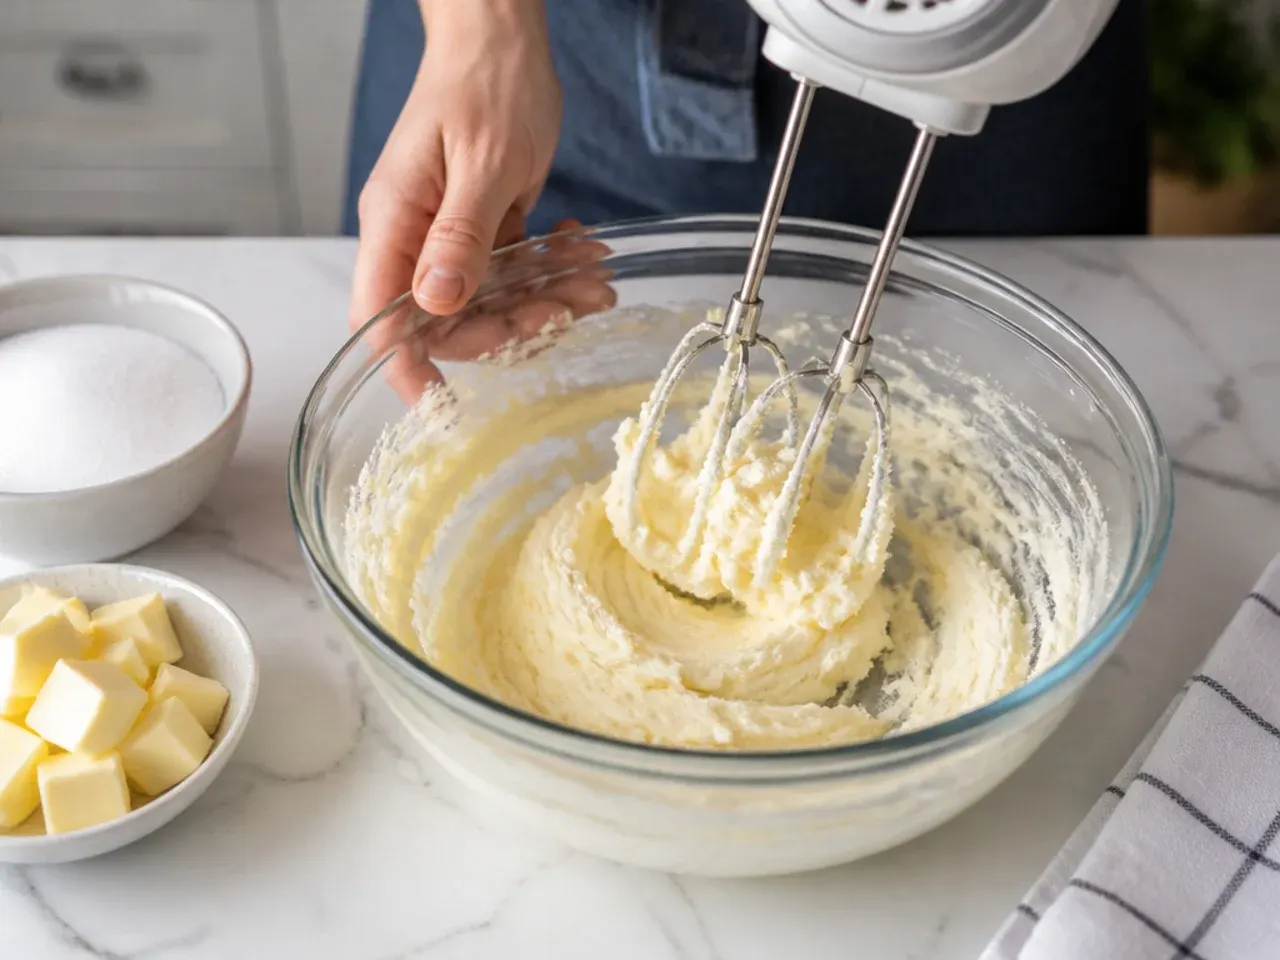
Beat 225 g softened butter and 225 g caster sugar with an electric mixer on medium-high for 3-4 minutes, scraping the bowl down once. It is ready when the mixture is noticeably paler in colour and looks fluffy, almost like whipped mayonnaise. This step traps the air that makes the sponge rise, so don't cut it short.
Step 3: Add the eggs and vanilla
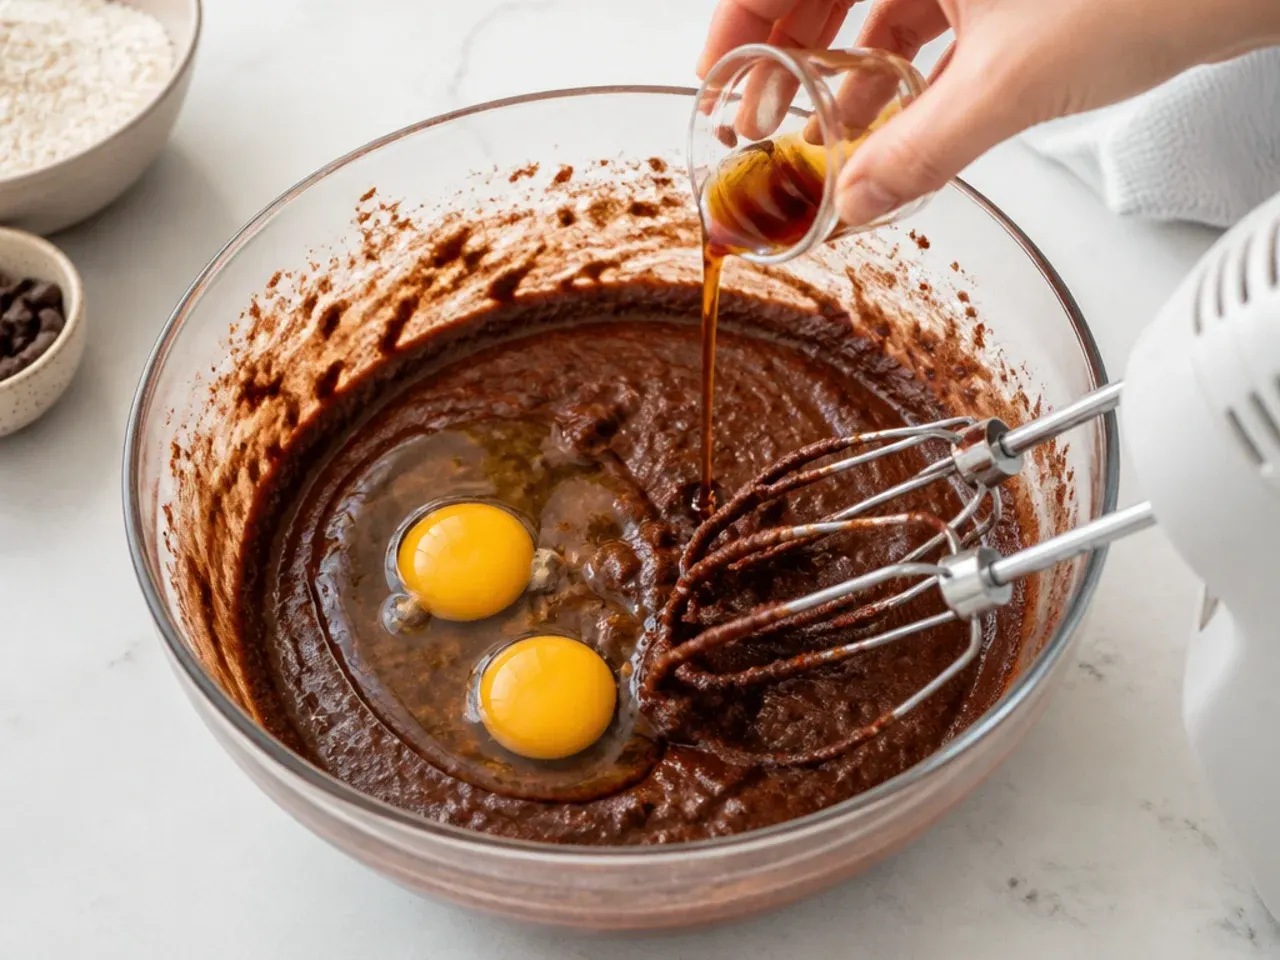
Add the eggs one at a time, beating for about 30 seconds after each before adding the next, then beat in 2 teaspoons vanilla extract. If the mixture starts to look curdled or split, beat in 1 tablespoon of your measured flour and carry on — it will smooth back out. The finished mixture should be glossy, smooth and pale.
Step 4: Fold in the flour and milk
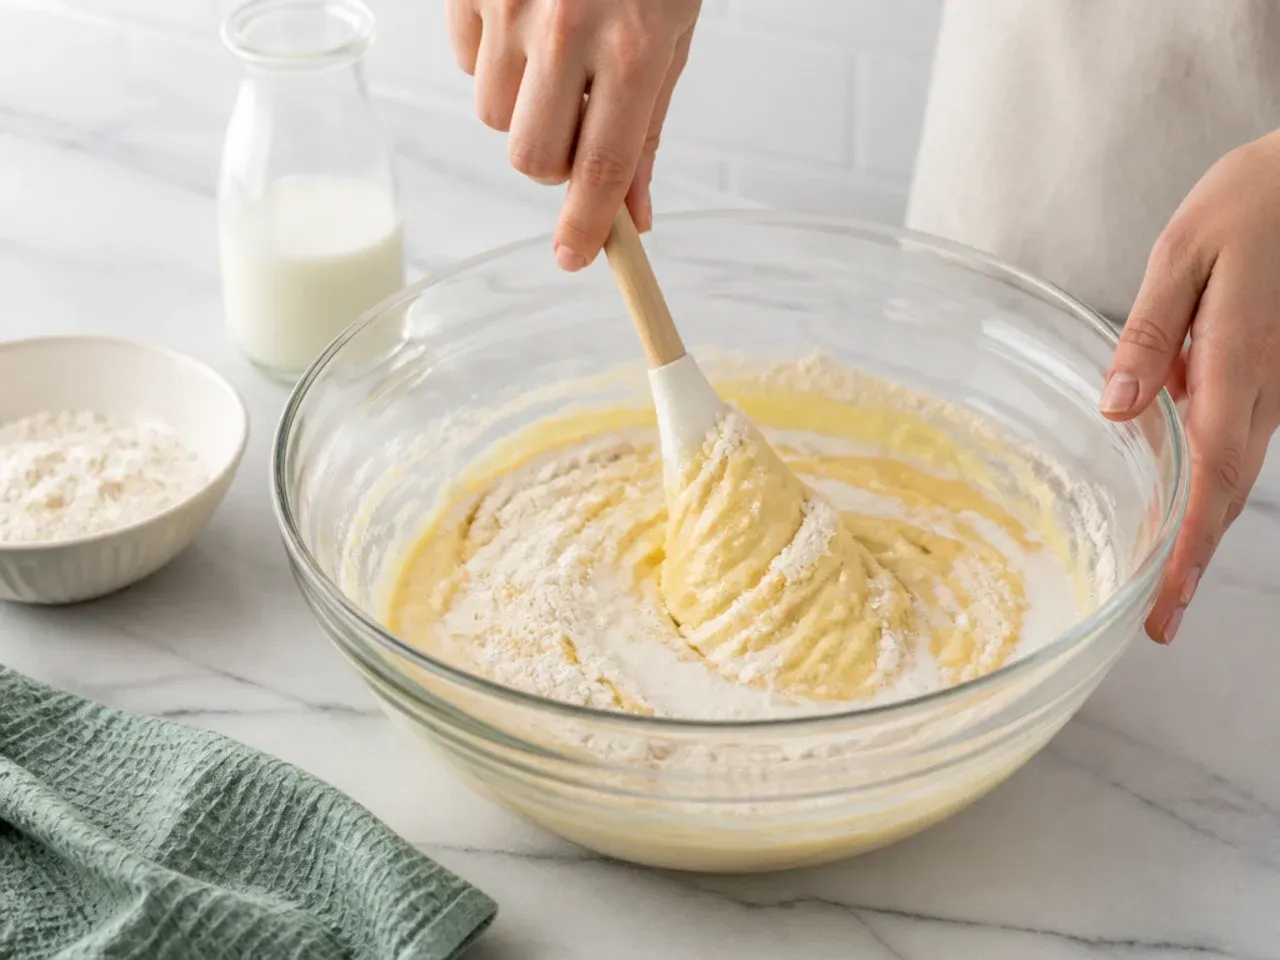
Sift the 225 g self-raising flour, 1 teaspoon baking powder and ¼ teaspoon salt over the bowl, then fold them in gently with a spatula or large metal spoon until no dry streaks remain — folding, not beating, keeps the air in. Stir in 2 tablespoons of milk to loosen. The batter should drop reluctantly off the spoon when you shake it; that soft dropping consistency is what you want.
Step 5: Bake the sponges
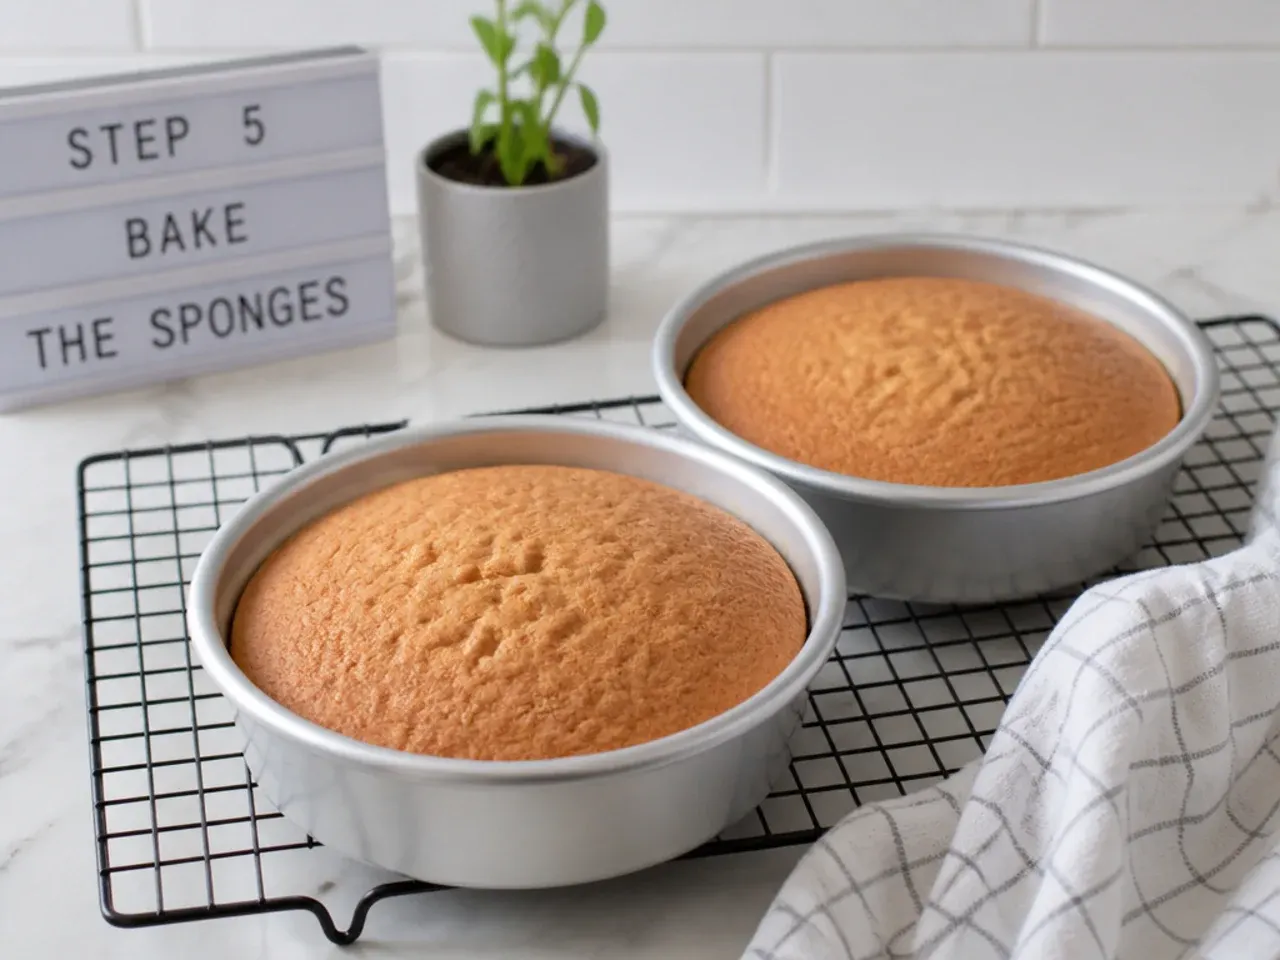
Divide the batter evenly between the two tins (about 470 g per tin if you have scales) and level the tops. Bake at 180°C/350°F (160°C fan) for 25-30 minutes, checking at 25 — the cakes are done when they are golden, spring back from a gentle press and a skewer pushed into the centre comes out clean. Cool in the tins for 10 minutes, then turn out onto a wire rack and leave for at least 1 hour until completely cold before frosting.
Step 6: Make the green buttercream
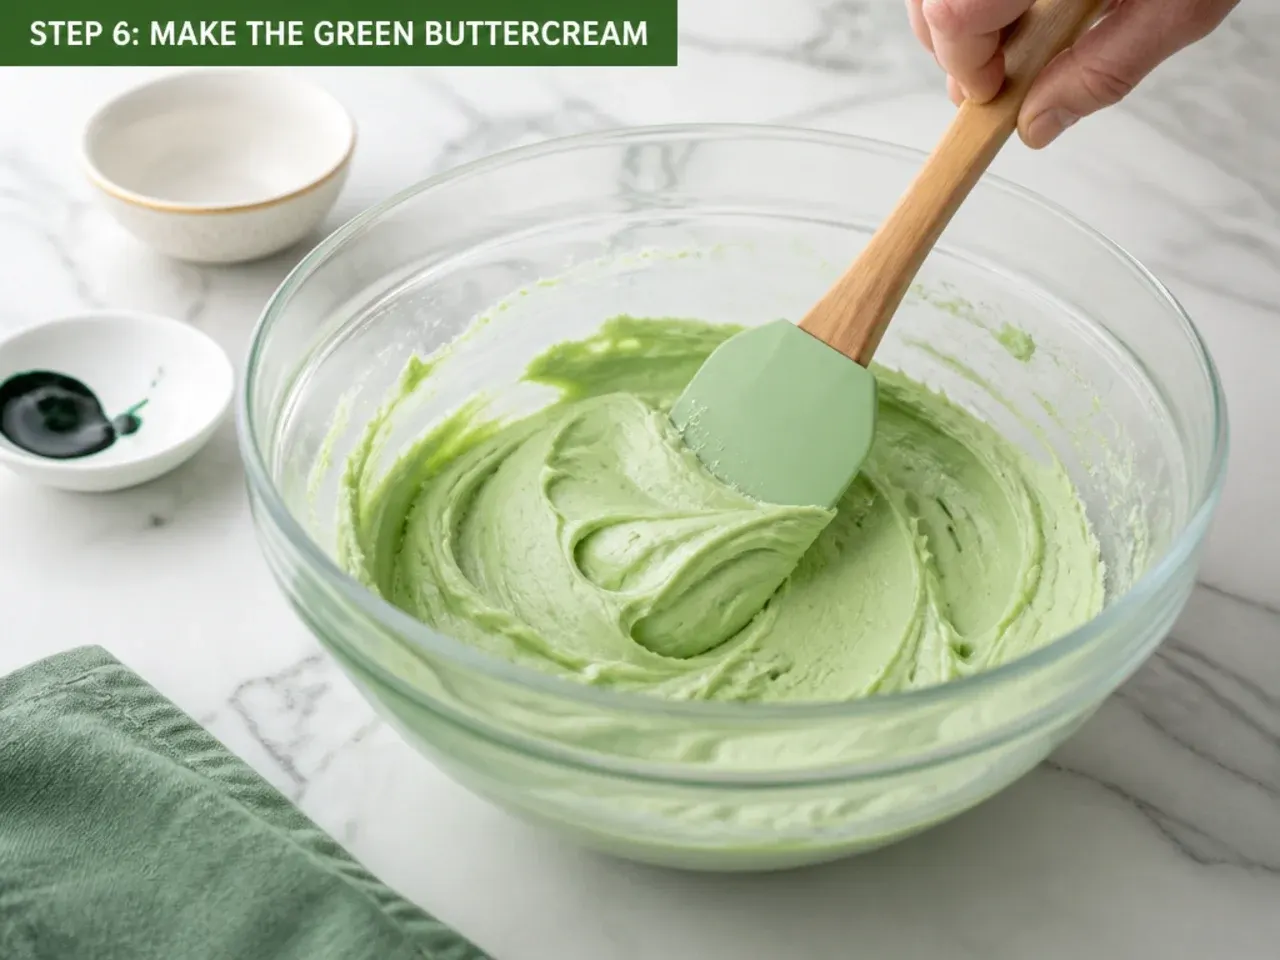
Beat 250 g softened butter on medium-high for 3 minutes until very pale. Add the 500 g sifted icing sugar in two batches, beating on low first so it doesn't cloud the kitchen, then on high for 2 minutes until light and fluffy. Beat in 2 tablespoons of milk, then add leaf-green gel colour a little at a time with a cocktail stick until you reach a shade one step lighter than you want — the colour deepens as it stands. The buttercream should hold a firm peak on the beater; if it's stiff, add milk a teaspoon at a time.
Step 7: Fill, crumb coat and decorate
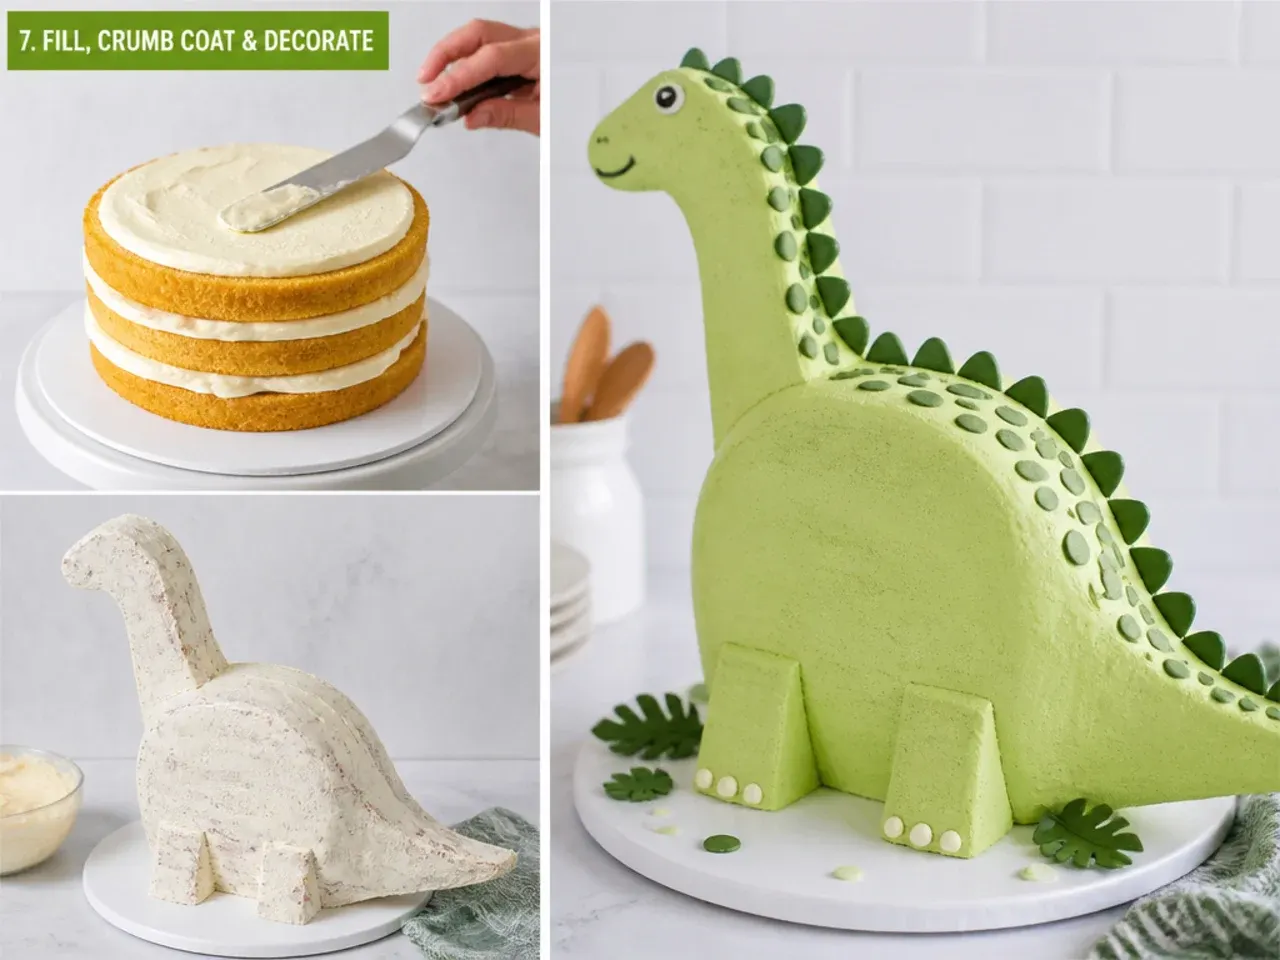
Level any domed tops with a serrated knife, then sandwich the layers with about 150 g of buttercream. Spread a thin crumb coat over the whole cake — you should faintly see cake through it — and chill for 30 minutes in the fridge until it feels dry to the touch. Apply the final coat of green buttercream with a palette knife, then decorate using whichever dinosaur idea you've chosen, from toy-dino jungle to candy-melt spikes. The finished cake keeps in an airtight container somewhere cool for 2-3 days.
Frequently Asked Questions
You don't need a shaped pan for any idea in this list. The two easiest routes are decorating a normal round or sheet cake with toy dinosaurs and green buttercream, or the template method: print a free dinosaur outline (Betty Crocker's is popular), freeze two 20 cm round sponges for 30 minutes, cut the body, head and tail pieces, and 'glue' them together with buttercream before frosting.
Save this for later 📌
Pin this article to your Pinterest board so the full list is one tap away when you need it.
Save on Pinterest