15 Simple Dinosaur Cakes for Beginners
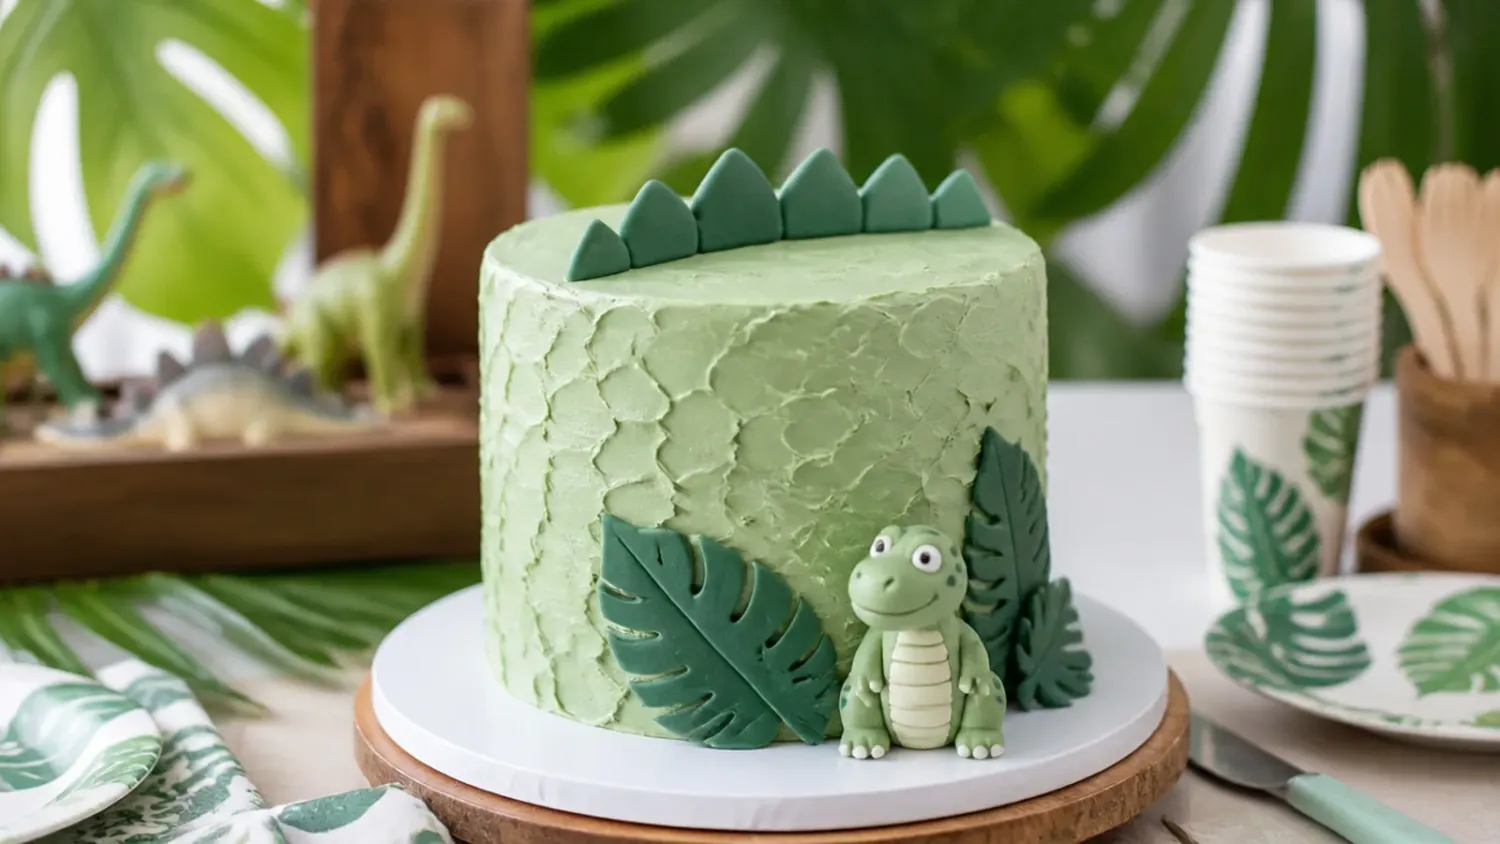
15 simple dinosaur cake ideas any beginner can pull off, from a round dino-face cake to a volcano scene, plus a foolproof base cake and buttercream. If you love dinosaur cake inspiration, start with our Dinosaur Cake Ideas collection, then browse the full Cake Ideas hub for more.

Save this for later 📌
Pin this article to your Pinterest board so the full list is one tap away when you need it.
Save on PinterestCake Ideas
Beginner
Ideas
15 ideas
Table of Contents
- 1. Round Dino-Face Cake with Chocolate-Chip Spikes
- 2. Cut-and-Shape Standing Dinosaur from a 9x13 Sheet
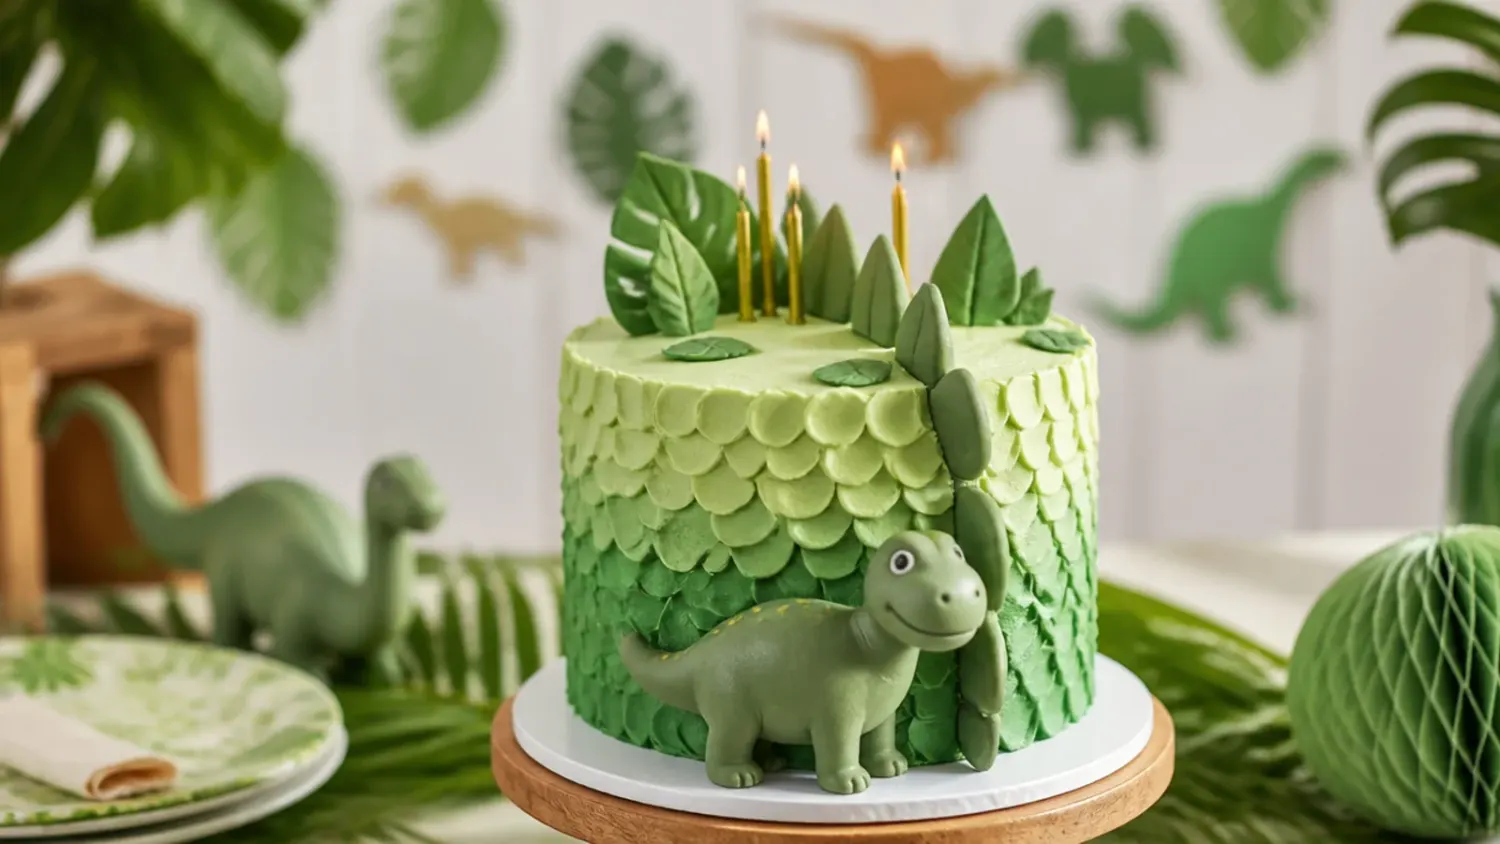
- 3. Smooth Ombre-Green Dinosaur Egg Cake
- 4. Buttercream Grass Dinosaur Scene with Toy Toppers
- 5. Modern Geometric Low-Poly Dinosaur Cake
- 6. Rustic Naked Dinosaur Cake with Cocoa Soil
- 7. Rainbow Spike Stegosaurus Cake
- 8. Minimal One-Color Dinosaur Silhouette Cake
- 9. Festive Number Dinosaur Birthday Cake
- 10. Whimsical Volcano Dinosaur Cake
- 11. Bold T-Rex Head Cake with Fondant Teeth
- 12. Delicate Pastel Dinosaur Drip Cake
- 13. Vintage Piped-Shell Dinosaur Cake
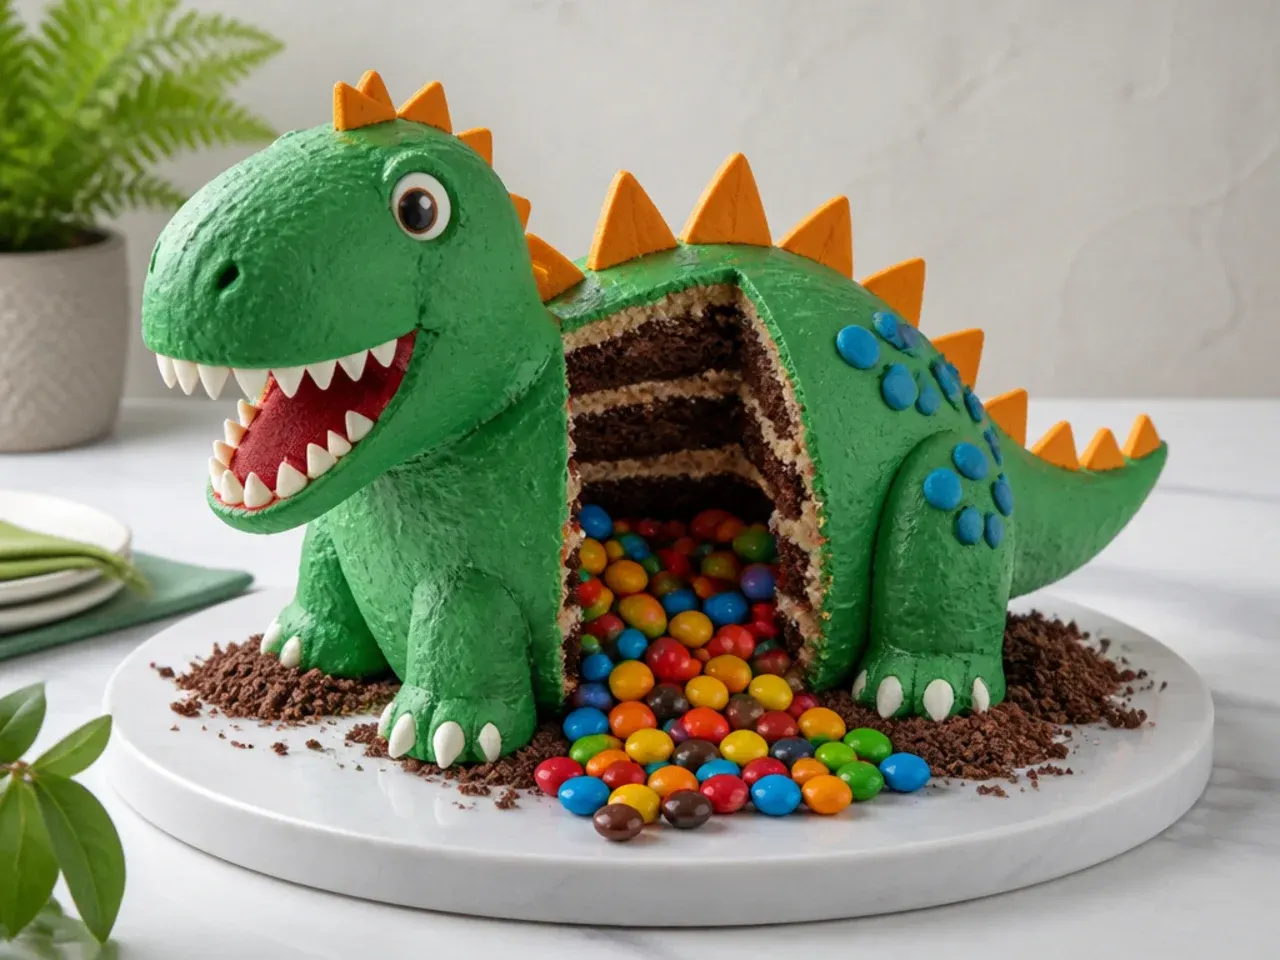
- 14. Creative Hidden-Surprise Dinosaur Piñata Cake
- 15. Charming Mini Dinosaur Cupcake Herd
- Tips to Make These Ideas Easier
- Common Mistakes to Avoid
- The Base Recipe — Make Any of These Ideas
1. Round Dino-Face Cake with Chocolate-Chip Spikes
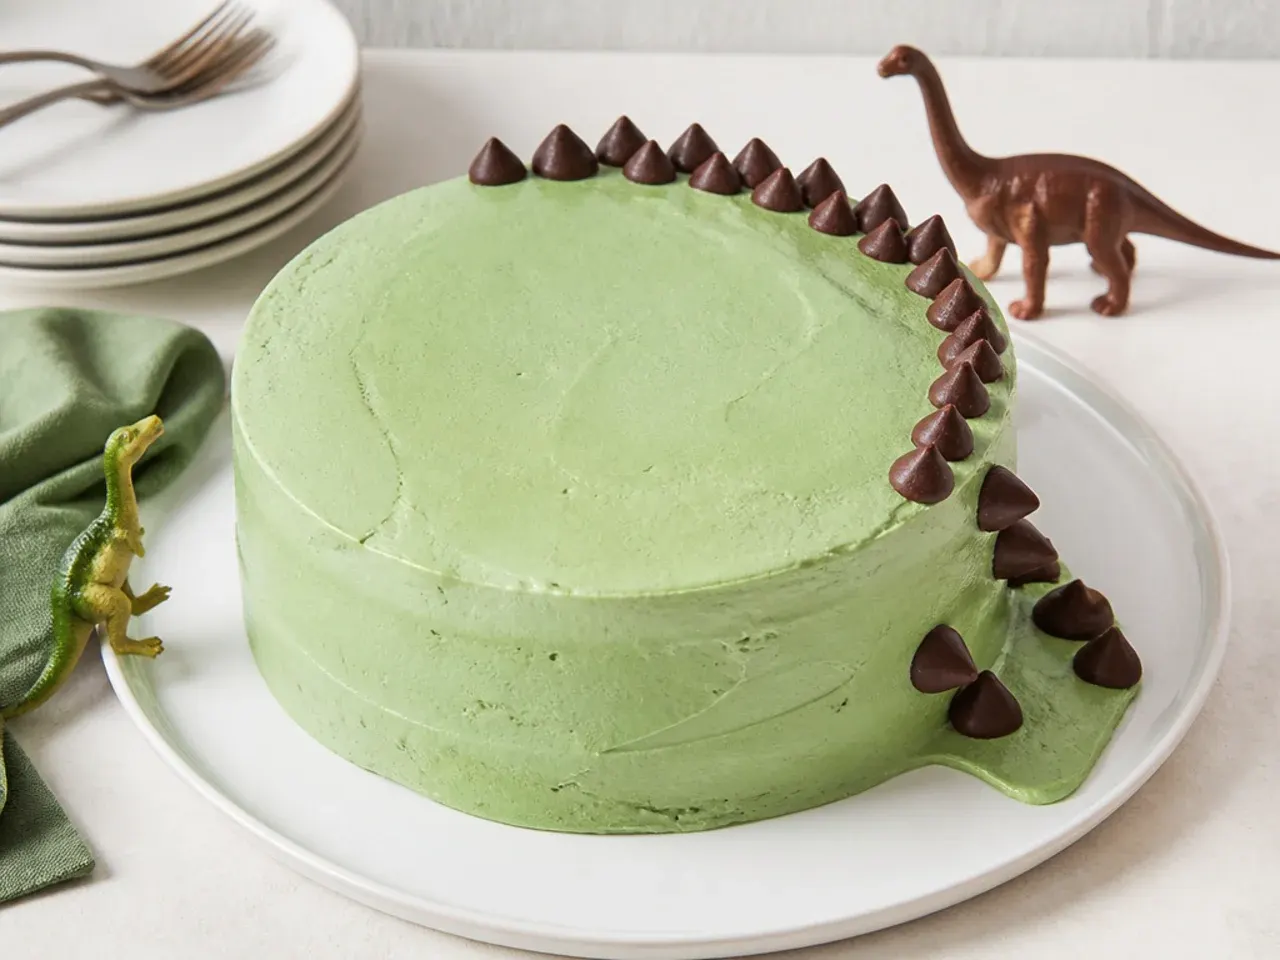
This is the easiest simple dinosaur cake to attempt first: a single 8-inch round frosted in green buttercream, decorated to read as a friendly dino face. Cover the whole cake in an even crumb-free layer of green buttercream, then press upside-down chocolate chips in a row along the top center for a spike ridge (pointy end pushed into the frosting so the flat side shows). Add two candy-eyeball sweets or white-chocolate discs with a dark dot for eyes, and a wide curved line of melted chocolate for a smile. It works because the round shape does all the structural work, so a beginner only has to frost one surface and add candy. Chill the frosted cake 15 minutes before adding the chips so they set into place instead of sliding.
2. Cut-and-Shape Standing Dinosaur from a 9x13 Sheet
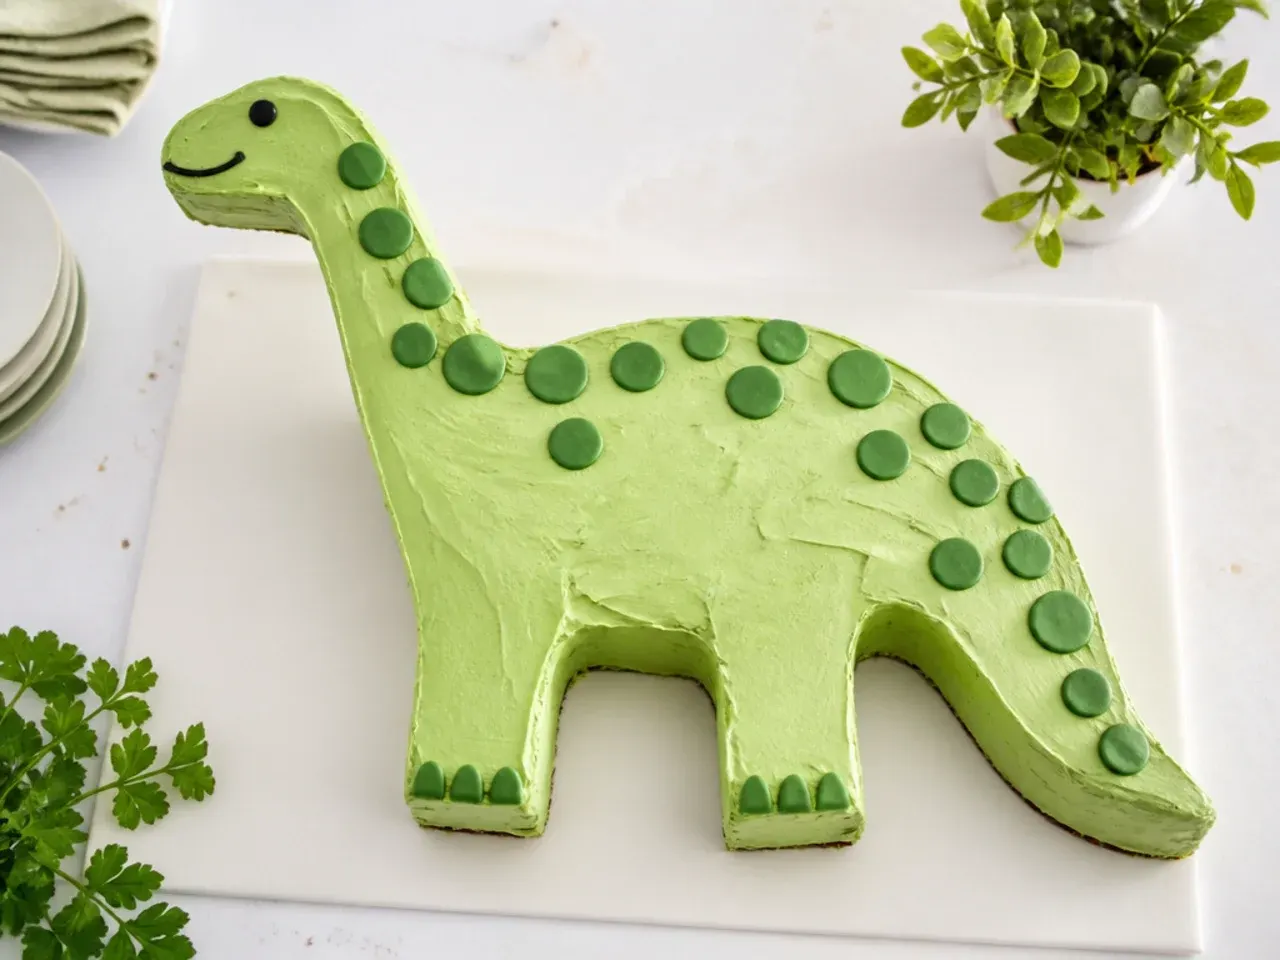
No dinosaur pan needed here: bake the base recipe in a 9x13 tin (23x33 cm), then cut a long-necked dino silhouette using a paper template you sketch first. Cut one large body-and-neck shape plus a separate tail and head, then piece them together on the board with a swipe of buttercream as edible glue. Crumb-coat the assembled shape, chill 20 minutes, then apply a final green coat so the cut edges disappear. This method works because a rectangle gives you enough surface to carve a classic brontosaurus outline, and the seams vanish under frosting. Freeze the sheet cake for 30 minutes before carving so it cuts cleanly without crumbling.
3. Smooth Ombre-Green Dinosaur Egg Cake
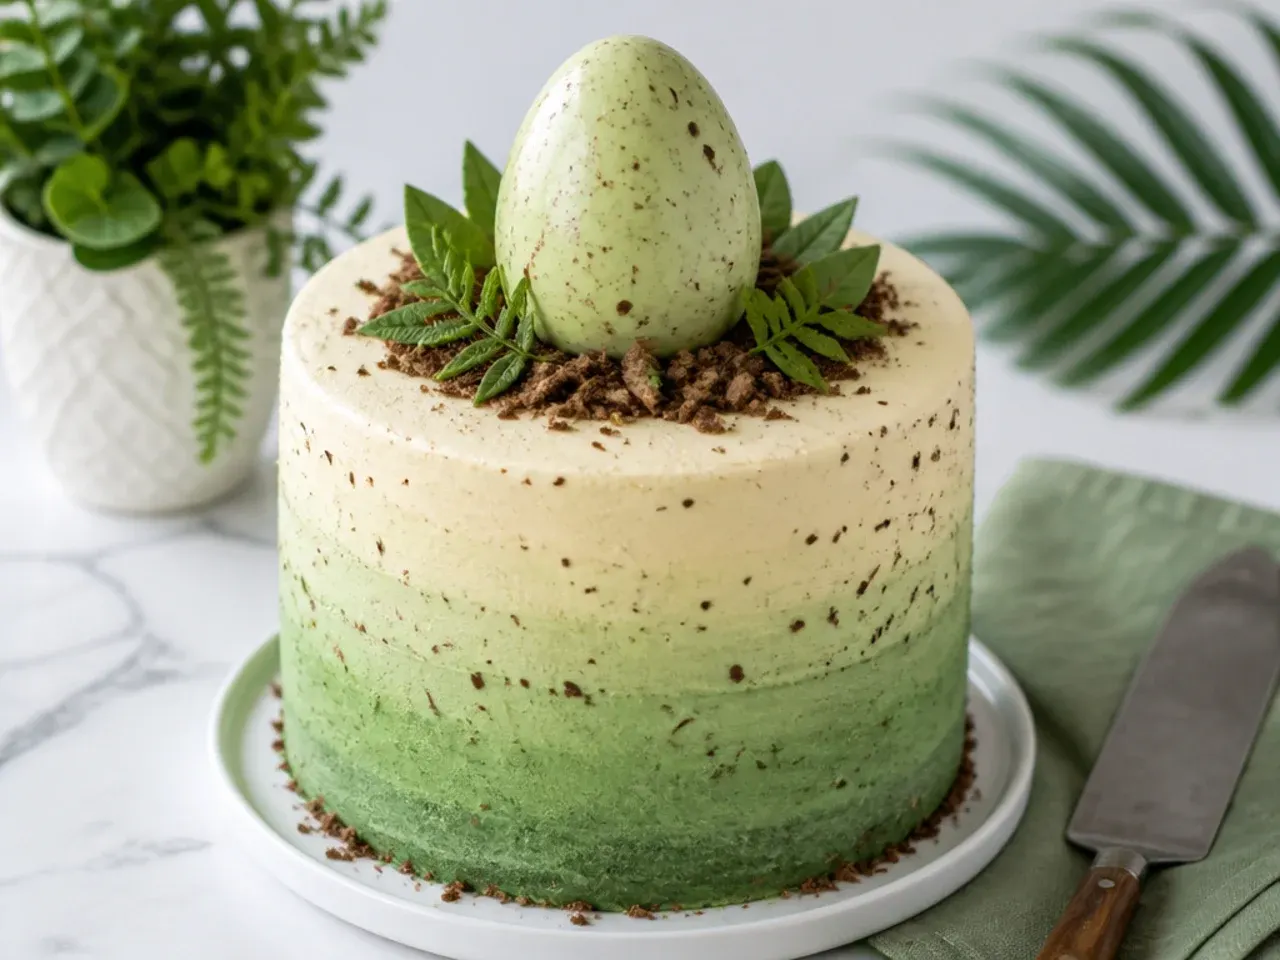
For an elegant simple dinosaur cake, shape a dome so it reads as a giant speckled dinosaur egg. Bake the batter in an ovenproof bowl or stack two rounds and carve the top into a dome, then crumb-coat and chill. Frost in an ombre effect: pipe dark green buttercream at the base, lighter green up top, and blend the band where they meet with a warm offset spatula. Flick brown-tinted buttercream or cocoa mixed with a little water using a clean pastry brush to create realistic speckles. The ombre works because you are only blending two shades over a smooth curved surface, which hides small errors. Keep the two greens next to each other on the cake before you smooth so they merge naturally.
4. Buttercream Grass Dinosaur Scene with Toy Toppers
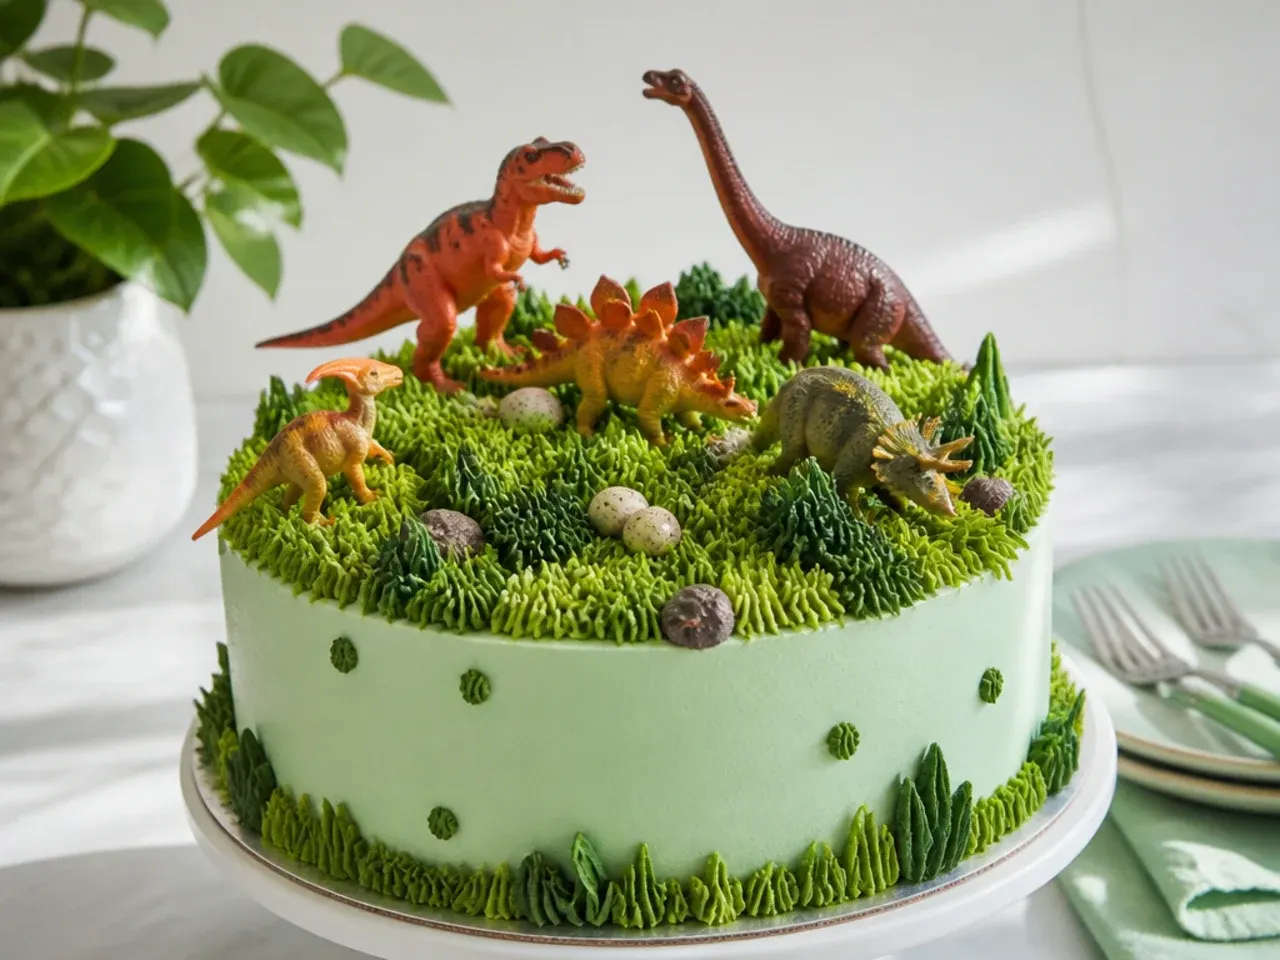
This playful simple dinosaur cake turns the top into a jungle using a grass piping tip and clean plastic dino toys. Frost the cake smooth in pale green, then pipe grass tufts across the whole top with a Wilton 233 multi-opening tip, pulling straight up and releasing for a natural frayed look. Nestle washed toy dinosaurs into the grass and add crushed-cookie dirt patches for contrast. It works because the 233 tip makes convincing grass in seconds, and the toys carry the theme so your piping does not have to be perfect. Wash the toys in hot soapy water and dry fully, and stand them on a small square of parchment if you want to keep them frosting-free.
5. Modern Geometric Low-Poly Dinosaur Cake
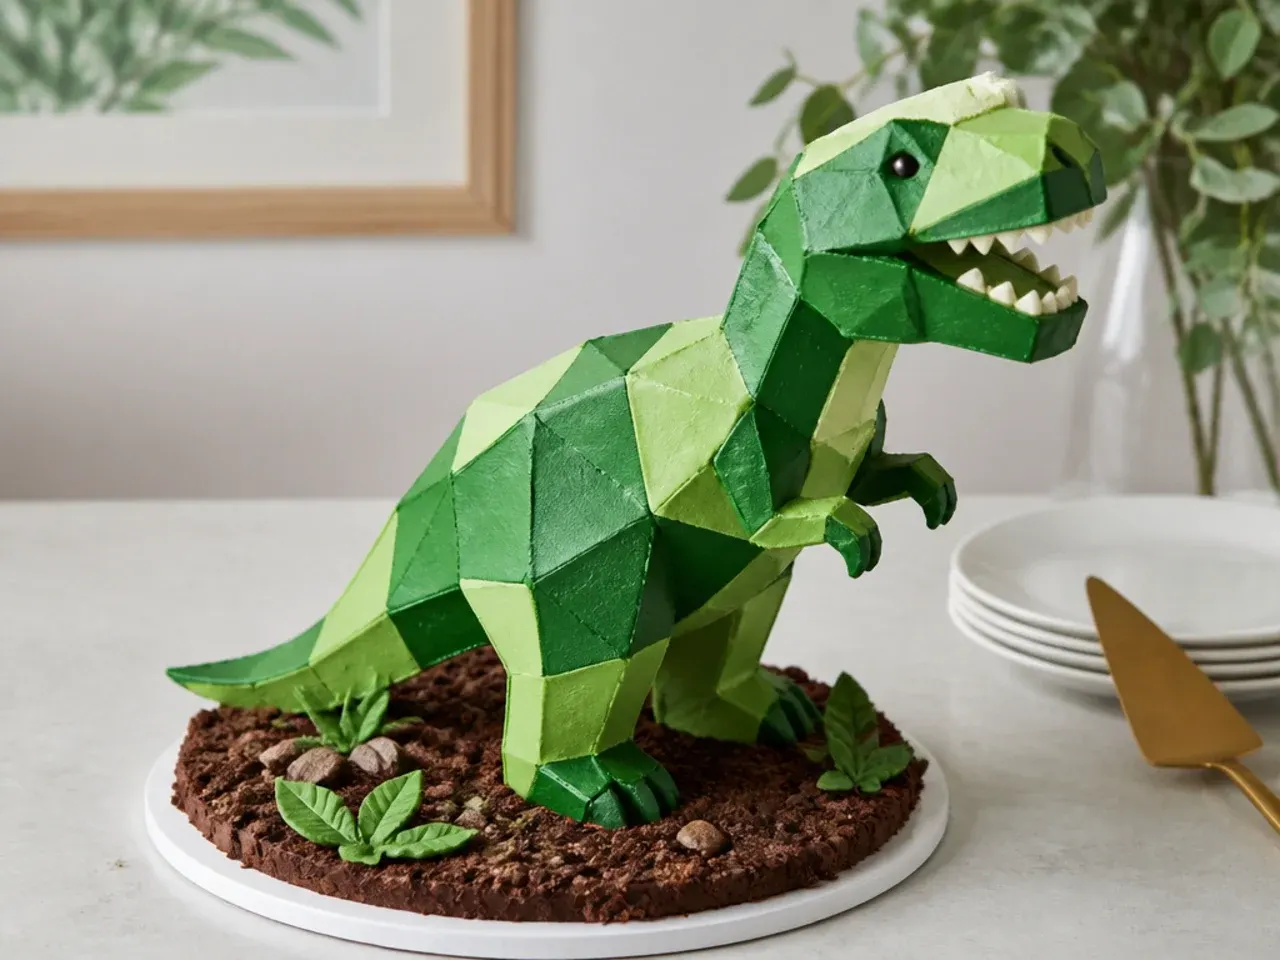
For a modern simple dinosaur cake, decorate a round or square cake with sharp-edged triangular facets in a two-tone green palette. Frost the cake smooth, then use a small offset spatula to press flat angular patches of light and dark green side by side so the surface looks faceted like a low-poly 3D model. Add a single geometric dino-head silhouette cut from a slice of colored modeling chocolate as a topper. This works because straight, deliberate lines look intentional and stylish, and imperfect edges only add to the geometric effect. Tape a printed triangle grid behind your work area as a visual guide for placing each facet.
Save this for later 📌
Pin this article to your Pinterest board so the full list is one tap away when you need it.
Save on Pinterest6. Rustic Naked Dinosaur Cake with Cocoa Soil
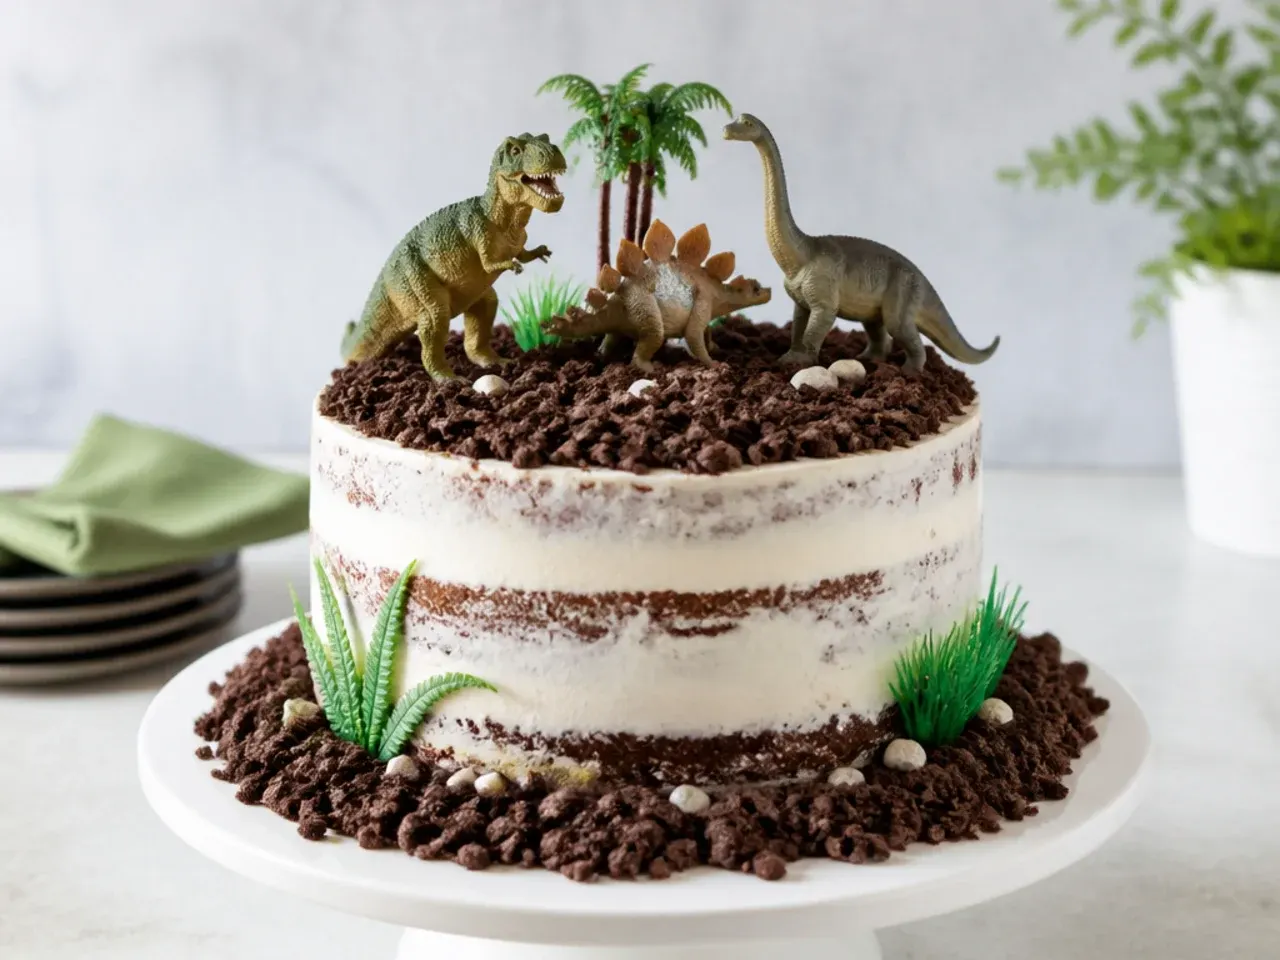
A rustic simple dinosaur cake skips smooth frosting entirely for a semi-naked look that beginners find forgiving. Stack two 8-inch layers with buttercream between them, then scrape most of the outside frosting away with a bench scraper so the cake shows through in patches. Press crushed chocolate cookies or cocoa-dusted crumble around the base as prehistoric soil and stand a toy dino or two on top. It works because a semi-naked finish is meant to look imperfect, so wobbles and gaps read as intentional. Use a warm scraper (dipped in hot water and dried) for cleaner scrape lines through the buttercream.
7. Rainbow Spike Stegosaurus Cake
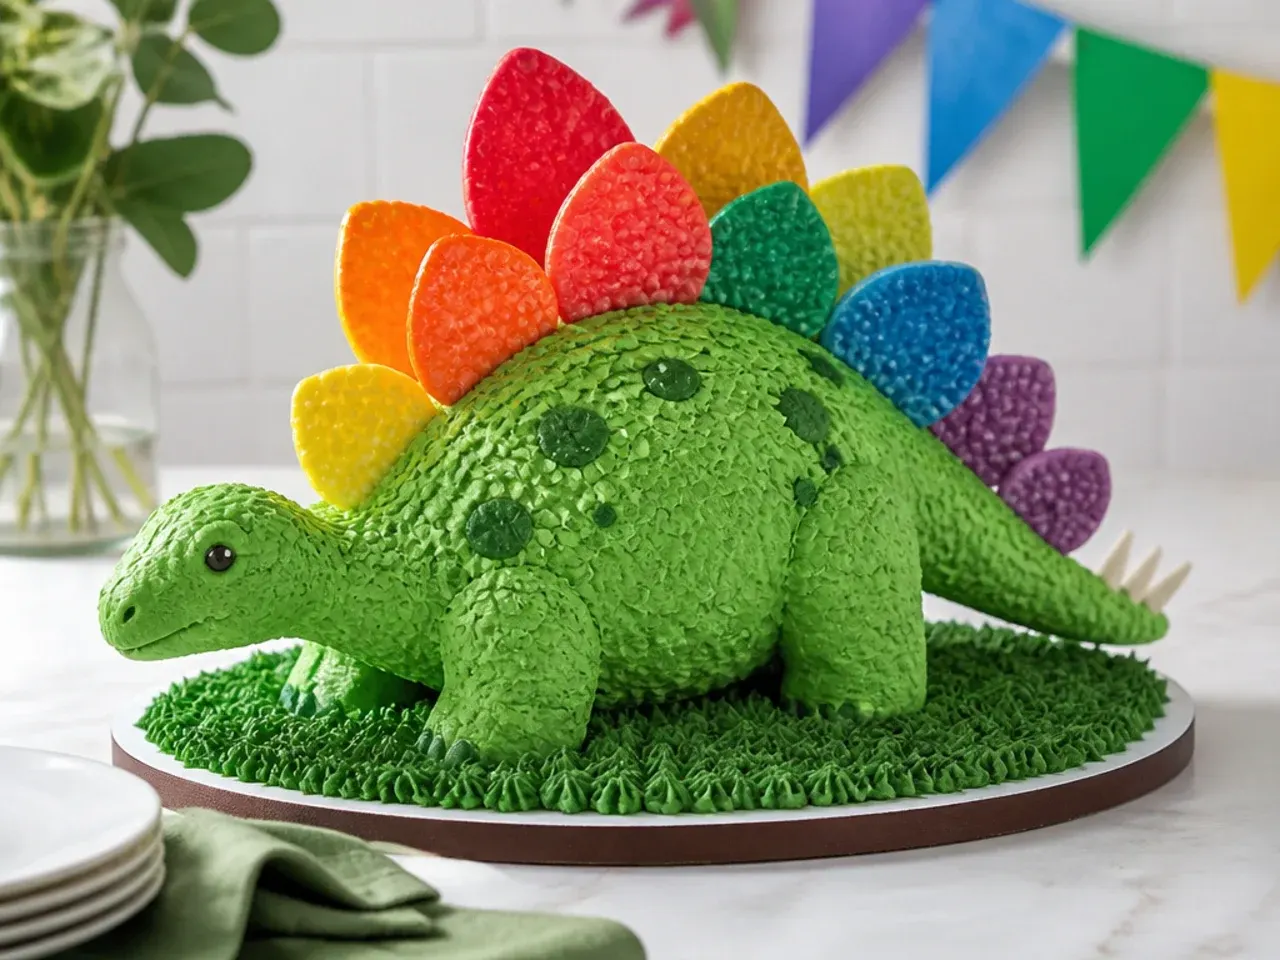
This colorful simple dinosaur cake uses candy plates as the signature stegosaurus back plates in rainbow colors. Frost a round or oval cake in green, then stand triangular candy melts, chocolate-coated wafer triangles, or trimmed rainbow sour-strip pieces upright in a double row down the center. Add small candy spikes at the tail end and edible eyes at the front. It works because the row of colorful plates instantly signals a stegosaurus, and standing candy is far easier than sculpting spikes from fondant. Chill the frosting for 10 minutes before inserting the plates so they stay upright instead of drooping.
8. Minimal One-Color Dinosaur Silhouette Cake
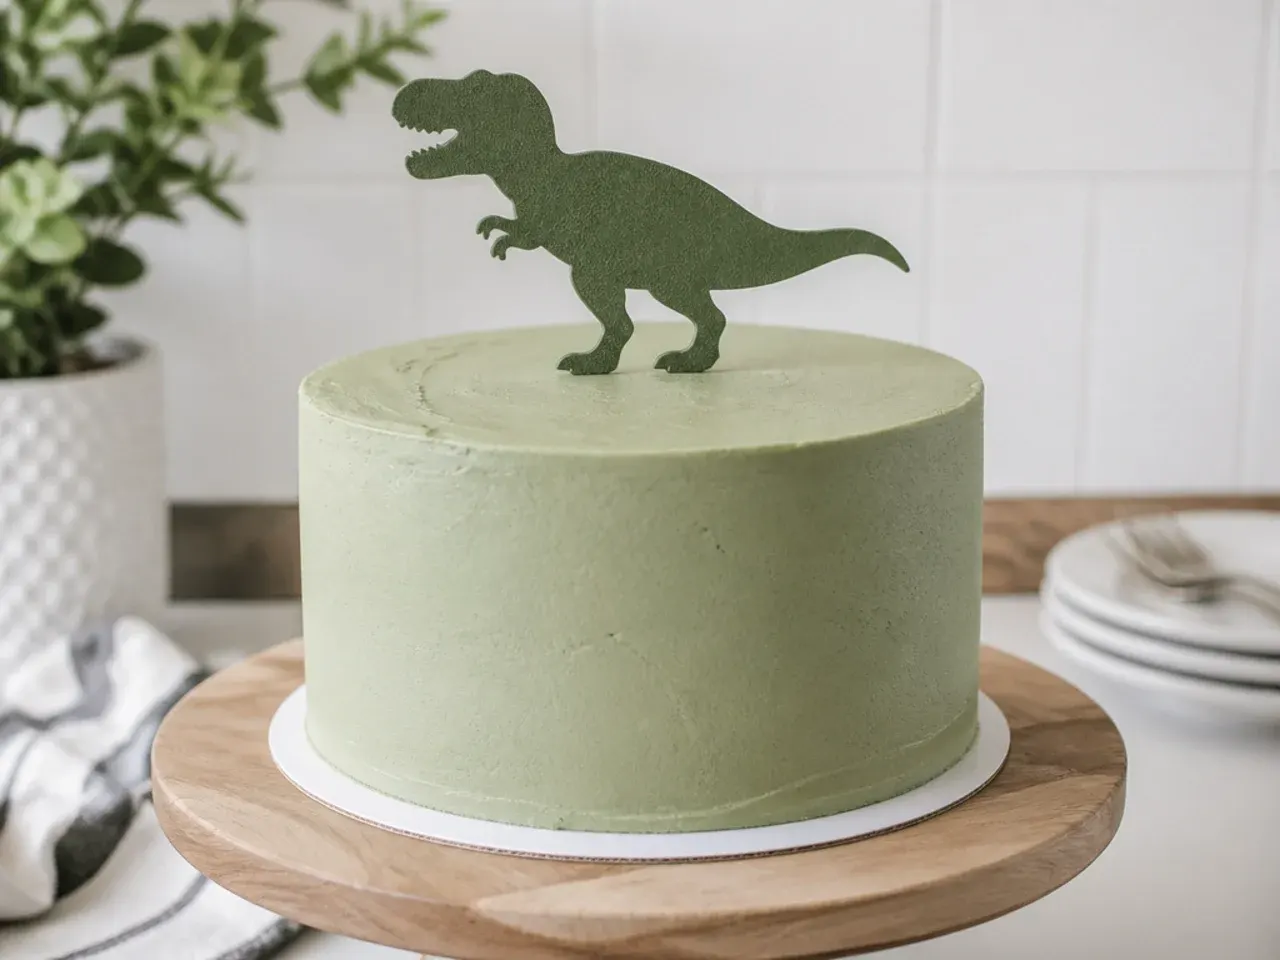
For a minimal simple dinosaur cake, keep the whole cake one clean color and add a single dinosaur silhouette on top. Frost the cake perfectly smooth in a soft sage or dusty-blue buttercream, then place one flat dino cutout as the only decoration. Cut the silhouette from rolled modeling chocolate or a piece of tempered chocolate using a dinosaur cookie cutter, or stand a slim acrylic dino topper into the center. It works because restraint looks deliberate and grown-up, and a single crisp shape draws the eye away from any tiny frosting flaws. Use a hot dry palette knife to glass-smooth the buttercream for that clean minimalist finish.
9. Festive Number Dinosaur Birthday Cake
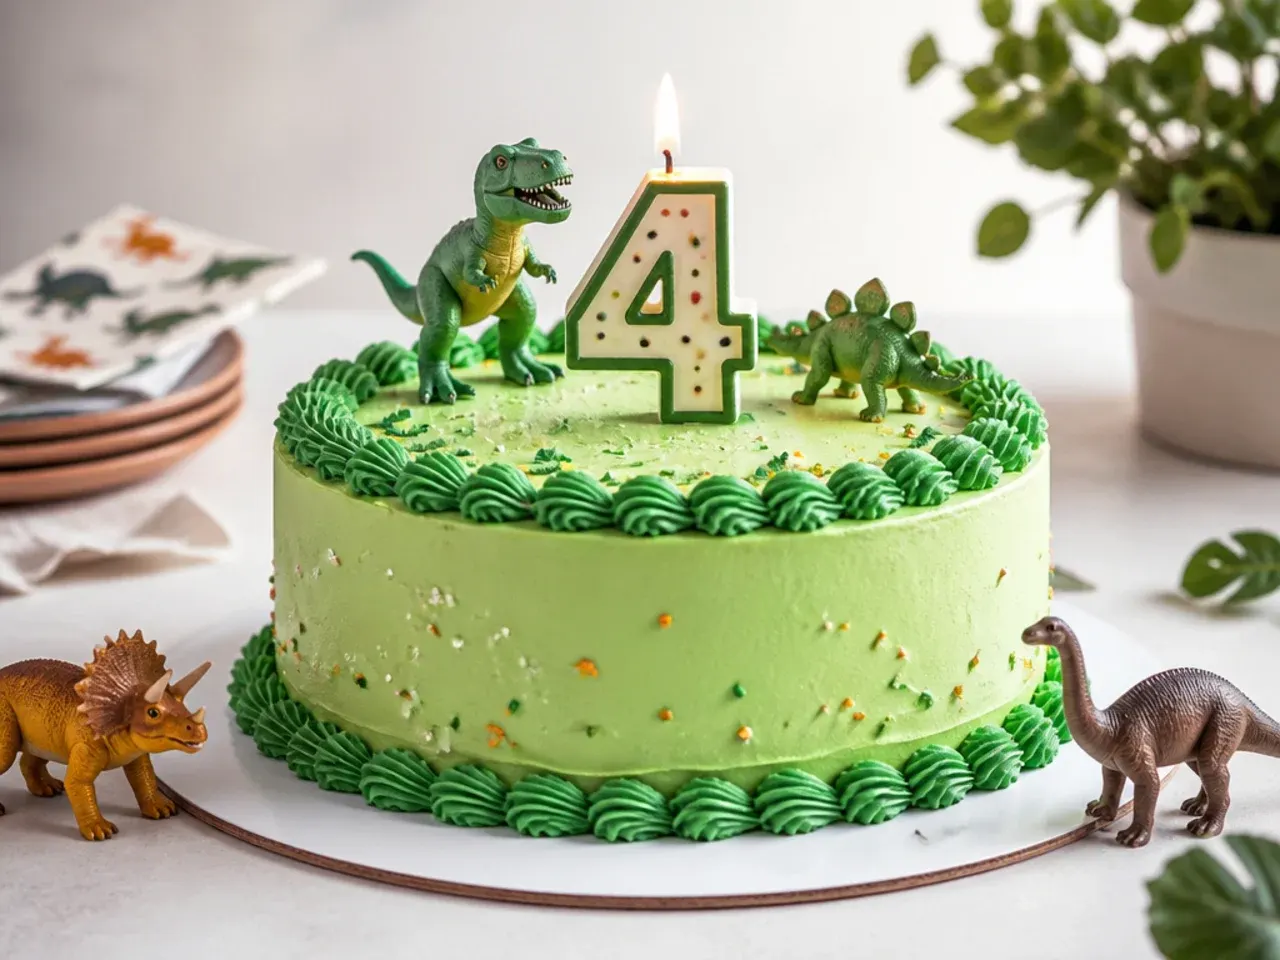
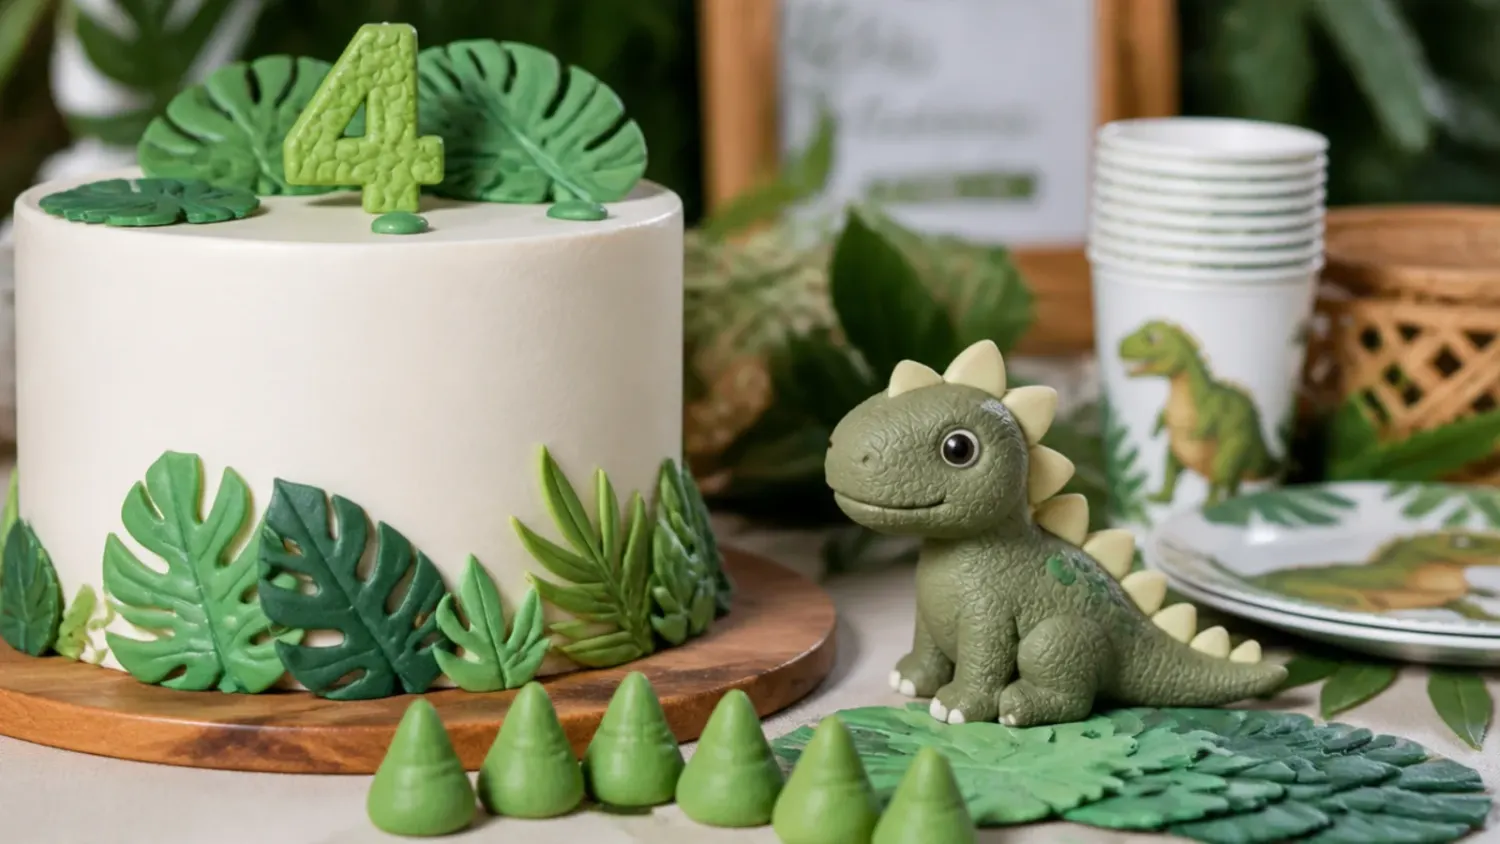
This festive simple dinosaur cake combines the birthday number with a dino theme for a party centerpiece. Frost a round cake in bright green, pipe a colorful buttercream border around the base with a Wilton 1M star tip, and top it with a big number candle or a chocolate number plaque surrounded by mini dino toys. Scatter green and yellow sprinkles and a few candy dino footprints across the top. It works because the number personalizes the cake instantly while the dinos and sprinkles keep it fun and celebratory. Pipe the 1M border in confident continuous swirls rather than stopping and starting, which keeps the rope even.
10. Whimsical Volcano Dinosaur Cake
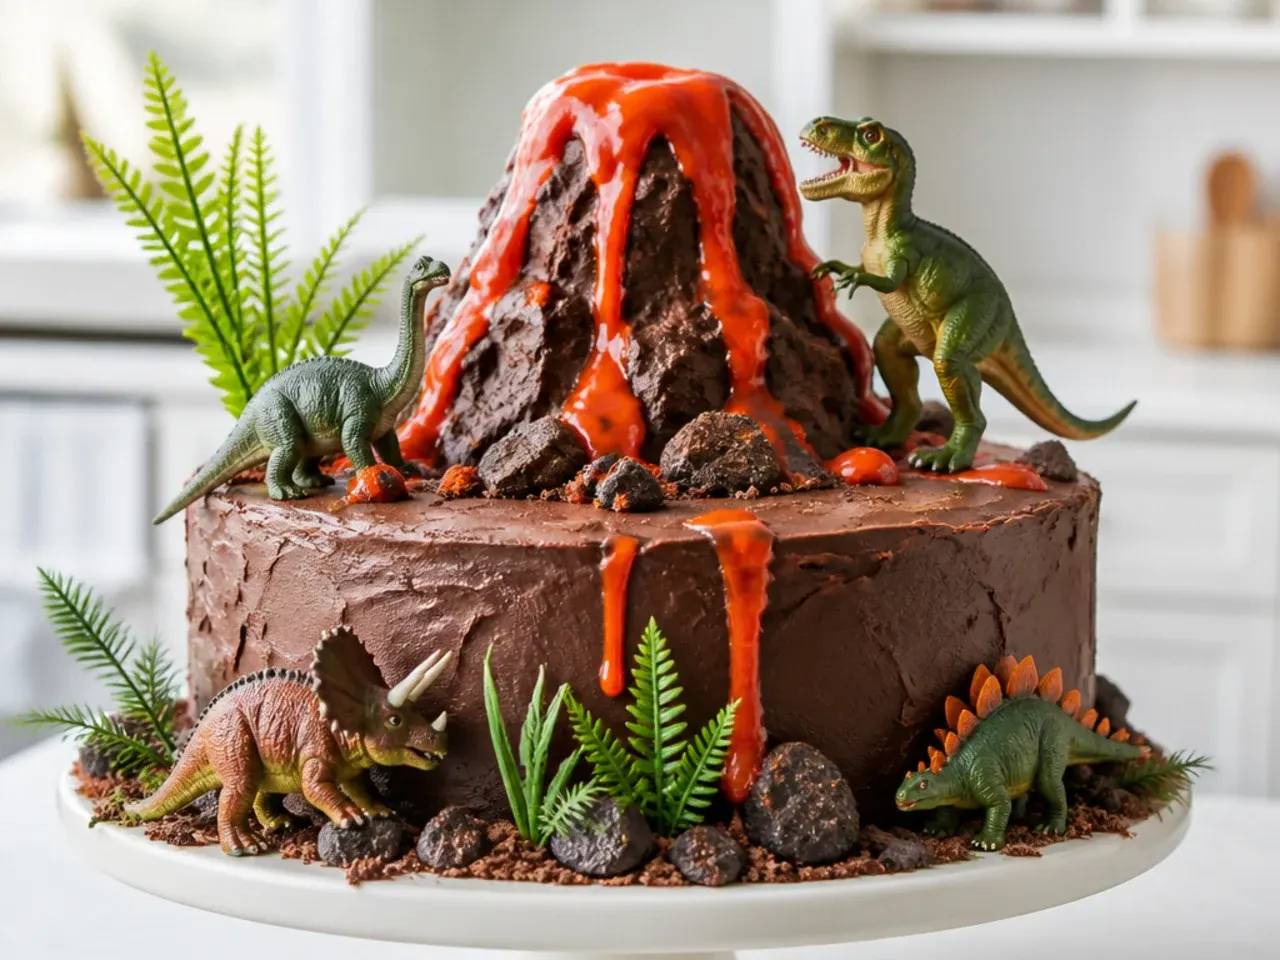
A whimsical simple dinosaur cake builds a small erupting volcano on top of a green base for high drama with low effort. Mound extra cake or a scoop of buttercream into a cone in the center, cover it in chocolate buttercream, and let red and orange candy melts or piping gel drip down as lava. Surround the volcano with green grass piping and a couple of toy dinos fleeing the eruption. It works because the volcano is just a cone shape, and the melted-candy lava does the eye-catching work for you. Warm the candy melts to a runny pour before drizzling so the lava flows in thin realistic ribbons rather than blobs.
Save this for later 📌
Pin this article to your Pinterest board so the full list is one tap away when you need it.
Save on Pinterest11. Bold T-Rex Head Cake with Fondant Teeth
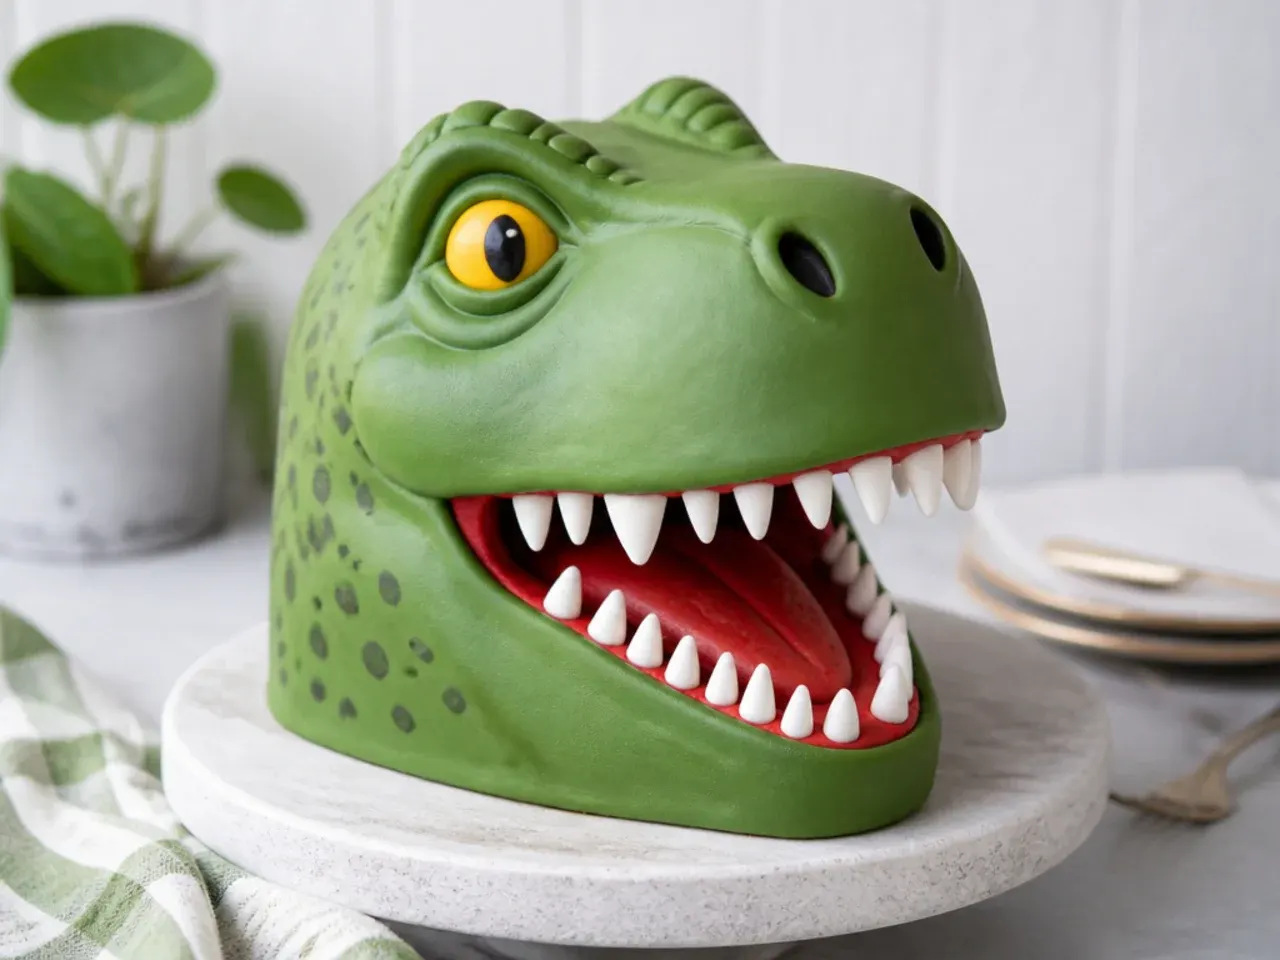
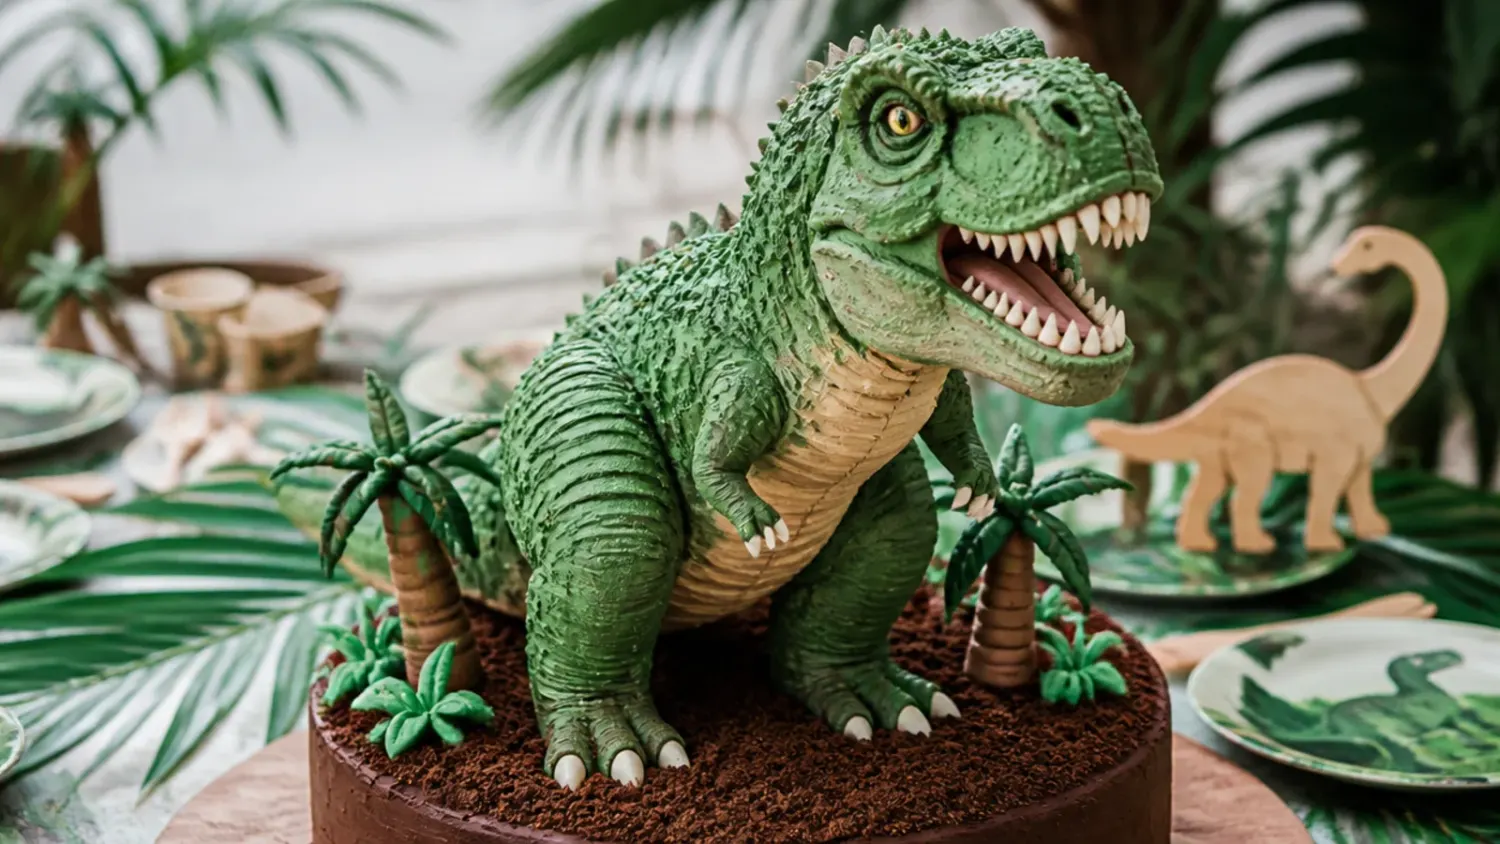
This bold simple dinosaur cake focuses on a single big T-Rex head for maximum impact. Carve a rounded snout shape from stacked rounds, frost it in bright green, and add a wide mouth line piped in dark chocolate buttercream. Press small triangles of white fondant or trimmed marshmallow along the mouth for teeth and add two large candy eyes above. It works because one oversized friendly monster face is more forgiving than a full body and instantly recognizable to kids. Roll the fondant teeth on a cornstarch-dusted surface and let them firm up for 20 minutes before pressing them in so they hold their shape.
12. Delicate Pastel Dinosaur Drip Cake
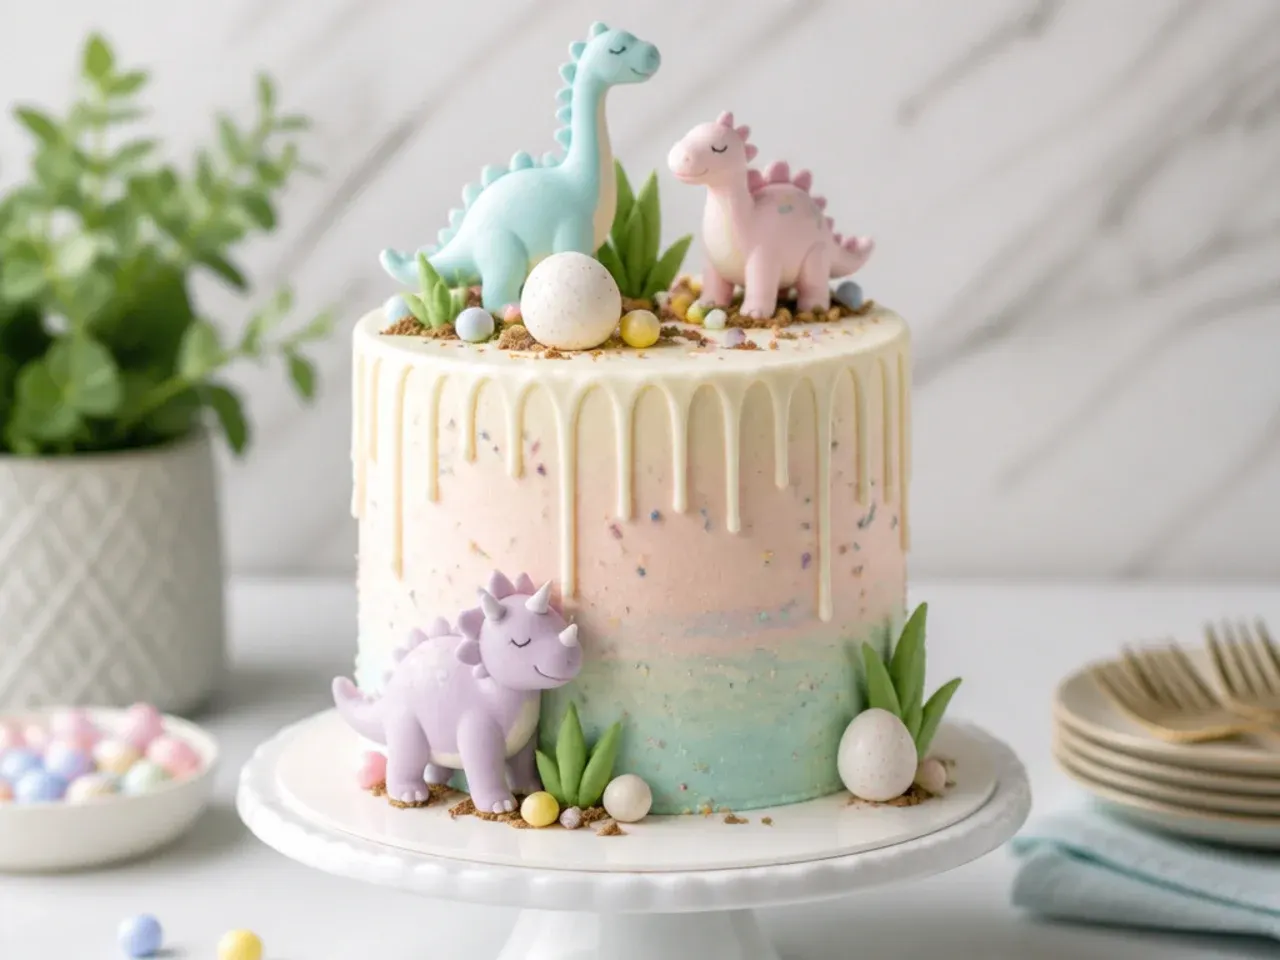
For a delicate simple dinosaur cake, pair soft pastel buttercream with a gentle white-chocolate drip and dainty dino accents. Frost the cake smooth in pastel mint or lilac, make a white-chocolate-and-cream drip, and let it fall down the sides in soft even points. Top with a few small pastel-painted fondant dinos, a scatter of tiny meringue kisses, and a dusting of edible glitter. It works because the muted palette and controlled drip feel refined rather than cartoonish, giving a baby-shower-friendly dino look. Test the drip warmth on the back of a spoon first; it should run slowly, and if it races down, let it cool for a minute or two.
13. Vintage Piped-Shell Dinosaur Cake
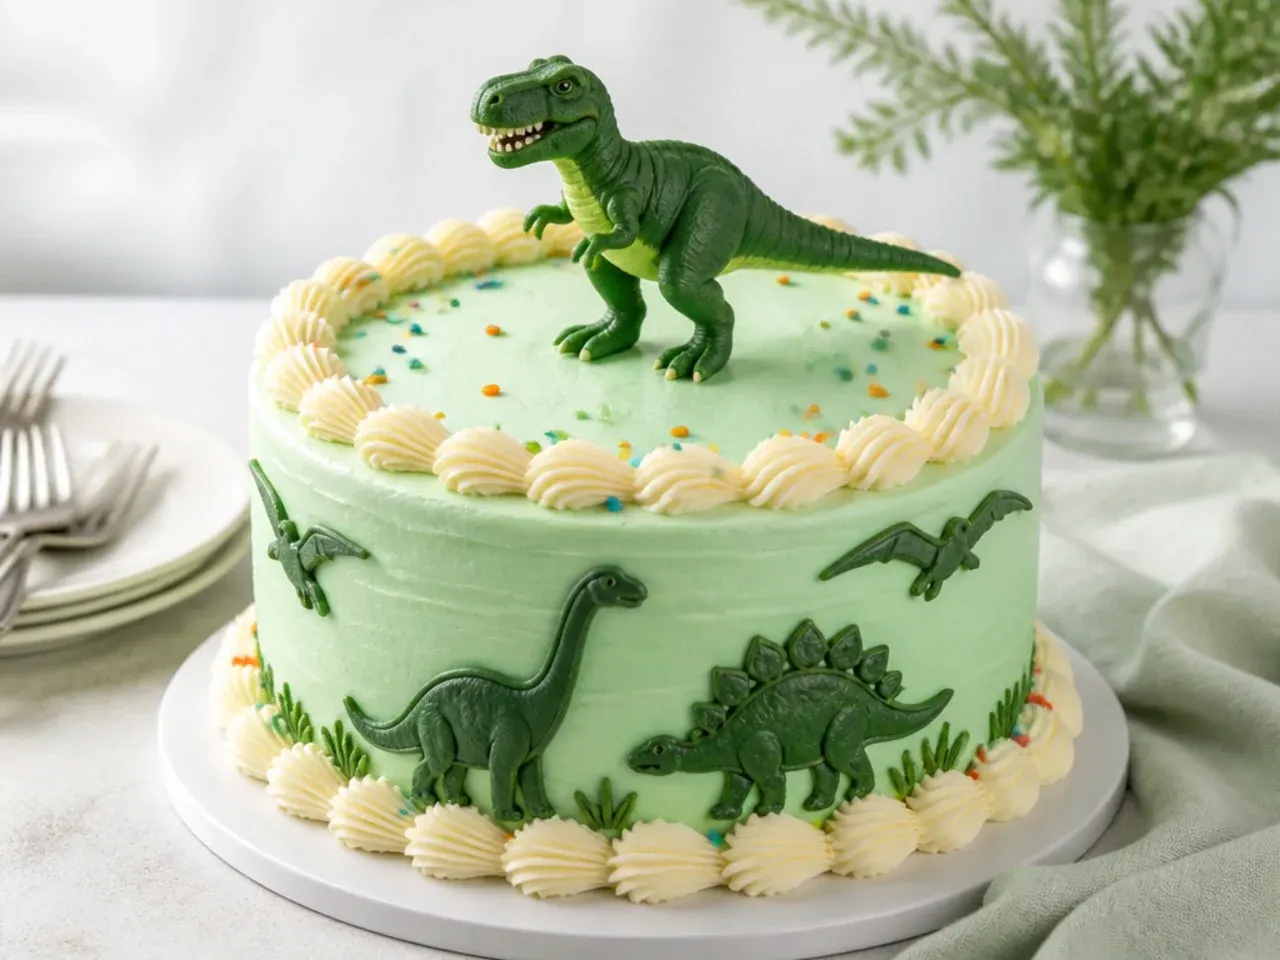
This vintage simple dinosaur cake borrows old-school piping borders to frame a dino topper in a retro style. Frost the cake in muted green, then pipe classic shell borders around the top and bottom edges with a Wilton 21 or 32 star tip for that heritage bakery look. Place a single sculpted or toy dinosaur in the center and pipe a name or age in cursive buttercream. It works because ornamental piped borders feel special yet are made from simple repeated shell motions any beginner can master with practice. Practice the shell motion (press, pull, ease off) on parchment a few times before piping on the cake.
15. Charming Mini Dinosaur Cupcake Herd
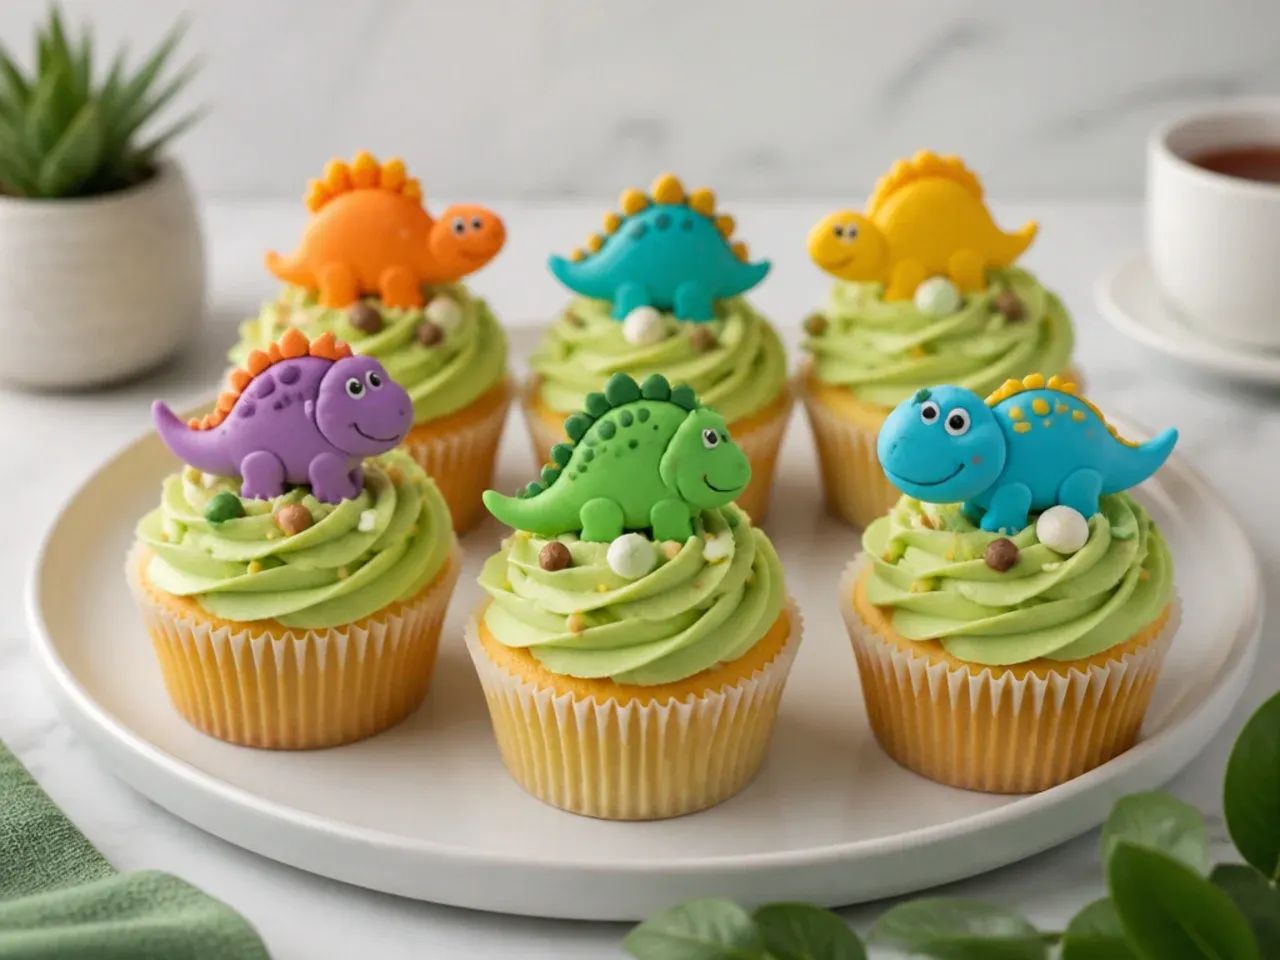
For a charming take on the simple dinosaur cake, make a herd of individual dino cupcakes that share the workload and scale easily for a class party. Bake the batter as cupcakes, swirl green buttercream on each with a Wilton 1M tip, and top each one with a mini fondant dino, a candy spike ridge, or a chocolate-chip spine. Arrange the cupcakes on a tiered stand so the herd looks like a scene. It works because small surfaces are quick to decorate and mistakes only affect one cupcake, not the whole cake. Fill the liners two-thirds full and bake at 180C (350F) for 18 to 20 minutes so the tops dome neatly for swirling.
Tips to Make These Ideas Easier
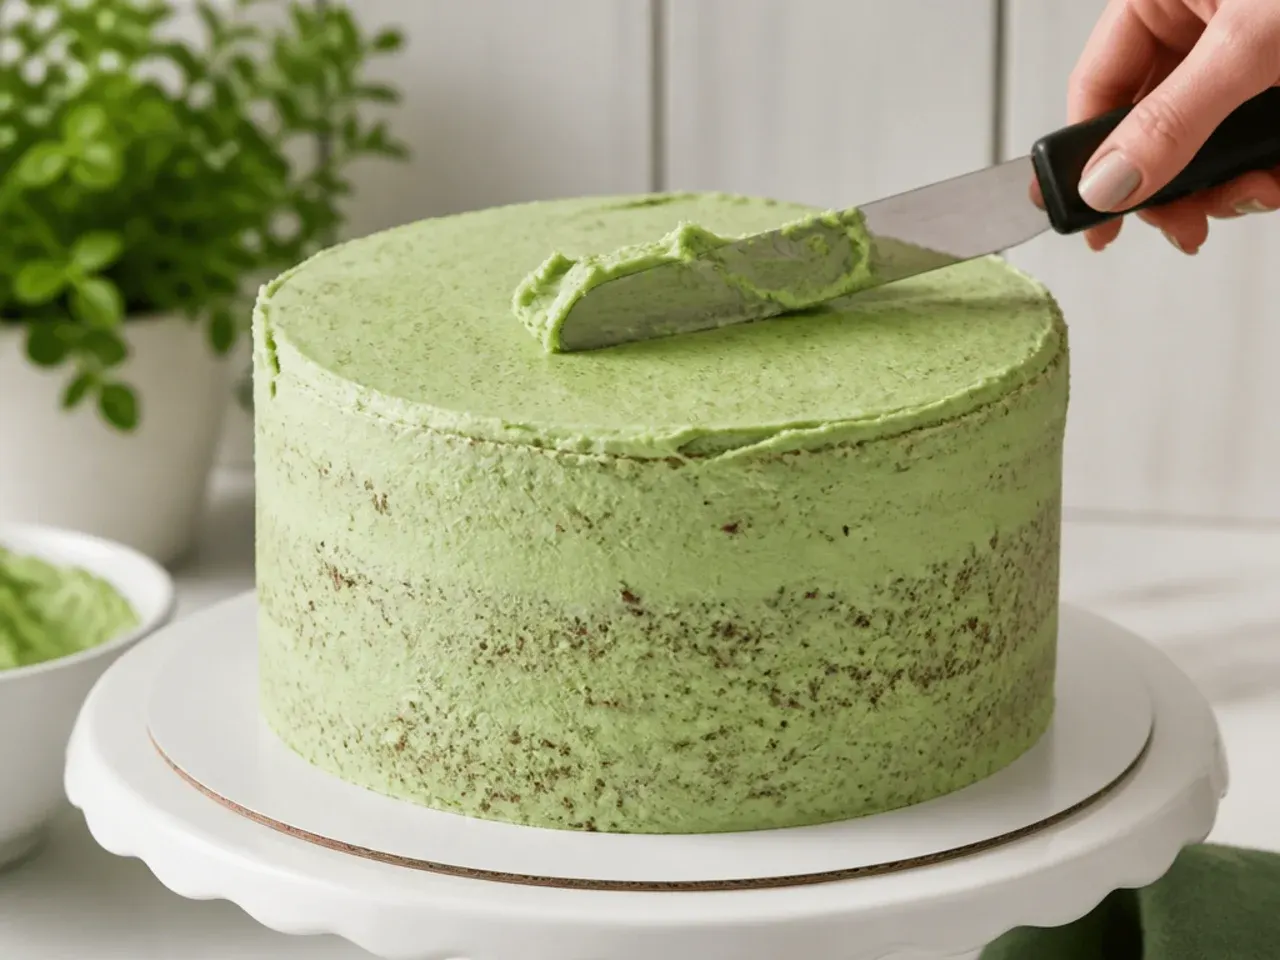
Bake and cool your layers a day ahead, wrap them tightly, and decorate the next day when the cake is firm and far easier to handle. Always apply a thin crumb coat first and chill it for 20 to 30 minutes before the final coat so no crumbs pull into your green buttercream. Tint frosting with gel color rather than liquid, adding it a little at a time, because gel gives deep dino greens without thinning the buttercream. Keep a mug of hot water nearby to warm your spatula and scraper for glass-smooth sides, and lean on candy, sprinkles, and clean toy dinos to carry the theme so your piping does not have to be flawless. If buttercream feels too soft to hold shape, chill it 10 minutes and re-whip; if it is too stiff, beat in a teaspoon of milk at a time.
Common Mistakes to Avoid
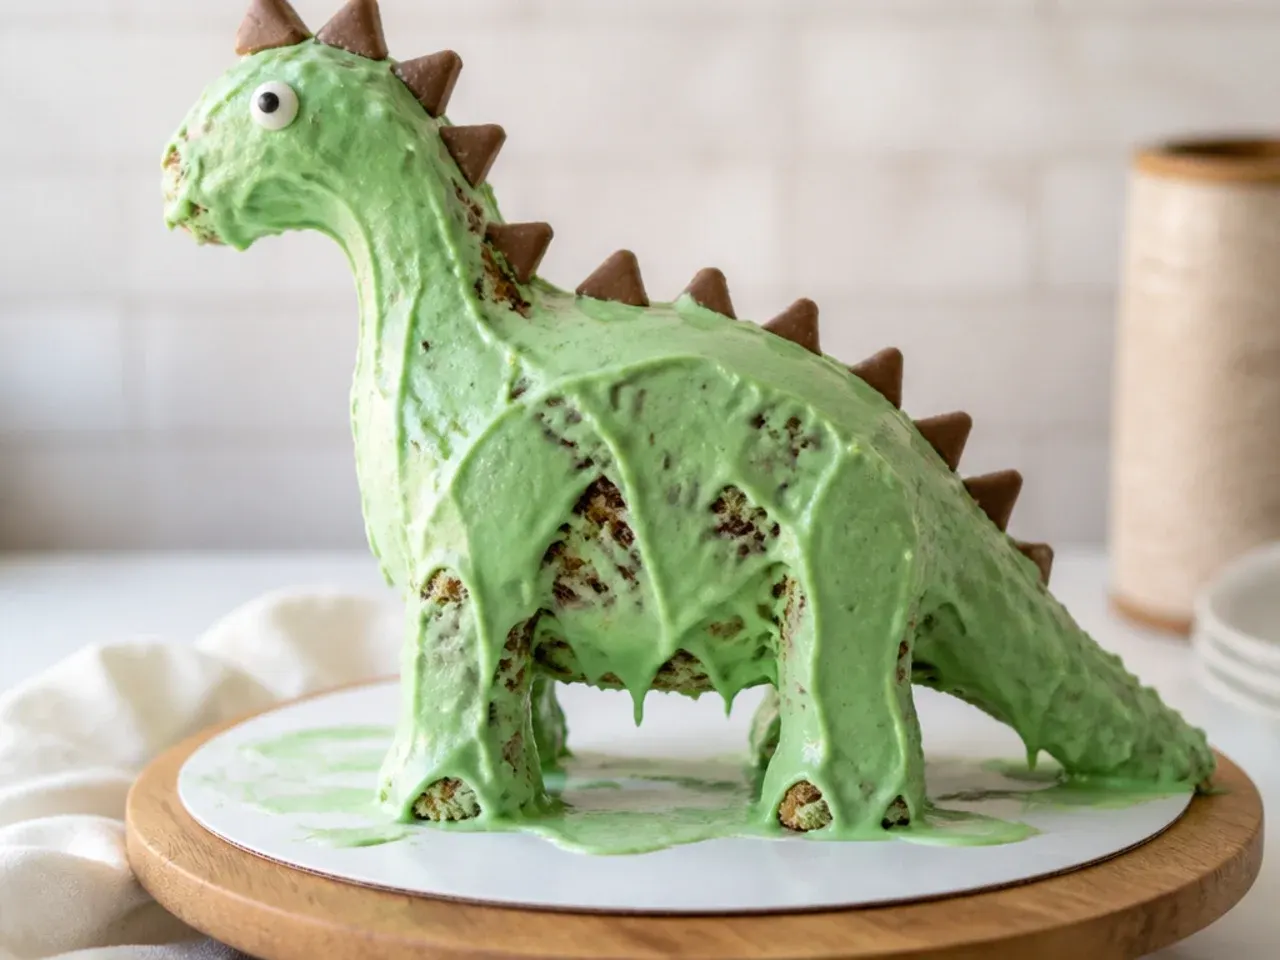
The biggest mistake is frosting a warm cake, which melts the buttercream into a sliding mess, so always cool layers completely and ideally chill them first. Skipping the crumb coat is the second, since crumbs streak through your final color and ruin a smooth dino finish. Do not over-color your buttercream by dumping in gel all at once, as too much color turns frosting bitter and loosens it; build the shade gradually. Avoid inserting heavy candy spikes or toy toppers into unchilled frosting, or they will droop and slide before the cake reaches the table. Finally, do not carve a fresh soft cake for shaped dino designs; freeze it for 30 minutes first so it cuts cleanly and holds its silhouette.
The Recipe
The Base Recipe — Make Any of These Ideas
30 min
30 min
2 hr (includes cooling)
12
Beginner
Ingredients 12 Person(s)
Directions
Step 1: Prep pans and oven
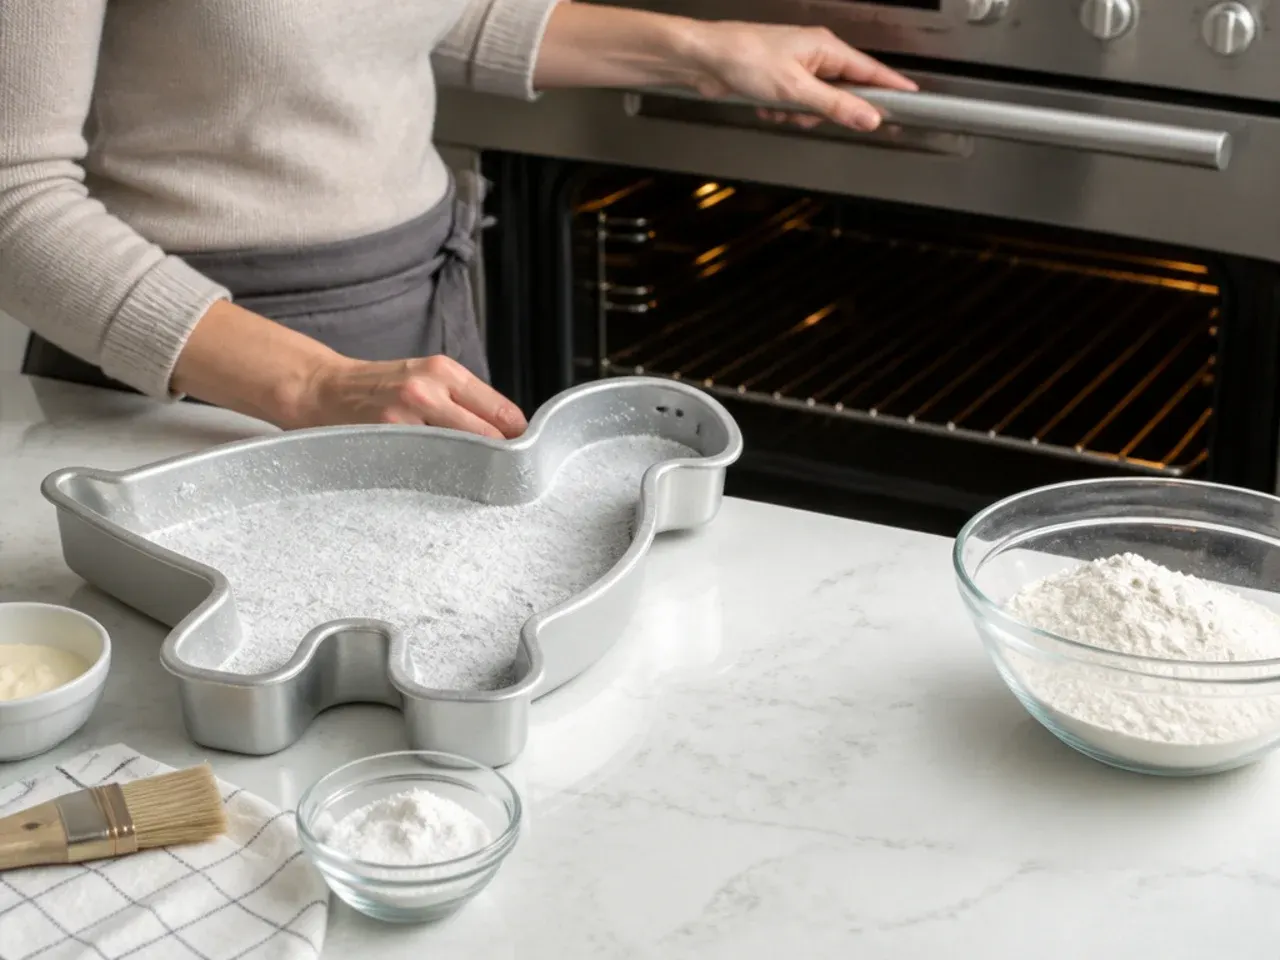
Preheat the oven to 180C (350F), or 160C fan. Grease two 20 cm (8-inch) round cake tins, line the bases with parchment, and lightly flour the sides. Getting the oven fully preheated matters so the cakes rise evenly.
Step 2: Cream butter and sugar
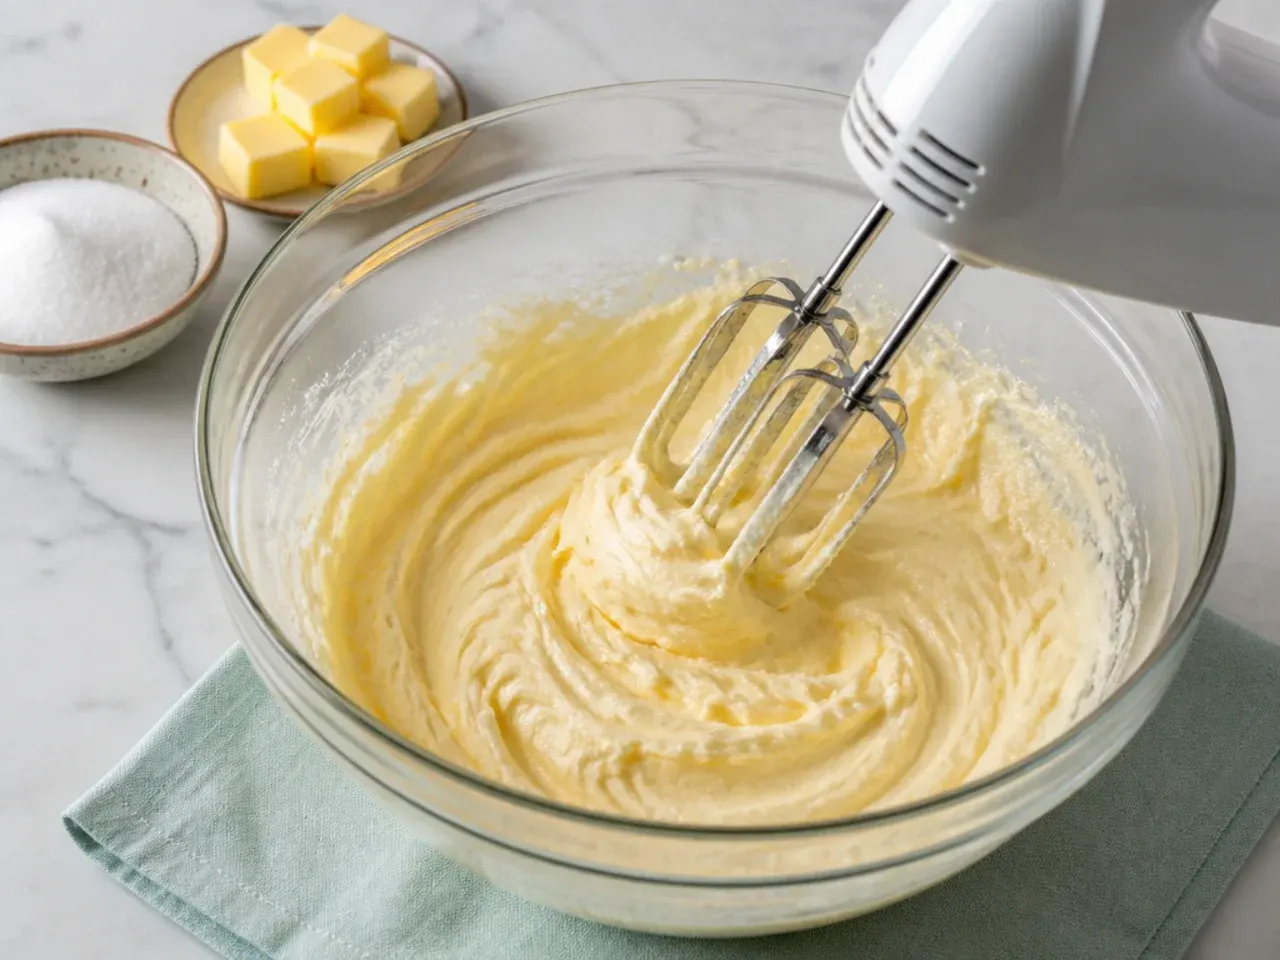
In a large bowl, beat the 175 g of softened cake butter with the caster sugar on medium-high for about 3 minutes until pale and fluffy. Keep the 200 g of buttercream butter aside at room temperature for later. Scrape down the bowl once so nothing sticks unmixed at the bottom.
Step 3: Add eggs and vanilla
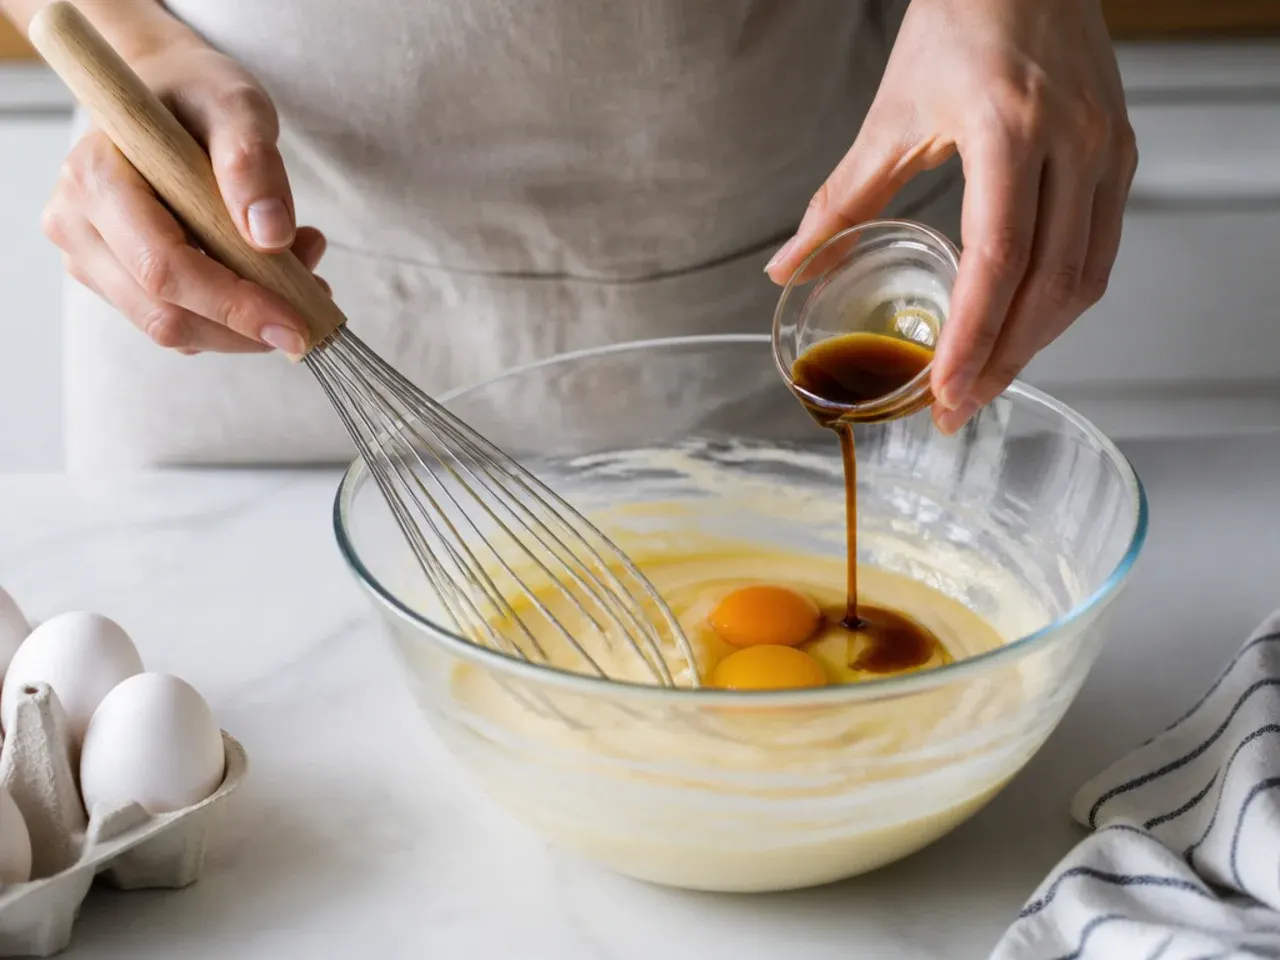
Add the eggs one at a time, beating well after each so the batter stays smooth, then beat in the vanilla and the tablespoon of oil. If the mixture looks slightly curdled, add a spoonful of the flour to bring it back together. The oil keeps the finished crumb tender and moist.
Step 4: Fold in flour and milk
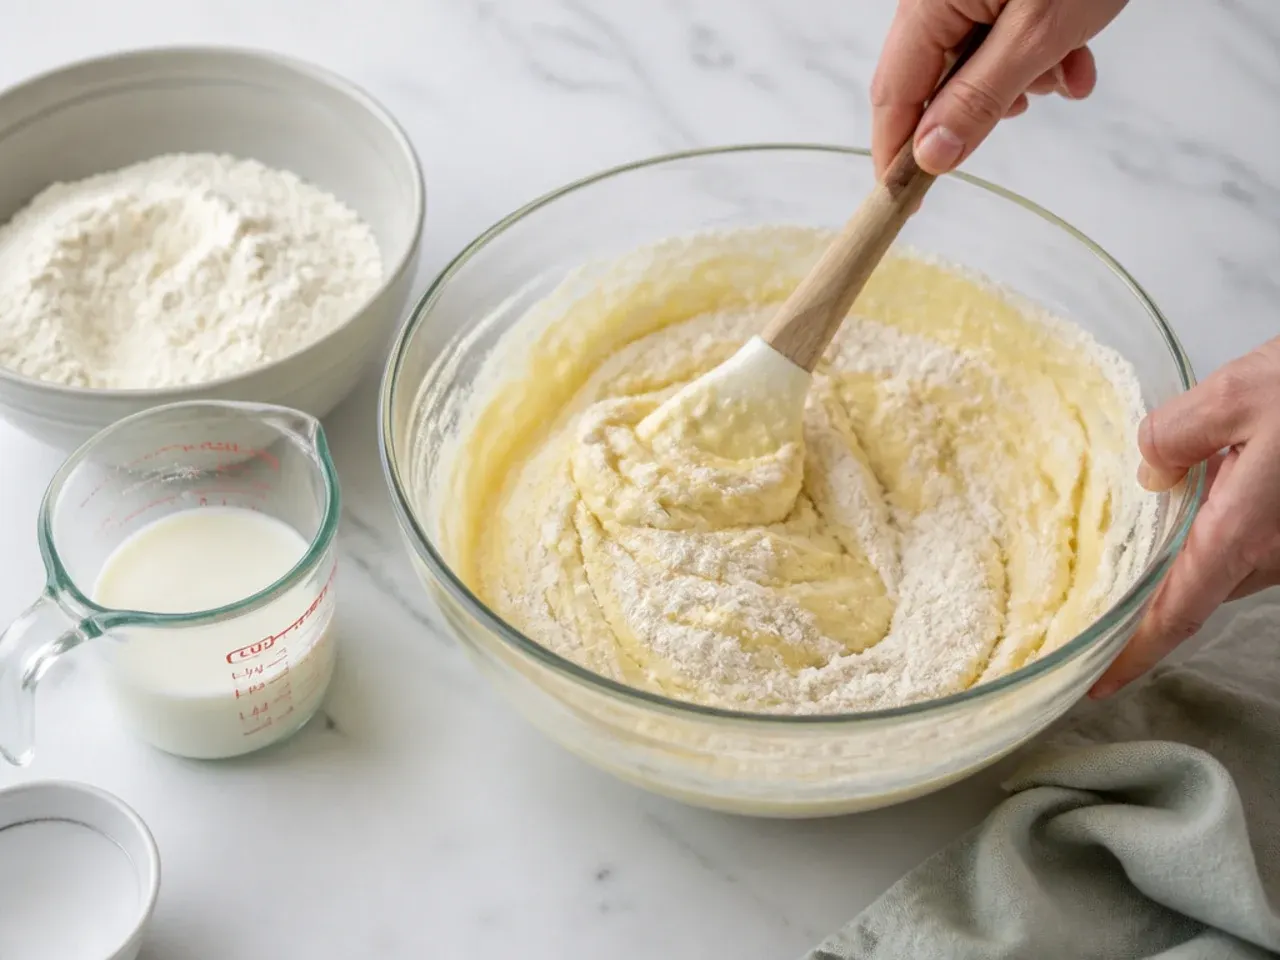
Whisk the flour, baking powder, and salt together in a separate bowl. Add the dry mix to the batter in three additions, alternating with the milk in two additions, beginning and ending with flour. Mix on low just until combined; overmixing now makes the cake tough.
Step 5: Bake the layers
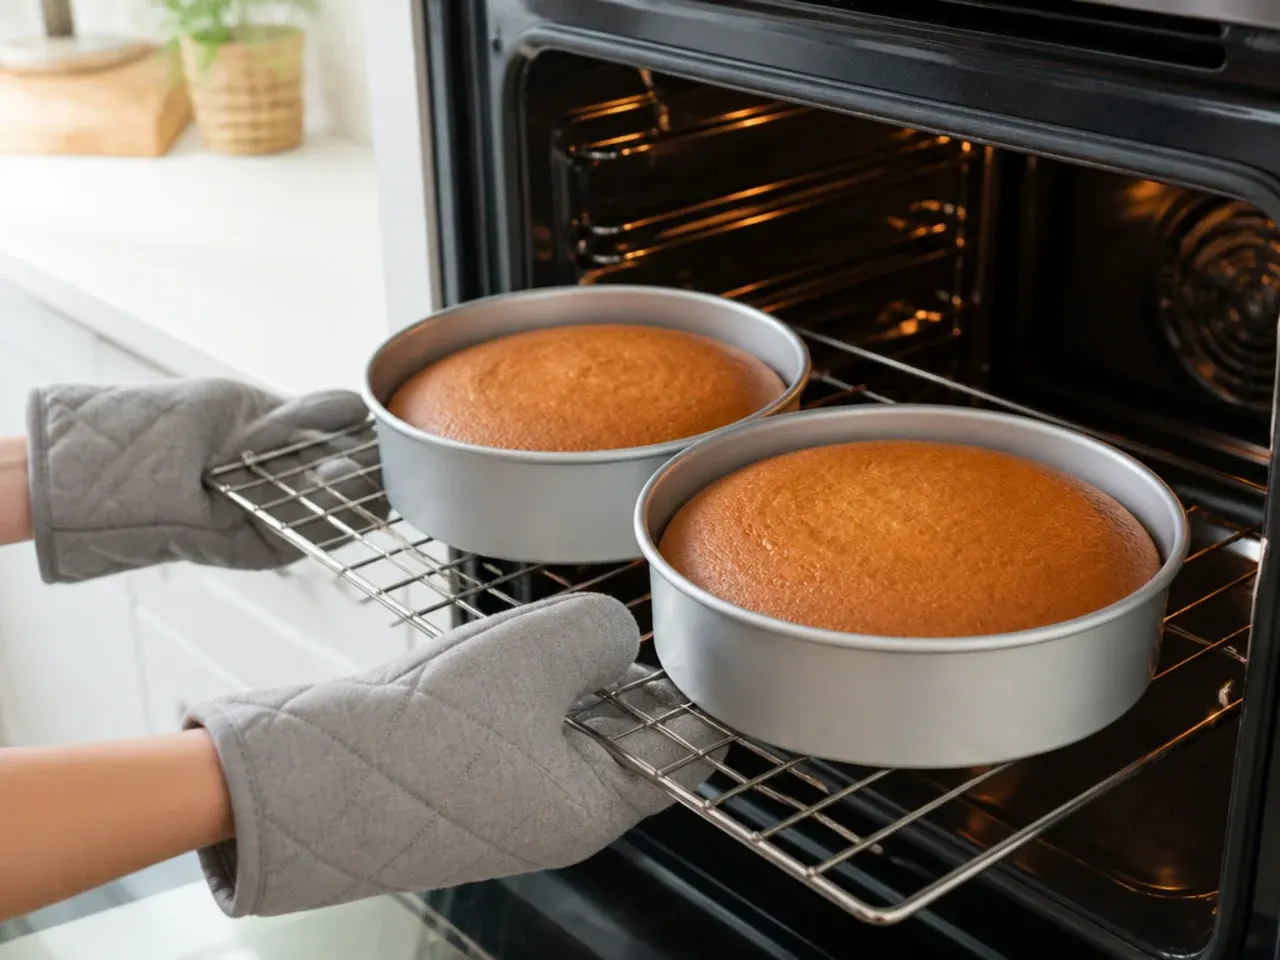
Divide the batter evenly between the two tins and smooth the tops. Bake at 180C (350F) for 28 to 32 minutes, until golden and a skewer inserted in the center comes out clean. Do not open the oven before 25 minutes or the cakes may sink.
Step 6: Cool completely
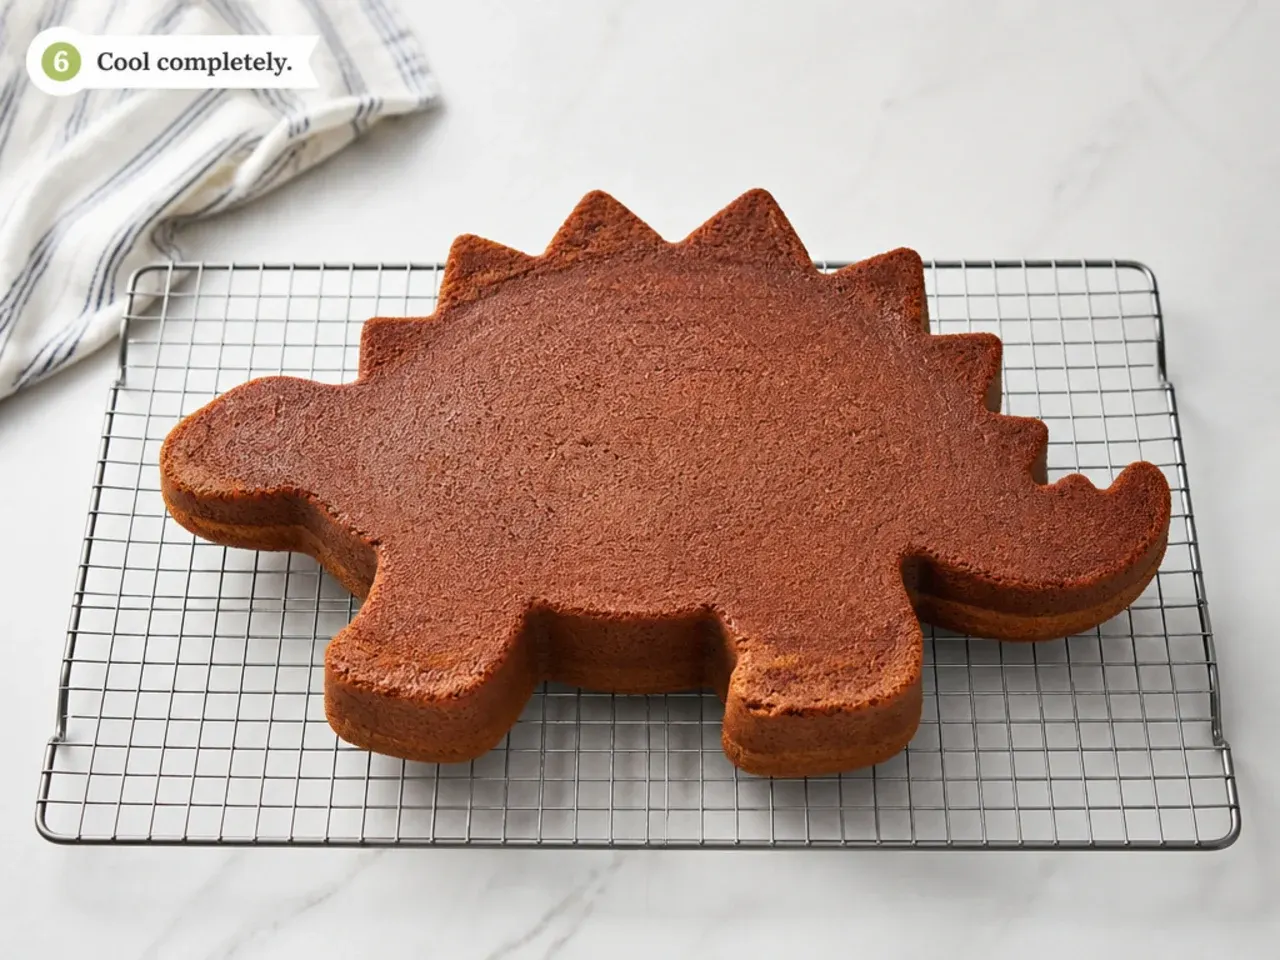
Cool the cakes in their tins for 15 minutes, then turn out onto a wire rack and cool fully, at least 1 hour. For easier decorating, wrap the cooled layers and chill for 30 minutes so they are firm. Never frost a warm cake or the buttercream will slide off.
Step 7: Make green buttercream and decorate
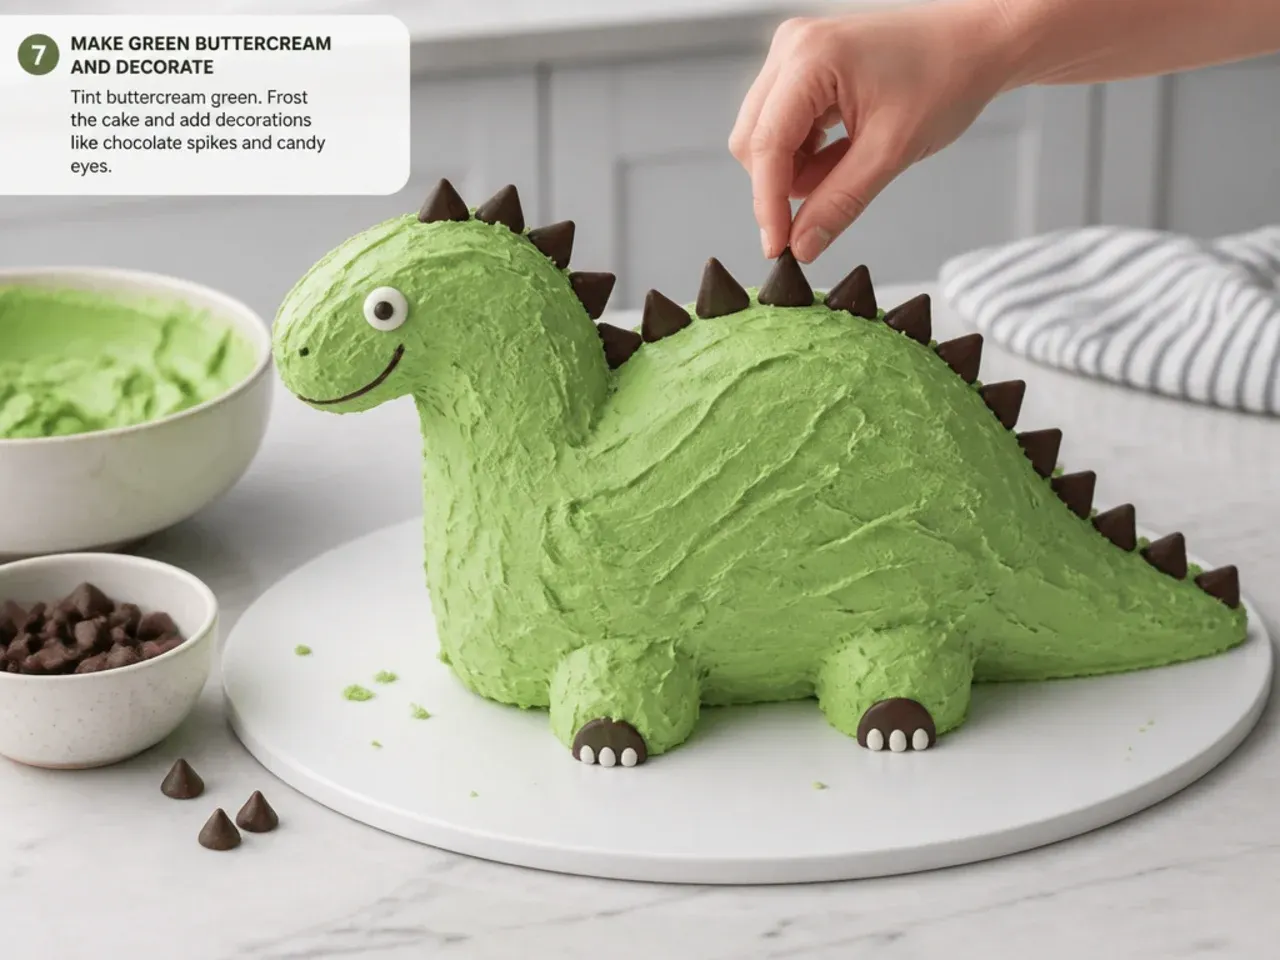
Beat the reserved 200 g softened butter until creamy, then add the icing sugar in batches with a splash of milk until light and spreadable, and mix in green gel color a little at a time to your desired dino shade. Stack the layers with buttercream between, apply a thin crumb coat, and chill 20 minutes. Add the final green coat and decorate using any idea above, chilling briefly before pressing in spikes, candy, or toppers.
Frequently Asked Questions
You can bake the layers up to 2 days ahead: cool them fully, double-wrap in plastic, and keep at room temperature, or freeze wrapped for up to 1 month. Buttercream can be made up to a week ahead and stored airtight in the fridge, then re-whipped before use. A fully decorated dinosaur cake is best eaten within 2 to 3 days, stored in an airtight container.
Save this for later 📌
Pin this article to your Pinterest board so the full list is one tap away when you need it.
Save on Pinterest