20 Creative Dinosaur Cake Topper Ideas
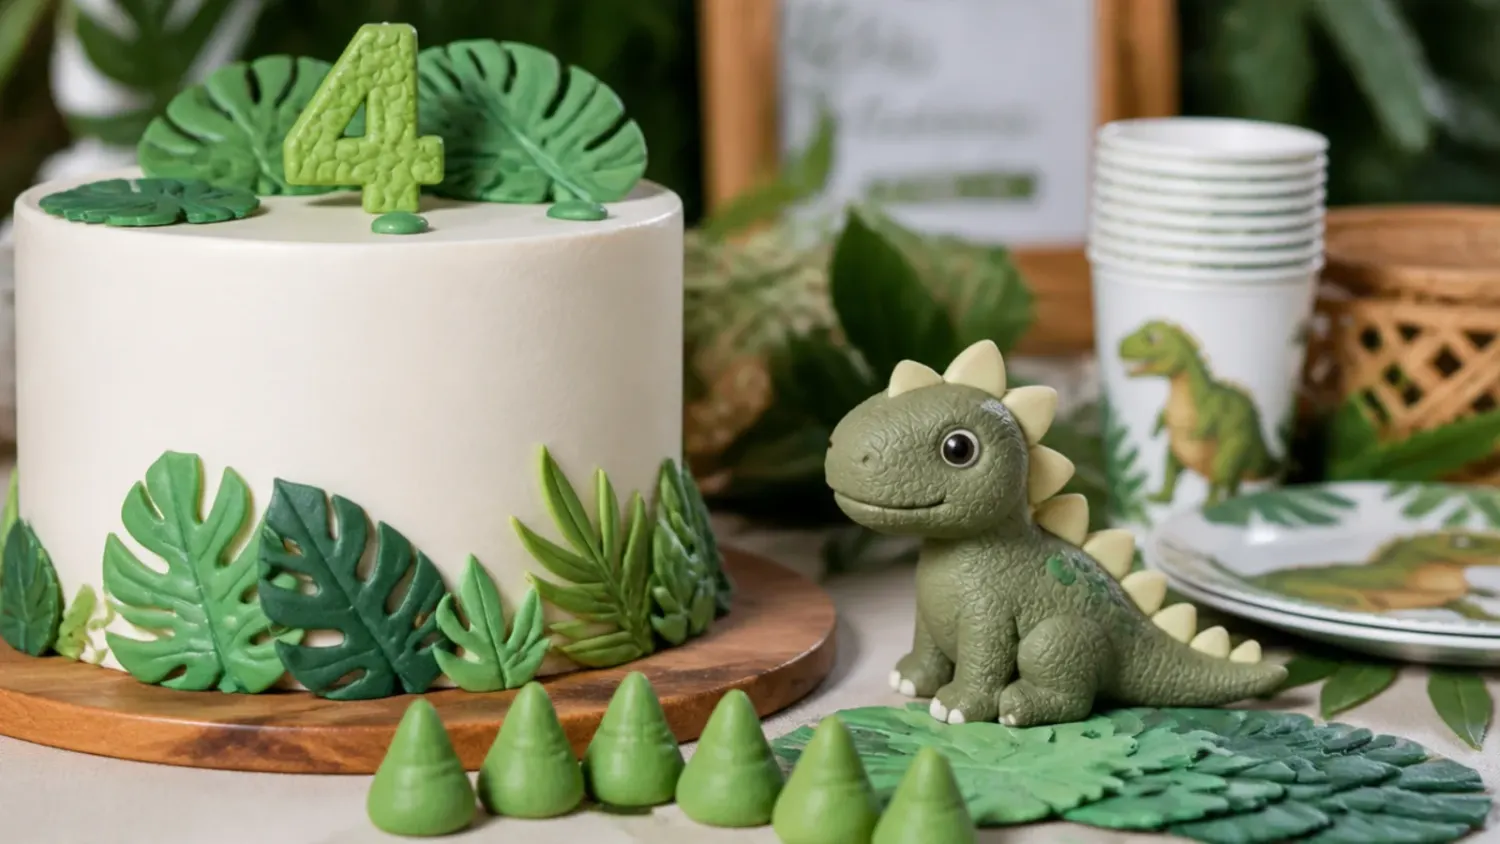
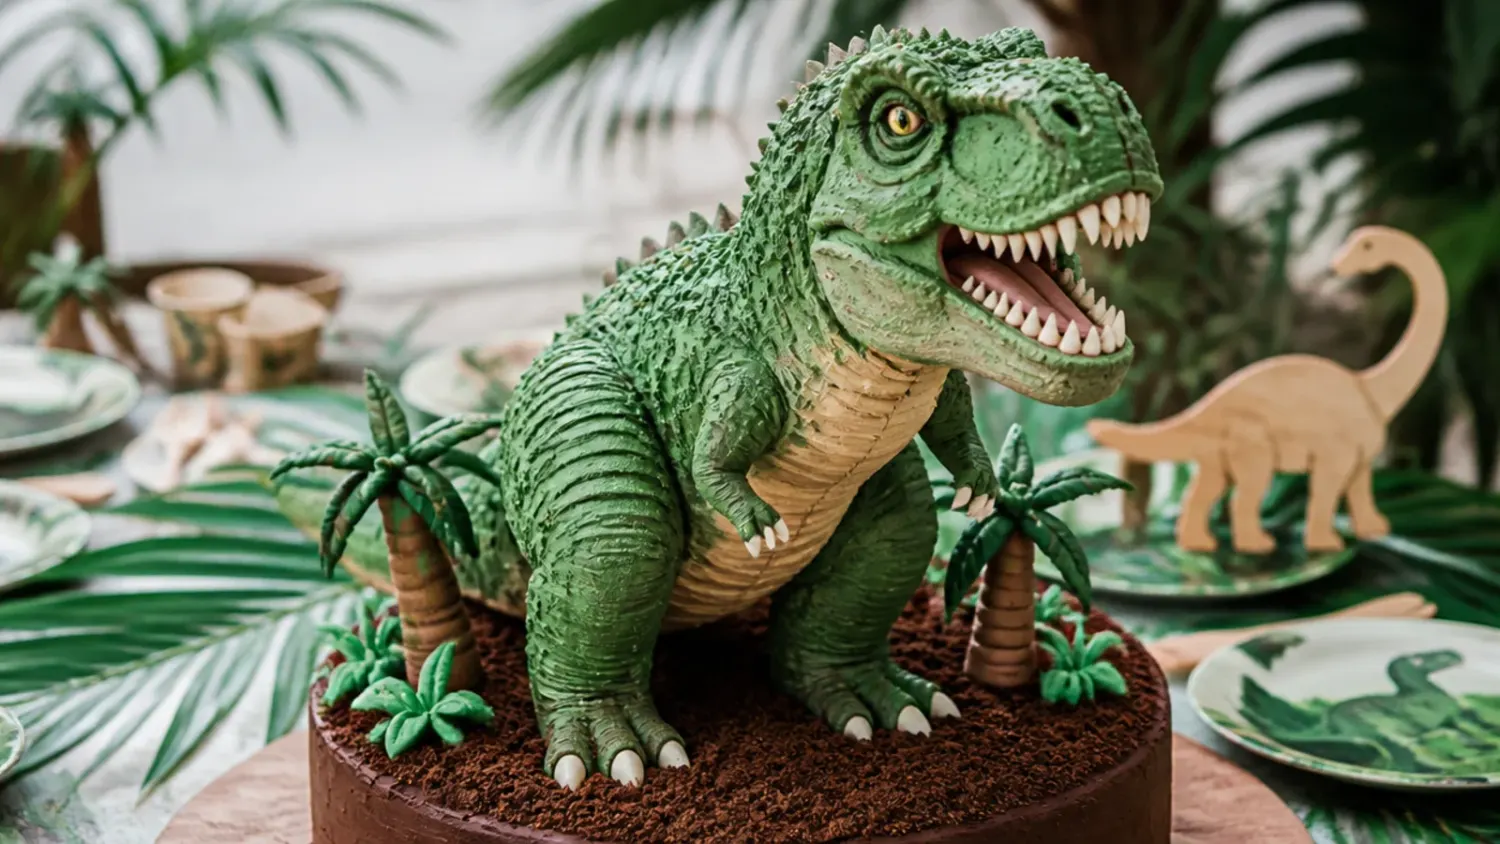
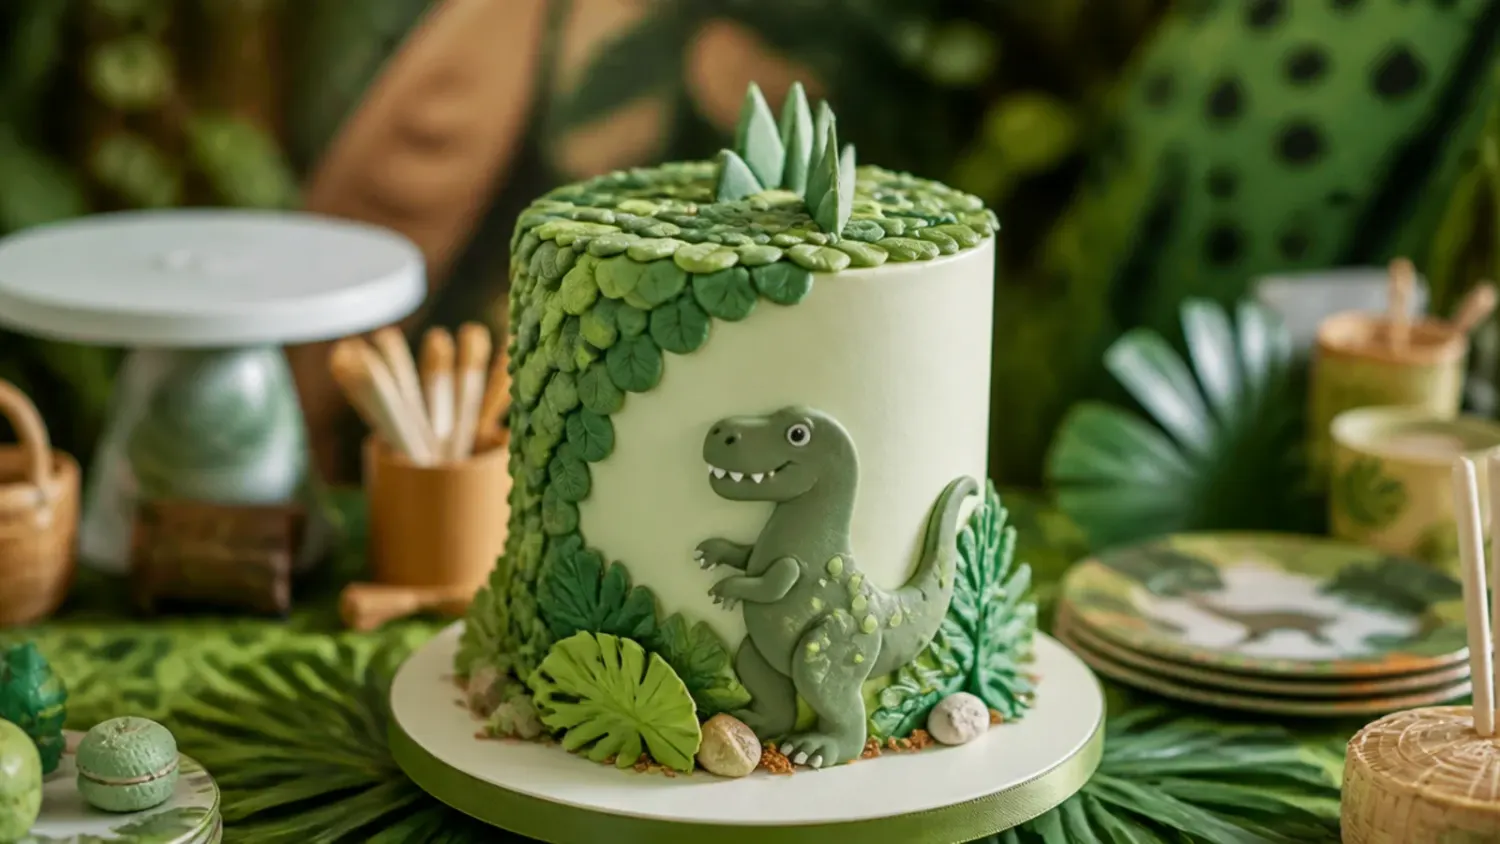
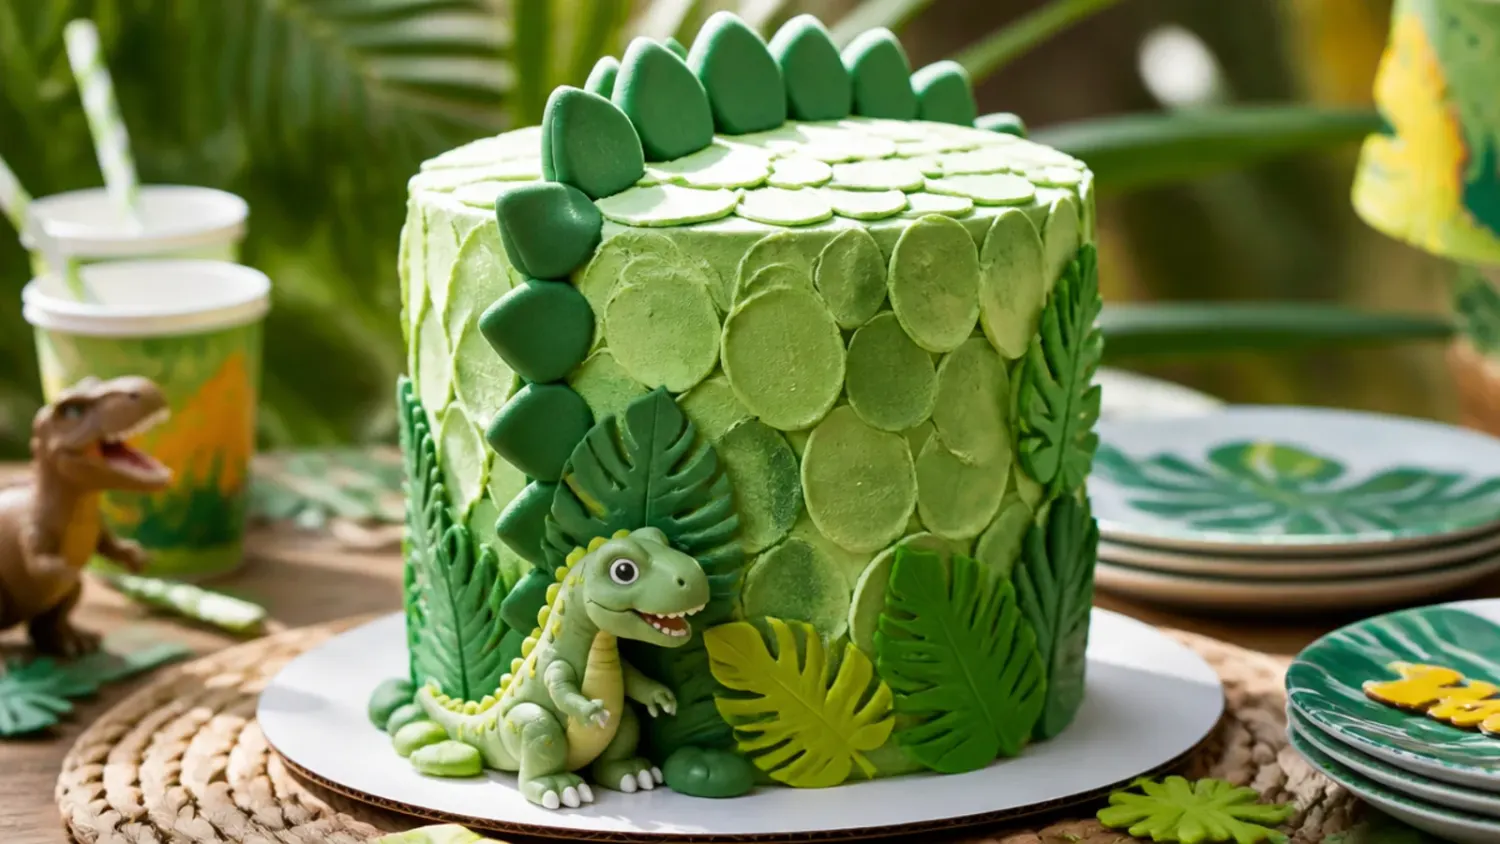
20 creative dinosaur cake topper ideas for any skill level, from washed figurines and fondant dinos to buttercream silhouettes and drip volcanoes. If you love dinosaur cake inspiration, start with our Dinosaur Cake Ideas collection, then browse the full Cake Ideas hub for more.
Save this for later 📌
Pin this article to your Pinterest board so the full list is one tap away when you need it.
Save on PinterestCake Ideas
Beginner
Ideas
20 ideas
Table of Contents
- 1. Classic Washed Figurine Dinosaur Cake Topper
- 2. Easy Printable Dinosaur Cake Topper on Sticks
- 3. Elegant Gold-Brushed Fondant Dinosaur Topper
- 4. Playful Buttercream Dinosaur Silhouette Topper
- 5. Modern Geometric Low-Poly Dinosaur Topper
- 6. Rustic Fossil Dig-Site Dinosaur Topper
- 7. Colorful Rainbow Herd Dinosaur Topper
- 8. Minimal Single Silhouette Dinosaur Topper
- 9. Festive Volcano Eruption Dinosaur Topper
- 10. Whimsical Hatching Egg Dinosaur Topper
- 11. Bold Chocolate Drip and Dino Topper
- 12. Delicate Meringue Dinosaur Topper
- 13. Vintage Naturalist Sketch Dinosaur Topper
- 14. Creative Cookie Stegosaurus Topper
- 15. Charming Footprint Trail Dinosaur Topper
- 16. Classic Spiky Sail-Back Dinosaur Topper
- 17. Easy Candy and Marshmallow Dinosaur Topper
- 18. Elegant Watercolor Dinosaur Silhouette Topper
- 19. Playful Dino Name Banner Topper
- 20. Modern Jungle Scene Dinosaur Topper
- Tips to Make These Ideas Easier
- Common Mistakes to Avoid
- The Base Recipe — Make Any of These Ideas
1. Classic Washed Figurine Dinosaur Cake Topper
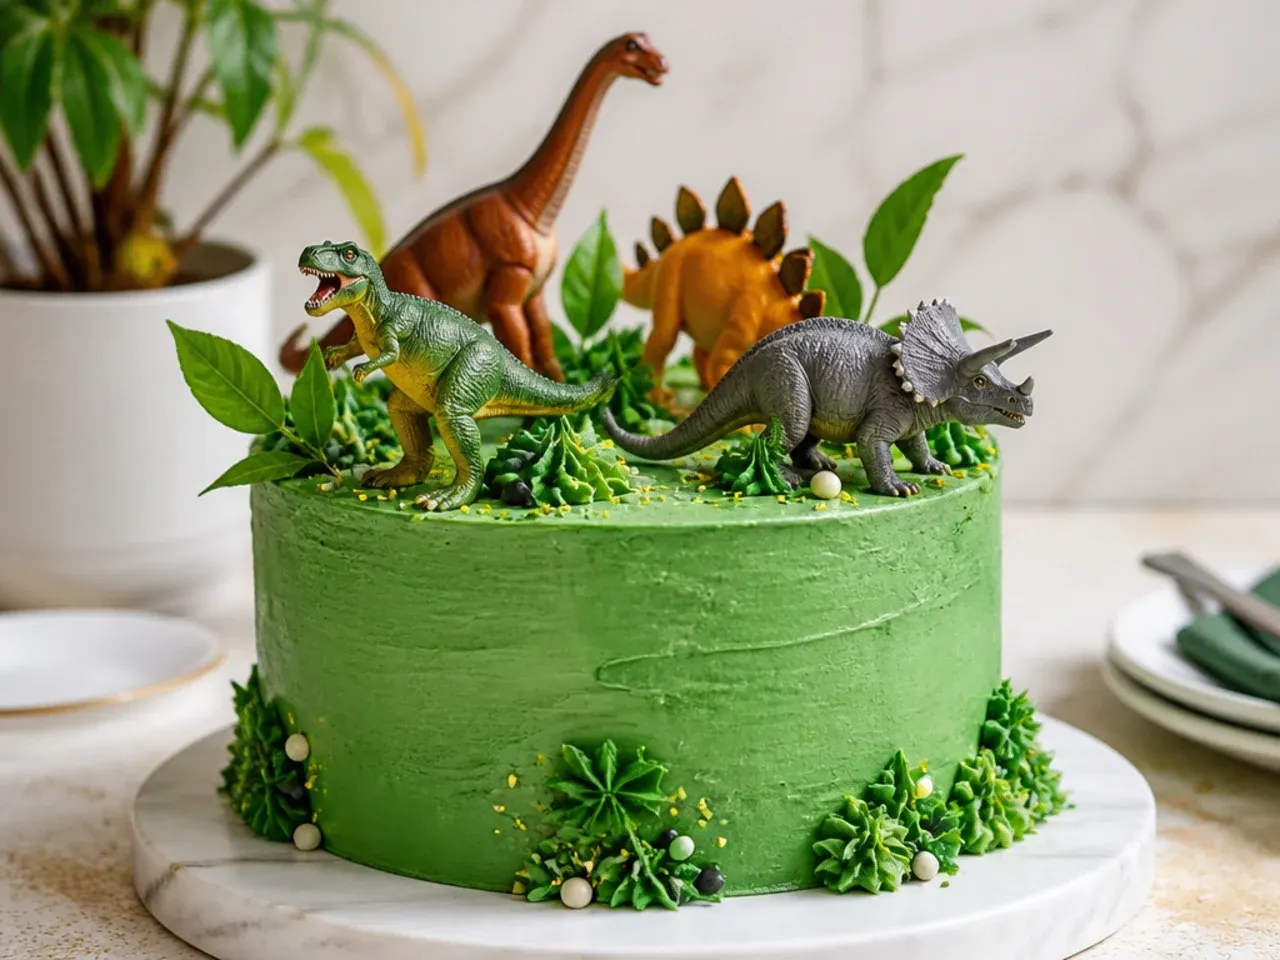
This is the fastest, most reliable dinosaur cake topper: a cluster of plastic toy dinosaurs pressed lightly into a green buttercream cake. Wash each figurine in warm water with mild dish soap, rinse well, and air dry completely so no residue touches the frosting. To keep the plastic off the food surface, wrap the feet in a tiny square of cling film or set each dino on a small fondant disc before pressing it in. Arrange three dinos in odd-numbered clusters at different heights on the top and tuck one peeking over the edge for a scene that reads as a landscape rather than a lineup.
2. Easy Printable Dinosaur Cake Topper on Sticks
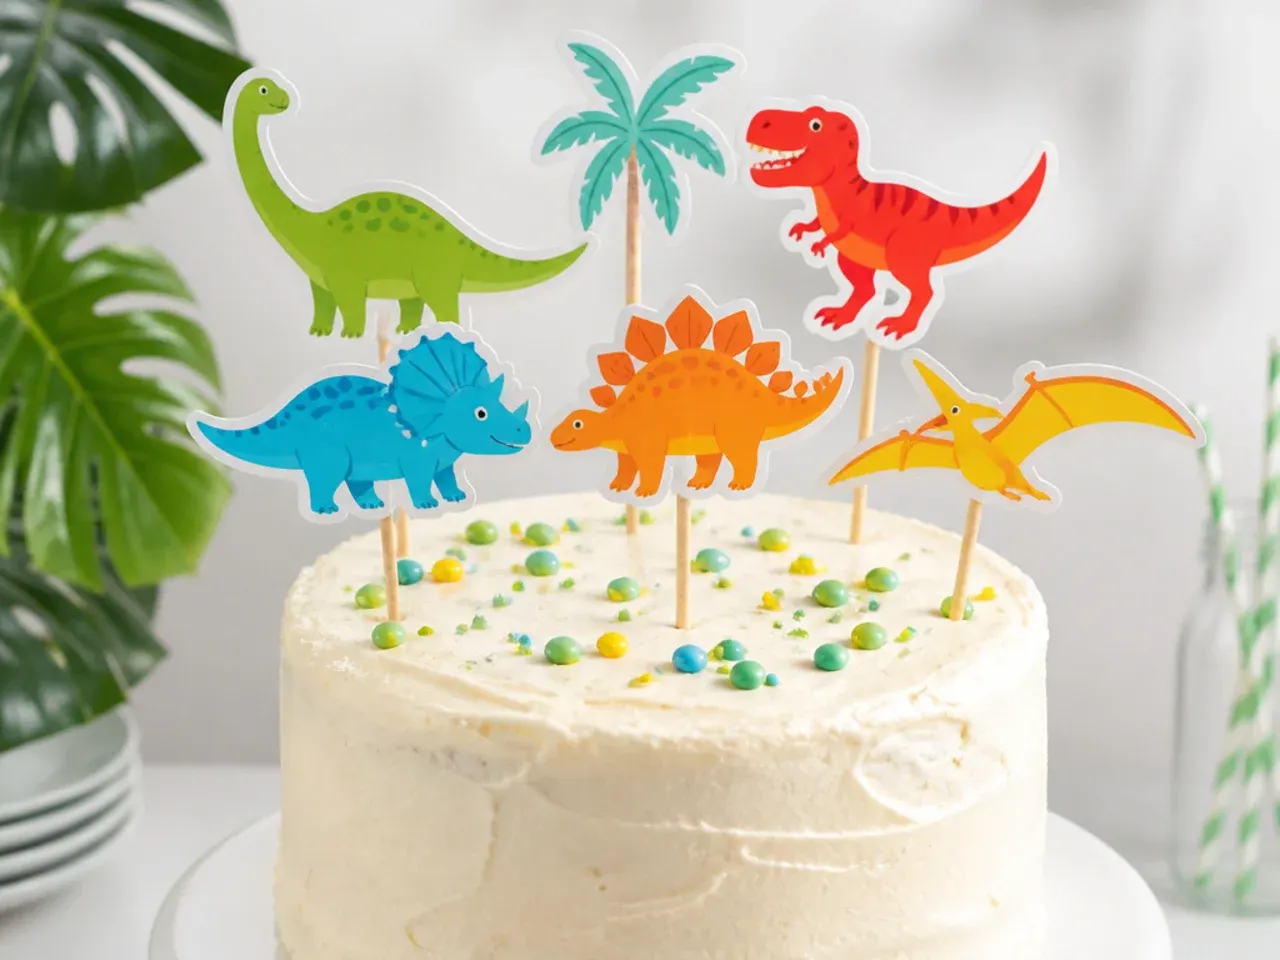
For a no-bake, no-skill topper, print a dinosaur silhouette (T-rex, stegosaurus, brontosaurus) at about 7 cm tall, cut it out, and glue it back-to-back onto a wooden skewer or lollipop stick so both sides show. Laminate the paper or cover it with clear contact paper so it stays crisp if it touches the buttercream. Push the sticks into the cake at slightly different angles and depths to create a mini herd. This costs almost nothing, works on any flavor cake, and lets you match your exact party color palette by printing the dinos in coordinating shades.
3. Elegant Gold-Brushed Fondant Dinosaur Topper
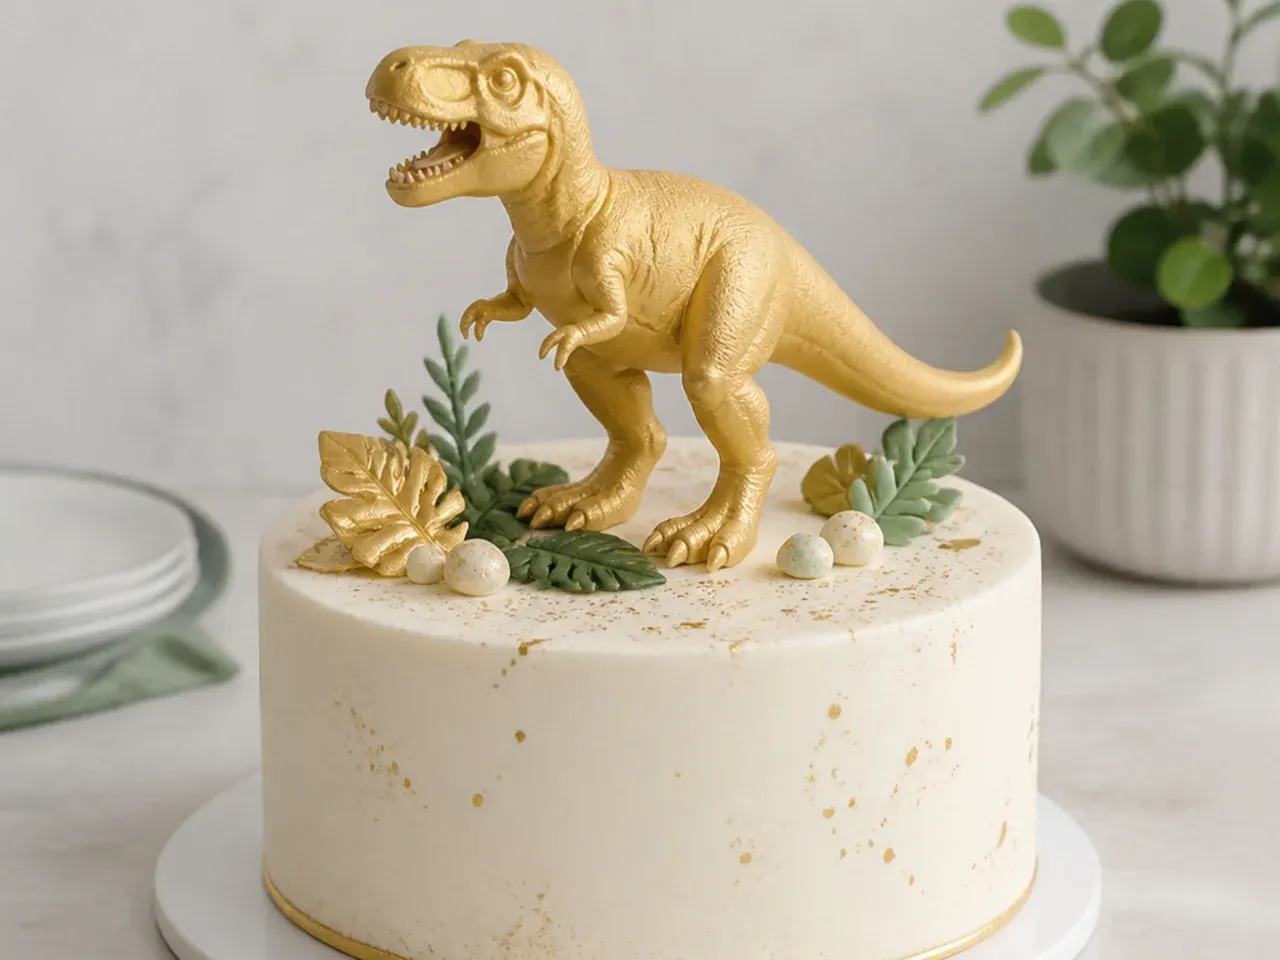
A single hand-modeled fondant dinosaur brushed with edible gold reads as elegant rather than childish, perfect for a grown-up or gender-neutral dino cake. Model a simple brontosaurus body from about 40 g of fondant, let it firm up overnight on a foam pad so it holds its shape, then dry-dust the back and tail with edible gold luster dust using a soft brush. Set it on a smooth ivory or sage buttercream cake with a few gold leaf flecks. Because you make the dino at least 24 hours ahead, it stays rigid and won't slump when it sits on the frosting.
4. Playful Buttercream Dinosaur Silhouette Topper
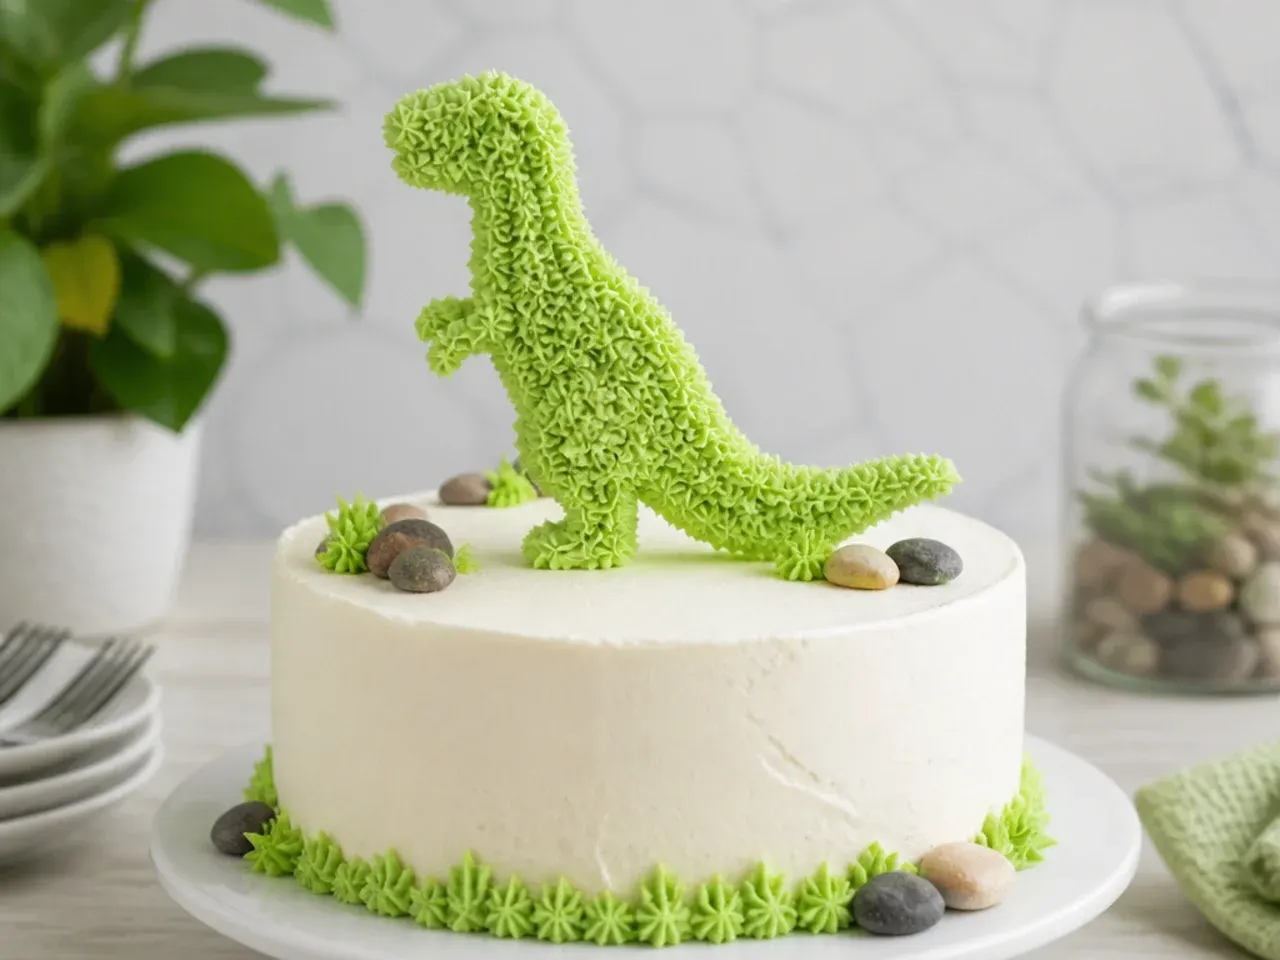
Pipe a flat dinosaur silhouette directly onto the cake with a small round tip (Wilton #3 or #4) so the topper is fully edible and needs no fondant. Print a stegosaurus outline, trace it into the crumb coat with a toothpick, then flood the shape with green buttercream and smooth it with a small offset spatula. Pipe the back plates and eye in a contrasting color once the base sets for 10 minutes in the fridge. This is a great beginner technique because any wobble in the outline just looks like a friendly, cartoon dino.
5. Modern Geometric Low-Poly Dinosaur Topper
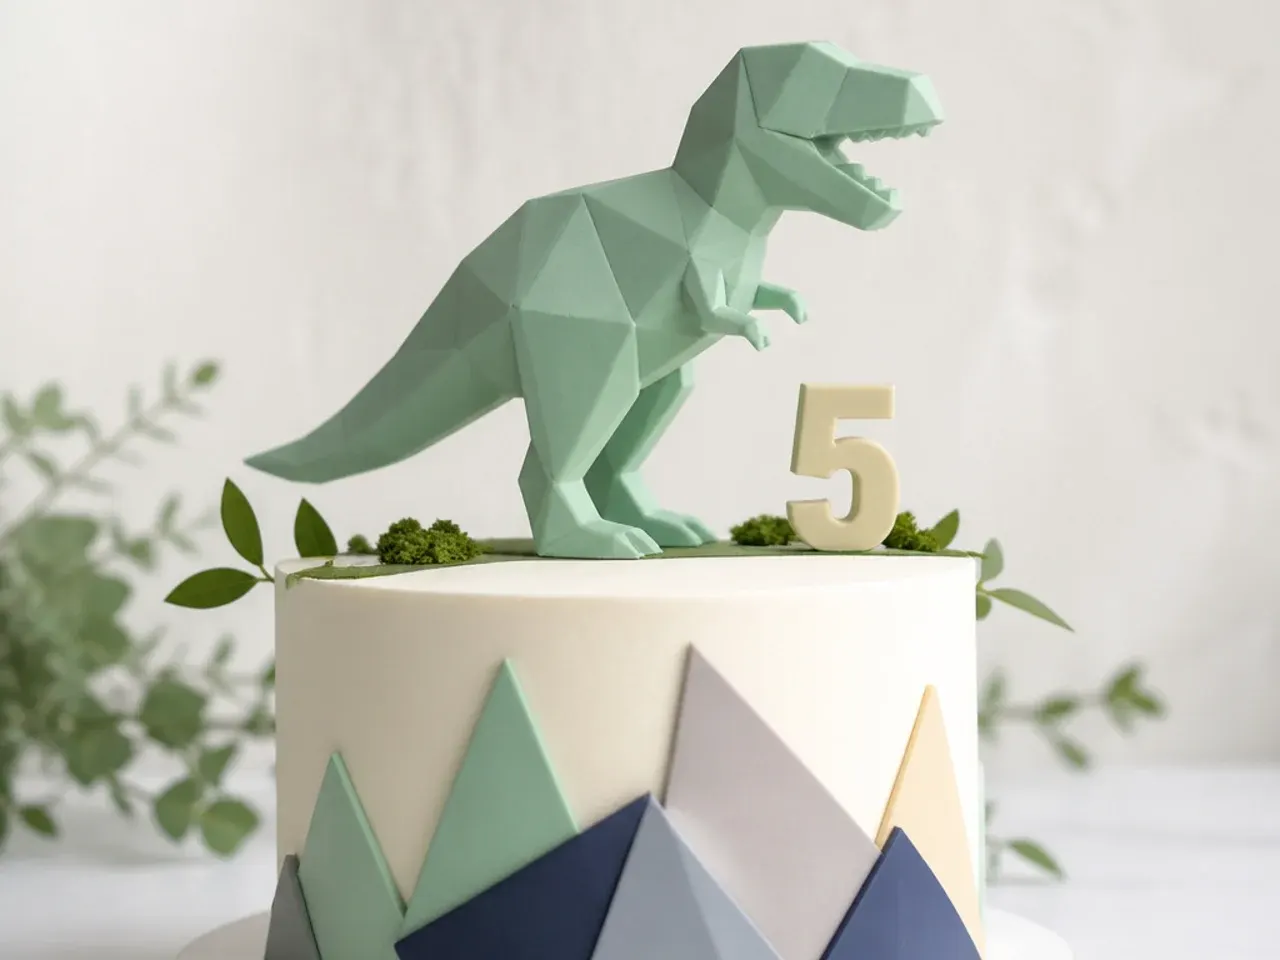
A faceted, low-poly dinosaur made from cut fondant or gum paste triangles gives a clean, modern look that suits a minimalist party. Roll gum paste to about 3 mm, cut small triangles with a sharp knife or pizza wheel, and layer them over a simple dino body shape so the surface looks angular like origami. Use two or three flat matte colors (sage, blush, cream) with no shading for that contemporary craft feel. Let it dry 24 hours on its side, then stand it on the cake supported by a hidden skewer through the body if it is taller than about 8 cm.
Save this for later 📌
Pin this article to your Pinterest board so the full list is one tap away when you need it.
Save on Pinterest6. Rustic Fossil Dig-Site Dinosaur Topper
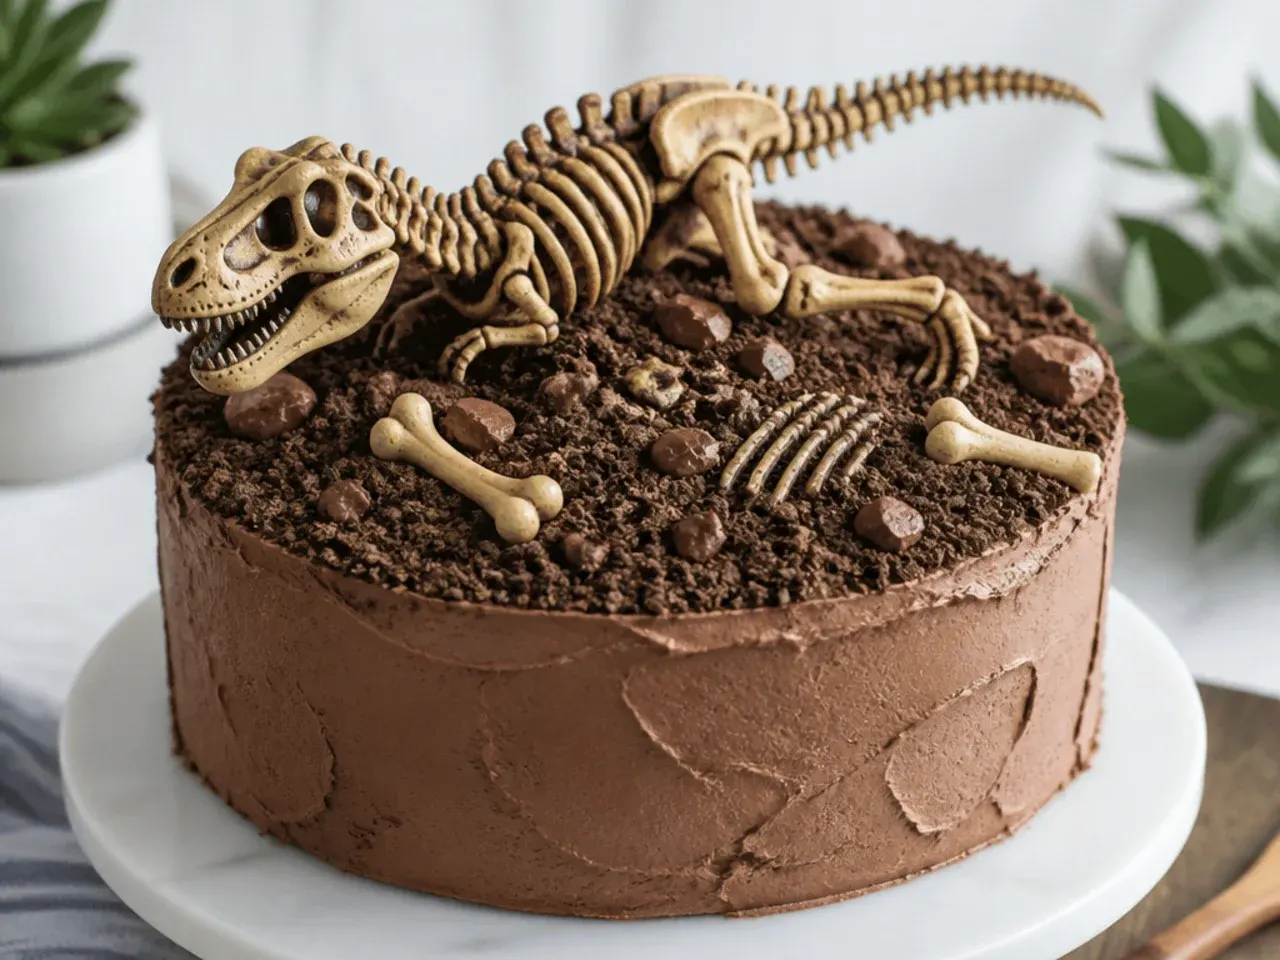
This topper turns the whole cake top into an excavation scene, which competitors rarely show. Crush plain chocolate cookies or graham crackers into coarse 'dirt' and scatter it over the buttercream, then press a few fondant or chocolate 'bones' (piped white candy melts) partly into the crumbs so they look half-buried. Add a tiny paintbrush and a printed 'DIG SITE' flag on a stick for the archaeology detail. The rough, uneven crumb coat is the point here, so this is forgiving for beginners and looks intentionally rugged rather than messy.
7. Colorful Rainbow Herd Dinosaur Topper
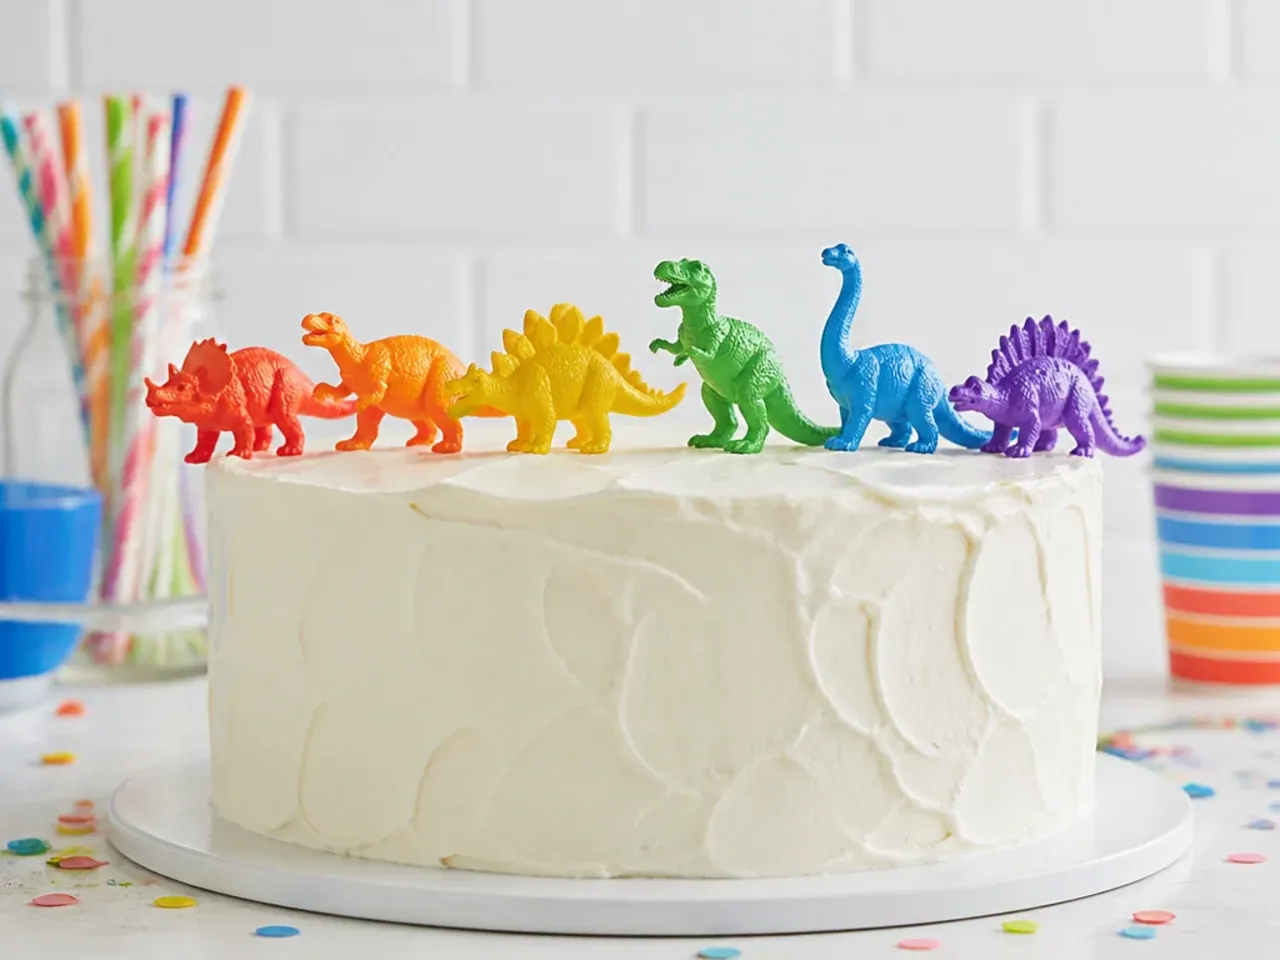
Instead of realistic greens, model or buy a herd of dinosaurs in bright rainbow colors for a joyful, high-energy topper. Tint small batches of fondant in red, orange, yellow, blue and purple, then shape one simple dino per color (rounded bodies are more forgiving than spiky ones). Line them up walking across the top of the cake with a few edible sugar 'footprints' piped in matching royal icing trailing behind. The saturated colors photograph beautifully against white or pastel buttercream and let kids each claim their favorite dino to eat.
8. Minimal Single Silhouette Dinosaur Topper
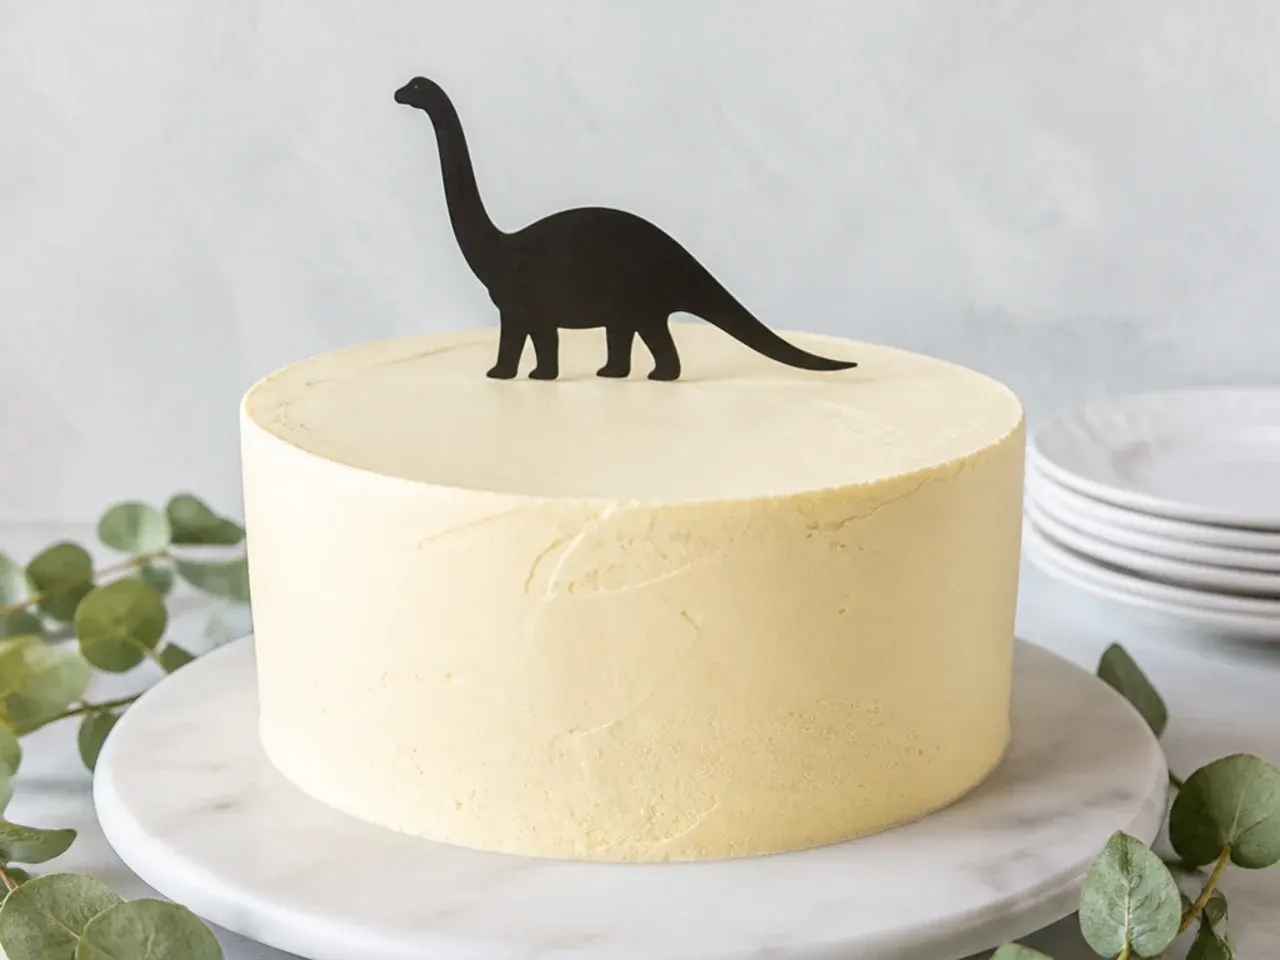
One flat acrylic or card dinosaur silhouette on a smooth buttercream cake is the most minimal option and reads as stylish and deliberate. Cut a clean T-rex or diplodocus outline from black or gold card, mount it on a clear or matching stick, and center it on an otherwise undecorated cake. Keep the buttercream a single muted color (dusty green, greige, or off-white) with a sharp top edge so nothing competes with the silhouette. This works especially well for a first birthday where you want the photos to feel calm and modern rather than busy.
9. Festive Volcano Eruption Dinosaur Topper
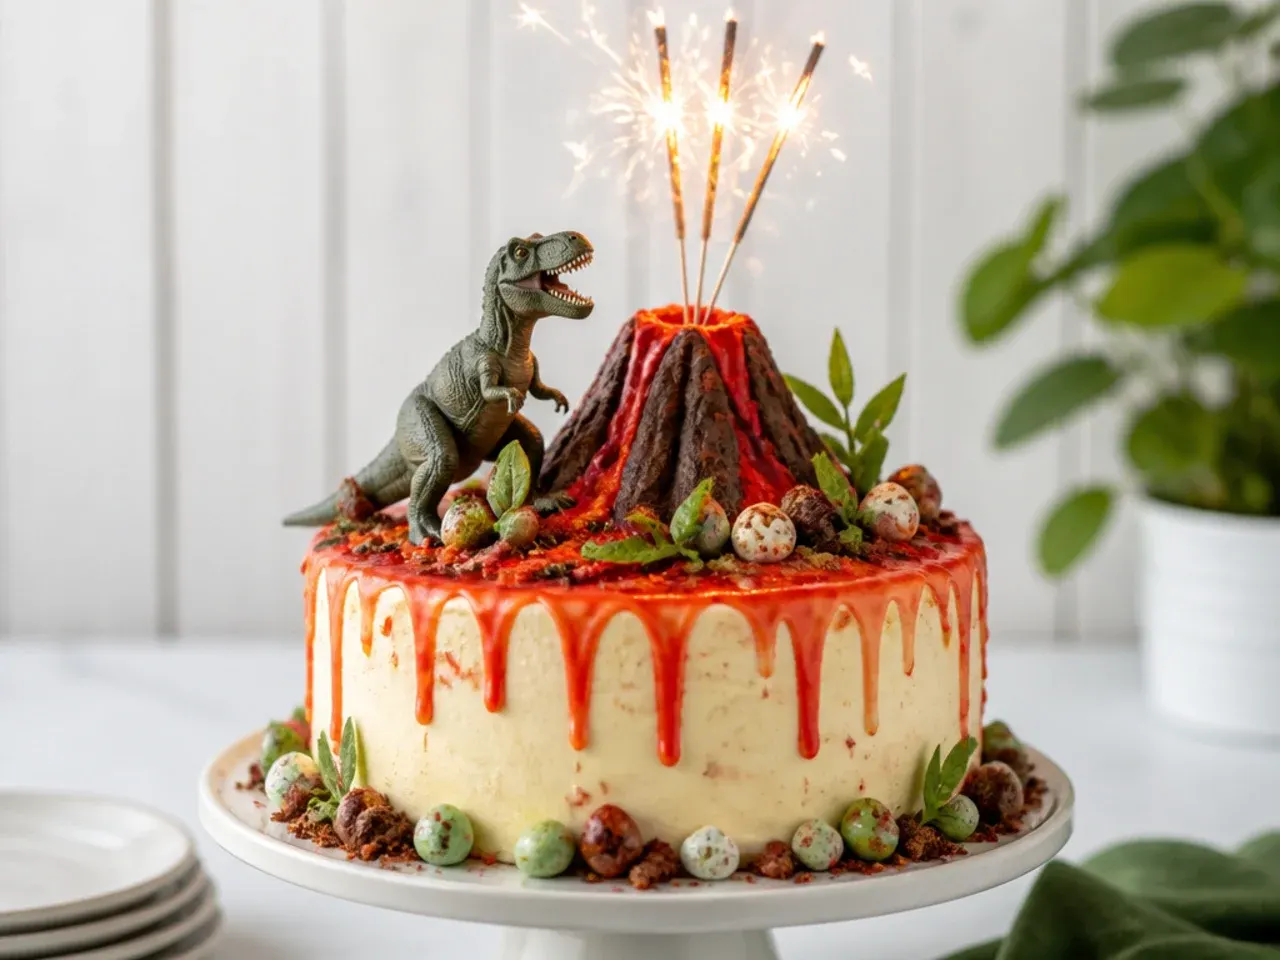
A candy volcano with 'lava' turns the topper into the party centerpiece and pairs naturally with a few dinosaurs at its base. Build a cone from stacked cake scraps or a rolled ice cream cone, coat it in chocolate buttercream, then drizzle warm red and orange candy melts down the sides so they pool like lava. Set a sparkler or a single tall candle in the crater so it 'erupts' when lit, and cluster two or three dino figurines around the base looking up. Add crushed Biscoff or chocolate cookie 'rocks' around the foot to blend the volcano into the cake.
10. Whimsical Hatching Egg Dinosaur Topper
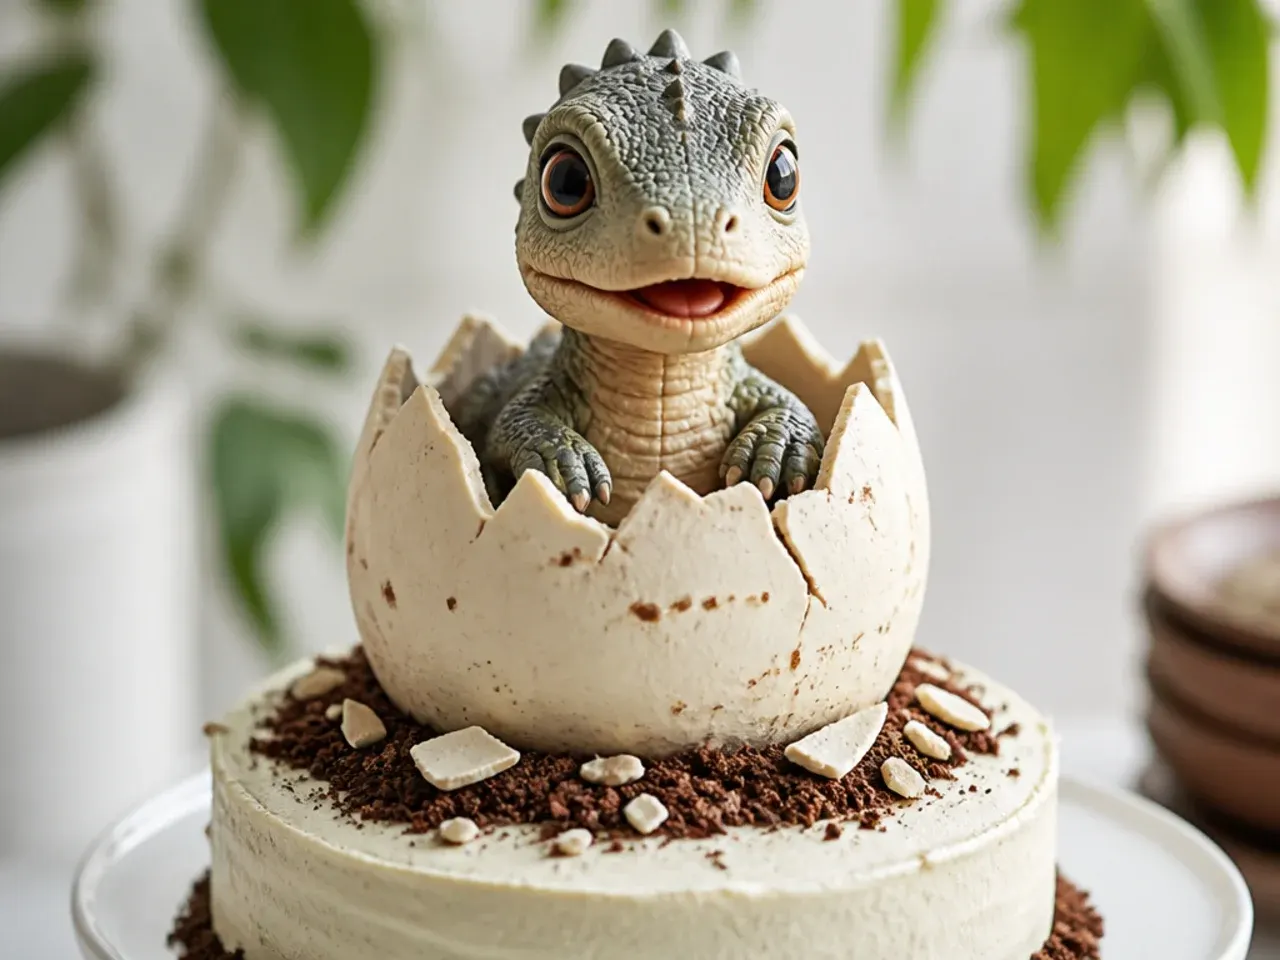
A cracked egg with a baby dino peeking out is an adorable topper that few tutorials cover in detail. Shape a smooth egg from about 30 g of fondant, cut a jagged zigzag opening across the top with a small knife, and nestle a tiny modeled baby dinosaur head poking out of the crack. Add a couple of loose 'shell shards' beside the egg on the cake for storytelling. Speckle the shell with brown edible-color spatter (flick a stiff brush loaded with diluted gel color) so it looks like a real dinosaur egg, and dry it overnight so the opening holds its shape.
Save this for later 📌
Pin this article to your Pinterest board so the full list is one tap away when you need it.
Save on Pinterest11. Bold Chocolate Drip and Dino Topper
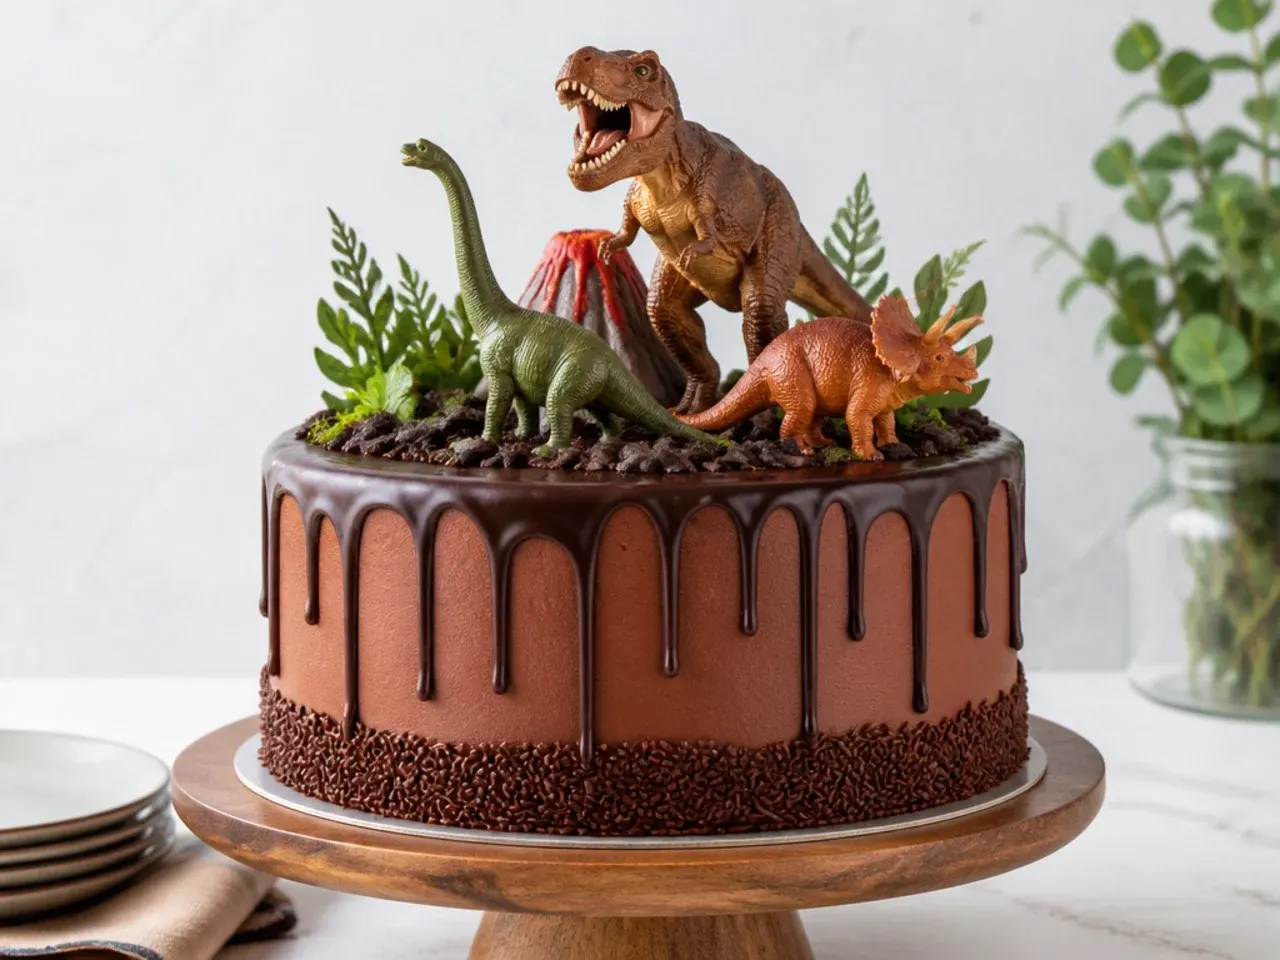
A dramatic chocolate ganache drip crowned with dinosaurs makes a bold, bakery-style topper. Chill the frosted cake for 20 minutes, then pour a ganache of equal parts (by weight) dark chocolate and warm cream over the top edge so it drips down the sides in irregular fingers. Once the drip sets, stand a few gold-dusted or matte dinosaurs on top along with some chocolate rocks and a sparkler. The glossy dark drip against bright dino colors gives a grown-up, striking finish that still says 'dinosaur party' loud and clear.
12. Delicate Meringue Dinosaur Topper
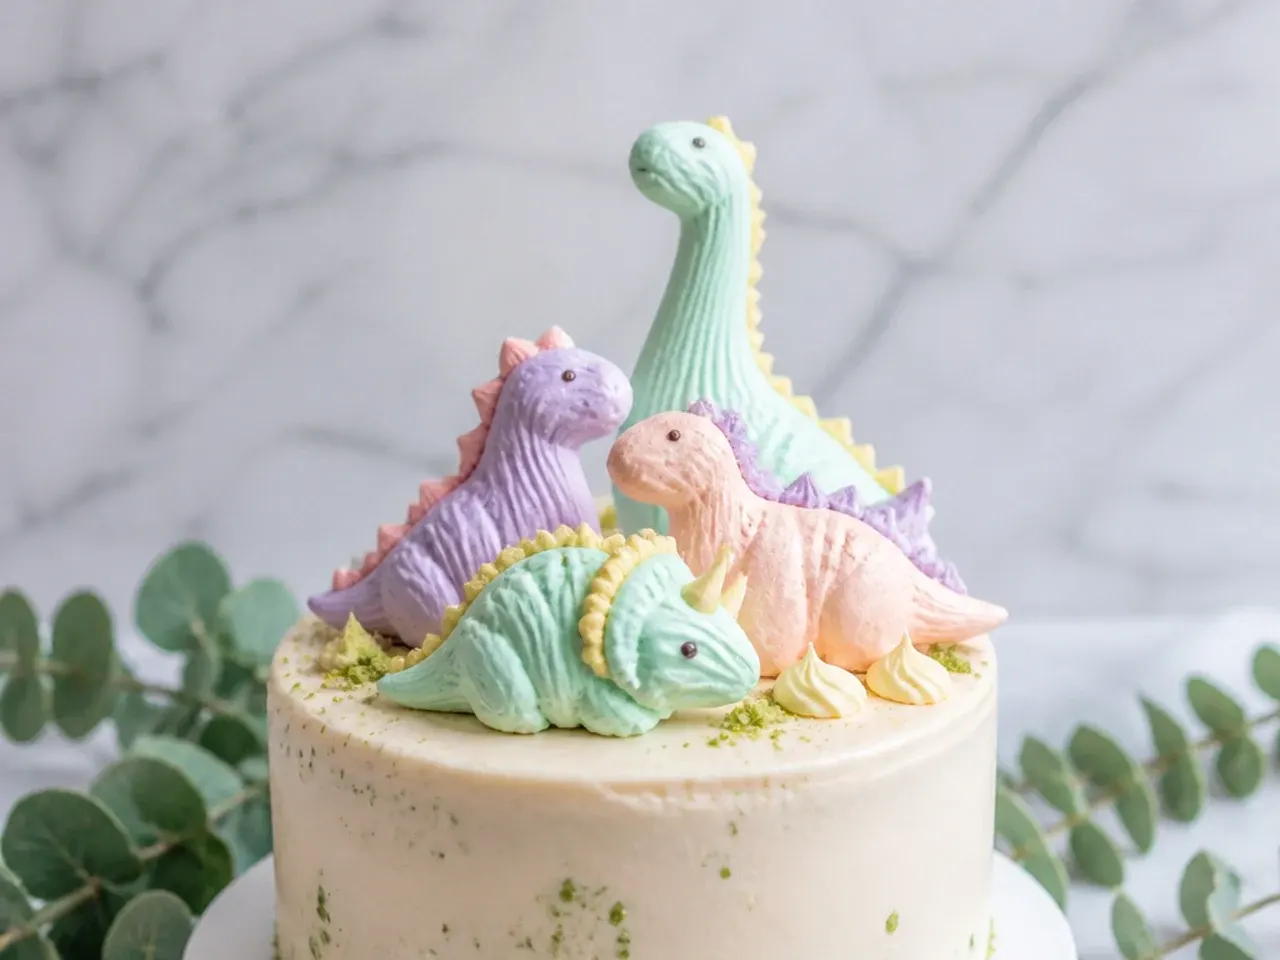
Piped meringue dinosaurs are light, crisp, and fully edible, and they bring a delicate texture almost no competitor mentions. Pipe simple dino body shapes onto lined trays with a plain round tip, add a small tail and neck, then bake at 90°C (195°F) for about 90 minutes until dry and liftable. Pipe tiny meringue back-spikes before baking and add a chocolate eye once cool. Because meringues are pale and matte, tint the batter in soft pastels and stand them upright in the buttercream, supported at the base, for an airy, elegant topper that shatters pleasantly when bitten.
13. Vintage Naturalist Sketch Dinosaur Topper
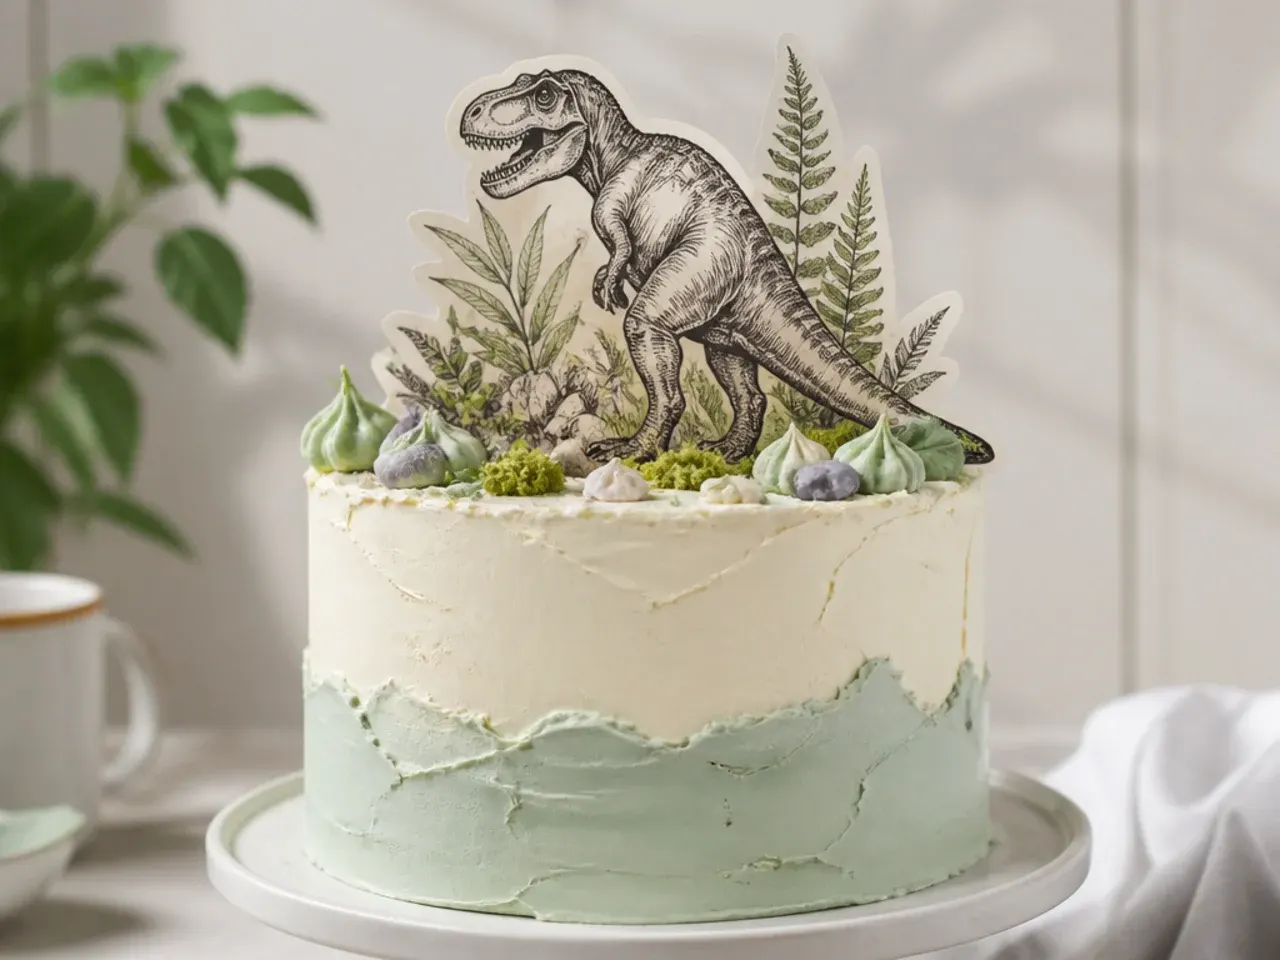
For an old-museum, natural-history feel, use edible wafer paper printed with a sepia dinosaur sketch as a flat standing topper. Print a vintage-style line drawing onto edible wafer or icing sheets with an edible-ink printer (many local bakeries will print a sheet for you), cut it out, and mount it on a food-safe pick. Pair it with a kraft-paper 'field notes' banner and muted olive buttercream for that antique naturalist mood. This suits a sophisticated dinosaur cake for older kids or adults who love the science side of dinos rather than the cartoon side.
14. Creative Cookie Stegosaurus Topper
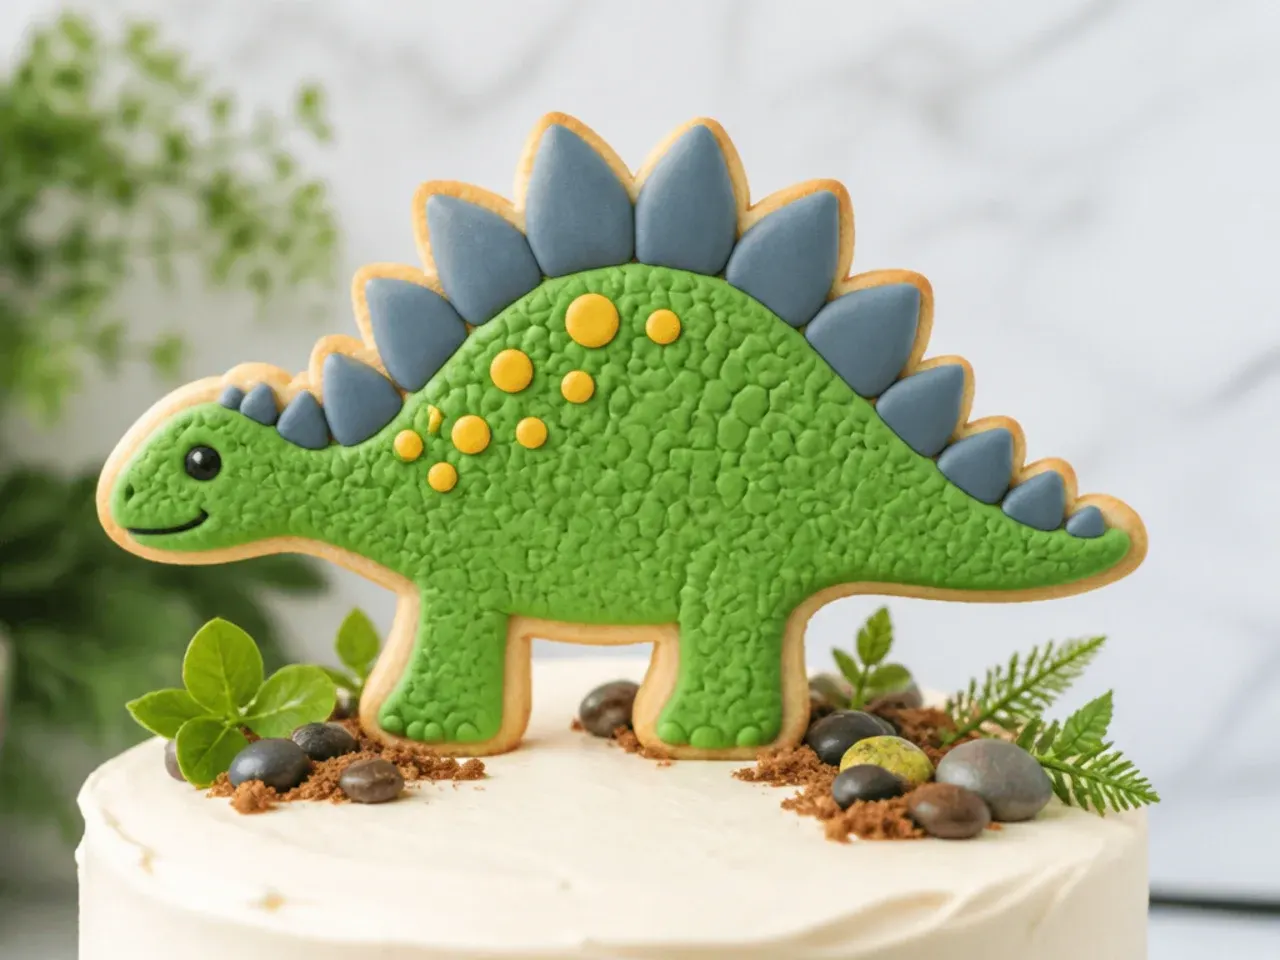
A decorated sugar cookie shaped like a dinosaur doubles as both a topper and a party favor, an angle most guides skip. Cut a stegosaurus from chilled sugar cookie dough with a dino cutter, bake, then outline and flood with royal icing in your party colors. Once fully dry (about 6 hours), insert a food-safe cookie stick into the base or lean the cookie against a small buttercream mound on the cake. Make a few extras so each child leaves with their own dinosaur cookie, and pipe names on them to double as place markers.
15. Charming Footprint Trail Dinosaur Topper
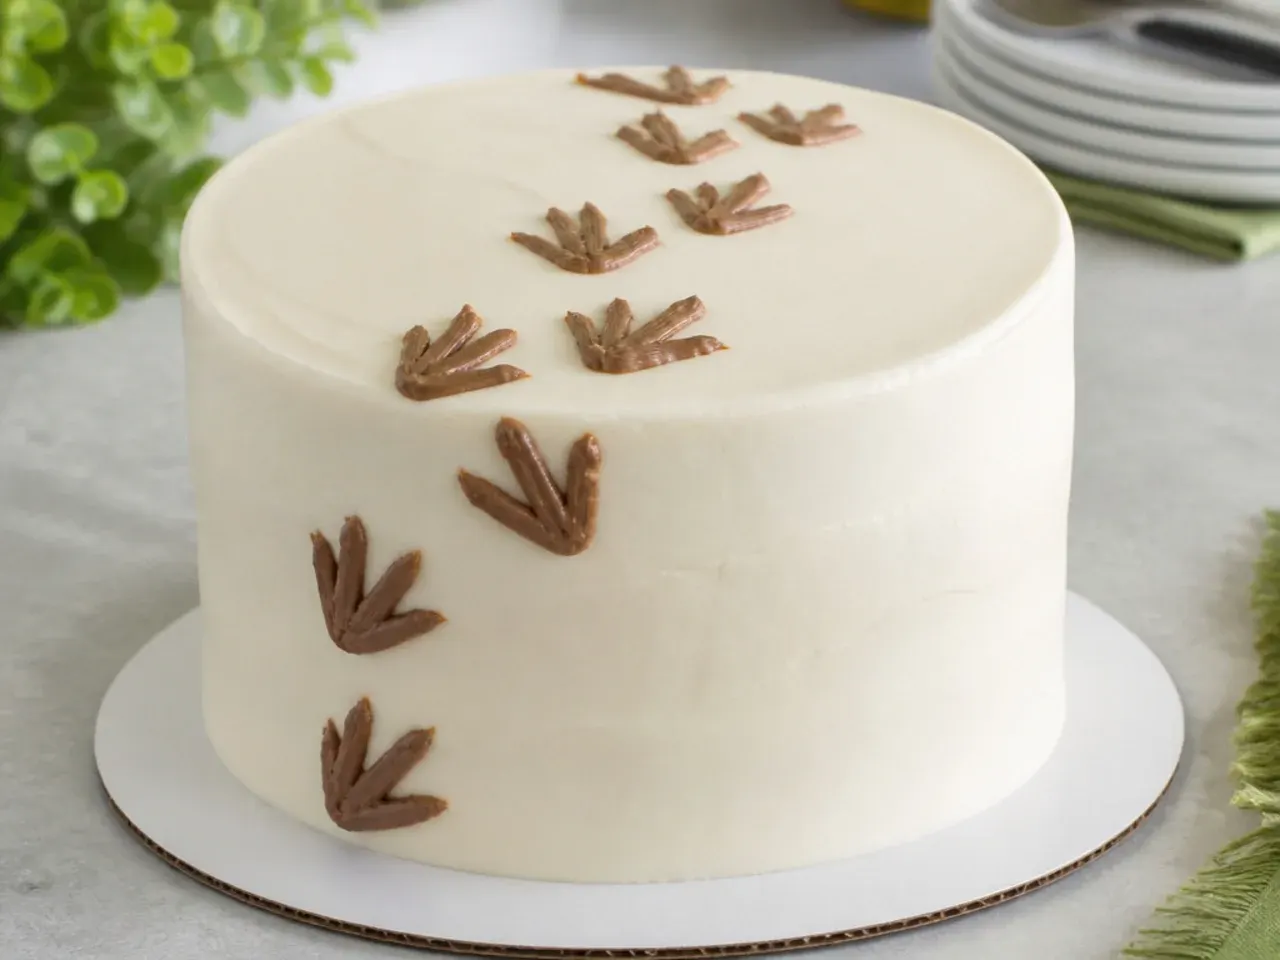
A trail of dino footprints crossing the cake is a charming, subtle topper that guides the eye toward a single hero dinosaur. Pipe or stamp three-toed footprints across the buttercream using brown royal icing and a small round tip, spacing them like a walking stride from one edge to the top center. End the trail at a single modeled or figurine dinosaur so it looks like the animal just walked across the cake. This works on almost any base color and is a lovely way to fill empty buttercream without needing to model a whole herd.
Save this for later 📌
Pin this article to your Pinterest board so the full list is one tap away when you need it.
Save on Pinterest16. Classic Spiky Sail-Back Dinosaur Topper
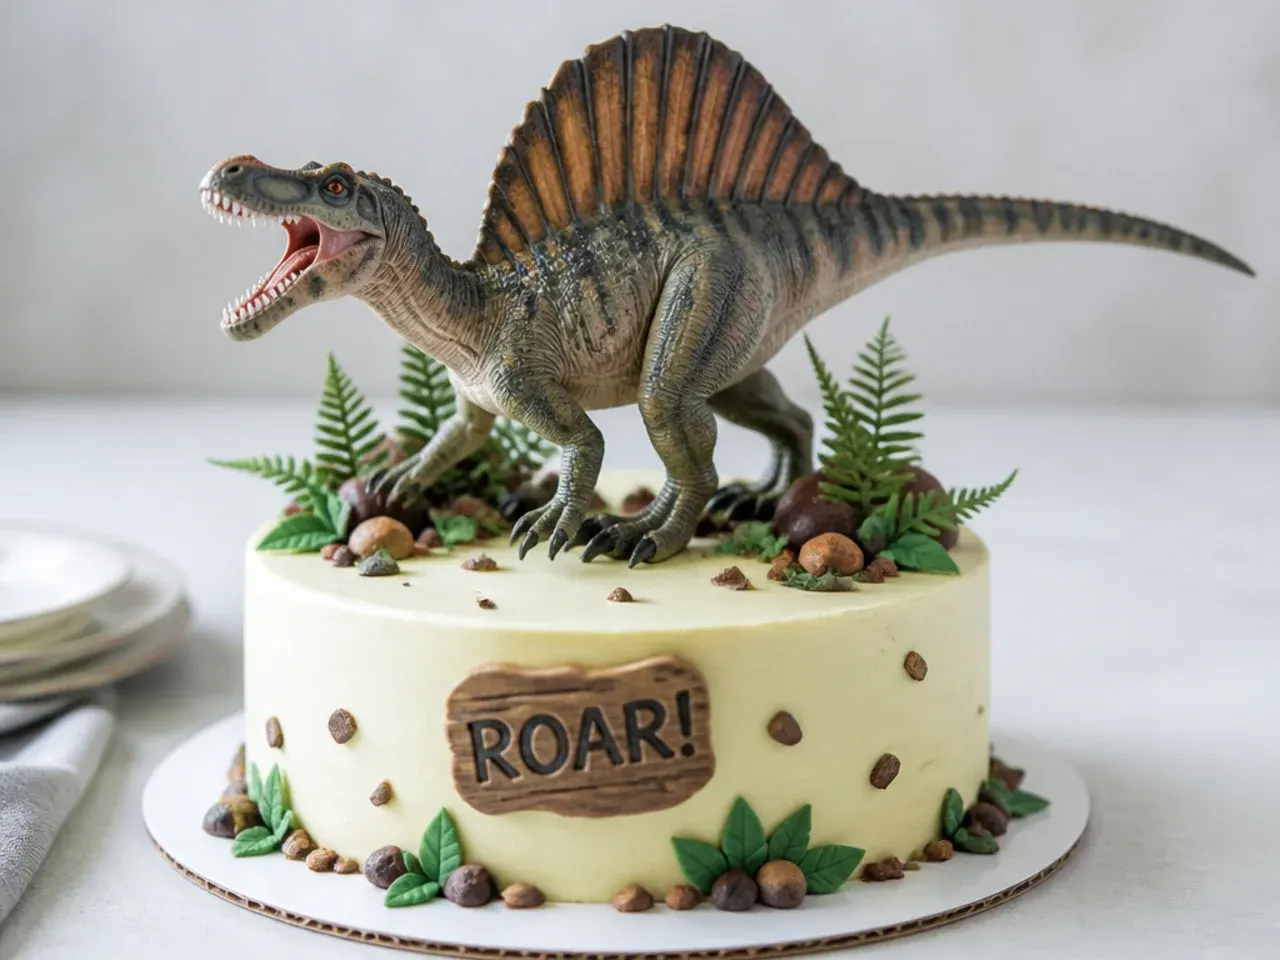
A spinosaurus-style sail-back dino makes a classic, instantly recognizable topper with real presence. Model the body from fondant, then cut a tall half-moon 'sail' from firmed gum paste and press it into the back before it dries so it stands upright. Paint the sail with edible color washes in warm stripes for definition. Dry the whole piece 24 to 48 hours because the tall sail needs to be fully rigid, then anchor the dino on the cake with a short skewer hidden through the body so the weight of the sail doesn't tip it over.
17. Easy Candy and Marshmallow Dinosaur Topper
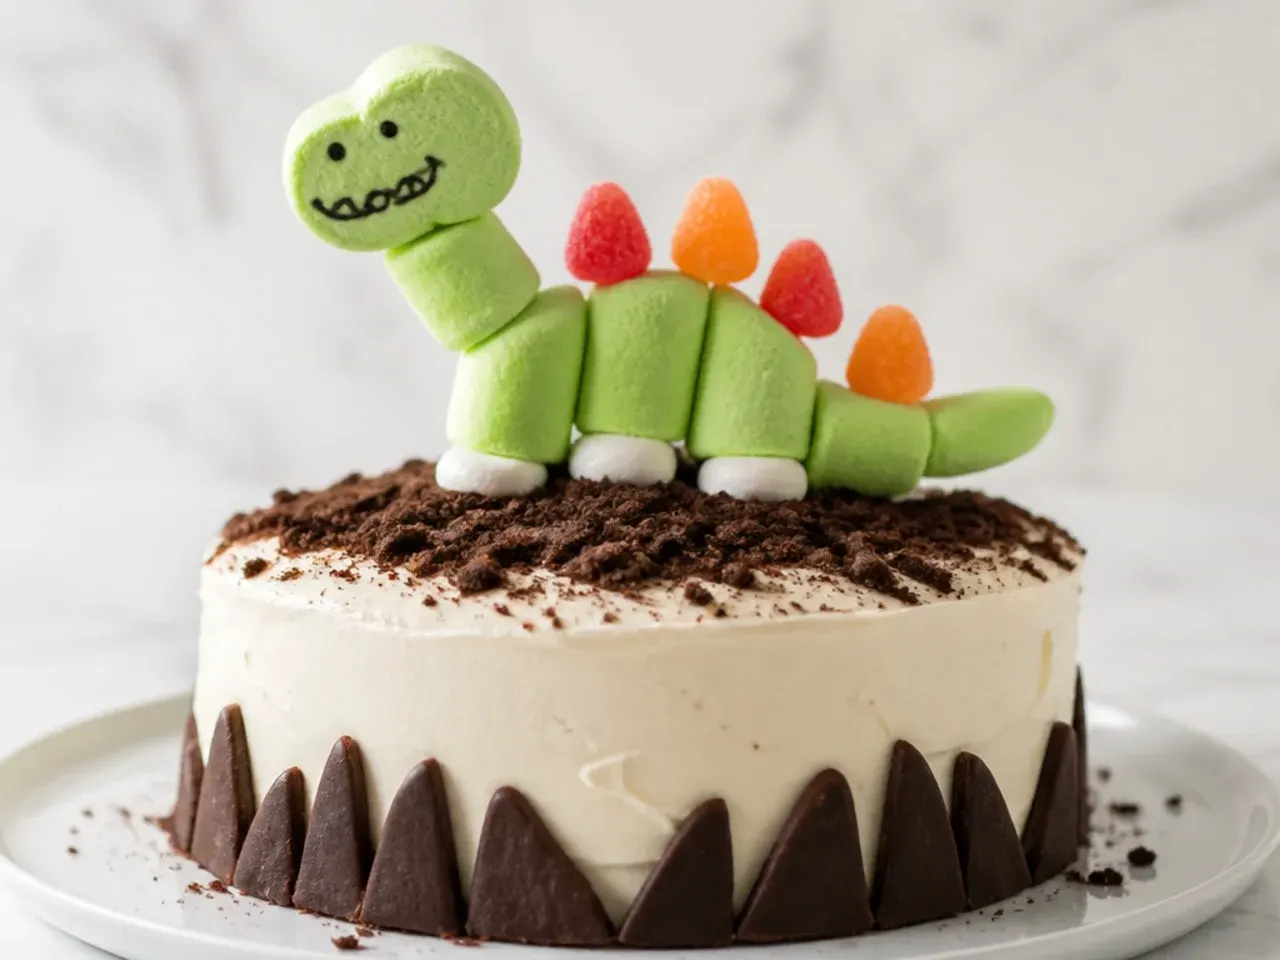
Assemble a dinosaur entirely from store-bought candy for a genuinely easy, kid-friendly topper with no modeling skill required. Use a large marshmallow for the body, mini marshmallows or gumdrops for legs, a jelly bean head, and candy melt-glued sour-strip spikes down the back. Attach pieces with melted candy melts or a dab of royal icing, then set the whole dino on the cake. Kids can build these themselves the day before, which makes it a fun activity topper as well as a decoration, and everything on it is fully edible.
18. Elegant Watercolor Dinosaur Silhouette Topper
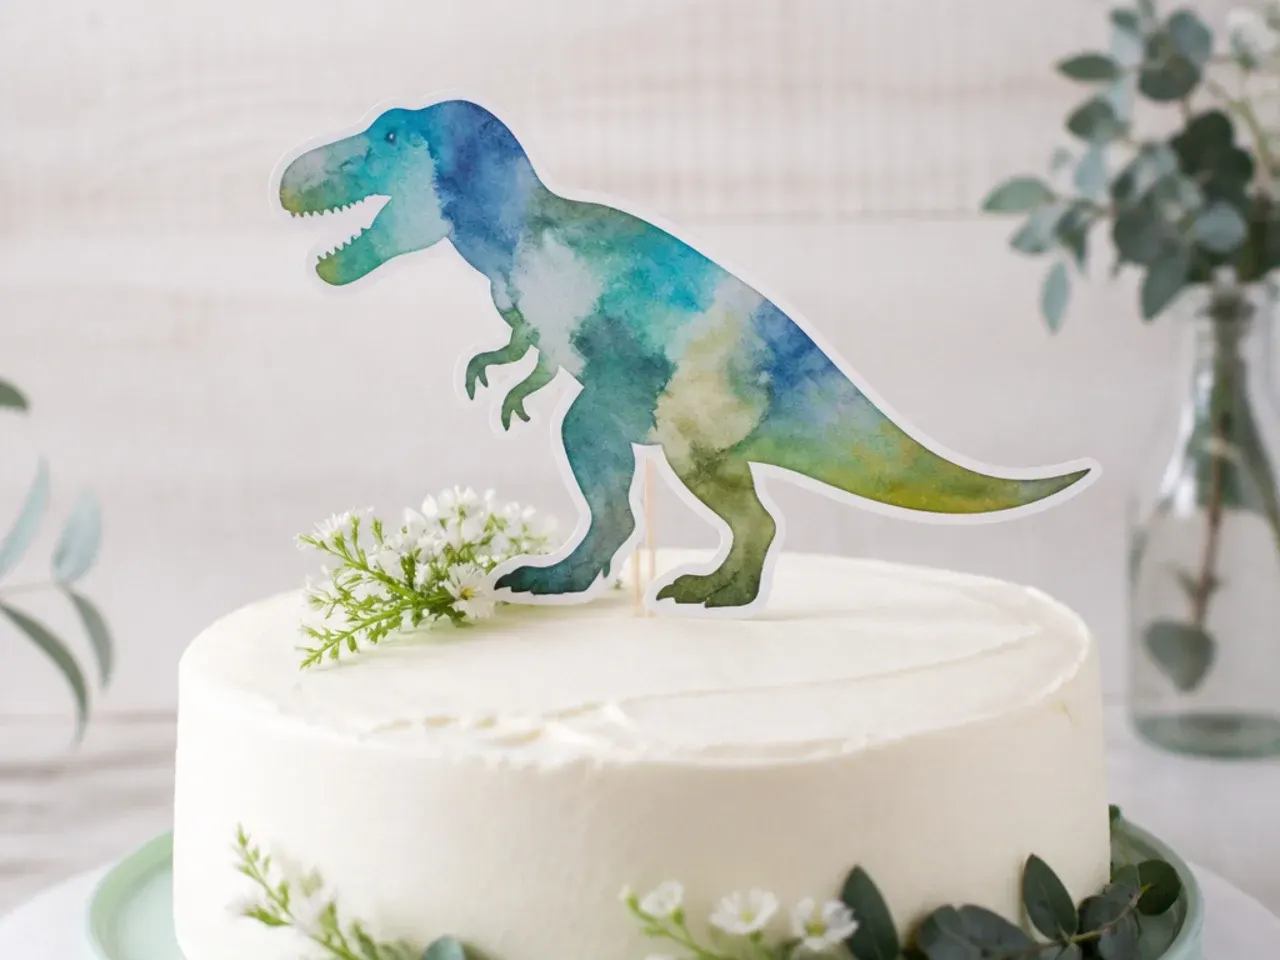
Hand-paint a soft watercolor dinosaur directly onto the smooth buttercream for a refined, artistic topper. Chill the frosted cake so the surface firms, then use a clean food-only brush and diluted gel colors to wash a loose dino silhouette in blended greens and blues, letting the edges fade like real watercolor. Keep the strokes light and let some buttercream show through for that translucent paint effect. Because it is painted flat onto the cake, there is nothing to fall off, making it a beautiful choice for a delivered or transported cake.
19. Playful Dino Name Banner Topper
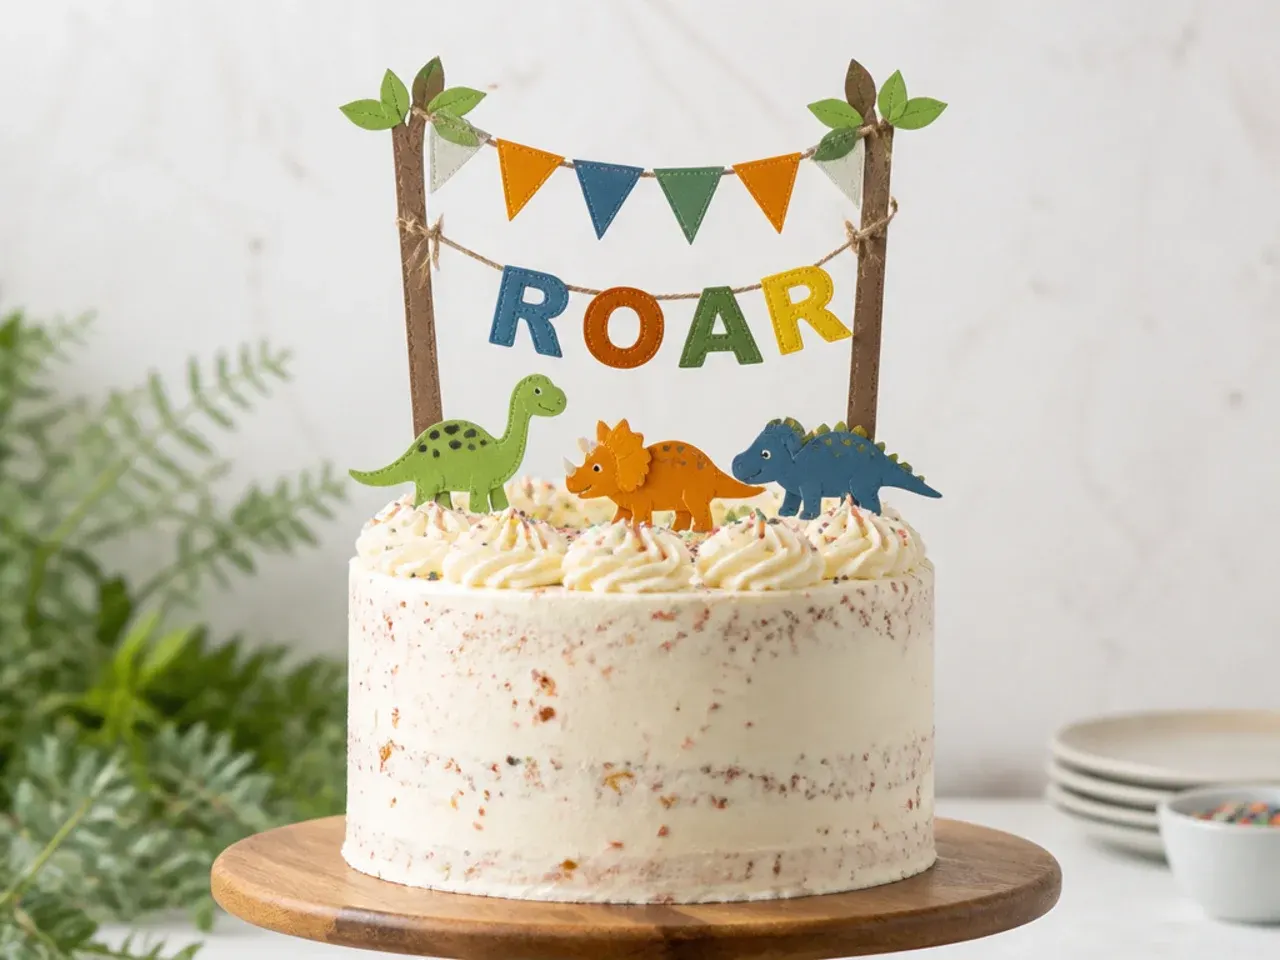
A mini bunting banner spelling the birthday name over a couple of dinosaurs personalizes the cake and fills vertical space nicely. String small triangle flags cut from card or edible wafer paper onto baker's twine, letter each flag with the child's name, and hang it between two skewers pushed into the cake. Position two or three dinosaurs beneath the banner so they look like they're celebrating underneath. Match the flag colors to the dinos and buttercream, and print a tiny dinosaur on the end flags to tie the theme together.
20. Modern Jungle Scene Dinosaur Topper
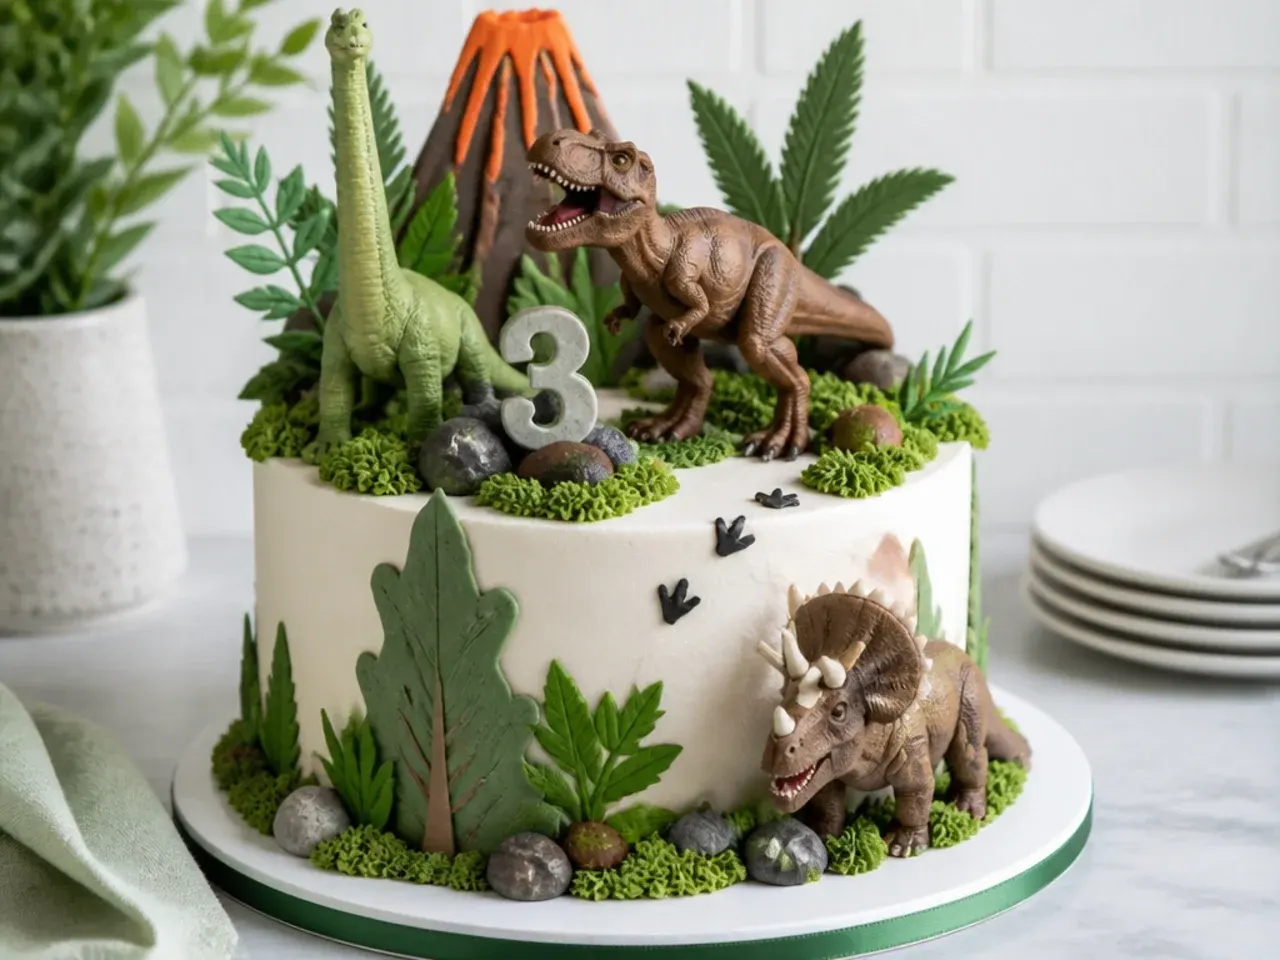
Build a small tropical scene with palm fronds, ferns, and dinosaurs for a modern, layered topper that feels like a diorama. Pipe green buttercream grass tufts with a Wilton #233 grass tip, add a few plastic or wafer-paper palm trees, and set two or three dinosaurs among the greenery at different heights. Scatter a little crushed cookie 'earth' and a couple of chocolate rocks to ground the scene. Building up front-to-back layers, with taller palms behind and dinos in front, gives real depth and turns the cake top into a tiny prehistoric world.
Tips to Make These Ideas Easier
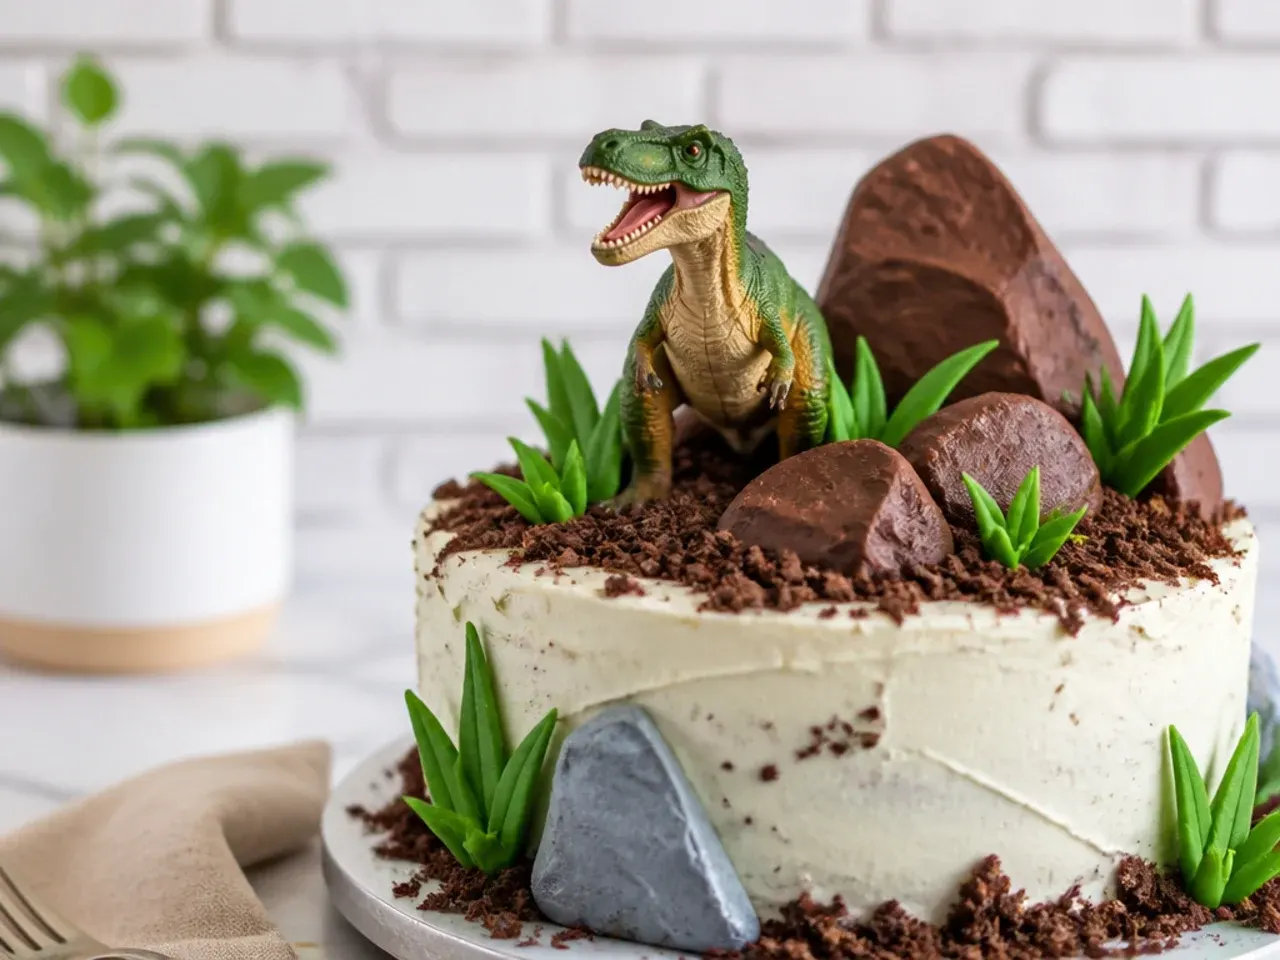
Make any modeled fondant or gum paste dinosaur at least 24 hours ahead so it dries rigid and won't slump on the frosting. Anchor tall or heavy toppers with a food-safe skewer or bubble tea straw pushed down through the cake, and always rest plastic figurines on a small fondant disc or cling-film square so nothing non-edible touches the buttercream directly. Chill the crumb-coated cake for 20 to 30 minutes before adding drips, painting, or piping so the surface is firm and forgiving. Keep a small bowl of water and a fine brush handy as edible 'glue' for sticking fondant pieces, and work in odd-numbered clusters (three dinos, three footprints) because they read as more natural than pairs.
Common Mistakes to Avoid
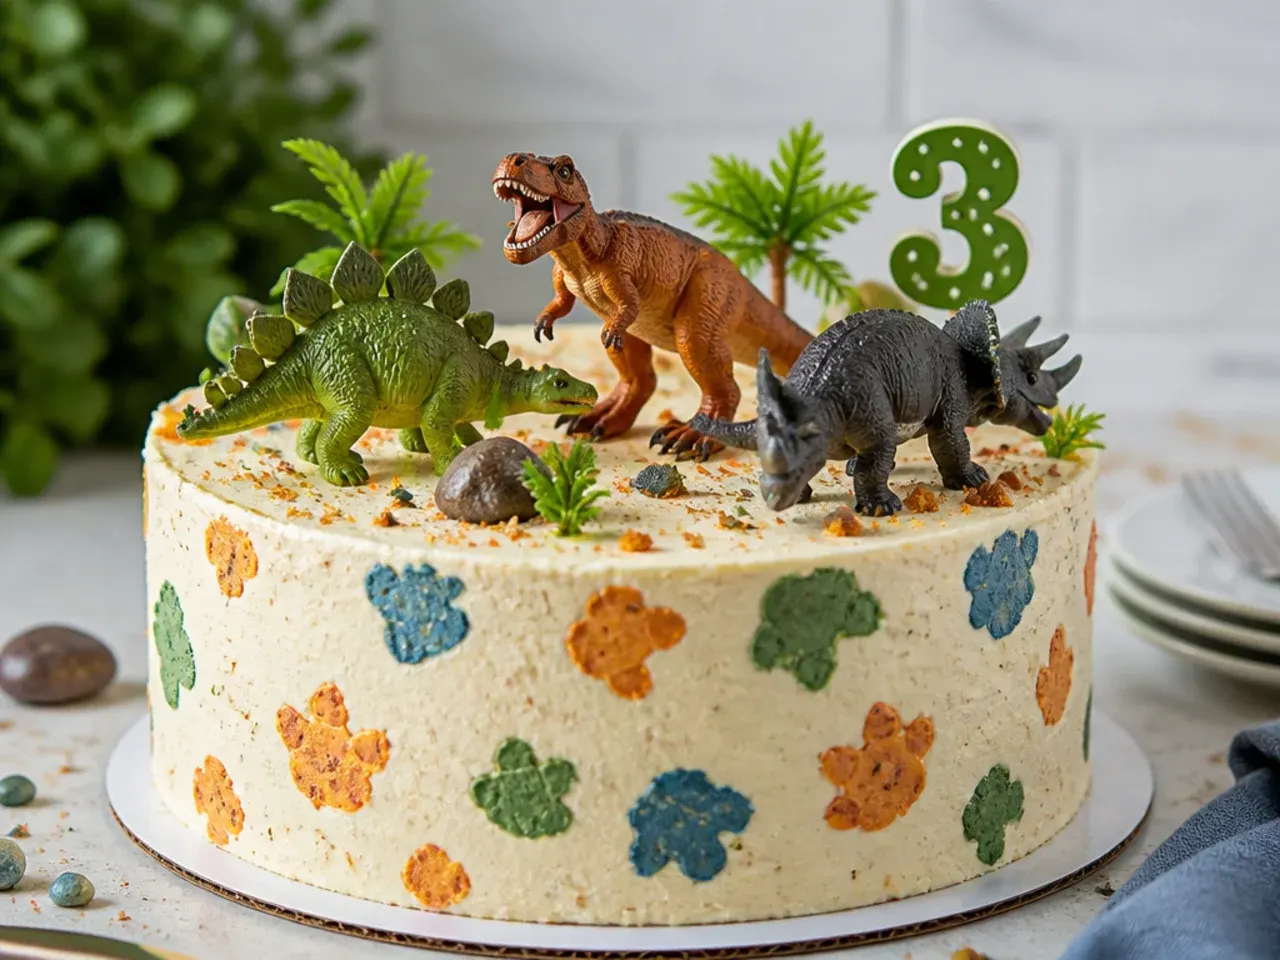
The biggest mistake is standing a fresh, soft fondant dino straight onto buttercream, where it slowly slumps and cracks, so always dry it fully first. Don't push unwashed toy figurines directly into the cake, and never leave craft wire, floral picks, or non-food-safe paint in contact with the food. Avoid overloading the top with too many elements, which looks cluttered and makes slicing awkward; pick one hero dino plus a couple of supporting details. Skipping the chill step before a chocolate drip leads to runaway drips that puddle at the base, and adding a heavy topper to a warm cake in a hot room is the fastest way to a landslide.
The Recipe
The Base Recipe — Make Any of These Ideas
30 min
30 min
2 hr (including cooling)
12
Beginner
Ingredients 12 Person(s)
Directions
Step 1: Prep pans and oven
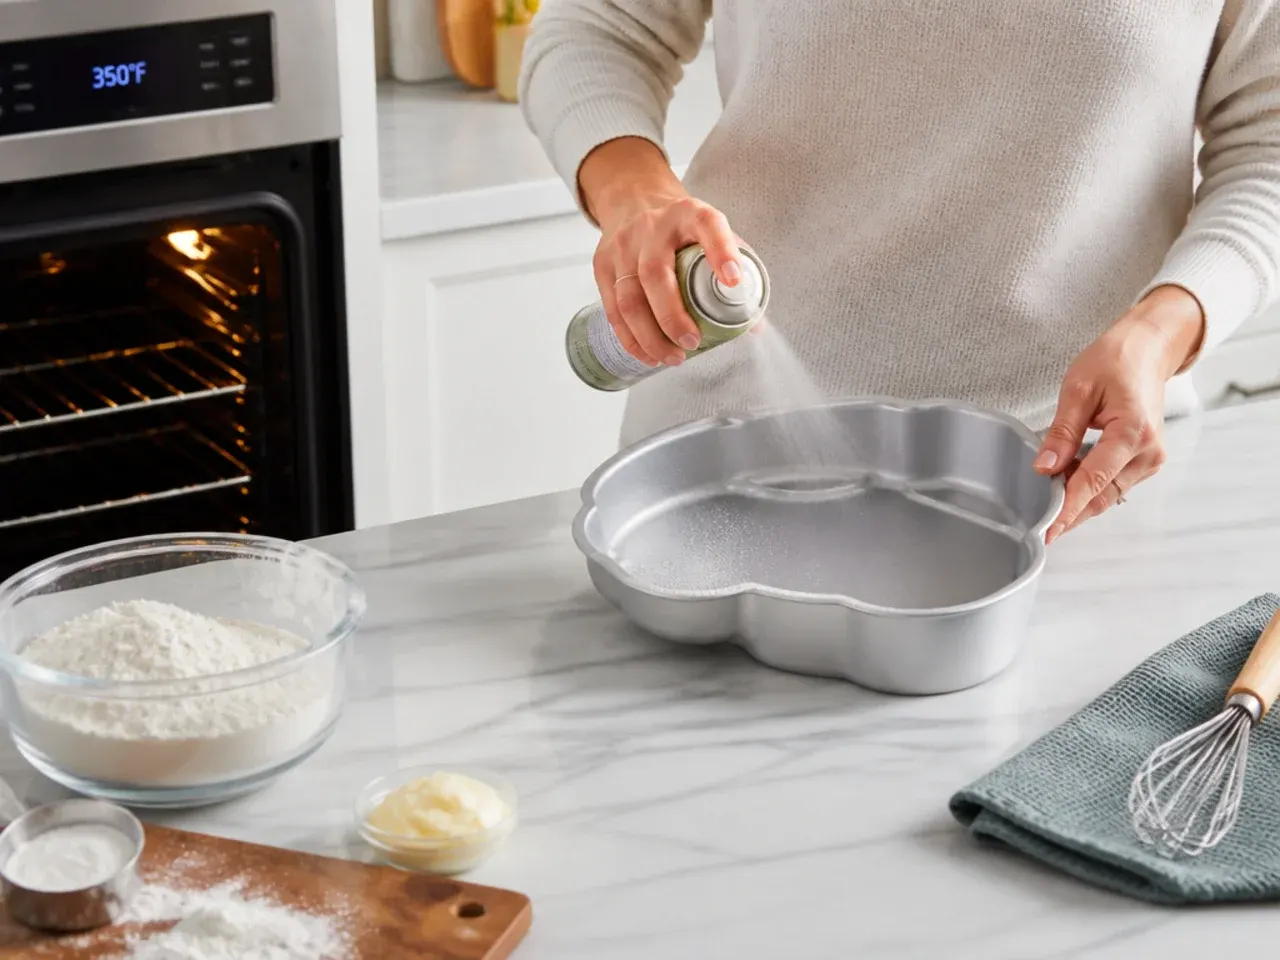
Preheat the oven to 350°F (177°C). Grease two 8-inch (20 cm) round cake pans, line the bottoms with parchment, and dust the sides with cocoa powder so the cakes release cleanly.
Step 2: Whisk the dry ingredients
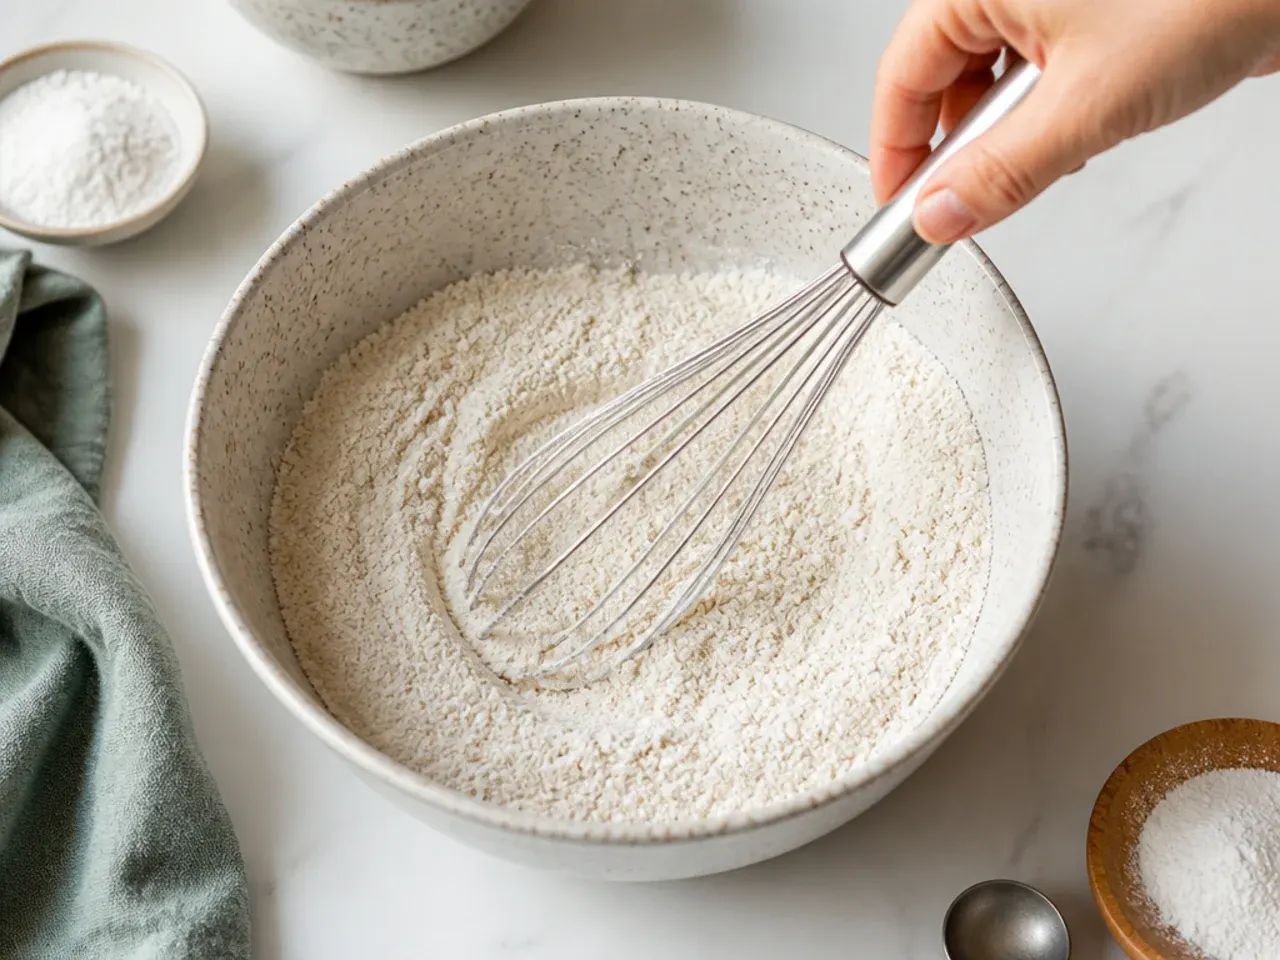
In a large bowl, whisk together the flour, granulated sugar, sifted cocoa powder, baking soda, baking powder, and salt until evenly combined and no cocoa lumps remain.
Step 3: Add the wet ingredients
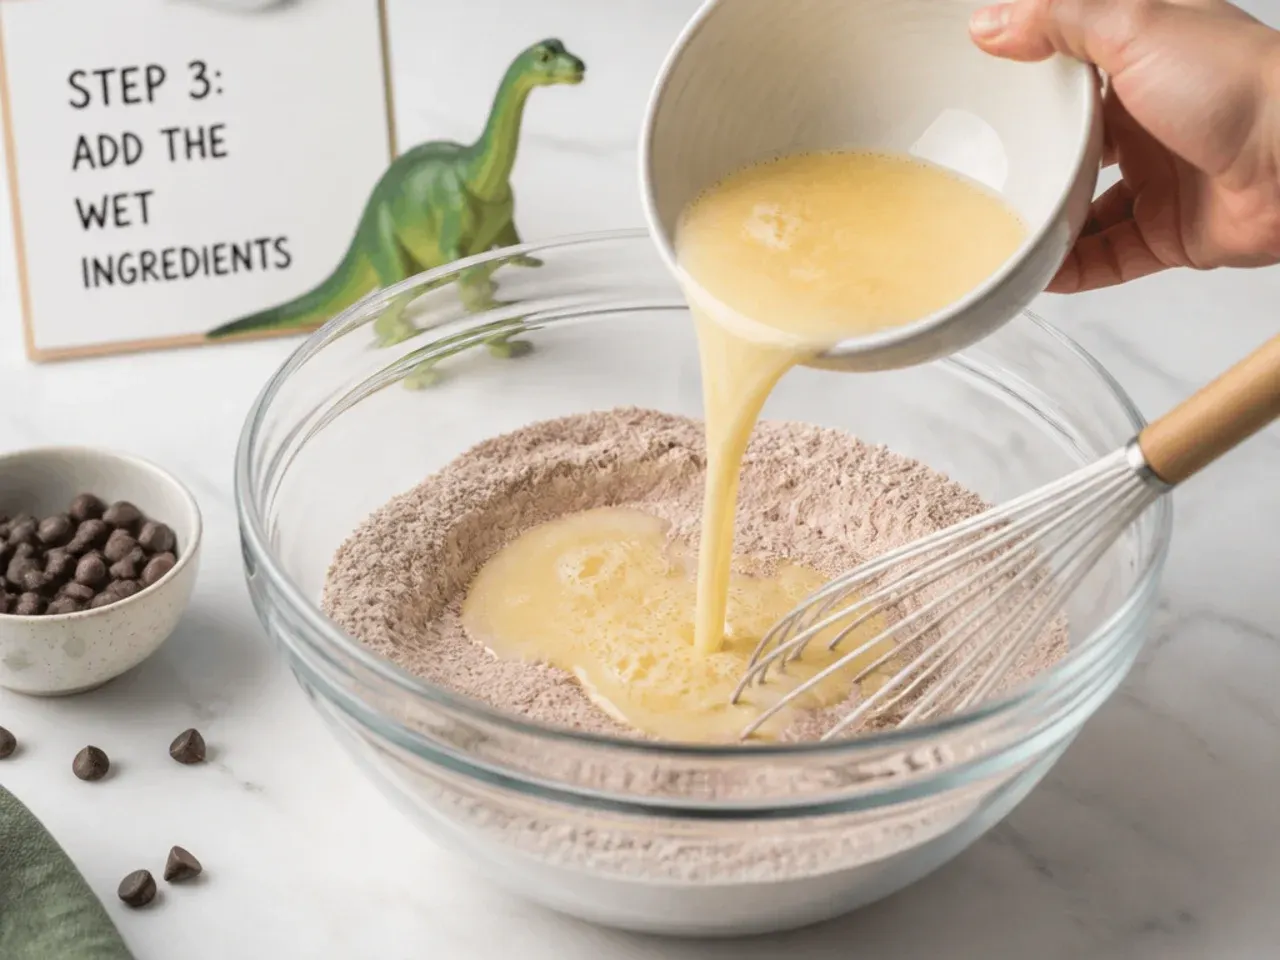
Add the eggs, buttermilk, vegetable oil, and vanilla, then beat on medium speed for about 2 minutes until smooth. The batter will be thick at this stage.
Step 4: Stir in the hot liquid
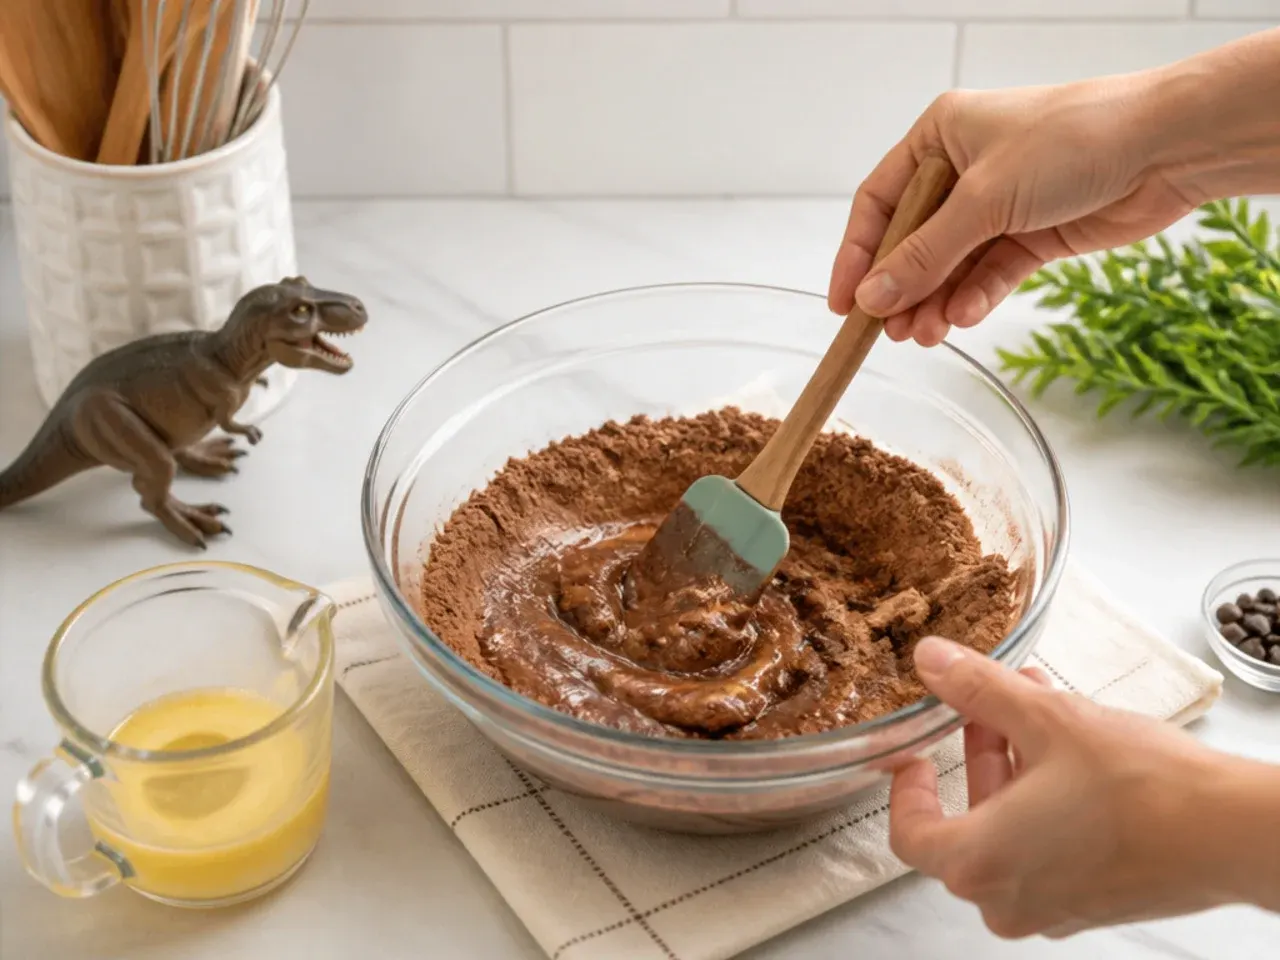
Carefully pour in the boiling coffee or water and mix on low just until combined. The batter becomes thin and pourable, which is exactly right for a moist crumb, so don't add extra flour.
Step 5: Bake the layers
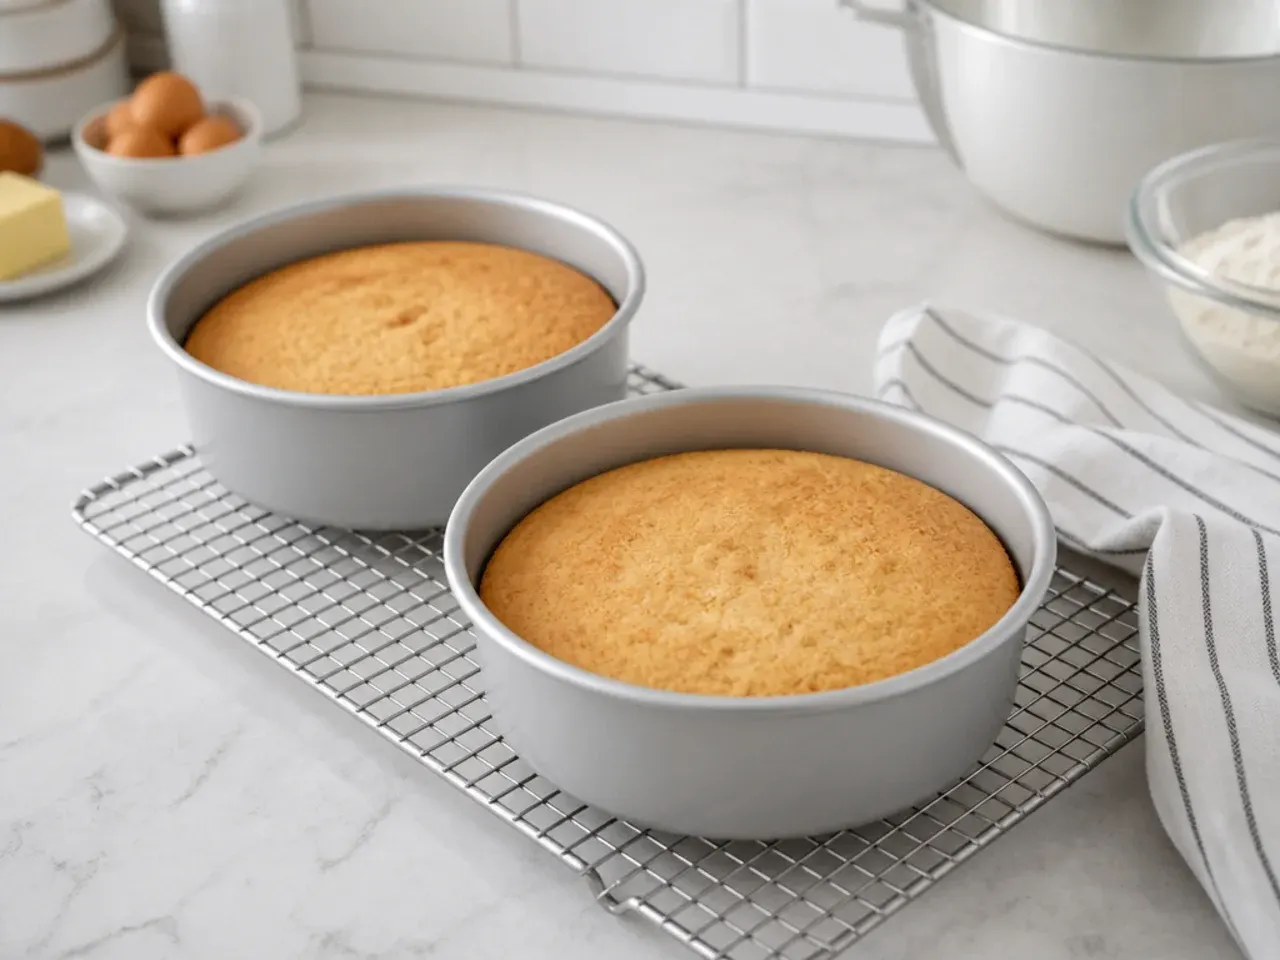
Divide the batter evenly between the two pans and bake for 28 to 30 minutes, until a toothpick inserted in the center comes out with a few moist crumbs. Cool in the pans for 15 minutes, then turn out onto a rack to cool completely.
Step 6: Make the buttercream
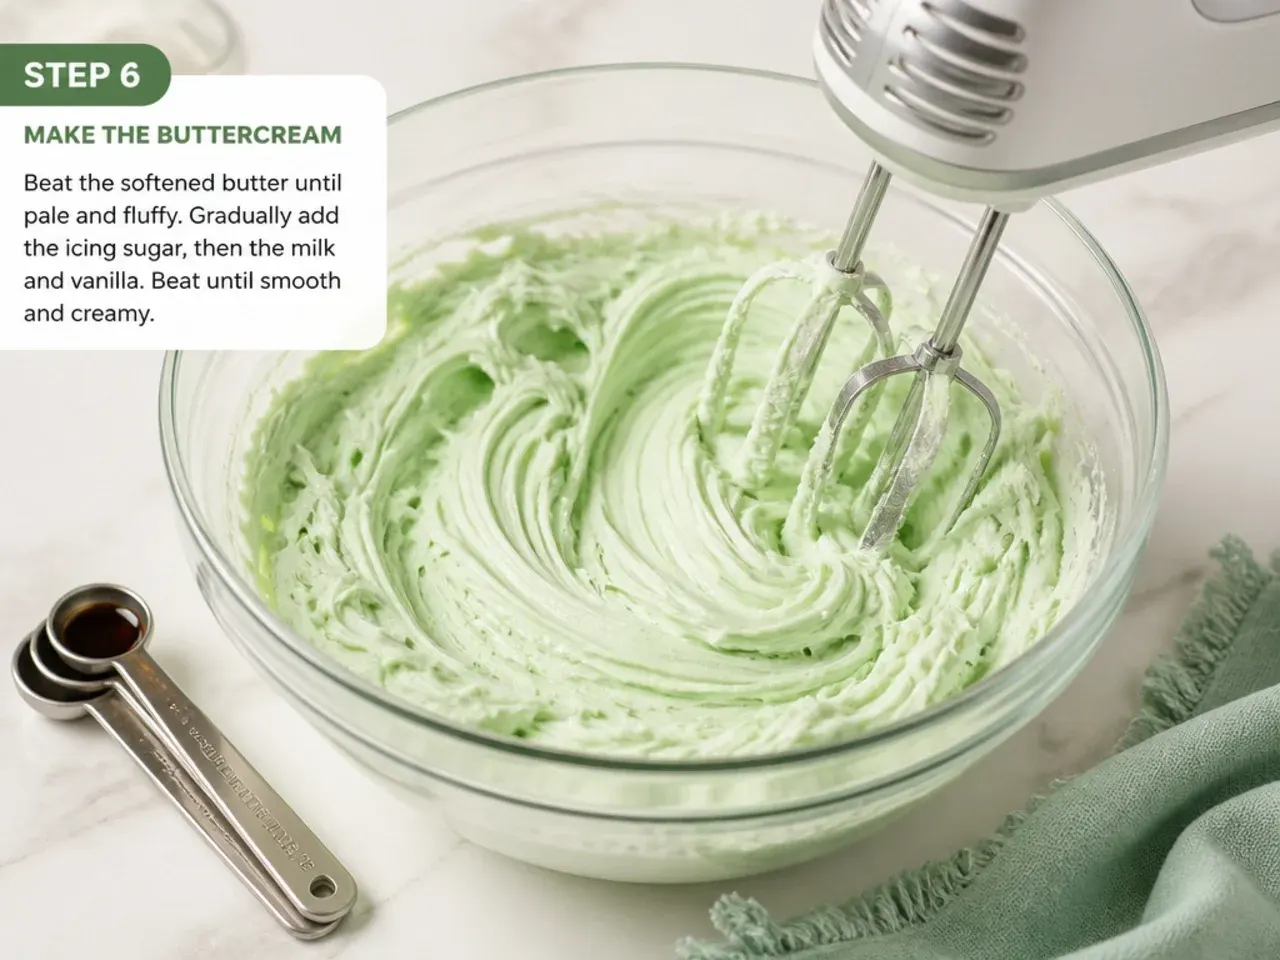
Beat the softened butter for 2 minutes until pale, then add the powdered sugar a cup at a time with a pinch of salt and 3 to 4 tablespoons of milk. Beat 3 minutes until fluffy, and tint green with gel color for a dino landscape base.
Step 7: Fill, crumb coat, and decorate
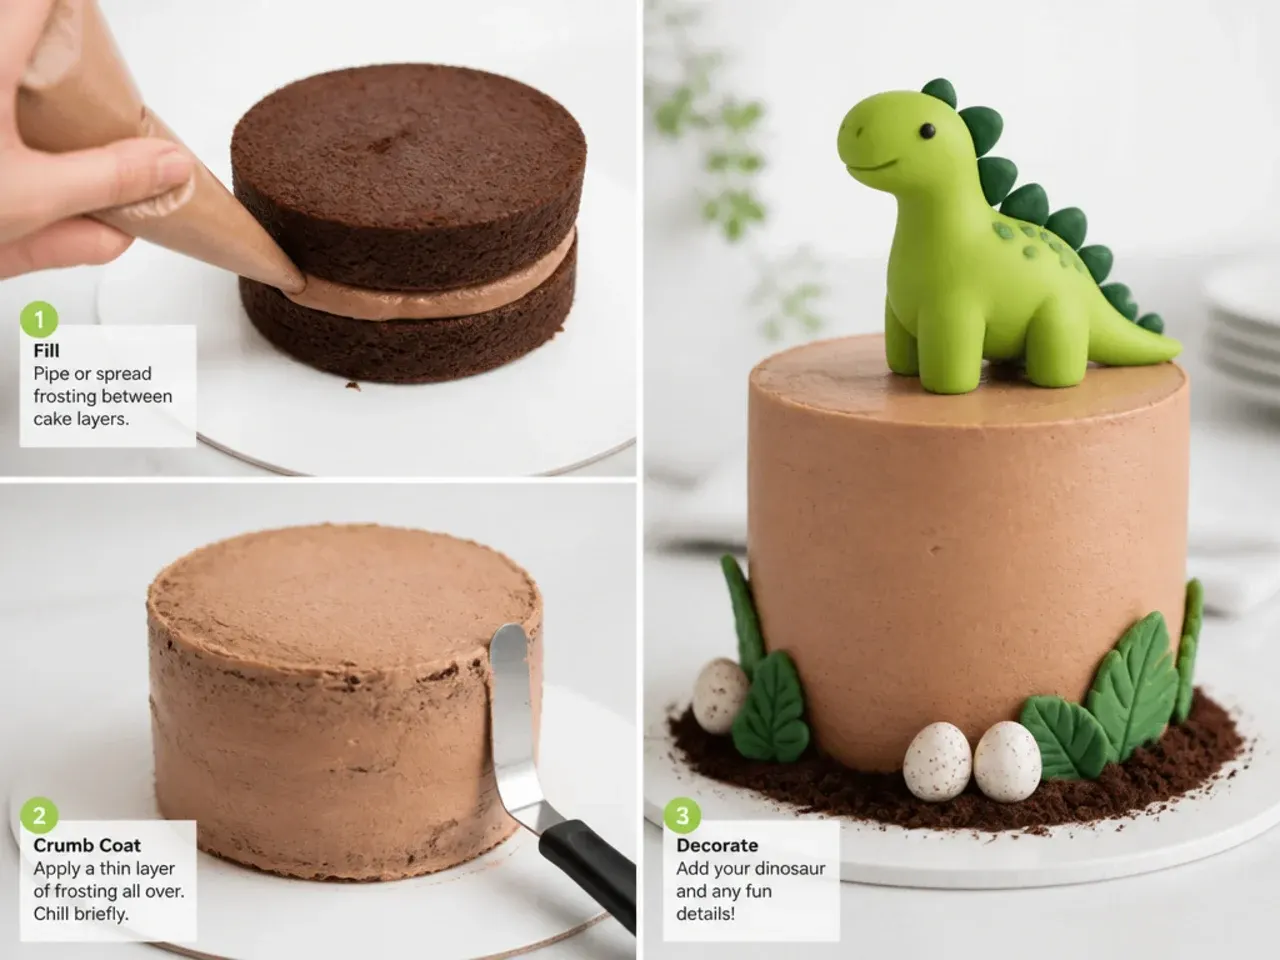
Level the cooled layers, stack with buttercream between them, and spread a thin crumb coat over the whole cake. Chill 30 minutes, apply a final smooth coat, then add your chosen dinosaur cake topper from the ideas above.
Frequently Asked Questions
For light figurines or fondant dinos, press them gently into firm, chilled buttercream so they nestle in. For tall or heavy toppers, push a food-safe skewer or bubble tea straw down through the cake first and slide the topper onto it so it's anchored. Always chill the frosted cake for 20 to 30 minutes before adding toppers so the surface is firm enough to hold them.
Save this for later 📌
Pin this article to your Pinterest board so the full list is one tap away when you need it.
Save on Pinterest