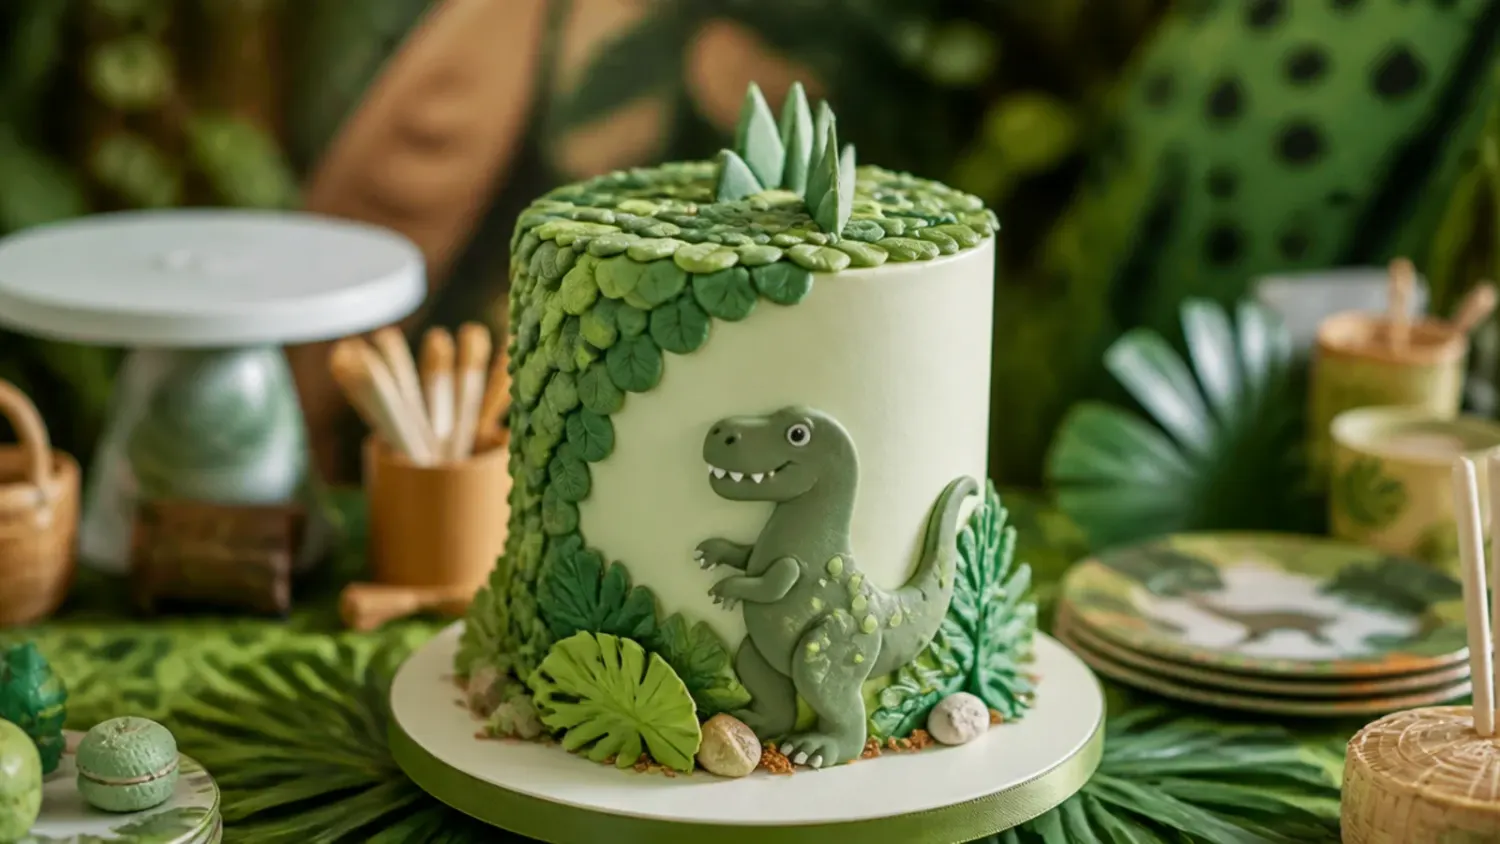
Ingredients 16 Person(s)
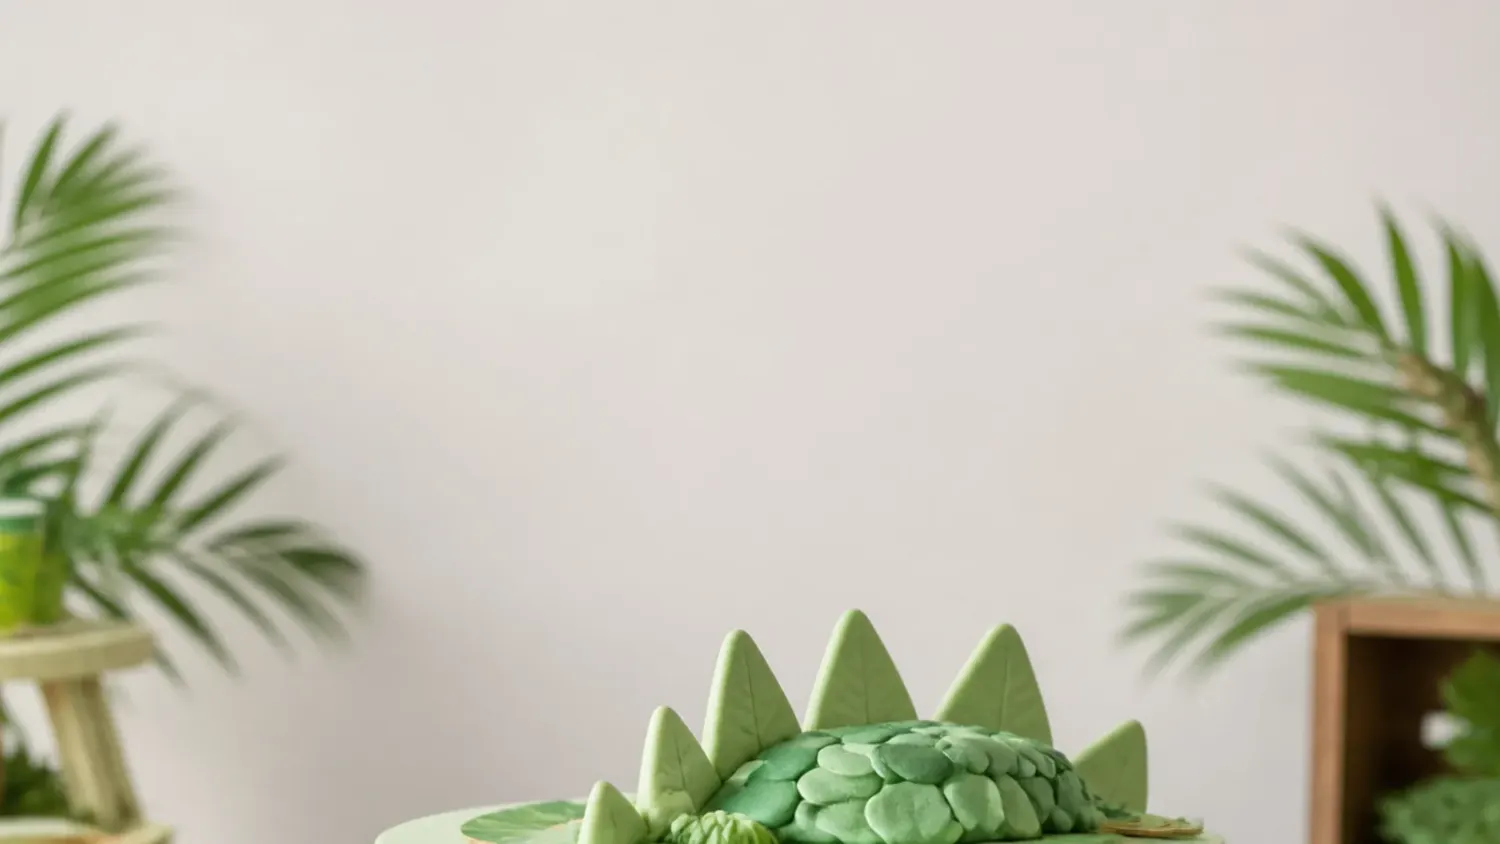
Save this for later 📌
Pin this article to your Pinterest board so the full list is one tap away when you need it.
Save on PinterestDirections
Step 1: Bake the Madeira Base
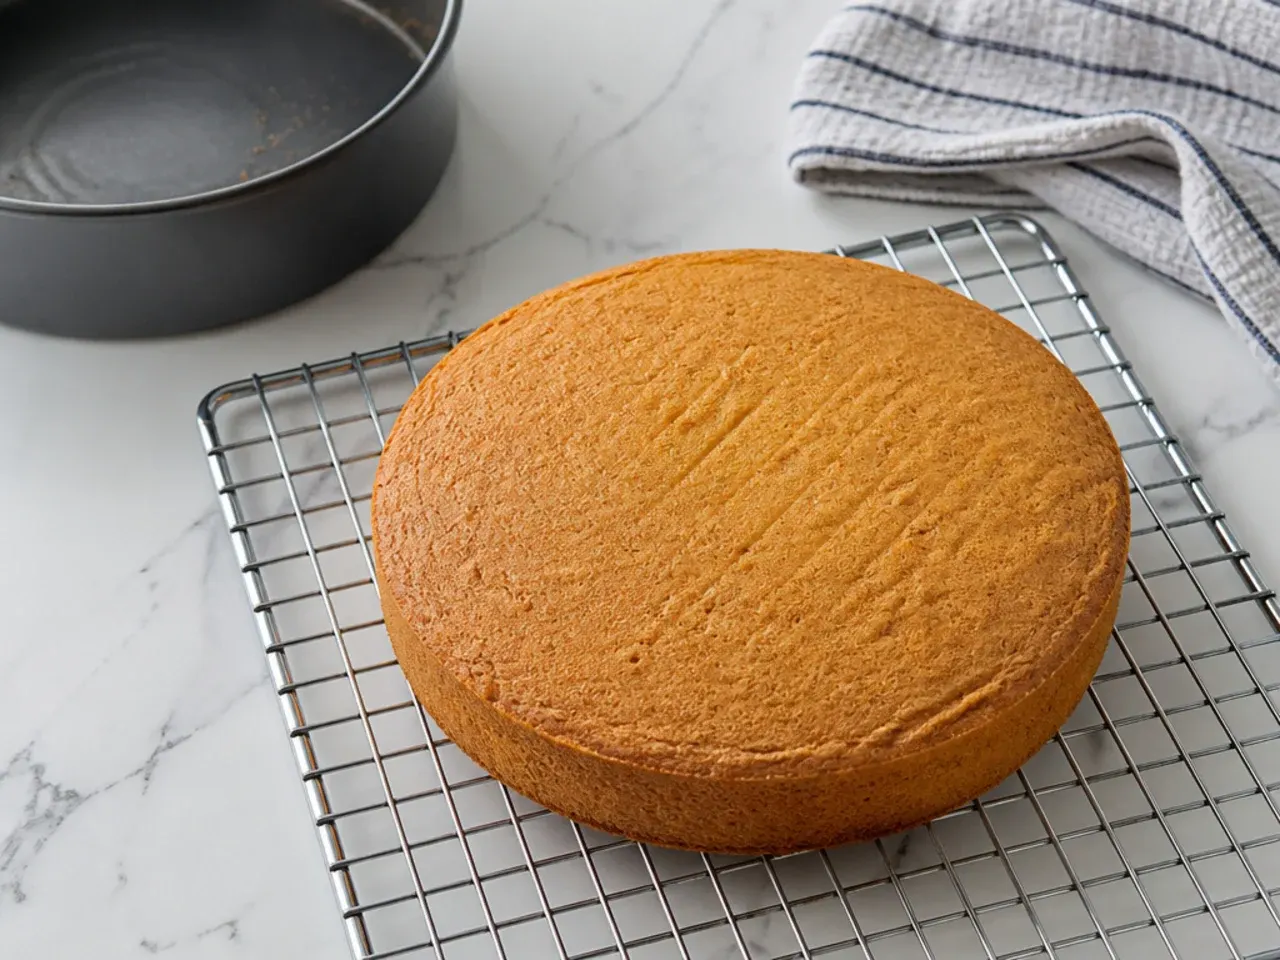
Heat the oven to 160°C (140°C fan) / 325°F and grease and line a 20cm (8 in) round tin at least 7.5cm (3 in) deep. Cream 250g softened butter with the caster sugar for 3-4 minutes until pale and fluffy, then beat in the eggs one at a time, adding a spoonful of the flour with each to stop the mix curdling. Fold in the remaining self-raising and plain flour with the milk and vanilla until smooth. Bake for 75-85 minutes, until a skewer pushed into the centre comes out clean, then cool in the tin for 15 minutes before turning onto a wire rack. Madeira is deliberately dense — it carries the weight of fondant without bulging, where a light sponge would collapse.
Step 2: Level, Fill and Crumb Coat
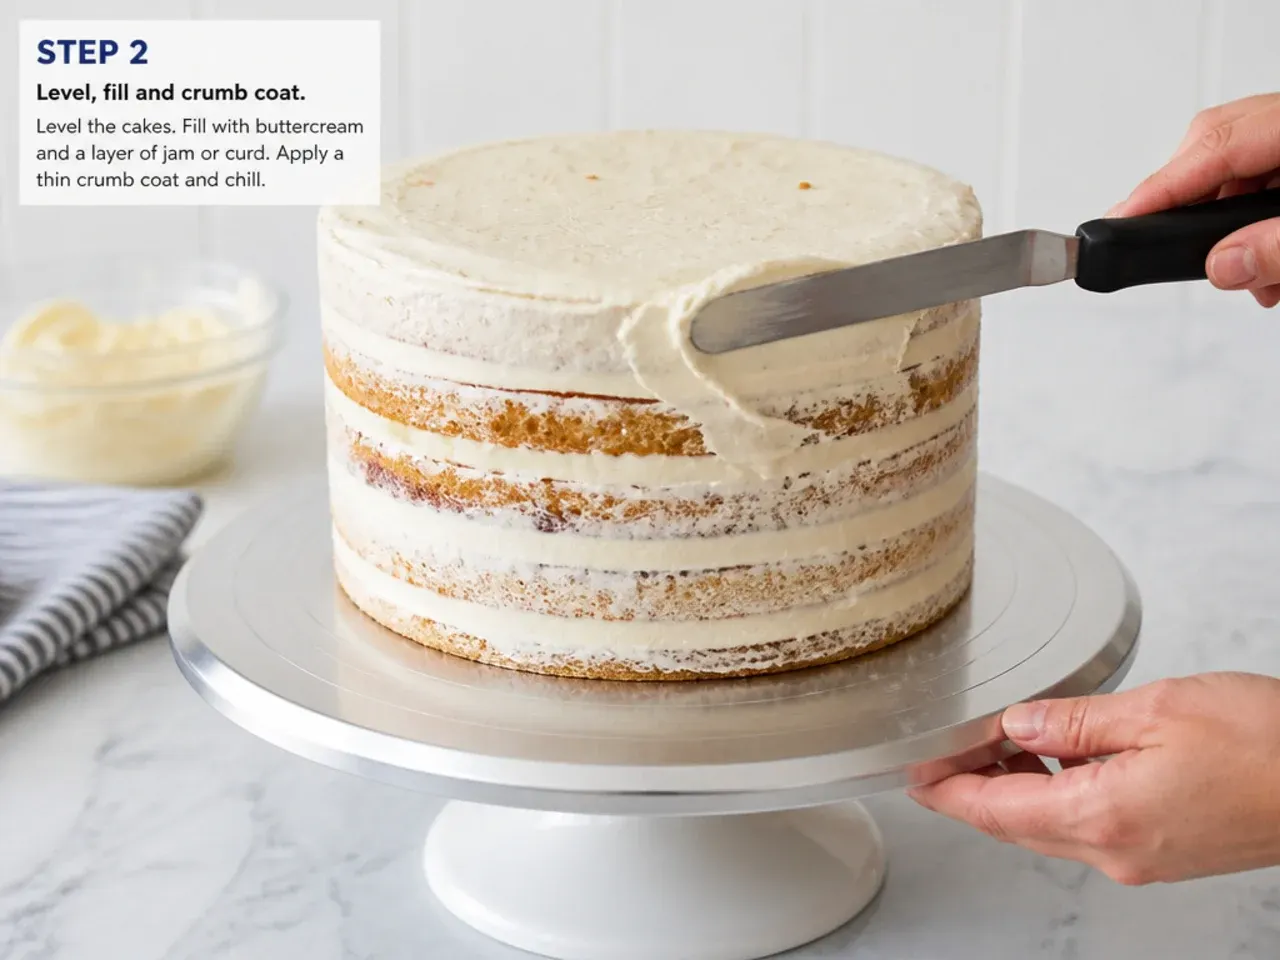
Beat 200g softened butter for 3 minutes, then gradually add the 400g icing sugar with 1-2 tablespoons of milk to make a spreadable buttercream. Once the cake is completely cold, slice off the domed top with a serrated knife so it sits flat, then split it into two even layers. Sandwich the layers with about a third of the buttercream, then spread a thin, even crumb coat over the top and sides — just enough that you can still see the cake through it. Chill for 30 minutes until the surface is firm to the touch; this gives the fondant a smooth, grippy base.
Step 3: Cover the Cake in Green Fondant
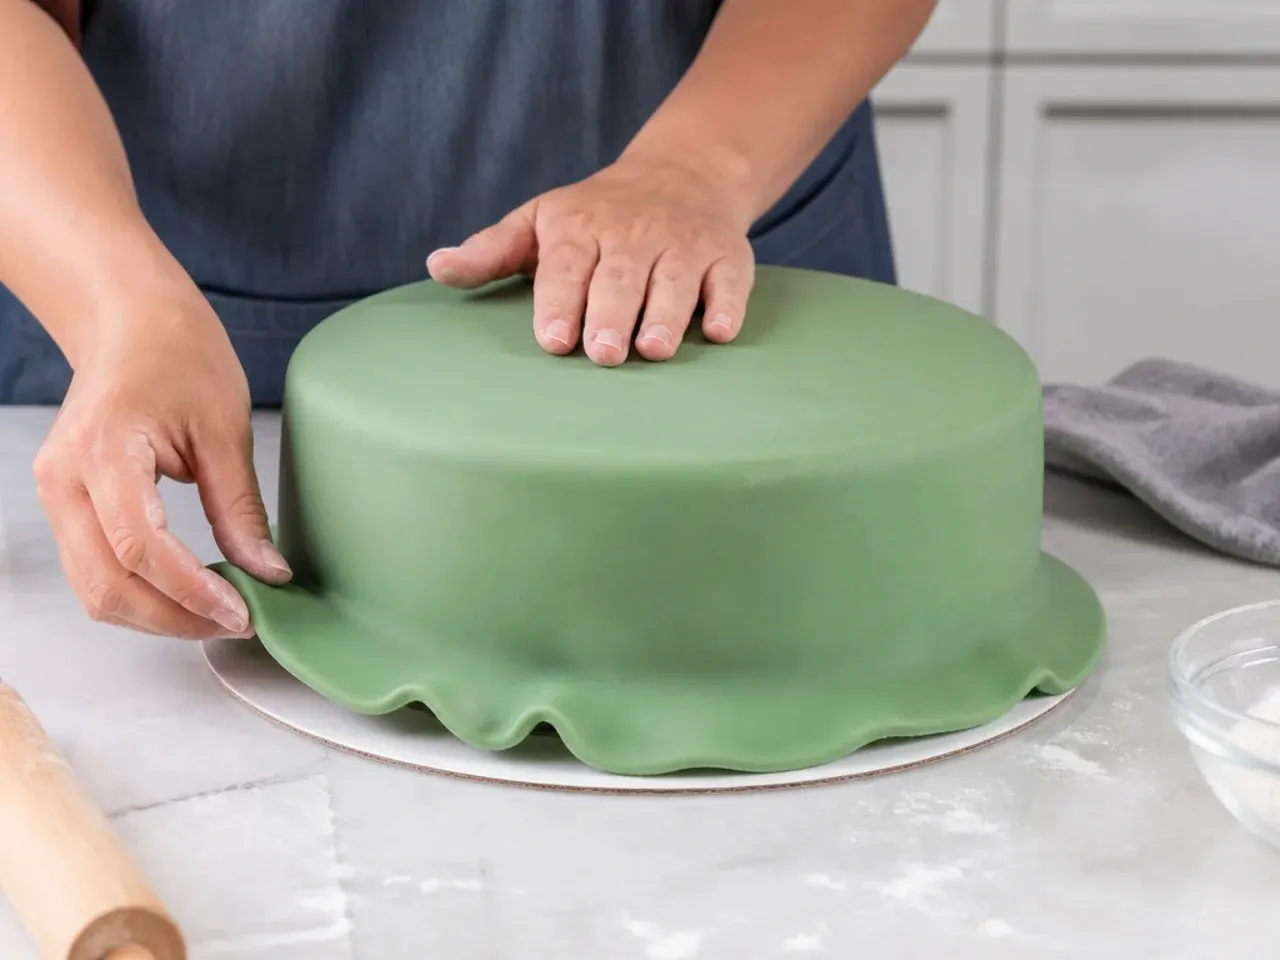
Knead the 750g of green fondant until pliable, then roll it out to 5mm thick on a surface dusted with icing sugar, into a circle roughly 36cm (14 in) across — wide enough for the top plus both sides. Drape it over your rolling pin, lift it centred onto the cake, and smooth the top first with your palm, working outwards. Ease the fondant onto the sides in stages, lifting the skirt out and smoothing downwards so it never pleats, then trim the excess at the base with a pizza wheel or sharp knife. Finish by polishing the whole cake with a cake smoother for sharp, professional edges.
Step 4: Sculpt the Fondant Dinosaur
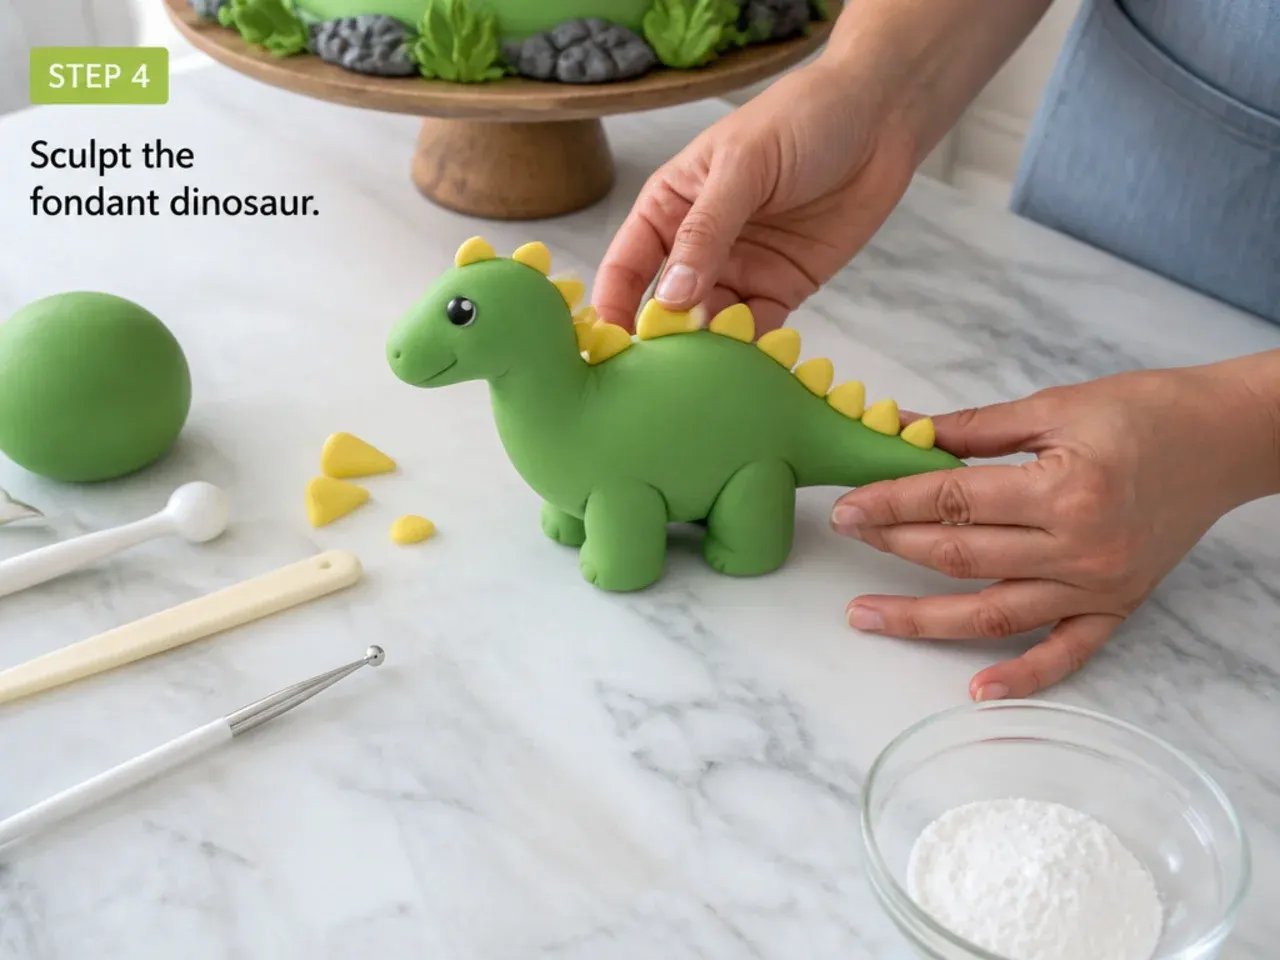
Knead 1/2 teaspoon of CMC powder into about 150g of dark green fondant so it firms as it dries. Roll a fat sausage around 10cm (4 in) long, taper one end to a point for the tail, and curve the other end upwards into a neck. Roll a walnut-sized ball for the head, pinch a gentle snout, and fix it to the neck with a dab of water and a short strand of dry spaghetti for support. Shape four small balls into stumpy legs, press them onto the body, and stand the dinosaur on baking paper to firm up for 1-2 hours — or make it days ahead so it is completely sturdy.
Step 5: Add Spikes, Spots and a Face
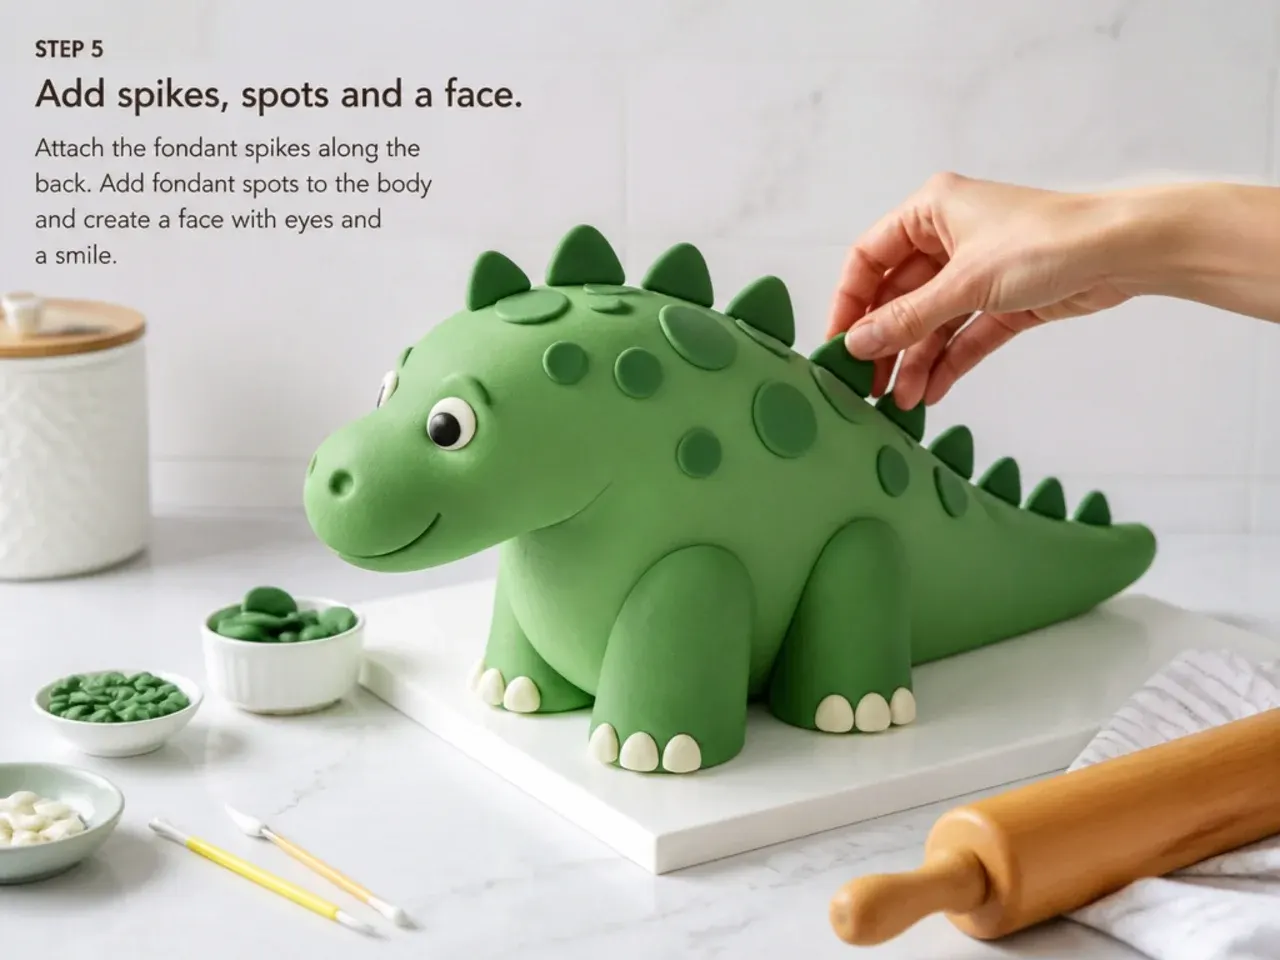
Roll orange fondant to 3mm thick and cut a row of small triangles, from about 2cm down to 5mm, with a sharp knife. Let them firm for 20-30 minutes, then glue them with water in a line down the dinosaur's neck, back and tail, largest in the middle. Roll pea-sized orange balls, flatten them, and stick them along the body as spots. For the face, press on two small white fondant balls, dot the pupils with a black edible food pen, and drag a toothpick tip in a short curve under the snout for a smile.
Step 6: Build the Scene on Top
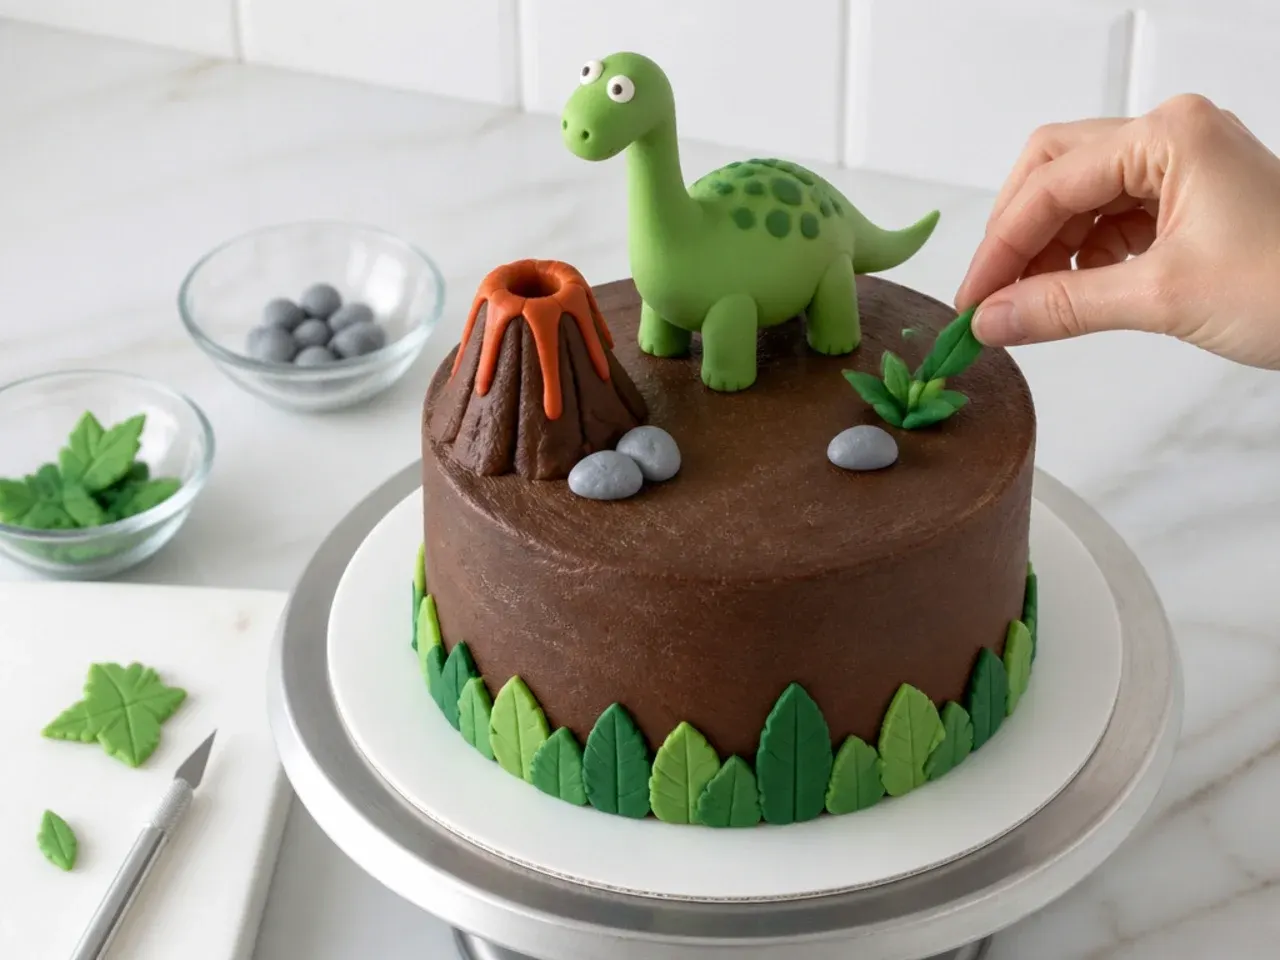
Crush two digestive biscuits and scatter the crumbs in a crescent across the top of the cake as a sandy path. Add two or three rocks rolled from leftover white and grey-tinted fondant, and make a quick palm tree by pushing four leaf shapes of dark green fondant onto the top of a pretzel rod. Sit the dinosaur slightly off-centre on a small dab of buttercream so it holds firm in transit. Keep at least a third of the top clear — empty green space makes the scene read cleaner and leaves room for candles.
Step 7: Finish the Sides and Final Details
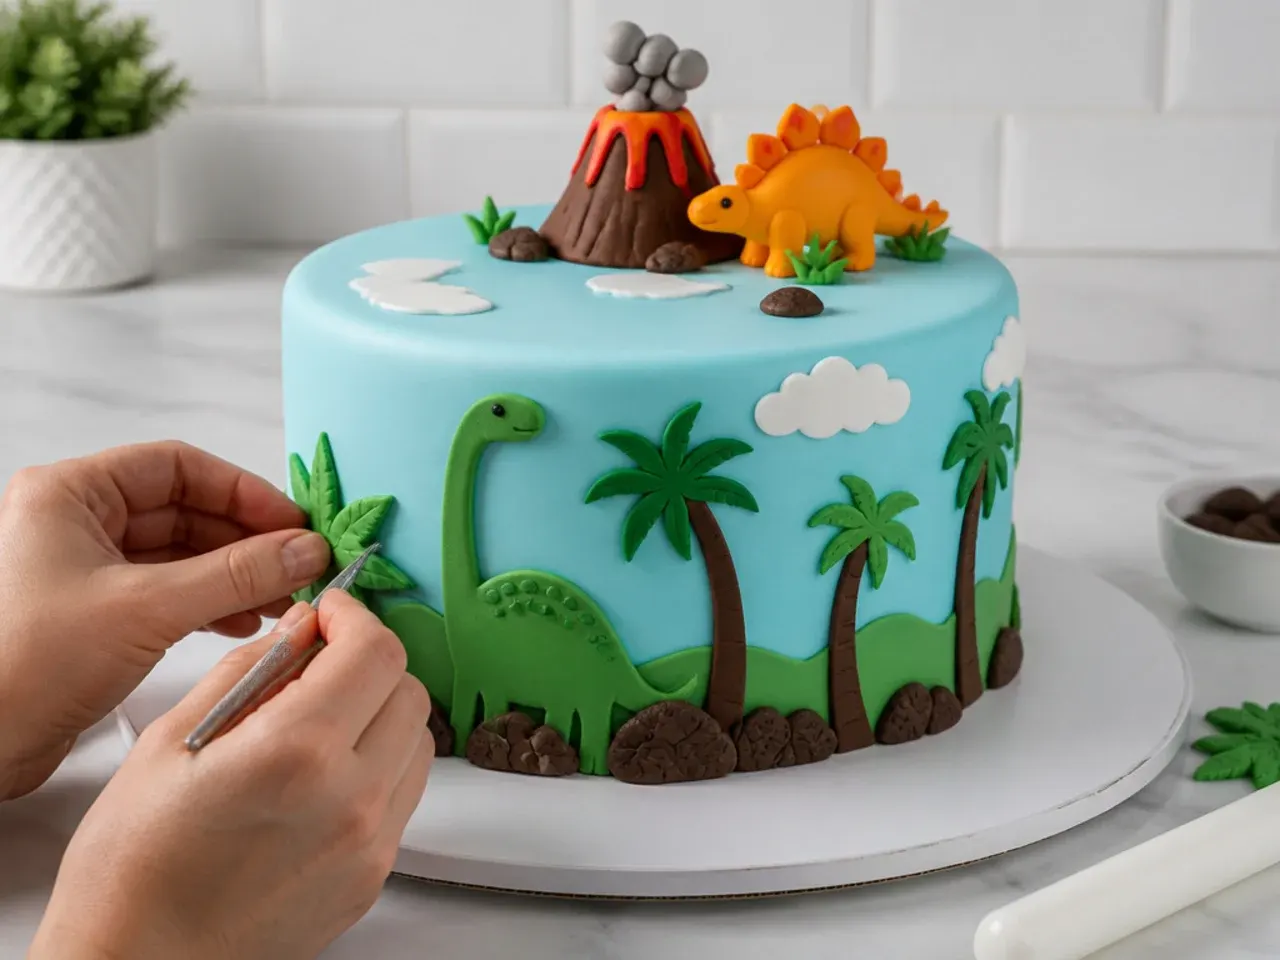
Stamp dinosaur footprints around the sides: press one flattened oval of orange fondant for each pad and three tiny balls above it for toes, spacing prints about 5cm (2 in) apart in a walking line. Cut the birthday name from rolled white fondant with letter cutters and fix it to the front, or write it with the food pen on a white plaque. Run a ribbon around the base board and secure it with a glue dot at the back. Let the finished dinosaur fondant cake settle at room temperature for an hour before moving it — the fondant skin firms and travels far better.
Pro Tips
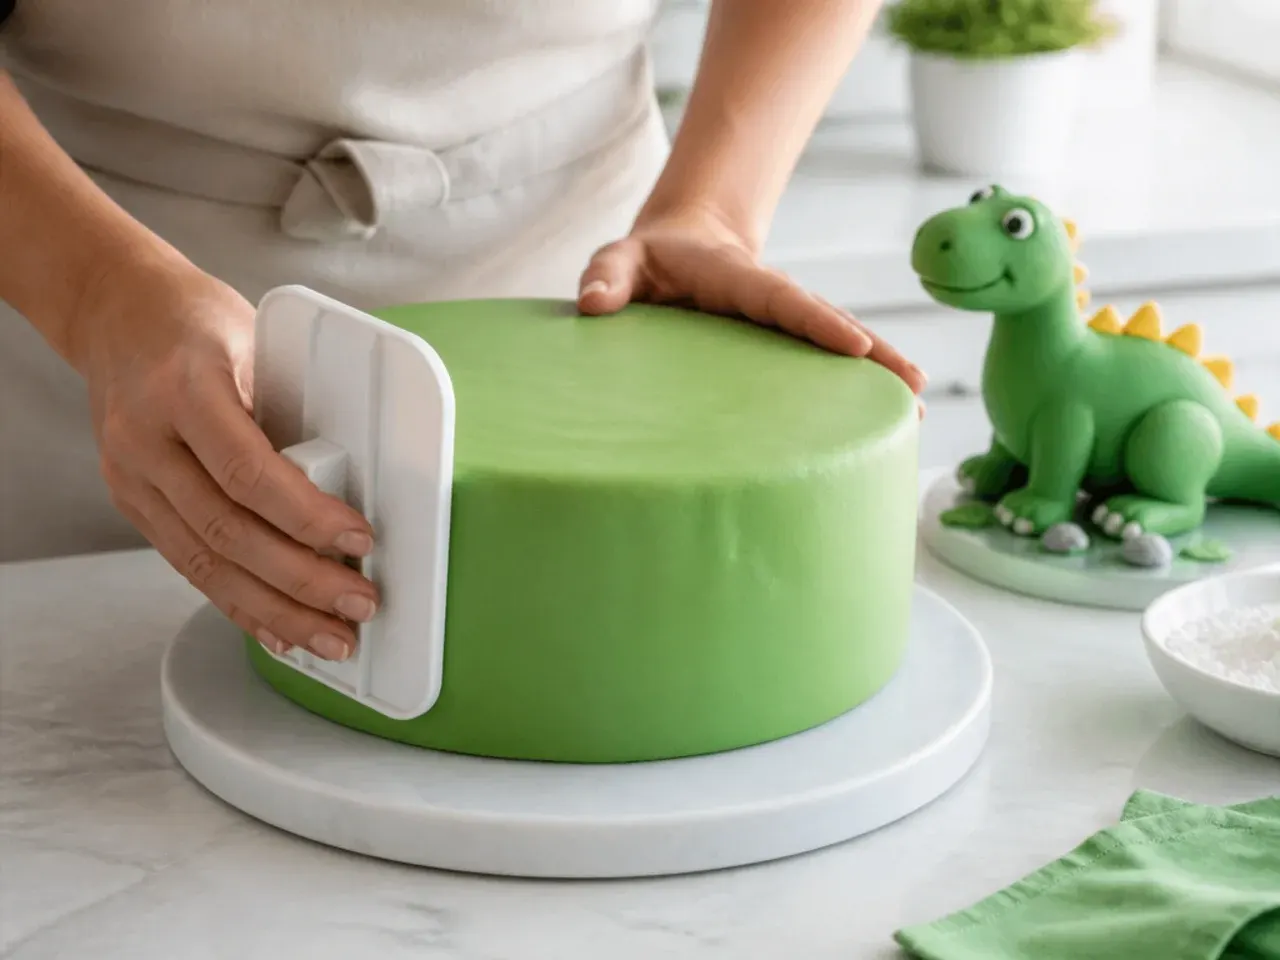
Knead your fondant for a full two minutes before rolling — warm, pliable fondant stretches over the cake instead of cracking at the edges. Roll it to 5mm on a surface dusted lightly with icing sugar, and patch any small tears with a smear of vegetable shortening rather than water, which turns fondant sticky. Firm up the dinosaur's fondant with 1/2 teaspoon of CMC (tylose) powder kneaded into every 150g so the neck and tail hold their shape, and support the head with a strand of dry spaghetti instead of a toothpick — much safer if a child grabs the topper. Pop any air bubbles under the covering with a clean pin pushed in at an angle, then rub the mark away with a cake smoother. Work in a cool room: above about 23°C (73°F), fondant softens quickly and drags out of shape as you lift it.
Storage or Make-Ahead Tips
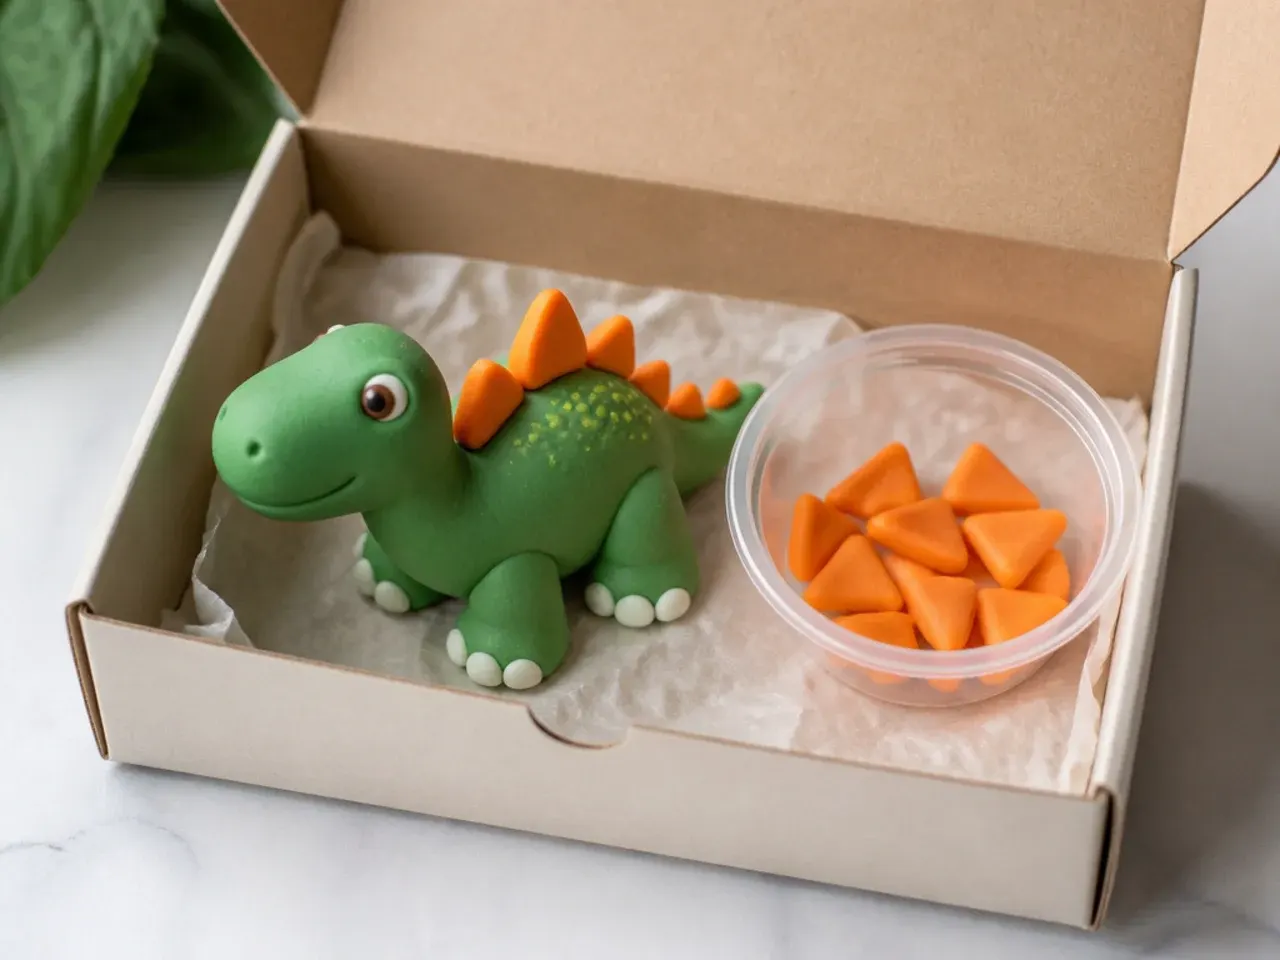
Make the fondant dinosaur, spikes and spots 2-3 weeks ahead and store them in a cardboard box in a cool, dry cupboard — never an airtight tub or the fridge, because trapped moisture makes dried fondant sag and collapse. Bake the madeira up to two days ahead and wrap it well in cling film; it actually levels and covers better on day two, and un-iced it freezes for up to three months. The finished cake keeps 2-3 days at room temperature, around 18-21°C (64-70°F), in a cake box out of direct sunlight. Avoid refrigerating a fondant-covered cake: condensation forms as it comes back to temperature, leaving a sticky surface and bleeding colours. Once cut, press cling film against the exposed sponge, re-box it, and eat within three days.
Make a fun dinosaur fondant cake in 7 simple steps: a sturdy madeira base, smooth green fondant, and a hand-sculpted dino topper beginners can nail. For more dinosaur cake inspiration, browse the full Dinosaur Cake Ideas board — every idea there is written for real home kitchens, not professional bakers.
Frequently Asked Questions
Two to three weeks ahead is ideal, and a month is fine if it is stored well. Keep the dried dinosaur in a cardboard box in a cool, dry cupboard — not an airtight container and never the fridge, as trapped moisture softens dried fondant and the topper can slump. A thin layer of uncooked rice in the bottom of the box helps absorb any humidity.

Related Recipes
Save this for later 📌
Pin this article to your Pinterest board so the full list is one tap away when you need it.
Save on Pinterest