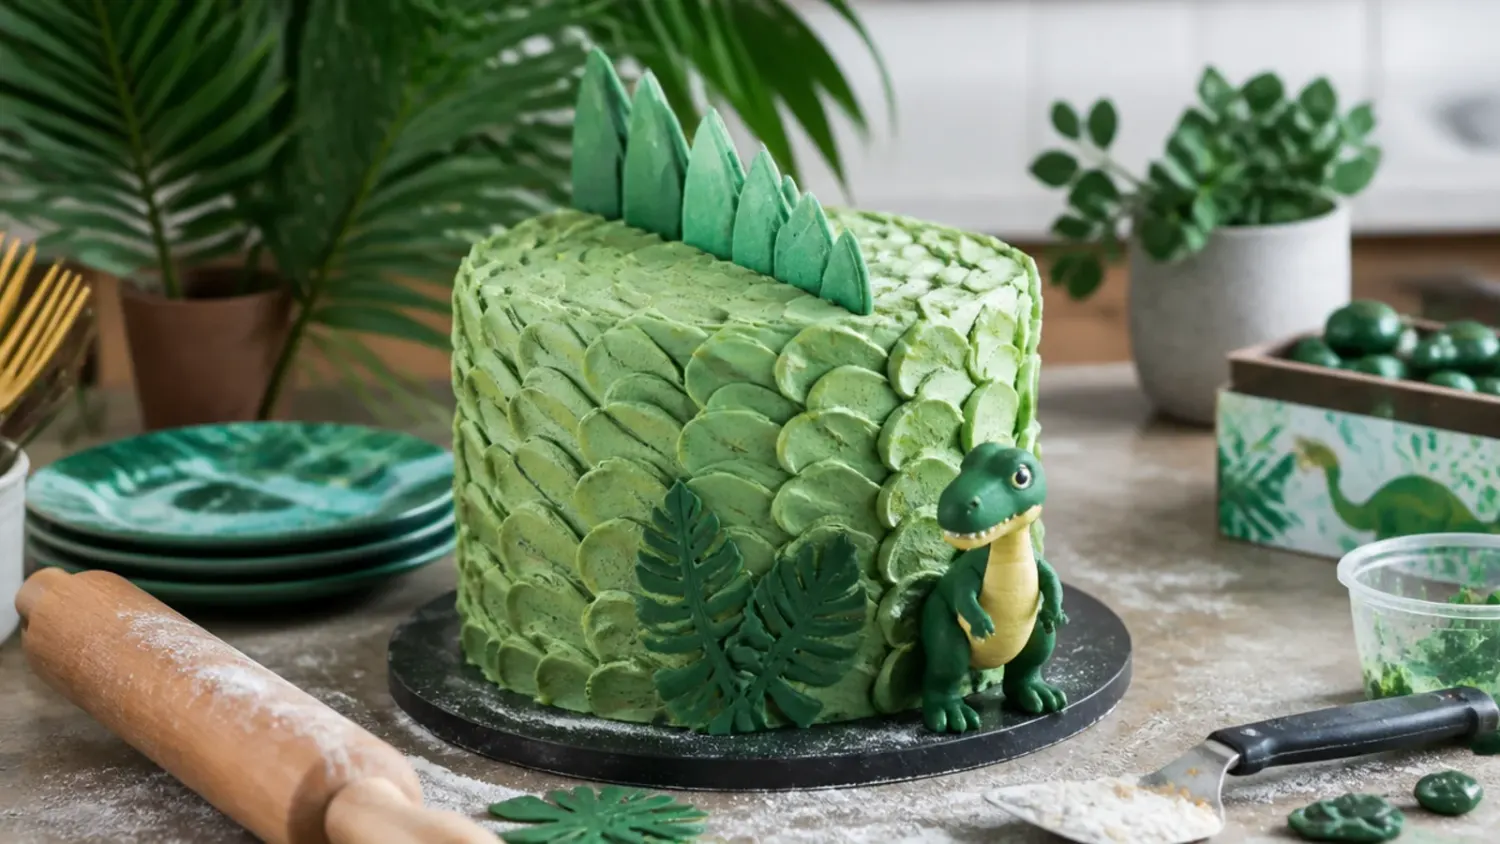
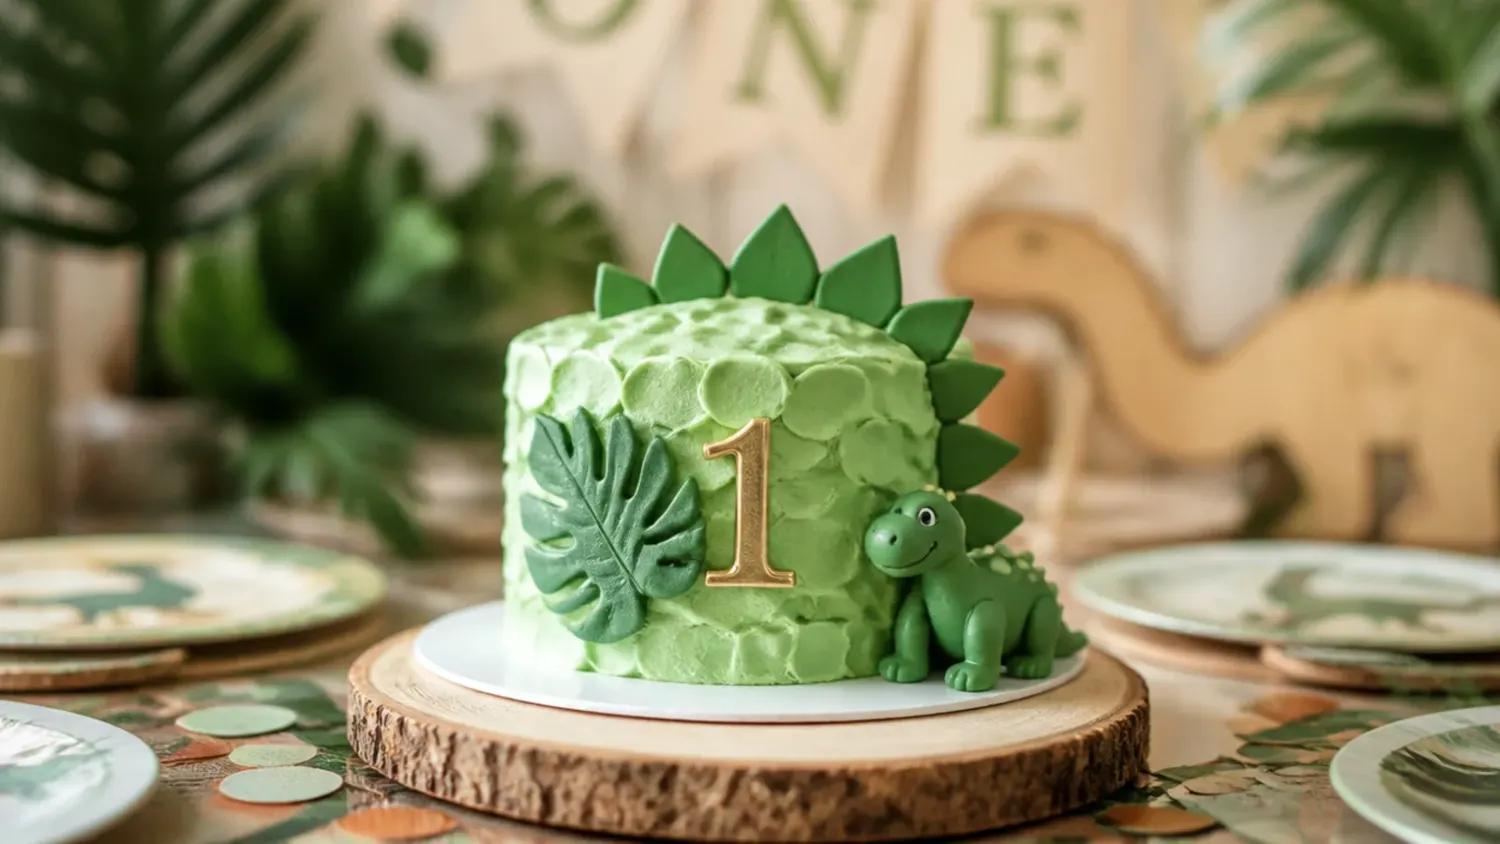
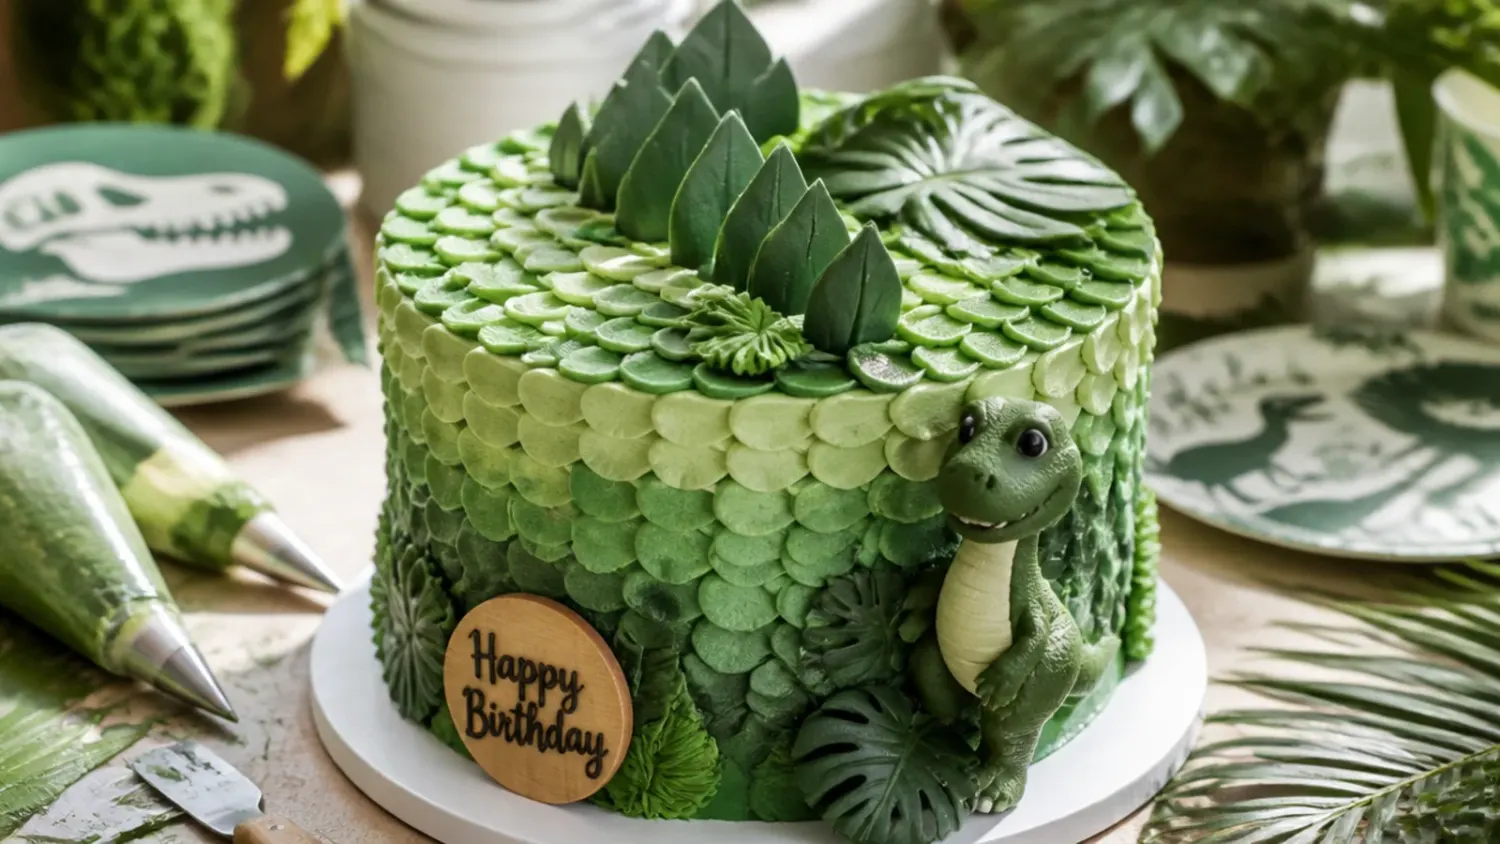
30 Creative Dinosaur Cupcake Ideas to Bake
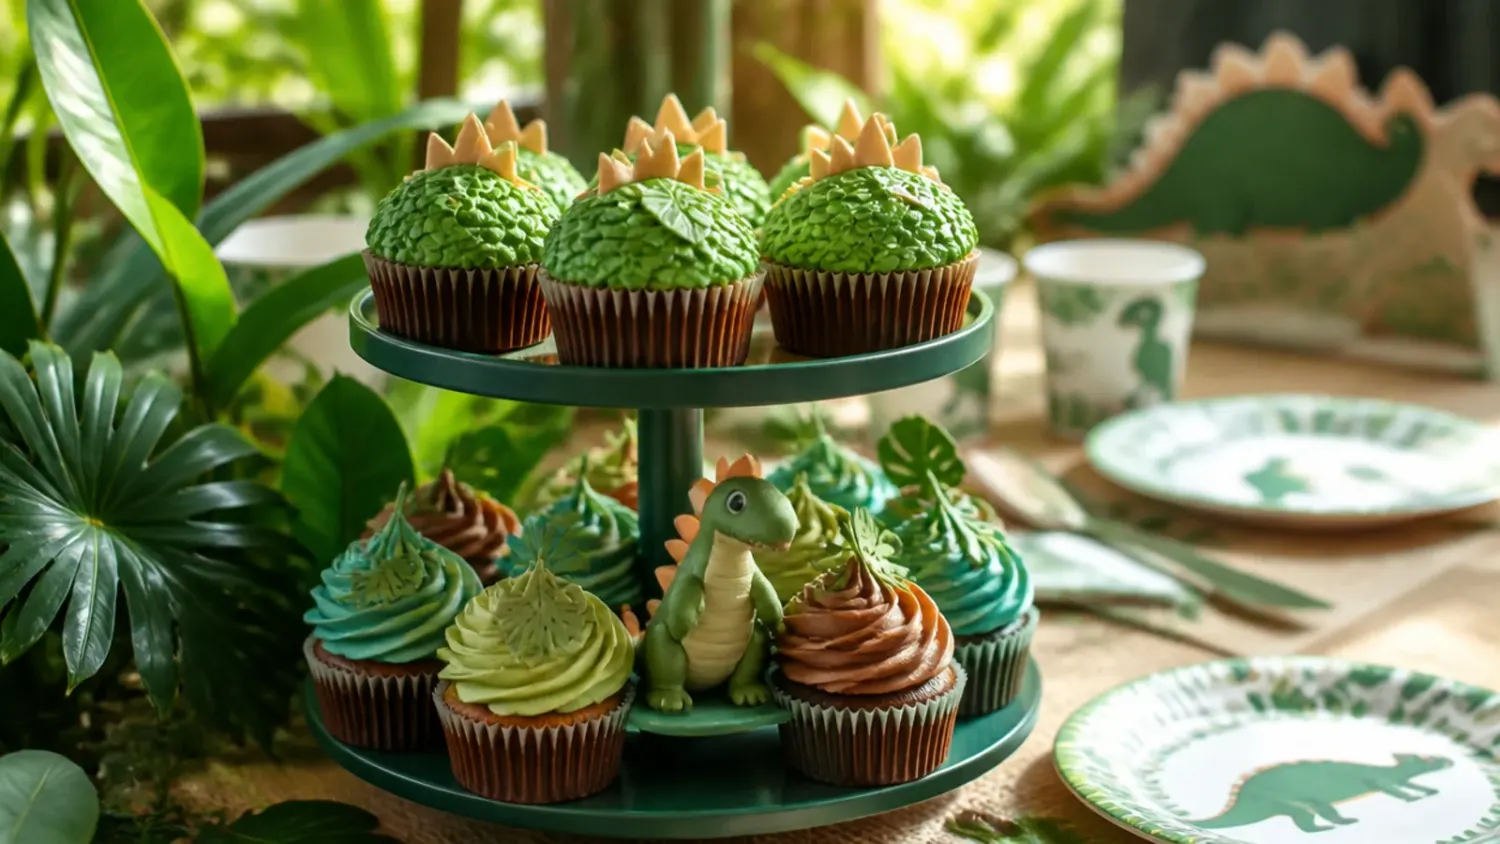
30 creative dinosaur cupcakes to bake at home, from candy-melt spikes to fondant toppers, plus a foolproof base cupcake recipe and pro decorating tips. If you love dinosaur cake inspiration, start with our Dinosaur Cake Ideas collection, then browse the full Cake Ideas hub for more.

Save this for later 📌
Pin this article to your Pinterest board so the full list is one tap away when you need it.
Save on PinterestCake Ideas
Intermediate
Ideas
30 ideas
Table of Contents
- 1. Green Buttercream Swirl Dinosaur Cupcakes
- 2. Candy-Melt Spike Stegosaurus Cupcakes
- 3. Fondant Topper Dinosaur Cupcakes
- 4. Chocolate Dirt and Dino Egg Cupcakes
- 5. Ombre Green Piped Dinosaur Cupcakes
- 6. Toy Dinosaur Topper Cupcakes
- 7. Triceratops Horn Cupcakes
- 8. Minimal One-Color Dino Cupcakes
- 9. Party Sprinkle Confetti Dino Cupcakes
- 10. Volcano and Lava Cupcakes
- 11. Bold Neon Dino Cupcakes
- 12. Delicate Pastel Dino Cupcakes
- 13. Vintage Watercolor Dino Cupcakes
- 14. Dino Footprint Cupcakes
- 15. Charming Baby Dino Hatchling Cupcakes
- 16. Jungle Grass and Fern Cupcakes
- 17. Speckled Dino Egg Cupcakes
- 18. Chocolate Fudge Dino Cupcakes
- 19. Googly-Eye Monster Dino Cupcakes
- 20. Geometric Facet Dino Cupcakes
- 21. Cracked Earth Chocolate-Bark Cupcakes
- 22. Rainbow Scale Dino Cupcakes
- 23. Clean White Fossil Cupcakes
- 24. Birthday Number Dino Cupcakes
1. Green Buttercream Swirl Dinosaur Cupcakes
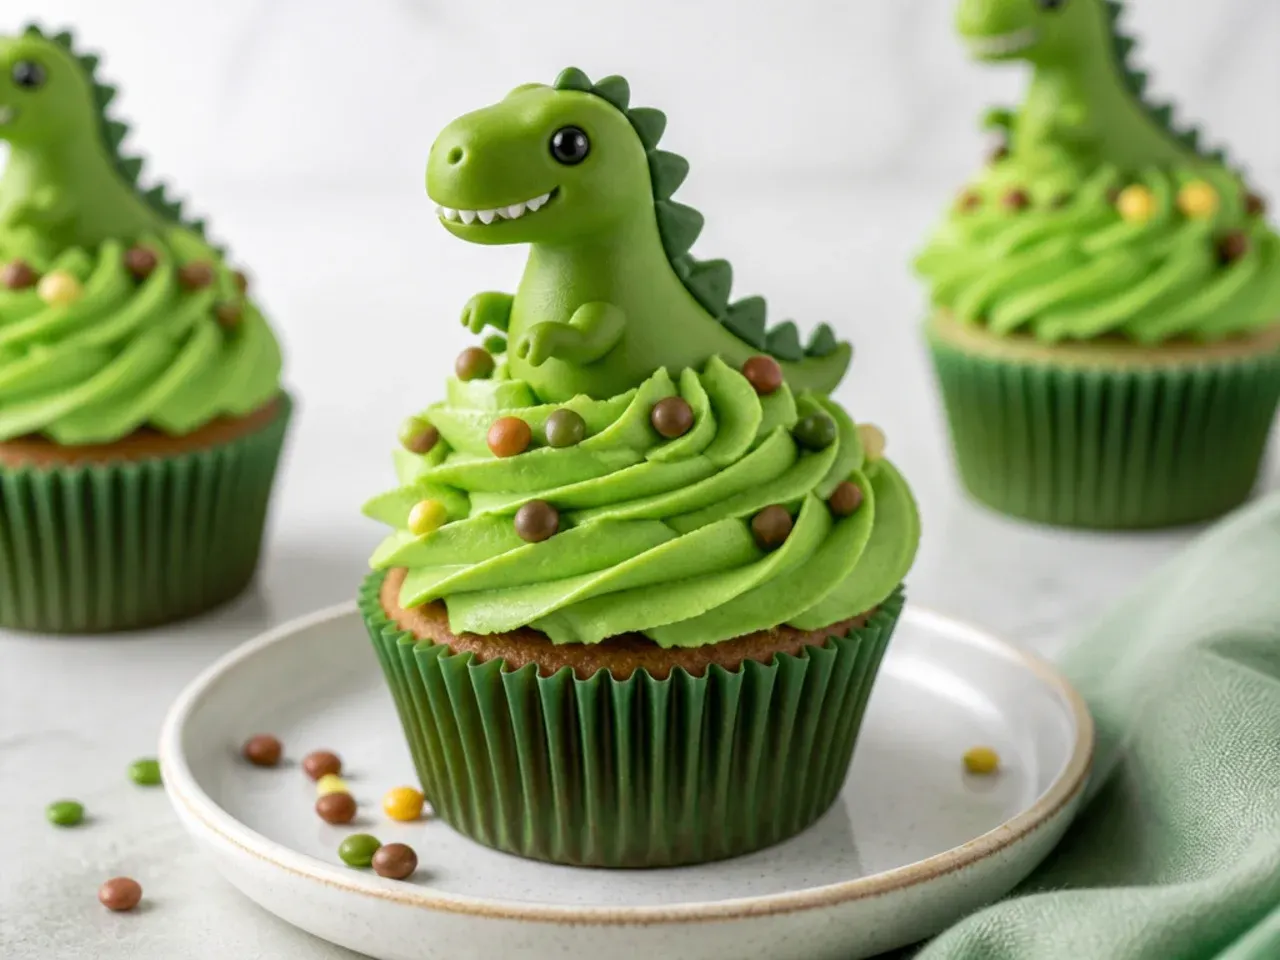
This is the foundation every other idea builds on: a tall buttercream swirl in dino green. Fit a piping bag with a Wilton 1M open star tip and pipe from the outside edge inward, spiraling up to a peak so you get a rounded, mound-like body. For the color, tint your buttercream with 4 drops yellow plus 1 drop blue gel for a fresh grass green, or double the blue for a deeper forest tone. It works because the fat swirl reads instantly as a dinosaur's body and gives you a stable base to press spikes and eyes into.
2. Candy-Melt Spike Stegosaurus Cupcakes
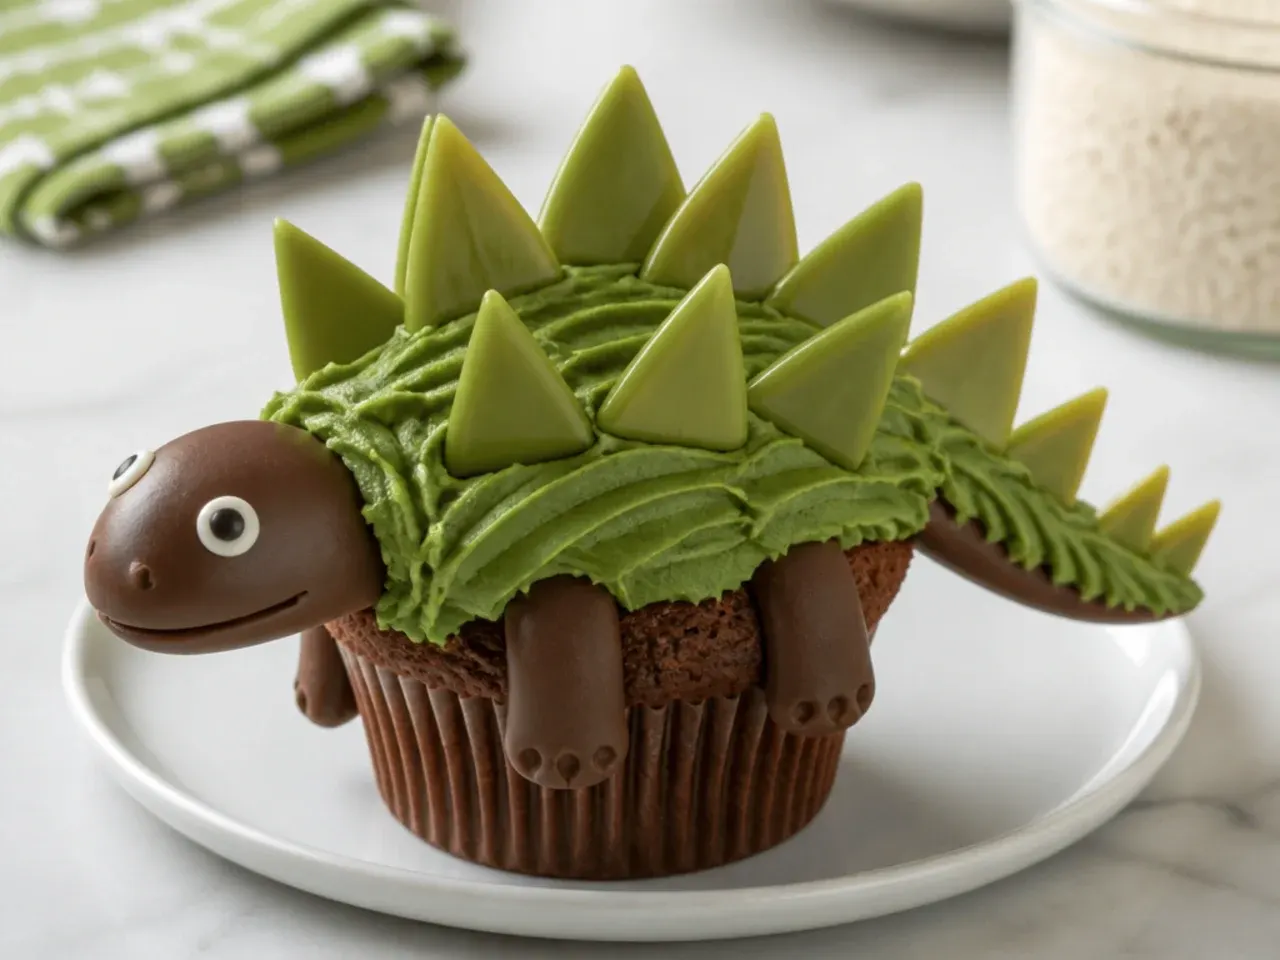
Spikes are what turn a green swirl into an unmistakable dinosaur, and candy melts are the easiest way to make them. Melt green candy melts in 30-second bursts at 50% power, spoon into a squeeze bottle or piping bag, and pipe small triangles onto parchment or a silicone mat; chill 10 minutes until firm, then peel off. Press five triangles down the center of each swirl, alternating slightly front to back rather than in a stiff line so they look like a Stegosaurus's plates. Make these up to a week ahead and store airtight at room temperature, which is why they are the go-to for stress-free party baking.
3. Fondant Topper Dinosaur Cupcakes
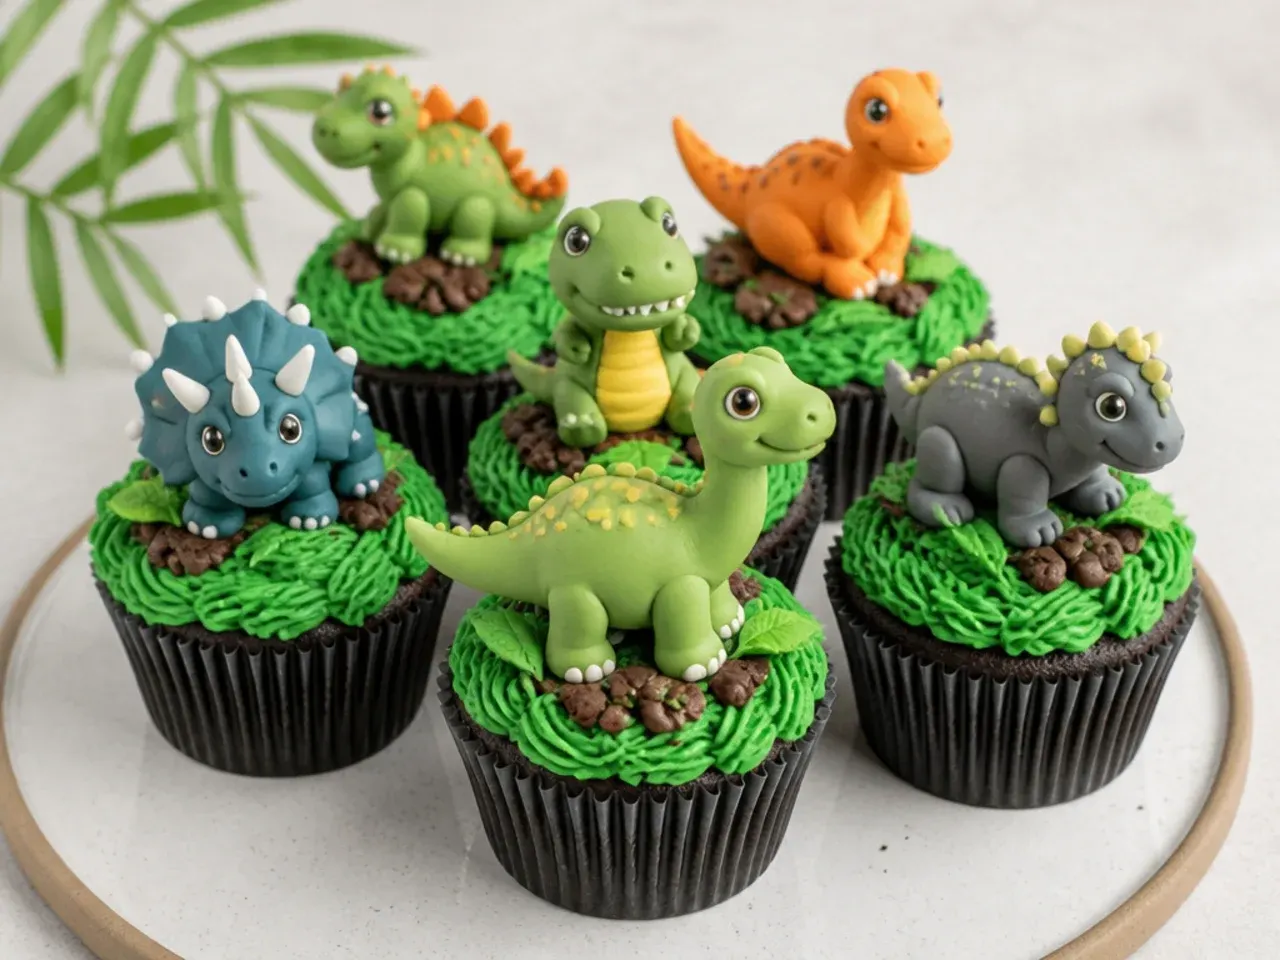
For a polished, bakery look, top each cupcake with a hand-shaped fondant dinosaur. Roll fondant to about 3mm (1/8 inch) thick, cut small triangles with a mini cutter for plates, and shape a walnut-sized ball into a simple rounded body with a tail pinched at one end. Brush the joins with a damp brush to glue pieces together and let them firm up on a tray for a couple of hours so they hold shape. Fondant lets you work in advance and gives crisp, sculptural detail that soft buttercream cannot hold.
4. Chocolate Dirt and Dino Egg Cupcakes
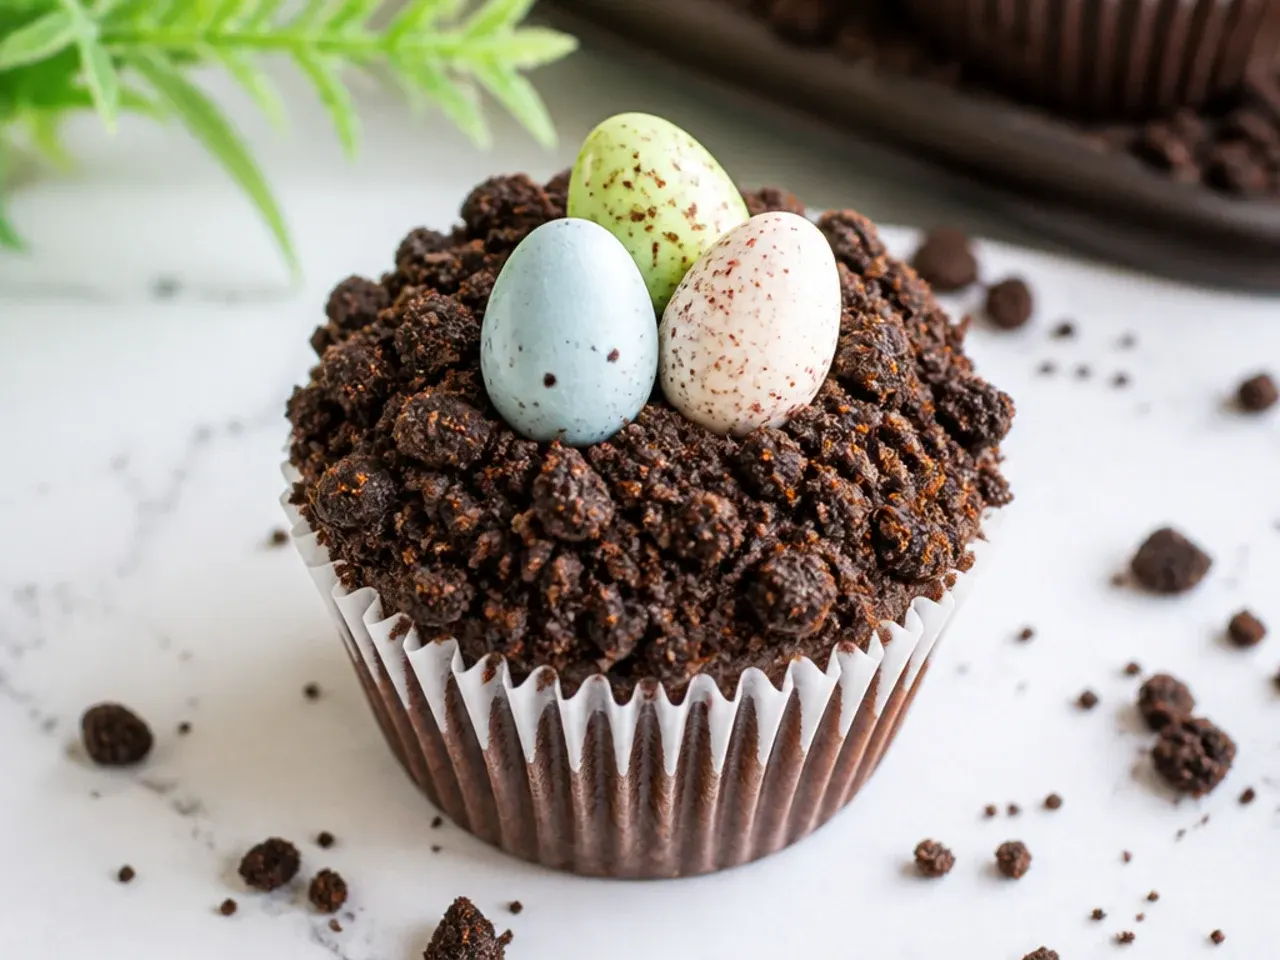
Playful and almost no-skill, these swap smooth frosting for crushed chocolate cookie 'dirt' and a speckled egg. Pipe or spread a thin layer of chocolate buttercream, then dip the top in finely crushed chocolate sandwich cookies or graham crumbs for texture. Nestle a mini speckled egg made from a rolled ball of pale green fondant flicked with brown gel color on a dry brush. It works because kids love the messy, prehistoric-nest look, and the crumb hides any imperfect frosting underneath.
5. Ombre Green Piped Dinosaur Cupcakes
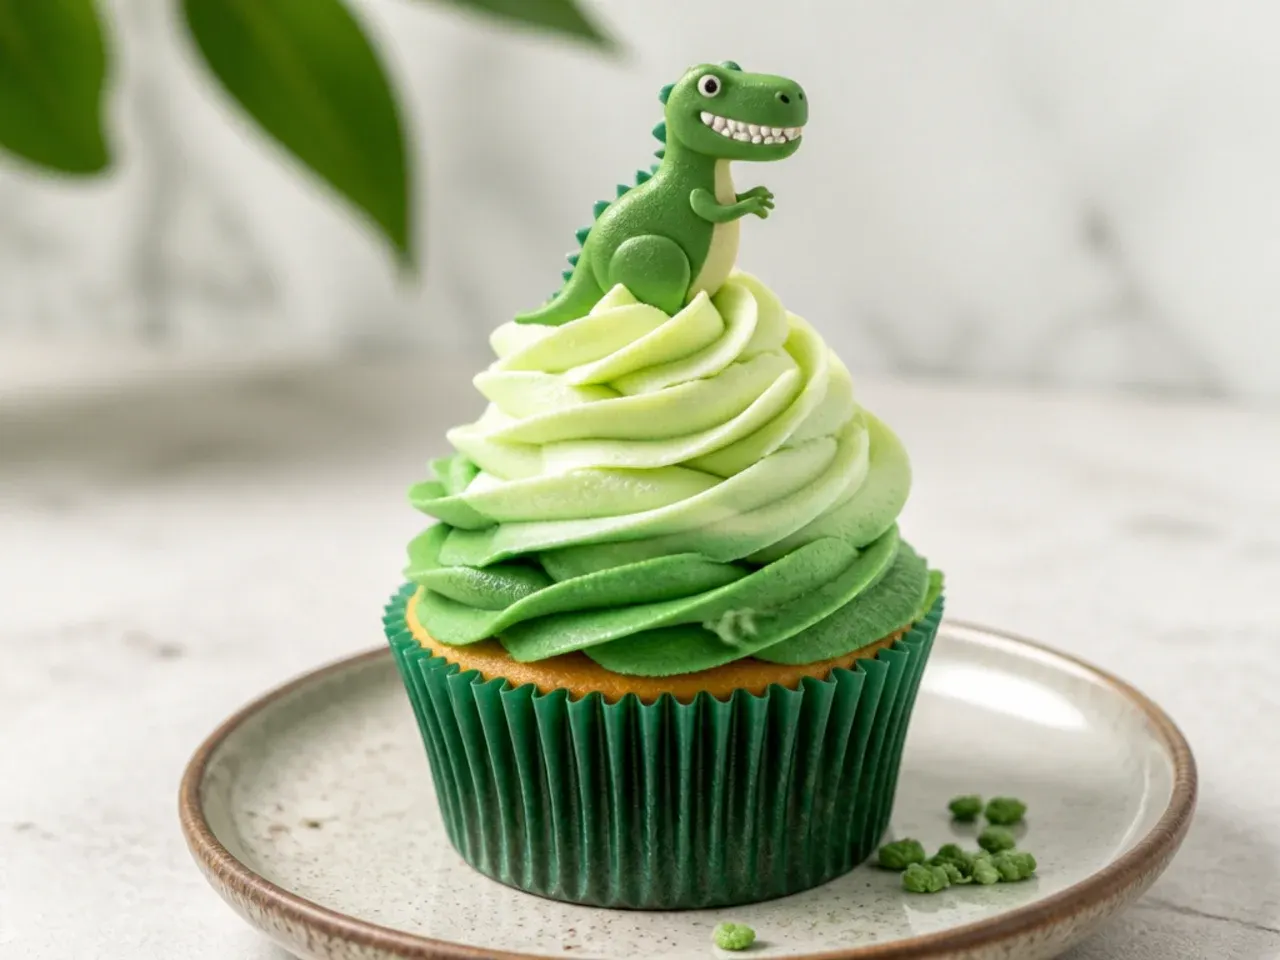
A modern touch: stripe your piping bag so each swirl fades from lime to deep emerald. Paint two or three vertical stripes of green gel food coloring up the inside of an empty piping bag with a small brush, then fill with white buttercream and fit a 1M tip. As you pipe the swirl, the color releases along the walls and blends into a natural ombre reptile skin. The trick reads as skill but takes seconds, making these a favorite for a contemporary dessert table.
Save this for later 📌
Pin this article to your Pinterest board so the full list is one tap away when you need it.
Save on Pinterest6. Toy Dinosaur Topper Cupcakes
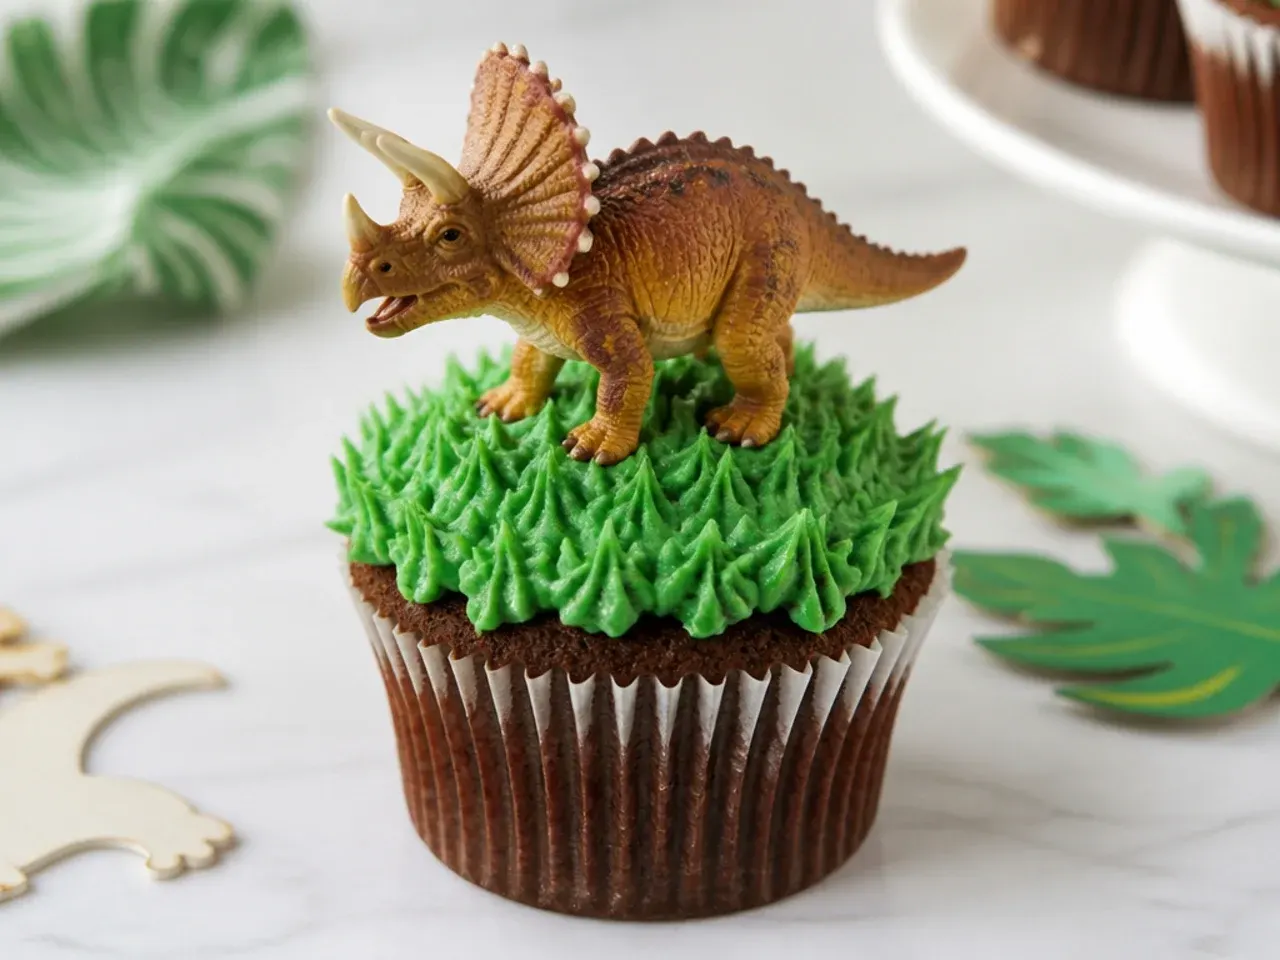
The fastest crowd-pleaser: a swirl of green buttercream crowned with a small plastic toy dinosaur. Pipe a firm swirl, then press a washed mini figure lightly into the frosting just before serving so it stands upright. Scatter a few chocolate rocks or crushed cookie crumbs around the base for a landscape. It works because the toys double as party favors, and you skip all the candy work entirely while still looking festive.
7. Triceratops Horn Cupcakes
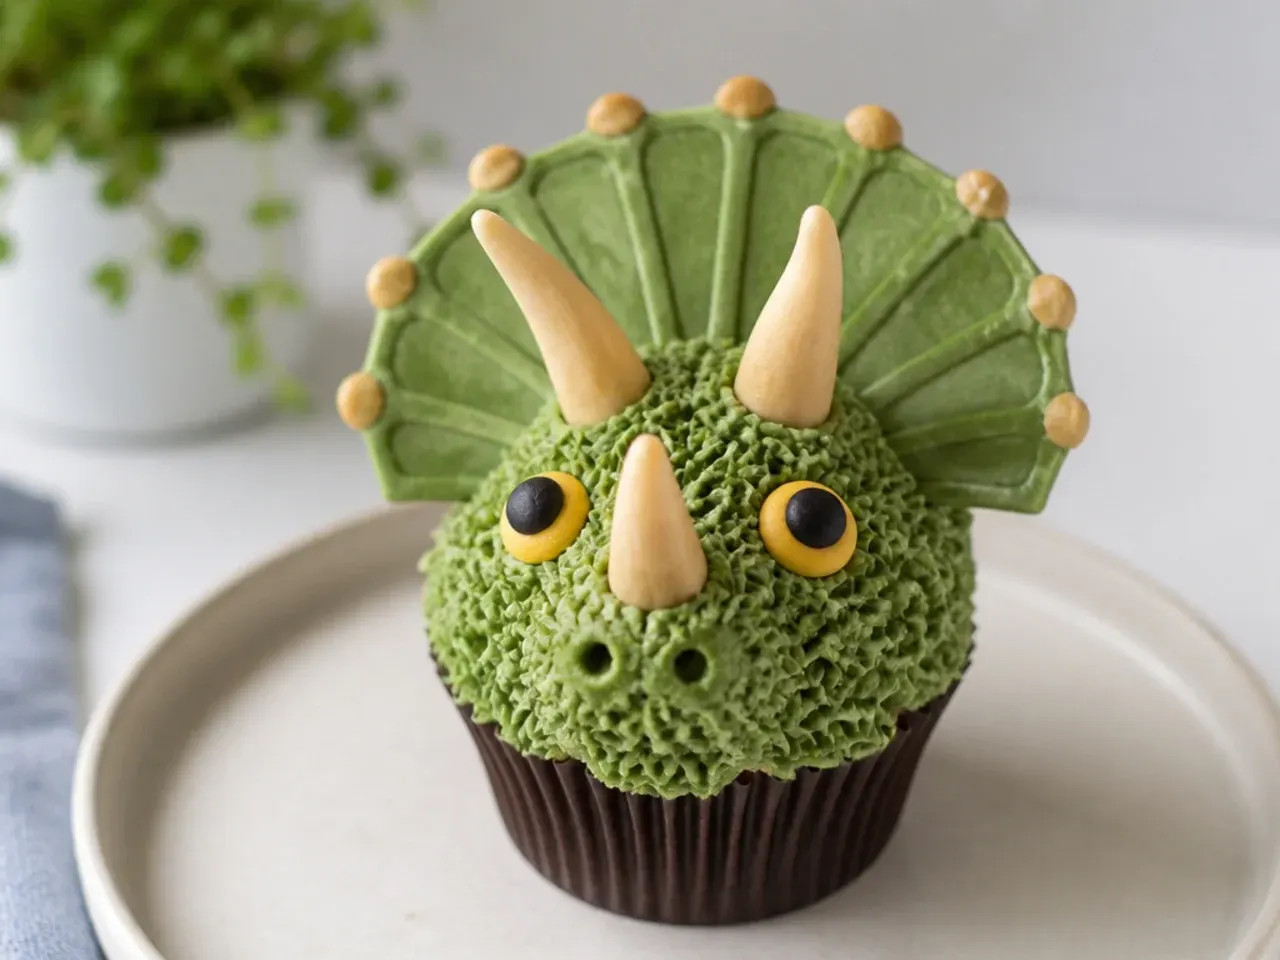
Give your dinosaur cupcakes three distinct horns instead of a row of plates. Cut mini marshmallows in half on the diagonal, or pipe three tall candy-melt cones onto parchment and chill; two go above the eyes and one on the snout. Add a small fondant frill fanned behind the horns using a scalloped-edge trimmed circle for the classic Triceratops silhouette. This idea works because those three horns are instantly recognizable and break up a table full of spiky Stegosaurus swirls.
8. Minimal One-Color Dino Cupcakes
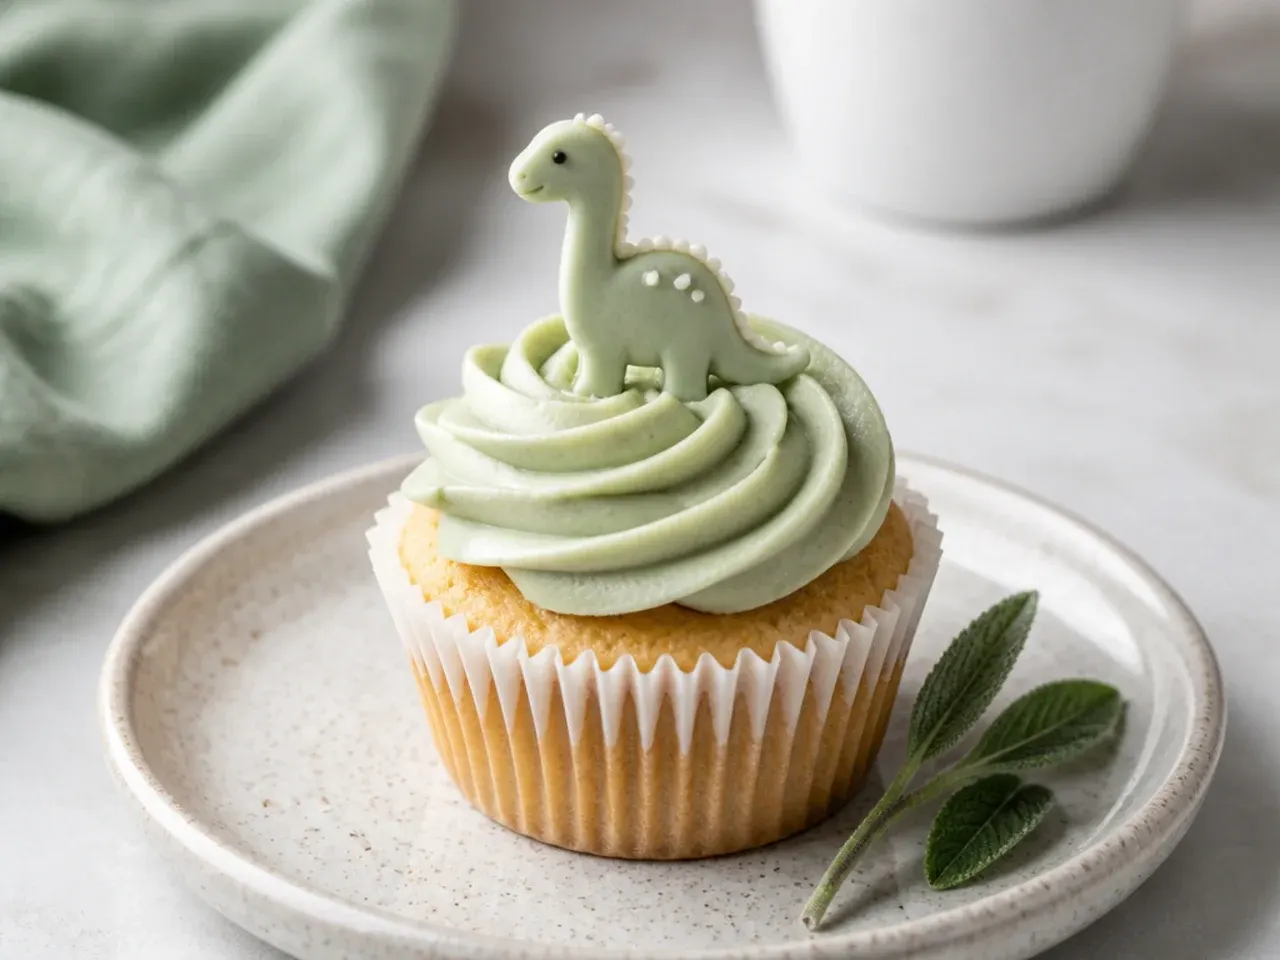
Sometimes restraint looks best: a single smooth dome of muted sage buttercream with one tiny detail. Use an offset spatula to smooth the top flat rather than piping, then add a single fondant spike or a pair of candy eyes. Tint with just a whisper of green so the color reads sophisticated rather than neon. Minimal cupcakes work for grown-up dino themes and photograph beautifully in clean rows without competing for attention.
9. Party Sprinkle Confetti Dino Cupcakes
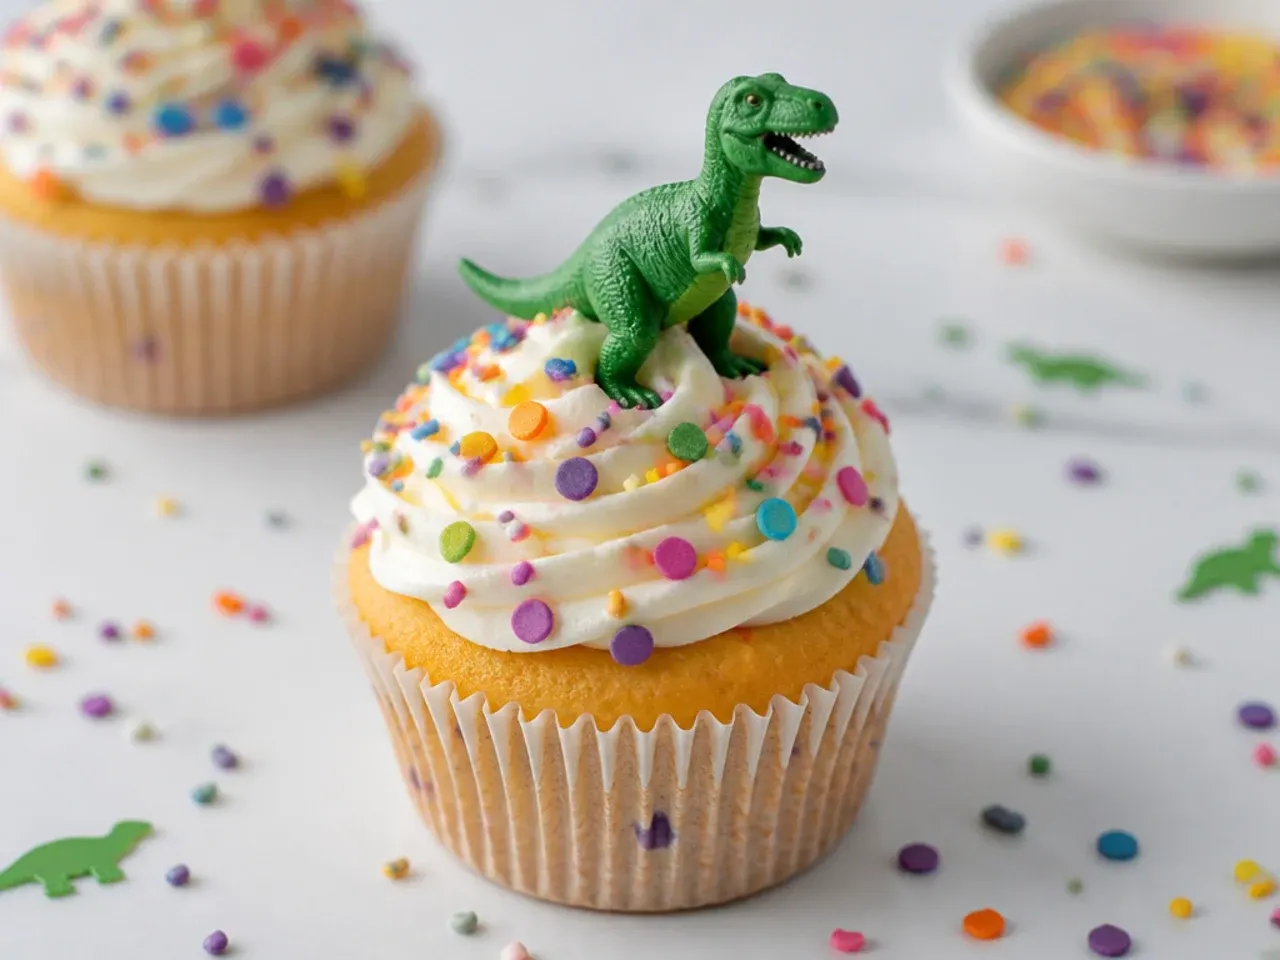
Festive and bright, these fold rainbow jimmies through the batter and pile on more color up top. Stir 2 tablespoons of sprinkles into your base batter just before scooping so they suspend evenly, then pipe a green swirl and shower with dino-shaped confetti quins. Add a candle-friendly flat top by piping a rosette rather than a tall cone. These are the birthday-table workhorse because the confetti signals celebration the moment the box opens.
10. Volcano and Lava Cupcakes
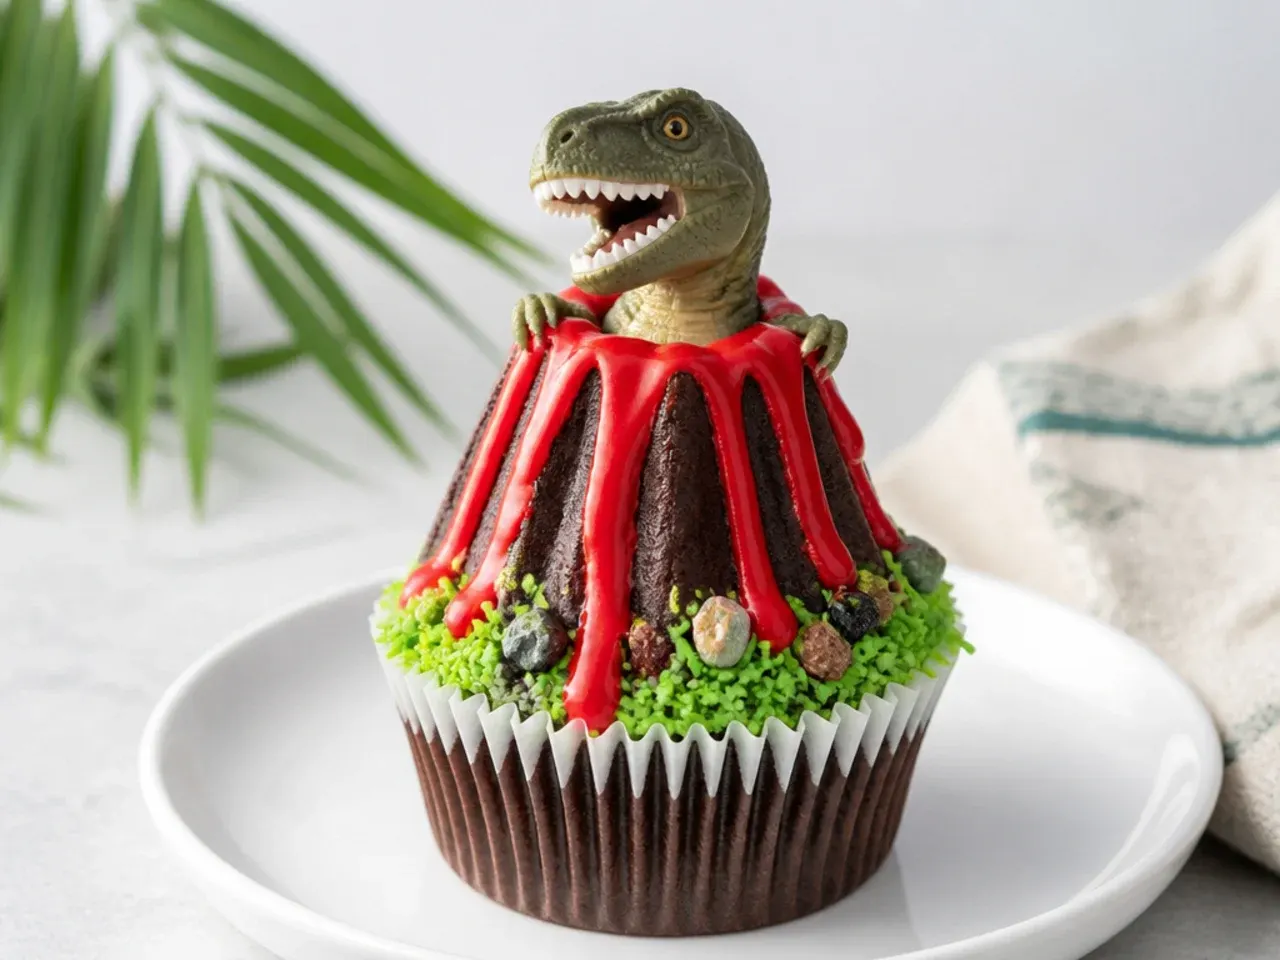
Build a prehistoric scene by turning the cupcake into an erupting volcano. Pipe chocolate buttercream into a cone shape, leaving a shallow crater at the top, then spoon in warmed red and orange candy melt or a red gel-tinted white chocolate to look like lava dribbling over the sides. A dusting of crushed graham 'ash' at the base finishes it. Whimsical and dramatic, these anchor a dino landscape and pair naturally with the spiked cupcakes around them.
Save this for later 📌
Pin this article to your Pinterest board so the full list is one tap away when you need it.
Save on Pinterest11. Bold Neon Dino Cupcakes
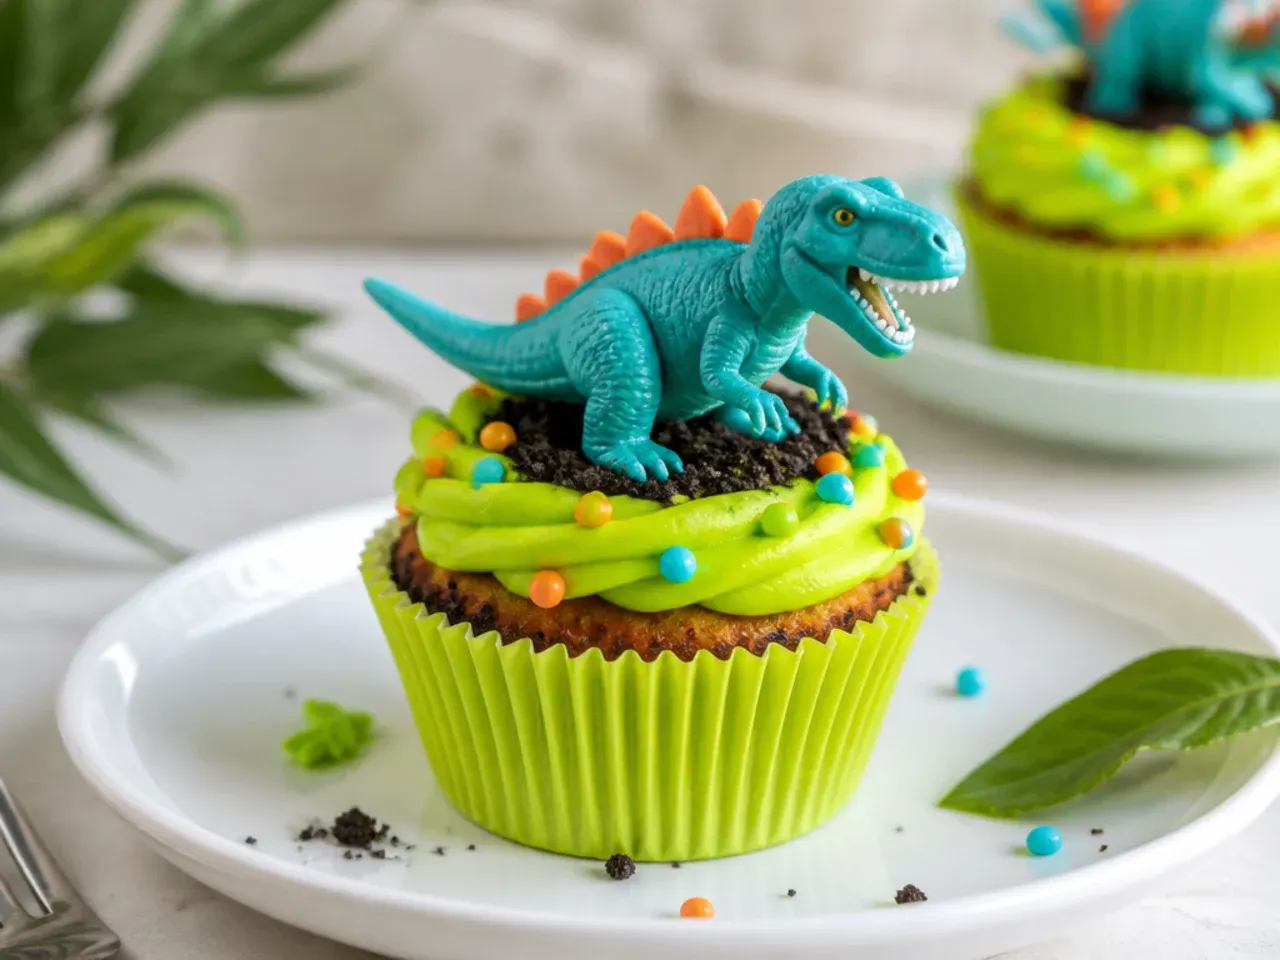
Turn up the volume with high-saturation color for a loud, graphic look. Use concentrated gel colors to make electric lime, hot orange and turquoise buttercream, then pipe each cupcake a different bright shade for a rainbow of dinosaurs. Match neon candy-melt spikes to contrasting swirls, like orange spikes on a turquoise body. Bold color reads well from across a room and photographs vividly, which is why it suits a big, energetic kids' party.
12. Delicate Pastel Dino Cupcakes
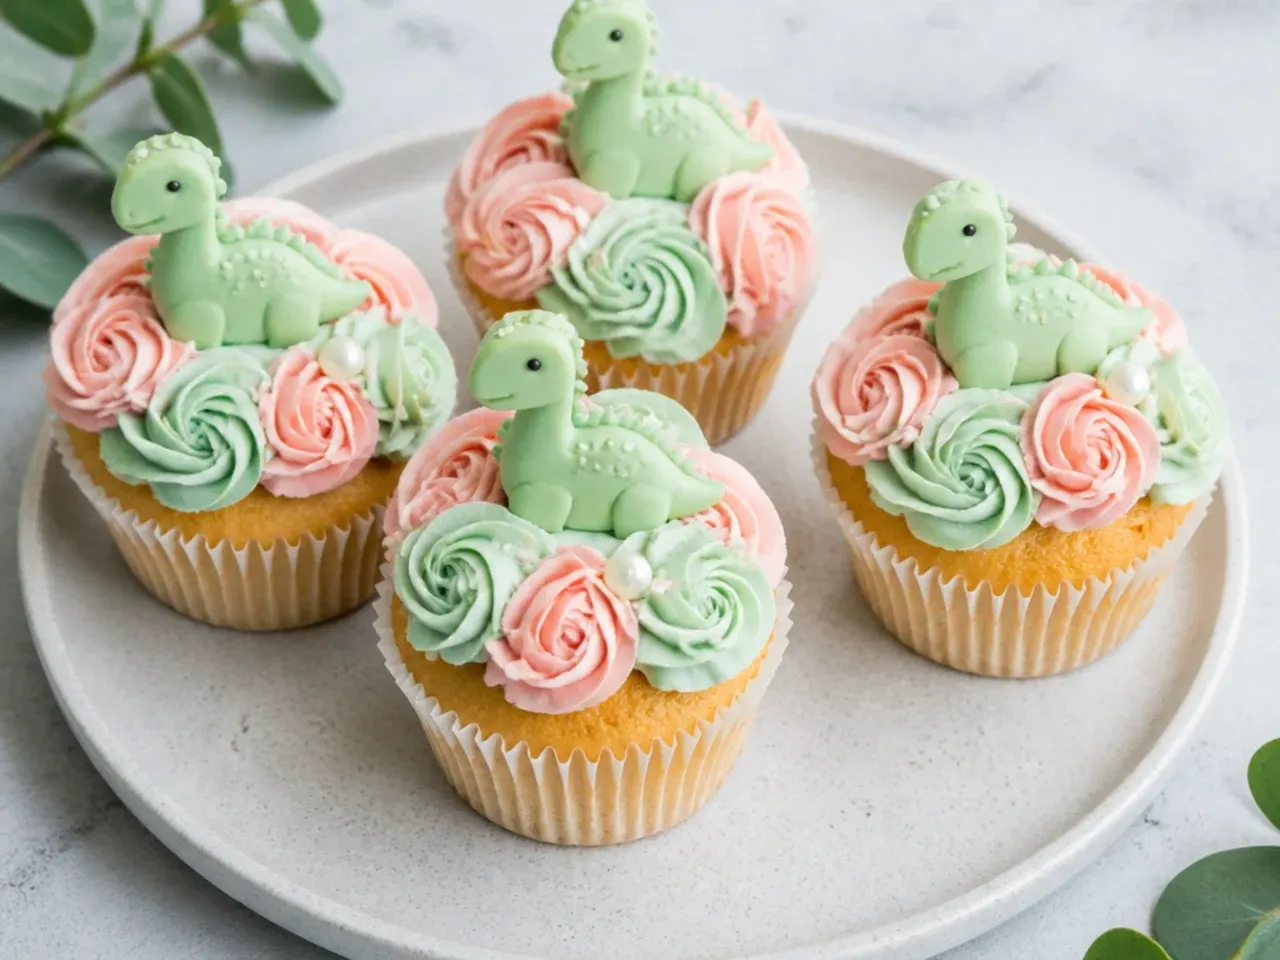
For a softer, gender-neutral scheme, work in dusty pastels instead of bright greens. Tint buttercream in mint, blush and butter yellow using the tiniest touch of gel, then pipe gentle rosettes with a Wilton 2D drop-flower tip. Finish with pale fondant spikes and tiny sugar-pearl eyes for a refined nursery-shower feel. The delicate palette works when you want the theme to feel sweet and quiet rather than punchy.
13. Vintage Watercolor Dino Cupcakes
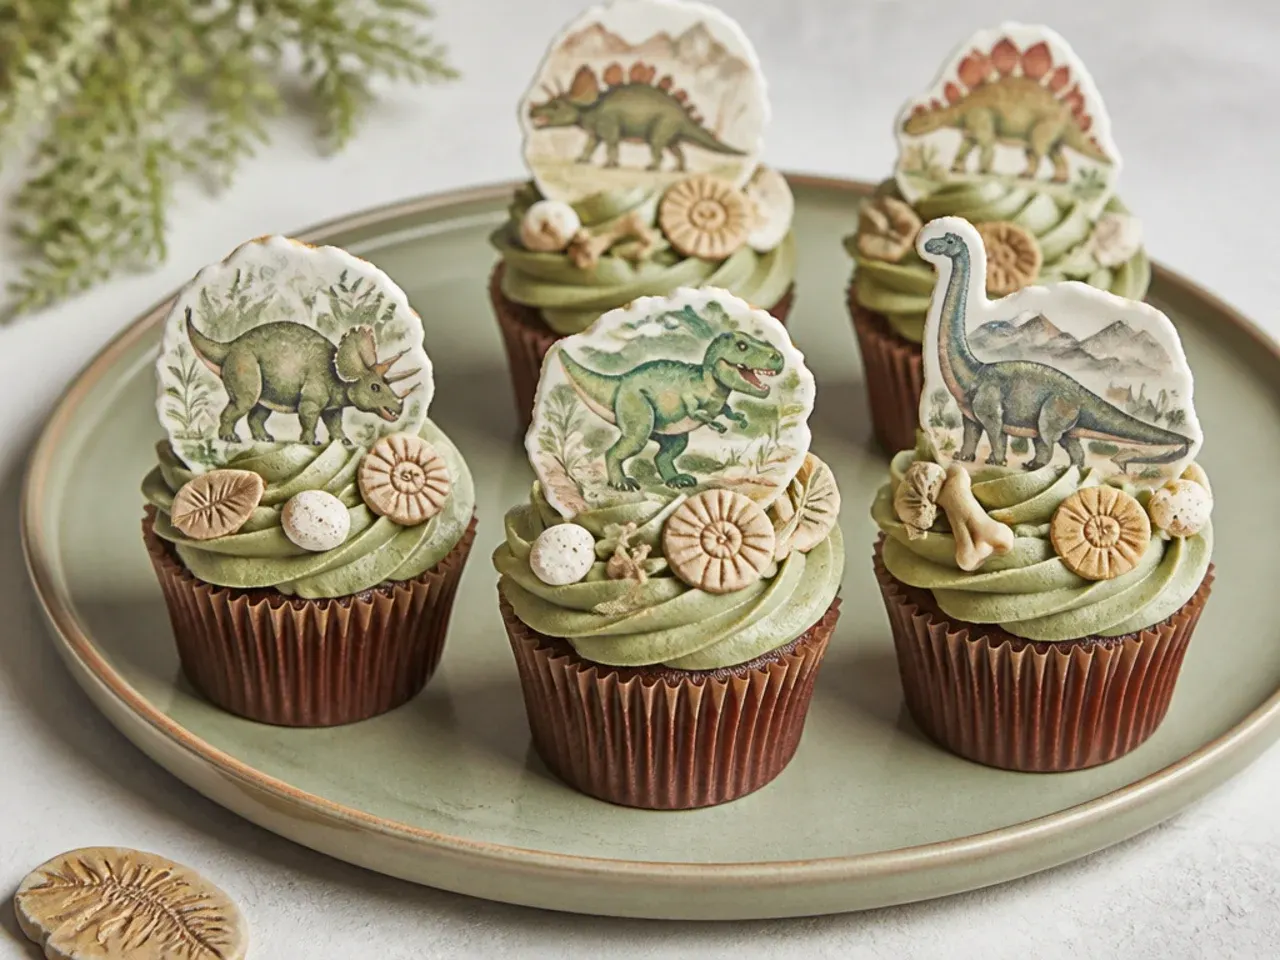
Give the theme an old-natural-history feel with muted, painterly tones. Frost smoothly in a greyed-sage or olive buttercream, then use a small brush and diluted gel colors to streak faint earthy washes across the surface like an antique museum illustration. Add a single ivory fondant bone or a hand-cut fern leaf for a fossil-dig mood. Vintage styling works for a more elevated, grown-up dinosaur celebration where you want texture over cartoon brightness.
14. Dino Footprint Cupcakes
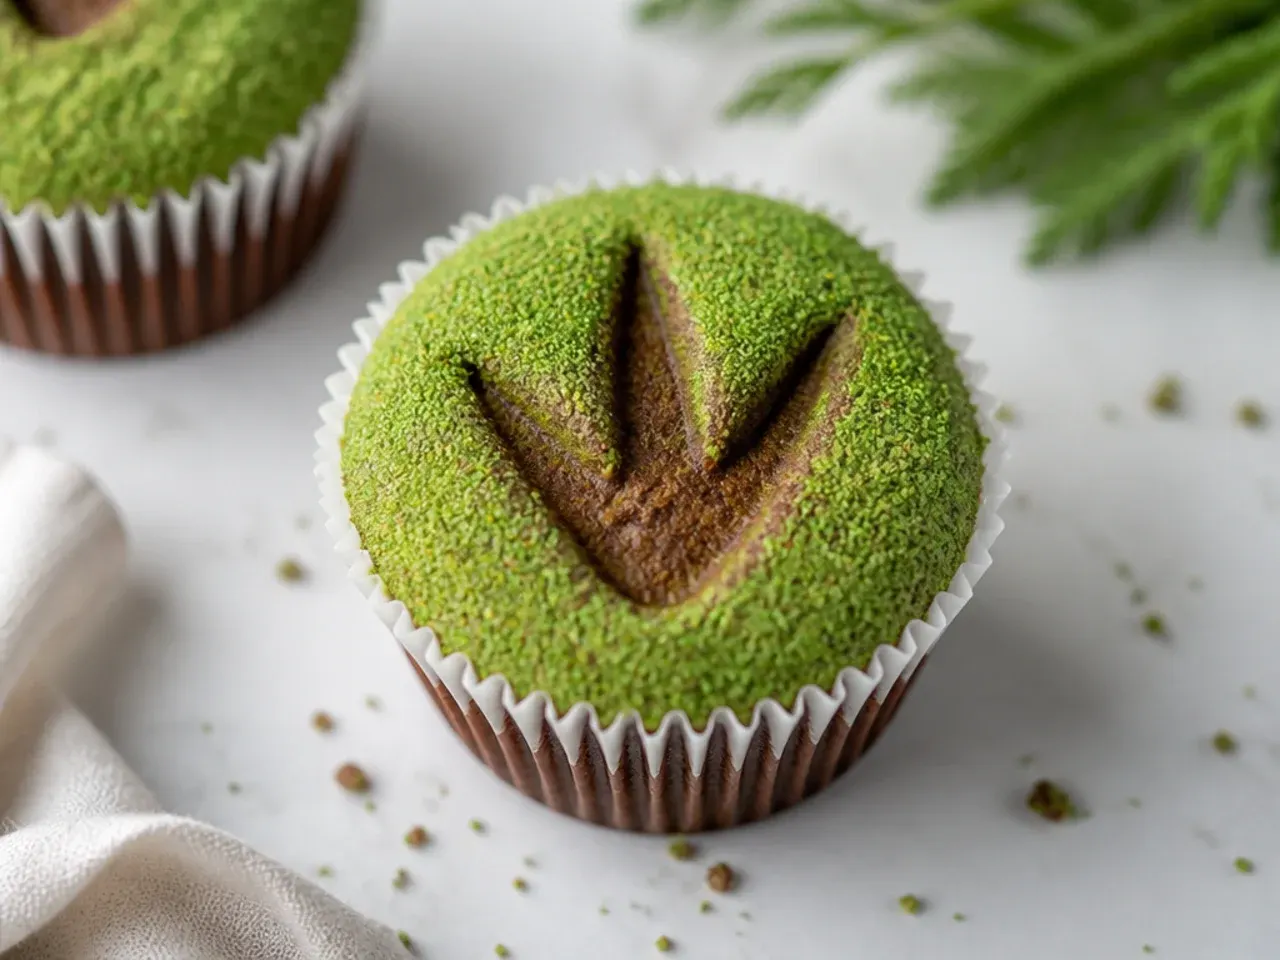
Skip the sculpting and stamp a footprint instead, a clever angle most tutorials miss. Smooth a flat layer of pale buttercream, then press a clean three-toed dinosaur cookie stamp or the back of a fondant cutter into the surface to leave a track. Dust the impression lightly with brown cocoa or bronze luster for depth. This works when you want quick, uniform cupcakes that still clearly say 'dinosaur' without any candy work.
15. Charming Baby Dino Hatchling Cupcakes
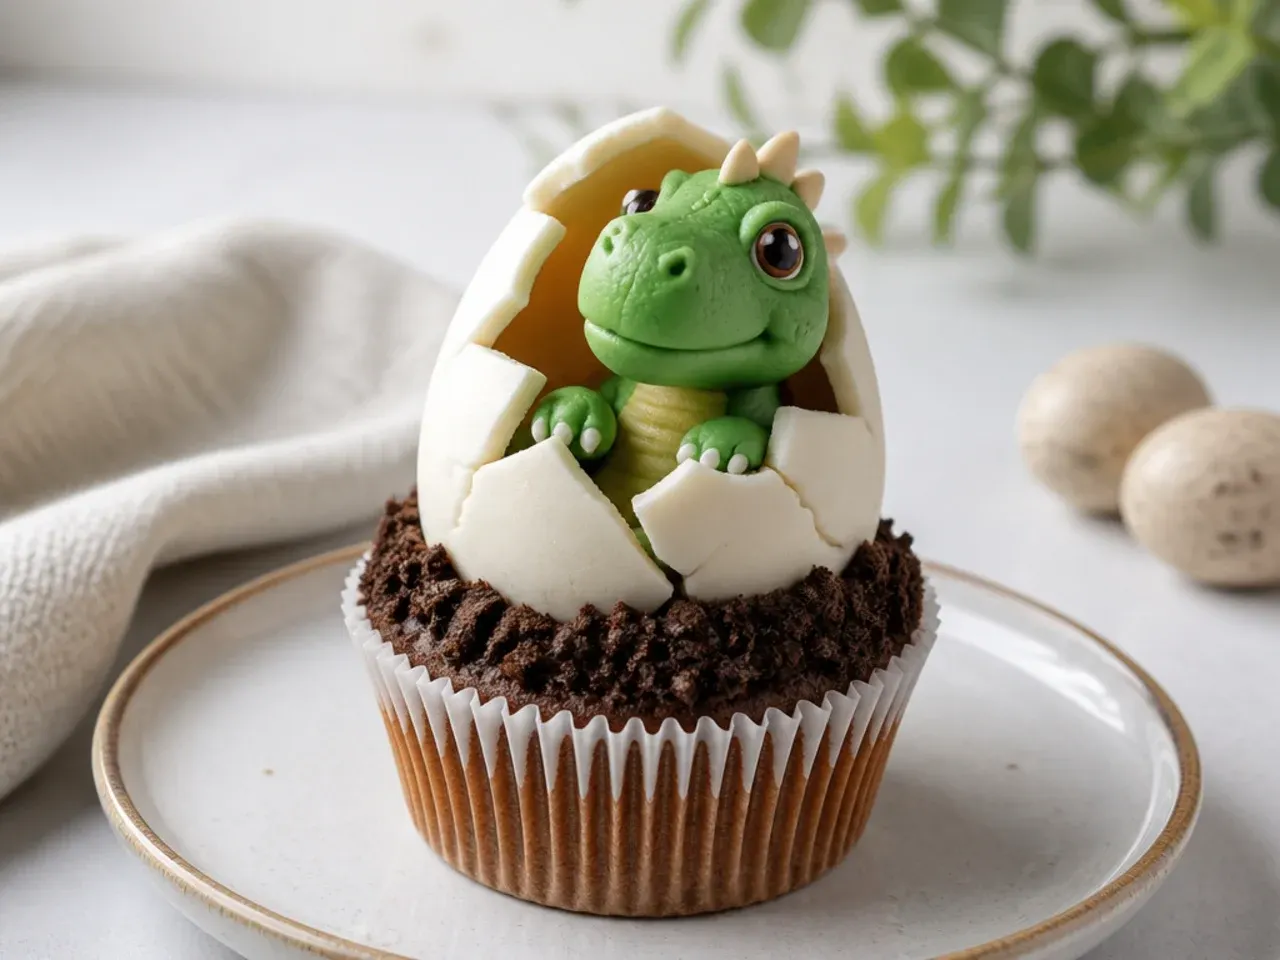
Sweet and small-scale, these show a baby dinosaur peeking out of a cracked egg. Pipe a low white buttercream dome for the egg, then press two curved shards of white fondant on top with jagged cut edges to look cracked open. Nestle a tiny green fondant head with two dot eyes rising between the shards. The just-hatched moment is irresistibly cute and gives a gentler alternative to fierce, spiky designs.
Save this for later 📌
Pin this article to your Pinterest board so the full list is one tap away when you need it.
Save on Pinterest16. Jungle Grass and Fern Cupcakes
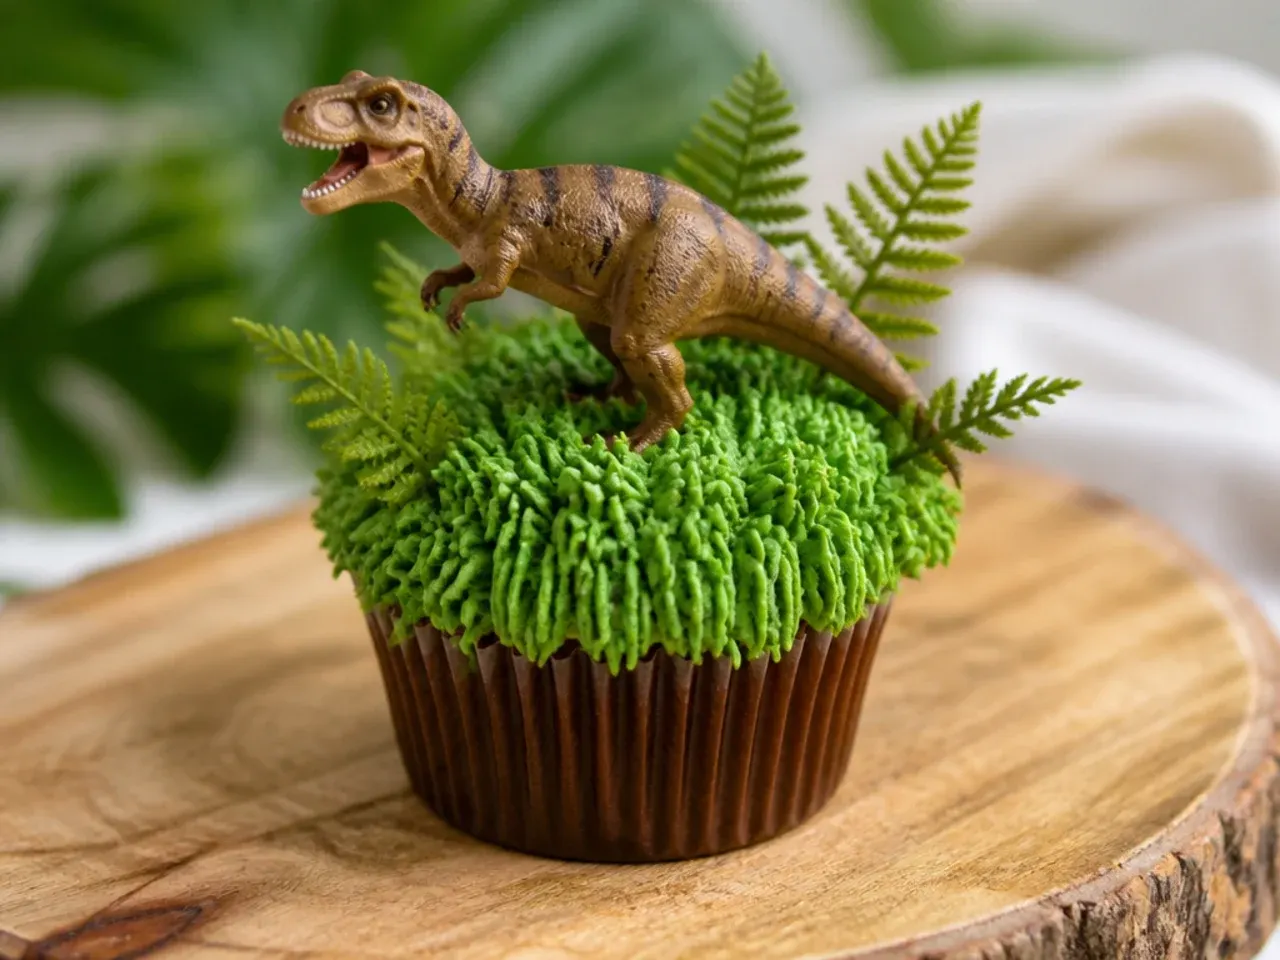
Set the scene with a leafy prehistoric landscape instead of a single creature. Fit a Wilton 233 multi-opening grass tip and pull up straight to create tufts of green 'grass' across the top, mixing two shades of green for depth. Tuck in a couple of fondant fern fronds and a hidden mini toy dino at the edge. Rustic and textural, these break up a table of smooth swirls and give little hands a fun, shaggy top to grab.
17. Speckled Dino Egg Cupcakes
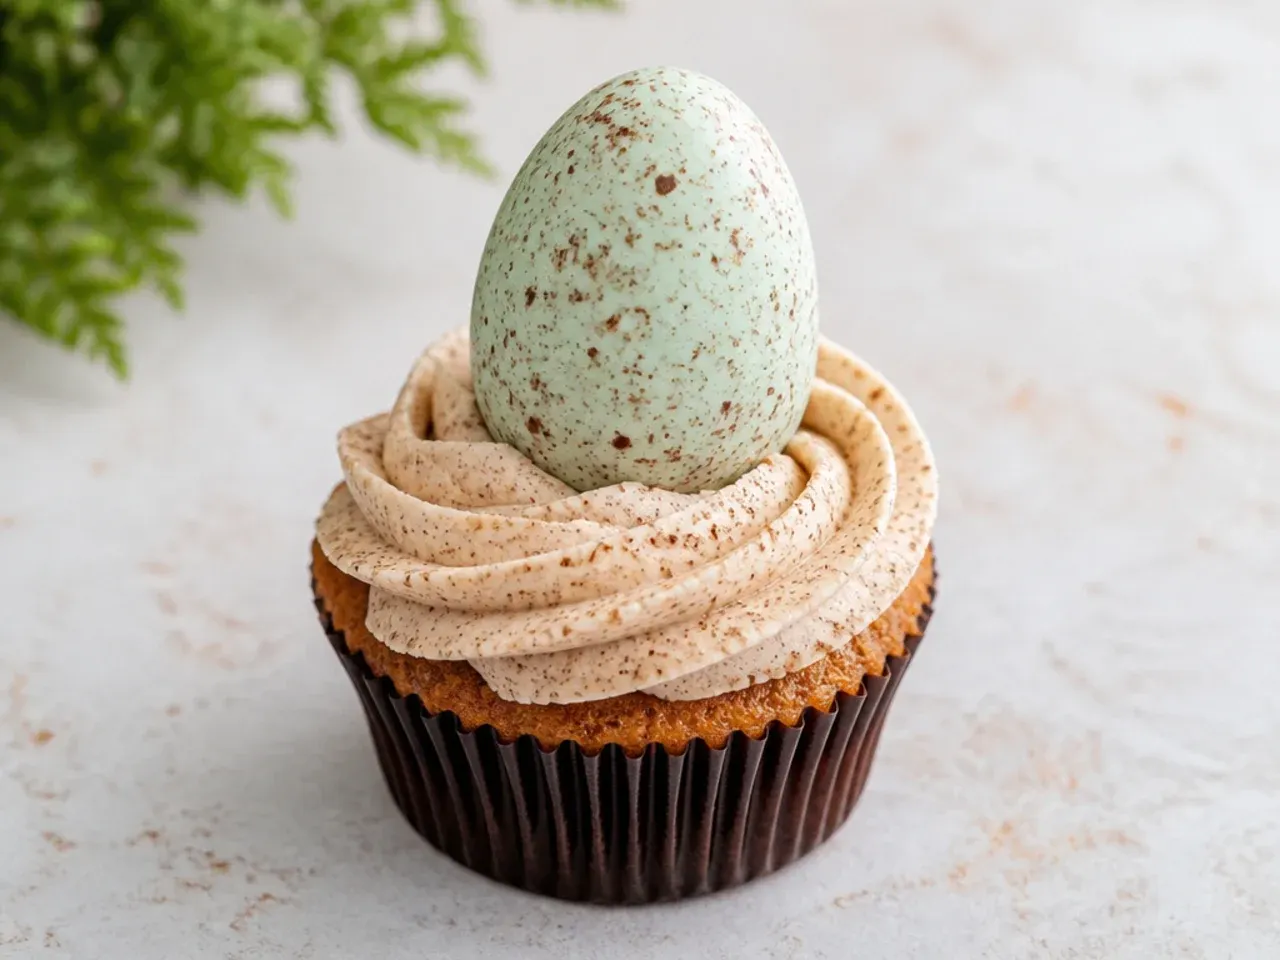
Focus entirely on the egg for an elegant, understated dozen. Smooth pale robin's-egg blue or mint buttercream into a rounded dome, then load a stiff brush with brown gel thinned with a drop of vodka or lemon extract and flick it to spatter realistic speckles. Keep the top otherwise bare so the speckling does the talking. These sophisticated eggs suit a woodland-dino baby shower and look striking arranged in a nest of shredded green coconut.
18. Chocolate Fudge Dino Cupcakes
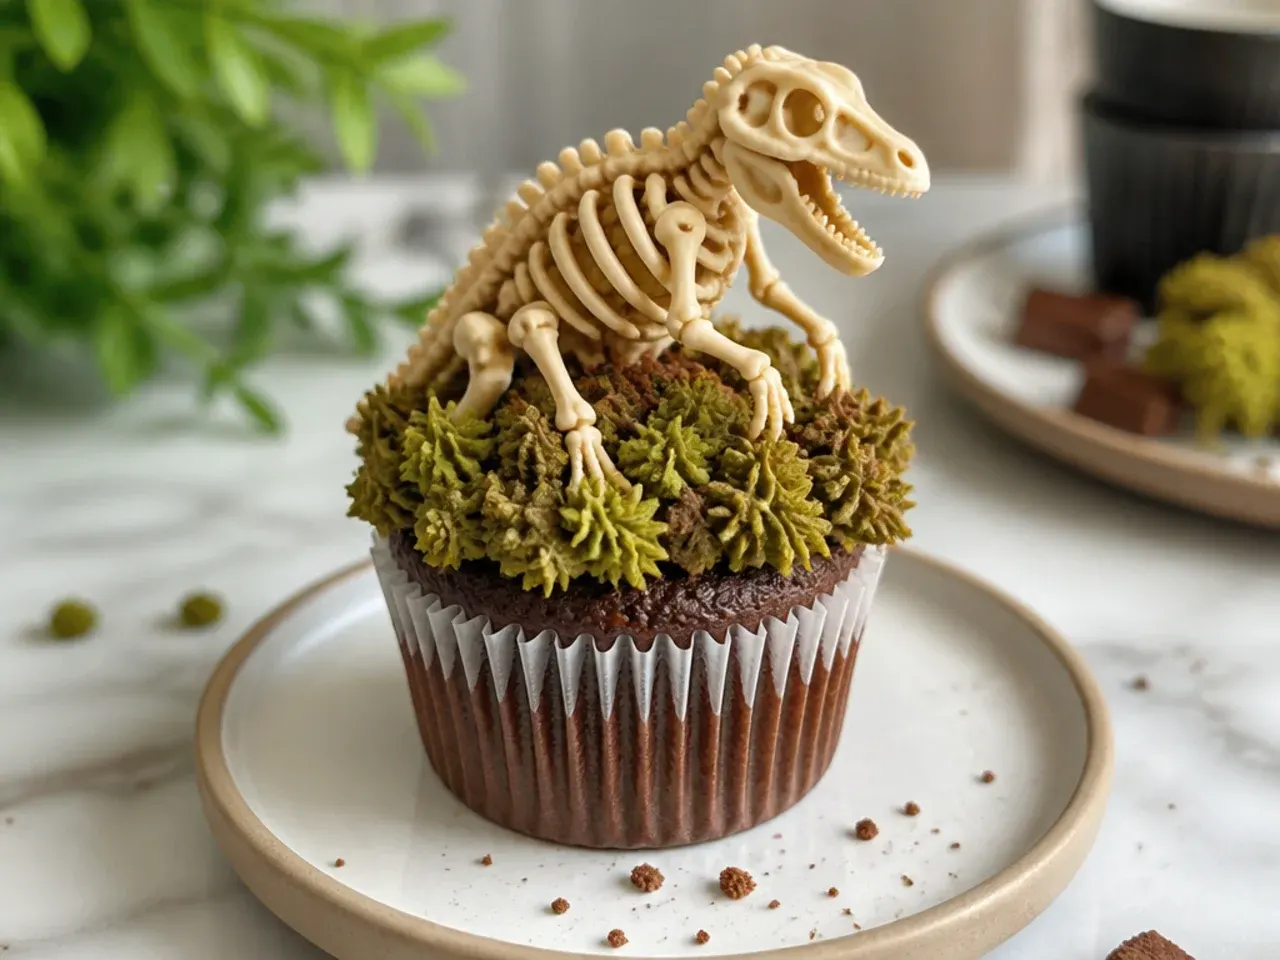
Swap the vanilla base for a deep chocolate cupcake and lean into earthy, brown dinosaur tones. Use a rich chocolate cupcake and top with a swirl of chocolate buttercream tinted a touch greener with gel for a mossy T-Rex color. Press on dark chocolate chip 'scutes' down the spine and two candy eyes. The extra cocoa depth makes these a favorite for chocolate lovers and reads as a mud-brown swamp dinosaur.
19. Googly-Eye Monster Dino Cupcakes
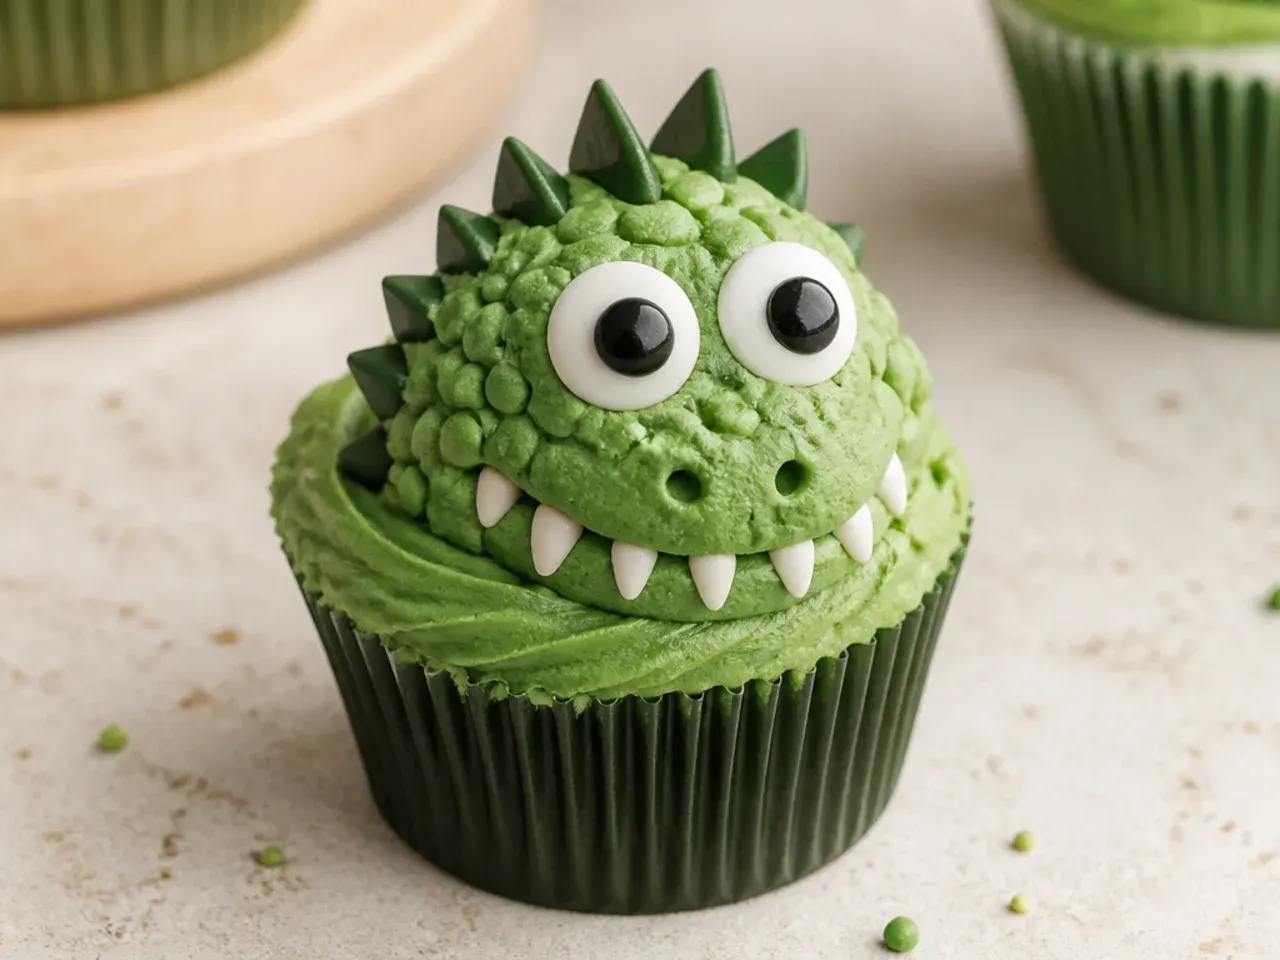
Maximum silliness for young kids: pile on oversized candy eyes for a goofy dino face. Pipe a fat green swirl, then press two large candy eyeballs (white candy melts piped into rounds with a dark dot) high on the front. Add a wide fondant smile and a few small spikes so the personality carries. Playful and forgiving, these are ideal for a bake-along with children because wonky placement only makes them funnier.
20. Geometric Facet Dino Cupcakes
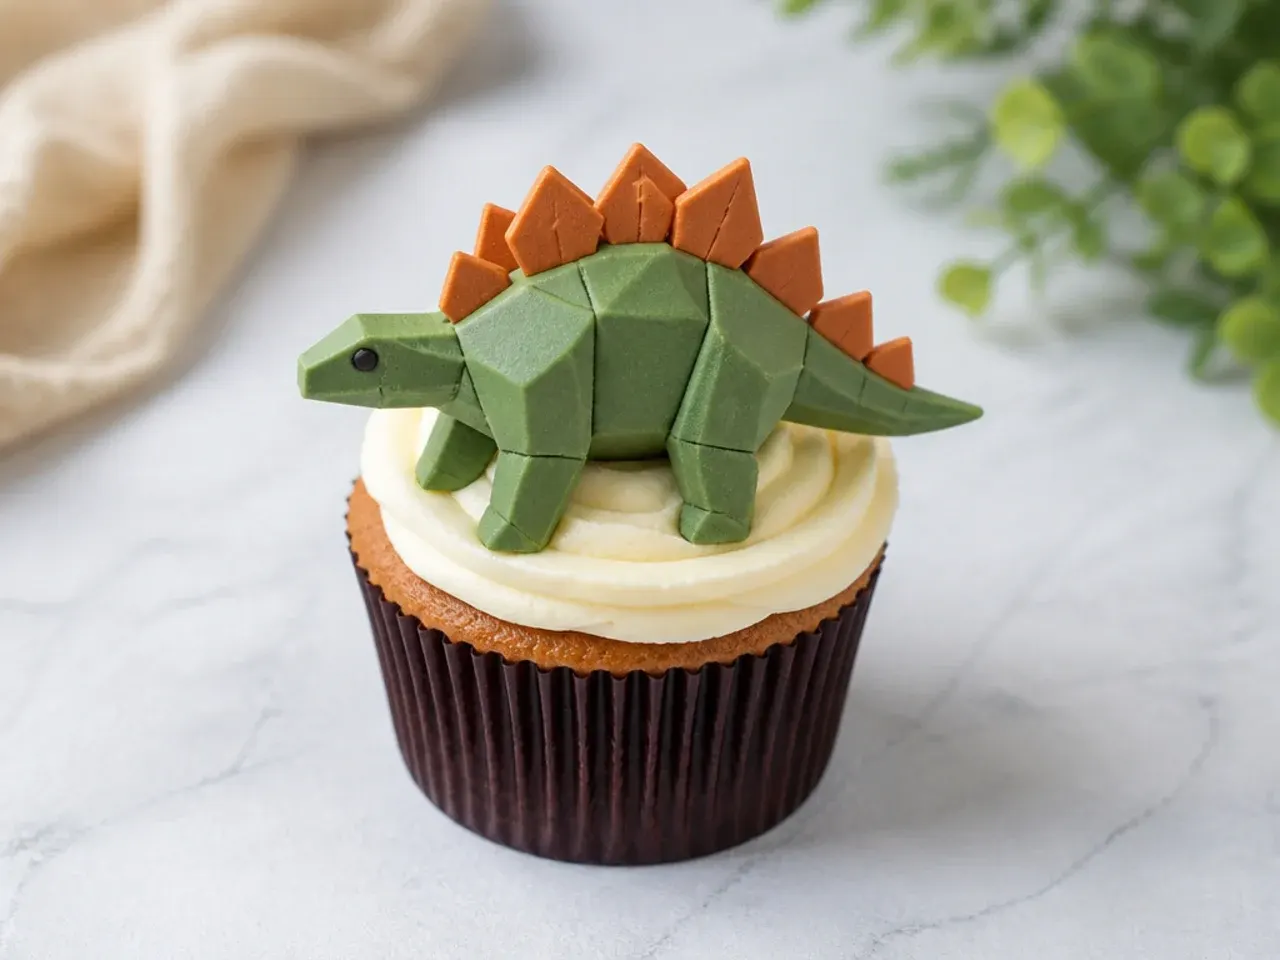
A sleek, modern take using sharp fondant facets instead of soft curves. Cover the top with a disc of green fondant, then press angular triangle plates cut from a slightly darker shade for a low-poly, video-game dinosaur look. Brush the edges with a hint of pearl luster to catch the light. The clean geometry feels current and stylish, standing out on a design-forward dessert table.
Save this for later 📌
Pin this article to your Pinterest board so the full list is one tap away when you need it.
Save on Pinterest21. Cracked Earth Chocolate-Bark Cupcakes
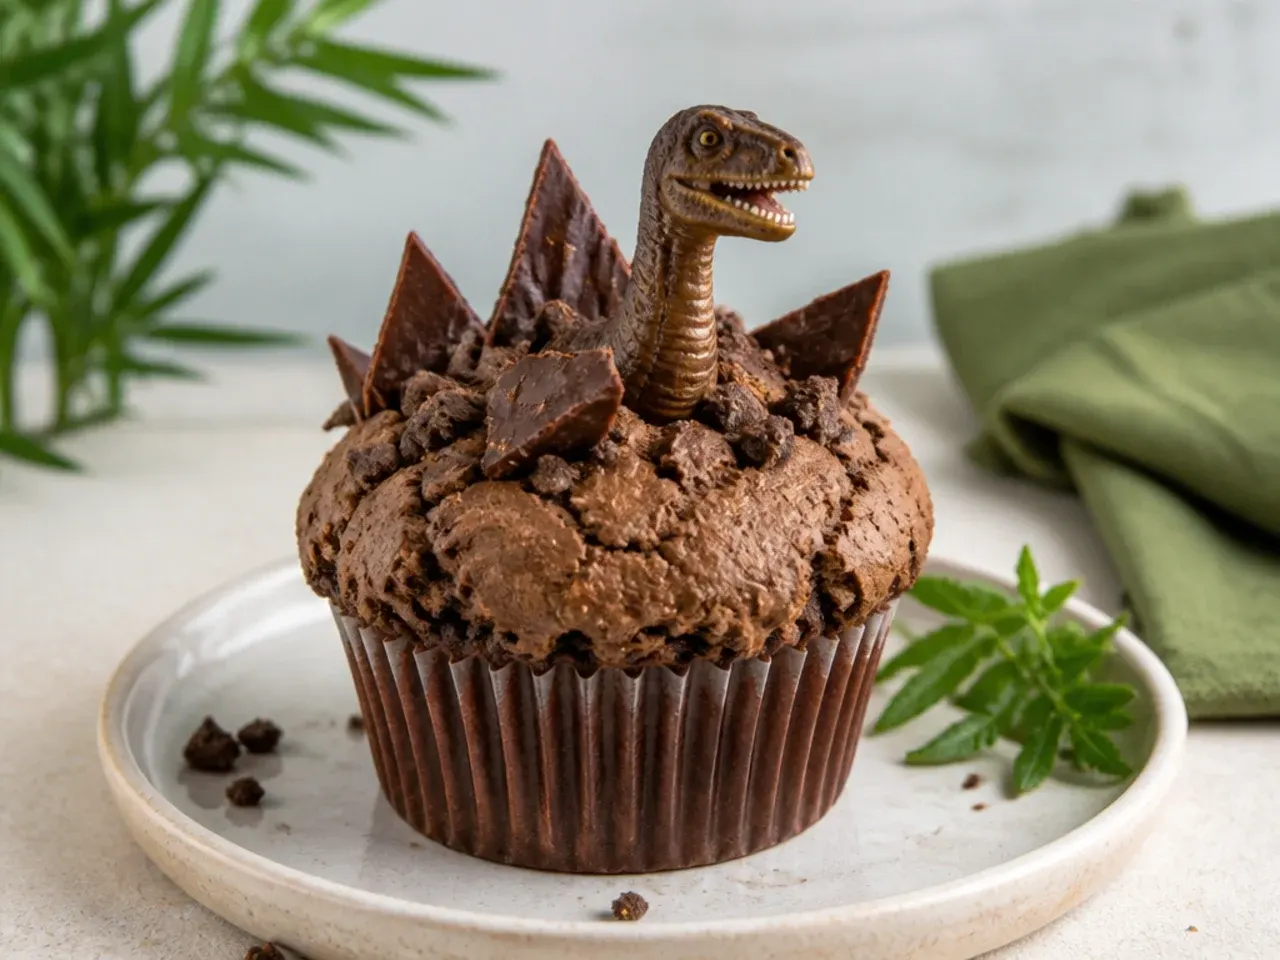
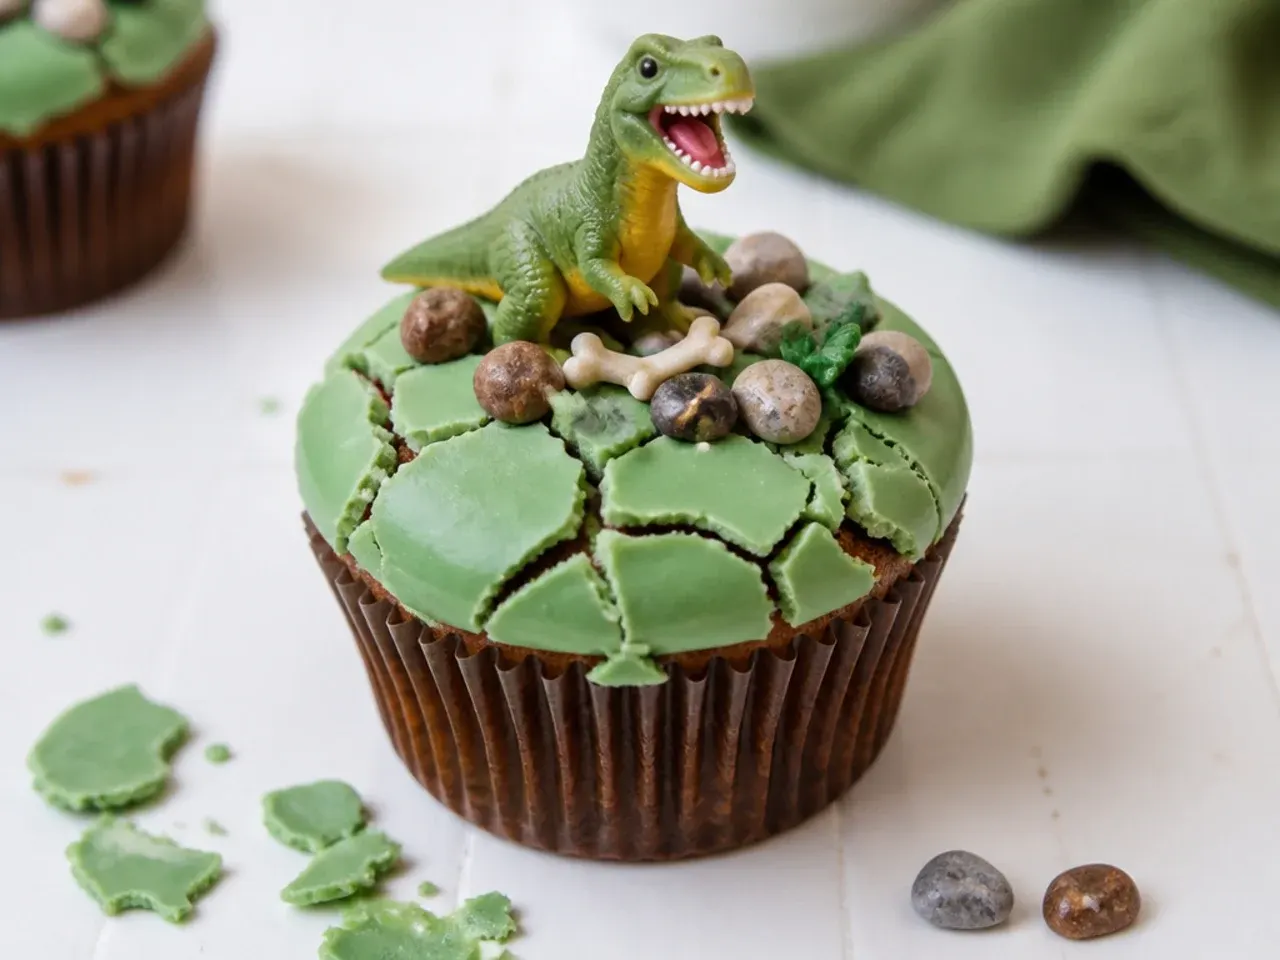
Give a rugged, dry-riverbed base to your dino scene. Spread a thin layer of chocolate buttercream, then lay a shard of set chocolate bark (melted chocolate spread thin, chilled, and snapped) across the top so it looks like cracked prehistoric ground. Add a small fondant dino footprint pressed into the buttercream beside it. The rough, natural texture is a rustic counterpoint to smooth swirls and adds real crunch.
22. Rainbow Scale Dino Cupcakes
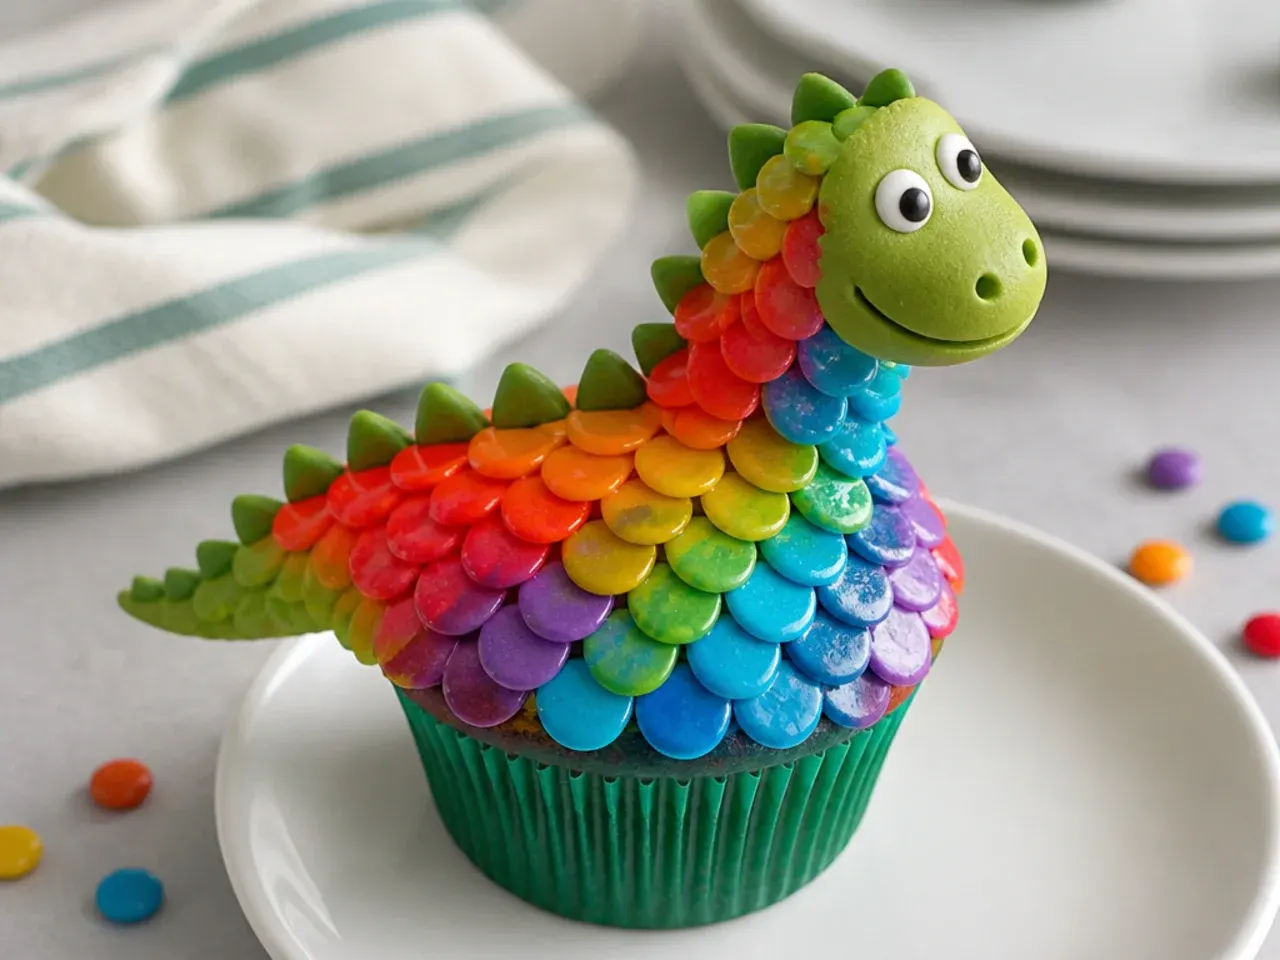
Cover the whole top in overlapping candy scales for a jewel-bright dragon-dino. Pipe small teardrops of buttercream in rows starting from the back, or press mini candy-coated chocolate discs in overlapping rows working forward so each hides the base of the one behind. Blend the colors from warm to cool across the cupcake for a scaly rainbow. Colorful and eye-catching, these reward patience with a genuinely wow-factor top.
23. Clean White Fossil Cupcakes
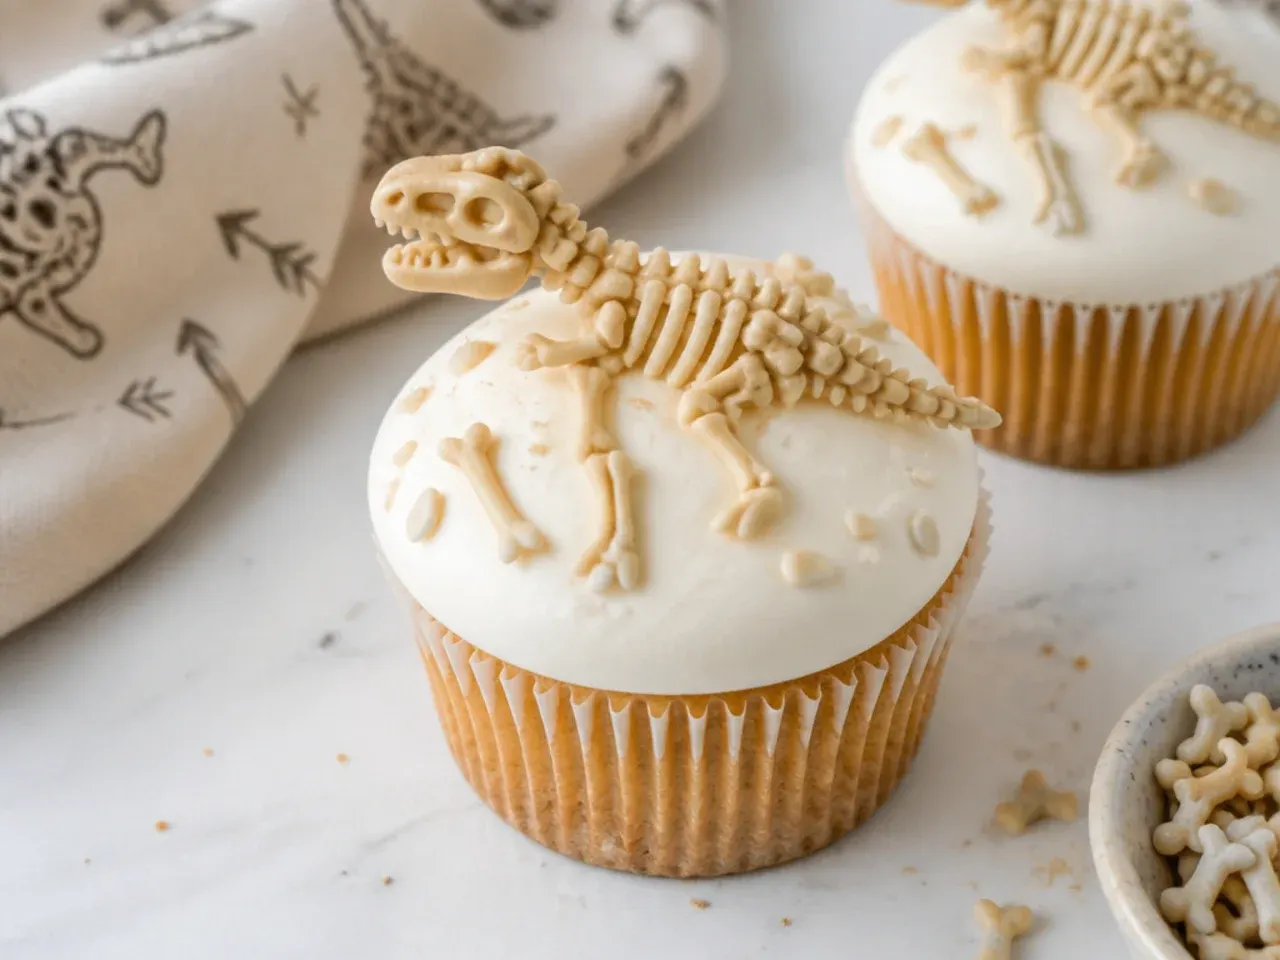
Strip the palette right back for an archaeology-dig aesthetic. Frost smoothly in plain white or sandy buttercream, then lay white fondant or white-chocolate 'bones' shaped by hand into simple rib and skull forms across the top. Dust very lightly with cocoa in the crevices to suggest excavated dirt. Minimal and clever, these give an adult, museum-inspired alternative to bright cartoon dinosaurs.
24. Birthday Number Dino Cupcakes
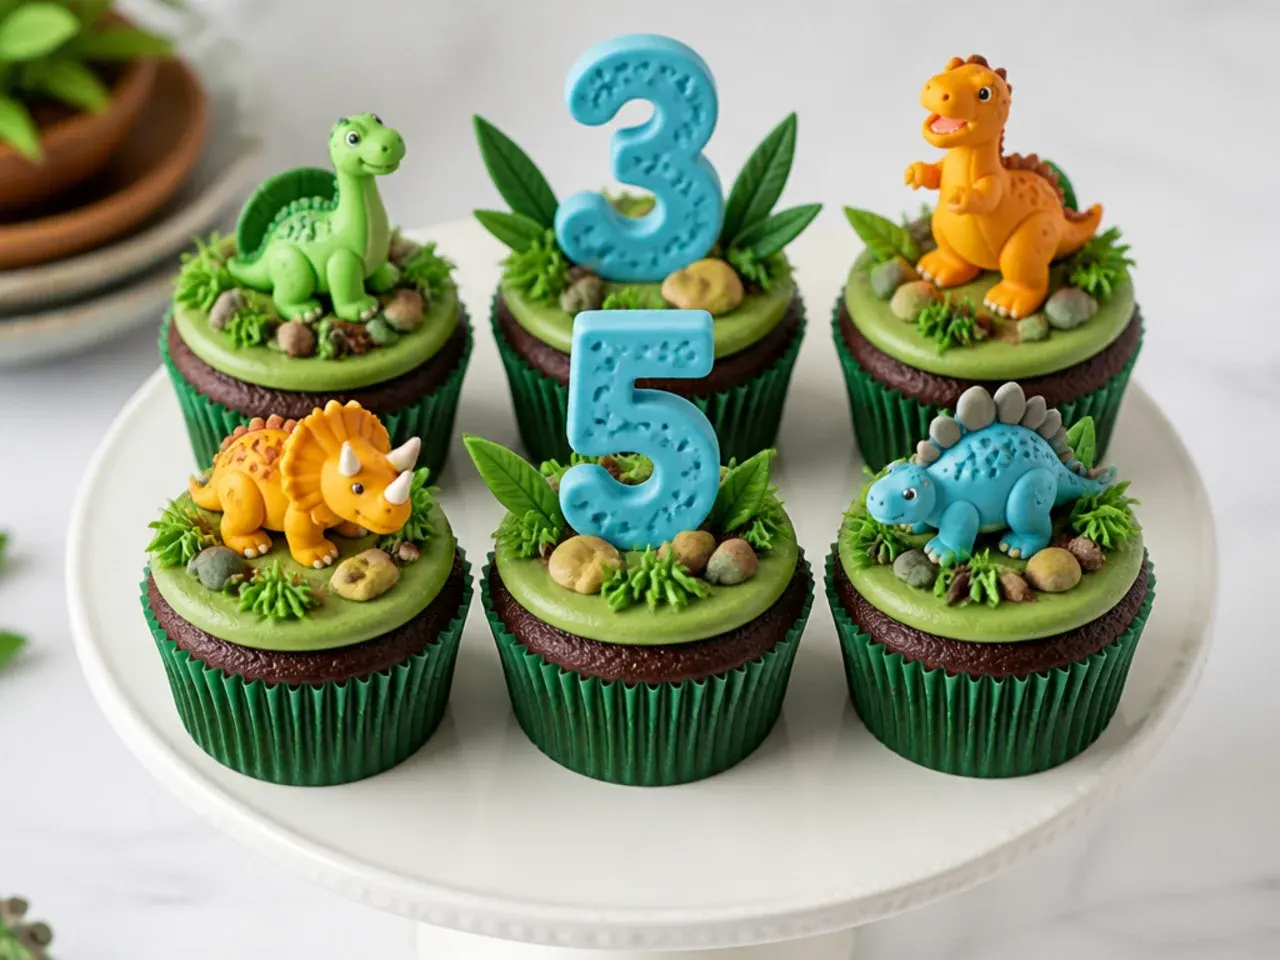
Turn a batch into a display that spells out the age. Pipe green dino swirls across all the cupcakes, then top a chosen few with fondant numbers or candles so the arrangement shows the birthday age when set out together. Alternate spiked and plain swirls so the numbered ones stand out. Festive and practical, these do double duty as decoration and the centerpiece for the candle-blowing moment.
25. Long-Neck Brontosaurus Cupcakes
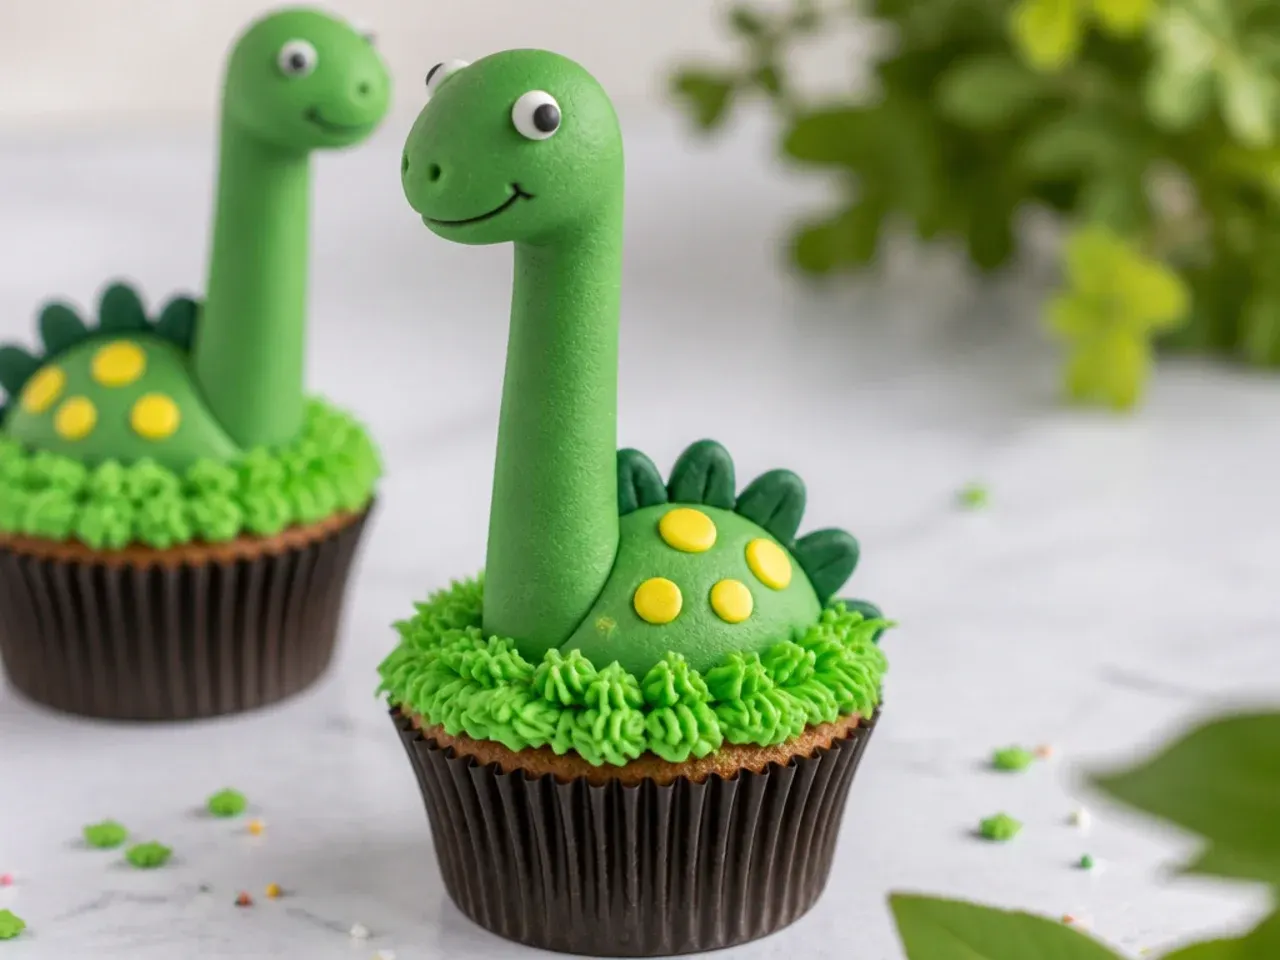
Build height by giving your dinosaur a long, curving neck. Pipe the body swirl, then insert a pretzel stick wrapped in green fondant curving upward, topped with a small fondant head, so the Brontosaurus rises above the cupcake. Add a few leafy fondant fronds at the 'mouth' as if grazing. Whimsical and architectural, the vertical silhouette adds drama and variety among rows of low, spiky designs.
Save this for later 📌
Pin this article to your Pinterest board so the full list is one tap away when you need it.
Save on Pinterest26. Fierce T-Rex Face Cupcakes
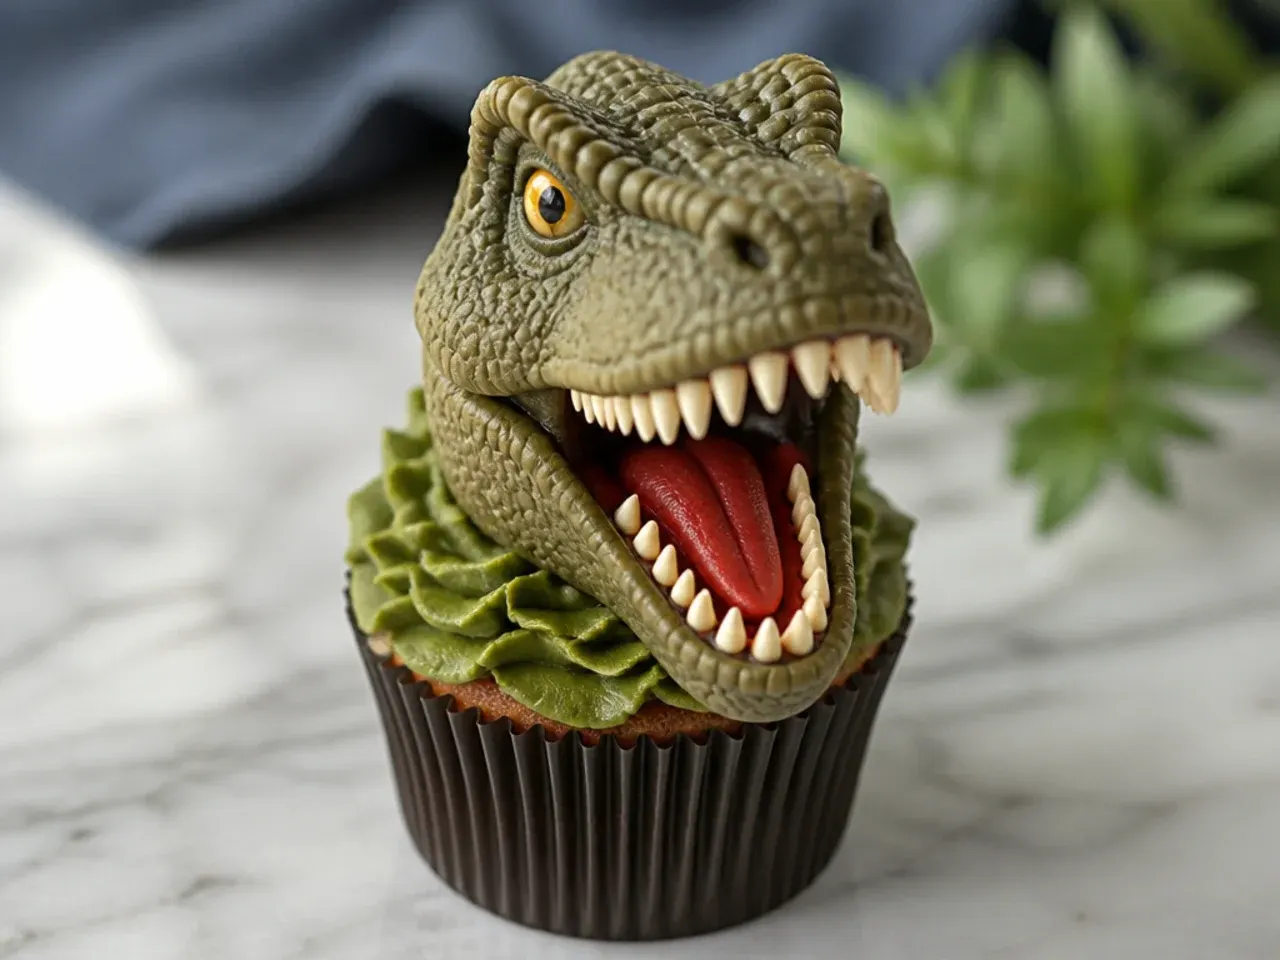
Go bold with a full open-mouthed dinosaur face on top. Pipe a green dome, add a protruding fondant lower jaw lined with tiny white fondant teeth, two nostril dots and angled brow ridges over candy eyes for a snarling look. Keep the teeth uniform by cutting a thin fondant strip and snipping small triangles. Dramatic and characterful, this is the show-stopper cupcake that pulls the whole theme together.
27. Tiny Lace-Detail Dino Cupcakes
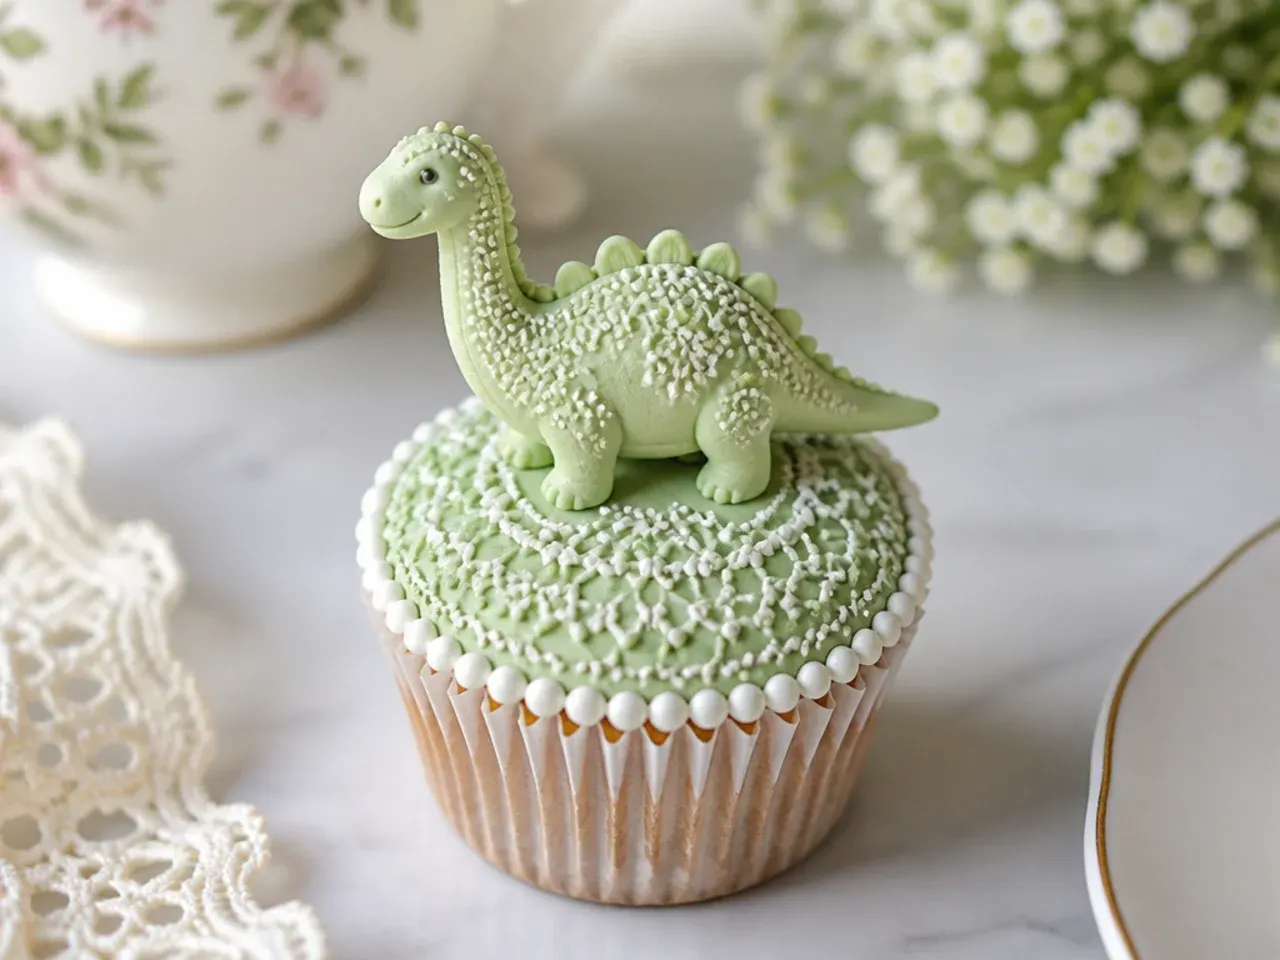
For a refined shower table, add fine piped detailing over a soft base. Frost smoothly in pale green, then use a fine round tip (Wilton 1 or 2) to pipe delicate dot and scallop patterns across the surface like lace over the dino skin. Add one small sugar-pearl eye and a single subtle spike. The intricate, quiet detailing makes these feel dainty and hand-finished rather than cartoonish.
28. Retro Comic Dino Cupcakes
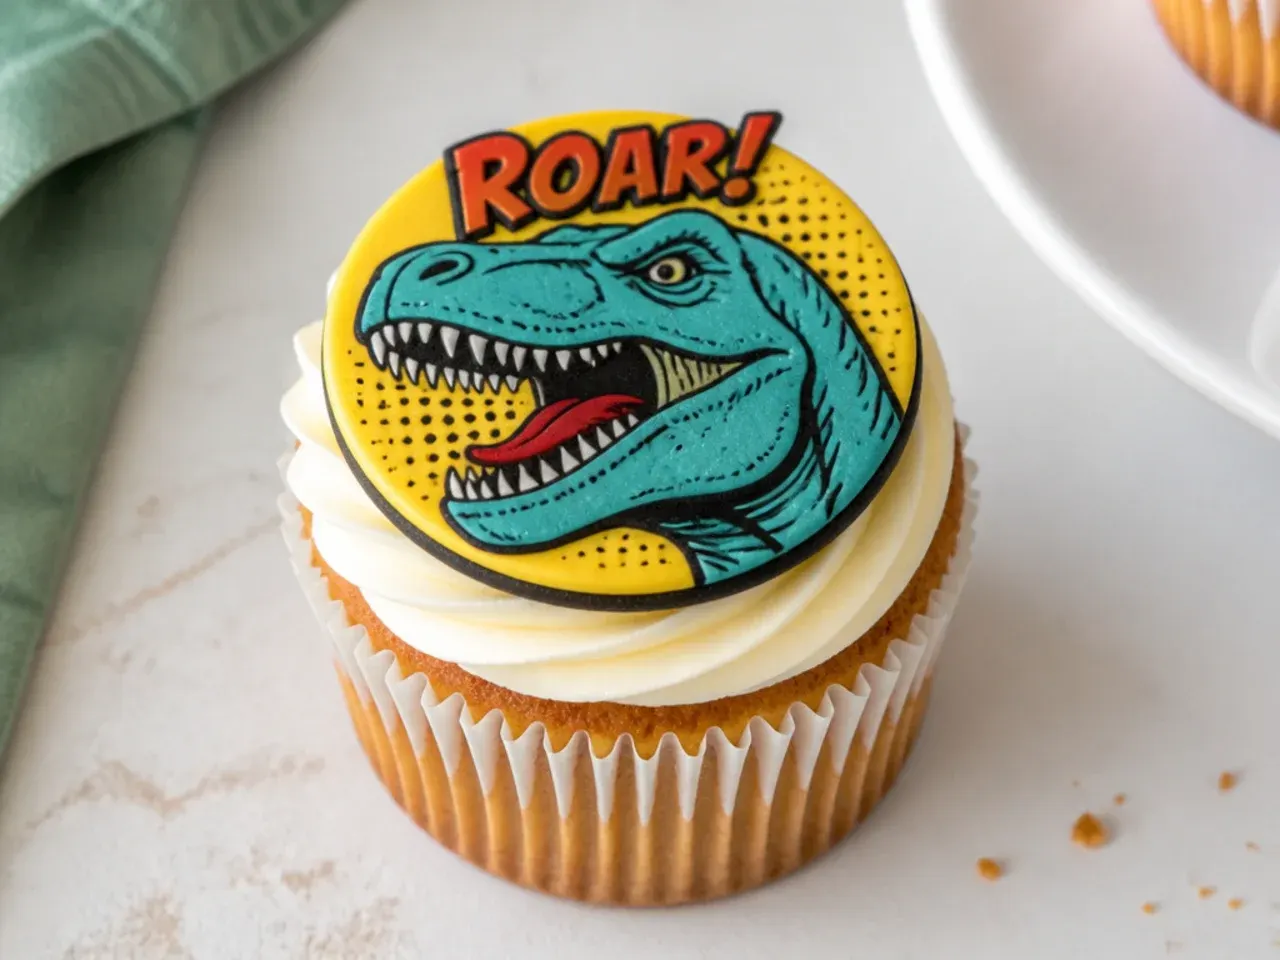
Channel an old cartoon strip with flat color and bold outlines. Cover the top with a smooth fondant disc in a retro mustard or teal, then pipe a thick black royal-icing outline of a simple dinosaur shape on top for a comic-panel effect. Add small halftone-style dots in one corner for the vintage print look. This graphic, old-school style stands apart from realistic designs and suits a playful, nostalgic party.
29. Marbled Two-Tone Dino Cupcakes
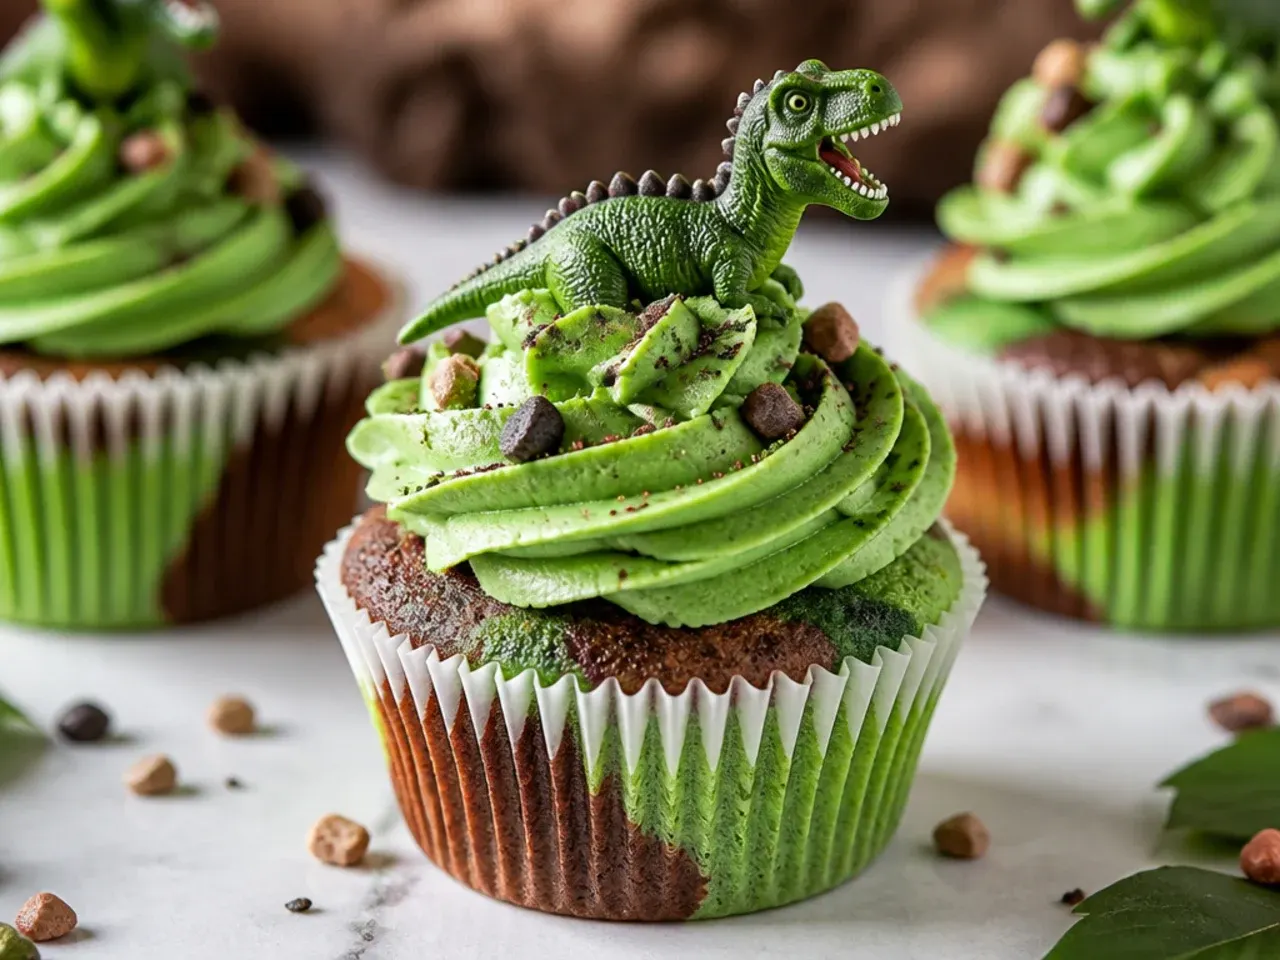
Create swirling reptile-skin marble without any sculpting. Load two shades of green buttercream side by side into the same piping bag, or dab three gel colors inside the bag, then pipe a single swirl so the colors twist together naturally. Each cupcake comes out with a unique marbled pattern like dinosaur hide. Creative and quick, this gives varied, organic tops with one simple piping motion.
30. Charming Mini Dino Herd Cupcakes
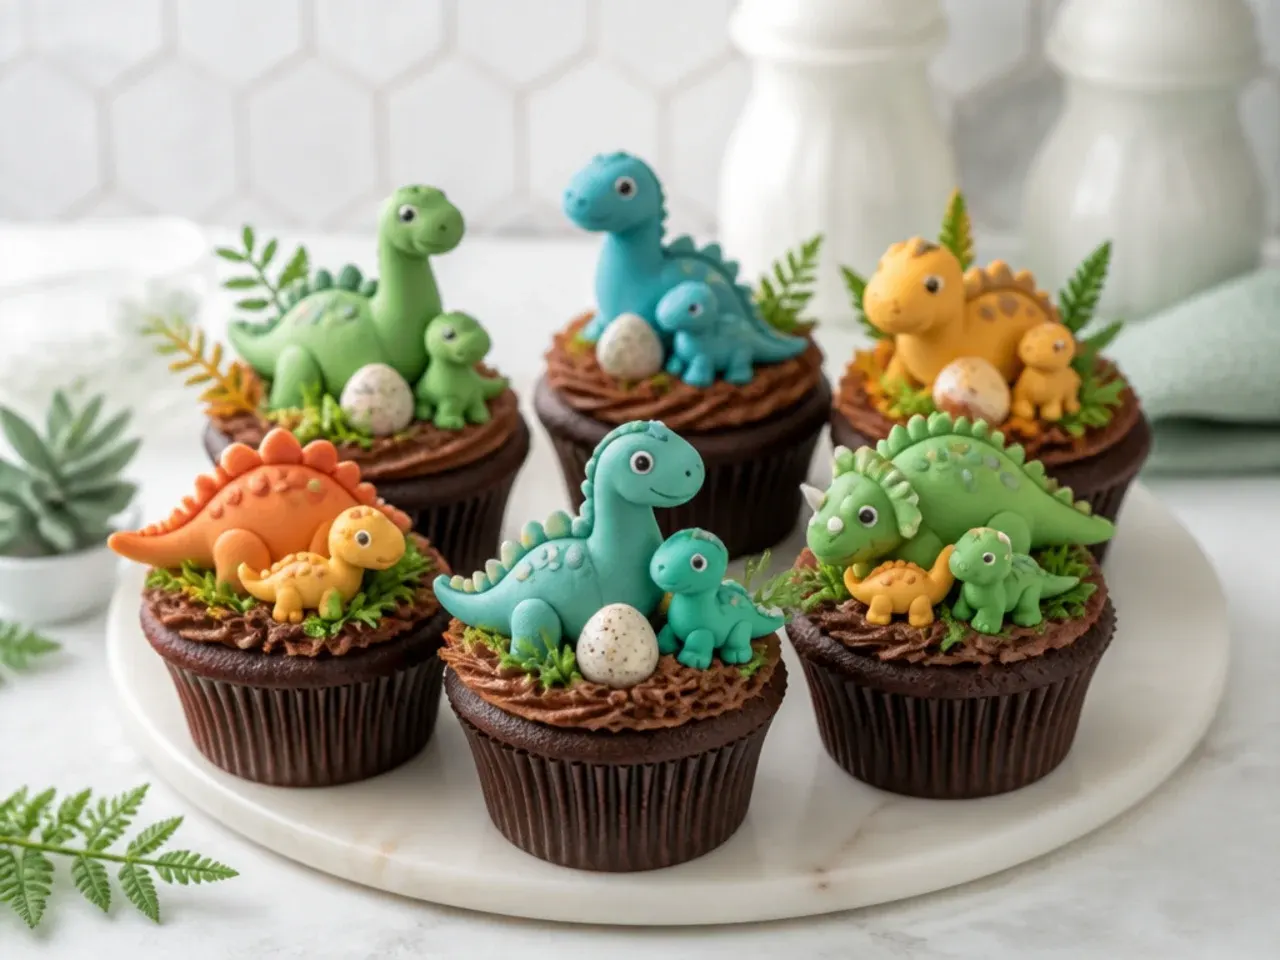
End with a gentle scene: a little family of tiny dinosaurs across each cupcake. Pipe a low green grassy base, then arrange two or three very small fondant dinos of graduated sizes as a wandering herd. Keep them simple, rounded blobs with dot eyes so a whole batch stays achievable. Sweet and story-like, these charming herds close out a dessert table with warmth and are a hit with the youngest guests.
Tips to Make These Ideas Easier
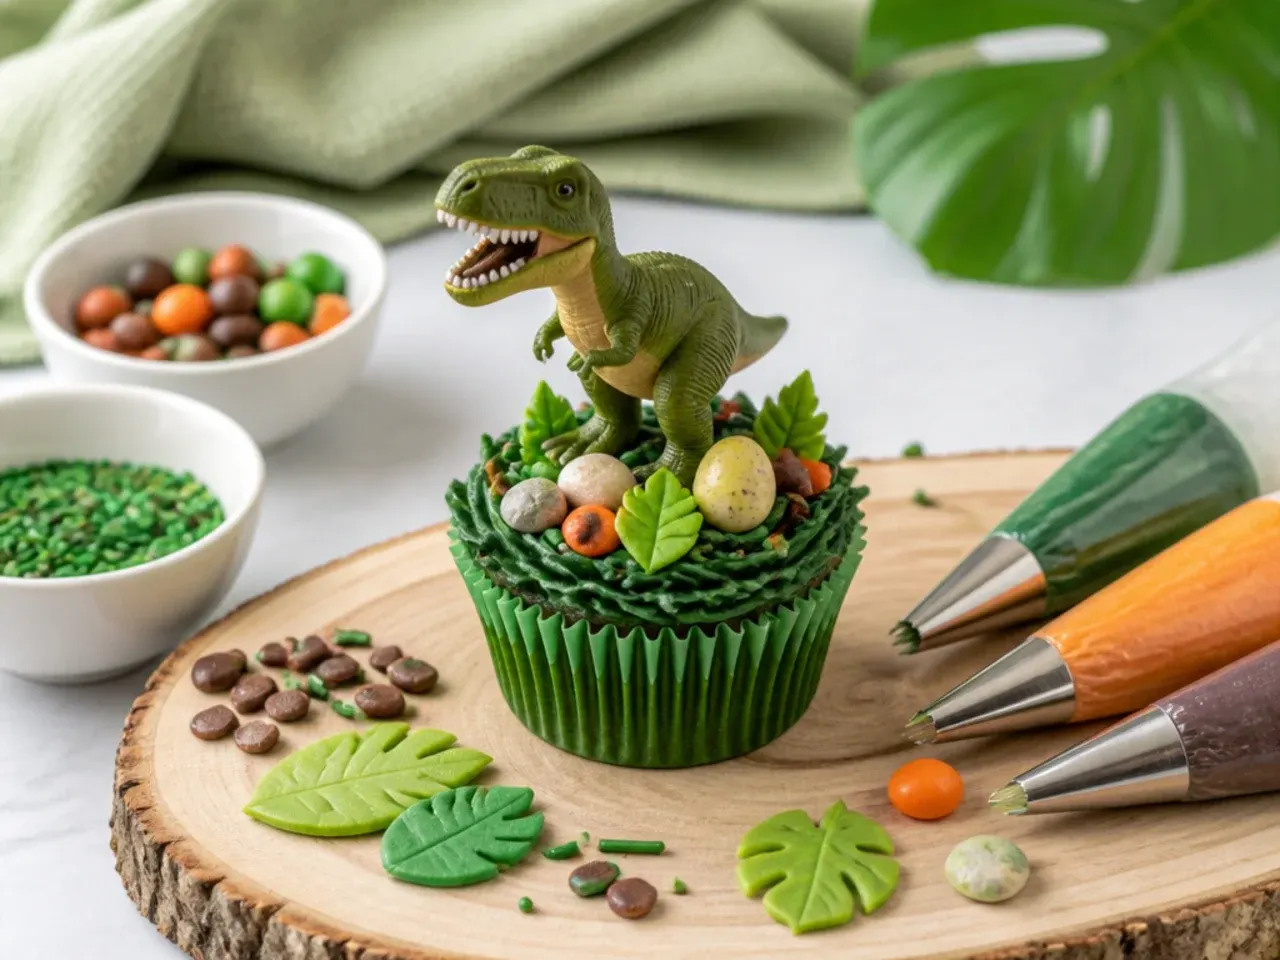
Batch your prep so decorating day is calm: bake and freeze the base cupcakes up to 3 months ahead, and pipe candy-melt spikes and toppers up to a week ahead, storing them airtight at room temperature. Tint one large batch of white buttercream, then divide and adjust shades rather than mixing color from scratch for each idea, keeping your greens consistent across the table. Use gel or oil-based colors, never liquid, so candy melts and buttercream don't seize or thin. Fit a coupler on your piping bag so you can swap tips (1M, 2D, grass, fine round) without emptying it. Finally, chill decorated cupcakes for 15 minutes before transporting so the buttercream firms and toppers stay put.
Common Mistakes to Avoid
The biggest error is adding liquid or gel coloring to candy melts, which makes them seize into a grainy paste; always use oil-based candy colors or powder. Don't overfill liners past halfway or the cupcakes dome and crack, leaving no flat surface for decorating; a standard scoop fills each to two-thirds. Frosting too-warm cupcakes melts the buttercream, so cool them completely (about an hour) before piping. Piping with under-beaten buttercream gives limp swirls that won't hold spikes, so beat it 3-5 minutes until light and stiff, and thin with a splash of cream only if it tears. Lastly, pressing heavy toppers into soft frosting too early makes them slide; chill the swirl briefly first, and add delicate candy pieces close to serving time.
The Recipe
The Base Recipe — Make Any of These Ideas
30 min
20 min
1 hr 50 min
14
Intermediate
Ingredients 14 Person(s)
Directions
Step 1: Prep the pans and oven
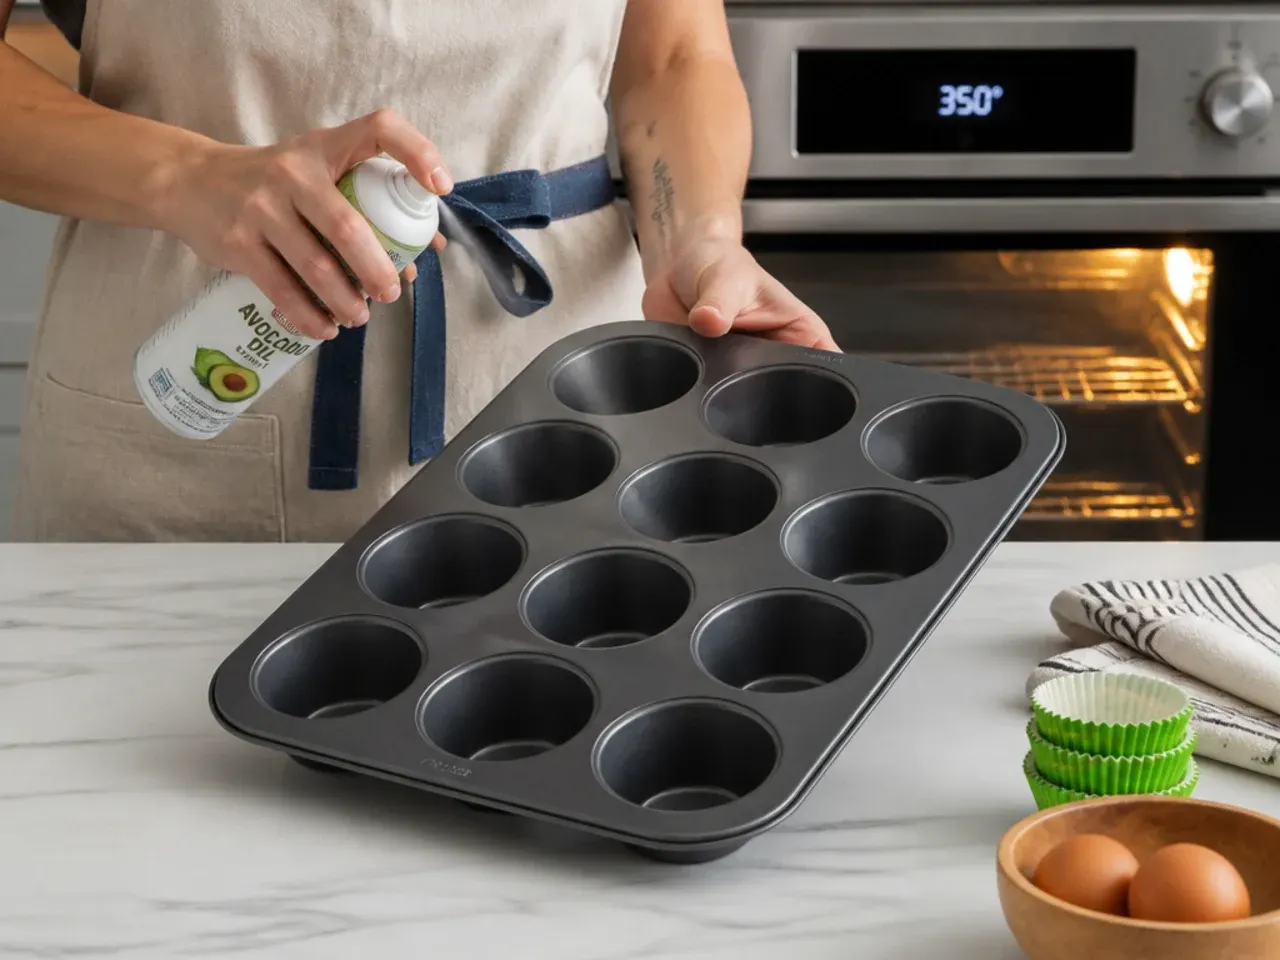
Preheat the oven to 350°F (177°C) and line a 12-cup muffin pan plus two extra cups with paper liners; this batch makes about 14 cupcakes. Bring the butter, egg whites, sour cream and milk to room temperature so they blend smoothly. Whisk the cake flour, baking powder, baking soda and salt together in a bowl and set aside.
Step 2: Cream the butter and sugar
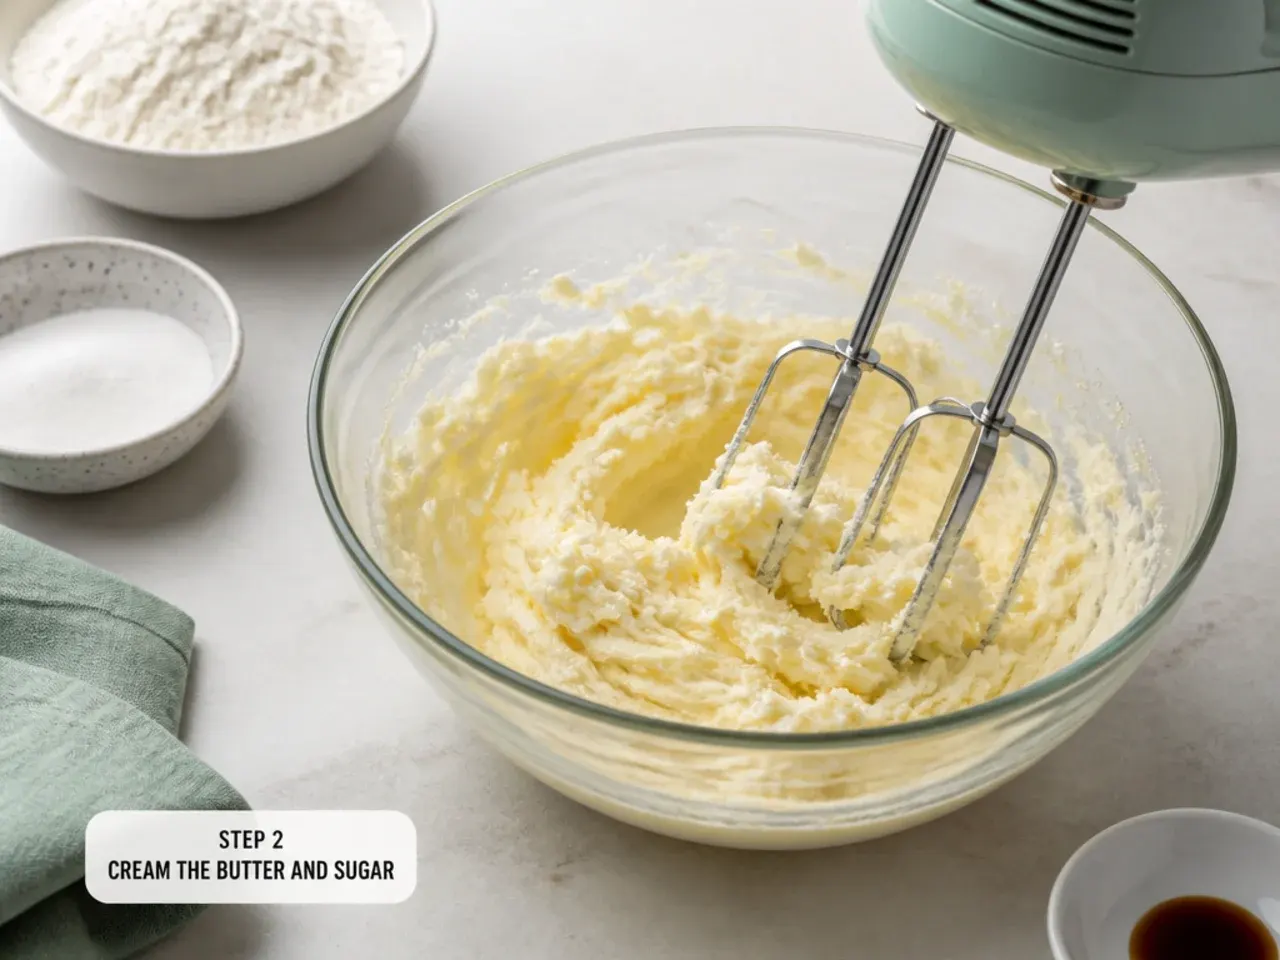
Using a stand or hand mixer, beat the softened butter and granulated sugar on high speed for a full 3 minutes until pale, light and fluffy. Scrape down the bowl once or twice so everything creams evenly. This step traps air for a soft, tender crumb, so don't rush it.
Step 3: Add the wet ingredients
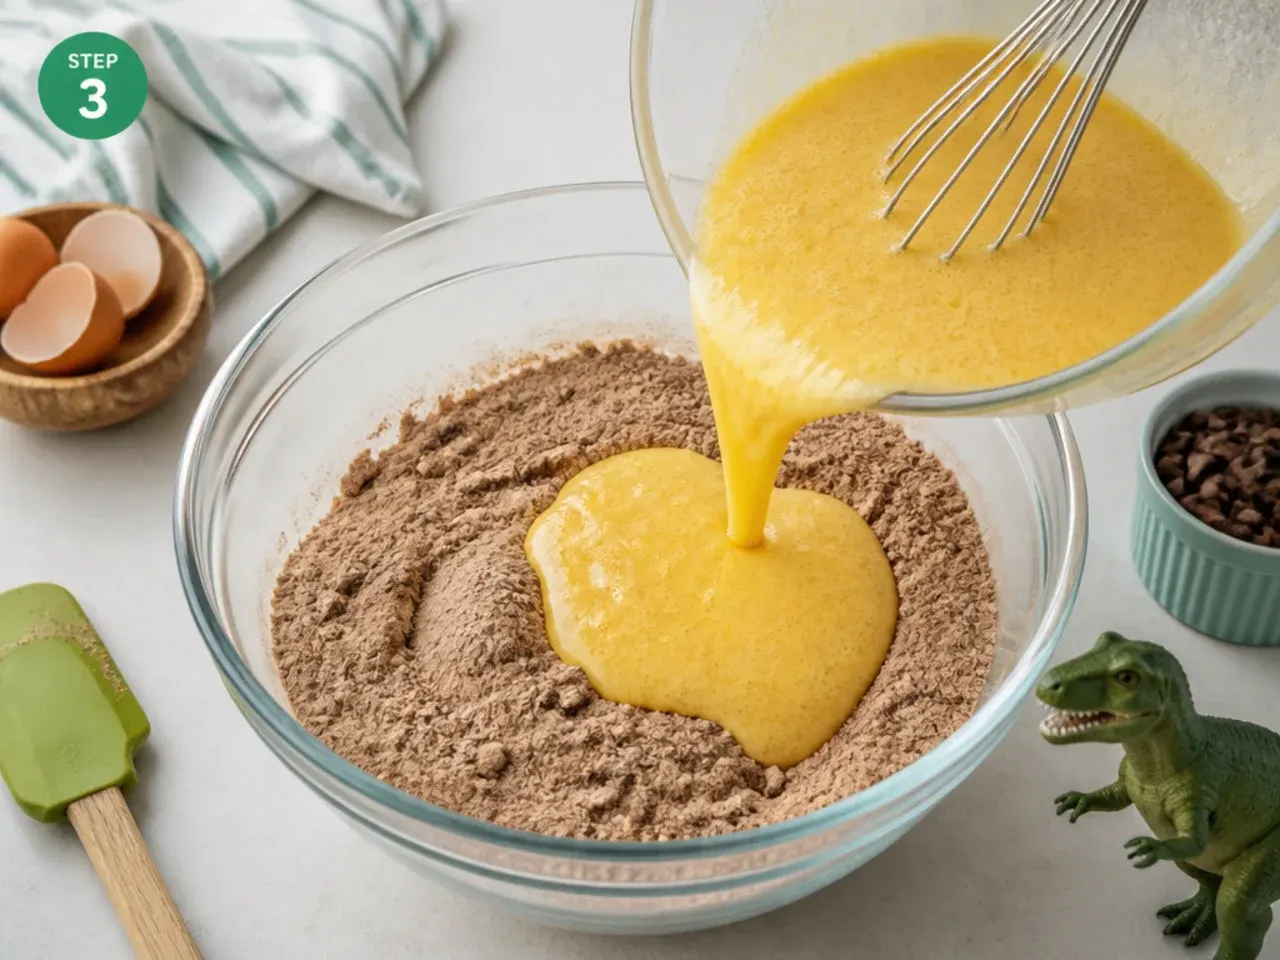
Add the egg whites and vanilla and beat on high for about 2 minutes until smooth, scraping the bowl. Add the sour cream and beat until just combined. The batter may look slightly curdled at this stage, which is normal and comes together once the flour goes in.
Step 4: Combine wet and dry
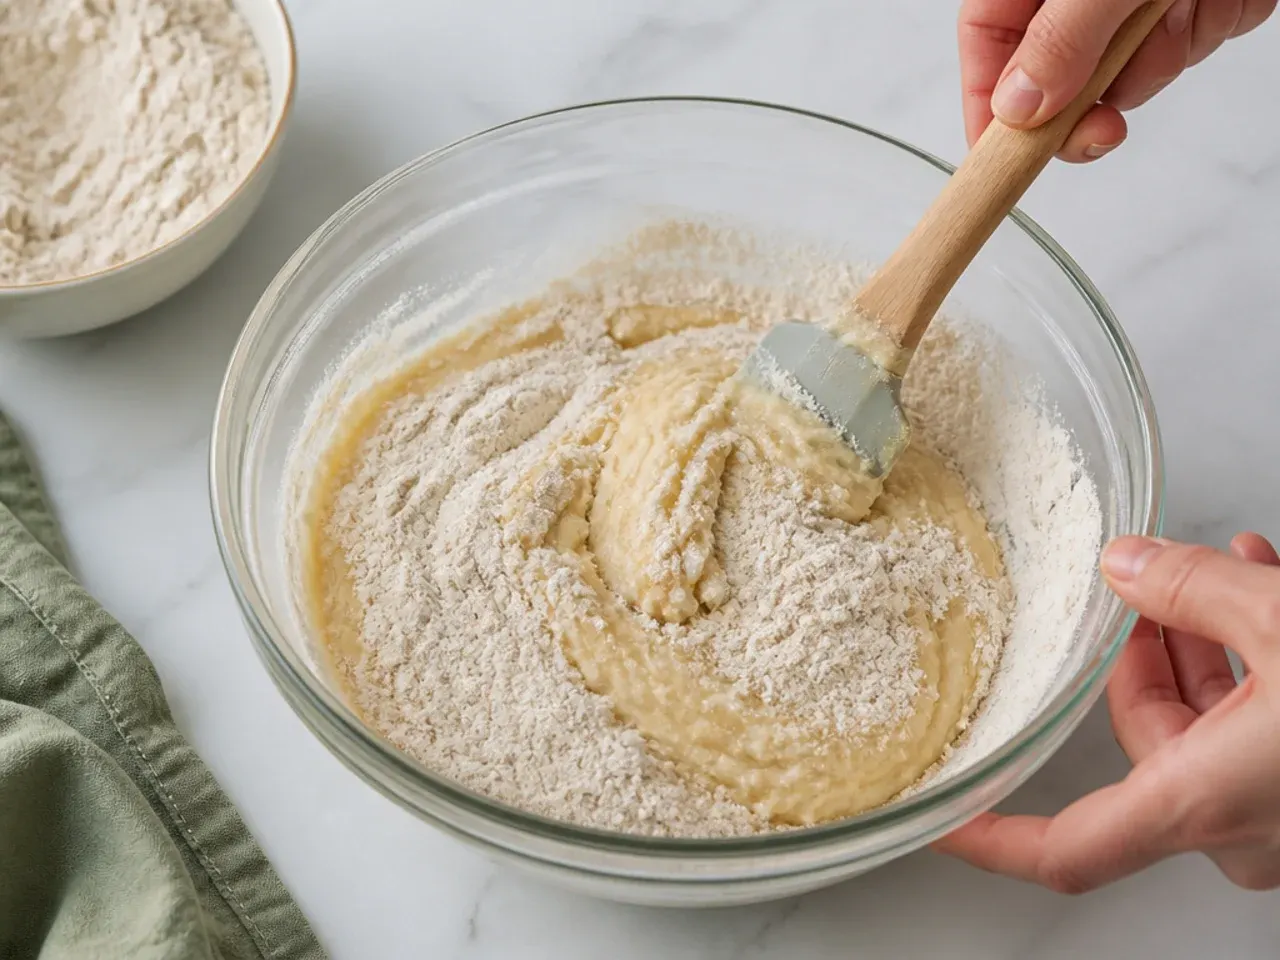
With the mixer on low, add the dry ingredients in three additions alternating with the milk, beginning and ending with the flour mixture. Mix each addition only until just incorporated to avoid overworking the gluten. Give the batter a final gentle fold by hand to catch any dry pockets at the bottom.
Step 5: Fill and bake
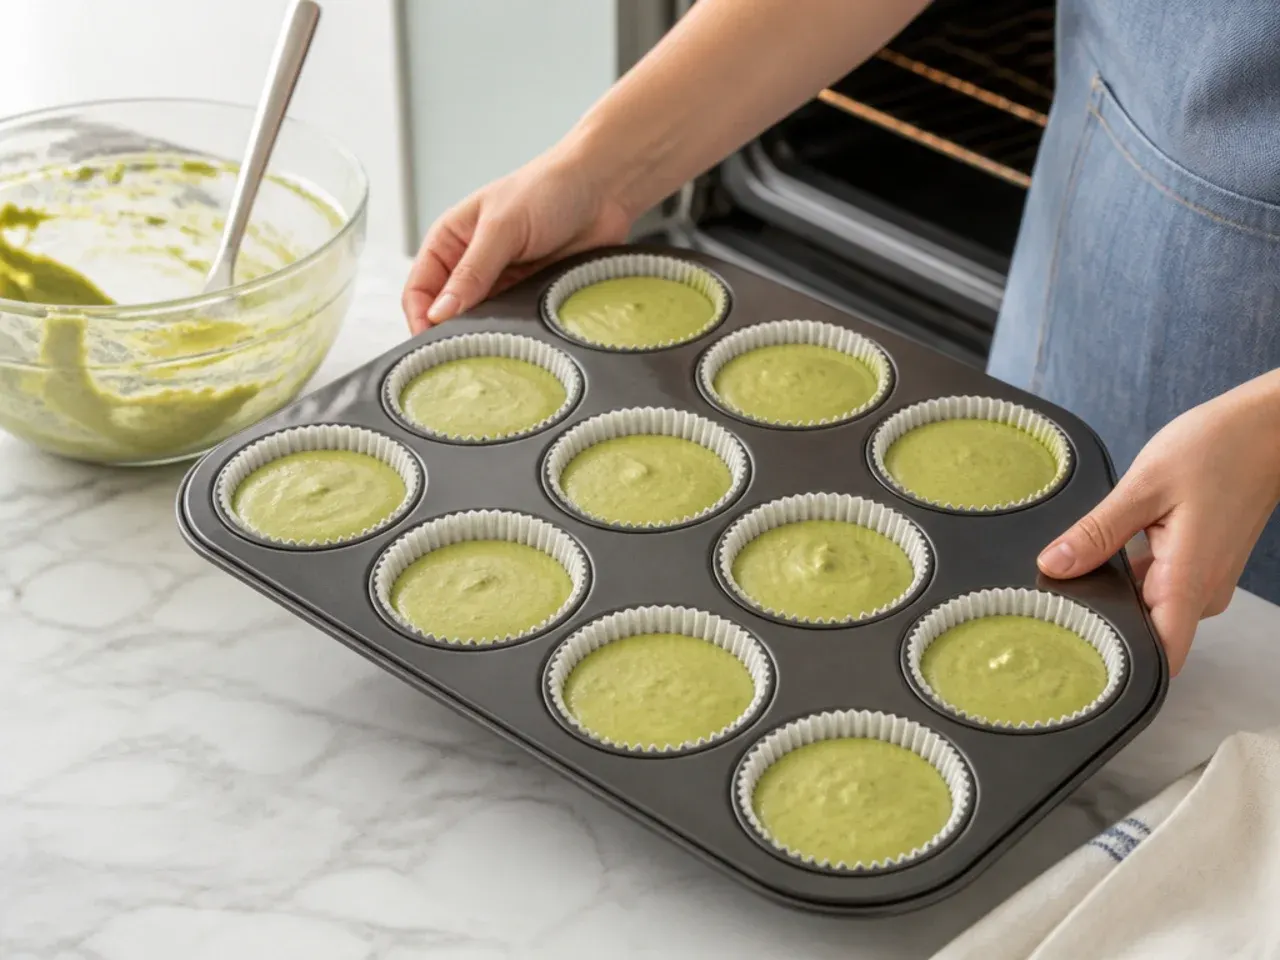
Divide the batter among the liners, filling each about two-thirds full for flat, easy-to-decorate tops (a standard cookie scoop works well). Bake at 350°F (177°C) for 19-22 minutes, until a toothpick inserted in the center comes out with only a few moist crumbs. Cool in the pan for 5 minutes, then transfer to a wire rack and cool completely, about 1 hour, before frosting.
Step 6: Make the green buttercream
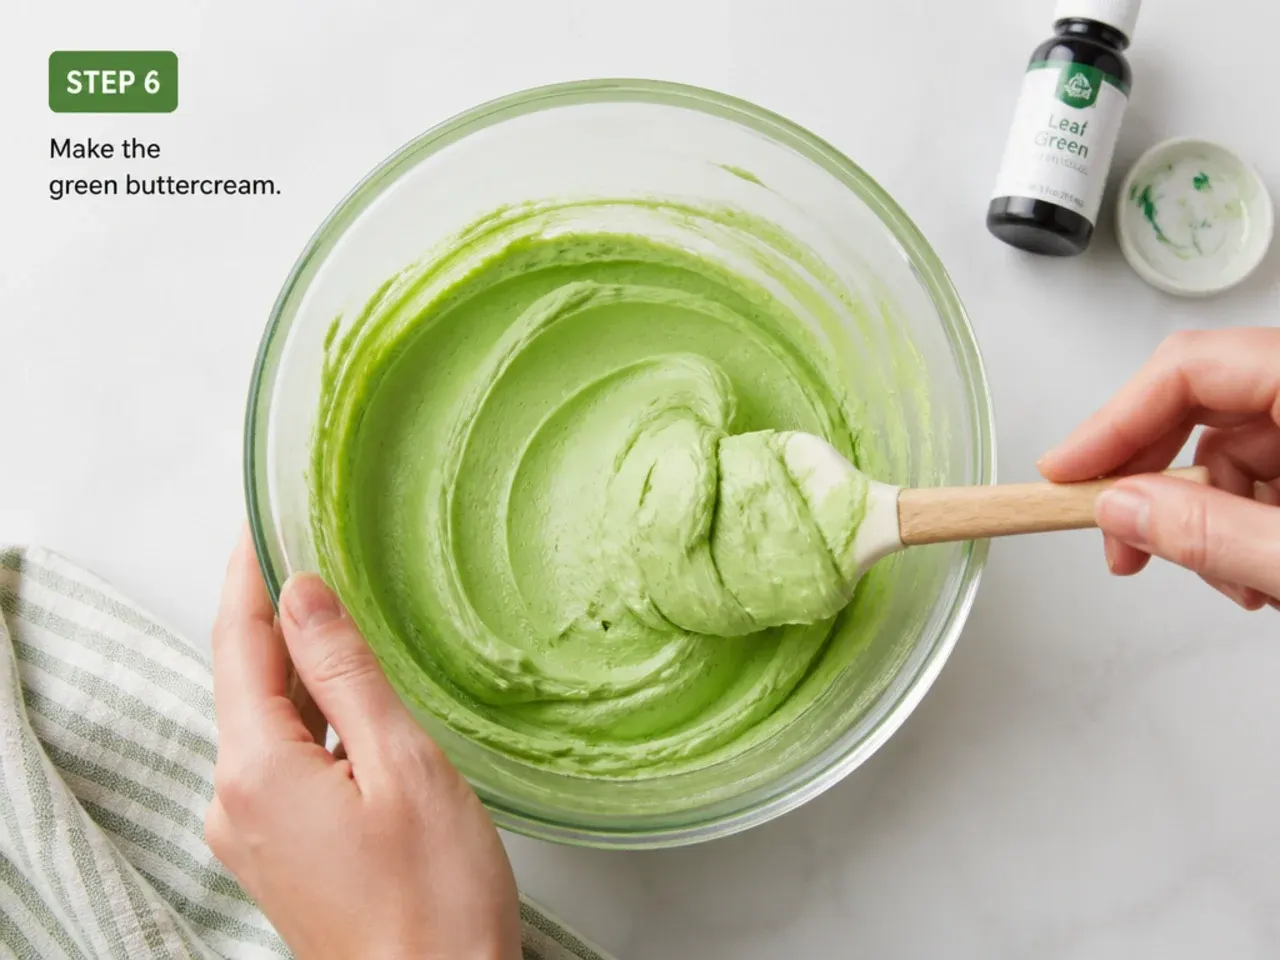
Beat the 1 cup softened butter on medium-high for 2 minutes until creamy, then add the sifted powdered sugar one cup at a time on low. Add the vanilla and heavy cream and beat on high for 3-4 minutes until light and pipeable, adding a little more cream if stiff or more sugar if soft. Tint with green gel color (about 4 drops yellow to 1 drop blue for grass green) until you reach an even dino shade.
Step 7: Pipe and decorate
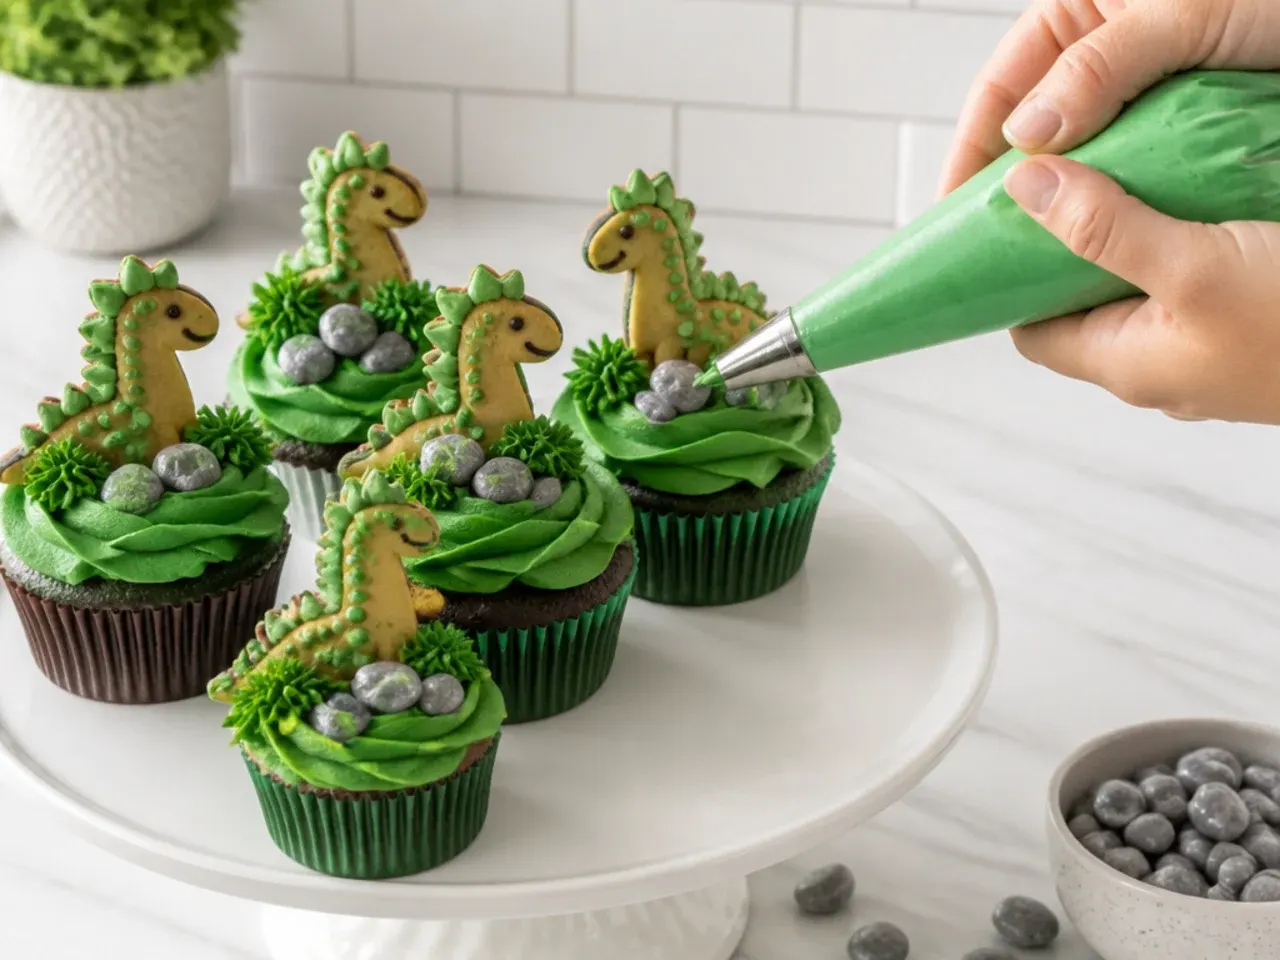
Fit a piping bag with a Wilton 1M open star tip, fill with the green buttercream, and pipe a tall spiral swirl on each cooled cupcake starting from the outer edge and building to a peak. Press five candy-melt or fondant spikes down the center, alternating front to back, then add candy eyes. Chill 15 minutes to set before serving or transporting.
Frequently Asked Questions
Melt candy melts in 30-second bursts at 50% power, spoon into a squeeze bottle or piping bag, and pipe small triangles onto parchment or a silicone mat. Chill them in the fridge for about 10 minutes until firm, then peel off and press five into each frosting swirl. You can also pour melted candy into a Wilton star mold, freeze 20 minutes, and cut each star into 4-5 spikes with a hot knife.
Save this for later 📌
Pin this article to your Pinterest board so the full list is one tap away when you need it.
Save on Pinterest