15 Cute Dinosaur Smash Cakes for 1st Party
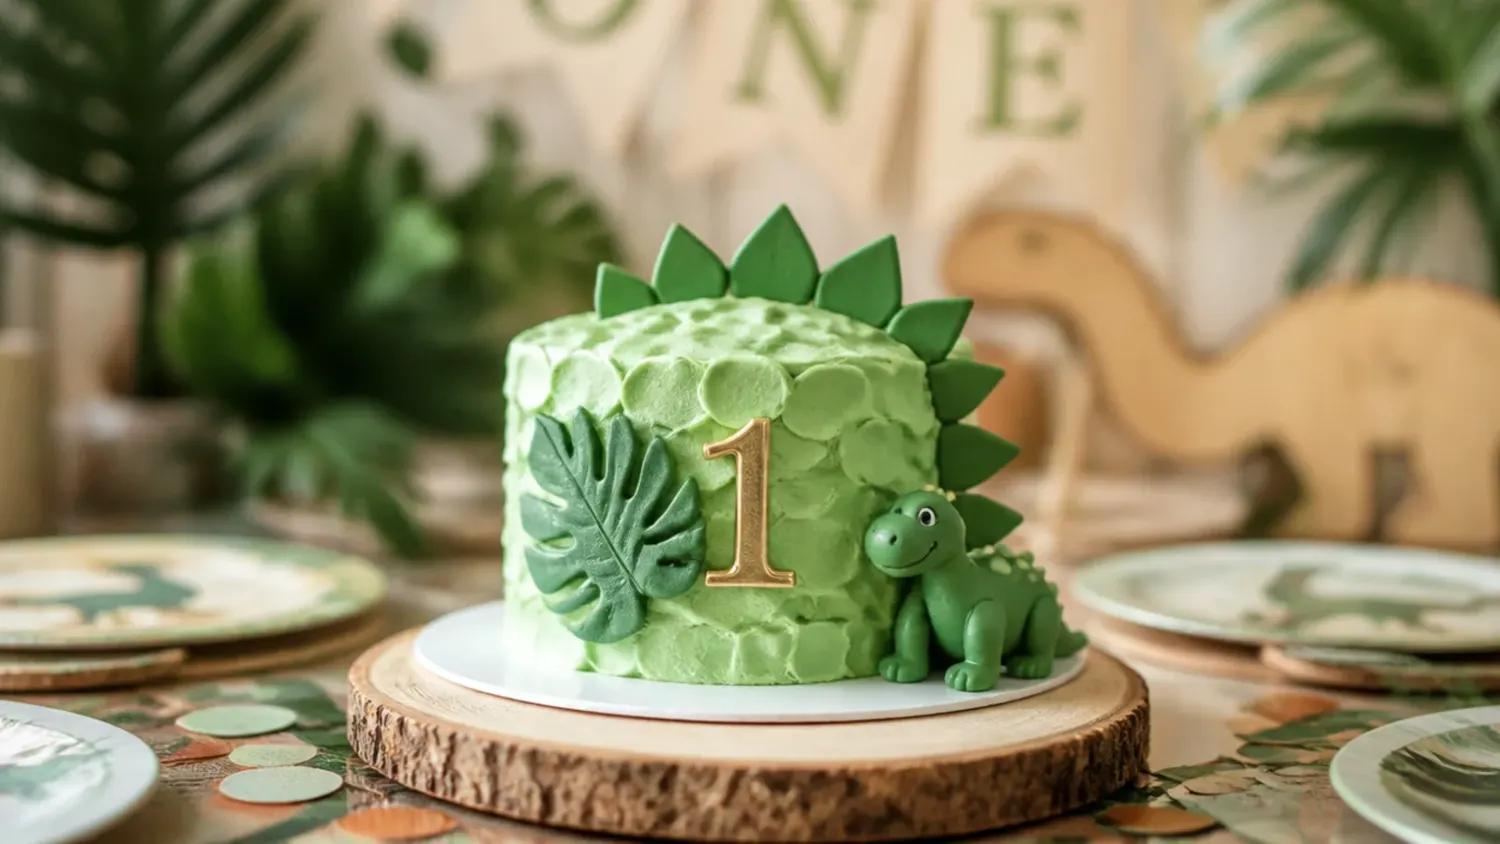
15 adorable dinosaur smash cake ideas for a 1st birthday, plus one easy 6-inch vanilla base recipe you can decorate any of these ways at home. If you love dinosaur cake inspiration, start with our Dinosaur Cake Ideas collection, then browse the full Cake Ideas hub for more.
Save this for later 📌
Pin this article to your Pinterest board so the full list is one tap away when you need it.
Save on PinterestCake Ideas
Beginner
Ideas
15 ideas
Table of Contents
- 1. Buttercream Jungle Skirt Dino Cake
- 2. Cookie-Crumb Fossil Dig Cake
- 3. Watercolor Prehistoric Sky Cake
- 4. Spike-and-Scute Stegosaurus Cake
- 5. Modern Color-Block Dino Cake
- 6. Rustic Naked Forest-Floor Cake
- 7. Rainbow Dino-Scale Cake
- 8. Minimal White Cake with Dino Footprints
- 9. Volcano Drip Dino Cake
- 10. Dino Egg Nest Cake
- 11. Bold Two-Tone Roar Cake
- 12. Delicate Pastel Fern Cake
- 13. Vintage Storybook Dino Cake
- 14. Fossil Geode Dino Cake
- 15. Charming Dino Party Hat Cake
- Tips to Make These Ideas Easier
- Common Mistakes to Avoid
- The Base Recipe — Make Any of These Ideas
1. Buttercream Jungle Skirt Dino Cake
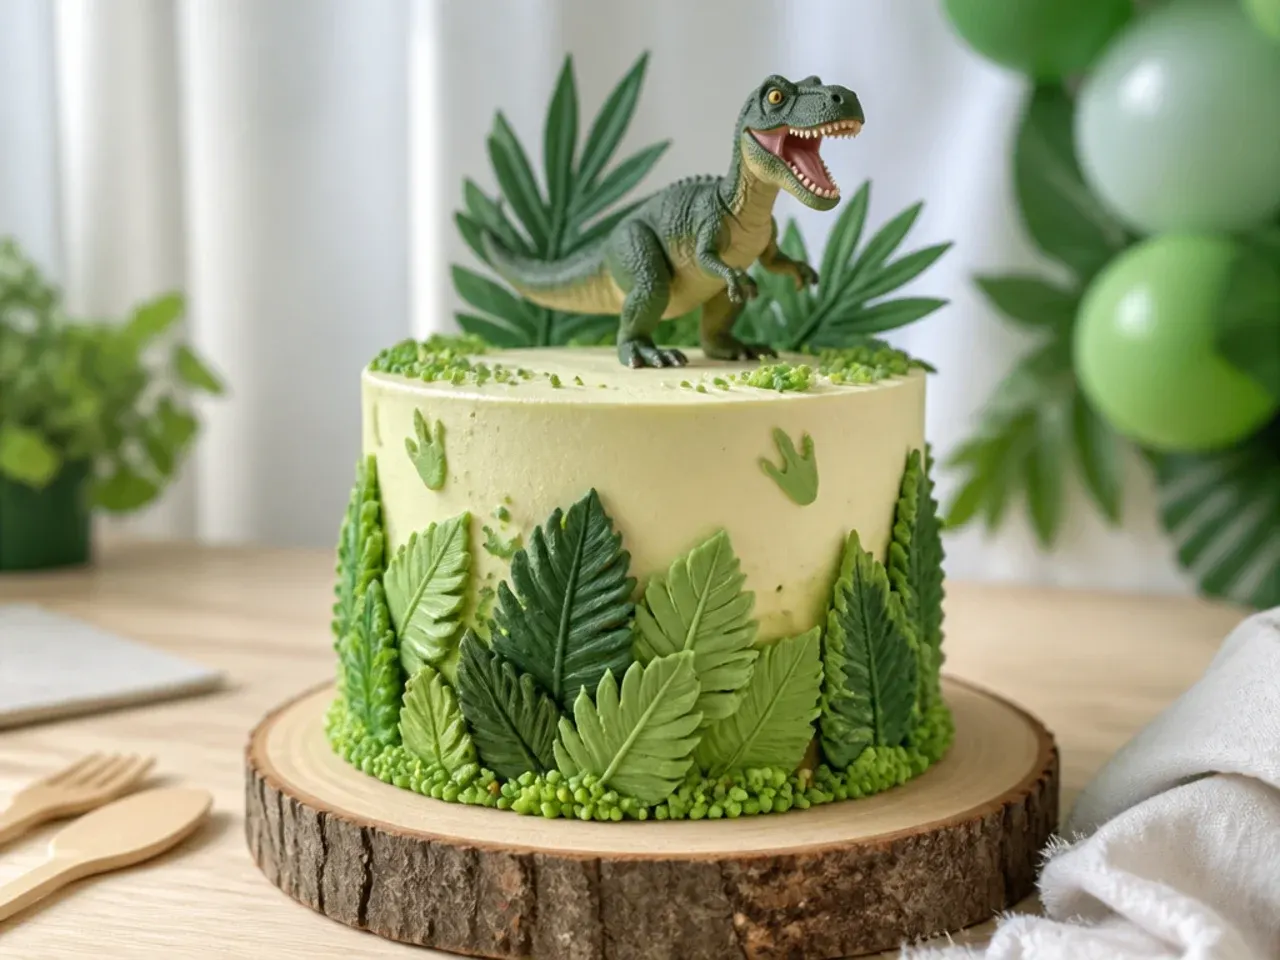
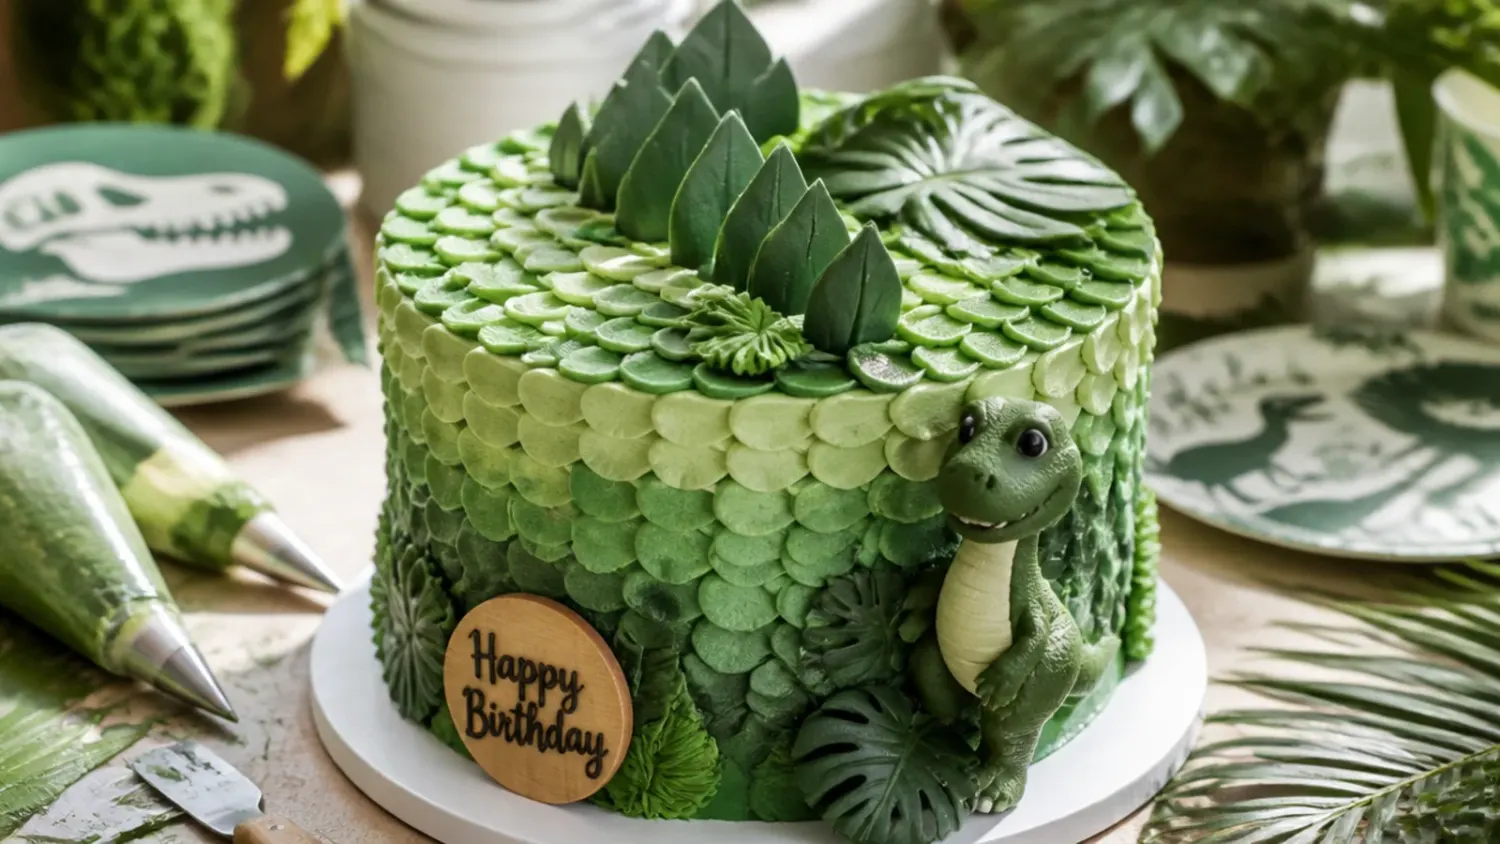
This is the classic look: a smooth 6-inch cake ringed at the base with a leafy green 'jungle' of buttercream so a toy dinosaur looks like it is wading through ferns. Mix two shades of green using gel color (a leaf green and a deeper forest green), load each into a piping bag fitted with a Wilton 352 leaf tip, and pipe overlapping leaves around the bottom third of the cake, angling them upward. It works because the leaves hide any imperfect base edge and instantly read as 'prehistoric jungle' with zero carving. Finish with a single toy dinosaur on top and a few chocolate rock candies tucked into the leaves.
2. Cookie-Crumb Fossil Dig Cake
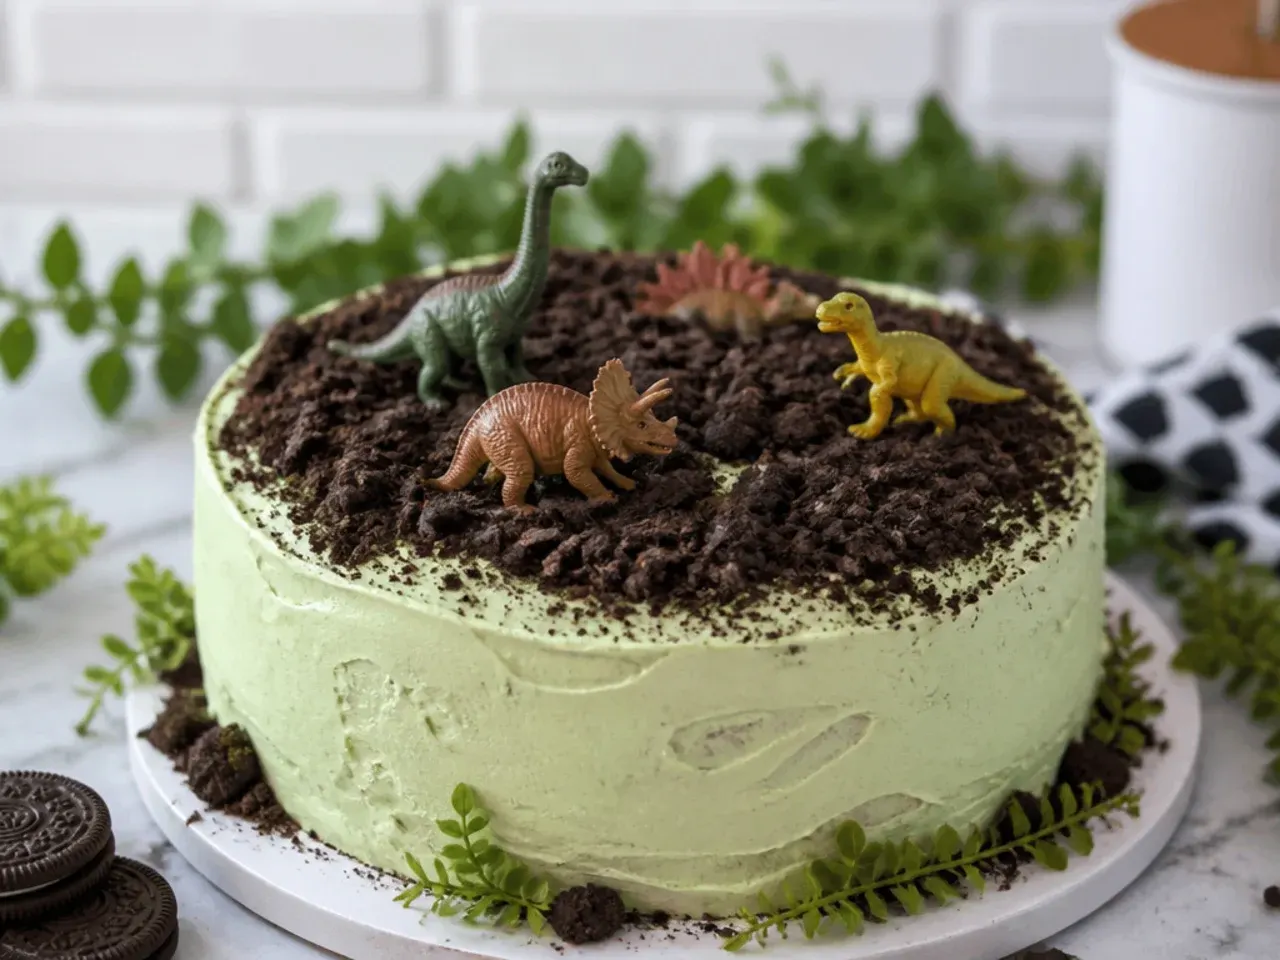
For the least fussy dino smash cake, skip smooth frosting entirely and turn the top into a 'fossil dig' site with crushed cookie 'dirt.' Frost the cake with a thin coat of vanilla buttercream, then blitz 6-8 chocolate sandwich cookies in a food processor and press the crumbs over the top and a little down the sides. Half-bury a couple of toy dinosaurs and a few white chocolate 'bones' (use bone-shaped candy or piped white chocolate) so it looks freshly excavated. This is toddler-proof, forgiving of a lumpy crumb coat, and comes together in ten minutes.
3. Watercolor Prehistoric Sky Cake
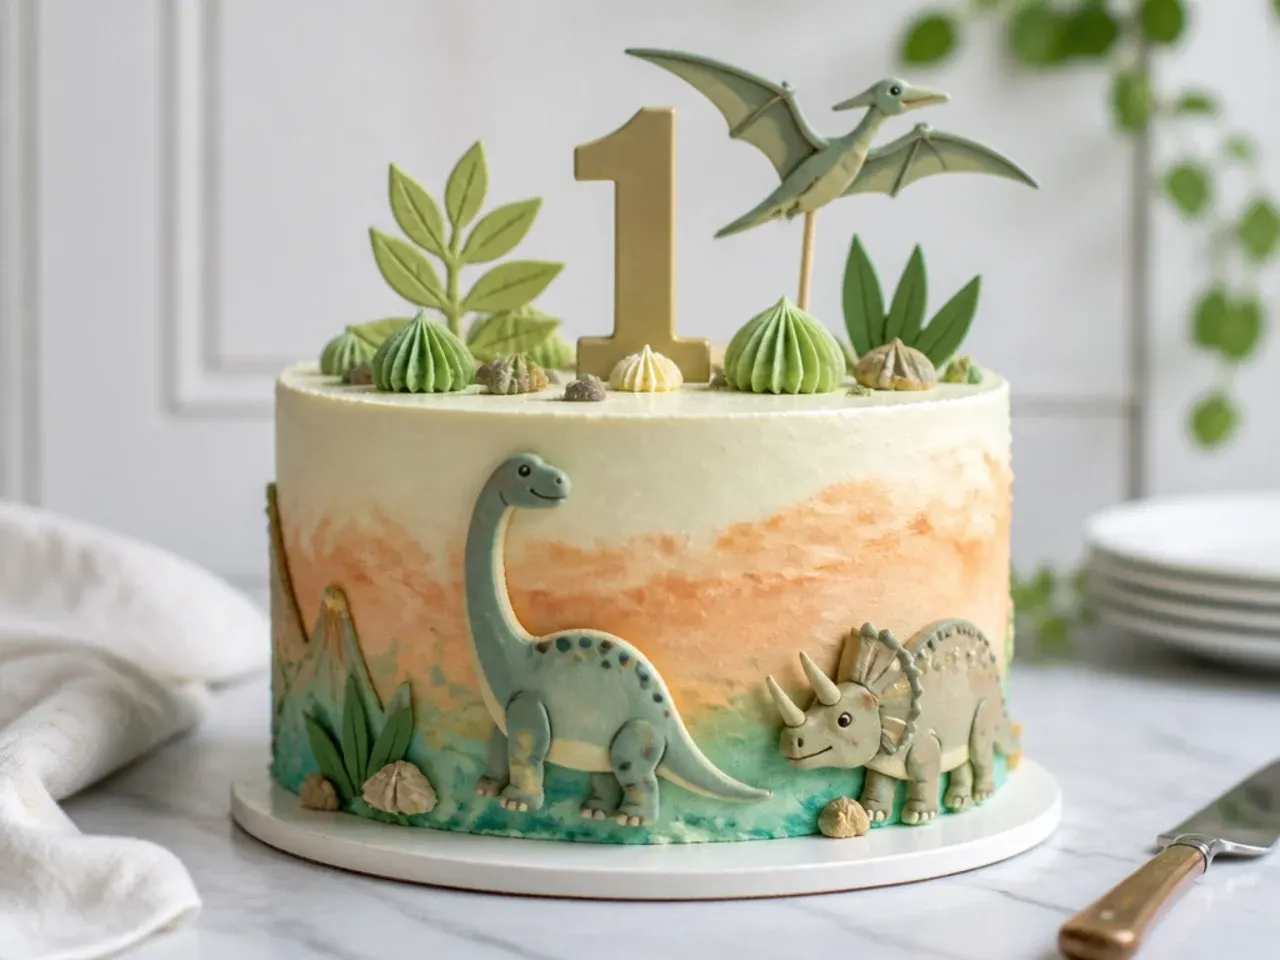
For an elegant, grown-up-friendly dino cake, paint a soft watercolor sunrise on smooth buttercream instead of piping. Chill the crumb-coated cake for 20 minutes, apply a smooth final coat of pale peach buttercream, then use a clean flat brush to dab thinned gel colors (dusty rose, lavender, soft gold) in horizontal streaks like a dawn sky. It works because the muted palette photographs beautifully and lets a single elegant dino silhouette topper carry the theme. Keep the cake cold while you paint so the surface stays firm and the colors do not slide.
4. Spike-and-Scute Stegosaurus Cake
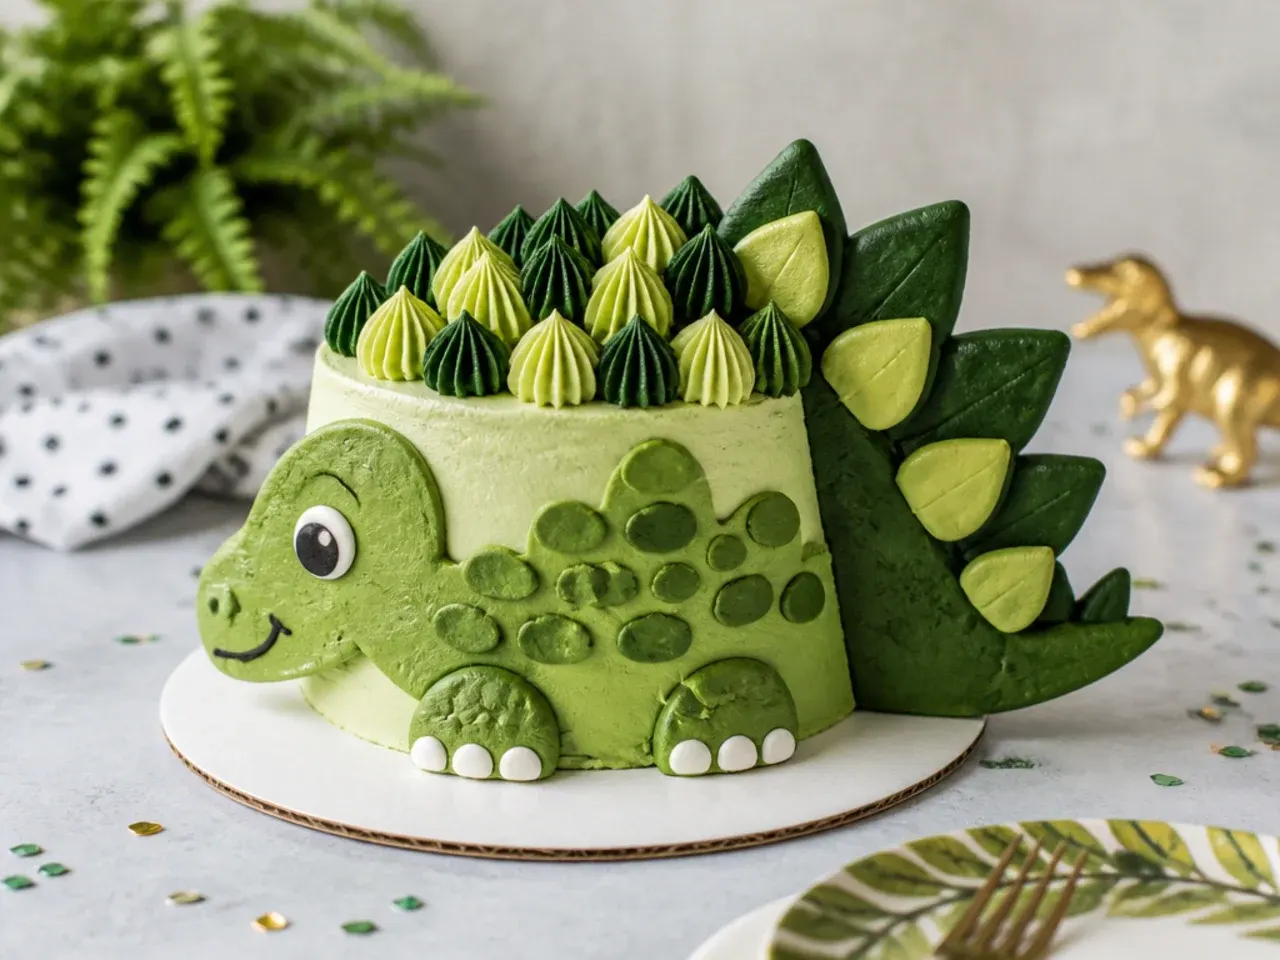
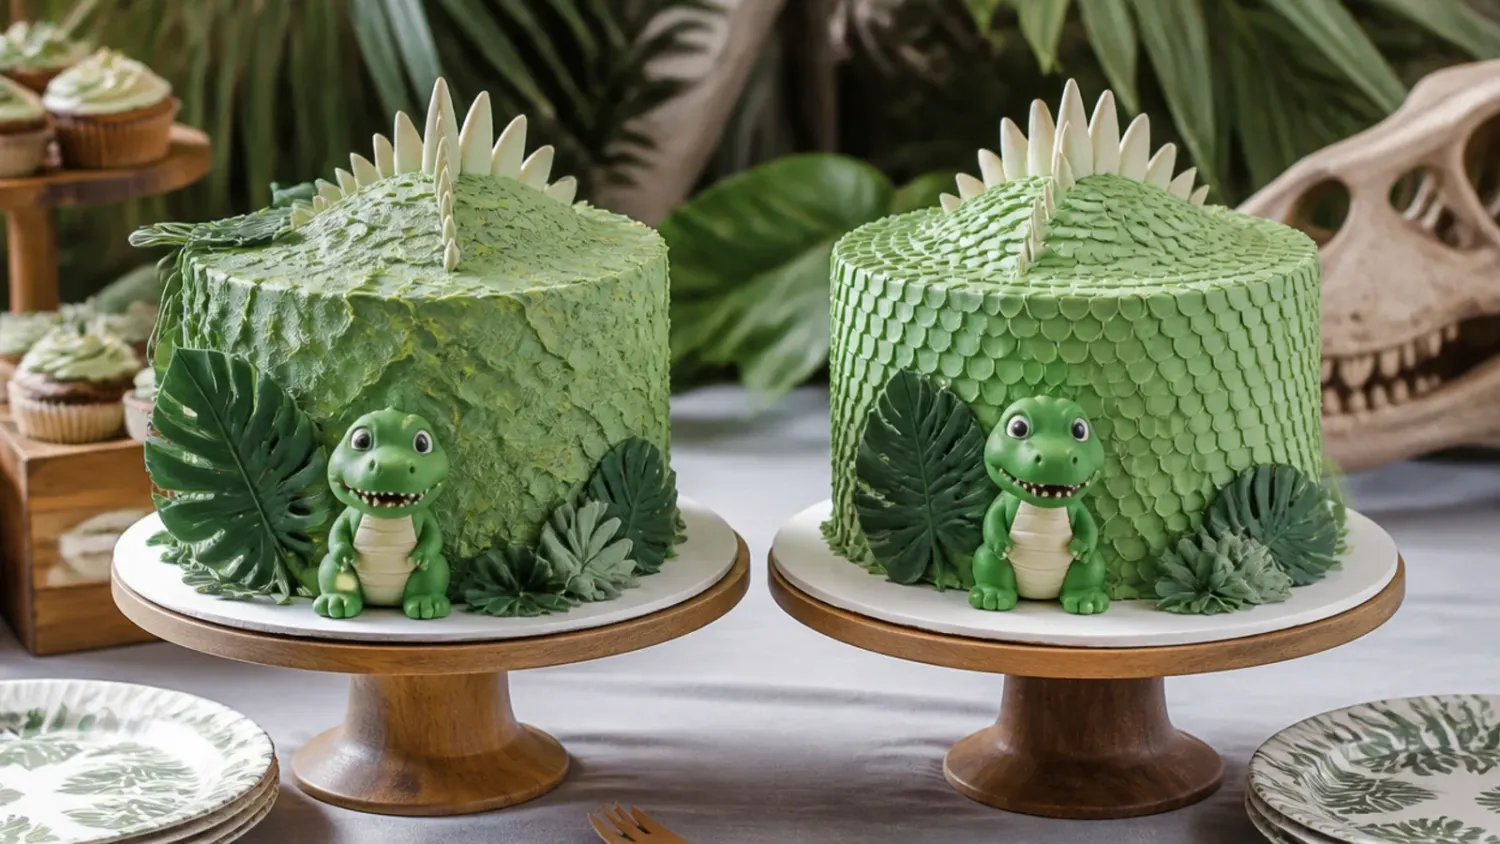
Turn the whole cake into the dinosaur itself by piping a ridge of buttercream 'scutes' and spikes down the top. Frost the cake green, then use a Wilton 12 round tip to pipe a row of graduated teardrop plates along the center of the top, and a small St. Honoré or petal tip to pipe pointed spikes down each side. This playful look reads instantly as a stegosaurus back without any carving, and kids love the texture. Tint the spikes a contrasting orange or yellow so they pop against the green body.
5. Modern Color-Block Dino Cake
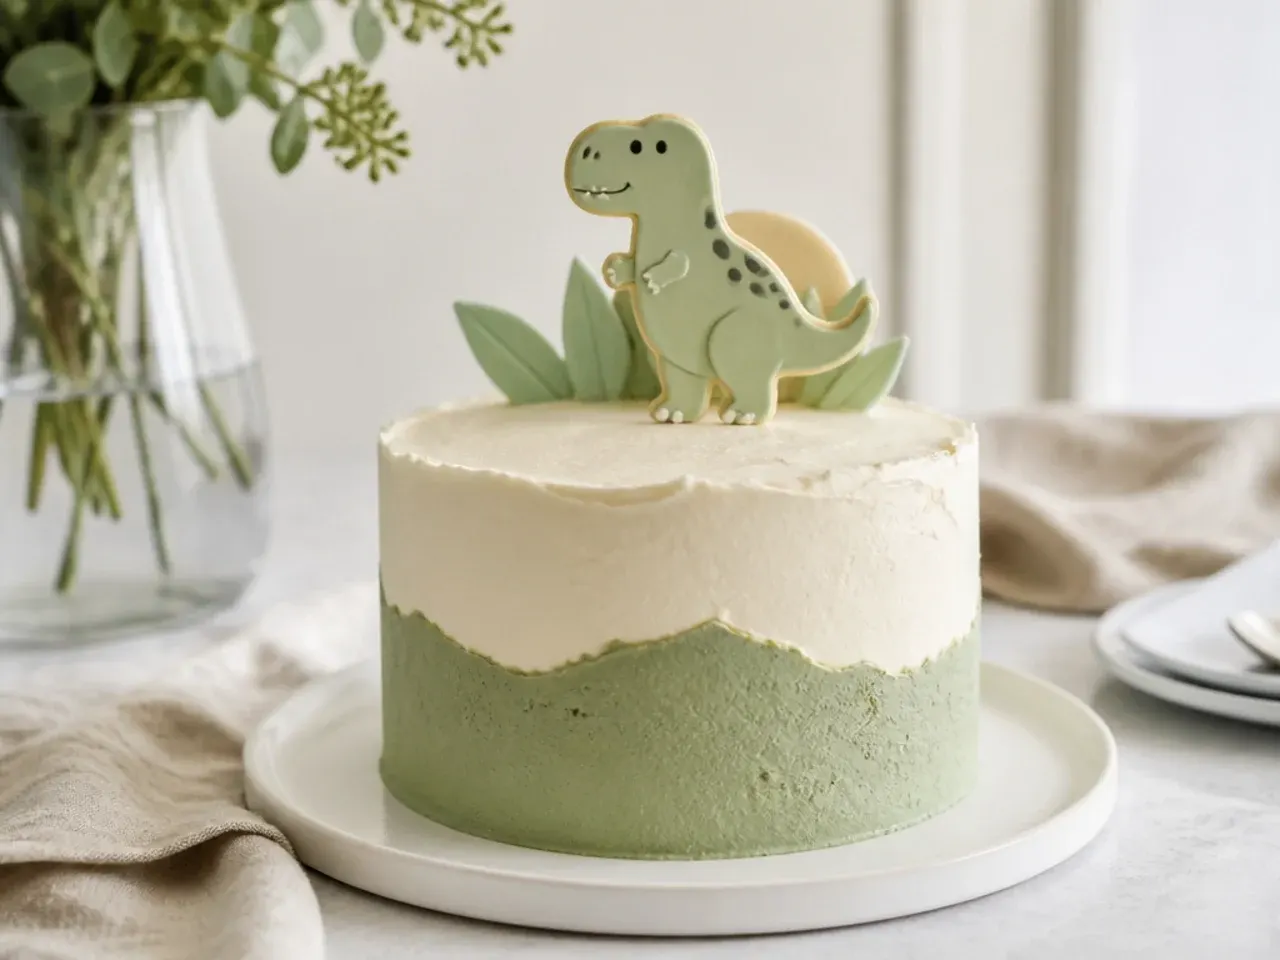
For a clean, Instagram-modern look, split the cake into two smooth color blocks divided by a sharp horizontal line. Frost the bottom half in sage green and the top half in cream or blush, then run a bench scraper around while spinning the turntable to get a crisp seam. It works because the minimalist geometry feels current and lets one small acrylic or wooden dino topper do all the theming. Add a single gold '1' candle and nothing else so the color-block does the talking.
Save this for later 📌
Pin this article to your Pinterest board so the full list is one tap away when you need it.
Save on Pinterest6. Rustic Naked Forest-Floor Cake
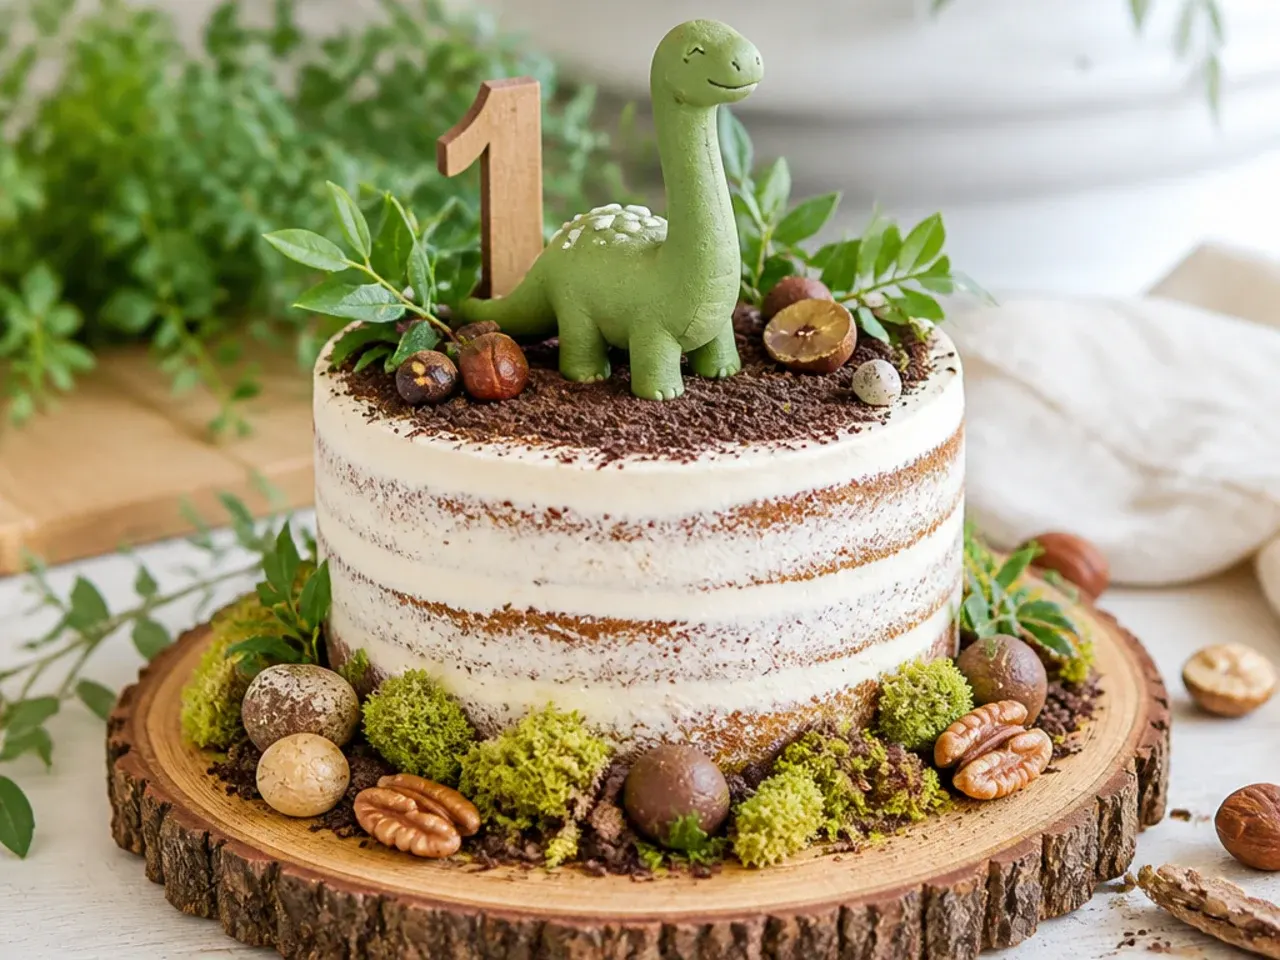
A semi-naked finish suits a woodland-dino theme and hides the fact that a first-time baker's frosting is not perfectly smooth. Apply a thin coat of buttercream and scrape most of it back so the cake layers peek through, then press chopped pistachios and a dusting of cocoa around the base for a mossy forest floor. This works because the exposed sponge looks intentionally organic and rustic, and the earthy toppings echo a dino habitat. Finish with a couple of rosemary sprigs standing in as tiny prehistoric trees and one toy dino peeking out.
7. Rainbow Dino-Scale Cake
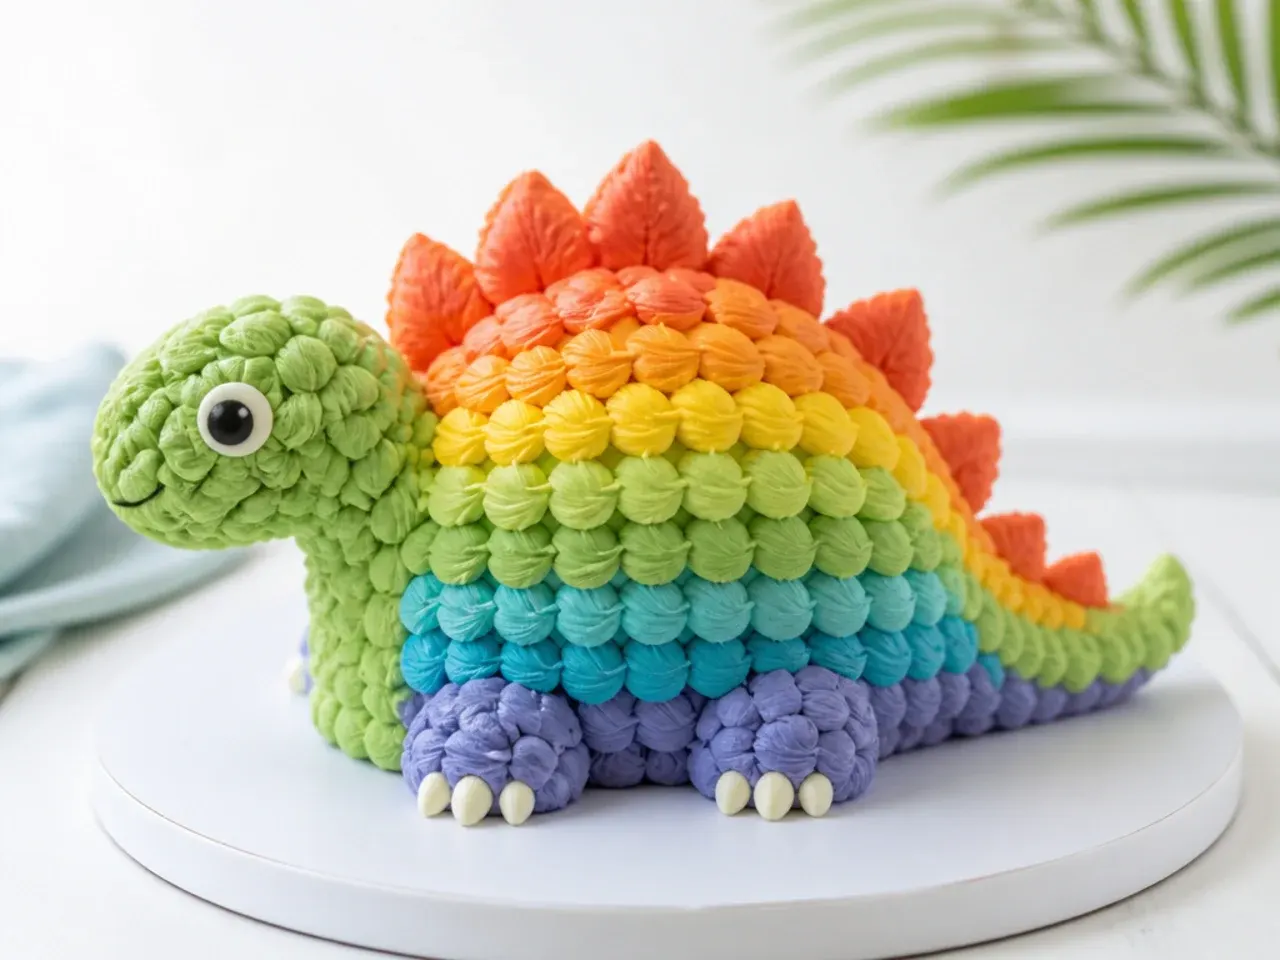
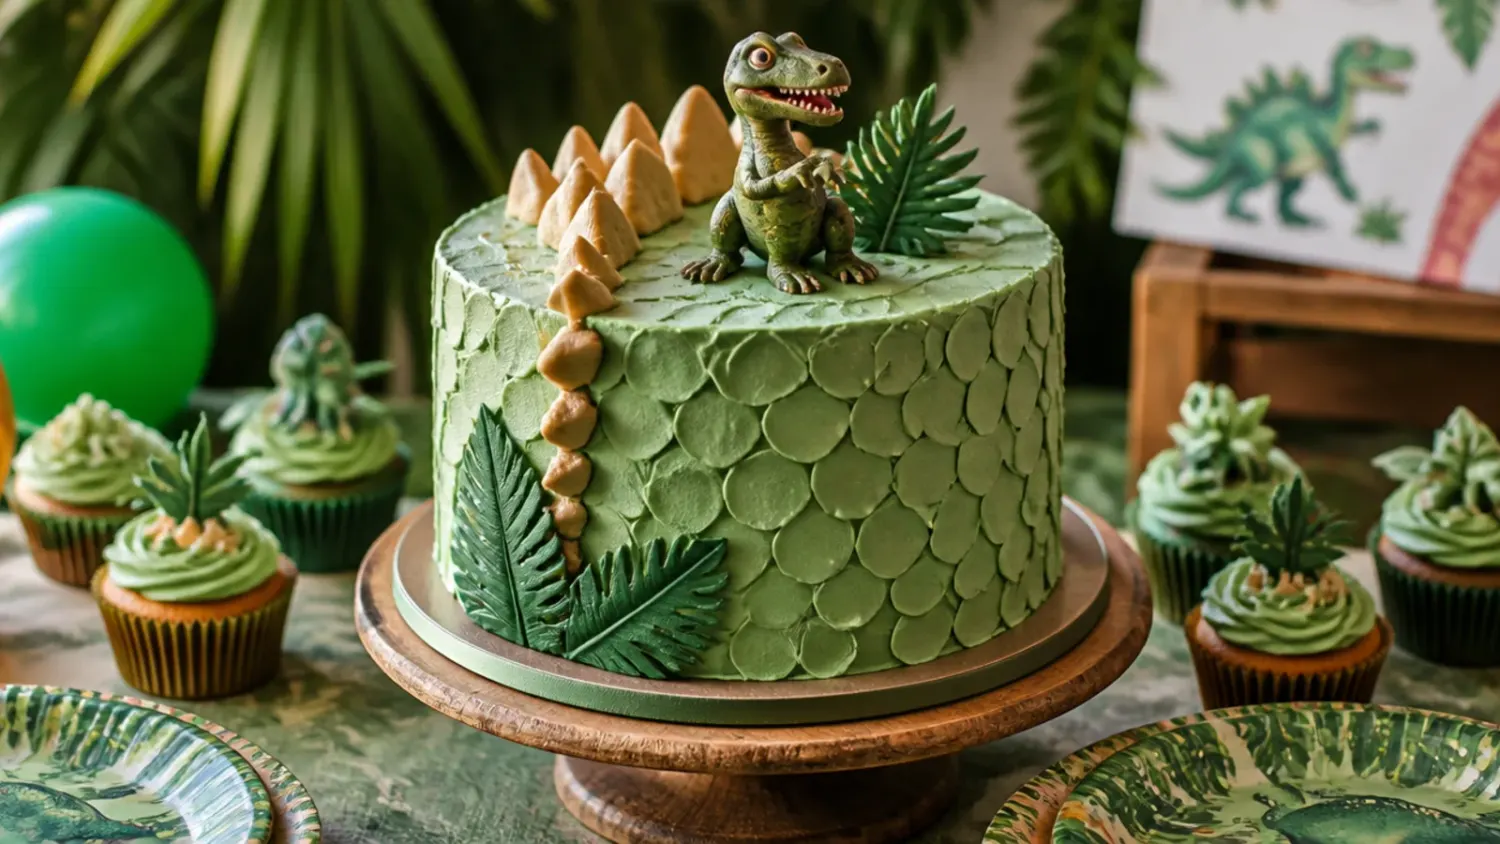
For a bright, high-energy party, cover the whole cake in overlapping rainbow 'scales' piped like fish scales. Fill several piping bags with buttercream in rainbow gel colors, then use a Wilton 12 round tip to pipe rows of dots and drag each downward with a small offset spatula to create a scalloped scale, working bottom to top in color-band rows. It works because the repeating scale texture is forgiving and endlessly cute, and the color explosion delights one-year-olds. Cap the top with a smooth dome of frosting and a single dino topper so the scales stay the star.
8. Minimal White Cake with Dino Footprints
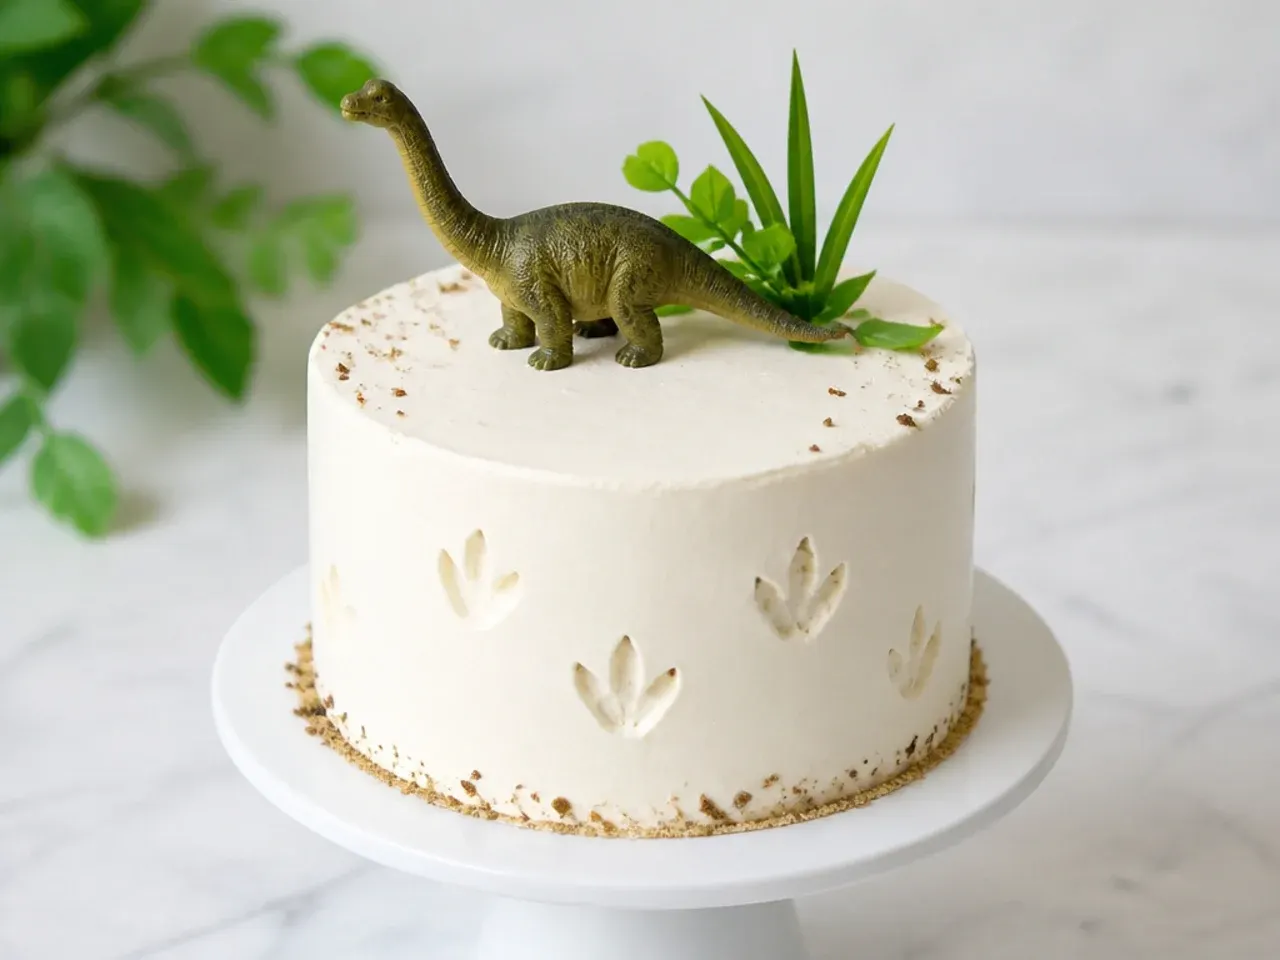
Sometimes the most striking dino cake is almost bare: a smooth white cake marked only with pressed-in footprints. Frost the cake in clean white buttercream, chill it 15 minutes, then gently press the foot of a clean toy dinosaur into the surface at random around the sides and top to leave little tracks. This minimalist idea works because the negative space feels sophisticated and the footprints tell the whole story without a single decoration. Dust the tracks lightly with cocoa or green luster so they read clearly in photos.
9. Volcano Drip Dino Cake
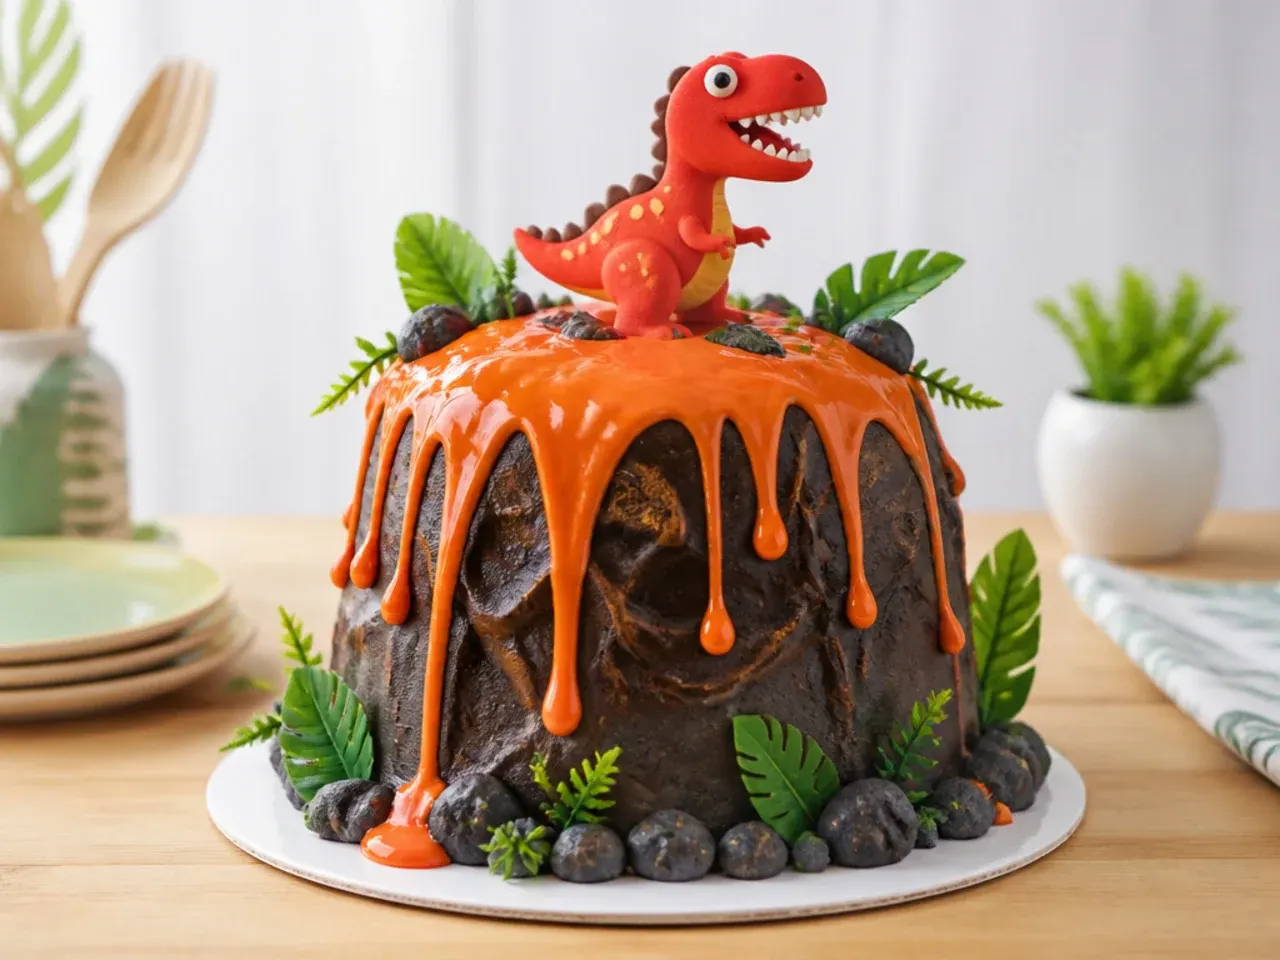
Give the cake a festive centerpiece by turning it into an erupting volcano. Frost the cake in graduated brown-to-grey buttercream, mound a little extra frosting at the top to build a peak, then pour a warm red-orange white-chocolate ganache 'lava' drip down from the summit using a spoon. It works because the drip creates instant drama and a natural focal point, and kids are thrilled by the eruption. Scatter red and orange rock candy at the base as cooling lava and set a couple of dinos fleeing the scene.
10. Dino Egg Nest Cake
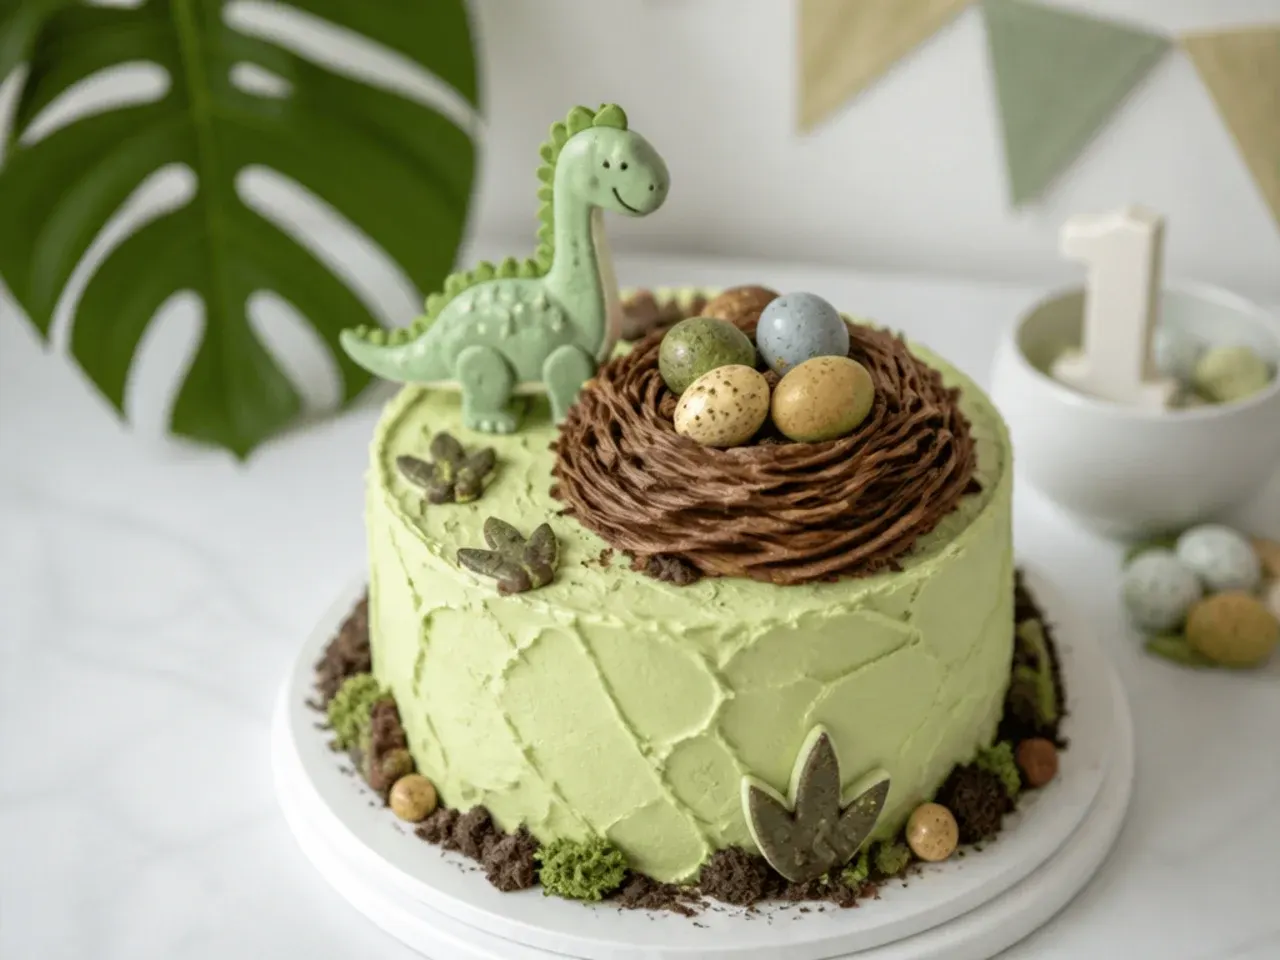
Build a cozy nest on top and nestle speckled dino eggs inside for a whimsical, storybook look. Pipe a shaggy nest with a Wilton 233 multi-opening (grass) tip in brown buttercream around the top edge, then fill the center with chocolate mini eggs painted with speckles using thinned brown gel color and a toothbrush flick. This works because the tactile nest is easy to pipe and the speckled eggs feel like a real discovery. Tuck one just-hatching toy dino among the eggs for a sweet story moment.
Save this for later 📌
Pin this article to your Pinterest board so the full list is one tap away when you need it.
Save on Pinterest11. Bold Two-Tone Roar Cake
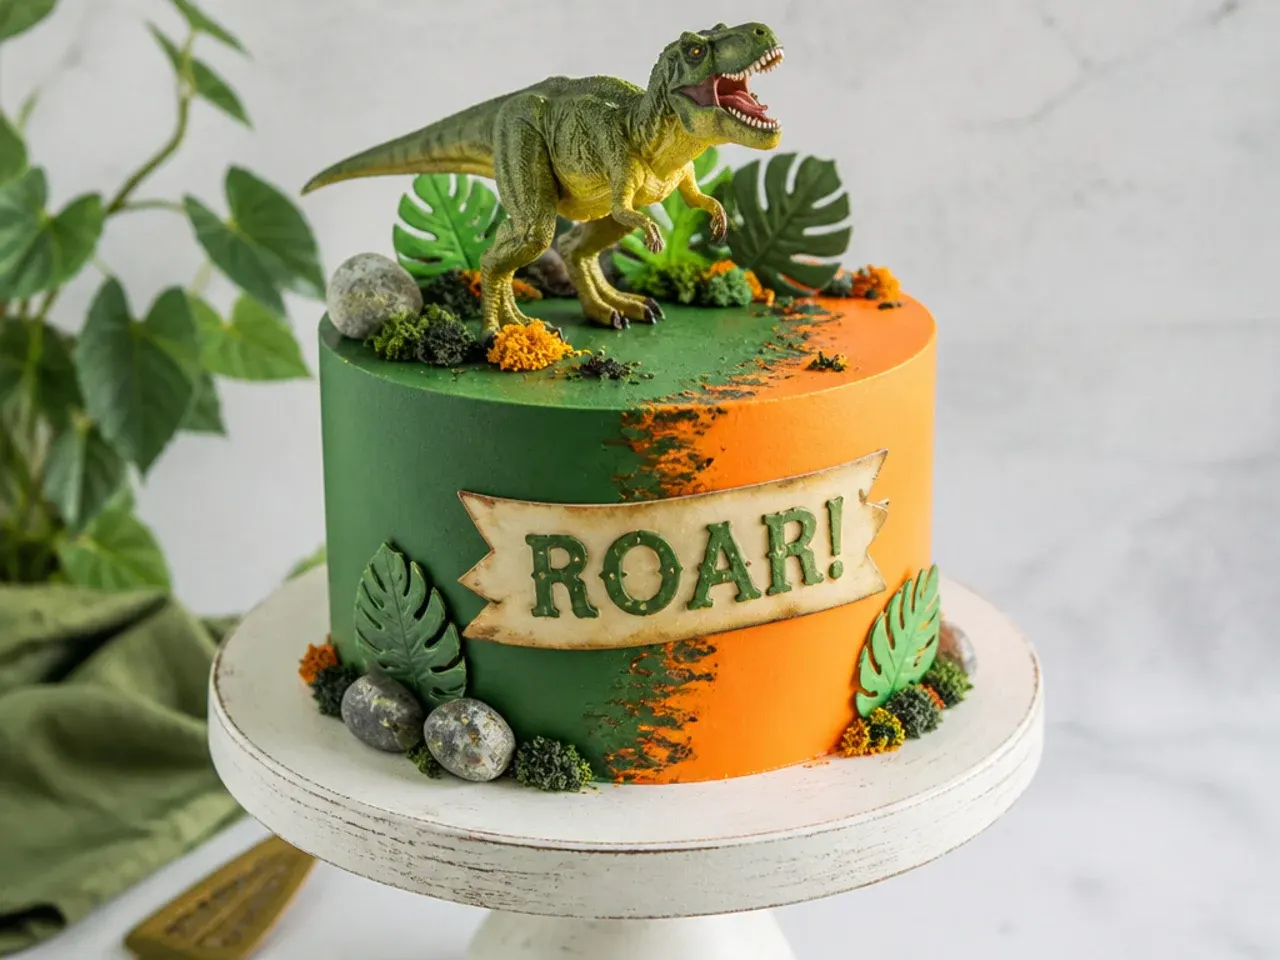
For a graphic, high-contrast cake, pair a deep emerald body with a bold burst of hot-orange spikes and a hand-piped 'ROAR' banner. Frost the cake smooth in emerald, pipe tall triangular spikes across the top with a St. Honoré tip in bright orange, and pipe or place a small orange banner flag reading ROAR on a toothpick. It works because the saturated complementary colors are impossible to ignore in photos and feel confidently modern. Keep the sides clean so all the boldness lives up top.
12. Delicate Pastel Fern Cake
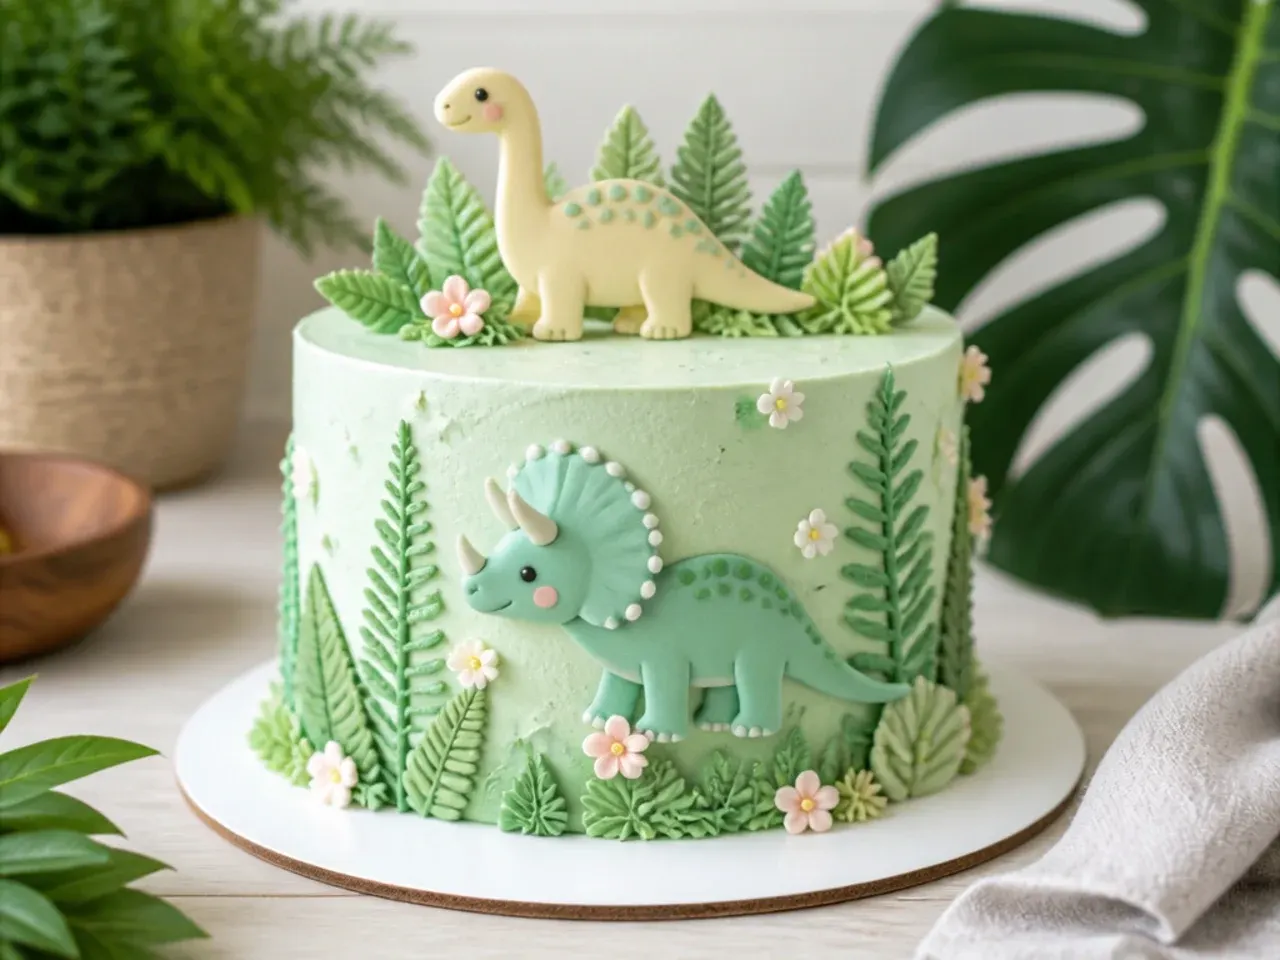
For a soft, dainty aesthetic, decorate a pale mint cake with delicate hand-piped ferns and tiny buttercream flowers. Use a Wilton 352 leaf tip to pipe fine feathery ferns curving up the sides, then add small five-dot forget-me-nots with a Wilton 2 round tip in blush and cream. This delicate look works because the fine detail reads as elegant and gender-neutral while still clearly prehistoric-botanical. Finish with one tiny brass or wooden dino so the sweetness never tips into busy.
13. Vintage Storybook Dino Cake
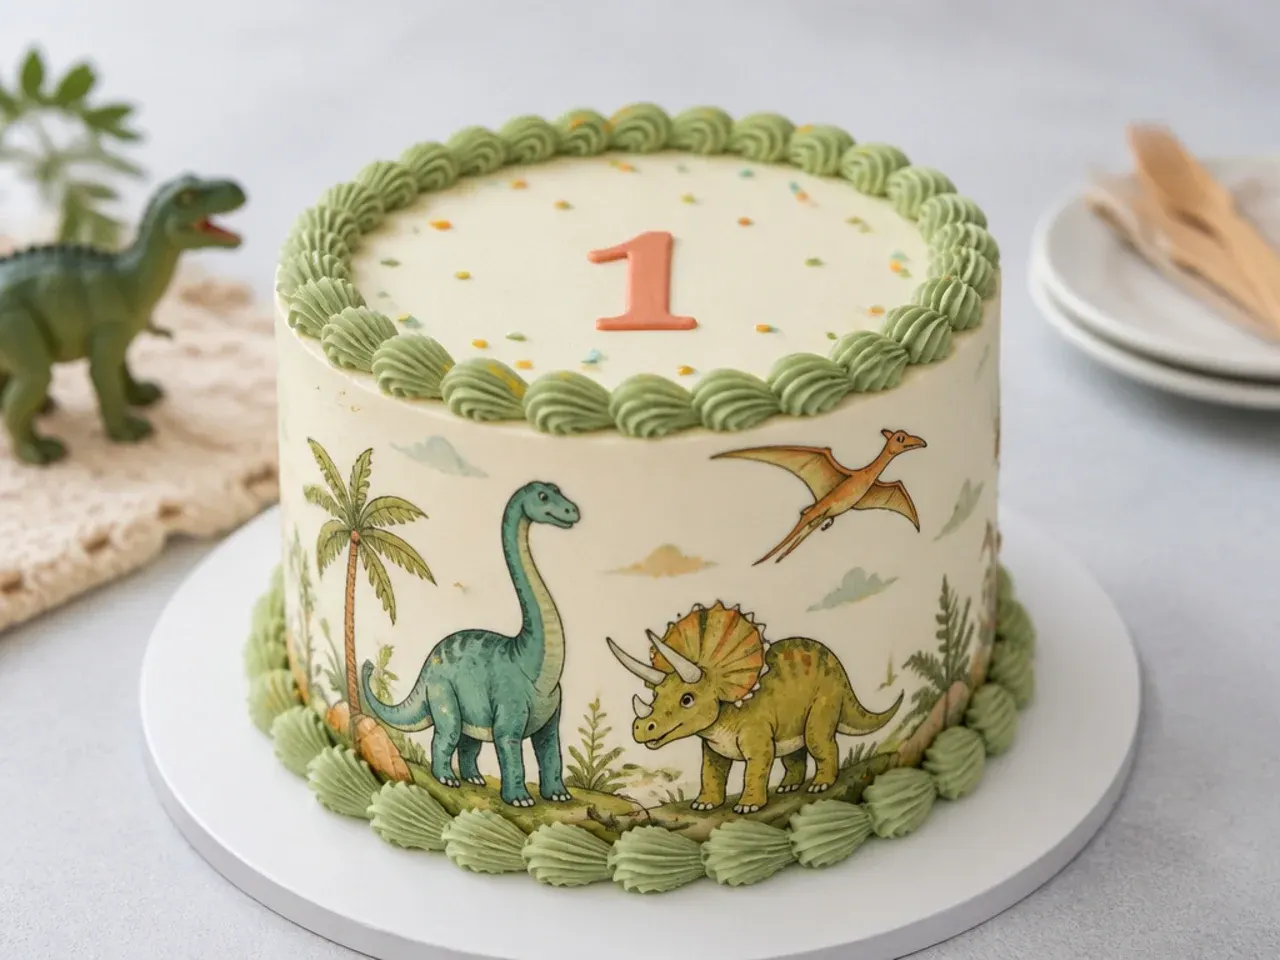
Channel a nostalgic, illustrated-book feel with muted retro colors and a piped border. Frost the cake in a dusty sage or ochre, then pipe a classic shell border around the top and bottom edges with a Wilton 21 star tip, and add a hand-lettered age or name in a contrasting cream. It works because the vintage palette and traditional borders feel warm and timeless, like a cake from a 1970s children's book. Set a single muted-tone dino on a small buttercream grass tuft for the finishing touch.
14. Fossil Geode Dino Cake
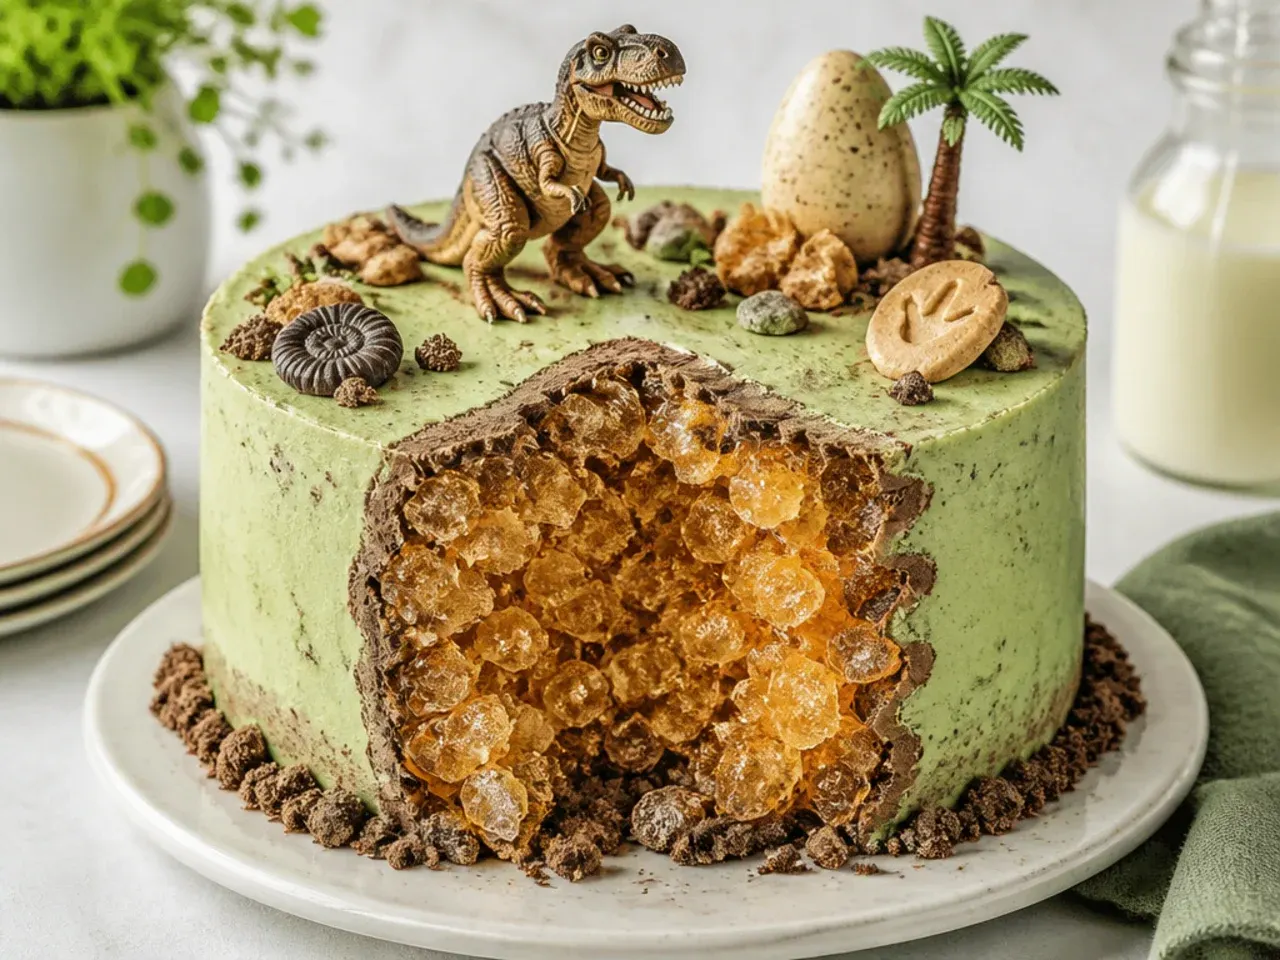
Combine two trends by cutting a 'geode' crystal cave into the side and revealing amber rock-candy fossils inside. Chill the frosted cake, carve a shallow oval pocket into one side with a small knife, brush the cavity with edible gold, then wedge in shards of amber and clear rock candy so it glitters like a crystal fossil. This creative idea works because the sparkle is genuinely wow-worthy and the earthy amber ties straight into the dino-fossil theme. Frame the geode with a thin gold-painted buttercream border to sharpen the edge.
15. Charming Dino Party Hat Cake
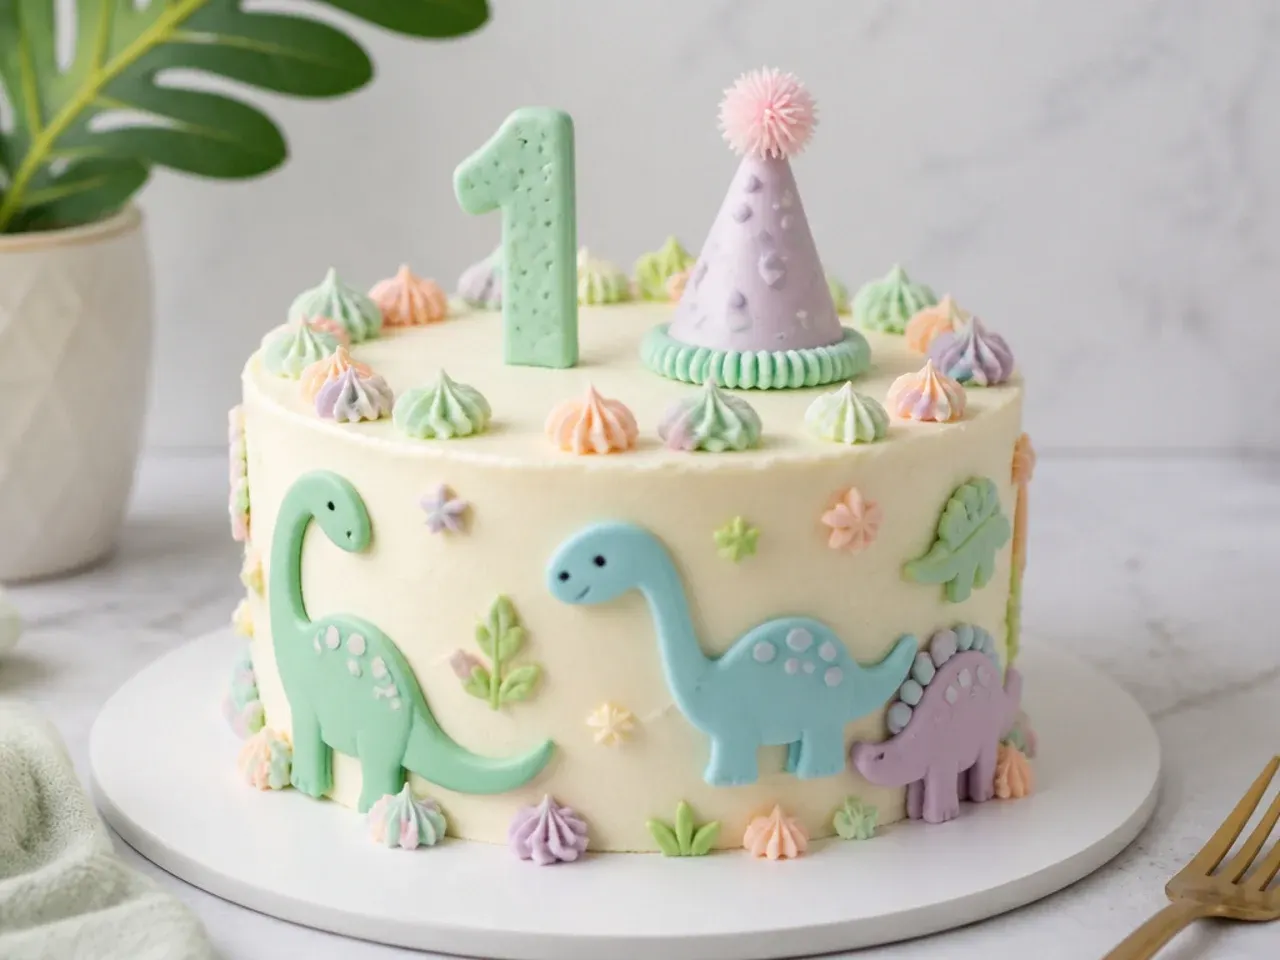
End with the sweetest look of all: a smooth pastel cake wearing a tiny buttercream party hat, ready to celebrate turning one. Frost the cake in soft blue or lilac, pipe a small cone party hat on top with a striped fabric texture using two colors and a Wilton 104 petal tip, and add a piped pom-pom on the peak with a Wilton 233 grass tip. It works because the party-hat detail is instantly charming and photographs adorably for a first birthday. Add a toy dino beside the hat as if it is the guest of honor.
Tips to Make These Ideas Easier
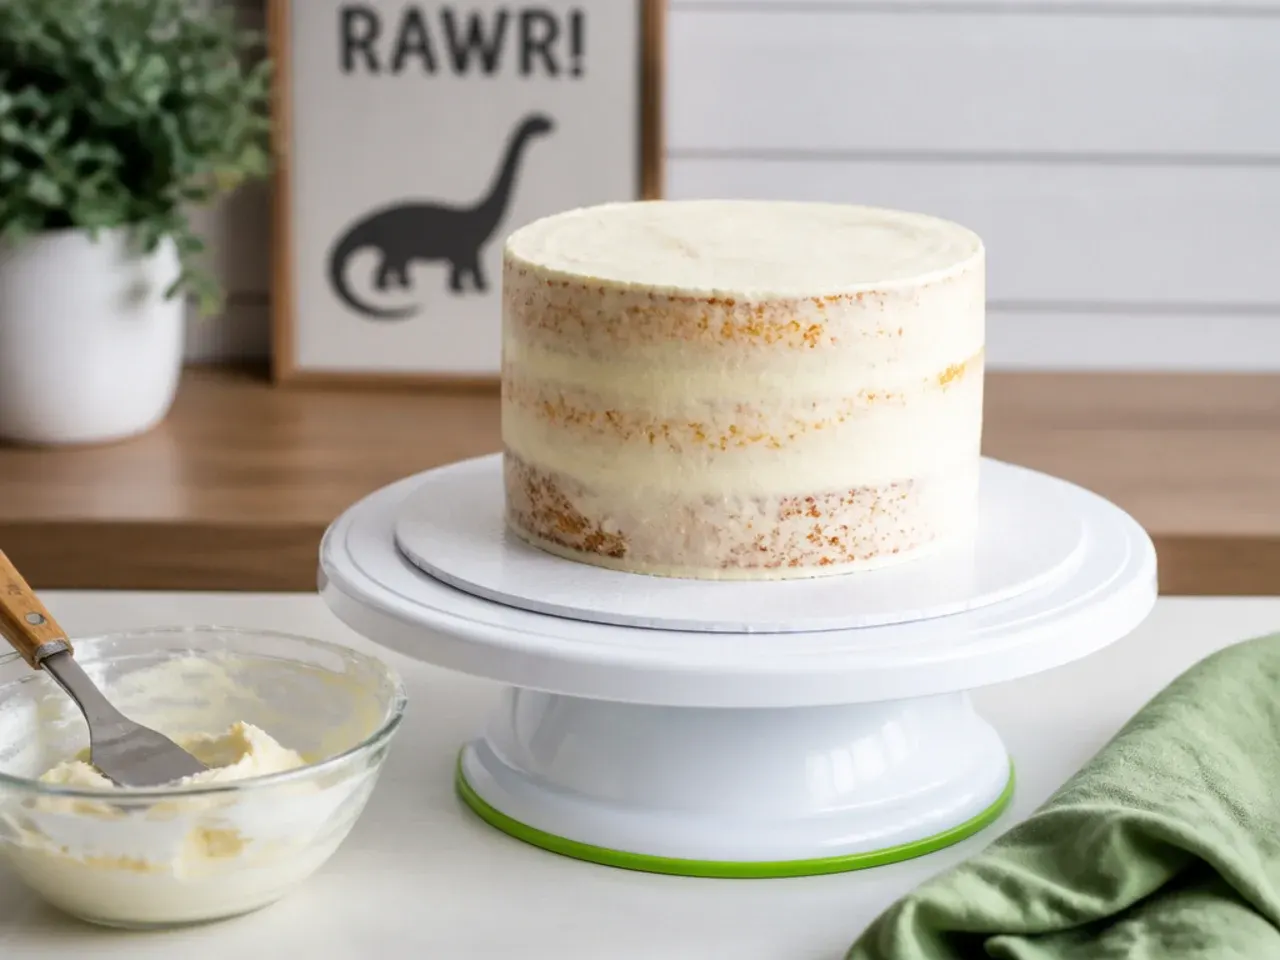
Bake and freeze the layers up to a month ahead, then decorate the day before, because cold cake is far easier to frost and carve without crumbs. Always apply a thin crumb coat first and chill for 15-20 minutes before your final coat so no crumbs drag into the finish. Invest in a small turntable and one bench scraper; spinning the cake while you hold the scraper steady is the single biggest upgrade to smooth sides. Keep two or three plain toy dinosaurs on hand, since a topper does more theming work than any complicated piping. For color, always tint with gel (never liquid) food coloring so you get vivid greens without thinning your buttercream.
Common Mistakes to Avoid
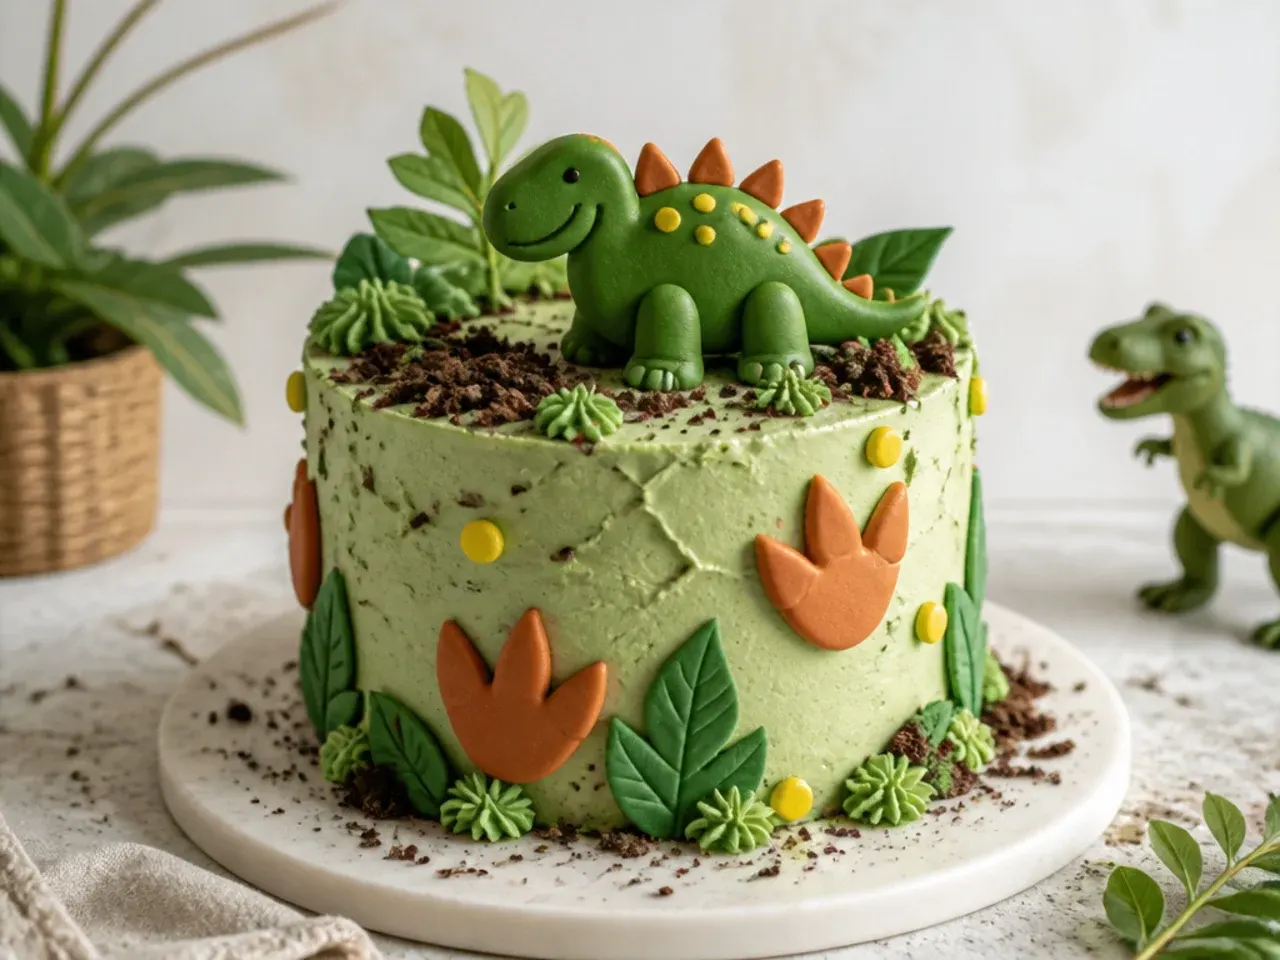
Do not frost a warm cake; even slightly warm layers melt the buttercream into a sliding mess, so cool completely and ideally chill first. Avoid liquid food coloring for deep greens, as it thins the frosting and you will chase the color with more and more sugar. Do not skip the crumb coat, or crumbs will streak through your final layer and ruin a smooth finish. Resist making the cake too big; a 6-inch (or even 4-inch) cake is plenty for one baby, and a huge cake just topples during the smash. Finally, do not decorate too far ahead, as smash cakes are best made and served within 48 hours so the sponge stays fresh and moist.
The Recipe
The Base Recipe — Make Any of These Ideas
40 min
20 min
2 hr (incl. cooling)
8
Beginner
Ingredients 8 Person(s)
Directions
Step 1: Prep pans and oven
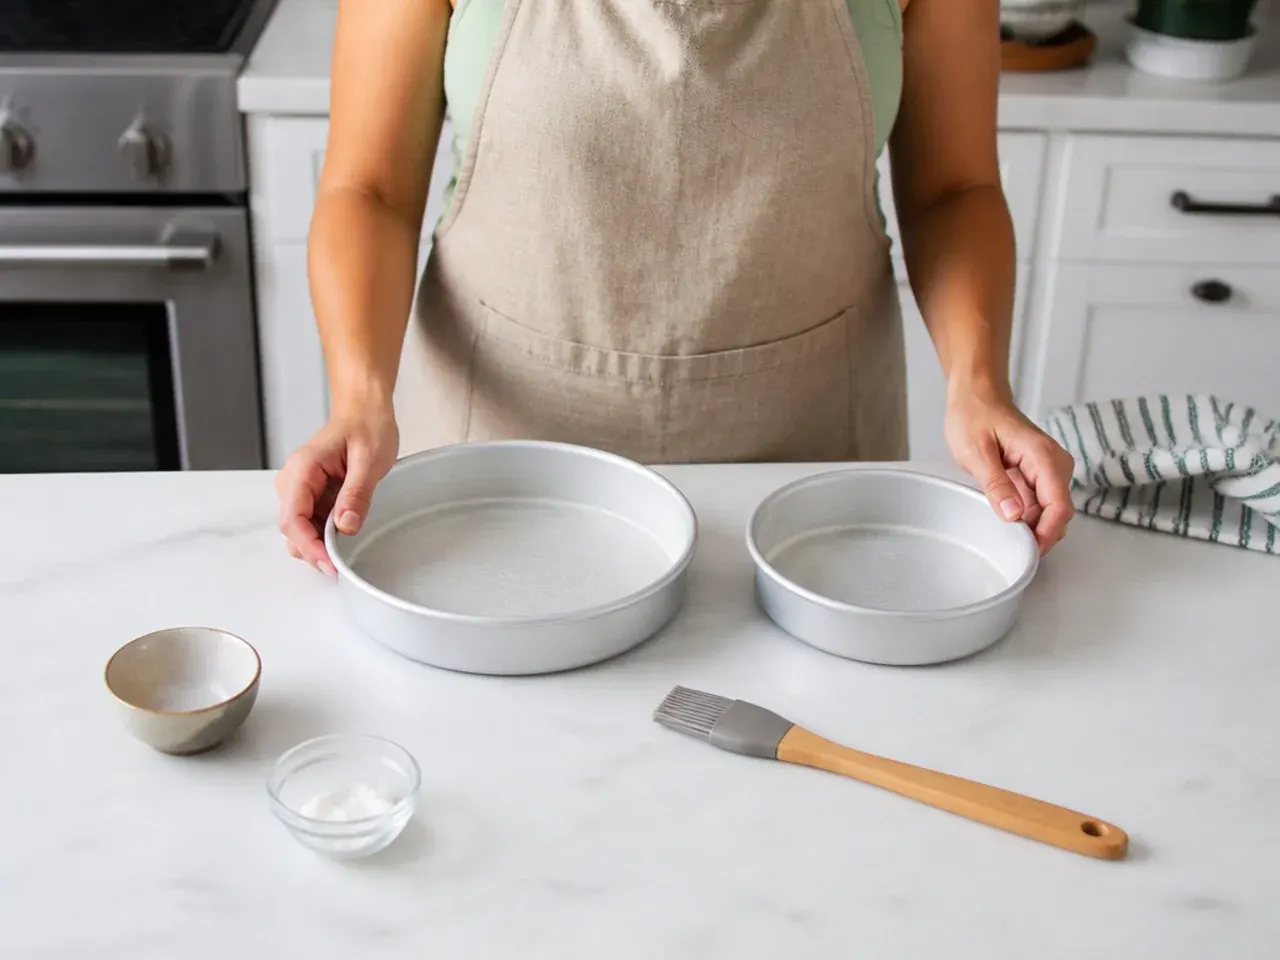
Preheat the oven to 350°F (177°C). Grease three 6x2-inch round cake pans, line the bottoms with parchment circles, and grease again. Set a rack in the center of the oven so the layers bake evenly.
Step 2: Combine the dry ingredients
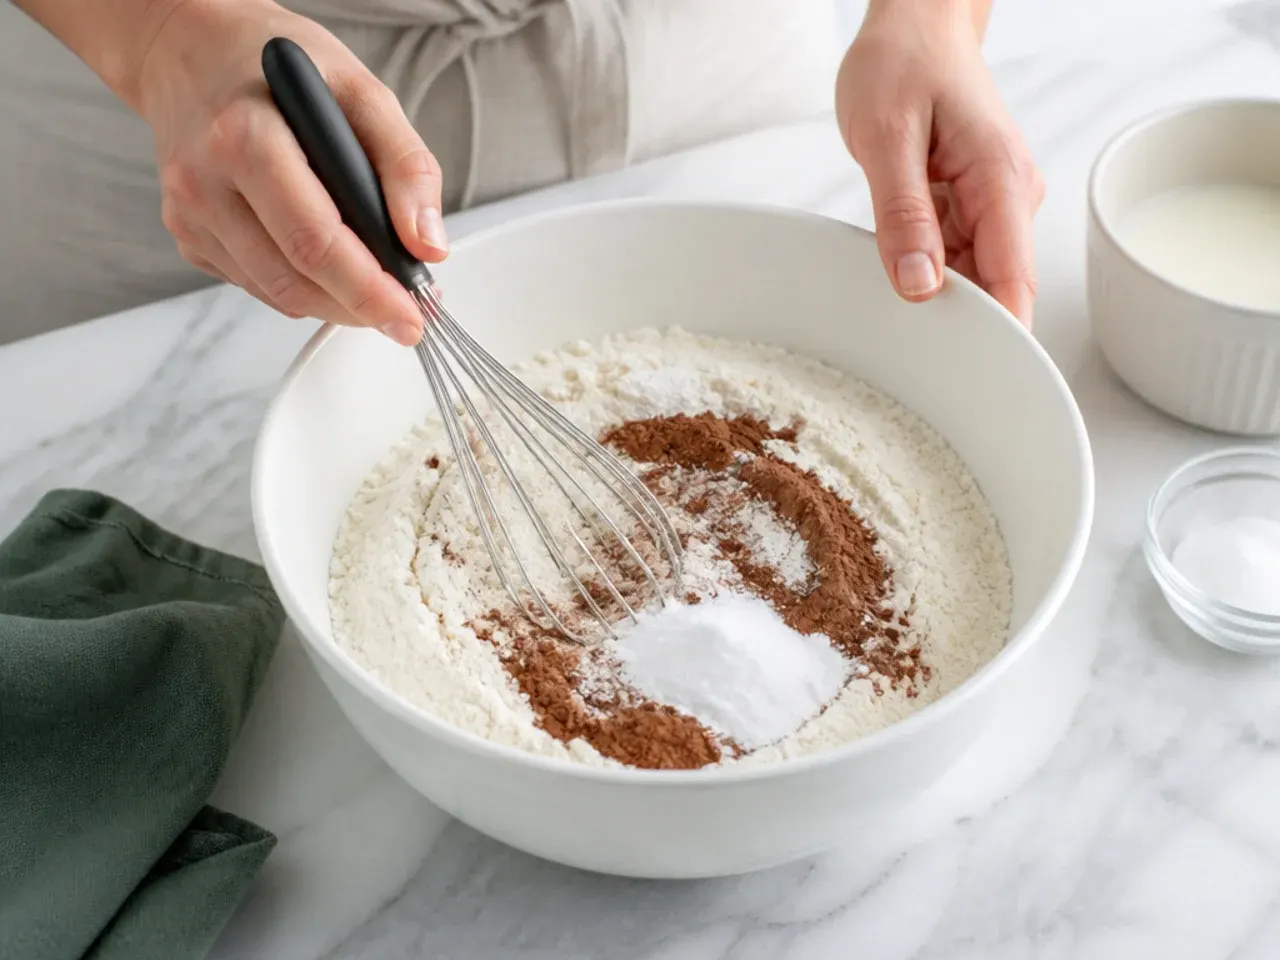
In a bowl, whisk together the cake flour, baking powder, baking soda, and salt until evenly combined. Set aside. Using cake flour keeps this smash cake tender and soft enough for little hands.
Step 3: Cream butter and sugar
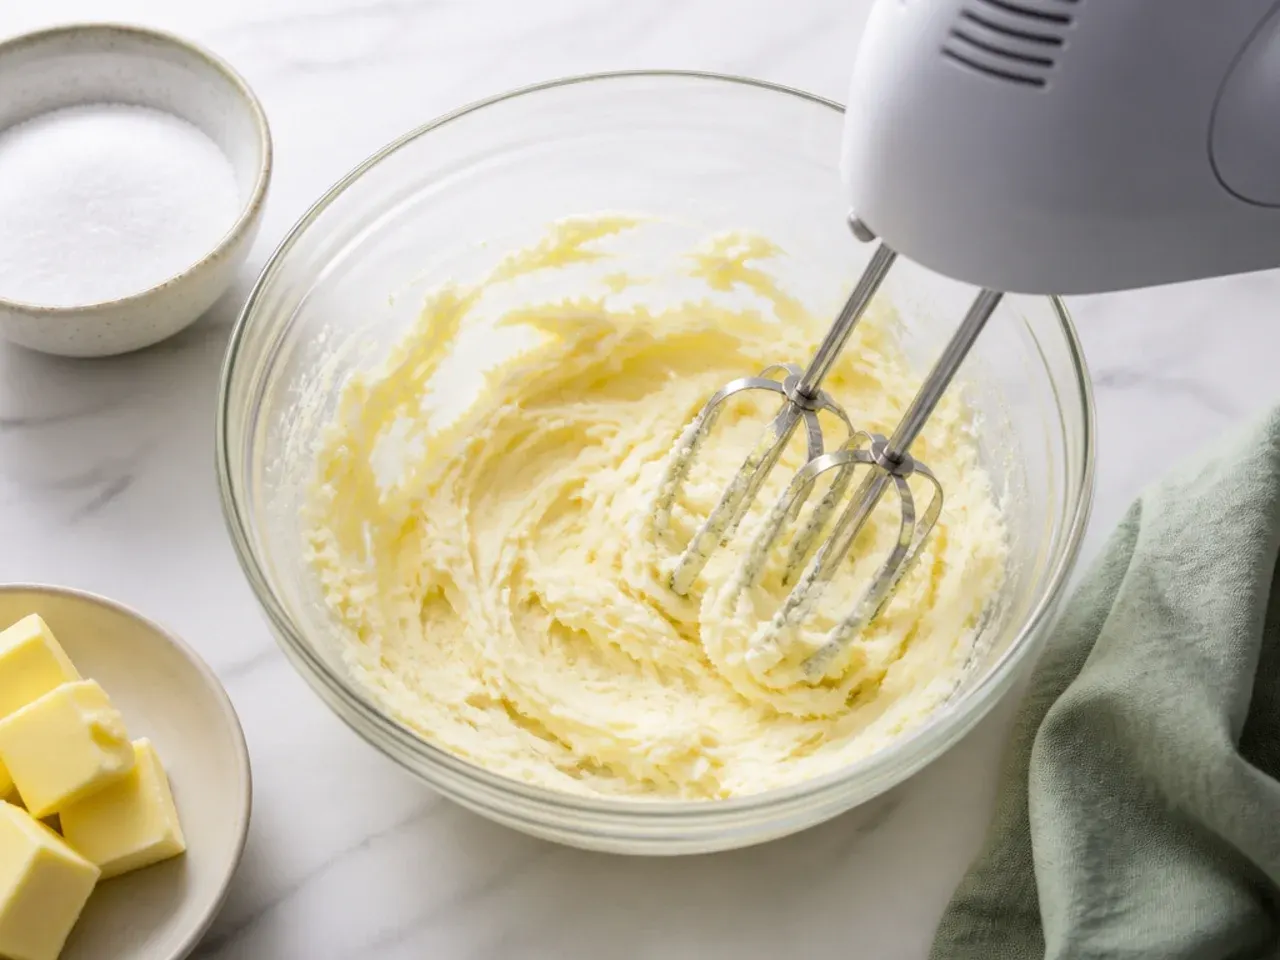
With a mixer, beat the 113g softened butter and granulated sugar on high for about 2-3 minutes until pale and fluffy. Scrape down the bowl, then beat in the egg whites and 2 tsp vanilla until combined. The mixture may look slightly curdled, which is fine.
Step 4: Alternate wet and dry
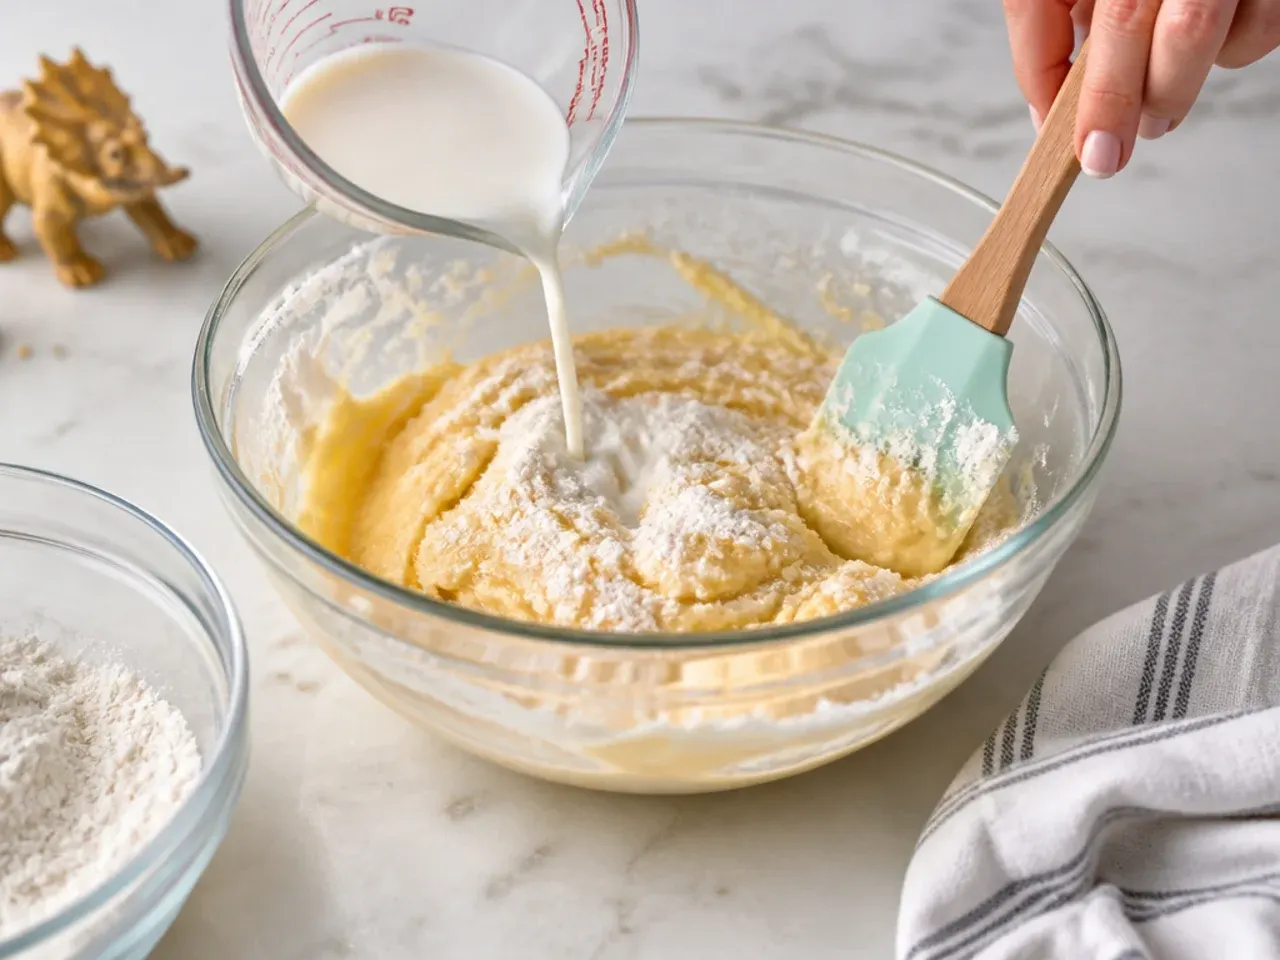
On low speed, add the dry ingredients in three additions, alternating with the sour cream and milk, beginning and ending with the dry. Mix just until no streaks of flour remain; do not overmix or the cake will turn dense and tough.
Step 5: Bake the layers
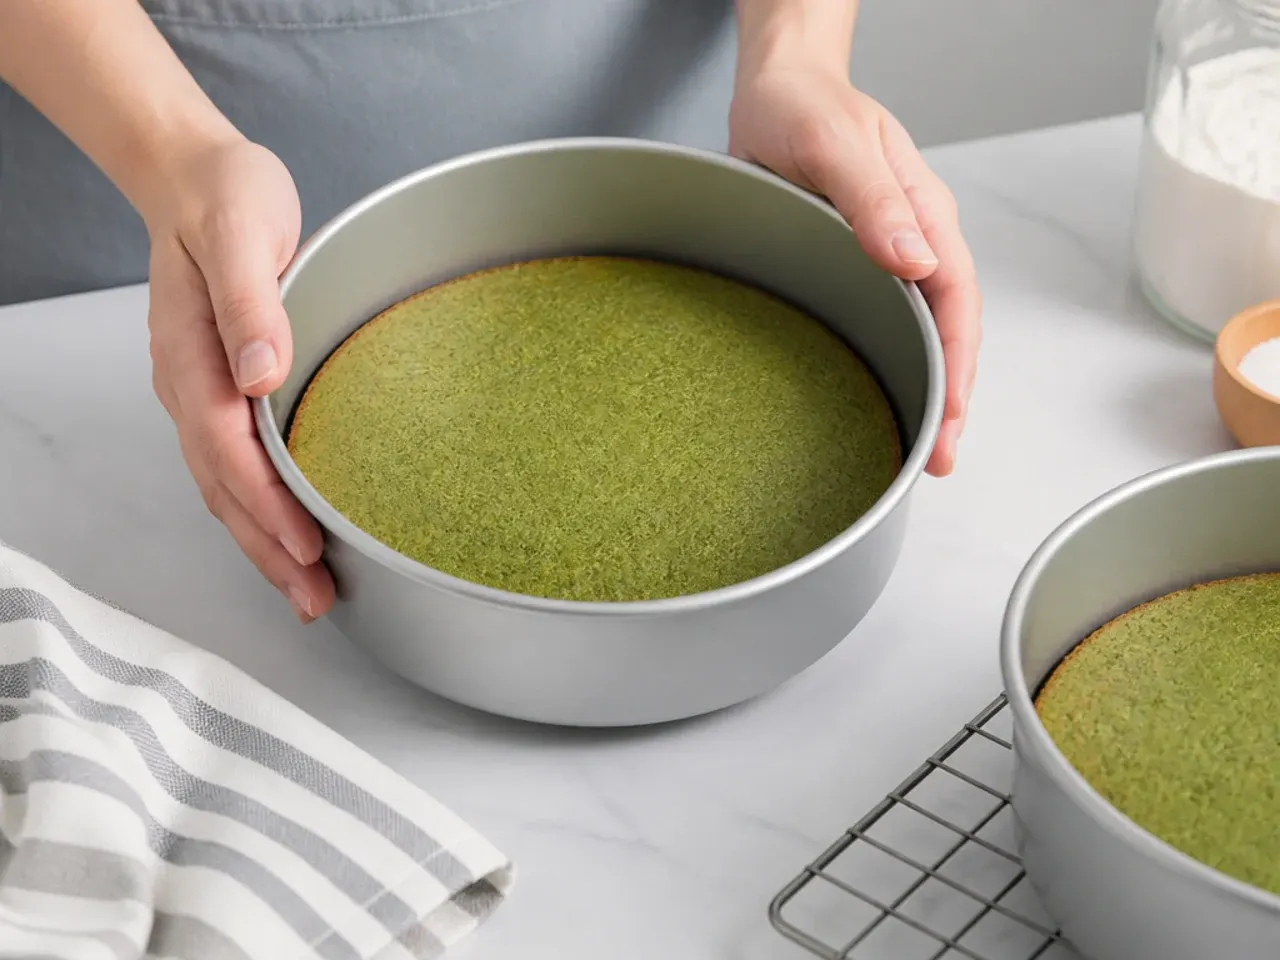
Divide the batter evenly among the three pans (about 340g each). Bake for 18-21 minutes, until a toothpick inserted in the center comes out clean and the tops spring back. Cool in the pans for 10 minutes, then turn out onto a rack to cool completely.
Step 6: Make the vanilla buttercream
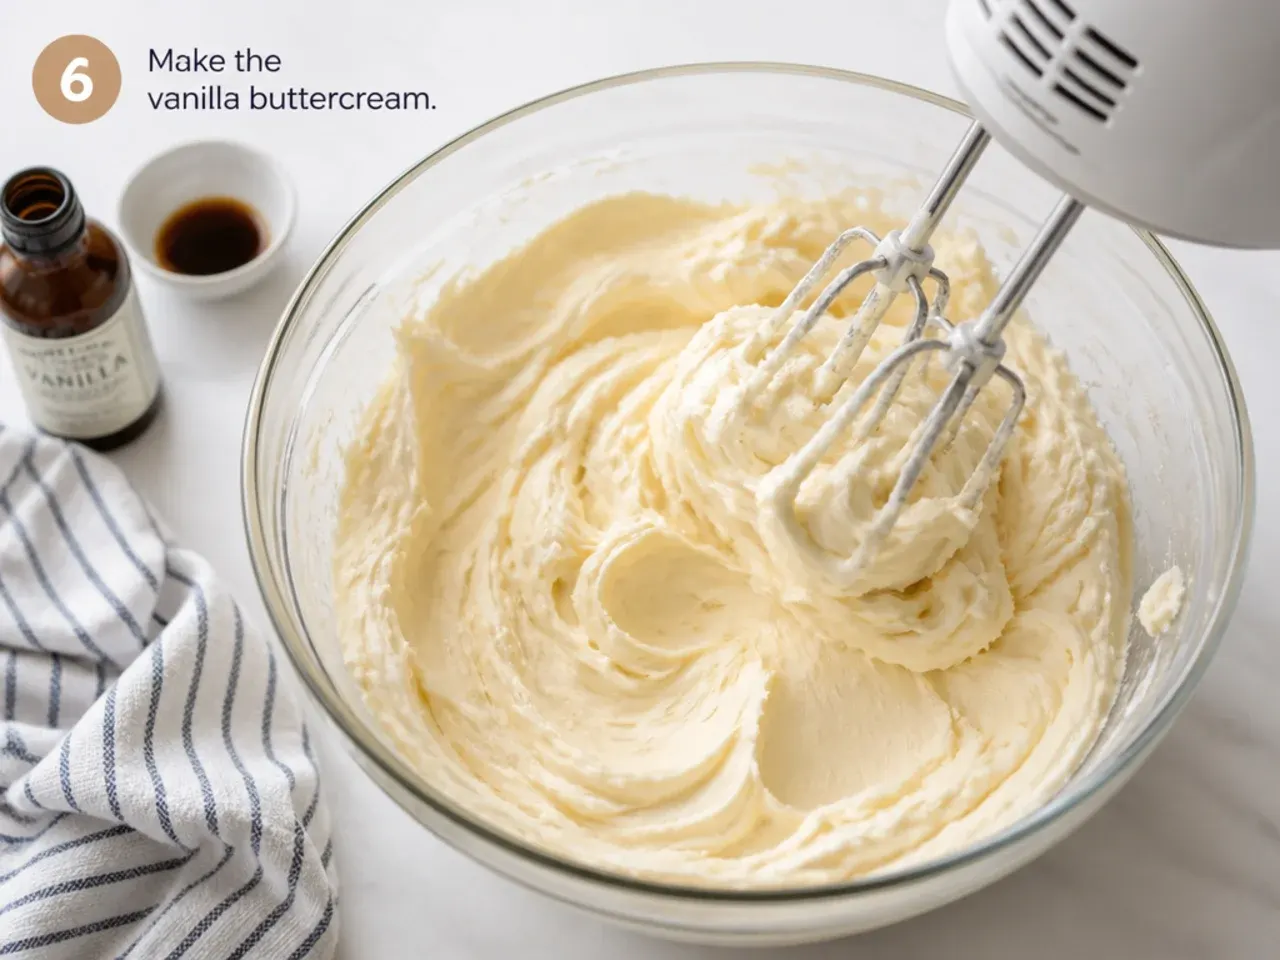
Beat the 226g softened butter on medium for 2 minutes until creamy. Add the confectioners' sugar, 1/4 cup (60ml) heavy cream or milk, 2 tsp vanilla, and a pinch of salt. Beat on low 30 seconds, then medium-high for 2 full minutes until light and spreadable. Add gel food coloring now if tinting.
Step 7: Assemble, crumb coat, and decorate
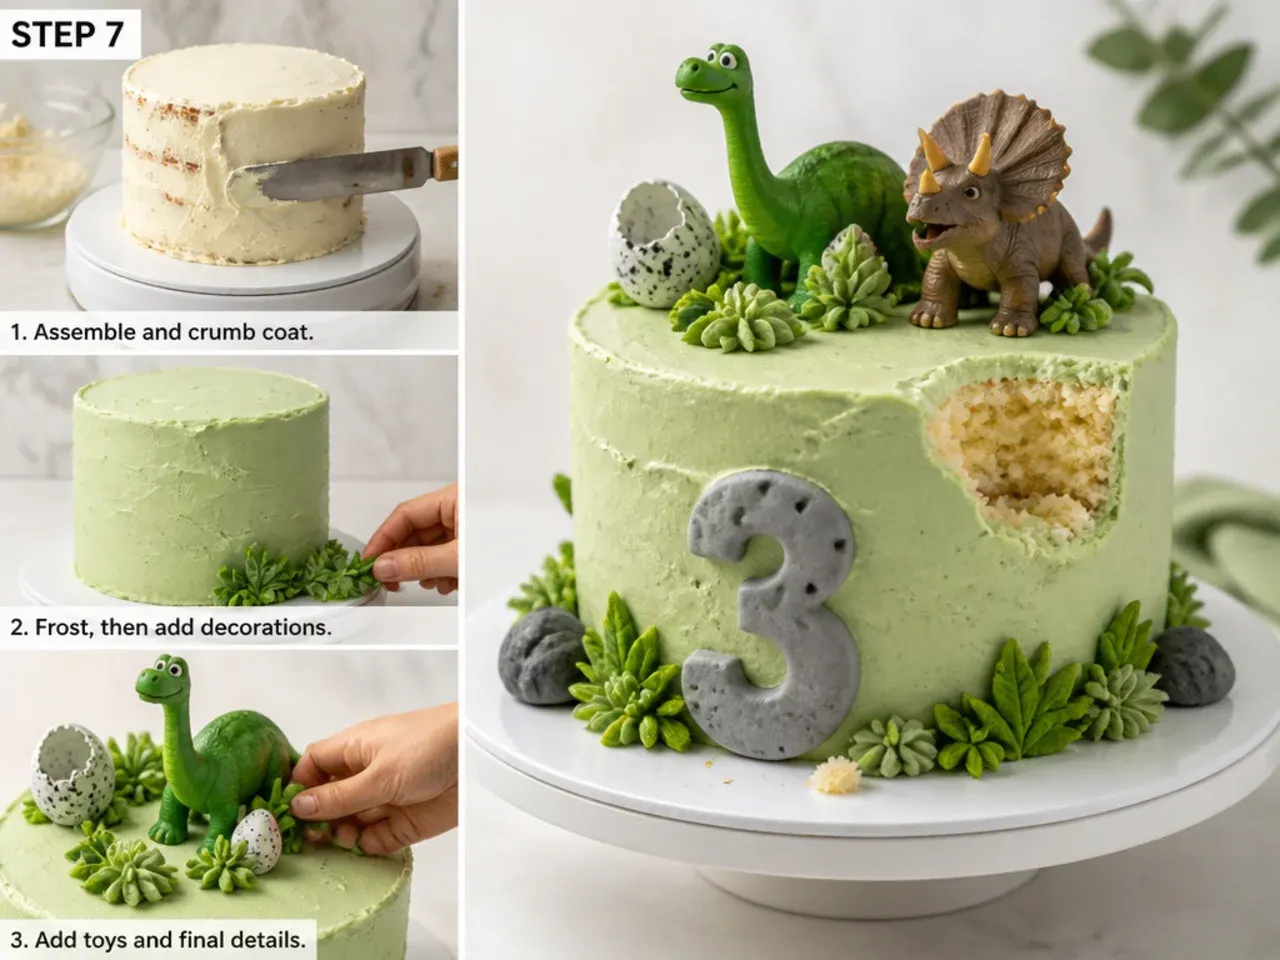
Level the layers, stack with a thin layer of buttercream between each, then apply a thin crumb coat all over and chill 15-20 minutes. Add a smooth final coat, then decorate using any of the 15 ideas above. Keep the finished cake refrigerated and bring to cool room temperature before the smash.
Frequently Asked Questions
A 6-inch round cake is the sweet spot for photos when baby comes at it from ground level, while a 4-inch is plenty if it sits on a highchair tray. A one-year-old will only nibble a few bites, so bigger is purely for looks. This recipe makes a three-layer 6-inch cake that serves about 8 as party dessert alongside the smash.
Save this for later 📌
Pin this article to your Pinterest board so the full list is one tap away when you need it.
Save on Pinterest